Do you believe you’re fulfilling your responsibilities? I’m sure you are, but additional strategies for combating bugs are always beneficial. Take a closer look and discover some useful bug-slaying techniques!
The Key to Good Defense
The foundation of your base defense revolves around two crucial elements: your headquarters (HQ) and the ark. The primary objective for the bugs is to target the ark, while the HQ, unless unintentional, may often be bypassed (as long as it doesn’t obstruct the automatic path to the ark). However, it’s important to note that losing either the HQ or the ark will result in a game over. Given this scenario, what strategies should you employ to protect both components effectively?
Bunkers and Small Wall
These formidable entities serve as your primary defense points, boasting the highest health in the game. It is advisable to position them in front of both your ark and HQ, but not right at the forefront. As illustrated above, there is an electric gate located to the left, along with small walls placed at staggered intervals. Through experimentation, it has been determined that a combination of one small wall apart or two small walls together provides the most effective mix. These small walls play a crucial role in impeding the advance of the bugs, as they initially target and engage the first wall, gradually being pushed forward by the relentless assault from behind. Additionally, it is worth noting that small walls can also be strategically placed on top of bunkers to enhance the defensive structure.
Turrets Electric Fence
These particular structures come with certain limitations in terms of building options. It is advisable to place turrets in the front, either inside bunkers or positioned in a way that allows them to have a direct line of sight towards the wall. Fences possess powerful stun capabilities, so it is beneficial to incorporate them by mixing them within the walls or positioning them in front of or beside your bunker.
Walls
In a nutshell, the key strategy is to create a honeycomb pattern. Construct multiple layers, maximizing the number of layers you can create. Consider integrating small walls in between the layers to further reinforce the defensive structure.
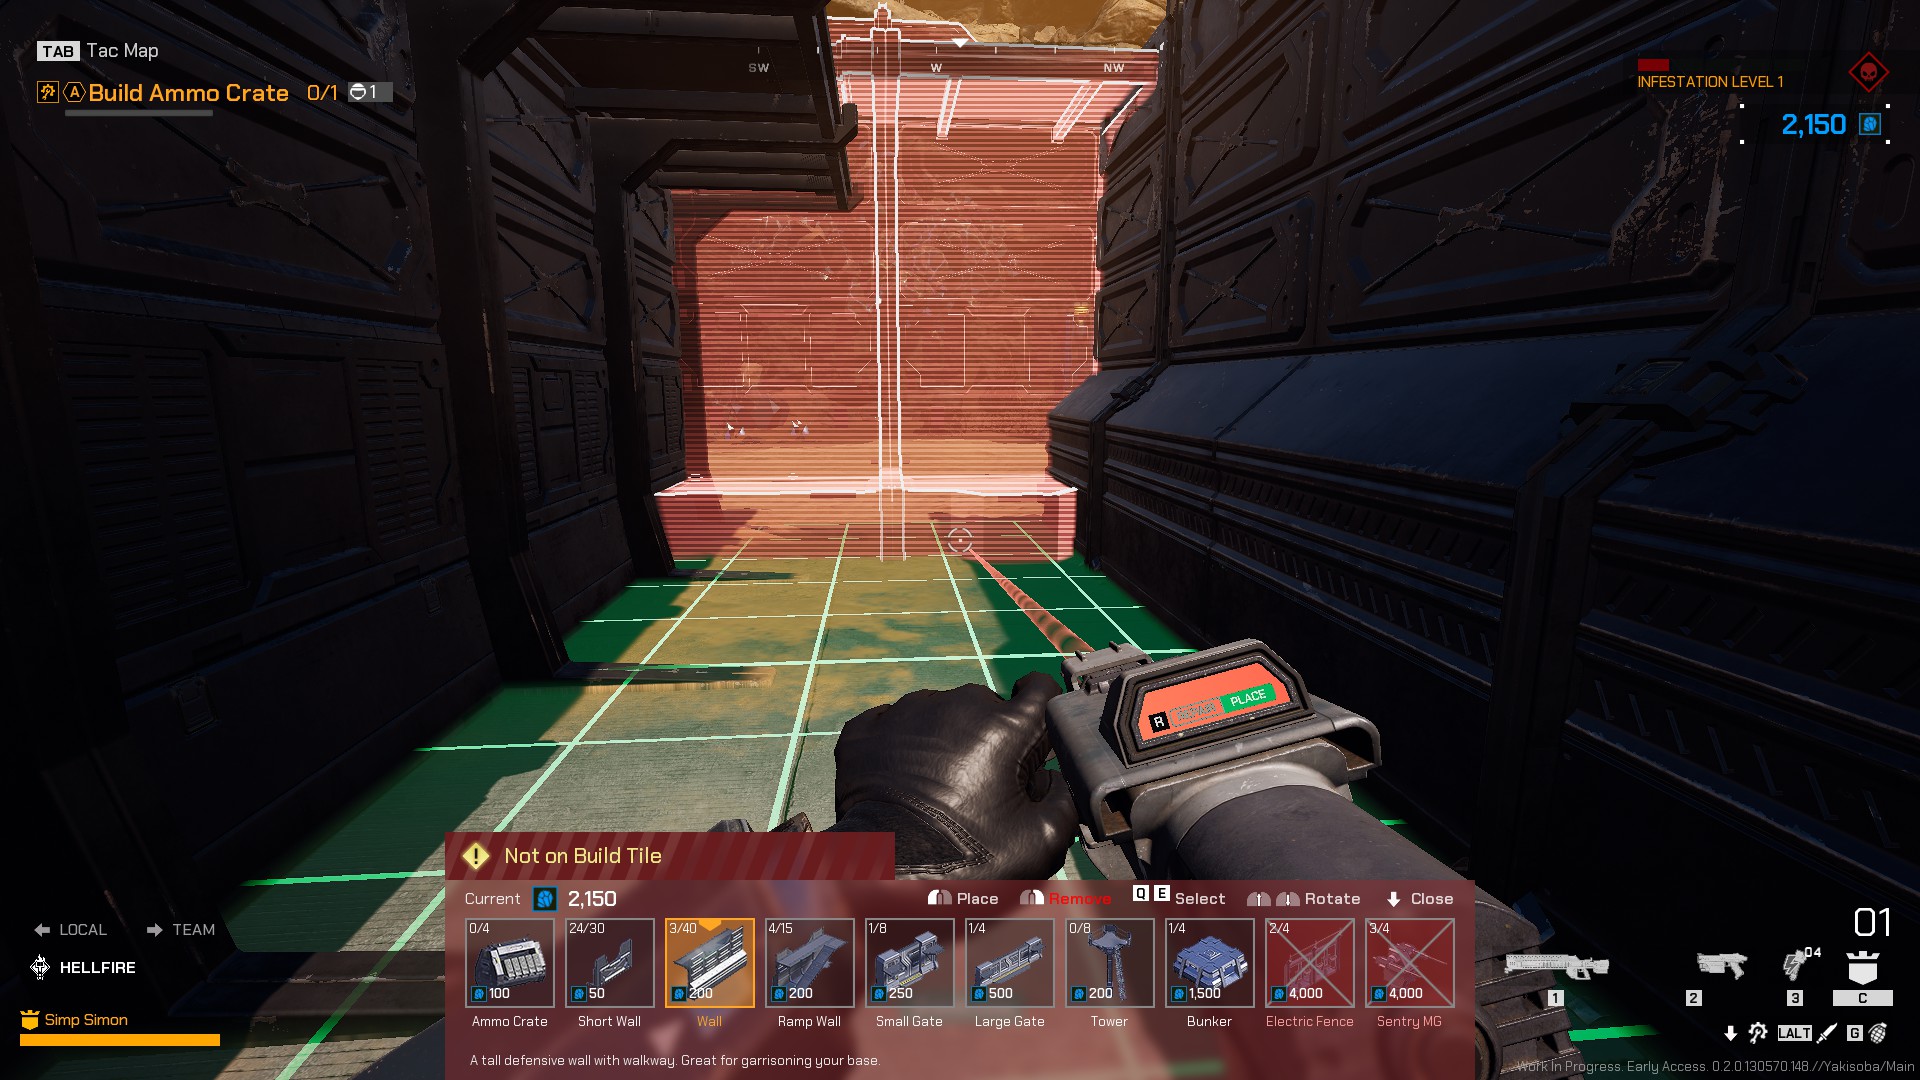
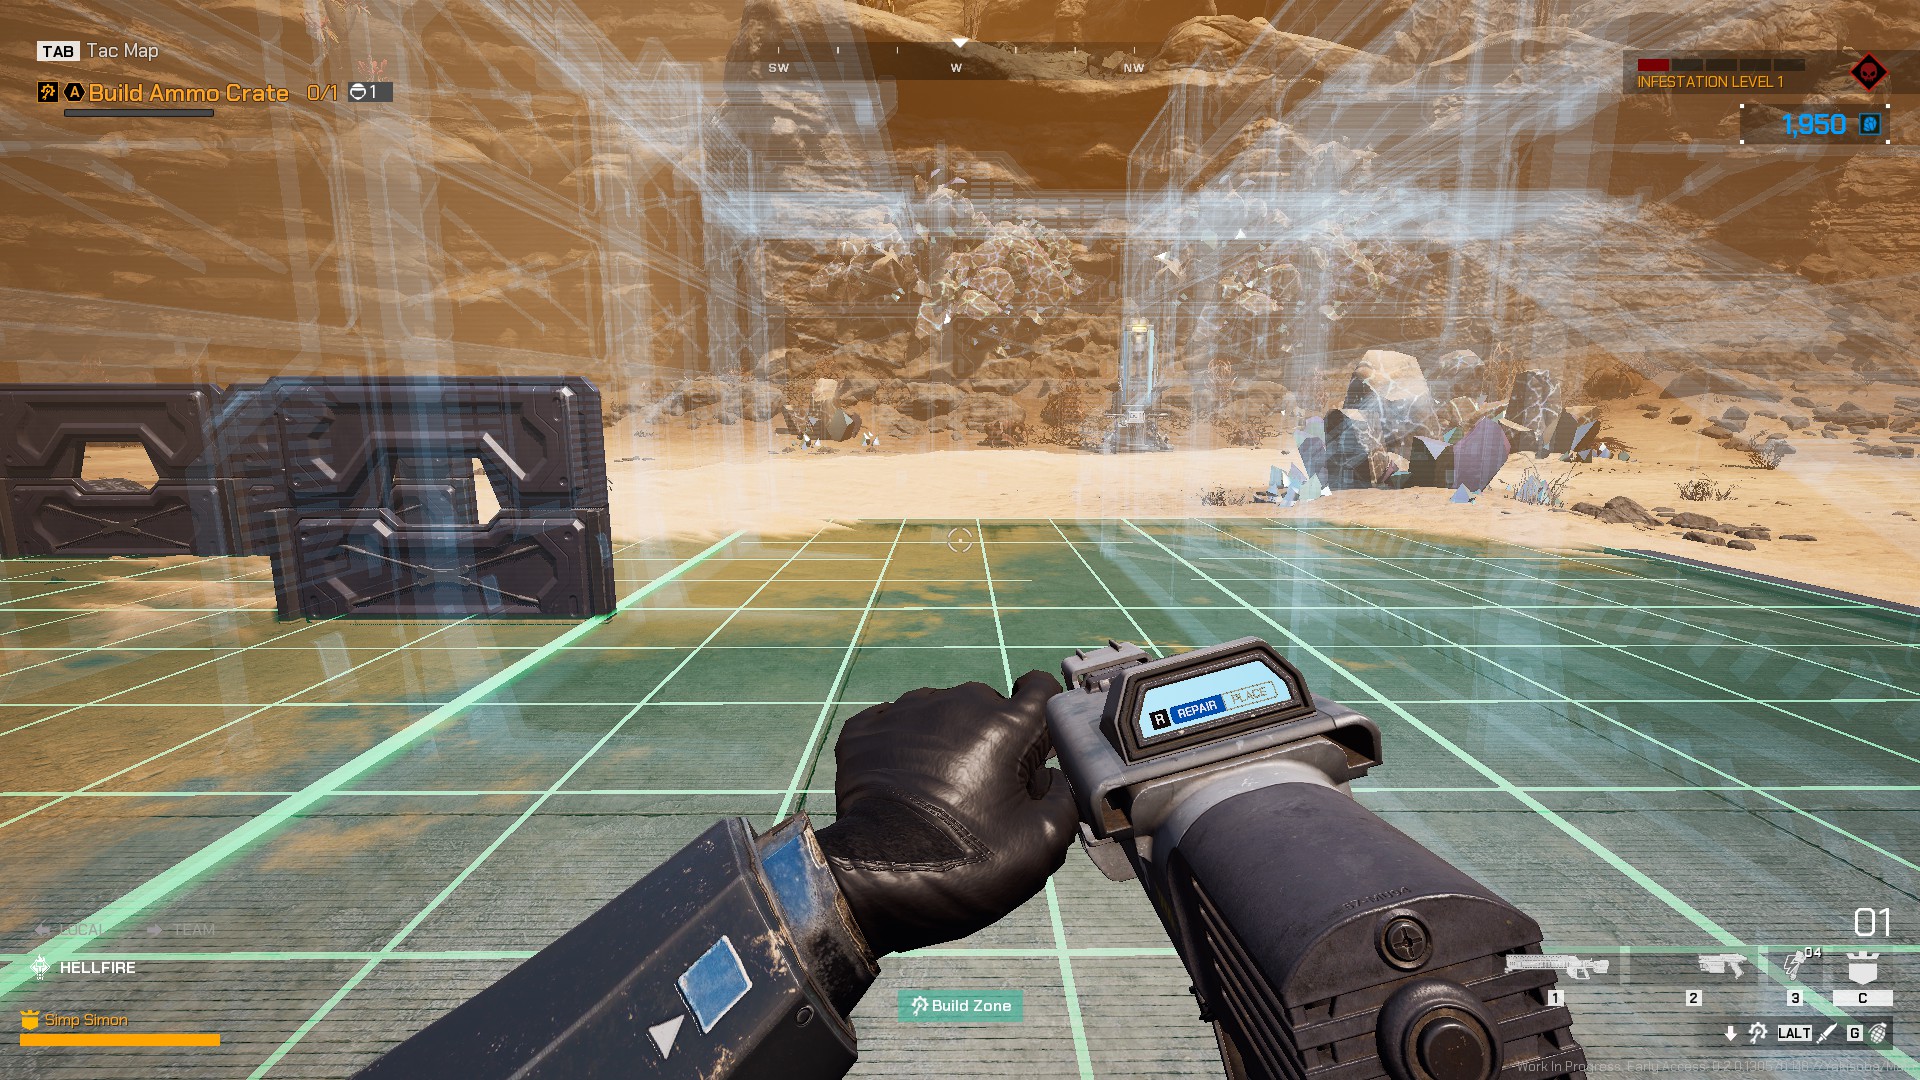
The placement of structures is indeed crucial, although the extent to which the build system is elaborated is not entirely clear. Generally, it is recommended to lay down the structures first and then proceed with construction. If adjustments are needed, you can deconstruct portions of the build by right-clicking with the build gun, allowing you to revert back to the blueprint and make necessary modifications. This flexibility enables you to refine your defensive layout effectively.
That concludes the information I have to share. I hope these insights prove helpful to other builders. Remember, stay composed, keep firing, and maintain a steady focus on your defensive efforts. Good luck!