A detailed guide on basic essentials for your play through of Into The Radius. Like many survival games there are plenty of small details that add up in making your game a lot easier to progress through and avoid running into roadblocks that may impede your advancement whether it be missing required items or being low on resources either way I hope with this guide I will be able to help newcomers avoid these issues.
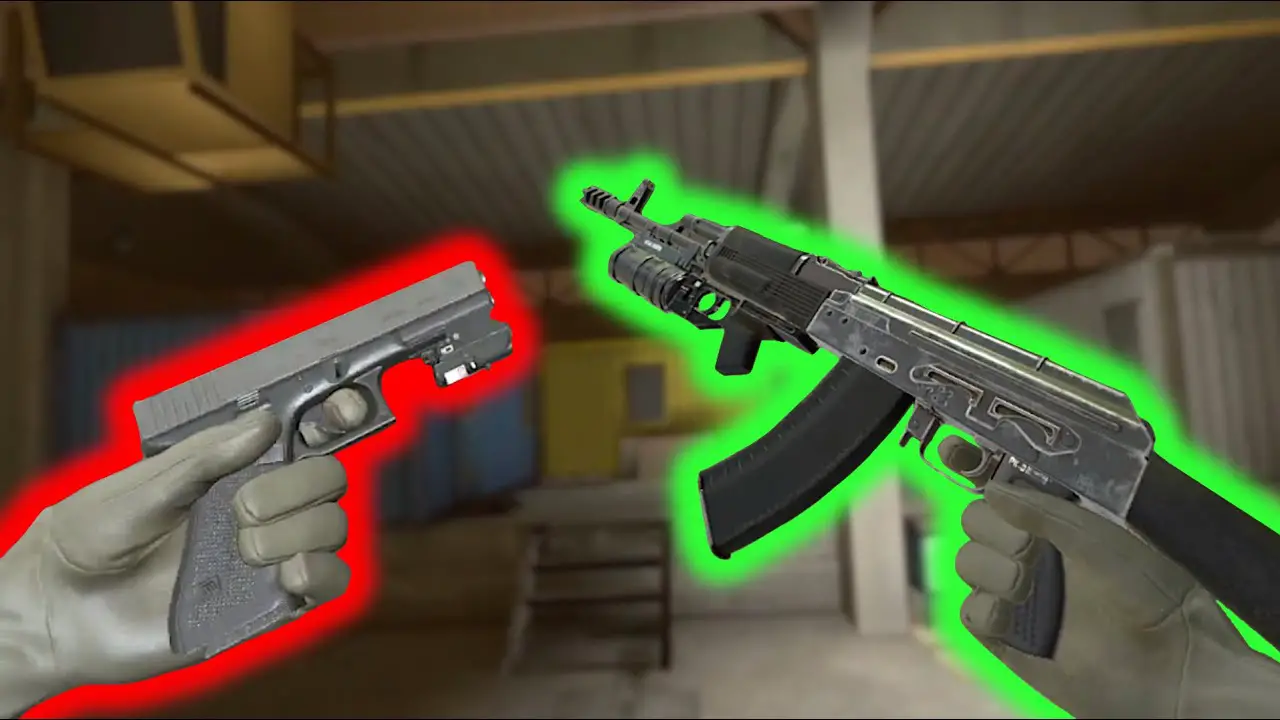
Pistolets
Lets start with the fun stuff first.
In this section we will be going over some basic gun mechanics and how to effectively use them to defend yourself.
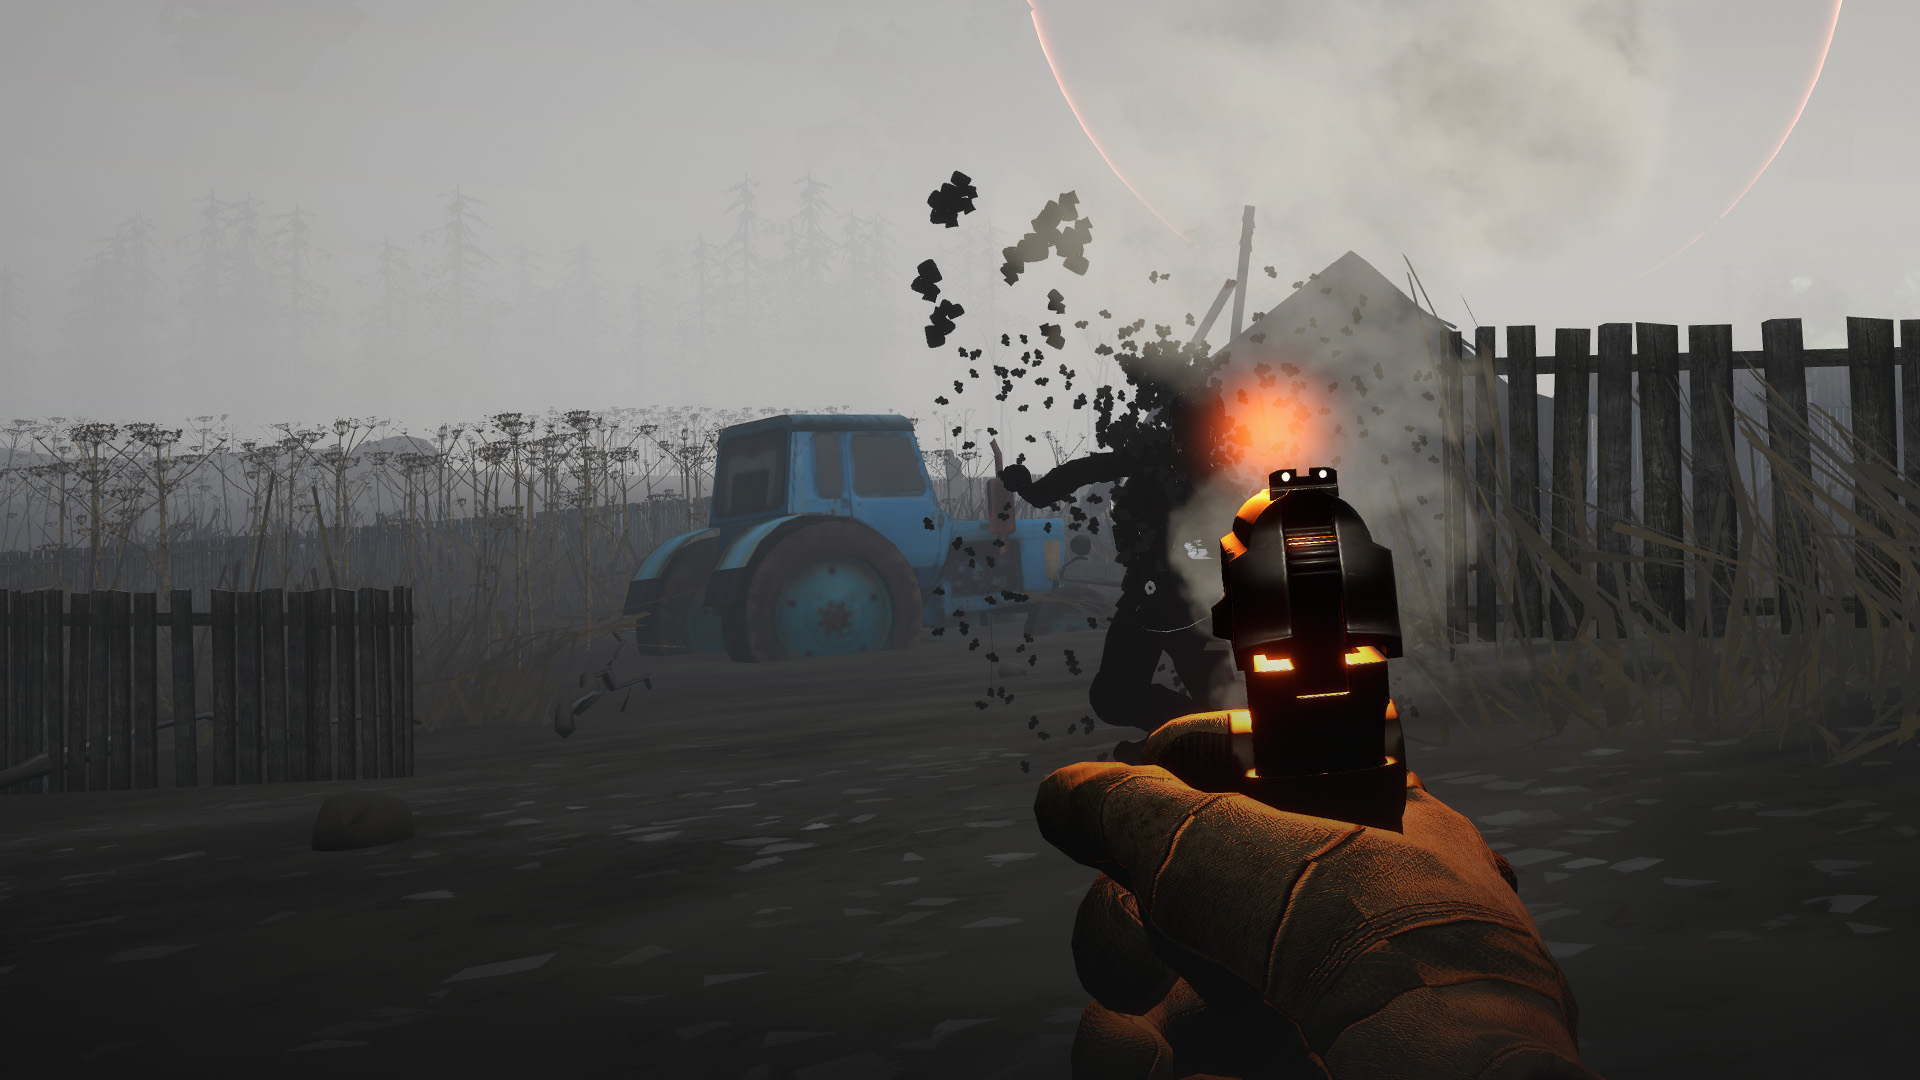
It is good practice in when playing any VR game to use guns the same way you would in real life, safety on at all times, finger off the trigger ( off the controllers trigger button ) until you are ready to shoot and never point the gun at yourself or anyone or anything that you do not wish to harm that being said lets continue.
Always make sure before leaving your base you have loaded your gun, brought enough magazines and ammo with you for your missions. How much you need will always vary depending on the person and the task so use your best judgement just remember its better to over prepare than under prepare.
When using your gun the first thing you will want to do is check the safety and turn it off when you are ready to shoot every gun has a safety and you can usually find it on the left side under the gun slide or in front of the trigger, afterwards if not done at the base do it now load a bullet into the chamber.
You can check to see if a bullet is already loaded by pulling the slide back a little bit do not pull it too far back or you will lose the bullet and have to pick it back up. If a bullet is already in the chamber you are ready to shoot.
Aim your gun at your target in a way that is most comfortable to you but as I said before it is best to treat guns in VR like a real gun it is the most efficient way to maintain accuracy and survive so you will want to keep both arms extended in front of you do NOT lock your elbows aim down the sights with either your left or right eye to avoid your perception being obscured from different angles ( I honestly don’t know what its called when your perception changes by looking out of different eyes )
after you have your target in your sights fire your weapon until your target is neutralized it is best when using an automatic weapon to fire one shot at a time to maintain good accuracy and avoid wasting ammunition.
Des couteaux

Weapons are essential to surviving in the Radius but guns aren’t the only ones that will ensure your survival.
Knives are extremely effective in aiding you in numerous ways and here are a few key examples as to how.
1. After destroying a fragments form it will reveal a black orb that you must destroy to permanently dispose of him. After destroying its base form with your gun take out your knife and finish it off while it is temporarily immobilized.
2. If you have become more adept in the game you can attempt to throw your knife at fragments as well it can be proved to be extremely helpful early game by saving ammo repair costs on guns and avoid attracting more unwanted attention at least until you can get a silencer for your gun
3. Spawns are very easy to handle try to avoid wasting ammo on these guys what you want to do is strafe to the left or right as it is approaching you eventually it will launch itself at you and miss. Once it has done this it will be immobilized briefly which gives you the perfect opportunity to strike it once or twice with your knife to finish the enemy off. You can also simply point your knife at a spawn as it launches at you and it will often impale itself though you may still be damaged in the process.
4. Knives are needed to eat canned food so make sure no matter what you always keep at least one knife on you when exploring you don’t want to be left stranded in the middle of the Radius with food you cant eat.
Pillage
There are tons and tons of items to find while exploring the Radius and in this section we will be going over effective search methods on acquiring items and where to find them.
You do not need missions to go out into the radius and loot though it is highly recommended since there is little to no downside knocking out both birds with one stone.
While on your way to your destination it is helpful to search the surrounding areas for ammunition, nourriture, medical supplies, gun cleaning supplies, guns themselves and valuable items that are worth a lot of money.
How you wish to loot is entirely up to you but keep in mind you can be over encumbered when you reach 50 kg = 110 lbs.
If you want to loot everything you find and horde it that is fine stock only what you need or sell everything play how you want but the most effective way in my opinion is to stock up what you need and eventually sell any extras you get later on.
For an example the way I do this is after obtaining so many of a certain item lets say 10 canned pine apple any one I find afterwards I sell off at the base when I return.
So for you I recommend gathering as much as you feel you will need stock up at your base and then sell what you don’t need.
Now that that has been said you will want to check through buildings, meubles , vehicles and bodies for loot .
Buildings will often have shelves that will have loot on them weapon crates and caches full of good loot keep an eye out for these containers they often have very expensive or useful equipment inside them. You can also check inside filing cabinets, dressers, bread boxes, underneath and on beds and inside cupboards. Make sure to check everywhere you never know what you will find and take what you feel you will need.
Vehicles often carry flares, smoke grenades and ammo in or around them, it is best to keep an eye out typically the larger vehicles may have crates beside them.
Dead explorers can often be found around the radius and often leave behind ammunition for you to pick up not usually a whole lot to get from them but sometimes worth taking a look to grab a couple extra bullets.
I want to further explore looting guns for a moment.
It can be difficult trying to bring guns back to your base especially late game when you are looting more and having to travel further so here are a couple useful tips.
Early game is simple when you just have a pistol. Just throw a gun on your back and another in your backpack and you’re set, but later on you may either find an extra gun you have nowhere to store or have too much weight on you. In those situations you have a couple options.
1. Bring extra weapons to a nearby hideout and temporarily place them there for you to come back to later. ( they will not be wiped when the tide comes )
2. You can carry one large weapon in your off hand and another in your main hand and if an enemy comes you can drop the off hand to fight.
3. If you know the path back home is clear you can carry two additional guns in both hands on the way home.
4. If you are over encumbered you can throw one or both weapons in your hands ahead of you to drop your carry weight briefly to sprint a few feet at a time it will help get home much faster.
You can only put pistols in your backpack any gun larger than a pistol needs to be in your hand on your back or on the side of your backpack.
Reliques
There are many relics to find when exploring the radius and are the best way to make money In the game.
Most relics are found hiding inside dangerous anomaly zones once you get used to navigating through them fortunes are within your reach.
You will want to use probes to detect them and know where to walk to avoid dying when trying to obtain these relics as well as your relic locator which will blink faster the closer you are and turn green when facing the direction of the relic.
Il y a 4 main anomalies to look out for when searching for relics.
1. The distortion anomaly which glows a light blue color and damages you constantly while you are inside it.

2. Reflector anomaly which will launch you away from it damaging you and potentially putting you into other dangers be careful when launching a probe around it it will shoot them back at you and can do a lot of damage.

3. Lightning anomaly which is extremely dangerous as they are almost impossible to see and do tremendous damage make sure to continuously use probes to locate a safe path around them they will also make you drop whatever items you are holding when you are hit by them BE VERY CAREFUL.

4. Haze anomaly is fairly easy to avoid damage from just wear a gas mask and you will be okay not much to worry about with it.

Selling Items
Like I said before its up to you to decide what items you want to keep or sell but to get the most out of what you find while exploring it is best to sell items you are certain you will not need anymore.
Before selling guns or magazines it is best to take a couple minutes cleaning them all up if possible ( anything not in red condition )
and removing any ammunition you might need from them.
Shotguns often have shells loaded inside them and weapon mags often have ammo in them for you to take.
If you are good with ammo feel free to sell it with the guns but you can never have too much.
Packs of cigarettes weather monitors and camera traps are all good alternative sources of income aside from tracking relics make sure to take advantage of their value.
Hostiles
There are a few types of enemies you will encounter while exploring the radius make sure to learn how to face them.
1. Fragments

As mentioned before they are best to be shot at with your gun until their form is destroyed and reveal the black orb.

You can strike with your knife they are slow easily spotted and make a lot of noise when coming towards you by themselves they aren’t much of a threat.
They do have an armored variation which is best killed with a gun with armor piercing ammunition and again finished with a knife attack.

2. Phantoms

Difficult to see but even easier to kill than fragments. They do not have an armored variant and die immediately.
3. Mimic police


Mimic cops are the first mimics you will encounter in the game and are fairly easy to deal with once you get the hang of it. They carry pistols and have an armored variant.
They are very accurate with their shots even when you are sprinting so it is best to find cover and take them out when they are reloading.
Suppressing fire should decrease their accuracy if you have ammo to spare fire a few rounds at them while you run for cover.
4. Mimic commando

A lot like the mimic police but with much stronger weapons mimic commandos can kill you in seconds if you are not paying attention they are often armed with ak’s and shotguns keep your distance and fire from behind cover when they are inbetween bursts or reloading they also have an armored variant.
5. Mimic soldiers


Armed with sniper rifles mimic soldiers are extremely dangerous best to kill them before they even spot you they are often hiding inside forts or bunkers where they can camp. If in a watch tower it is best to run up to the tower as quickly as possible climb up the ladder and fire blindly inside with your gun to kill them quickly easily and safely.
6. Chercheur

Both fast and quiet they will startle you when you don’t see them coming keep your eyes open for seekers you will not hear them until they are right behind you once they get close enough they will strike you with red beams that shoot from their head luckily they are easy to kill in just a few shots unluckily they also have an armored variant.
7. Frayer

Spawns or as I like to call them “squigglies” are fast little dudes who will jump at you to hurt you.
Like I stated in the knife segment just strafe wait for them to pounce dodge and stab.
8. Glissière

Easily the most terrifying enemy in the game Sliders will teleport across the map to get to you its difficult to spot them when they aren’t in the open and will teleport through walls to surprise you. If you steel your nerves they are all bark and little bite just keep backing away from them and shooting them until they die. They do not have an armored variant.
9. BTR

Only encountered in one area the BTR is an invincible enemy that can not hear. Do not let its spot light find you or it will fire bursts at you that will do tremendous damage. Just keep behind cover when near the BTR and you will be alright don’t bother attempting to attack it.
10. Scythe anomaly

A large ripple that moves in a circular motion round its base point can kill you instantly. It is however easy to avoid unless you go out of your way to touch it there is almost no location where it will actually land a hit on you.
11. Stomper anomaly

Stomper makes a loud stomping noise followed by a cloud of dust with each step very easy to avoid just keep your distance it doesn’t seem to follow a specific path but it does keep to certain locations.
12. Web anomaly

Almost always in forests occasionally found in some buildings the web anomaly is like a spider web that will do quite a lot of damage to you over a set period of time keep an eye on your health and make sure it wont be fatal.
13. Grass anomaly

Grass anomalies are simple yet tedious often found in buildings blocking your path pointing a flashlight at it will make it hide away for a moment long enough for you to pass over it safely without being hurt.
Remarques

Though not all notes are useful many of them will tell you locations of very valuable stashes that are either worth a ton of money or can save you a ton you can find many high tier weapons by reading about the location of these stashes.
Other than loot notes can give you many other useful tips and tricks about surviving in the radius and telling you about the journey of precious explorers before you if you want more insight of the world take all the notes you can find back to base with you for a read.
Organization

It will always pay off to know where all of your items are located how you will organize will be up to every individual to decide what works best for them their play style or just cosmetic and what you like. Just try your best to not let it get out of hand and it will pay off in the long run don’t want to have a misfire that shoots a grenade.