This guide will be covering the basic tips in Unrailed. Inoltre, we will also be sharing you the tricks that you can use to handle the game in terms of what are the best wagons, how to handle jobs on what to do, and tips for each biome. Obviously every team and run is different to each their own, but for those who are struggling to conquer this game this guide is a great place to start.
Senza ringhiere! Guida per principianti
Jobs
All'inizio, when the train is slow it is easy to multitask and rotate where people are needed, but as the train picks up speed and becomes longer to manage, you will quickly find players running into each other, bottle-necking one another trying to do the same task, and nobody paying attention to the path ahead until its too late. Perhaps the number one reason for crashing is poor planning. Giving each player a designated job means less running into one another and less for each person to focus on. You can switch jobs any time, but try and be consistent until at least the next station.
The first two jobs are miner and woodcutter. This may be a boring tedious job, but it is one that is underestimated. Your purpose is to clear resources around the train to make restocking easier and to clear a path for the train. Clearing the main path should be a priority as it allows the track to be placed ahead of time and access to other obstacles, such as rock behind a forest that is in the way or access to water which both miner and woodcutter should always be wary of, or access to a clearing in order to stall the train or easier pathing. A very big problem is people mining a single deposit ignoring the path ahead until the train is close to crashing. You can dash into players to relieve them of their tool to take over, albeit toxic behaviour it is better than ignoring the path ahead, which is the main task that is underestimated by people who pick up the axe/pickaxe looking for an easy job.

The next two people need to maintain the train. Typically one person is in charge of restocking the wagons while the other lay tracks. Ovviamente, if there’s no track to lay its better both players restock wagons, però, one should always be ready to lay tracks. The most efficient way is to lay tracks, grab nearby resources, then return to the train and either restock or simply bring it close and grab the next rails ready to lay. In the beginning with slow train and few wagons, both players can restock and manage tracks, but as you continue upgrades you’ll find restocking the train becomes more and more difficult until one person eventually becomes devoted to just wagon restocking and the other lay tracks, essentially one person ahead of the train laying tracks and using dynamite the other behind restocking.
Ovviamente, this is not the absolute of all jobs, but knowing your role is crucial in reaching the endgame. One major habit to not do is leave your job when the wagon is close to the station. Players with the axe/pickaxe need to constantly clear materials both for the next round and to make an open space for pathing or should the person laying tracks need to ‘snake’ or delay the train while a path is cleared, which happens more and more frequently as the train picks up speed while the fourth restocks wagons to keep everything running smoothly.
Good Wagons
Just as there are good wagons there are some not as good. All have their perks, but the number one problem is which one to get and when. I was sceptical about many for a while but it always varies per team and biome you are entering.
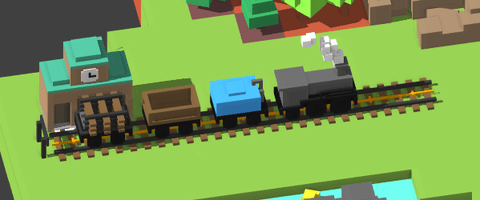
First are the basic wagons you begin with, the storage, crafter, and water. Water is one wagon that can be delayed for a while but should be upgraded at least once before moving to the next biome. The storage and crafter are most people’s usual first move to upgrade unless a must-have cart is available on the first station. Having a second crafter is useful to speed up crafting, but not until later in the run and having second storage is not advised as your resources should be used, not stored. Unused resources are wasted resources and just waste time. Having the water wagon is useful in the back of the wagon that way water can be refilled at either end of the train, from the engine or the water tank.
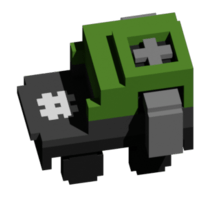
Next comes the auto-collector. This wagon is a must-have when upgraded. A livello 1 its sole purpose is to waste wood. However once upgraded and boosted with the efficiency wagon it can take some major stress off the team. This wagon can auto collect wood and iron when supplied with wood, which ranges and pickup speed increase with each level, into the storage cart. This can become a problem in later biomes when it collects stone which is needed for bridging, but the pros of not having to restock the storage cart on top of all the other wagons outweigh the cons.
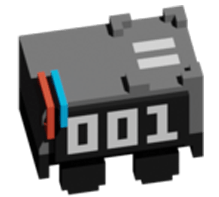
A second must have that most teams usually start with is dynamite. This wagon when supplied with one iron charges for 30 seconds to produce a bomb which explodes in a circle of radius 1 (a 3×3 piazza) with an increase in range every level. This can quickly clear a path or produce a large amount of resources should players run low. Starting each level with a charged dynamite is a very useful strategy in order to quickly clear a path for the train before it starts moving. Perhaps the greatest advantage is the ability to boost the dynamite range even further. When boosted by the supercharger the dynamite turns yellow (+1) and explosion is large. With two upgrades it turns purple (+2) and usually is large enough to kill the player running away, but clears a very large radius. With three upgrades, typically by 2 superchargers and a charged bucket, the dynamite turns purple (+3) and is potent enough to clear 1/3 of the entire screen, usually killing several players. NOTE blowing up resources counts as chopping/mining, useful for obtaining those bolts if a player refuses to share the tool or players do not have time to leave their job but can run over and place dynamite.

The next must-have is the ghost wagon. As your train gets longer it becomes easier and easier to become trapped behind the train. Having a way to travel through the train Is important especially on harder difficulties when the train has to be pinched through small gaps or players fall behind on clearing the path ahead forcing players into a pinch. Upgrading the ghost extend it’s range (+1 each level), ghosting other wagons making it easier to traverse around the train. Having this in the middle is important in order to make the most out of the ghost effect, preferably the front half when the train gets longer.
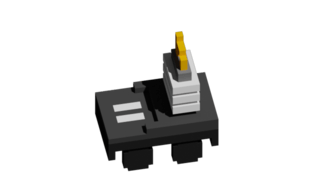
The final must-have is the supercharger wagon. This wagon will boost nearby wagons (+1 range each level) by one level when charged with iron. This wagon is a must-have as it makes others such as the crafting, dinamite, and collector more powerful all in an effort to make players jobs easier and make early upgrades on wagons for players low on bolts (one tactic I have seen was upgrading when the train was on fire while in the Halloween biome, which stops the train form burning as the water wagon was boosted a level. An inefficient tactic as this wagon should always be active and boosting others, but being low on a stone at the time the team had to make a call on saving resources). Just like the ghost tries to have this in the middle, boosting all the important wagons so some reconfiguring can make awkward wagons, but with high payoffs.
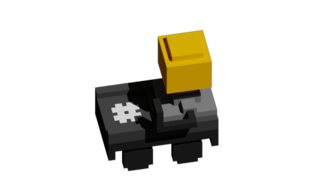
The light wagon is useful, especially when trying to path at night but ultimately uses too much wood to be worth a wagon spot, especially once you enter the Halloween biome where nighttime is no longer an issue. Tuttavia, in the snow biome, most teams consider the lightbulb wagon a must-have as it can melt snow along with lighting up the nighttime, making it a must-have, then replacing before upgrading engines to the next biome.
Other Wagons
These Wagons are not usually used on every team but have their uses based on people’s preferences. Just because they are not must-haves does not mean they are not useful.
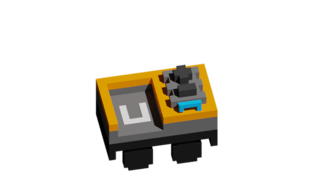
The bucket wagon is useful, but usually is too much of a hassle unless the team is well coordinated. By placing the bucket on the wagon you can ensure it is not lost behind and next to the water ready to be used. When charged a small red bar appears next to the bucket indicating its charge, which empowers anything within its range. Player move faster has drastically increased pickup and attack strength and can boost dynamite is placed inside its range. The duration is very short, which can be upgraded each level, però, to constantly head back to the train and return to cutting resources wastes more time then the brute force of dynamite, però, it is very useful in the final biome, Marte, where you must attack the green vines to advance as if both miner/woodcutter team up and a third brings the bucket for them they can make short work of the vines.
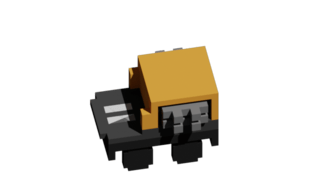
The auto miner is a wagon that sounds useful on paper but ultimately is not worth investing in. The wagon can mine 1 hit on resources in range, with range and mining speed increased with each level. Tuttavia, this only mines next to the train, not in front. The reason this wagon is not as useful is that you always want to move forward and as long as players properly clear a path, the mining wagon is unnecessary. Especially as the train picks up speed players want to focus more on clearing a path ahead and cutting resources ahead instead of behind the train. You could loop the train to mine resources in a narrow path to clear an area, but is usually a waste of tracks when dynamite is much more efficient and explosive.
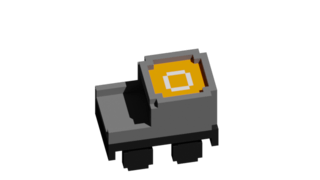
The converter wagon is useful, especially early game. Each level increases converting speed and stack size. Tuttavia, as it is not a must-have player should know if it is important to take this wagon or not. In space having backup stone here can save your run and if you end a level with low resources (some stations generate lots of stone and very little wood or vice versa) having this wagon can help in a pinch. This wagon is great as a filler, but usually, the player has enough resources around the train it is not needed, especially in later biomes.
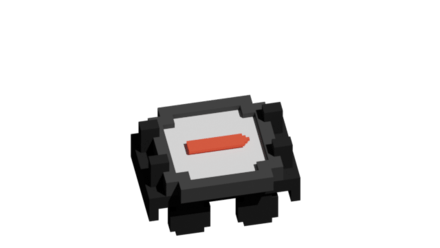
Finally the compass. This wagon points towards the station allowing you to path accordingly. Tuttavia, your path should flow based on the resources available and possible clearings/bridging, not necessarily the quickest path to the station. As of writing the upgraded version which shows the quickest track layout does not work and makes the wagon useless. Not worth a wagon spot.
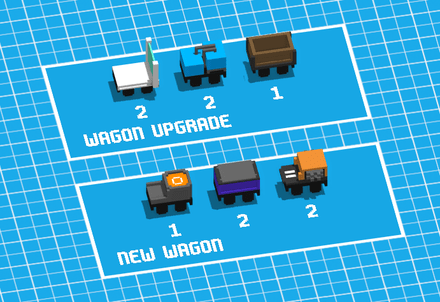
As you obtain all your favorite wagons, some may be useful to duplicate or obtain one of each wagon. Each wagon can only have one duplicate, quindi avere 3 of a kind is impossible. Two crafters greatly increases crafting which his great for fast trains, double dynamite can easily keep paths clear. Double superchargers can further level wagons for extra power, but cannot charge each other. Most other wagons can be picked for comfort, however compass, light bulb, and compass are pointless to have duplicates (I have not seen duplicates appear but have also not used these enough to confirm).
Biomi
Every biome has its own unique obstacles and strategies so knowing what’s ahead can save a lot of headaches. It is recommended to go as far as possible in each biome before advancing in order to save up bolts and your train should be fully upgraded with full wagons by the end of the second biome. Each biome also has a special bolt which has a unique look and typically spawns on the third station. This bolt grants two bolts and is required to obtain each one to finish the game.
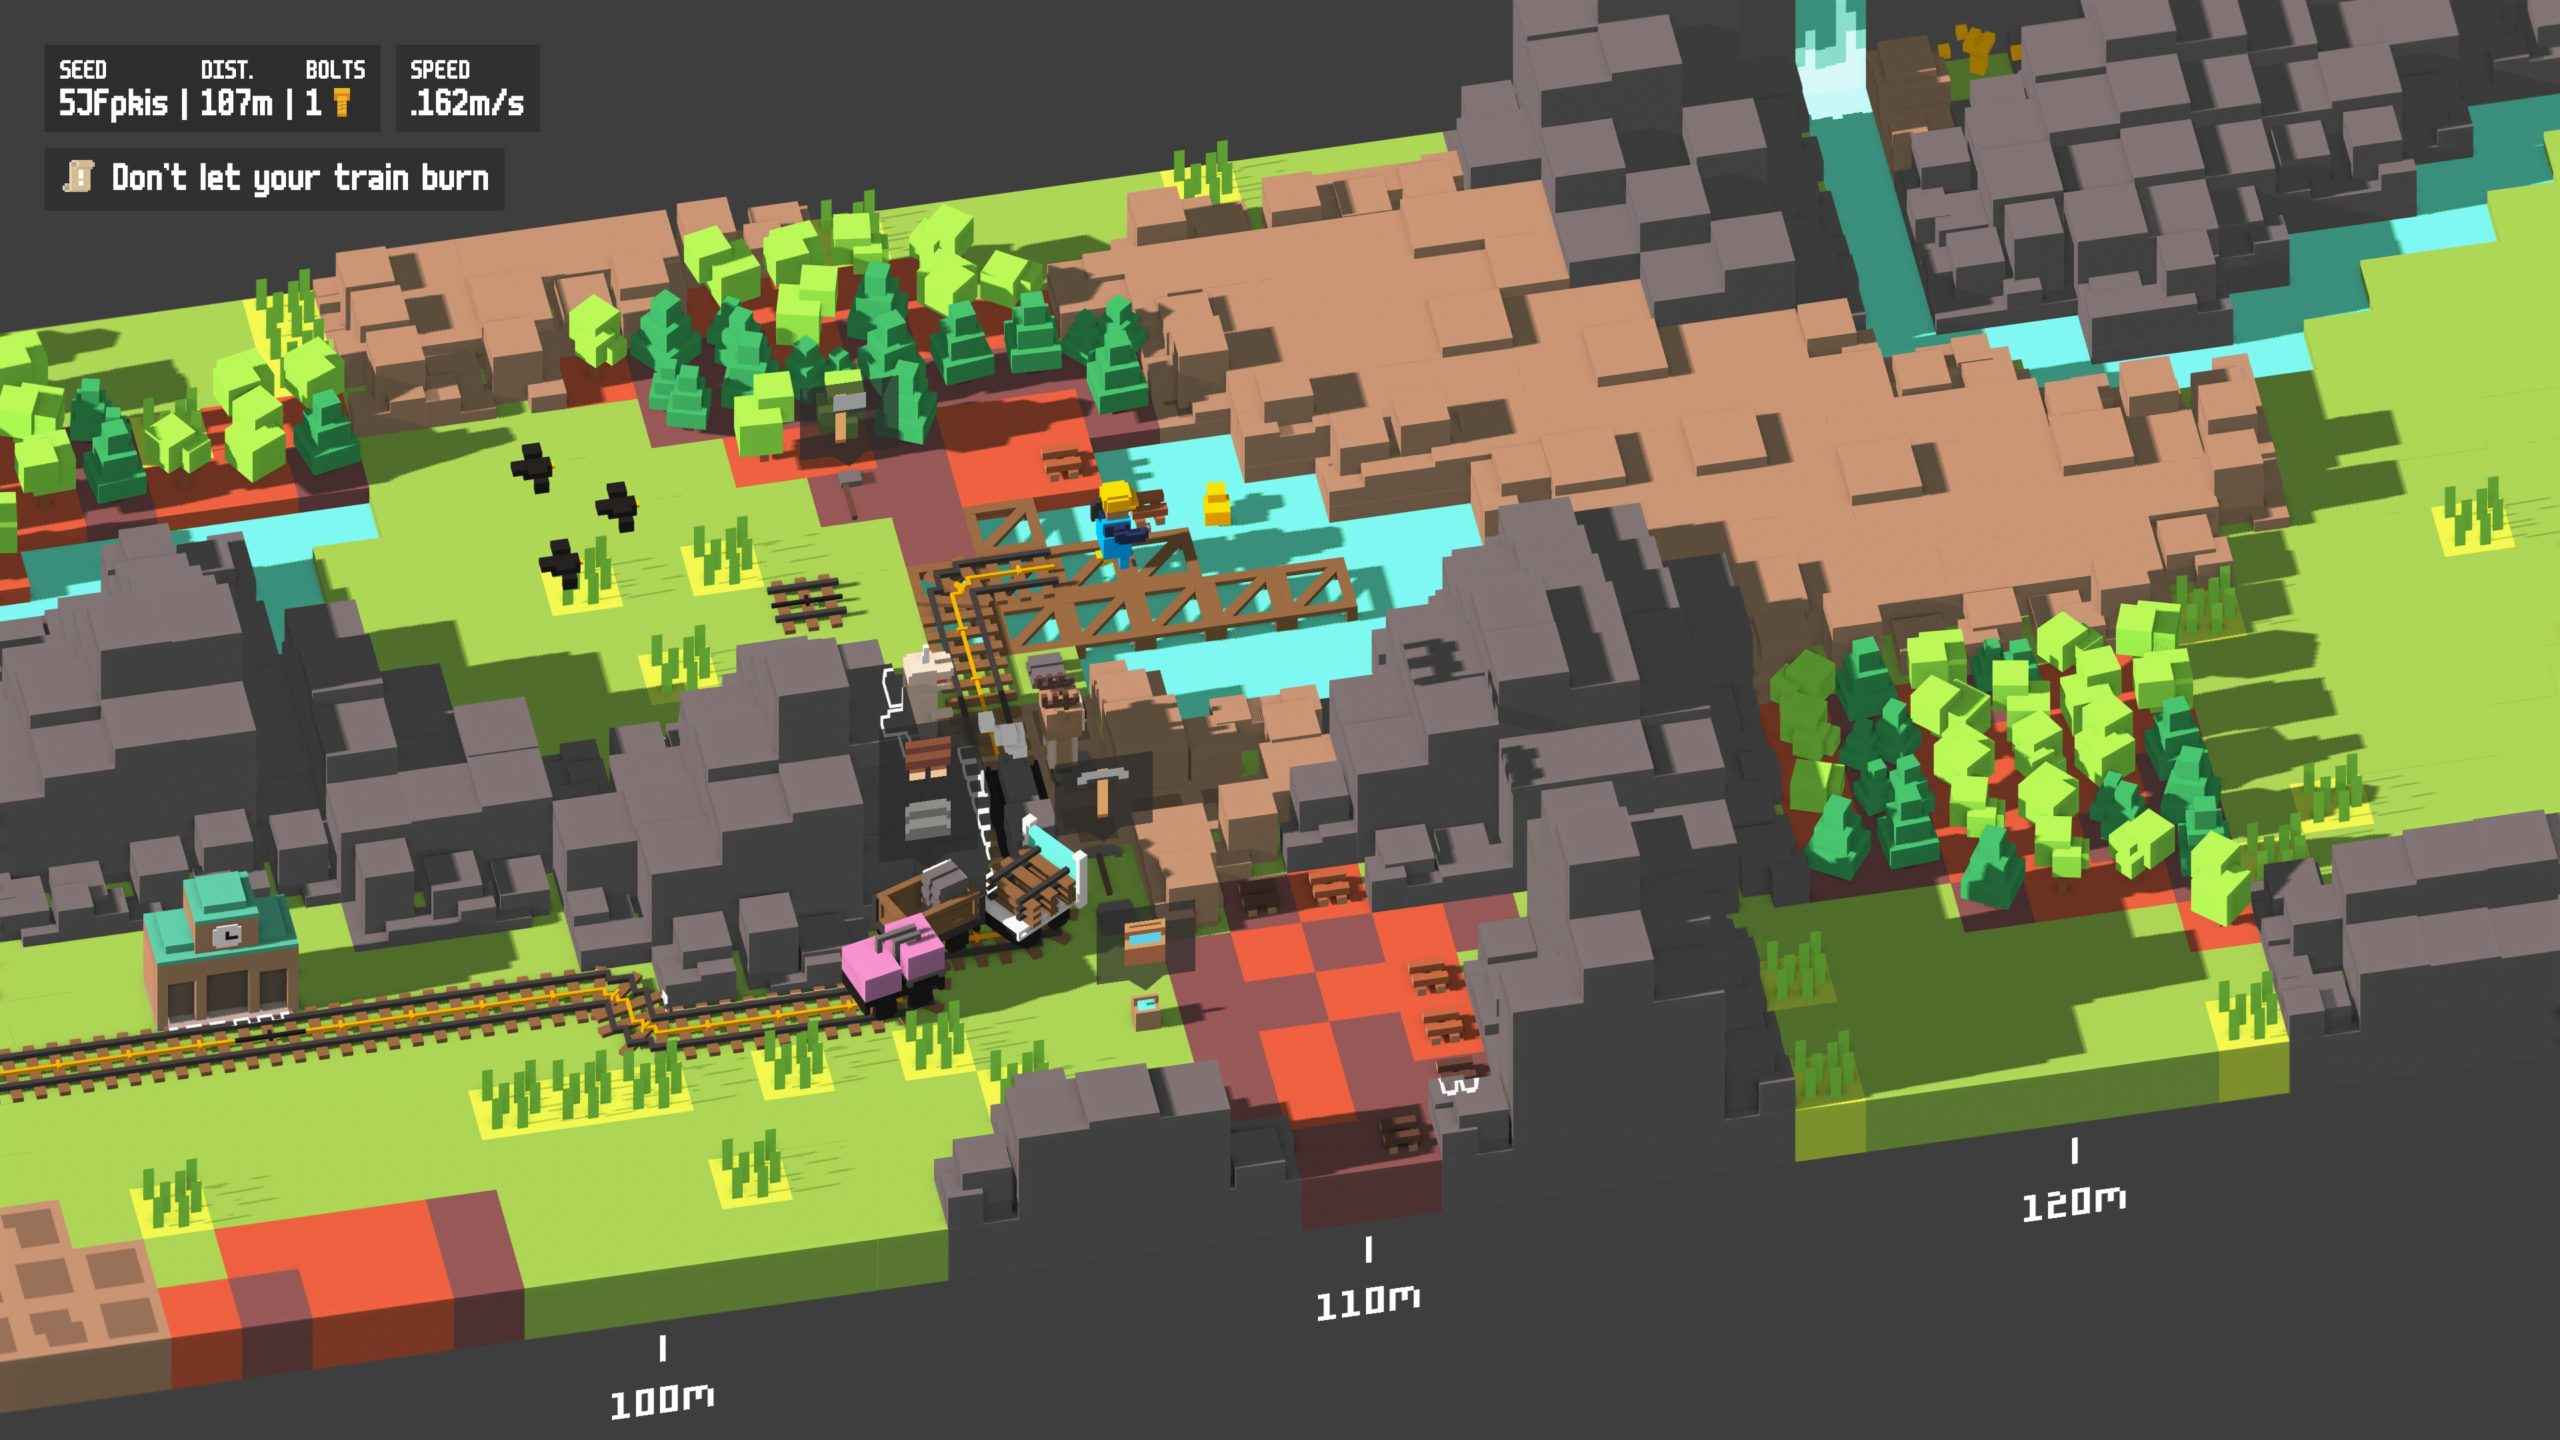
The first biome, the plains, is basic and has little challenges. The first difference is the rain, which can cool down the wagon and fill the bucket, making water less of a hassle and allowing bolts to be spent elsewhere rather than water early on. Your two obstacles will be bandits that steal materials and rivers which need to be bridged over by holding wood and placing it over water when you see the bridge silhouette. Nighttime causes the screen to become dark and it becomes difficult to see the path ahead as visibility is only around the players and train engine.
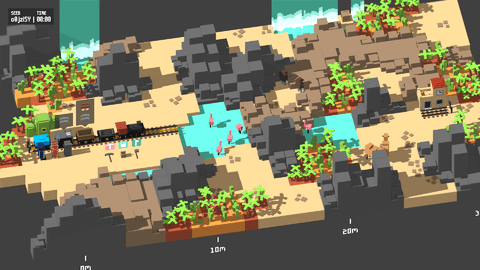
The second biome, the desert, is very similar to the first except it will no longer rain, so having water upgraded before entering is highly recommended. Bandits still exist as outlaws and rivers no longer appear, Invece, there will be fewer clearings, more hard rocks in the middle of the map, and more focus on clearing a path ahead.
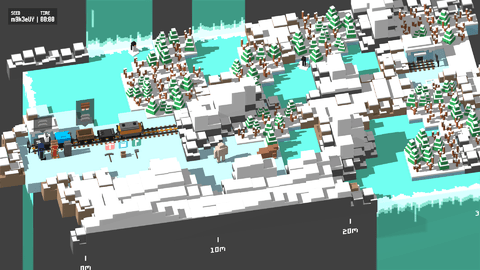
The third biome, the snow biome, no longer has bandits, but now has yetis which can stomp the ground and cause players to drop what they are holding. Combined with the snow makes losing items very annoying. The snow will slow done players and can stack high enough to cover up items and the track meaning players need to be wary of the layout of the level. Trees are easy to see but stone vs hard stone is difficult to distinguish so attention to detail is very important. Having the light wagon is crucial here as it can melt snow, which when boosted clears most of the screen.
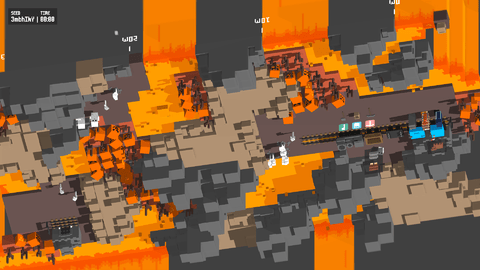
The fourth biome, Halloween/hell, brings relief from the snow but its own horrors. Nigh time no longer inhibits players and will no longer be a problem in the run. The first major difference is water has been replaced by lava meaning in order to refill the water bucket, it must be done so by steam geysers so pathing towards water is a high priority. Bridging must be done with stone, making the wood less useful and will be evident as it will always pile up, so switching from rationing wood to stone is a change that must be kept in mind. Yetis have been replaced my slimes which must be put out with a water bucket. They cannot be killed so they can be either picked up and placed away from lava to prevent reigniting, or blown up with dynamite. A useful strategy is to let them explode on the train to set it on fire, which kills the slime and quickly put out the flame. NOTE to easily get the achievement for putting out 10 slimes to find one and bring it with the train/players until you reach a geyser next to lava, then keep letting the slime reignite and extinguish it over and over again.
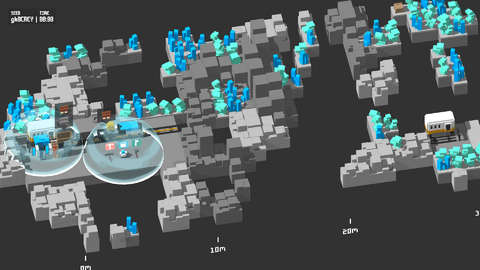
The fifth biome, spazio, offers some relief at first but can quickly overwhelm players. Water is no longer an issue, Invece, players have oxygen meters to worry about. The bucket and water tank are now both oxygen bubbles AND SHIELDS. Players can fly, but lots of bridging must be done by stone to build paths for the train. The main obstacle here is to manage and clear a path for tracks as loose resources can pile up and become a problem, and having to adapt to managing oxygen meters. Meteors will spawn which can DESTROY PATHS AND TRACKS, so using the bucket as a shield to stop the meteor is very important to keep an eye on in case it lands somewhere essential. There are no enemies to worry about.
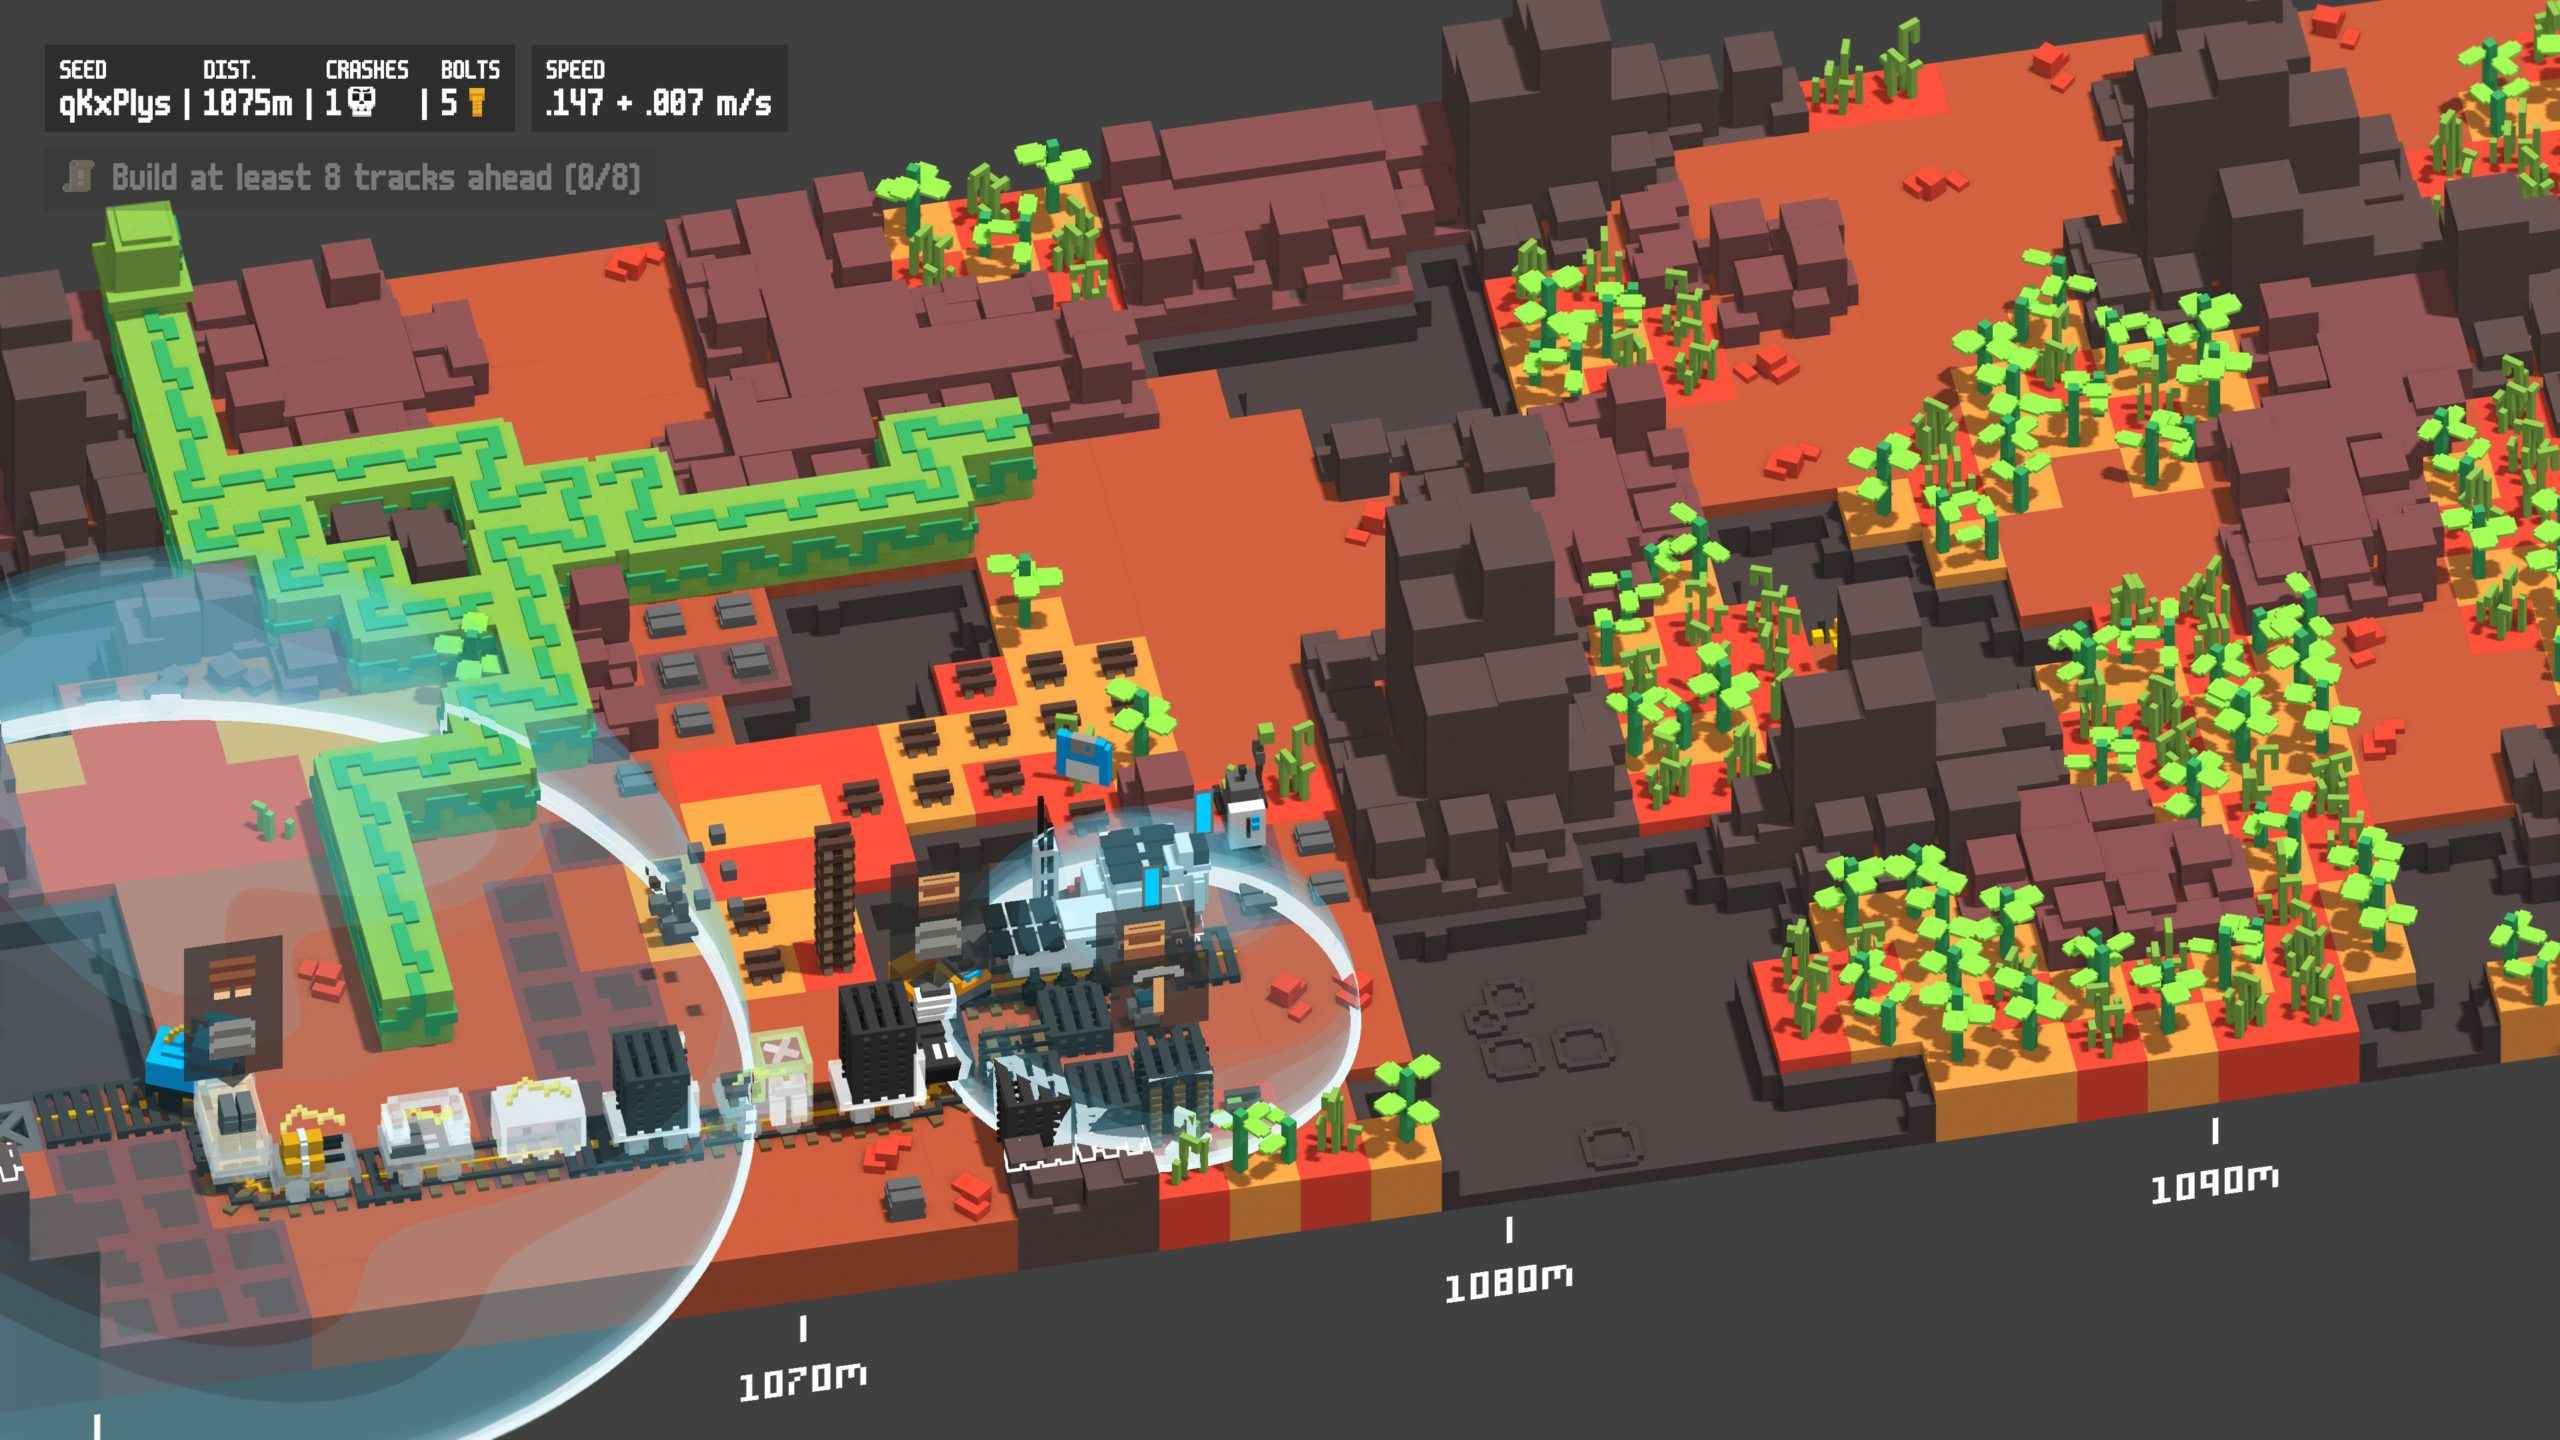
The final biome, mars, carries over the properties of the 5th biome expect the train is now on a normal surface so less bridging is needed, but much patching as the screen will be filled with resources and little open areas. In every region, there will be a path of green blocks from the top to the bottom of the screen that must be cut through to the other side to continue the train. This must be attacked by the axe/pickaxe to go through. On these vines, there will be 3 heads that shoot fireballs at players and kill them unless the player is inside an oxygen bubble either by the train or bucket. There is still no nighttime, bridging must be done by stone, and oxygen is still an issue. One benefit is due to the massive amount of resources, especially with dynamite, players will rarely have to struggle with materials.
Tips and What Not To Do
This is a brief section on bad habits players tend to have and why these habits are bad. Not every point here is necessarily bad, but your time can be better spent elsewhere on the train.
First which is number one is placing the last track early. You should give players enough time to build tracks to start the next level to stall the train in the beginning and clear the wood/stone around the station so its not claustrophobic start and make snaking the train easier.
Another bad habit is to grad a track early and holds it, waiting by the end to place it. This is useful when the train gets close, but some players have a tendency as soon as there is enough available track, usually while the train is still 15 fuori, to wait. Invece, help craft rails and bring them forward for the next round or clear a path for the beginning of the next round.
As stated earlier, dropping your tool to bring resources forward is a waste of time as instead, you should clear around the station. Ovviamente, if you have nothing else to cut/mine, making a resource pile should be your next move but only if there is nothing left for you to cut/mine.
Having the axe/pickaxe is not an easy job, just the tedious one. You need to constantly be pathing and clearing ways for other players on top of generating resources. Not paying attention to water access or access to other materials is a problem most have. Mining/chopping a single deposit is a problem and very bad, you should always mine/cut around the tracks and constantly move forward.
On a similar topic don’t drop your tool to pile everything into piles, leave everything scattered and keep generating new materials because once you stop generating, nobody else will.
Making large stacks can actually be a problem for visibility, so discuss how to set up large piles whether as a single large stack or several smaller ones before doing so.
When crafting tracks don’t start your pile in the middle of the level. All you will do is waste time trying to bring rails forward instead had you placed them or used them to snake the train, come 9/10 times they just get left behind. Even if bought forward the time wasted to do so would have been better off to extend the path until the station is in sight, then you can pile them at the end.
When laying tracks keep an eye on the easiest path and coordinate with the team. If the team is slow or the train picks up don’t build direct paths, learn how to stall the train so your team has more time to path ahead.
When laying tracks avoid being in the middle of the path or cutting across unless necessary, and coordinate when doing so. Being on the side of a path gives more space and pushes the train against a rock wall that people don’t need to access. Ovviamente, if there are resources on both sided of the train stay in the middle, but do not give more work when the path can be simplified (Ex the top of the map the train can be push directly to the top, nobody will have to go on the other side and try to hug unbreakable rocks as once again, the player will not have to be on that side of the train so plan ahead before blocking a side of the train off.
When laying tracks keep an eye on your corners.
Keep your train as straight as possible and in clearings so players don’t have to spend more time clearing wider paths for the train and can give room for snaking, meaning more time for players to the path.
When restocking pay attention to overall resources. Assistente’t waste wood on the light bulb or stone in the charger if it means you will run out of tracks. Resource management is very important and wasting mats on wagons instead of carts can quickly kill a run.
Very important to pay attention to the objective. Early stages its important to make every bolt count to max out upgrades while the train is slow and stockpile for quick future upgrades so missing an easy objective such as not killing animals or only one player uses a tool is a simple mistake that can be easily avoided.
Try to learn every job in case a player dies or becomes trapped behind the train, you won’t feel pressured trying to not mess up placing tracks or not paying attention to clearing path(S) ahead when players become unstuck.
If you find yourself stuck open your menu and select respawn. It will spawn you at the FRONT of the train with whatever you are holding, useful for either becoming unstuck or as an emergency to bring rails forward. You will have to deal with the delay of floating down, but it can save the run if used early enough.
You can stall in biomes for bolts of for looking for a specific wagon to buy. Note in order to upgrade you must at least reach the next station AFTER buying the wagon, but all upgrades can be bought at once.
Before buying the engine compare the speed before and after. If the speed picks up consider staying one or two more rounds to adjust to the speed, especially if there is poor prep work done. If bolts and wagons are no problem feel free to upgrade early.
