In our ever-connected digital world, few things are as frustrating as encountering VPN connection issues on your Windows 11 장치. Whether you rely on a VPN for privacy, 보안, or accessing restricted content, a hiccup in your connection can throw a wrench in your online activities.
그러나 두려워 말라! 이 안내서에서, we will unravel the mysteries of VPN troubleshooting and equip you with proven methods to resolve any connection issues.
From checking your internet connection to exploring network adapter reinstallations, 우리는 당신을 덮었습니다. 그래서, put on your tech detective hat, join us on this troubleshooting journey, and let’s conquer those Windows 11 VPN woes together!
Check Internet Connection Before Troubleshooting VPN Connection Issues
Before delving into troubleshooting VPN connection issues on Windows 11, it is essential to ensure that your internet connection is stable and functioning properly. A weak or intermittent internet connection can often be the root cause of VPN connection problems.
To check your internet connection:
-
Ensure that your modem or router is powered on and connected correctly.
-
Restart your modem/router to refresh the connection.
-
Connect to a different network (public or private) to determine if the issue persists.
-
Perform a speed test to ascertain the quality and speed of your internet connection.
There are numerous online tools available, such as Ookla’s Speedtest, which can provide accurate measurements.
If your internet connection is stable and functioning properly, proceed to the next troubleshooting steps to fix VPN connection issues on Windows 11.
Disable And Enable VPN Connection Through Windows 11 설정
The simplest solution for resolving VPN connection issues on Windows 11 is to disable and enable the VPN connection through the operating system’s settings. This method often helps in resolving minor connectivity problems.
이것을하기 위해:
-
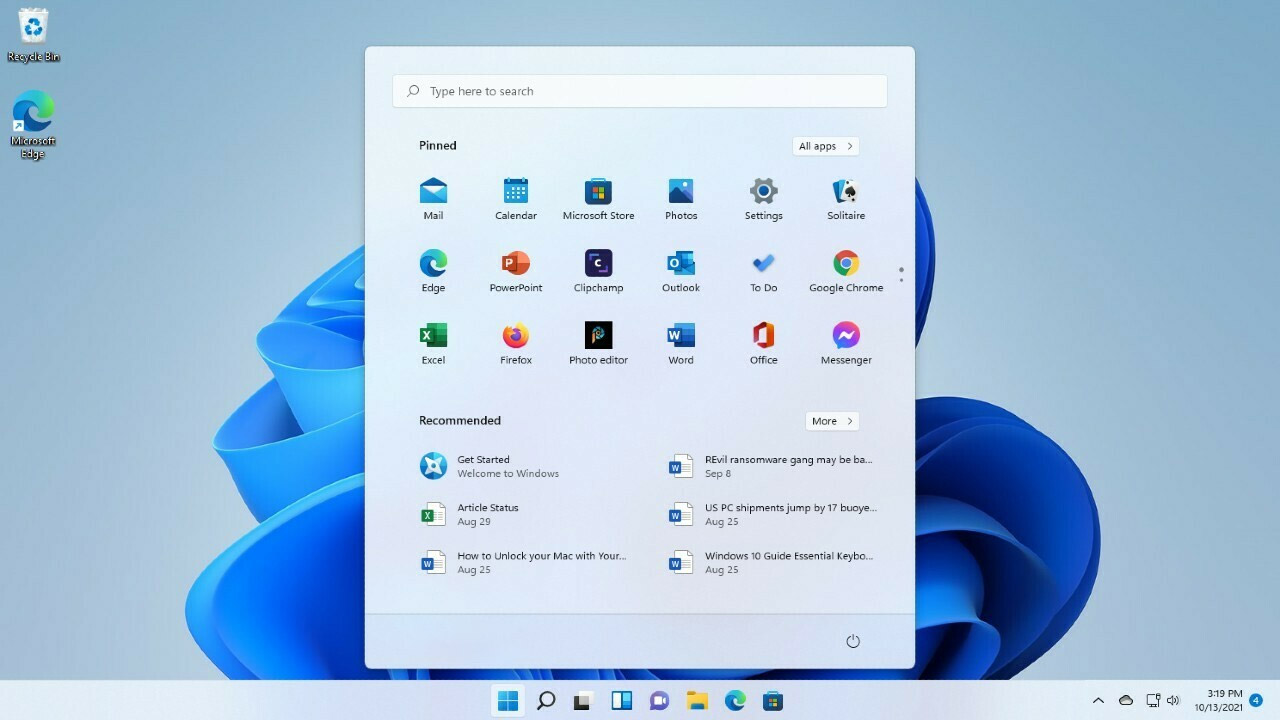
Click on the Start button and select the “설정” 옵션.
-
설정 창에서, 를 클릭 “회로망 & Internet” 옵션.
-
로 이동 “VPN” section on the left-hand side of the window.
-
Select your VPN connection from the list of available connections.
-
Toggle the switch button to disable the VPN connection.
-
Wait for a few seconds and toggle the switch button again to enable the VPN connection.
After re-enabling the VPN connection, check if the connection issues have been resolved. 그렇지 않다면, try the next troubleshooting step.
Reinstall Network Adapters Using Device Manager If They Are Corrupted
때때로, corrupt or outdated network adapter drivers can cause VPN connection issues on Windows 11. Reinstalling the network adapters through the Device Manager can help rectify these problems.
다음과 같이하세요:
-
Right-click on the Start button and select “기기 관리자” from the context menu.
-
In the Device Manager window, expand the “Network Adapters” 범주.
-
Right-click on your network adapter and select “Uninstall device.”
4.
Ensure that the “Delete the driver software for this device” option is selected and click “Uninstall.”
5. Restart your computer to allow Windows 11 to reinstall the network adapter drivers automatically.
메모: It is recommended to have a backup network connection (such as an Ethernet connection) before proceeding with this troubleshooting step to avoid complete disconnection from the internet.
After reinstalling the network adapter drivers, check if the VPN connection issues have been resolved. If the problem persists, you may need to explore further troubleshooting steps or seek professional assistance.
기억하다, resolving VPN connection issues on Windows 11 may require a combination of troubleshooting methods. It is essential to follow the recommended steps sequentially and thoroughly before moving on to more advanced solutions.


