Bloody Rally Show features a range of achievements that may not explicitly state their requirements. While some achievements mention completing them in the Campaign, there are others that follow this rule without mentioning it. This guide will provide explanations for such cases.
When aiming for 100% completion in the game, there are two main challenges to consider: one involving RNG (random number generation) for achievement, and the other related to the game’s inaccurate distance calculation, which makes the grind approximately twice as long.
Campaign Part 1
The majority of achievements can only be unlocked through the Campaign, although some may not be immediately apparent.”
If you have any more text that requires grammar correction, feel free to provide it!

Full Season
Complete a Campaign
Completing a campaign, se bem me lembro, refers to achieving a top-three position at the end of a season.

Veterano
Completo 5 Campaigns

Things Went South
Fail a Campaign
You fail a campaign if you finish below 3rd place at the end of a season or if you are killed as a pedestrian and cannot afford to be resurrected by medics.

Liberdade
Repay your debt to SOFACT
Repaying the debt requires more than one season to accumulate enough funds for buying yourself out, and the cost increases with higher difficulty levels. This aspect is straightforward to understand.

Pure Gold
Finish Campaign Season in 1st place

Mal passado
Finish Campaign Season in Top 3 with Normal Difficulty

I Like It Rough
Finish Campaign Season in Top 3 with Hard Difficulty

Hardcore
Finish Campaign Season in Top 3 in Hardcore Mode
You can try a run with all campaign options enabled if you’d like, but I recommend disabling weapons, the director, and other similar features. Beating each required difficulty level will allow you to fully experience the game. If it proves to be too challenging, you can start by disabling AI balancing options and reducing their skill level to 0%.
This will significantly ease the difficulty and provide a more accessible way to progress, although even with these adjustments, consistently finishing first might still be difficult until you obtain the highest-tiered car.
It’s worth noting that the AI opponents struggle with corners but have a distinct advantage with weapons and balancing options, as they can quickly recover speed after resets and crashes. This can lead to a situation where a player’s first-place position instantly turns into last place.
In Hardcore Mode, it’s important to remember that you start without a car.
My recommendation is to prioritize taking good pictures during races to earn enough money for purchasing a car by the 5th event. Being a pedestrian when opponents have access to weapons is not ideal.

There Is No “EU” Dentro “Equipe”
Win a Co-Op race in Campaign
I believe the description for this achievement is incorrect. If I recall correctly, you need to complete a Co-Op campaign, and at least one of the players must finish in the top 3 at the end of the season. I personally achieved this by playing with two split-screen controllers, which effectively doubled the time required.
Since this was one of the first achievements I obtained, I can’t test it currently. No entanto, it might be possible to enter as a pedestrian, get Player 2 eliminated, and ensure they can no longer compete. Então, as Player 1, aim to finish in the top 3. I’m not entirely sure, no entanto. There might be additional mechanics, such as having to pay for each other’s participation. This is just my theory after completing 100% do jogo, aimed at making the process more efficient. Idealmente, it would be better to complete this achievement together with another player.

Twisted Metal
Wreck a car in Campaign

Smoking Miracle
Win a Campaign race with a nearly wrecked car

Grease Monkey
Repair a nearly wrecked car in a Campaign race
Para esta conquista, I recommend selecting an easy level campaign and enabling weapons for every race. You won’t have any issues getting your car wrecked during the races. Keep an eye on your health bar, located at the very top right of the screen. I obtained this achievement naturally, so my suggestion is to be at a low health level when you receive a weapon, and hope that it’s a wrench. Keep your health low throughout the race, and aim to finish first for the other achievement. I don’t know the exact percentage required, but it shouldn’t be too difficult to accomplish.

A pé
Participate in Campaign as a Pedestrian
Automatically unlocks in Hardcore Mode otherwise you “flip the map card” and select to compete as a pedestrian.

Fotógrafo
Take a high quality close up photo of a car in Pedestrian mode
Get close and take a picture, really easy.

Wonders of Medicine
Get resurrected by medics after dying in Pedestrian mode
To easily achieve this, allow yourself to be killed as a pedestrian once you have made some progress in a campaign. The cost for resurrection is not very expensive, typically ranging between 15,000 para 25,000, depending on the difficulty level. Portanto, it is advisable not to die at the beginning of the campaign to avoid unnecessary expenses.
One of the most notorious achievements is the RNG (random number generation) conquista, specifically the GTA Event.

Grand Theft Auto
Get your car stolen
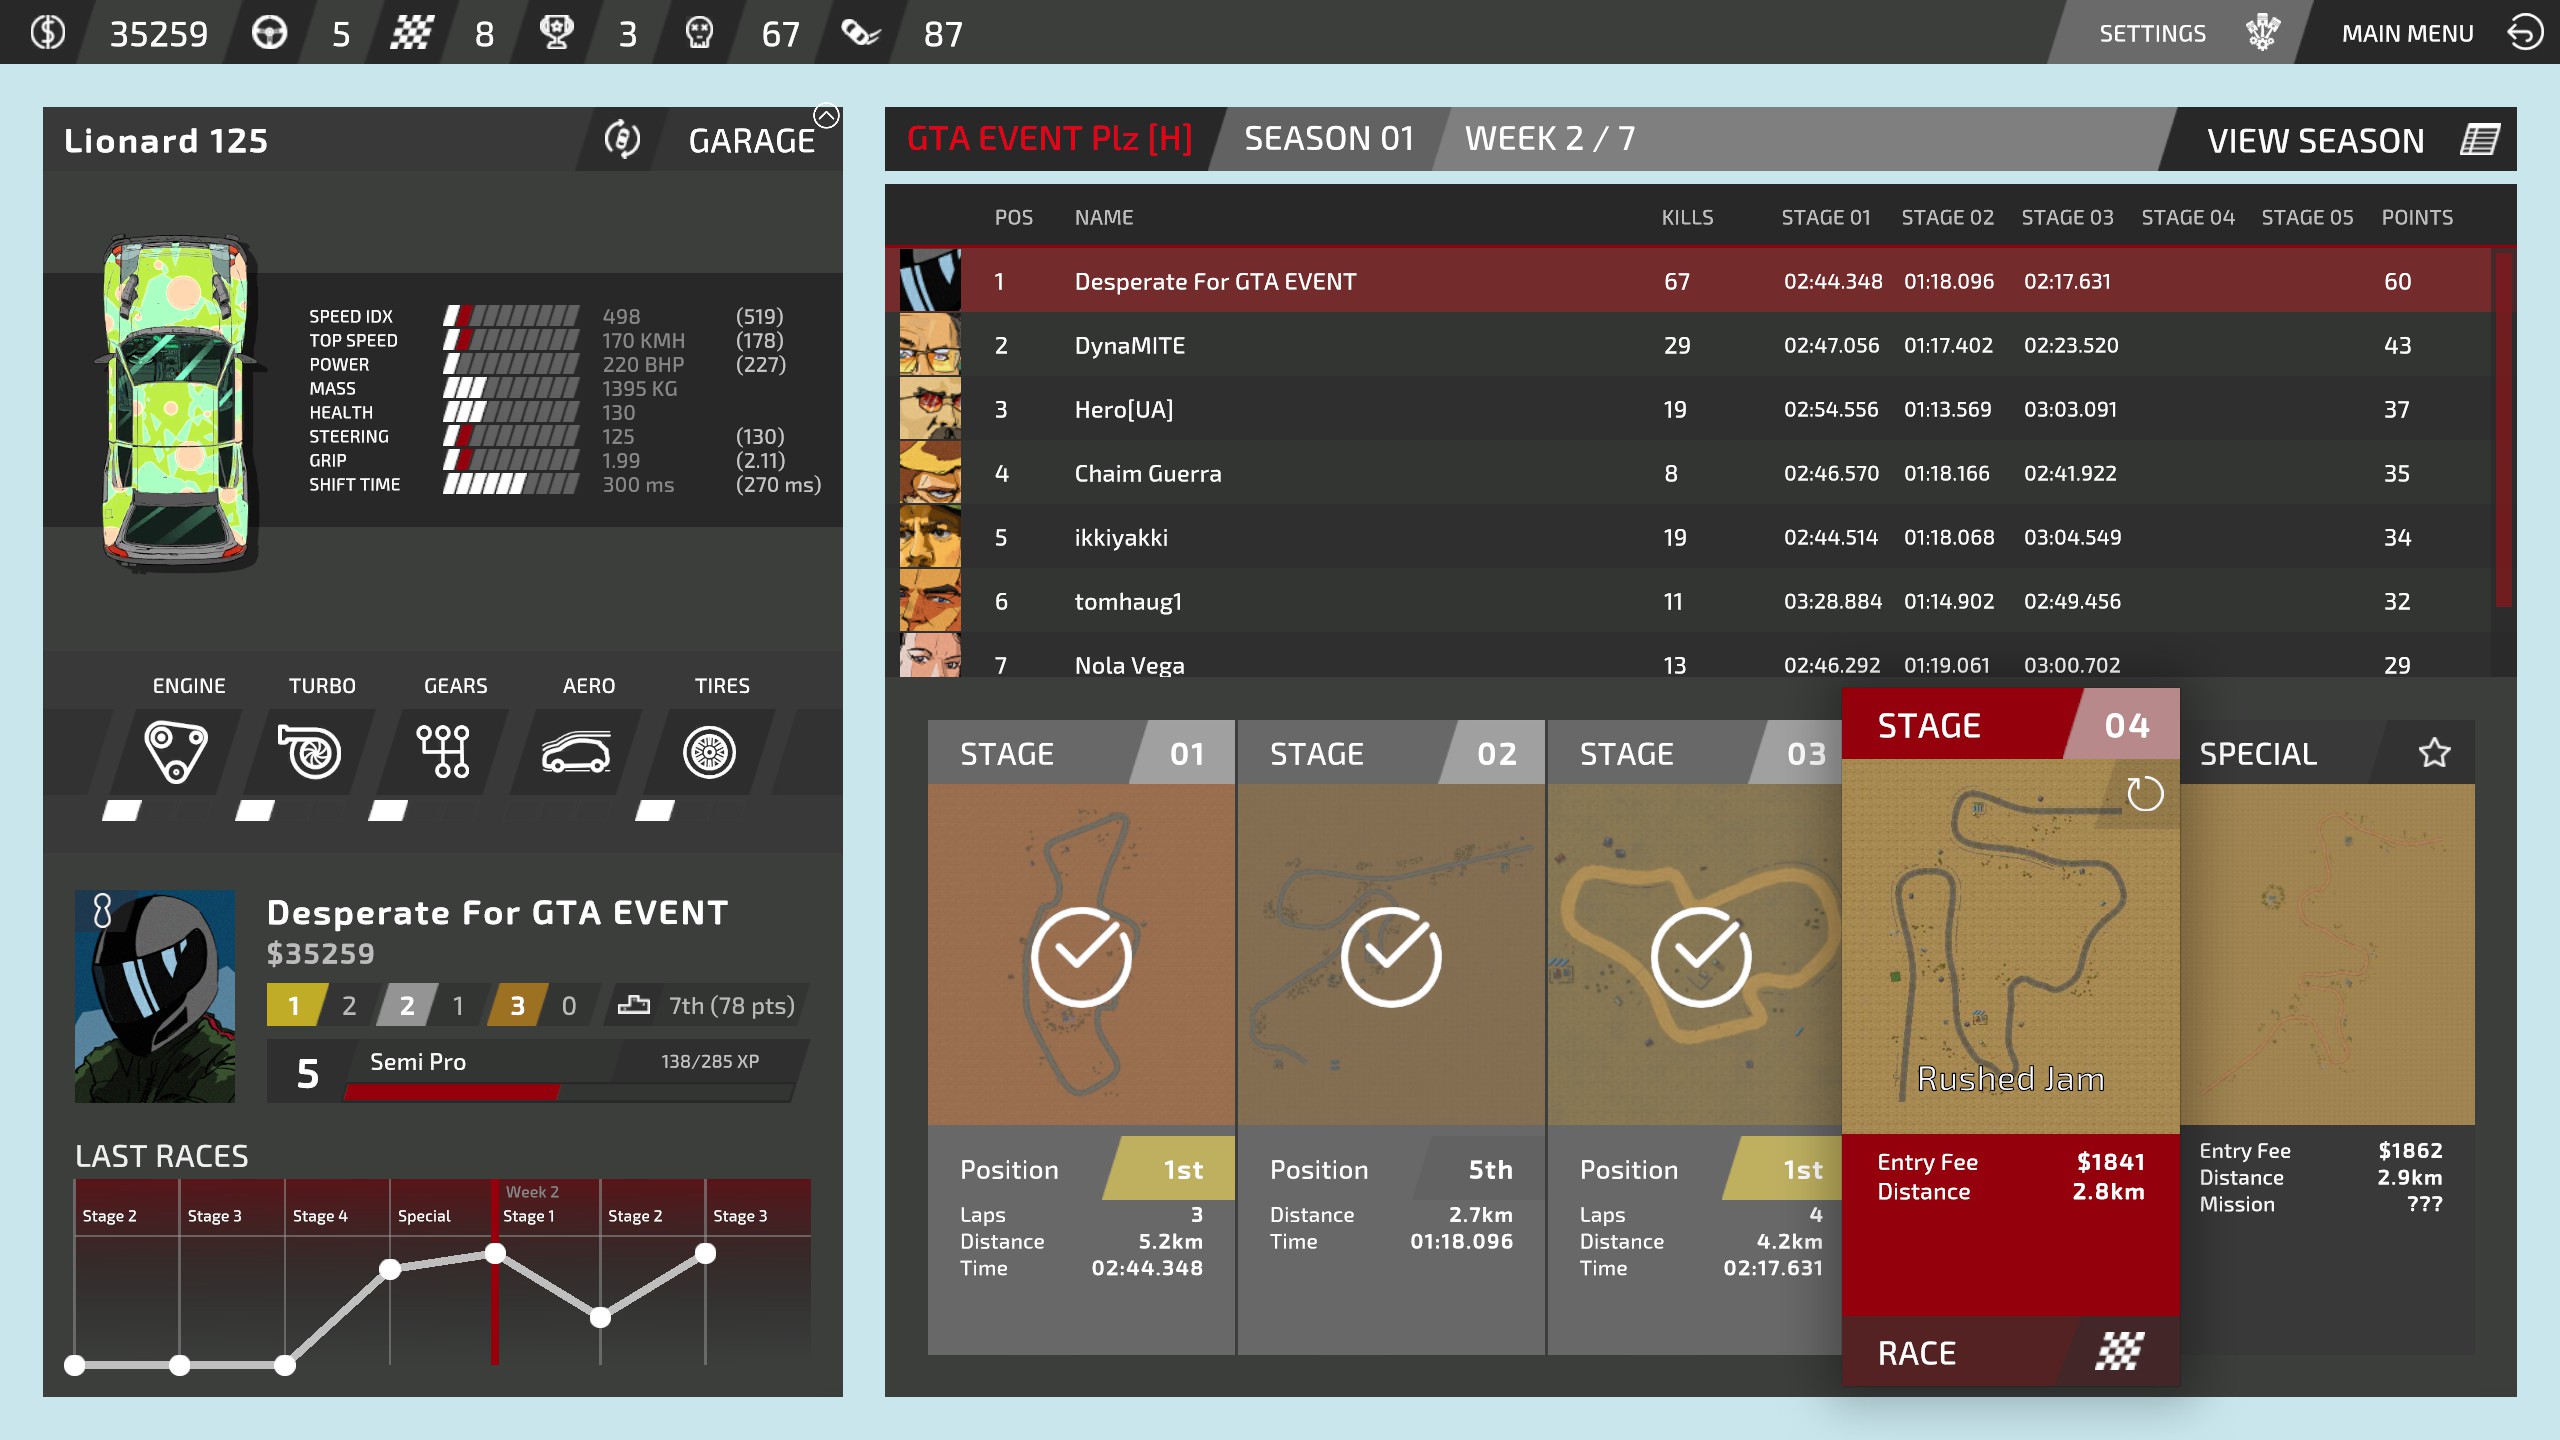
Como mostrado, I became quite desperate to obtain this achievement but finally managed to get it on Season 26, Semana 5, Dia 2, on Hard difficulty. Despite attempting several campaigns on Hardcore simultaneously, I had no success in achieving it. The developer informed me that it might not be possible to encounter the event on “fácil” dificuldade. I also recall an old thread mentioning that the odds of encountering the event are higher at higher difficulty levels.
Sem considerar, since it is a random event, you must play with “missions turned on” when starting the campaign. Based on information from other trackers, I have seen two accounts with 8 e 16 hours of gameplay respectively that have obtained the achievement. This indicates that you probably won’t need to spend as much time as I did to unlock it.
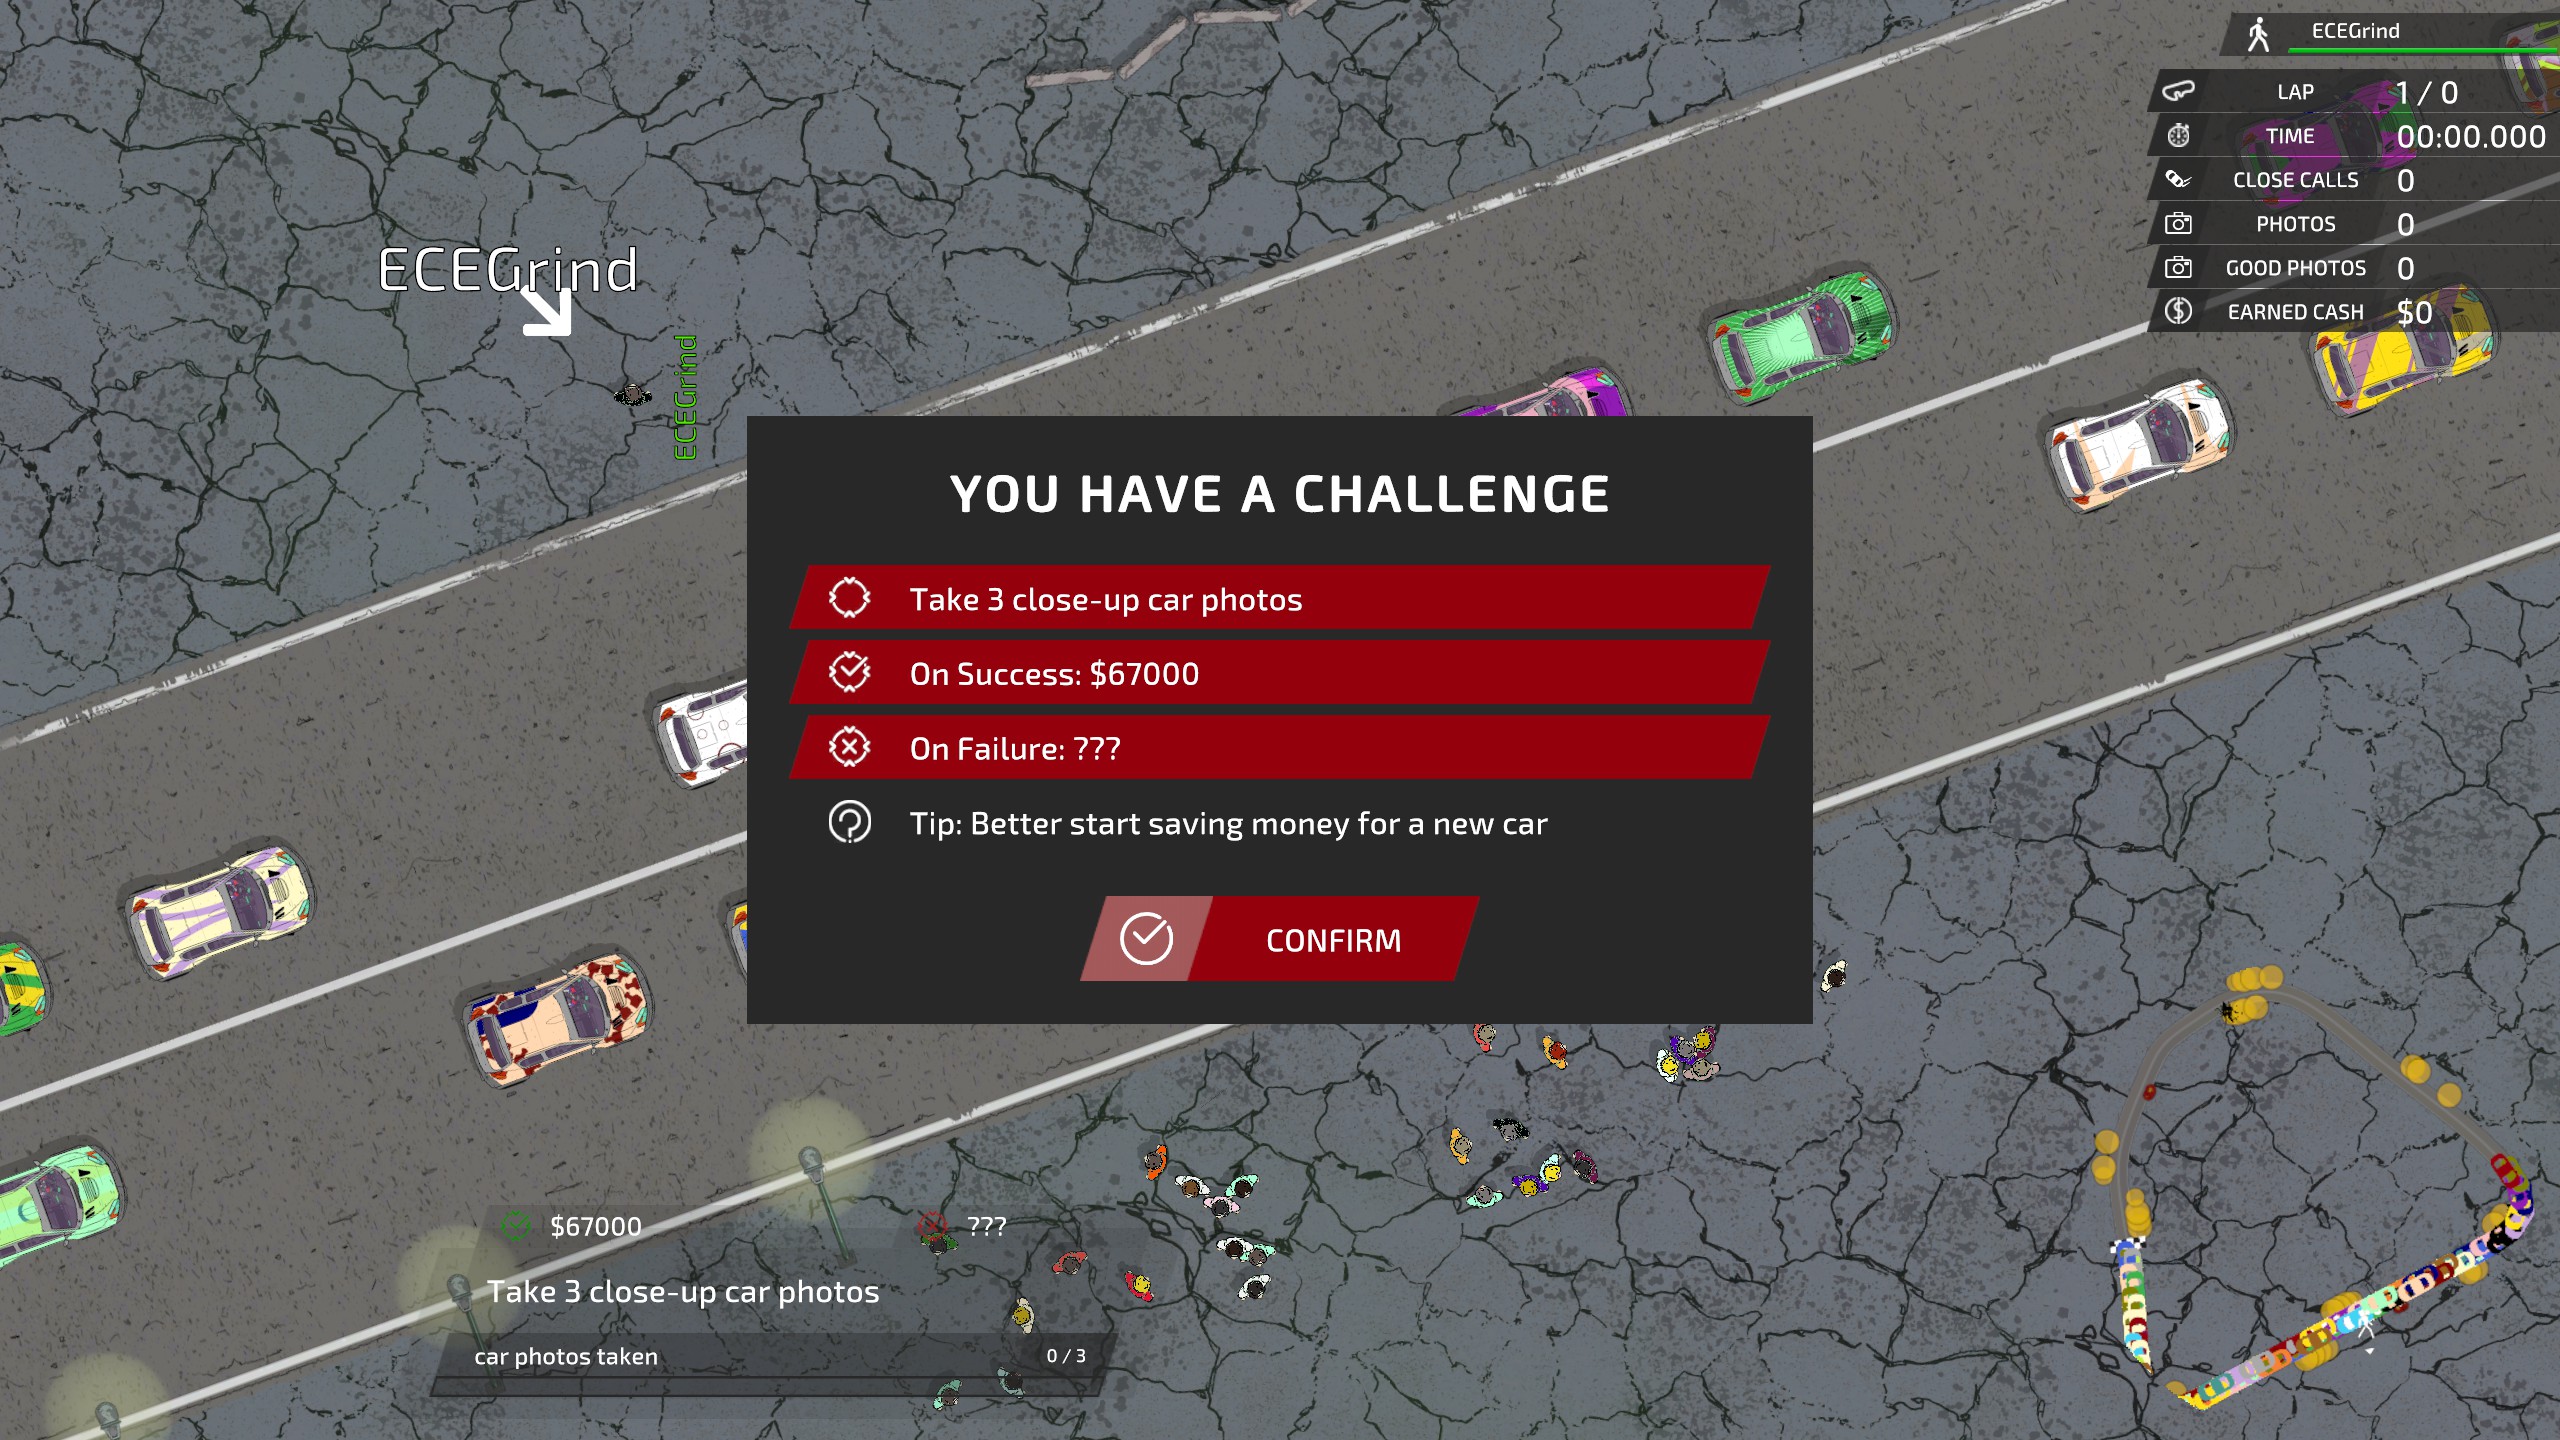
This is what the mission looks like, and the tip provided is a dead giveaway of what’s about to happen. The achievement popped a few moments after starting the map, confirming its completion.
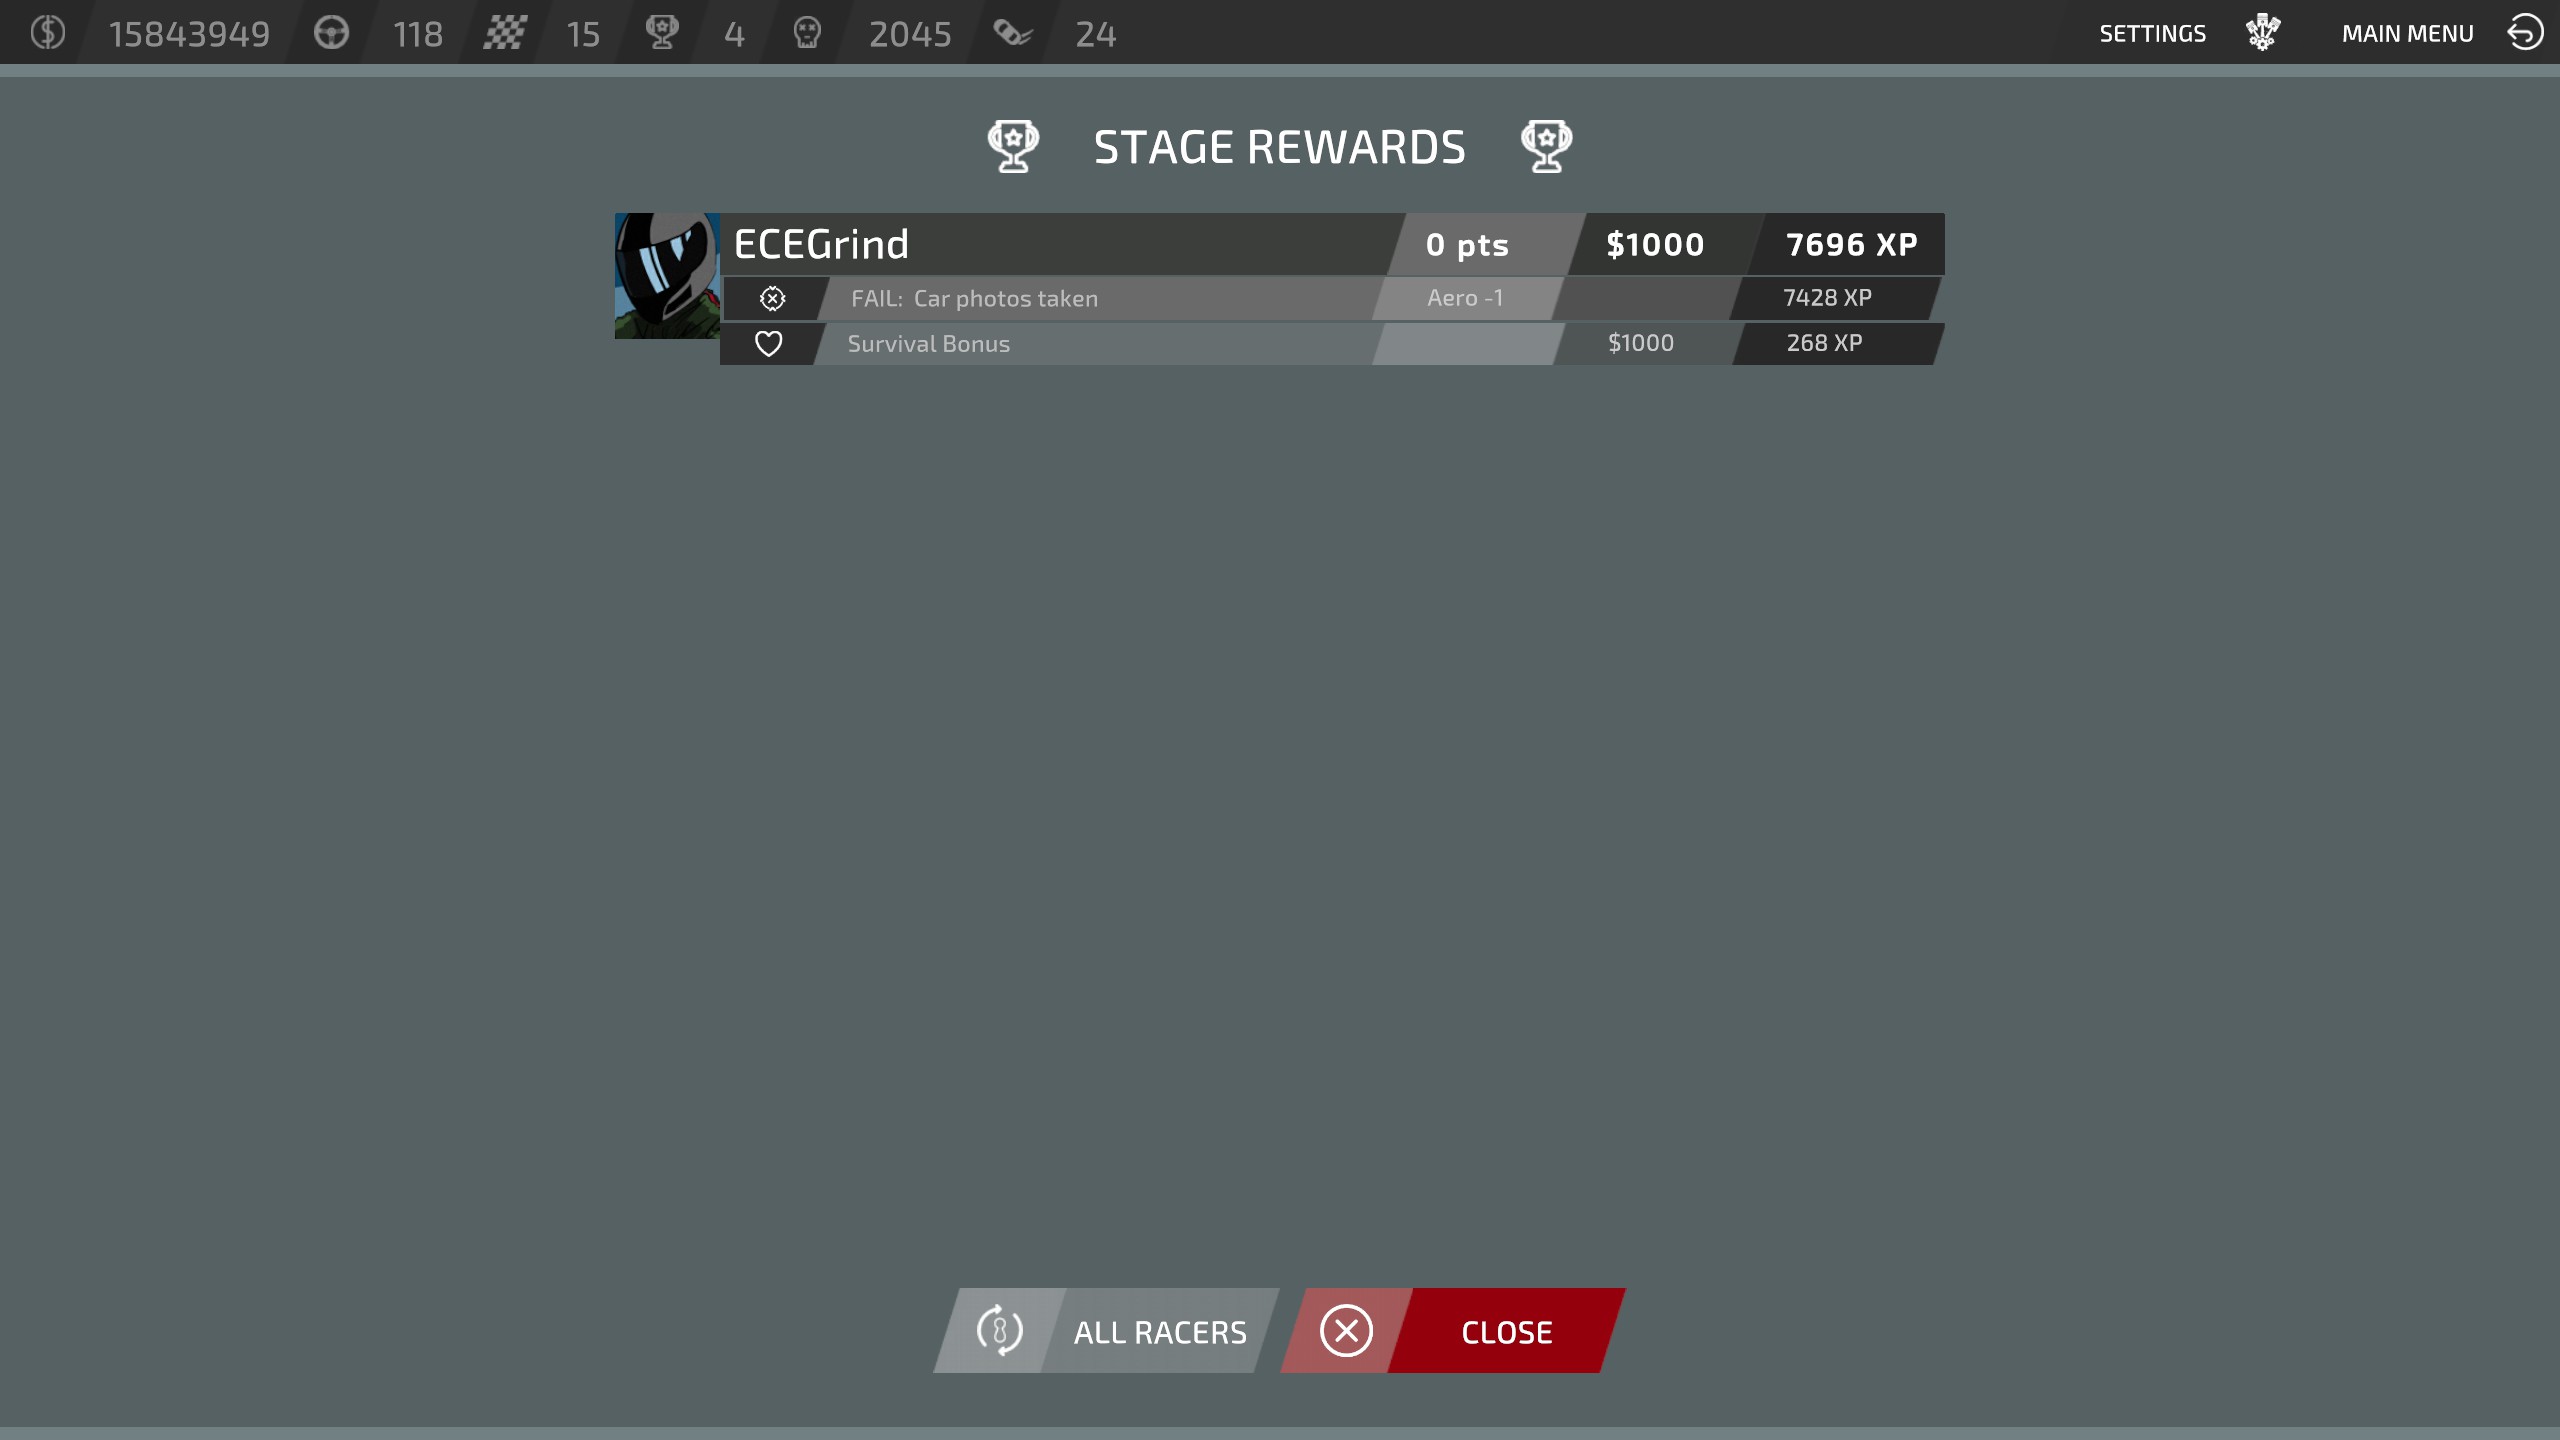
The loss reward isn’t having your car stolen, but in my case, it was a car upgrade. So whether you win or lose, the car will still be stolen.
Campaign Part 2

Transcended Racer
Gain 100K XP

Milionário
Ganhar 1 million in cash in a single Campaign
For the ultimate grind campaign to achieve the Transcended Racer achievement, complete the GTA Event, and eventually reach the 10,000 KM milestone, I suggest creating a hard campaign without AI balancing and allowing modded cars. Disable all weapons but keep missions enabled, as they provide good XP and nitro. Set the AI skill to zero and continue adjusting it for each pair of additional AI cars in each new season. It’s preferable to obtain my car by completing the distance-related achievements toward the end of this section. Adicionalmente, try to eliminate pedestrians conveniently for significant cash rewards and potentially better XP gains.

Acertar & Corre
Hit someone with your car

Dexter Morgan
Acertar 100 people with your car

Mega Maniac
Acertar 1000 people with your car

How Do You Even?
Hit 10k people with your car

Senhor. Mercedes
25x combo!
Unlike the grind for pedestrians, this achievement is actually quite challenging, and I haven’t accomplished it many times.
To successfully achieve this, you’ll want to navigate through a large crowd of pedestrians using a fast car, with another car following closely behind or on the opposite side of the road, executing a slide. The time window for executing this maneuver is short, and typically, there are more pedestrians on the 5th map with the quest for each week.
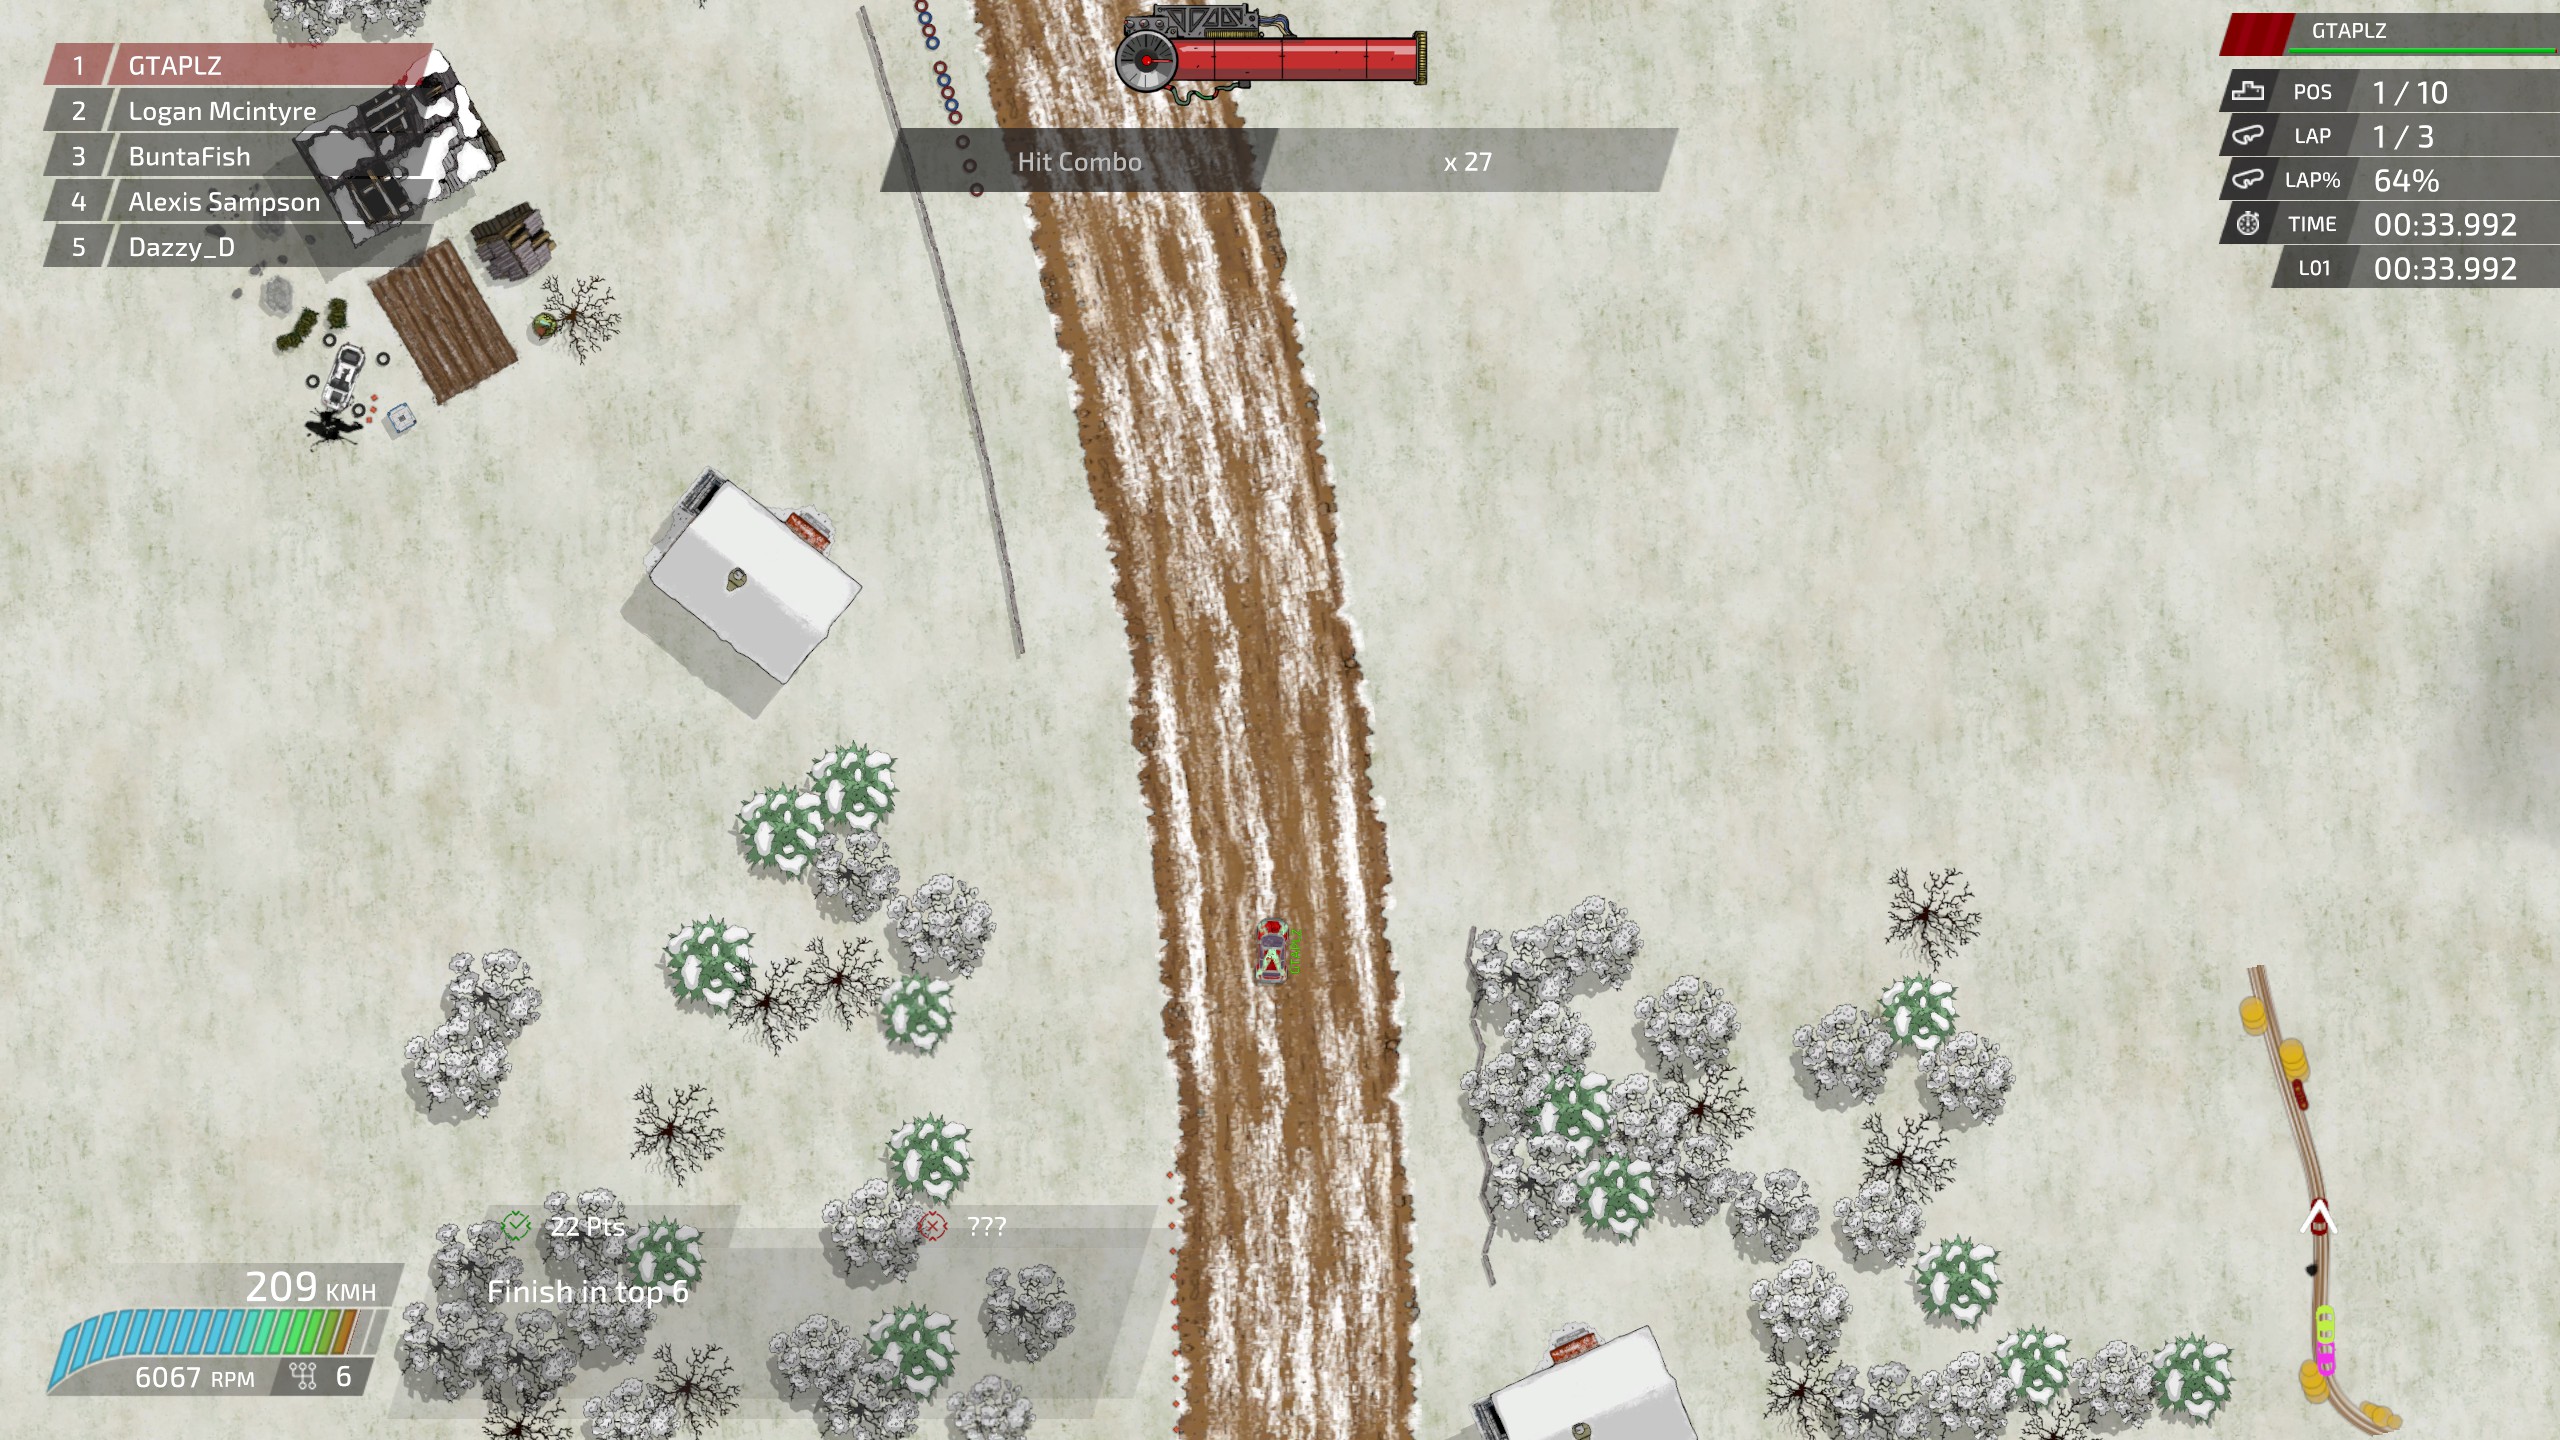
You can certainly make it much easier by enabling custom maps in the campaign and selecting a densely populated map. I actually created one myself after obtaining the achievement, where you can even achieve 100+ combos. No entanto, I strongly recommend trying to accomplish the achievement without using this method.

Drifter
Drift for 10 seconds in a Campaign race

Drift Master
Drift for 30 seconds in a Campaign race

Absolut Drift
Drift for 1 minute in a Campaign race
Drifting for ten seconds can be quite challenging, but I haven’t even come close to achieving it for 30 seconds or one minute. It’s important to note that the drifting must be done in one continuous drift without wiggling from side to side or going off-road.
Certain maps with broader roads can make it easier, as you can perform a continuous donut by sliding around in a circle. Pessoalmente, I managed to achieve a drift of 90 seconds without any issues. To make it easier, you can let the AI finish first or take actions to minimize their interference if they bother you during the attempt.

Grasshopper
Pular 50 metros

Evil Knievel
Pular 100 metros

Rocket Man
Pular 150 metros
Once you have the fastest car or, even easier, if you use my car, you will fly much further than the required distance, sometimes without even trying. alternativamente, you can use nitro to propel yourself into a conveniently placed ramp if needed.

1 KM
Dirigir 1 KM

5 KM
Dirigir 5 KM

10 KM
Dirigir 10 KM

Half Marathon
Dirigir 21 KM

Marathon
Dirigir 42 KM

100 KM
Dirigir 100 KM

1000 KM
Dirigir 1000 KM

10000 KM
Dirigir 10000 KM
After obtaining the campaign-related achievements in your “grind campaign,” start at the first week of a new season and focus on grinding distance. You can do this by driving your car outside the map and leaving it on autopilot. Assign a key for forward movement and another for shifting, then AFK for a few hours. I typically AFK for up to 6 ou 7 horas, but sometimes shorter as my game crashed after about 8 horas. To optimize the experience, I recommend turning off camera shake in the gameplay settings and reducing particles to 1% in the video settings. (Observação: My crash occurred before implementing these settings, so it might be possible to AFK for longer periods).
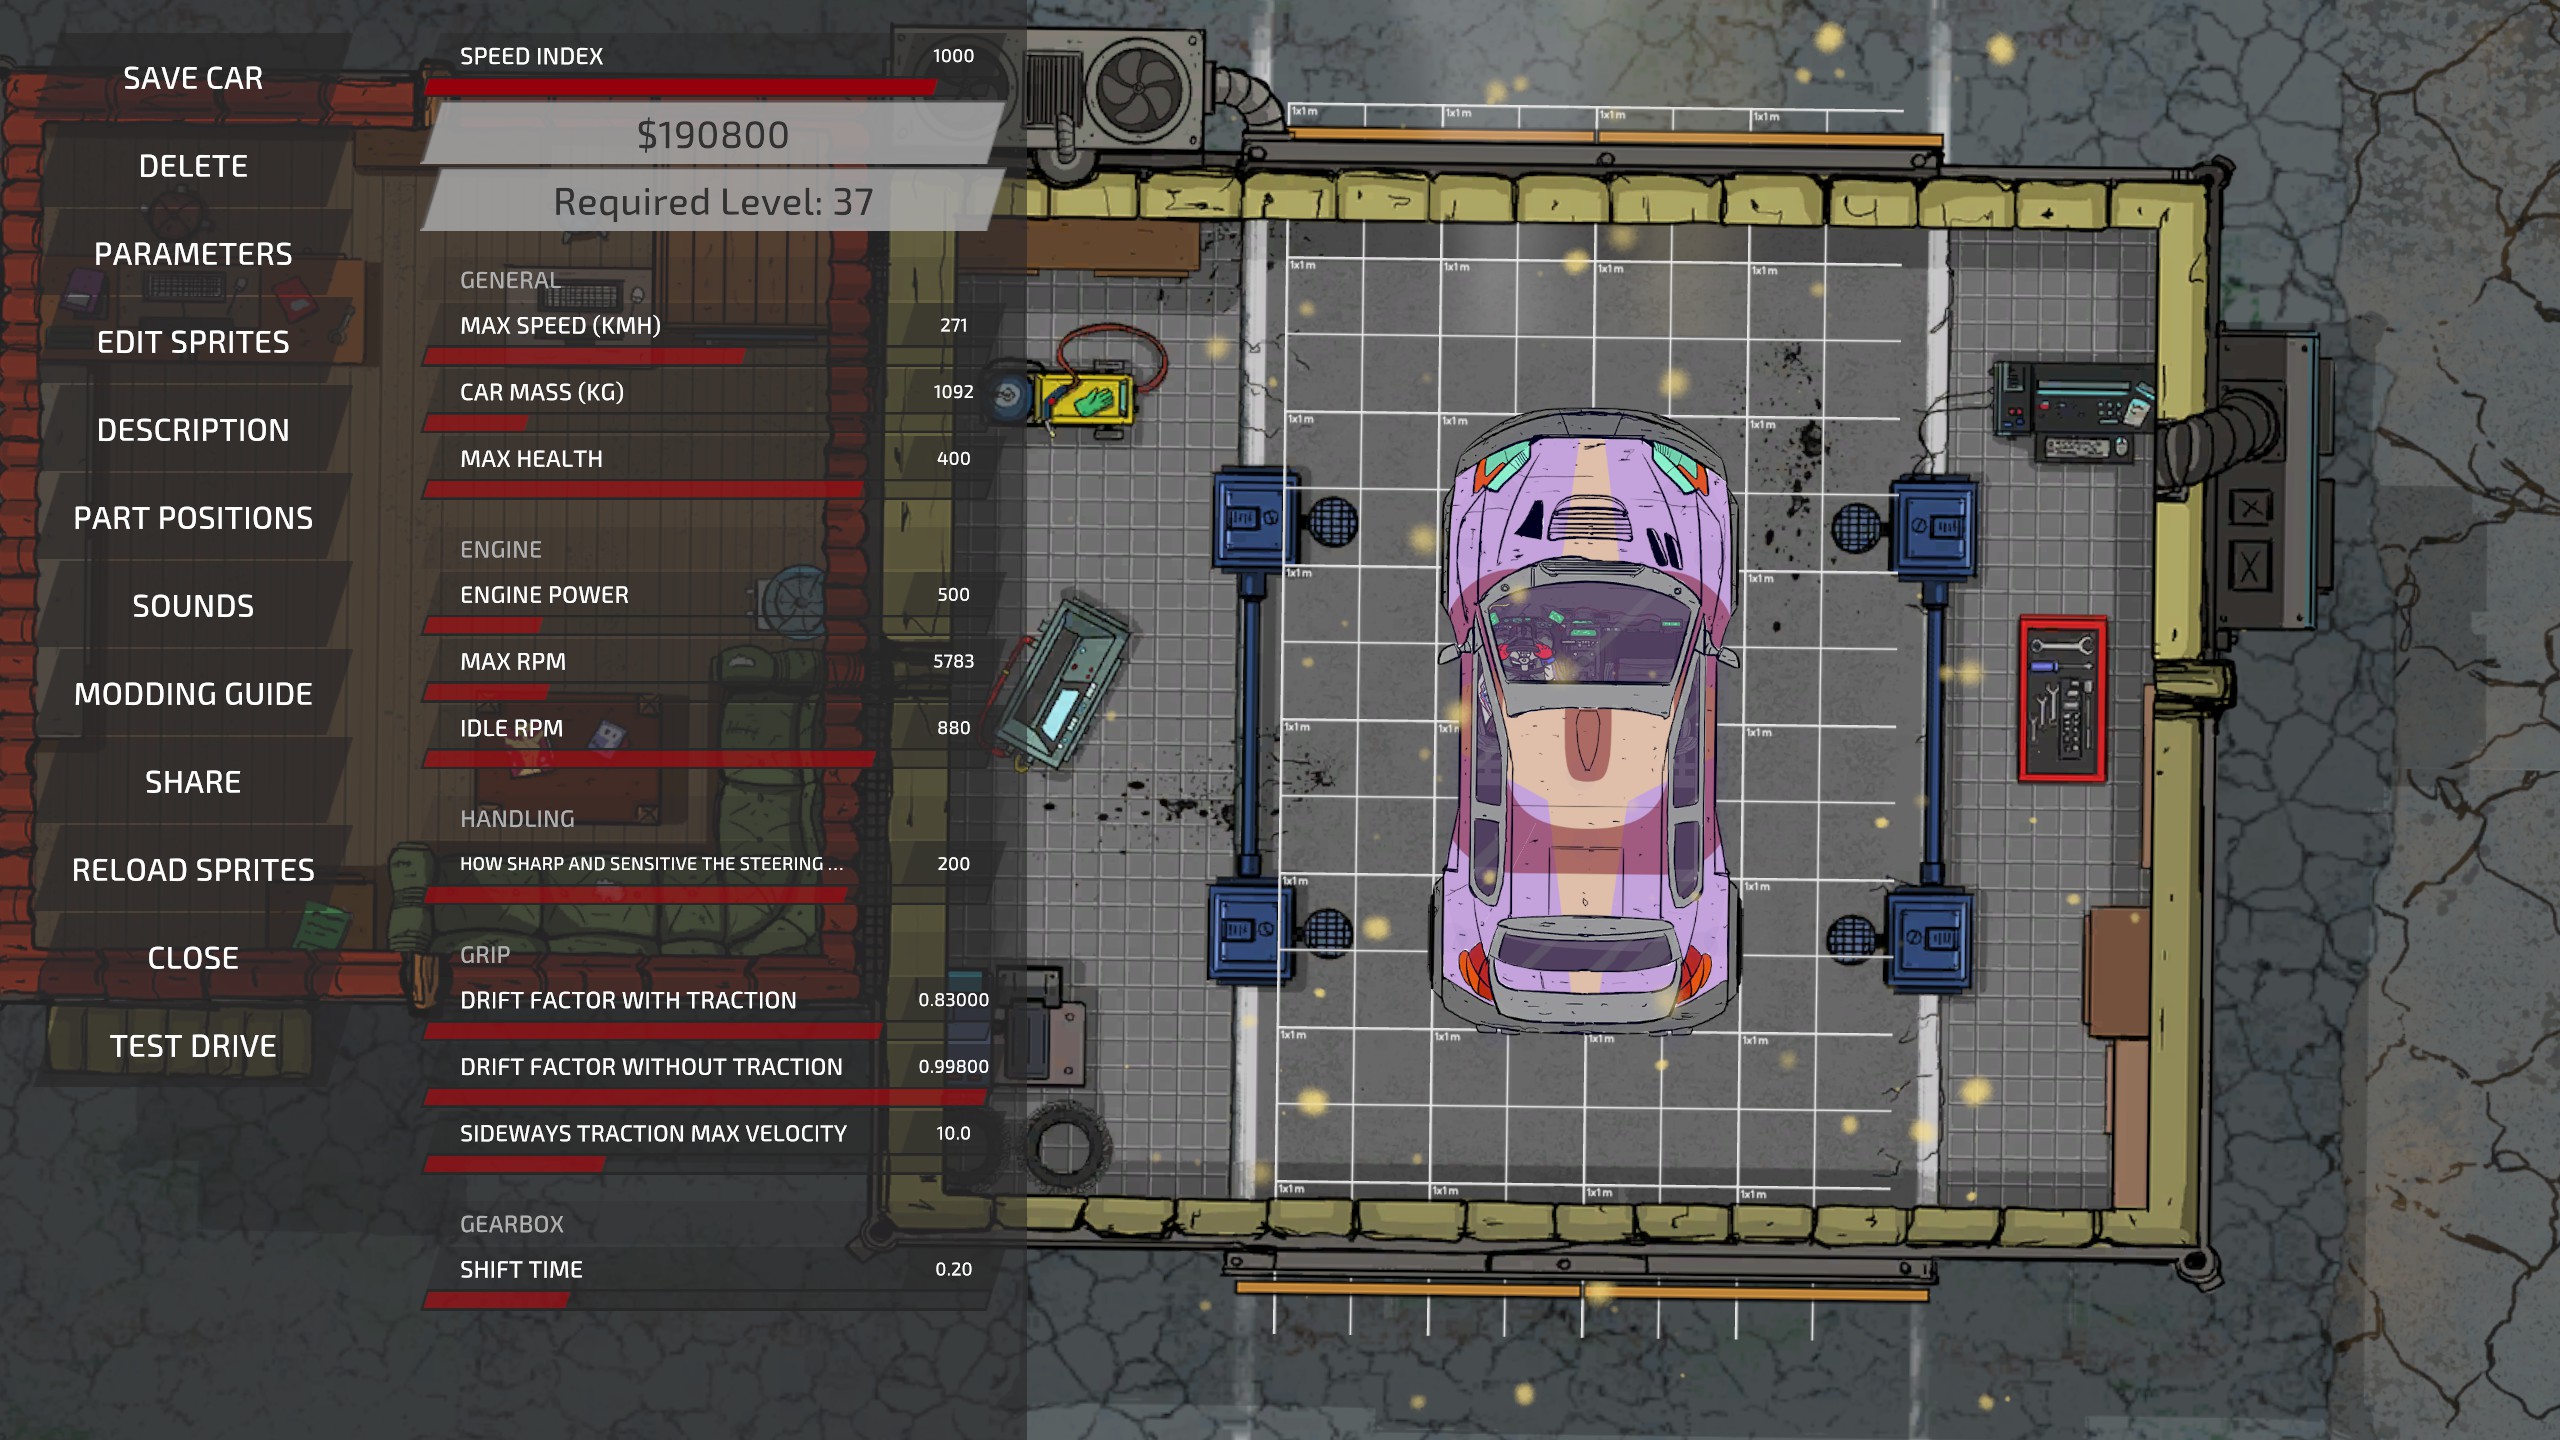
I’ve created a custom car that I find effective, which maximizes the allowed 1000 speed index. As the appearance of the car remains unmodified, I won’t upload it due to the developer’s car modding guide’s restrictions on uploading generic cars. Em vez de, I’ll provide an image below so you can replicate my car. It can reach speeds of 250 km/h+ off-road, making it ideal for the grind.
Through extensive testing, I’ve discovered that the game doesn’t accurately track distance. Upon completing a map, I receive approximately half the distance of the map, and when driving off-road AFK with my 250 km/h speed, I also only accumulate about half the distance. Despite this discrepancy, this method remains the most efficient way to grind, as it bypasses load times and other time-consuming elements. alternativamente, you could experiment with custom maps, which may yield slightly better results when factoring in other time-wasting elements. Finalmente, there’s the option of following the car modding guide to bypass the 1000 speed index limit. No entanto, I consider this to be cheating, as it’s an unintended feature and cannot be achieved directly within the game.
My car becomes available at level 37, and remember to push the reset button and finish the map so that the distance is properly counted.
Costumização

Mecânico
Create a car in Car Editor
If you decide to use my car, you will naturally achieve this distance-related achievement. No entanto, feel free to create your own car if you prefer.

Look What I’ve Made
Create your first custom track

Creative
Criar 10 custom tracks

The Architect
Criar 100 custom tracks
I am not fond of these types of achievements. I have made quite a few maps to grind distance more efficiently during the campaign, including a crazy map shown earlier with pedestrians scattered all over the place.
Before all of this, when I attempted the achievement, I could typically only create one map per session. After conducting several tests, I figured out how to make the tracker count the maps.
Always start by clicking “new,” then choose the “generate” tab and select the “complete map” option on either of the two types to the far left. Save the map, Clique em “new” de novo, and repeat the process. Simply clicking “Salve ” or generating new maps, or renaming maps to create duplicates didn’t count in the tracker.
Misc./Secret

Dano máximo
Destroy an opponent car

Destruidor
Destruir 100 opponent cars
While this can be done in the campaign, it is much easier and faster to do in a quick battle. I typically achieved over 10 kills per game, so just get into the arena, make it count, and you’ll be done in no time.

Astronauta
Reach the depth of space!
This can also be done in the campaign, but unlike distance and other achievements, it works in quick race as well. Simply start a quick race or campaign race, drive to the side, and continue until you see “espaço,” and it will pop. You can continue into the void. If you use my grind method for distance, you will achieve it regardless.

Grab Them By The Spoiler
Catch a car in main menu demo
At the menu, grab a car when it appears. You can even kill pedestrians by moving the car into them if you want.

Hora da festa!
Finish a race with 4 jogadoras
This can be done in the campaign, as I read, but I achieved it in a custom session with 3 controllers and a keyboard. The first time it didn’t work, so I added a single AI opponent, and then it unlocked when I started.

Ultra Marathon
Finish a race with 100 voltas
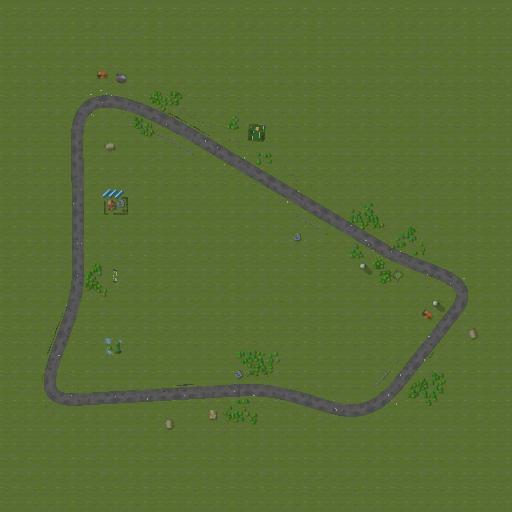
This is only possible in a custom session. I selected the fastest car and one AI opponent on the track “The Loop.” Make sure to increase the laps to 100. Note again that only campaign tracks count distance, so it won’t contribute to those achievements.
Final Words and Advice
Bloody Rally Show is heavily focused on chaos.
Progressing in the campaign adds more racers that can’t be removed, and enabling all options for the campaign will inevitably lead to a constant mess. You get spun around, forced to reset, and sometimes encounter issues with corner cutting penalties. It becomes tedious, para dizer o mínimo.
Since the distance tracking isn’t working properly, I recommend saving it for last, as I mentioned before. Do a hard campaign with most options disabled, set AI skill level to 0%, and disable scaling for them.
Even with these settings, there have been instances where winning became impossible. I recall one map where I couldn’t catch up to the first-place AI and ended up losing by a staggering 15 segundos, which is insane. The AI can make dumb mistakes but also pull off incredible plays. Due to the rubber banding, they are usually not too far behind, so crashing at the end can be detrimental. No entanto, overall, with these settings, I found it relatively easy since the game warns you when you change some options at the start of the campaign.
Driving is highly learnable, and as some reviews suggest, the faster cars tend to feel worse. Even with heavy and slower cars, I still believe that collisions are the major issue in the game.
The AI struggles on curvier maps, but overall, they don’t suffer as much as the player from being spun around or crashed into. They can almost instantly recover.
If you haven’t obtained the GTA achievement after 20+ temporadas, it might be worth starting a new campaign. Mais tarde, with numerous cars, the time required is about the same as in the early campaign with slower cars, but it becomes much more frustrating due to the increased collisions.
Creating your own longer maps with repeating straight sections isn’t worth it compared to being AFK. Fazendo 2 seasons per day and grinding until you unlock all achievements except the distance-related ones is the best approach. Inicialmente, I thought that 50 hours seemed reasonable to achieve 100%. When I realized that only the campaign tracks distance, I thought maybe it would take 75 horas.
Depois de 30 horas, I realized I wasn’t even close to reaching 1000 KM/h, so I checked the tracker and discovered that it only counted about half the distance from each map, as mentioned earlier in the guide.
Taking into account the track generation time, loading time, and quickly forwarding the AI to finish the lap, it started to make sense. I conducted a test by letting the car drive by itself for a few hours, and then I could easily check with the tracker that it only registered about half the distance it should have.
Na minha opinião, the game should take around 15 hours to complete with most achievements obtained within that timeframe, but it took me 140 horas.
O jogo, in terms of replayability, isn’t particularly interesting, but it offers intriguing aspects through map creation and car modding if you are interested in that.
Even if the 10,000 KM achievement was tracked correctly, I believe that reaching 1,000 KM would have been sufficient, considering the short tracks.
If you’re aiming for completion, settling for 45 ou 46 conquistas (if you get lucky with the GTA event) and skipping the 10,000 KM achievement should also be considered if you can accept not reaching 100%.
Good luck with achieving 100%!