This is a complete guide for achieving all seven endings in Human Farm: Rehabilitation.
Isenção de responsabilidade
Before you go further into this guide, I just wanted to say that if you do not wish to have your gameplay or lore experience ruined or spoiled, then I advise you not to go beyond the Disclaimer section. Mais embaixo, this guide will show how to solve puzzles, o que fazer, and some parts of the story that may be included (é claro, I will try to not spoil as much of the story as possible).
Em outras palavras, I want you guys to be able to enjoy this amazing game with your own experience and maybe only have to use this guide when stuck at a certain point. Because I genuinely like this game, I enjoyed my playthrough, and I experienced the game fully through my pure curiosity. And I do wish you guys were able to enjoy this little game to the fullest as much as I do!
If you’ve decided to experience the game on your own, then I hope you’ll have fun! And the best piece of advice I can give you at the moment is to pay attention to details in conversations between characters and McAina herself, and to the details of your surroundings. And especially use “a memo of a new researcher,” aka handbook,” whenever you don’t know where to go or what to do, because it contains important details that will aid you in finding your escape. Inside the handbook is a map of the facility and some details about who to talk to and where to go.

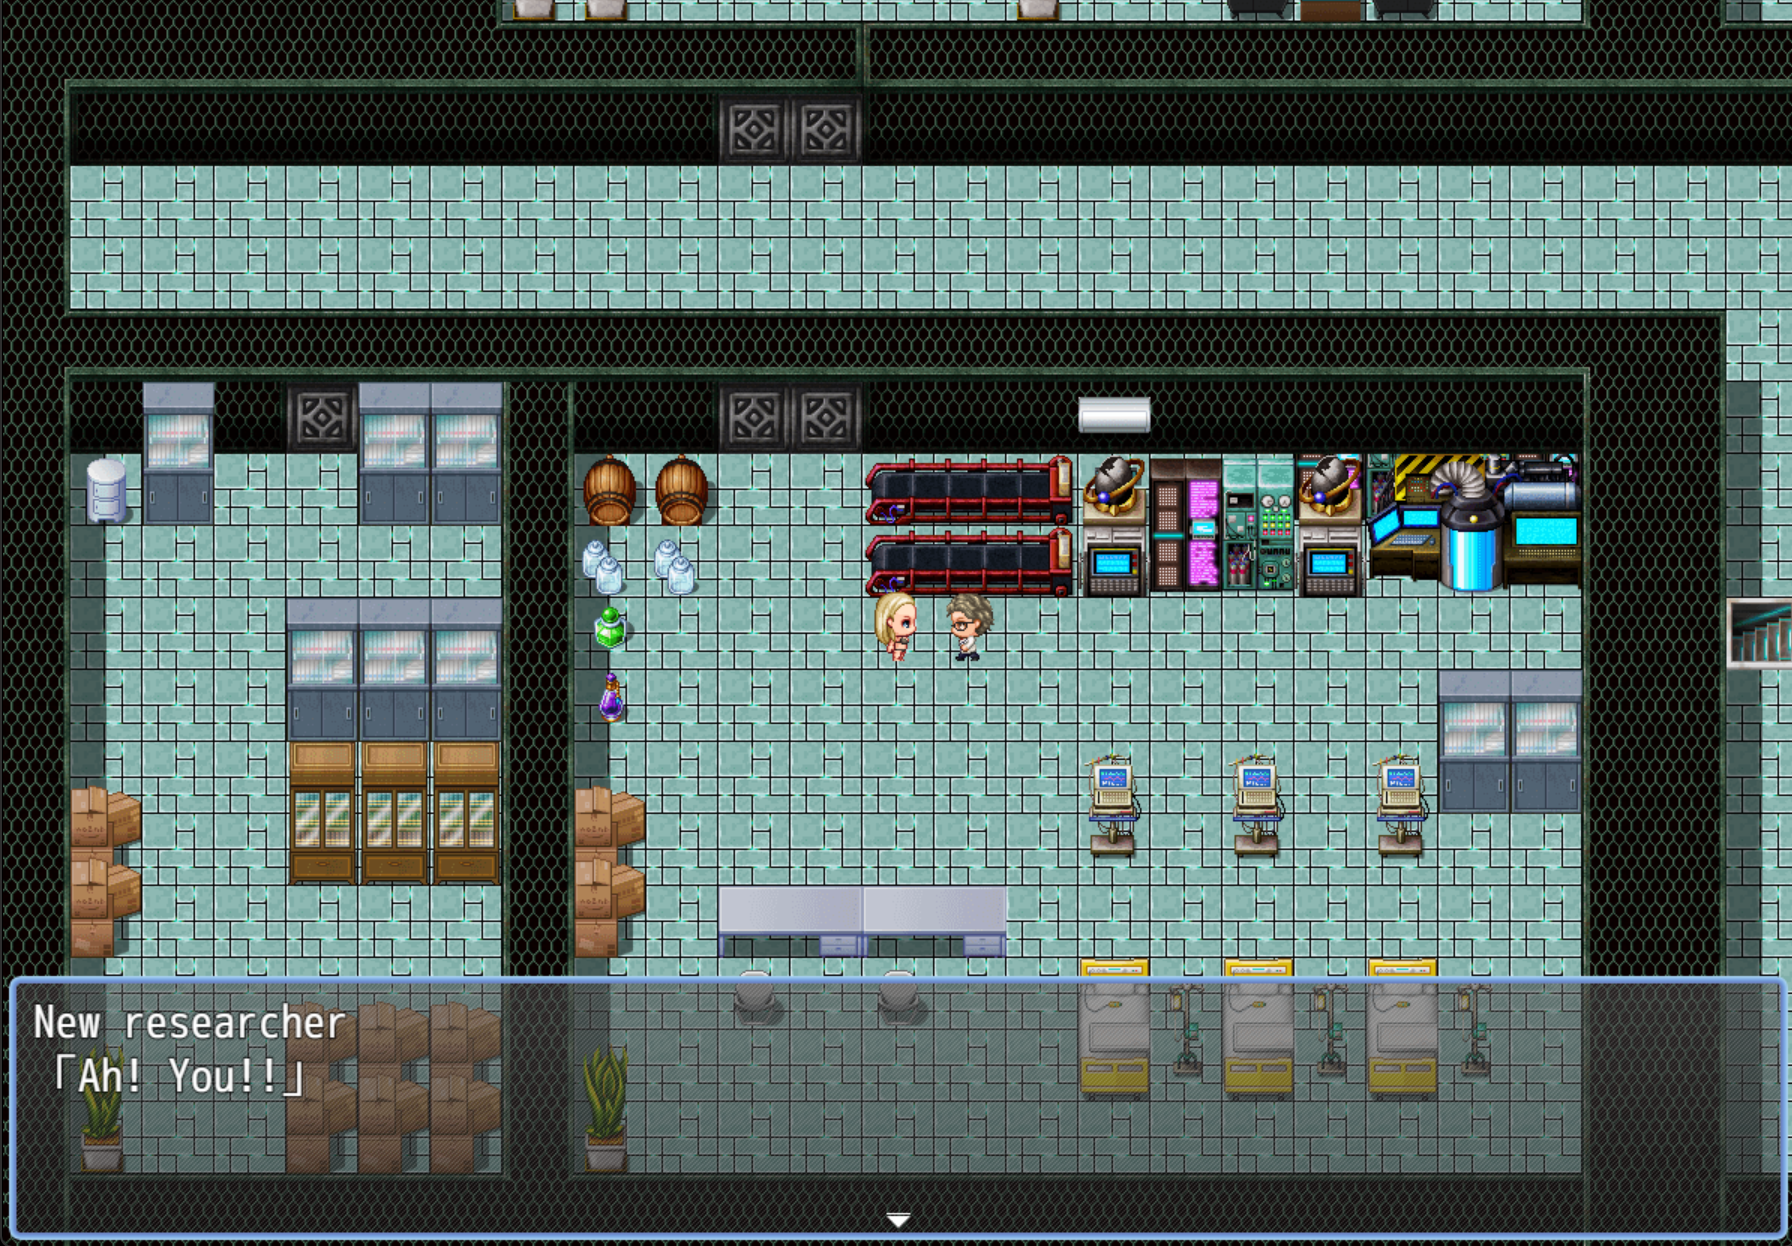
You’ll be able to find the handbook right at the start in Cowshed 2, the room to the right of Cowshed 1, aka the starting point. Where you will find an NPC called “New Researcher”, fale com ele, and he’ll drop the handbook.
And another piece of advice is to use both hands to control the mouse and arrow keys. Because moving with the mouse is faster, you can interact with almost everything with the mouse, and you can use arrow keys to move through doors because doors can only be opened with arrow keys.
So save your ‘one-hand gaming experience’ for when the good stuff comes up.
E é isso! That’s everything I can tell you if you wish to play the game on your own. Good luck and have fun!
Introdução
Human Farm – Rehabilitation” tem 7 endings in total, ranging from easiest to hardest to obtain:
- Obey [fácil][Lust level 4]
- Punishment [fácil][Lust level 4]
- Locker Room – Normal ending
- Locker Room – Masturbation ending [Lust level 3]
- ID Card – Bom final
- ID Card – Final ruim
- Dildo Masturbation [Lust level 3]
They’re not the actual names of the endings, but these names make it easier to understand what to do to get those endings.
Importante:
- I often see people say “dia” for the game progression. But actually what they refer to is the “Lust level”, lust level start at 1 and will increase when you decided to wait and get milked or get caught and get punished. In other word you can completely explore the facility and go through the whole story/lore in day 1 or lust level 1.
- And the number of “Lust level” and how you obtain those lust levels will decide which ending you will get.
- And once the lust level reached 4, will automatically trigger endings 1 ou 2 depending on how you get those lust levels. And also you won’t be able to escape at lust level 4, because if you do it will freeze your game. So that means if you want to get other 5 terminações, you have to be at least at lust level 3 or below. Or I’d suggest you to stay at lust level 1 as much as possible, because Normal/Good/Masturbation endings are longer to achieve. And Bad/Masturbation endings will be triggered when there’re lacking in certain condition, and once you get one of the Locker Room and ID Card endings you’ll unlock shortcut for next run, so save Bad endings for later is quicker and easier. And also to avoid accidentally getting caught while running around in lust level 3. Em outras palavras, you’ll only have 2 strikes. Either through milking or punishment 2 vezes, then your lust level will be raised from 1 para 3, one more time will make lust level increase 4 and automatically trigger endings 1 ou 2
- Save the game frequently, because in this game you can’t access the Save Menu within conversations. So when you get caught, it’s sometime just faster to close the game and launch the game again than start when you left of.
- Every time you reach an ending, the game will suggest you to Save the game. DO IT!, make a new save and start new run from that save. Because if you start a new run with new game or completely new save, you previous endings will not be counted toward the Progress System.
[1/7] Obey aka the submissive Biggy Milky Reservoirs Cowgirl
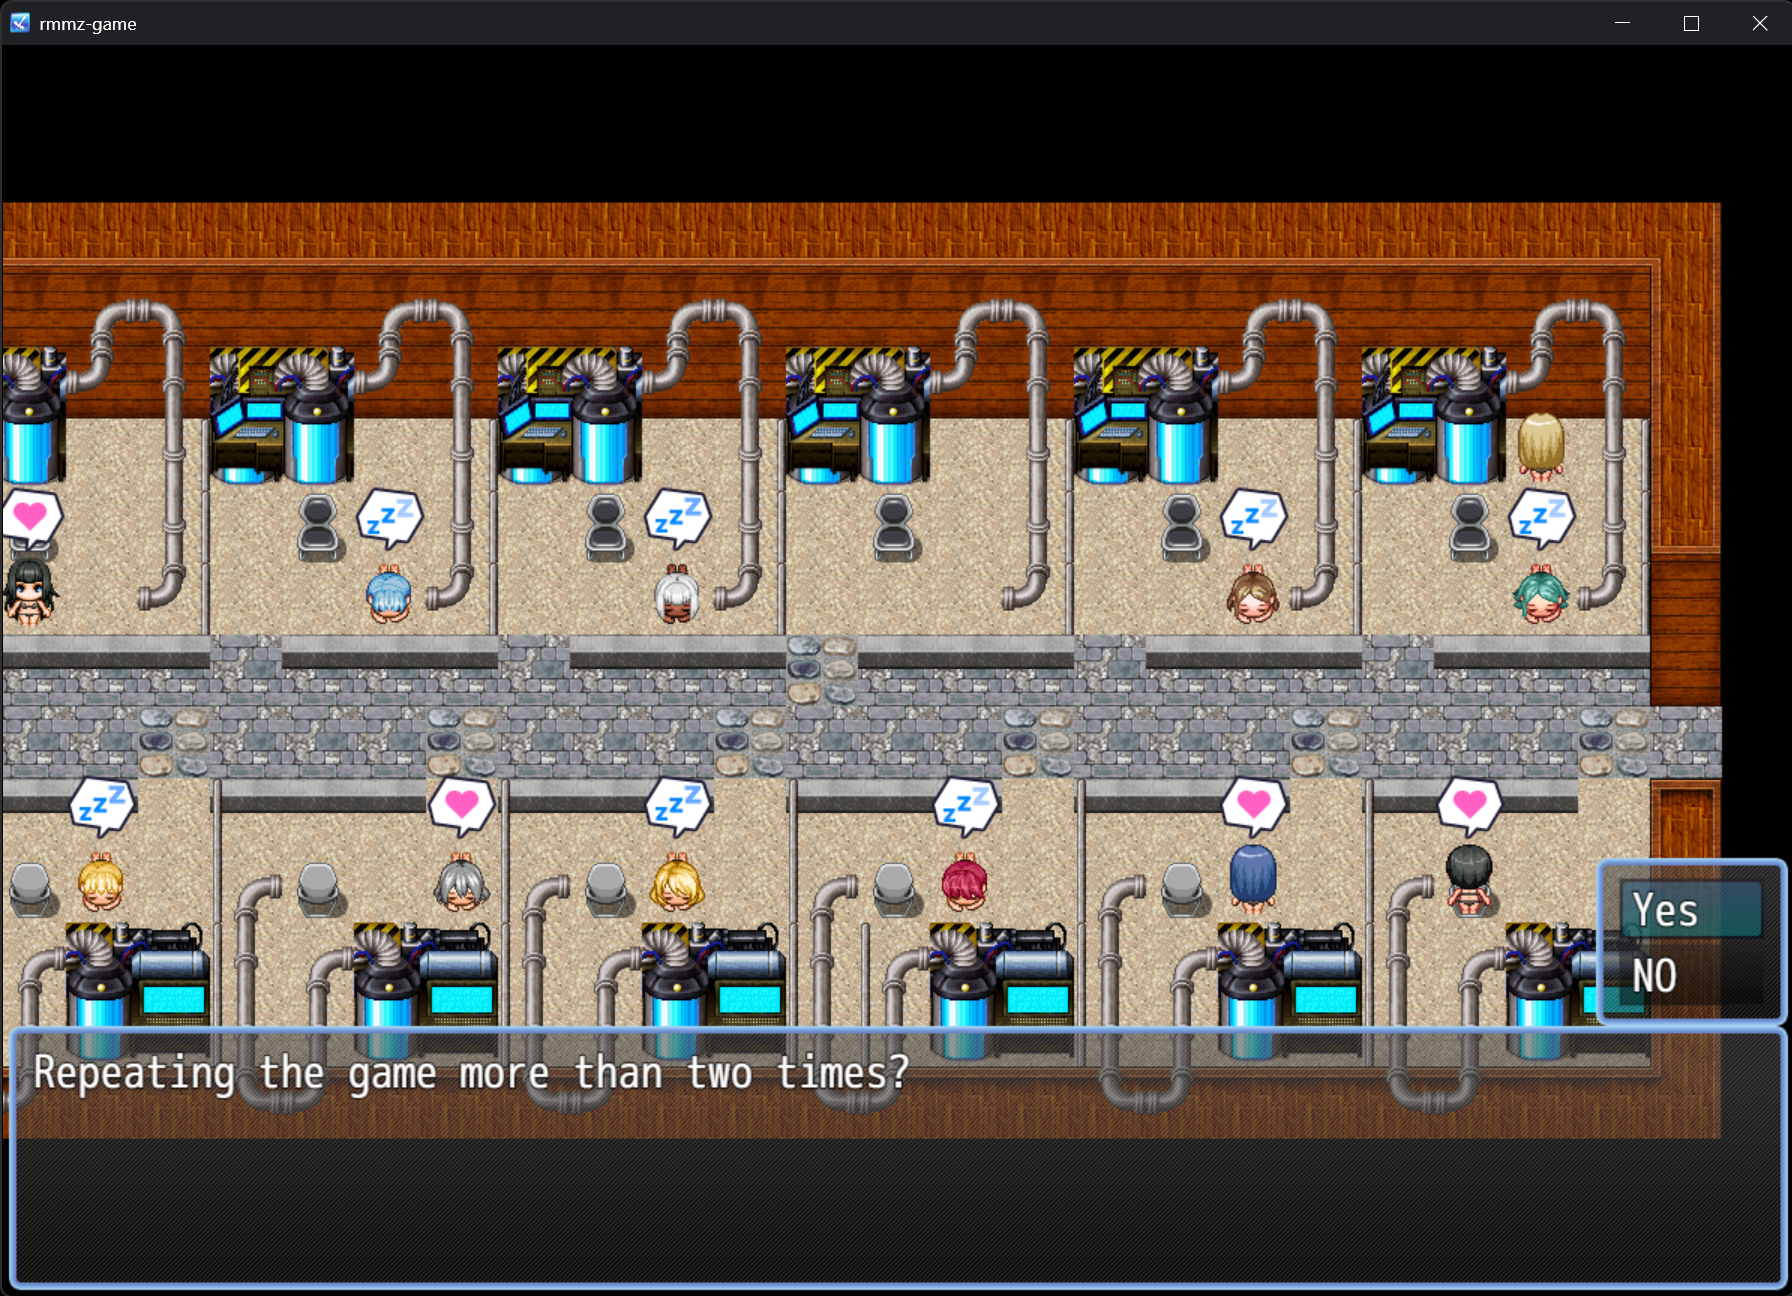
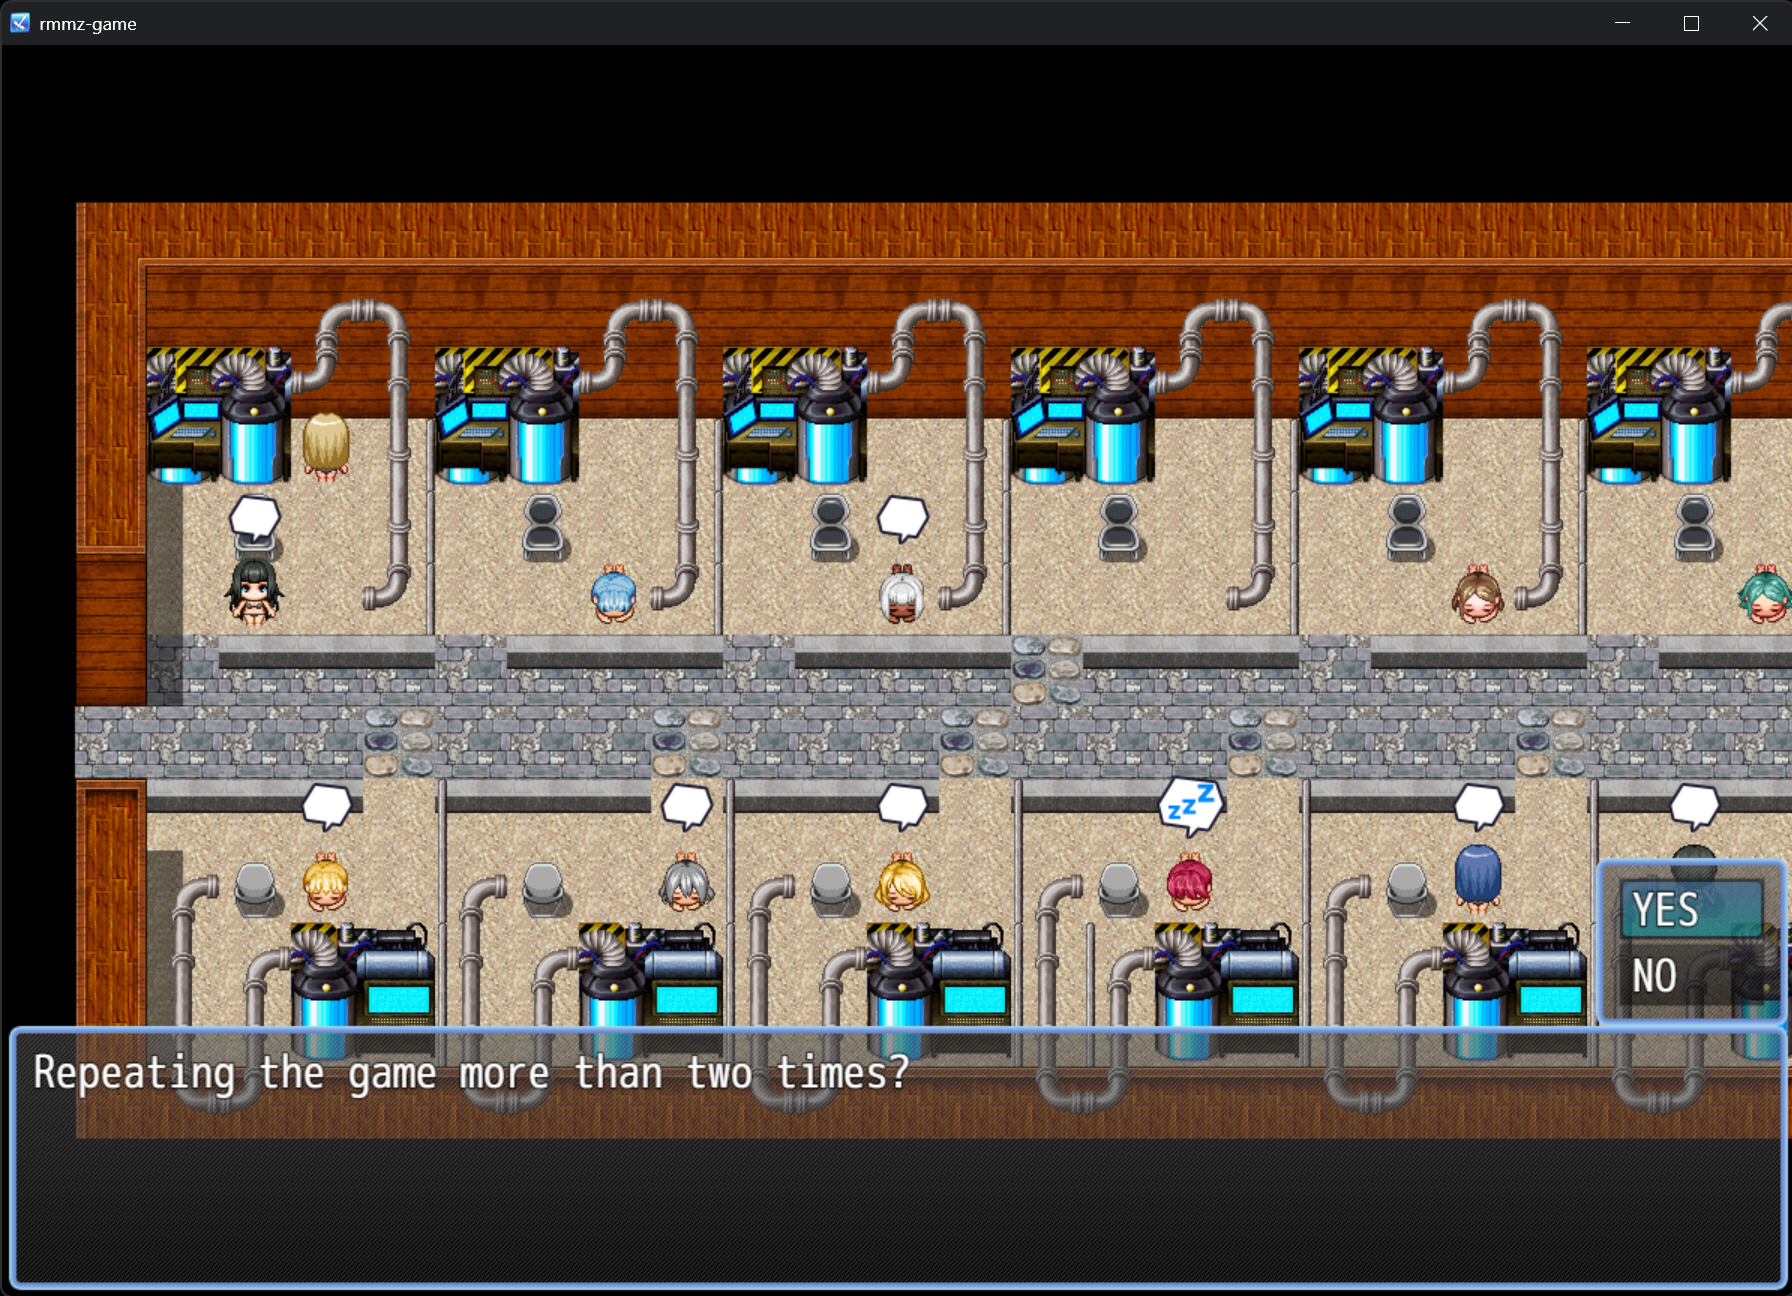
At the start chose to “Wait Quietly” and repeat to “Wait Quietly” 3 more times.
Or just do anything to get lust level 4, either milking or punishment 3 vezes. And make sure when at lust level 4, chose to “Wait Quietly”. Not “Try to escape” ou “Masturbate”, because that will trigger ending 2.
Then you will get the “Rehabilitation Failure End”
[2/7] Punishment
Similar to the ending [1/7], just do anything to get lust level 4, either milking or punishment 3 vezes. But this time when at lust level 4, chose either to “Try to escape” ou “Masturbate”. Our girl Aina will think there’s something wrong with this place and want to take her friend Karen with her.
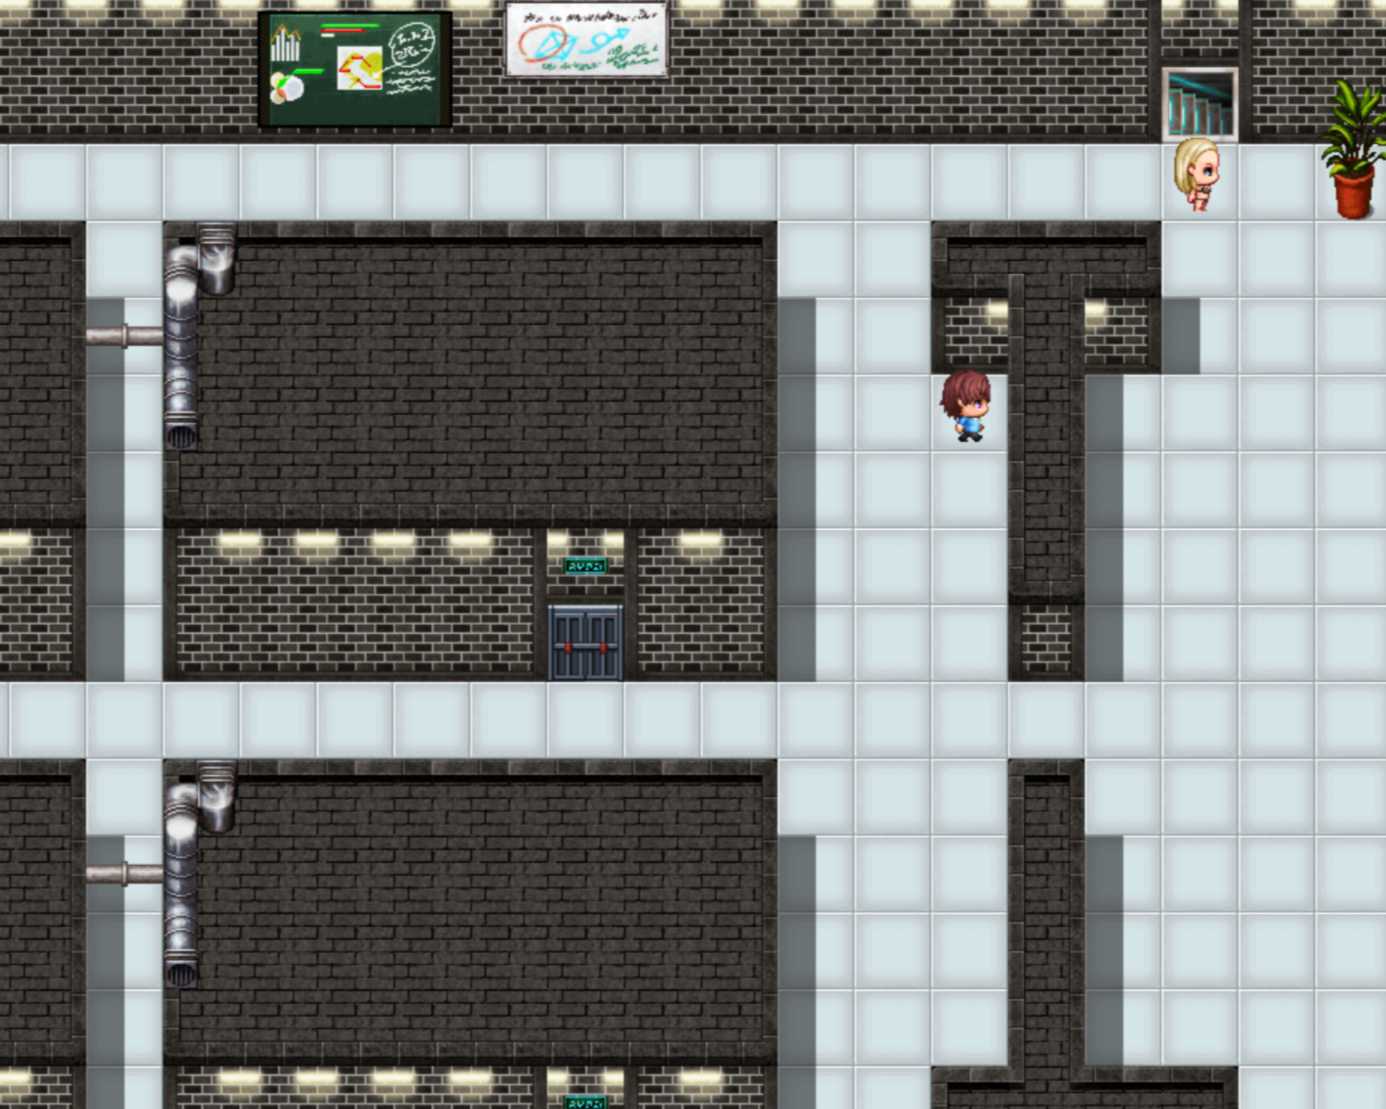
Talk to Karen, then take Karen with you and let yourself get caught. Or try to escape via the entrance, the blank room on the map in the handbook, that’s on the left of the office. If you escape through the entrance, the game will show you something new!

This is what it looks like when you try to escape via the entrance with Karen.
Then on day 4/lust level 4 after the punishment, no matter what you chose, the result is the same. Even if you pick “Try to escape”, the game will remove said option and leave you with the other 2 são “Wait Quietly” e “Masturbate”.
Depois disso, you’ll get “Cow End”
PS: Na minha jogada, when I did everything to obtain the ID Card, I thought that I’ll be able to escape with Karen. To my disappointment, there’s no ending where you escape with both Aina and Karen in all 7 terminações.
[3/7] Locker Room – Normal ending
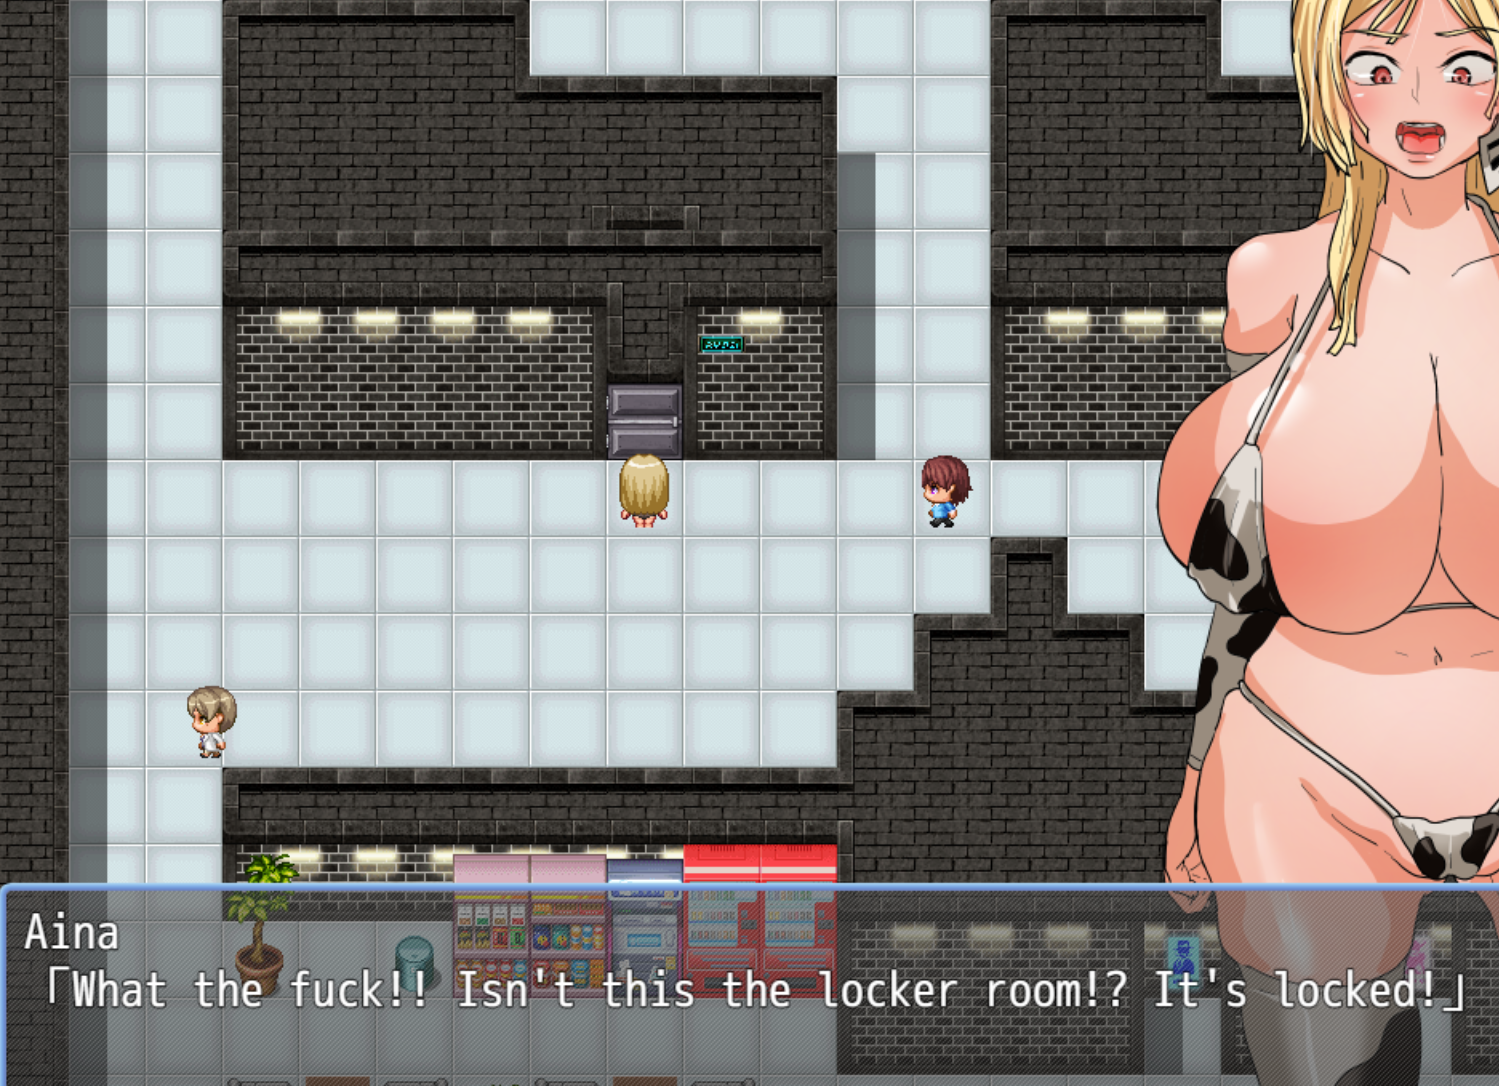
Primeiro, go to the Locker Room, it’s on the left of Cowshed 1. And the Door to the locker room will be the one on the left of the 2 rooms in the middle of that area. If you don’t go to the locker room first, where ever you go, Aina will say something like “This is not a locker room, no point being here.”
If you still remember about the handbook, In there it said something like “bla bla Tachibana-san bla bla Cafeteria”.
Go find Tachibana-san(the janitor) in the Cafeteria, through the bottom left exit in front of women’s toilet. Then you will find him on the left side of the Cafeteria.

Talk to him and he’ll say he gave the Locker Room key to Kurosawa-san, and he’s sleeping in the “Night-duty room”. Go back to the locker room, take the upper right exit that will lead you to Office, then take the right exit to the Night-duty room

Observação: If you pay some attention while in the Night-duty room, you will notice something off in an entirely perfectly clean room. It’s the fallen picture on the ground in the bottom right corner of the room. Check it out and it will give you a Wooden Key that will unlock every wooden door in the facility. Including the wooden door in the middle of the Cafeteria that will aid you in traversing the locker room fast & safer depending on where you want to go.
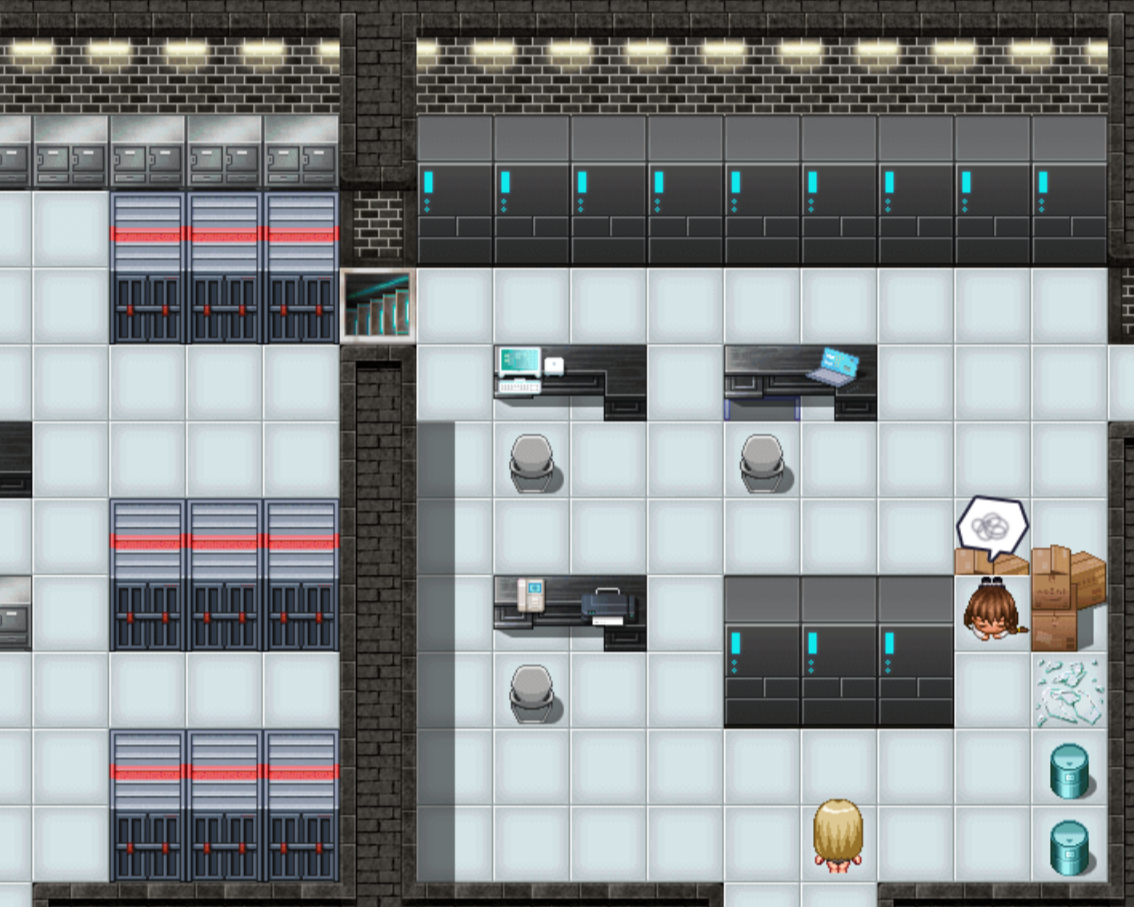
Then go to Kurosawa-san who’s sleeping in the upper right corner. You’ll steal the key to the locker room. Go to the locker room, you’ll find out it’ll not open the locker room. Then go to talk with Tachibana-san in the Cafeteria again, he’ll say that the key was renewed due to security reasons, and ask Mari-san for help as she is a good friend of Kurosawa-san. Talk to Mari-san on the right side of the Cafeteria who’s walking around, she’ll give you Fried Chicken. Go back to the Night-duty room, on the way back you’ll meet a girl named Mikami who’s under a pile of boxes. Ajude ela, when she leaves she’ll drop a Key Card, that’ll open every metal door in the facility.

Depois disso, bring the Fried Chicken to Kurosawa-san, he’ll get you a new locker room key, but you have to meet him in his Examination/Lab Room.
On the map in the handbook, Examination Room is on the B3 floor. To get there you’ll have to go through Punishment Room first. The upper right corner of the Punishment room will be the staircase leading down to B1.
On B1, go all the way to the left, and you’ll find a staircase that leads down to B2. On B2, in front of you will be the staircase that leads down to B3 where we want to go.

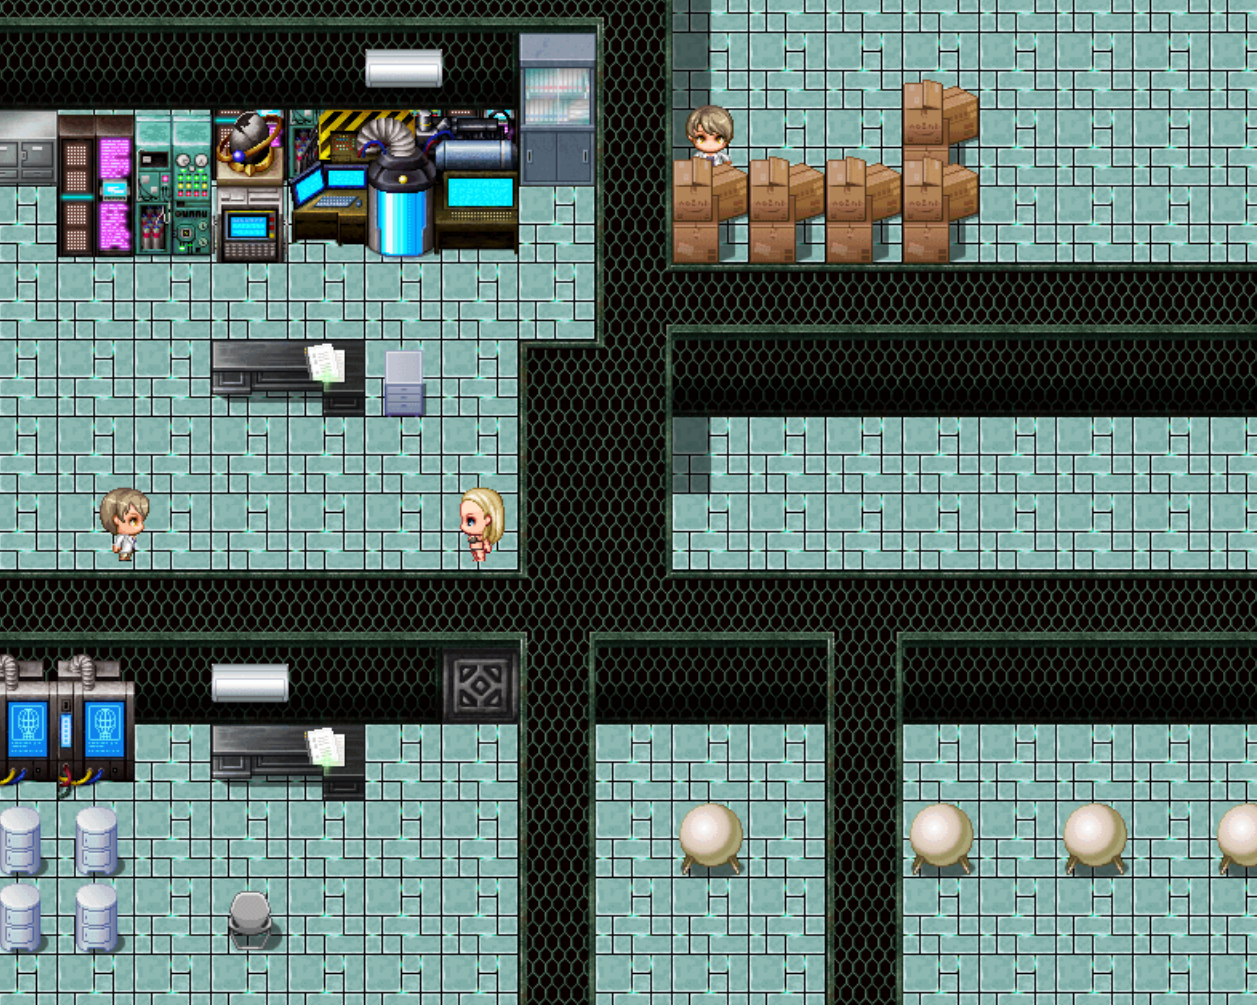
On B3, you will have to find which room is Kurosawa’s room by checking the glowing research papers with the names of researchers on them. Or just follow my guide and go all the way to the left, then you’ll find a room with no one in it, that is his room. Click on his glowing paper, and through a long dialogue, he’ll give you the New Locker Room Key that will actually open the locker room.

Observação: You will often find on B2 & B3 that there’re paths that seem blocked, But actually it isn’t, your character can walk through/under them.

After receiving the new locker room key, go back to the locker room. And don’t forget to thank Tachibana-san before entering the locker room. Then you can go inside the locker room and click on the glowing locker.
And just like that, you’ll get the “Rehabilitation End”
After getting this ending, your game will unlock a shortcut for you to get the Locker Room Key in your next run, so you don’t have to do every thing all over again just to get the second ending from the locker room.

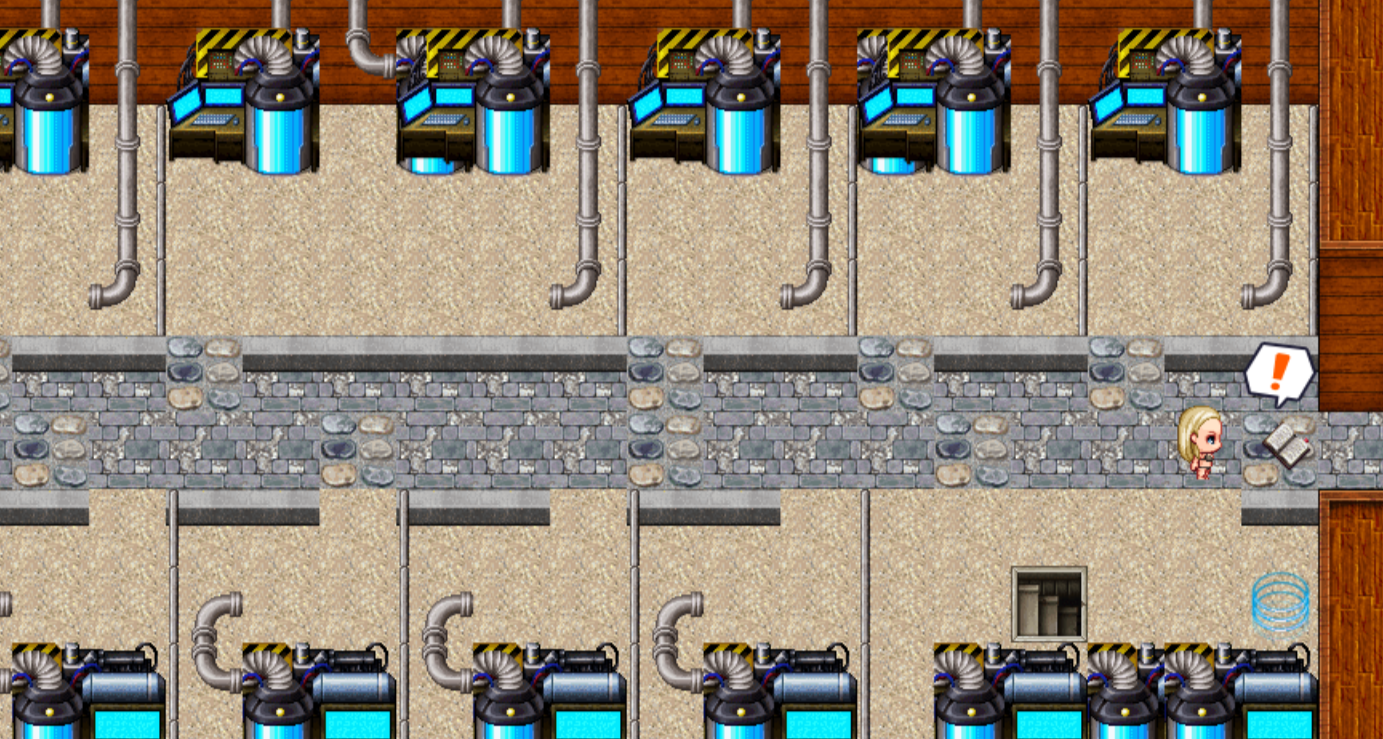
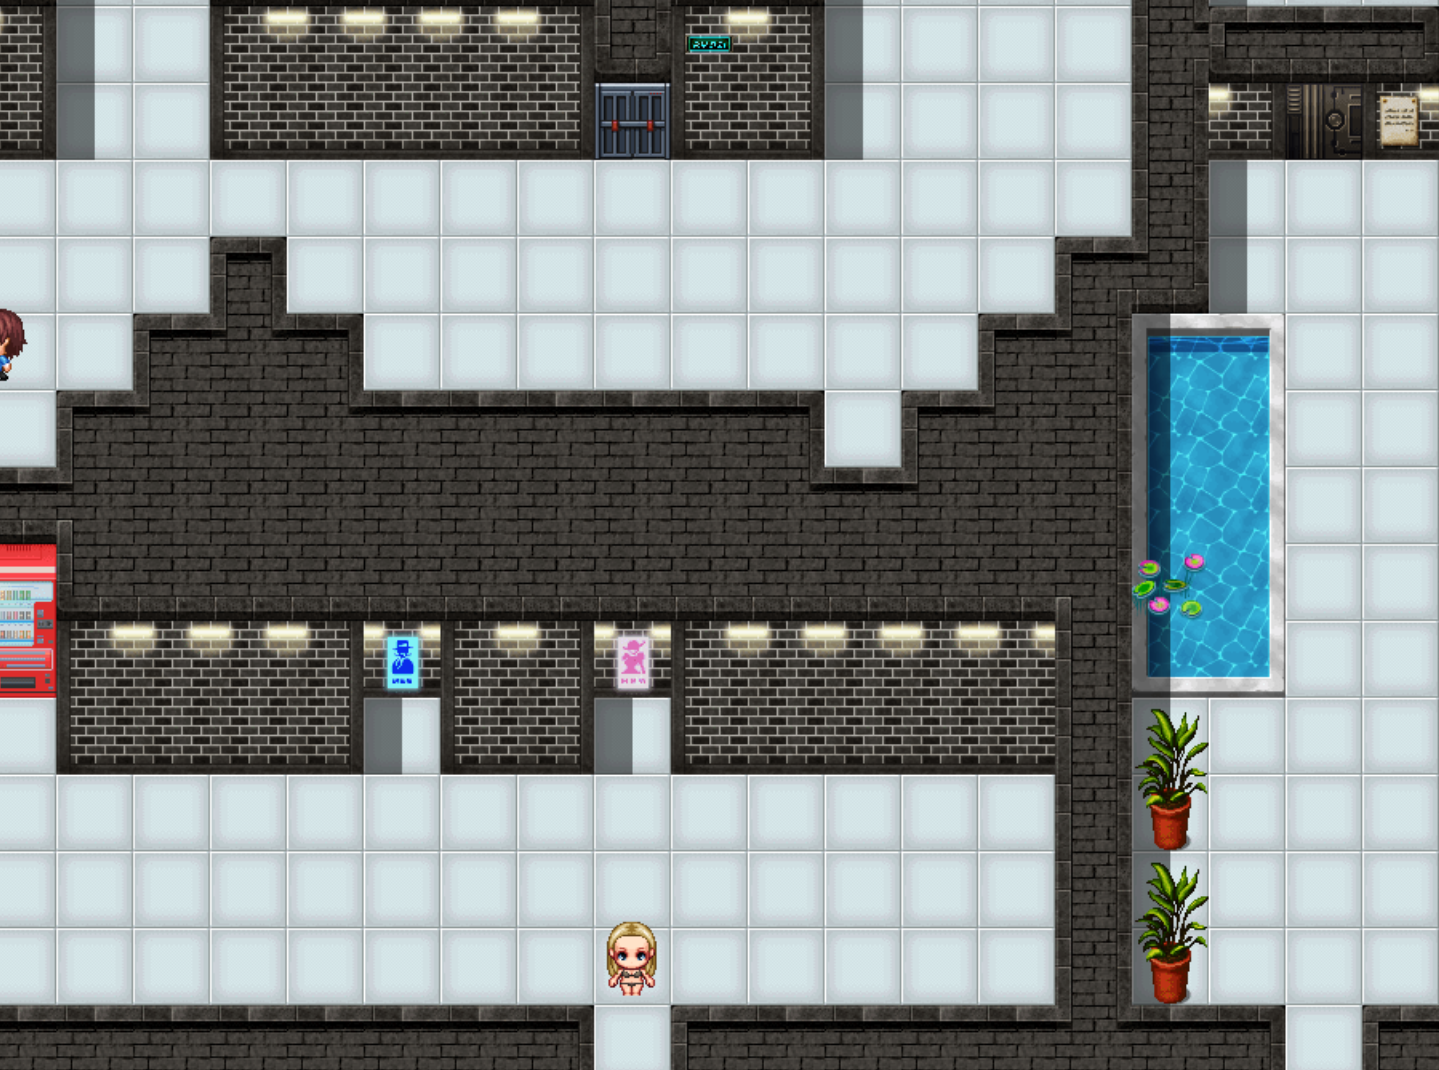
As the screenshot said, standing next to the tank of the Green hair Cowgirl at the top right corner of the Cowshed 1. Do so, will open the locker room for you. And that’s exactly what we’ll do for the ending [4/7]!
[4/7] Locker Room – Masturbation ending
As stated at the end of the “[3/7] Locker Room – Normal ending” guia.
Stand next to the tank of the Green hair Cowgirl at the top right corner of Cowshed 1. Do so, will open the locker room for you.
Then just do anything to raise your lust level to 3. When at last level 3, go to the locker room.
Então, you’ll get the “Still Rehabilitating End – Pervert Masturbation Addict –”
[5/7] ID Card – Bom final
Repeat literally everything in [3/7] Locker Room – Normal ending to get the locker room key. After receiving the locker room key.
If you still remember the handbook, there’s some memo says something about Ayana-san, and the B2 Lab floor is marked with VIP.
Go back up to B2, then you will find the “New researcher” guy we met at the start of the game.
Fale com ele, he’s very stubborn and won’t give you his ID card. You’ll have to find something/someone to persuade him. Guess who will be able to do that? Ayana-san! And also guess who is the VIP? That’s right it’s Ayana-san! Uau, she does really come in clutch.
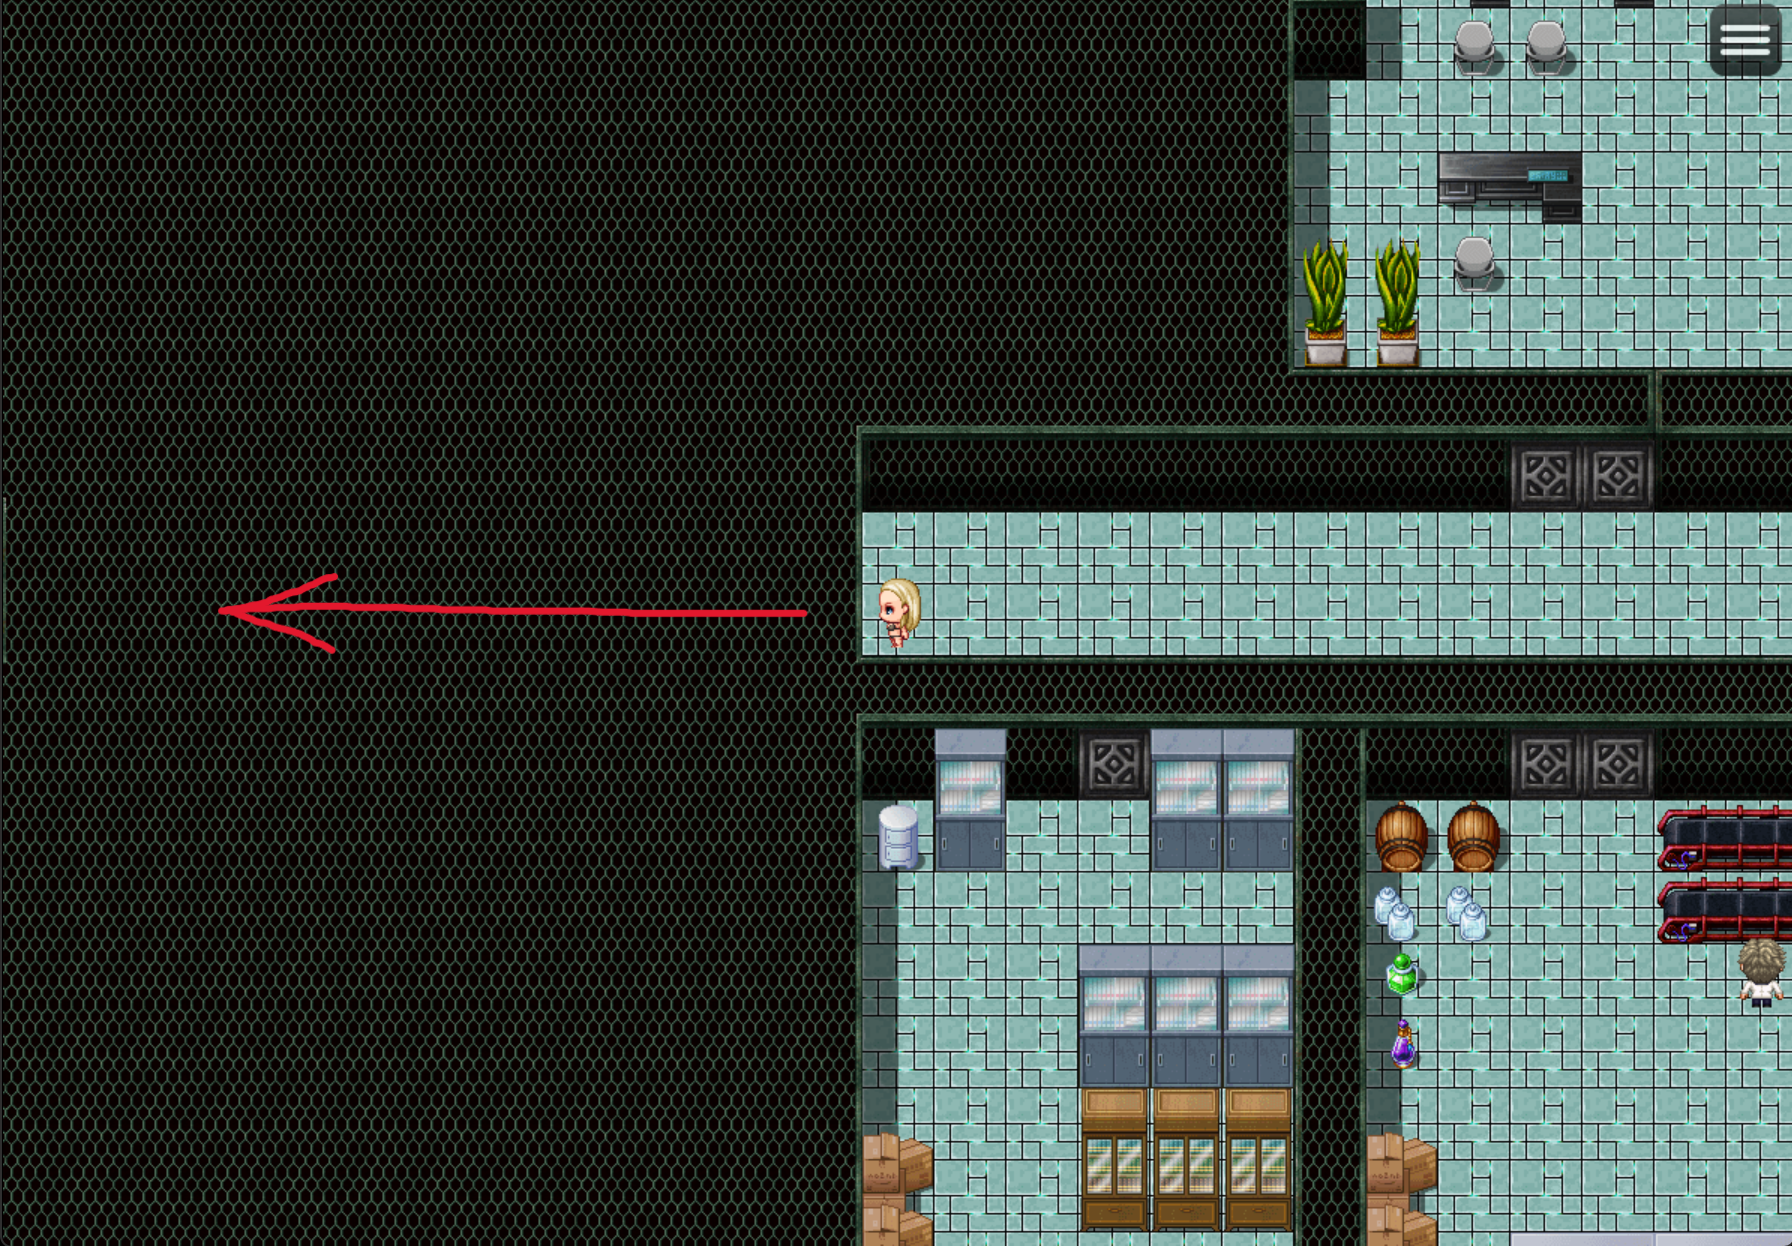
The only thing left is to find Ayana-san. Just go all the way to the left of the B2 hallway, then you’ll see your path blocked by some sort of wall. As I said in the ending [3/7], some paths seem blocked but actually aren’t. So just keep on going all the way to the left then you’ll pass through that wall. Then you’ll find a way to a staircase that leads to a secret room where our savior Ayana-san is.
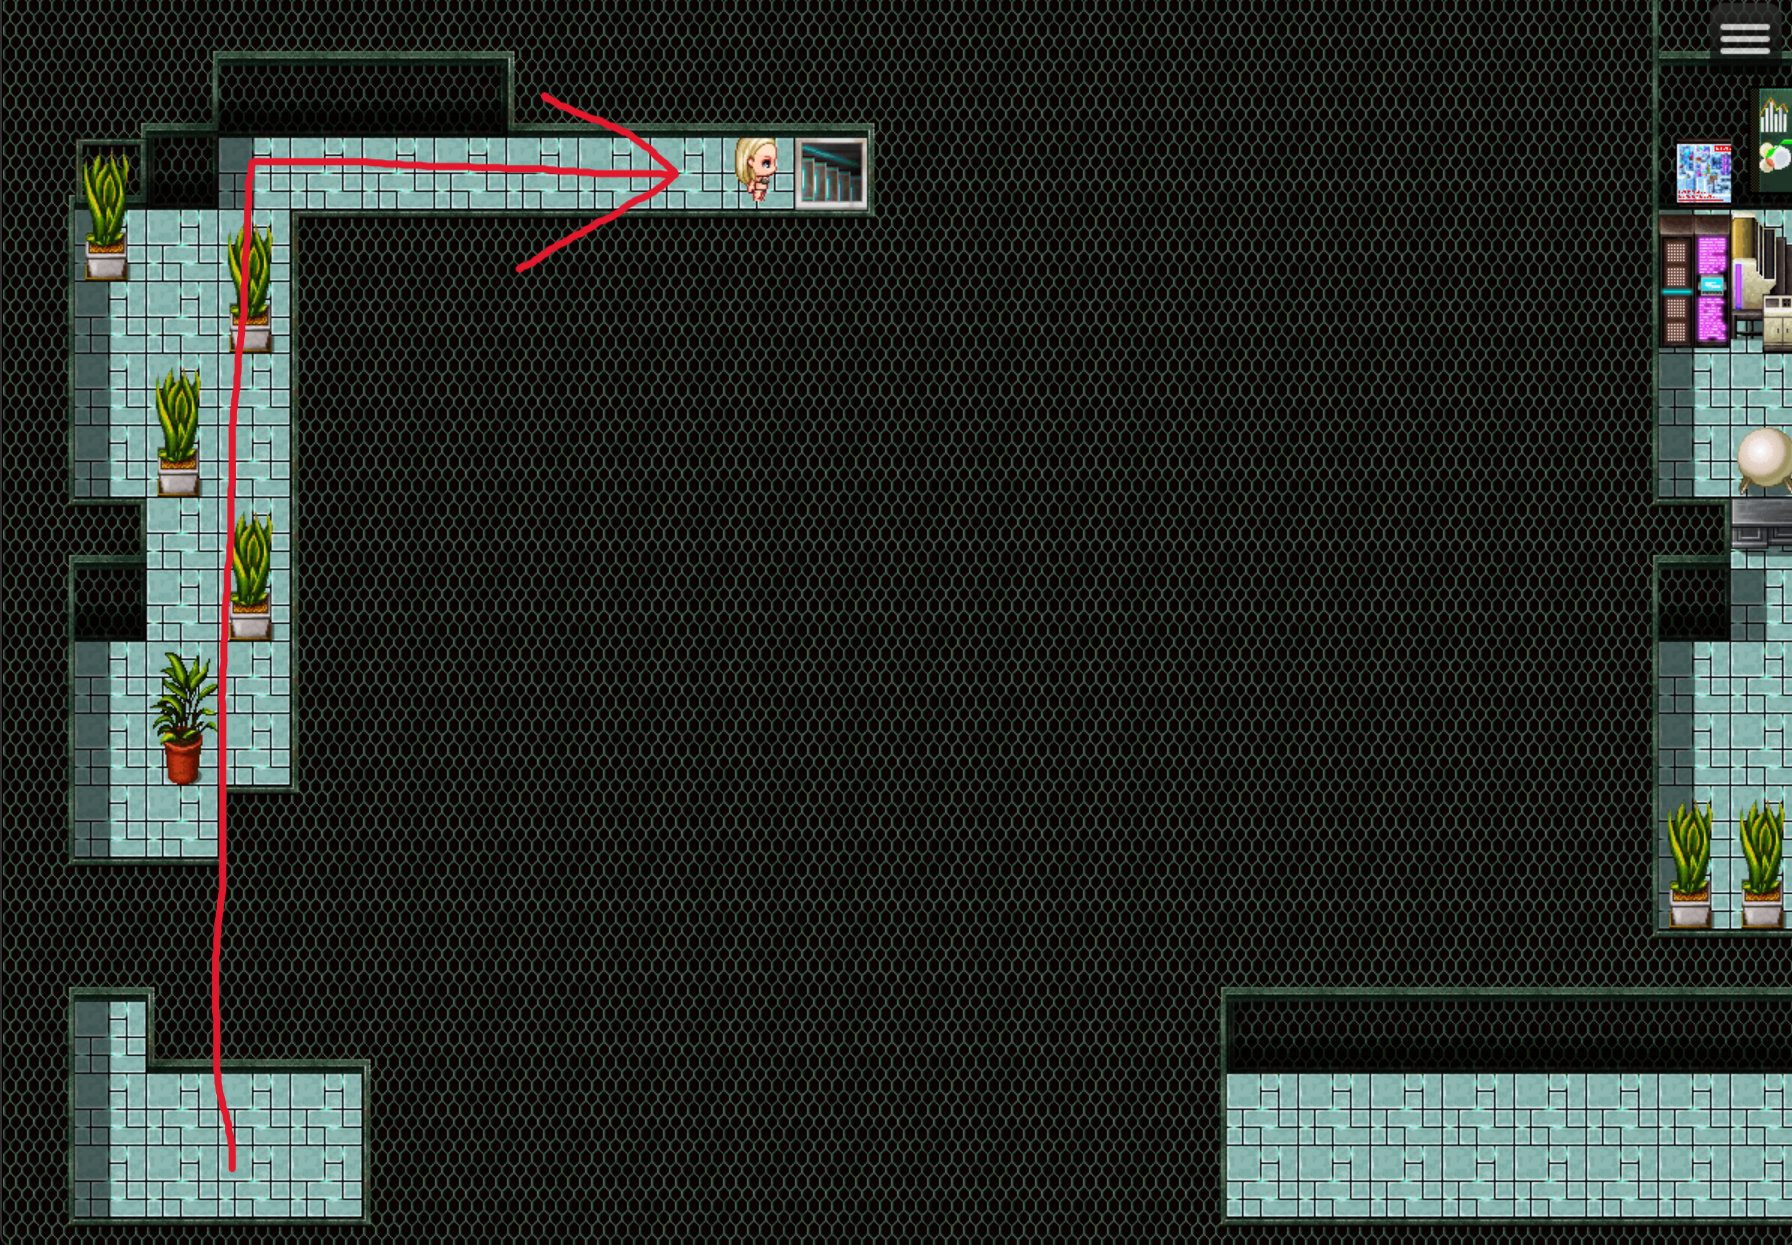

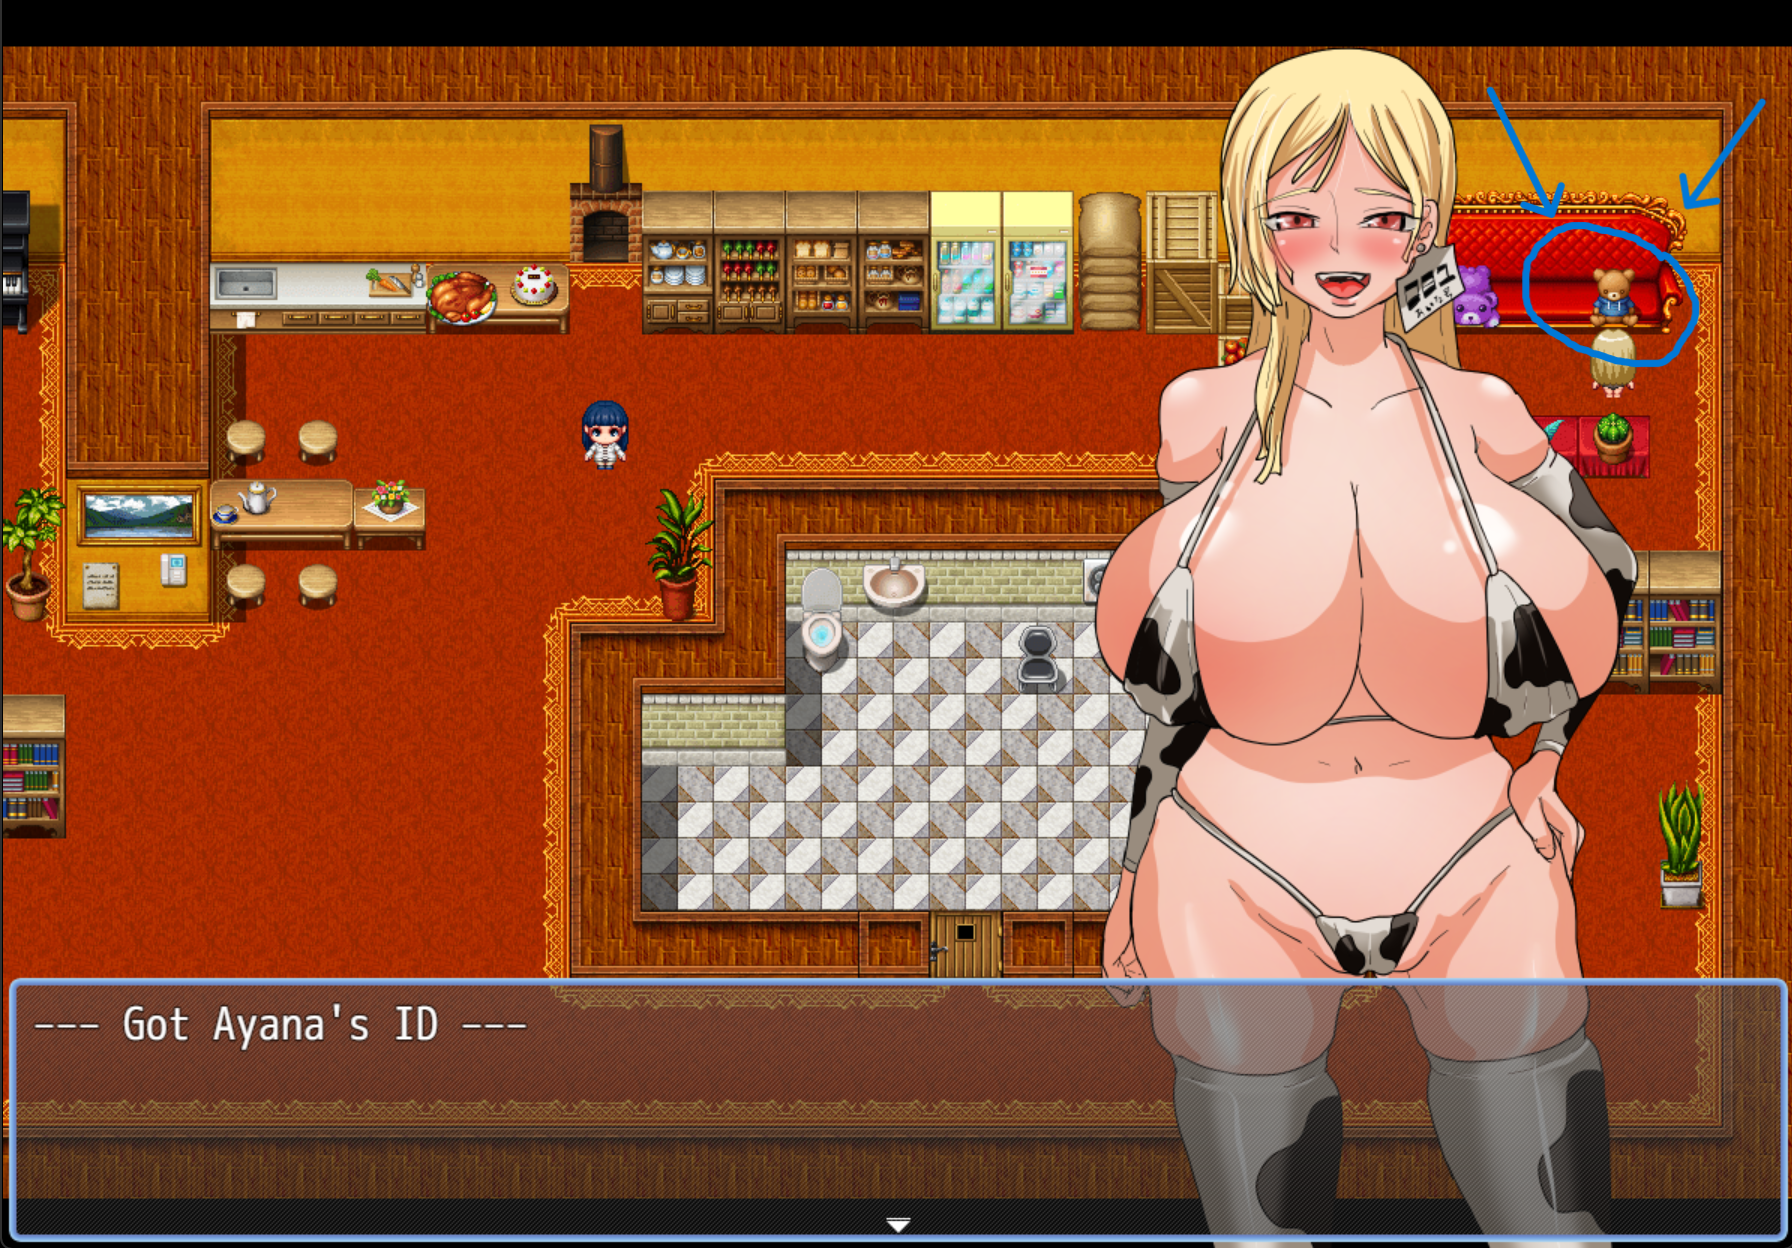
Talk to her, and afterward, she’ll ask you to help her find her ID card in her room since she lost it, how convenient. It’s under the teddy bear sitting on the sofa at the top right corner of the room.
After receiving her ID card and talking to Ayana-san, you’ll realize that you have 3 things called “A Clue to Reform”:
- A Clue to Reform: Kindness – that you received from Mari-san
- A Clue to Reform: Honesty – received from Kurosawa-san
- A Clue to Reform: Pride – received from Ayana-san
Having all these 3 Clues to Reform will trigger Good endings.
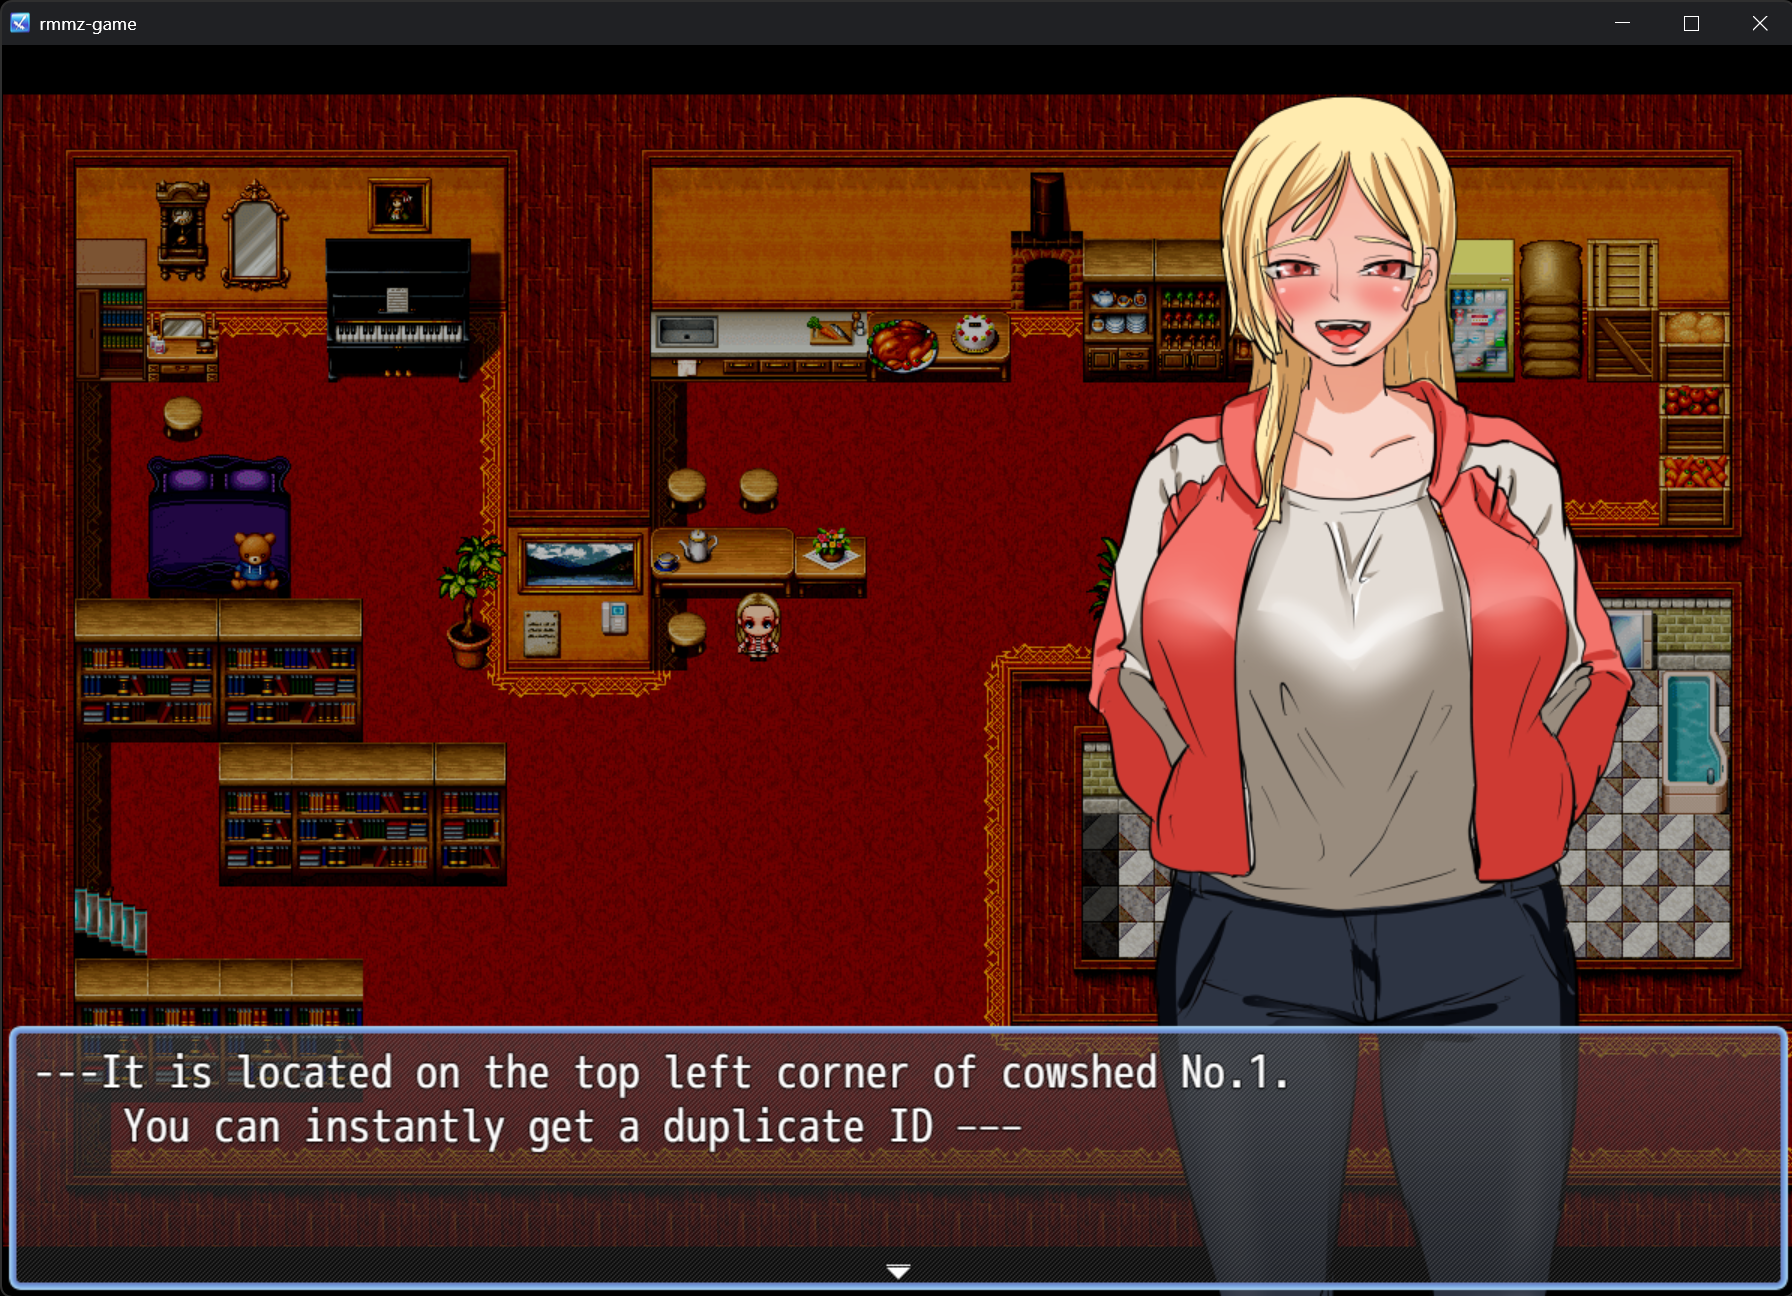
Bring the ID Card to the entrance, and Sarah the Security Guard will tell you that you can’t use other people’s ID cards. But you can duplicate one for your own in the Main Room. But there’re 3 doors there, o primeiro 2 doors be opened with the keys we already have. But the last one requires a password.
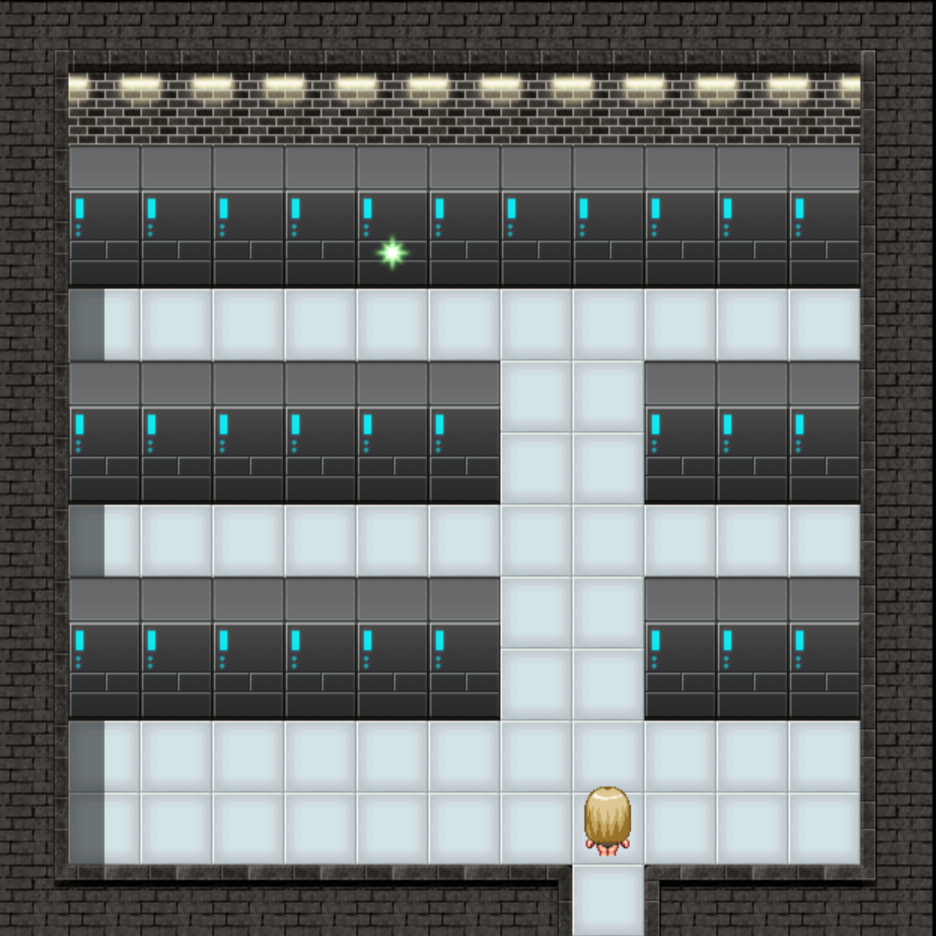
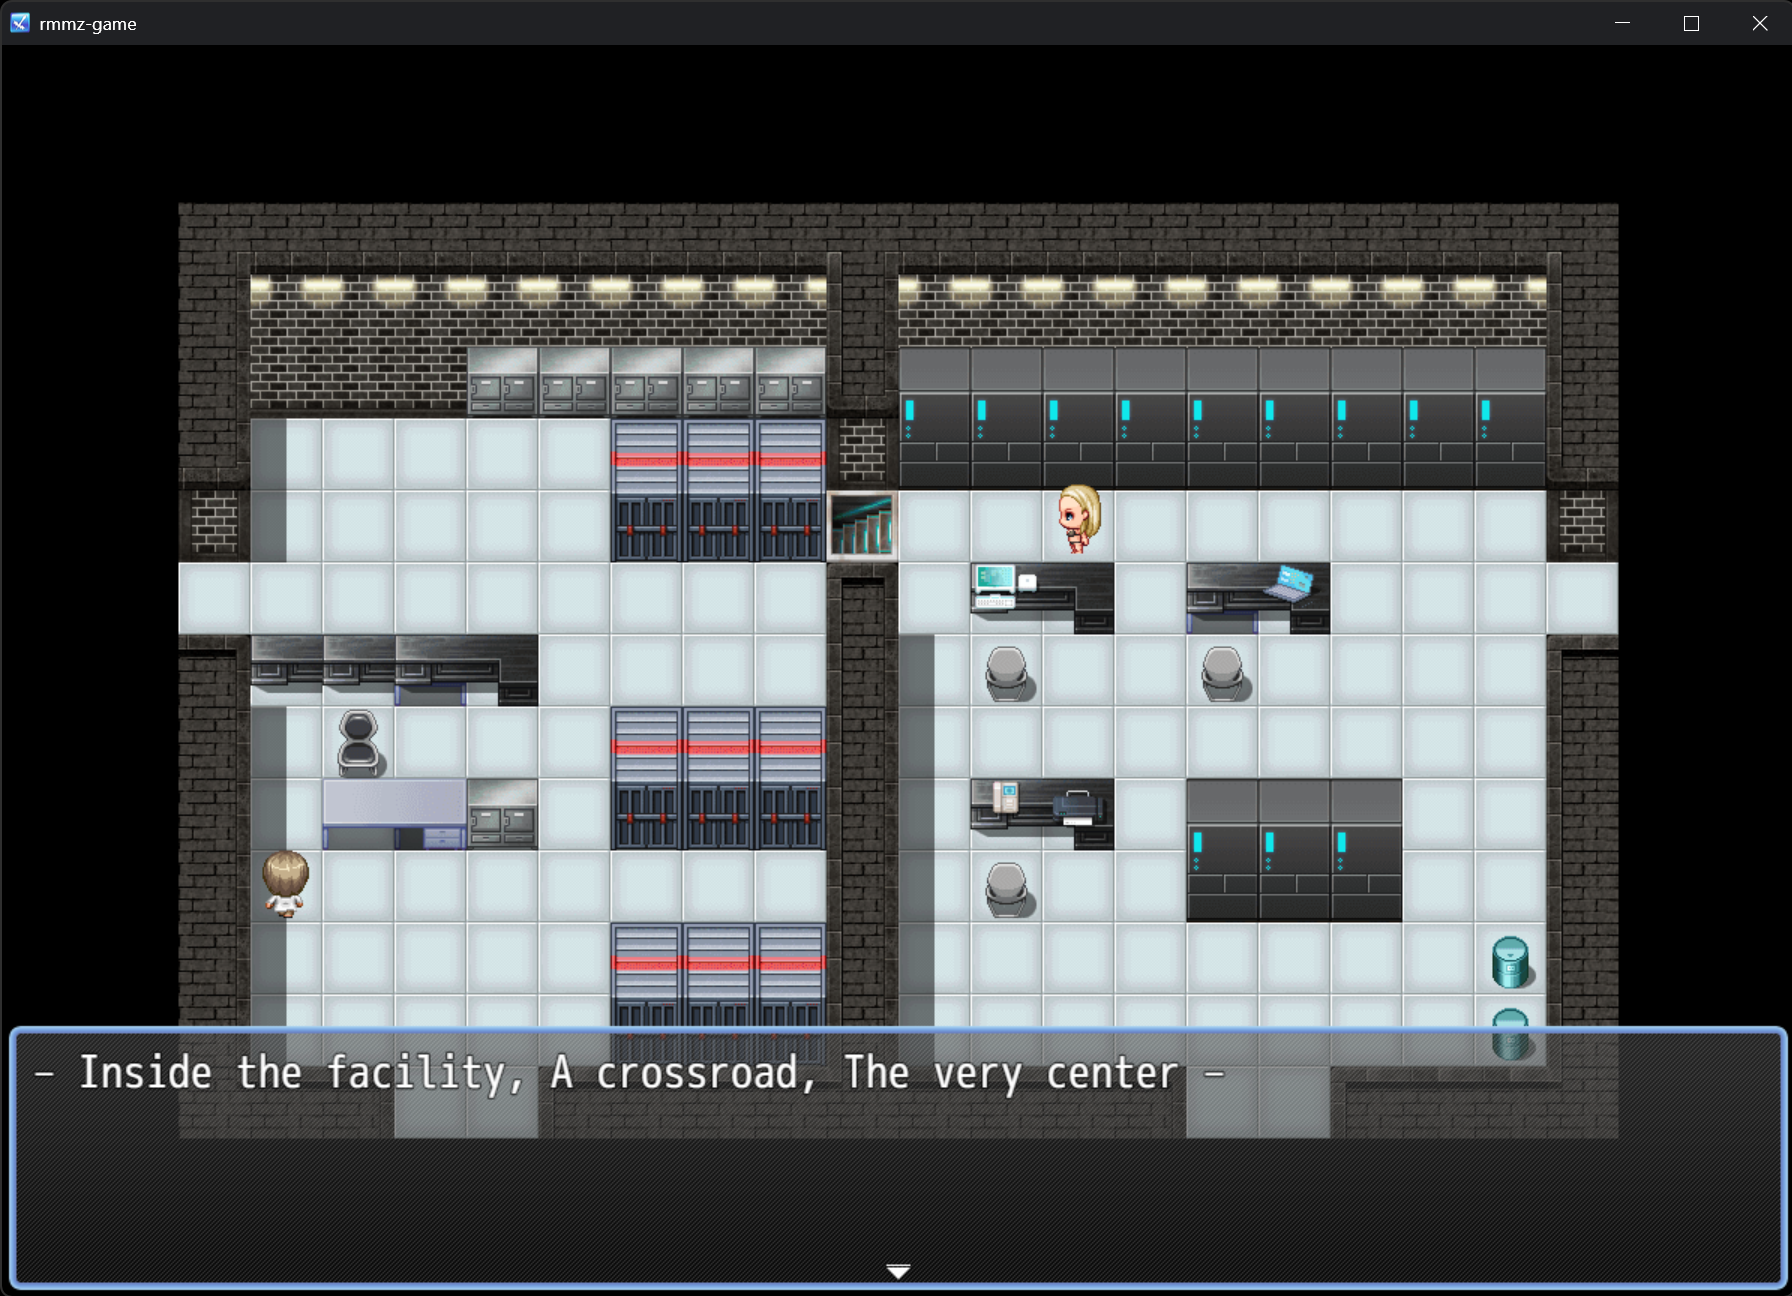
So our girl Aina threaten Sarah to disclose information about how to get the password. Sarah then will tell you the location of the main room, it can be accessed via the staircase from the right side of the Office Room. And the 3rd tile in front of the staircase will show you a hint for the next step to get the password. And it said,” – Inside the facility, A crossroad, The very center – “. There’s only one place in the facility that resembles a Crossroad, that’s the Punishment Room and the password is at the Center of said crossroad. As it’s also hinted in Aina’s words that the place is dangerous, she has to be careful, as there’re 4 milkers roaming around and it has tight pathways.


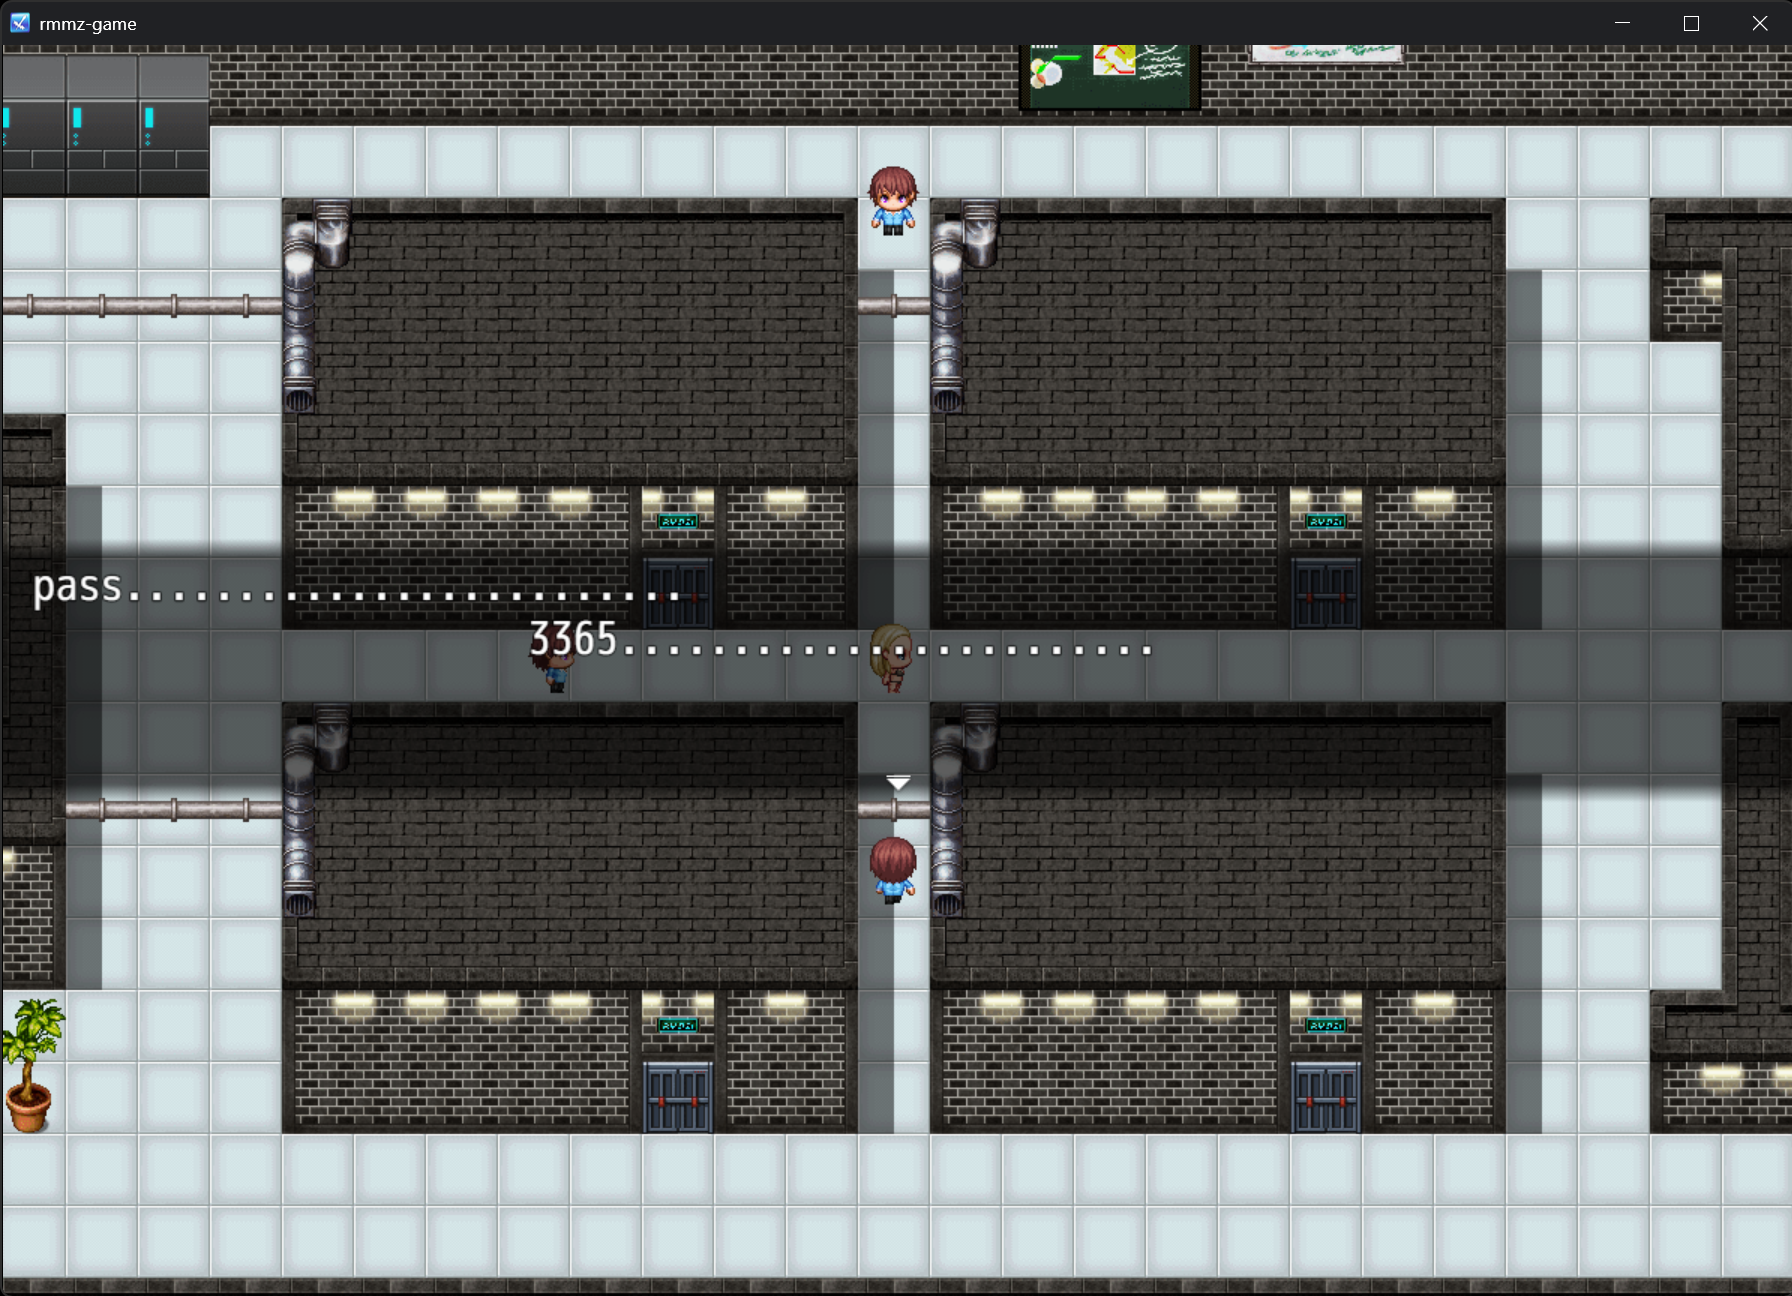
Or for short the password is: 3365
Go to the main room, get your ID Card done, e sair. Oh and don’t forget to talk to Sarah before leaving or it won’t trigger the Good ending, do so by standing next to her.
And then you can finally leave this place for real! You’ll get the “Rehabilitation Success End – Start working in the farm –”
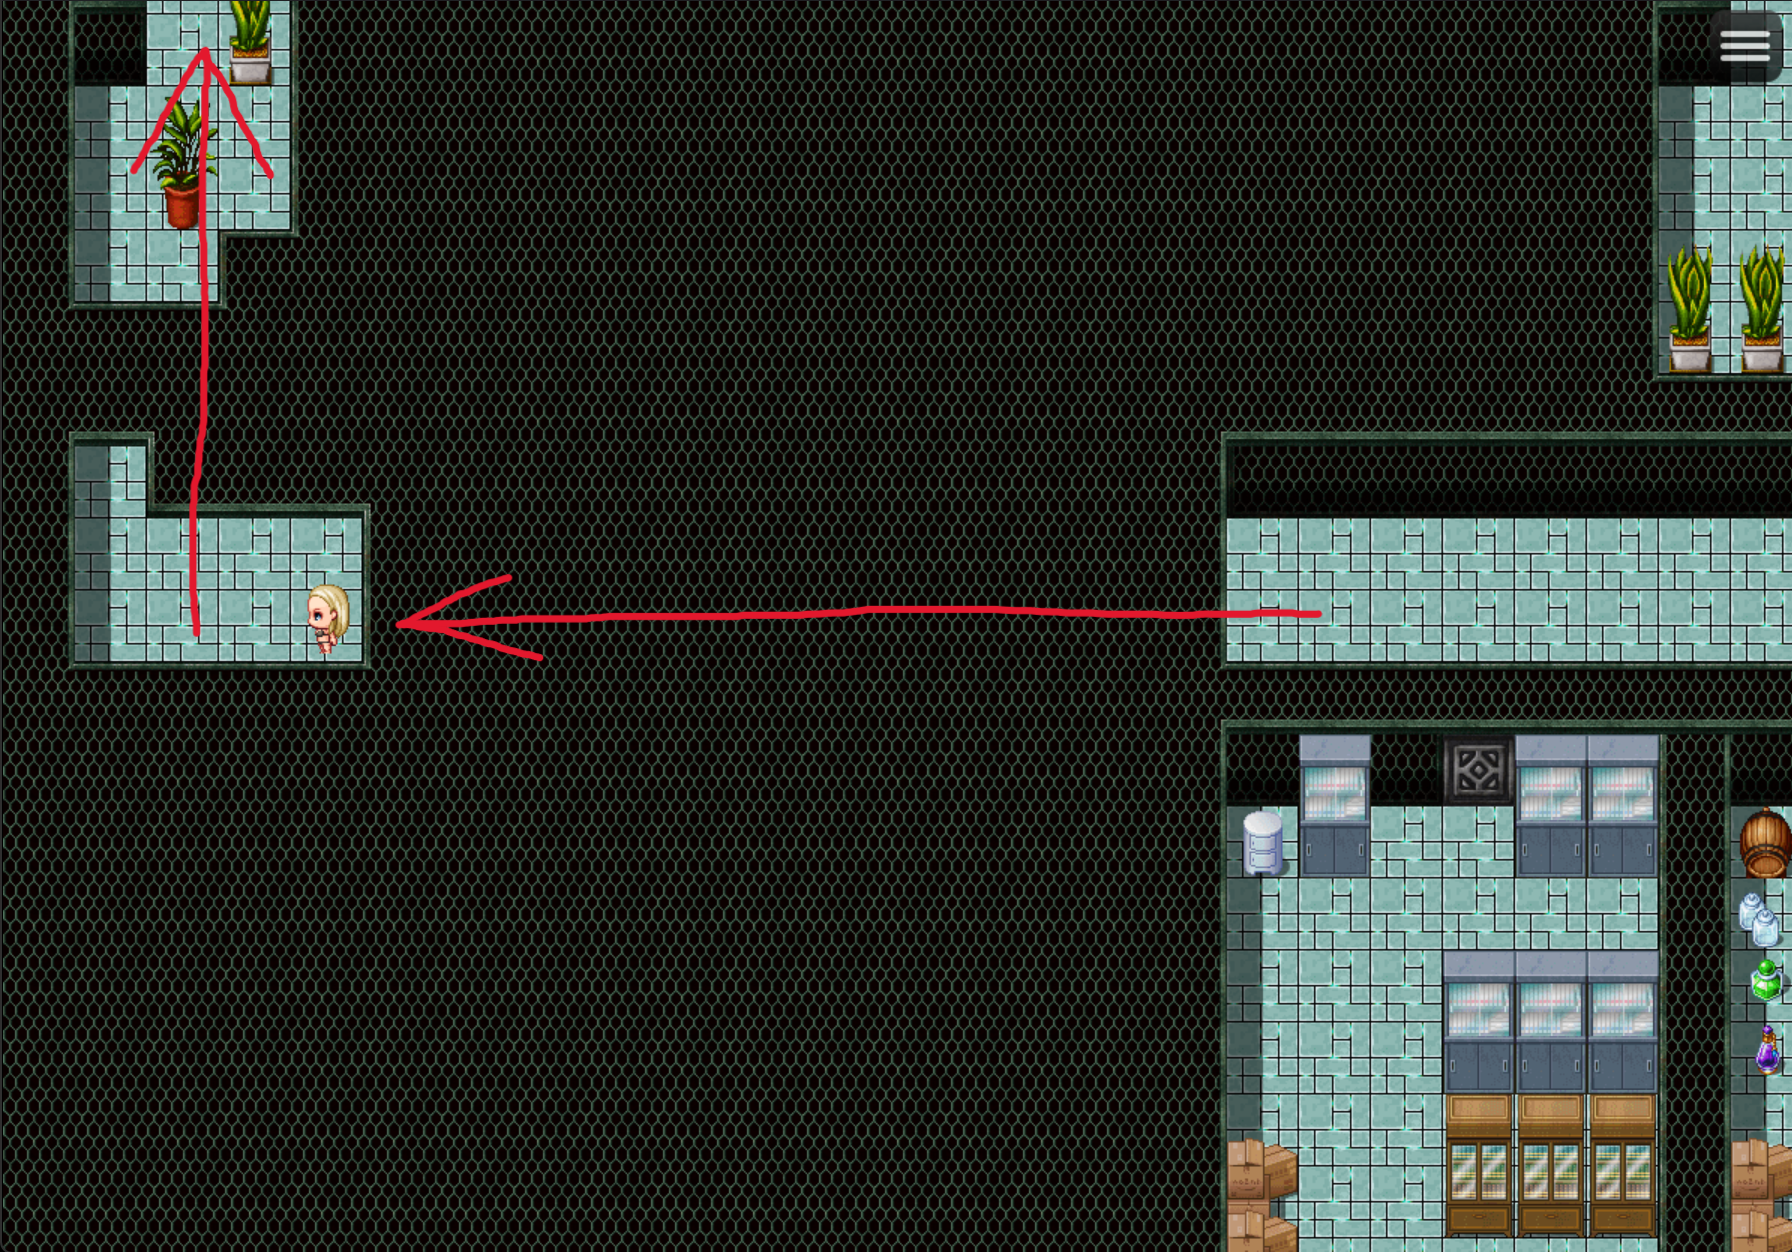
Similar to the locker room endings, you’ll shortcut for the next run. This time is next to the tank of Black Hair Cowgirl at the top left of Cowshed 1, and it will give you the ID Card.

[6/7] ID Card – Final ruim
From the previous guide “[5/7] ID Card – Bom final”.
This time is next to the tank of Black Hair Cowgirl at the top left of Cowshed 1, and it will give you the ID Card.
Then just walk straight out of the facility.
You’ll get the “Milk Server End”
[7/7] Dild0 Masturbation
Repeat literally everything from “[5/7] ID Card – Bom final”, because you’ll need all 3 “Clue to Reform” coisas.
Then get your lust level up to 3. And go to floor B1, and go all the way to the right, you’ll a room with a bed and glowing thing. Click on it to use it.

Then just let yourself get caught to raise the Lust level to 4. And when you’re back in your milking station in Cowshed 1, escolha “Wait Patiently”.
And that’s how to get the final ending! “Rehabilitation – Hide and Masturbation – Fim”
Once you get all 7 terminações, the game will unlock one more secret for you to explore. You won’t need any more help at this point.