
Setting up a Palworld dedicated server on Microsoft Azure involves several steps. Here’s a comprehensive guide to help you through the process.
Create a new server on Microsoft Azure
First of all, we have to create our new server on Azure: it will be a Microsoft Azure Virtual Machine (aka Azure VM) running an image of Windows Server 2022.
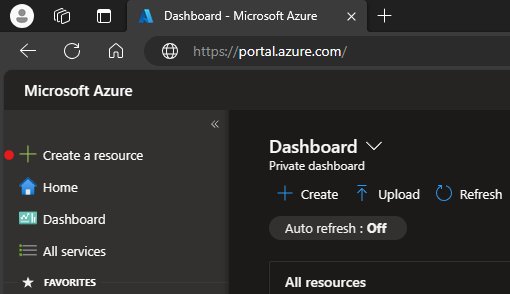
Go to Microsoft Azure, log in with your Microsoft Account having an Azure Subscriptions and click “Create a resource”.
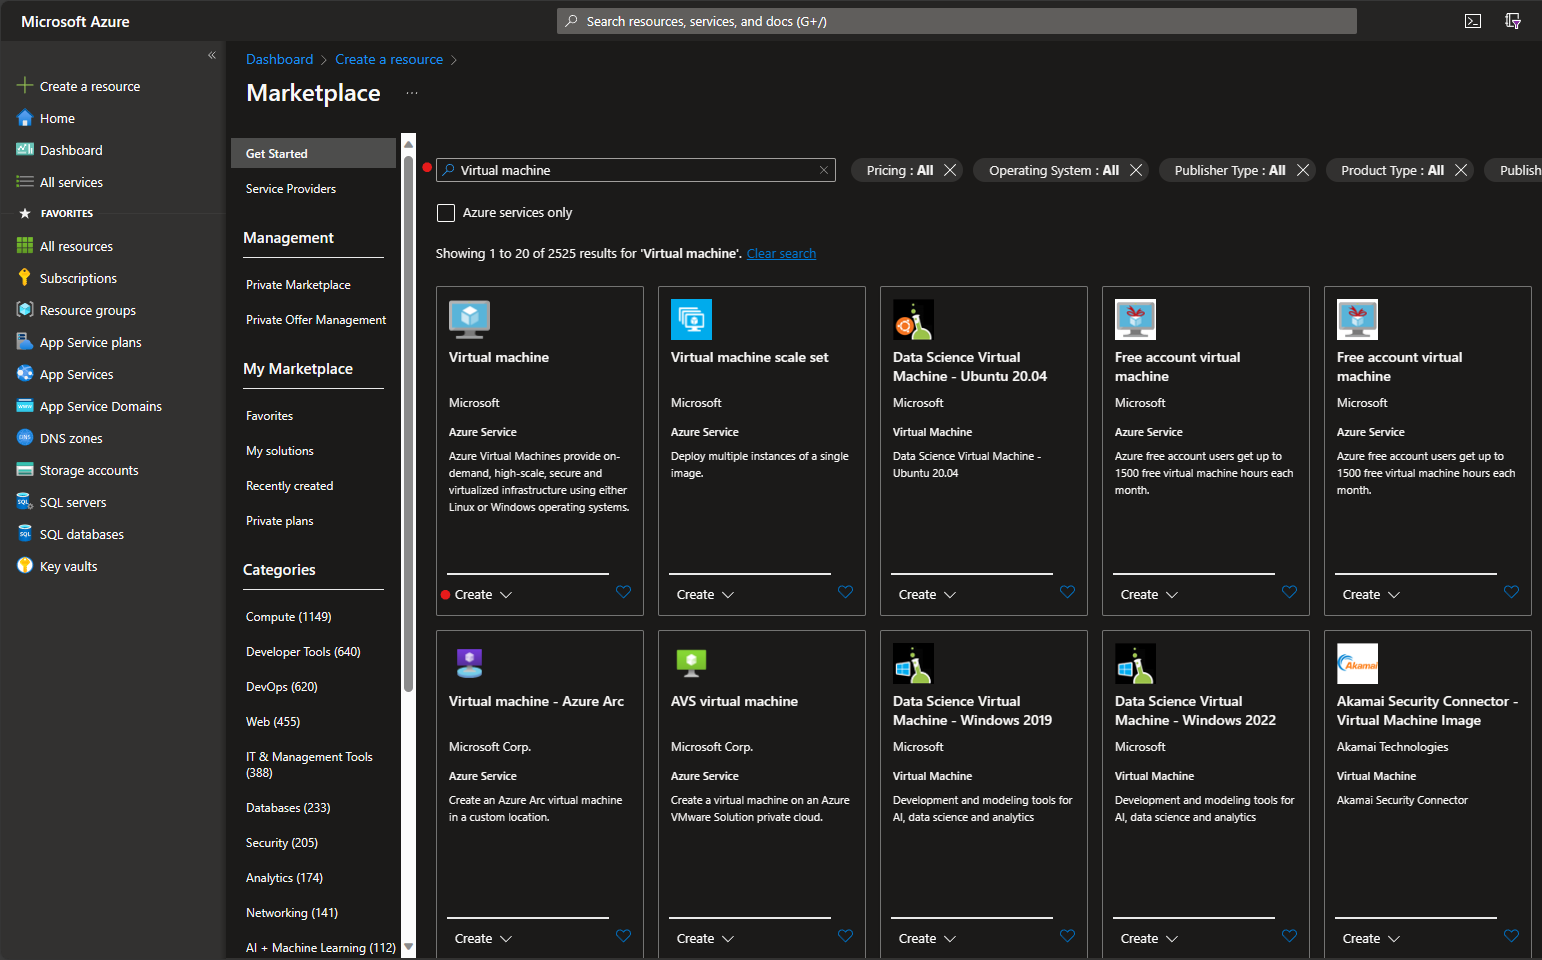
Type Virtual Machine in the search box, search, and click “Create”.
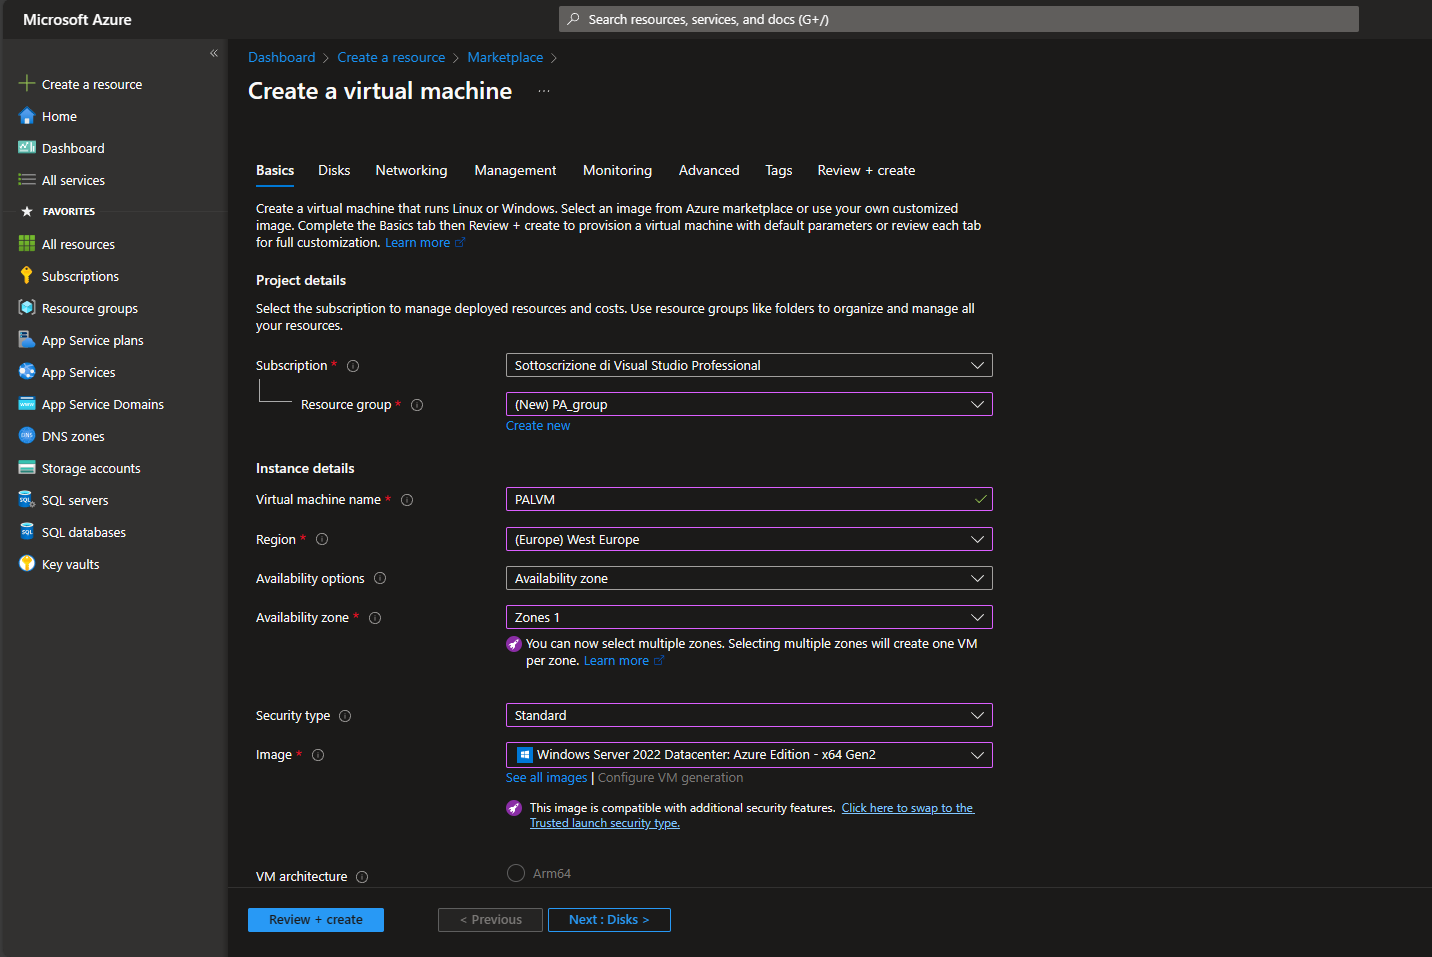
Configure the Azure Virtual Machine (Azure VM) by entering the necessary information as outlined below:
- Choose the subscription, create a new resource group, specify the virtual machine name
- Select the region nearest to you, the Availability Zone (1 AZ is enough), and Security Type (Standard is acceptable)
- As for the image, you should see in the list “Windows Server 2022 Datacenter: Azure Edition – x64 Gen2“. If you don’t see it in the list, click “See all images” and search for it.
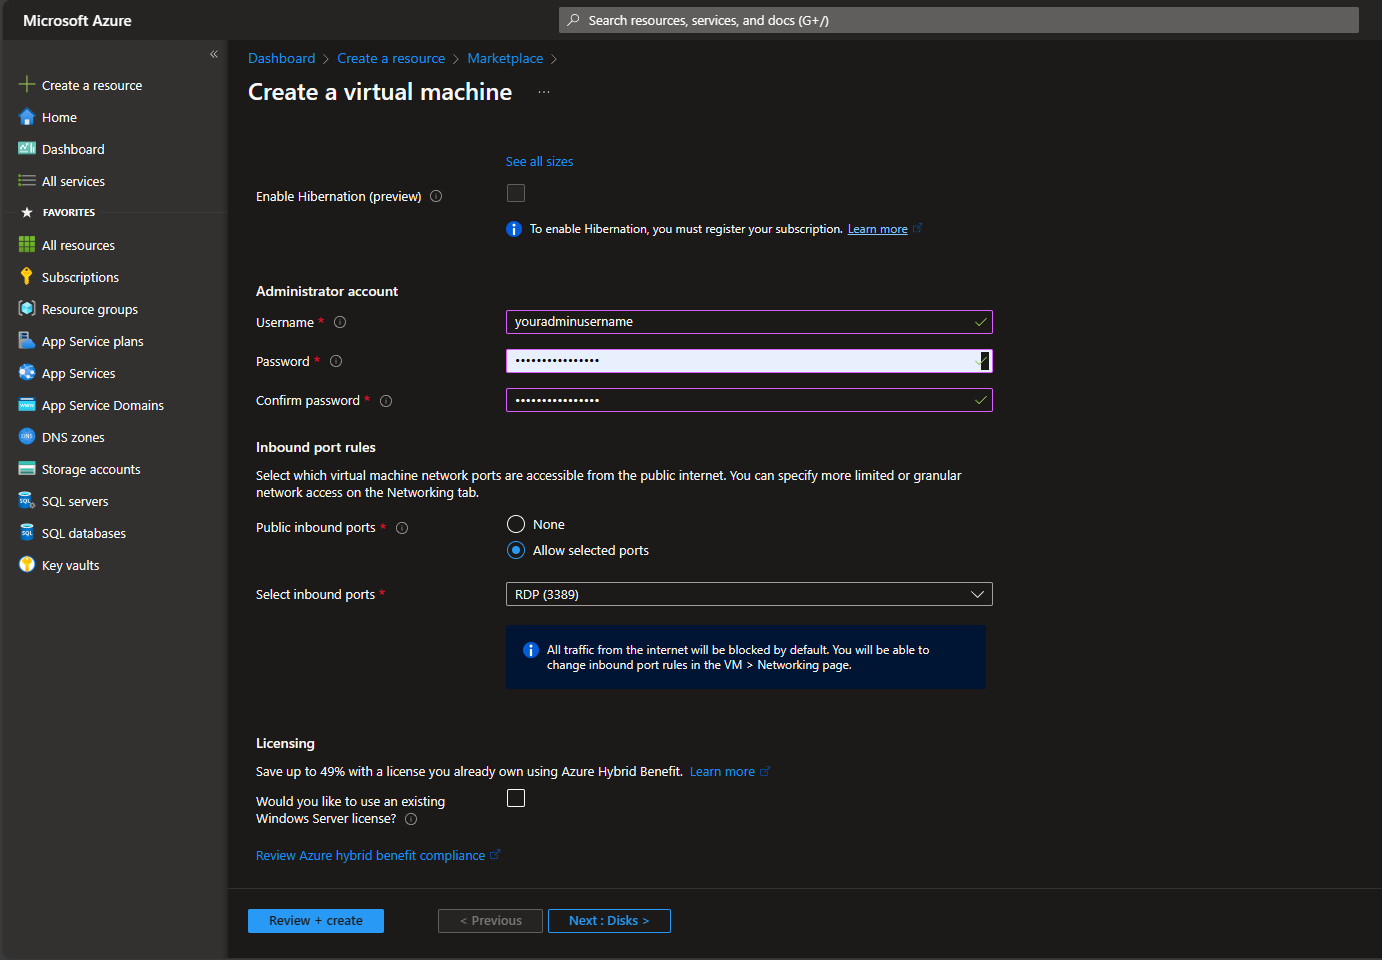
- When selecting the size, look for “Standard_B1s” in the list. If you don’t find it, click “See all sizes” and search for it. If you have a larger budget or if you don’t require your server to be operational 24 hours a day, consider a VM size with at least 8 GB of RAM. Remember that you will only be billed for the hours when your Azure VM is not stopped.
Click the “Review + create” button.

Once you have clicked the “Review + create” button, you will see the Validation test results and the review page; click Create.
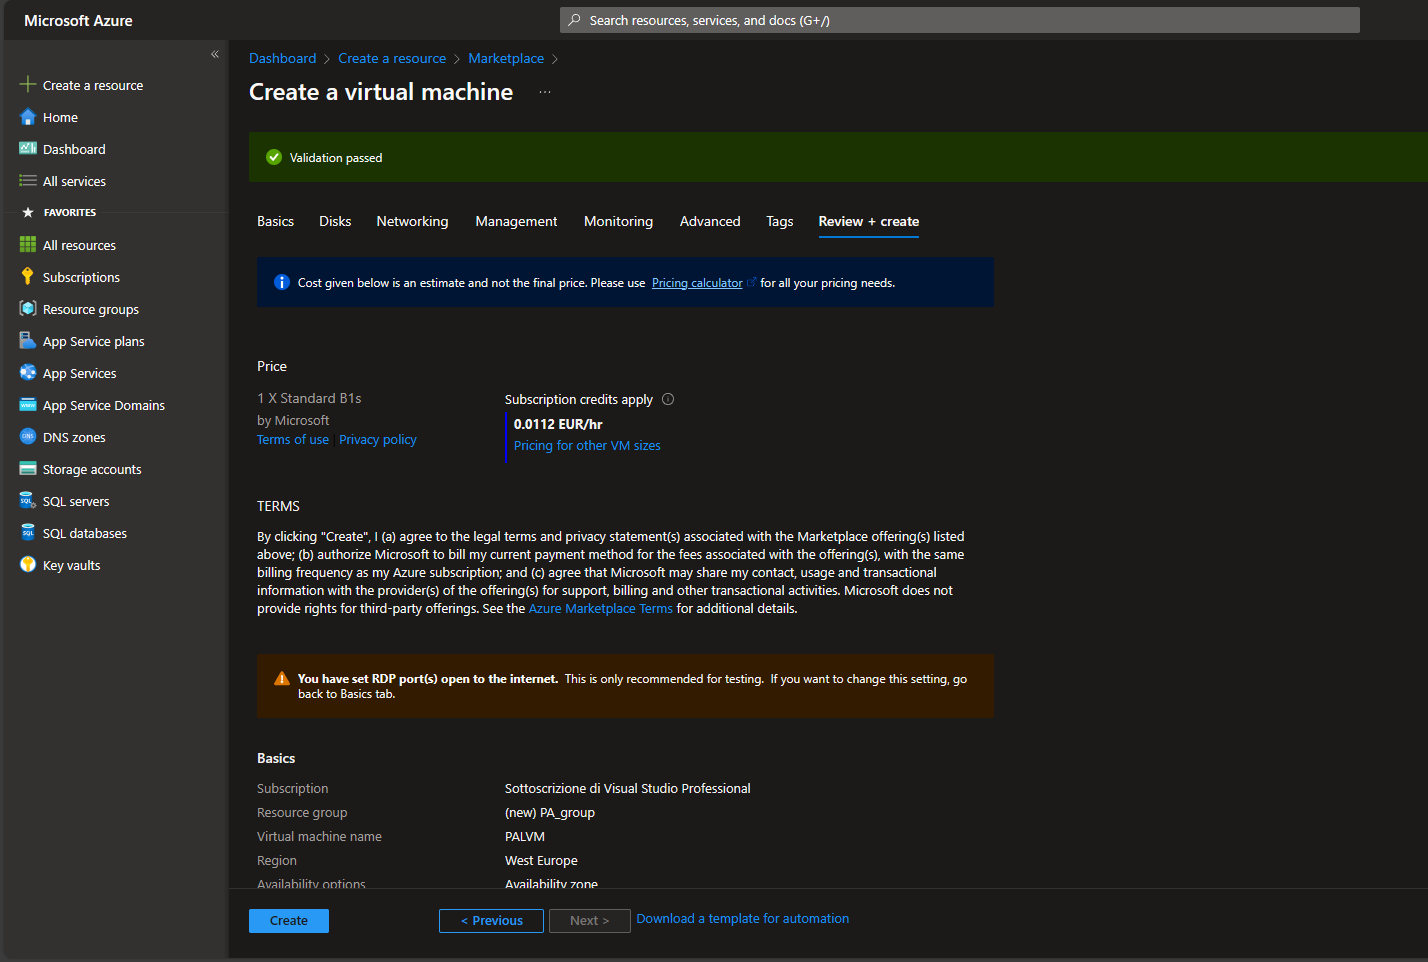
Once you have clicked Create, wait some minutes for the deploy.
Open Ports 8211
Go to your new VM page, click “Networking”, click “Add inbound port rule”.

Open the port 8211 as shown below (Source: Any, Source port ranges: *, Destination: Any, Service: Custom, Destination port ranges: 8211, Protocol: Any, Action: Allow, Priority: 100, Name: AllowAnyCustom8211Inbound).
Click “Add”.

Once you have clicked Add, you have created the new rule to open the port 8211. Now we finally can connect to the VM: in the VM page, click “Connect”, and click “Download RDP file”; once you have downloaded it, open it.
In the Windows dialog, insert your username (if required) and the password you have chosen in the previous section. We are now connecting to the server.

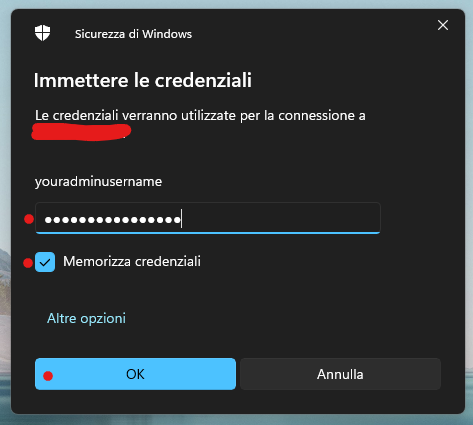

And we are in!

In the just opened new VM with Windows Server, go to “Windows Firewall with Advanced Security tool” and add a new Inbound Rule for UDP Port 8211.
Install softwares and run Palserver in the VM
In order to run Palworld dedicated server we need to download and install in our VM the following software:
- SteamCMD for Windows.
- DirectX 9.0 (search the package online; note that Microsoft websites don’t have the real .exe but downloader, if the downloader doesn’t work search for the real .exe from another website)
- Visual C++ for x64.
Now, we can finally run our Palword dedicated server (aka PalServer):
- Install SteamCMD double-clicking steamcmd.exe
- In the same directory of steamcmd.exe open a new Command Prompt (not PowerShell) and enter the following commands:
- steamcmd +login anonymous +app_update 2394010 validate +quit
- cd .\steamapps\common\PalServer
- PalServer.exe
The server is running!
Join the server
Run Palworld and, in the main menu, choose “Play Multiplayer”.
Insert the IP of your Azure VM followed by :8211 and click “Connection”.
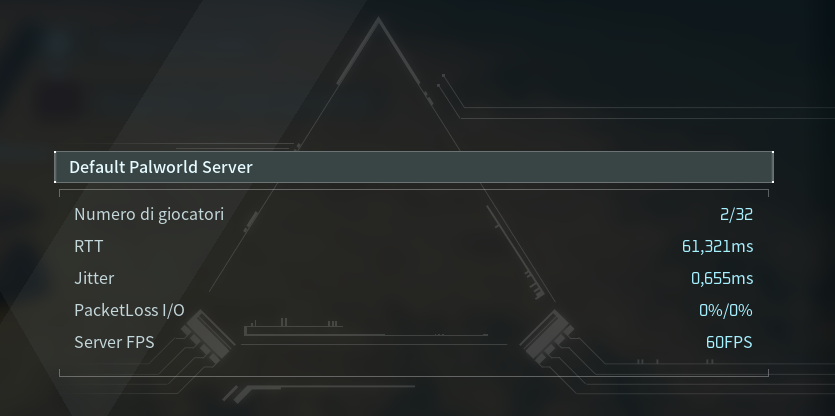
We are online!