This guide provides instructions on how to achieve each of the 7 endings in Cthulhu Mythos ADV Lunatic Whispers. As there are no English guides available, this guide aims to fill that gap. It also includes tips on sanity levels and getting bonus notes.
Before proceeding with the guide, it is recommended that you play the game once to familiarize yourself with the story and investigate everything. This will make it easier to obtain the bonus notes on subsequent playthroughs since there is an item that can help you win or lose most ability checks. It will also help you identify what you can skip clicking on.
Do not worry about failing ability checks as a friendly voice in your head will offer assistance if that happens. However, it may come at a cost to your sanity.
If you find any errors in this guide, please inform me so I can update it.
Puzzle Solutions
There are a couple of simple puzzles during the game, solutions are included here:
Day 4 – Chemical Mixing
- Hint: Look at the posters on the wall.
- Solution:
- Biological Solvent: 231
- Transmutation Catalyst: 113
Day 5 – Strange Ringed Devices
- Hint 1: The notes from inspecting the room with the jars and the room with the brains should help.
- Hint 2: Weighing the rings you have found using the box in the brain room should help.
- Hint 3: The numbers on the notes are corresponding to the rings on each device, with the weights adding up to the values.
- Solution:
- 4th device: Add 1 medium ring and 1 small ring.
- 5th device: Add 1 medium ring.
Day 7 – Selecting a Date
- Hint 1: Look at the locker room 3 note.
- Hint 2: The Director’s journal hints at which day was the first contact.
- Hint 3: You want to go to the day BEFORE the first contact.
- Solution: 0526
- For ending 1 you will need to get this wrong, for all other endings you will need to enter the correct date.
Book of Eibon: Item for ability checks
In order to assist you with ability checks in subsequent playthroughs, you can acquire an item that allows you to toggle your stats between standard, 100, and 0. To obtain this item, you must reach Day? and be on track for any ending other than the first one. When prompted to “Enter the locked room,” choose to go inside and click on the bookcase to read Shinjo’s book. This will grant you the Book of Eibon.
All Endings
There are 7 endings, with four main criteria that can impact which one you will get.
These criteria are in Day 5 (which hand you grab), Day 7 (whether you enter the correct date), and Day? (whether you pull on Shinjo’s coat and whether you use the syringe). Some of these only impact a couple of endings. There are ways you can get game overs, but they don’t count as numbered endings.
Ending 1
- Day 7: Enter the incorrect date. (You can enter anything other than 0526.)
Ending 2
- Day 7: Enter the correct date. (0526.)
- Day ?: Don’t use the syringe — when you get back to your starting room, click on it, choose “Grab the Syringe”, but then click “Stop and Listen”.
Ending 3
- Day 5: When given the choice to grab Reiji or Hatsumi’s hand, choose “Grab them both” but then fail the subsequent ability checks.
- Day 7: Enter the correct date. (0526.)
- Day ?: Use the syringe — when you get back to your starting room, click on it, choose “Grab the Syringe” then “Inject the Serum”.
Ending 4
- Day 5: When given the choice to grab Reiji or Hatsumi’s hand, choose to grab Reiji’s hand.
- Day 7: Enter the correct date. (0526.)
- Day ?: Use the syringe — when you get back to your starting room, click on it, choose “Grab the Syringe” then “Inject the Serum”.
Ending 5
- Day 5: When given the choice to grab Reiji or Hatsumi’s hand, choose to grab Hatsumi’s hand.
- Day 7: Enter the correct date. (0526.)
- Day ?: Use the syringe — when you get back to your starting room, click on it, choose “Grab the Syringe” then “Inject the Serum”.
Ending 6
- Day 5: When given the choice to grab Reiji or Hatsumi’s hand, choose “Grab them both” and succeed on both subsequent ability checks.
- Day 7: Enter the correct date. (0526.)
- Day ?: When given the option to “Grab Shinjo’s Coat” or “Fight Back”, choose to “Fight Back”.
- Day ?: Use the syringe — when you get back to your starting room, click on it, choose “Grab the Syringe” then “Inject the Serum”.
Ending 7
- Day 5: When given the choice to grab Reiji or Hatsumi’s hand, choose “Grab them both” and succeed on both subsequent ability checks.
- Day 7: Enter the correct date. (0526.)
- Day ?: When given the option to “Grab Shinjo’s Coat” or “Fight Back”, choose to “Grab Shinjo’s Coat”.
- Day ?: Use the syringe — when you get back to your starting room, click on it, choose “Grab the Syringe” then “Inject the Serum”.
Sanity and Bonus Notes
The game has two notes per day, and to obtain each note, a certain level of sanity must remain at the end of the day. While the first note is usually easy to obtain, the second note may be harder to get on some of the later days due to the tight sanity requirements.
Engaging with any “strange” occurrences, such as unusual lights or blood, has the potential to decrease your sanity. If you want to maintain a high level of sanity, it is best to focus solely on collecting the items necessary for progressing through the story and avoid clicking on extraneous objects. Additionally, some days offer Mental Stabilizer Pills that can help regain a small amount of sanity.
While not all things that can decrease your sanity are listed, a few common ones to watch out for are mentioned. Additionally, some sanity-decreasing events may be unavoidable.
Day 1
Mental stabilizer pill location: In the wardrobe.
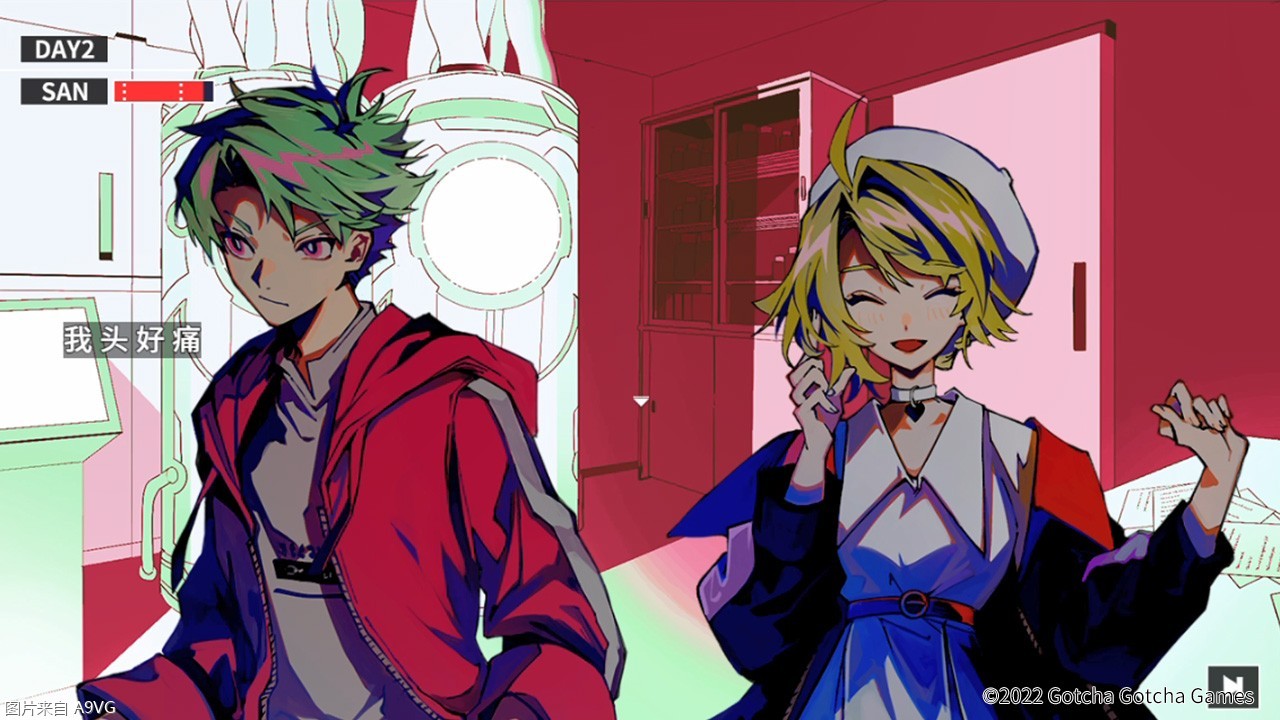
Day 2
Mental stabilizer pill location: In the medicine cupboard in the room with the two big pods.
Day 3
Mental stabilizer pill location: In the medicine room (the one with the jars and fish tank), on the lower of the two shelves containing all the bottles.
Notable sanity decrease1: You don’t need the stun gun bullets in order to get to the end of the day, and entering the room with the corpse and putting your hand in the bathtub to get these will result in a couple of sanity decreases. If you’re wanting the second note, you should avoid doing this.
Notable sanity decrease2: Don’t touch the wall/funky lights at the exit, it’ll decrease your sanity.
Day 4
Mental stabilizer pill location: In the hidden room, check the cabinet, one of the shelves has a pill.
Day 5
Mental stabilizer pill location: Underneath the fifth strange device–the one that’s the shape you’ve been seeing visions of.
Important note: you will lose 15 sanity on entering the room on the left at the end of the corridor. You will therefore need to be on full sanity before going in if you want the second note. Avoid doing any extra investigation, for example do not look closer at the first strange device when prompted, as that one will lower your sanity.
Day 6
This day is particularly strict on sanity. The left door is a no-go as you will lose too much in there. In the right door, you will have to succeed on three ability checks in a row to have enough sanity for getting the second note, as failing any check in this door will lower your sanity. However, it seems that the Book of Eibon (if you have this) also benefits your competitor, and if you have it turned on you will lose and not get the item you need to proceed. It took me a few tries with the stats set as standard to get this. Good luck!
Day 7
You should easily have enough sanity on this when aiming for endings 6 and 7 because having Reiji and Hatsumi there with you results in you losing less sanity.
Memory Pieces
Memory Pieces can be obtained as you progress through the story, and they all contribute to a larger picture. While most Memory Pieces are obtained automatically, there is one section missing in the bottom right. If you know where to find this missing section, please inform me, and I will update the information.
- Top left: automatically during Day1
- Top middle: automatically during Day6
- Top right: automatically during Day1
- Middle left: automatically during Day4
- Middle: automatically during Day7
- Middle right: automatically after setting the rings on the 4th device during Day4
- Lower left: automatically during Day1
- Lower middle: automatically during Day3
- Lower right: ???
After getting all the endings/ending 7, an alternative version of the picture is unlocked.