Do’s and Dont’s to make the most time consuming achievement more bearable.
Introduction
Hi there! I finally completed the master mapper achievement and along the way I picked up a few time saving measures you can implement to make it easier for yourself.
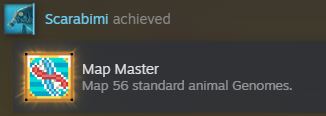
Note: the text of this achievement is incorrect, I think that the number “56” was just not updated as they added new animals. You will have to map EVERY available genome in the base game (currently 63) to get the achievement.
Another quick note: this achievement is very time consuming. It is by far the most difficult to obtain and you will be stuck managing your breeding facilities for quite a while- just a heads up!
General Breeding Explanation
Each animal species in the game has ten different variants. An example breeding tree for the rabbit is shown here:
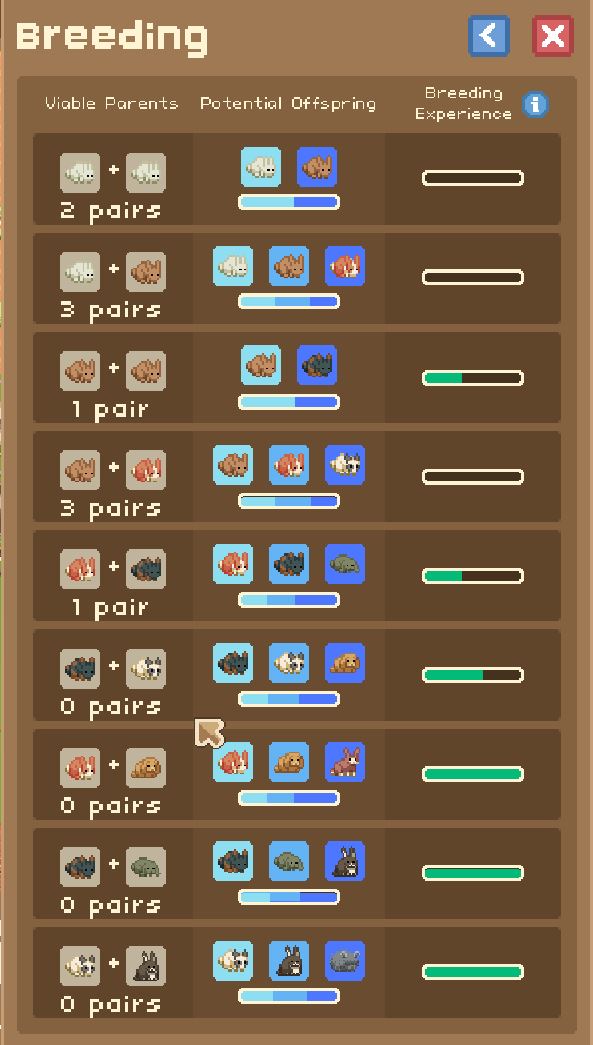
Some important information here: On the left hand side you will see how many pairsof each animal you have available to breed. On the right are all possible variants that these pairs can produce (this is always one identical to each parent, and the new variant)
The breeding experience barindicates how many times you have had a successful birth of any possible offspring with this specific breeding pair- the higher the experience bar is, the more likely the new variant is as an outcome (this is essentially bad luck protection).
As you can see looking at my rabbits, some variants I obtained without everbreeding in the nursery, and some took me several attempts. The farther down a tree you get, the less likely you are to obtain the new variant so you can expect to need to use nurseries to get these last few.
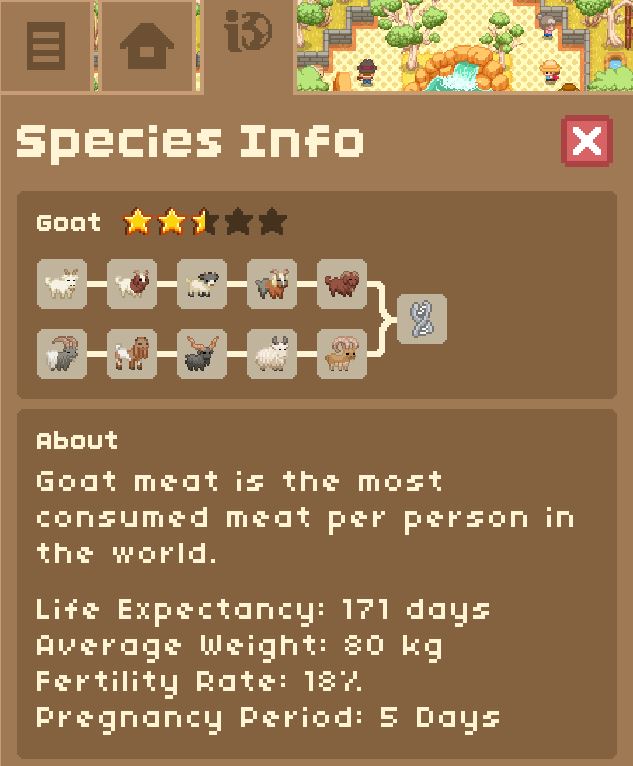
The species information tab, which can be accessed by clicking on one of your animals in their pen and clicking the far right tab, gives additional breeding information.
The fertility rateindicates how likely it is for a pair of these animals to get pregnant each day. To my knowledge you cannot increase this percentage through any upgrade, and this applies to animal pairs in the nursery as well. Generally, larger animals have a lower fertility rate and smaller animals have a higher one. So, if you are trying to map a genome for a Tiger for example, they are going to spend more days in the nursery attempting to get pregnant than a rabbit.
The pregnancy periodindicates how long an animal will be pregnant before it gives birth. This again follows a general trend of bigger animal –> longer pregnancy. This CAN be affected by research, but to my knowledge only applies to animals IN the nursery, not out in pens.
If you are starting a NEW RUN
If you have just barely started a fresh run, here’s some tips to help you passively get progress towards the achievement while you work on other things:
First- always prioritize getting new animals (OVER deco, facilities, morality, and all other objectives), the sooner you get a pen of each species, the sooner they will start passively breeding- which will end up giving you quite a lot of progress, especially with animals who’s pregnancy times are shorter. Also remember, you can spruce up your enclosures and move them around later when you want to go back and start to decorate. If you need a specific variant of an animal to complete a trade, prioritize breeding in the nursery.
Second- Make sure when you start to farm this achievement you are doing a “good morality” run (at least 40 good morality). The nursery upgrade to reduce pregnancy times to one day is absolutely critical for farming this endgame. **NOTE** this does not mean you can’t play evil to get the 200 evil point achievement, just make sure you switch back to good when its time to hunker down and breed your animals. (You can do this quickly by switching all of your stores to the good morality ingredients, paying your staff the max wages, and choosing good morality options)

Third- Except in cases where you need a variant for a trade- don’t stress the breeding process until you’re ready to fully work on it, but make sure to use your nursery as often as you think about it. You don’t have to fully micromanage it, but popping in once in a while and throwing new breed pairs in there can really help a lot.
Lastly- Pop in to check out the animal shelter every now and then. Getting new variants there is one less you have to deal with later!
Tips to get genomes mapped as quickly as possible
Research
First of all, there are a few research nodes that will help you A LOT:
Two of these research nodes require good morality points. The pregnancy reduction requires morality to be >20 and the release hub >40 So make sure you are at least 40 morality! (Release hub just to save you time getting rid of animals quickly, breeding through the nursery can crowd pens very quickly)
Time Savers
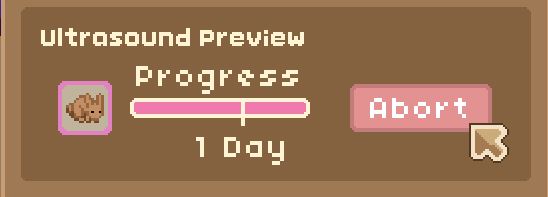
Set your nursing time to 0 days:

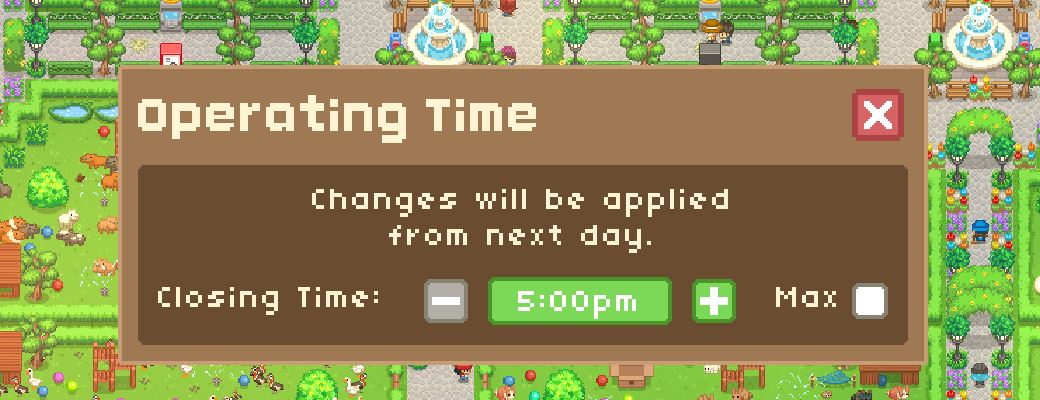
Set your Zoo’s hours to the minimum
(more time of the day will be skipped, speeding up pregnancy progression)
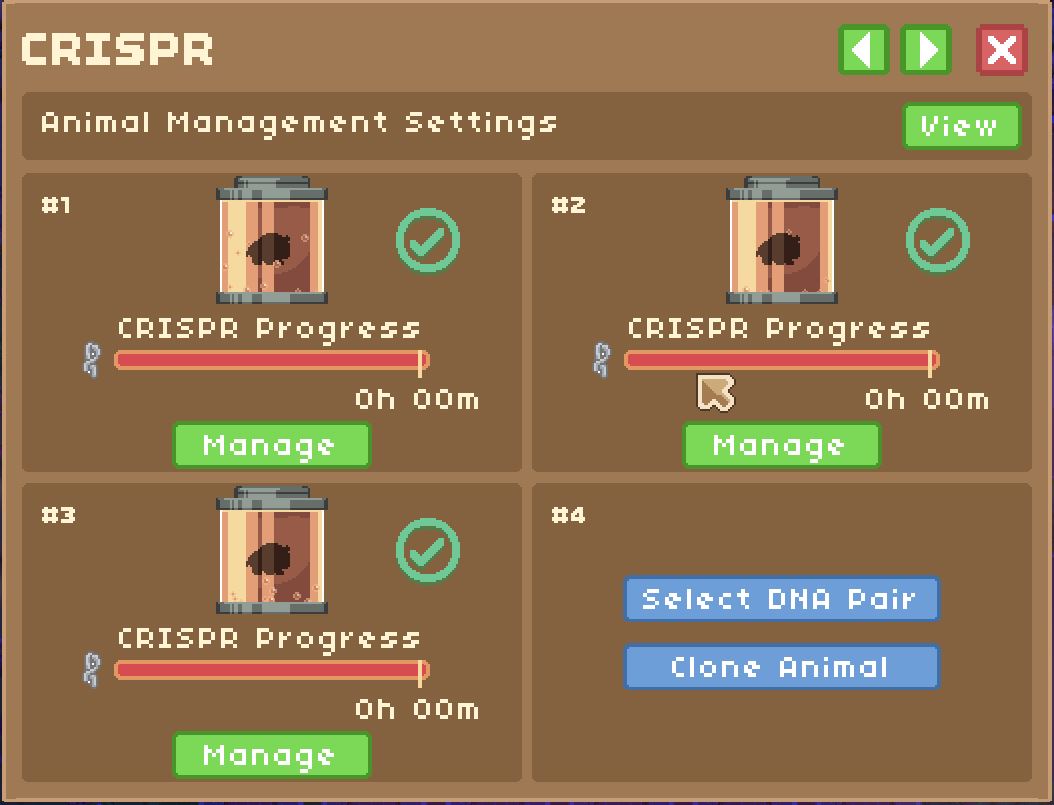
Build multiple nurseries and CRISPRS in an easily accessible place (preferably near your release hub):
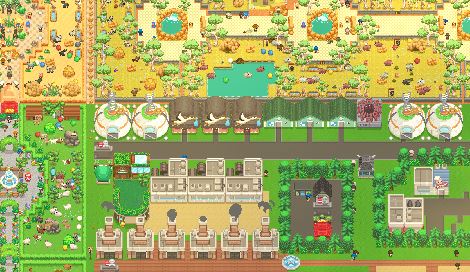
I placed three nurseries and 4 CRISPRS because it was the maximum I could reasonably monitor, but feel free to build as many as you like!
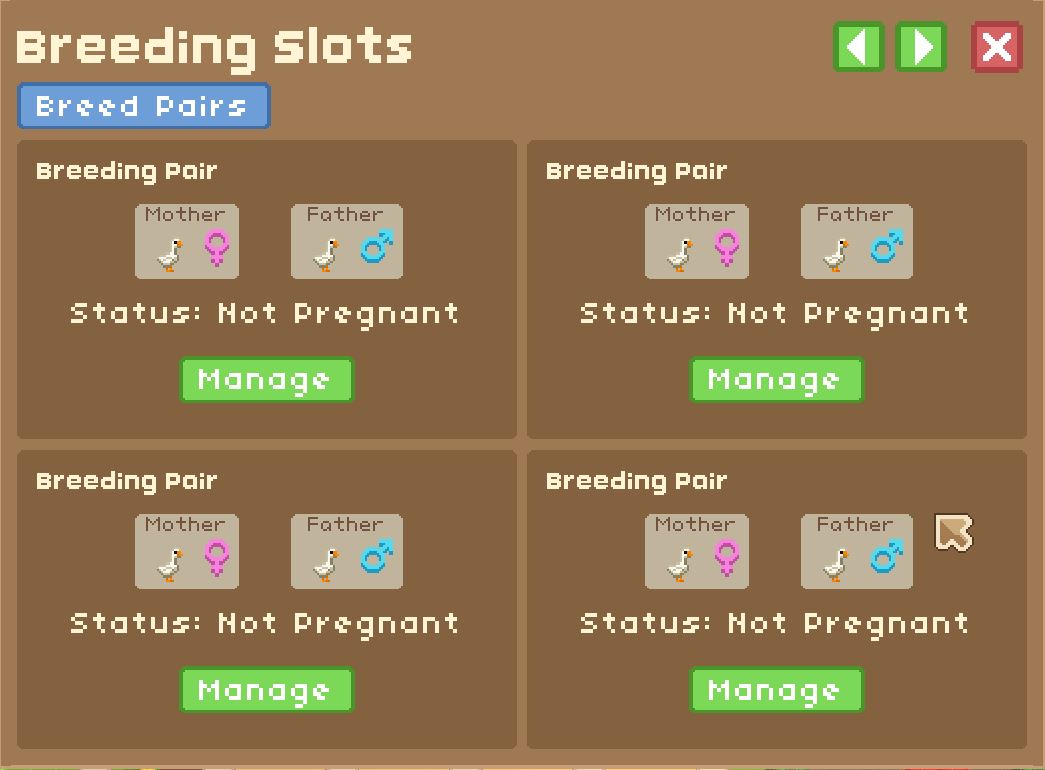
Throw any and all “new variant” pairs you have from any animal species in. DO NOT TRY TO FOCUS ON ONE GENOME AT A TIME
The more new variants you have in pens, the more passive variants you will obtain.
Only abort pregnancies with undesired results if your experience bar is full:
The experience bar is a lifesaver, especially with larger animals who take a long time to get pregnant, make full use of it!
Breed multiples of the same pair:
This will make your experience bar go up more quickly, resulting in you getting the variant you need faster. (Especially important when you are down to your last few genomes)
CRISPR early, often, and more than you think you will need:
Sometimes especially with the larger animals, it can take FOREVER for one breeding pair to produce more breeding pairs of the same type to make your experience bar go up quickly. Use the CRISPR early as an extra bad luck protection layer. Also, make sure to consider your animal’s breeding tree- if one variant is in 5 different breed pairs, account for this.
Remove any pairs that are NOT producing a new variant
If you have any pair available that can breed a new variant, make sure to always prioritize that.
You only want animals in the nursery that are not producing a new variant when you have extra nursery room, in which case it can be useful to create more new breed pairs.
Conclusion
Thanks for checking out my guide! I hope these tips and tricks help you get the Master Mapper achievement as quickly and painlessly as possible 🙂 Leave any questions or comments down below and I’ll check back every once in a while!
Happy Mapping!