Welcome to the basics of 18 Wheels of Steel: Hard Truck! This will be a basic comprehensive guide to assist you in your trucking adventures and help you out along the way!
Getting Started
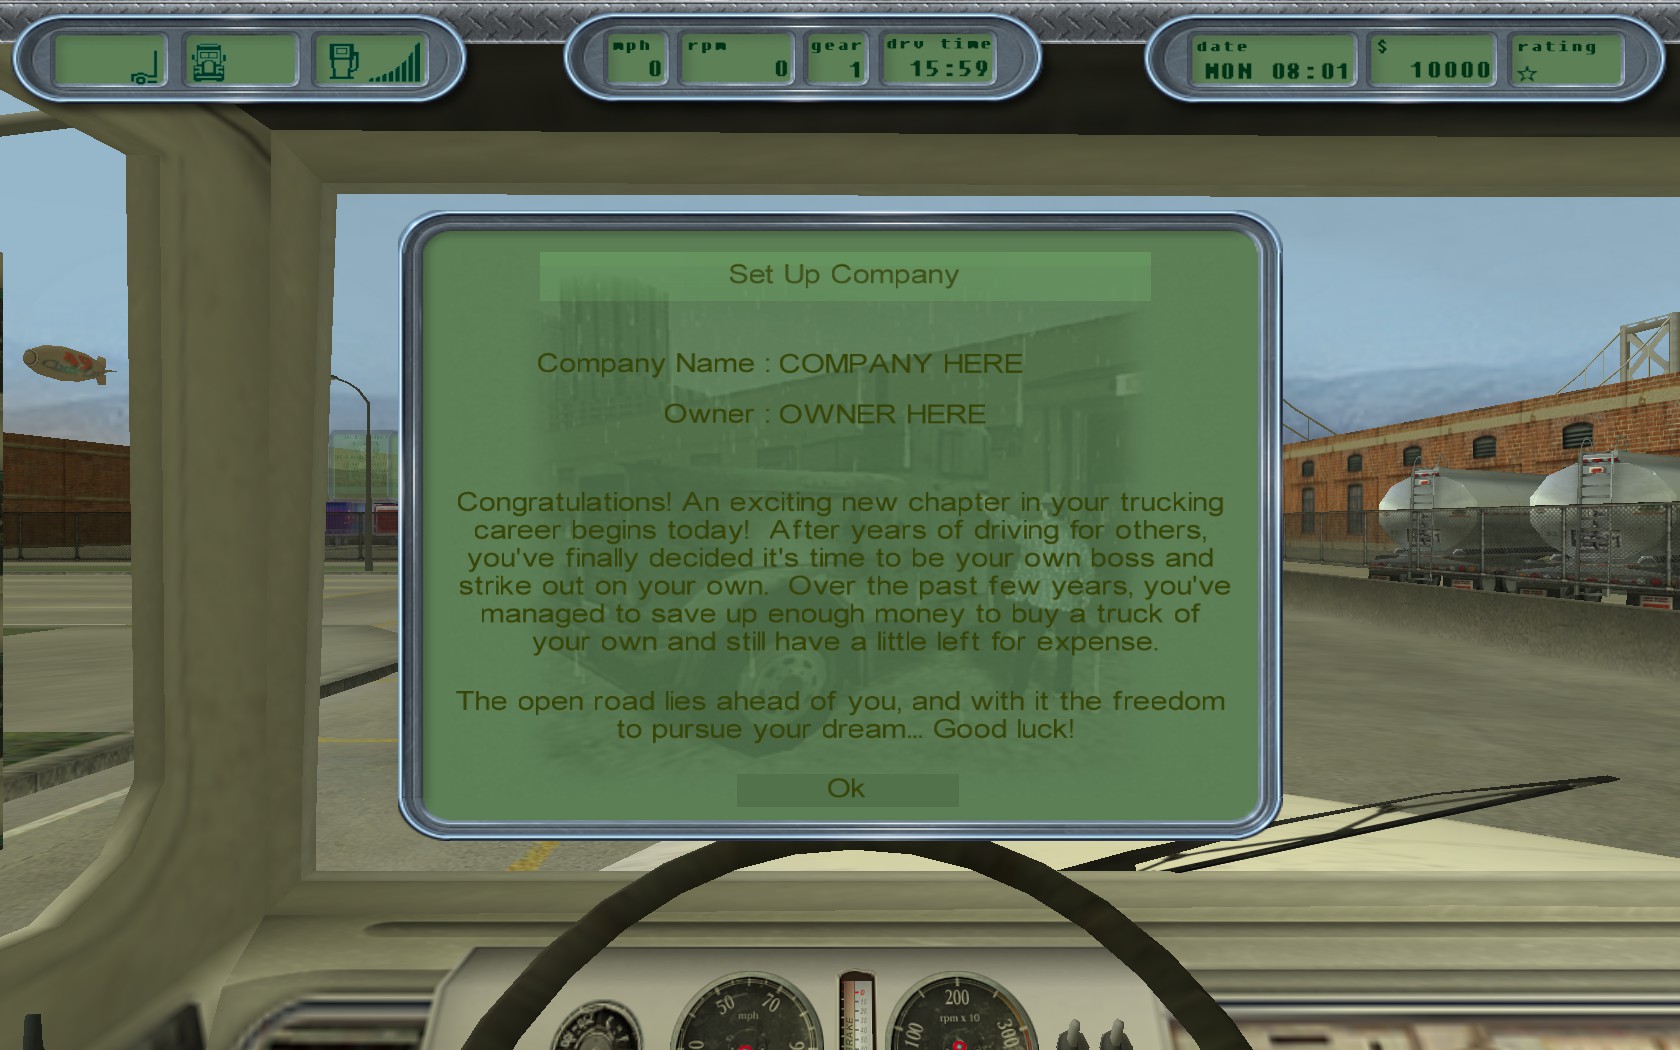
If you’re new to Hard Truck in general, it’d be a good idea to start from the easiest campaign to get your feet wet. Selecting the ‘West Coast’ campaign will help introduce you to the world, as well as give you a nice starting allowance to upgrade your truck.
From the start, name your company and call yourself whatever you want! Then, you’re off to the races! Your starting truck will be a bit weak compared to the other options available on the market, but you can upgrade at any time (when you have acquired the funds) to help you take your first steps into getting a bigger, badder beast of a machine.
Job Types and Risks
When taking a job, there are a few things to note. First and foremost, the job type!
There are 2 types of job you can take: Adhoc and Recurring
– Adhoc Jobs are randomized shipments from one company to another. They provide a decent amount of money based on the cargo, fragility of the load, other additional risks tied to the cargo, and the drop point.
– Recurring Jobs are different to adhoc jobs in that they provide an additional reward to completing the load with little to no damage and an on-time/early delivery. These loads also follow the same payouts but also reward you with a license, assuming the above criteria are met or exceeded.
Each job also has some stats to pay attention to when choosing which jobs to take and which jobs to ignore, such as:
– Rating: Affects bonuses, licensing upgrades, and employee opportunity to move this load (from 0 Stars to 4 Stars)
– Drop Point: Where the load is going to, with the company being listed underneath
– Reward: The exact amount of money you’ll receive if the load is delivered damage free and on-time
– Fragility: How much damage the load can take on your journey (from Low to Extreme)
– Validity: How long the load will be available for a driver to take it
– Remaining Time: How long the driver has to make it to the destination and unload the trailer

However, with each job come a chance of increased risk. There are 4 additional risks that can be added to cargo (mostly adhoc jobs)
– Heavy Loads indicated by a “weight” icon underneath the load details are incredibly heavy loads that require operators to pull over at weigh station to have their cargo weighed. If the overall weight is accepted, your truck can pass on thru and continue it’s journey.
– Fragile Loads indicated by a “glass” icon underneath the load details and highly sensitive loads and are prone to breaking if your driving isn’t careful. Damaging the load will cause an automatic failure and provide you with no money paid out, however, the payout will be generally better in some cases.
– Timed Loads indicated by a “stop watch” icon underneath the load details are loads that are needed to be delivered quickly and with some care. These loads are generally cut short and you’re expected to get the load to it’s destination as fast as possible, which generally means ignoring road safety and speed limits. If the load is past it’s due time and has incurred a delay, there will be no money paid out. However, a successful delivery will generally payout better than normal deliveries.
– HC Certified Loads indicated by an “HC” underneath the load details are loads that require and HC Certificate to transport. HC loads are usually chemical/liquid loads that require EXTRA care to avoid damage. These loads generally pay well, but an HC Certificate is needed in order to ship these loads. Certificates can be purchased at a weigh station for $25,000 (based on the West Coast campaign)
Other risks to be aware of include:
– Drowsiness, which will cause you, the operator, to blink and yawn; dimming the screen and blinding you temporarily over the course of your journey. It’s always a good idea to rest in between jobs to help keep yourself from going off the road or colliding with traffic of other objects.
– Fuel Level is HIGHLY important. A good operator keeps an eye on their fuel level and knows when to pull over and fill the tank. After each job, check your fuel tank and fill it up if you’re not certain if you’re going to make it to your next destination.
– Vehicle Damage is a major part of how your truck performs with or without a load. Damaged trucks perform poorly when it comes to taking off from a stop, hinders overall towing performance, and can also affect steering. If your truck takes damage in between jobs, you can stop at a service station or dial 911 to have a roadside mechanic fix your truck. Be advised, a repair will take at least an hour to perform.
– Speed Traps are a truckers worst nightmare. When it comes to getting to a destination on time, sometimes taking it a little slow will save your neck in the long run. Purchasing a radar detector from a service station will help clue you in to nearby speed traps. While you CAN sometimes avoid a speed trap, it’s not always guaranteed, and running from a speed trap will only make the fine worse. If you get caught speeding, pull over, take the fine, and keep on trucking… just don’t let it happen too often.
In the next section, I’ll go over company management and how to run the company with drivers.
Company Management
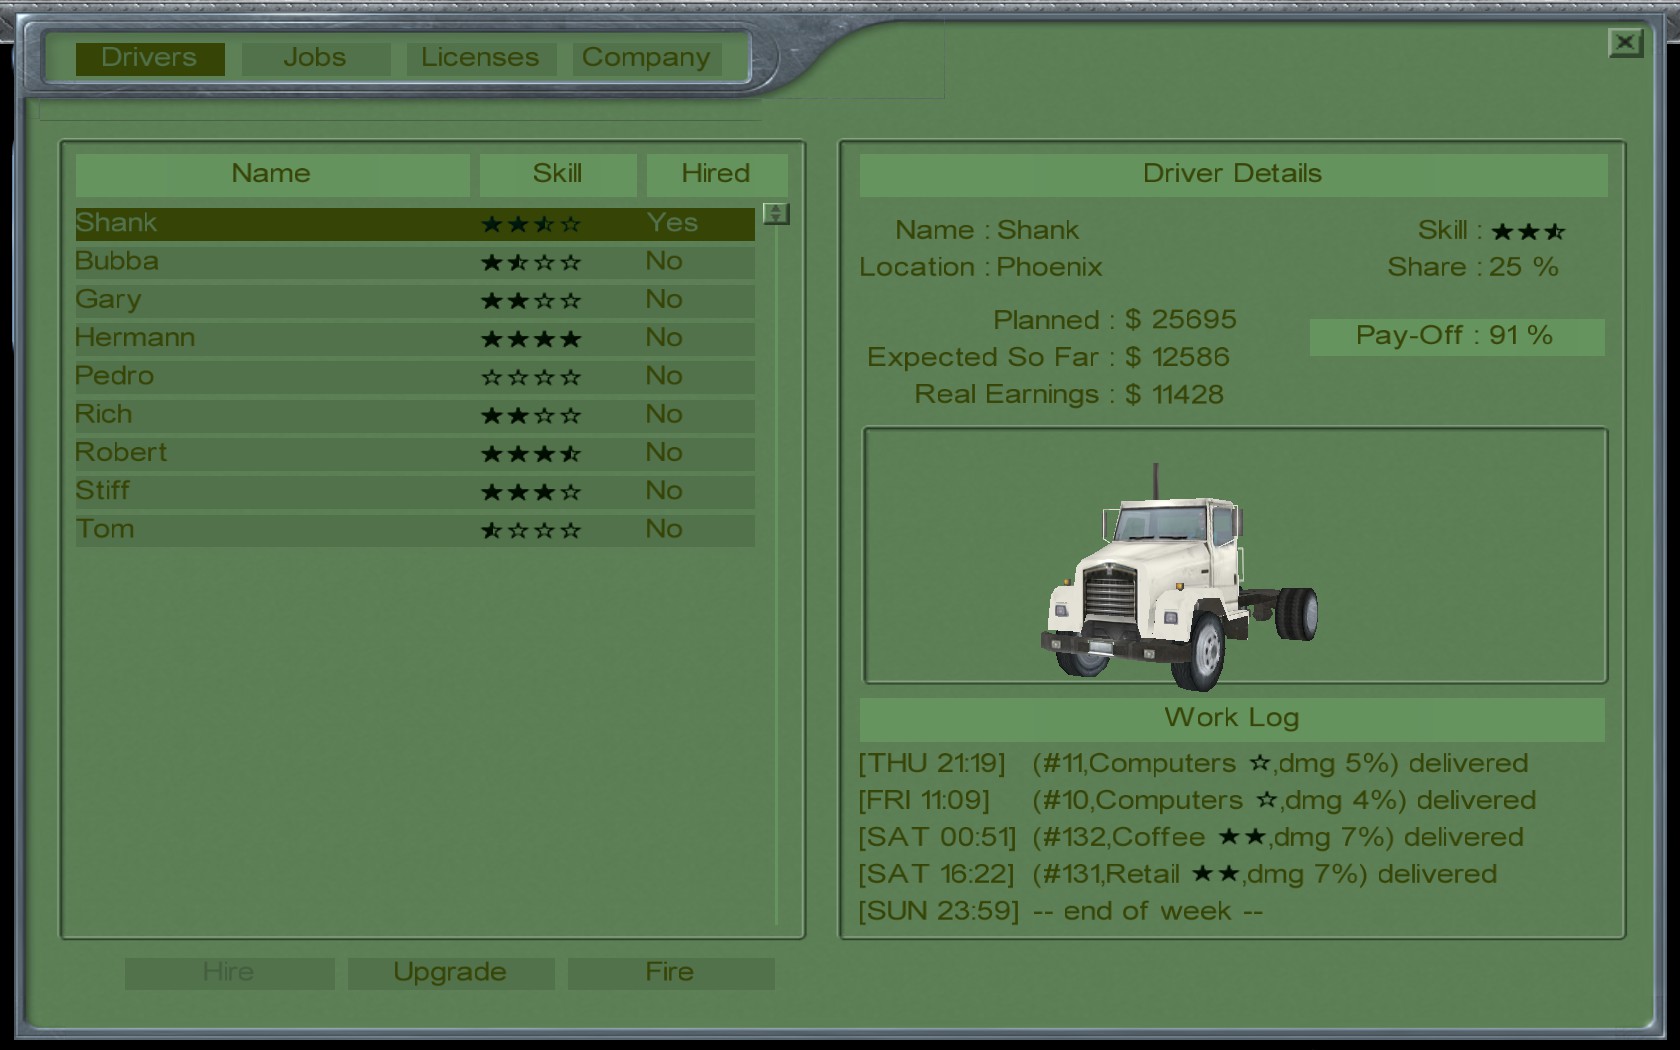
Company management is a necessary investment that you should make once you’ve gotten a decent amount of funds in your account. Parking at a rest stop or a delivery depot will gather you some names of operators that are looking to be hired and do some work, if you’re willing to pay them enough. While you can hire workers with enough money, they won’t be going anywhere if you don’t have the right credentials.
Acquiring licenses is a MUST if you’re going to hire drivers to handle loads that you can’t or otherwise won’t handle. To acquire a license, you must successfully complete a recurring job route and earn a license. However, in order to receive that license, you must ALSO increase your ranking. For example- in order to receive a 1 Star Rated License, you must be rated AT LEAST 1 Star yourself. By completing jobs successfully, you can increase your rating.
After acquiring a license for a route, you can now hire a driver and assign them jobs that are one that route and that meet that license rating requirement. For example- you can assign any driver to 0 Star Rated Job, but you can’t assign a driver to a 1 Star Rated Job without first acquiring a 1 Star Rated License for that specific route.
Hiring drivers is another challenge you must meet; the lower the skill of the driver, the more they will tend to damage loads. However, hiring more experienced drivers also requires having a high enough rating for them to respect you. For example- you cannot hire a 2 Star Rate Driver if your rating is below 2 Stars. Improving you rating takes time and patience, as well as ensuring loads get to their destination on time and with as little damage as possible.
To obtain an increased license, you must successfully transport a load that has a rating higher than your current license rating; these rating are for the next license above your current license. For example- To obtain a 1 Star License for a route, you must deliver a load that has a 1 Star Rating. Your overall company/personal ranking must meet or exceed the license rating you wish to obtain.
Upgrading your Gear/Rig
After acquiring a supple amount of money, it might be a good idea to upgrade your rig with some new gear, or replace your rig entirely with something bigger, fast, and more powerful that what you currently run. A good idea is to start with your basic truck and grab the most advanced gear first to give it a test. Here’s a quick rundown on what the new gear will do!
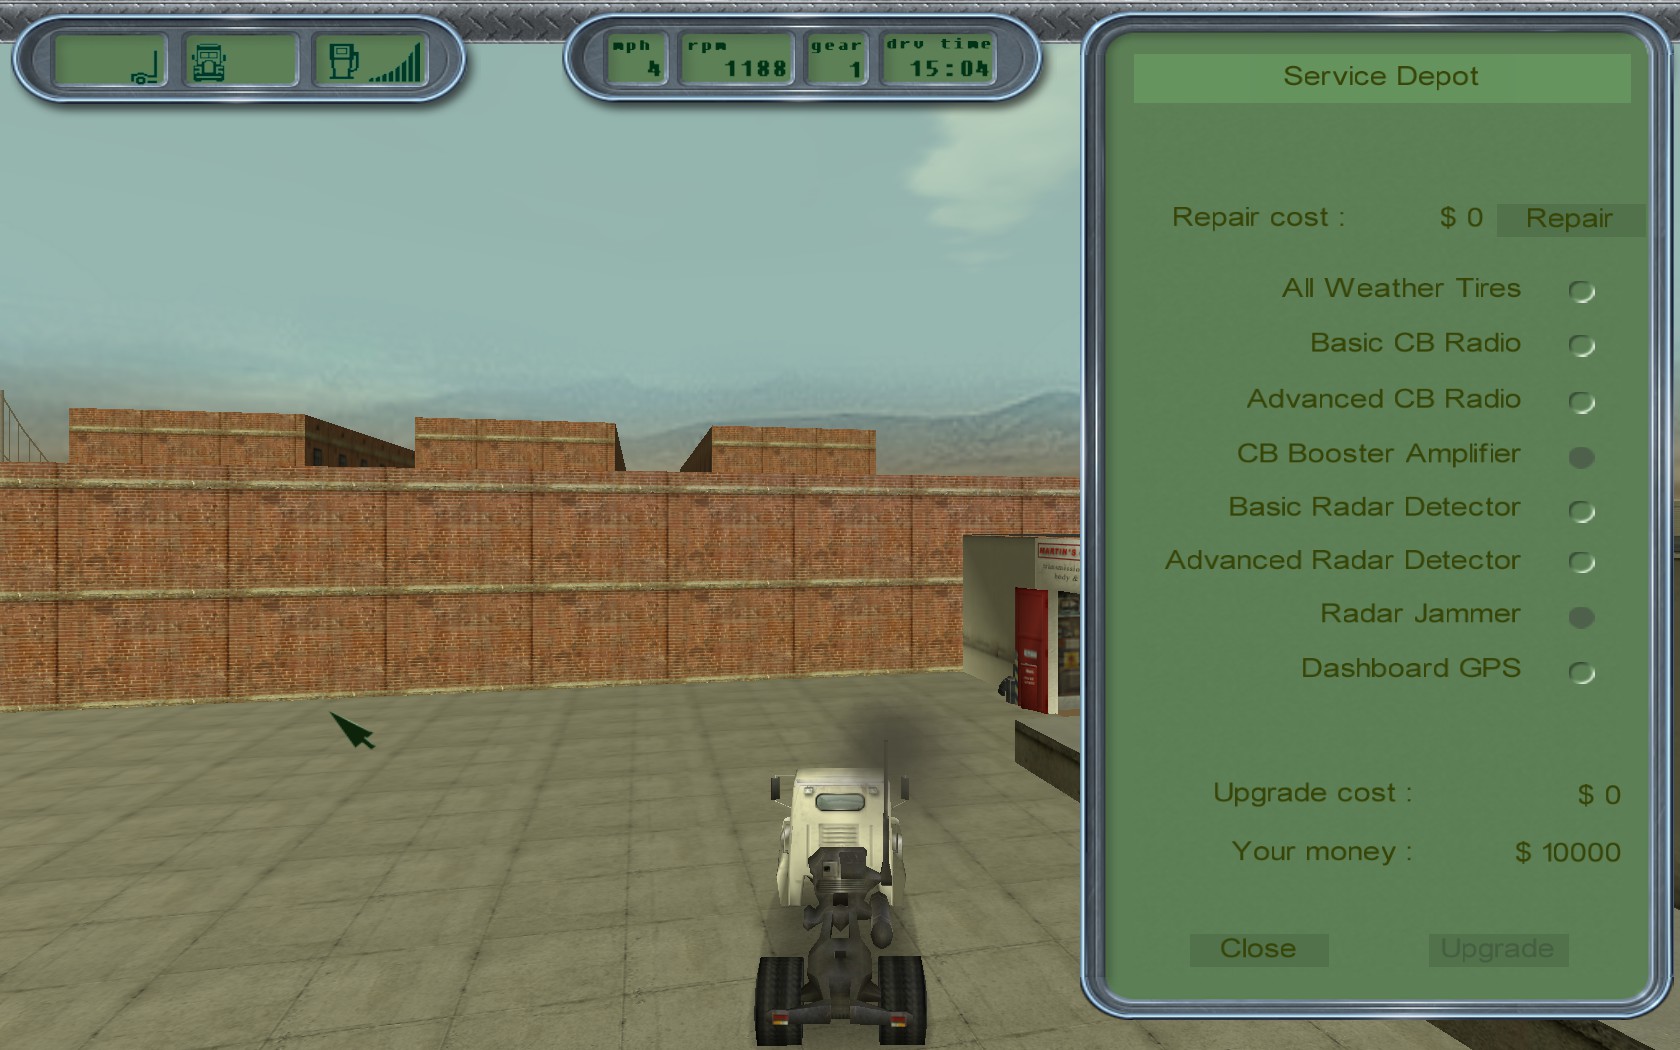
– All Weather Tires will increase traction through rain and snow and help slightly with off-road conditions
– Basic CB Radio will provide local updates to road conditions, such as closures and police activity within an estimated 100 miles
– Advanced CB Radio will provide a updates in a larger radius compare to the Basic CB Radio within an estimated 150 – 200 miles
– CB Booster Amplifier will provide map-wide updates on closures and police activity. This is a MUST if you’re planning on upgrading licenses or hauling long distances
– Basic Radar Detector will provide a beeping noise when you are closing in on a speed trap with a decent distance
– Advanced Radar Detector will provide an increased distance for the radar detector to pickup on speed traps
– Radar Jammer will help increase the speed at which your truck can be going through speed traps by a couple MPH. Be aware, it only works if you’re within 5 MPH of the posted limit.
– Dashboard GPS is a MUST when first learning a new map or if you have little sense of direction. In coordination with CB radios, this can help you plan routes out on the fly in the event of a road closure or hazard.
In addition to collecting new gear, it’s also a good option to have that money put ready to invest in a new rig when the time is right. Be sure to keep track of the weight, speed, horsepower, and gears of the truck to make sure you don’t find yourself in a pickle grabbing something that’s a pain to haul around. From experience, the base truck you start out with (Topolino) is better than it’s immediate successor (T1000).
BUG NOTICE
While this is a very fun trucking sim, there are a few things to take notice of before climbing behind the wheel. These bugs can be destructive when it comes to making sure a fragile load gets to it’s destination safely or you don’t end up nearly destroying your truck in a 2 car pileup.
– Traffic AI is a bit unpredictable and will generally be a pain in the ass in certain areas. They will always indicate a turn, but their speed may go from 60 to 0 faster than you can brake, even at a distance. Certain areas will cause traffic to make an erratic turn from a 3 lane highway into a 1 lane nightmare which can spell doom for those not paying attention. Keep your distance from traffic ai as best you can and watch for cars exiting and entering freeways when hauling loads.
– Map Geometry Issues are ANOTHER big problem in this game and will definitely catch you off guard. When driving along, you may hit a specific point in the map geometry where your truck comes to a dead stop and your truck (and any cargo) will take a MASSIVE amount of damage. There isn’t any fix that I’ve found at this point, but saving in between deliveries will greatly increase your chances of avoiding a run ending collision with the janky ghosts of the game engine.
Fast Ranking/Licensing/Payments for West Coast Campaign
For those that need a little boost when starting your initial play on the West Coast campaign, here are some pointers to help you get an edge in the market of the game.
– An easy license route to acquire is the Las Vegas – Phoenix route as it has a straight cut through to each city with very minimal traffic
– Maxing your rating between the Las Vegas – Phoenix route also increases the payout from adhoc and recurring jobs- make use of this to help increase your license between these 2 areas and hire better employees
– Hire at least a 1 Star Rated Driver to drive the Las Vegas – Phoenix route weekly to increase your finances while you manage other adhoc or recurring jobs elsewhere
– Keep the Topolino truck for as long as you can before upgrading to the Brava- AVOID PURCHASING THE T1000 TO PROBLEMATIC ACCELERATION
– When upgrading trucks, be sure to sell your upgrades BEFORE purchasing so you get your money back
– SAVE BEFORE AND AFTER EVERY DELIVERY TO HELP PREVENT A HORRIBLE GLITCH IN THE MAP GEOMETRY/AI FREAKOUT