Listen up, some new equipment has been released for you to play with so better learn what they do before you break something valuable! So here is some information about what does what with some bonus tips thrown in!
Expect this guide to be updated as new ordnance becomes available!
Classes
If you are a new recruit then you’ll most likely want a quick rundown about which each class does what. Otherwise may want to skip to the next section.
Hunter
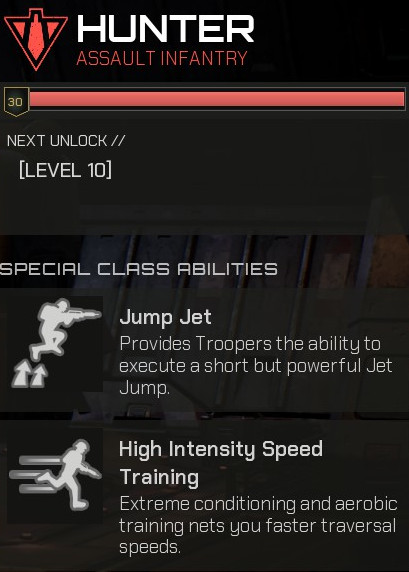
This class is about mobility, spotting and taking out high value targets especially with marksman rifles. They should always get first dibs on any rocket launcher that is laying around as ideally they should be able to make the most use of it. Use the jetpack to get up high and evade bugs. The extra speed they get isn’t in the grand scheme of things nor a suitable substitution for armour so try not to get hit by melee bugs. They are also the slowest class at carrying ore canisters so yeah don’t pick them up unless there’s no alternative.
In AAS and Horde a Hunter is best suited for hunting down and eliminating Grenadier and Gunner bugs before they become a nuisance with Bastion often offering their daughter to you if you support them with scan beacons. ARC you typically find a Hunter squad running from Extermination to Extermination. There currently is not much use bringing them to Hive.
Bastion

A novice would think that the primary way to play must be to sit in a corner with a SAW and spray at bugs all day. While that is certainly one way it is definitely not the only way they can be used. The Bastion can be surprisingly versatile and their special ability can be used offensively as well as defensively. For example activating Siege Mode not only knocks back surrounding bugs, even sending Tigers hilariously flying into the air, but can be used to quickly get on top of someone who is downed and allow you to revive them. Later perk and utility unlocks allow them to act as an engineer or create their own choke points. The toughness of the Bastion speaks for itself so if you are someone who likes to get into the thick of it this is honestly a class for you.
There is no shortage of different ways to play them though it should be noted that on Horde and Hive you’ll generally find a Bastion more successful at acting more as a turret holding a choke point more than anything. The only main issue you’ll have with a Bastion is that you’ll find that more of the useful equipment and perks takes a while longer that other classes.
Operator

Arguably the more thankless class. Operator does all the dirty work essentially and often have to juggle multiple jobs. The UAV drone you can deploy has an insanely long cooldown timer but when activated will not only revive and heal everyone nearby, but continue to heal and revive anyone close that gets down, even yourself. They run fastest with ore canisters and can carry two of them at a time. You’ll unlock a lot of useful tools early on this class but will take a bit to master them.
This is the class that pretty much essential on every mode though on Horde most people want you just for the fabricators and heals typically. Hive they are the class that can generally surf over bugs and plant nukes which makes them ideal for speed running this mission type.
Weapons
Before we get started you need to understand what each weapon stat actually means and which ones are important.
For starters you have:
- Damage
- Fire Rate
- Range
- Accuracy
- Stagger
- Stun
Damage – is more or less pointless to go by. Due to lack of weakspots being implemented and fact that they generally don’t represent anything how it appears in game.
Fire Rate – Basically how quickly can spew bullets out but not really a main stat worth paying attention to.
Range – This is the first stat to slightly worth considering. Mainly cause there is damage falloff so if you are far away will take more bullets to kill.
Accuracy – Has same issue as damage as in what it shows doesn’t really represent how it functions in game.
Stagger – This is one of the two most important stats to consider. Stagger can not only slow down bugs but even knock them backwards. Thus it gives you something very precious in each engagement. Time.
Stun – The other important stat. Stun allows you to cause bugs to freeze momentarily allowing you to either escape or reload and finish the job.
Now that is covered onto the guns themselves:
Morita Mk 1
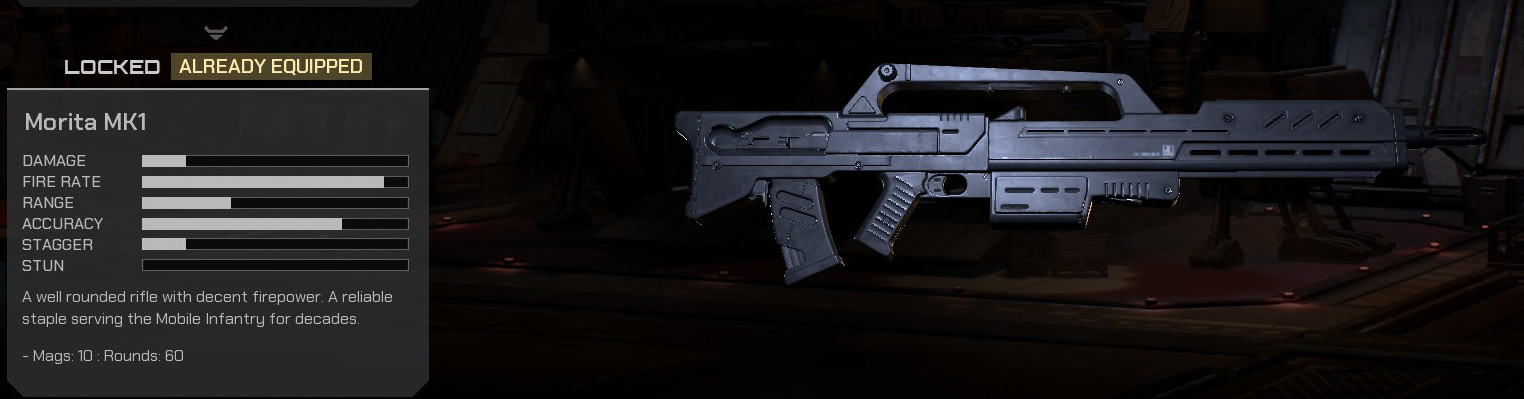
Usable by: Everyone
The starting weapon. It can kill bugs if it tries to but it is honestly nothing to write home about. Virtually every weapon out there is a straight upgrade to it. Due to special Federation science attaching a scope to this weapon manages to improve it stats, including somehow increasing its magazine size. Dubbed the Burrito by some. Don’t ask about the shotgun though.
TW-102-s Peacemaker
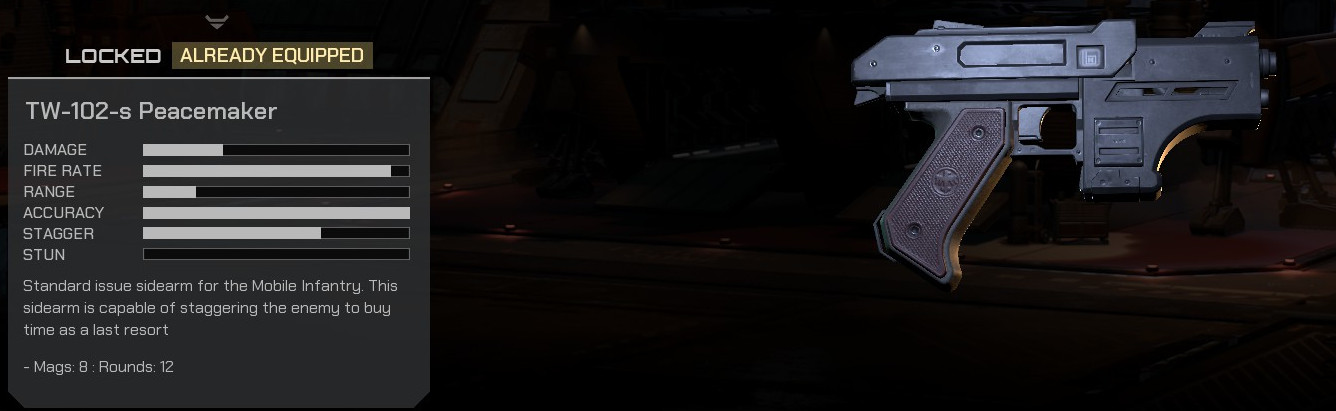
Usable by: Everyone
Starting sidearm. Main issue with it is the magazine capacity otherwise it can be surprisingly capable, sometimes even better than the starting Morita. Better than nothing just don’t expect any miracles.
TW 202-L Morita Hawkeye
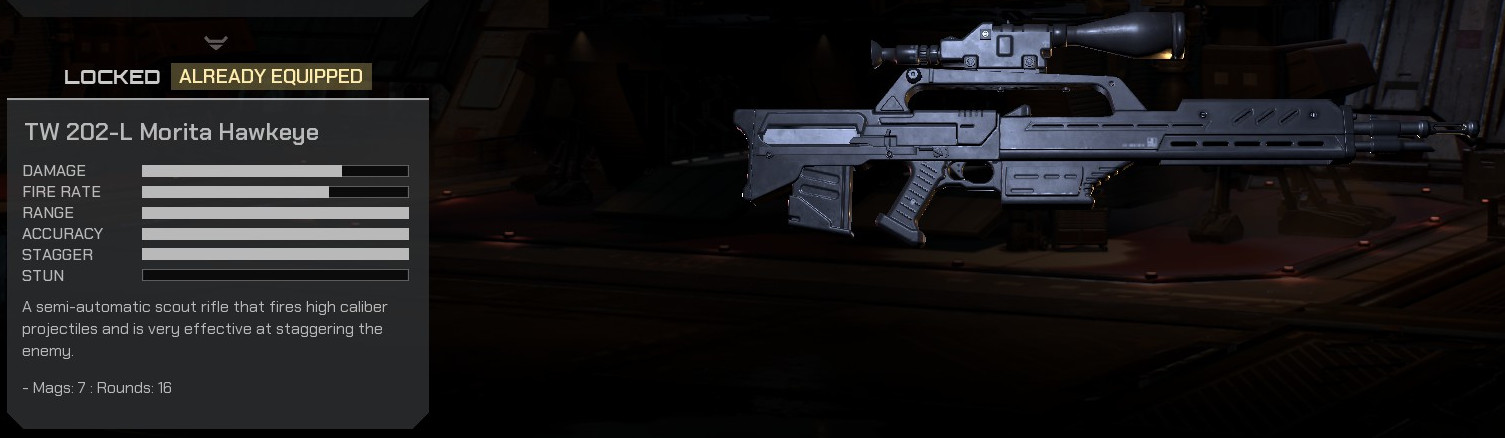
Usable by: Hunter
DMR that is the first gun unlock of the Hunter and more or less a straight upgrade to the Morita MK 1 once you get used to it. If you crouch you can use it from the hip more like a Battle Rifle and it can make good work of bugs. Most important feature is that it does a good job of knocking them backwards which can be a life saver. You will want to focus more though on using it to take down Gunners, Grenadiers and Tiger bugs mostly.
Morita MK 3 SAW
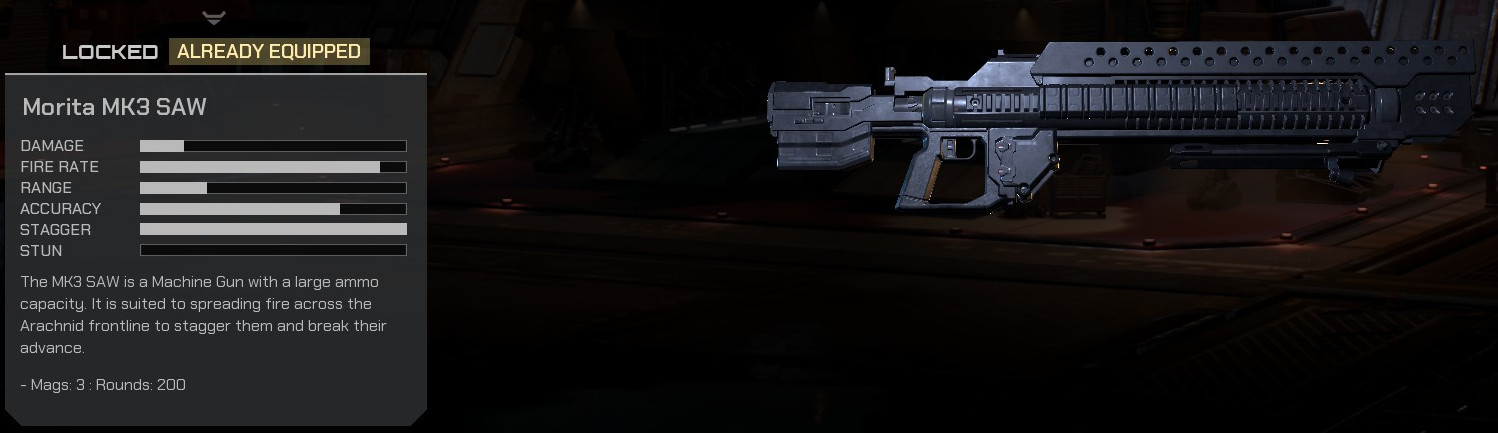
Usable by: Bastion
First weapon unlock of Bastion and can take a bit of getting used to due to the recoil. Don’t even attempt to fire this thing on the move, you just won’t hit anything. Crouch or even better, deploy, and you’ll be able to slow down a bug horde. Try to spread your fire around as it isn’t about the damage on this weapon but about the stagger.
C-32 Chi-Hong Grenade Launcher
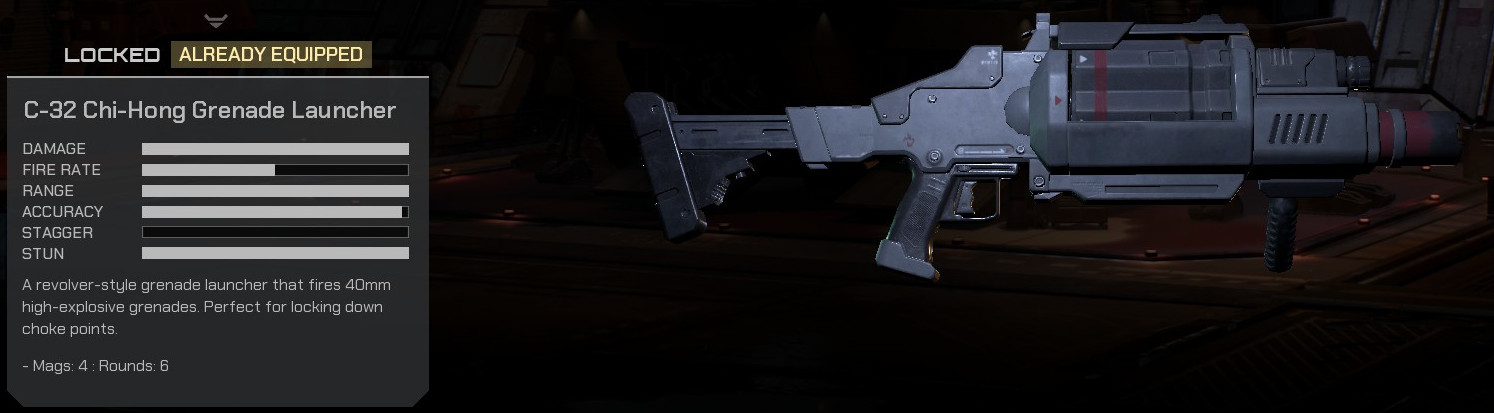
Usable by: Operator
First new primary you unlock as an Operator and the first weapon where in the hands of a novice you can be a complete detriment to your team. Reason for this is that the Grenade Launcher has the ability to destroy utilities such as ammo fabricators, heal beacons, even deployable walls. Hence why deployed Bastions tend to get quite stroppy when they see Operators running around next to them with these utility destroying devices. If you learn to control and aim this weapon however it can be a valuable asset both out in the field and defending the base, but you will have to learn to look before you shoot with this weapon.
Morita Mk 1 Carbine

Usable by: Everyone
This is just a flat out upgrade to the Morita Mk 1. While it may seem on paper to have less range and damage it shoots faster and apparently shortening the barrel makes it more accurate. Most importantly though is the stagger on this thing will push back bugs far better than the regular Morita will. If you like to fire on the move this is the gun for you.
TW-109-e Emancipator
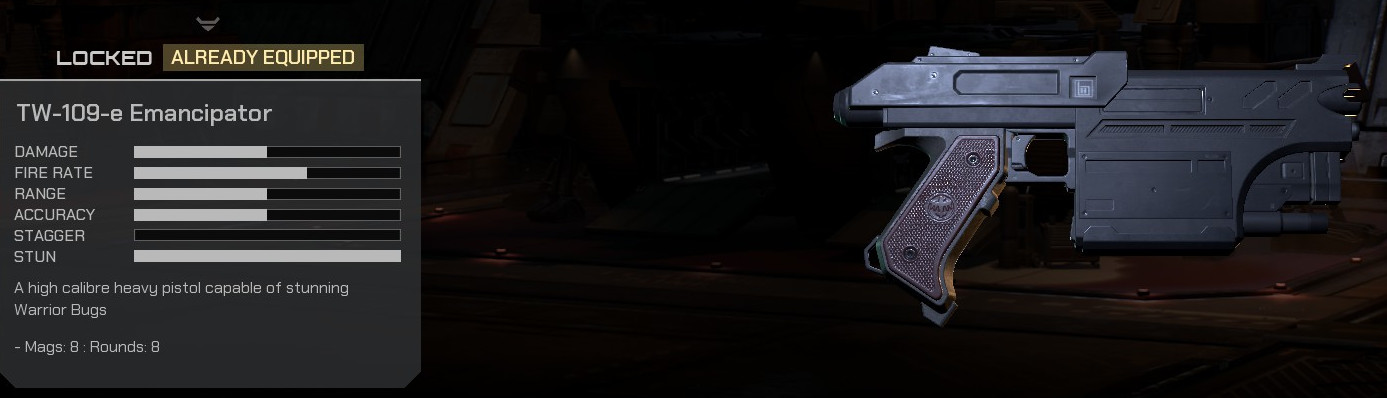
Usable by: Everyone
Only other pistol in game and one you unlock. Straight upgrade to the Peacemaker more or less. A single shot from this handgun will stun a Warrior or even Gunner bug making it quite a useful sidearm to have. You can use this weapon to get out of trouble in a pinch often better than a primary can.
TW-2 SP.L.I.T Shotgun (Slug)

Usable by: Hunter
Best described as more of a pump-action rifle rather than shotgun. Fires slugs and has the ability to stun bugs, however the issue is if you want that then the Emancipator pistol literally does that job already. Best to pick something more versatile.
TW-2 SP.L.I.T Shotgun (Auto)

Usable by: Bastion
On paper this seems like it might be a good weapon. In reality it is super situational in even the most situational of situations you are absolutely better with anything else. Problem is that it the stagger on this weapon just doesn’t cut it and it fires slugs instead of shells. Stick with the SAW it’ll serve you better.
TW-2 SP.L.I.T Shotgun

Usable by: Operator
The best shotgun by far though only for the merit that it is usable. If you like getting close and personal this is a good weapon to have especially since it can stun multiple bugs in a single shot and even on Vet finish them in 2-3 shots. Just keep tabs on ammo however as you’ll run out fast.
Morita XXX Sniper Rifle

Usable by: Hunter
This is a weapon that truly can one hit kill Warrior bugs. Problem is that it is a horrendous misuse of this weapon. It is best combined with scanning and focusing down Gunner, Grenadier and Tiger bugs. You will need to stop and give this weapon a few seconds to steady before you stand a good chance of accurately hitting a target so find a good position to fire from before you use it.
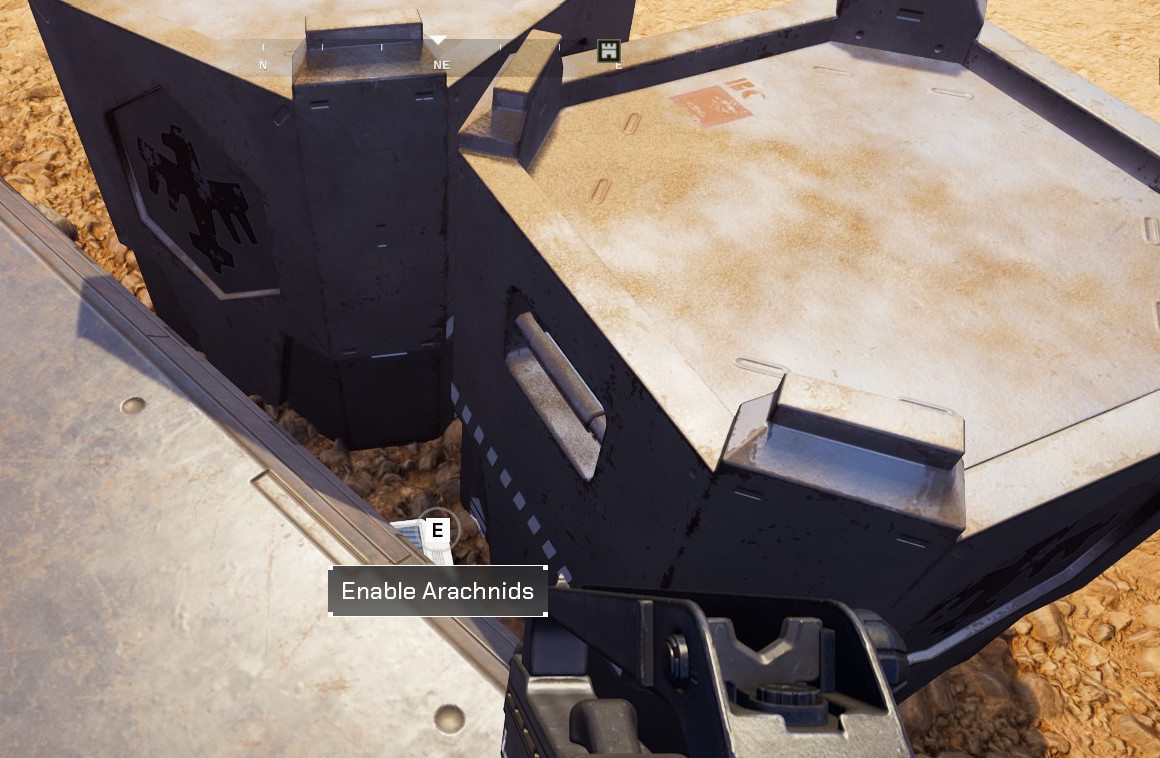
M-56 Pilum Rocket Launcher
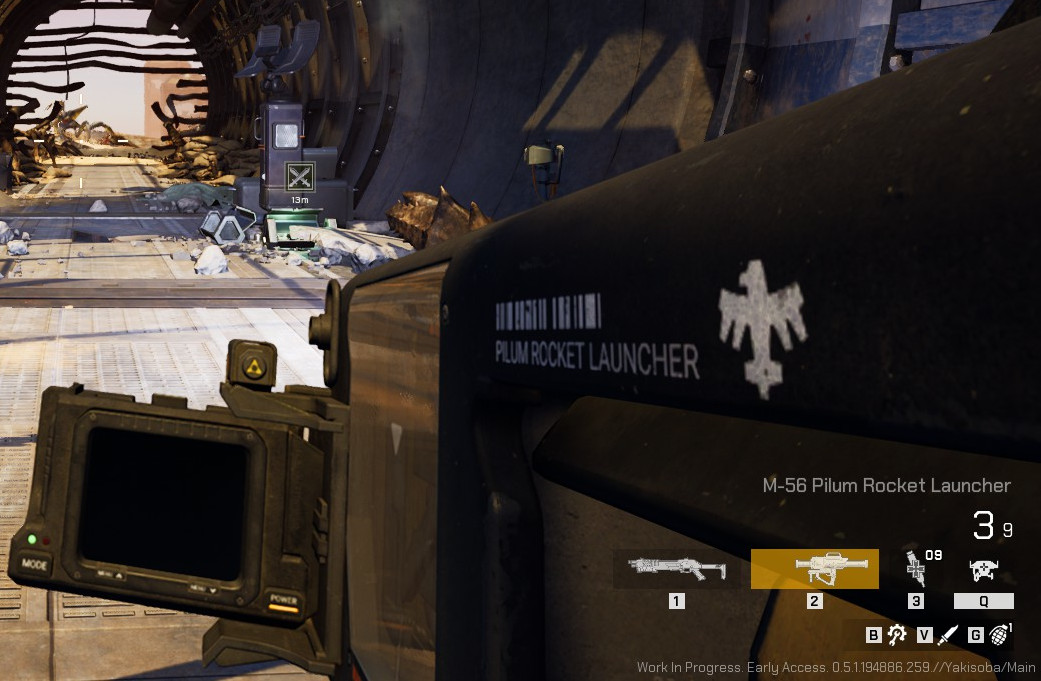
Usable by: Whoever picks it up
This weapon is different from the others on this list as you’ll only find it by completing special objectives, typically from sites as pictured. Great at dealing with hordes of bugs as well as high priority ones like Grenadiers or Tigers however you’ll need to ensure a steady supply of ammo. Careful however when aiming this thing at utilities like ammo fabricators as they will destroy friendly ones. Due to the nature of this weapon pickup priority should always be given to Hunters as their mobility will allow them to secure the best advantage from this weapon.
Grenades
Here contains a general brief description of each grenade type, what they do and what to consider when using them. Quite a few grenades are mostly utility or situational in nature so you’ll need to think before you throw!
MX-90 Grenade
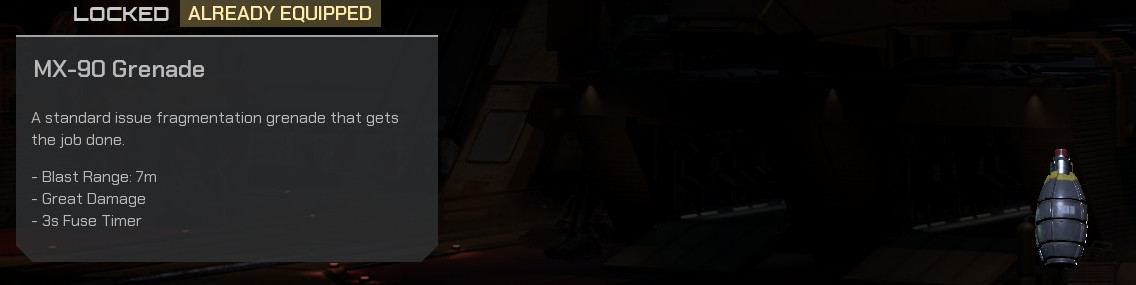
Usable by: Everyone
Starter grenade that isn’t much to write home about. It can do damage but that’s about all that can be said for it. Replace it when you can.
Shock Grenade
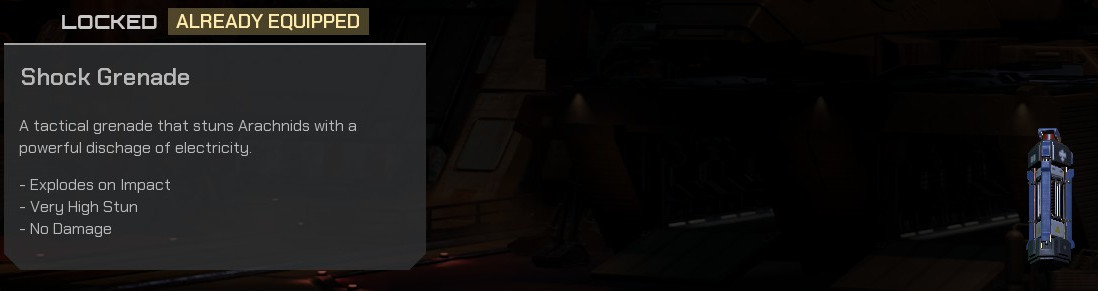
Usable by: Bastion, Operator
Basically just a stun grenade. Okay in a pinch but if you are determined to have a tool to stun bugs there are much better utilities available for the job.
Cluster Grenade
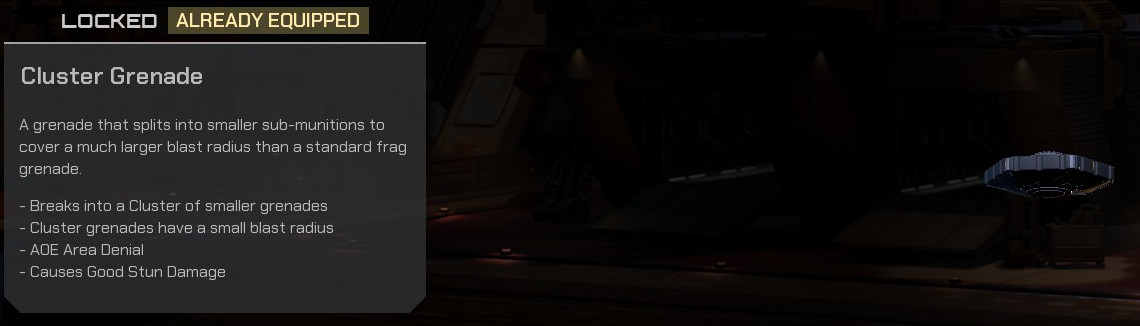
Usable by: Bastion
More or less an exploding Frisbee. You can throw this above targets and it’ll explode midair causing an airburst of grenades to drop down onto targets.
Hi-Ex Grenade
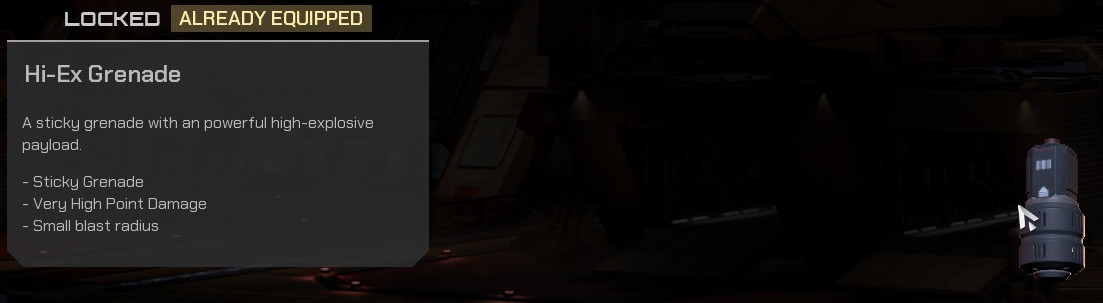
Usable by: Hunter
Basically a sticky grenade. Save this for Grenadiers and Tigers only otherwise its kind of a waste of a grenade.
Scan Grenade
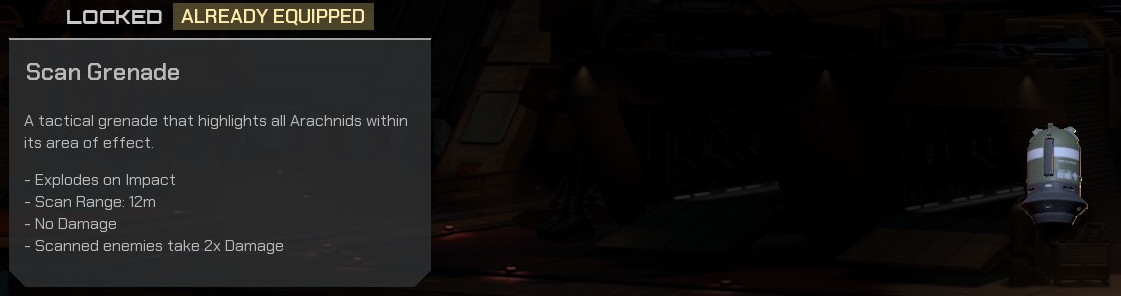
Usable by: Hunter
Does what it says on the tin. Highlights targets for the team and of course highlighted targets take increased damage, however if you want to scan targets then utilities are more useful for this.
Chem Grenade

Usable by: Hunter, Operator
This is the best grenade for dealing with swarms of bugs at choke points. Not only will it slow them down and cause damage over time, but the bugs will continue to keep running through the toxic cloud without diverting their path.
Napalm Grenade
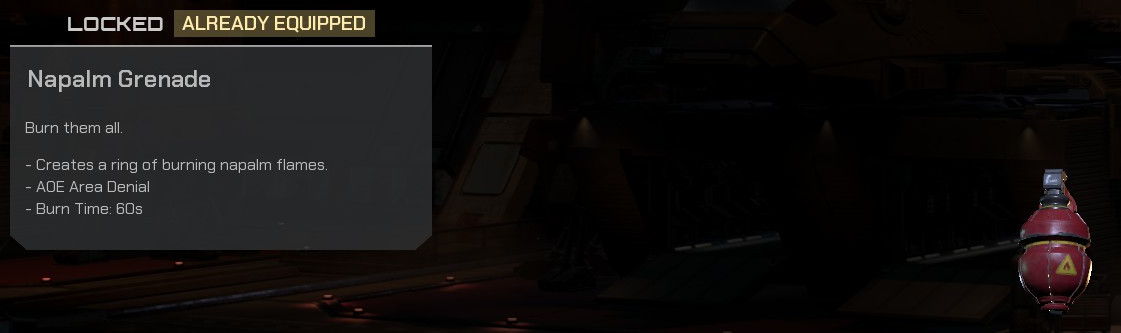
Usable by: Bastion, Operator
This grenade in the hands of the inexperienced can be of great detriment to your team and requires great consideration where you throw it. Reason for this is that once you throw this grenade where it lands the bugs will then avoid and thus redirect themselves to attack from another position. This can be very problematic where for example an under-defended section of the base can be suddenly overwhelmed by a large horde of bugs.
Utilities
Behold all the fancy gadgets and gizmos that the Mobile Infantryman could ever need, for better or worse.
First Aid Stim

Usable by: Operator
Often very underappreciated utility and still quite handy even at max level. Not only allows you to instantly revive other troopers but lets you see their health as well. Problem is most troopers are oblivious that you may want to heal them even when shouting at them. Nicknamed “Heroin” by some.
Thermo Charge
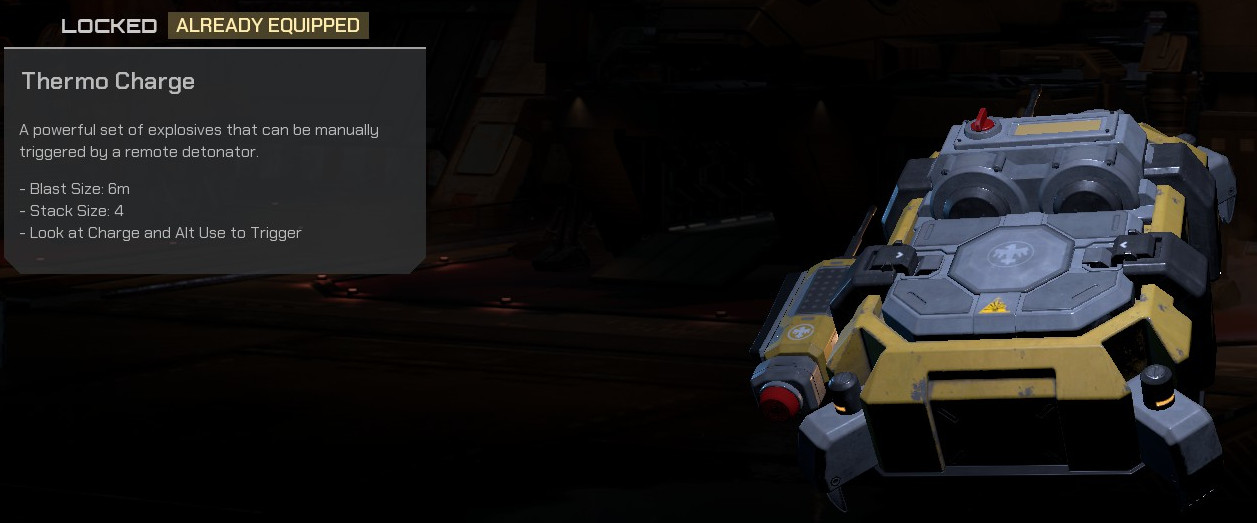
Usable by: Hunter, Bastion
Generally quite situational at best. Better off with more useful utilities that have more practical use.
Proximity Bug Mine

Usable by: Bastion
Basically a deployable mine though you will generally find other utilities more useful.
Ammo Fabricator
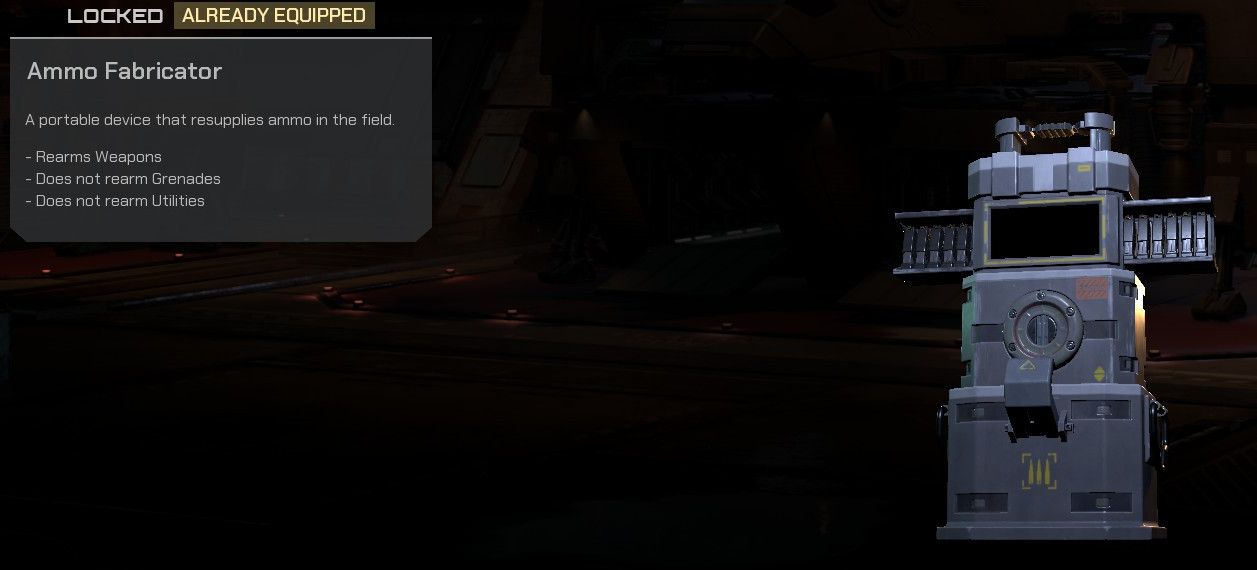
Usable by: Hunter, Operator
Handy piece of equipment to have with most utility in ARC since you can resupply out on the field. Don’t fire explosives next to it though otherwise it can be destroyed.
Heal Beacon
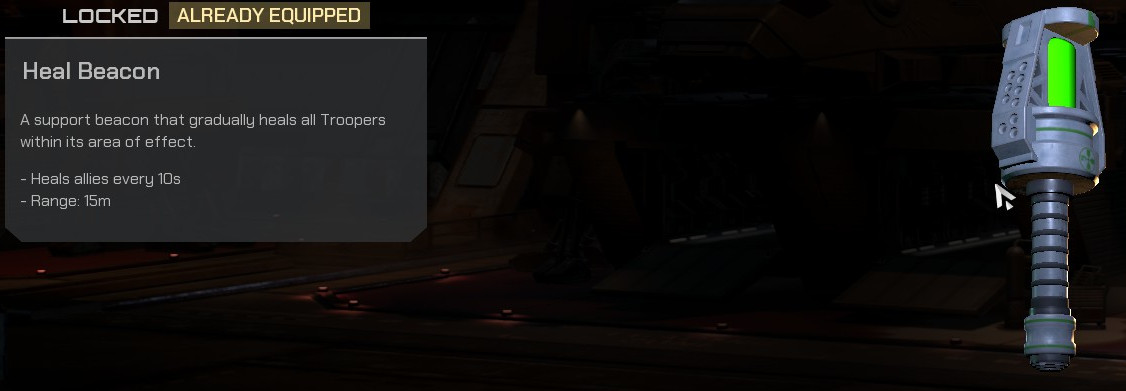
Usable by: Bastion, Operator
Very handy tool for healing troopers especially since the green light is visible so people know to stay near it. Bastions in particular will typically get good mileage out of it especially if they are going for becoming a mobile turret.
Medical Station
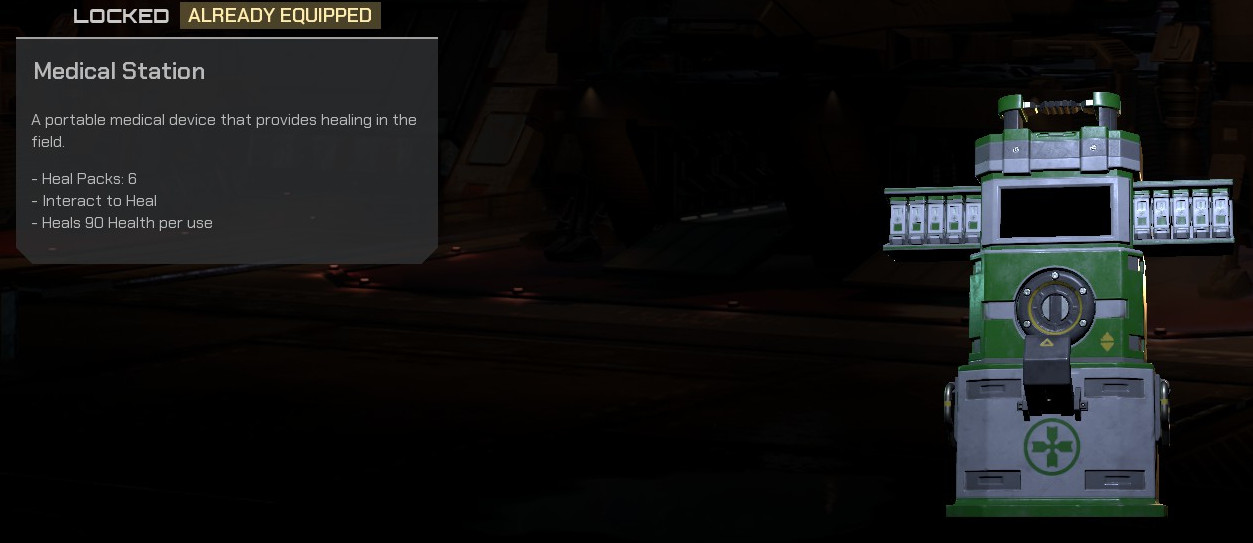
Usable by: Operator
Honestly kind of pointless since there are other much more efficient tools at healing and if you deploy this device all you will get are disappointed faces of troopers who hoped it was an ammo fabricator or speed stim dispenser.
Shock Beacon

Usable by: Hunter, Bastion
A rather handy device that lets you create an electric wall essentially that stuns bugs. Great when defending something like an ore extractor for example.
Nuclear Det Pack
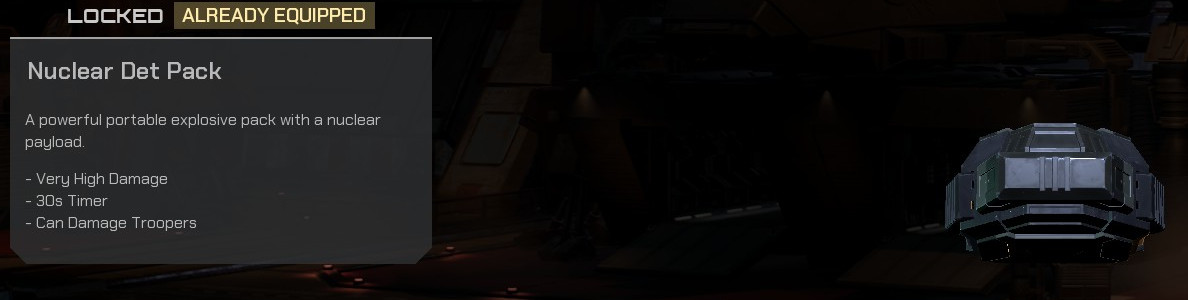
Usable by: All
A literal joke. Seriously this is never worth bringing. The splash radius is so poor you need to be directly on top of a bug for it to have any real effect. You can use it to destroy Hives in Hive mode but then if you are in a position to do that then you are in a position to use the free one.
Scan Beacon
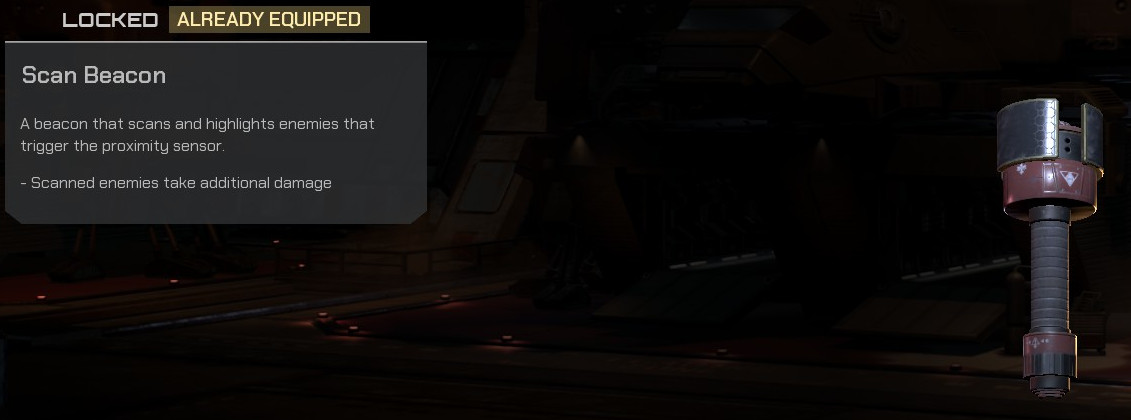
Usable by: Hunter, Operator
A device that if you deploy will get you a lot of thanks especially by Bastions but nothing in XP. This is a great tool as it not only highlights bugs to the entire team but makes them take increased damage.
Deployable Shield
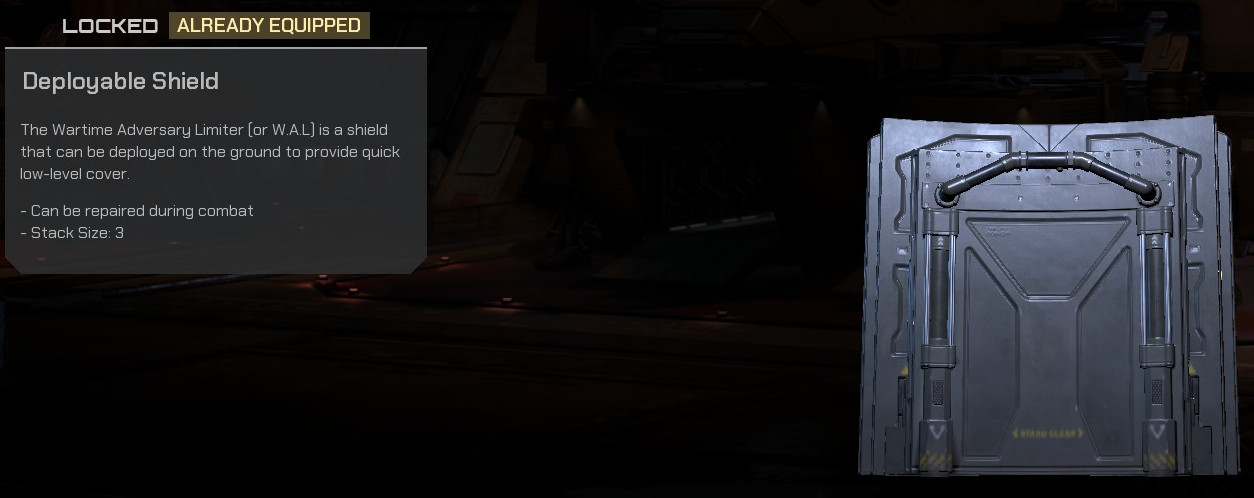
Usable by: Bastion
A very handy piece of equipment for creating your own choke points especially on Horde, though if you see an Operator anywhere near them with a Grenade Launcher may want to screech at them till they go away as they can and will destroy these walls with careless fire.
Rally Beacon

Usable by: Operator
Very situational device that really only has a use on ARC and even then chances are you don’t need it anyway with a coordinated team.
Portable Sentry Turret
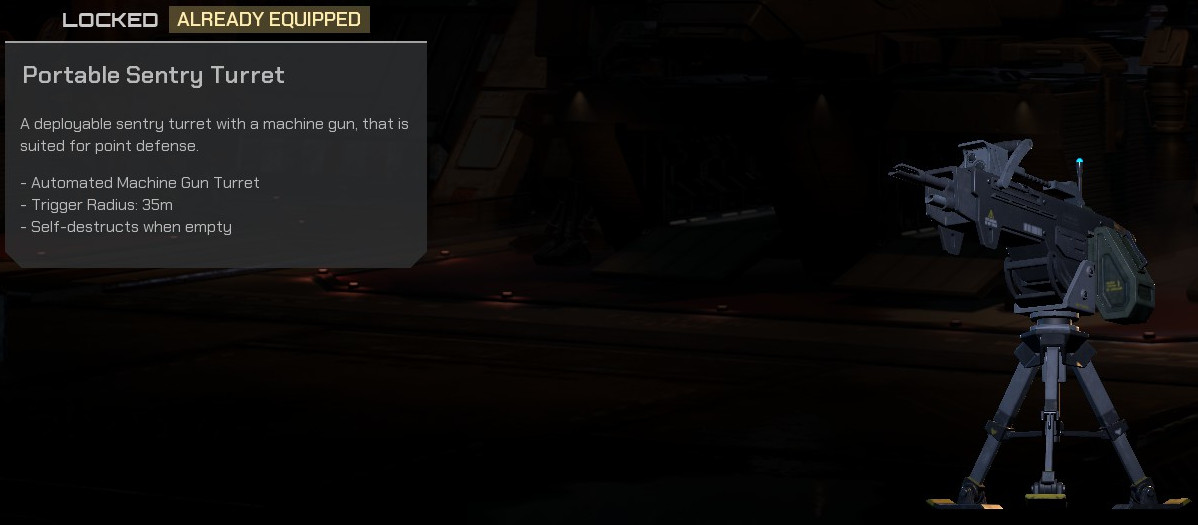
Usable by: Bastion
Very useful mini turret that helps thin out hordes. You can deploy two at them at a time so may be worth considering equping the extra Utility Perk if going more offensive oriented when using them.
Overcharge Module
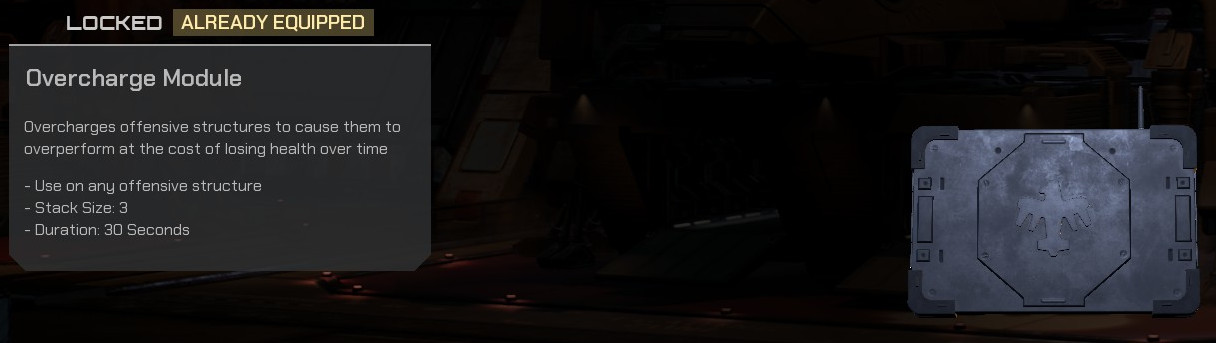
Usable by: Bastion
Handy if you like to play engineer Bastion and use turrets, however for the love of all that is holy don’t forget about using it and make sure you repair!
Speed Stim Fabricator
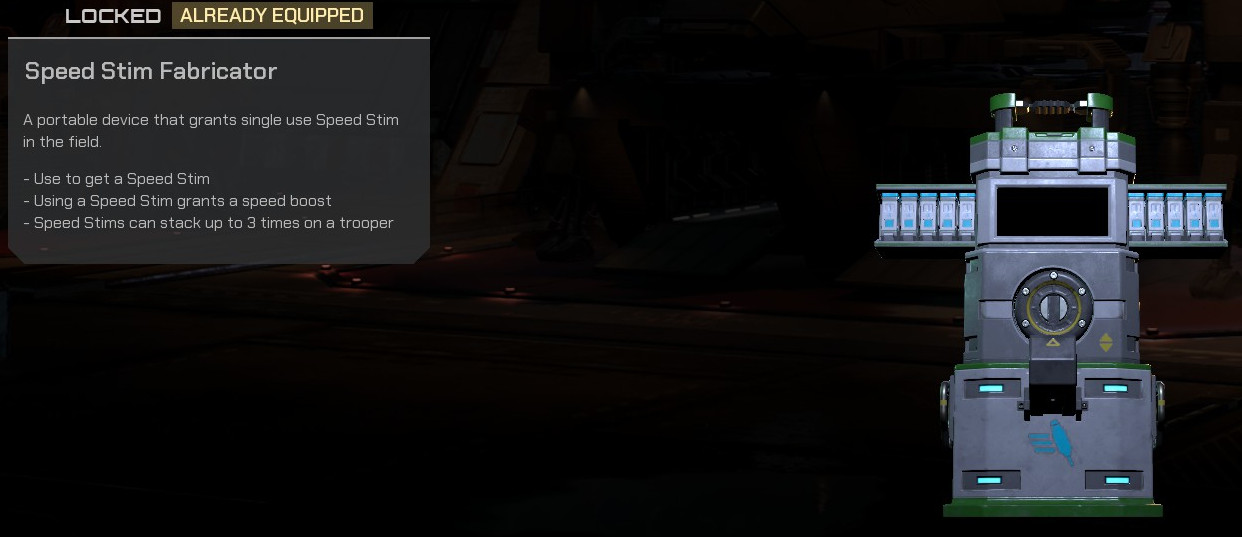
Usable by: Operator
Nicknamed “Meth” by those who deploy and use it. Dispenses 10 speed stims anyone can pick up. You can carry up to 6 Speed Stims (8 with Utility Perk) and stack the effect 3 times giving insane bursts of speed. Very useful for extracting ore quickly, getting out of trouble or evacuating to the dropship. Also allows you to speedrun Hives.
Shock Field Device

Usable by: Hunter
For those who love shock nodes but are too lazy to set them up by themselves. Can quickly setup a perimeter.
Guardian UAV
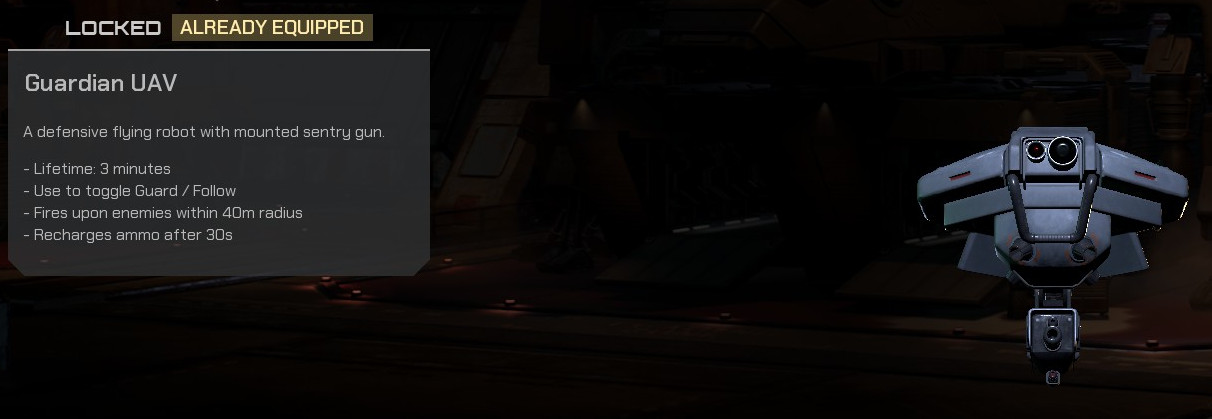
Usable by: Operator
Tooltips say it can be remote controlled but really only goes where you point it to which guess still makes it more intelligent that your average Mobile Infantryman. Can be handy device to have around but you also trade out some other sought after utilities to have it.
Perks
Picking the right perks to fit your combat style can make or break your class. Some however can be quite situational or only become more useful as you unlock later equipment.
Improved Grenade Cooldown
Usable by: Operator
Does what it says on the tin. Lets you throw grenades more often. Doesn’t give hard numbers but it is typically around every 45 seconds instead of over a minute you get to toss. Becomes more handy when you unlock for example Chem grenades.
On Your Feet
Usable by: Operator
On paper this seems like a handy perk to have. In reality if you are playing Operator as a medic you’ve got other tools that will revive someone quicker and the laughably short distance means its very situational at best.
Refined
Usable by: Operator
This is a perk that makes more sense in ARC mode especially when coordinating with a team. It allows you to half the time it takes for ore to extract but it also increases the yield out of each extractor, as in a single Operator can effectively double the amount of ore that comes out of an extractor before it goes into cooldown.
Utility Satchel

Usable by: All
Adds the ability to carry a single extra utility to your inventory. More useful with utilities like a sentry turret or heal beacon over say a first aid stim.
Hardened Ceramic Plates
Usable by: Hunter, Bastion
If you are the type of person who hates those pesky Gunner bugs then this definitely be of aid.
Reinforced Repairs
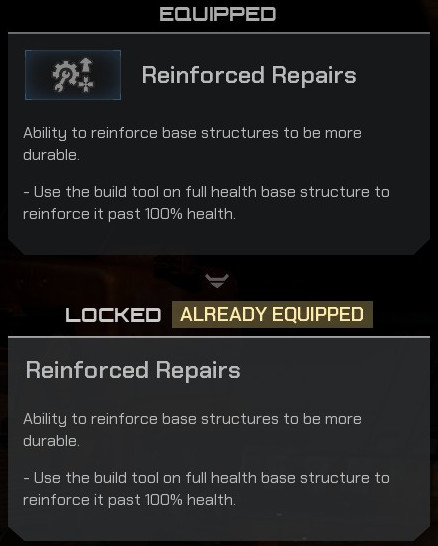
Usable by: Bastion
Allows you to make bases even tougher which can be handy. Best when playing an engineer Bastion.
Long-Ranged Repairs
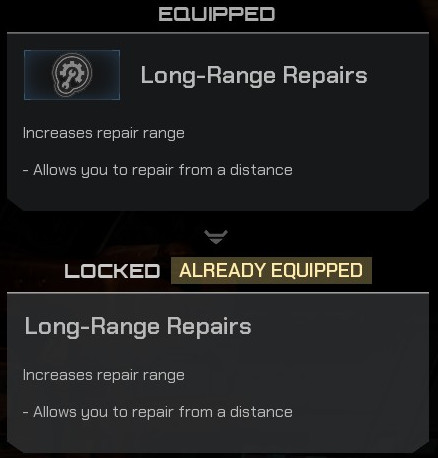
Usable by: Bastion
As it says allows you to repair at a greater distance however other engineer style perks may have more practicality.
Powered-Up Build-Tool
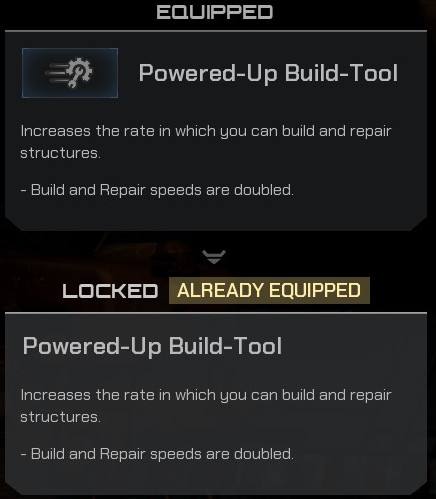
Usable by: Bastion
Very handy if playing an engineer Bastion on Horde and looking to build/repair bases fast.
Synthetic Underarmor
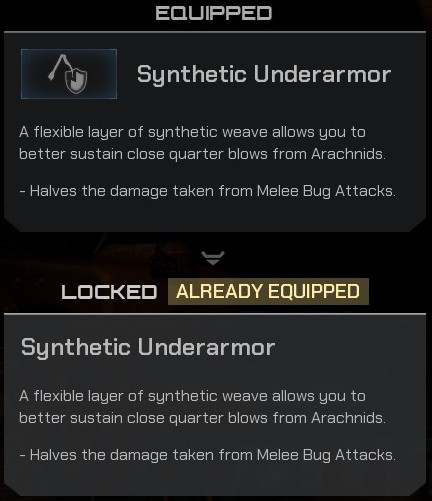
Usable by: Bastion, Operator
Sometimes jokingly called Synthetic Underwear. Near enough an essential perk as Operator for those who get out and dirty on the field. It will really allow you to absorb a lot of hurt even on Veteran though even a deployed Bastion won’t survive against a Tiger heavy hit.
Extended Magazines
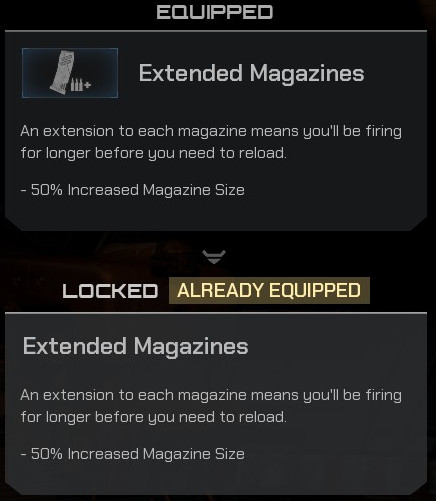
Usable by: Hunter, Bastion
Increases magazine capacity by 50%, and that includes your spare mags. If you find yourself running short of bullets then this is a handy perk to have.
Pain Boosters
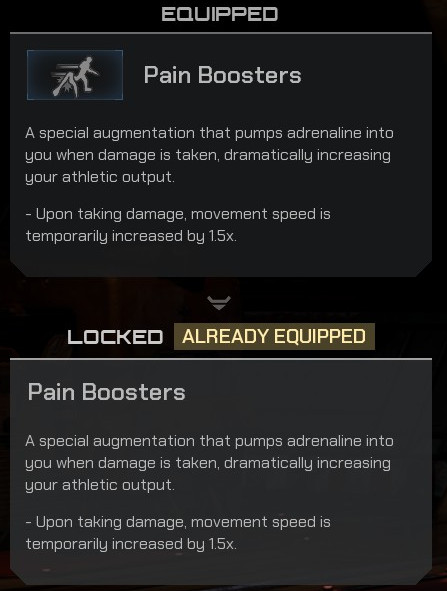
Usable by: Hunter, Operator
Situational perk that is more useful if you know the art of bug surfing otherwise better off with other perks.
Magazine Bandolier

Usable by: All
Gives you extra magazines depending on the weapon. If you like to run without being attached to an ammo fabricator then this is quite handy to have combined with Extended Magazines.
Watkins Trigger
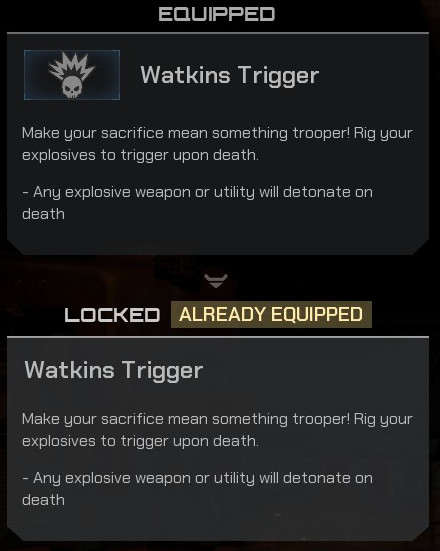
Usable by: Hunter, Bastion
Allows you to transform yourself into a Mormon Extremist and suicide bomb the bugs. Really that’s it. Best combined with something like a Nuclear Detpack in a no revive mutator.
Spotter Training

Usable by: Hunter
Scans bugs you highlight meaning they take double damage. Very handy against Tigers or Grenadiers.
Running Start
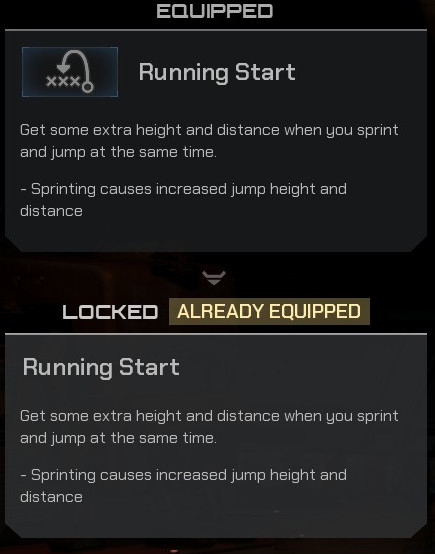
Usable by: Hunter, Operator
Allows you to launch yourself further and farther though you can achieve the same by bug surfing.
Bloodlust
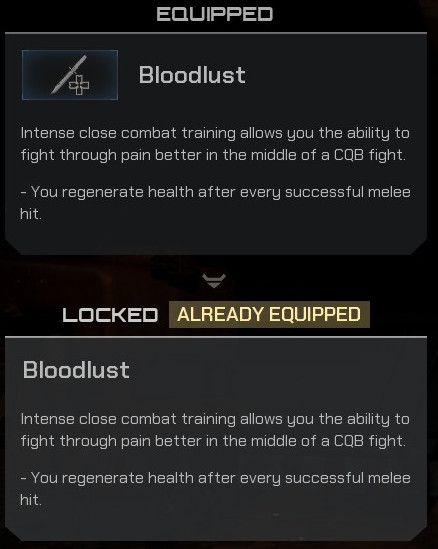
Usable by: Hunter, Operator
If you use a stun build this can be a risky yet rewarding perk. Keep in mind you only start to regenerate health after a short pause after you melee the bug and it is incremental the amount of health you get back over several seconds.
Mobile Training
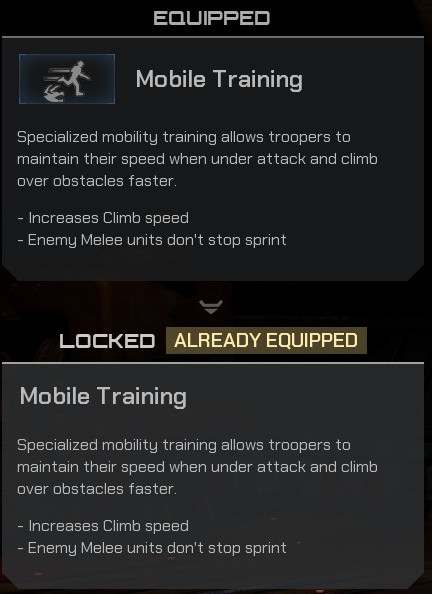
Usable by: Hunter
On paper seems like it might be a handy perk to have. In reality though you’ve literally got a Jetpack as Hunter and if you are in melee range of a bug as Hunter you’ve got bigger problems.
Turrets
Aside from the guns, utilities and grenades, you can also build turrets to aid in bug extermination. No matter what arguments there may be about how and when to use them there is one golden rule that should always be followed:
An unused turret is a useless turret!
In otherwords if you are going to build a turret think at the very least if it is ever going to get used. If the answer is “no” then don’t bother building it. Simple as. No point ever having a turret that is never going to fire at a bug. Now onto the turret types:
Auto Sentry
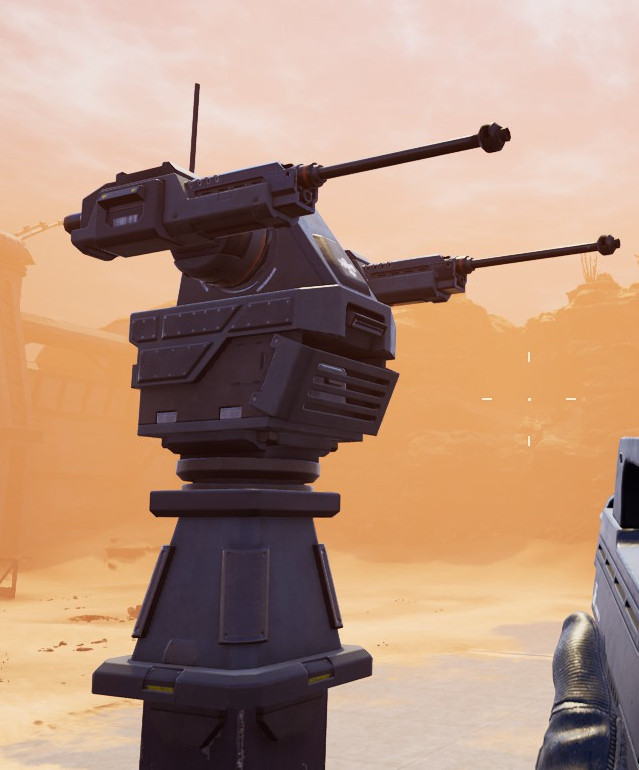
These turrets will automatically shoot bugs and despite the option to manually load them, they will restock their ammunition automatically. Cannot stress enough to not load these turrets especially when the HMG badly needs it. Ideally you’ll want to place these turrets spaced out typically in a corner to not only give them good field of fire but the fact that bugs don’t really do attacking corners that well.
Heavy Machine Gun

This turret needs to be manually operated but it is essentially a two man job. One person to fire and the other to load. If you wonder what you load these with then it is the ammunition as follows:
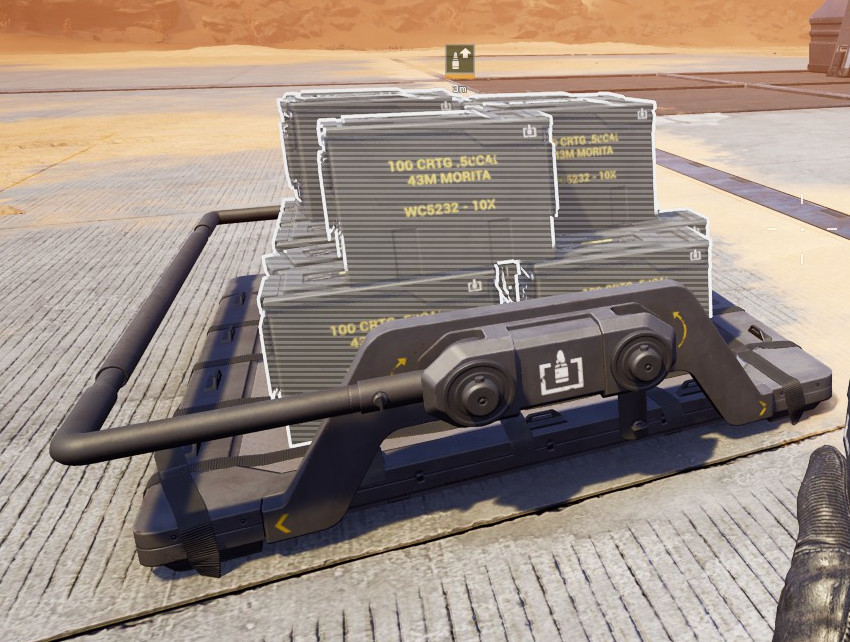
Yeah ignore the fact that it only loads 50 despite saying it has 100 rounds in a box.
Some of the biggest sins are committed in regards to this turret, ranging from placing them in positions where they cannot fire, placing them all together in one spot heavily exposed, not placing ammunition boxes anywhere near where it can be loaded, or my personal favourite, building them and completely forgetting about them.
This turret will make short work of Tiger and even Grenadier bugs if they are close so if you see them approaching make sure to focus them down. Used right this turret is a great asset to any base defender but used wrongly then it is an extreme poor waste of resources.
Miscellaneous Hints
Some general tips and tricks some of which are more or less common sense, but then again if the Mobile Infantry had common sense then they’d be flying with fleet!
Bootcamp Bugs
Did you know you can get bugs to spawn in on the bootcamp map? Just as you leave the dropship there are some crates and a datapad. Useful if you fancy some live fire exercise.
Bug Surfing

Throughout this guide chances are you’ve read something called bug surfing. This is hard to put in images but what it is that if you were to time a jump just as a bug is about to hit you in melee it tends to launch you quite far back. Timed right you can surf a whole horde of bugs to safety. All classes can do it but generally Operators are able to take best advantage of it.
Crouch
Not only does it improve accuracy but if you find yourself on point especially in a tight space it means the person behind can support you with their firepower. Two sets of guns are better than one when it comes to killing bugs so remember to duck and let the other guy shoot!
Situational Awareness

It is very easy to get tunnel vision on a singular task or target, but if you can get into the habit of having a look around even during an engagement it starts to reward itself. Quite frequently a person bleeds out or even an ARC gets destroyed because people were not taking a simple second to pay attention to what was going on around them.
Communication
While tools are quite limited in this regards to voice communication at the moment, you don’t need a mic to callout targets or points of interest. Remember, you can always mark targets like Grenadiers or Tigers by default with a middle mouse click and it’ll show for other players. If you don’t alert others then they won’t know.
Ignore the loading tooltips
While loading you can often see tooltips explaining how things work, it’s often best not to pay much attention to them. Although seems like an odd thing to say the reason am saying this is that some content that shows is just plain wrong or not functional in game. For example saying the Emancipator can drop a Warrior bug in two shots or less is wrong and weak points are just not implemented yet. This will be a section of course that will definitely change as updates roll out.