A Skull farming technique designed around minimizing player input and the amount of effort required to grind Skulls. It can get approximately 3 Skulls every 3 minutes. It just requires a small bit of set-up, and then holding down left click.
You’re telling me I can watch Netflix AND grind Skulls?
The gist of it is that you’ll be replaying the first mission, North Wing, ad nauseum.
Many others have recommended to do this mission as a means of grinding skulls. There are definitely faster and more efficient methods of beating this level, but I specifically tried to come up with a method involving as little input as possible.
Basically, I made a trap setup where you only use the starting coins, and after that only need to stand in one spot without moving the mouse. You’re able to get 3 Bonus Skulls each time from Perfect Victory and Untouchable. It takes about 3 minutes, so around 1 minute per Skull. The real Skulls per minute varies, because you’ll get the occasional random Skull drop, and you also have to factor in how fast you can set up. This was done on Warmage difficulty
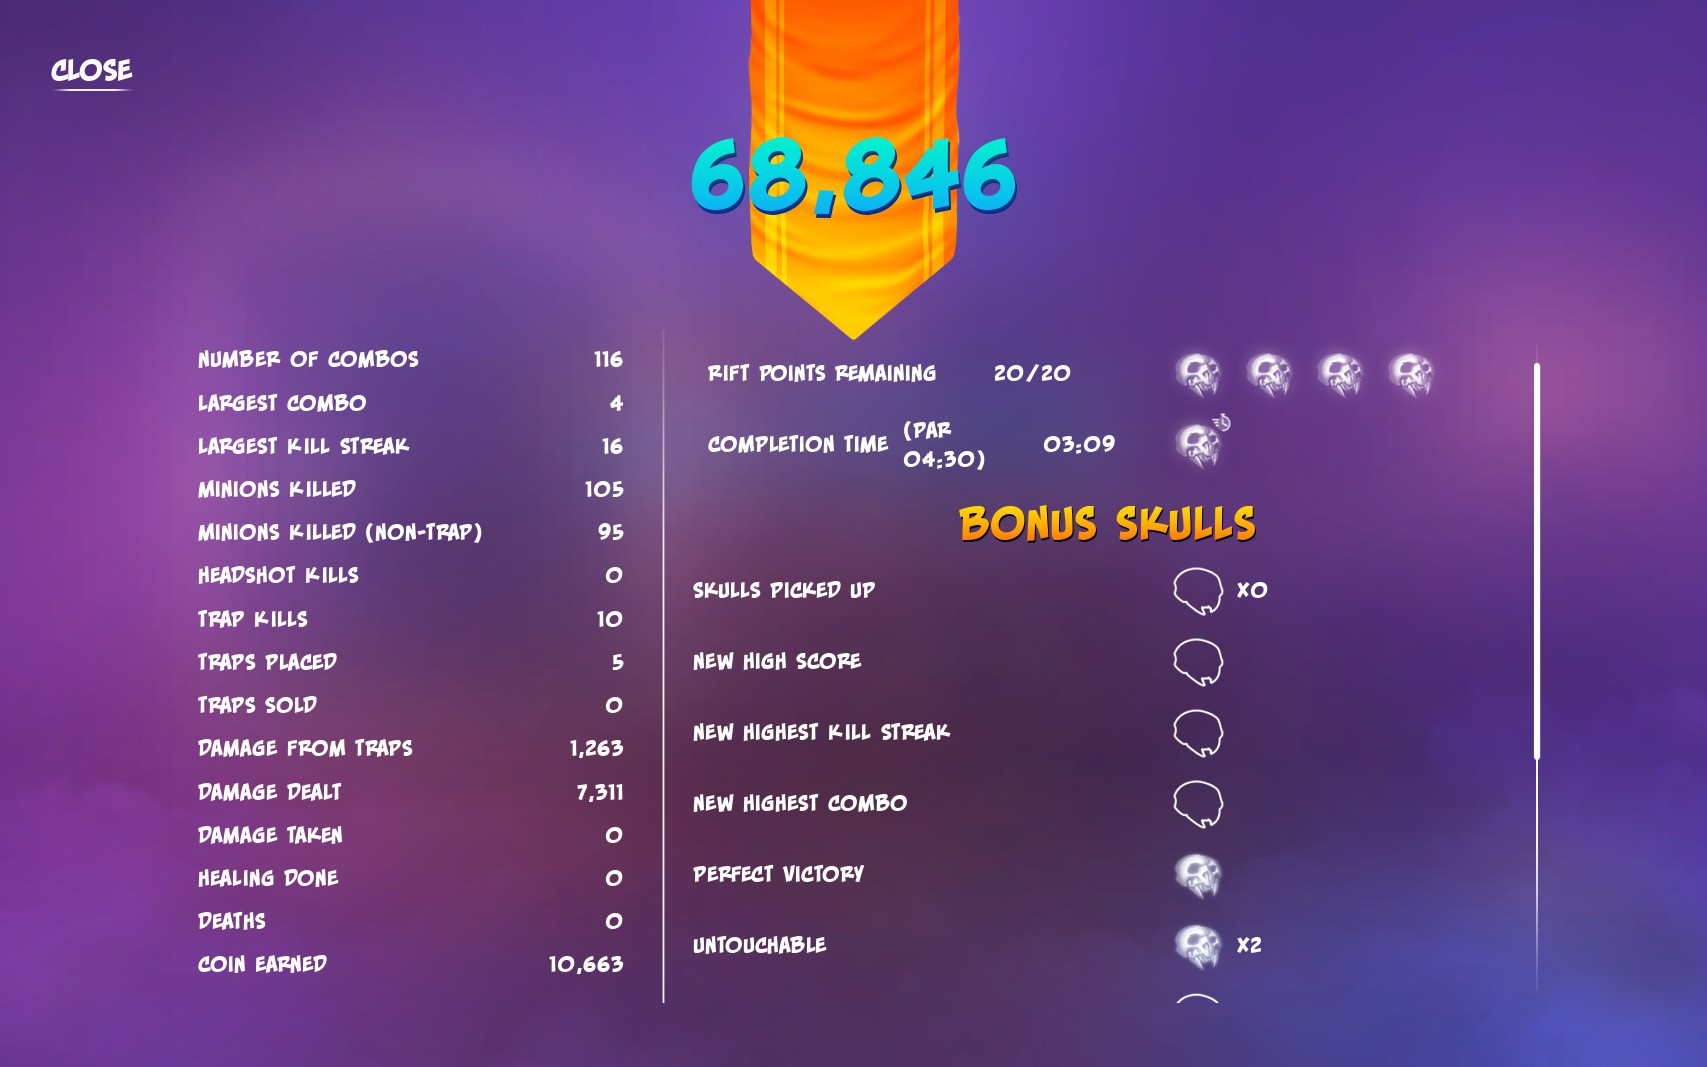
I tried several setups, and this is the only one that has been entirely consistent afaik. Others would end up taking damage, or some would slip past. Feel free to experiment, though.
The Loadout
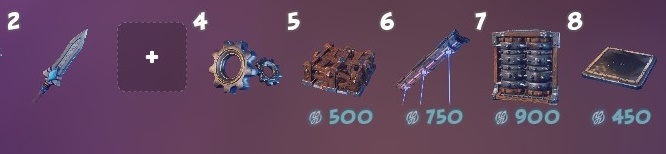
This is a list of the traps and items you need for this design, and which upgrades they need. It’s possible you could skip a few of these, but I’d recommend using all of them for consistency once you have the Skulls needed.
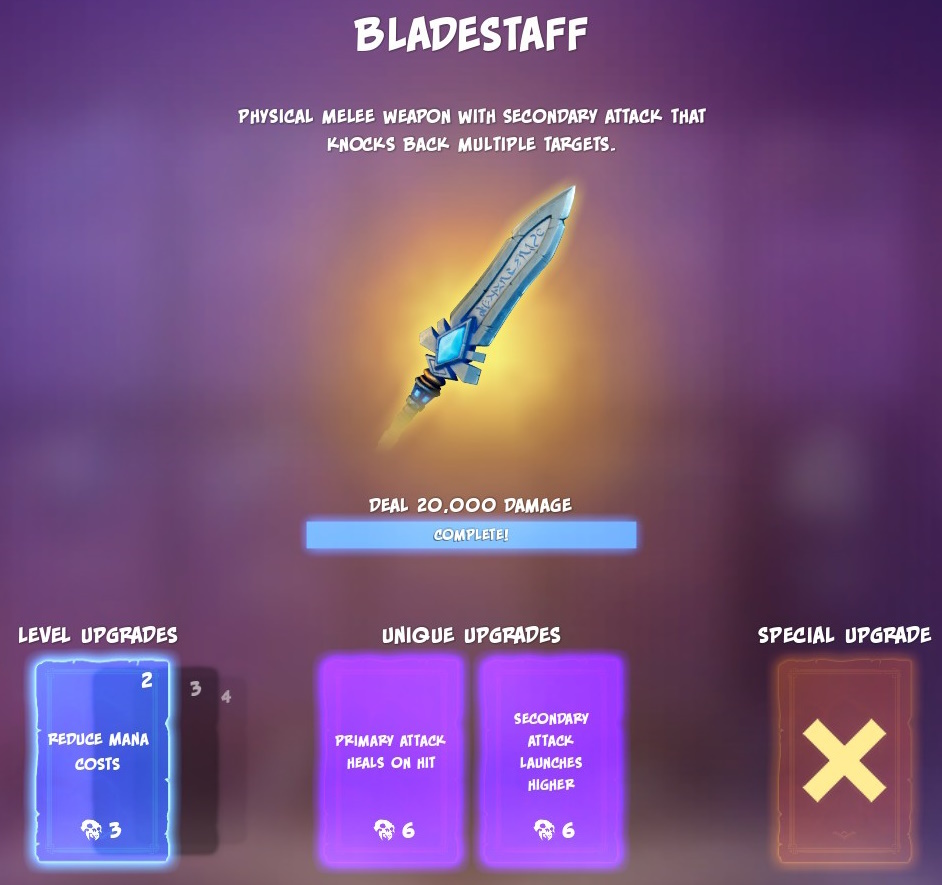
-Bladestaff: No upgrades necessary. You don’t need to use the secondary, or heal.
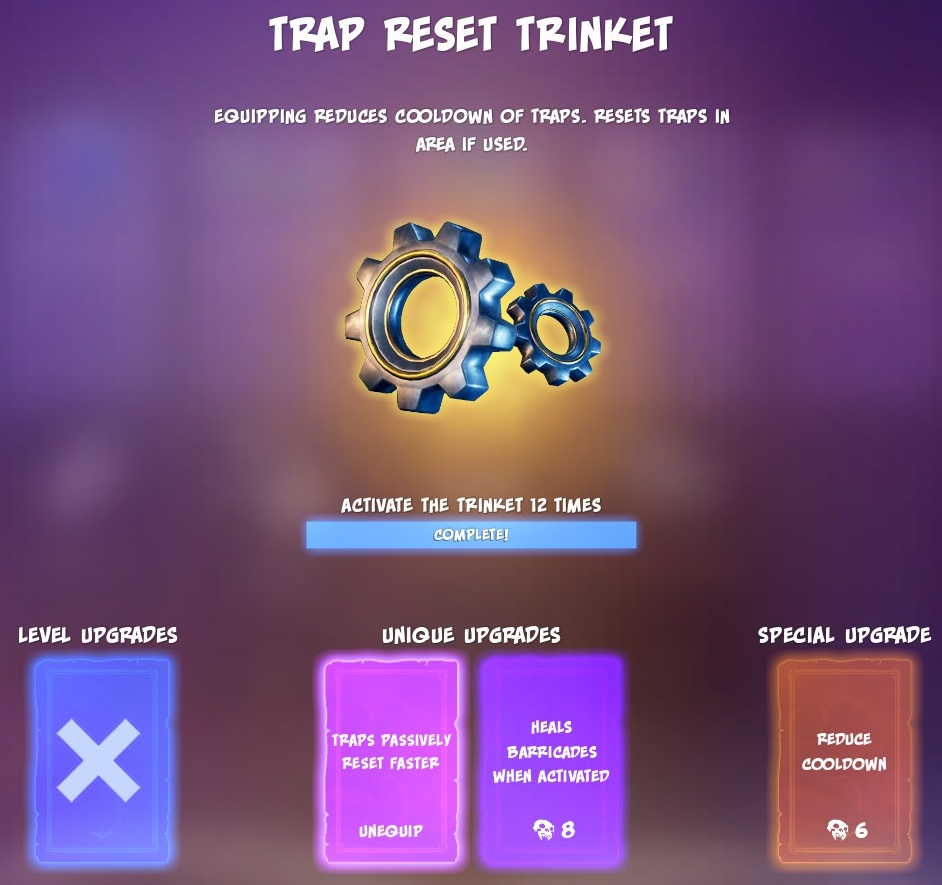
-Trap Reset Trinket: Potentially skippable. You just want the increased passive reset speed unique upgrade to help with the Grinder.
-Barricade: You just need the level upgrades so they’re cheap.

-Ceiling Laser: Most important. You need both the cost reduction maxed, and the fire damage upgrade.

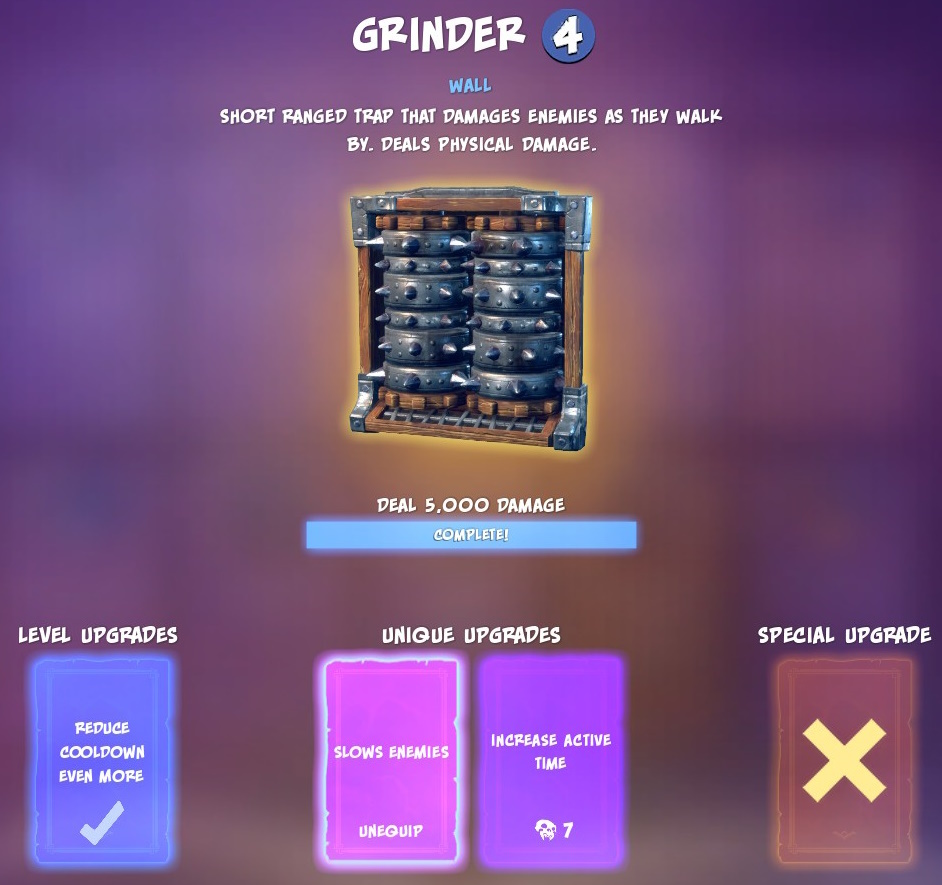
-Grinder: This is to deal with the occasional medium orcs who get into melee range. I maxed out the Cooldown upgrade and took the Slow unique. You might be able to get by unupgraded, I haven’t tested.
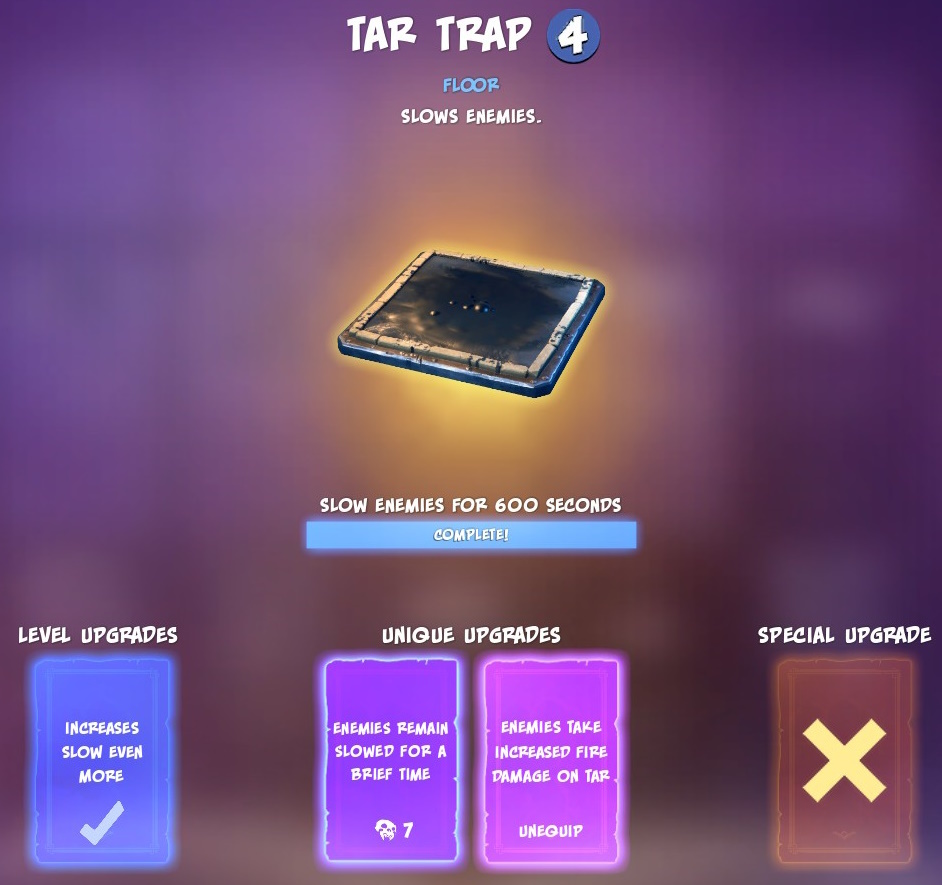
-Tar Trap: With maxed out Slow, and bonus fire damage, this makes the lasers much more effective. There’s been a few times where I forgot to place it entirely and was fine, so it’s potentially skippable.
The Setup
For trap placement, start by placing a barricade in the front right corner, and then placing another directly diagonally from it.
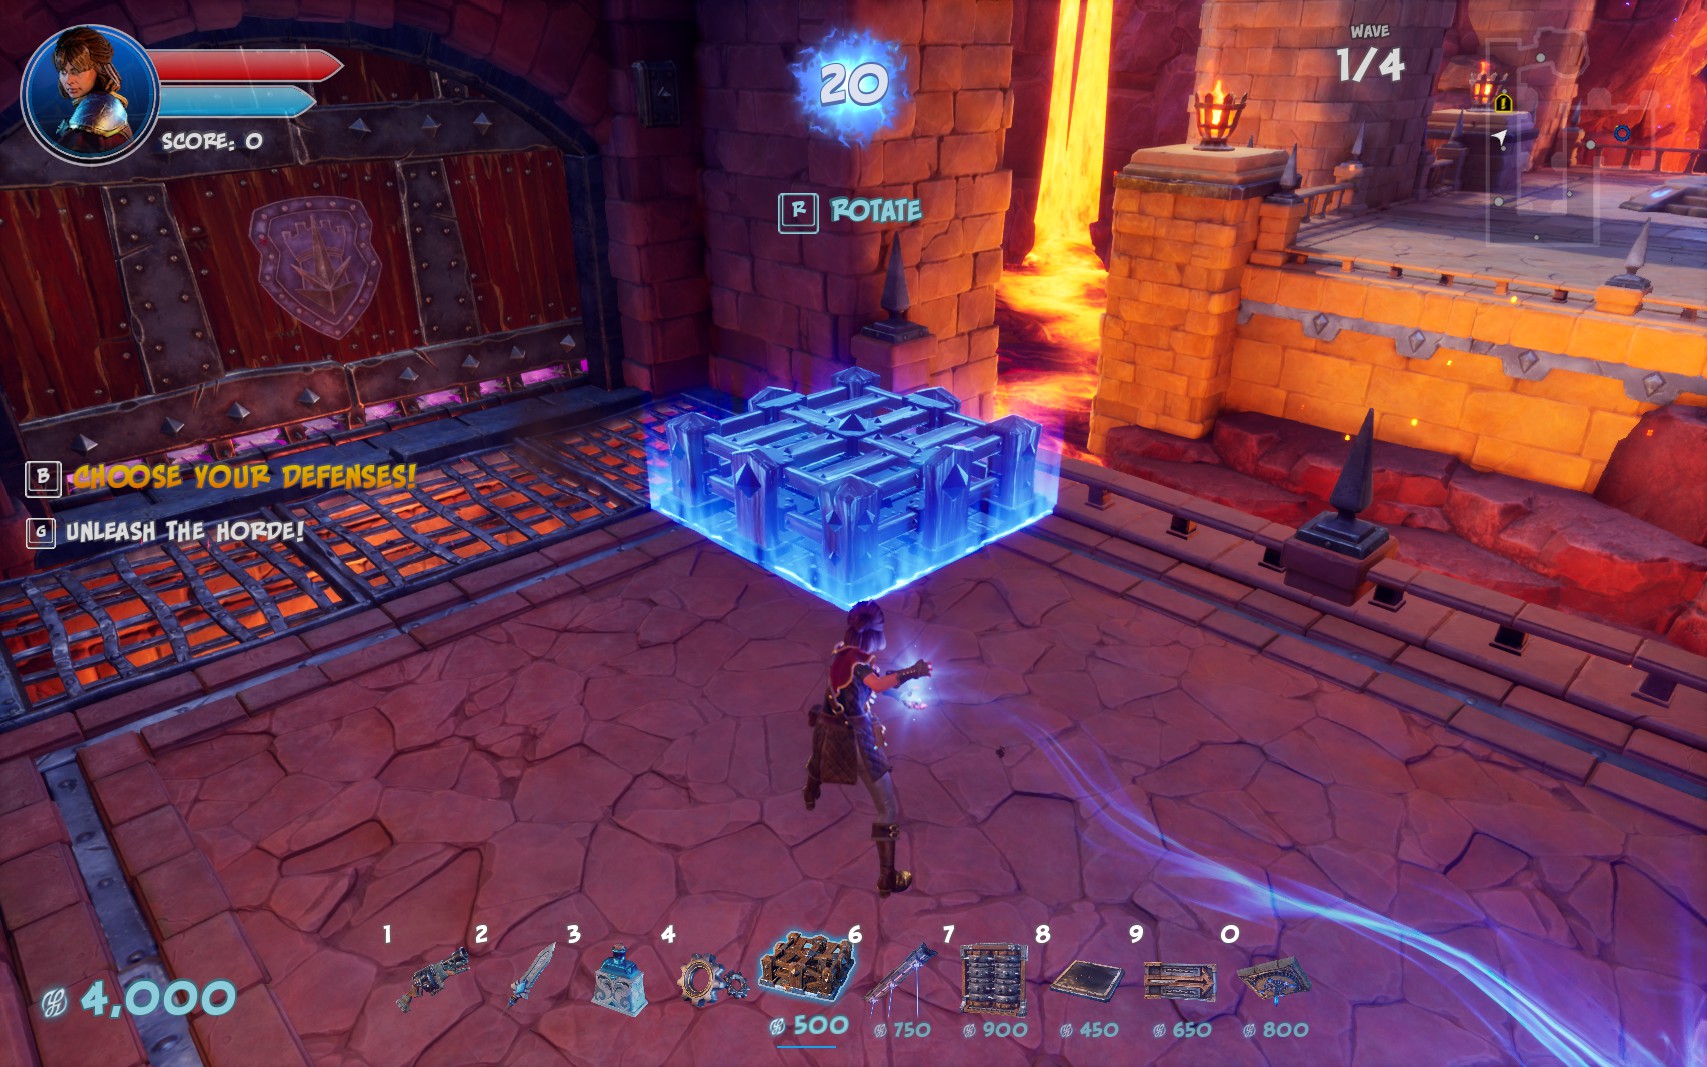
Next, place two lasers on the left side of the ceiling. You’ll need to rotate them once. Be careful not to place them too far forward or back. The easiest way to do this is to line up the end of it with the wooden beam on the ceiling.
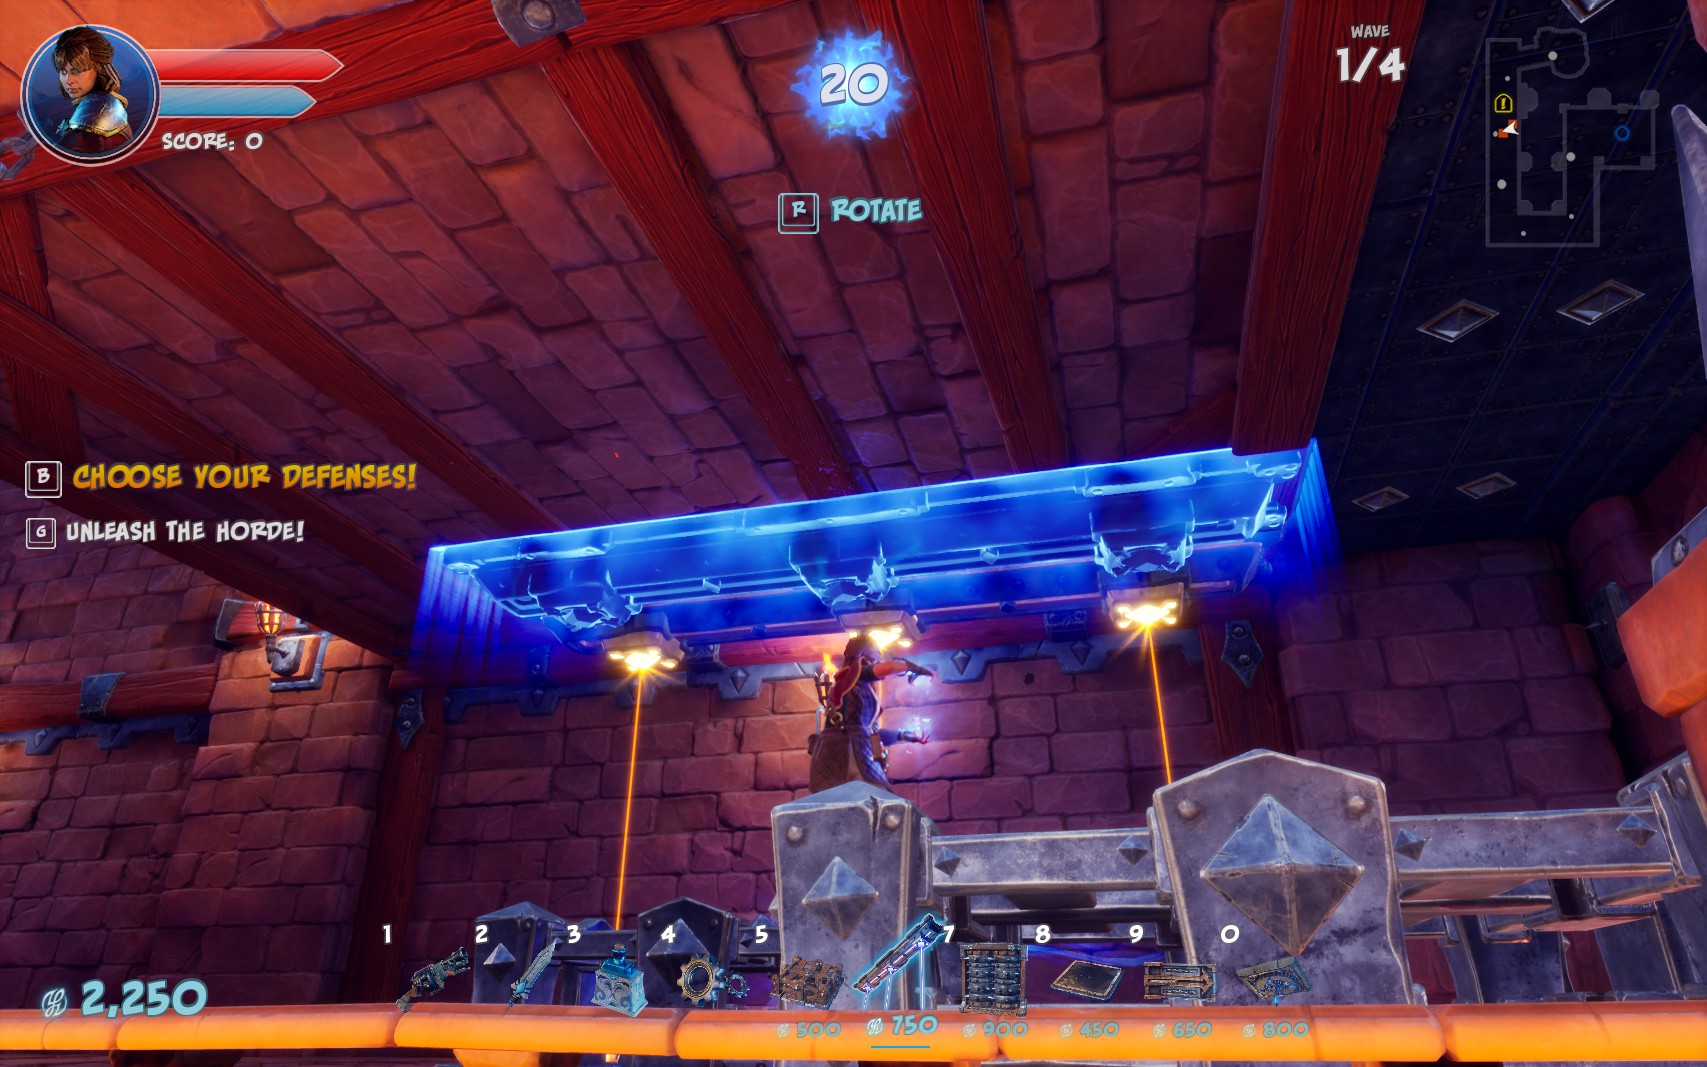
Next, place the Grinder lined up with the last pair of lasers.
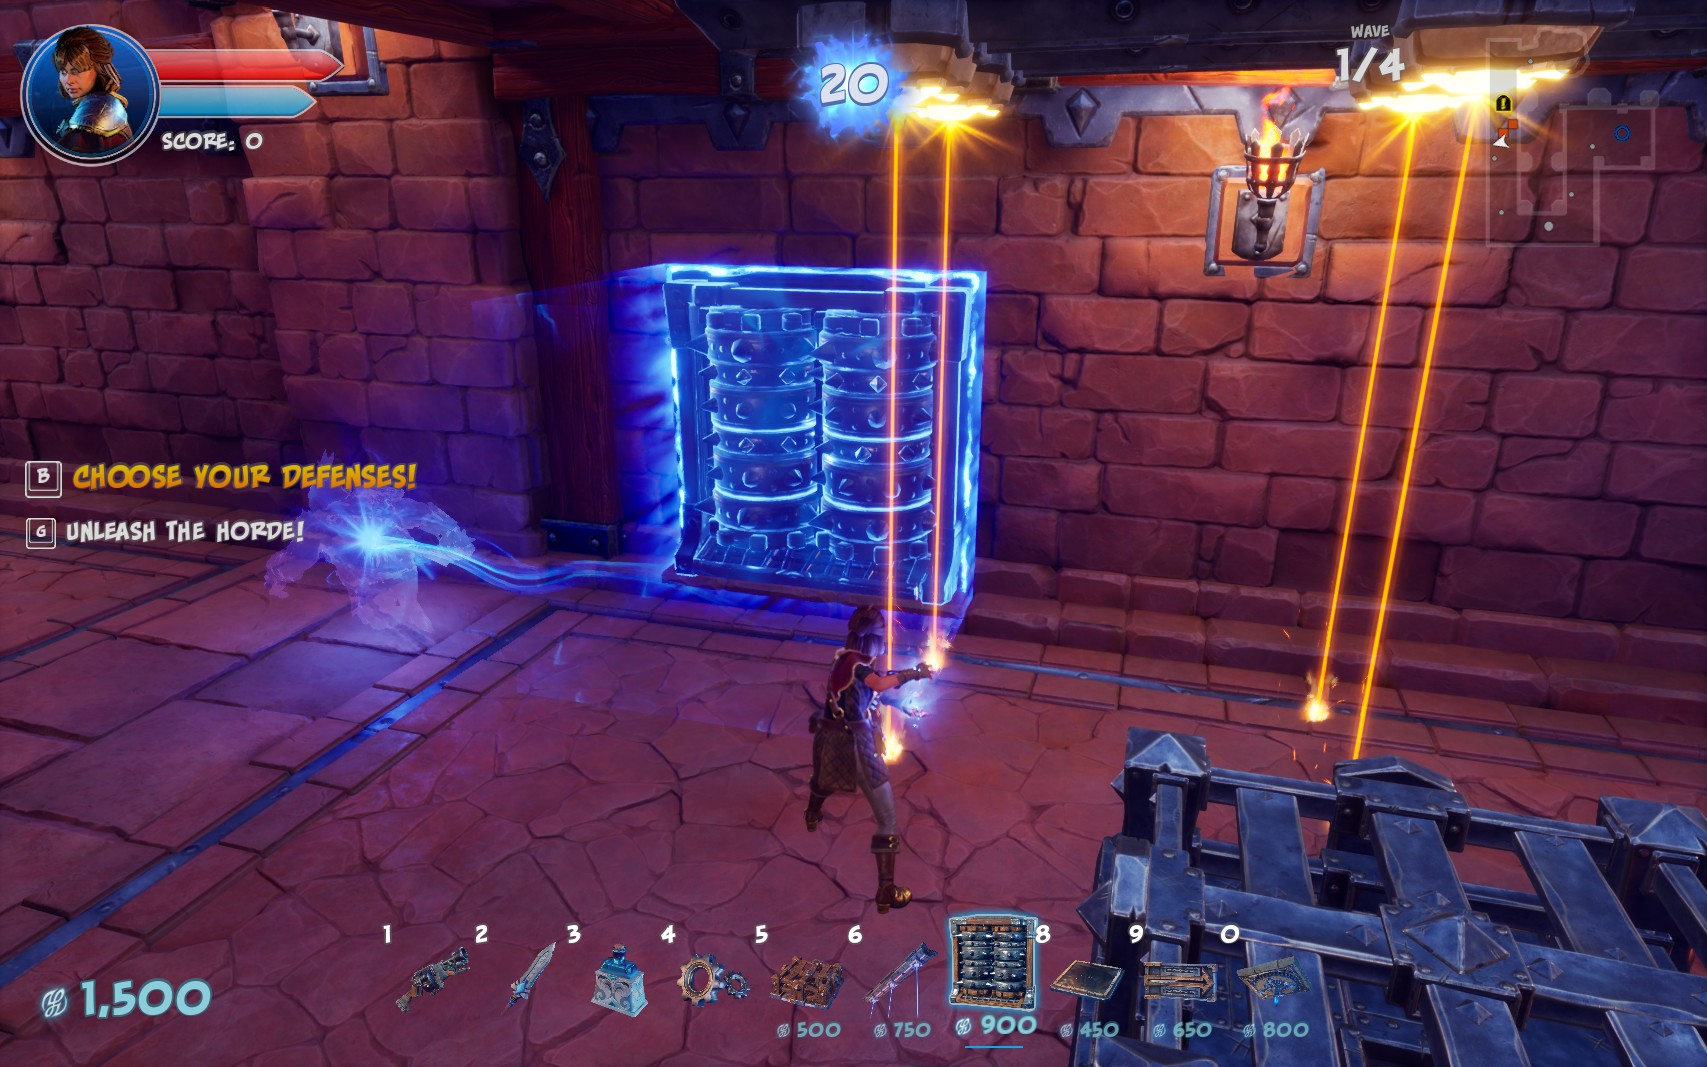
Finally, place a Tar Trap between the front and middle sets of lasers.
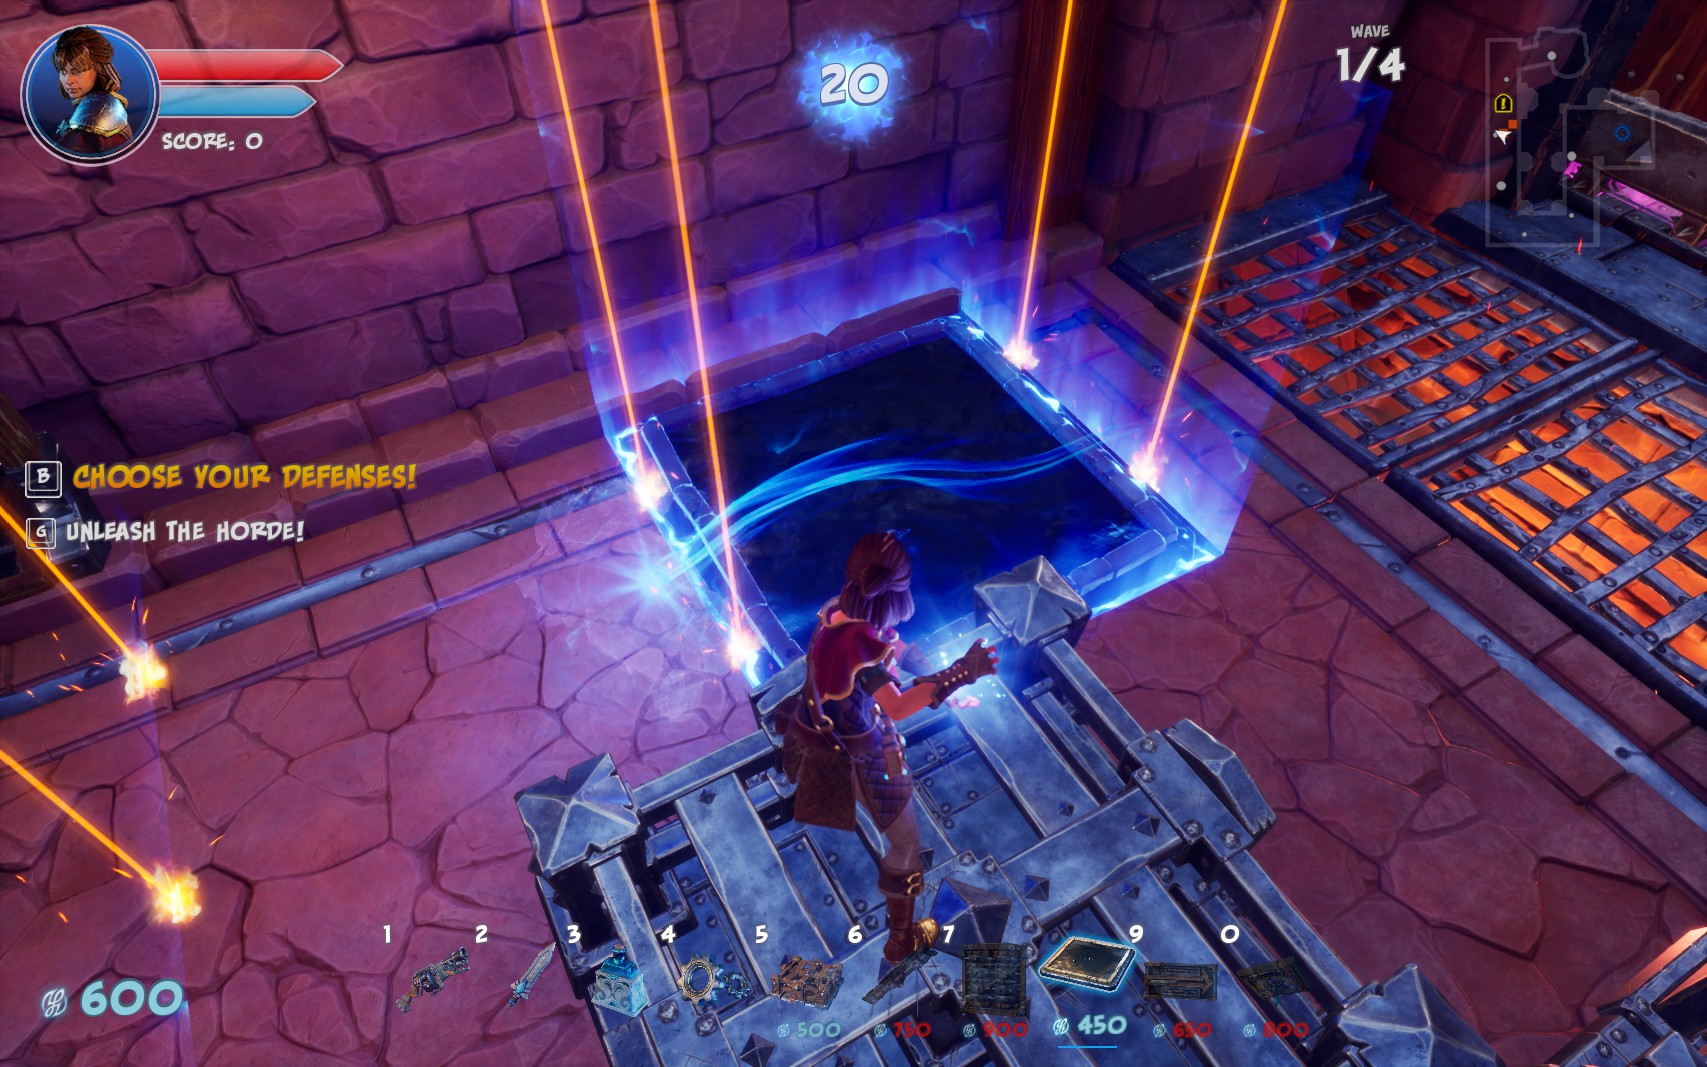
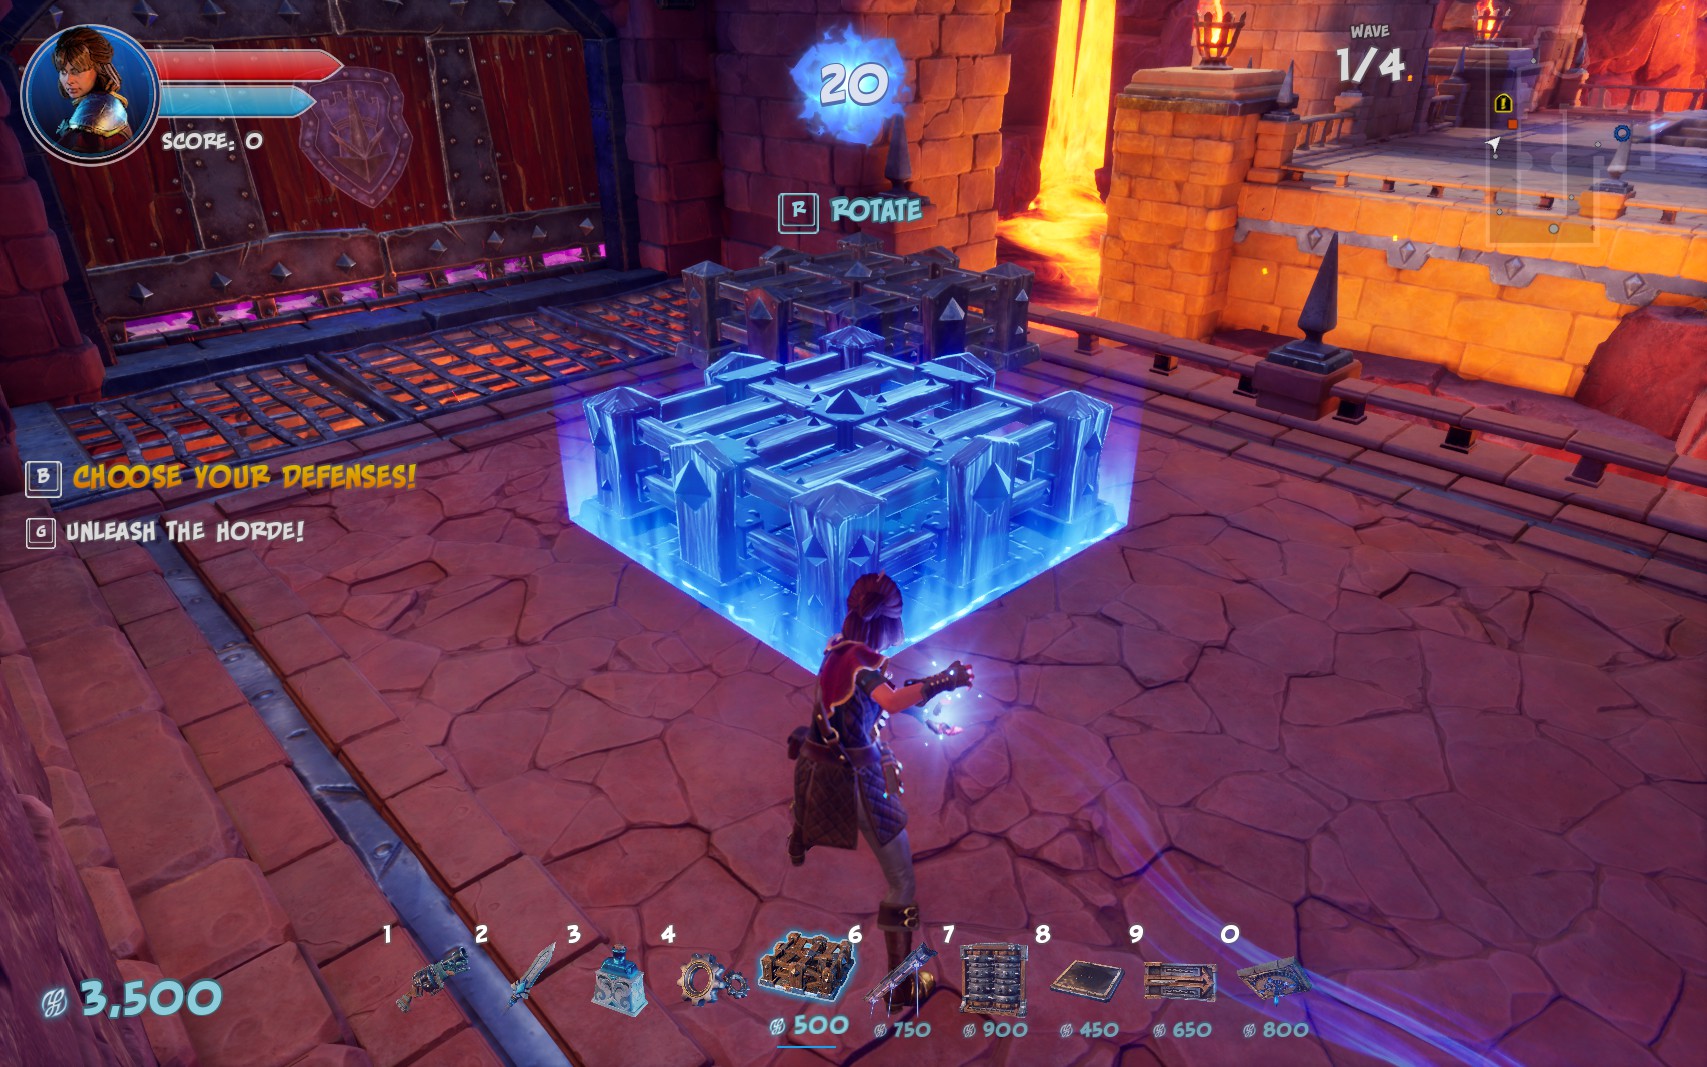
The Breakdown
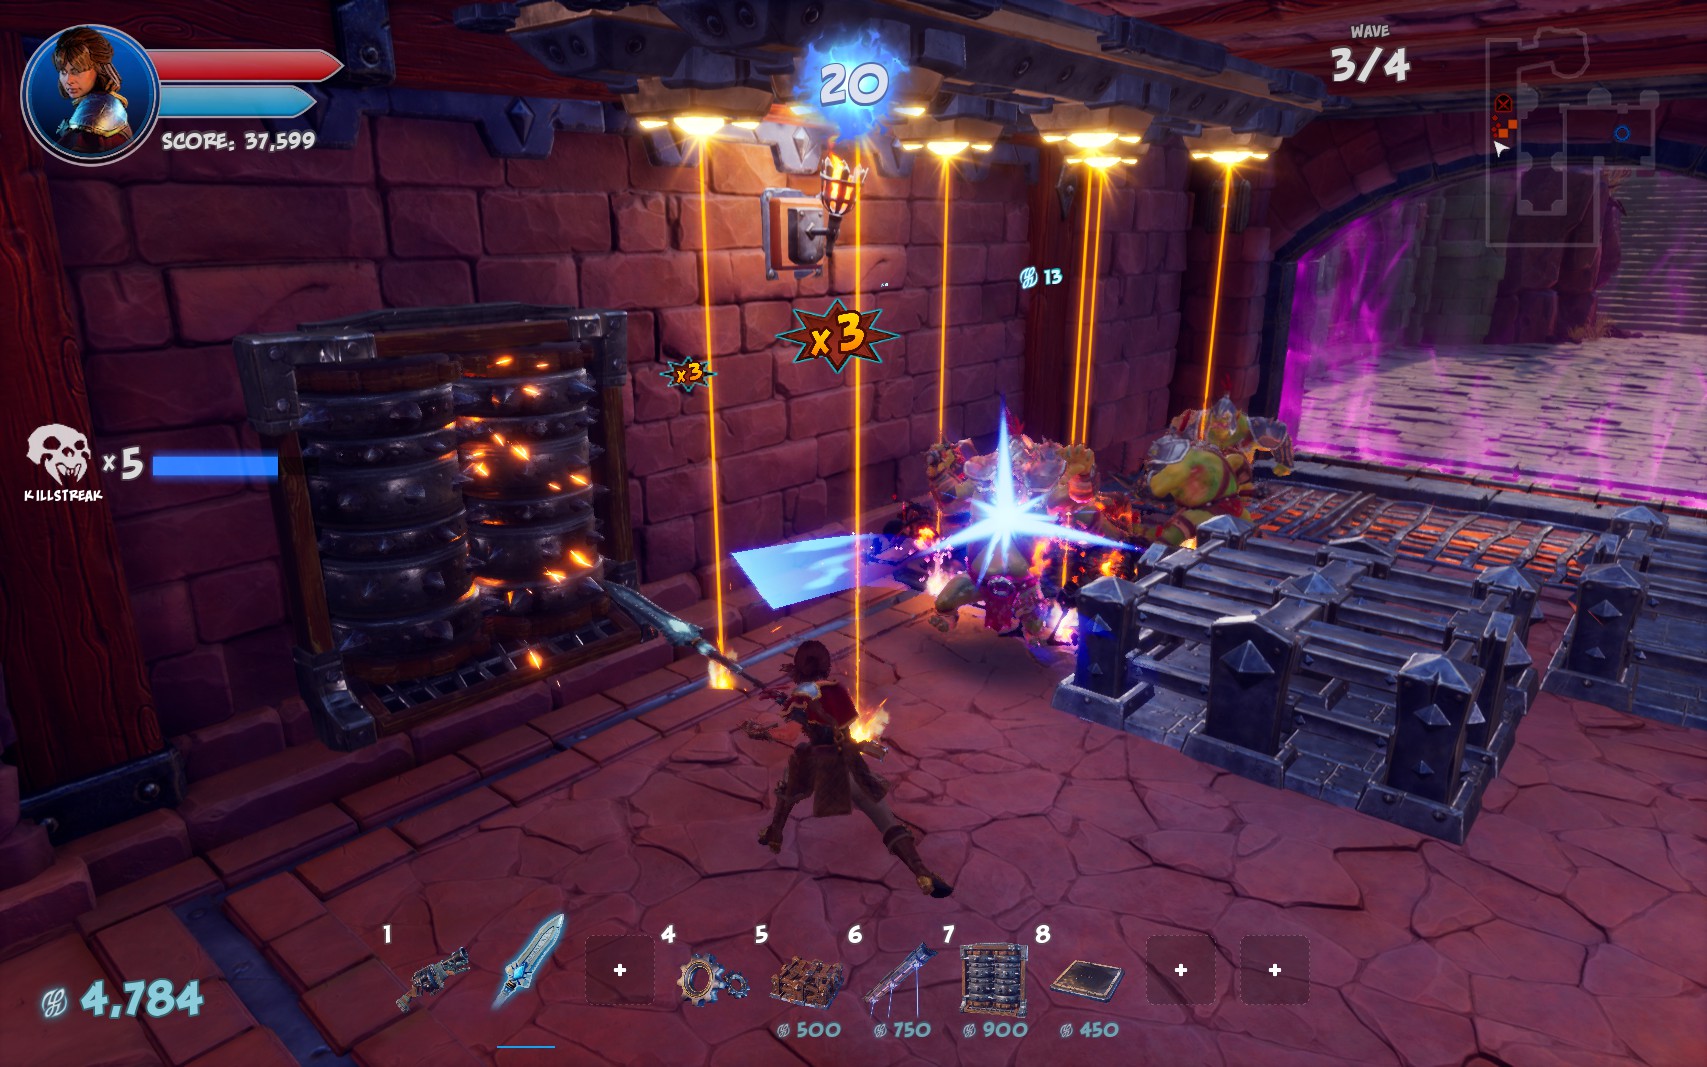
This is what the full setup looks like.
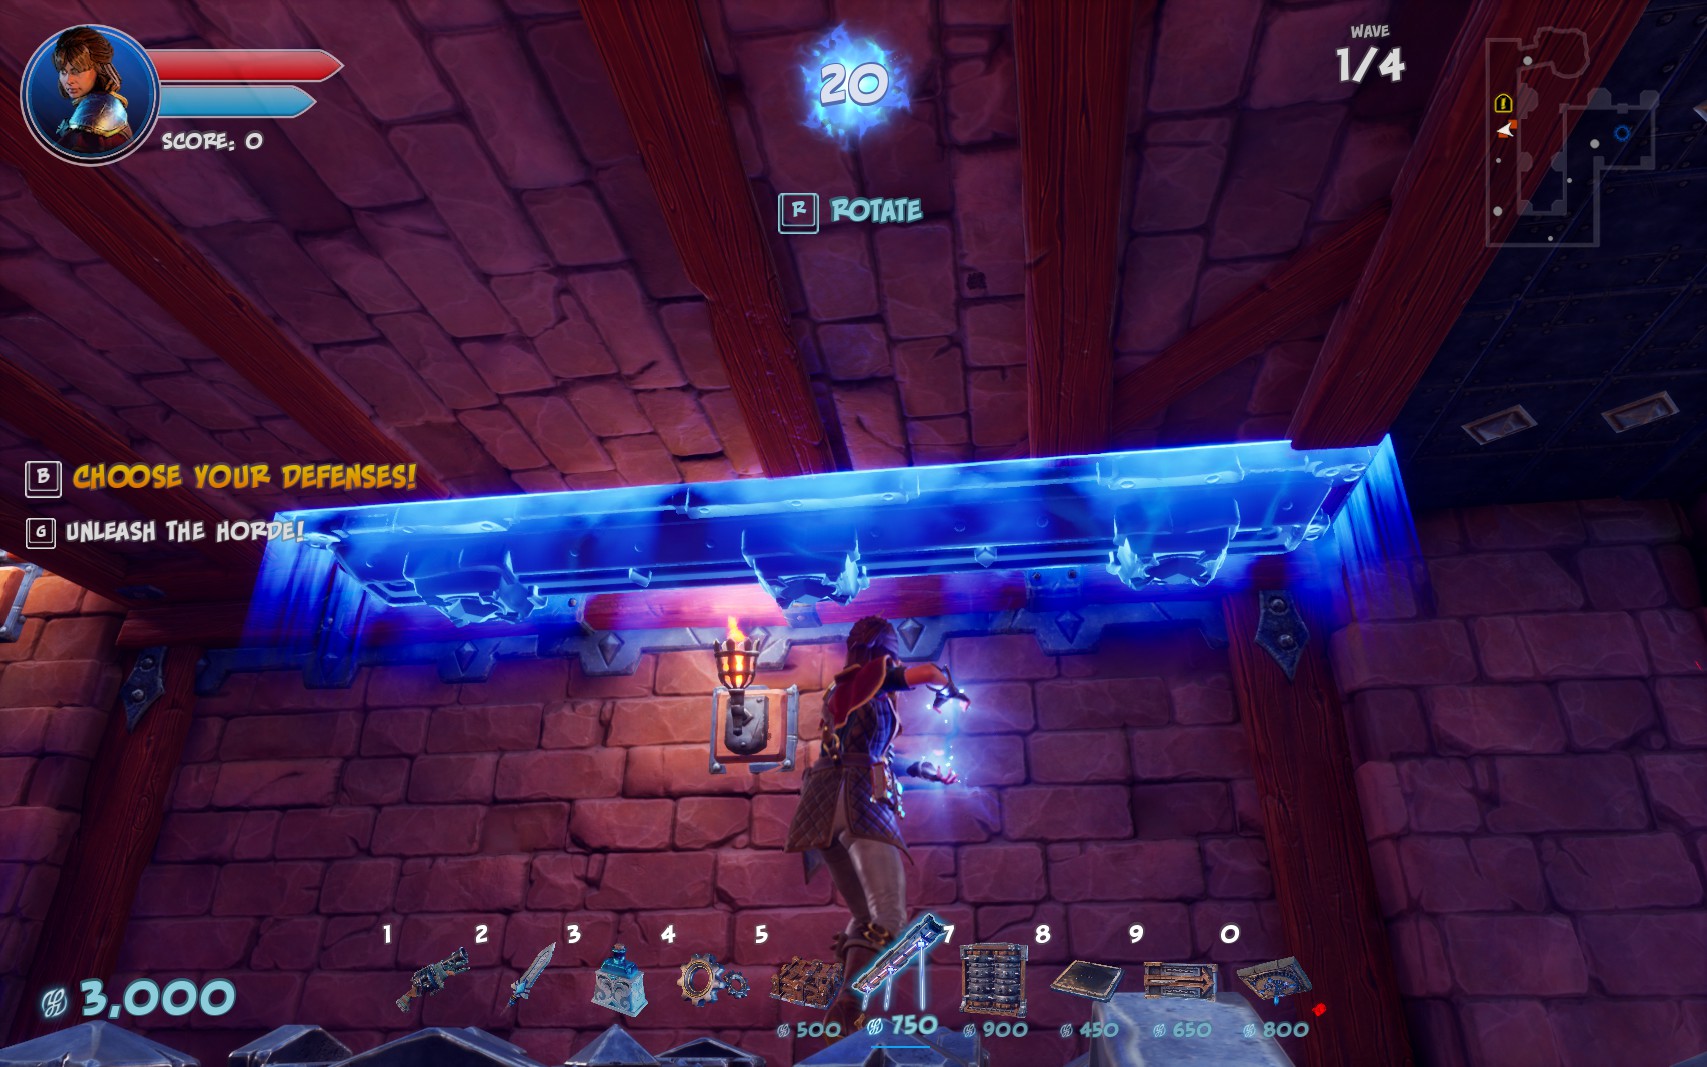
Another angle.

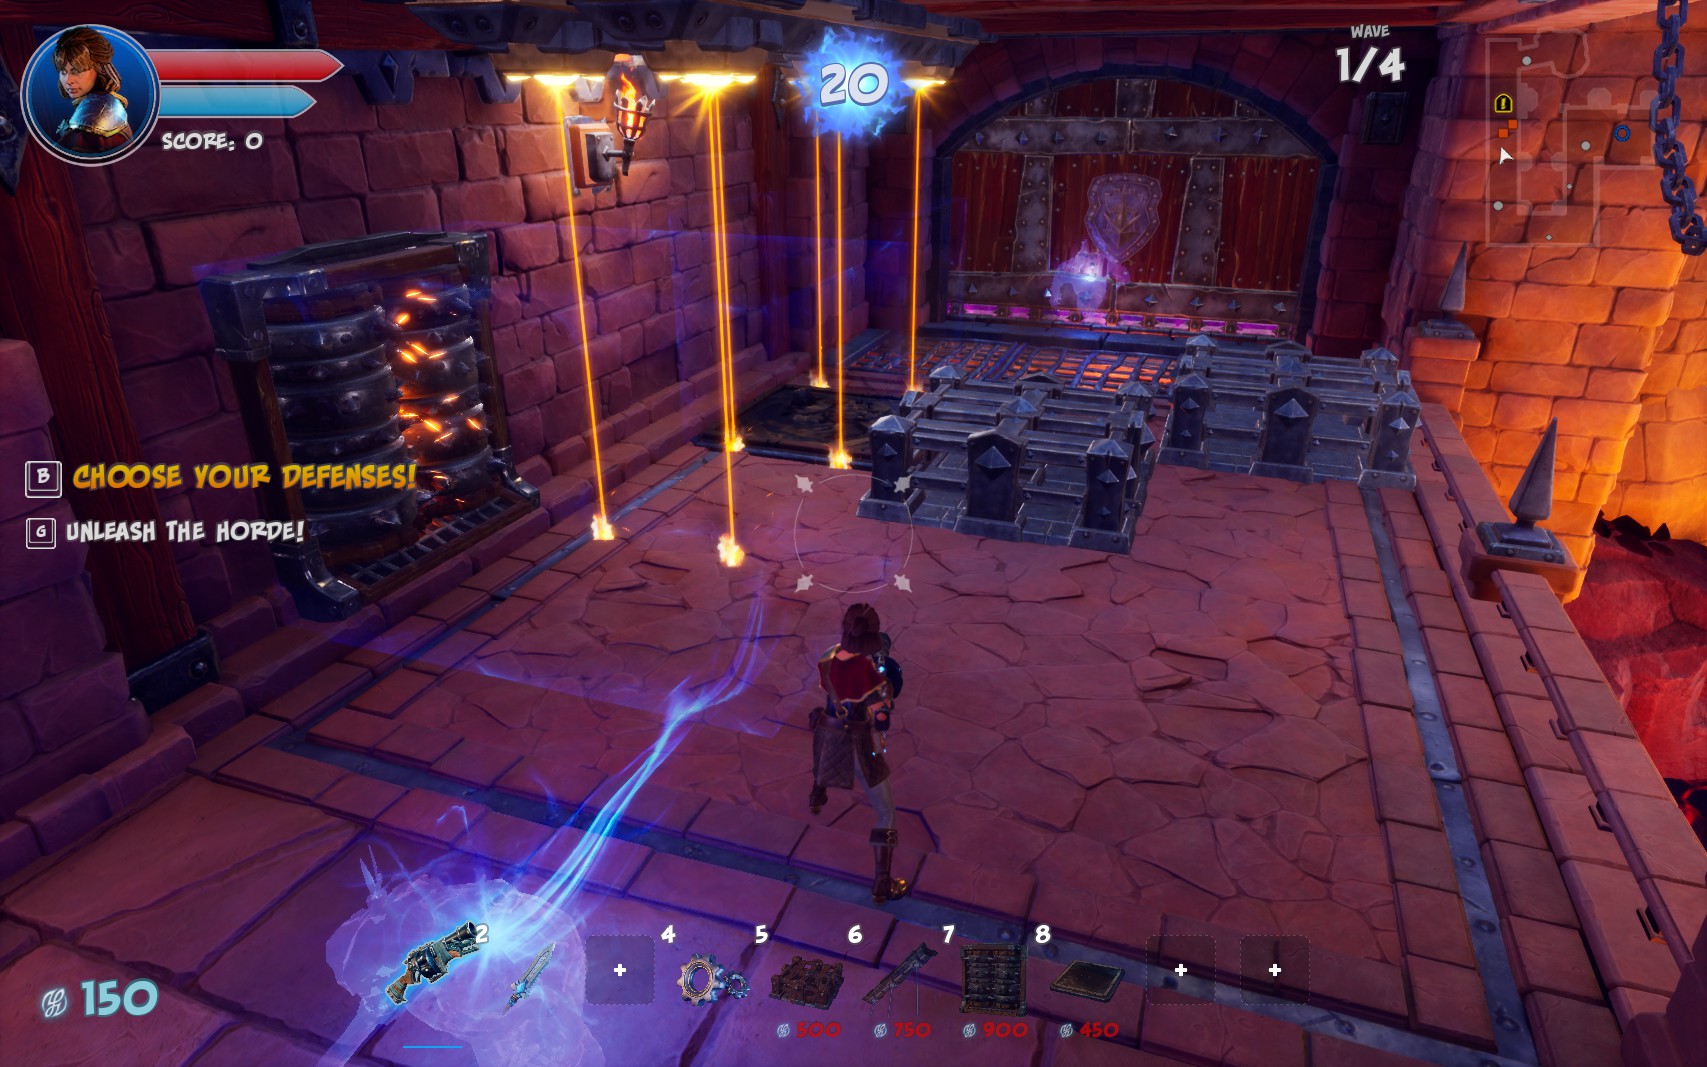
Once all the traps are in place, you need to get into position. Just stand slightly away diagonally from the bottom right laser, as in the image. This isn’t an exact science. The Bladestaff has enough range that you can stand in this general area and be fine.
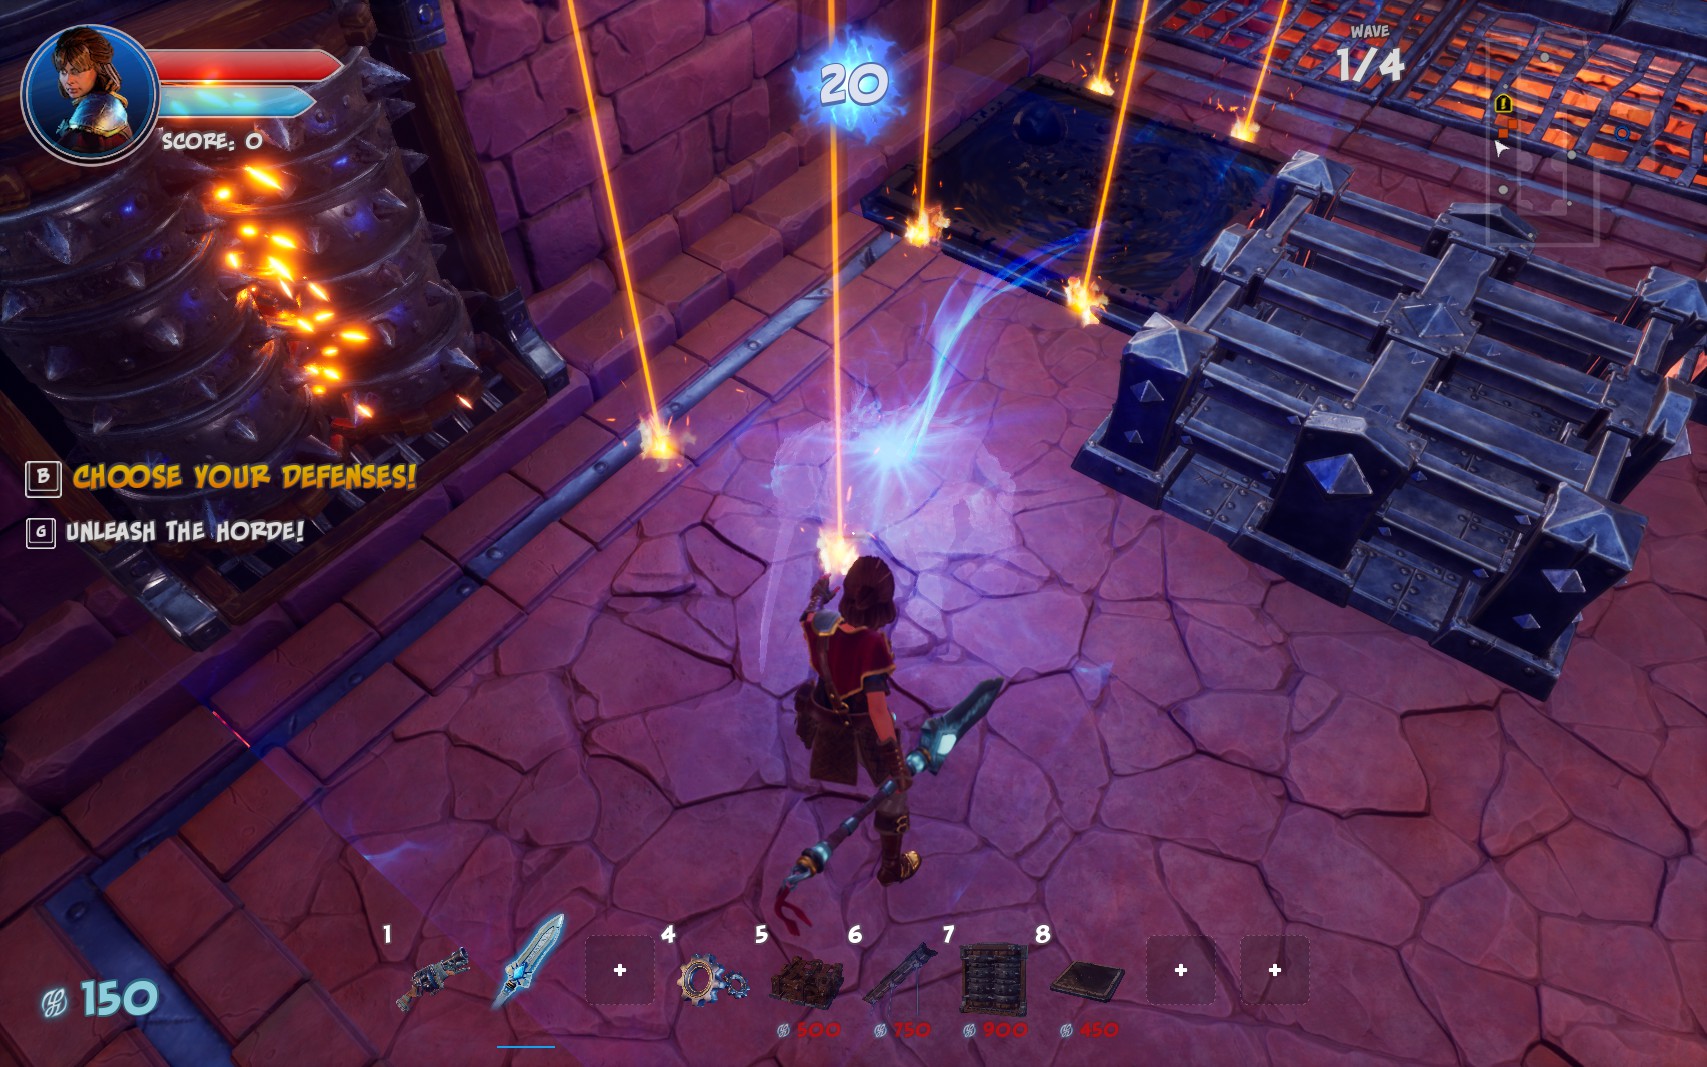
Start the wave, and just hold down left click (Normal Attack) with the Bladestaff. The range and speed of the attacks keeps enemies from getting past the choke point or hitting you. At the end of the 3rd wave, you’ll need to hit G one more time to start the last wave. Holding down left click and hitting G are the only inputs besides the setup, so feel free to watch a movie or something while you do this.
Conclusion / Tips
Hopefully this guide helps anyone who needs Skulls. This should be fairly straightforward, but if you have any questions, feel free to ask in the comments.
Also, I don’t know where else to put this, but if you’re a newer player you can get some easy Skulls by cheesing the Endless mode new high score bonus.
Just launch the mission, kill only 1 enemy, then intentionally fail. Relaunch the mission, this time kill only 2 enemies, then intentionally fail. Repeat this with 3 kills, 4 kills, etc. This isn’t repeatable because it only works when you beat your previous record, and won’t work if you already tried playing these missions even casually. Regardless, this could be faster in the short term.