In this guide, I will tell you how to properly install mods in Killing floor. Maps, weapons, characters.
Introduction
In order to install mods for Killing floor, you need to open the root folder of the game and you need to find some website with mods for Killing floor.
The path to the Killing floor root folder looks like this:
D:\SteamLibrary\steamapps\common\KillingFloor
On the Internet, choose any mod (maps, weapons, characters). In the manual I will tell you in detail how to install each of the mods. Mods can also be installed from the Steam workshop, but unfortunately, up to 50 mods can be installed from the workshop. I will tell you about everything in detail in the manual.
Installing mods from the Steam Workshop
Steam has a strict limit: no more than 50 subscriptions for the game. I.e. the first 50 modifications from the workshop will be installed and will work, and the subsequent ones will not.
It doesn’t matter what mods you subscribed to (maps, music, weapons, characters, etc.), after 50 subscriptions they simply won’t be installed and won’t work either.
Unfortunately, there is no direct way to get around this limitation, but it can be done in the following way so that you can play with as many modifications as possible.
A way to solve the problem with Steam Workshop
In the steam workshop, the authors sometimes attach links to some mods, these links will contain the mod itself, download and install the mod manually. And on those pages of mods where there is no link, you subscribe to the mod. This way you will be able to install as many mods for Killing floor as possible.
Installing Server Veterancy Handler v7 (ServerPerks)
This mod is necessary in order to be able to install their skins, weapons. It is best to use this mod if you want to play with custom skins for characters. If you want to play with the new installed weapon, then later in the guide I will tell you about the replacement of ServerPerks. Where the interface will not be changed and you will play the usual Killing floor, with a new installed weapon (mutators).
To be honest, I don’t like this modification, because it replaces your interface during the game, and also has its own skills. In general, this modification allows you to replace the vanilla Killing floor with your custom one, where you can install your skins and your weapons.
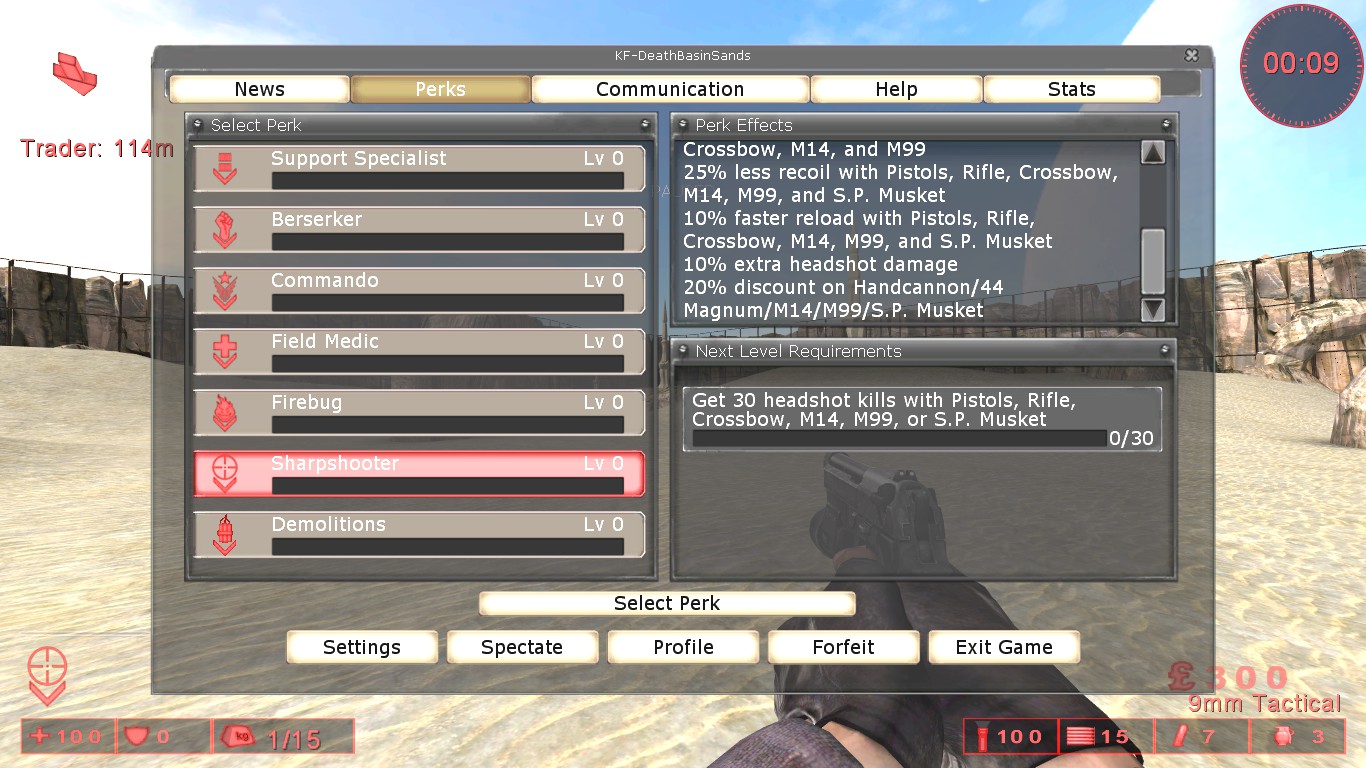
Now I’ll show you how the interface changes with the modification of the Server Veterancy Handler v7
Server Veterancy Handler v7
Killing Floor

After you have subscribed in the steam workshop, or installed the mod yourself by downloading via Google drive from the link in the description in the manual, then you should have a ServerPerks.ini file in the System folder. In the future, you will enter text in this file to add weapons and to add skins.
Installing maps
Installing a new map for Killing floor from mods is the easiest, there is no need to connect any additional mods to make the downloaded map work.
In order to install a new map, you can select a map in the Steam workshop. Then subscribe to it. And a new map will appear in your game.
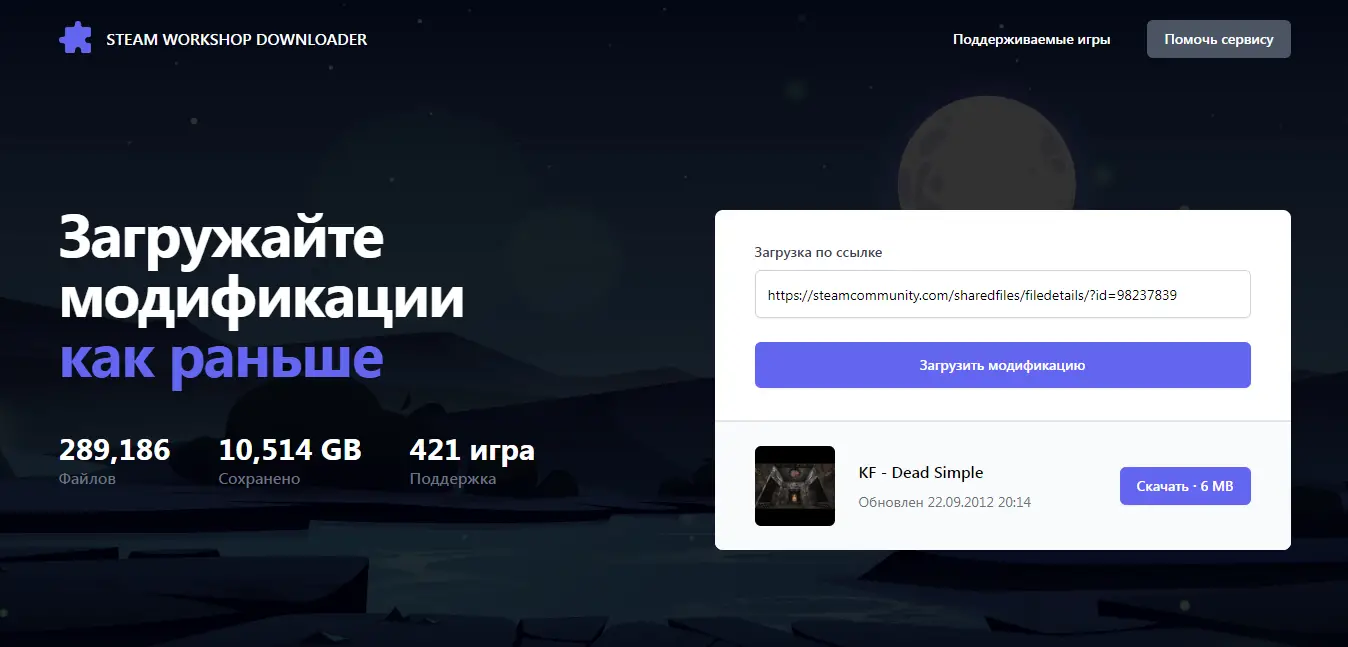
Or, if you do not want to fill out your subscriptions (because the maximum number of subscriptions in the steam is 50), and the map is only in the workshop, while it is not on any other sites, then you can use a special site called steamworkshopdownloader, (I can’t attach a link because steam removes any links)
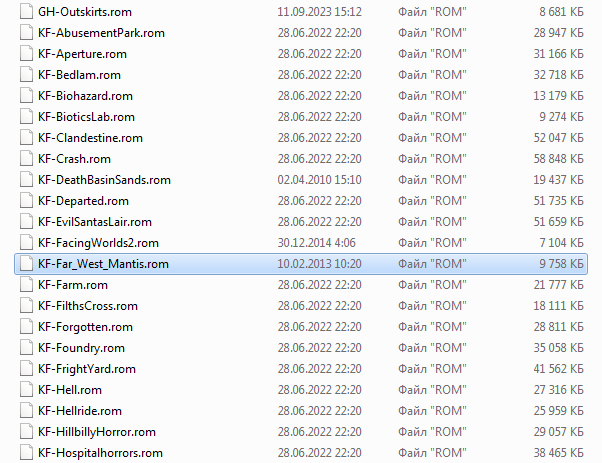
After that, the archive will be downloaded, which contains a file with the map, the file must be one and of the .rom format
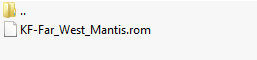
After that, we simply transfer this file to the Maps folder, which is located in the root folder of the game.
(D:\SteamLibrary\steamapps\common\KillingFloor\Maps)
Unfortunately, in our case, this site is only suitable for downloading maps from the Steam workshop. Because if you try to download a mod for weapons or a skin from the Steam workshop via steam workshop downloader, then the wrong files are downloaded at all.
If you like some map from the Internet, also download and also transfer the file to the Maps folder.
Installing skins
To play with your installed skins, you will have to use a modification in killing floor – Server Veterancy Handler v7.
Download a skin for a character from any site, you will have an archive downloaded.
Each skin can be downloaded from the Internet in different ways:
Basically, the downloaded archive will consist of two folders: Animations and System
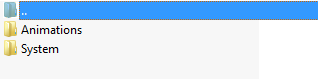
In this case, we simply move the files from each folder to the root folder of the game. (We go to each archive folder and transfer the file to the desired folder with the game, it is better not to transfer the folder and use a merge, because the folder in the archive can be called animations, in this case if you transfer the folder completely, then in the root file of the game you will have two folders animations and Animations, in connection with which the skin will not install and problems may arise).
We transfer files from each archive folder to the desired game folder.
Animations -> Animations
System -> System
Or the downloaded archive may look like this:

In this case, we just transfer it from the System -> System folder, the skin in the game will also work.
Or it may look like this:
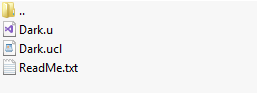
In this case, we transfer the first two files (with the format .u and .ucl) to the System.
*.u and *.ucl -> System folder.
On the site where you download the mod, there is a text, the text looks like this:
CustomCharacters=SeriousSam. Copy this text.
Now open the ServerPerks.ini file, now we need to add this text at the very end, this is necessary for the skin to work.
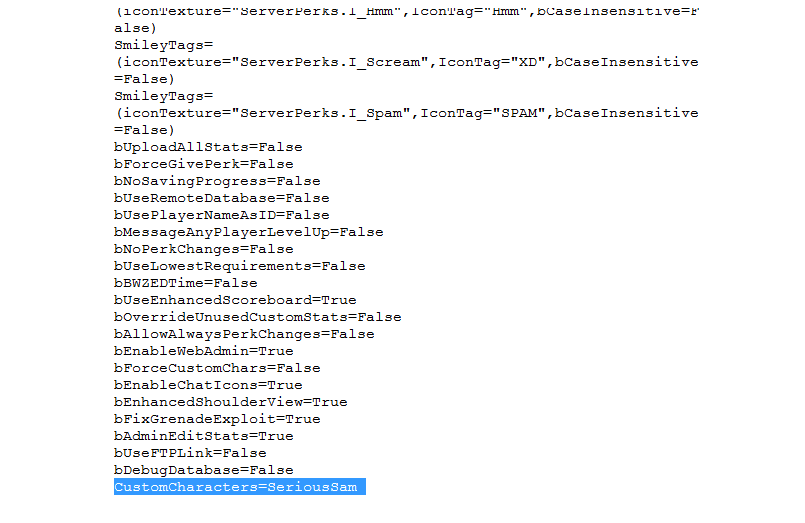
Also, the subsequent downloaded skins are installed in the same way, also add the necessary line at the very end.