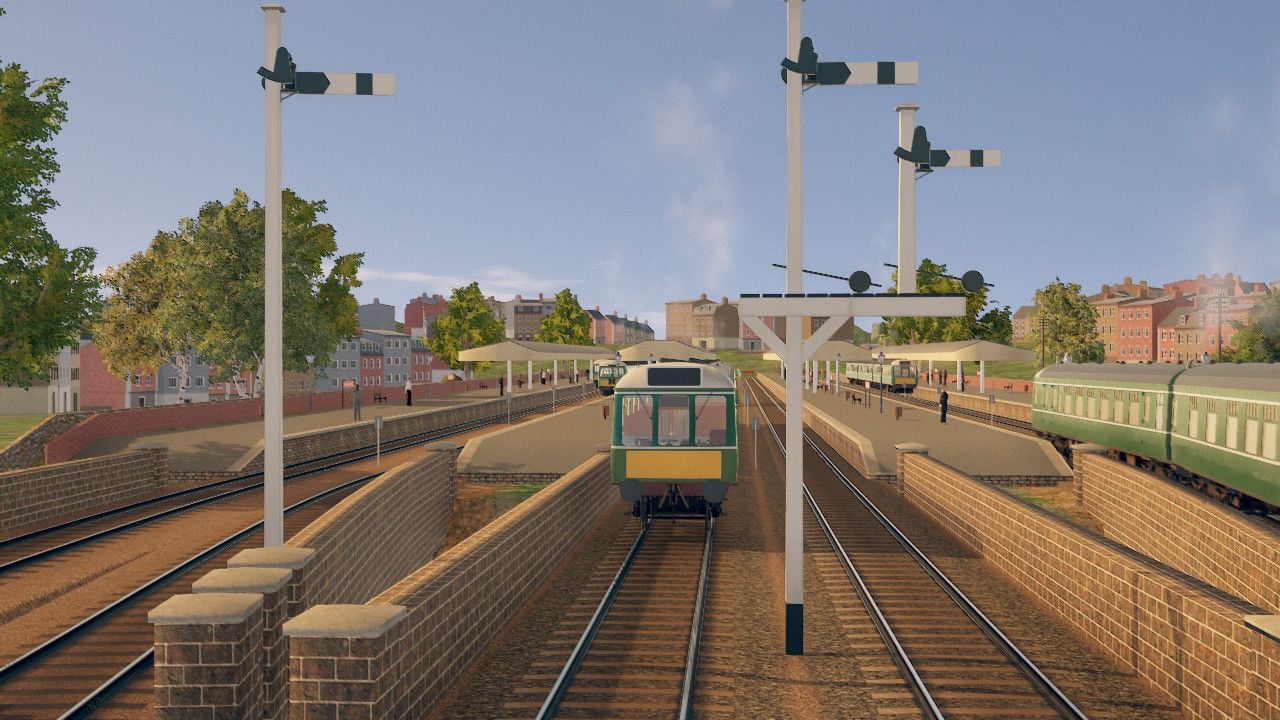
In this guide, we will demonstrate the process of importing your own 3D models into the route and train editors of Diesel Railcar Simulator.
File Formats
To import your own 3D models into the route and train editors, you can use external programs like Blender to create models and save or export them in either .obj or .fbx format. Textures can be imported in formats such as .dds, .tga, .png, or .jpg.
Importing to the Route Editor
Before importing, ensure that the route you’re editing has been saved at least once to have its own folder. You can find the folder location by clicking on the “…” button in the top section of the side panel and selecting “Edit route properties.” Save your model and export it to the route folder.
In the route editor, click on the “Custom” button located at the top of the side panel to add a template node. Within the node properties, set the model source as “model files.” Your exported model file should now appear in the model ID drop-down menu. If everything is working correctly, the model will become visible when you attempt to place it using the “Objects” button in the top section of the side panel.
For a demonstration of how to import a model, refer to the conclusion of the “Route Editor Feature Showcase” video.
Importing to the Train Editor
Similar to the route editor, ensure that the train you’re editing has been saved at least once with its own folder. To find the folder location, click on the “…” button in the top section of the side panel and select “Edit metadata.” Export your model and save it to the train folder.
In the train editor, access the model node properties either by left-clicking on a highlighted (yellow) part of the train or by opening the list of model nodes from the top section of the side panel. Within the node properties, set the model source as “model files.” Your exported model file should now appear in the model ID drop-down menu. If everything is functioning correctly, the model should become visible in the 3D view when you select it from the menu.
Overriding Materials
In some cases, materials and textures may not import correctly. In such situations, you can manually define and override the automatically imported materials.
For the route editor, click on the “…” button in the top section of the side panel and choose “Materials (custom models).”
For the train editor, click on the “Materials” button located in the top section of the side panel.
When adding a custom material, hover your mouse pointer over each field to view the associated tooltip. For a visual explanation of the various textures and RGB ranges used by the renderer, refer to the “Unity Standard Shader Metallic Calibration Chart.”
To apply the custom material, open the properties of the custom model node (the one you added following the instructions in the previous two sections) and add one or more node materials from the side panel. You can also add material overrides for built-in models in the same manner.
Asset Packing (Optional)
The editors provide a packing tool that allows you to merge multiple asset files into a single file. While the tool doesn’t impose restrictions on the types of files that can be packed, it only allows the use of 3D models (meshes) and their associated textures.
The purpose of packing is to bundle files together in a format that isn’t easily accessible to regular users. This is particularly useful when working with commercial 3D models obtained from sites like CGTrader and TurboSquid.
If you’ve created all the assets yourself and don’t need to restrict others from using them, you can import the models as regular unpacked files without using the packing tool.
To access the packing tool in the route editor, click on the “…” button and select “Edit route properties.”
In the train editor, click on the “…” button and select “Edit metadata” to access the packing tool.
When you press the “Update pack” button for the first time, the tool will create an empty folder in your Windows profile directory. The path to the folder will resemble the following:
C:\Users[Your_profile_here]\AppData\LocalLow\Lapioware\Diesel Railcar Simulator\Packing source\Something
Using the tool:
- Click the “Update pack” button to create the source folder.
- Locate the folder and move the files that need to be packed (meshes, materials, textures) into it, while preserving the subfolder structure if applicable.
- Click the button again to pack the moved files (the program will temporarily hang until the packing process is complete).
- You should now have a file named “pack” in the original route/vehicle folder.
- The packed models will become invisible in the editor.
- Click the “Reassign broken custom models to pack” button to change the model references from the old individual files to the packed files.
- The models should now be visible again.
For a smoother workflow, it’s advisable to refrain from using packing until you’re ready to make your work public. Unpacked files load faster and require fewer steps to refresh properly.
Note that materials for packed .obj files cannot be loaded automatically because they are stored in a separate .mtl file. Consider using a different format (such as .fbx) or overriding the materials with manually defined ones (refer to the section above) if needed.
If the program crashes after packing models, it might be due to a mesh containing an excessive number of vertices (over 65,000). If necessary, split large meshes into smaller ones to resolve this issue.


