
A guide on how to solve all puzzles complete with all passcodes and photos
Floor 1
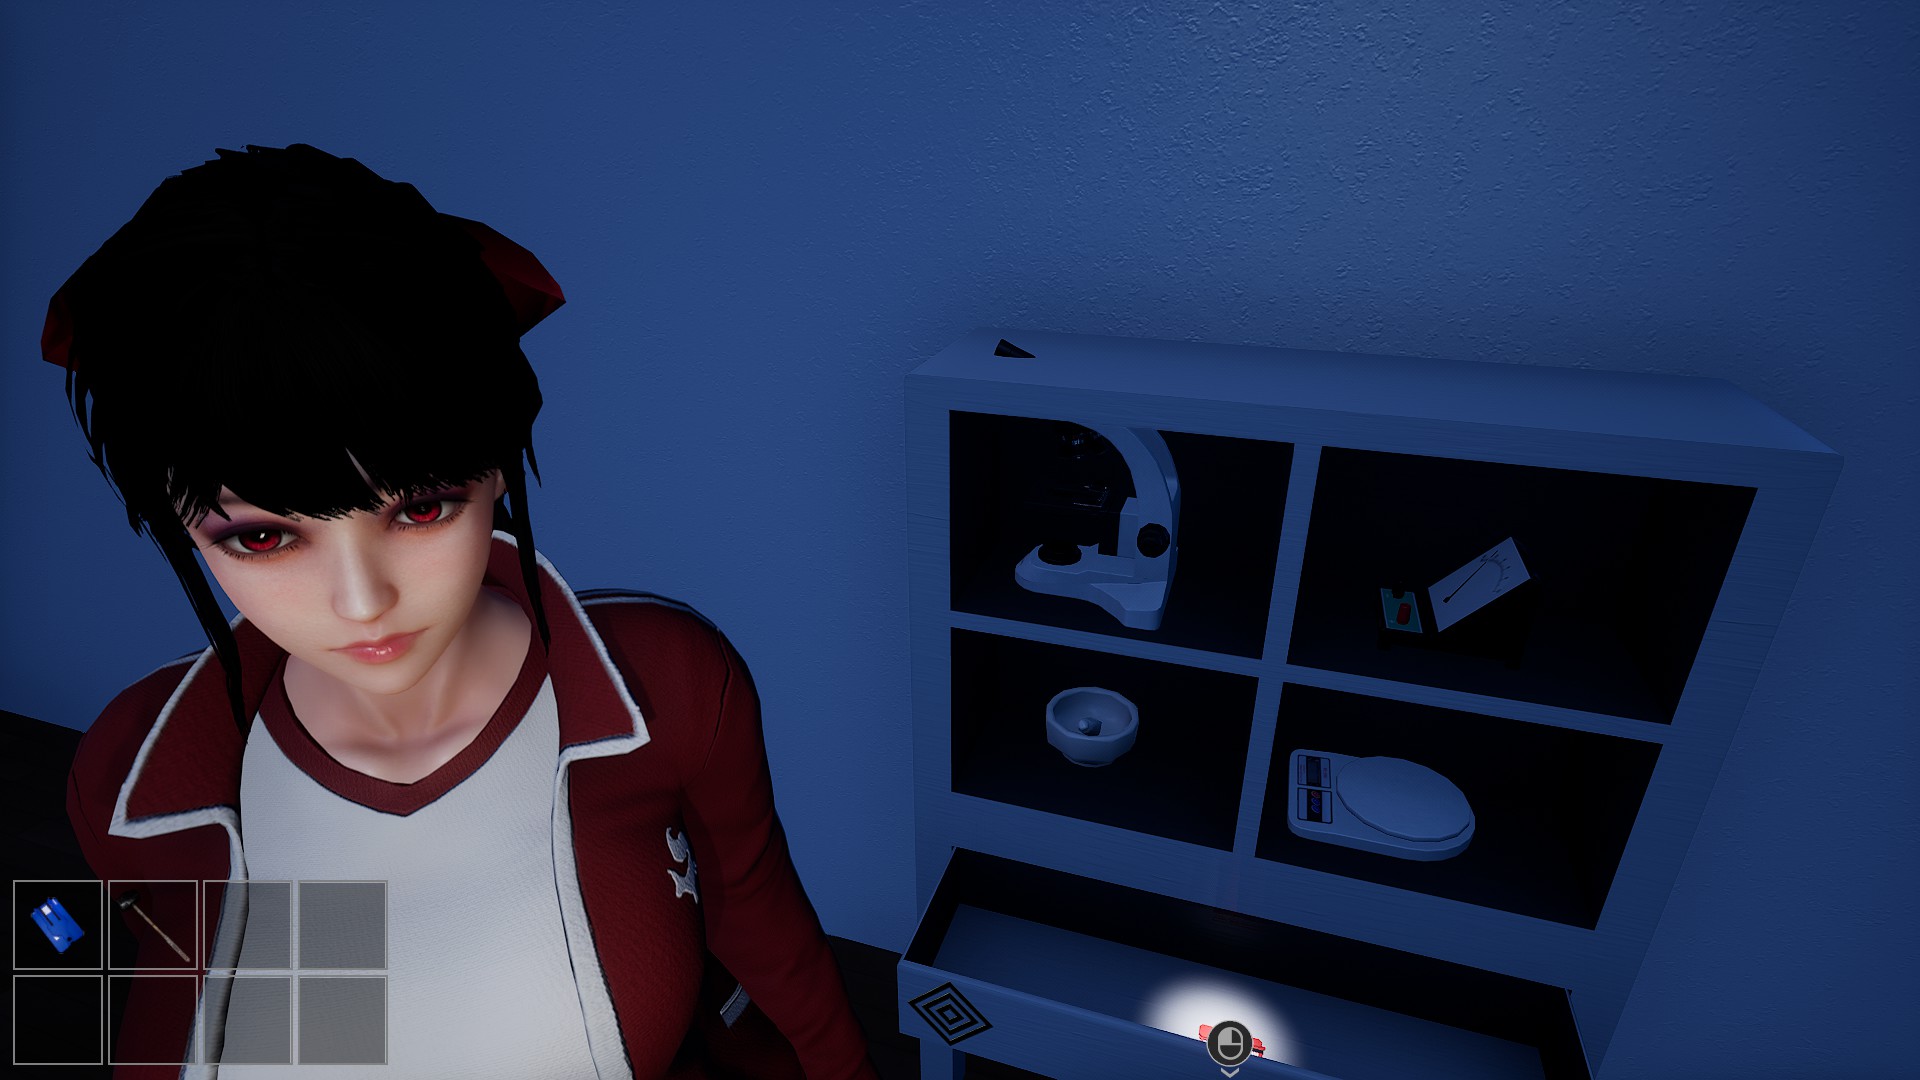
On Floor 1, you will need to find the 3 key pieces to form a full key. The pieces are found in the room in which you start in. The pieces are in the closed locker, the open shelf, and the brown drawer on the left-most side
The chalkboard will have writing on it, indicative of the next puzzle. The chalkboard reads A : 2

With the key formed, we can progress to the next room
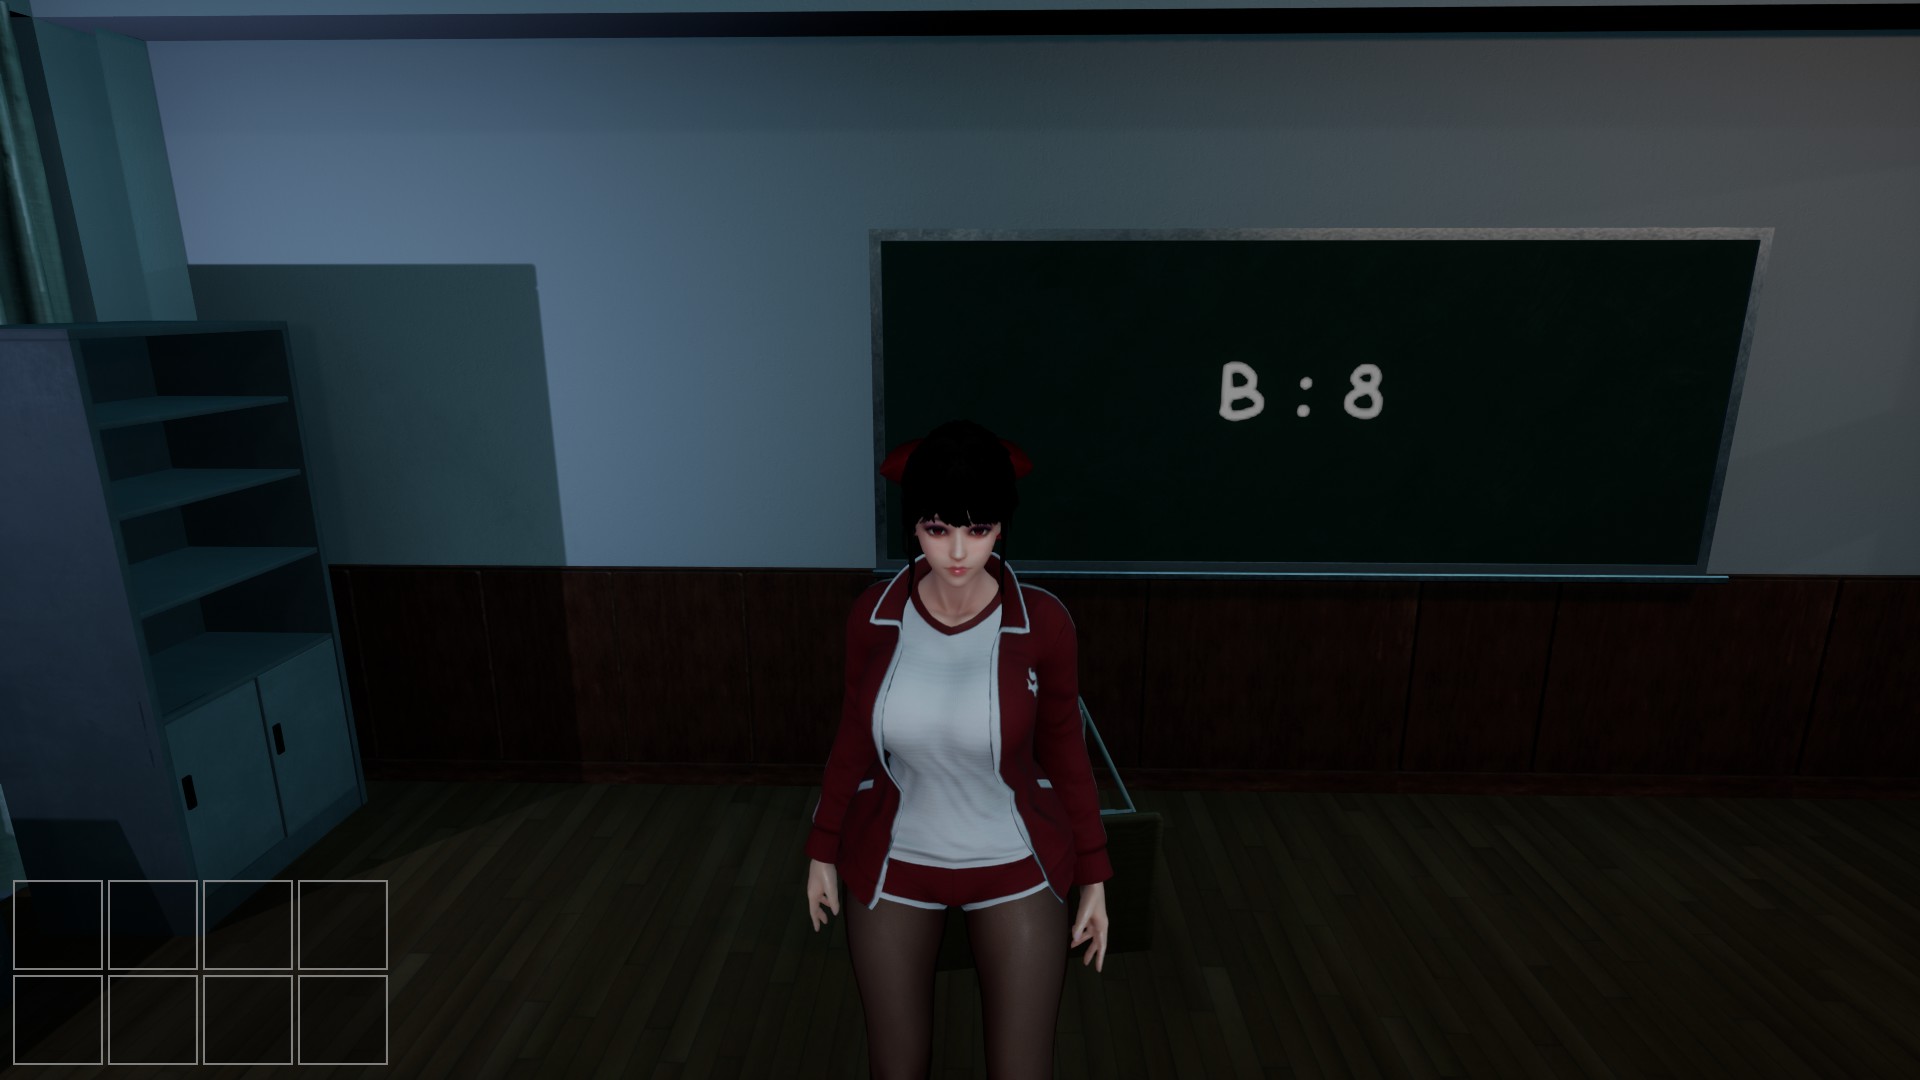
The chalkboard in this classroom reads B : 8
Another key will have to be obtained to progress. One key piece requires turning off the light switch in the classroom, then turning off the light switch in the hallway. The key piece will reveal itself being on the classroom window.
Next, the crowbar (found near the classroom windows) will be needed to enter a cross-space to get another piece of the key. The key piece will be found in the red bin. In the cross-space, there will be a closet key in the yellow bin. The closet key is needed to open the closet and retrieve the last key piece.
Now the key is formed and we can progress to the next room.
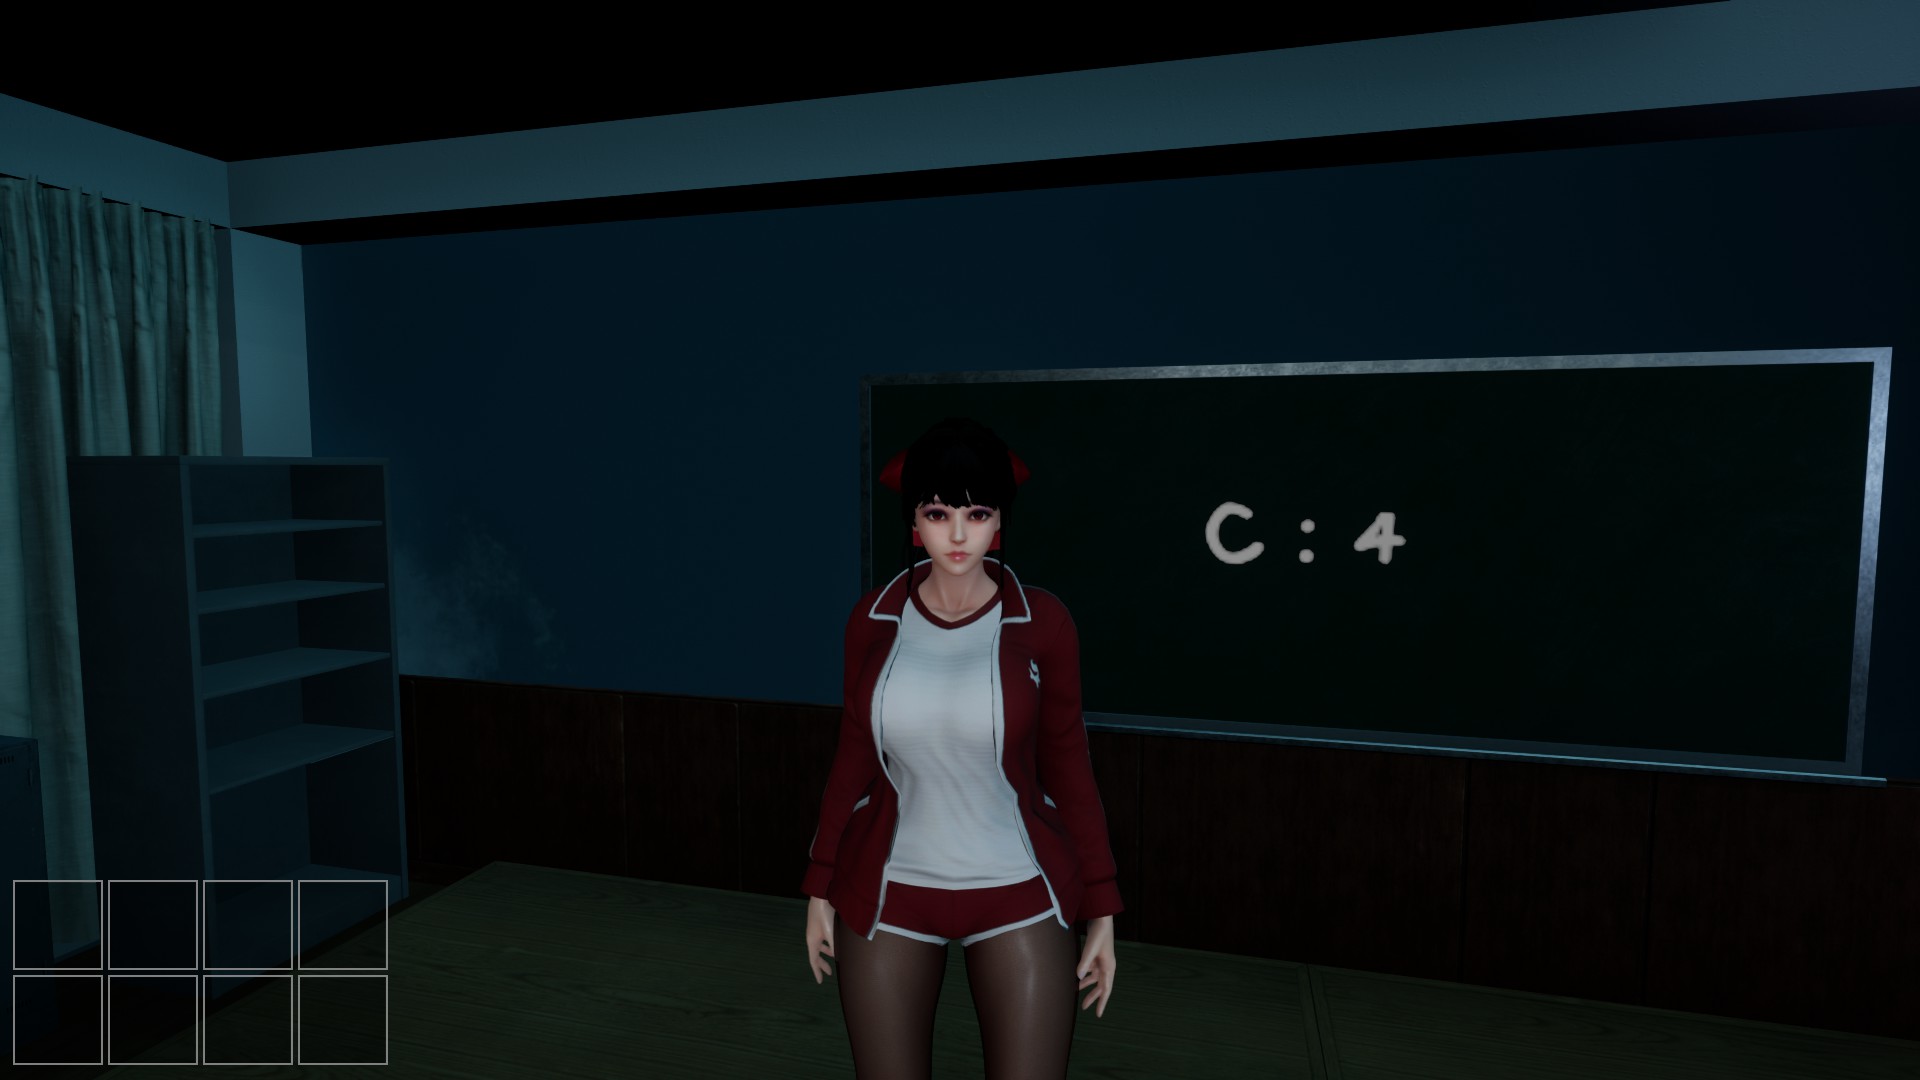
Entering the classroom, the chalkboard reads C : 4
Another key is needed to progress to the next room. One key piece is obtained by turning on the air conditioning in the classroom. The key will drop on the floor for you to pick up.
The brown drawer on the right will hold the men’s bathroom key, which will lead us to obtaining the passcode for the safe in the classroom. Using the sponge on the men’s restroom and the detergent from the women’s restroom, we can wipe away the stain in the men’s restroom to reveal the passcode to the safe; 3 4 7 9

The passcode will get us a pair of bolt cutters. The cutters can be used in the women’s restroom to obtain the other two key pieces. One will be in the sink and the other will be in the toilet, seen in the toilet bowl once you flush it.
Now the key is formed and we can progress to the next floor.
We are only met with a door with a passcode and the letters C A B written next to it. These letters are correlated with the writings on the chalkboards from the previous rooms. Punching in the numbers 4 2 8 will unlock the door.
Congratulations! You can now progress to the next floor!
Floor 2
Floor 2 will have the men’s and women’s restroom unlocked. In the men’s restroom, we can find a jar between the sinks on the floor and one part of bolt cutters in the corner near the urinals. Grab both items and progress to the women’s restroom.
In the women’s restroom, the closest door on the right side of the stalls can be opened to grab the other bolt cutter piece. Grabbing that will form the bolt cutters and we can progress into the classroom that is locked with a chain.
In the classroom, we can find a door handle in the brown drawer to the right and a shield model on a shelf. The door handle can be used on one of the doors in the hallway.
Installing the door handle, we can enter the computer room where we can obtain the handle of a hammer on the cabinet to the right and the cleaning kit key on the table.
The cleaning kit key can be used on the other locked stall in the women’s bathroom to obtain the head piece of the hammer. The hammer can be used in the classroom to create an opening in the damaged wall.
Entering through the hole, we can obtain the necklace in the brown cabinet closest to the hole and the hourglass on a desk. With the four relics in hand, we can now open the door at the end of the hallway. The jar goes top left, the hourglass goes top right, the necklace goes bottom left, and the shield model goes bottom right.

With the relics placed accordingly, we can progress to the next room.
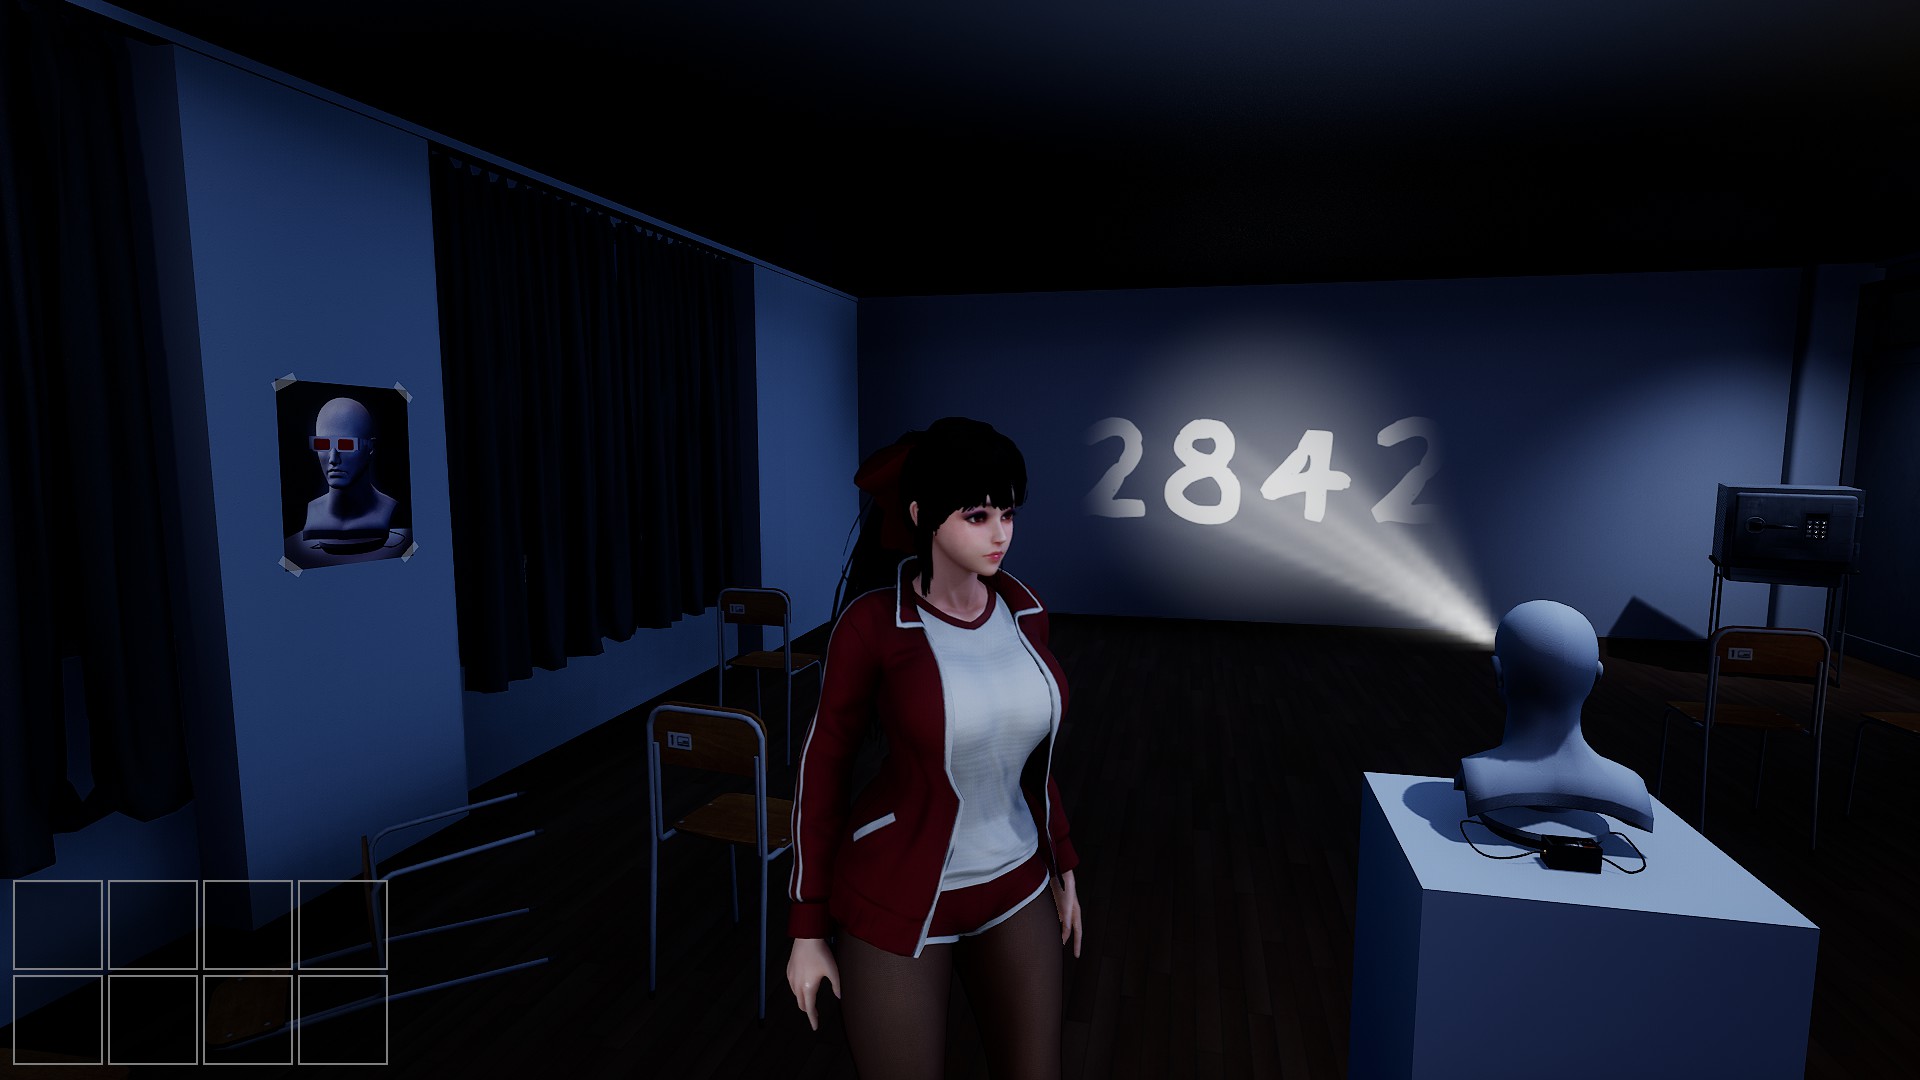
This room will have the Abyss zombies. Navigate around them to the room on the left and grab the battery on one of the chairs. The battery can be used to power the statue to reveal the numbers 2 8 4 2
The number can be used to open the safe in the room to obtain the red glasses. The glasses can be put on the statue to reveal the numbers 3 4 5 2.

The passcode can be used on the red safe in the classroom to obtain a paper with the letters F L E written on it. This is used to open the padlocked door.

Once inside, you will need to remove the blue glasses from the plaster head and put them on the other plaster head to reveal the passcode to the blue safe. The numbers are revealed to be 7 9 6 8.

Now that we have the passcode to the blue safe, remove the glasses and the battery from the statue. Open the blue safe with the passcode to obtain another battery. The batteries will be used to power the two flashlights in the room. Placing the two batteries in the flashlights, the numbers revealed will be 4 2 3 8 2 6.

These numbers will open the main door and progression towards the rooms is now possible. Don’t forget to grab the glasses and batteries after opening the door. They will be needed for the next room.
Entering the next room, there will be a statue on the green desk. Approach it to break it open and grab the remote. The remote will turn on the air conditioner, revealing a paper with the answer to one of the puzzles.
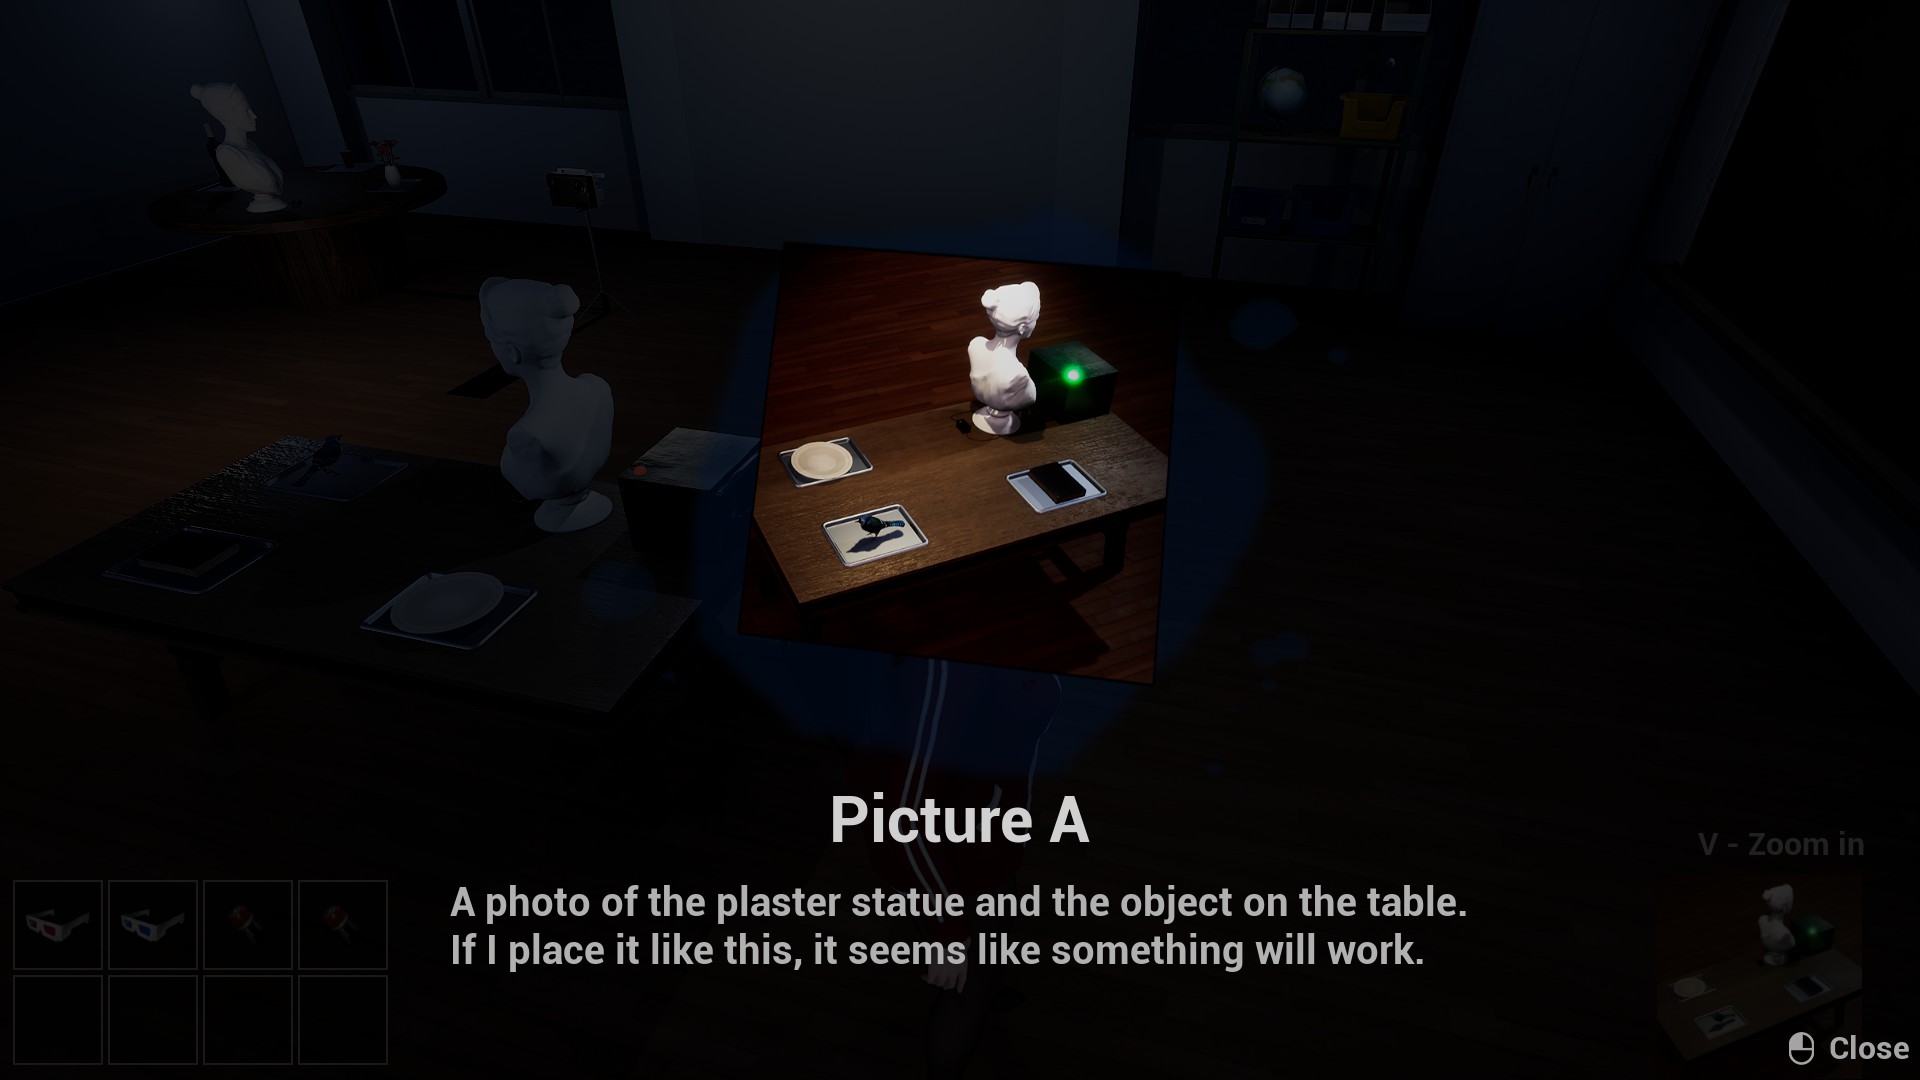
Organizing the items as follows will unlock the safe to get another remote to obtain the answers to the next puzzle. Follow the puzzle key as follows. The items to solve the puzzle will be found in two corners of the classroom. Grab them and solve the puzzle accordingly.
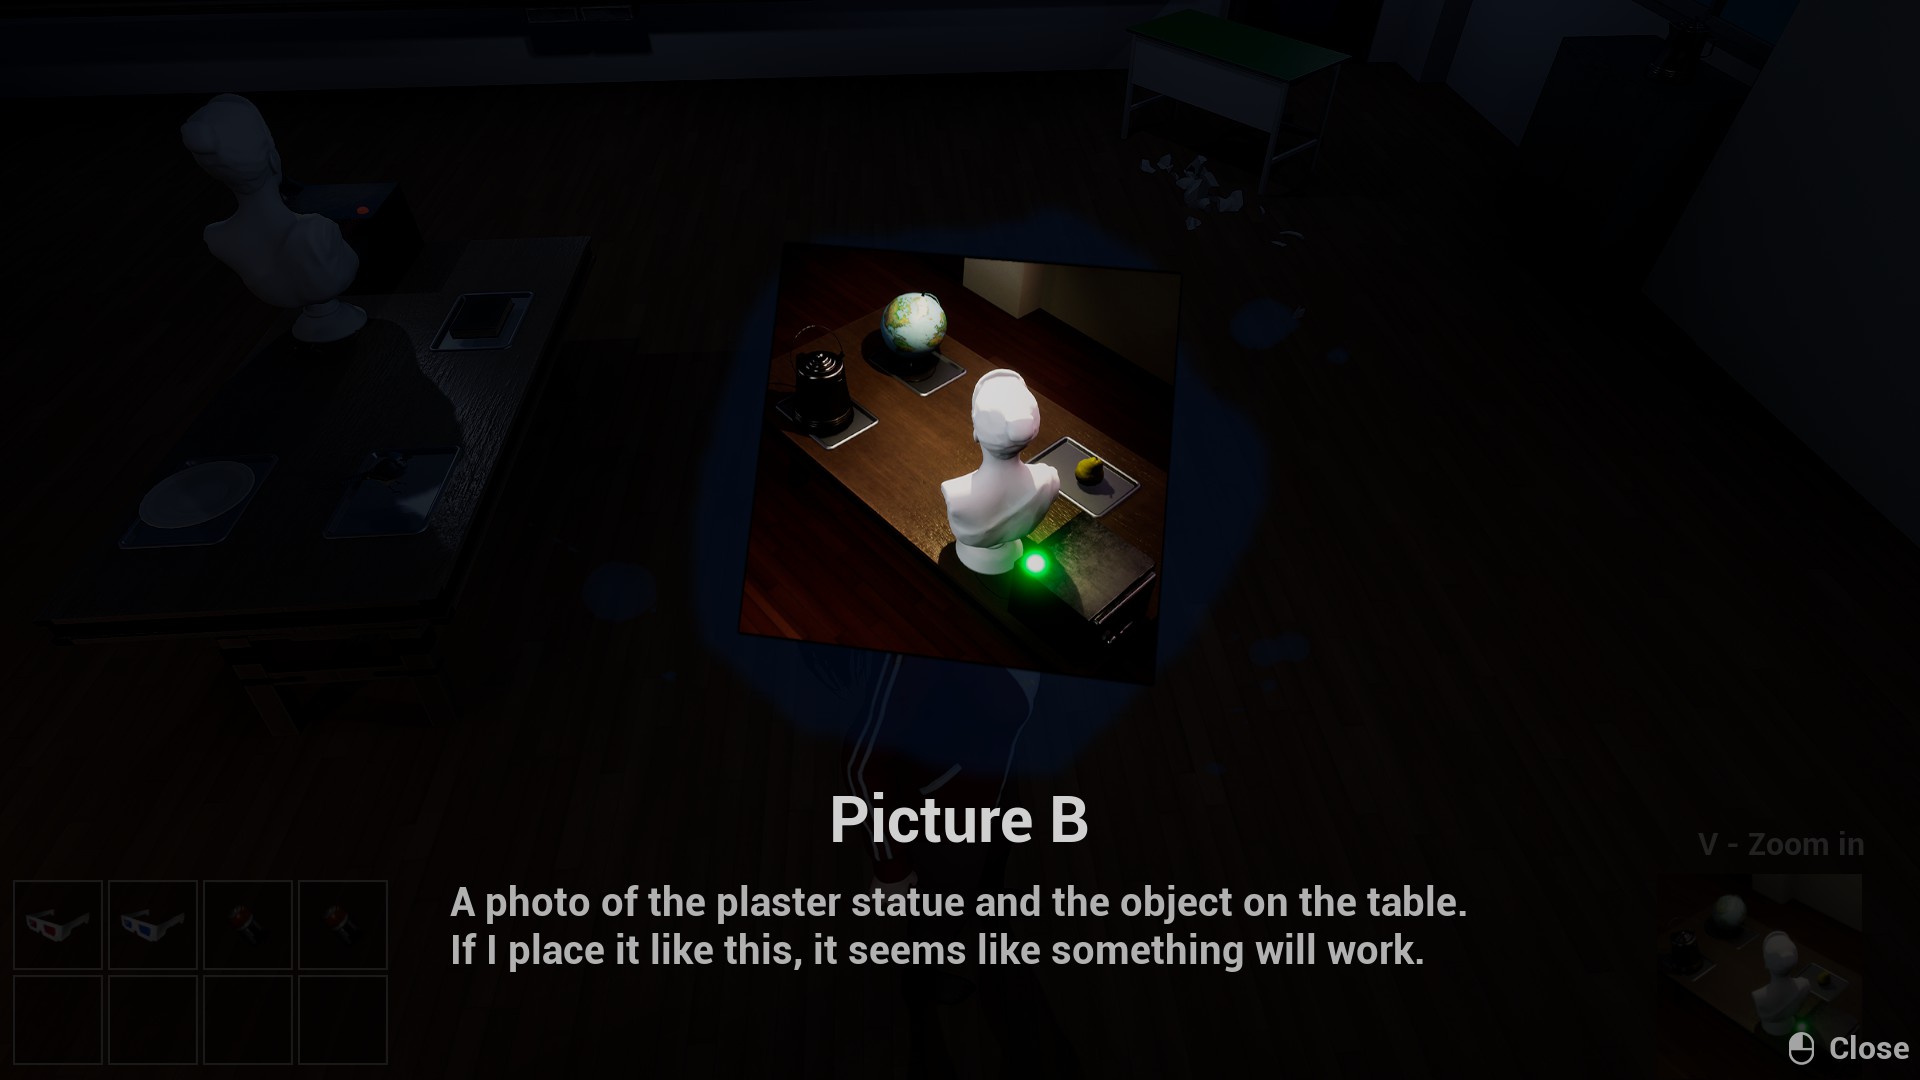
Solving the puzzle will give us a remote that enables the last puzzle to be interactable. The items can me moved around and the statue can rotate. The photo below is how the statue shouldbe rotated and the placement of the items.

Once the puzzle is solved, the walls will shift to reveal mirrors. Grab the extra battery and green glasses from the brown cabinets. The left statue wears the red glasses, the middle statue wears the blue glasses, and the right statue wears the green glasses. The board will read 712 + 312 – 420.

Solving the equation will give us the answer 6 0 4, which is the passcode to the door. Punch in the numbers on the door.
Congratulations! We have completed floor 2!
Floor 3
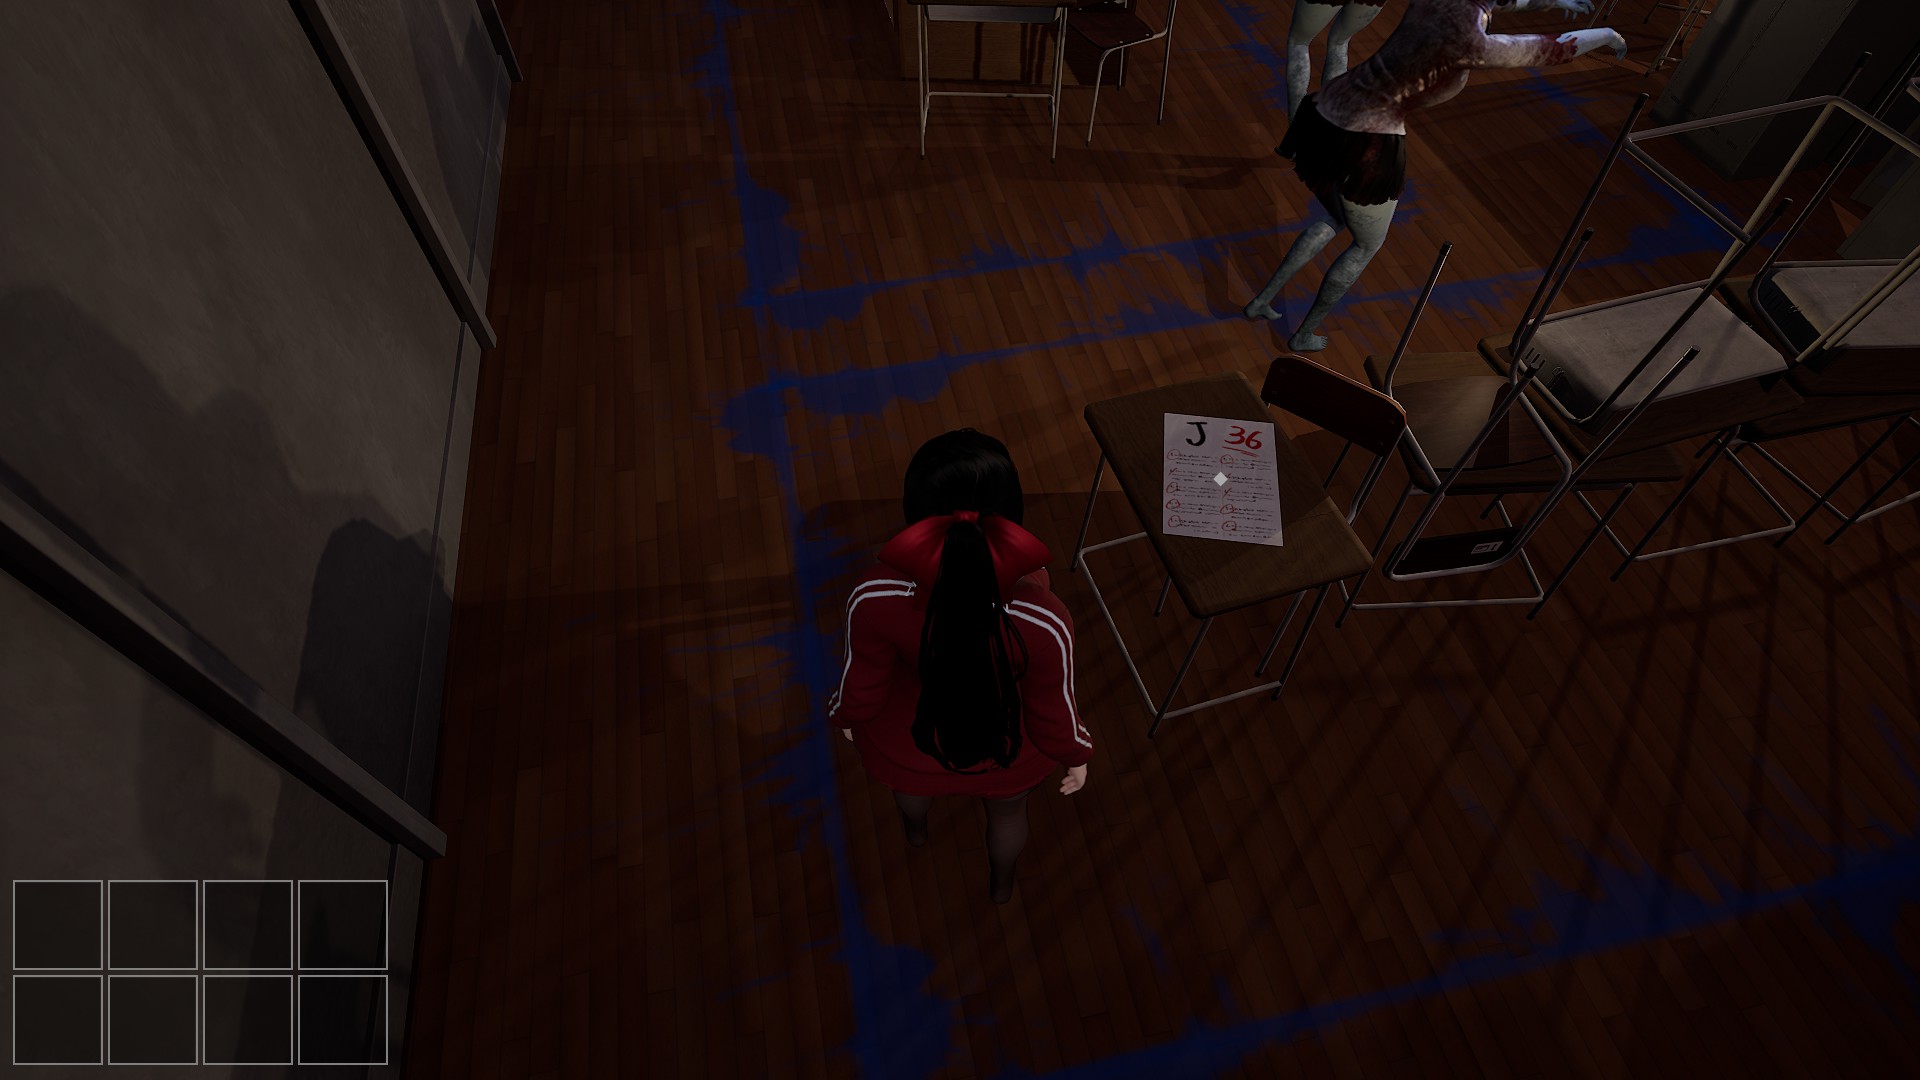
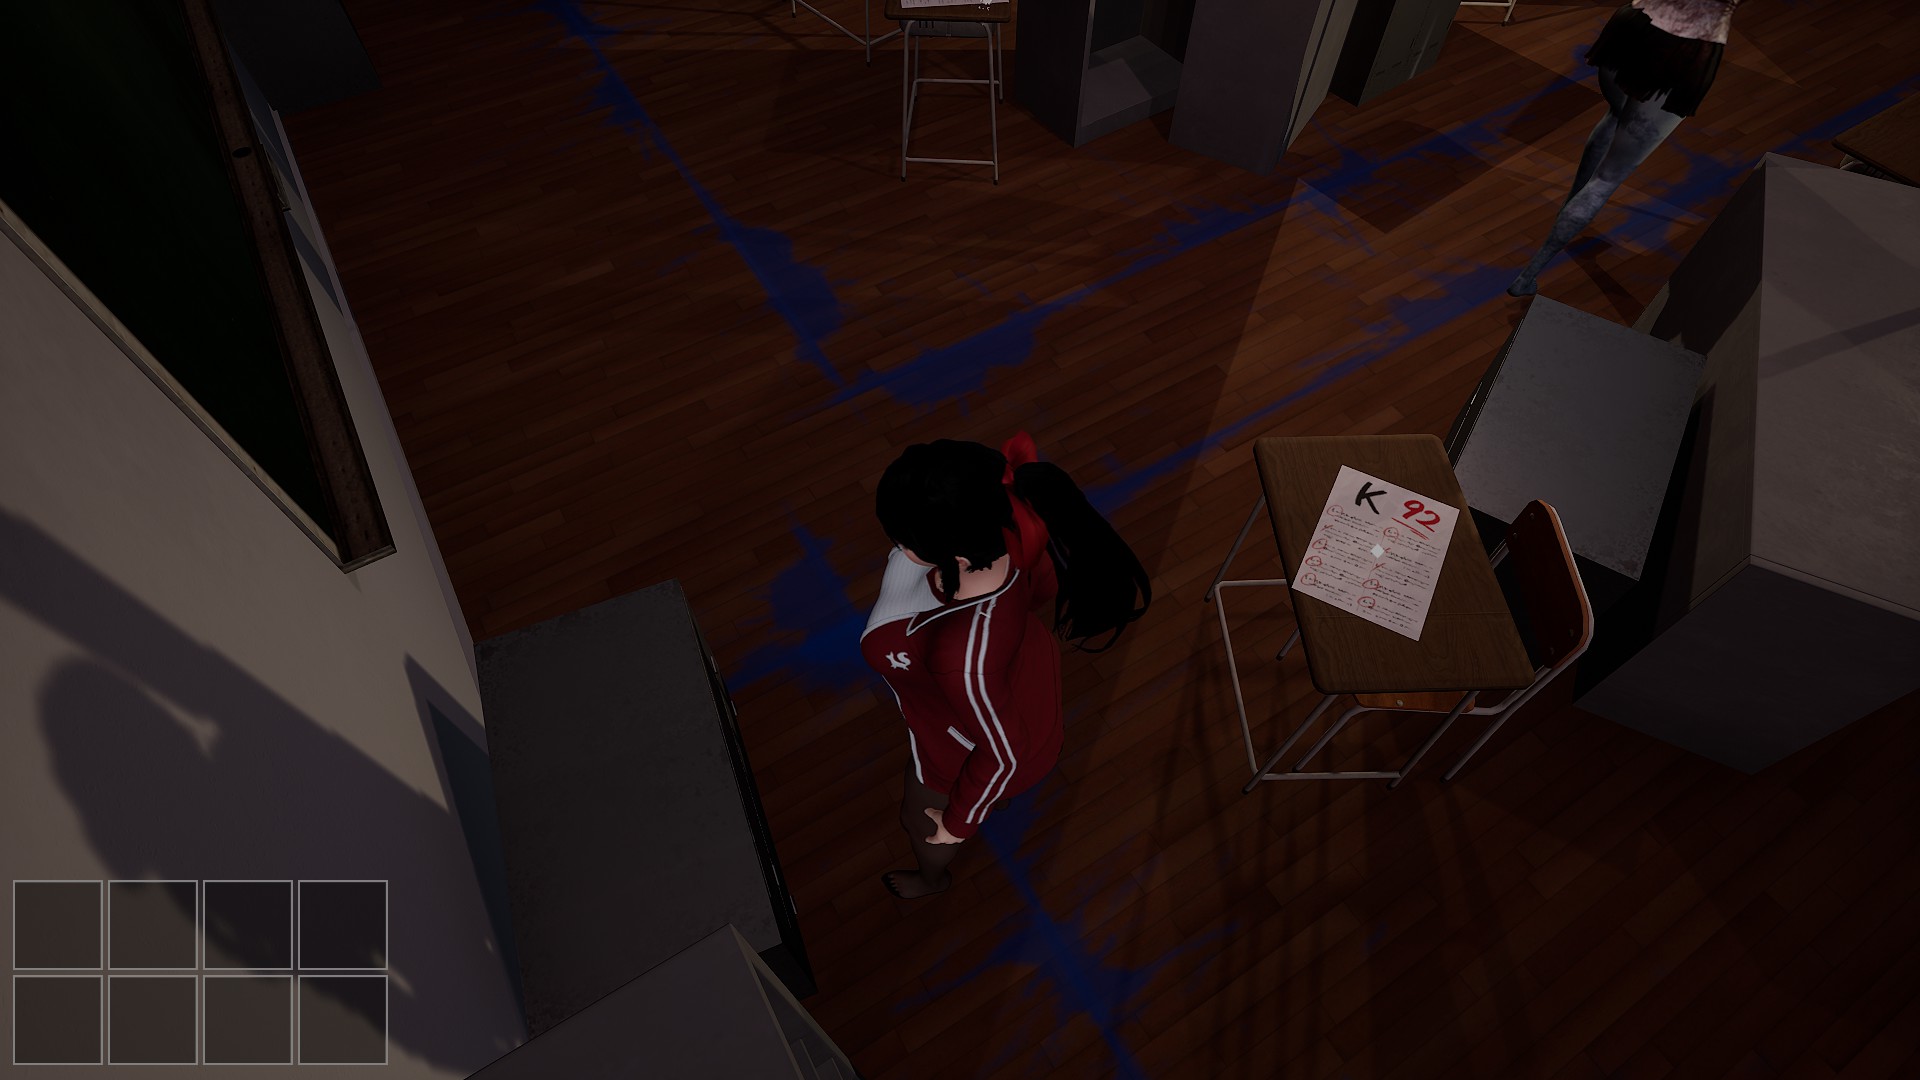
There will be 3 abyss zombies roaming the room. Avoid them and look for the papers. Two will reveal a letter and their associated numbers. The codes being K 9 2 and J 3 6.
Entering the door to the left, there will be a safe with the initials J.K. written next to it. Punching in the code 3 6 9 2 will open the safe. Obtain the hammer and proceed to the right room and break the wall. Entering through the hole will reveal an abyss zombie and two tables. Avoid the abyss zombie and grab the closet key. Once obtained, leave the room and use the key on the closet. Grab the fuse from the closet and head to the other room to place the fuse in the fuse box.
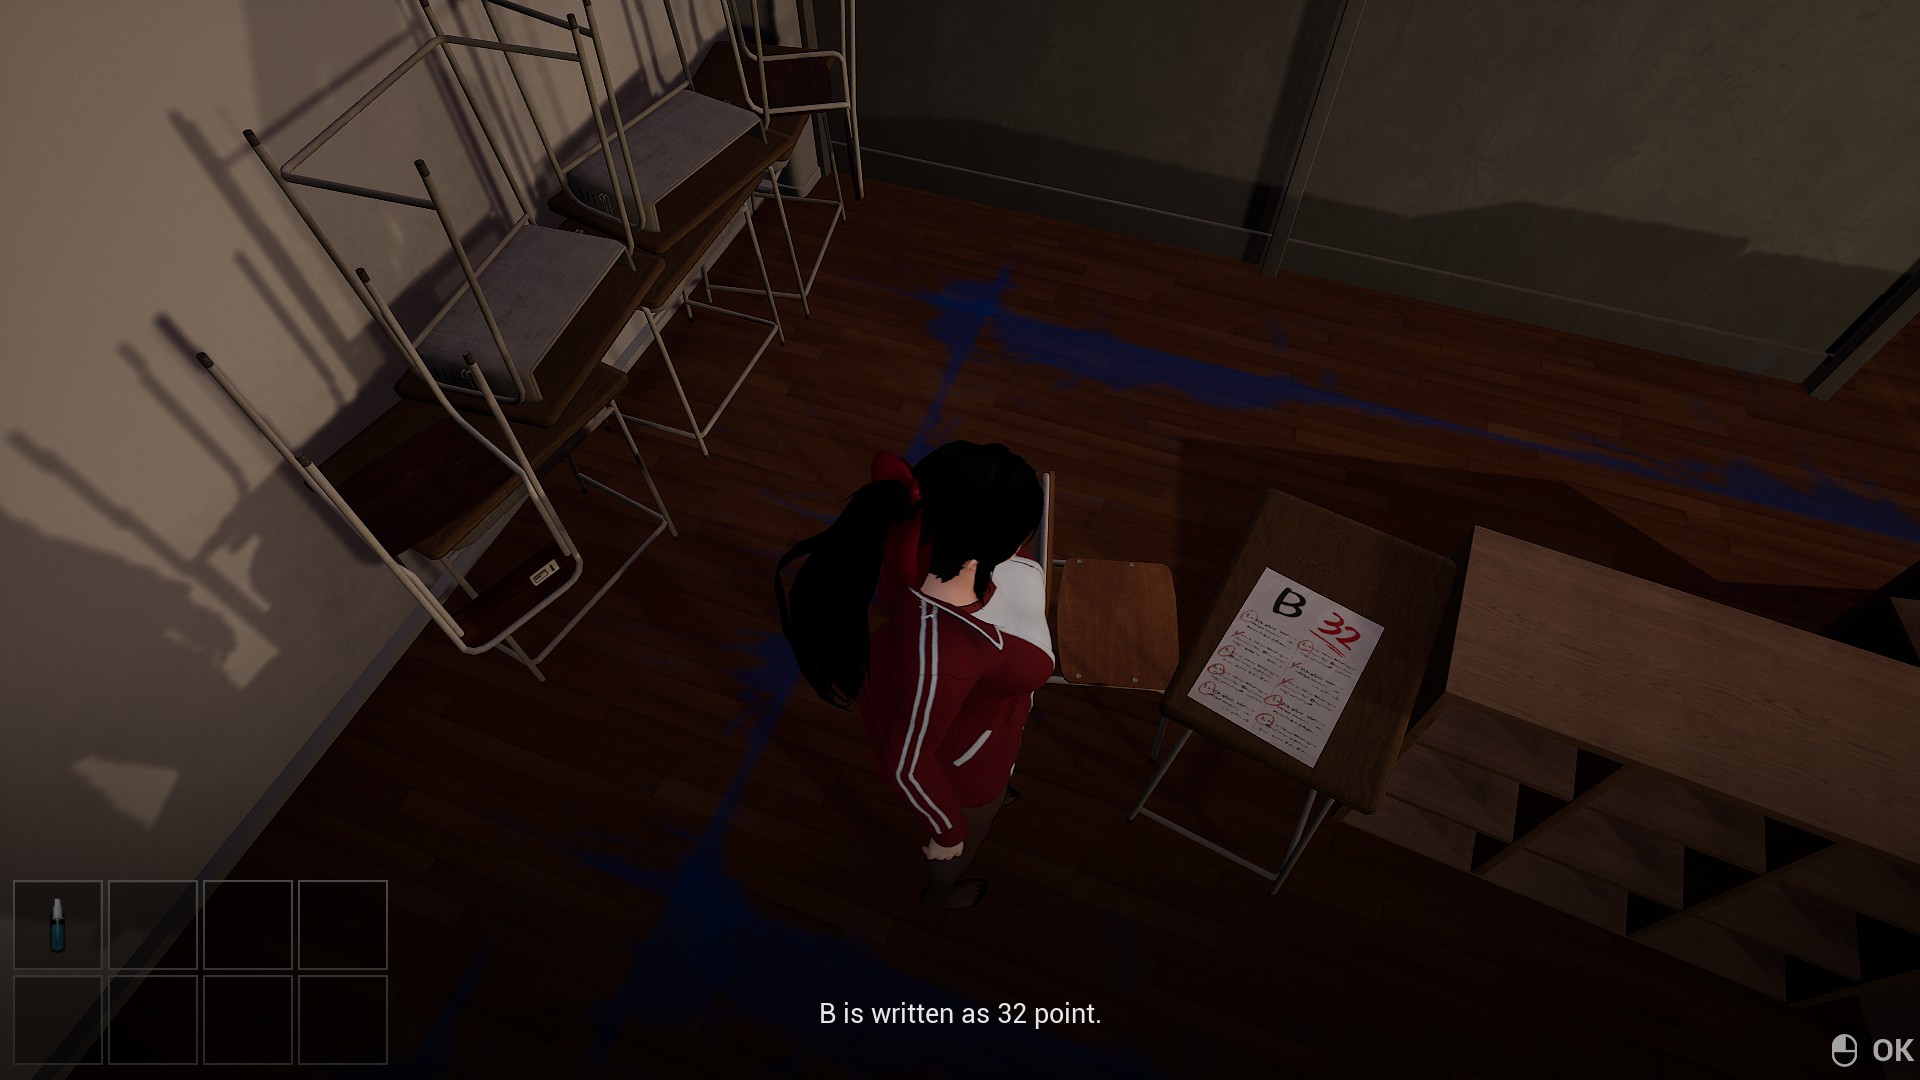
In the locked closet, you will obtain correction fluid dissolver. This is needed to wipe away the stains on the sheets of paper to get the code to the main door. While there are multiple stained sheets of paper, we only need to reveal the numbers for the B paper and the A paper, as the K paper was already revealed to us. The B paper will reveal the number 3 2 and the A paper will reveal the number 1 3


Punching in the numbers 3 2 9 2 1 3 will open the B K A door and we can proceed to the next room.
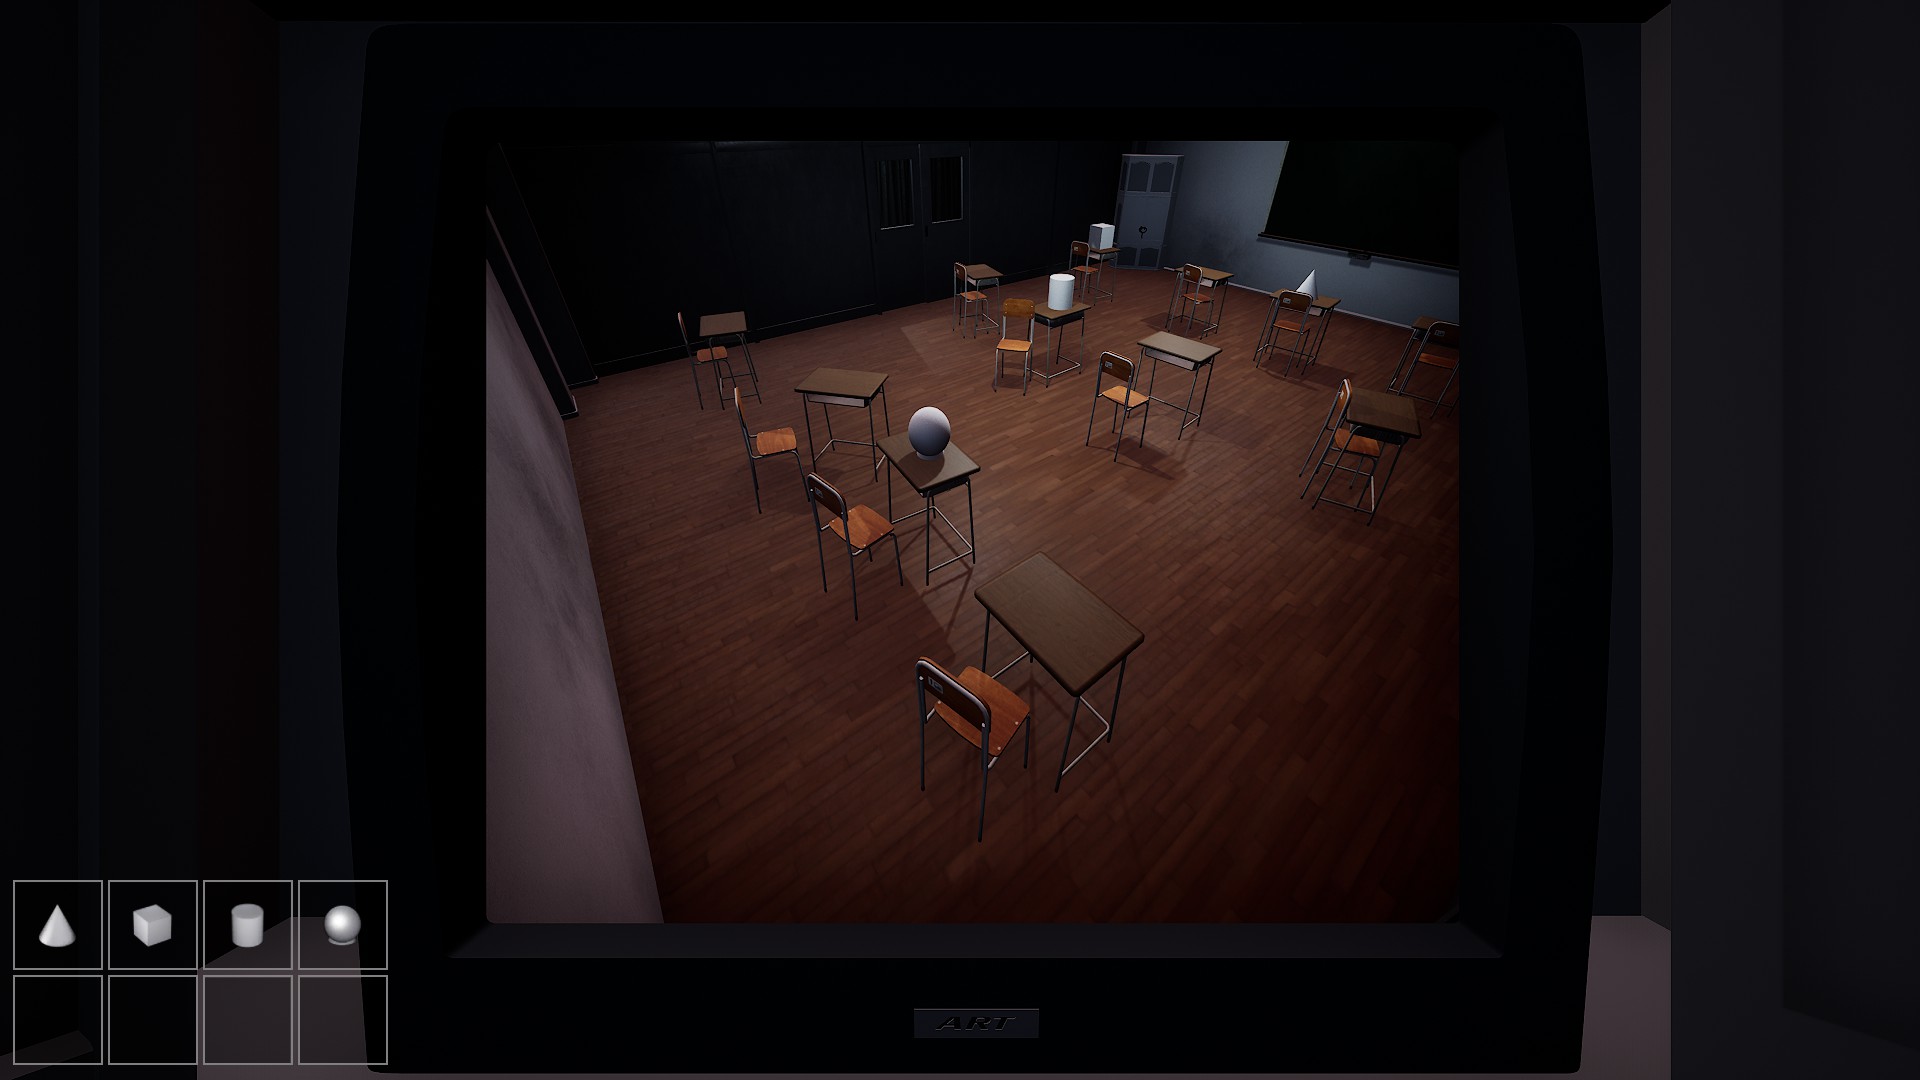
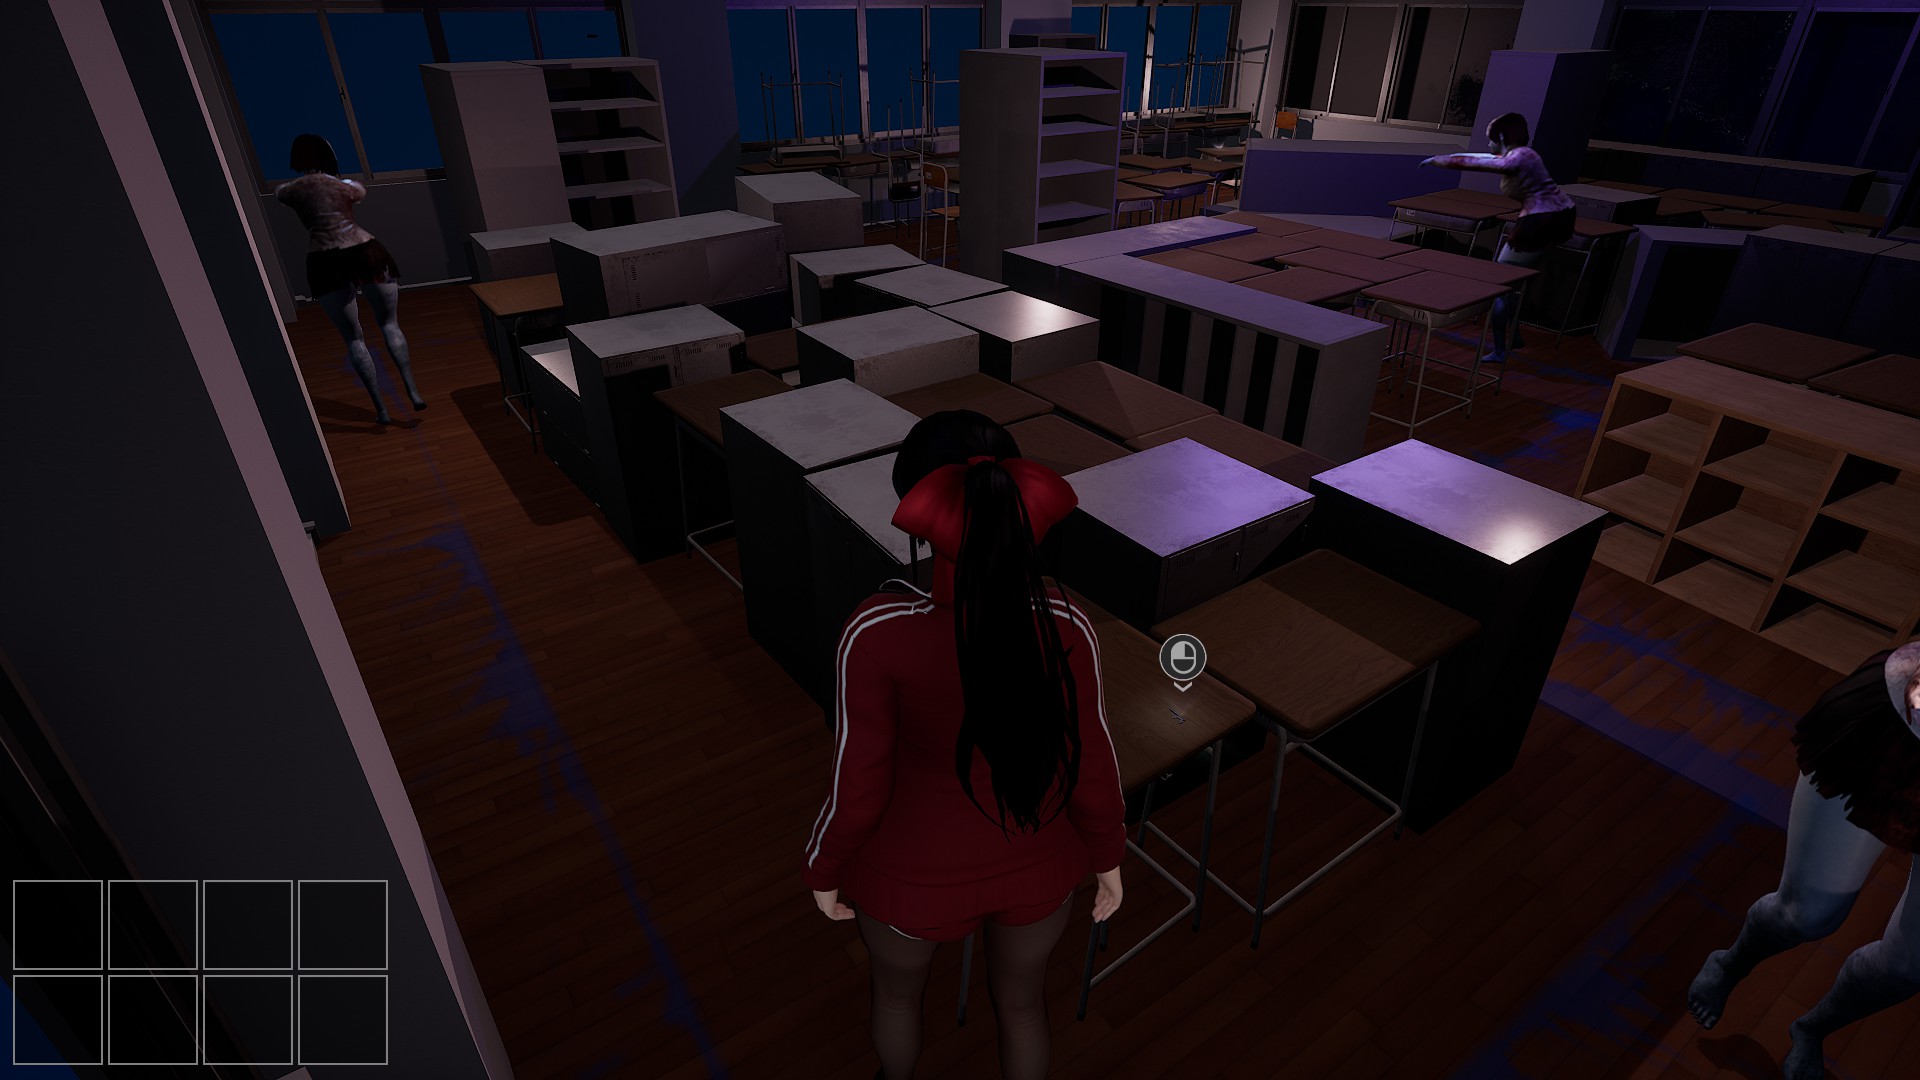
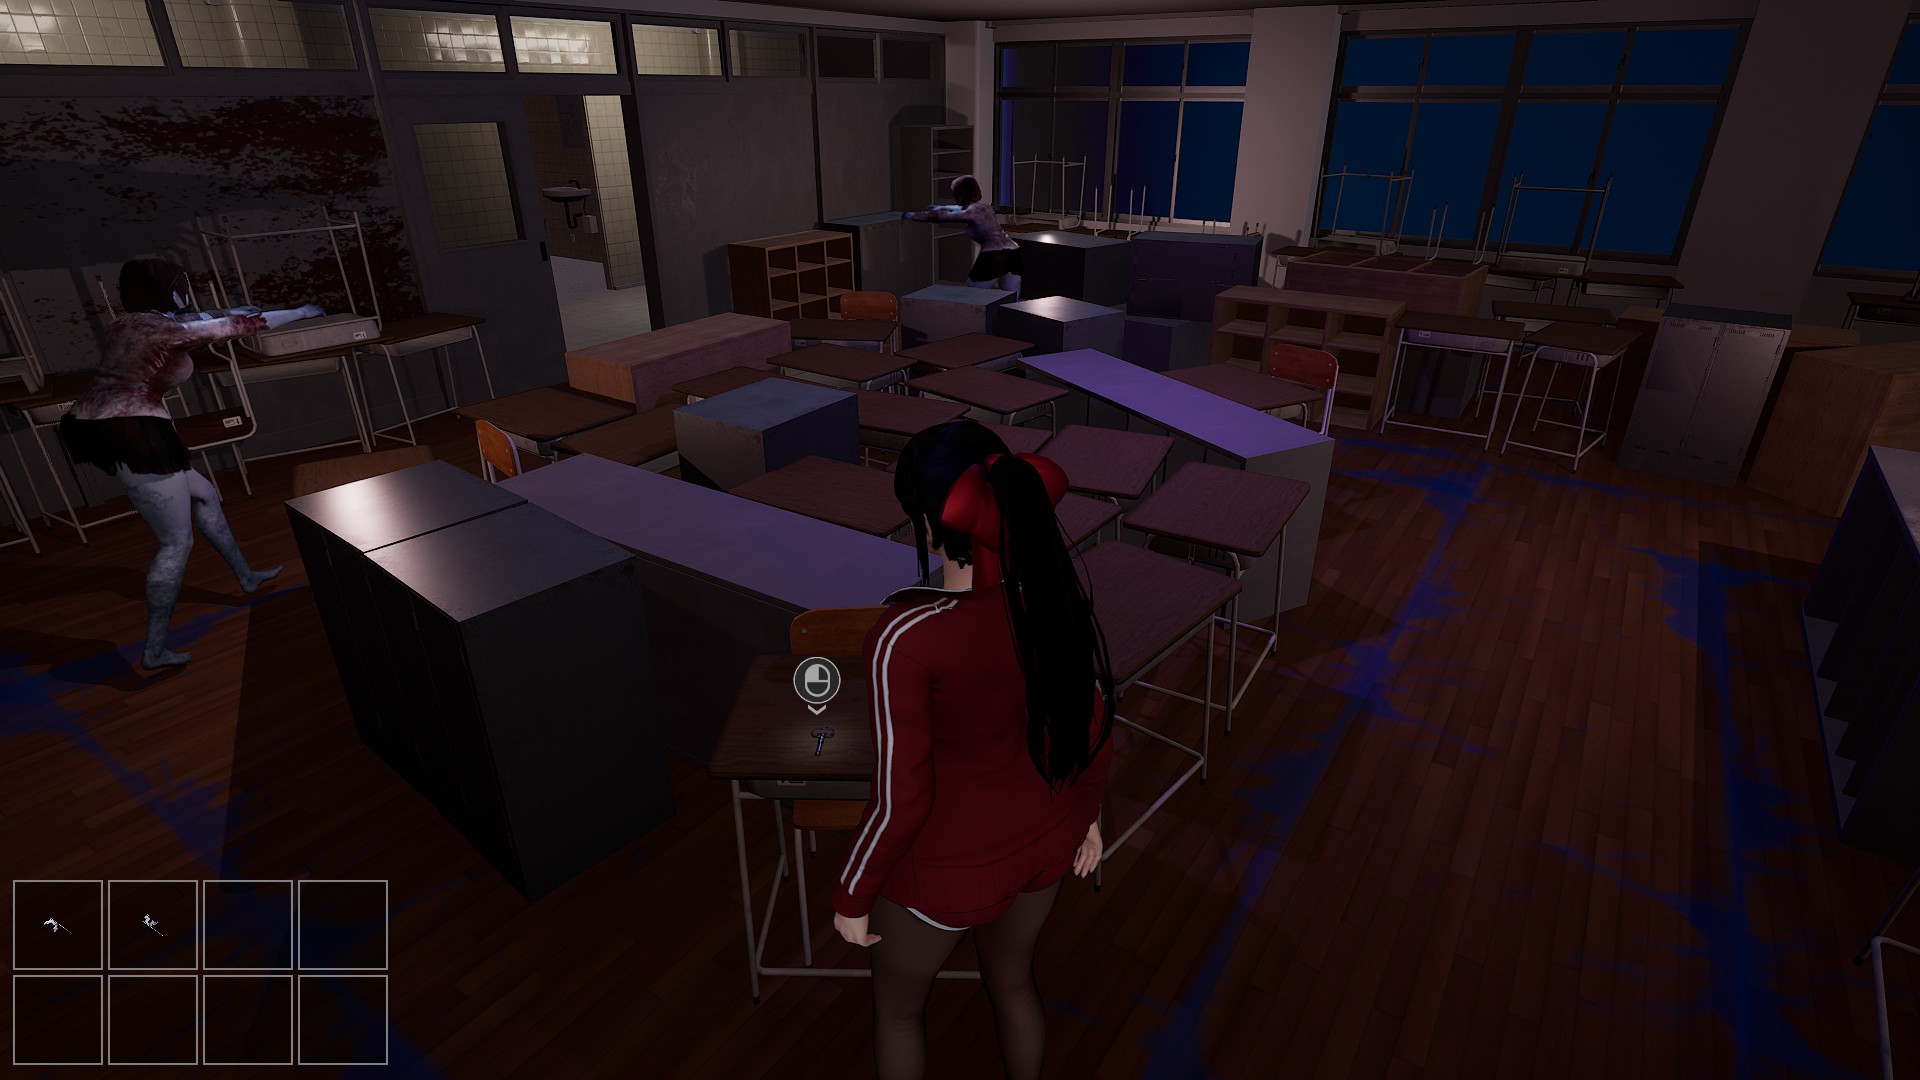
In the classroom with the abyss zombies, there will be both parts to the cutter (one will be dirty) and a closet key (only visible once the light switch is turned off). Grab these 3 items and go to the room inside the classroom to unlock the closet. Grab the four shape models and the valve, then go to the pipe room and install the valve. Head to the men’s restroom to clean the dirty bolt cutter piece. Once cleaned, head back to the classroom and use the bolt cutters to open the chained cabinet. Once opened, the television will reveal the puzzle code to the shapes.

Install them accordingly and we can now proceed to the next room.
We will come across a large classroom and a set of bathrooms. Head to the women’s bathroom and grab the classroom key from the stall in the far left. Once you leave the bathroom, the abyss zombie elite will slowly chase you throughout the rooms. Unlock the classroom and retrieve the three key pieces. Simply hug the wall and you will find the three pieces.

Once the key is formed, proceed to the main door and unlock it. Congratulations! You can proceed to the next floor!
Floor 4
Entering the room, we will see four colored flasks and three colored beakers. Head to the room on the right and there will be a lever. Pull that now, as it is needed to power the door to progress. Grab the glasses and head to the left side of the room where there will be a white shelf. Place the four colored flasks accordingly: Red flask goes top left, White flask goes top right, Green flask goes bottom left, and Blue flask goes bottom right.
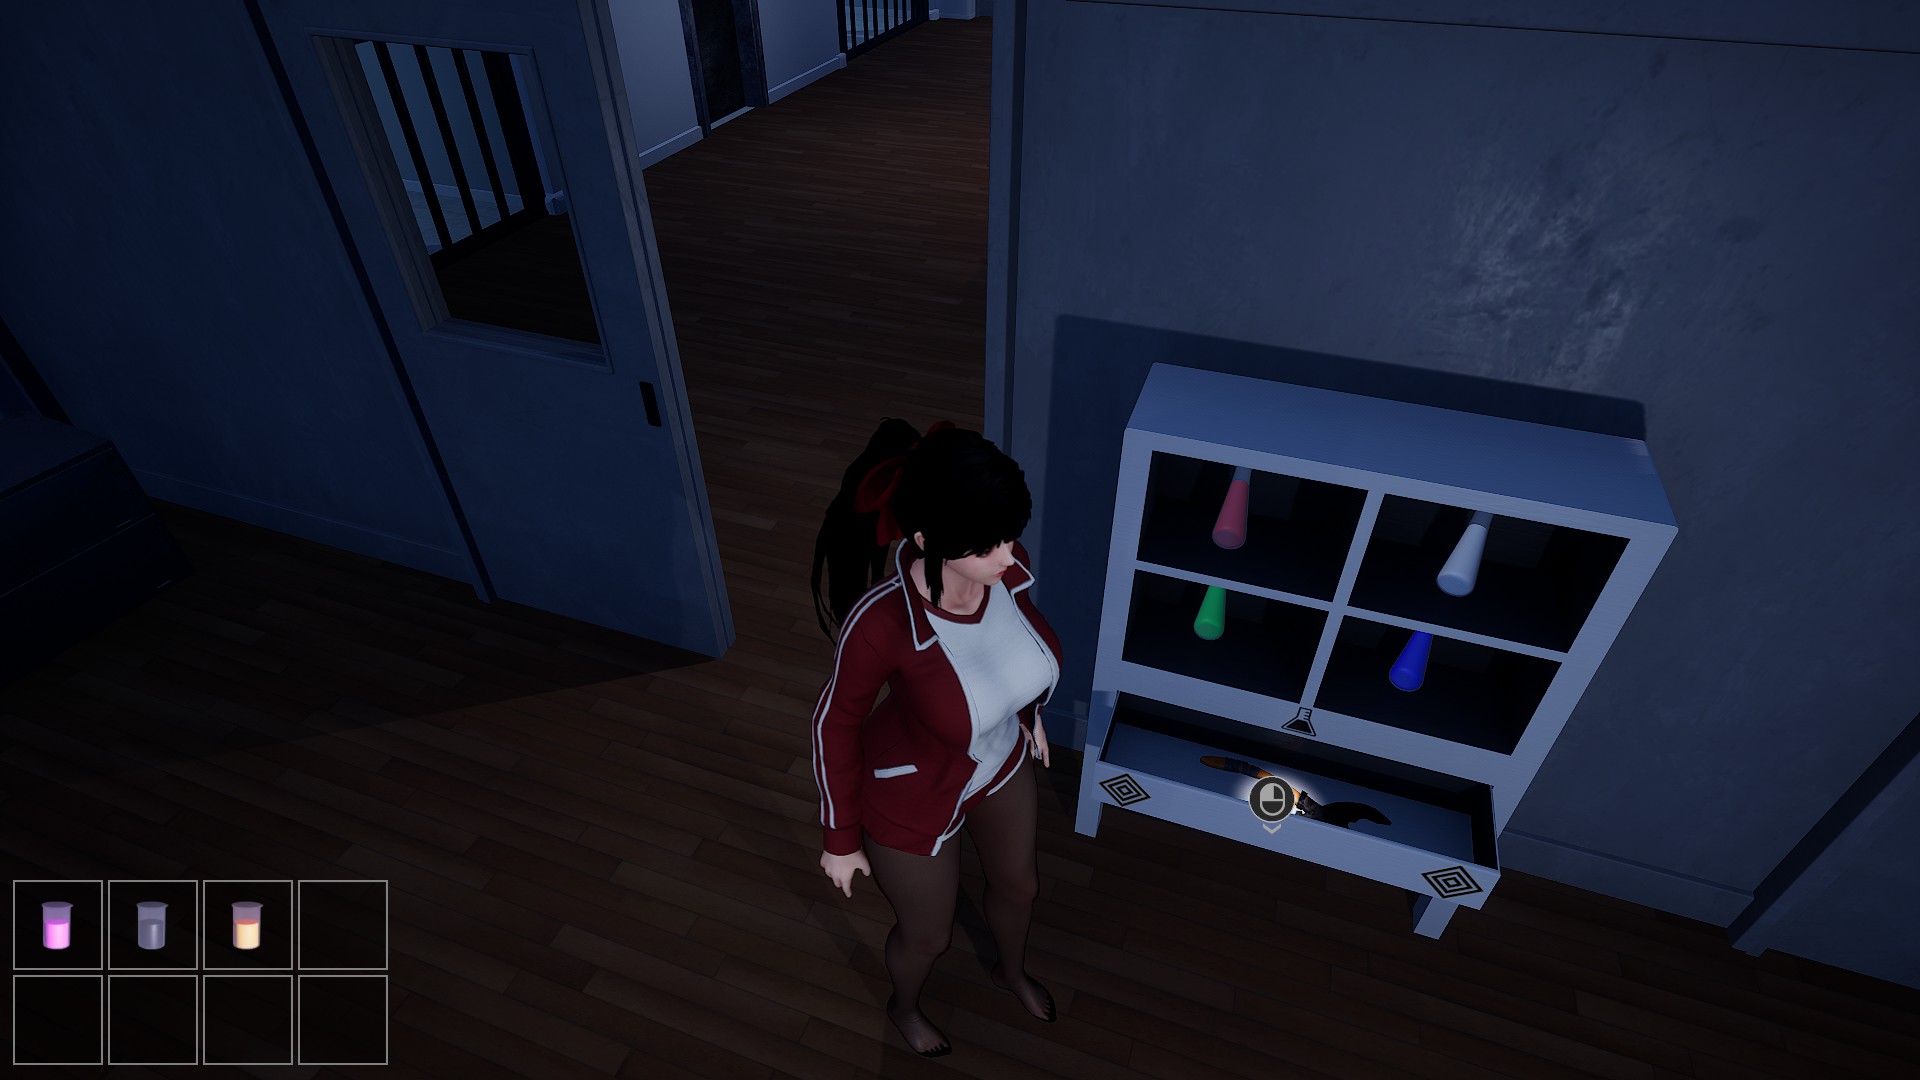
Grab the cutters and head to the right side of the room and cut the chains. Pull the lever to power the second module to the door. This will trigger one of the cages containing the abyss zombie elite to open. In that cage, there will be a key. Grab the key and head to the left side of the room to unlock the door. This will have another lever to pull as well as the blue flask needed to complete the puzzle for the beakers. The beakers will be placed accordingly: Purple beaker goes top left, Black beaker goes top right, Orange beaker goes bottom left, and Light Blue goes bottom right.

Retrieve the hammer from the opened cabinet on the beaker shelf and use it on the room to the right and break the hole in the wall. This will have the last lever to power the door. Pull it and proceed to the next room.
Entering the room, there will be a small save table with an abyss zombie in a room to the left and another room to the right. With the abyss zombie, wait for the zombie to walk to the left side of the room, then quickly head inside and grab the bolt cutter piece. Heading to the room to the right, there will be purple spots on the floor. Avoid these, as these are the pulling eggs that will insta-kill you. Continue around the table and grab the other bolt cutter piece. With the formed bolt cutter, you can proceed to the next room carefully, as the pulling eggs are in the hallway as well.
Entering the next room, there will be an abyss zombie elite and two sets of bathrooms. Head towards the abyss zombie elite and grab the cleaning sponge from the petri dish. Head to the men’s restroom and grab the detergent. Open the stall in the men’s restroom and wipe the stain from the wall. The wall will reveal the letters R X D.

This code is used on the padlocked stall in the women’s restroom. From the stall, grab the electrical box key and use it on the box in the main room. It will reveal a lever that when pulled, will release the abyss zombie in the caged room. While the abyss zombie is roaming, grab the hammer from the women’s restroom and break the hole in the wall if you haven’t already. Enter the hole in the wall and wait for the abyss zombie to get devoured by the pulling egg. Crouch under the zombie and retrieve the passcode from the safe. It will reveal the numbers 2 9 9 9.
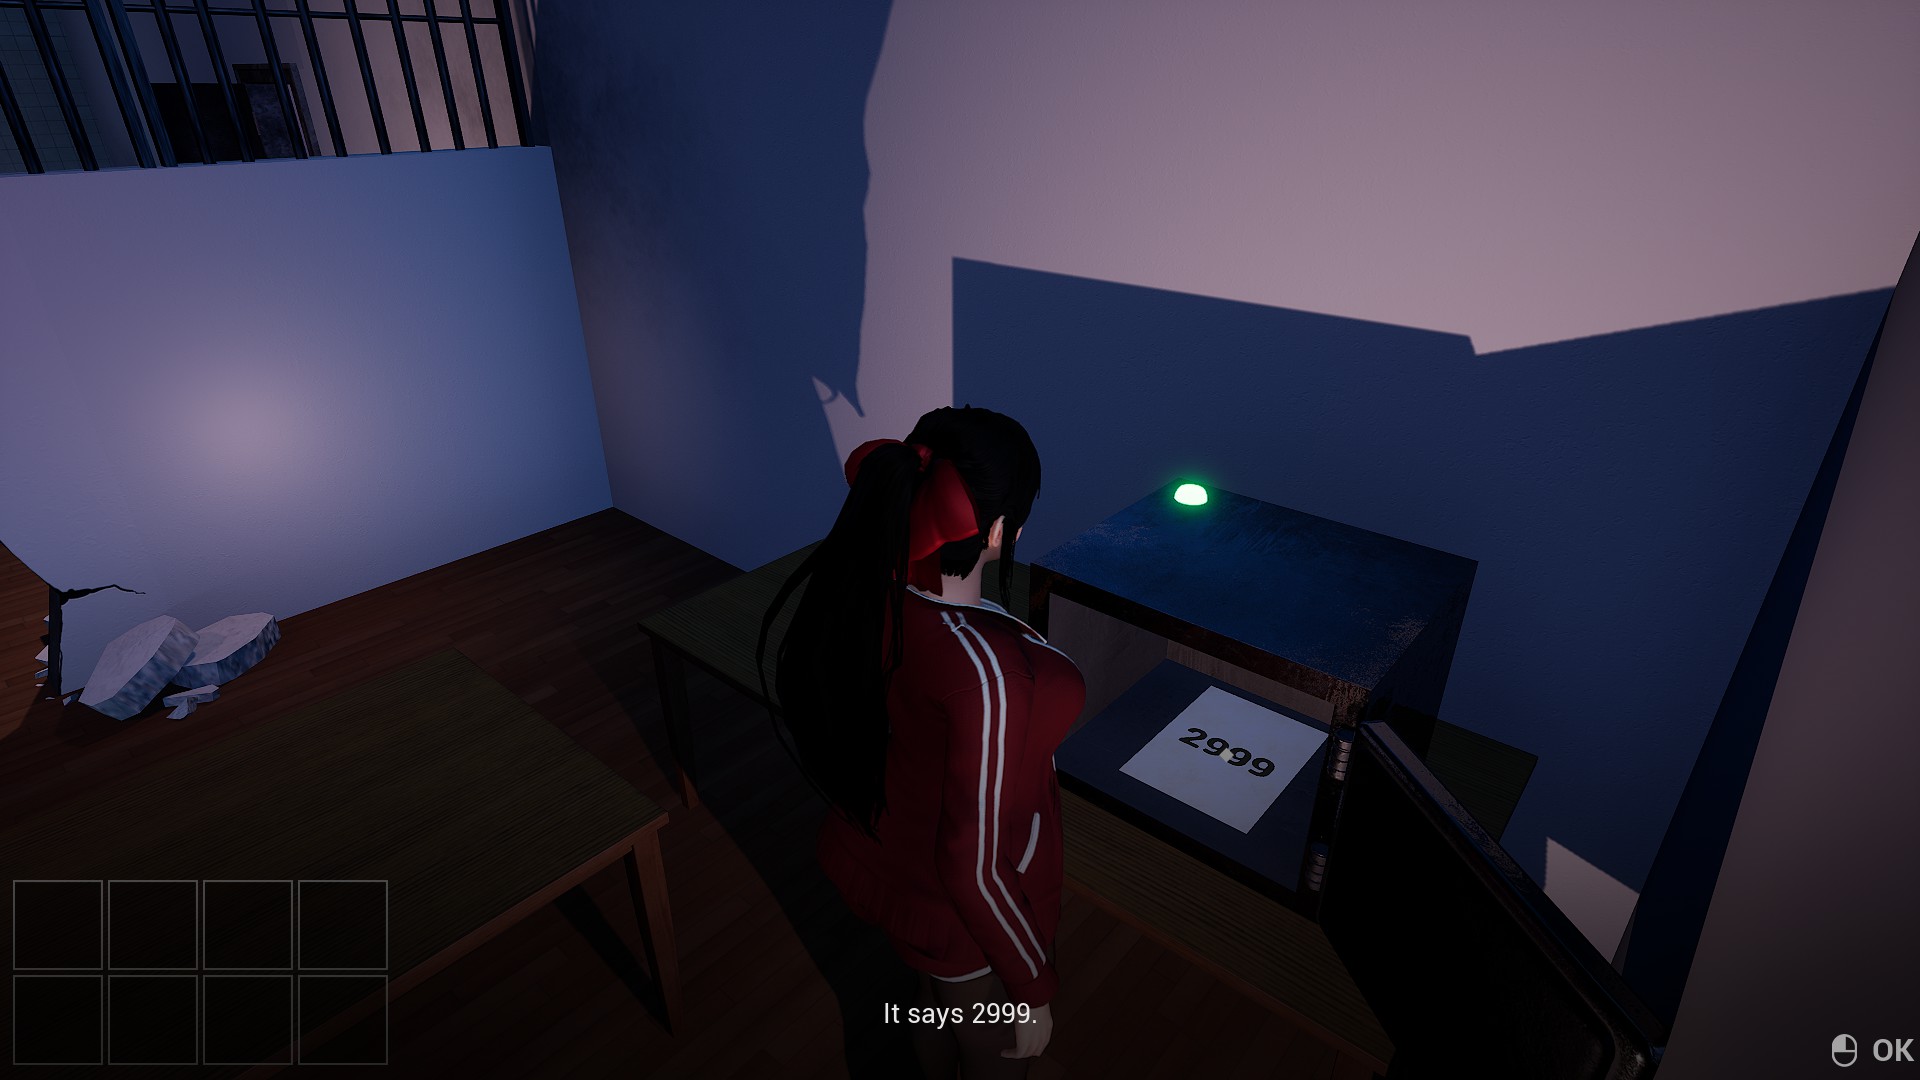
Use that code on the main door and progress. Carefully avoid the pulling eggs. Congratulations! You can progress to the next floor!
Floor 5
In this floor, there will be two roaming abyss zombies and a cages abyss zombie elite. You will have to bypass both of the abyss zombies’ trail to obtain an item. Going to the one ahead, you will obtain the old key. It will open the door next to the empty cage. There will be a remote in that room that, when pushed, will spill out blue liquid. This connects the two lines of the abyss zombies’ tracking line. Once the zombie gets on the panel, close the gate and lock the zombie in. The process is the exact same for the other abyss zombie.
Once the two abyss zombies are caged, release the abyss zombie elite. Open the empty cage and bait the zombie to go inside. You can either break the hole in the wall and go through the hole to cage her that way. Alternatively, there is enough room to run around the zombie if you bait the zombie to hug the wall with you. Swerve around her and close the cage before she gets out. It is quicker to have the zombie pass the panel then swerve around her. Once the zombie is caged, the door will be powered and you can progress to the next room.
In this room, there are four corridors and four caged abyss zombies. Each corridor has a number associated with it. The code from those four numbers will be 4 5 2 6. This will be used for the safe, which will reveal a hammer. This will be used in one of the corridors. Grab the remote on the table and use it to release one of the abyss zombie elites. Bait the zombie into the corridor with the breakable wall and cage her in. Once completed, this will open the next cage, freeing another abyss zombie elite. Each caged room after caging the first zombie will have an item inside that will be needed to bait and cage the elites. Follow the same strategy for the first zombie for all other zombies.
One of the corridors will need a passcode. The passcode will be A P W.
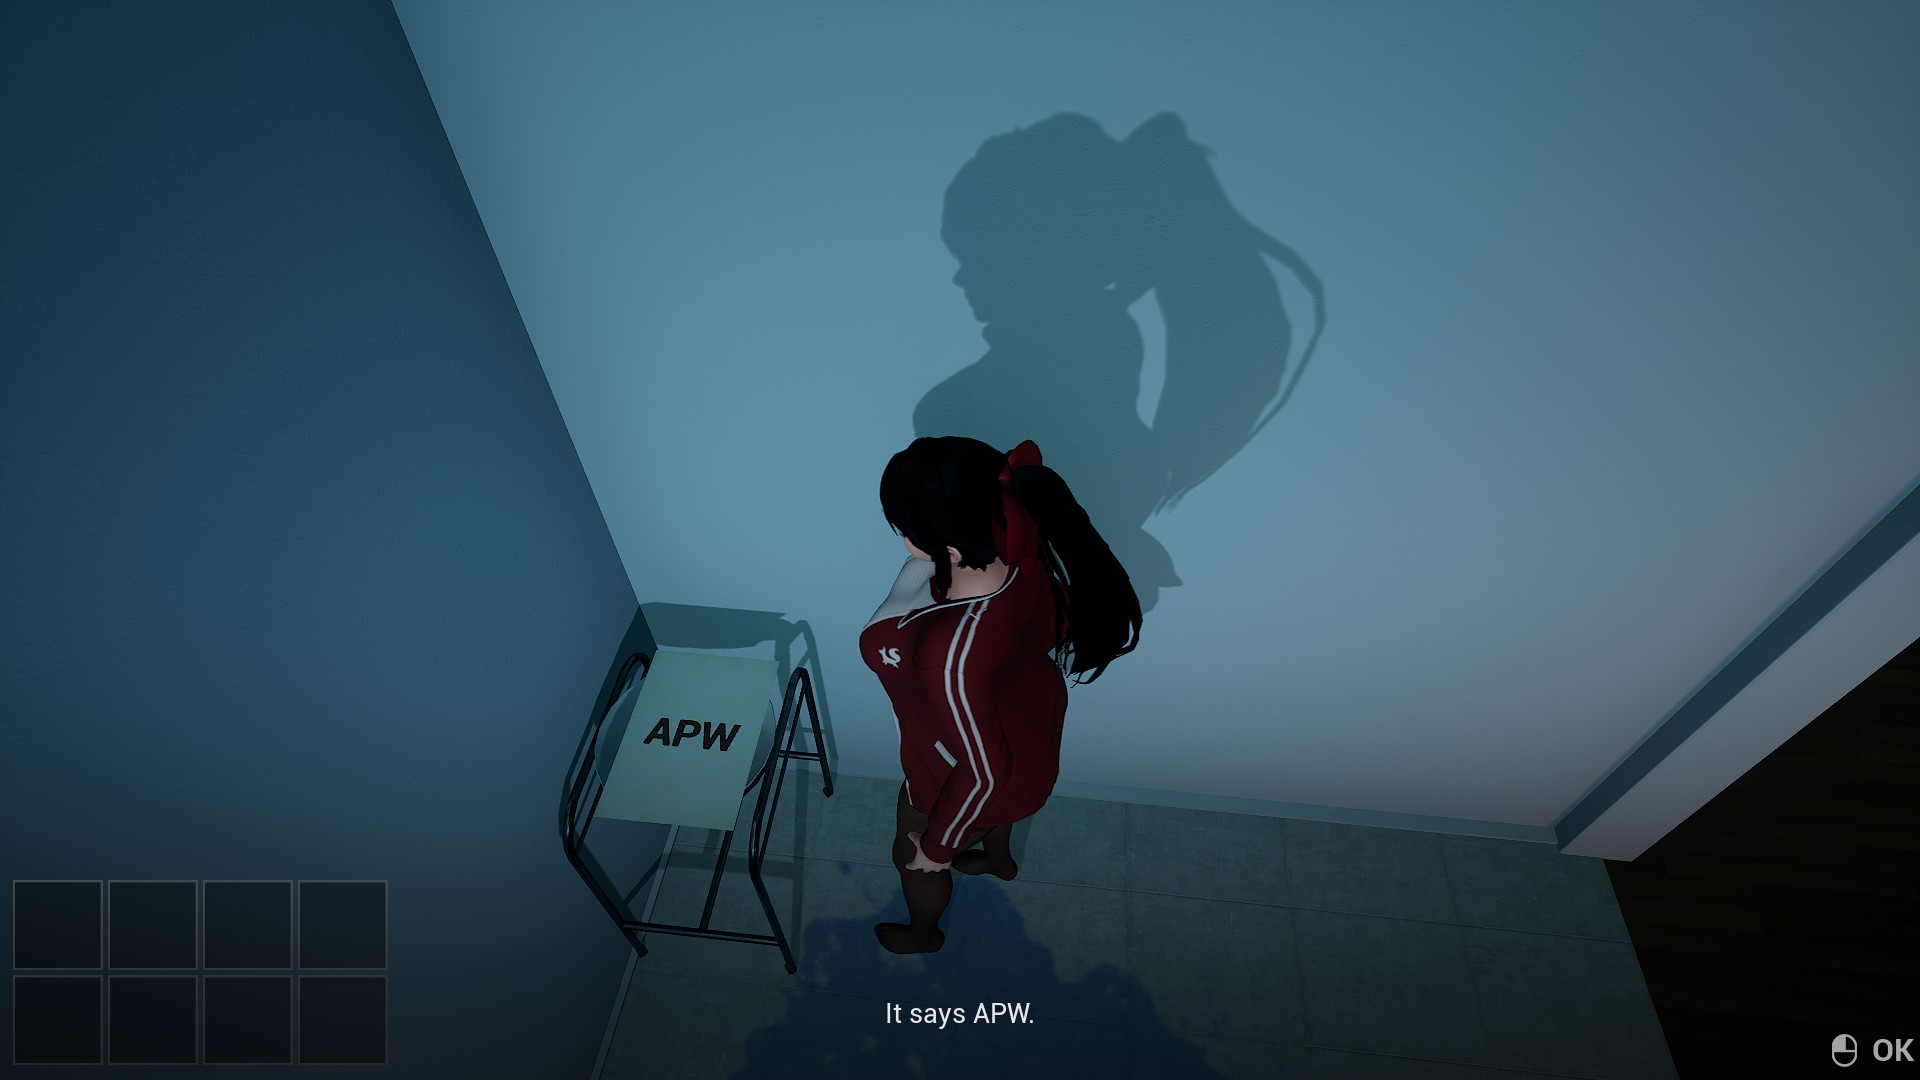
Once all four zombie elites are trapped, the door will be powered and you can progress to the next room.
Floor 6
Walk forward and to the right hallway there will be a petri dish with a remote inside. Grab the remote and push it to remove one of the pulling eggs. Head back to the spawn door and head into the cross-space. Continue forward and head right, then push the button. The A door will now be unlocked. Head back to the spawn room and head left towards the A door. Grab the shelf key on the desk and use it on the cabinet found on one end of the abyss zombies’ trail. head back to the A door and break the wall. Enter the cross-space and push the button on the end of the wall. Now the way to the main door should be free of pulling eggs.
Opening the main door, there will be an abyss zombie elite and three corridors. Each corridor will have a button with a letter. Push these switches to open the other doors in the cross-space to the right of the spawn door. Once the three buttons are switched on, head to the cross-space. Entering each door will have an assigned number value.


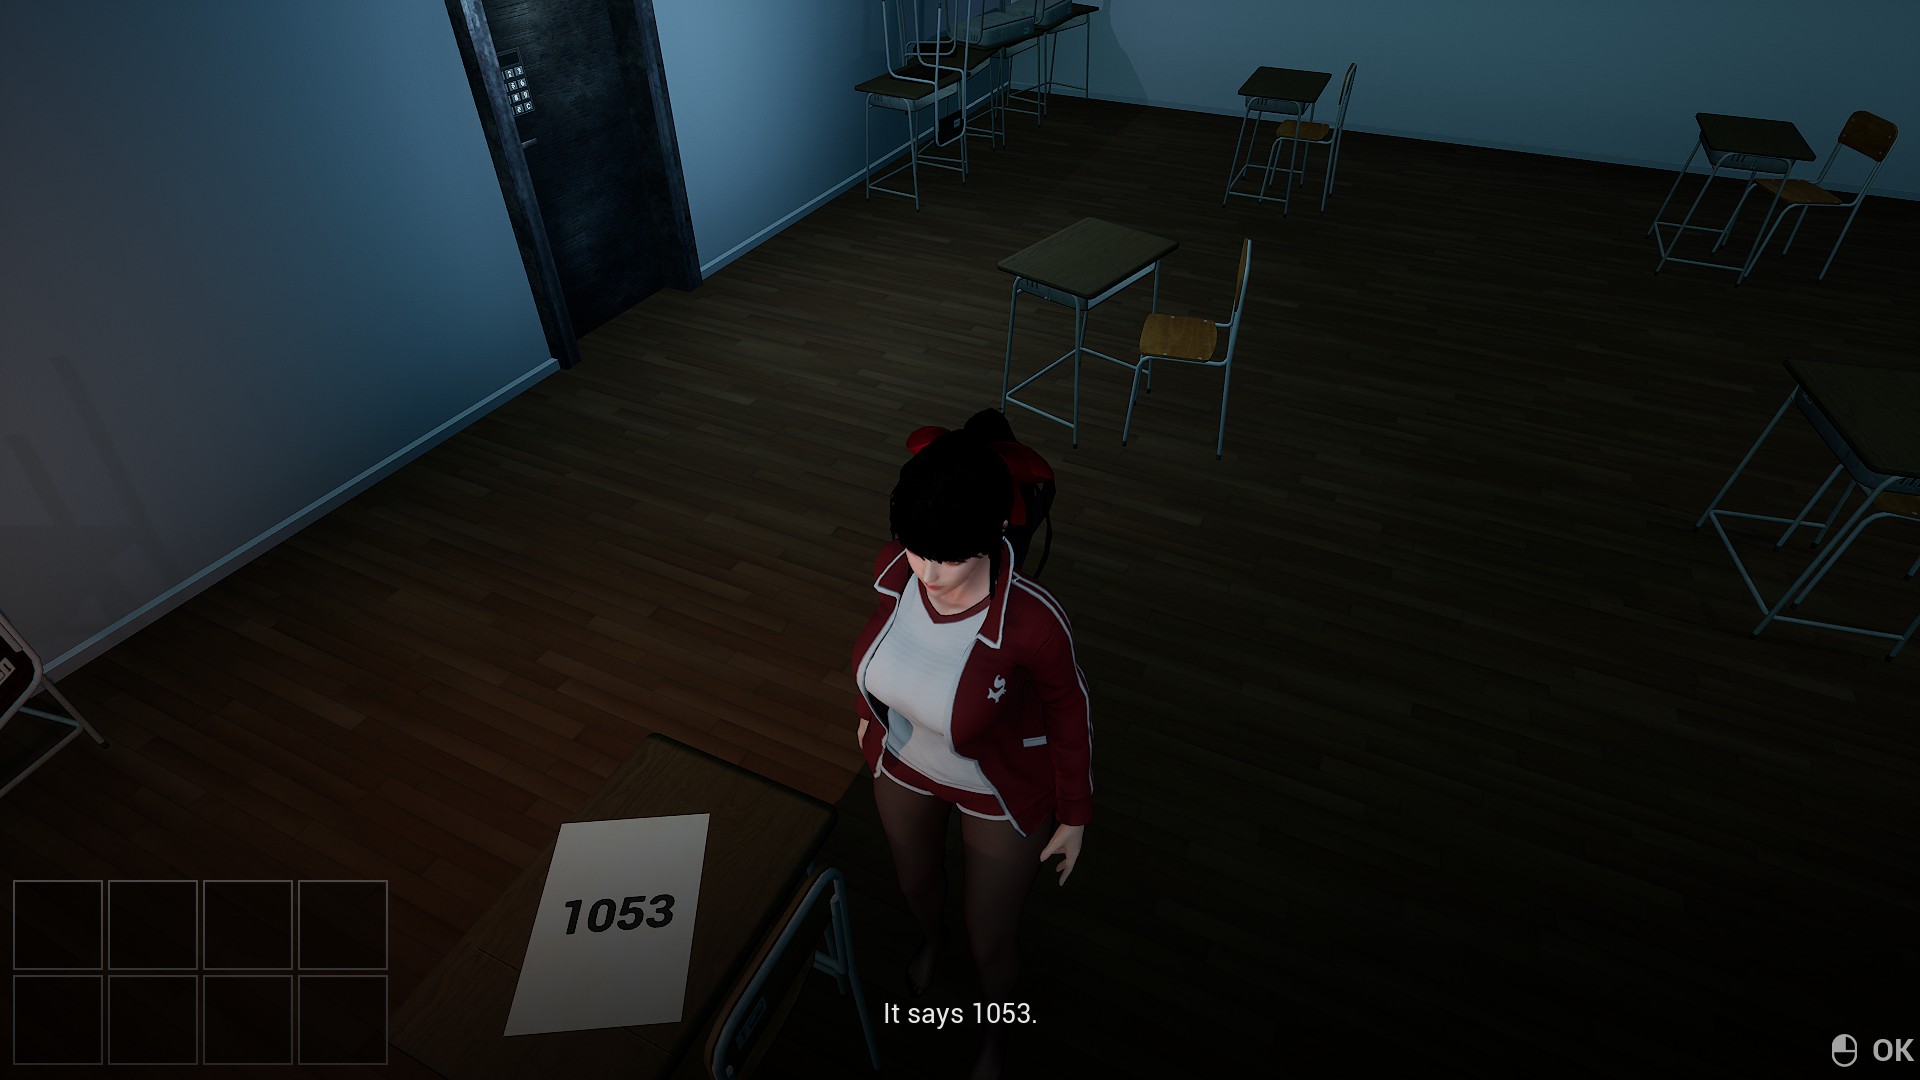
The first one will have +80, the second one will have +8, the third one will have +200, and the last one will have +4000. Add these numbers together to get the answer to the passcode, which will be as follows: 4 2 8 8. The door will open and it will have another passcode lock. The answer is on a sheet of paper in the classroom, reading the numbers 1 0 5 3.
The next room has a passcode locked door with multiple sheets of paper having the passcode covered in stains. The code will be 4 6 4 2.
The next room will have two abyss zombie elites and more stained papers revealing the code. The code will be 4 2 1 6.
The next room will be an infirmary with stained papers revealing parts of the code. The code will be as follows: 6 7 2 3.
The next room will have an abyss zombie elite in a cage and another cage with a pressure plate. Bait the zombie onto the pressure plate to unlock the door. The code for the safe in the cage will be 4 9 7 3.

This code will be needed to progress further. Proceed carefully as there will be pulling eggs.
The next room will have another abyss zombie elite that needs to trigger a pressure plate. Bait the zombie to the other cage and trap it. The safe will unlock for you to retrieve the cutters. The hallway will extend and the abyss anglerfish will wait for someone to walk in its path to eat. Unlock the cage and bait the abyss zombie elite towards the anglerfish. Once the anglerfish eats the zombie, continue forward and use the cutters on the door. Congratulations! You can proceed to the next floor!
Floor 7
Avoid the abyss anglerfish and the pulling eggs. Grab the remote and push it to drop blue liquid for the abyss zombie to connect its path. Wait for the anglerfish to eat the zombie. Proceed to the next room. Once you talk to Seyoung, head forward and to the left to grab four items (detergent, old book, a dirty battery thats inside the pot, and the hammer). Head backwards towards the bathrooms to grab the sponge and another old book. Wipe the stain off in the bathroom to reveal the numbers 8 0 7 2.

Enter the small corridor and break the wall to avoid the pulling egg. Go towards the safe and punch in the numbers 8 0 7 2 to retrieve a fuse. Grab the remote and the old book on the table in that room and put the three old books on the bookshelf. You will get the other fuse for the door. Head back to the bathroom and wash the dirty battery to power the remote. Use the remote to get the key for Seyoung. Put the fuses in the fuse box and continue forward.
Go left of the door and open the locker to the left of the washroom. The other lockers will have abyss zombie elites, so don’t open them unless you want the thrill of being chased. Go to the corridor with the abyss zombies and install the valve. The stains will wash away in the washroom to reveal the numbers 8 4 8 1. Use this on the door to progress.

Congratulations! You can now proceed to the next floor!
Floor 8
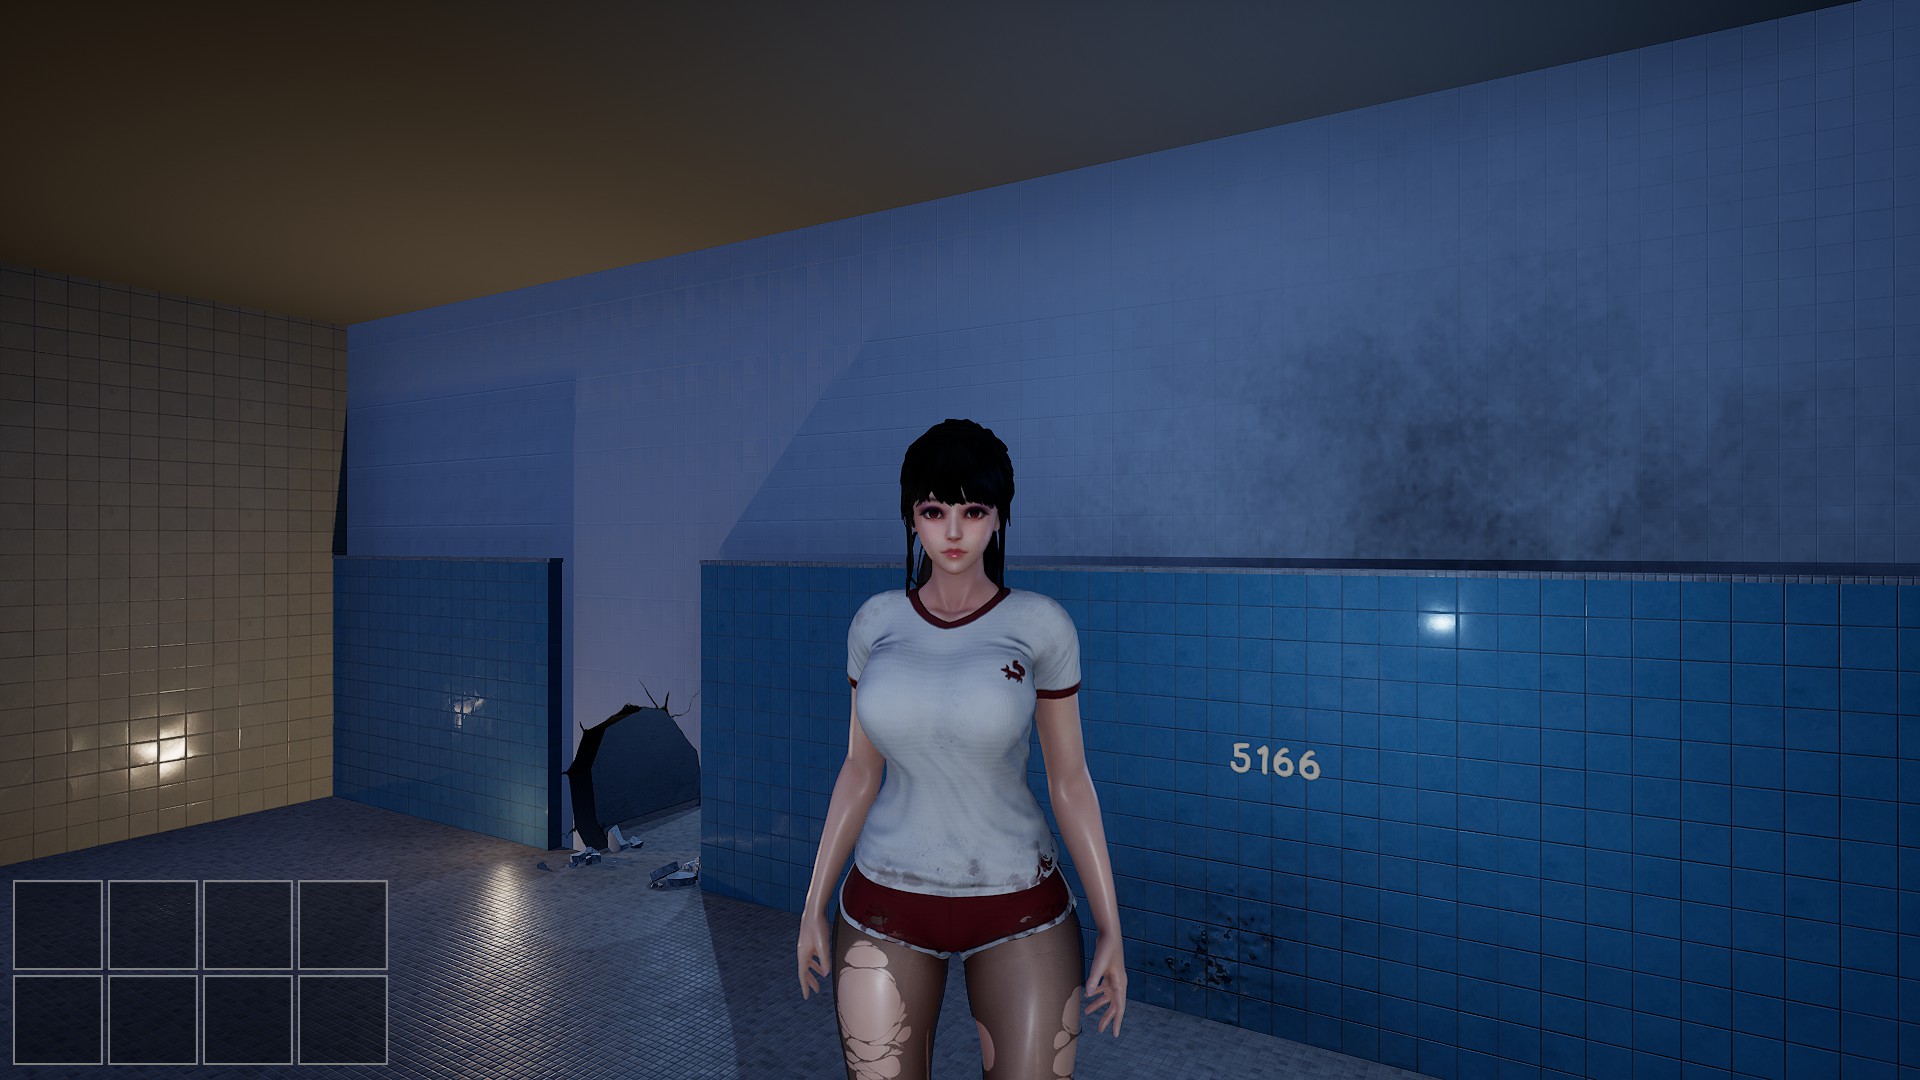
Head into the classroom and move the animal models according to the image on the projector board. The door will unlock. Proceed through the pull window (not the fake windows outlined by the purple flesh). Grab the crowbar in the petri dish and squeeze in between the gap in the pile of desks. Grab the two key pieces in the petri dishes on the abyss zombie’s path and the last piece from the cross-space that is boarded closed. Enter the gap in the school desks with the closet and open the closet. Enter the gap and go into the women’s bathroom. Open the second stall to the left and retrieve the bolt cutters. Use the bolt cutters on the stall in the far left corner to retrieve the detergent and sponge. Don’t open the first stall, as an abyss zombie elite is inside. Go to the hallway and retrieve the hammer. Be sure to let the abyss zombie elite in that room be eaten by the pulling egg. Break open the hole in the second stall and wipe the stain away to reveal the numbers 5 1 6 6.
Use this code to open the main door and progress.
Go to the right side of the room and bait the abyss zombie into the pulling egg. Head through the window closest to the pulling egg and grab the fuse on the table and the closet key on the other table. Head into the window closest to the table and grab the bolt cutters. Retrace your steps and go to the chained window. Enter the window and grab the fuse. Solve the constellation puzzles by placing them in the correct order according to the chalkboard. In order, it will be Libra, Aquarius, Leo, Cancer.

This will open one of the windows. Go towards that window and enter. Hop over the walls and grab the fuse and the hammer. Avoid the pulling head while grabbing the hammer. Head back to the constellation room and break the hole and crawl in. There will be switches that reveal numbers on the chalkboard.


Add the numbers together and the passcode will be 8 1 4 8. Open the window with this passcode and proceed through the window. Enter the gap between the desks and grab the last fuse. Head back to the main doors and install the fuses. The door will now be unlocked. Proceed forward.
Head to the far right of the room and pass the two abyss zombies. On the wall with a passcode, there will be writing on the wall ” 4 3 + 7 2″.
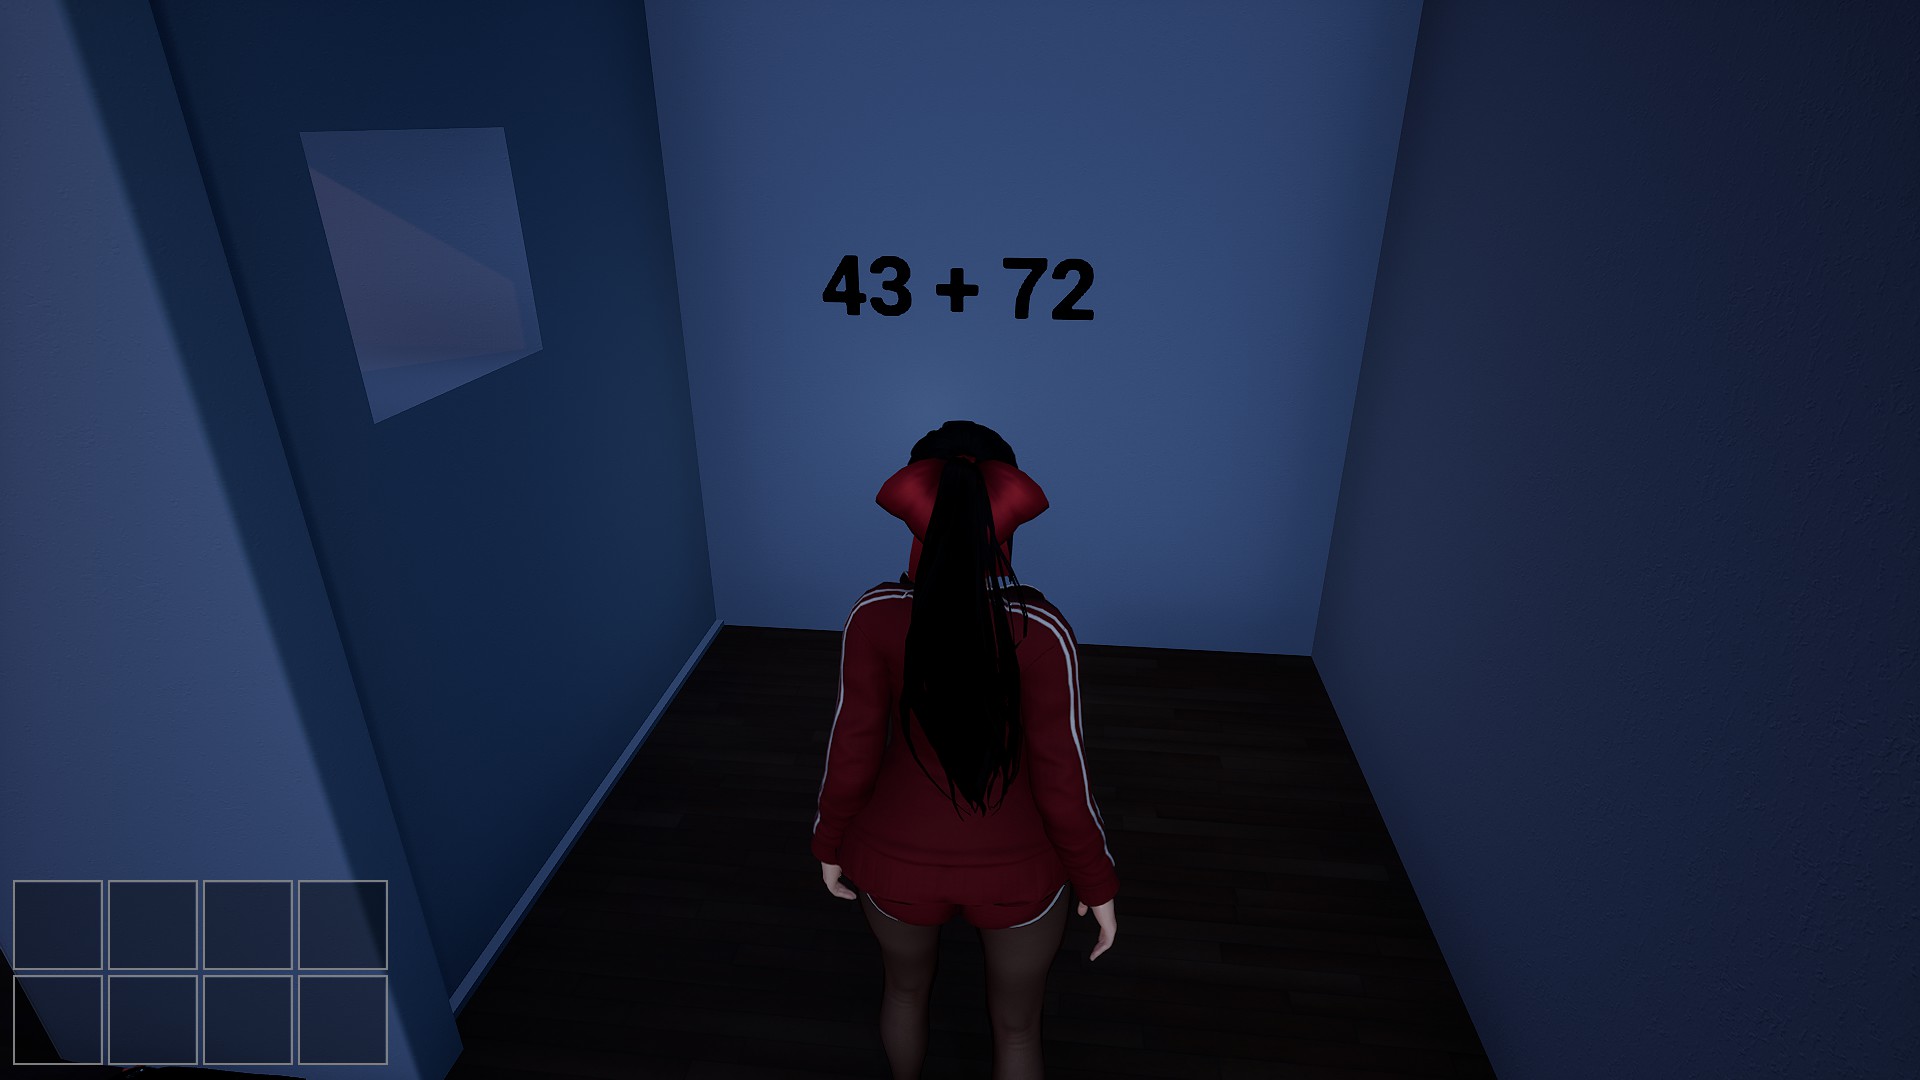
The answer will be 1 1 5. Punch the numbers into the passcode on the wall to power the main door by one segment. Head back to the main room.
Head to the corridor to the right where a devouring egg will be on the floor. You will have to step on the plate the egg lays on to reveal the writing on the wall. The writing will read 8 9 + 3 2.

Add the numbers to get 1 2 1. Punch the numbers into the passcode to power the door.
The front corridor to the left is the exact same strategy with a different equation. This equation will be 7 2 + 9 3.
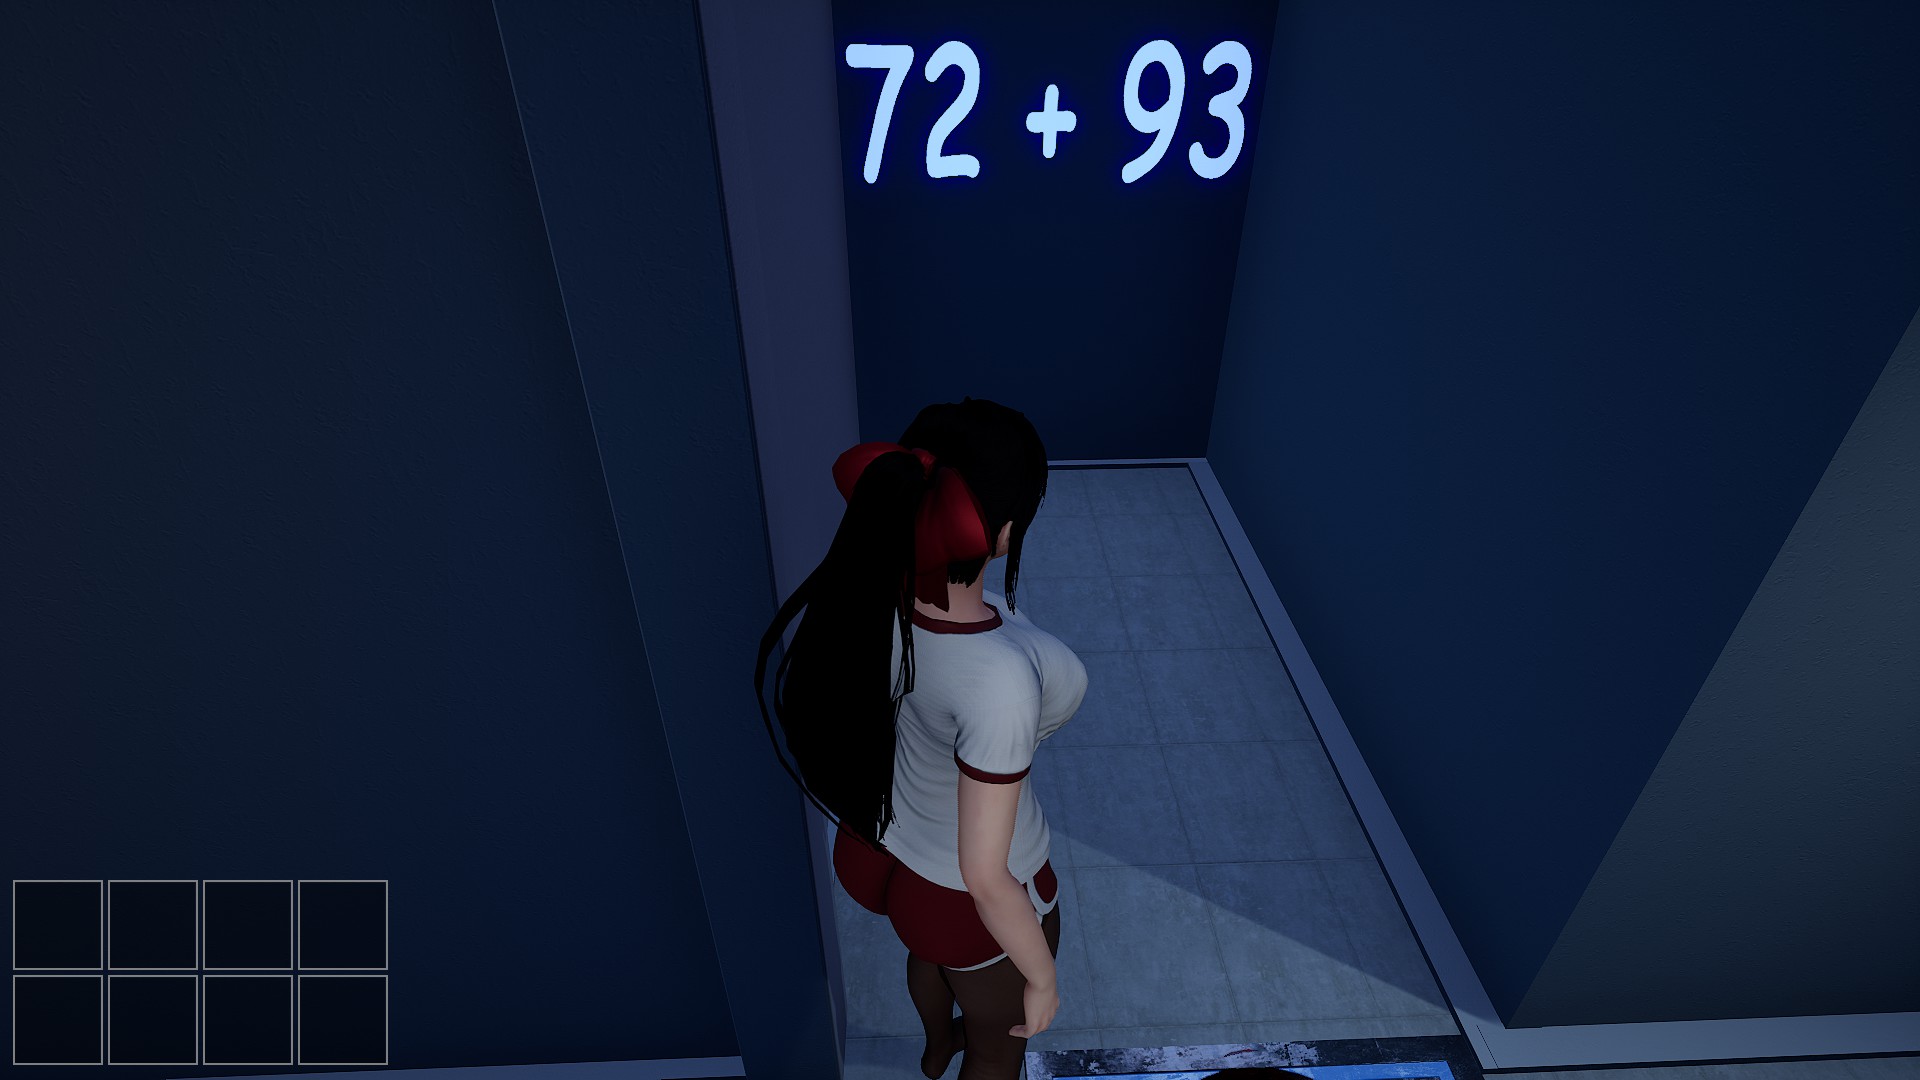
Add the numbers to get 1 6 5. Punch in the numbers to power the door.
Head to the large room to the left which will be the same puzzle as the large room on the right. This one will have a pulling egg, so be careful. The equation will read 8 6 + 9 6.
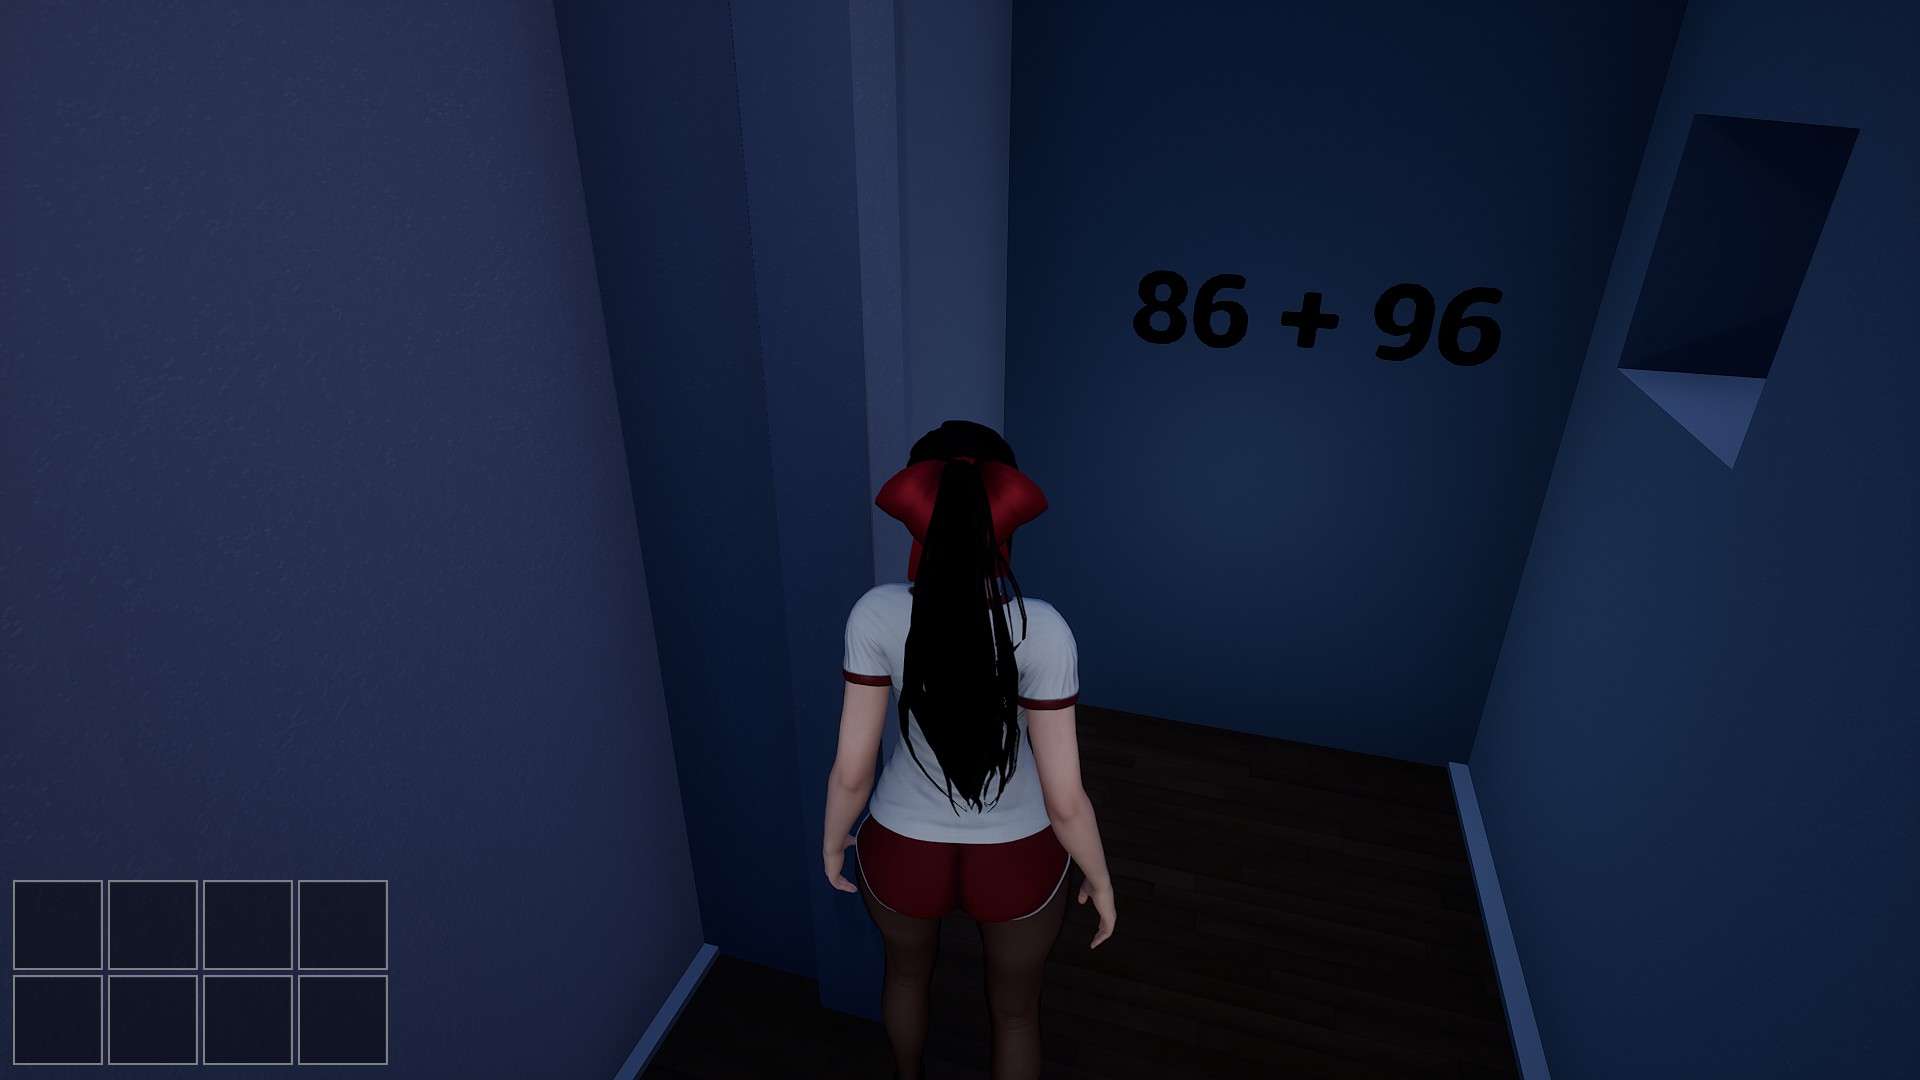
Adding the numbers will get you 1 8 2. Punch in the numbers to power the door. The door will now unlock.
Congratulations! You can now proceed to the next floor!
Floor 9
Head to the room on the left and grab the hammer. Grab the USB stick in the petri dish where the abyss zombie elite and three pulling eggs are. Go into the room next to the cage and grab the window handle from the petri dish. With the handle, install it into the window in that room to obtain the valve. Go into the women’s bathroom and break the wall. Enter the cross-space and place the valve to drain the water. Grab the key from the stall to open the iron door. Enter the room with the red and yellow pools. Grab 2 flasks and swim in the red pool to fill the flasks. Place them on the shelf. Follow the steps for the yellow flasks. Obtain the blue card key from the shelf. Enter the blue liquid and install the UBS stick into the projector. It will display a puzzle to solve once you hop over the wall. Grab the items and the hammer littered around the classroom. The items will be placed as follows.
Grab the red card key. Enter the room with the damaged wall and break it with the hammer. Crawl into the hole and enter the window. Bait the abyss zombie elite into the pulling egg and swim in the blue pool. The chalkboard will read Red + Yellow. Grab the flask on the table and pull the crank to go through the opening. Head to the red pool and fill the flask with red liquid. Swim back and swim into the yellow liquid. This will create orange liquid. Place it on the tray, swim back, grab the orange flask, and head back to the chalkboard room. Place the orange flask on the tray, enter the window, swim in the blue pool, retrieve the flask, and place it on the tray. The gate will now open.
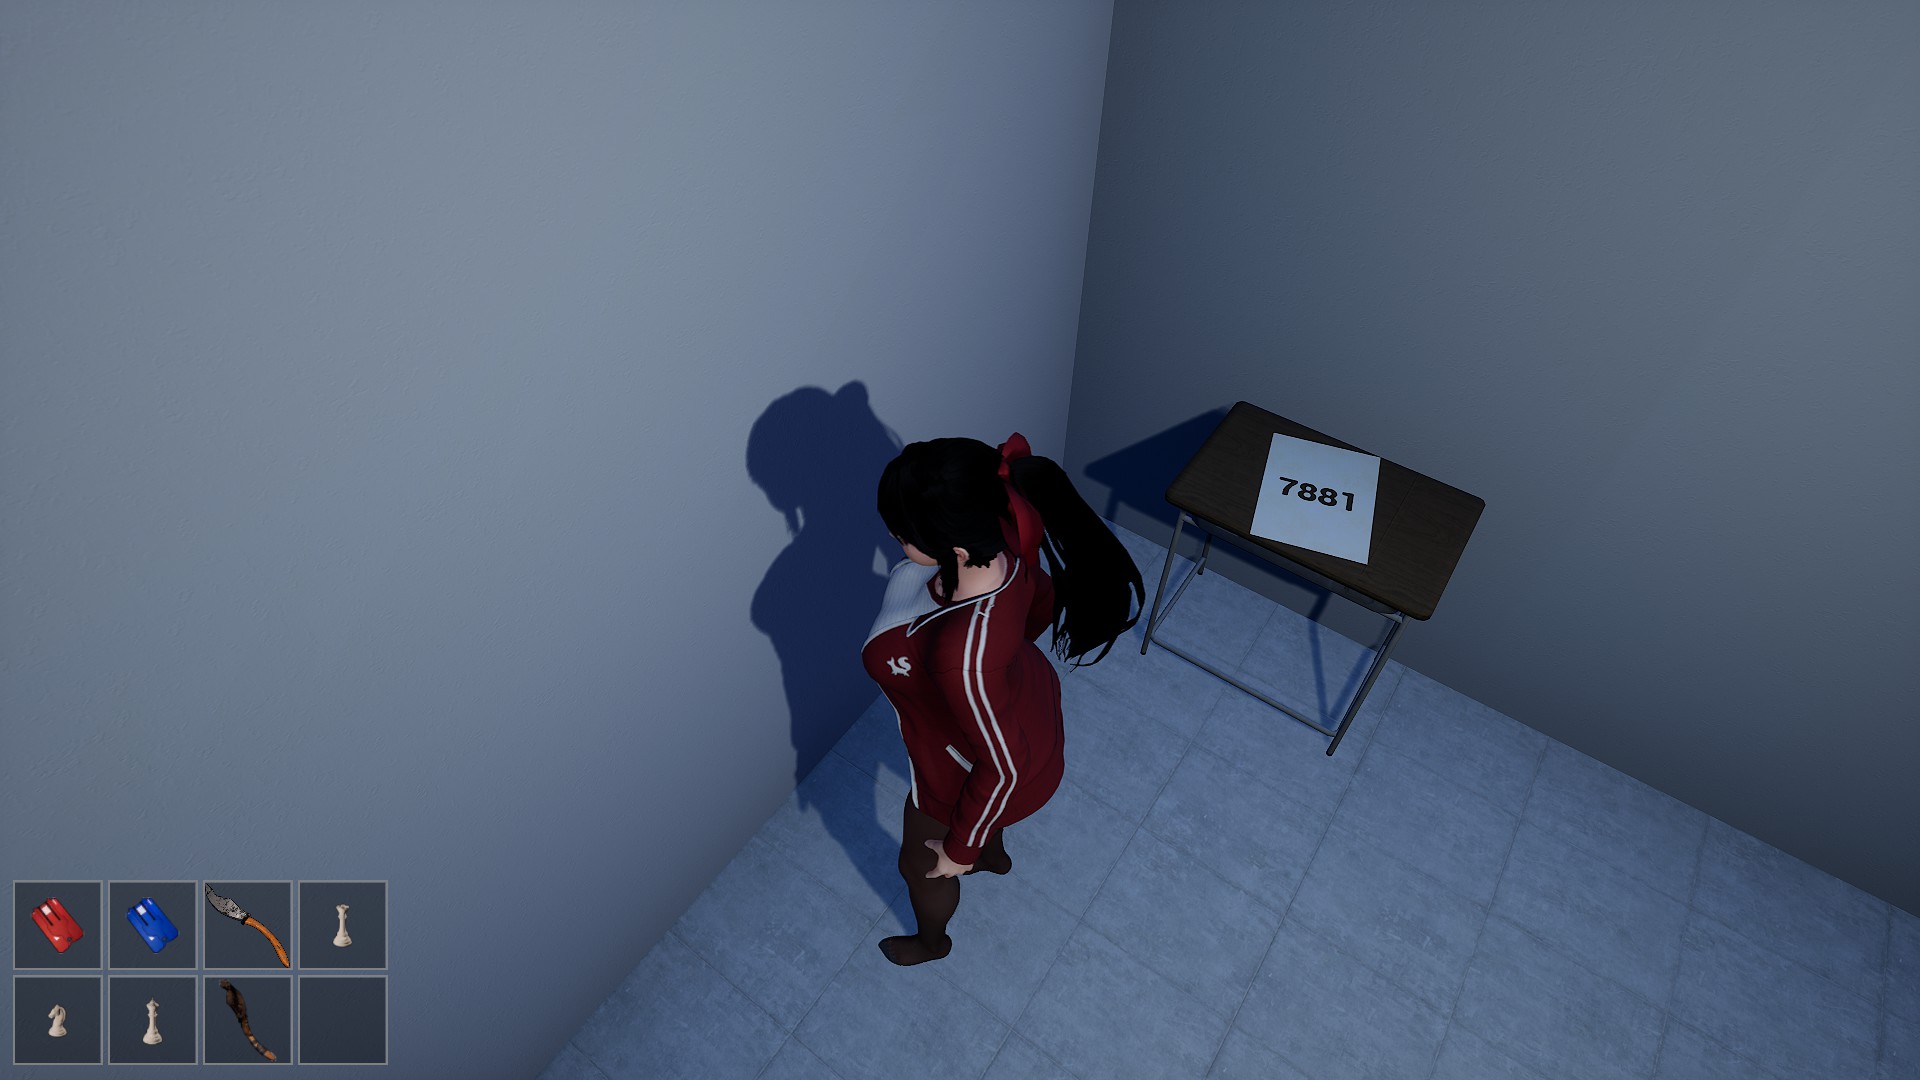
This next part is a reiteration of Dark Siren. There are multiple puzzle pieces spead throughout numerous rooms while being chased by the Abyss follower. There will be two levers that need to be pulled and two gears that need to be put in place to power the door. Grab the four chess pieces to solve one of the puzzles. Once you obtain them, find the puzzle room and put the pieces according to the paper right next to the shelf to obtain the yellow card key. Once you obtain both pieces of the bolt cutters, find the bathrooms to clean off the dirty piece. Once the bolt cutters are formed, cut the chain to obtain the green card key. One of the rooms will have the numbers 7 8 8 1 on a piece of paper.
Punch this number into the safe in the bathroom to get the last gear. Once you have both gears and both levers installed and all four card keys, you can progress through the door, in which you will be chased by the Abyss follower. Once you get to the last door, you will have made it to the last floor.
Floor 10
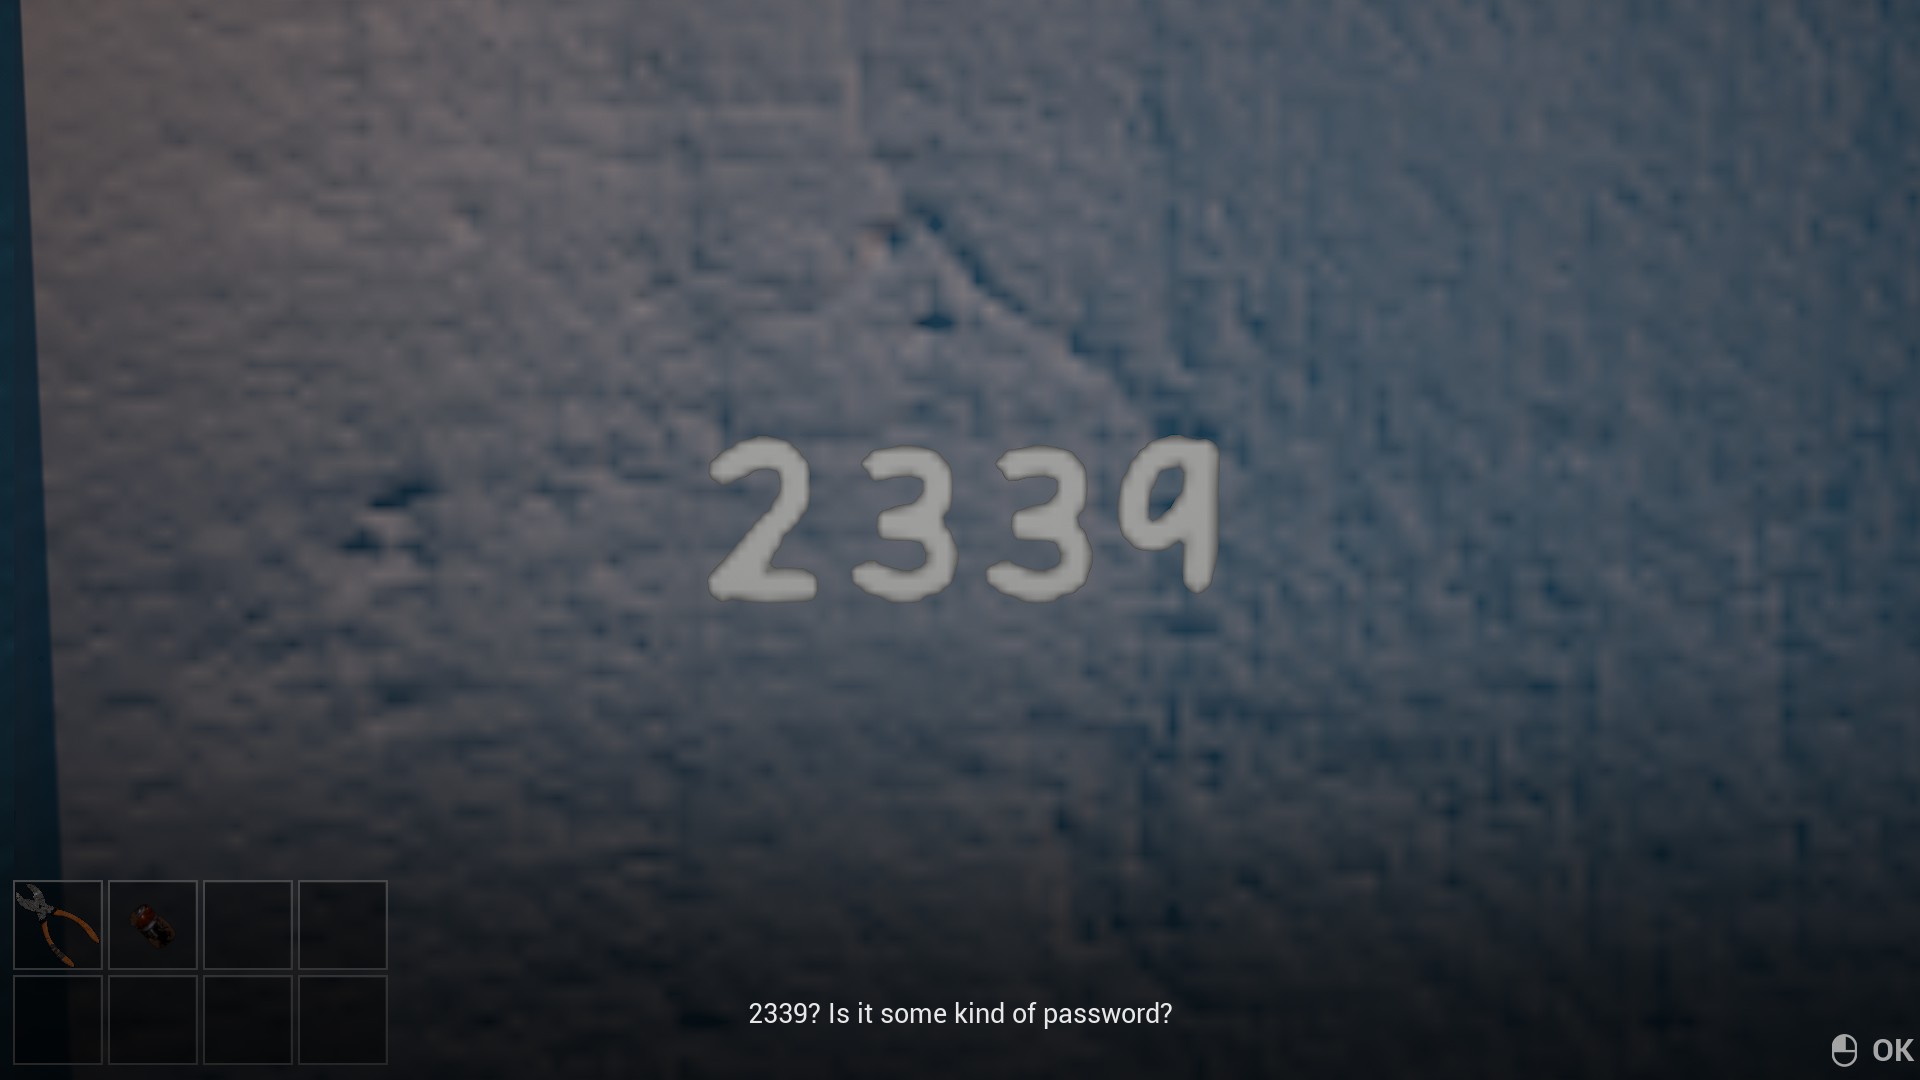
Head to the right side where the abyss zombie is to grab bolt cutters, and head to the left side towards the abyss zombie to grab a hammer. Tip the pot hanging off the side of the table and grab the dirty battery. Head towards the damaged wall and break it with the hammer. Grab the sponge and detergent that will be over each wall as you continue forward. Wipe the stain next to the safe to reveal the numbers 2 3 3 9.
Open the safe with that code to obtain the valve. Head back to the main area and swim in the blue pool to install the valve. This pool is also used to clean the dirty battery. Head back to the steam room and the letters A B X will be revealed on the wall.

This code will be used to open one of the lockers containing the abyss zombie elite. Open the cage with the switch, then release the two zombie elites. Trap them in the cage and one trap should be set. Head back to the main area.
Use the cutters to open the door near one of the abyss zombies’ trail. Grab the red glasses. Insert the battery into the statue and put the red glasses on it. The number will read 7 1 5 5 .

Punch the numbers into the red safe to get the Blue glasses. The blue glasses will read 8 1 8 9.
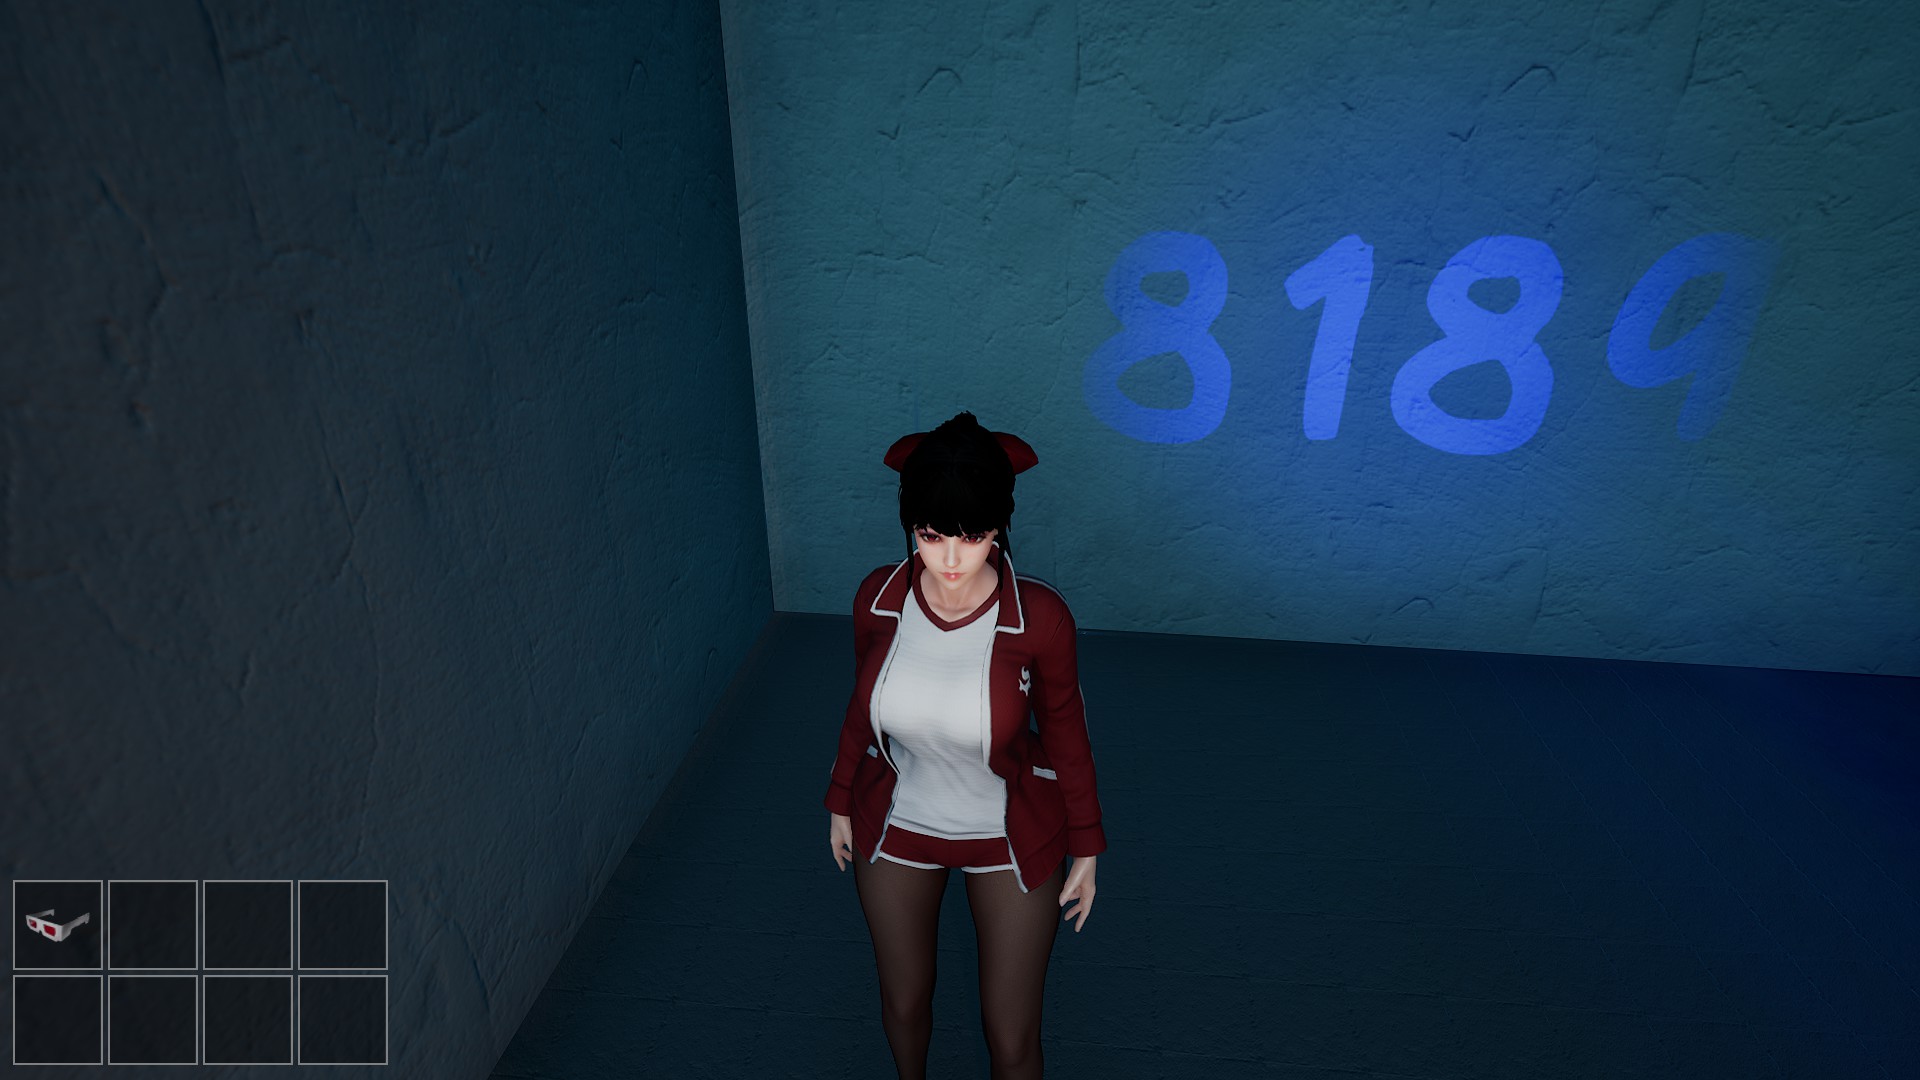
Punch the numbers in the blue safe to get the green glasses. The green glasses will read 9 4 8 8. Punch this number into the green safe to get the electrical box key. Open the electrical box to get access to a lever. Pull this to activate a trap. Head to the main area.
Tip the two blue pots over to connect the abyss zombies’ trail. The zombie will get devoured by the pulling egg. Crawl under the zombie and cage the three zombies using the buttons on the wall. Careful not to get too close, as the abyss zombie can attack you if you’re hugging the wall. The safe will unlock and you will get a gear. Head to the main area and install the gear in place to set a trap.
Enter the hole next to the blue pool. Continue following behind the abyss zombies to progress through the maze. Once you come across the abyss zombie elite, turn around and turn on the red switch to activate a pulling egg. This will eat the abyss zombie elite. Crawl under the zombie elite and continue until you reach a safe. Grab the cutter in the petri dish at the end of the abyss zombie’s trail. The code for the safe will be 4 2 7 4.
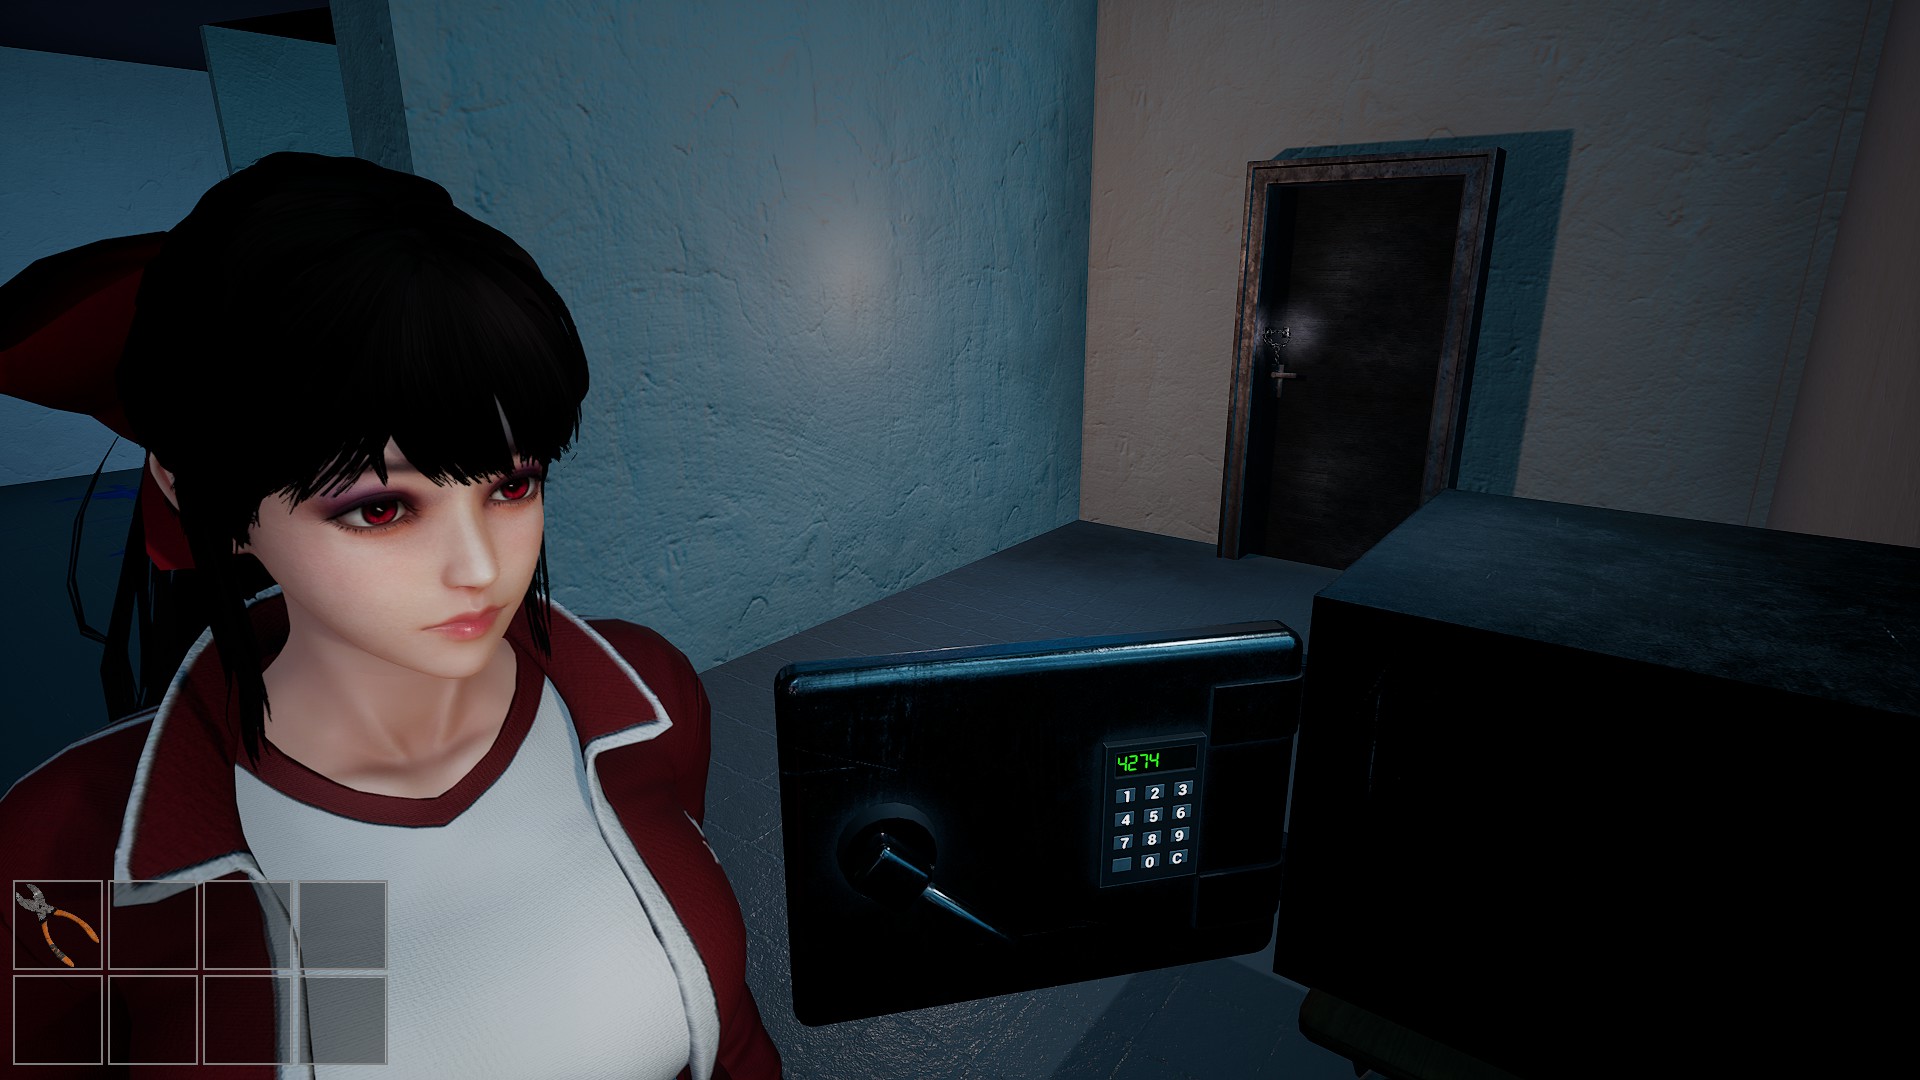
[previewimg=35156260;sizeFull,floatLeft;20240215114750_1.jpg][/previewimg] Punch the numbers in the safe to get the closet key. Enter the closet and retrieve the red glasses. Put the red glasses on the statue to reveal the numbers 3 4 5 2. [previewimg=35156278;sizeFull,floatLeft;20240215115030_1.jpg][/previewimg] Punch the numbers into the red safe to retrieve the remote. Activate the remote to connect an abyss zombies’ trail. This will allow you to safely cross without the abyss anglerfish devouring you. In floor 4, destroy the boxes with the golden glow to retrieve a key piece from the petri dish. Defeat the abyss zombie elites and retrieve the classroom key from the petri dish. Grab another key piece when you destroy the boxes blocking the path. The key will be Use the cutters to open the door and install the gear to set a trap.
Once all four traps are set, the Abyss Follower will get ensnared in the four traps and will drop a key. Grab the key and open the door with the yellow glow on it. Once the cutscene ends, enter the door with the light above it. You will then play as Seyoung, which all you will do is head to the first floor, hitting zombies with your baseball bat.
You’ll have to retrieve the relics to put back in place in floor 6. The answer sheet will be right next to the shelf.
Floor five, you will need to beat a zombie to get the battery on the zombie’s head. Placing the battery in the statue will reveal the numbers 8 7 5 3

Punch the numbers in the safe to get the closet key. Enter the closet and retrieve the red glasses. Put the red glasses on the statue to reveal the numbers 3 4 5 2.

Punch the numbers into the red safe to retrieve the remote. Activate the remote to connect an abyss zombies’ trail. This will allow you to safely cross without the abyss anglerfish devouring you.
In floor 4, destroy the boxes with the golden glow to retrieve a key piece from the petri dish. Defeat the abyss zombie elites and retrieve the classroom key from the petri dish. Grab another key piece when you destroy the boxes blocking the path. The key will be to the left covered in boxes. Break the boxes on the right to retrieve the last key piece from behind the abyss zombie elite. Use the classroom key to progress, then the iron key will be used to access the elevator.
In floor 3, enter the broken elevator to retrieve the classroom key. Enter the classroom and obtain the closet key in a petri dish and a cutter piece on a desk, both of which are protected by boxes. Open the classroom door and use the clsoet key to open a locker to progress. Destroy the wall of boxes to obtain a cutter piece. Use the now formed bolt cutters to cut the chain to the door. From there, progress until you get to the cutscene. From there, the game is complete!