A new style of playing with career mode, been doing this myself recently to make the game as varied and randomised as possible. Recently shared this in a discussion and though I’d make a guide for anyone else who is interested.
Introduction
Sometimes this game can get slightly repetitive and we all fall into a routine that we use when playing. Mine is to take shunting jobs and deliveries to local areas instead of exploring the whole map and challenging myself
So, I’ve recently came up with this idea to simulate a workday to make the career as realistic as possible. It’s slight role playing as well so might not be everyone’s cup of tea (yes I’m British)
I am still fine tuning a lot of things as I am currently play testing this idea on my current save, so far it seems to work and has made the game more varied.
It was not until a recent discussion with another player (by the name of Shaunri) who was looking for some way to “spice up” their own play through did I share this idea. After showing some interest, I’d thought I would make this guide so everyone else can try it and see how it goes.
I’ll try to explain it as well as I can, it can get complicated at times. If it would be more helpful, I could make a “tutorial” video on this type of play through
Setting up your workday
To begin with you need to set up the game in career mode, but with slight changes to the settings
First of it to create a new session, I named mine “Just another workday” to help me remember that this play through is using the rules from this guide. You can name it whatever you want of course, but it help to remind that this is not my “mess around” session.

once that is done, it’s time to alter the settings.
To alter the difficulty with custom settings, you need to click on the “plus” sign on the bottom left. A popup will appear allowing you to rename your setting. As before, I gave it the name “just another work day”
If you have not beaten the game as of yet, then use the realistic option (as I have), but for those of you who already have, then these settings will add a new level of challenge.

Now to customise. The settings shown are meant to be difficult, but these are just an idea. You can alter the parameters to how you want.
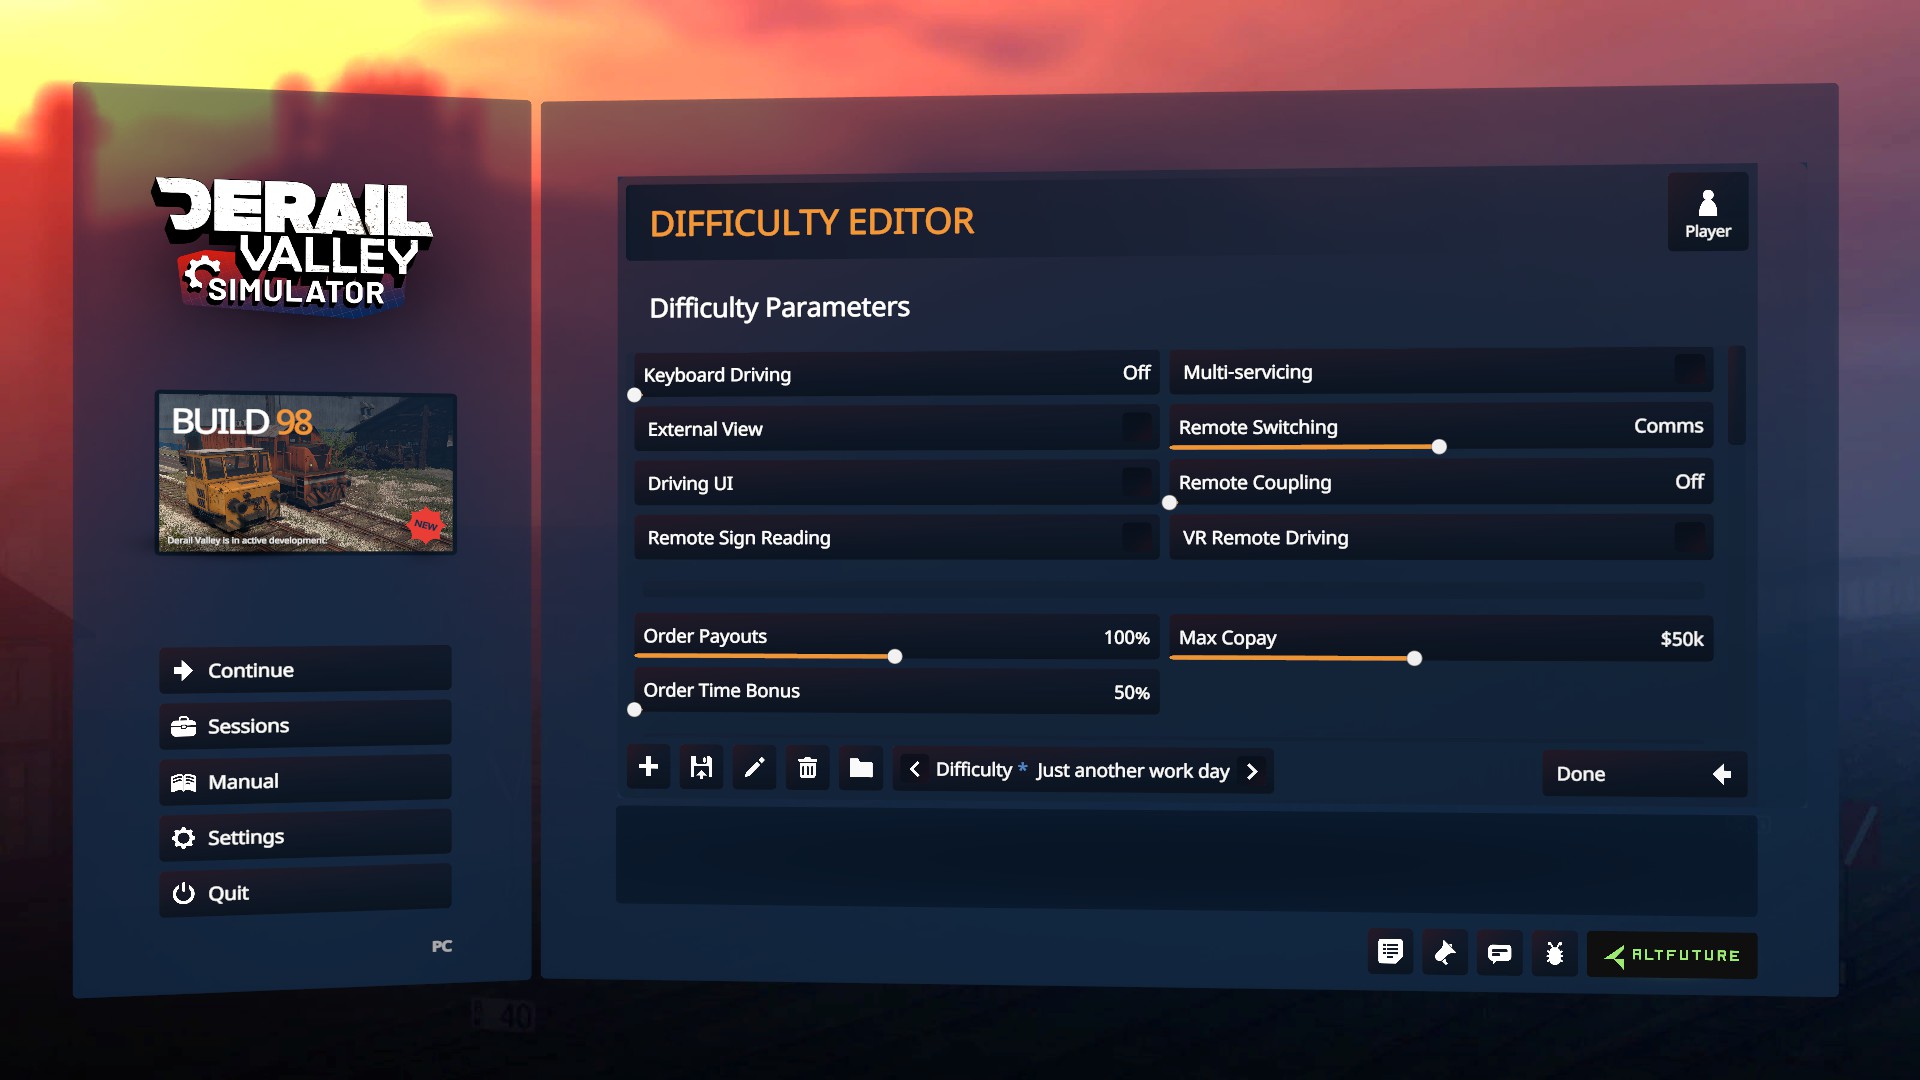
What I’ve done on this is to turn off everything except remote switching. This will basically force me to drive the train from the cab as intended, the reason remote switching is left on comms is because it’s suppose to represent a signal man changing the switches for you.
Of course, if you really want to work on the railway using your own sweat, blood and tears. Then turn the remote switching off so you have to manually change them yourself.
Once you’ve changed everything to how you want. it’s time to start your new exciting career as a train driver on one of the most dangerous rail systems you will ever know….or more accurately, the last you’ll ever see. (At least the pay is good right? and the free sandwiches)
Your First Day
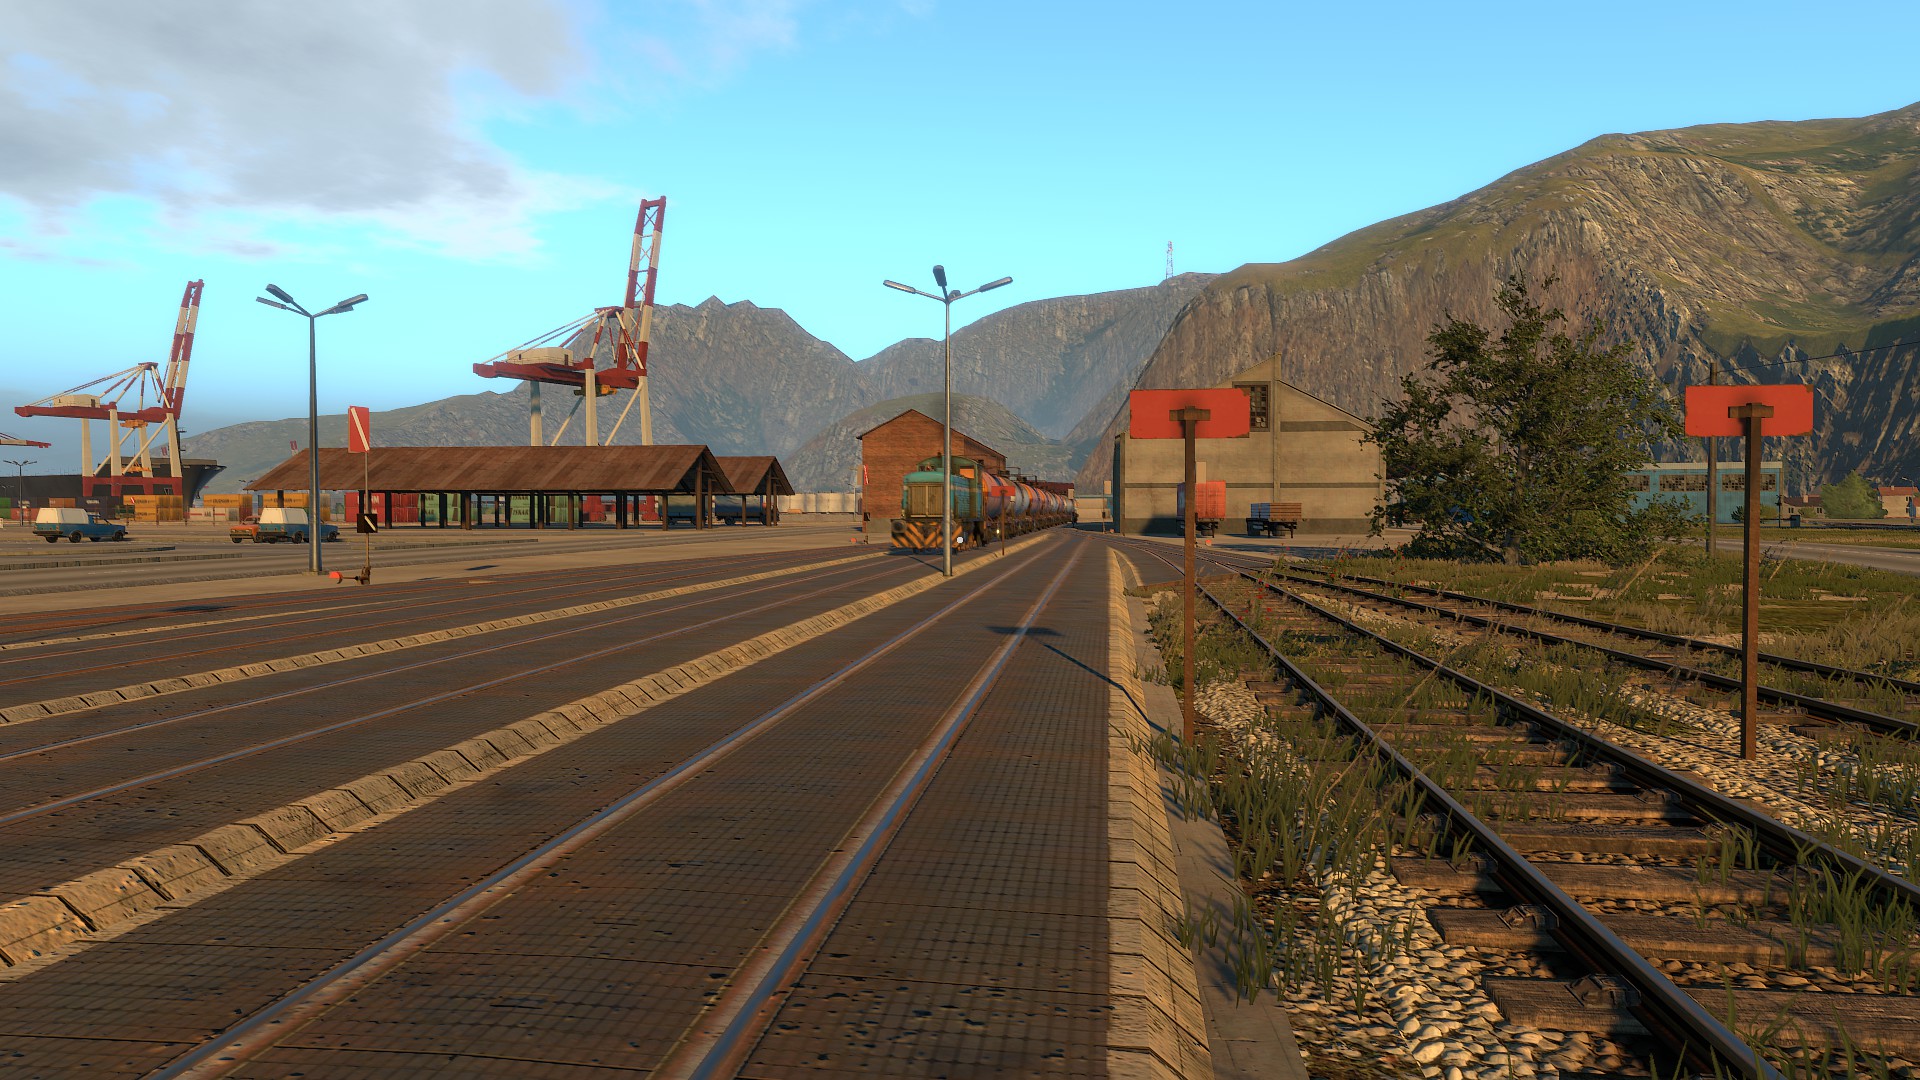
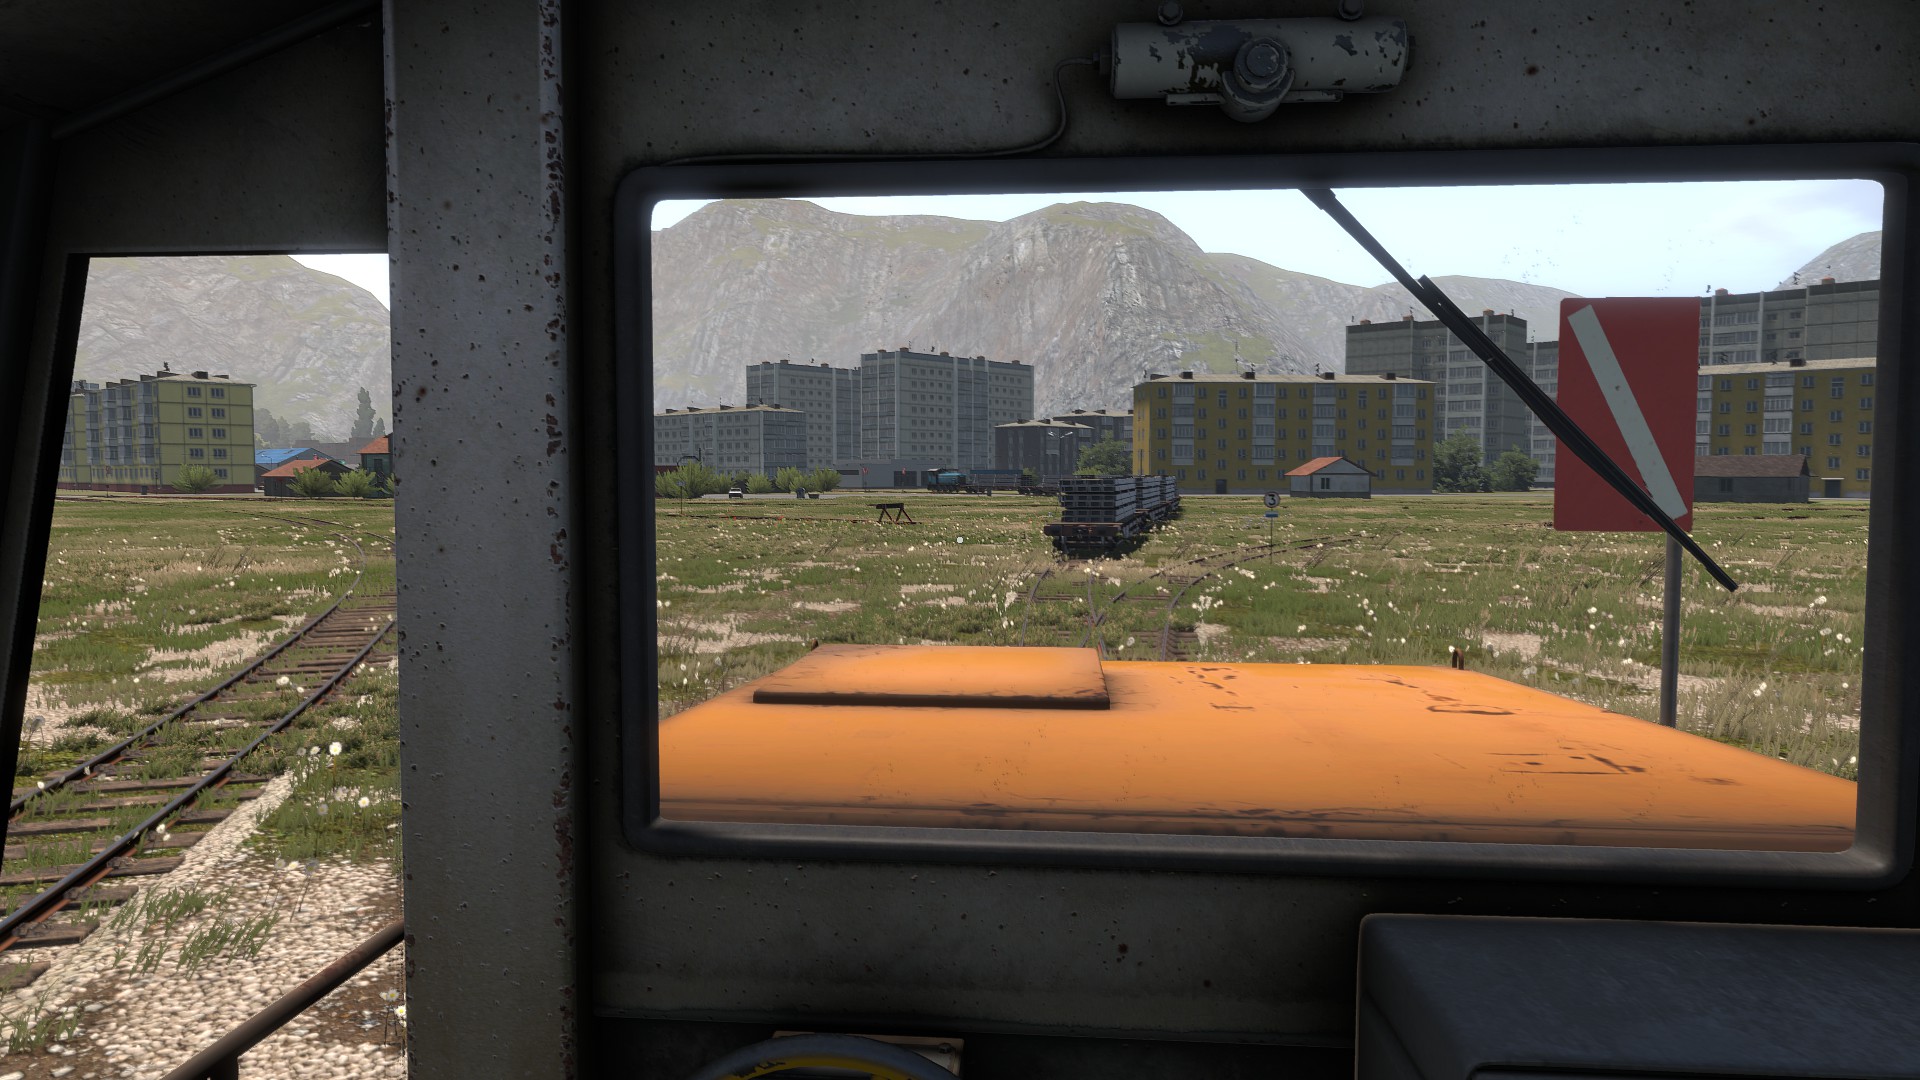
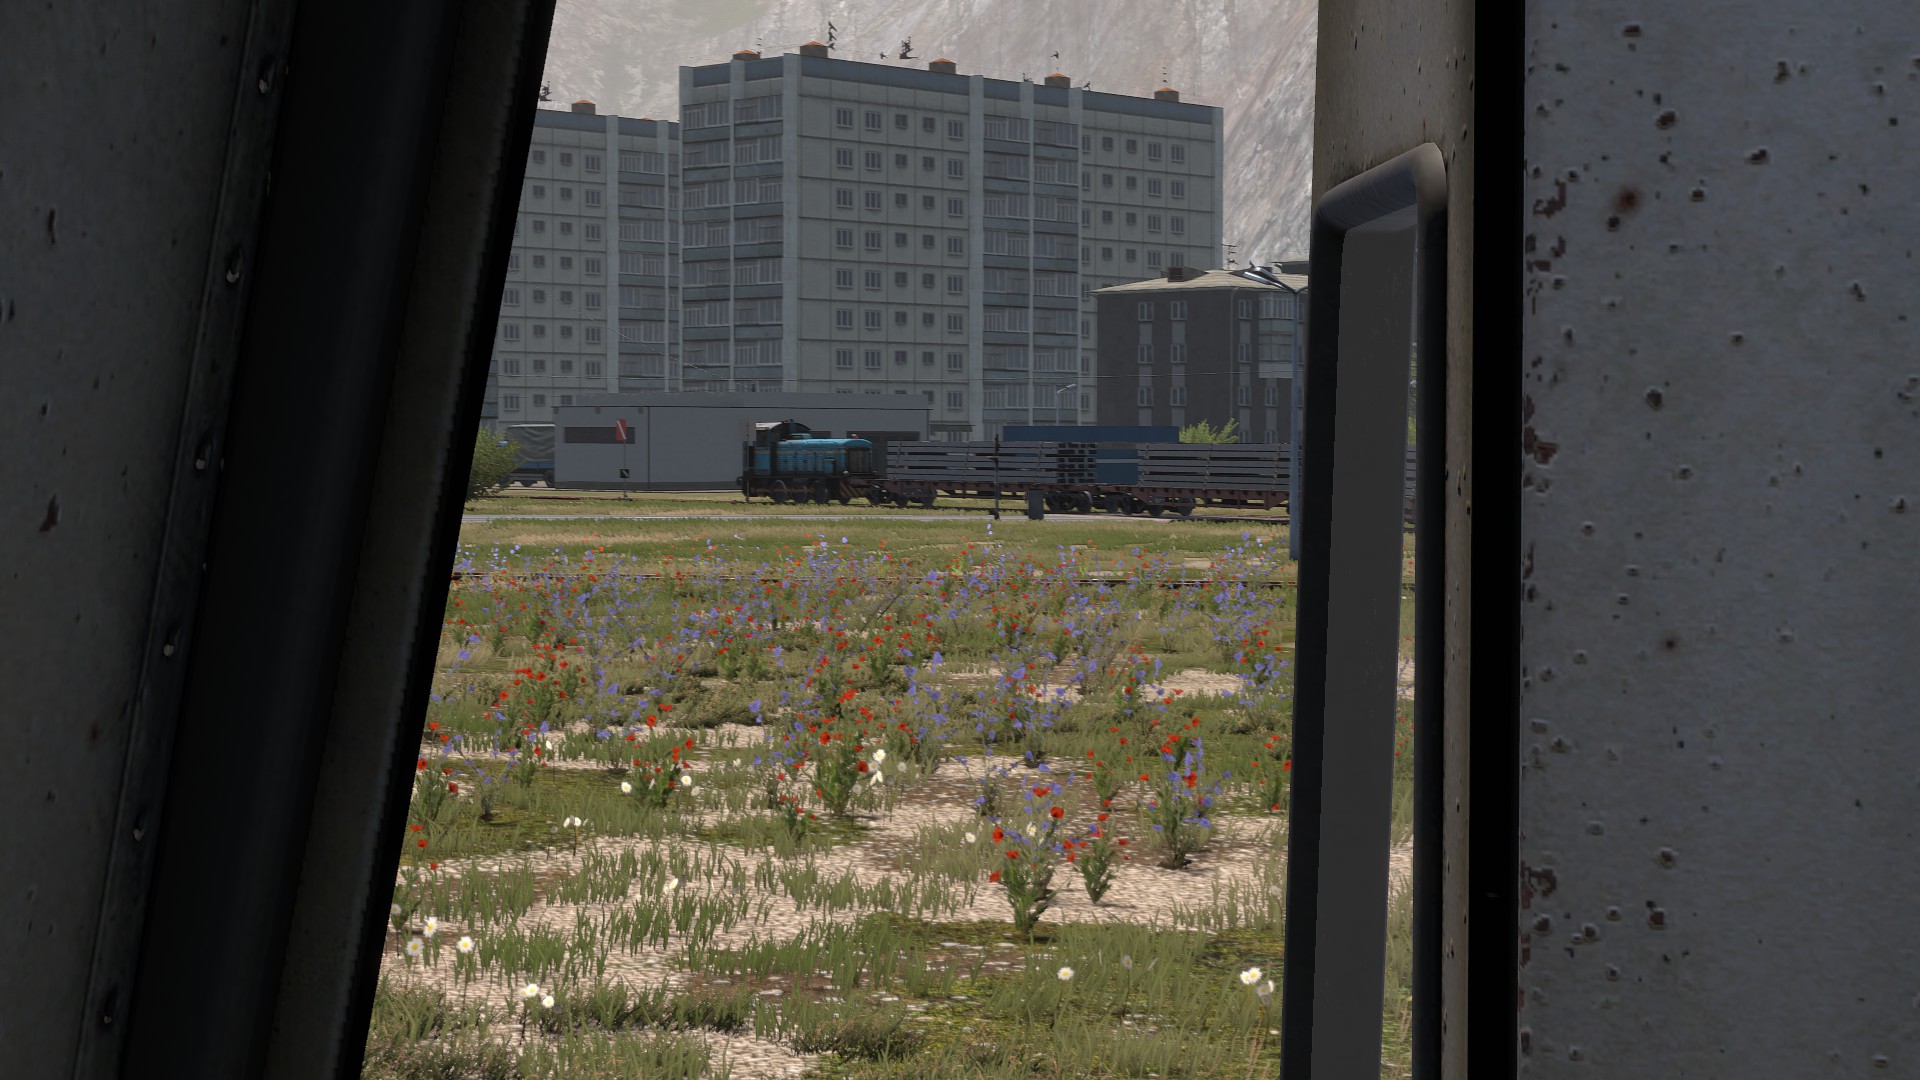
Look at that, the clear blue skies, vast open areas, mountains, birds, the occasional cat and a whole heap of rail infrastructure.
You spent all this time training just so you can whizz past it all as you panic on slowing the train enough to make the up coming turn.
It’s your first day, which means you’ve successfully passed your training course. Give yourself a pat on the back and get your will written up (just in case)
So, how does this game style work? Let me show you
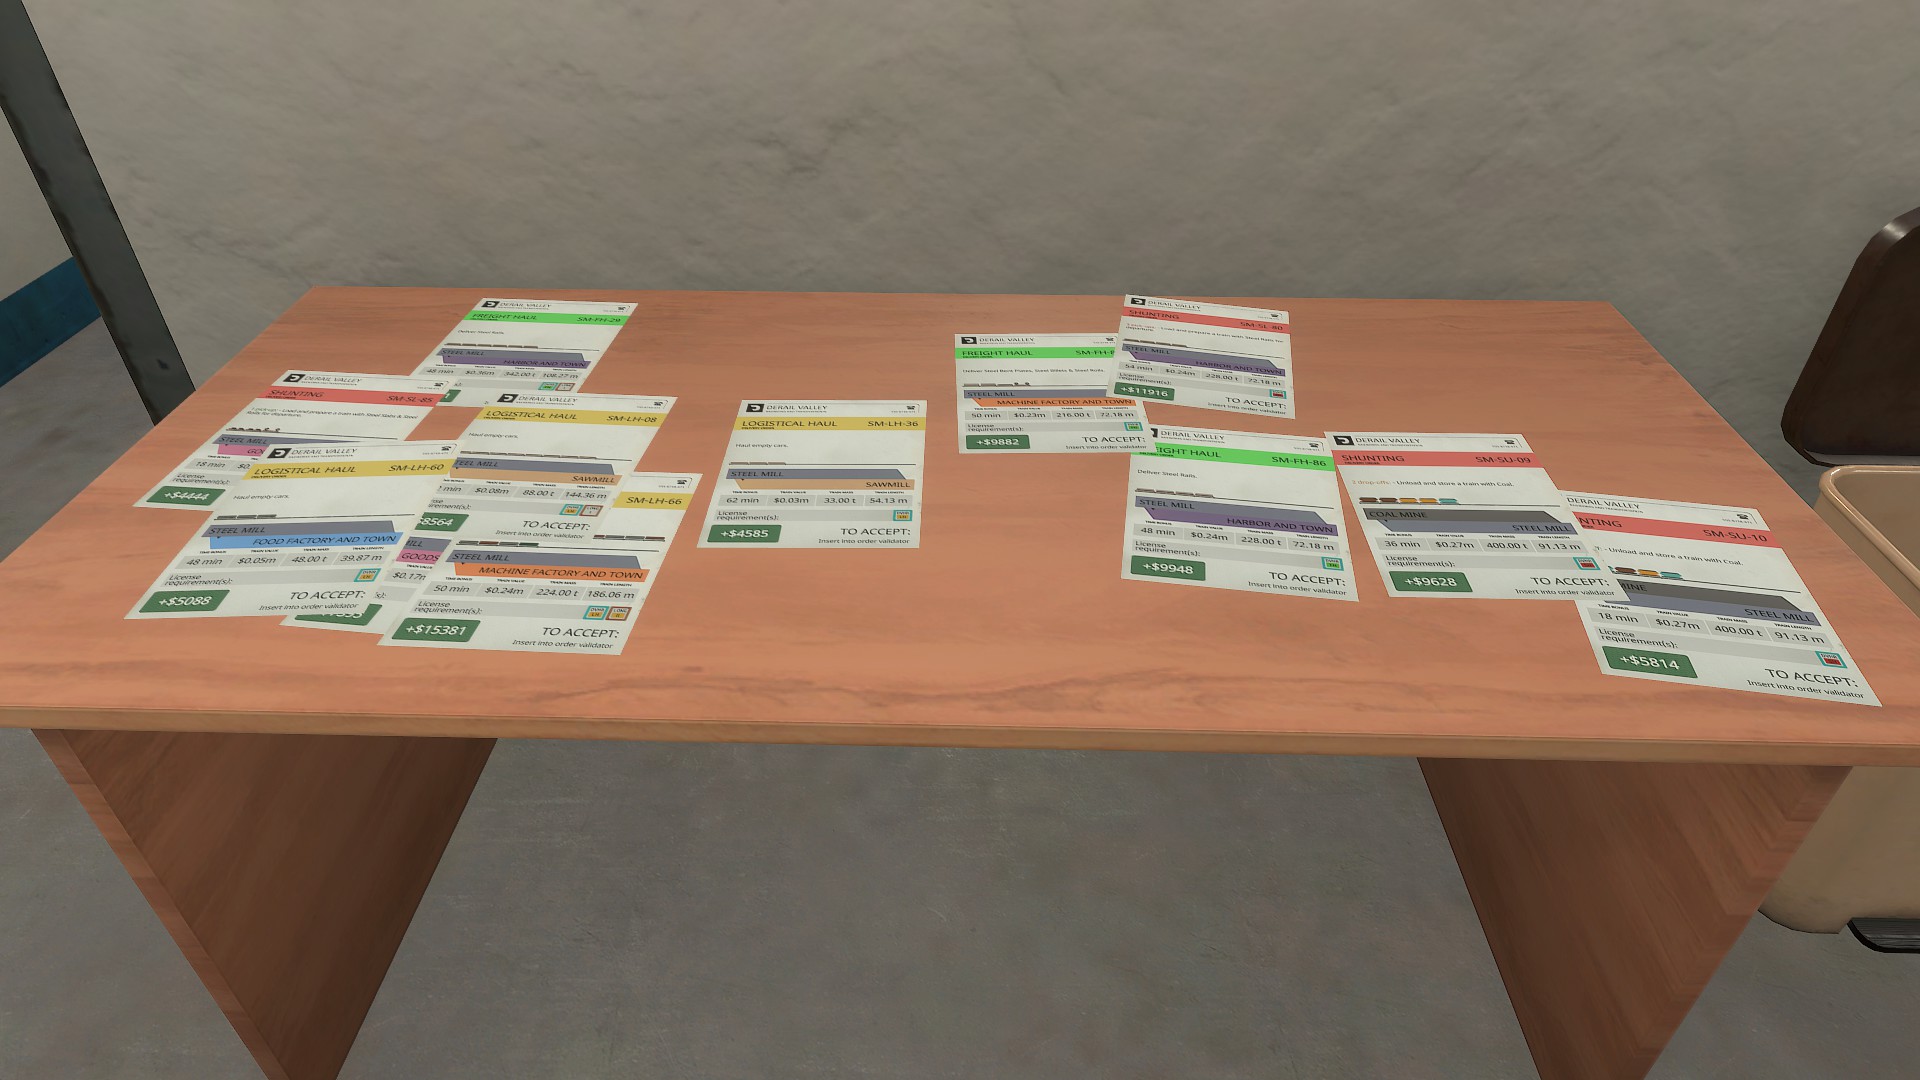
As always proudly walk into the office and demand some work. You should see a bunch of orders on the nearby table, with a map and schematic nearby. Study that map, it will be useful, or just use the one in your pocket, either works well.

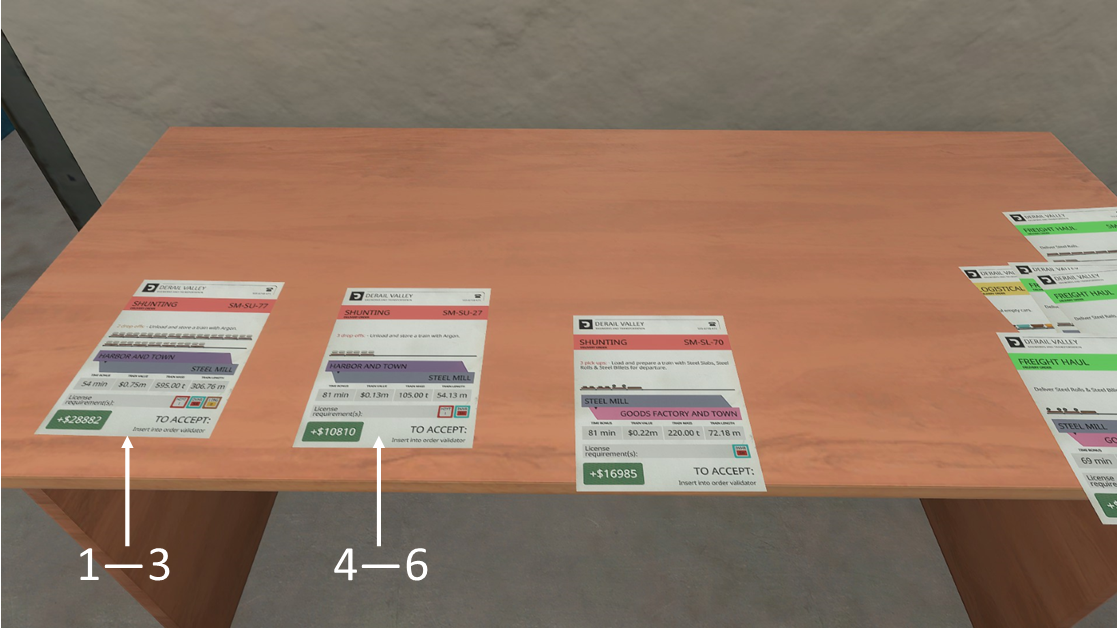
Arrange the orders into group, as I have done on the example below
Before

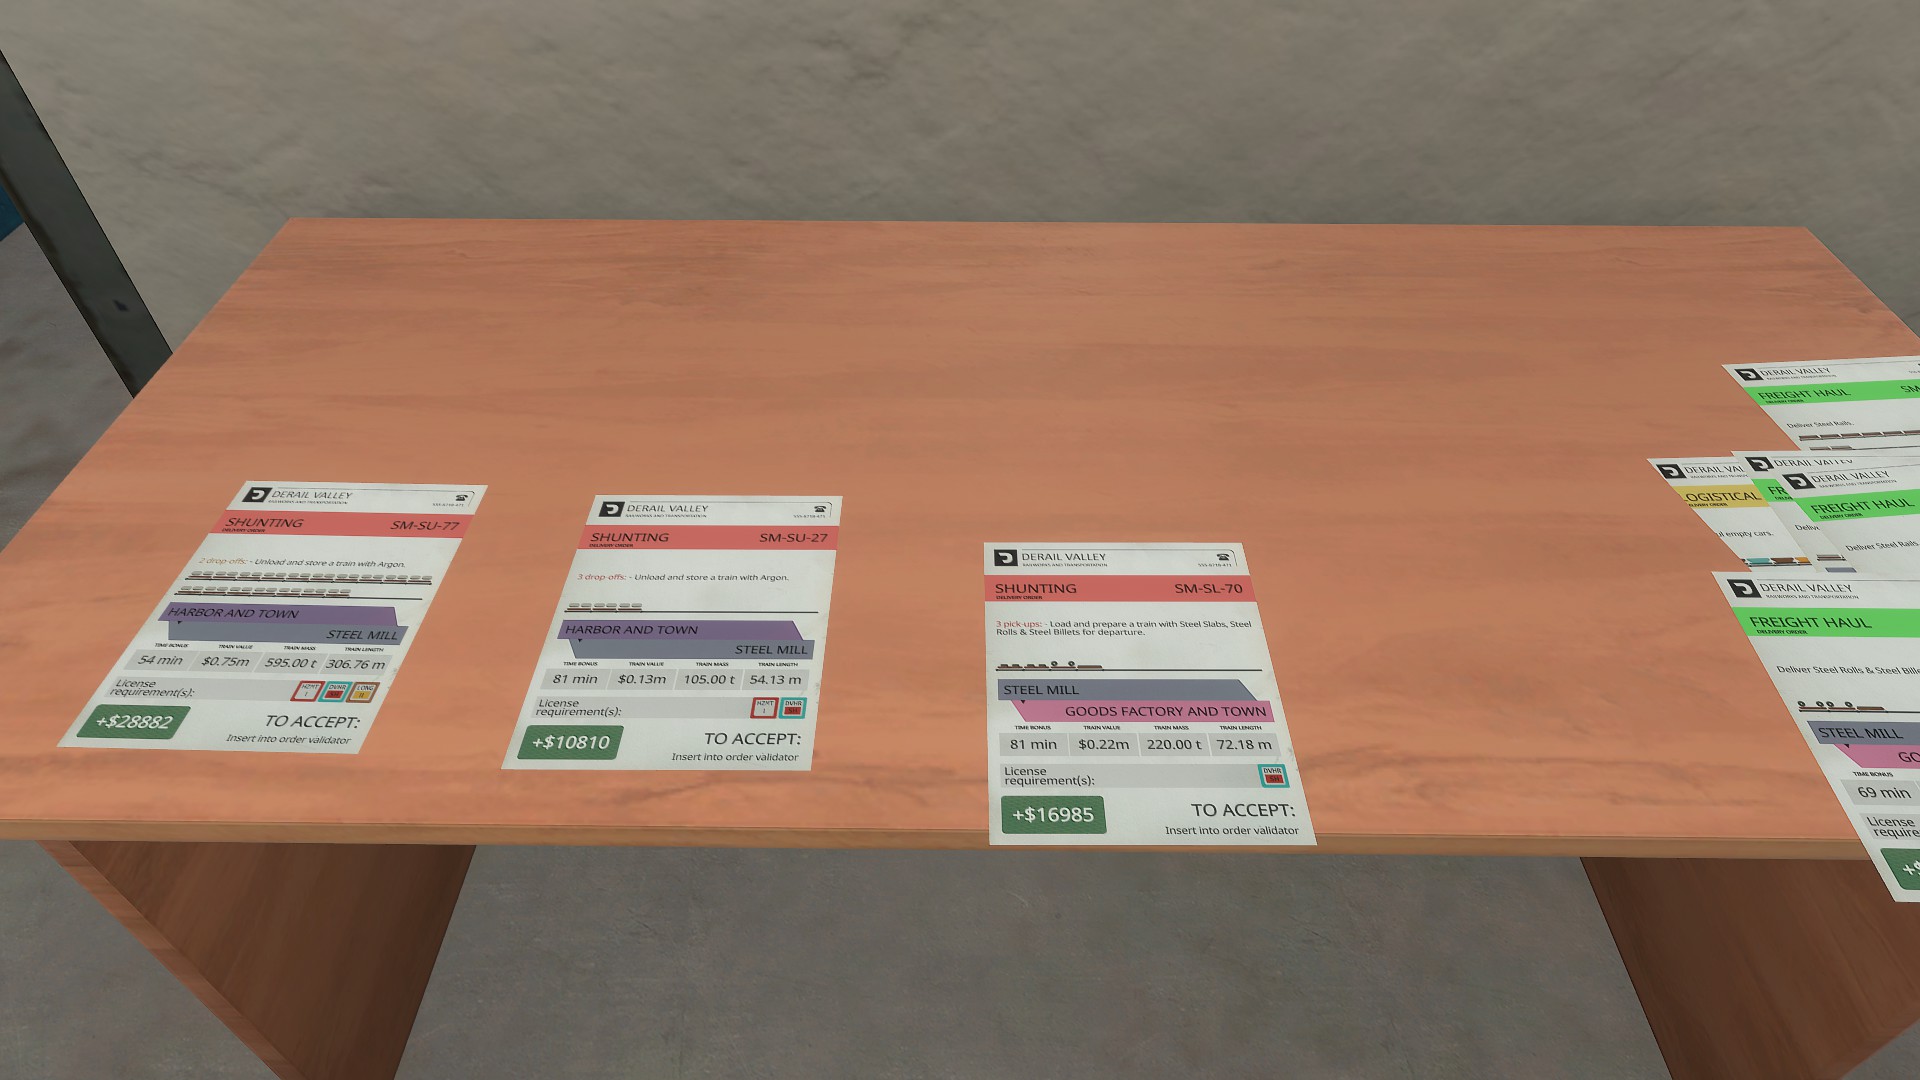
After
As you can see there are three piles, each pile has the same type of job. You can arrange the groups how you want, maybe alphabetically or in my case, with shunting always on the left.
The next step is to give them a number. As we are using a six sided dice, it might seem a bit confusing as to how three groups can be rolled on a 6.
Aha, I will show you.
“Will of the Yard Master” rule.
The shunting group will be labelled as 1 – 2, the middle 3 – 4 and the group on the right as 5 – 6.
This means that when you roll the dice, a number of 1 or 2 will result in the shunting group, 3 or 4 the middle group and so on.

Grab a six sided dice (or use a random number generator, but it is easier with the dice) and give it a good roll.
An Example
For this example, imagine I rolled a 1 which is the shunting group. As there are multiple options available, I roll again
As there are three (one is hidden under another) the “Will of the Yard Master” applies again. Spread the three order out in a line, give them their designated dice number and roll.
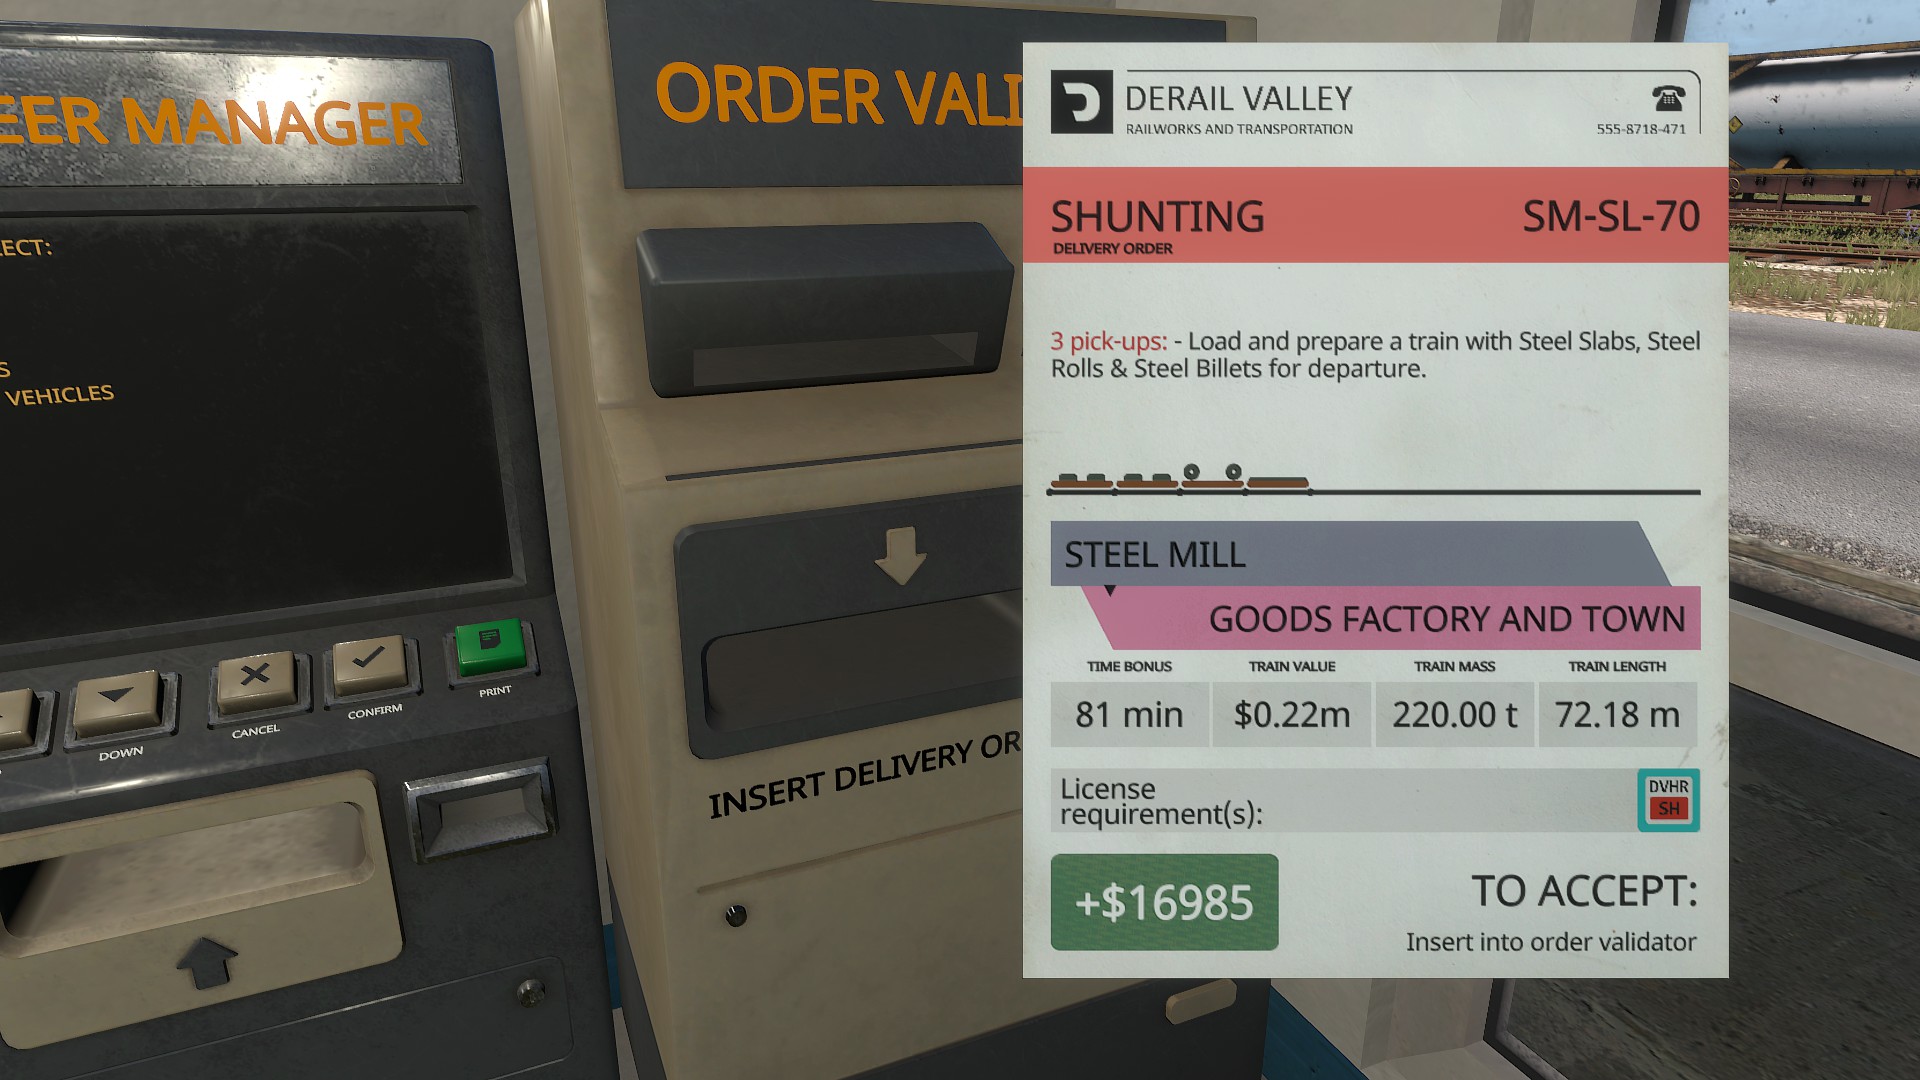
Oooh lucky me, I rolled a 5 and got the standard shunting job with no additional license requirements.
Pick the job up, put into the machine and earn some money…nice simple first day.
WAIT!!!
Before you walk through that door, roll another dice.
If it lands on a 6, the Yard Master tells you one of the jobs from the group used has been shifted to high priority and needs to be done urgently.
Looking back at the two that are left, both need additional licenses to carry them out.
Here is where it gets confusing, so I’ll cover it in another section.
The Yard Master Sayeth
So..it’s happened, the Yard Master is angrily tapping his foot while screeching about one of those jobs being shifted to a high priority and needs to be done.
What do you do? You know you can’t earn enough in a short space of time to get those licenses, I mean heck, its your first day and you just haven’t even found a decent sandwich shop yet.
Use the “Will of the Yard Master” rule again and see which is the high priority. As there are two jobs left (as one of them has already been rolled for), the numbers change slightly. The one on the left is now numbered as 1 – 3, the one on the right is now 4 – 6.
In this example, I roll a four, making the high priority job the one on the right. Which unfortunatly needs a Hazmat License to carry out
This is where it can get confusing. You could attempt to get Hazmat license, but that would cost a lot. $40,000 to be precise.

Here you have two choices. You can tell the Yard Master “no” and walk off, but if you chose this option you must lose the time bonus on your current job.
It’s harsh, but it makes it more interesting and actually (in my case at least) made me weigh up the pro’s and con’s of skipping a HPJ (High Priority Job).
(If you don’t have the concurrent work license, then this is your default option until you buy it)
But looking at the current order in our hands, we notice that it will give us around 17k, plus the starting money makes a nice little clump of cash in our pocket.
Here is where the second option comes in.
After checking the price of the Hazardous License, we determine that we can earn enough money to buy it after completing our current work. Instead of rolling for a new job after the last is complete, you pick up the requested one (rolled for by the “Will of the Yard Master” rule) and keep it and put it in your pocket. You can’t start it yet as it won’t allow you without the license.
Get the job chosen first done, take the money and buy that license.

If you already have the required license, you can still decide to reject the HJP and lose the time bonus.
Either way, the first job must always be done. There is no backing out of that one, you can get the HJP ready to go before finishing the first (by which I mean, get the train built and ready to leave if its a freight or logistics job, or get the needed wagons ready if its another shunting job) to help save a bit of time.
And as the next job is already given, you work on that one instead of rolling for a new job.
Piling up the Jobs
The previous sections give a very basic way of playing this style. It can get incredibly indepth at times and confusing too, so might be an idea to keep pen and paper handy to make notes just in case.
As you work your way through your new career, keep track of how many jobs you carry out. For every 10 jobs you do, you get a “bonus”.
A bonus is the ability to buy items from the shops, a license (that will make the HPJ easier), or a new engine.
As long as you have the money, you can buy it.
Of course, you need to be careful. if you go on a massive spending spree, get a new job and find out it needs a license you don’t have. What do you do?
Let’s take this example again
You brought a brand new engine, you’ve been hugging it and saying you can’t wait to use it and all that jazz.
As before, sort out the jobs into groups (unless your still in the same place then use what is there).
On the picture above, we got the same jobs. But this time we roll for a Logistics Haul only to find out we don’t have the license as we were hoping for the Freight Haul.
In this case, you are restricted to shunting jobs until you earn enough money to buy that license and carry out the require work for the day.
But what happens if there are no shunting jobs available.
You go to the nearest town/city/area, (if your at the Steel Mill, it will be the farm) and look for work there. You basically lose the chance to work at the Steel Mill as the “Yard Master” sees you as unqualified.
Er…I think the Train is broken
Well, it has happened hasn’t it. The engine has gone and blown up, or derailed, or some other bad luck.
So, what happens now?
First of all, you grab the little push cart and ride it back to the nearest station.
You then grab the beginner engine (DE20) and drive it to the problem area. Rerail the wagons/engine if they have derailed and connect the whole consist to your DE20.
If it’s too much to move in one go, you have to do multiple trips to get it back to the same station you got the DE20 from.
Once the whole fiasco is on a marshal yard track, hook up to the damaged engine and take it over to the workshop
DO NOT use the machine to pay for repairs, you have to do them yourself. You broke it, you fix it
Once that is repaired, park the DE20, thank it for its help and cancel your job. (If you have multiple due to a HPJ, then both are cancelled, even if the HPJ has not been started yet) and get back to work.
Just try not to break it again, it does put a massive dent in your wallet.
In my example, I did get very lucky.
I accidentally went the wrong way and panicked, which made me lower the gears too quick and blew the engine on the DM3
So I grabbed the DE20 (from another town as there was not one at this site) and as luck would have it, was close to repair shed.
After turning all the breaks off and putting it into neutral, I was able to push it into the repair shed using the consists.

After that, I moved the consist into a siding and sadly walked to the office to cancel the work.

That one mistake cost me 70k, I spent the next two hours working on shunting jobs to pay for the repairs in the shed before I could continue with my “Will of the Yard Master” rule.
But oddly, it was more fun.
Future rules
As I am still playing through this idea, there might be alot of things missing.
The basics have been covered. But as this is a fresh restart for me I have a lot of unlocking to do.
When a new rule is made (and play tested) I will add it to the guide, it might take a bit of time with RL commitments but hopefully should slowly start being pieced together.
I hope this style of Role Playing Derail Valley is fun for you and you enjoy the randomising it provides.