A guide for all difficulties with information about Maps, Weapons, Equipment, Bots, and other things.
Introduction
In my 500+ hours of playing Vermintide 2, I have learned a few tricks, and I hope some of them will help you on your missions.
Also, this is my first guide, so feel free to share your opinion in the comments.
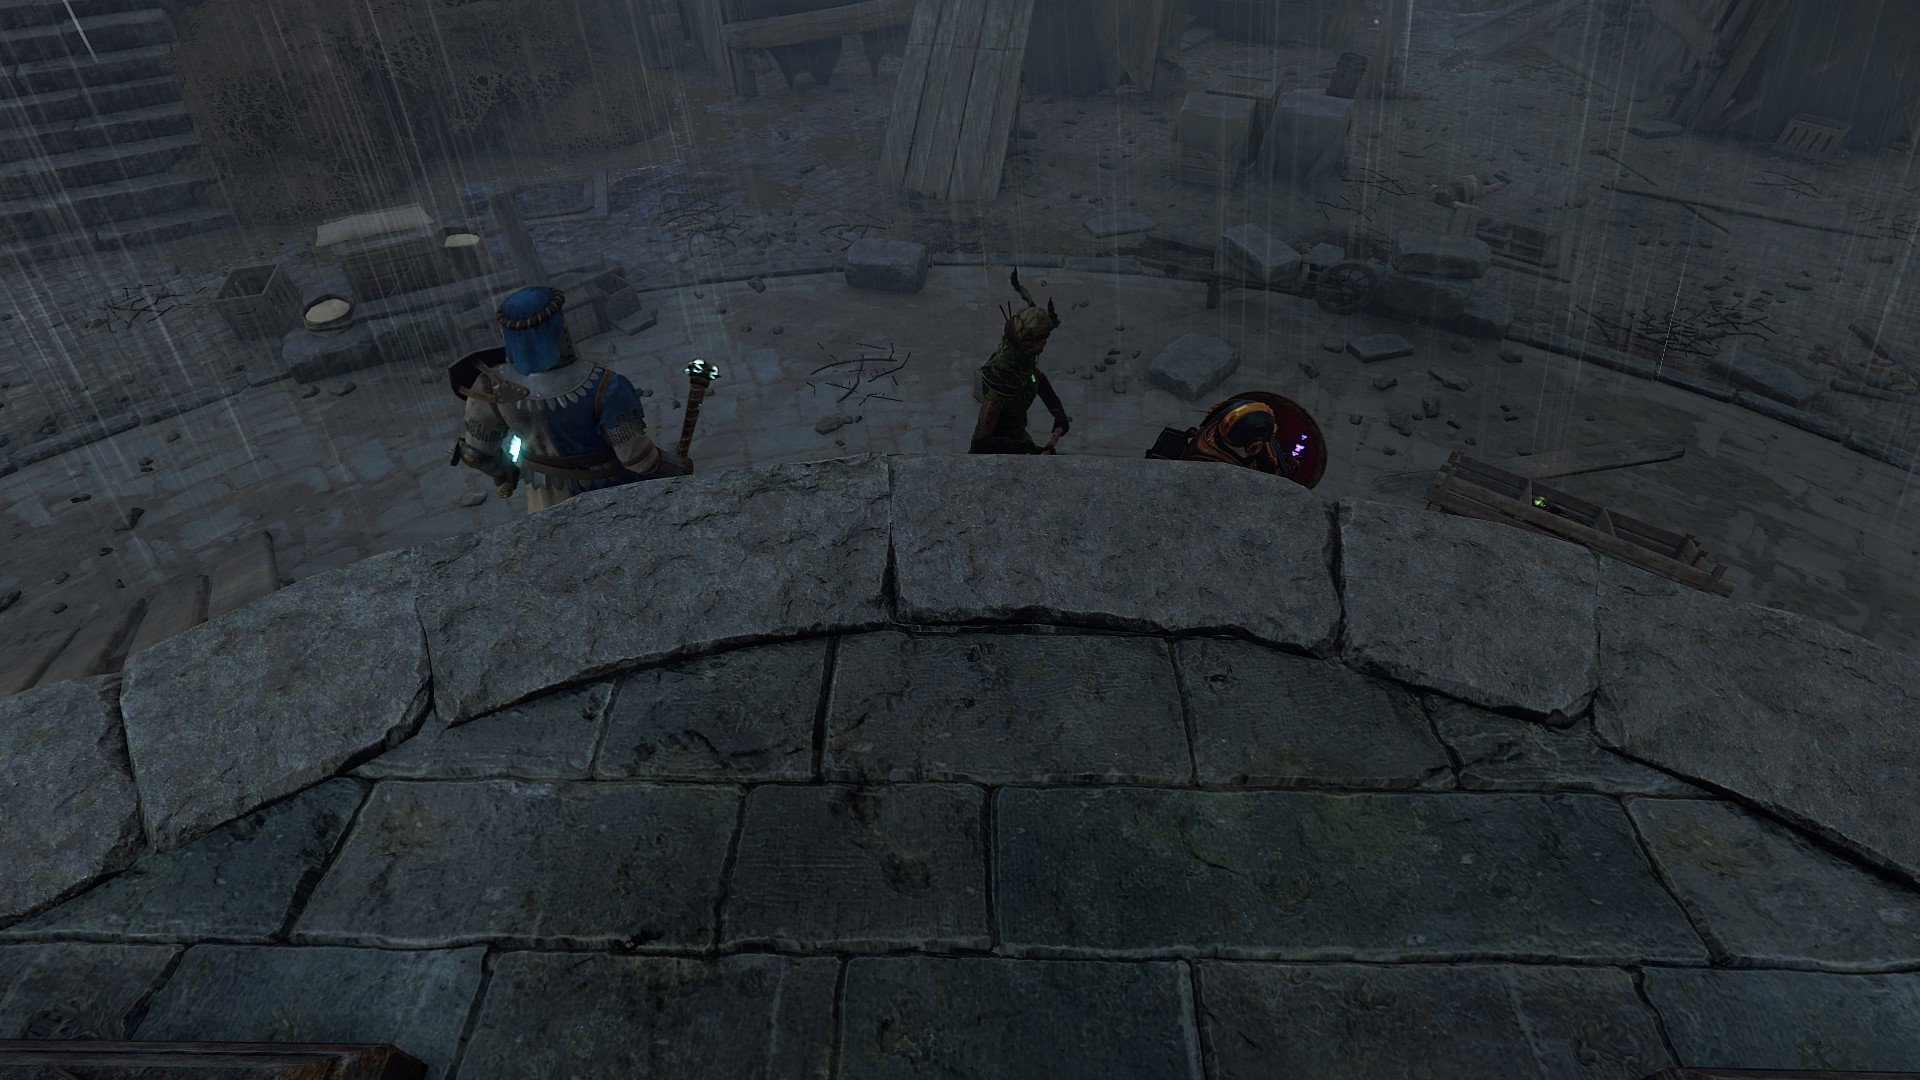
Empire in Flames
In this map, there is a shortcut that might come in handy if your allies die.
You can skip the wine cellar by going through the house nearby.
Just stand on the brick before the doorframe, jump, and use your career skill simultaneously to get through the door.
Once there, go up the stairs and jump down the other side of the house where your companions are waiting to be rescued, if you give them enough time to respawn.
This only works with Slayer, Zealot, Warrior Priest with the blessed tome, Handmaiden, and Battle Wizard.
In the end event, you must load the cart with three barrels.
The barrel in the cellar is harder to collect because you have to walk a longer way back to the cart, and the swarming enemies don’t make it easier. However, there are two options to deal with it.
- Your group can stay up and focus on defeating the incoming enemies while you carry the black powder in moderate safety.
- You can throw the barrel upward, and someone can pick it up.
Old Haunts
After placing the first gargoyle head, some chaos warriors will spawn behind the gate near the second head.
You might want to kill the chaos warriors first before going to the basement because they can be a much greater problem if they mix up with the frequently spawning plague monks, hookrats, and ratlingunners.
You can also pick up the gargoyle head nearby and go to the two remaining heads after.

Blightreaper
In this mission, Lohner sends you off to a sewer (once again), but this sewer is completely dark, and you will encounter the following:
Fortunately, you can find torches and light fires to brighten up your way. However, if this isn’t enough or you want to complete the two Blightreaper challenges from Okri’s book, you can bring a moonfire bow or a coruscation staff that also light the way.
This strategy also works in the mission “Hunger in the Dark”.
Trial of Treachery
The end event in this map can be a bit tricky due to the presence of berserkers, armored enemies, blightstormers, life leeches, and the monster.
Many people choose to use the crypt in the arena to defend themselves because the enemies will only come from one side (except for the leech), and you have access to an infinite supply of ammunition.
However, what if you forget or couldn’t light the beacons along the way?
The shack with the healing supplies before the arena will be locked, and you won’t be able to enter the crypt, which gives you an advantage in the fight.
Nevertheless, you can still reach one or two draughts in the shack from outside.

And I will show you a trick to enter the crypt without lighting the bonfires.
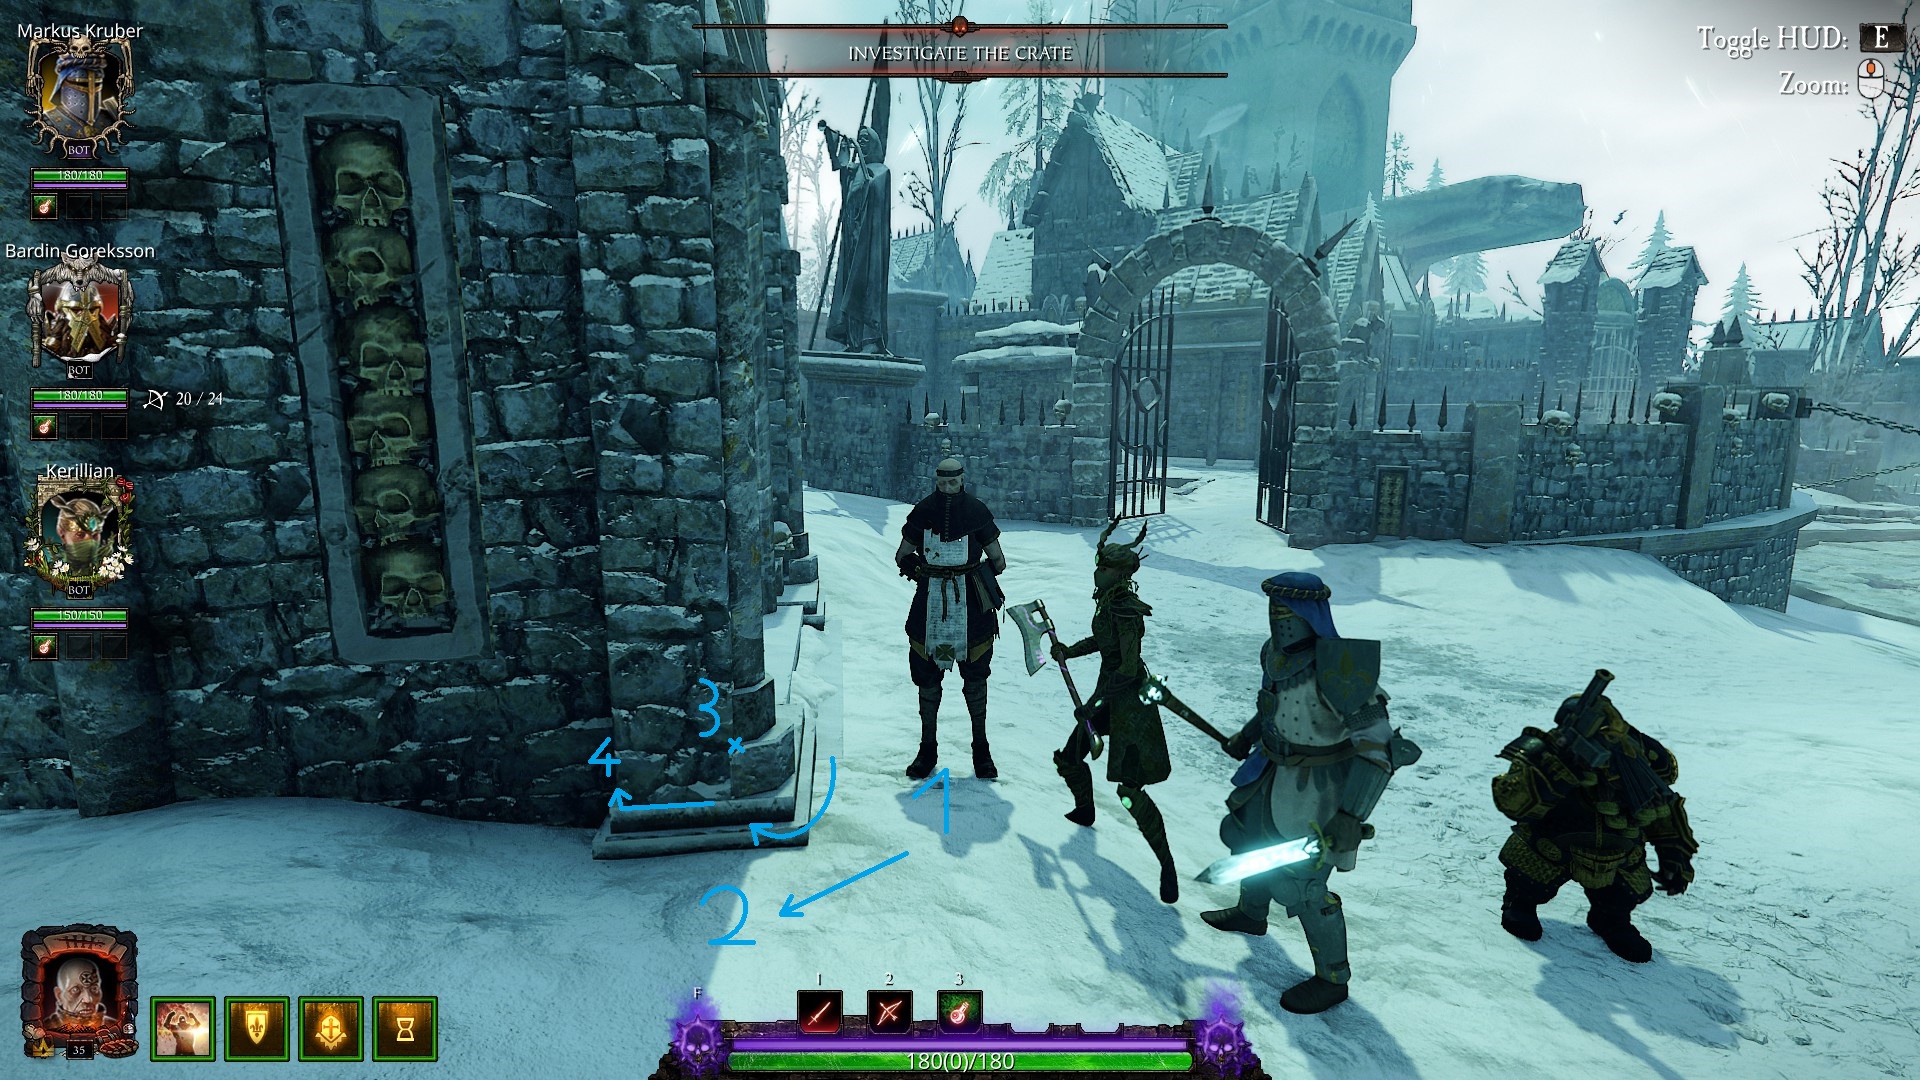
Step 1: Stand in front of the left side of the crypt.
Step 2: Jump diagonally towards point 2.
Step 3: While in midair, press D (to go right) to perform a semicircular movement around the pillar, landing at point X.
If done correctly, you should notice that you are standing closer to the pillar than before.
Note: In the picture, points 1 and 2 may appear a bit far apart, but make sure to jump close to the pillar.

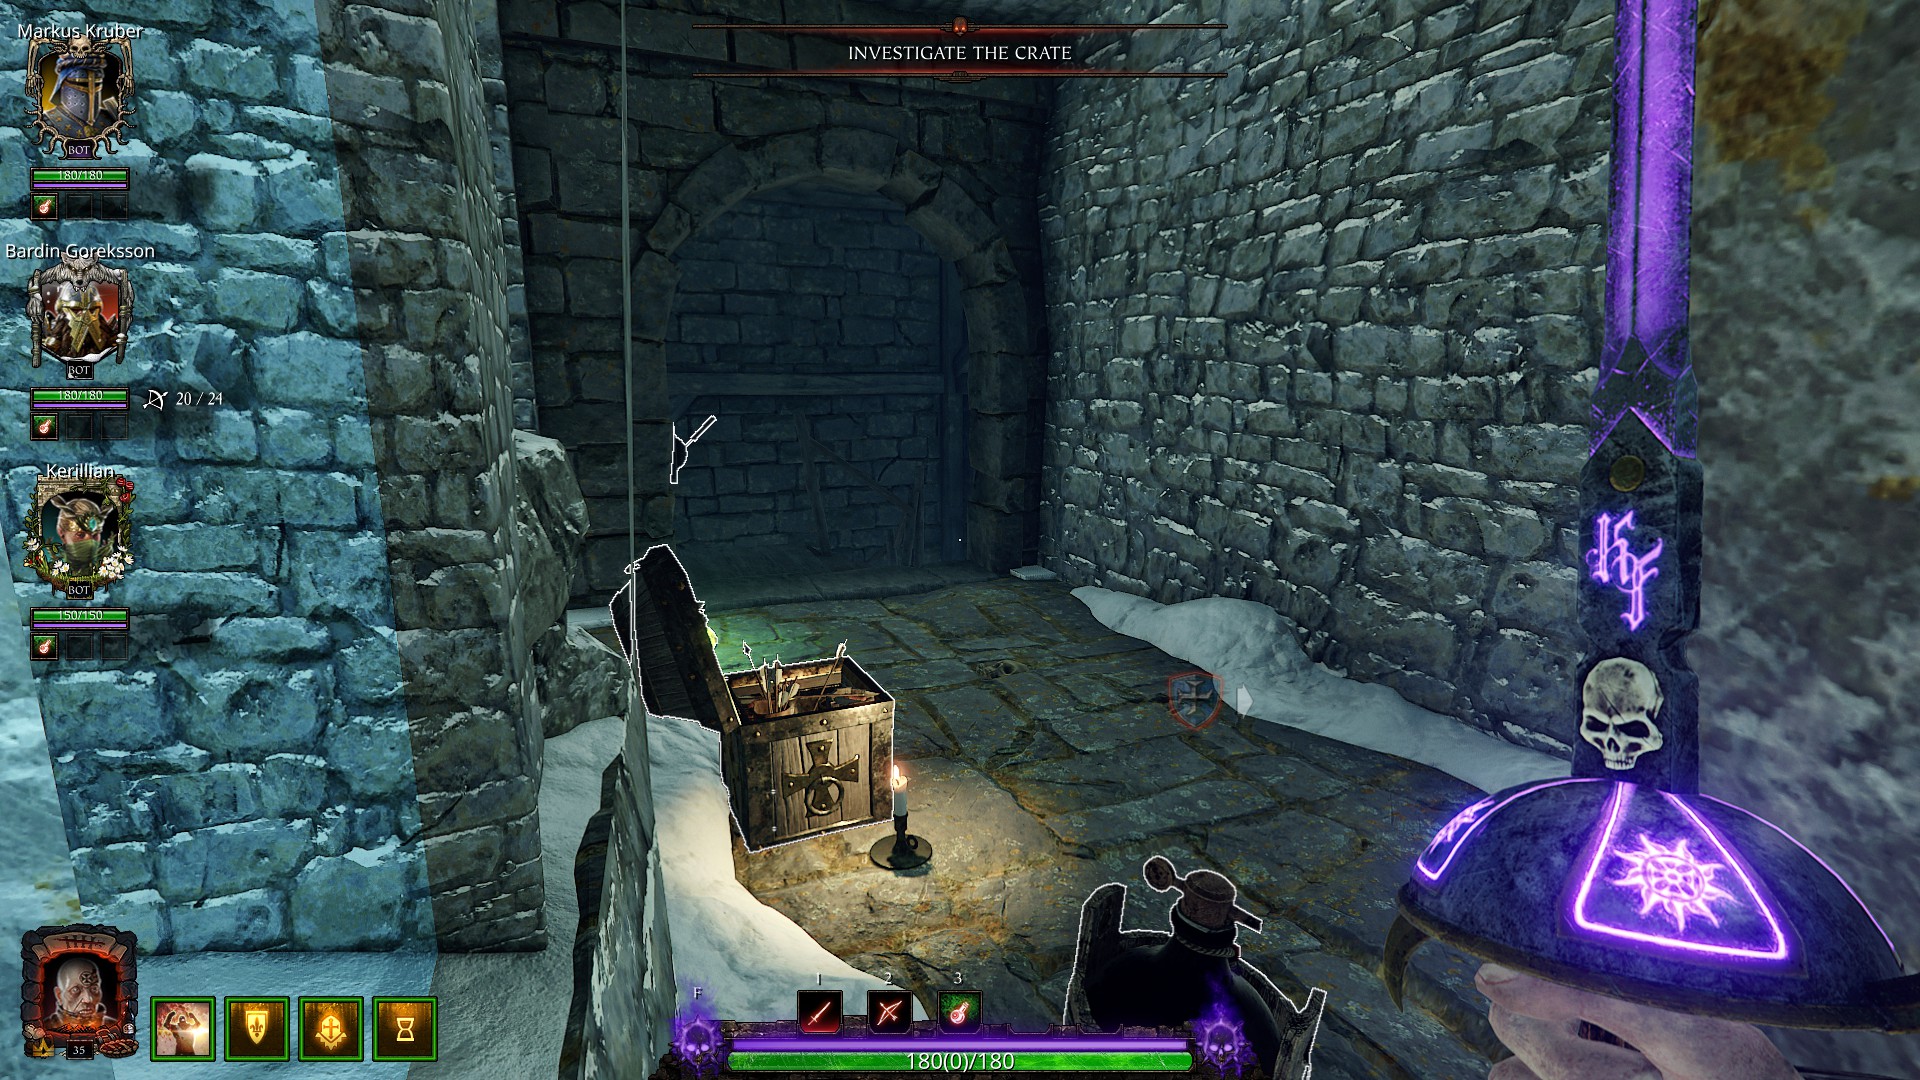
Step 4: Go left around the wall and stay close to it. By doing so, it should be possible to enter the crypt now.
And don’t forget about the supplies in the basement!
Tower of Treachery
After Sofia’s monologue, you must destroy the four wards in the library.
Once destroyed, three out of the four wards will consistently spawn the same special unit at the same location in every run you undertake.

- The first ward will spawn a Ratling Gunner from the direction you came from.
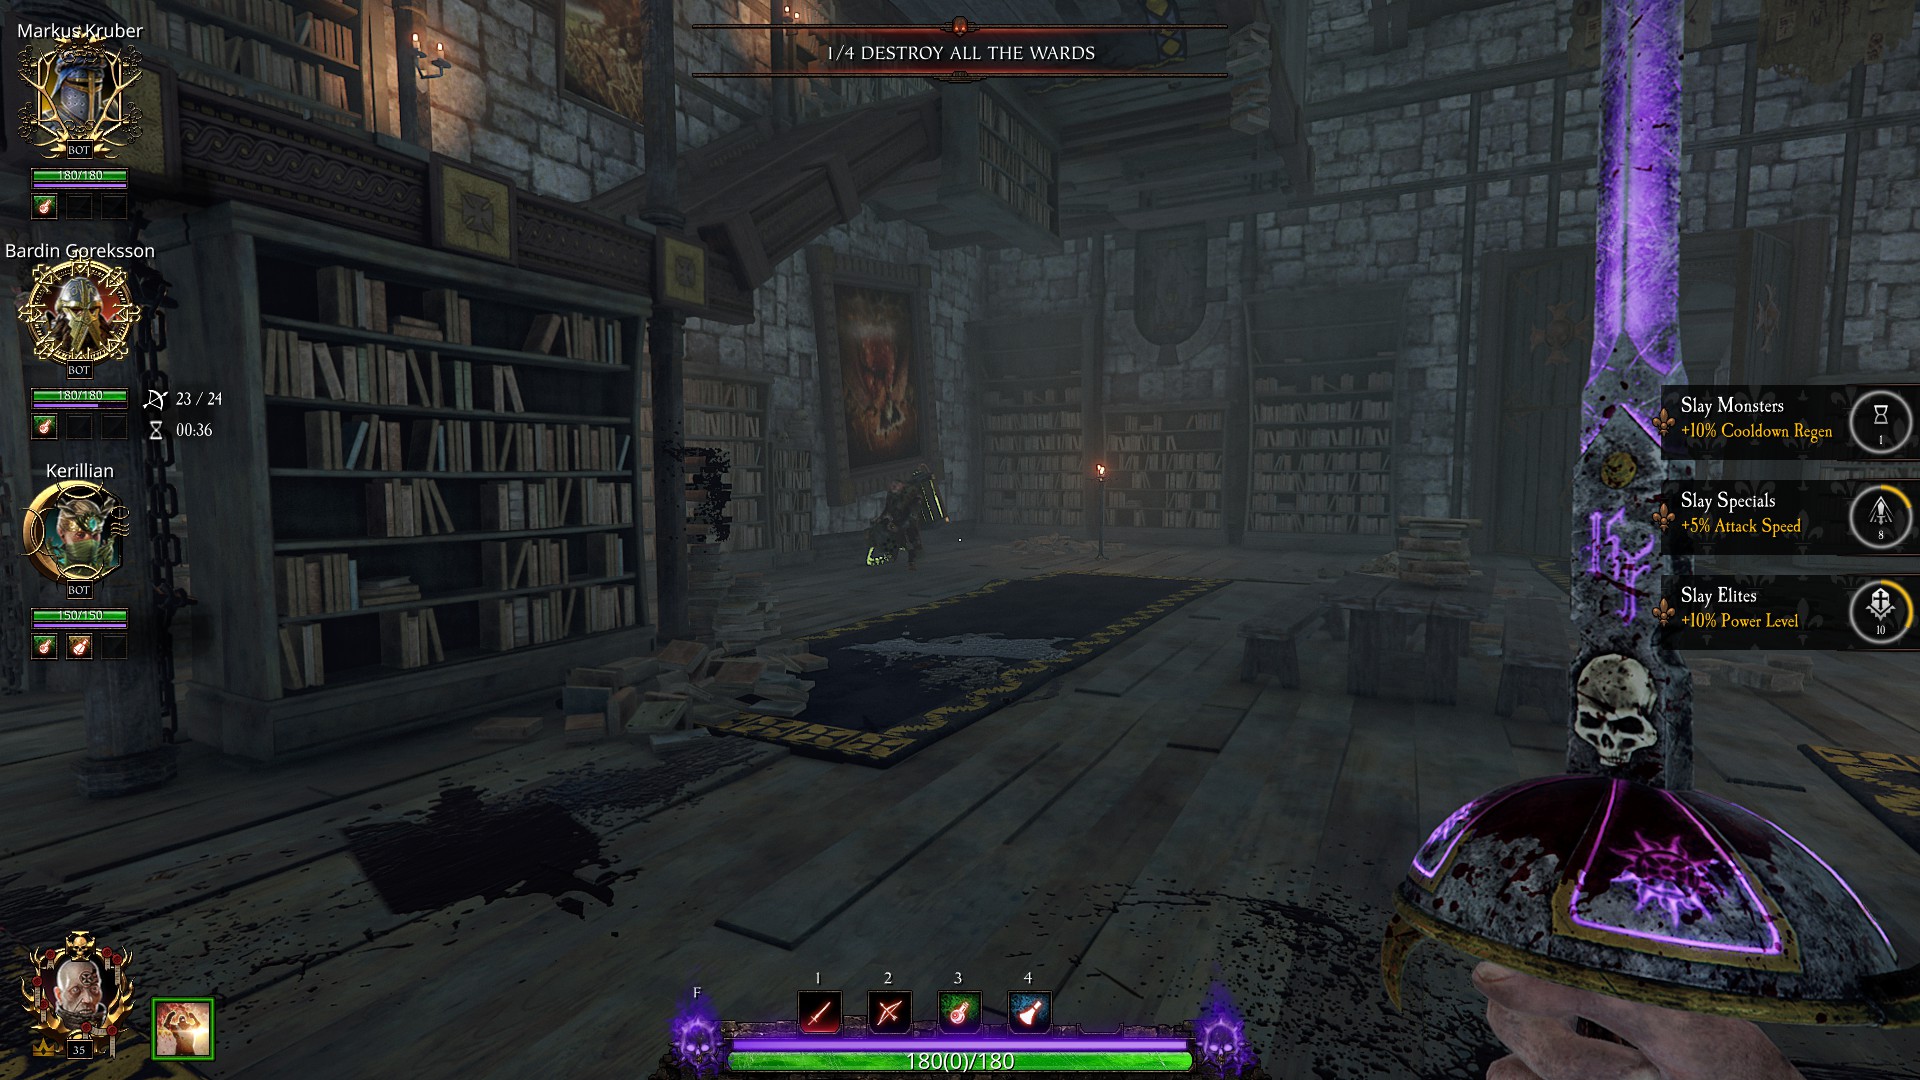
- The second ward will spawn a Globadier upstairs.

- The third ward will spawn a Hookrat.
Make sure you kill it right away, or it will likely jump down and return when you least expect it.

Ward 4 will spawn nothing.
Soon after, you will reach the Lustria area.
You might want to use this shortcut to reach the top.

To get to the top much faster and without the risk of falling down, follow this route:
Turn the head of the Sentinel of Lustria to prevent fall damage in this sector of the mission.
During the boss fight, you have to throw barrels into the Well of Souls, but some people do it incorrectly. They either walk alone and get hit or stay too close to the Well of Souls and become targeted by the shadow skulls, which always try to ignite the barrel. In both cases, the barrel ends up exploding.
To prevent this, clear out the nearby enemies or use a career that can dash forward or provide stealth.
As you move forward and throw the barrel simultaneously at a 45° angle, make sure you maintain a close enough distance.
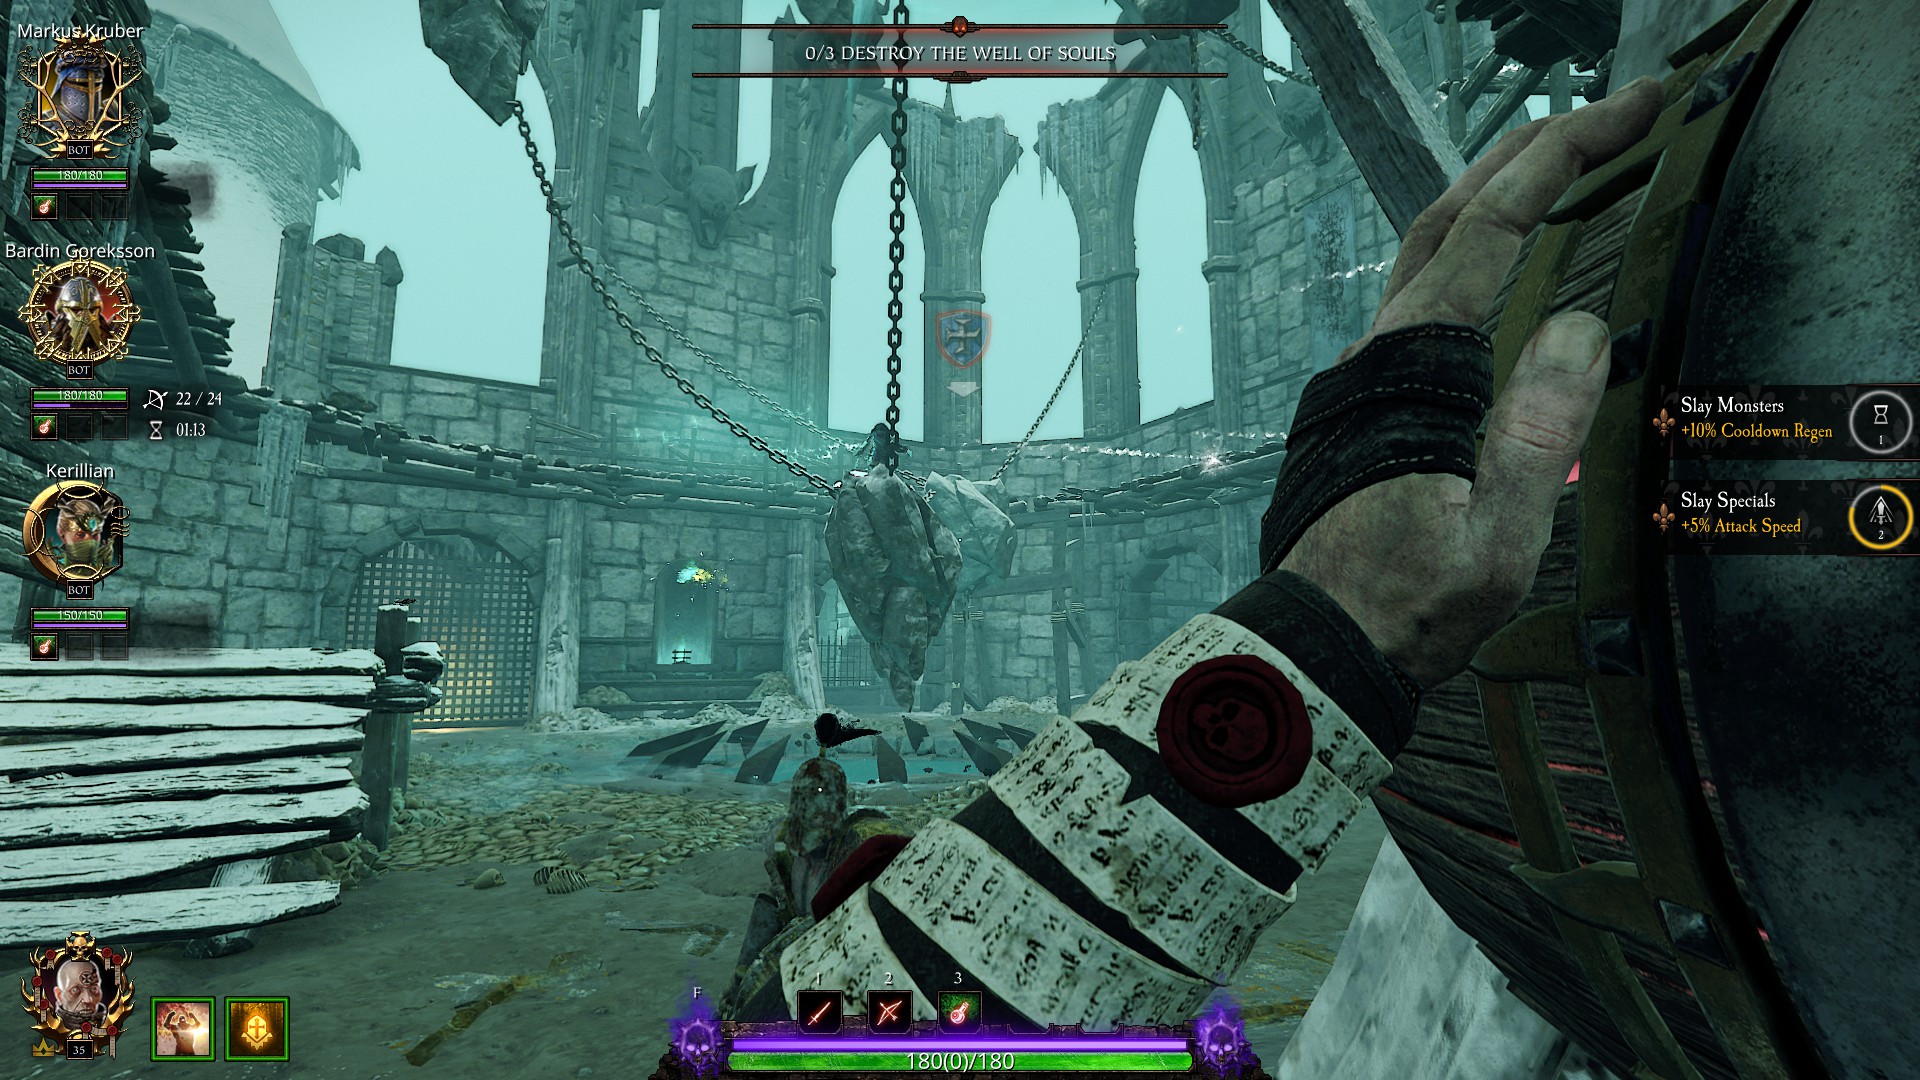
Afterward, two lines of bone hands emerge from the ground and damage players (not bots) upon contact.
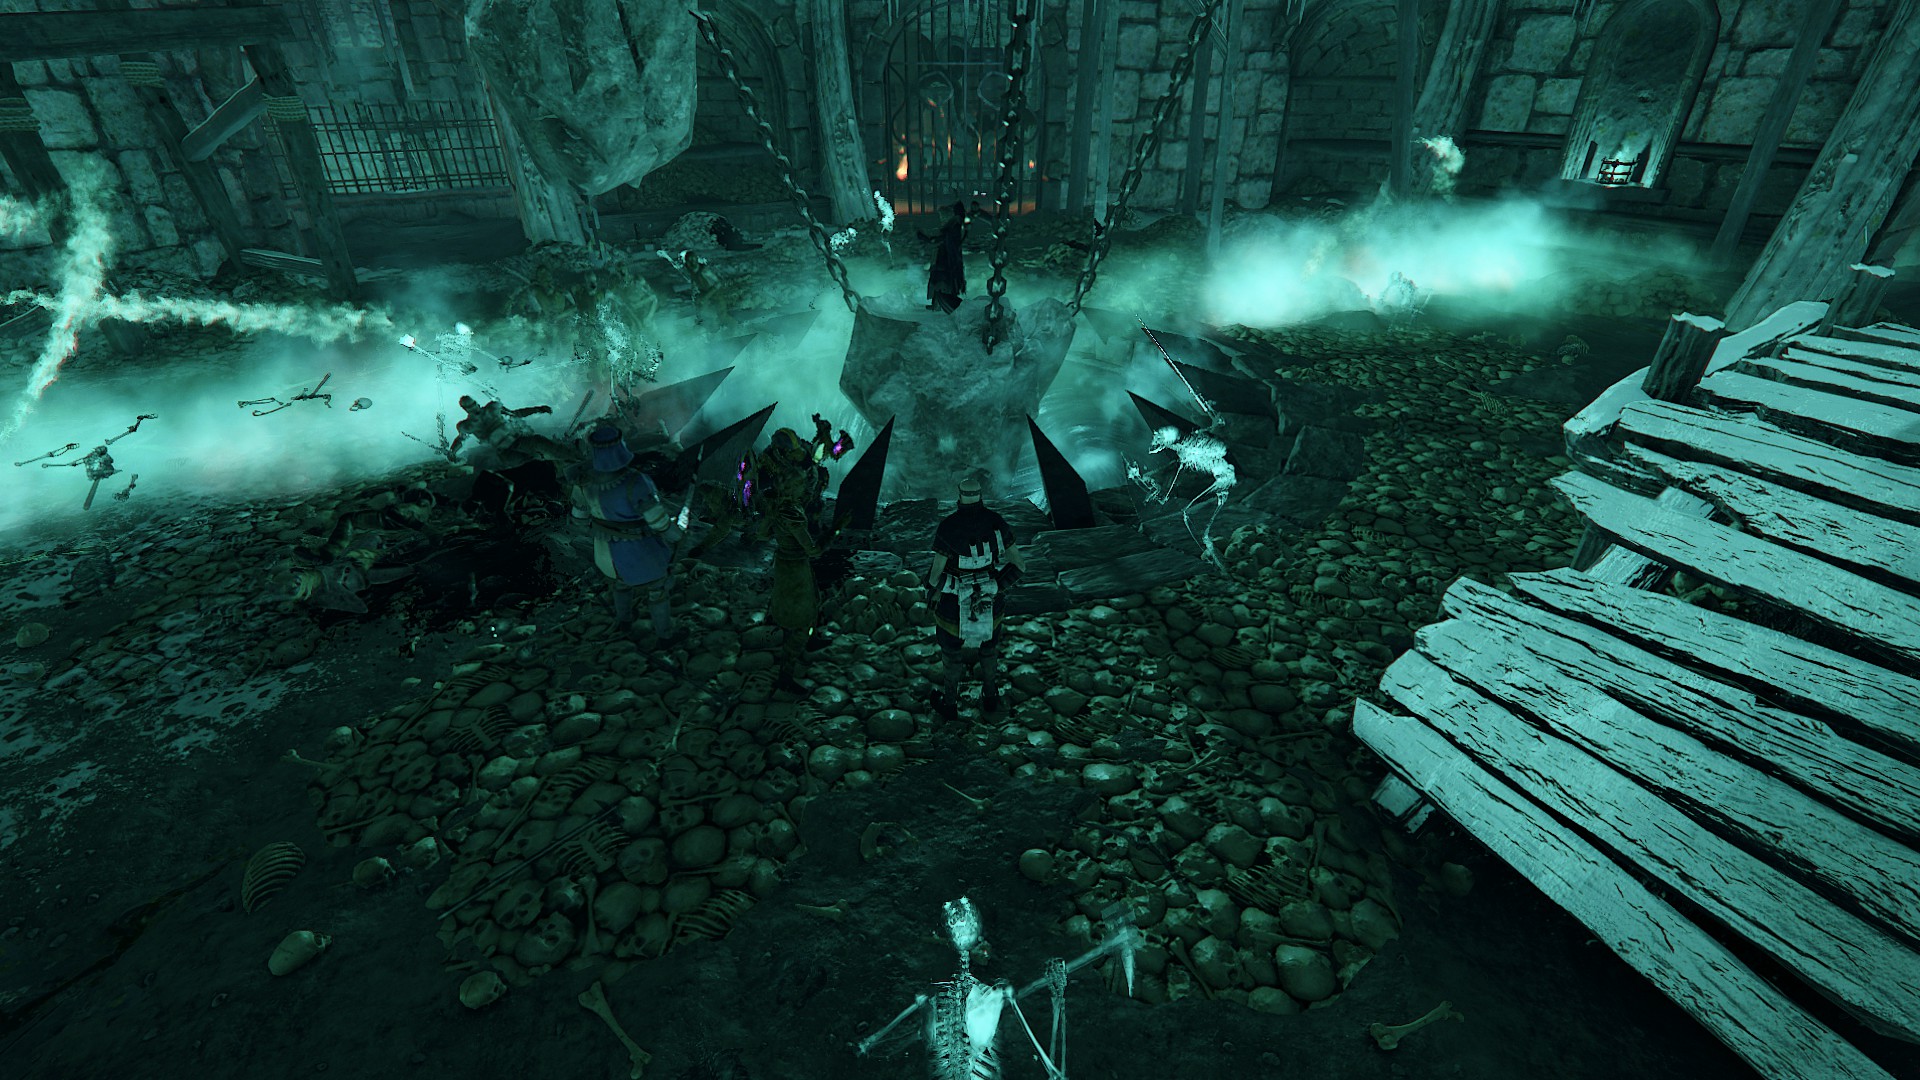
To avoid this, you have two options.
The first option is to run in circles.
The hands move clockwise the first time, and counter-clockwise the second time.
The other option is to hide in the supply room.
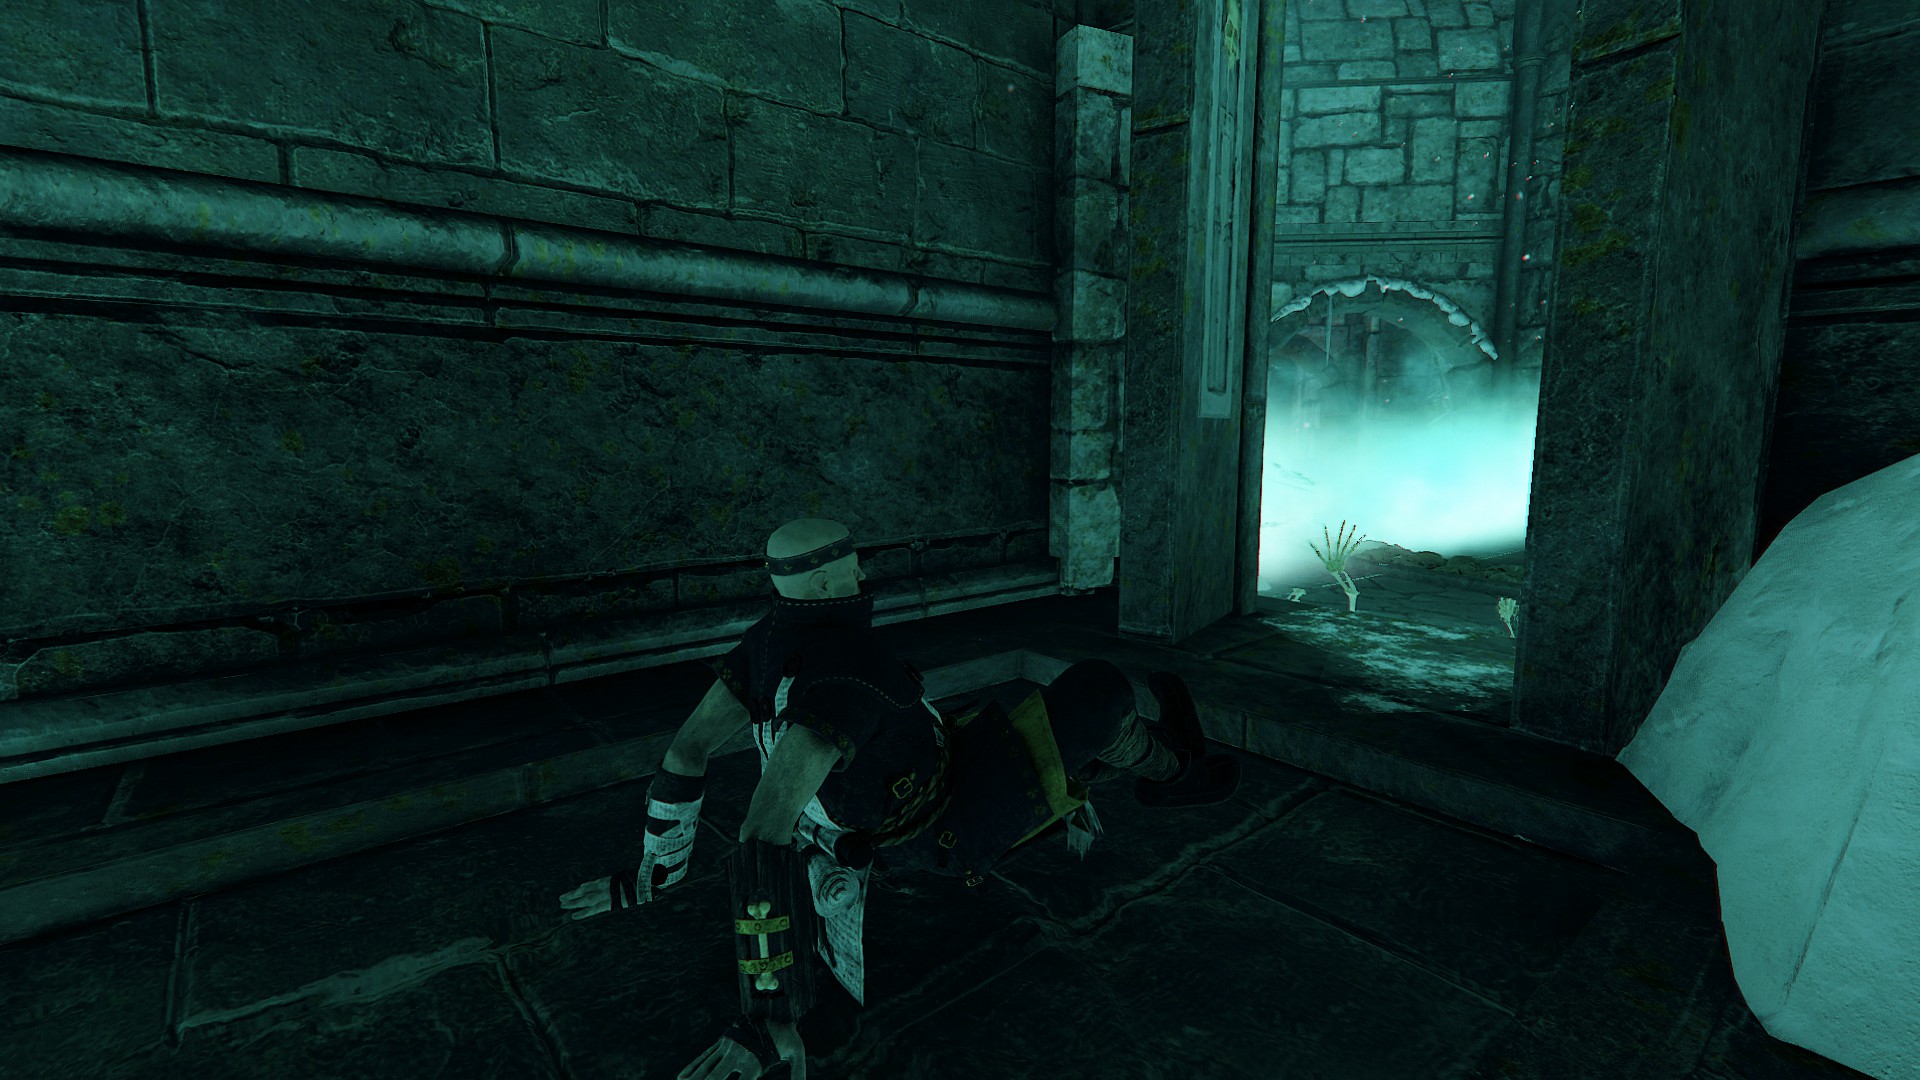
It has some pros and cons.
The pros are that you don’t have to run in circles while fighting enemies, you have endless ammunition, and enemies can’t enter the room (except leeches).
The cons are that enemies will be waiting outside and will attack if you take a single step outside. Also, when you stay too close to the walls, enemies can give you a “Tilean handshake” through the wall.
So you might consider staying outside and only using this room if you need supplies, a break, or if your allies have died, as they will respawn outside one of the two supply rooms.
Fortunes of War
Fortunes of War is the most difficult mission in the entire game.
Not only does it contain a great number of elites, specials, and monsters, but you also have a limited amount of supplies to work with.
One of the biggest problems is the packmasters, but if you stay at the side of the statue without a rune, you can avoid getting hooked.
Just let someone with a ranged weapon clear them out while the others continue fighting below.
If you have a Grail Knight who drops potions of strength, you should change the trait of your charm to concoction.
Strength potions are not as useful as potions of concentration in this mission, or probably in all missions. However, if you have the concoction trait, you can boost your career skill cooldown with an endless supply of potions that will help clear out the waves, depending on your career.
It is more useful with classes like Waystalker, Shade, Bounty Hunter, Warrior Priest, Battle Wizard, and Unchained.
The same goes for other missions.
Chaos Wastes
This game mode is a bit different from the usual missions.
You cannot bring your gear, and you must upgrade your weapons and receive boons in order to survive. I will introduce some boons/curses and give you tips that might help you on your pilgrimage.
- Khaine’s Might: It gives you 25% power but 50% curse, perfect for the Warrior Priest since he has 100% curse resistance. He is also immune to Nurgle’s Miasma of Pestilence curse.
- Morgai-heg’s Doom: It gives you a 2-second guaranteed critical hit chance after leaving stealth, well suited for Shade because this class can stealth and build on critical hits.
- Ladrielle’s Veil: It makes you invisible for 5 seconds after taking damage, with a 30-second cooldown. Also good for Shade, so you can stab enemies in the back.
You might want to share which boon you received so others can react to it. For example, if you can duplicate items now, your allies will give you items they want you to multiply, or they’ll steer towards the shrine of strife/harmony due to their special items.
On your way, it wouldn’t hurt to choose paths that bring you more pilgrim’s coins so you can buy some boons or upgrade your weapons.
You can also go for Slaanesh cursed levels but avoid Tzeentch cursed places.
In my opinion, Tzeench has the worst curses.
“Bolt of Chance” will transform your enemies into more dangerous ones, and who wants to be pursued by a mob of plague monks, stormvermin, and warpfire throwers? (or worse)
And if you can’t destroy the crystal eggs in time, you have to deal with a monster every time.
Slaanesh curses are harmless or even helpful.
In “Glory of Greed,” you will find no items, but enemies sometimes spawn an orb that drops all kinds of supplies (including coins).
That means you have an endless supply of healing, bombs, ammo, and potions.
Some people use this fact to farm pilgrim’s coins, but sometimes it is not worth the time.
In “Unquenchable Thirst,” you take damage over time but find more potions in the level.
The potions will heal you, so you have no need for draughts or bandages even if you get wounded. But please warn your allies before you unleash a storm of bombs with the potion of endless bombs.
On your journey through the Chaos Wastes, you will come across some shrines where you can spend your pilgrim’s coins on miracles and boons.
Think twice before you buy the miracle of Smednir or Grimnir because they come with a disadvantage, and the whole pilgrimage could fail. Especially if the Temple of Be’lakor or the Citadel of Eternity comes next, they are already bad enough.
You might also want to skip the chest of trials in the Citadel because an Ungor war herd can ruin everything if things go wrong.
Weapons
In this section, I will provide a short introduction to six weapons.
Coruscation Staff, Beam Staff, and Bolt Staff in combination with Famished Flames: “Famished Flames” is a level 10 talent of the Battle Wizard that increases fire damage over time by 150% and decreases non-burn damage by 30%. It has a great effect on the damage output. The charged attack of the Coruscation Staff primarily deals fire damage, so it is advised to equip Famished Flames when playing as a Battle Wizard. The same goes for the light attack of the Beam Staff. However, the alternative attack of the Beam Staff (the attack performed when canceling the light attack with a right-click) deals more non-fire damage and decreases the power of the attack. With the Bolt Staff, you should pick “Volcanic Force” instead of “Famished Flames.” The Bolt Staff causes no damage over time at all. “Volcanic Force” will increase the power of fully charged attacks and can cause serious damage with the Bolt Staff.
Bardin’s Masterwork Pistol has some disadvantages compared to the Handgun. The pistol needs two shots to kill a special unit on higher difficulties, while the handgun only requires one, even on Cataclysm. However, the pistol does not have twice as much ammo as the handgun. The pistol is also not as precise as the handgun and has a lower effective range. If a Blightstormer in “Against the Grain” casts spells from afar, you will have problems killing or even hitting them. So, even if you purchase the Outcast Engineer DLC, your trusty handgun doesn’t become an “umgak” thing. However, the Masterwork Pistol shines at short distances. If you need to deal a lot of damage in a short time due to berserkers, monks, an alarmed Stormvermin patrol, or a monster, it is the better choice.
An even better choice to deal with berserkers is the rapier from Victor Saltzpyre. With the special attack, you can shoot savage, Chaos Maulers, and Stormvermin while blocking their attacks. It also has higher stagger power than normal attacks. The rapier is mostly for fighting hordes, but with increased headshot damage, the off-hand shot, and a charged attack that makes it easy to target enemies’ heads, it is also capable of fighting armored foes.
Equipment
If you play with others, you’ll notice that almost everyone goes for a book hunt, especially on Legend difficulty. You might want to bring a trinket with curse resistance, so you have more maximum health and don’t die. However, on Cataclysm, it is unusual to pick up tomes and grimoires, so it is not needed there.
The trait “Boon of Shallya” is a good choice for careers that can easily gain temporary health, like the Mercenary or the Zealot, which are based on temporary health instead of permanent health. Together with a level 5 talent that gives you temporary health when you stagger enemies, and the level 15 talent “Smiter,” which makes the first hit always count as staggered and adds another count of stagger if you hit a staggered enemy, you can gain a lot of temporary health in a short time. However, not all careers have the same level 5 and level 15 talents.
If you go for the mission “Into the Nest,” you might want to take a necklace with damage reduction versus Skaven with you, because only Skaven will appear there. The same goes for damage reduction versus Chaos for “The War Camp.”
Bots
What never shoots at you, usually follows you every step of the way, and keeps your back free, but then leaves you literally hanging or doesn’t help you up? If you answered “the Bots,” you win a pumpkin, you lucky ones. Because only a Hookrat, Leech, or a distraction is needed to kill a Bot, I will not show you how to make them survive. Instead, I will show you how they can help you the most.
The distribution of roles in the group is essential. Ranged classes keep specials away, while tanks distract enemies and stay alive long enough to revive you, unless they are distracted by a monster or the warpshots of a Ratling, in which case they let you down. Bots have a weird priority when it comes to this.
Some good Bot careers are:
- Mercenary: He can share his passive ability for more melee speed, and with his career skill, he can grant temporary health, give you damage reduction, or revive you instantly.
- Grail Knight: This career is good for clearing out monsters and Chaos Warriors, and the quests give the whole party a significant advantage. You can even drop the books after completing the quests.
- Ranger Veteran: If you are playing as one of the ranged classes, you should know its uses. The Ranger Veteran will drop ammunition after defeating a special, and he might drop an ale that gives damage reduction and boosts melee speed. He can also drop a bomb or a potion instead, and his career skill can boost melee speed too, while you gain temporary health when you stay inside the smoke.
- Ironbreaker: He distracts enemies like no other and is very tanky. He’s probably the last surviving Bot. Bardin can also boost your power by 20% if you have the right talents.
- Waystalker: A very delicate career but also perfect for taking out specials. The Waystalker can share its passive skill for health regeneration. She can also compensate for the melee-only careers in your team.
- Sister of the Thorn: This class can push back detaining specials like assassins or protect you with a wall of vines, boost your power by 15%, critical strike chance by 5%, and increase all healing by 25%.
- Warrior Priest of Sigmar: It is one of the best support careers in the game. Not only will the Priest boost your party with one of three blessings, but he can also heal the group while smiting enemies and give you a shield that makes you immune to damage for some time. The Warrior Priest can resist a lot of damage and revive you instantly with his career skill.
- Unchained: This career can tank a lot of damage, weaken burning enemies, and give the group temporary health.
If you are playing with a low HP class like Shade and get knocked down on high difficulties, the Bots might not pick you up soon enough. For those classes, you could take a Mercenary or the Warrior Priest with you. With their talents “On Yer Feet, Mates!” and “The Comet’s Gift,” they can revive you instantly. And with “Natural Bond,” the Bots use less healing, but you can still heal them with Bandages.
Other Things
The rarity of equipment holds no significance as exotic items can have the same stats as veteran ones. This applies not only to the power level but also to the properties of the items.

Even if you have the best gear, a bad connection can cause serious damage. You won’t see them strike until they hit you. And even with a bit of delay, you will take more damage than you’re used to.
If you experience a delay, you probably don’t want to play as a Zealot with low HP. Some people, including myself, play as Zealot without a single health point remaining, and for good reason. Yes, the passive skill prevents you from dying, but only for a few seconds, and it has a long cooldown time. Some people reject healing even after they’ve been downed. Two hits within a certain time interval are enough to kill you.
This includes area damage from certain missions, like the end event from “Garden of Morr,” a destroyed barrel of lamp oil, a destroyed Nurgle buboe, the flame trail of a warpfire thrower, the flame trail of a stormfiend, and other types of damage, such as the explosion of a black powder barrel, the explosion of a warpfire thrower, the explosion of a bomb from your allies or yourself (if you stay too close), a slave rat coming from behind and giving you a Tilean handshake (again), fall damage, friendly fire, or an ally simply looking at you funny.
I know it makes you stronger, but it is also more dangerous. The Unchained career of Sienna is almost like that. She gets up to 60% more melee damage depending on her overcharge level. But if you overcharge, your only option is to use your career skill to avoid death, and it has a similar cooldown time as the passive skill of the Zealot. The Unchained class overcharges in the same way; just take damage or get hit by an ally while you’re close to the edge, and you die. It’s literally like playing with fire. And I never see anyone play with Unchained at her limit.
If you’re playing with a low HP Zealot anyway, you should stack up a lot of temporary health. Damage reduction doesn’t help in this state, so forget about the “Barkskin” trait or the “Armour of Faith” talent. You should take the “Boon of Shallya” trait and the “Holy Fortitude” talent that increases the healing you gain (including temporary health).
One last piece of advice: If you get separated from your group and you’ve been chased by Elites, and you need to create some distance, you should jump off platforms, climb over fences, or leap over other objects to gain at least a bit of distance. The enemies are usually faster than you and maintain their speed while attacking, but they get slowed down by climbing or if they have to move around obstacles. You can use this short time to reload, take out specials, or buy some time.
I hope you learned something from this guide, and I wish you good luck fighting the Pactsworn!