Here is a resource that provides detailed information on the loot tables found in chests, including the chances of obtaining specific items. It’s important to note that loot tables and drop rates can vary from dungeon to dungeon.
Basic Mechanics
The mechanics of obtaining loot from chests are quite simple. When you open a chest, you will receive loot. The game offers six tiers of loot, which can vary from dungeon to dungeon. Upon opening a chest, the game first determines the tier of loot you will receive, and then it rolls from the corresponding loot table.
Detailed information about the loot tables can be found in their respective sections later in this guide.
After completing the Hall of Trials, a system of bad luck protection is implemented, increasing the frequency of higher-tier loot. With each chest you open, the chances of obtaining higher-tier loot gradually increase. However, this effect eventually reaches a cap after opening a sufficient number of chests. Leaving a dungeon resets the bad luck protection to its initial values, so it is beneficial to stay in a dungeon for a longer duration to enhance the likelihood of receiving higher-tier loot.
Trapped chests are generated when a floor is created, which means their status (trapped or not) is predetermined. This allows trap detection abilities like Charme’s passive ability to function effectively. It’s important to note that trapped chests do not affect the bad luck protection mechanism in any way. If you are aware that a chest is trapped, there is no benefit in opening it, so it’s best to avoid wasting time by doing so.
Hall of Trials:
- You will always get tier 1 loot.
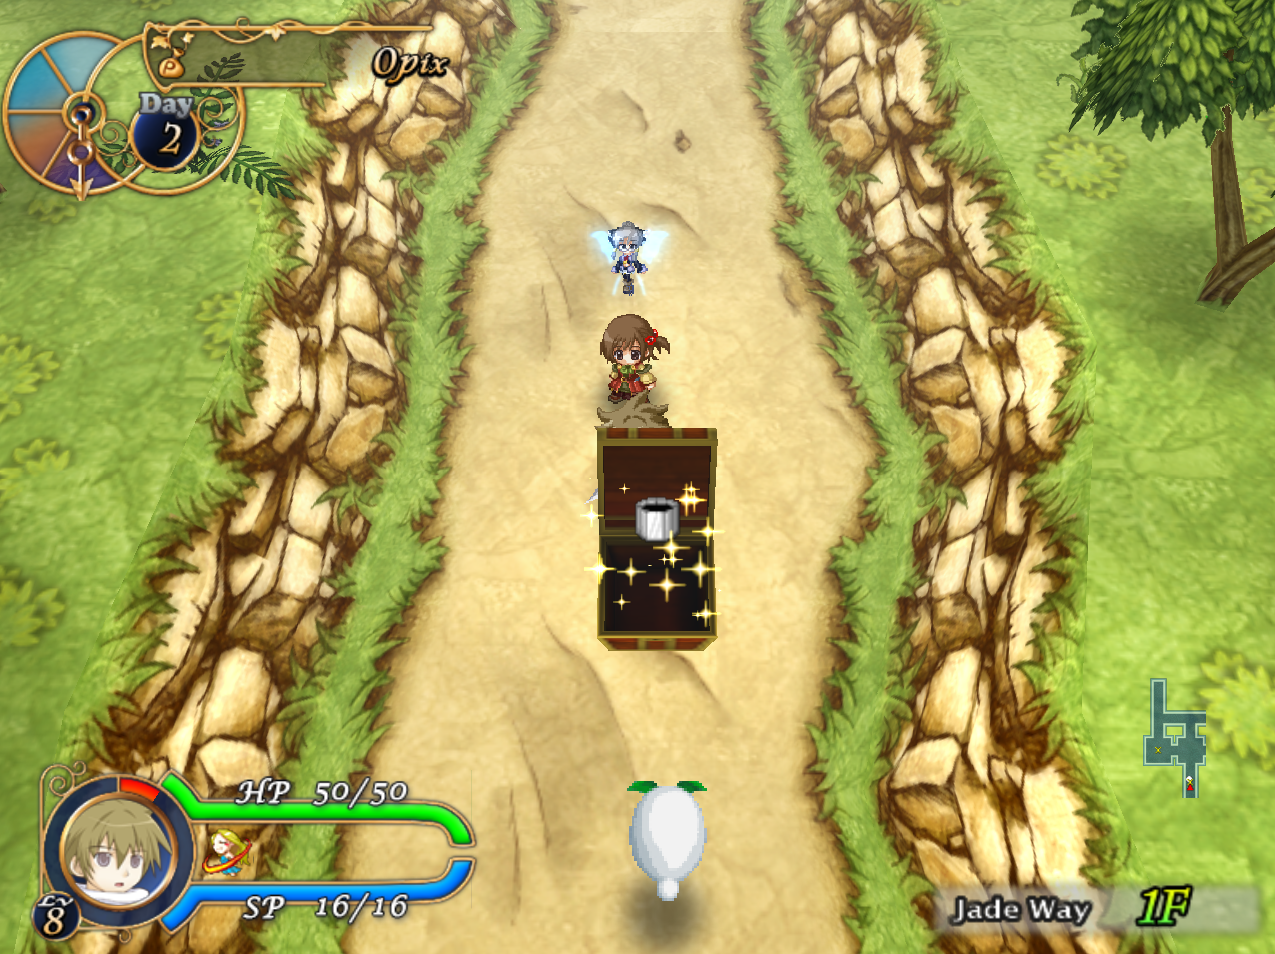
Jade Way:
- Tier 1 loot is gained at a 100% rate until 3 chests are opened. Then the rate decreases by 2% per chest. This is capped at 80%, which is reached after opening 12 chests.
- Tier 2 loot is gained at a 0% rate until 3 chests are opened. Then the rate increases by 2% per chest. This is capped at 20%, which is reached after opening 13 chests.
The chest at the end of Jade Way is guaranteed to have a Very Odd Vase the first time you open it. On subsequent visits, it just acts like a normal chest.
Amber Garden:
- Tier 1 loot is gained at a 96% rate until 2 chests are opened. Then the rate decreases by 4% per chest.
- After 4 total chests are opened, the rate decreases by 4.5% per chest.
- After 6 total chests are opened, the rate decreases by 0.5% per chest. This is capped at 75%, which is reached after opening 13 chests.
- Tier 2 loot is gained at a 4% rate until 2 chests are opened. Then the rate increases by 4% per chest. This is capped at 20%, which is reached after opening 6 chests.
- Tier 3 loot is gained at a 0% rate until 4 chests are opened. Then the rate increases by 0.5% per chest. This is capped at 5%, which is reached after opening 14 chests.
The boxes that hold items during Tielle’s boss fight are considered chests and operate under the same drop rates and mechanics. It’s important to note that only boxes containing items contribute to the drop rate increase. Boxes without items do not affect the drop rate. Additionally, discovering Tielle first does not grant any advantage in terms of the unopened boxes.
Obsidian Tower:
- Tier 2 loot is gained at a 96% rate until 2 chests are opened. Then the rate decreases by 4% per chest.
- After 4 total chests are opened, the rate decreases by 4.5% per chest.
- After 6 total chests are opened, the rate decreases by 0.5% per chest. This is capped at 75%, which is reached after opening 13 chests.
- Tier 3 loot is gained at a 4% rate until 2 chests are opened. Then the rate increases by 4% per chest. This is capped at 20%, which is reached after opening 6 chests.
- Tier 4 loot is gained at a 0% rate until 4 chests are opened. Then the rate increases by 0.5% per chest. This is capped at 5%, which is reached after opening 14 chests.
Lapis Ruins:
- Tier 3 loot is gained at a 96% rate until 2 chests are opened. Then the rate decreases by 4% per chest.
- After 4 total chests are opened, the rate decreases by 4.5% per chest.
- After 6 total chests are opened, the rate decreases by 0.5% per chest. This is capped at 75%, which is reached after opening 13 chests.
- Tier 4 loot is gained at a 4% rate until 2 chests are opened. Then the rate increases by 4% per chest. This is capped at 20%, which is reached after opening 6 chests.
- Tier 5 loot is gained at a 0% rate until 4 chests are opened. Then the rate increases by 0.5% per chest. This is capped at 5%, which is reached after opening 14 chests.
Crystal Nightmare:
- Tier 4 loot is gained at a 96% rate until 2 chests are opened. Then the rate decreases by 4% per chest.
- After 4 total chests are opened, the rate decreases by 4.5% per chest.
- After 6 total chests are opened, the rate decreases by 0.5% per chest. This is capped at 75%, which is reached after opening 13 chests.
- Tier 5 loot is gained at a 4% rate until 2 chests are opened. Then the rate increases by 4% per chest. This is capped at 20%, which is reached after opening 6 chests.
- Tier 6 loot is gained at a 0% rate until 4 chests are opened. Then the rate increases by 0.5% per chest. This is capped at 5%, which is reached after opening 14 chests.
The boxes that hold items during Tielle’s boss fight in the Crystal Nightmare are considered chests, but unfortunately, they utilize the same drop rates and mechanics as the Lapis Ruins. It’s important to note that only boxes containing items contribute to the increase in drop rate. Boxes without items do not affect the drop rate. Furthermore, discovering Tielle first does not provide any advantage in terms of the unopened boxes.
It’s worth mentioning that the chests found on floors 30 and 60 have entirely different mechanics, which are explained in their respective section.
Crystal Nightmare End Chests Basics
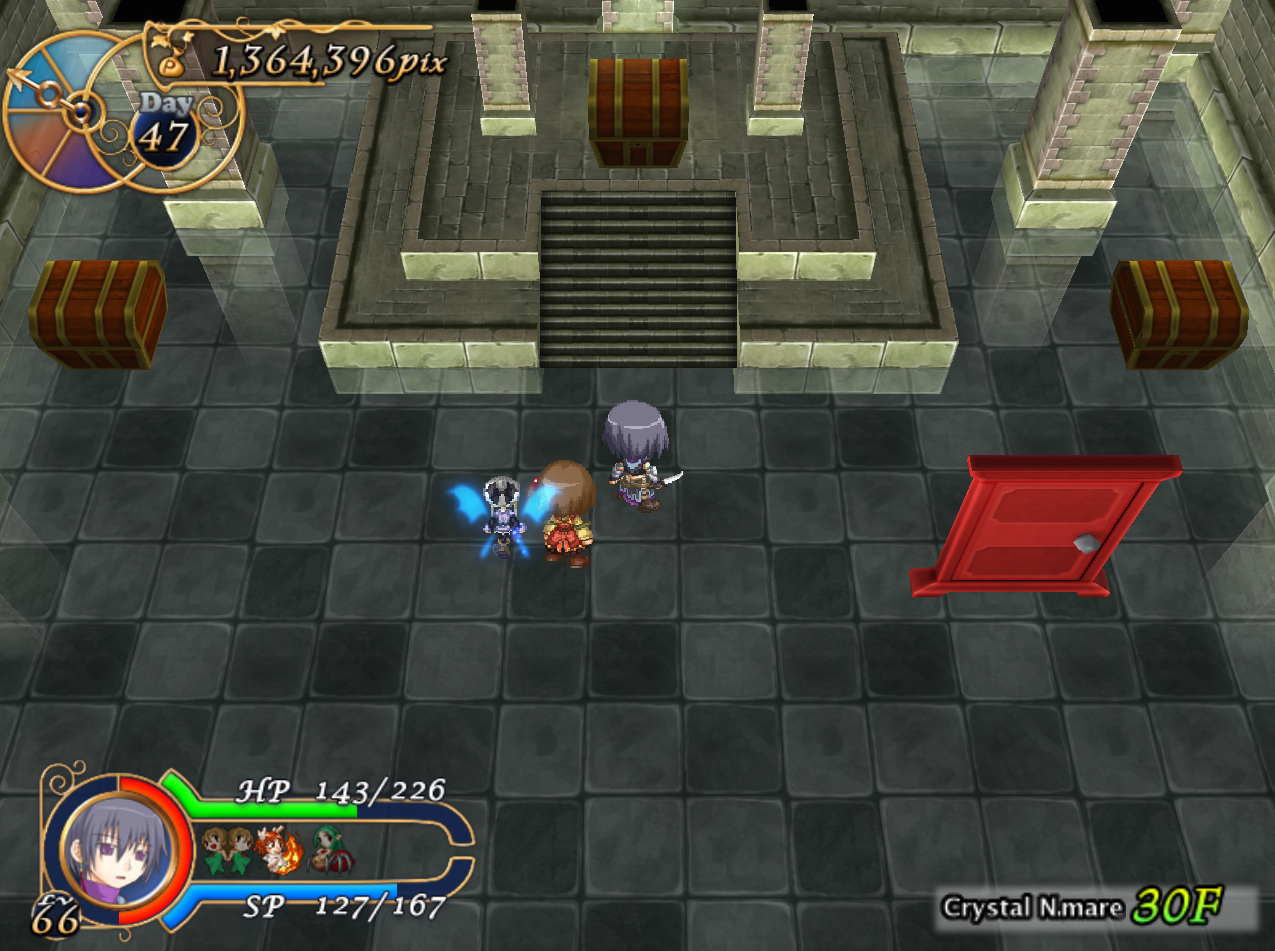
When you reach the end of the Crystal Nightmare on floor 30 or complete the boss rush on floor 60, you will enter the room depicted above.
During the boss rush, you will always encounter the room in the depicted state, with three chests available to open. However, if you are exploring the dungeon portion, the state of this room will vary depending on the floor you started from. If you started from floor 21, only the middle chest will be present. If you started from floor 11, only the middle and right chests will be present. And if you started all the way from floor 1, all three chests will be present.
It’s important to note that each chest has a unique reward pool, which will be explained in the sections below.
Crystal Nightmare End: Left Chest
This chest will only appear if you started from floor 1. If you started from the boss rush, this chest will always be present.
This one is straightforward. It guarantees tier 6 loot.
Crystal Nightmare End: Right Chest
This chest will only appear if you started from floor 11 or floor 1. If you started from the boss rush, this chest will always be present.
This chest combines all six tiers of loot into a single comprehensive loot table. As a result, there is a X out of 1892 chance to obtain any piece of chest loot in the game.
Due to mistakes in the RNG code, the Worn Sword has a 11/1892 chance instead of the intended 10/1892 chance, and the Omega Ferromin has a 3/1892 chance instead of the intended 4/1892 chance. The RNG bugs from the other tables do not apply here.
Crystal Nightmare End: Middle Chest
This chest always appears, regardless of the starting point in the dungeon. However, its behavior may vary depending on where you began.
If you started from floor 21, there are two possible loot tables the game will choose from: the rare loot table or every possible chest loot (using the same mechanics as the right chest). Both options have an equal chance of occurring.
If you started from floor 1, 11, or the boss rush, there are three possible loot tables: the rare loot table, every possible chest loot (using the same mechanics as the right chest), or the ultra-rare loot table. Each option has an equal chance of occurring.
The rare loot table is as follows:
- Soul Cleaver
- Dragon Fang
- Megaflame Staff
- Wyvern Wing
- Cobra Spear
- Dragon Buster
- Fire-Dragon Claw
- Gravity Cannon
- Gothic Outfit
- Gentleman’s Suit
- Moonlight Robe
- Valkyrie Plate
- Legendary Armor
- Fairy Misanga
- Legendary Shield
- Kitty Hood
- Legendary Helm
- Love Charm
- Spirit Magatama
- Imperial Cape
- Diana’s Heart
- Trailblazers
There are 22 items, all with an equal chance of being chosen. Notably, this is the only way to get the Soul Cleaver, as it only shows up in this pool. For best results, you’re better off doing floor 21 runs until you get this.
The ultra-rare loot table is as follows:
- Legendary Sword
- Assassin Blade
- Heaven’s Key
- Ancient Bow
- Vacula Spear
- Divine Finger
- Dark Master Claw
- Phalanx Cannon
- Phoenix Garb
- Eos Robe
- Mythic Beast Plate
- Stoneform Armor
- Trinary Armband
- Blue Line Shield
- Emperor’s Crown
- Golden Helm
- Fruitdrop Amulet
- Fisherman Flag
- Dragon’s Mane
- Iron Sandals
- Heavenly Heels
There are 21 items, all with an equal chance of being chosen. All the items from this pool are chosen from the rarest possible items from the tier 6 loot table. However, there are some notable omissions.
- Ishtoril: Can be obtained in earlier tier chests.
- Victory Charm: A 2 in 448 chance from the tier 6 drop table, with no other way to obtain. Good luck.
- Soul Ring: One of the rarest pieces of loot from tier 4, 5, and 6’s drop tables. Since this is on multiple drop tables, you’re more likely to come across this at least.
- Dragon Ornament: A 2 in 448 chance from the tier 6 drop table, with no other way to obtain. Good luck.
- Book of Adventure: A 2 in 448 chance from the tier 6 drop table, with no other way to obtain. Good luck.
- Omega Ferromin: Thanks to a bug in the RNG, this item is one of the hardest items to obtain from a chest, which makes this omission extremely unfortunate. Especially since you need at least 3 to be able to fuse every item. It does show up on the tier 5 drop table along with the tier 6 drop table, which is a small comfort.