This guide describes how to obtain most (more under Info) badges for the Twins of Nerechtemeresch.
Information
Some badges are so straight forward that they’re not specified in this guide:
- Back To the Marley (Use all Tears)
- Choose your landing (Use all landing spots)
- First Step (Finish the mission)
- The Bridge Must Hold (Don’t attack the Kindred)
- Not That Kind Of Magic (Do not enter the cave)
- Lights Out (Kill all guards that carry lanterns. Only have John in your team)
Prepare For Trouble
No Favourites
Hide at least one body in both the red and the blue bush
Well, kill one guard on each Islet and put each of them in the respective bush. To make it easier, take at least one crewmate with you that can swim.
It Was Enough 10 Bodies Ago
Hide 20 guards in the magic bushes
Even when the objective is cleared after you put a couple of bodies in the bushes, you can just continue. Just remember to not put them in other bushes!
For All the World To See
Finish mission without touching any hiding spots
Hiding spots always basically only means bushes. You can still go inside the cave, into the water or use John’s Anchor Down/Pull Below
John’s Revenge (Ch. 1)
Enough Of the Below
Don’t use the Anchor Down skill more than 4 times.
Only have John in your team
You have to use this skill exactly 3 times. Once for the collectible item objective (no other way to reach it with solo John) and twice for the 2 dudes you have to pull down into the Below. So you have one free use. I recommend using it for one of the guards that are next to the mission objective guy on the cliffs (Extinguish the light on the downstairs, use Anchor Down to hide and Anchor Up as soon as the guard is about to light the… light again).
Minimalist Approach
Don’t use any distractions
This only counts for skills. Things like tracks in sand or bodies on lying on the ground can still be used to distract guards.
Firekeeper
Don’t extinguish any lights
Remember to either not kill guards carrying lights, or, if killed, do not walk over them because you might accidentally extinguish their lamp
Land Route
Finish the mission without swimming
This is quite easy. Touching water is fine, instead of swimming to the other islet, just take the cave.
Island Badges
Deadly Ascent
Kill all guards on the island in ascending order.
Guards on the same height level have to be killed before ascending to a higher level
The community isn’t quite sure if this is bugged or just really complicated. Some of us tried this a lot and didn’t get it, but one smart person figured it out which enabled us to finally get this badge.These are a couple of rules you (might) have to follow:
- We recommend doing this on the mission Prepare for Trouble
- Do not ascend to a higher level unless you have killed every guard on your current level
- Do not make any guard catatonic by killing the Custodes near them. Kill them first and kill the Custodes last.
- Ascend with every character and only then start killing again.
- After you killed every guard on one height level, do not descent back again
- The last guard killed has to be the one on the rooftop of the small shed on top of the island “mountains”
If you meticulously follow those, you should get the badge. I will update this if needed.
Just Fun and Games
Finish a mission without attack anyone
I recommend doing this in the mission John’s Revenge (Ch. 1), since in Prepare for Trouble you have to kill guards and put them in the magic bushes. There are environmental kills that trigger automatically, but you can’t get the guards from under a falling rock, so you would have to lure a third guard to the cargo without triggering it which is an annoying thing to do.
Just take crewmates with you that can easily remove guards from their position like Gaëlle or Suleidy and you’re good to go.
Switcheroo
Kill each Kindred while they are on the half of the island their partner is normally posted on
This basically means, each Kindred has to die on the other Island that they stand on per default. You can either be sneaky and lure them there or you just knock them out (without tying them up), carry them to the other islet and then kill them.
That Silend Secret
Find the message in a bottle
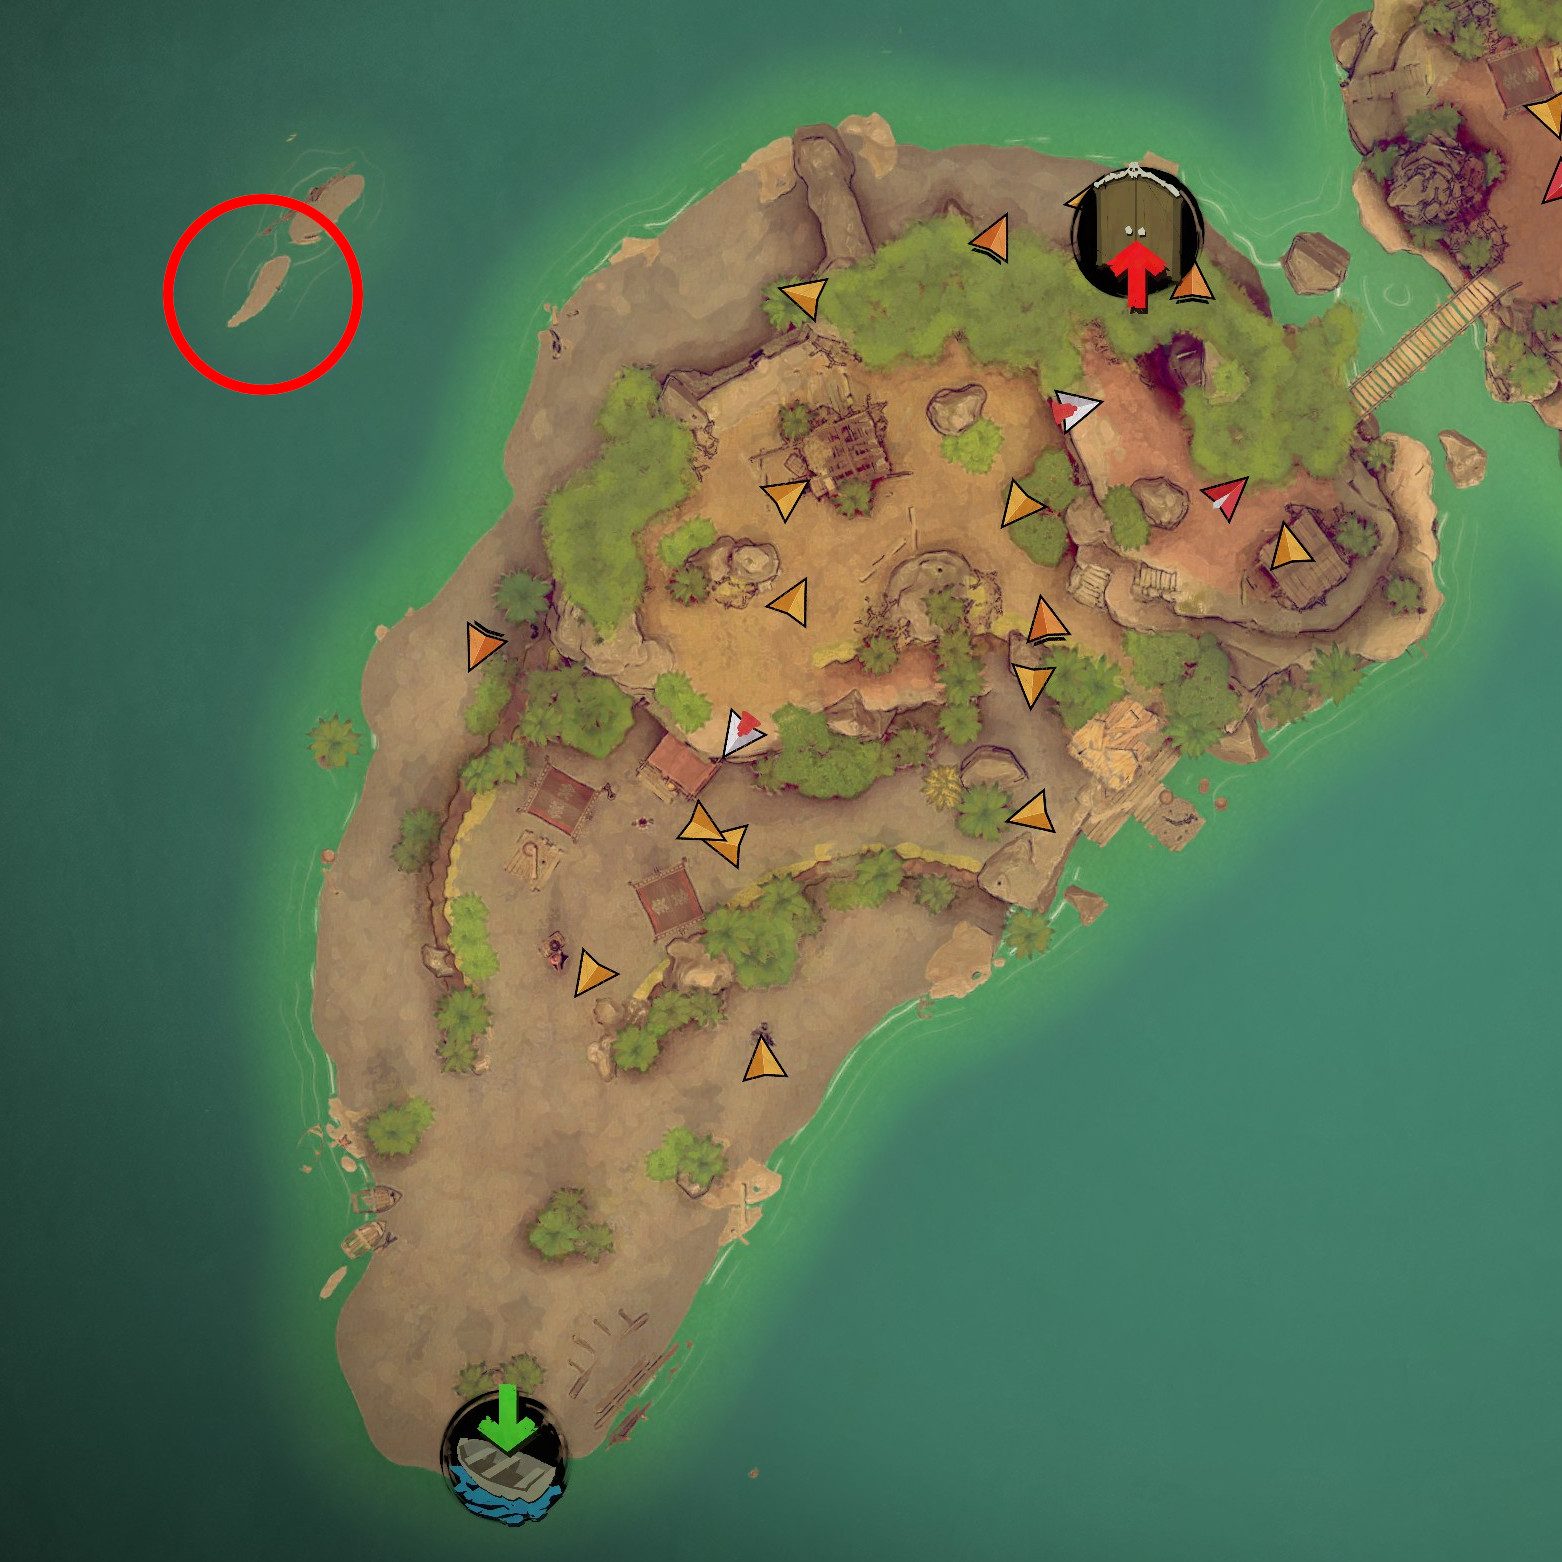

Simply swim there and interact with the bottle
Salt-Soaked Caverns
Find the ominous door
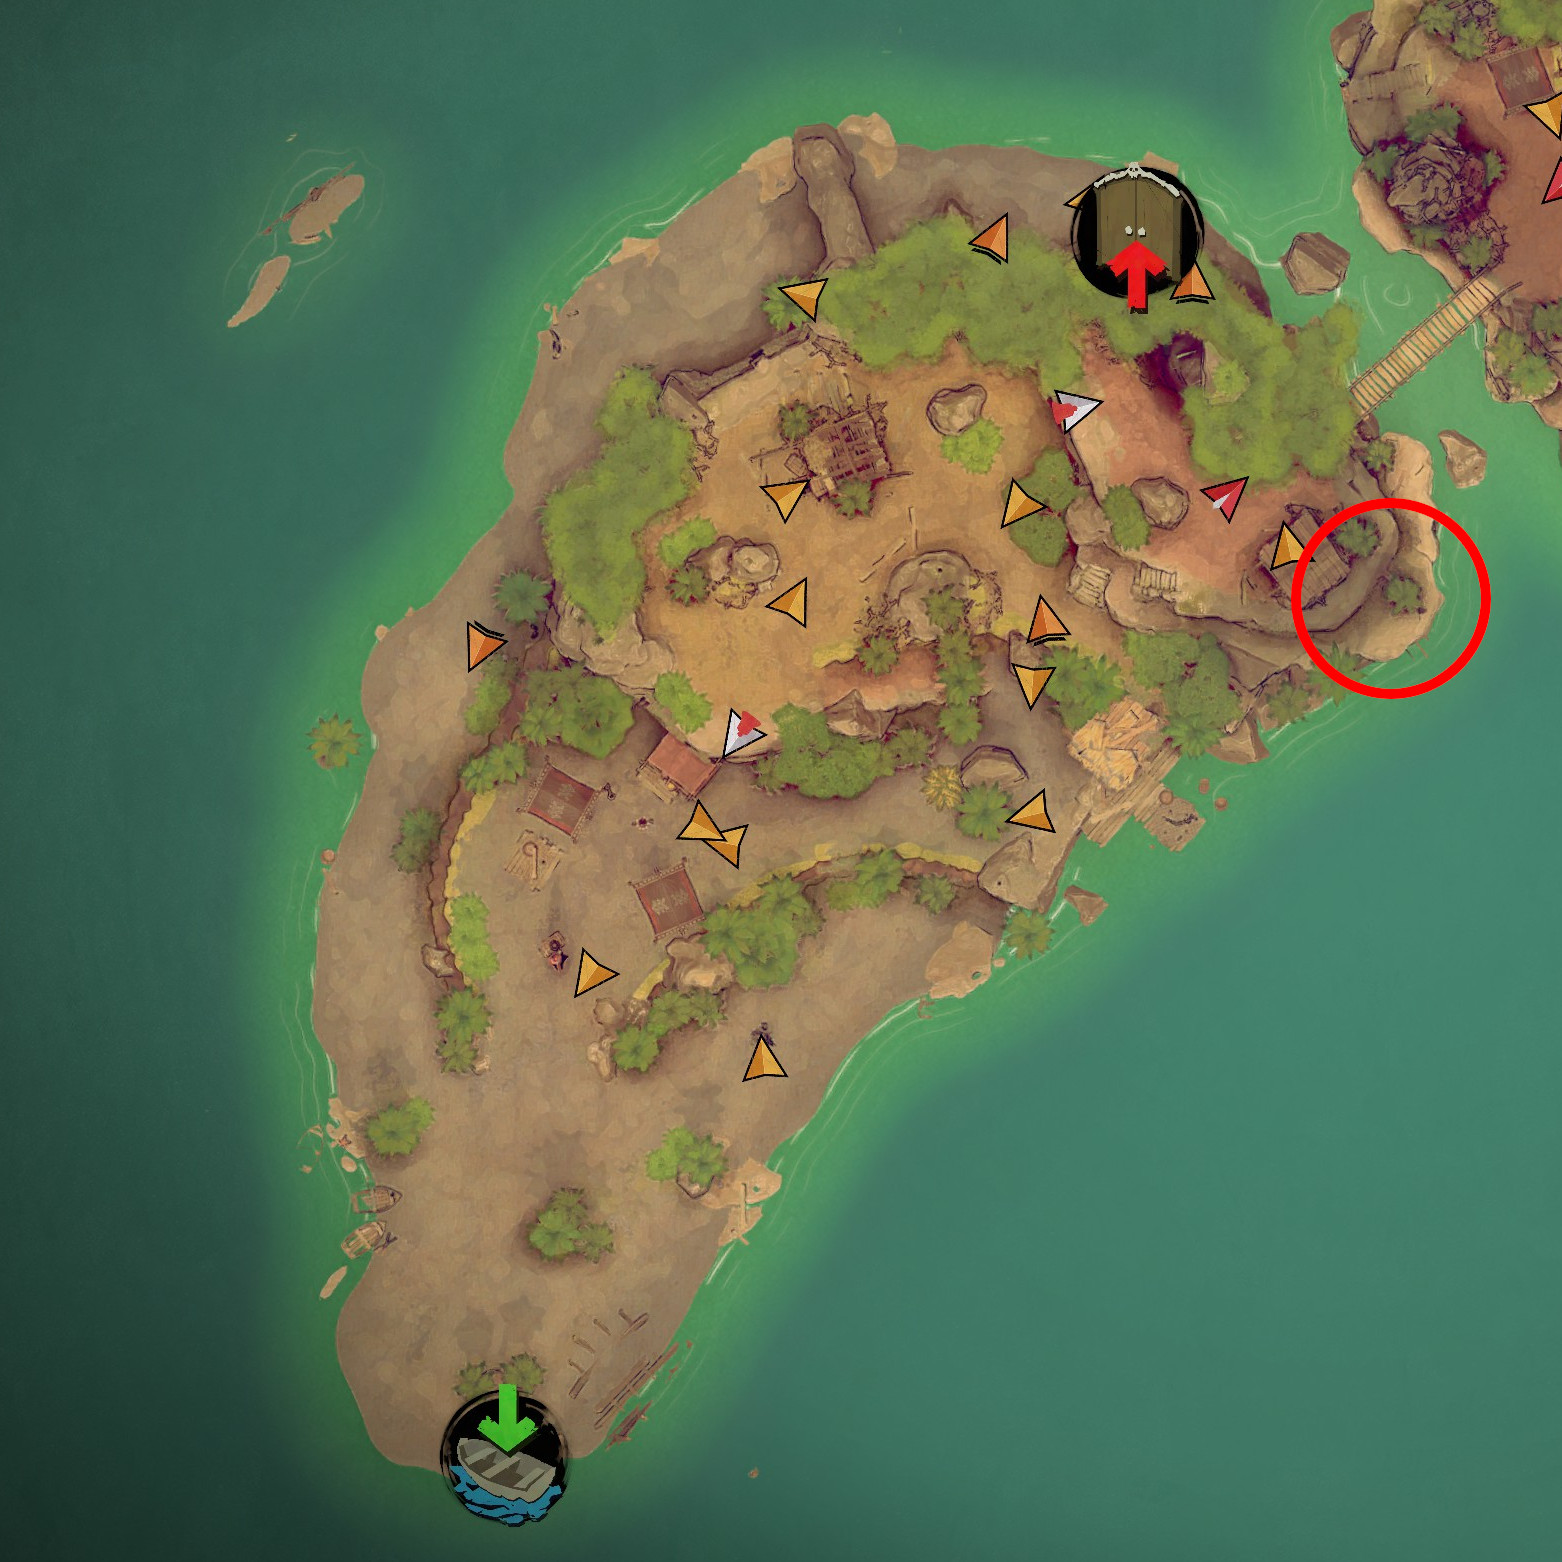
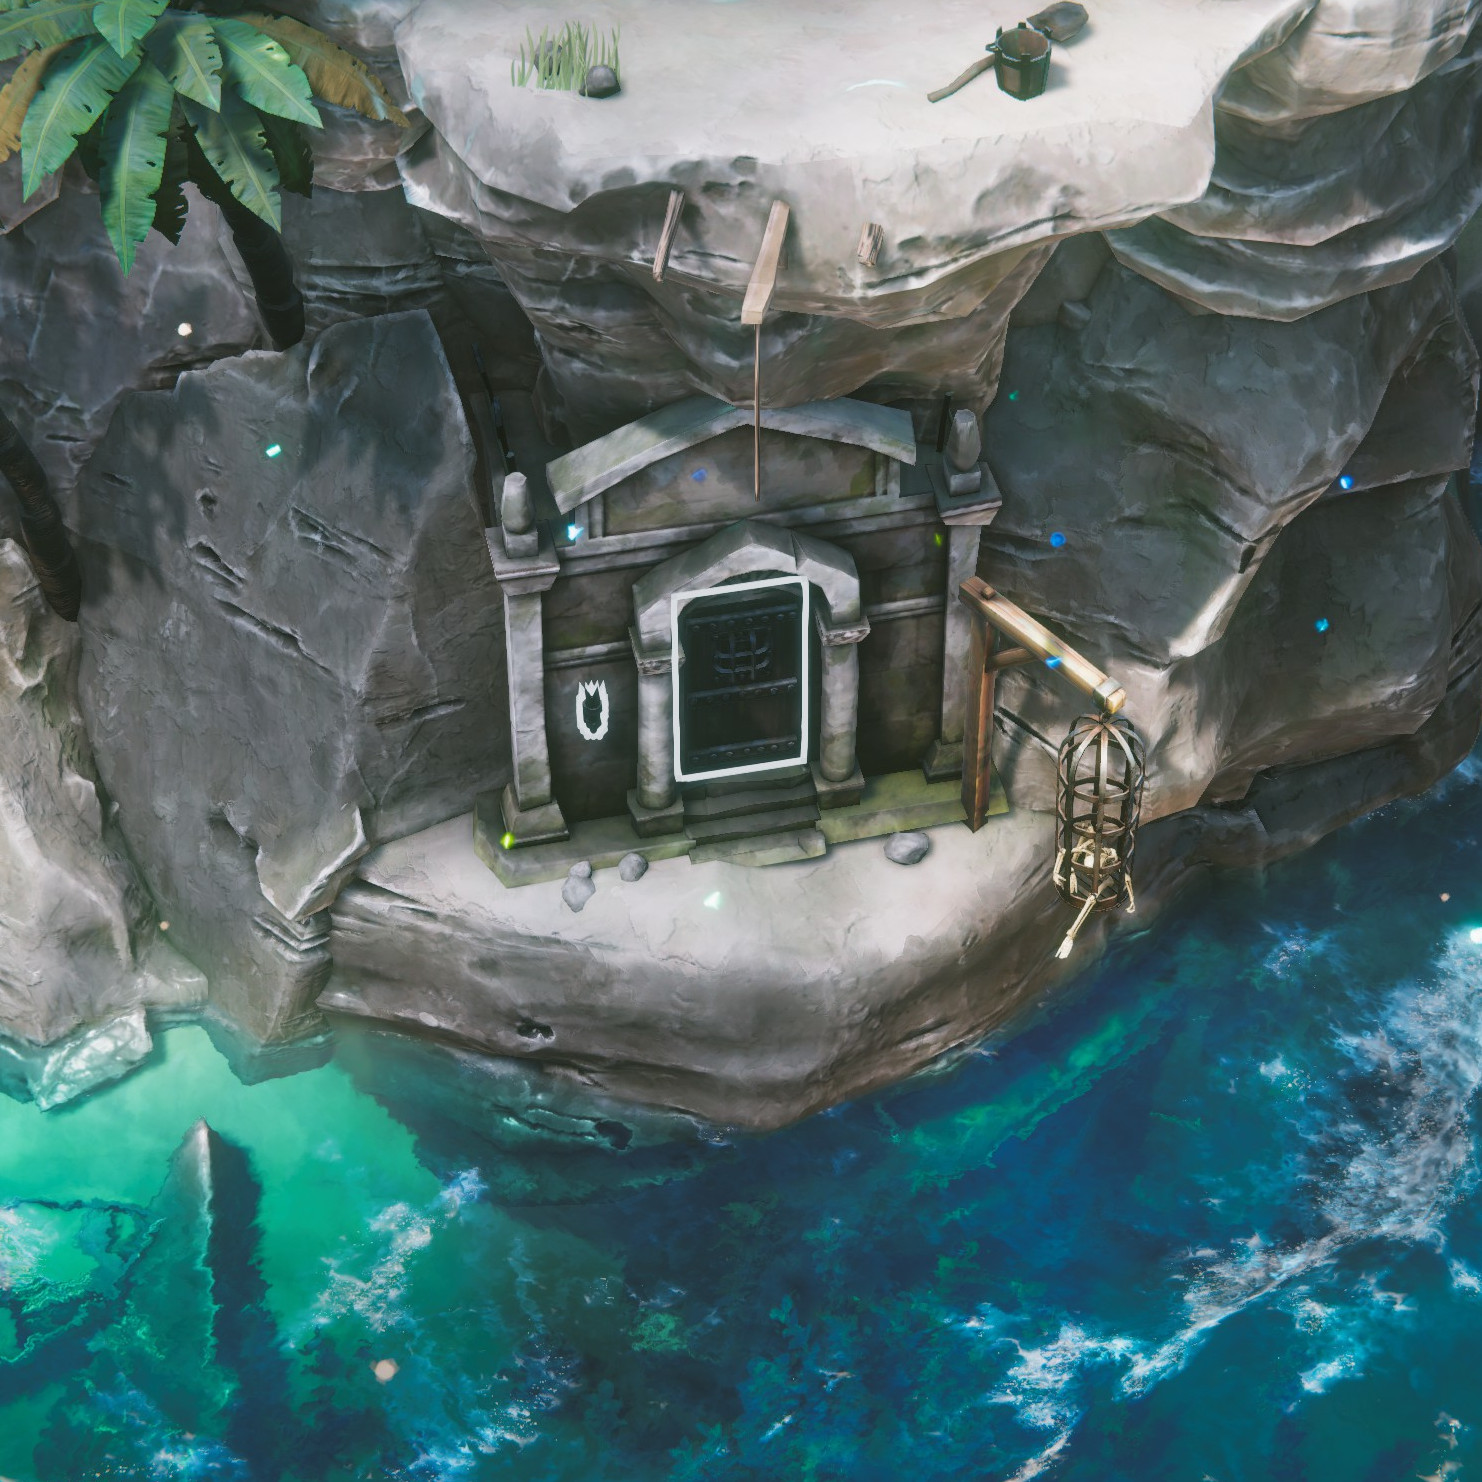
You can also just swim here and enter the door.