Fastest Solutions and Teleport Locations for the Golden Door Puzzles. (Contains Spoilers!)
Overview
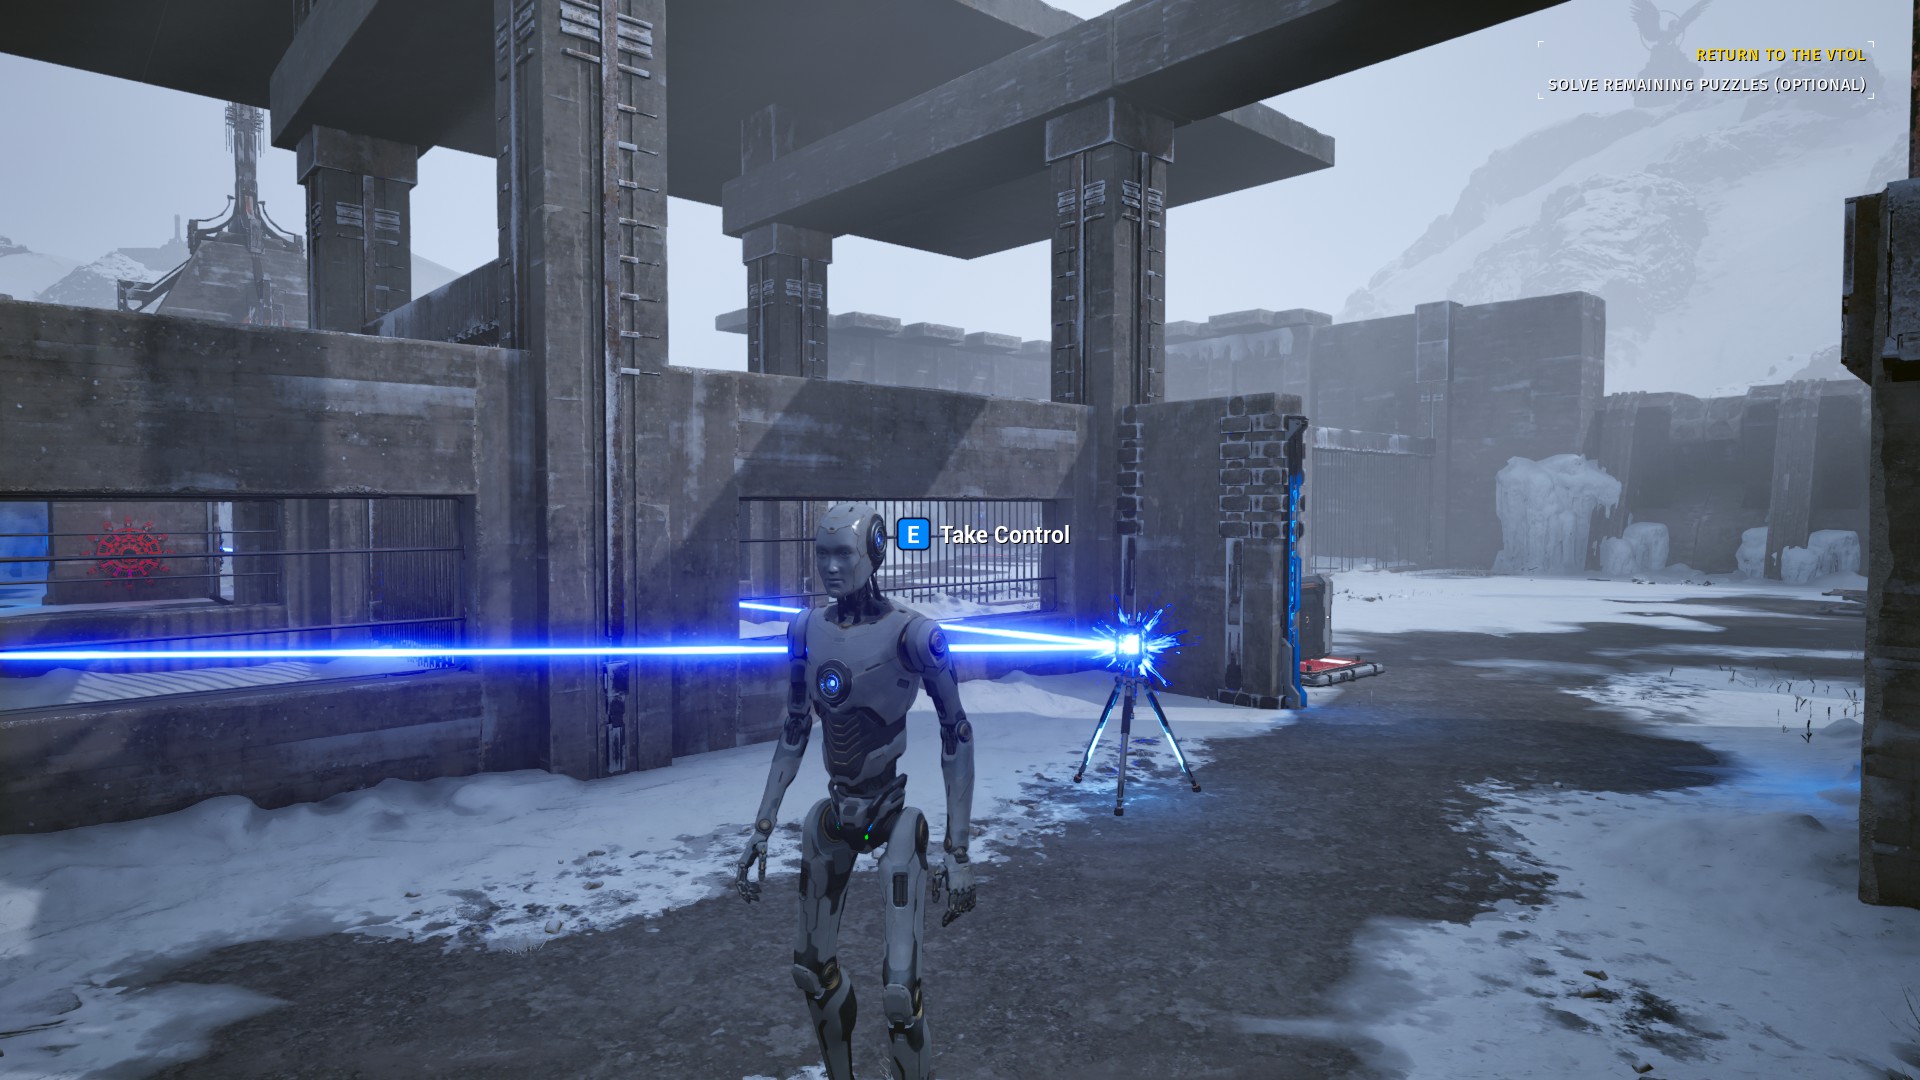
The Golden Gate Puzzles are found quite early in the game, as there is a golden gate in all 13 island zones. They all unlock at the same time much later in the game, once the objectives below have been completed.
Any rewards you find while exploring can be used to bypass these Puzzles, if you saved them.

(Minor Spoilers)
In order to access any golden gate, these are the requirements:
1) You don’t need to do any
of the star monuments3) You’ll have to
complete all 24 “Lost” Puzzles2) You’ll have to enter
all 12 towers in each of the sub-areas (Unconfirmed) 4) You’ll have had to
enter the monument 4 times (Unconfirmed) The Golden Gate in the first zone (near VTOL) will only open after
completing the other 12 Gates.There are no hints in this guide, just raw solutions right now.
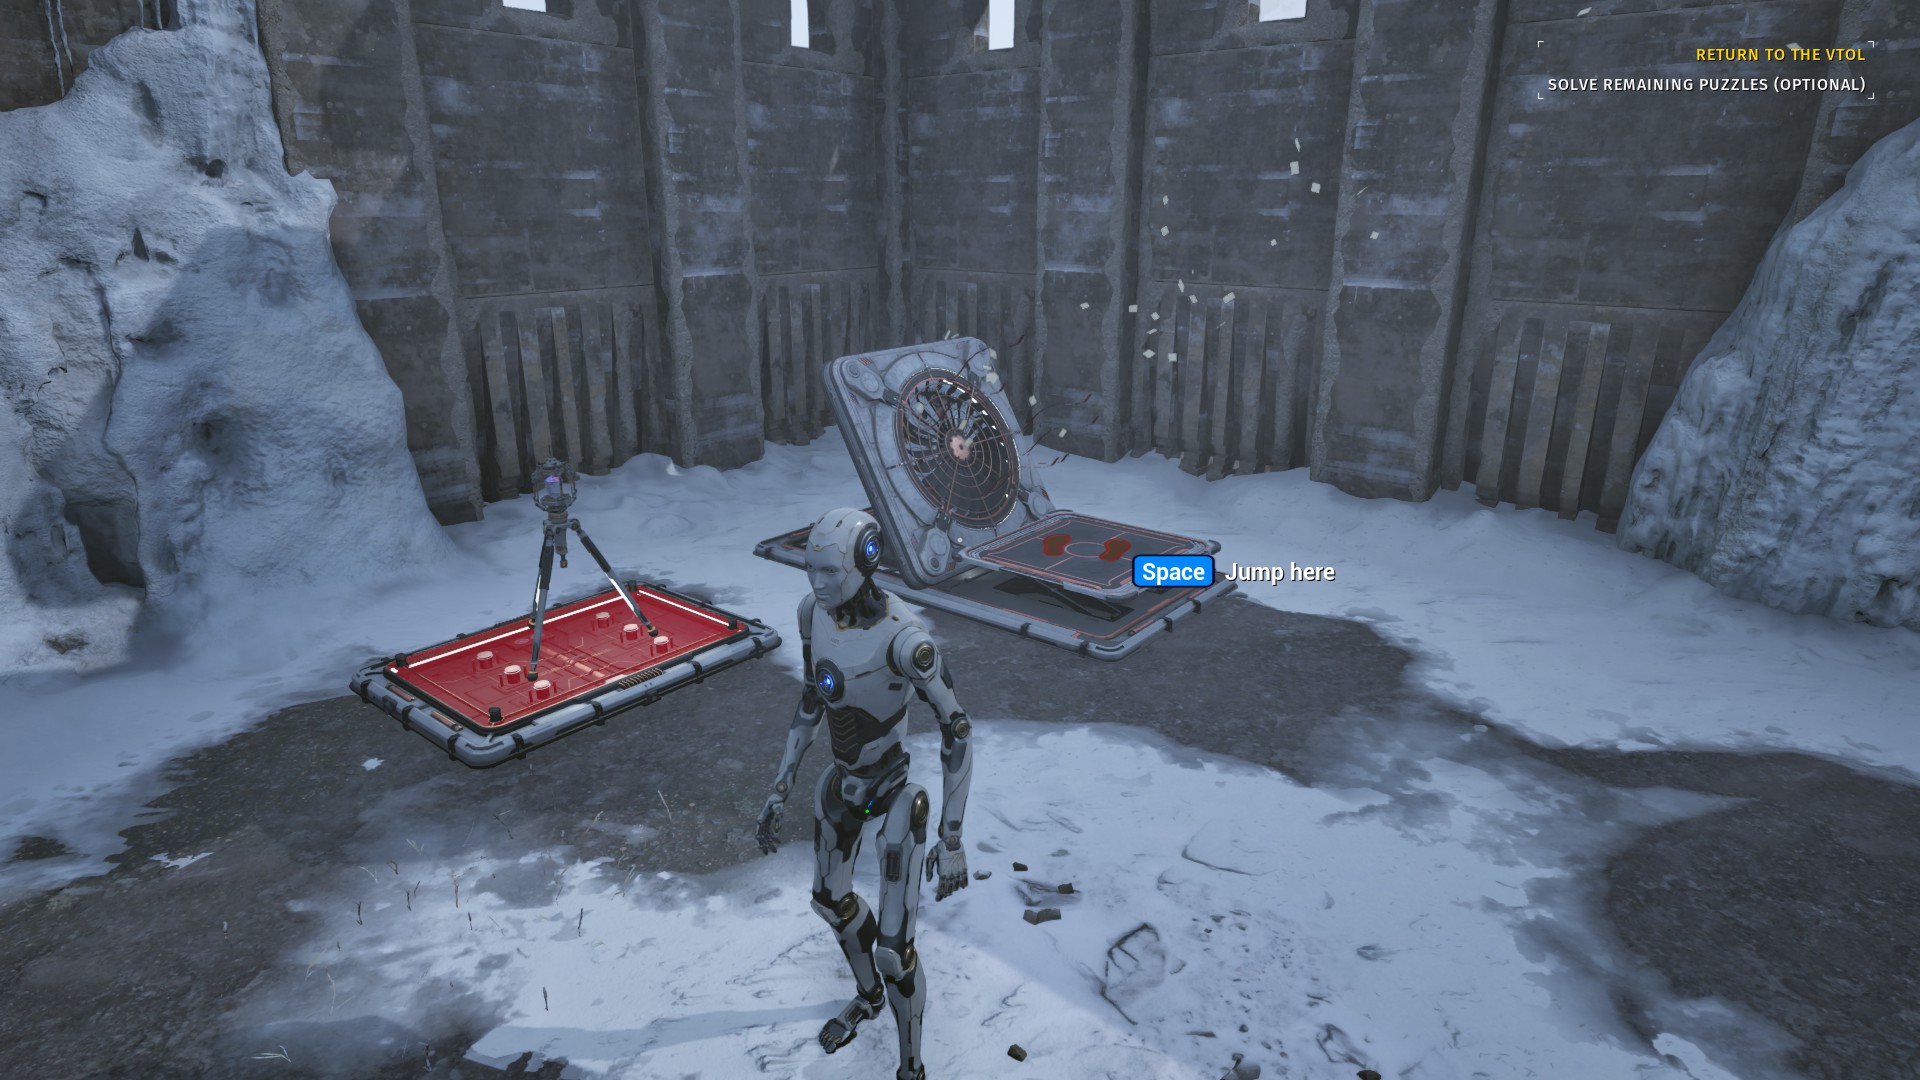
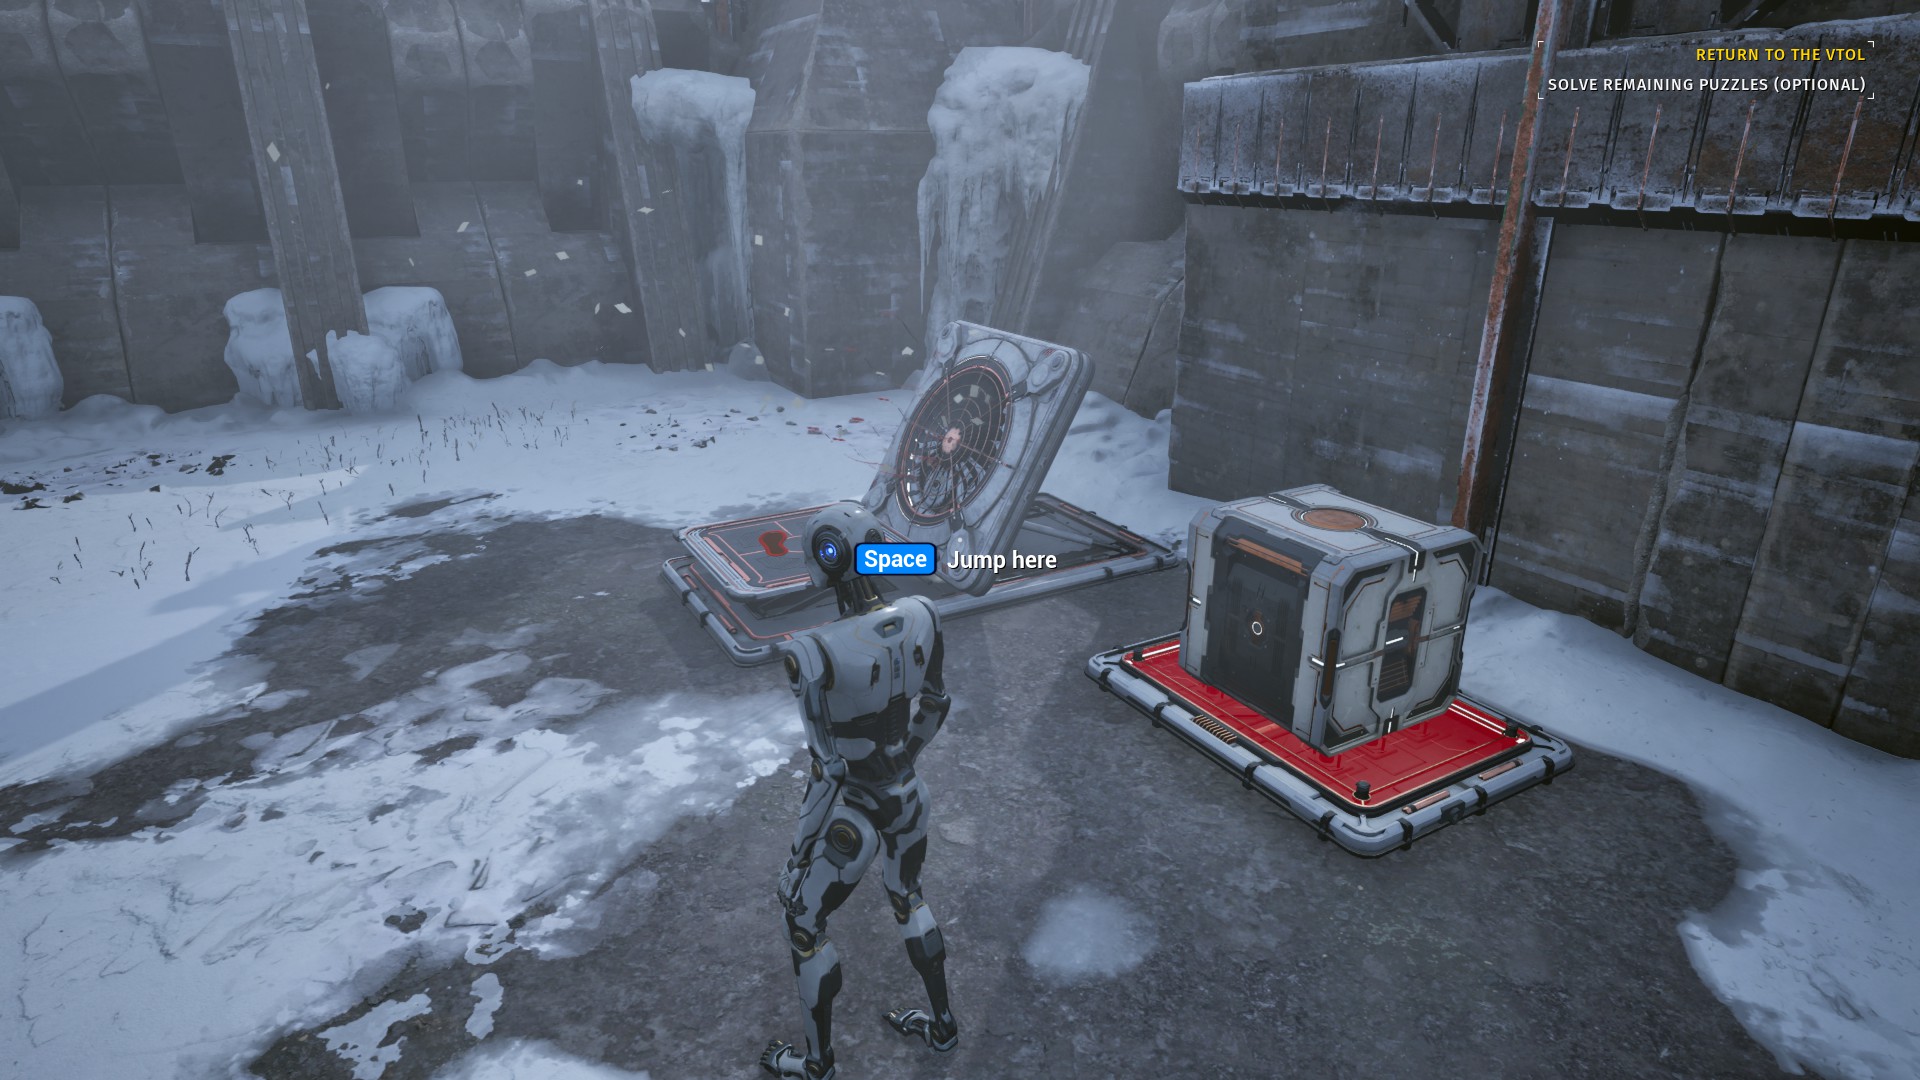
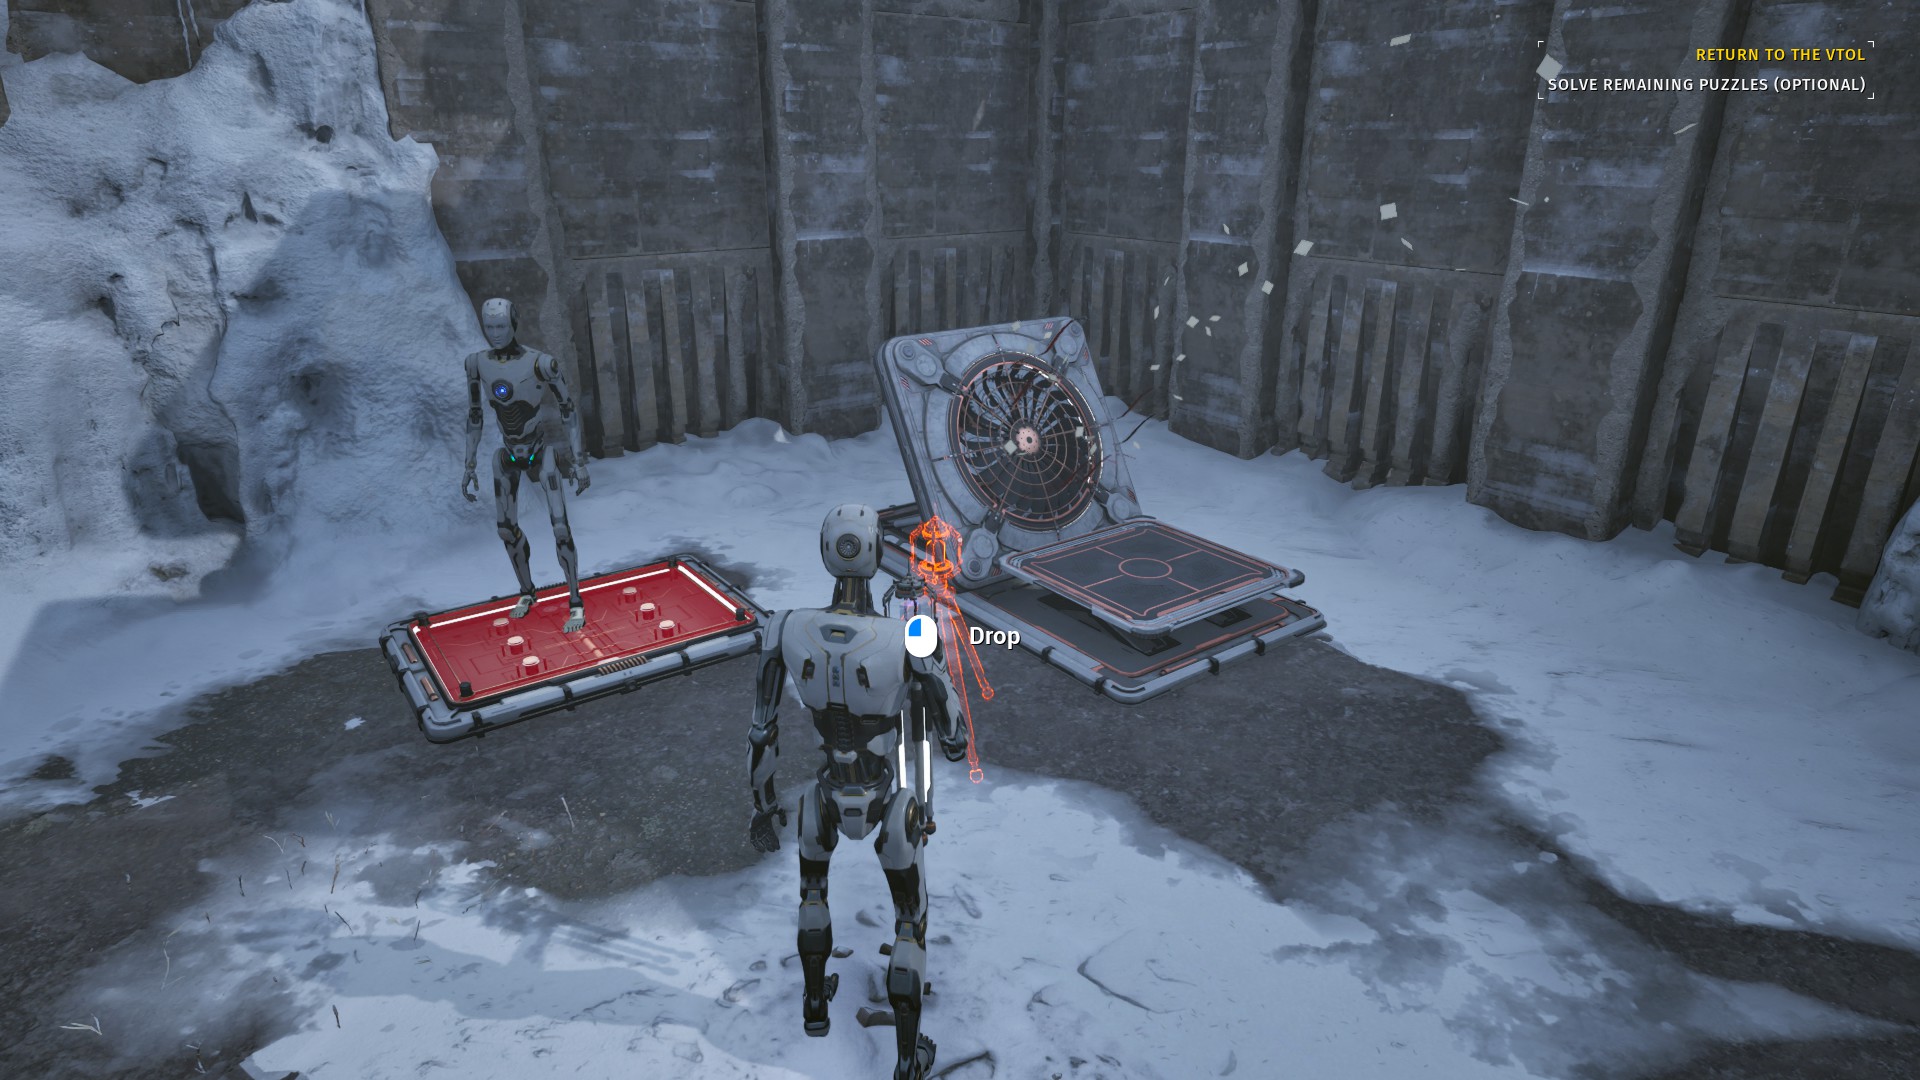
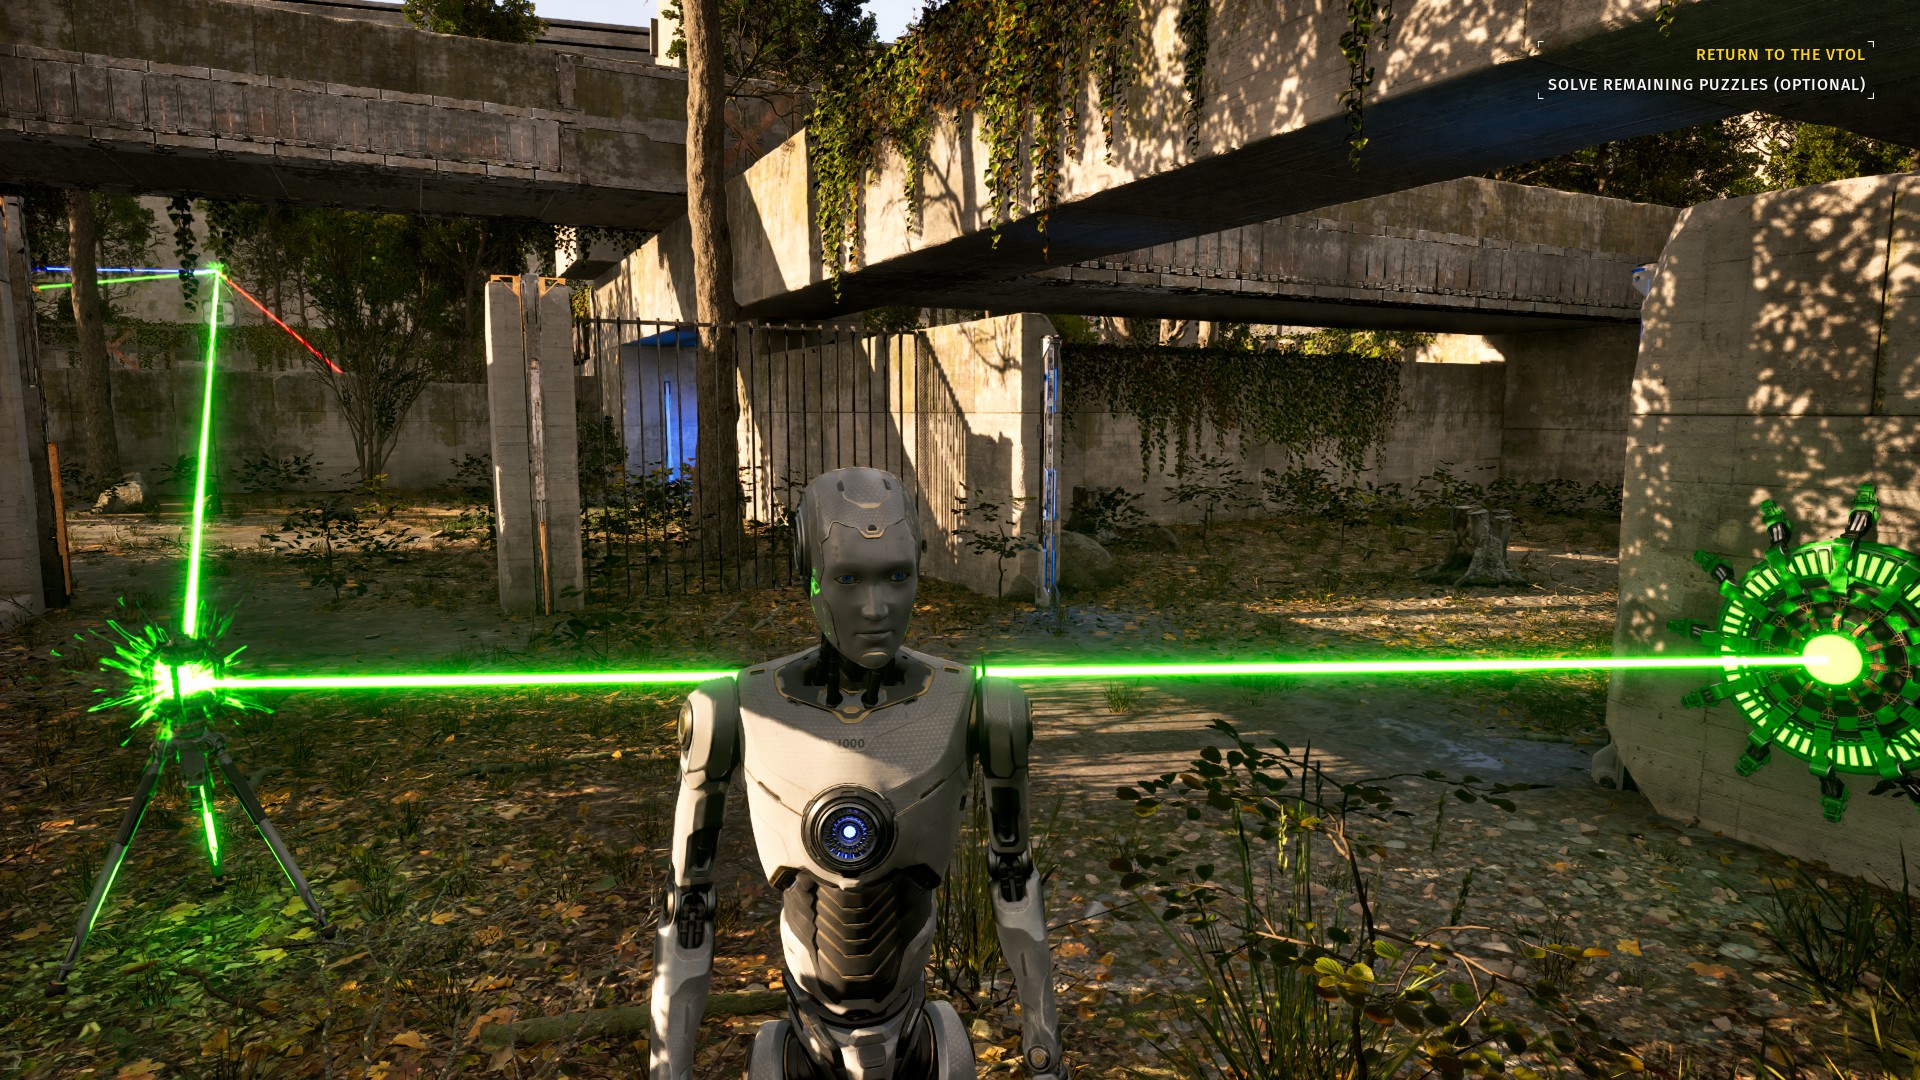
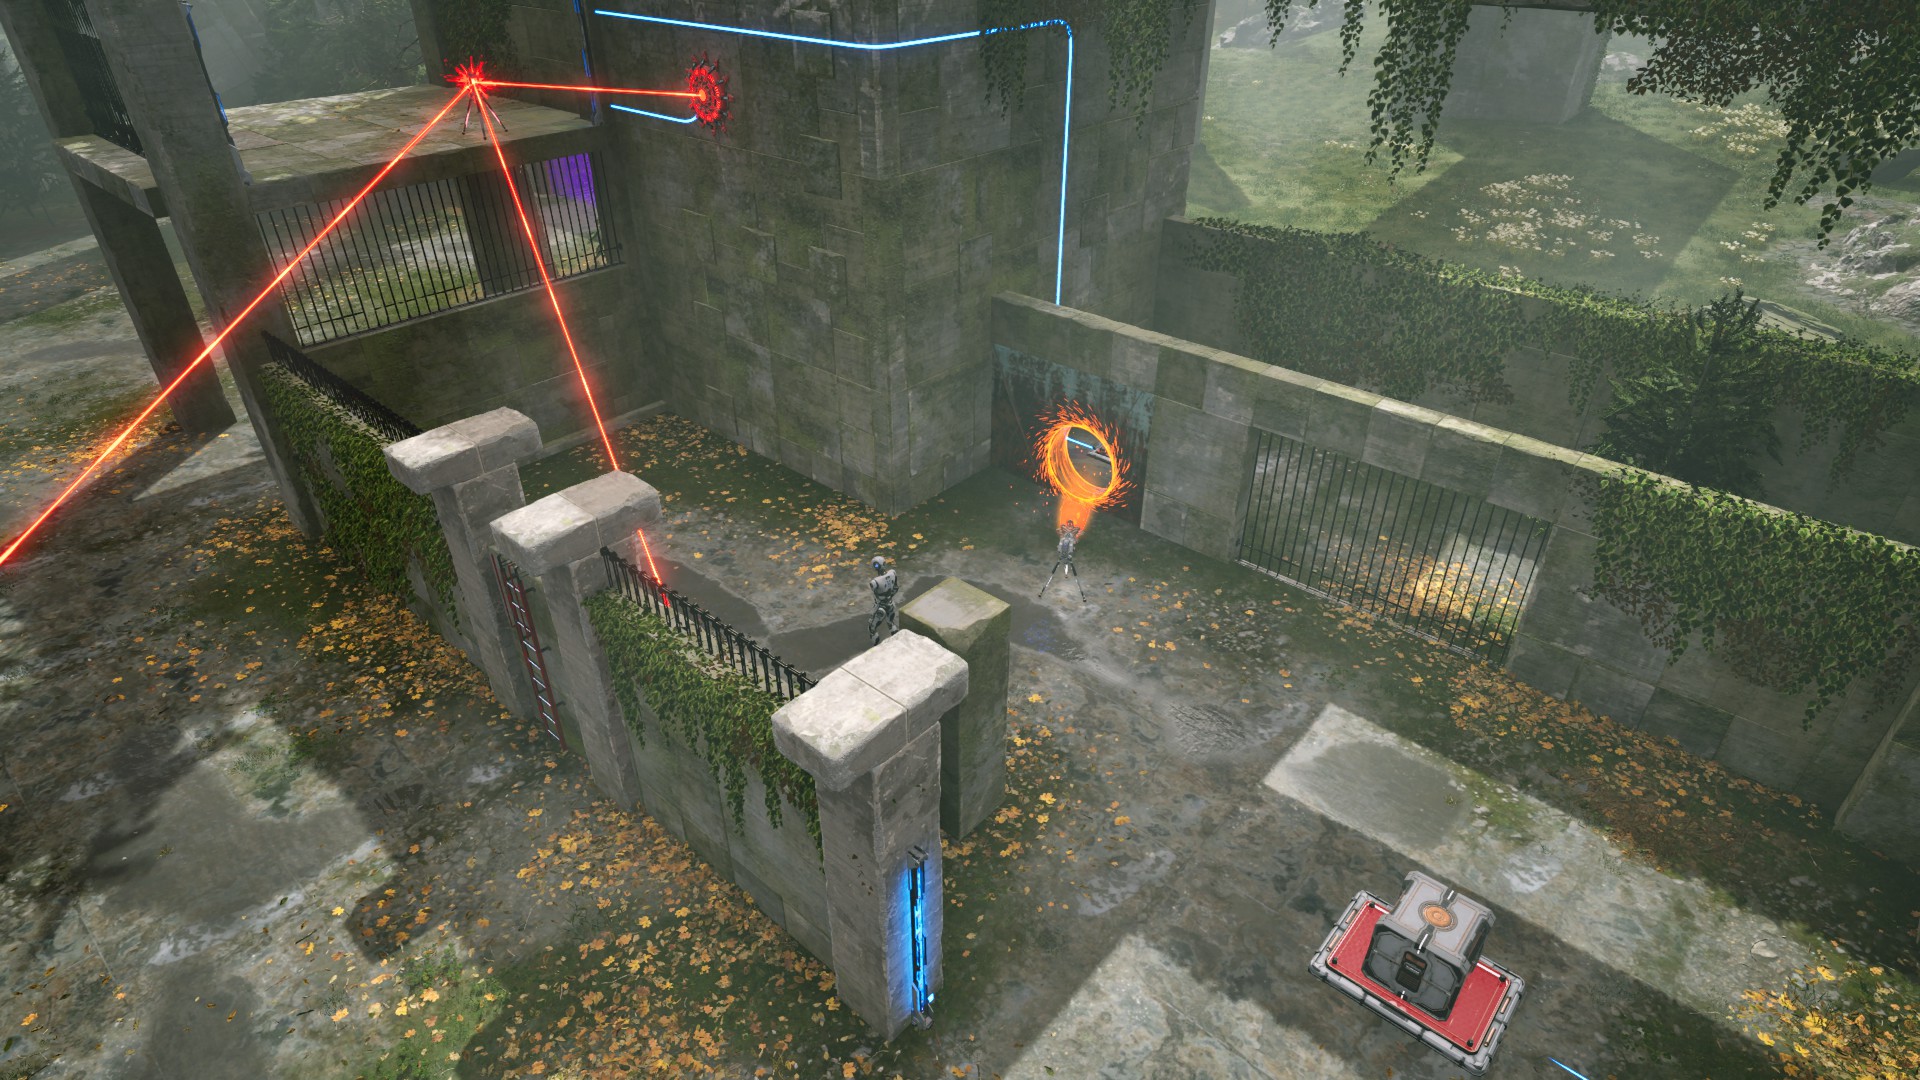
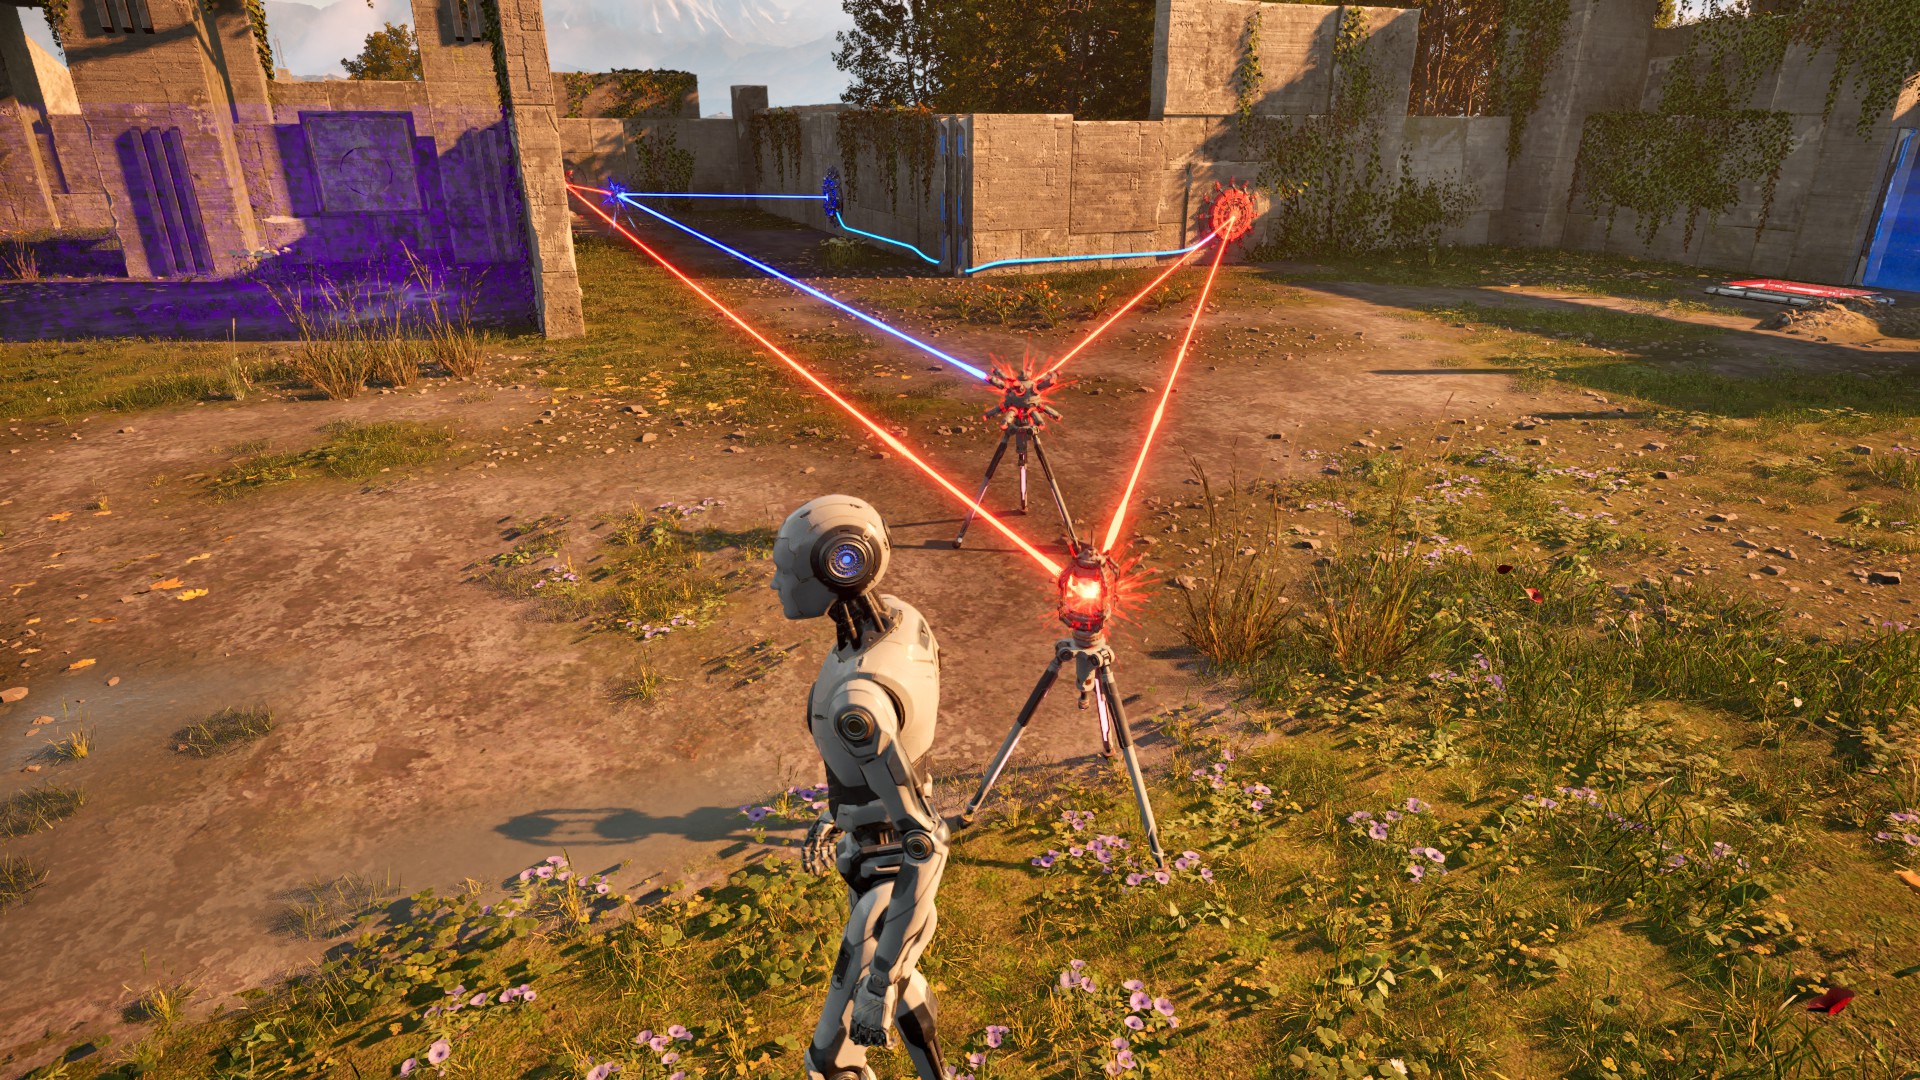
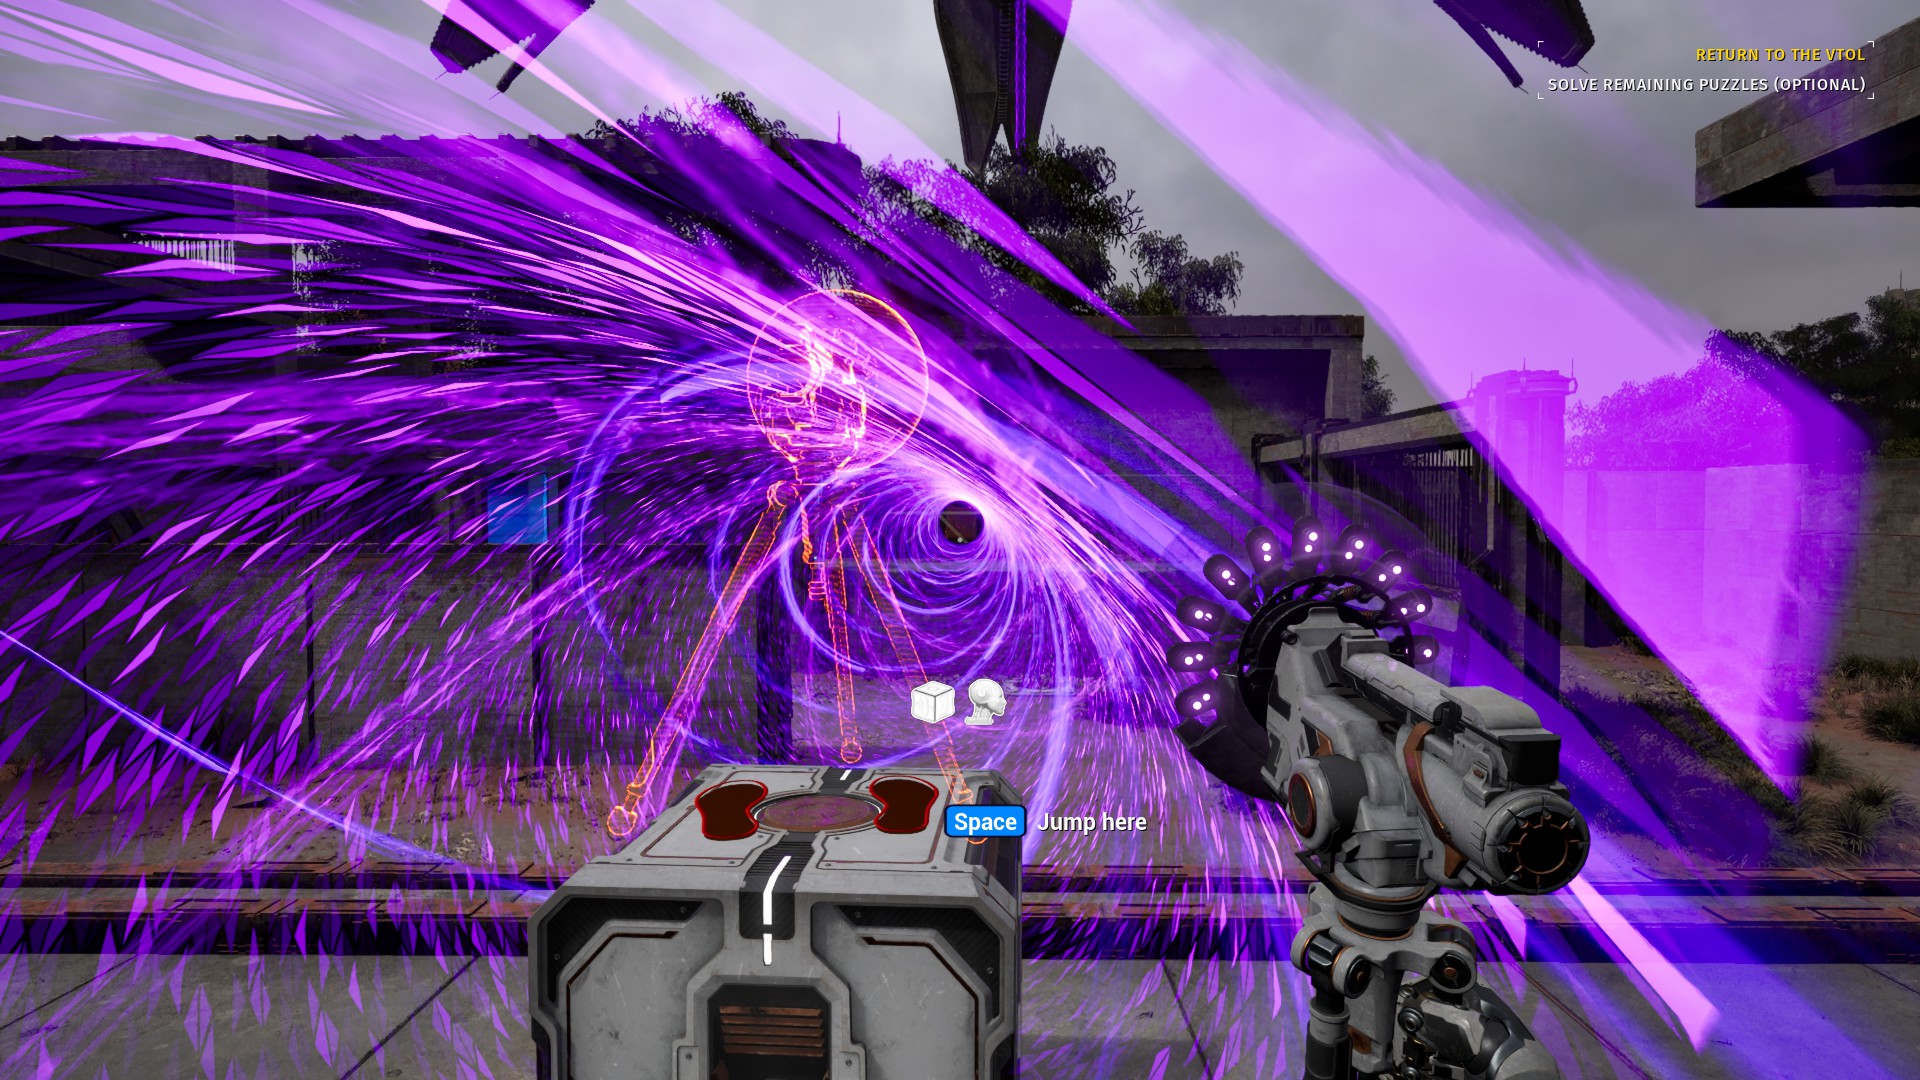
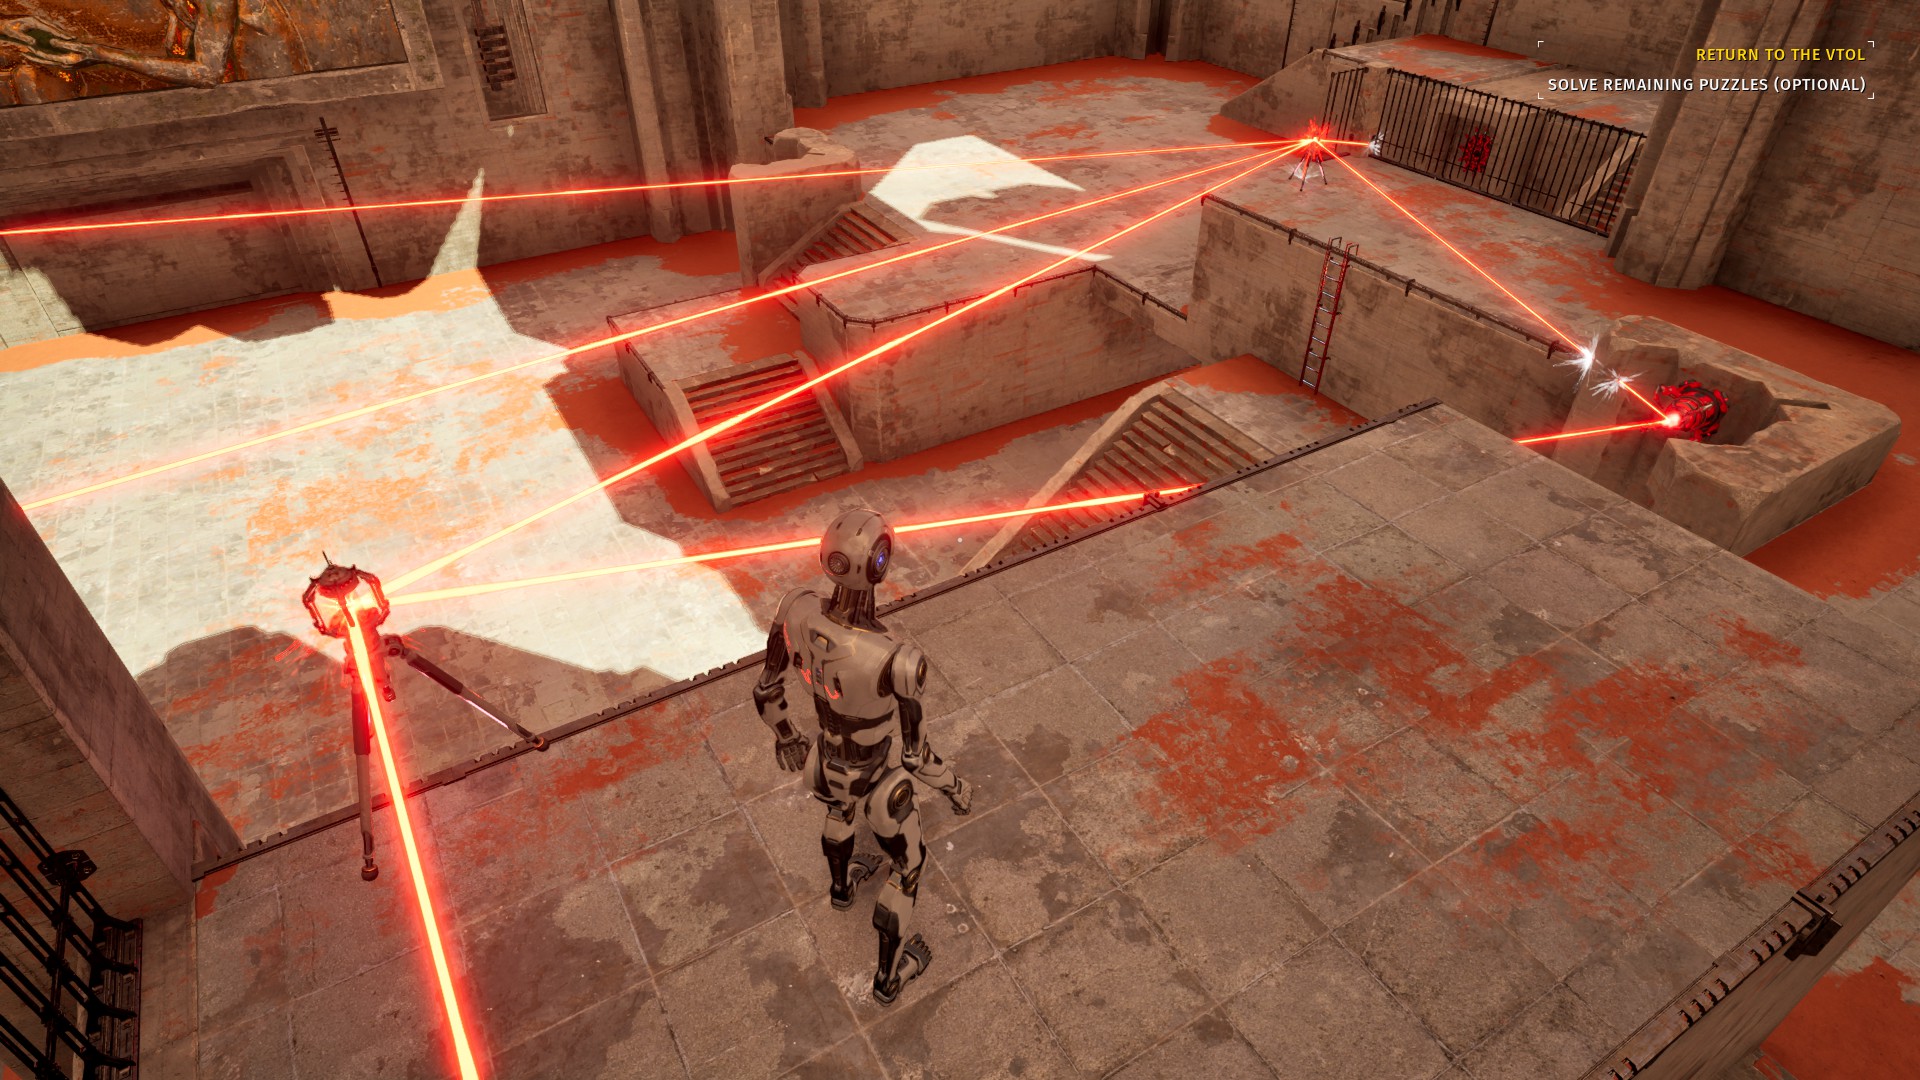
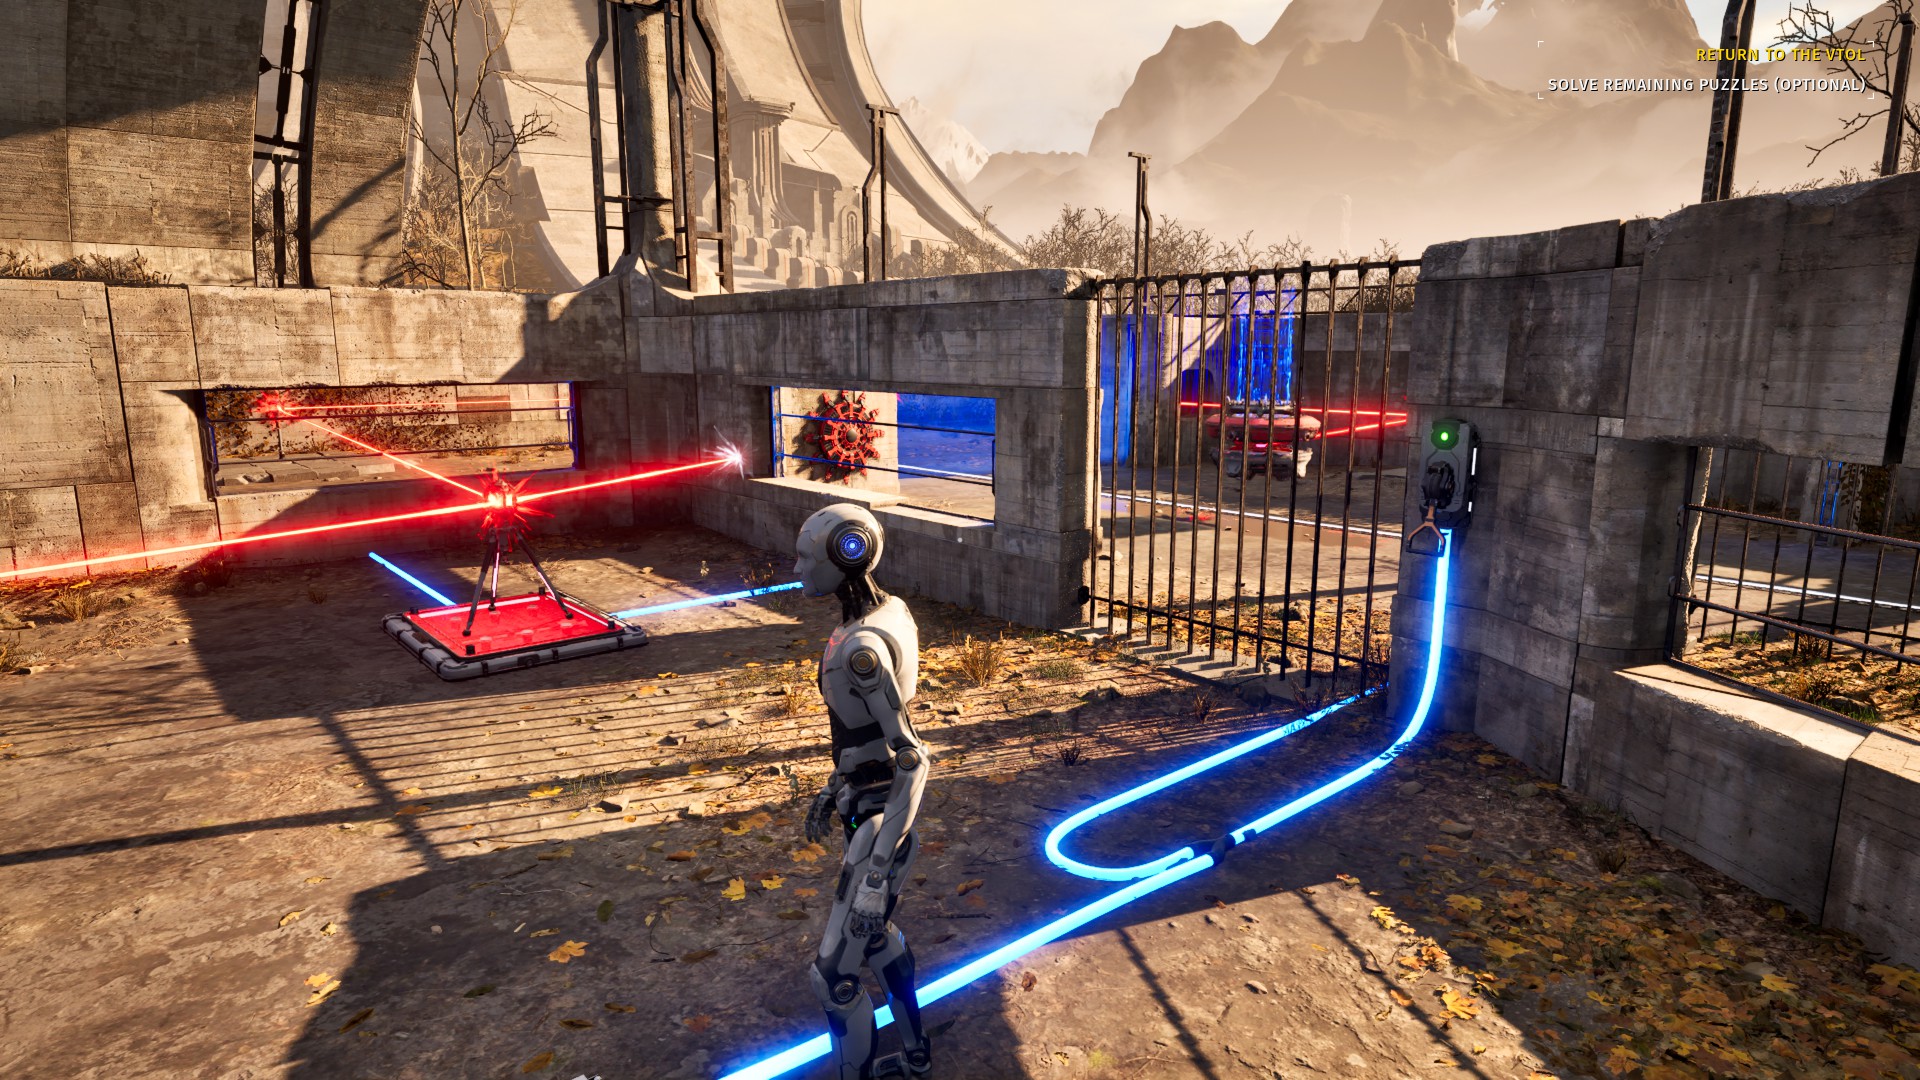
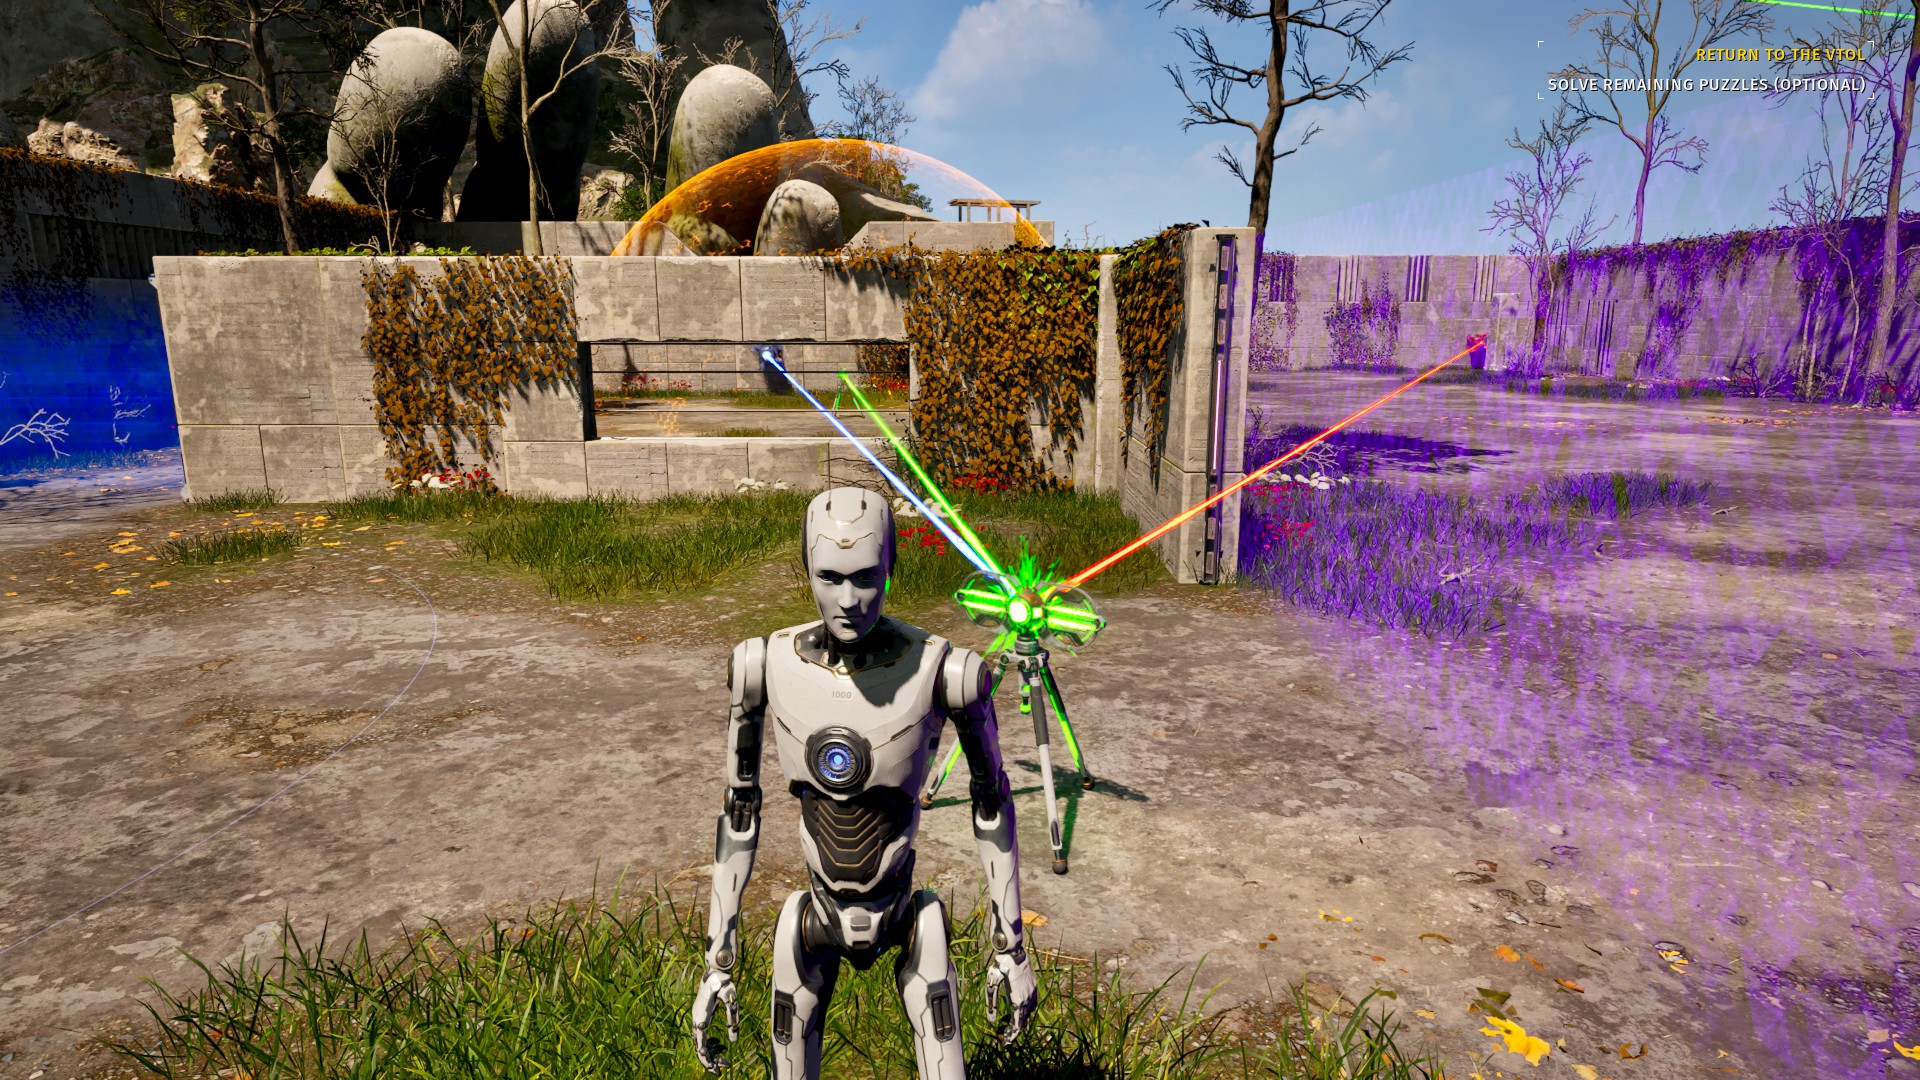
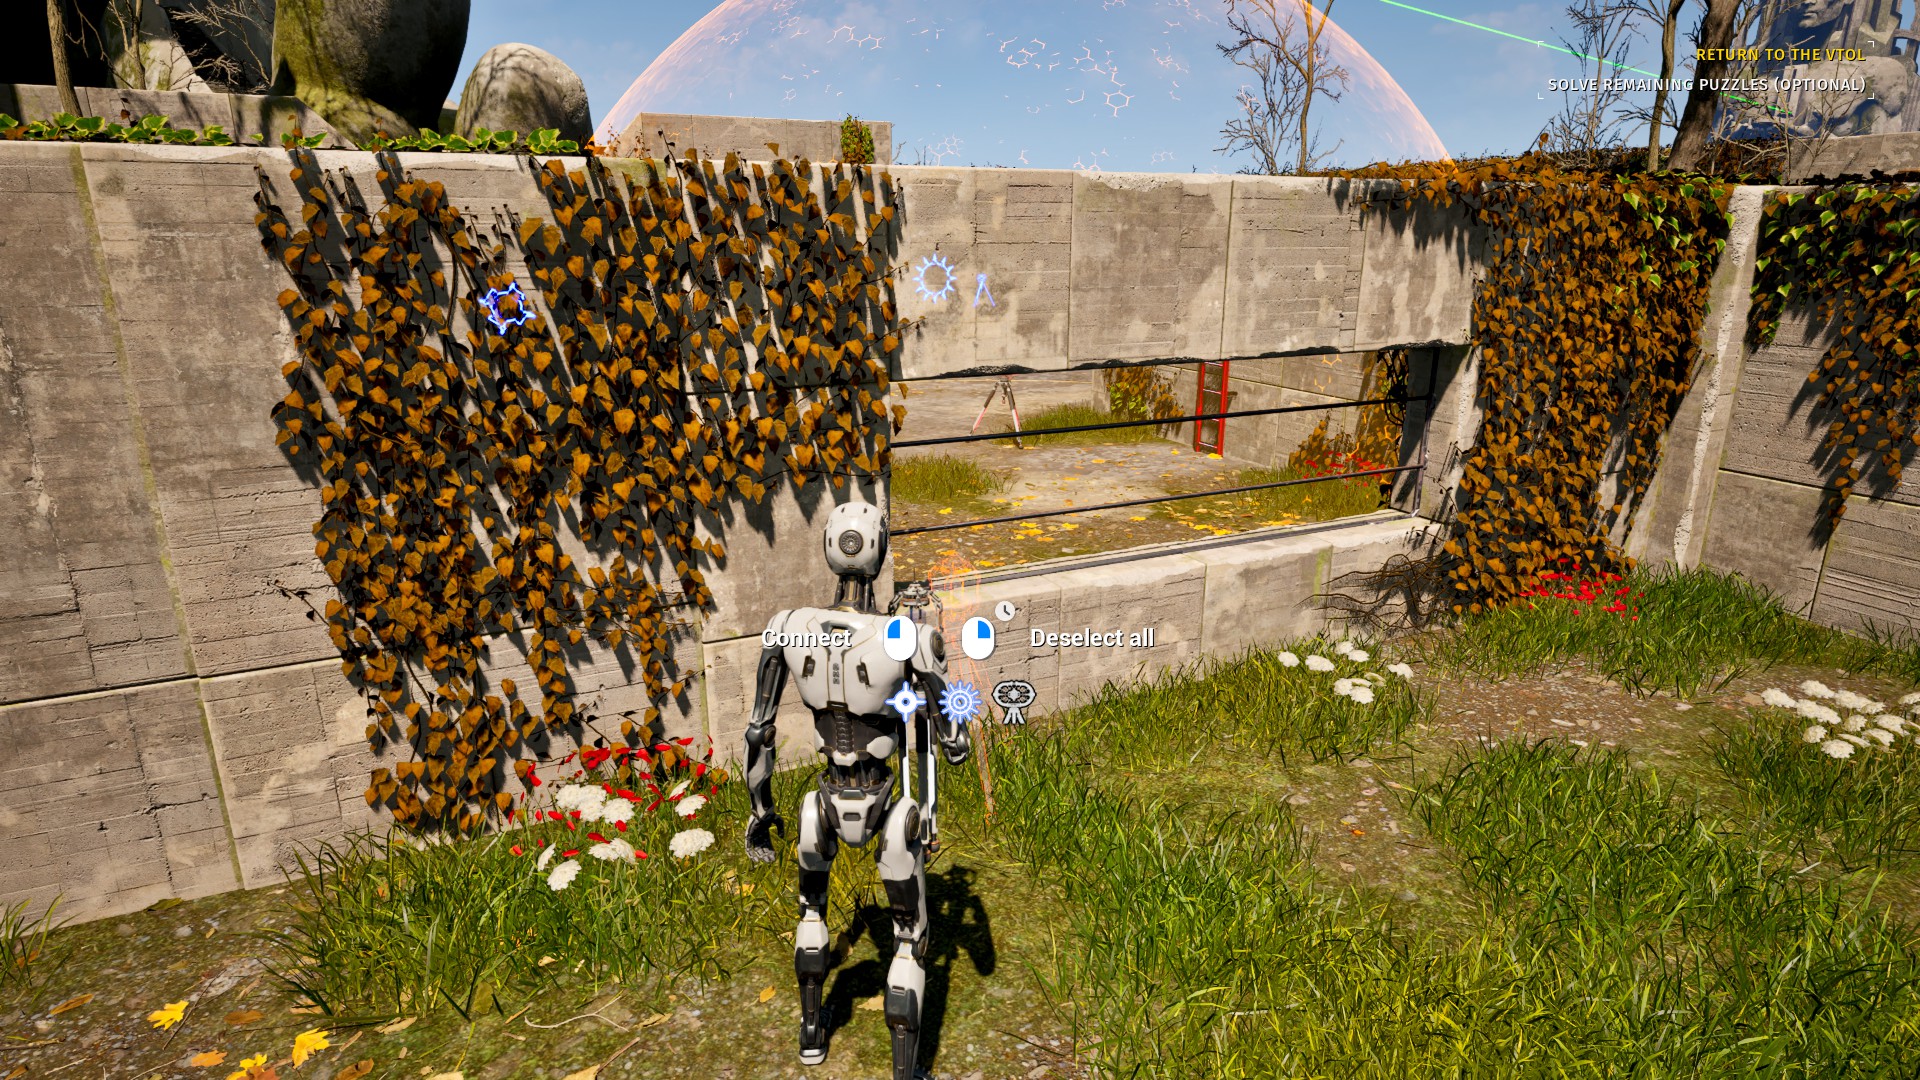
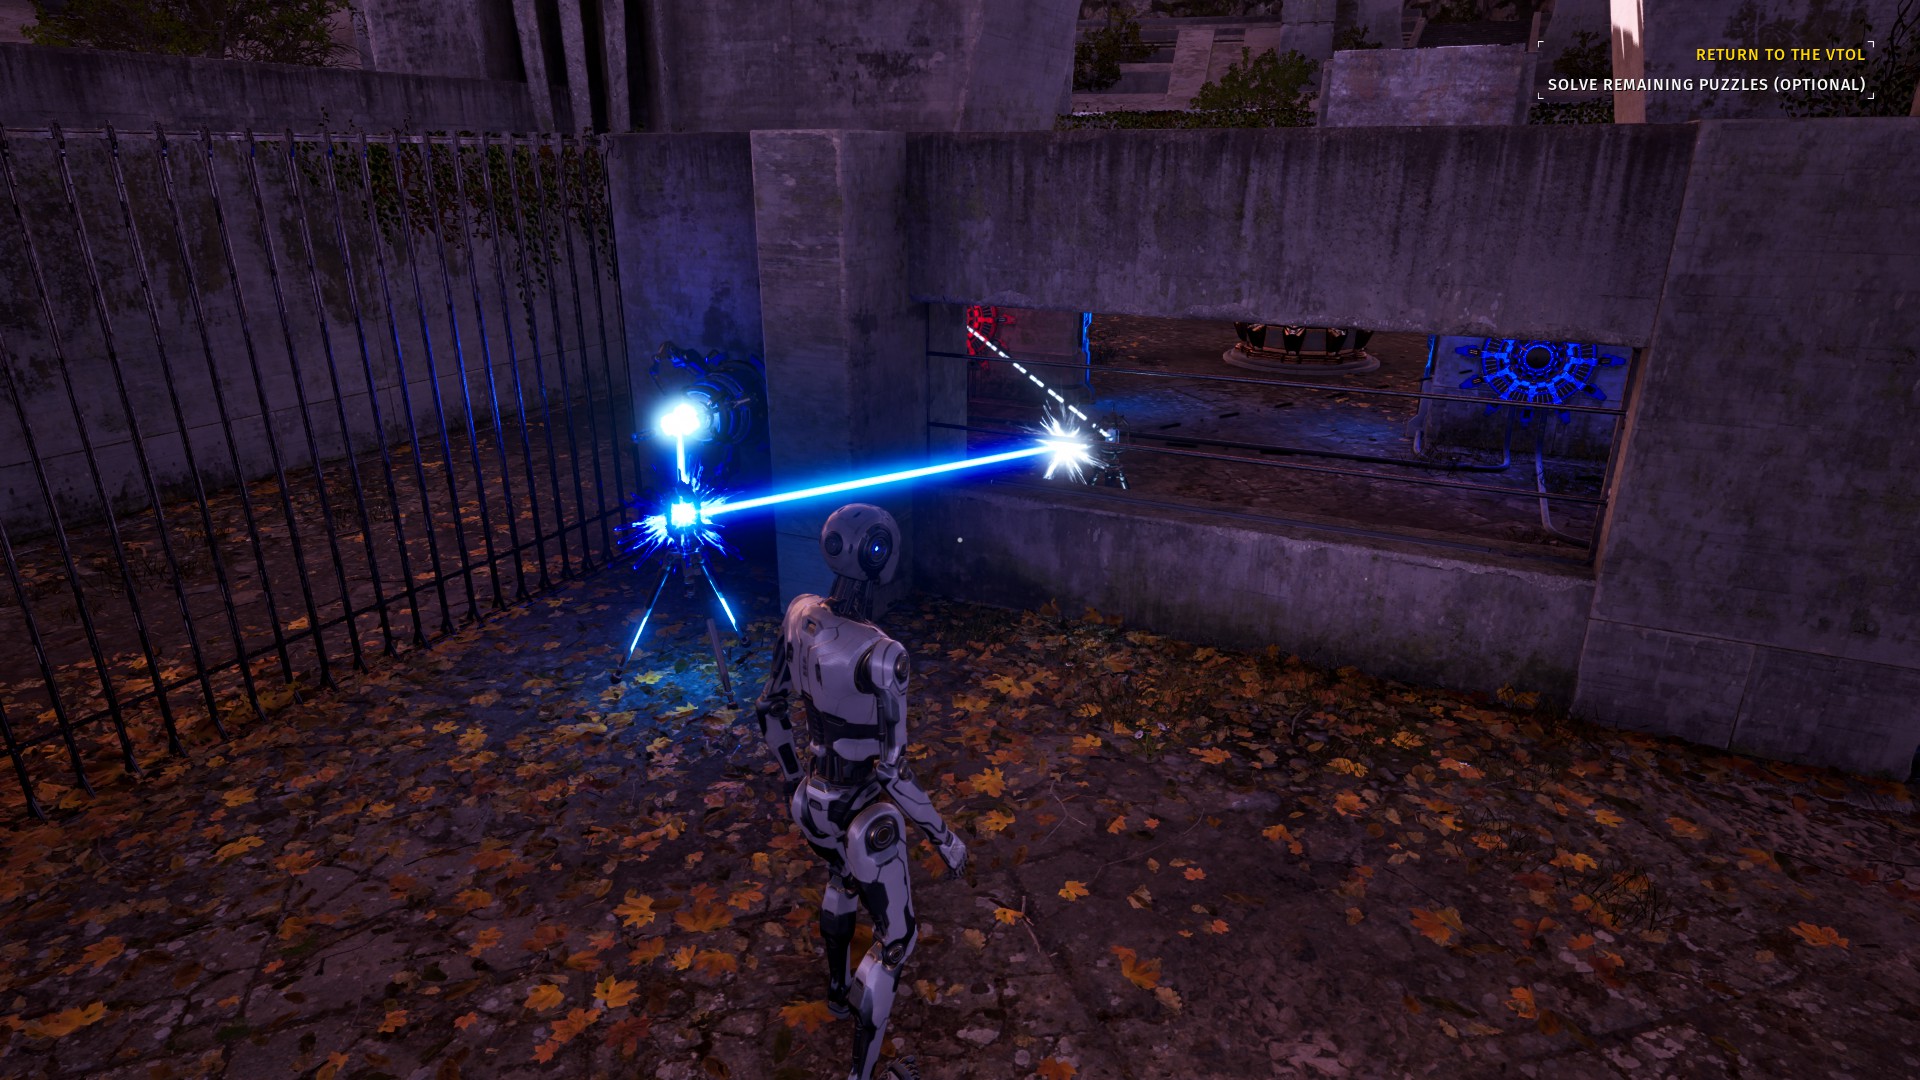
North 1 – “Vantage Point”
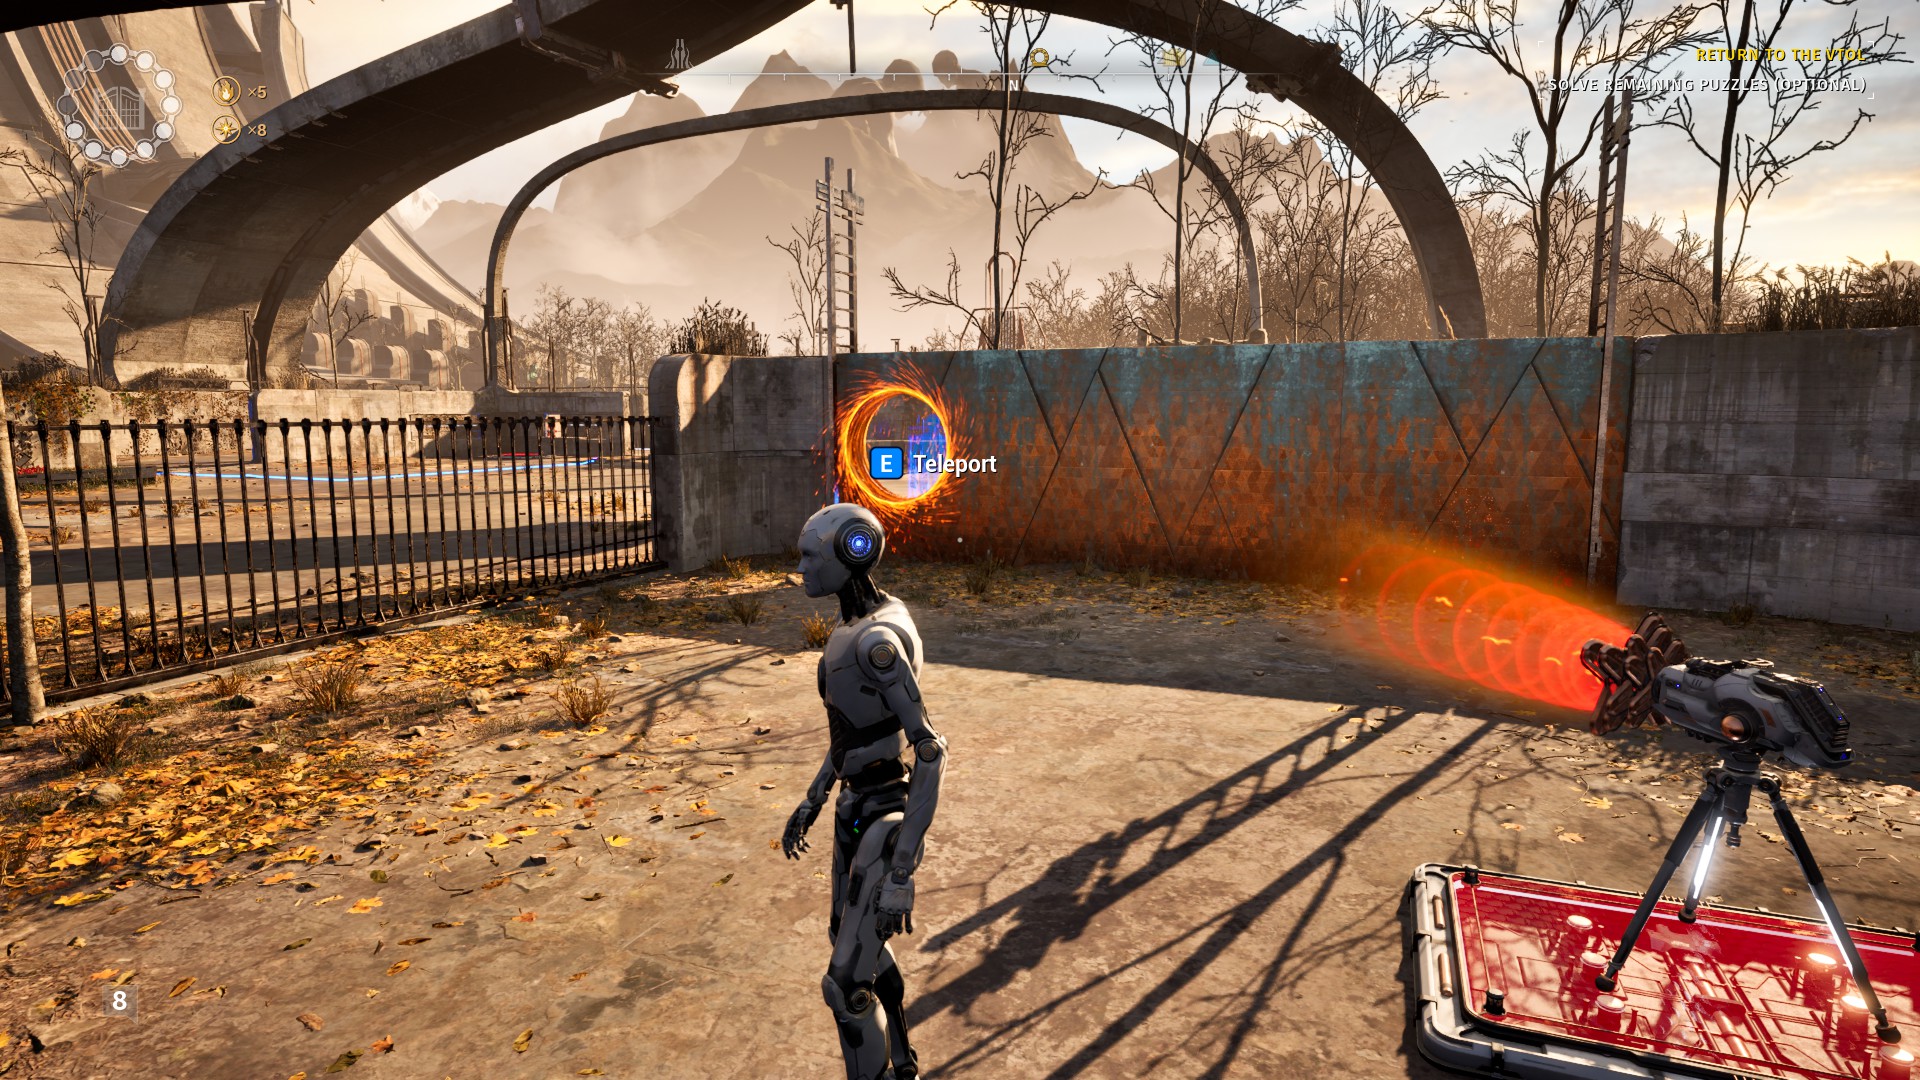
Location: From the Tram Station, go up the first Elevator and head Northwest. A sign at the end of the hall will direct you right. Take the catwalk and then jump down the mountain past puzzle 8, headed Northwest.
Teleport when entering island: Puzzle 8
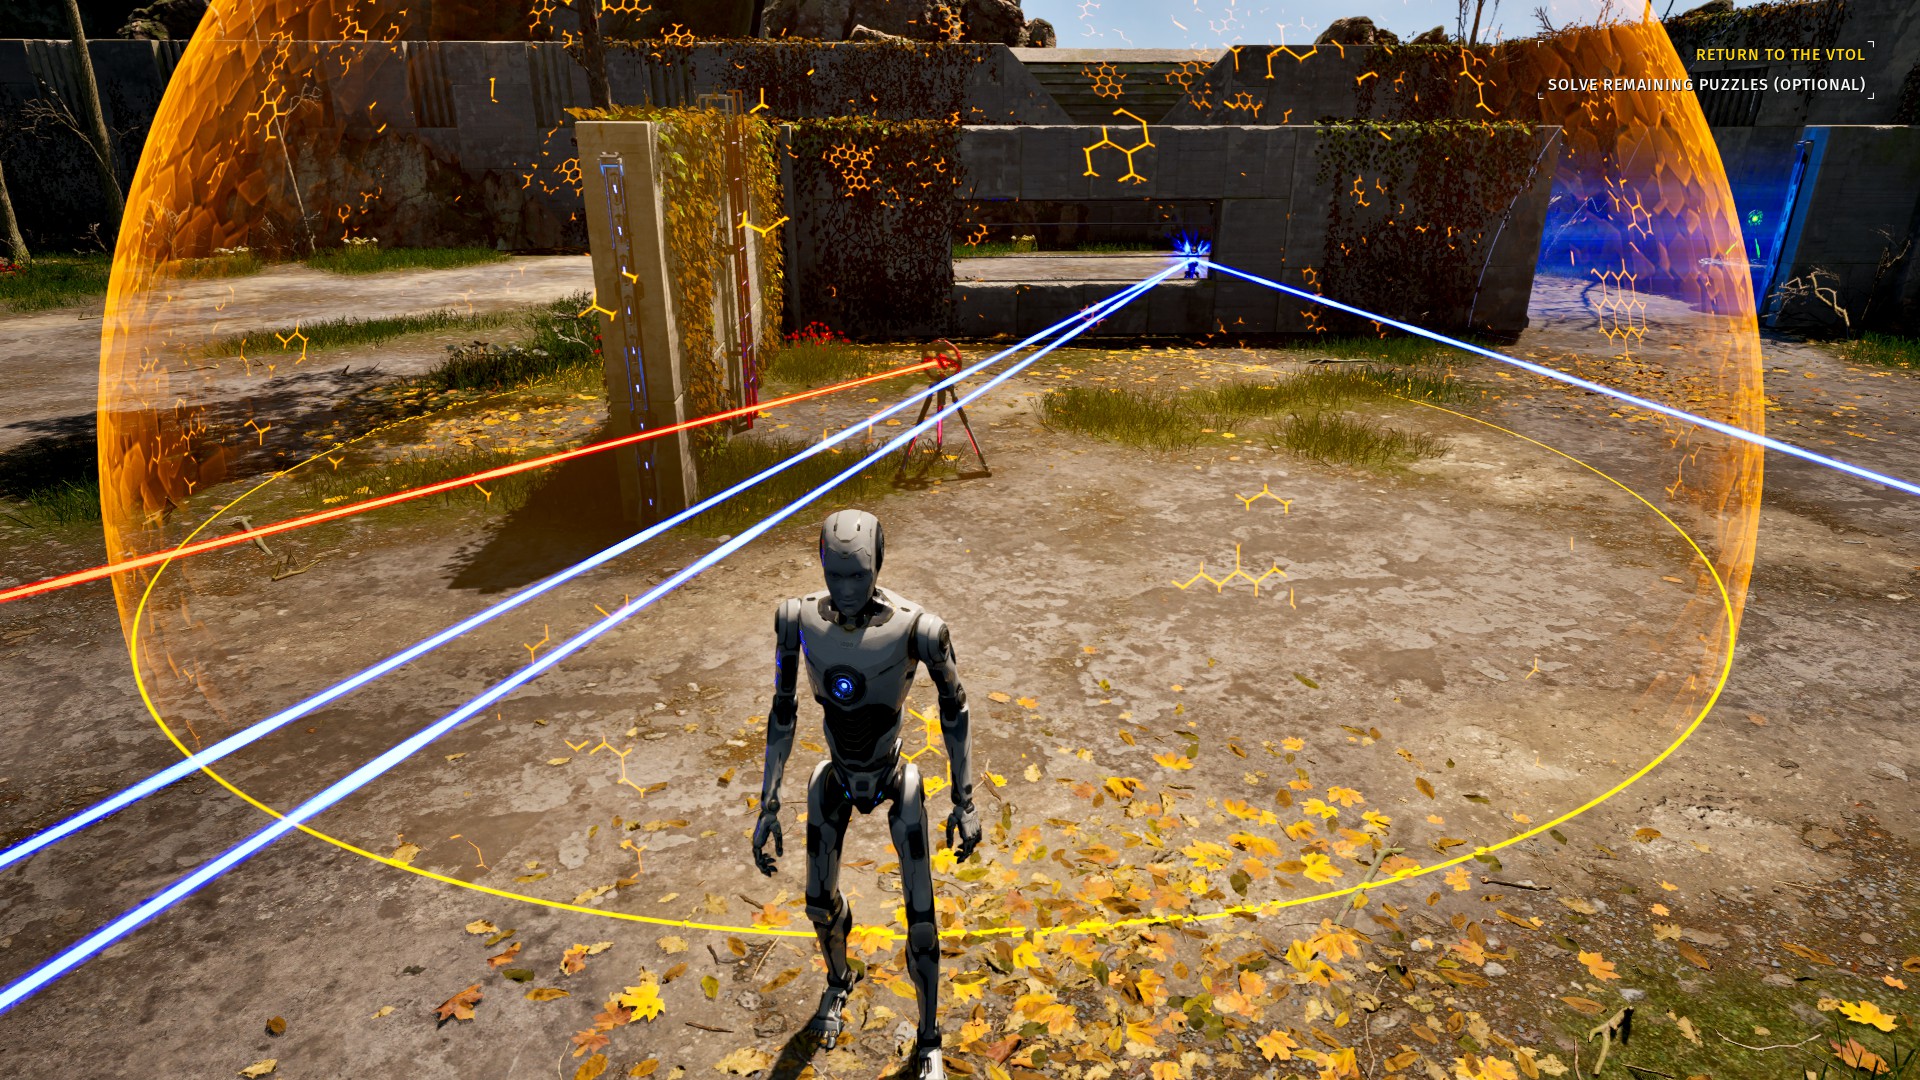
Start by Controlling your clone and moving the Connector to the Fan’s Button. Use the Fan to rejoin your previous body
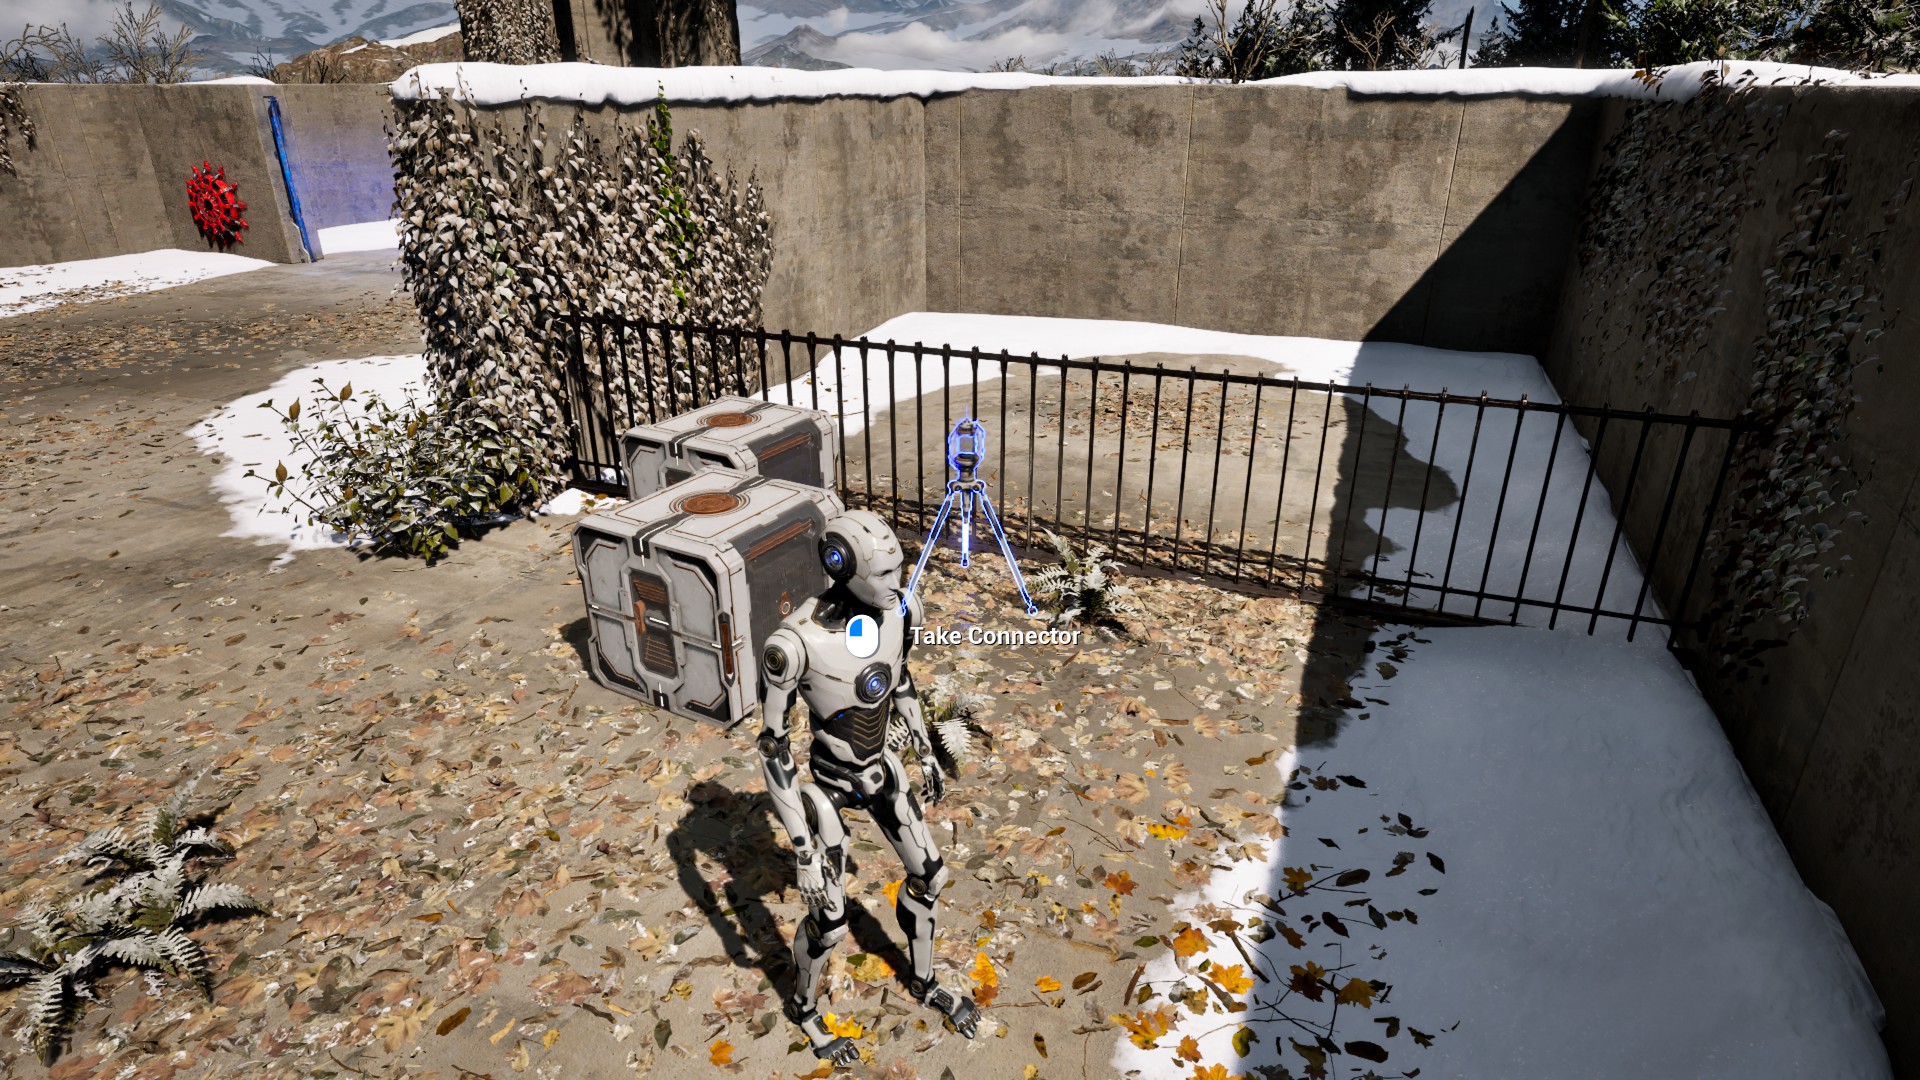
Use your clone to rescue the cube.

Use the Cube to jump both you and your clone back to the other side of the fence.
Leave the clone on the button, and jump back across with the connector
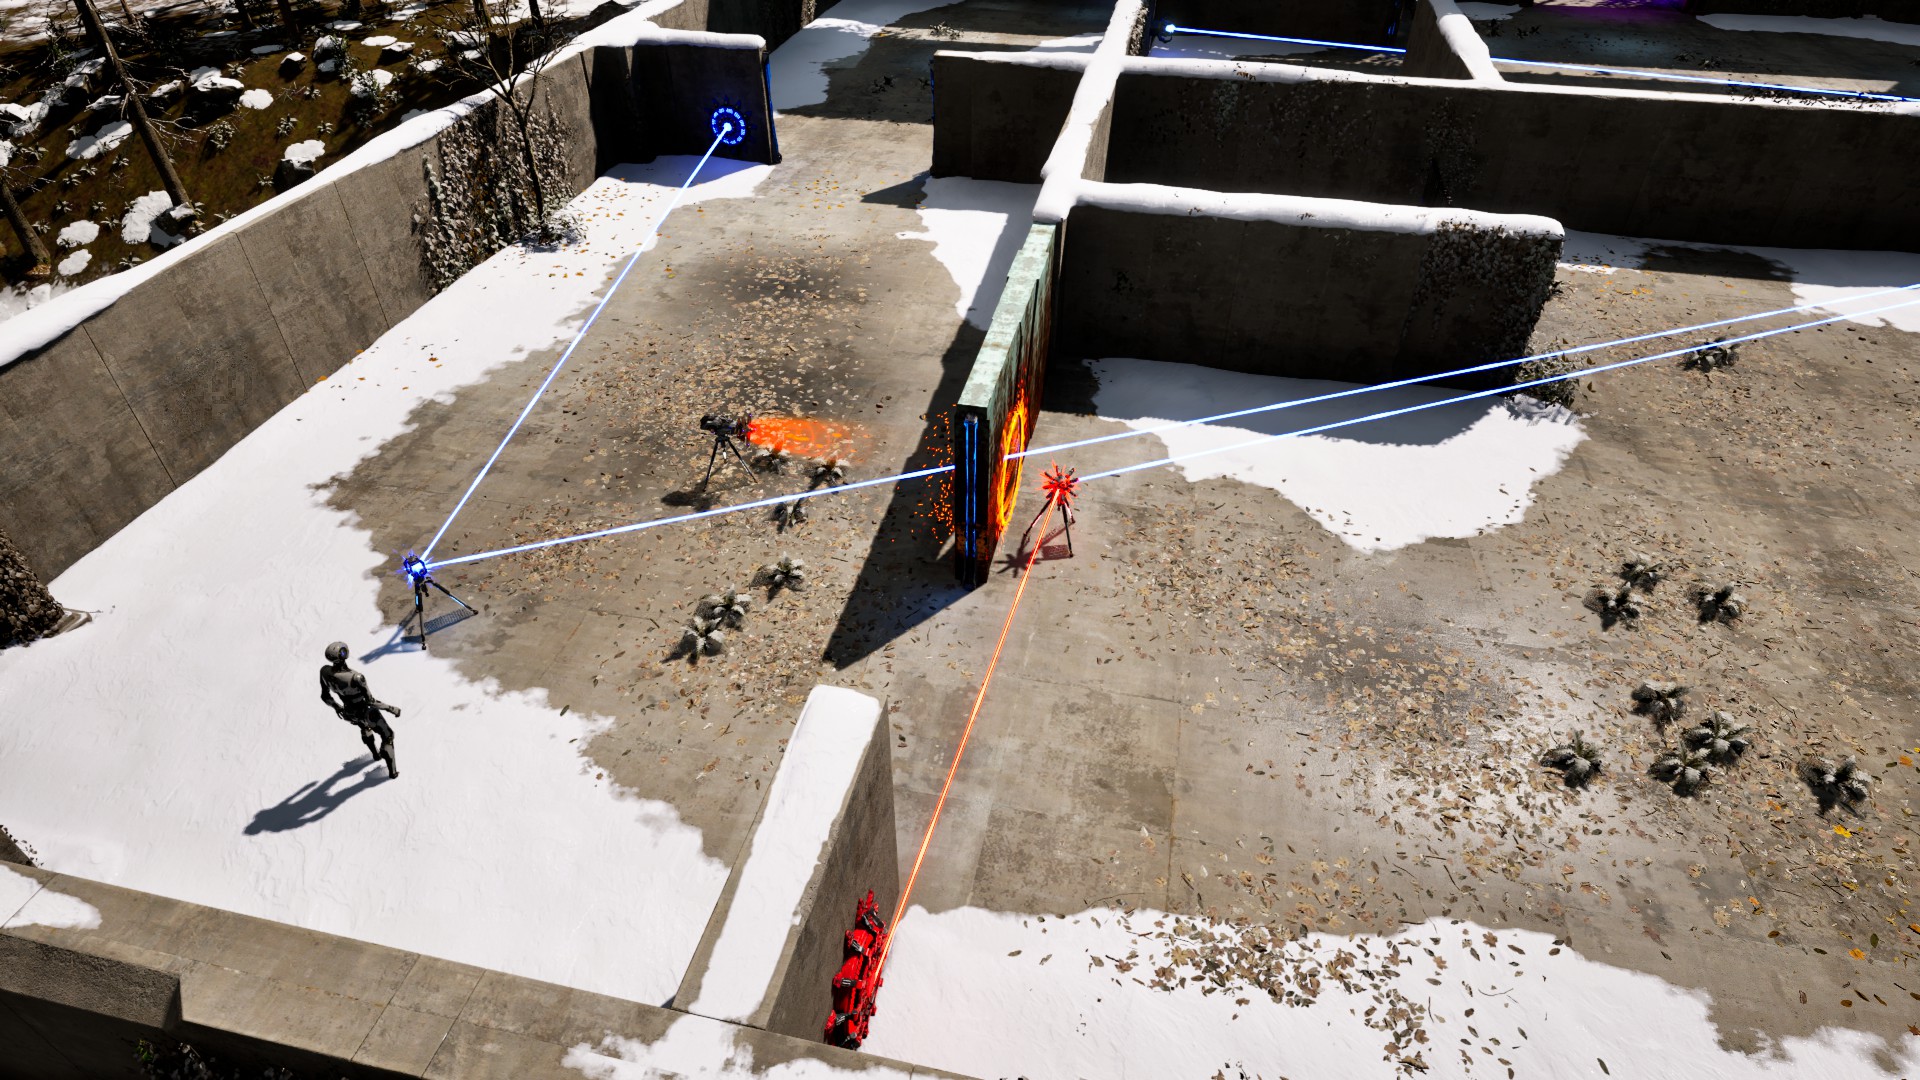
<SOLUTION!>
Position the connector to attach the Blue Generator and Receiver, then position yourself so that your visible from the Red Receiver. Swap with your clone a couple times, moving him towards the Red Receiver
Get your clone in the final location near solution to the right of the Red Receiver

Reposition the Connector so that it can attach the Red Generator and Receiver.
Use the box to jump over the fence one last time, then stand on the button to free the Red Generator, solving the puzzle

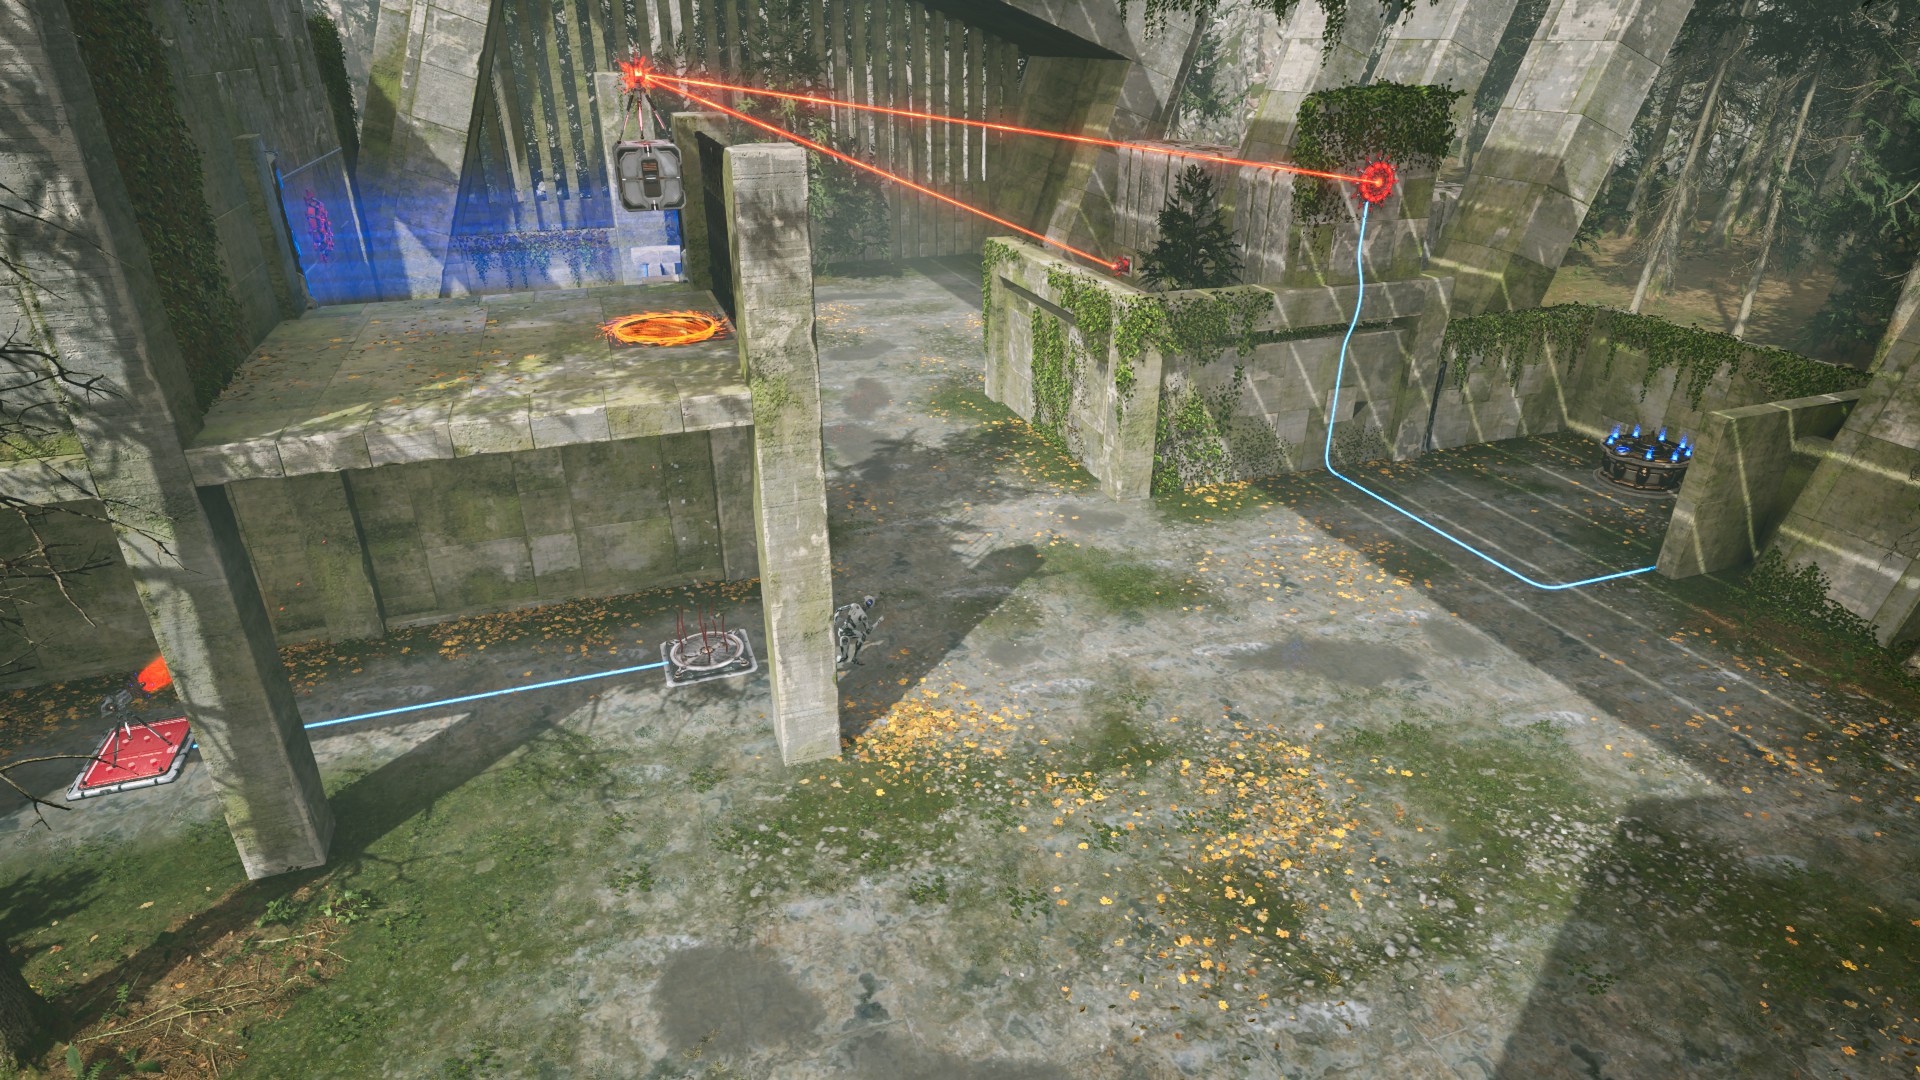
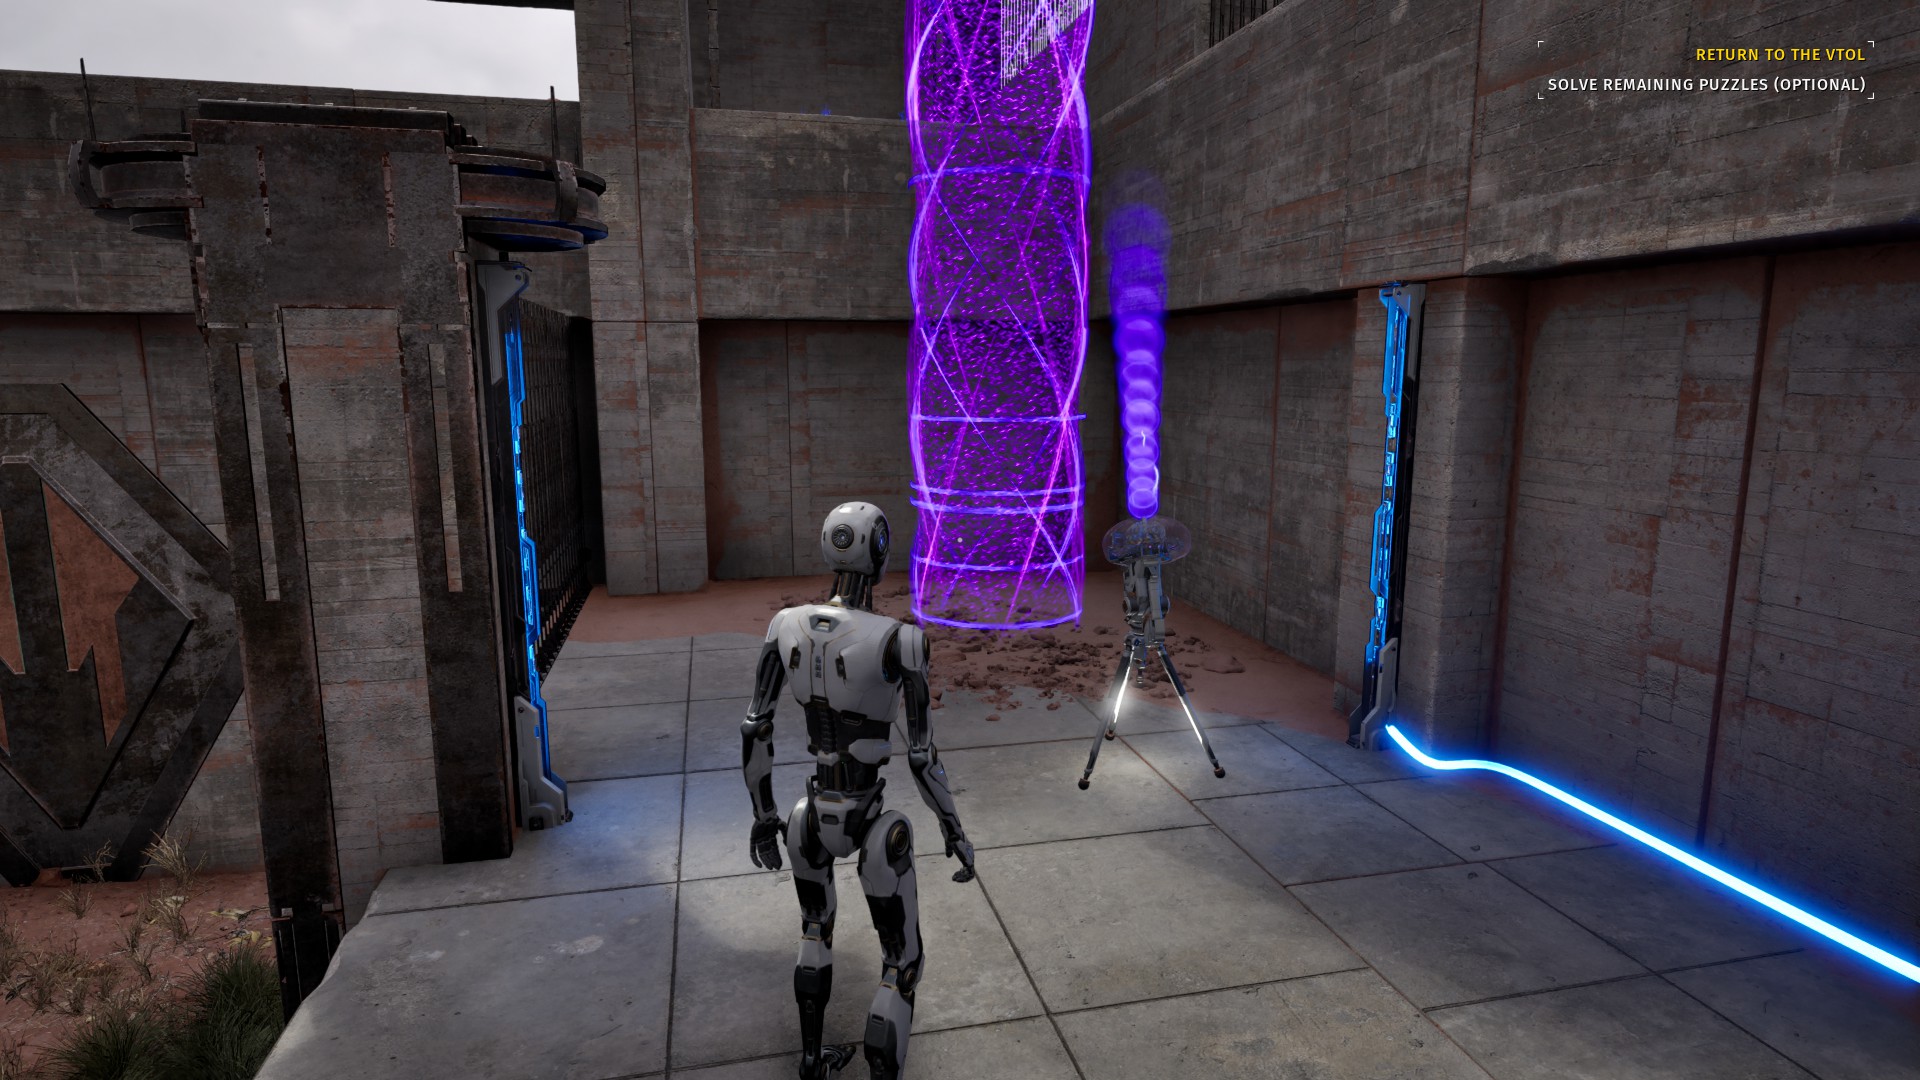
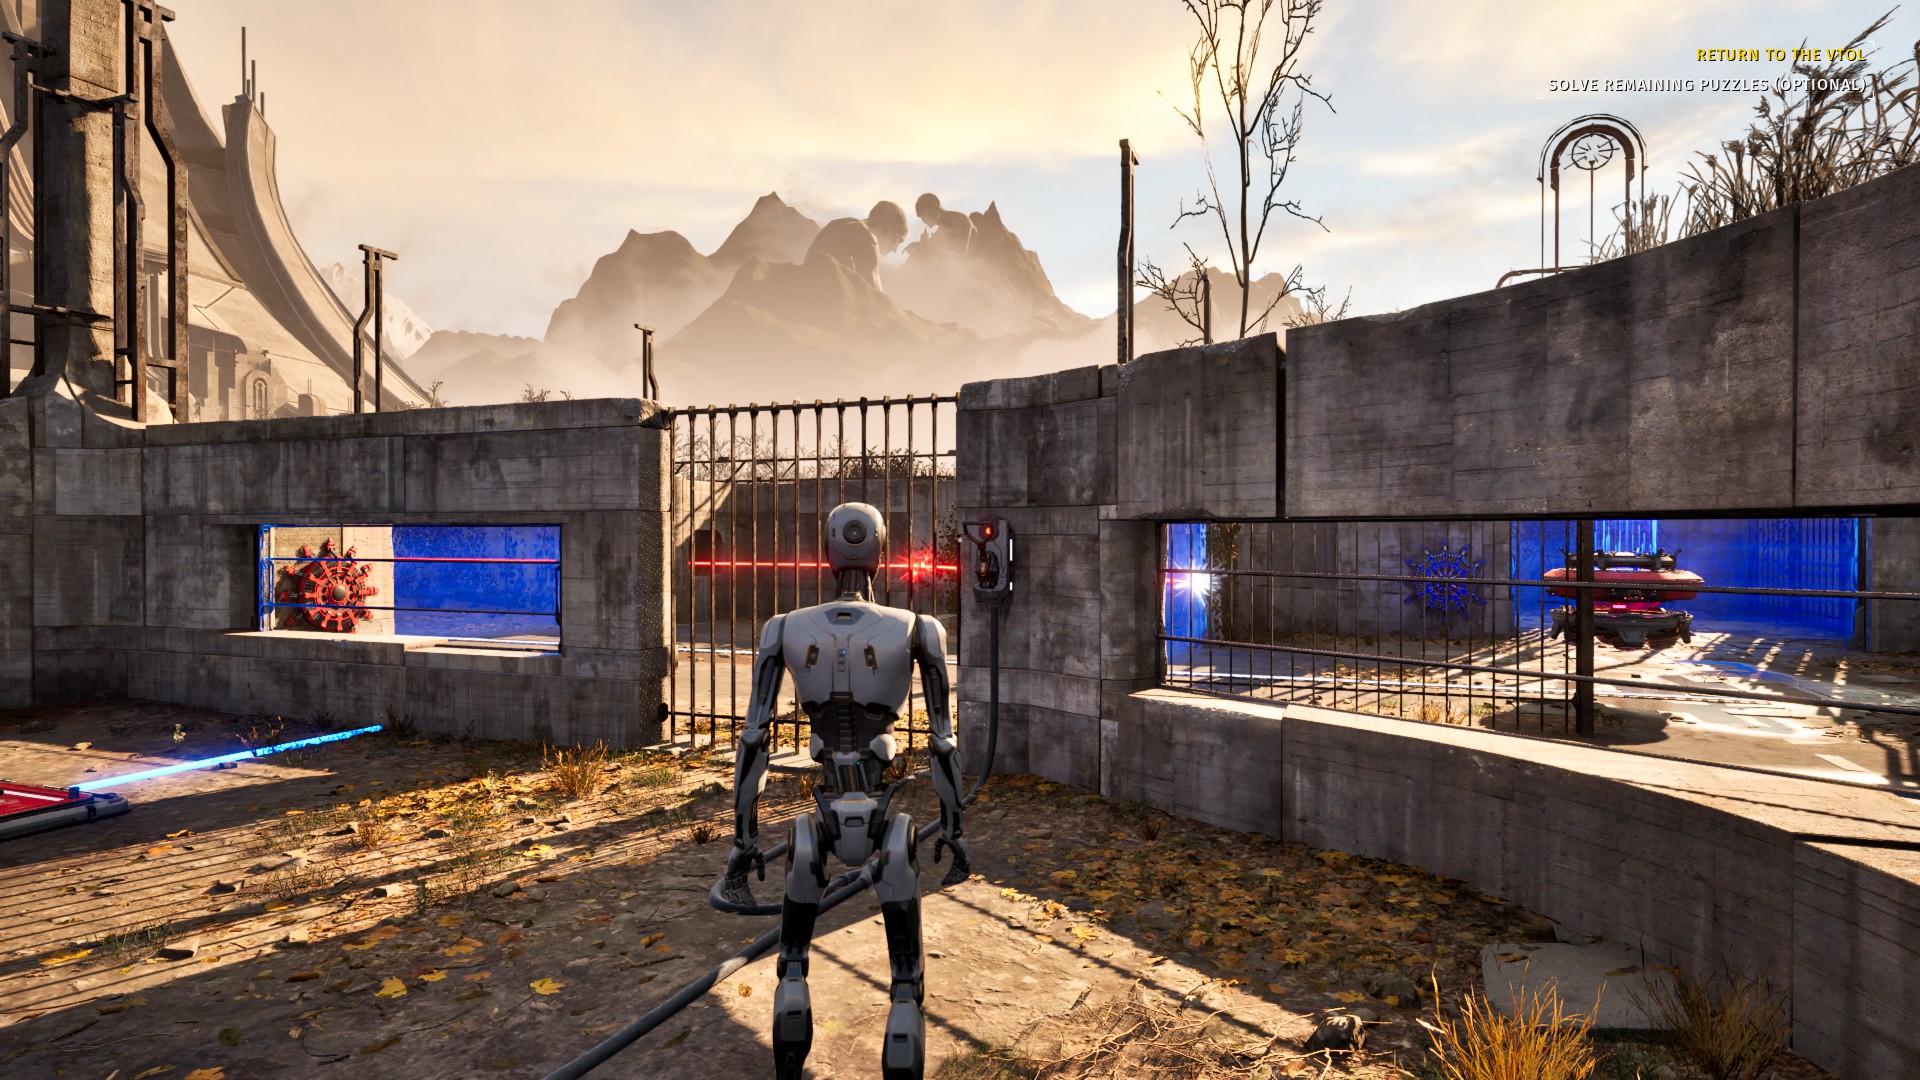
North 2 – “Embodied Cognition”
Location: Northwest of Tram-Station
Teleport when entering island: Tram-Station
Begin by charging the Accumulator red
Use the Red Accumulator through the window to open the door, and place the connector inside so that the Accumulator can be charged blue through the window when you return.

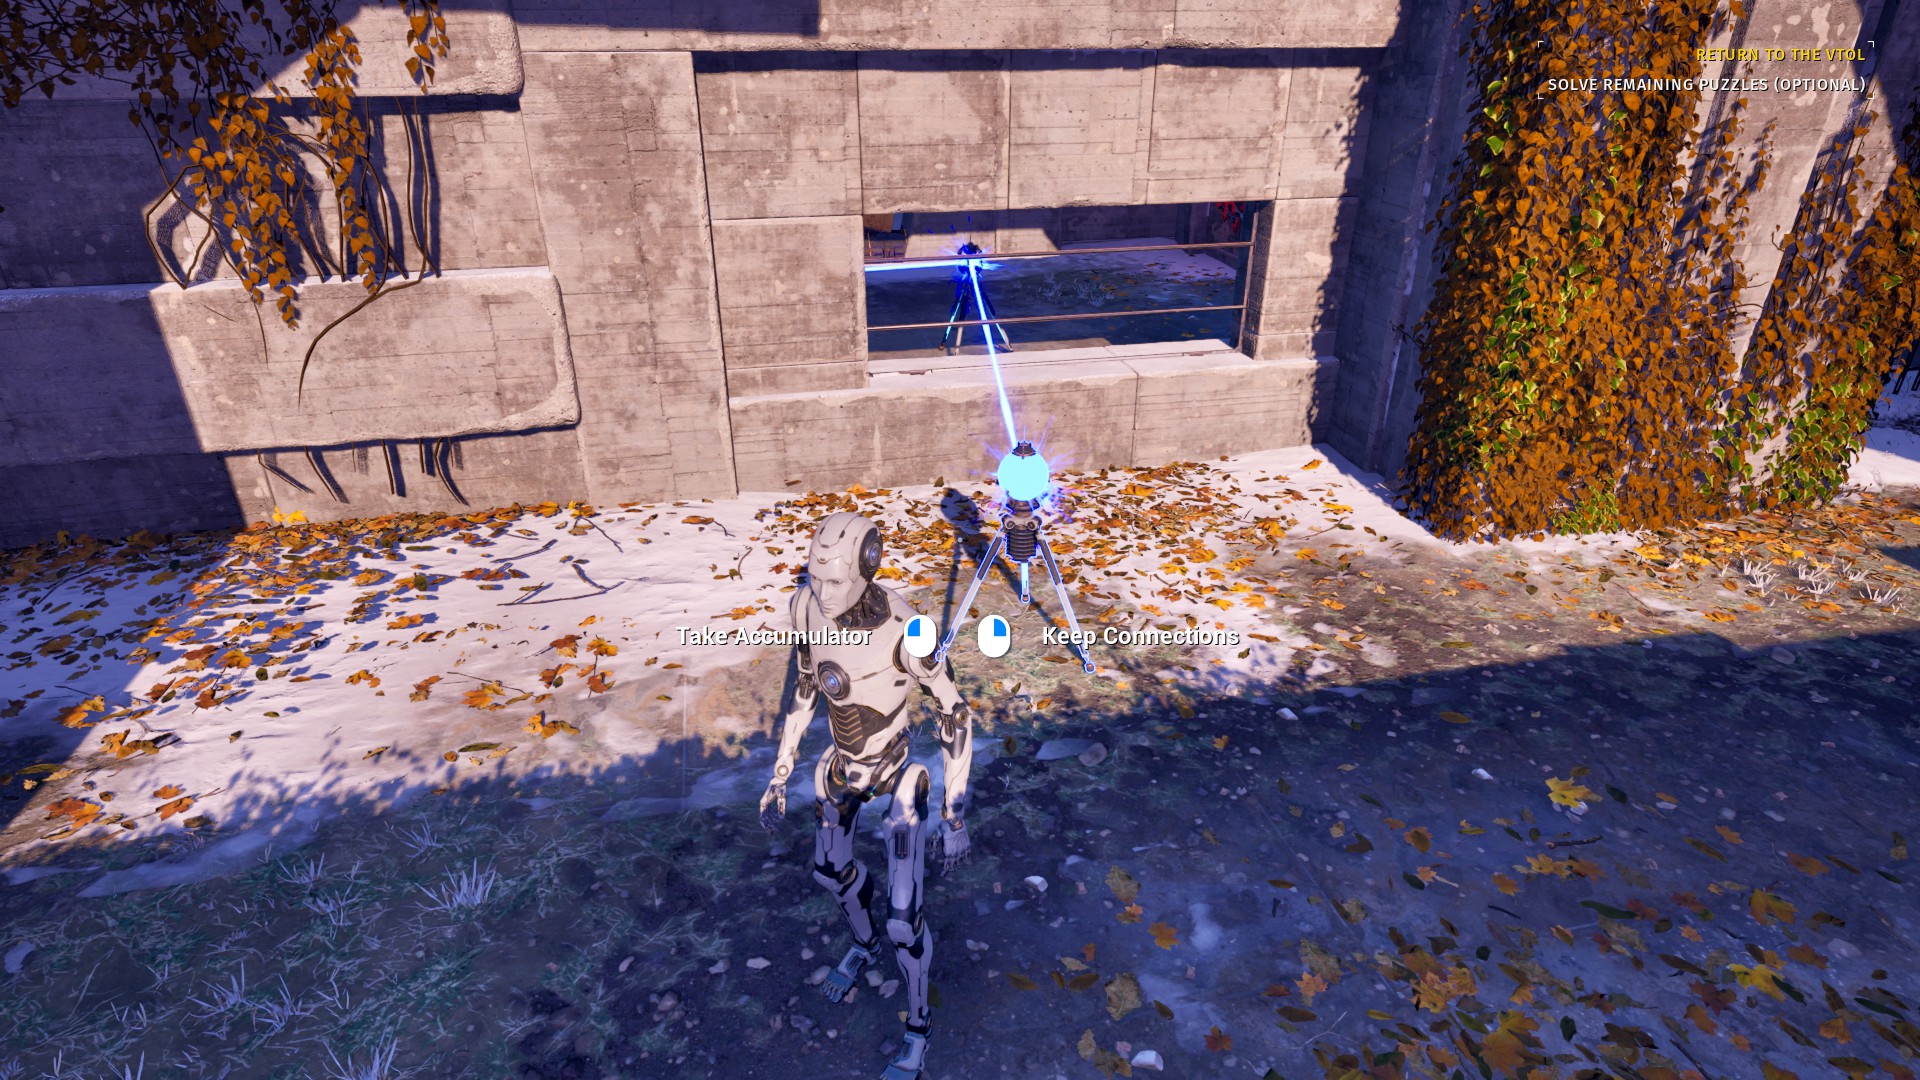
<SOLUTION!>
Use the Blue Accumulator to power the same door from the outside.

Bring the Connector out and attach it to the Blue Generator and both Blue Receivers; It will be partially blocked by the Accumulator
Reset the Accumulator and attach it to the Red Generator

Body-Block the Blue laser allowing the Accumulator to become red. This completes the puzzle

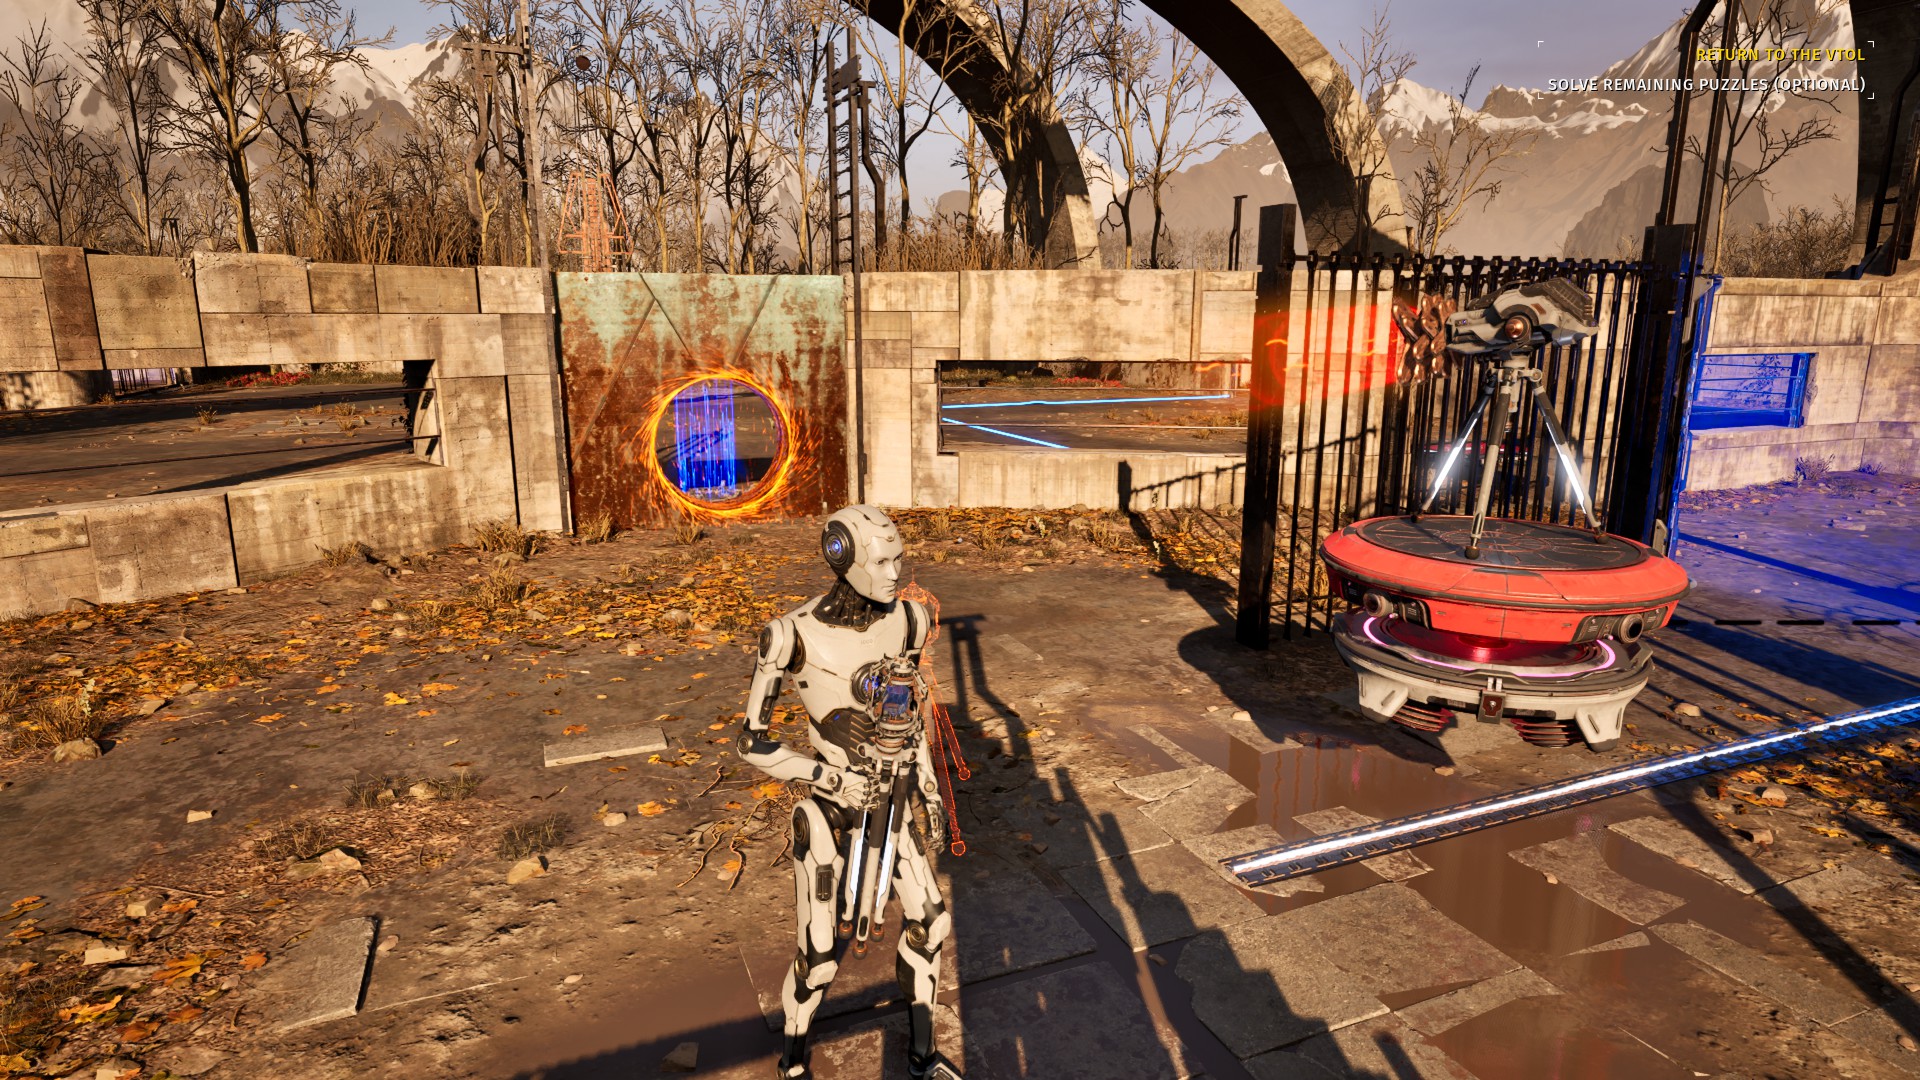
North 3 – “The Rearranger”
Location: Southeast of Tram-Station
Teleport when entering island: Tram-Station
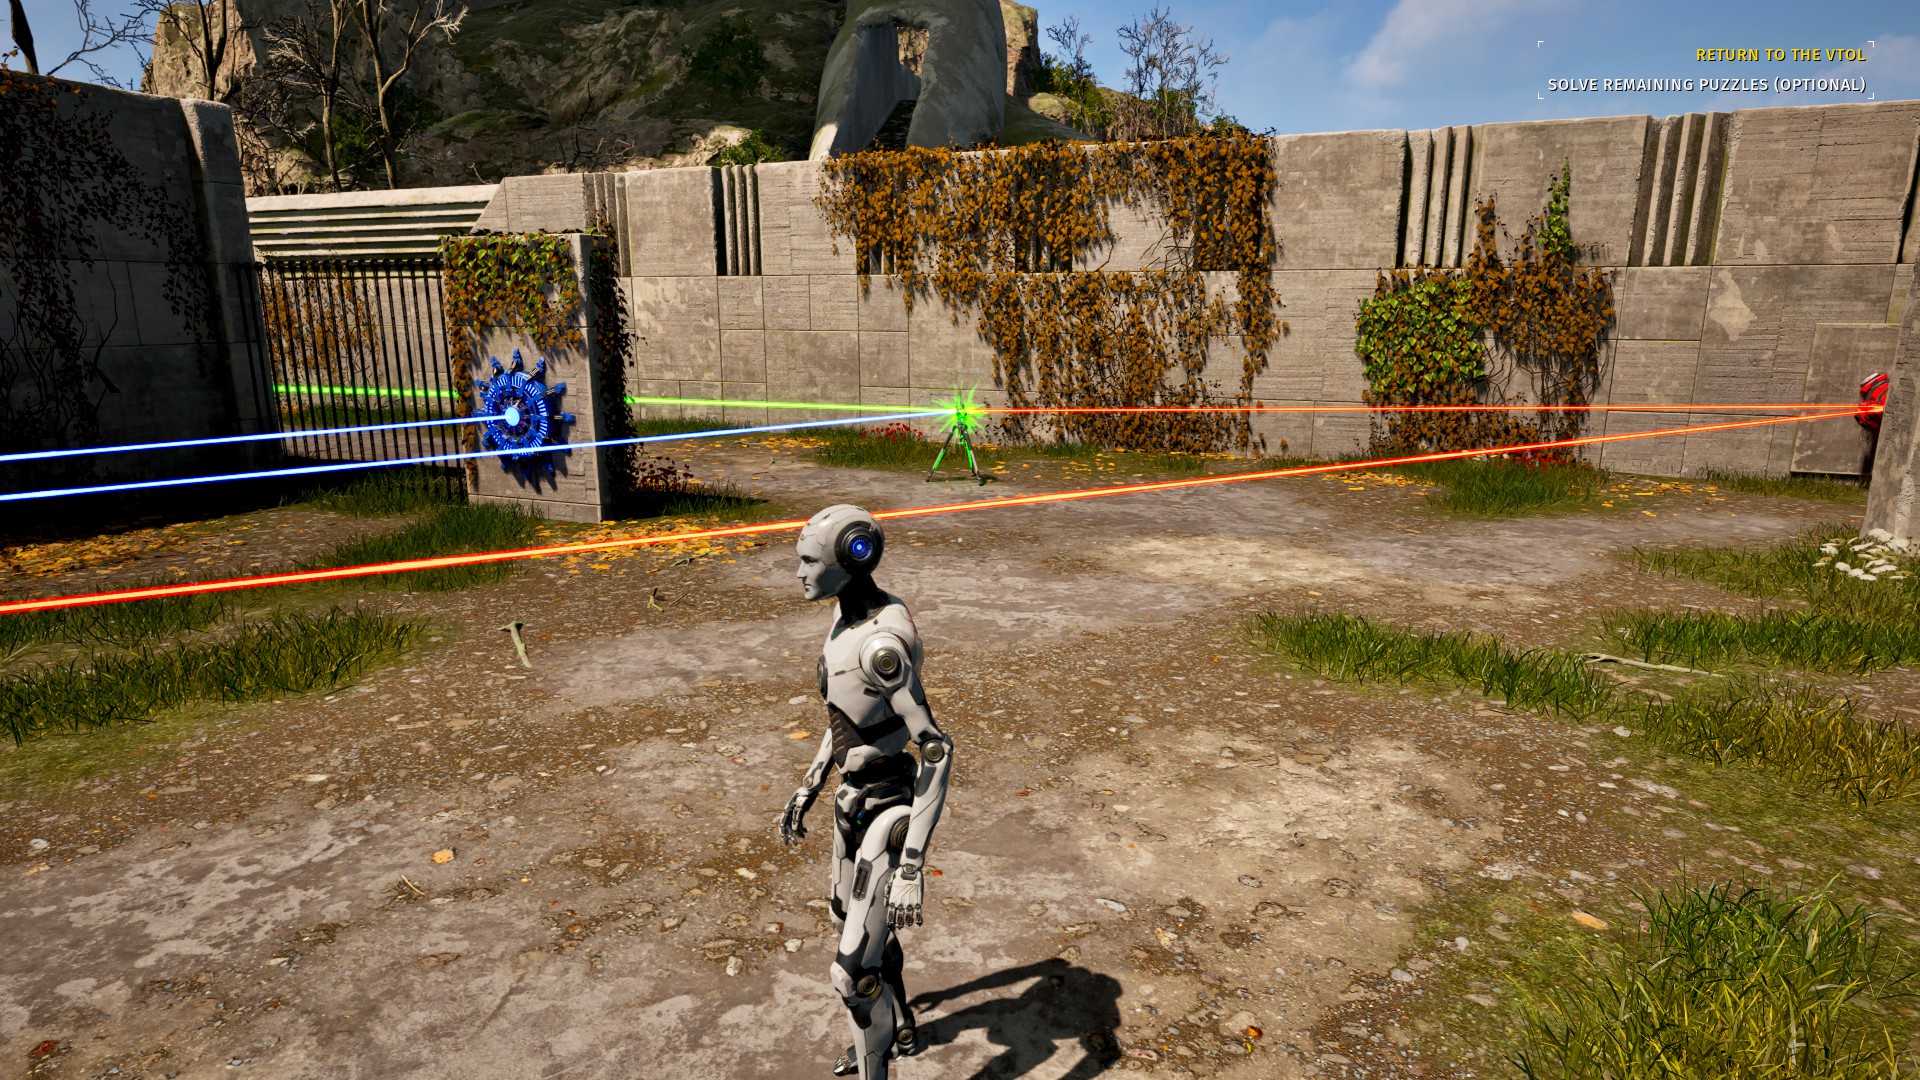
Begin by swapping for a Connector, and use it on the button to path the Blue Laser.

Use the new piece you got and swap it in for an Inverter. Setup the Inverter so you can access the second cube
Use two cubes and a Connector to rescue a 2nd Connector over the short-wall
<SOLUTION!>
Use a fan on the button, and position a Connector along the far wall. Through the door, use a Connector and Inverter to power the Blue and Red Receivers, opening a path to pick up another fan.

Trade the fan for the Driller and bring it over, use it on the far left of the wall. Attach the connector’s through the Portal, you may have to adjust their positions more than the last step. Adjust the position of the Inverter to be next to the Portal while powering the red door, so you can pick it up through the Portal and finish the puzzle.

East 1 – “Jump Start”
Location: West of puzzle 4, follow the signs if you didn’t teleport there on arrival.
Teleport when entering island: Puzzle 4
Start by swapping the cube and the Connector.

Bring the Connector to the Red Generator in order to free the first RGB connector

Replace the Cube on the button with the RGB Connector

Launch the Connector into the air with all red sockets attached using the cube and fan, in order to free the 2nd RGB Converter

<SOLUTION!>
Replace the connector on the cube with the new RGB Converter. Attach it to the Red Generator, the Blue Generator, and the other RGB Converter

Keep the first RGB Converter on the button, but now attach it to the Blue generator, the Red Receiver that powers the fan, and keep it attached to the second RGB Converter
Use the Connector to attach the Blue Generator to the 2nd RGB Converter (the one on the cube) until it is stable in the air

Finally, take the Connector to the end of the puzzle.
East 2 – “Lonely Heights”
Location: Pretty far South from the Tram-Station, or just Southeast of Puzzle 5
Teleport when entering island: Puzzle 5
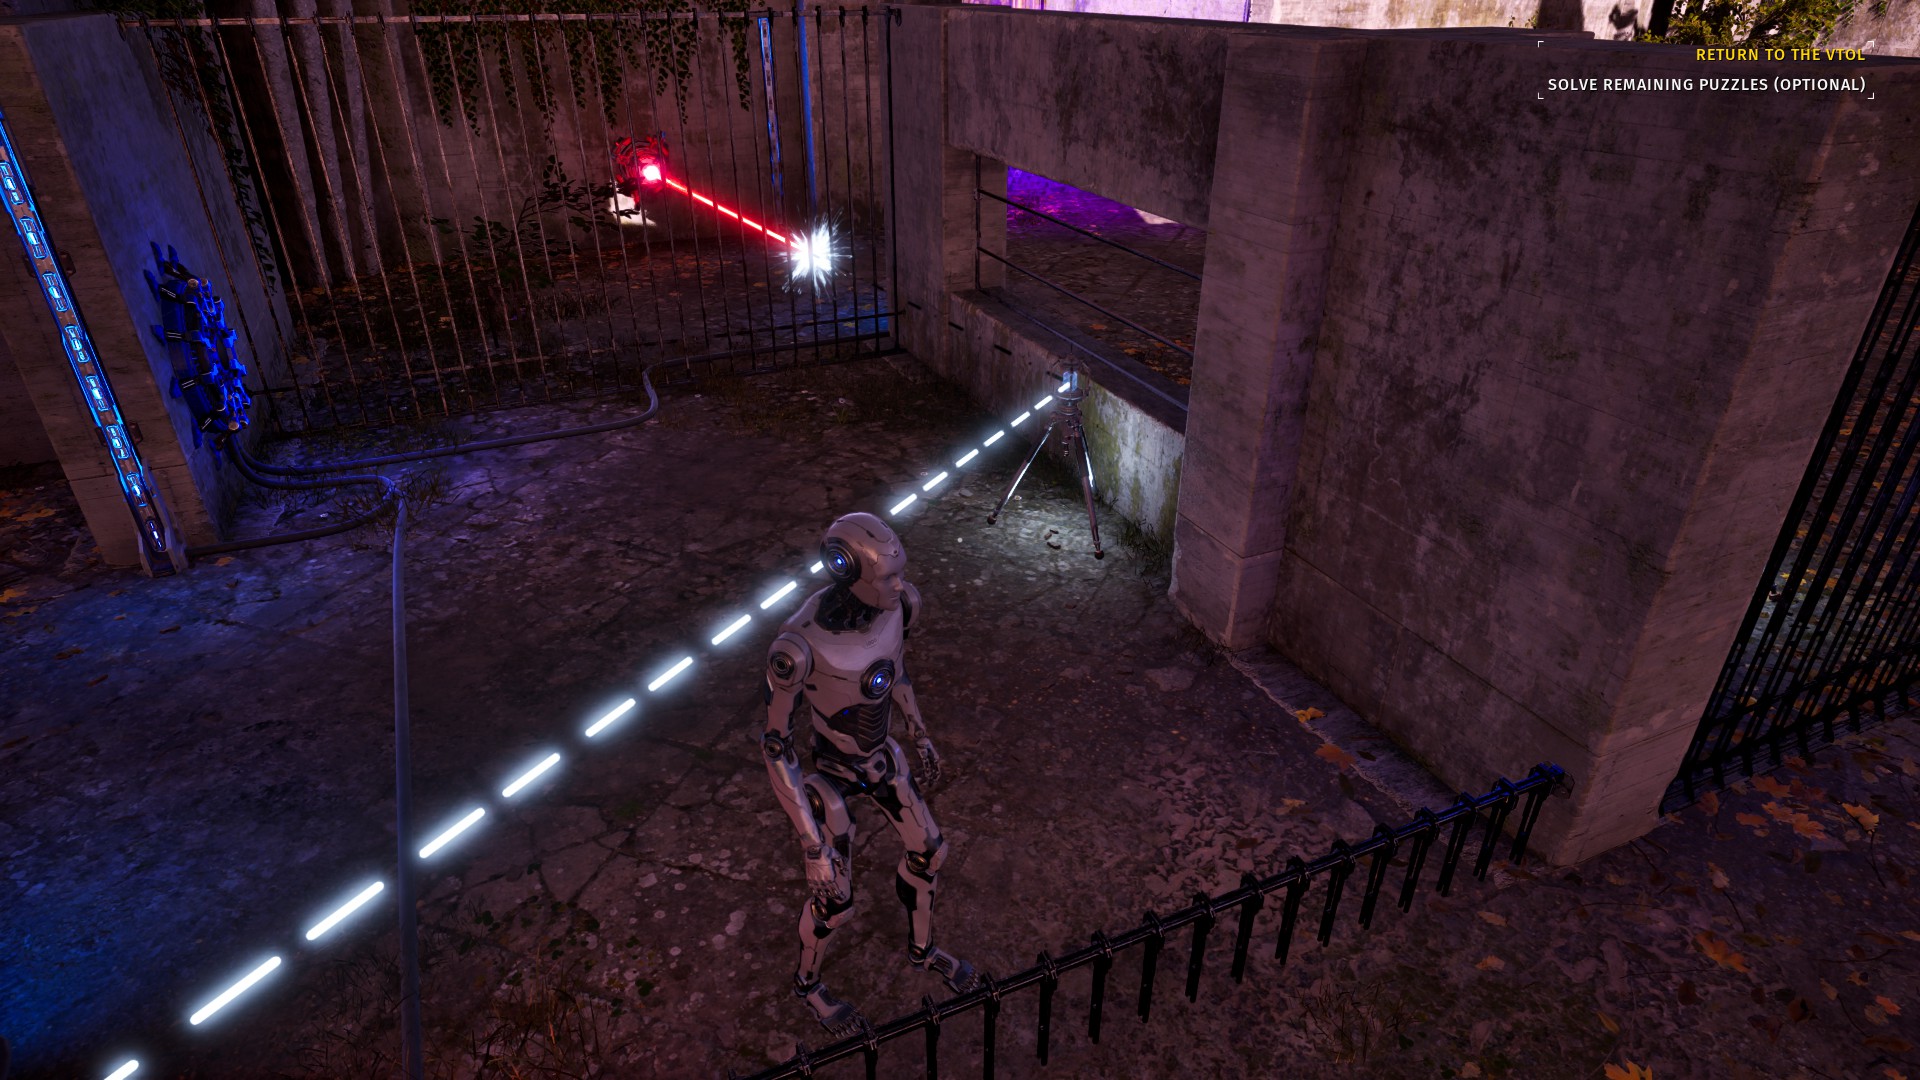
Start by placing the Driller on the button and riding the fan up to the top
Take the cube you found and use it to open the door. Bring the Driller around so that you can grab the Connector in the wall.
<SOLUTION!>
Place the Connector up top to connect the Red Generator to both nearby Red Receivers. The path will be blocked
Bring the fan and Driller back to the wall. Place the fan on the button through the Portal. Leave it there for two seconds and the Connector above will activate and take over. This allows you to get all your pieces out, including the Cube.
Assemble your pieces below, grab the Connector last. Pair the Connector to the final Red Receiver.

Launch the Connector up on top of a Cube to complete the red laser, finishing the puzzle
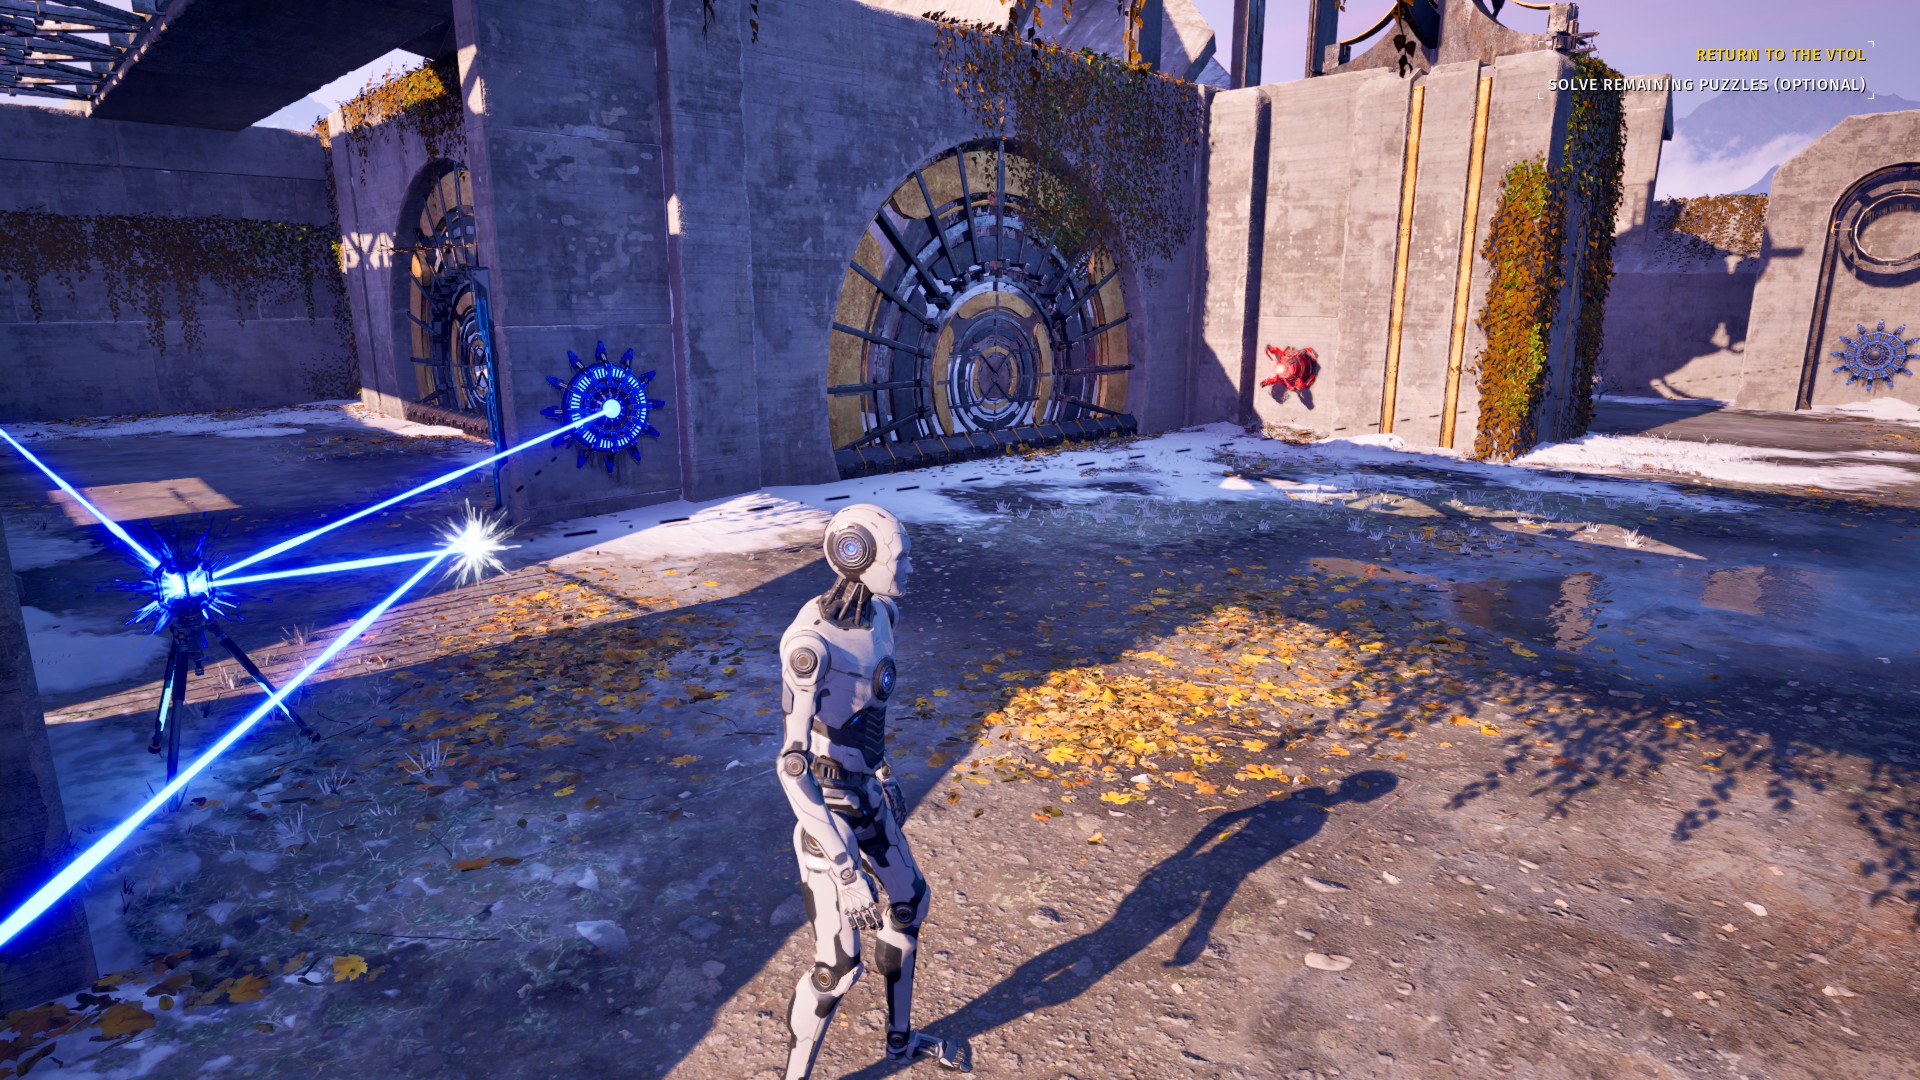
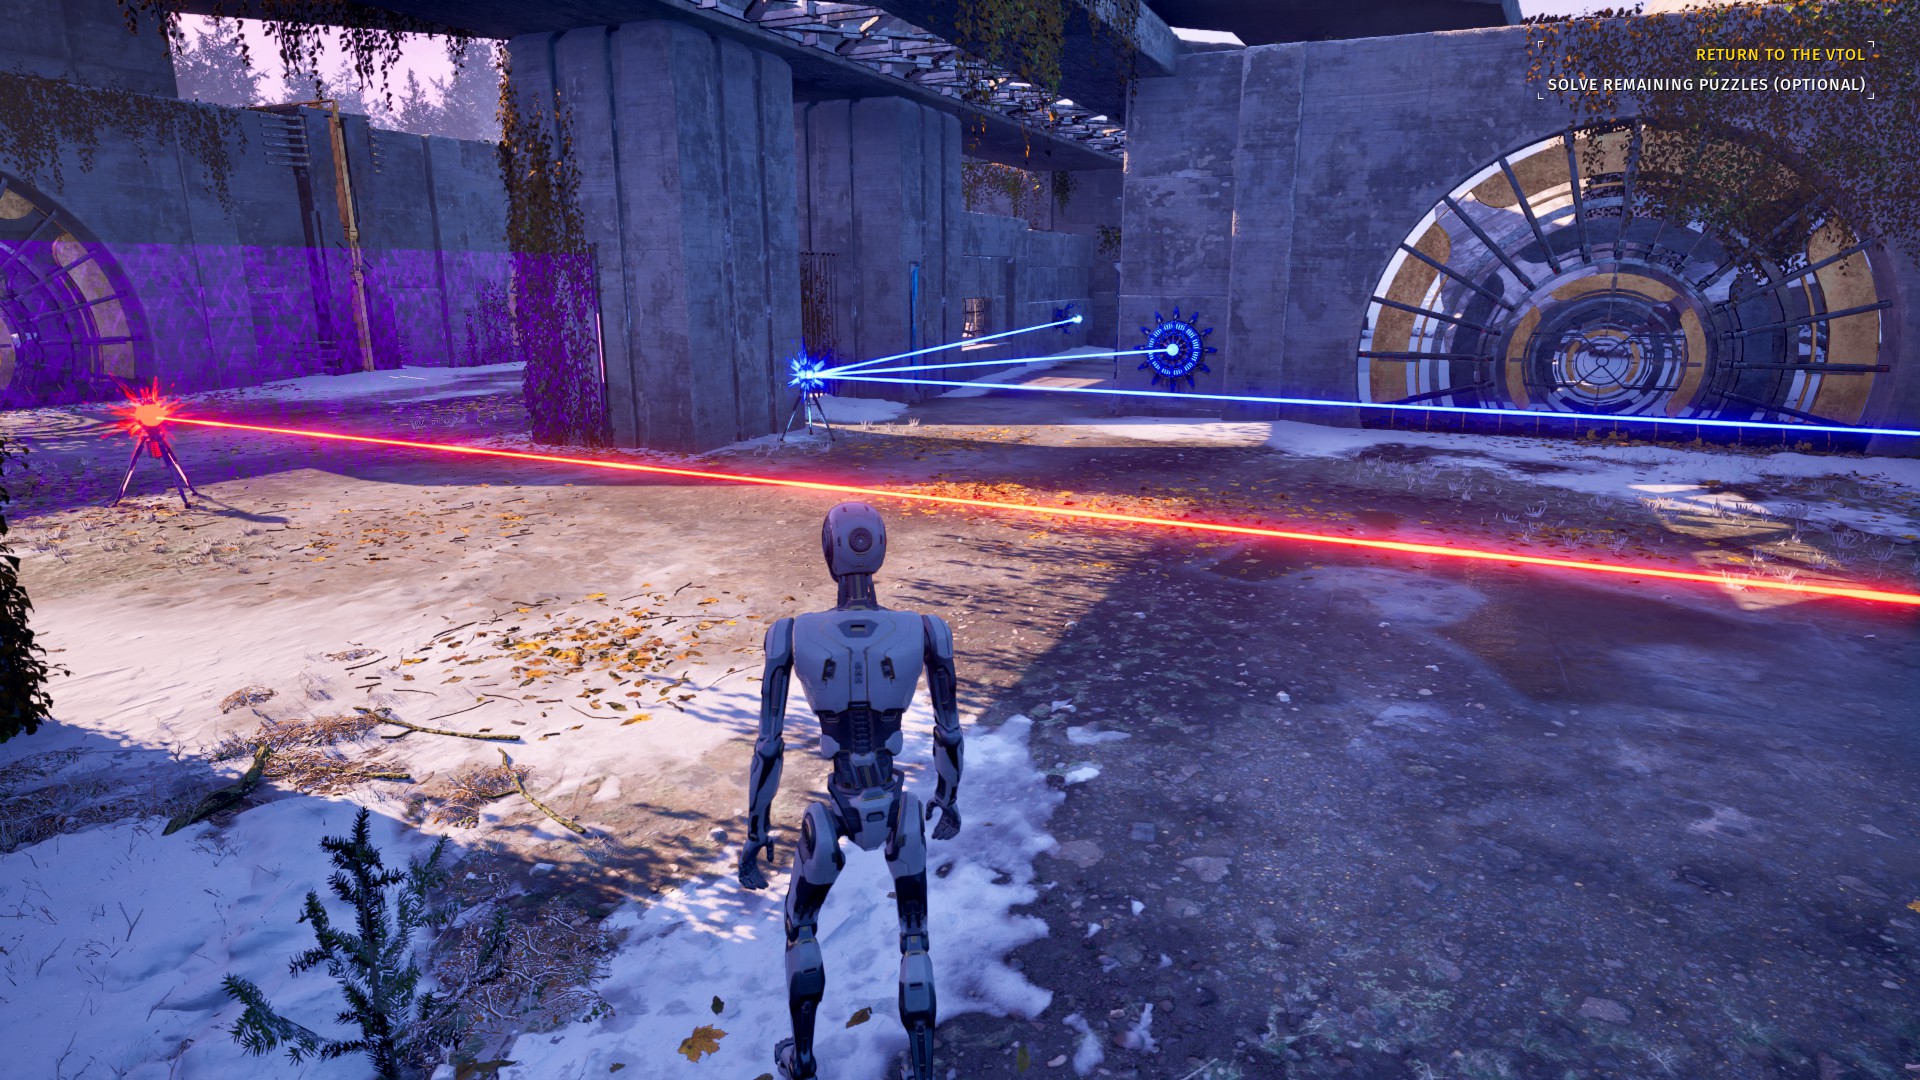
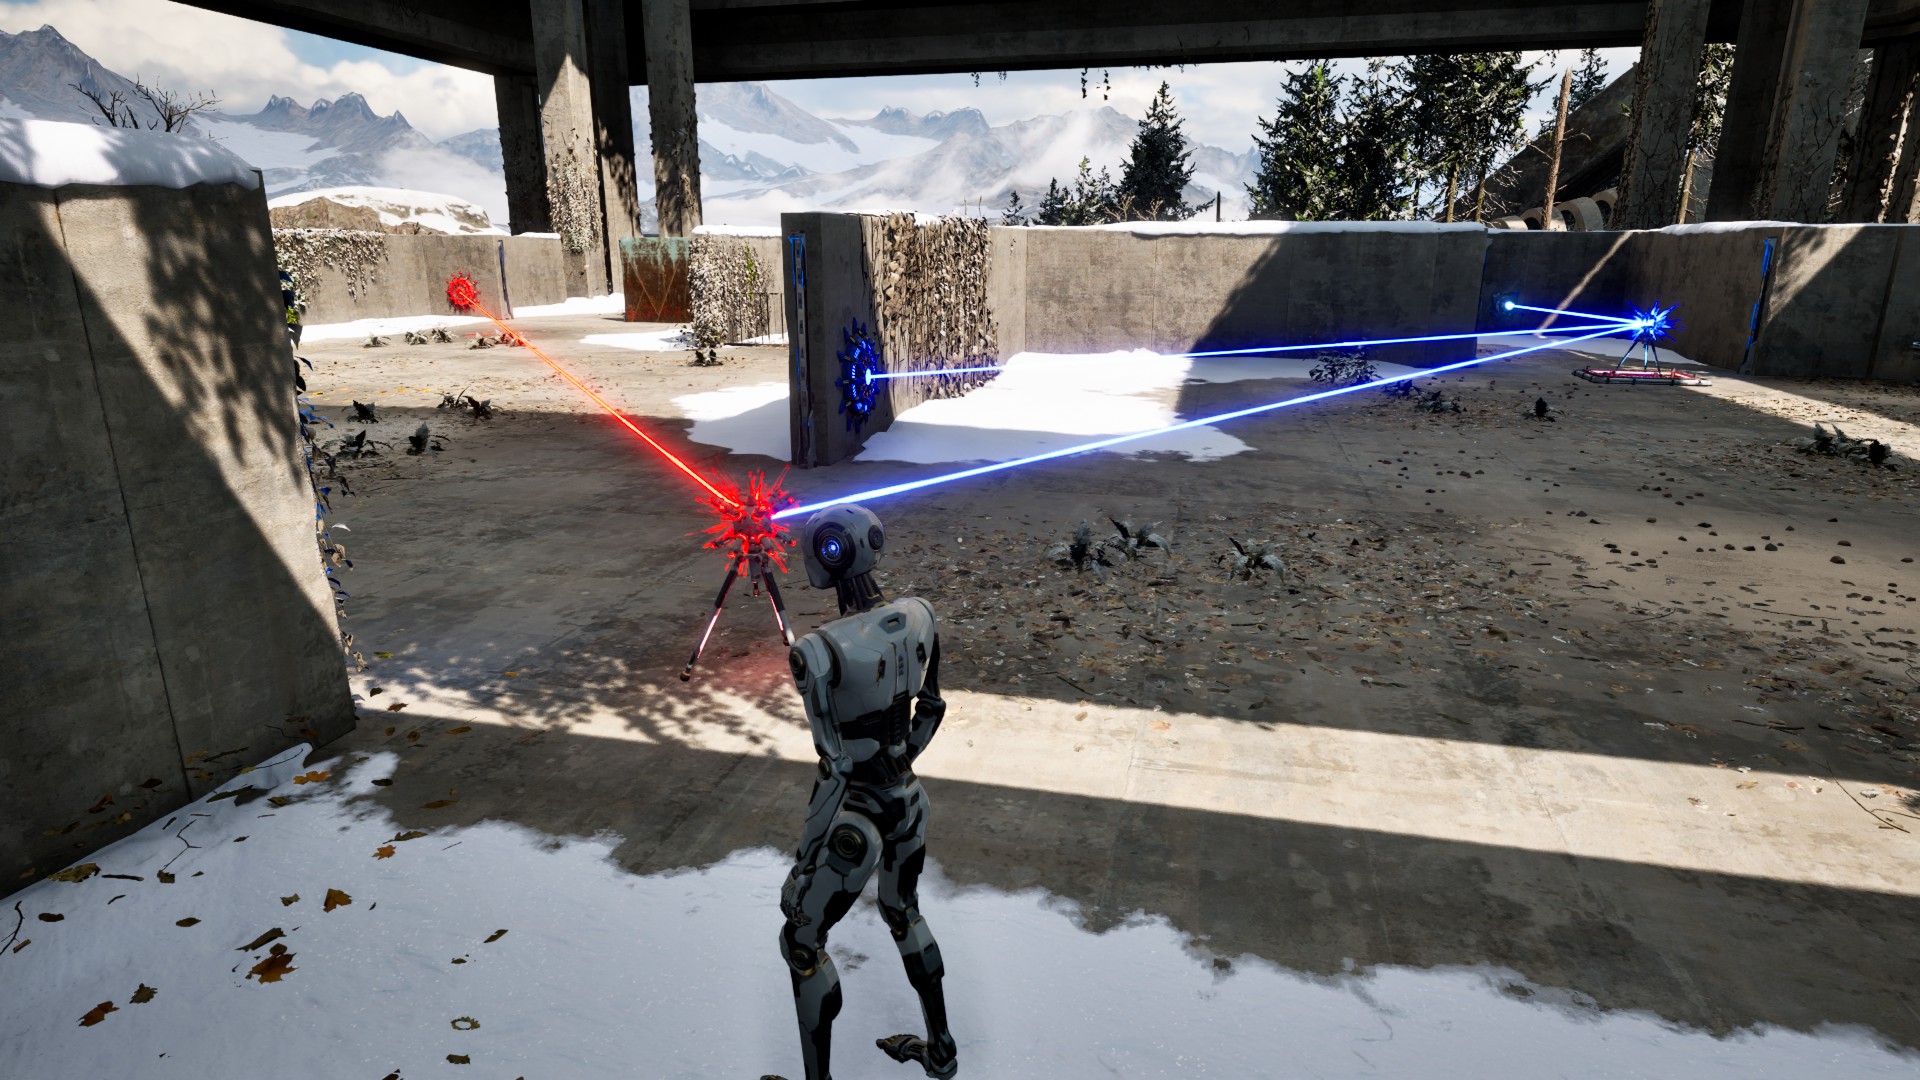
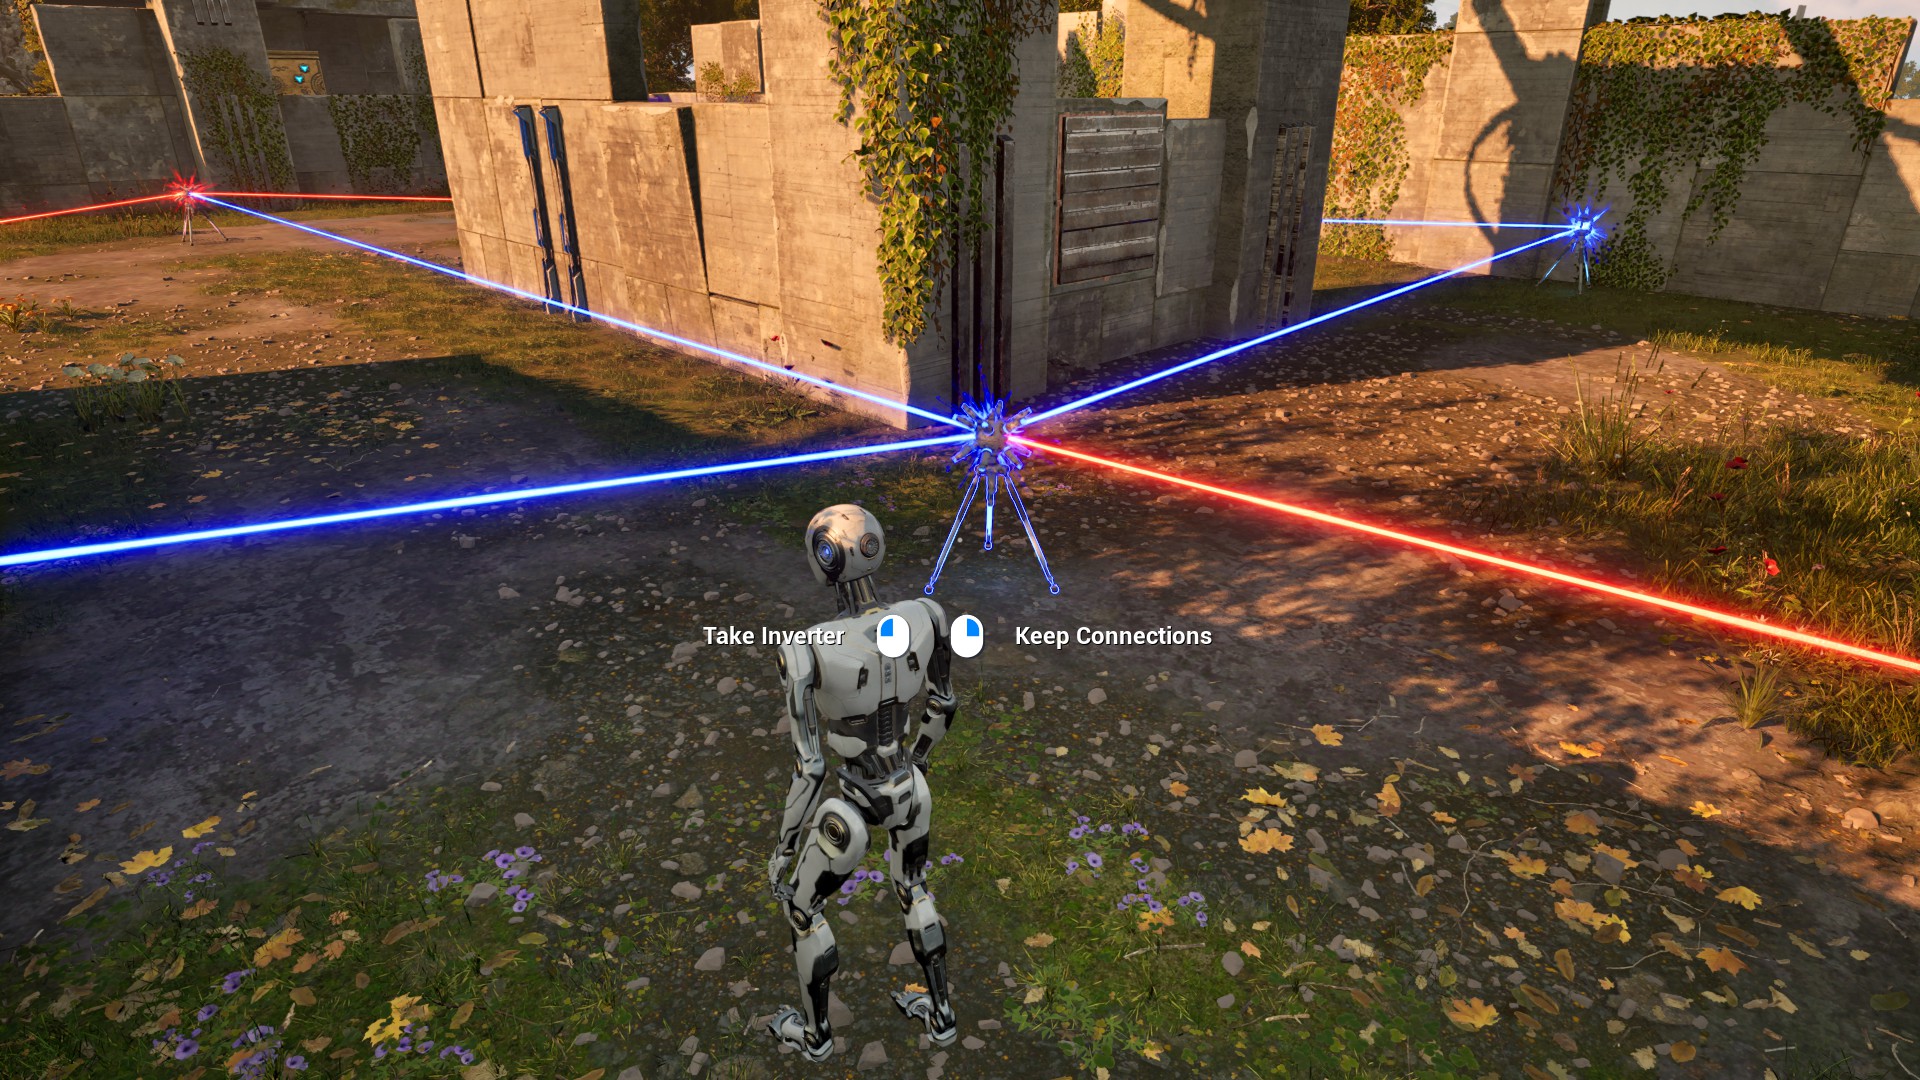
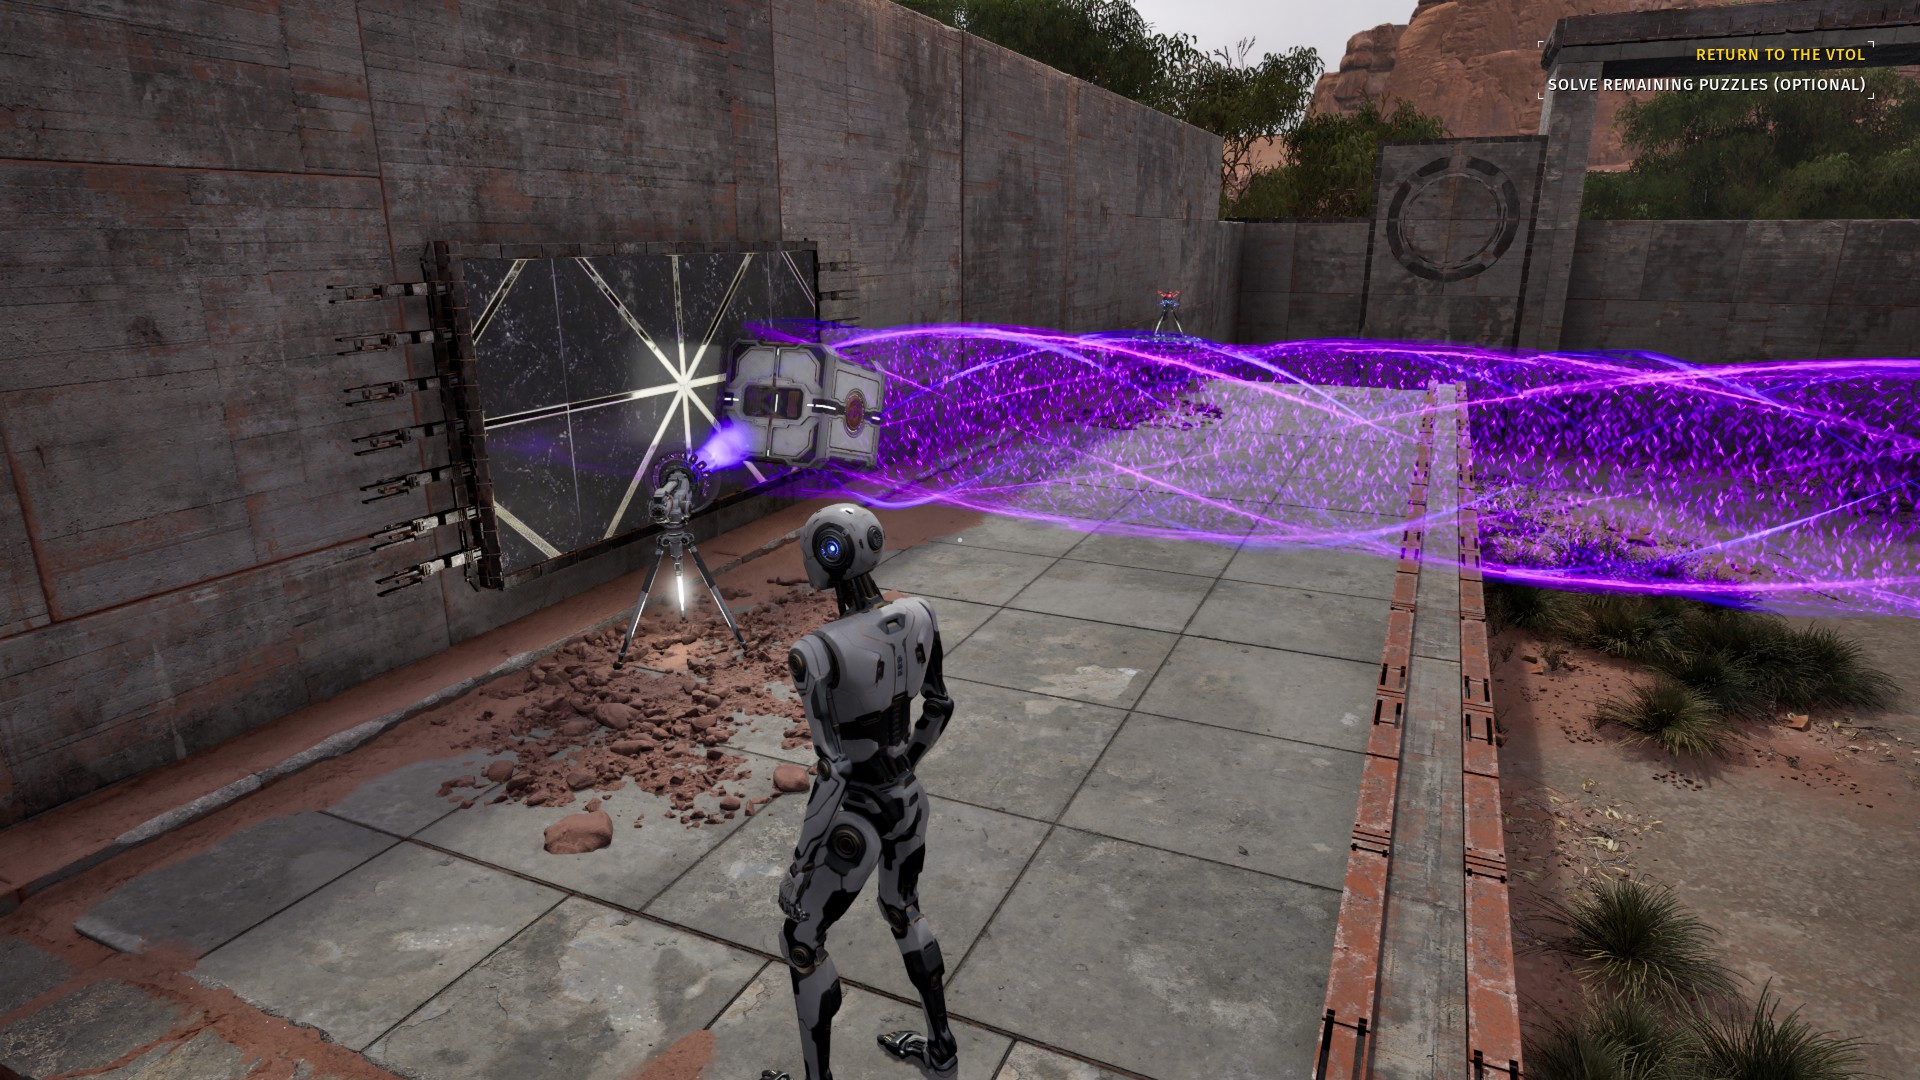
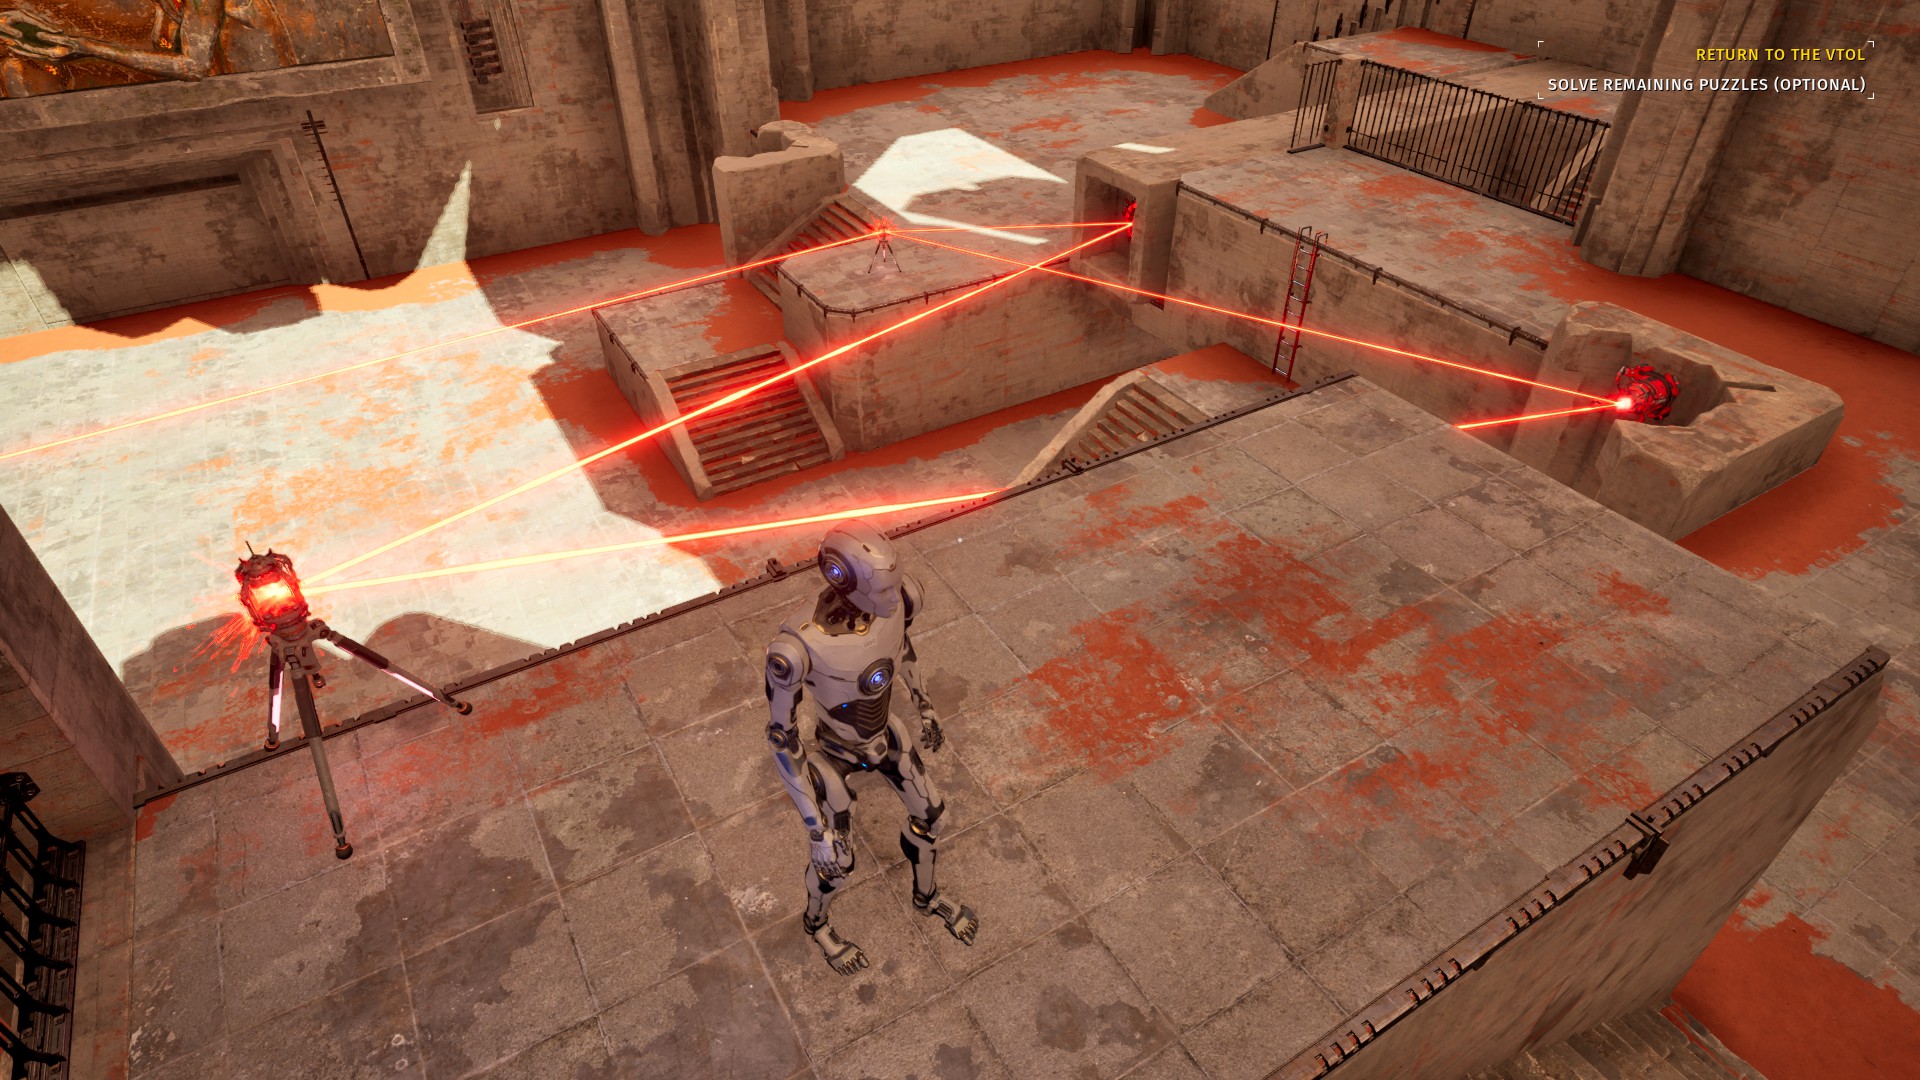
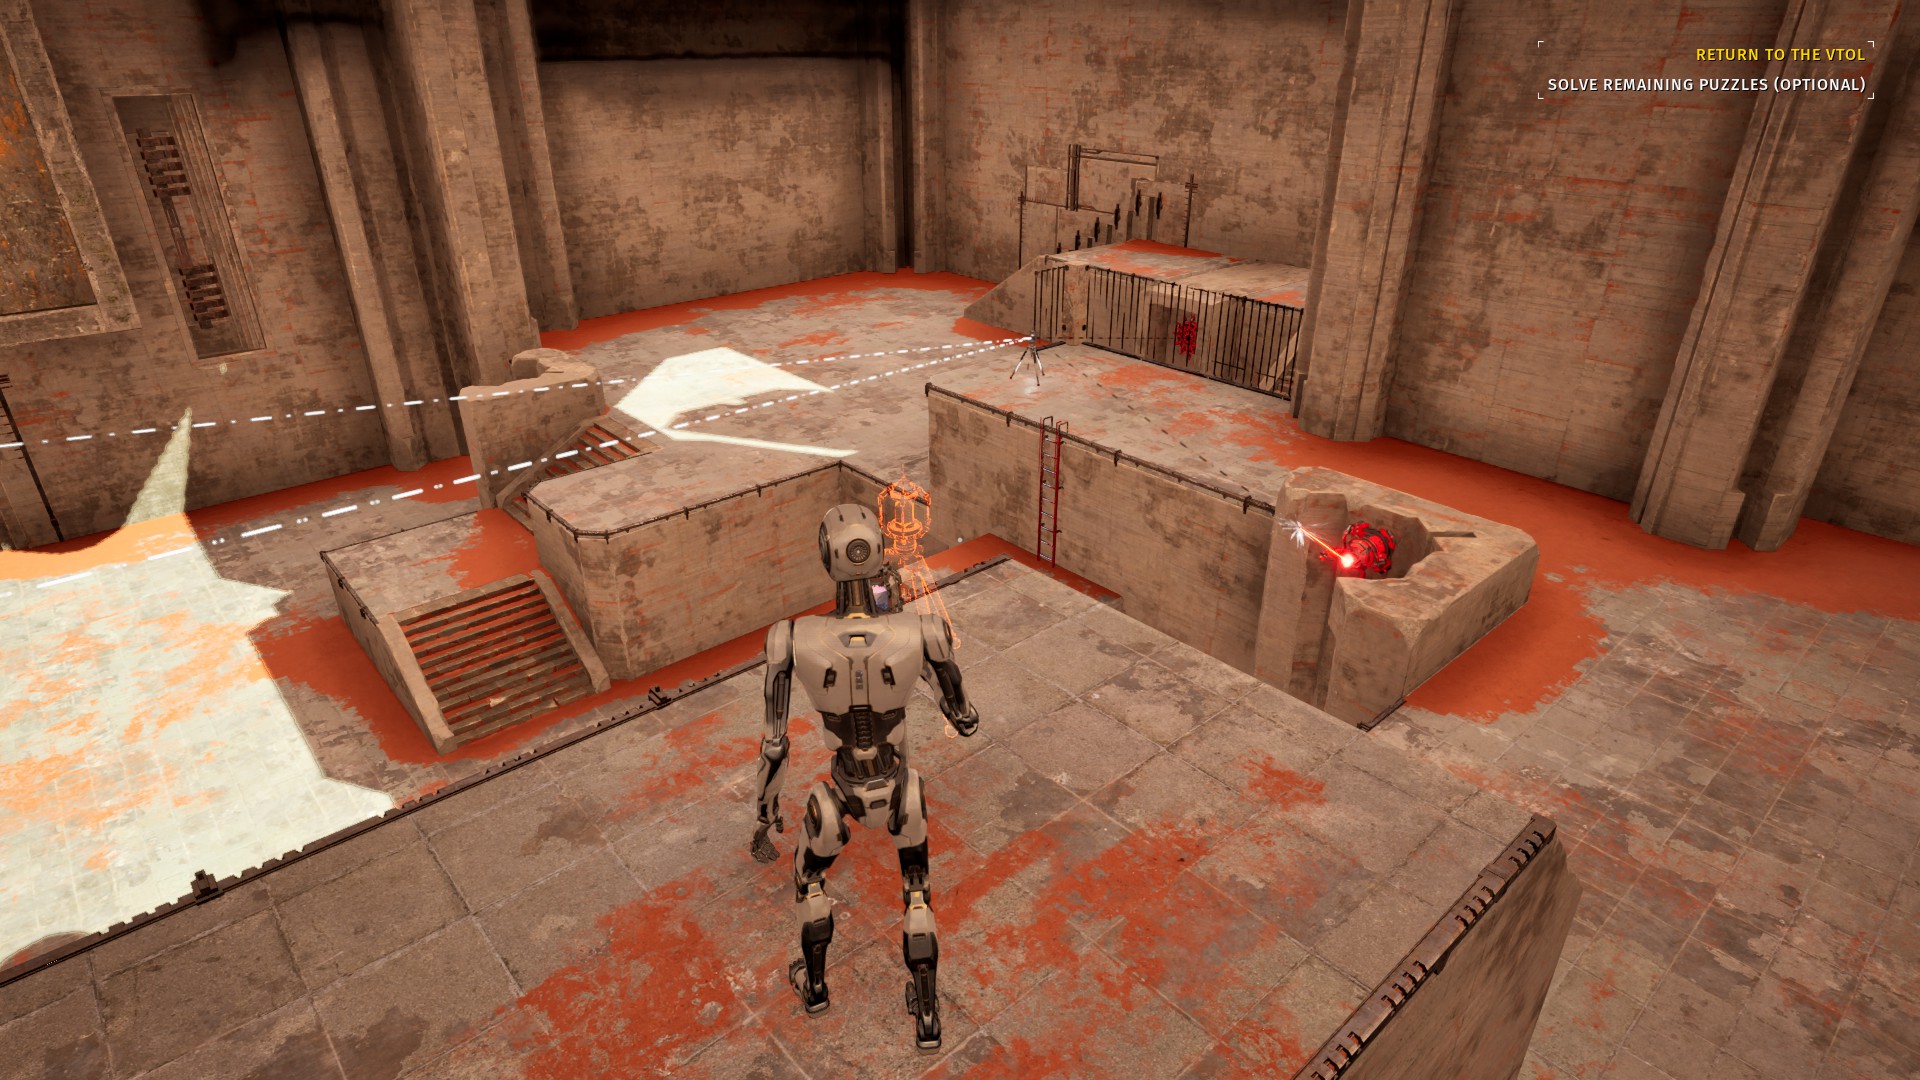
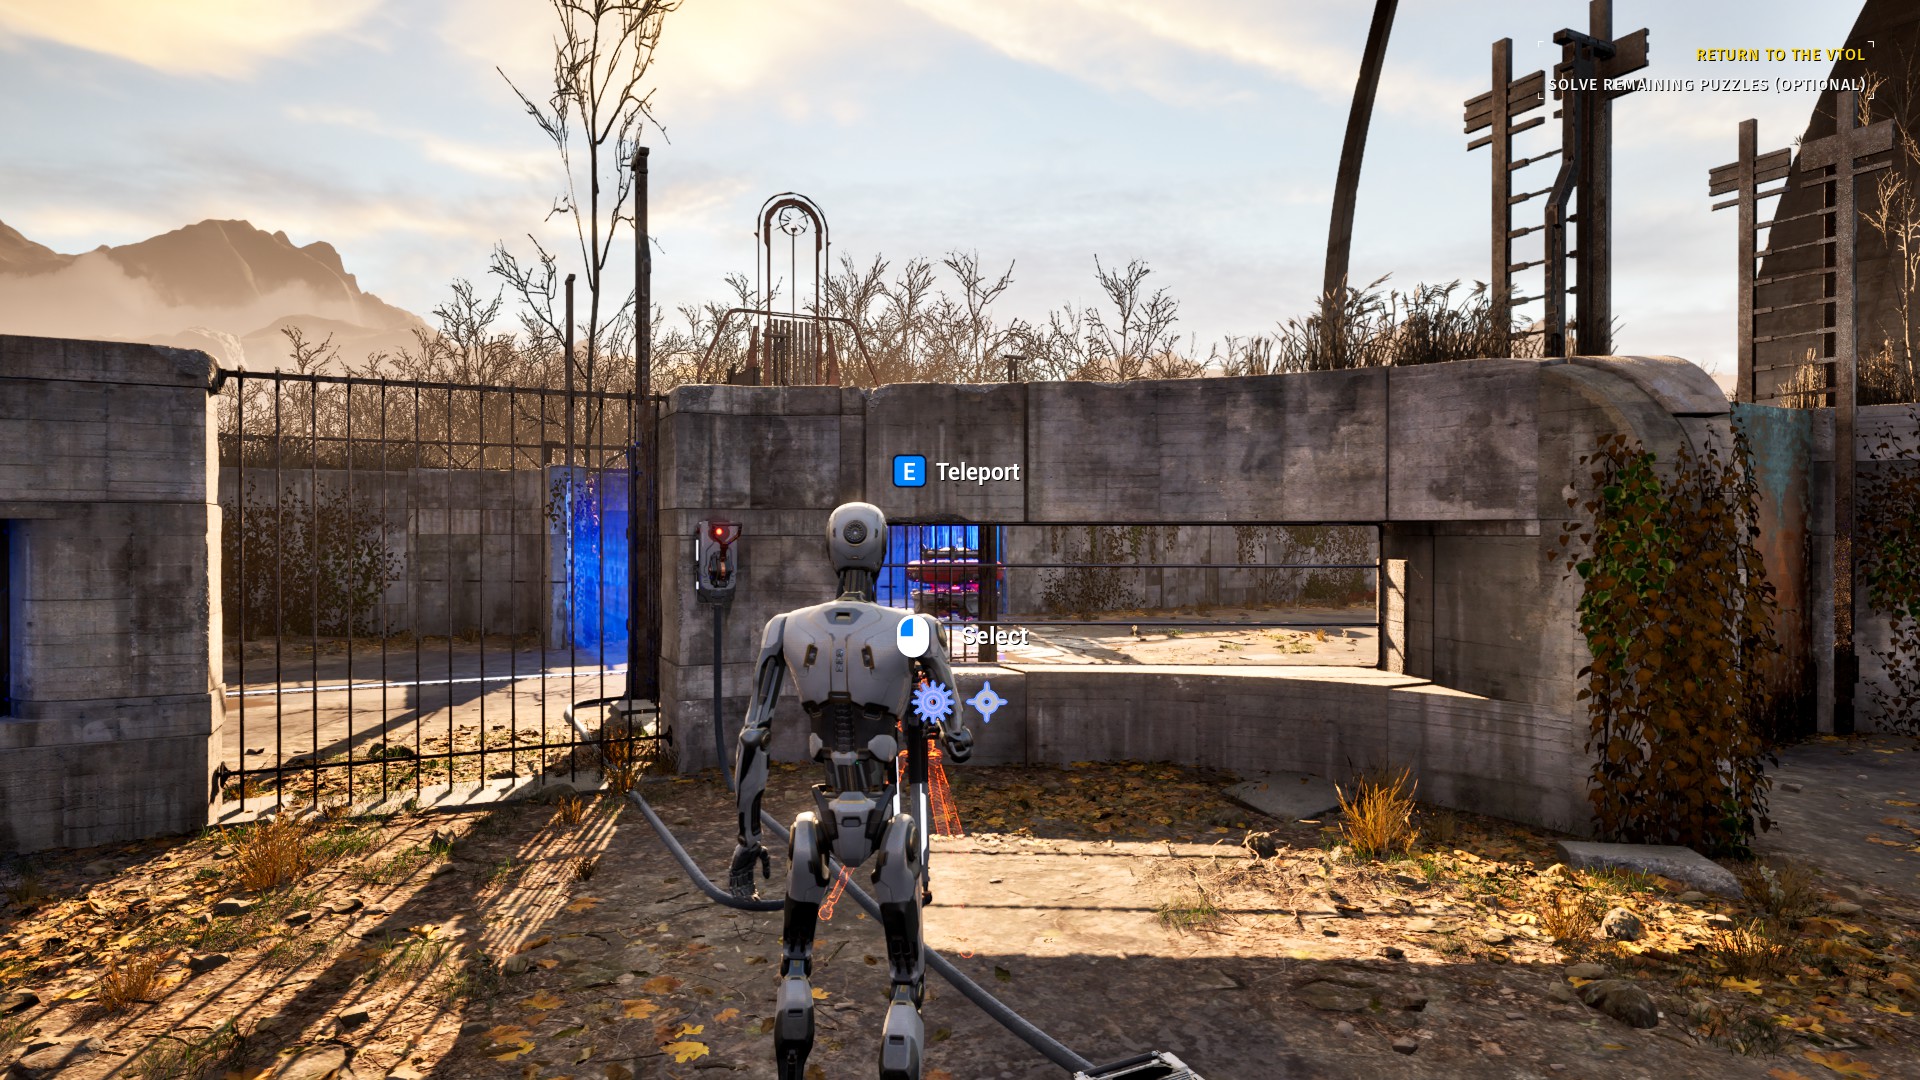
East 3 – “Non-Overlapping Magisteria”
Location: Just South of the Tram-Station
Teleport when entering island: Tram-Station
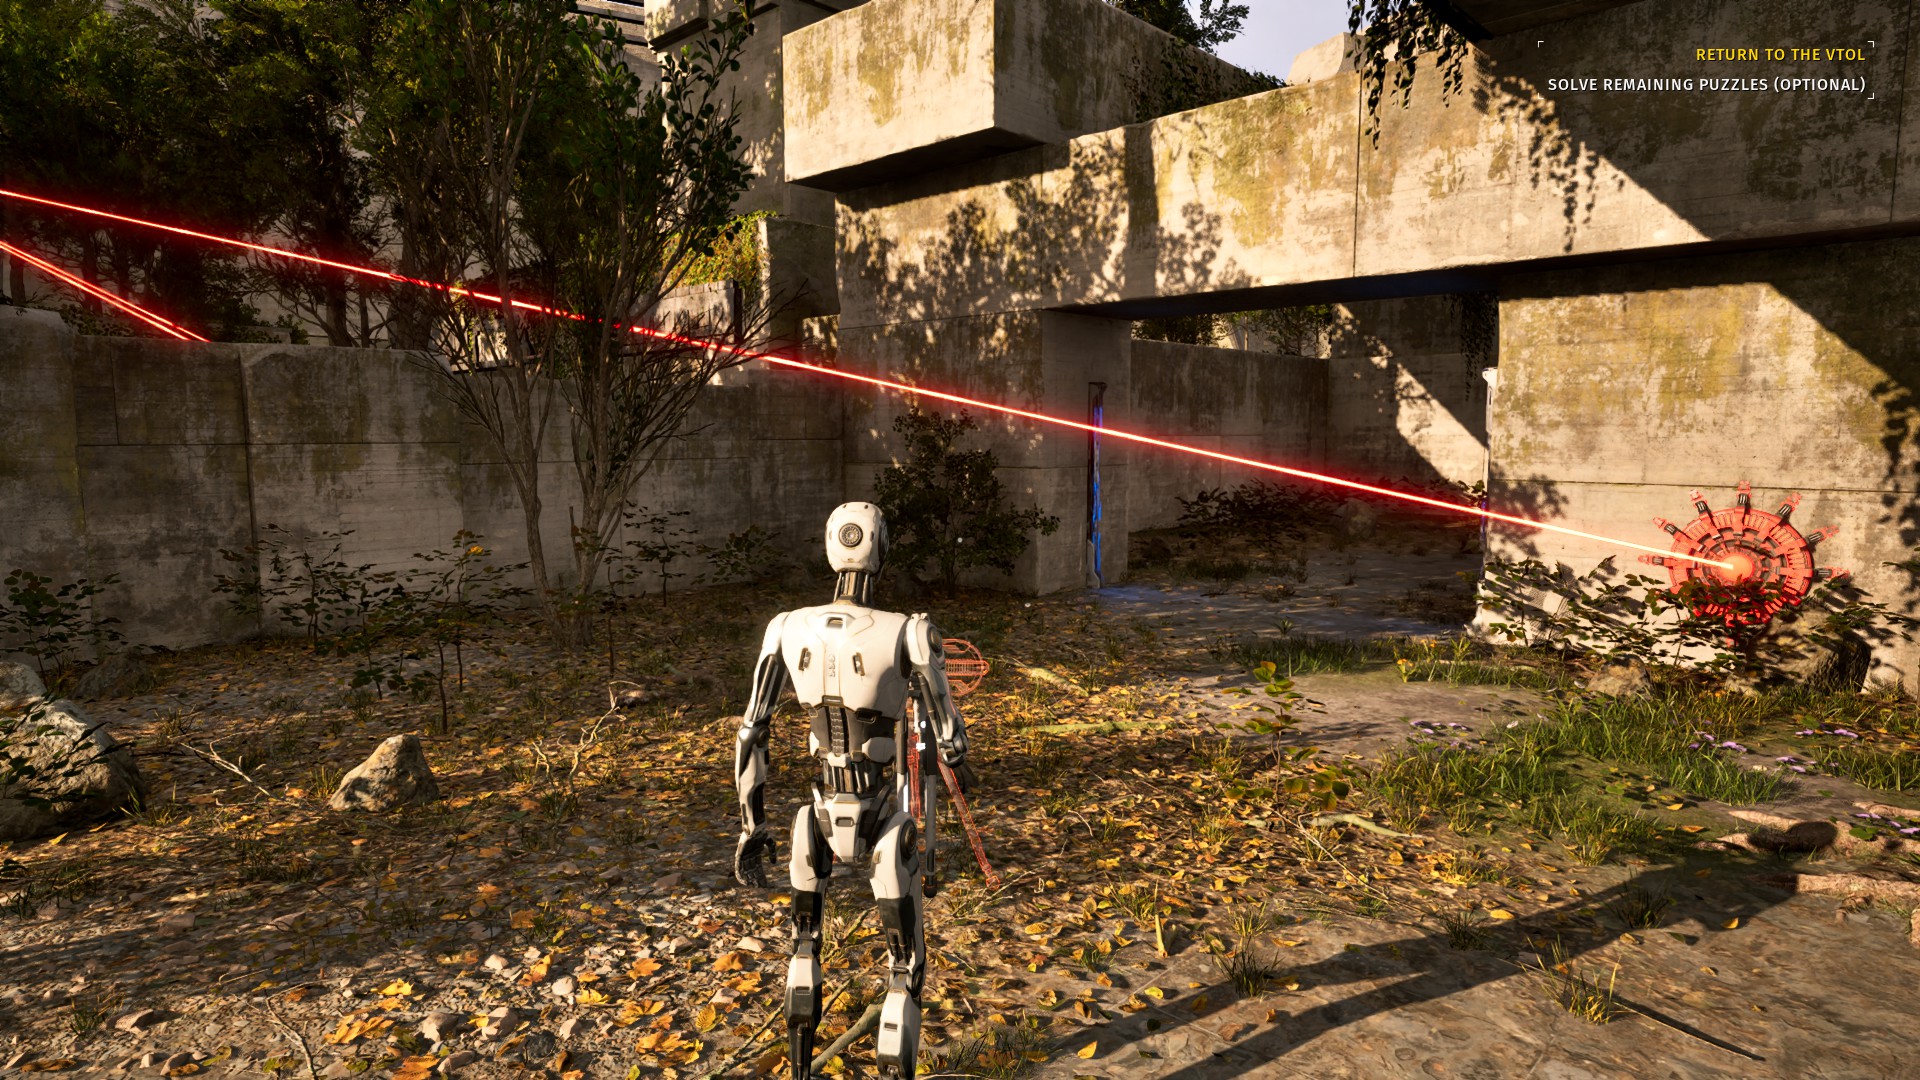
<SOLUTION!>
Begin by using the two Inverters in this pattern through the purple door to open both doors.
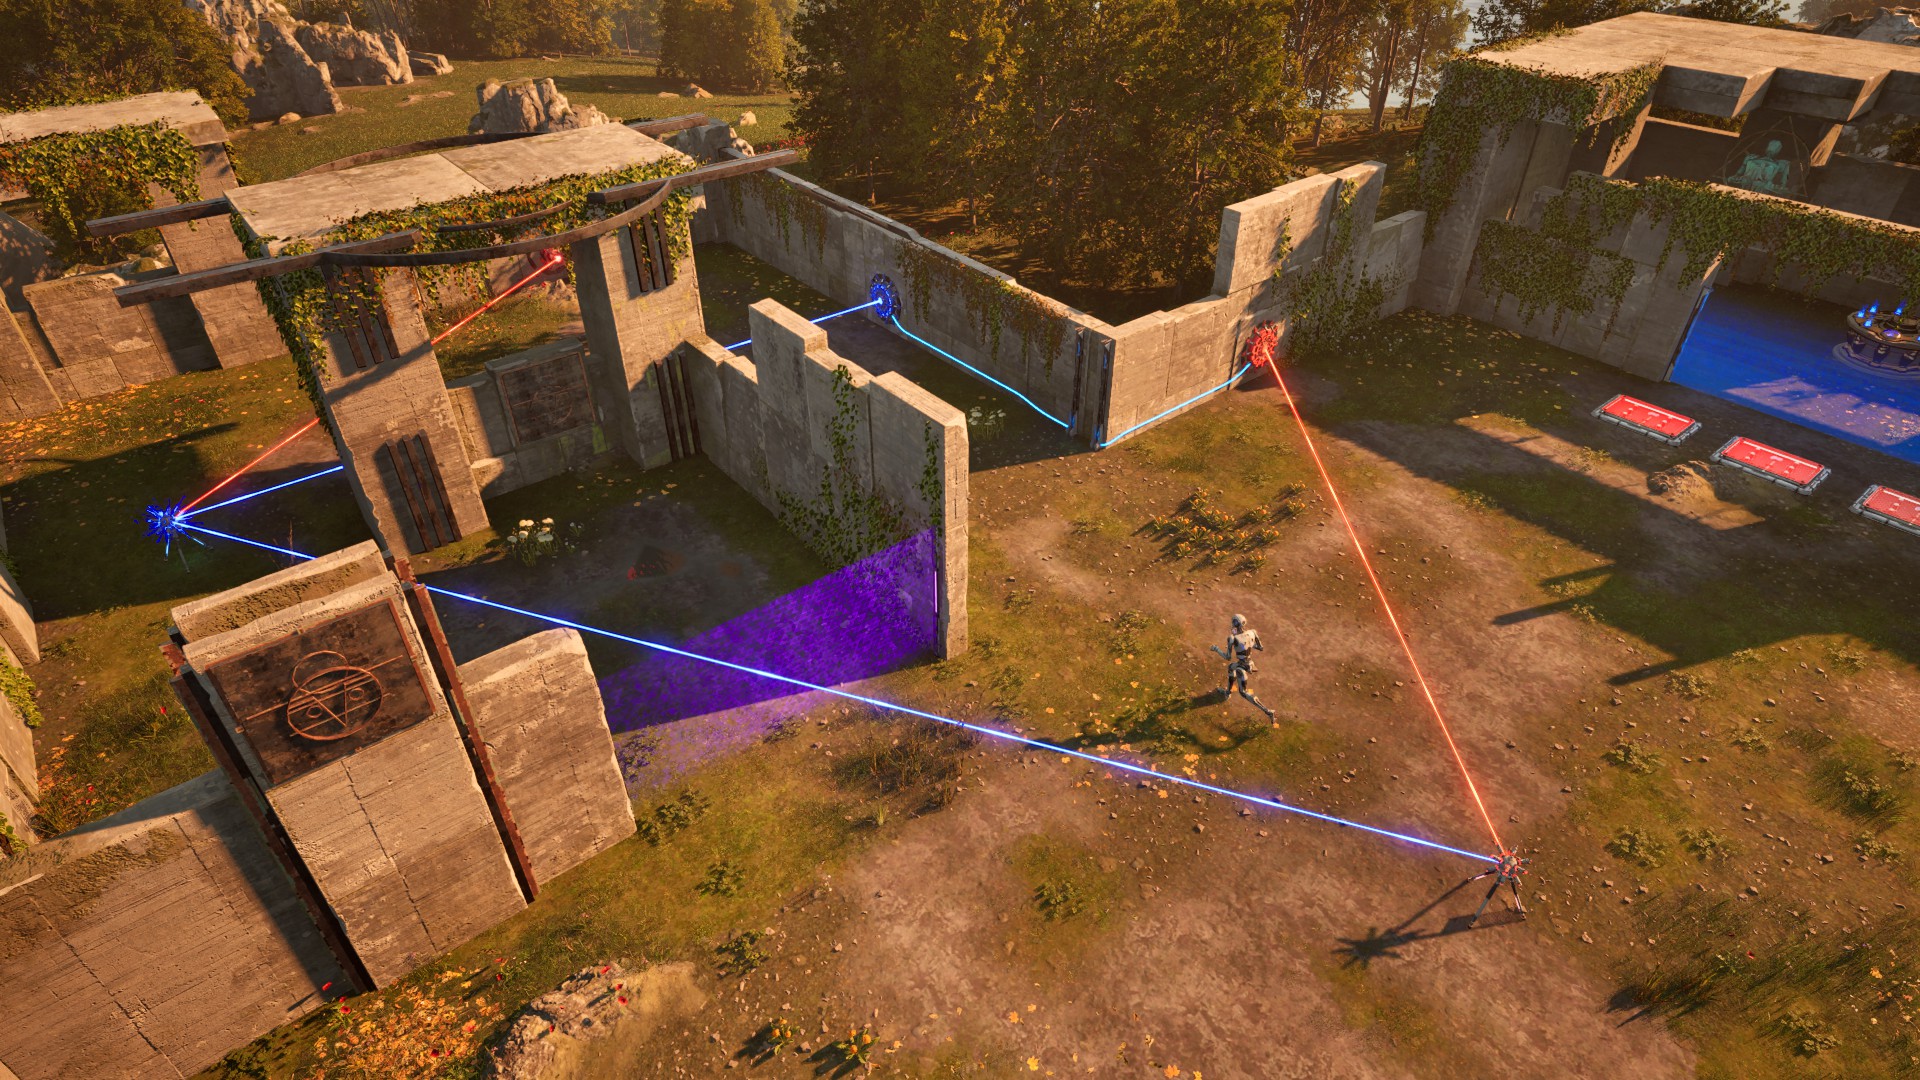
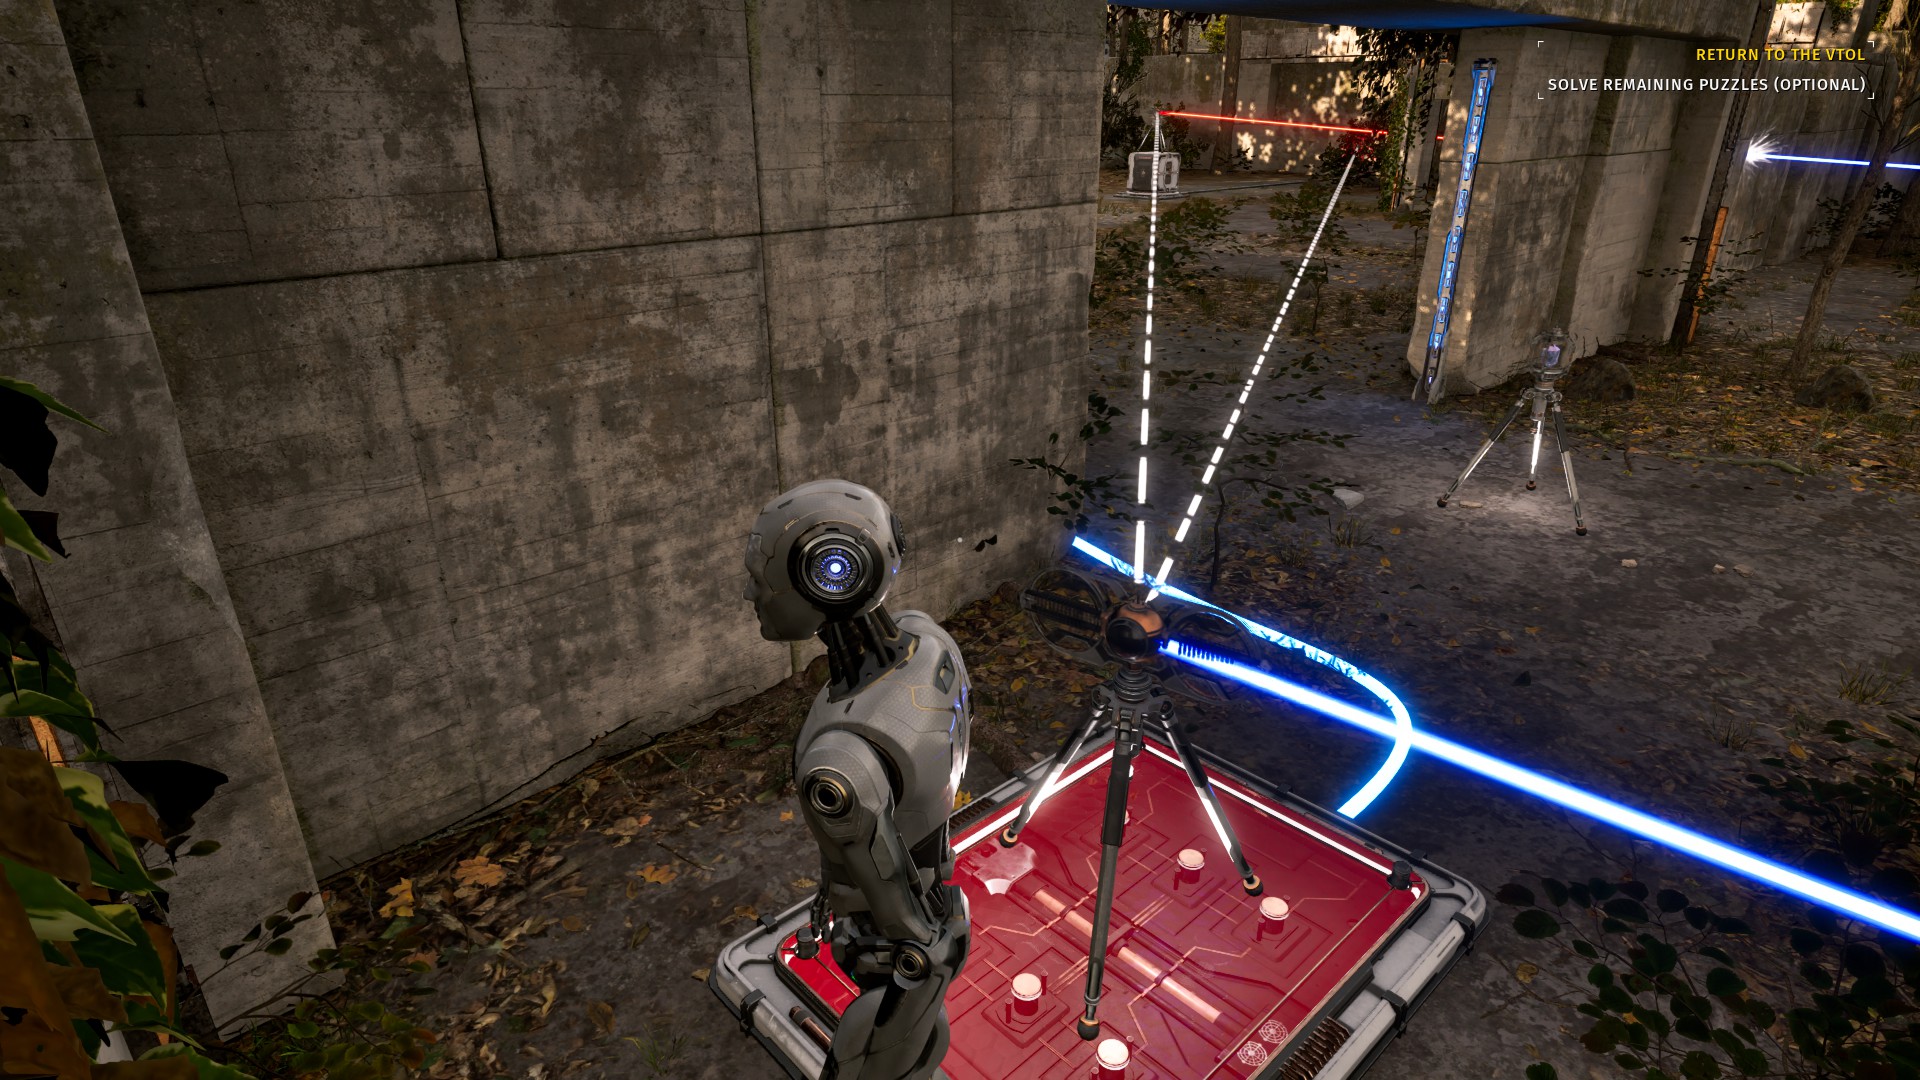
This allows you to bring the Connector inside. Replace your inside Inverter with this Connector. Then place the Inverter attached to the Red Generator and Blue Receiver, as well as the nearby Connector. This should cause the connector to light up blue
Once the Connector is settled for a moment, it’s safe to pick it back up again. If it didn’t work, make sure you have the Connector connected to both inverters and that everything is correct.
Now you can start bringing more pieces out. Use the connector you just picked up to back-up the Red laser. This might not be possible if you misplaced your inverter earlier, so just repeat the previous step and move that outer inverter a little further right.
Replace the closer Inverter and connect it directly to the Red Generator and the Blue Receiver allowing you to remove the other Inverter through the doors.


South 1 – “Pillars of Ascension”
Location: East of the Tram Station, follow the signs.
Teleport when entering island: Puzzle 8
Begin by teleporting to the pad and jumping across with the extra fan.

Setup the fan so that you can return twice

And then bring the teleporter pad and the 2nd fan across.

A fan needs to be brought across first and you’ll need to carry it.

<SOLUTION!>
Bring the box back with you so that you can launch the teleporter pad forward (stepping on the button yourself.)
Don’t forget the last fan!
Prepare for the last jump, bring your cube with you!

South 2 – “Outside the Box”
Location: Just North of Puzzle 4
Teleport when entering island: Puzzle 4
First, get the box across by bringing it up with you on the fan, then using the Gravshifter.
<SOLUTION!>
The real trick here is getting everything back across. You’ll need to put the Gravshifter on top of the box while aligning it so that it pulls itself to the other side of the map.
Now that the Gravshifter is across, you can send the box back and swap it for the Inverter. Connect the Inverter to the red generator and blue receiver. Place the Inverter so that it can be passed back to the otherside with the Gravshifter, then send it across.


Be careful to keep the connections set on the inverter when adjusting it to it’s final position.
ALSO bring the Gravshifter with you past the first open door, so you don’t get trapped behind it. Use the Gravshifter to send the inverter across.


To finish, look up with the Gravshifter!
South 3 – “Thrust Vector”
Location: Just South-West of Tram Station
Teleport when entering island: Tram Station
Begin by connecting the first connector to the available red ports, this will extend a walkway for you to bring the other connector up.

Use the second connector to keep the walkway extended.
<SOLUTION!>
In addition to the four ports that were already connected, add the 2 blue ports to the original connector.

Set the 6-pronged connector up top, and then rewire the upper connection to remove the pillar
You’ll need to target all 3 available ports from up top, including the 6-pronged connector. The further left here, the easier the next part will be.
Being prepared to sprint, drop the 6-pronged connector as far and as left as you can, where the pillar used to be extended. Run quickly as this will activate the pillar, and you need to get through the two red doors quickly.
If you didn’t make it through the doors in time, you’ll need to reset the pillar by repositioning the 6-pronged connector, and readjusting the upper connector to keep the walkway in place
If you did it fast enough, you should be able to make it into the blue door now!
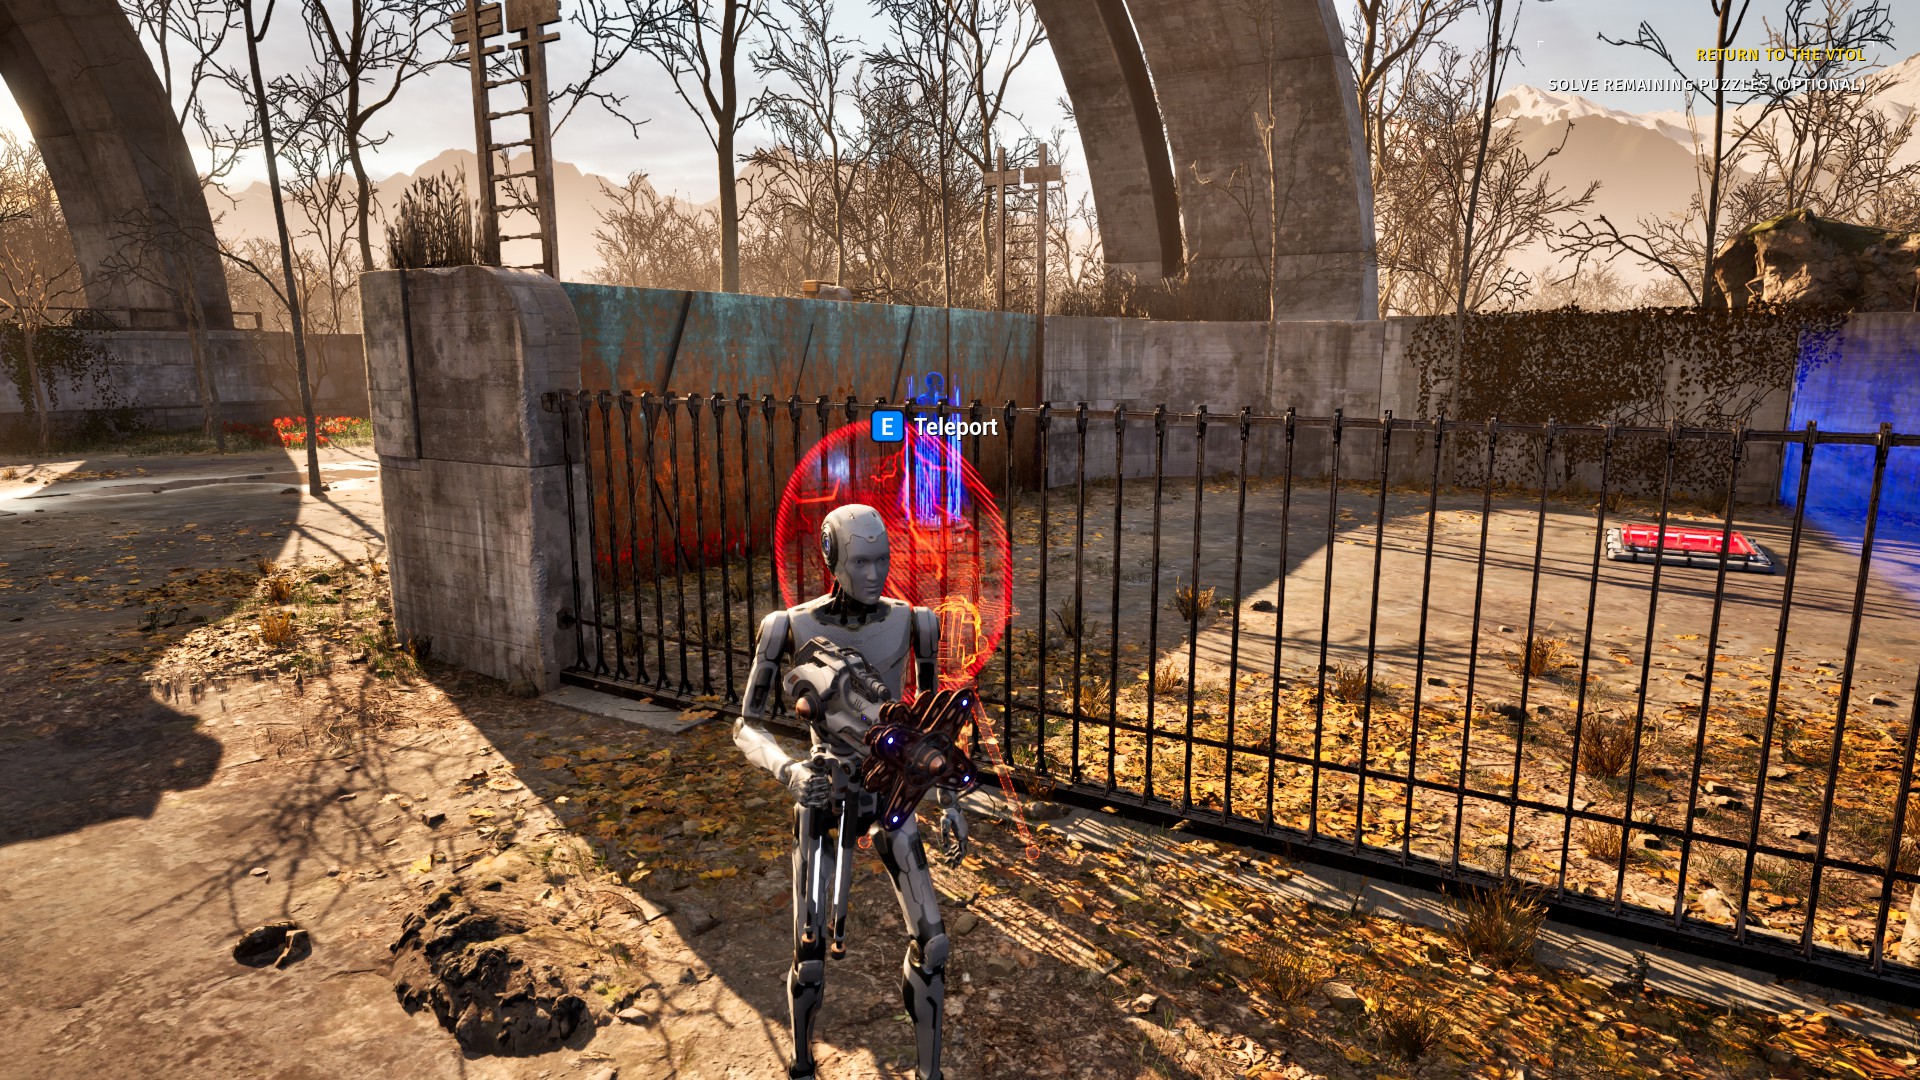
West 1 – “The Mule”
Location: West of Tram-Station and Puzzle 1, Northwest from Puzzle 8
Teleport when entering island: Tram Station / Puzzle 8
Begin by placing your Teleport pad on top of the “Mule”

Offset the Connector to attach to all the Red Sockets and step on the button until the Mule come through the gate

Adjust the Connector so that it’s touching the button, and man the switch to allow the Mule to pass through further
Disarm the switch and Teleport in. You don’t need to bring the Connector
<SOLUTION!>
Place the Driller on top of the Mule so that it opens a door which you can teleport out of (bring your Connector back if you accidentally brought it with you)
Repeat all the Same Steps as before to get the Mule back out to the starting zone. Take the Driller over to the new Driller wall and stick the Teleport Pad in

Go around the fence with the driller and Teleport in
Set up the Driller on the button pointed at the middle-left of the wall. Make sure you can see the Blue Receiver from the Blue Generator. Use the Teleport through this hole to escape
Repeat all the same steps as before with your Teleport Pad on the Mule. Get the Mule into it’s final position, past the switch, then teleport in with your Connector in hand.
Place the Connector to attach the Blue Generator and Receiver to finish the puzzle.

West 2 – “Hollow”
Location: From the Tram station, head East and take a series of 2 jump-pads by jumping off of the arm next to the Puzzle-8. Once up top, continue up the grassy cliff-side to the left. Alternatively you can run left (West) from Lost-Puzzle “Slide” by teleporting there upon arrival.
Teleport when entering island: Tram Station / Lost-Puzzle “Slide”
Start the puzzle by creating a green beam and lighting the green Activator.
Go around and reposition the green Activator to open the door

Bring the red Activator in, and use it to open the door
Swap the RGB Converter for a regular connector, and retether the red Activator from a different angle.

Swap the green Activator for the RGB Converter, using the red activator to open doors.
<SOLUTION!>
Connect the red activator to both the Connector and the Red Generator. Reposition the Red Activator as close to the door and as far back as you can. You’ll have to nudge the Red Connector as far right as possible as well. (relative to picture)

Position the RGB Converter where it’s connected to the red and the two final green Receivers. There needs to be a small hole visible towards the window too for the final step.
Go back and reposition the Connector along the window, so that it just reaches all 3 of the targets (The Blue Generator, the Blue Receiver, and the RGB Converter)
West 3 – “Windstream”
Location: Just Behind the Tram Station (East)
Teleport when entering island: Tram Station
Begin by attaching one connector to the red generator and receiver. Bring it past the fan and put it close to the window.
<SOLUTION!>
Setup the other connector so that it attaches to the blue generator and receiver, but make sure the connection is blocked (physically) by the red connector
You can now enter the fan area and place the red connector into the fan walkway, completing the puzzle

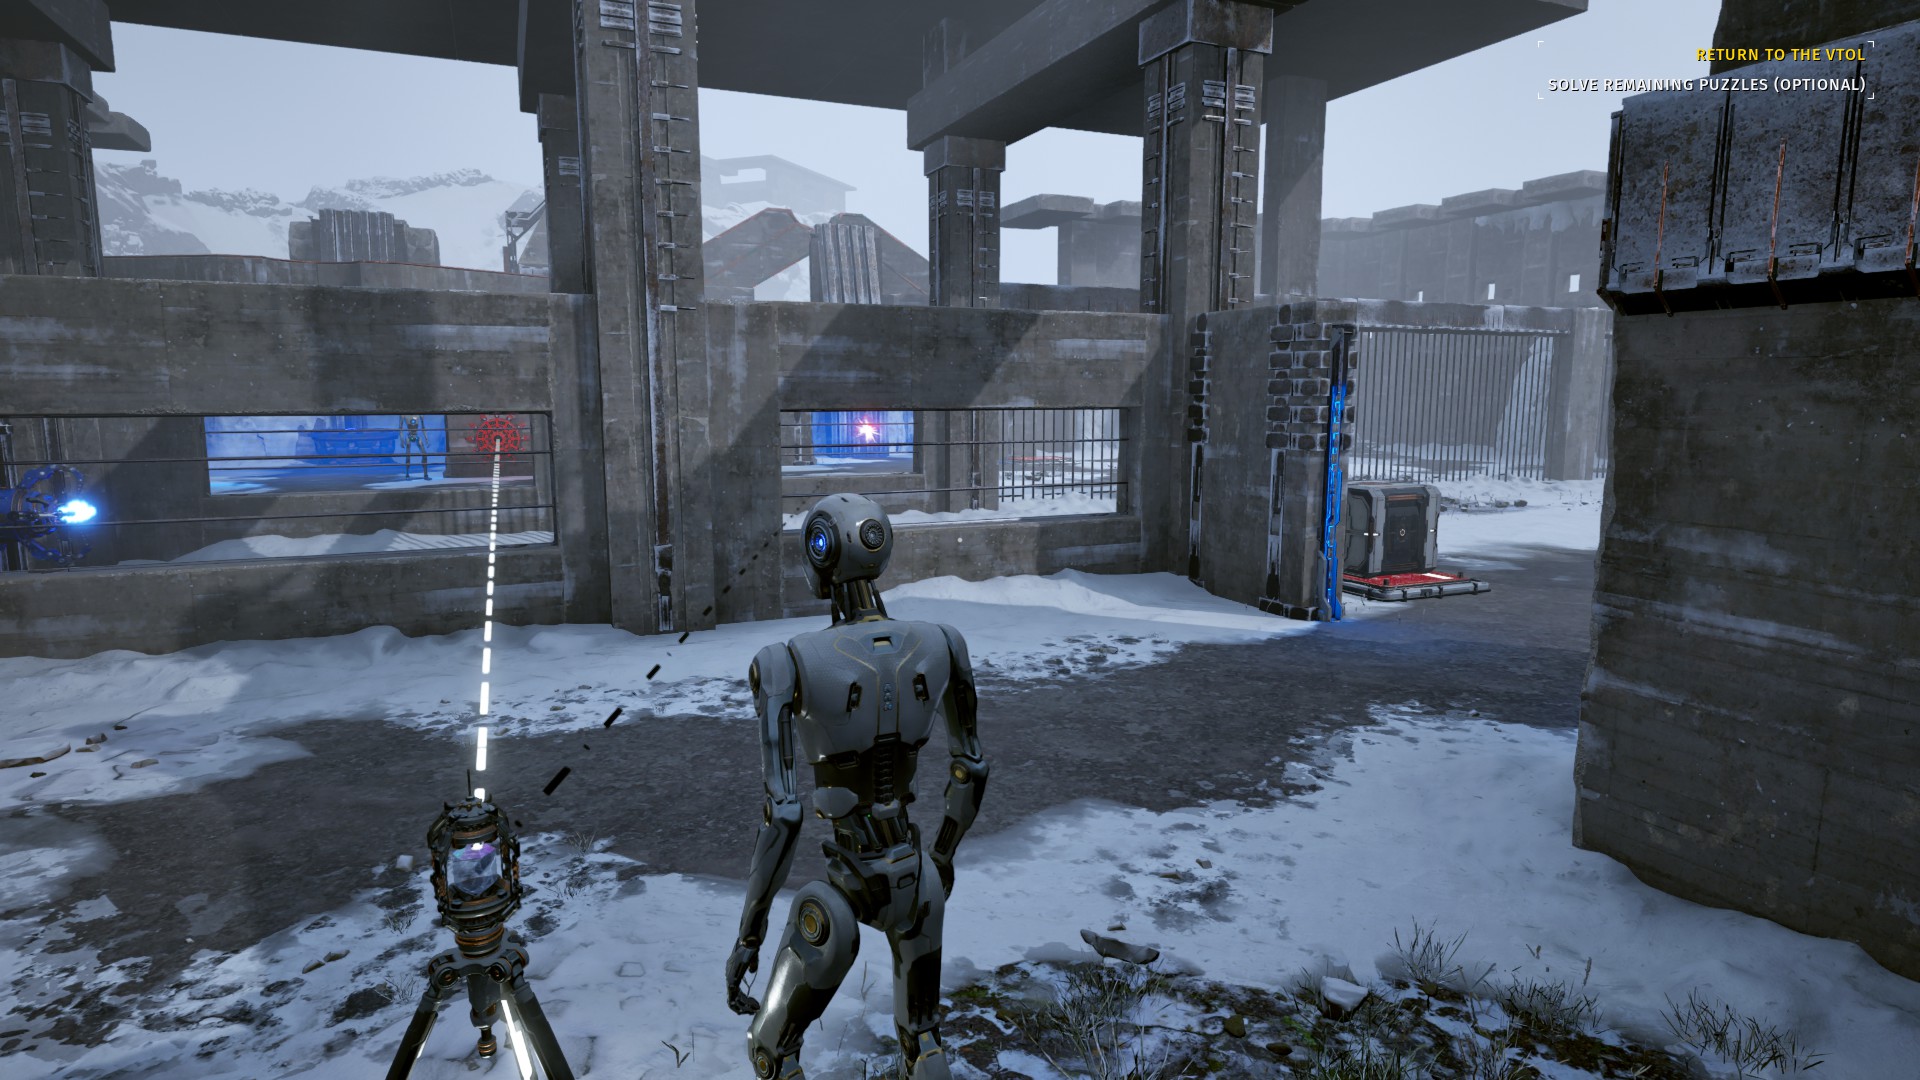
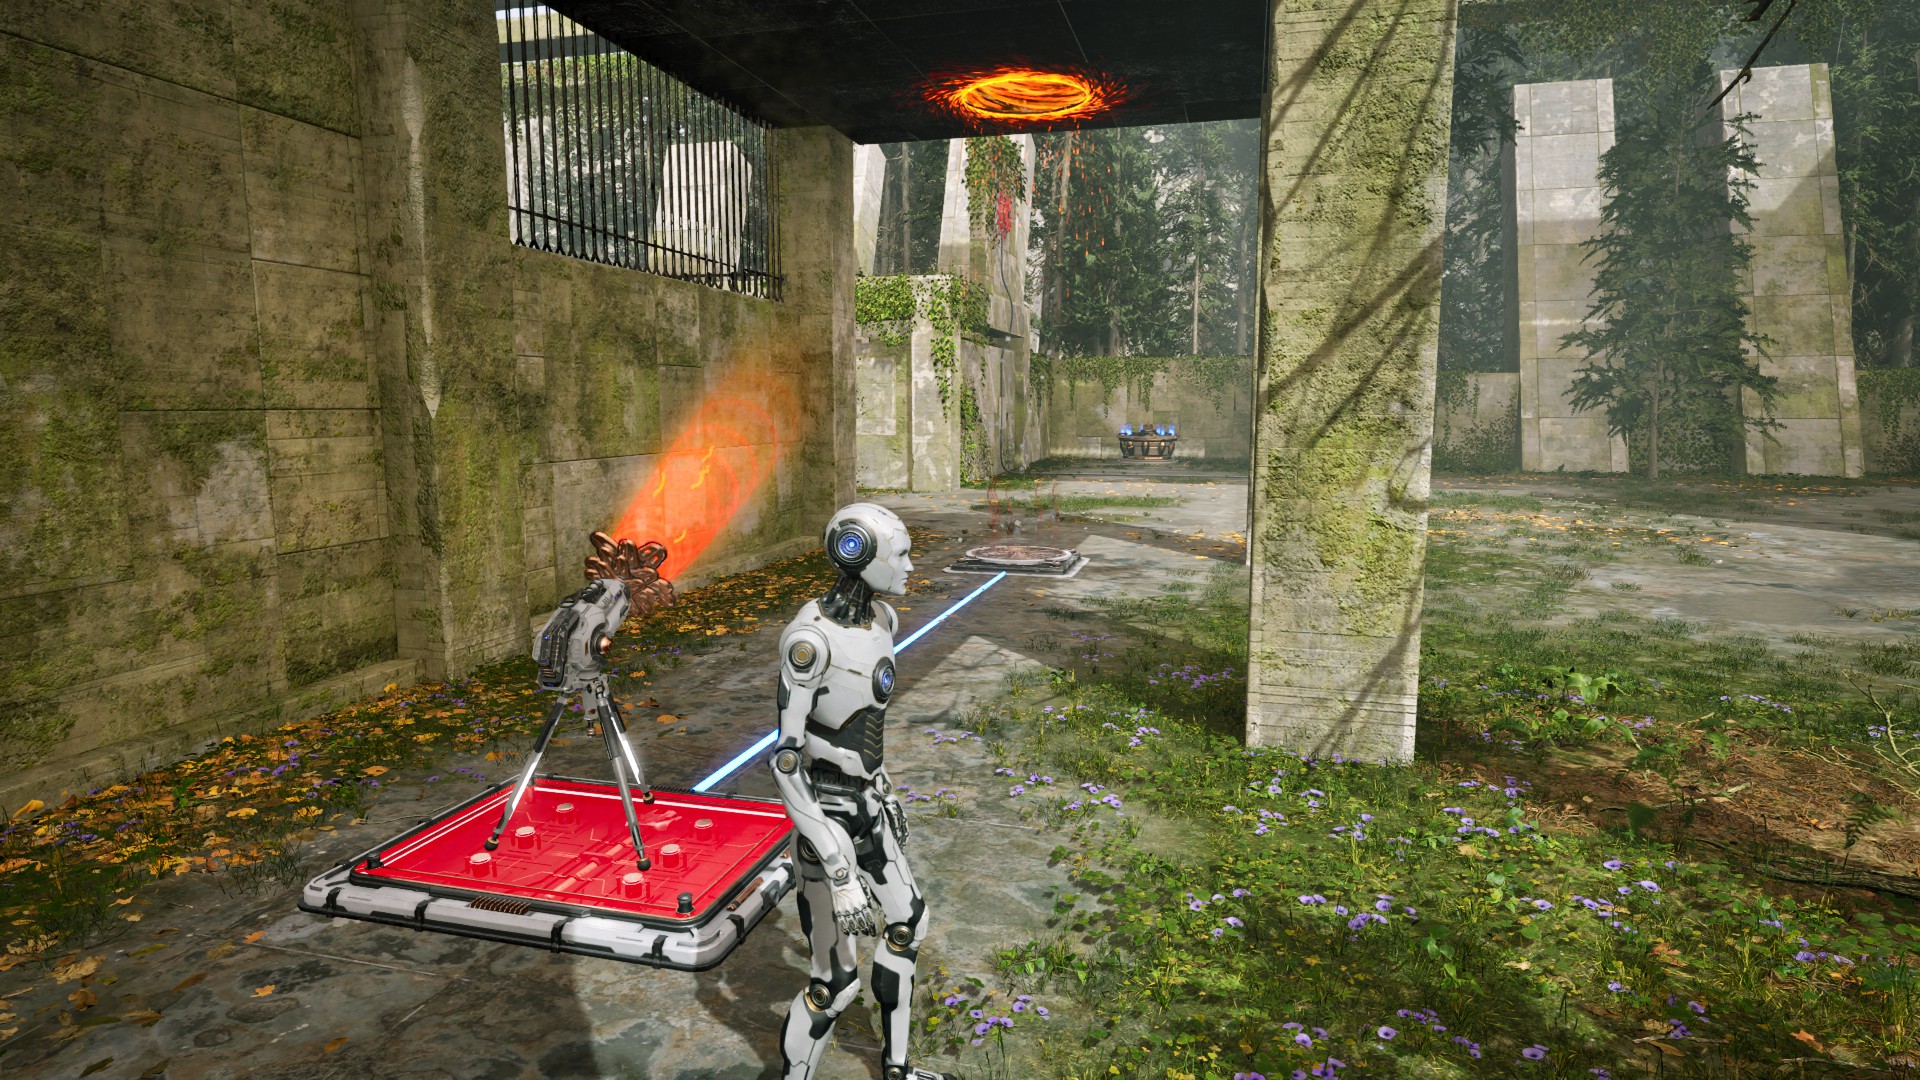
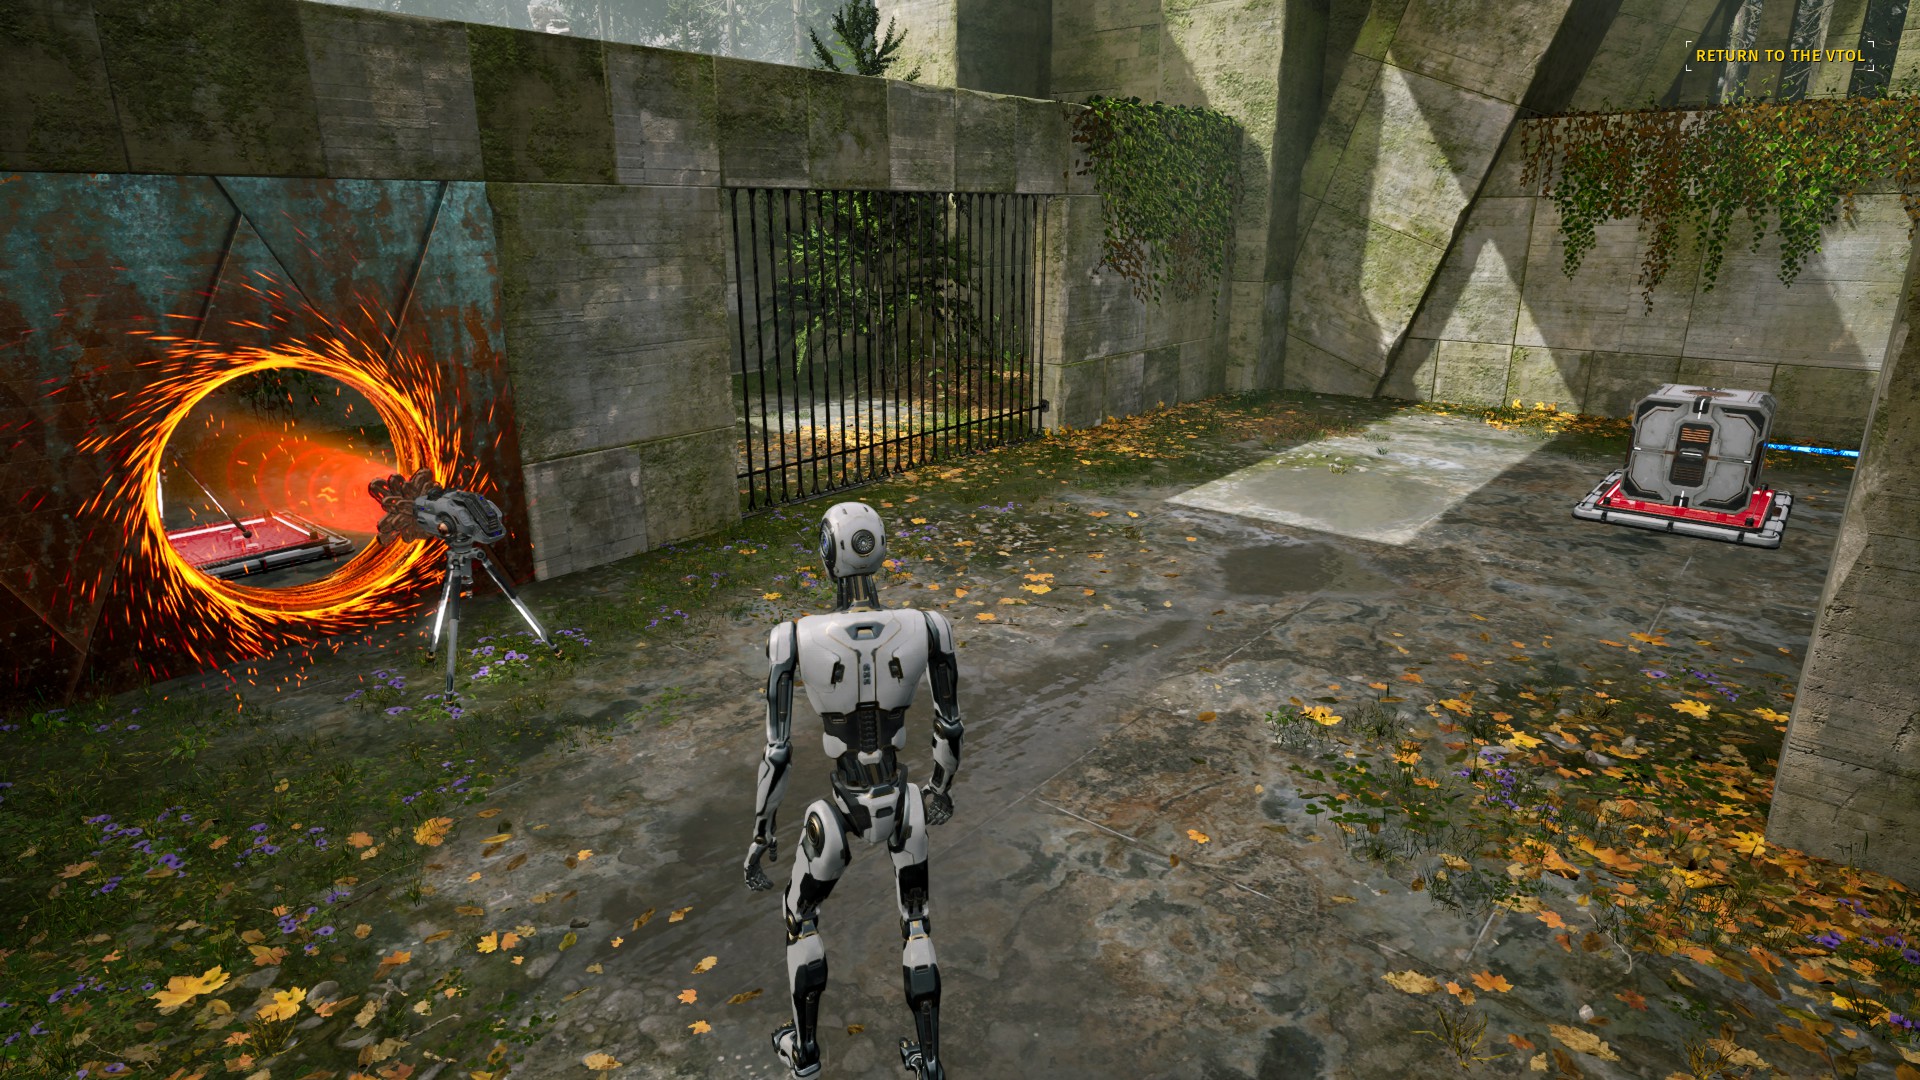
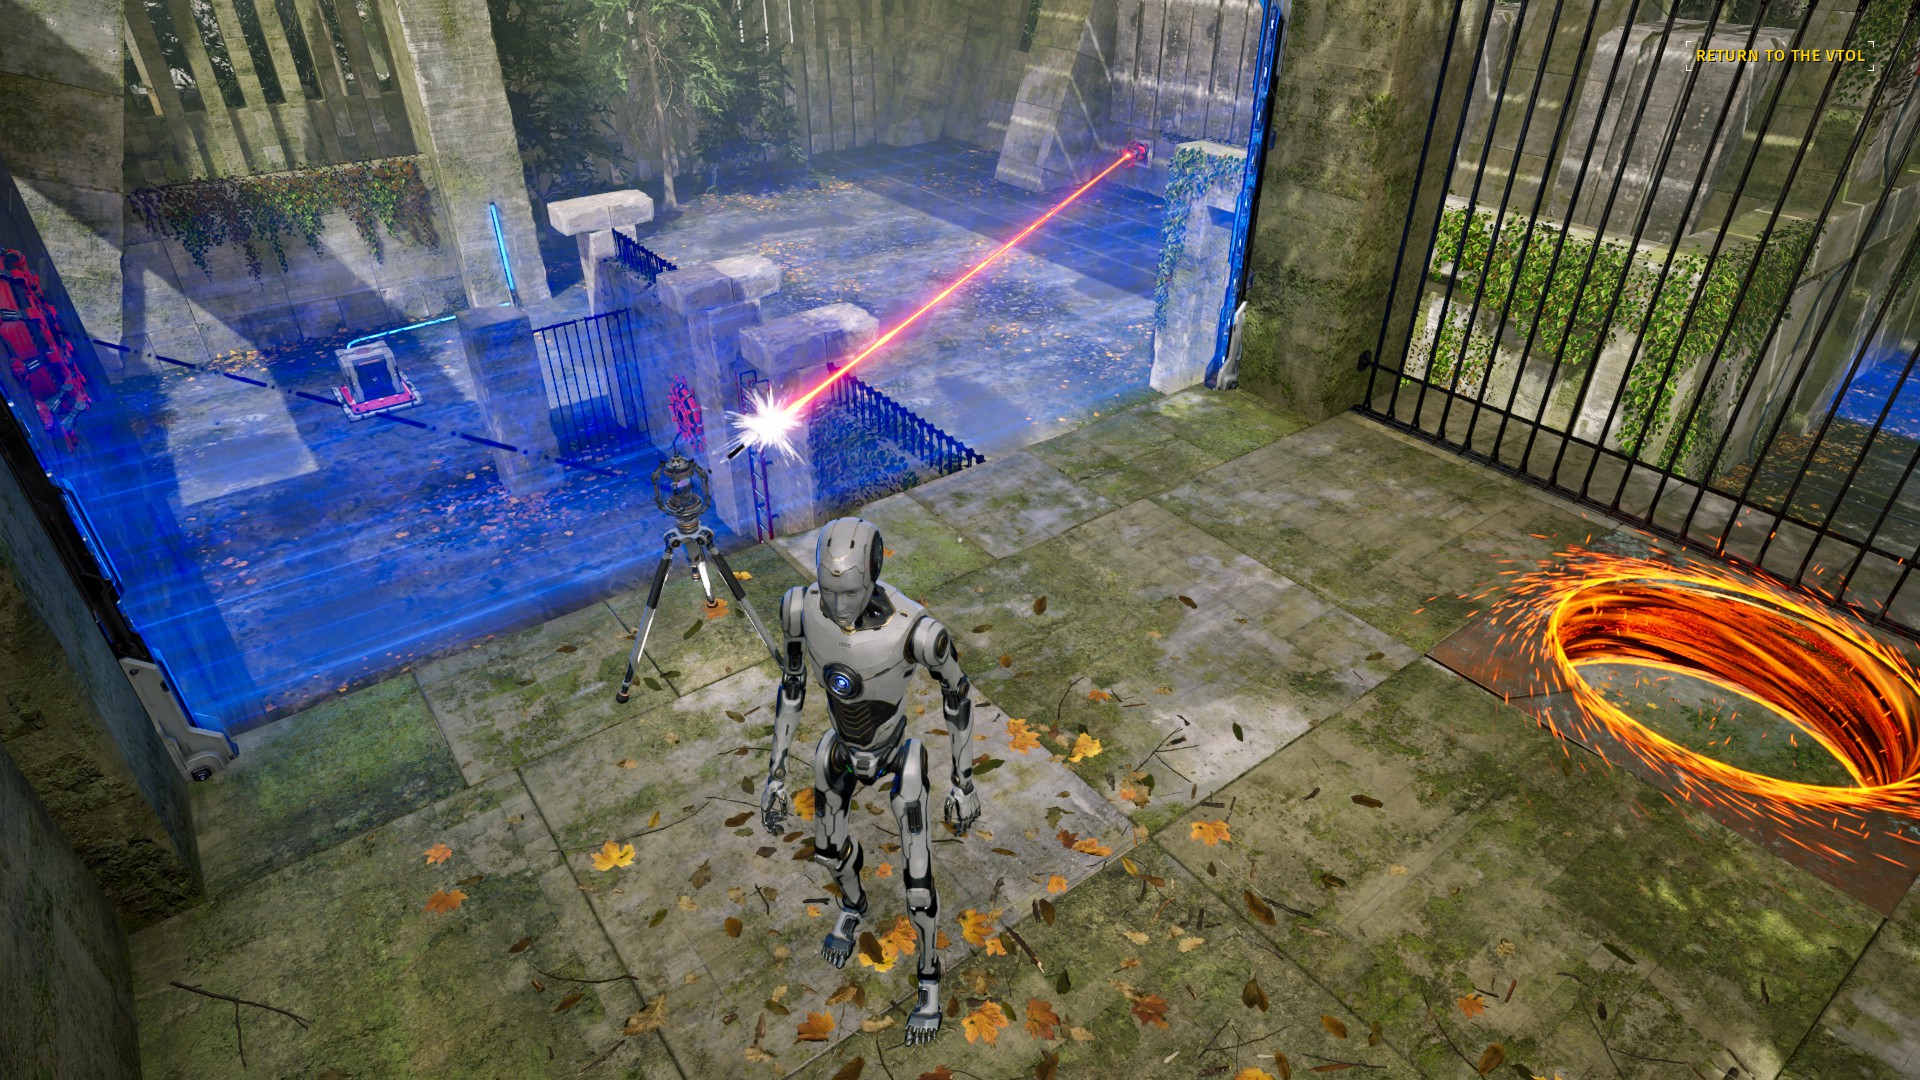
Golden Door at the Base-Camp [Spoilers]
You must complete the 12 golden puzzles above before the golden gate in the Base-Camp will open up. (This zone is called Mega-structure, where you take the VTOL from)
You do not have to collect all the stars
You do not have to visit the Mega-structure a 5th time. This section would only contain major Game-play and Story Spoilers, but it has an achievement attached to it and progress on another one. You can continue game-play normally from here.
Good luck!