Praey for the Gods features many types of collectibles, each with dedicated achievements (except for equipment), but the game offers little-to-none tools to track collectibles. This makes it difficult to get all of them and (in most cases) forces players to visit the entire game world multiple times, a process that can be slow and frustrating.
For this reason, I decided to devote a few playthroughs to tracking down all the collectibles in the game, and then create this guide to help you find them all. In addition, in case you have already found some collectibles, I will also explain how to check which ones you are missing. I hope this effort will be useful for both current and future players.
Requirements and important info
There is no particular requirement for the game’s collectibles, except for one or two whose details will be provided at the appropriate time. Anyway, I highly recommend the following:
- playing in Story mode, on Easy difficulty;
- upgrading the sail cloth to the max rank;
- having a high level of stamina.
I also recommend giving priority to island maps and collecting them as soon as possible, so you can compare the in-game world map with the one provided in this guide.
As explained in the next section, totems cannot be checked directly in-game, and the method I will provide requires parsing the save file through some Powershell commands. For this purpose, the application I suggest is Windows Terminal (preinstalled on most modern computers), but any terminal capable of starting a Powershell session will do.
Finally, I report an important detail about caves. When you enter a cave, the cursor on the world map stops following the player’s movements (so it remains “stuck” at the entrance), then the cursor resumes updating as soon as you exit. This behavior effectively makes it impossible to monitor the player’s movements within the caves, which could create confusion in determining the actual position of some collectibles (e.g. in the large hub cave in the center of the South Island). Therefore, I point out that, for the caves with multiple entrances, I chose to assign the collectibles to the entrance they are closest to.
How to check for missing collectibles
Each type of collectible requires a different method to check for missing entries. In the following paragraphs I explain all the methods, type by type.
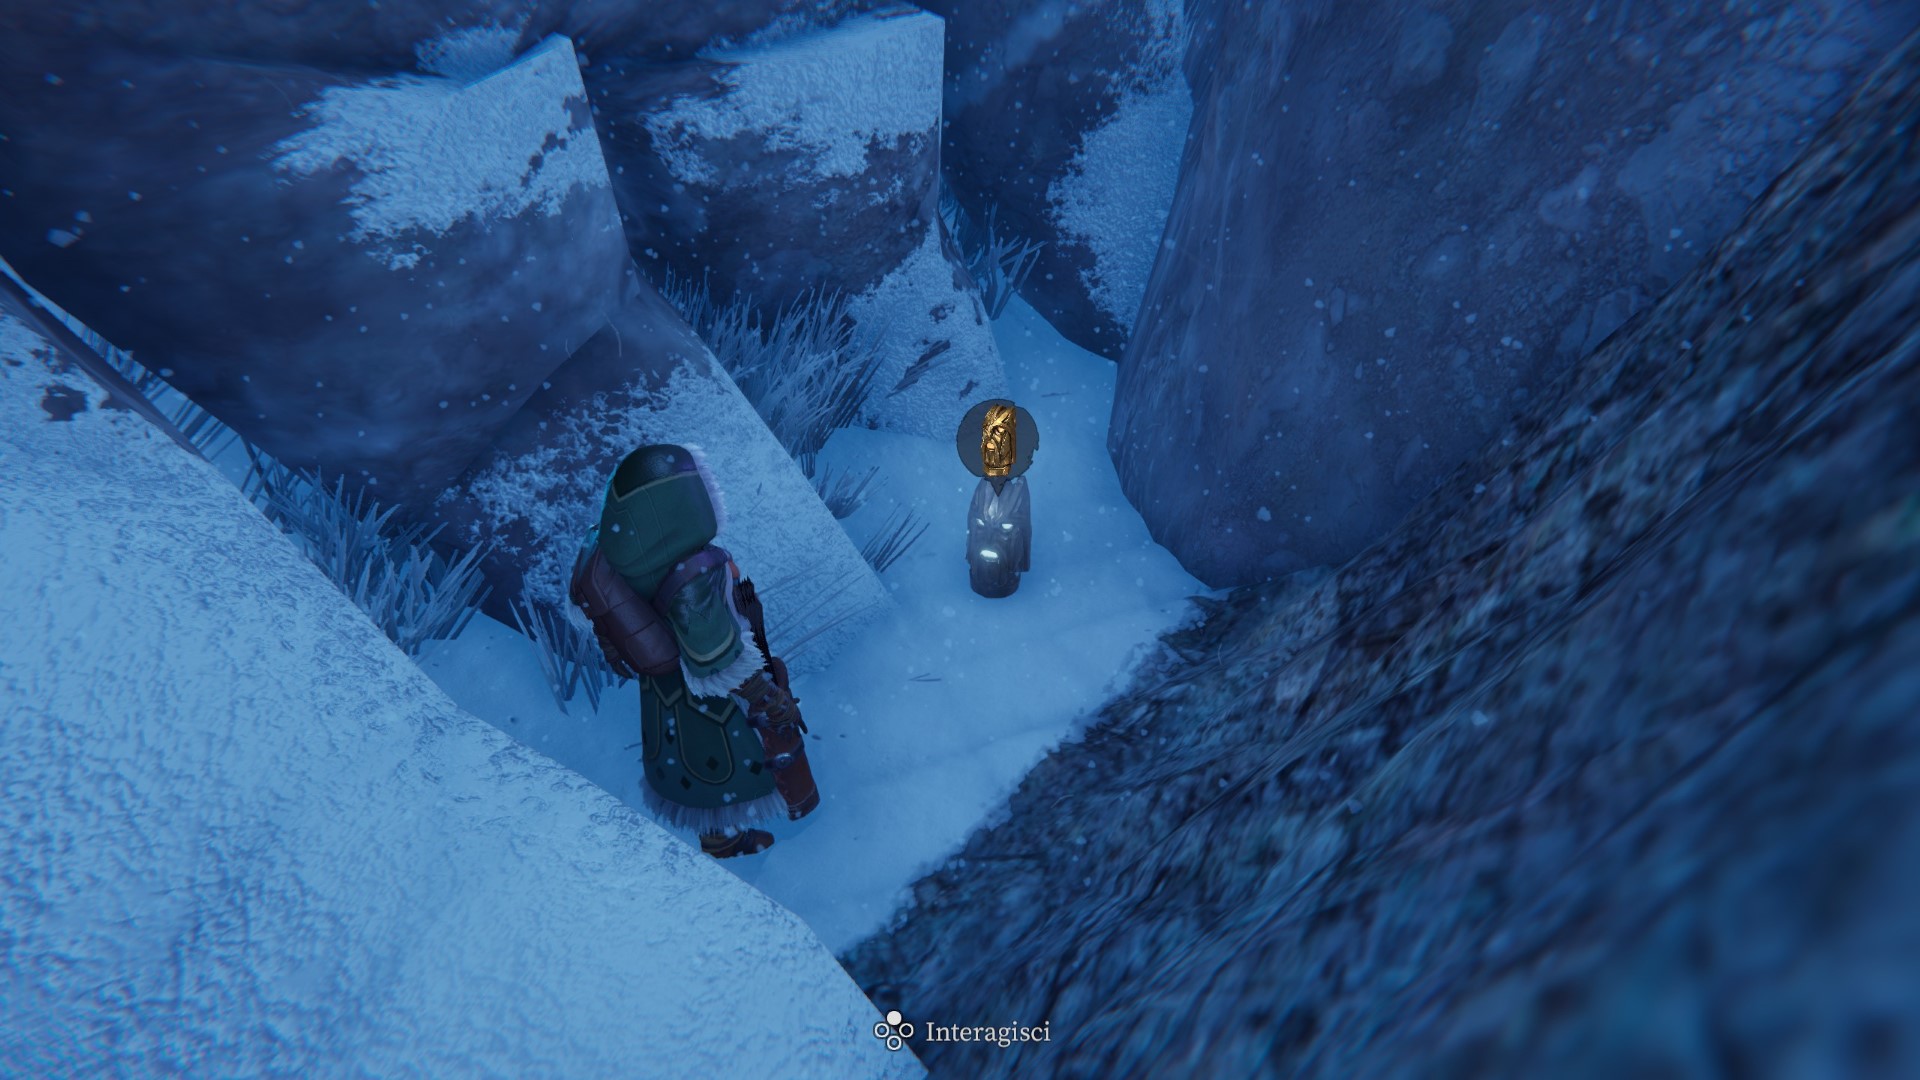
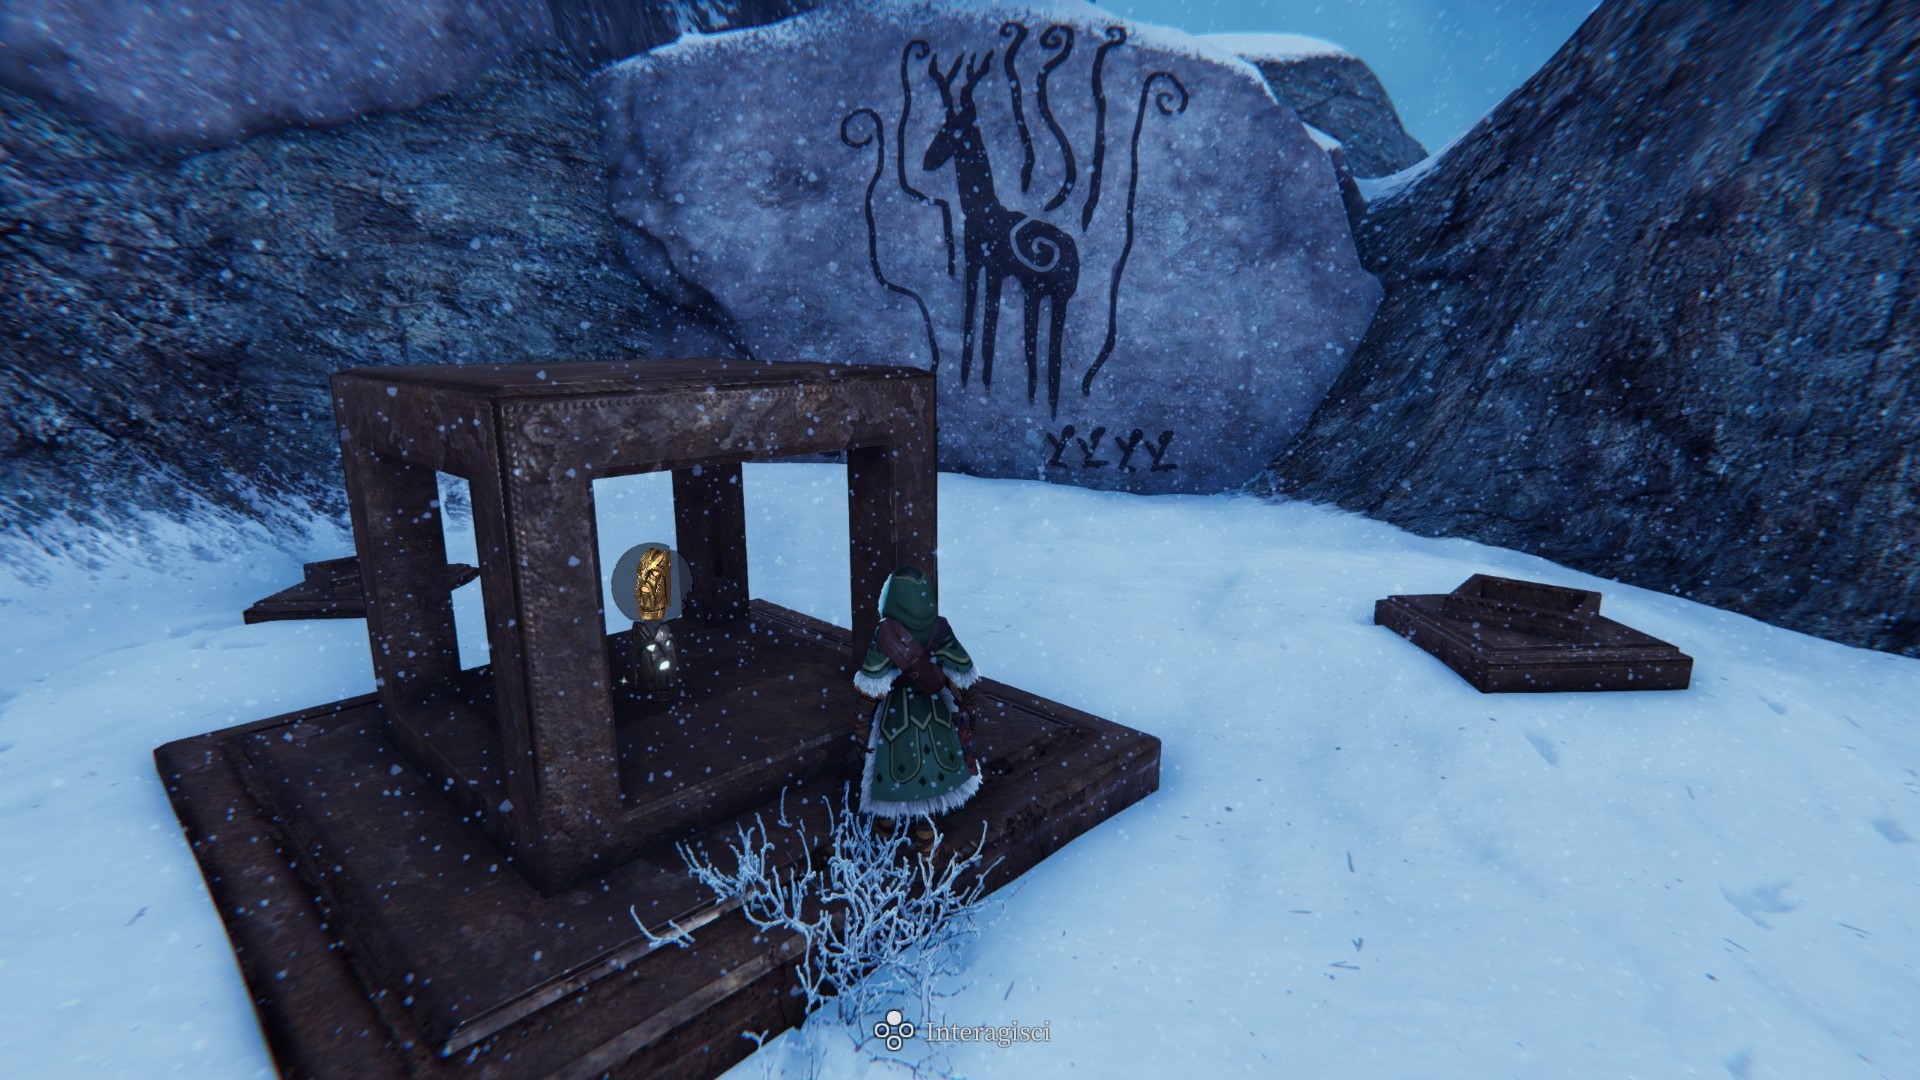
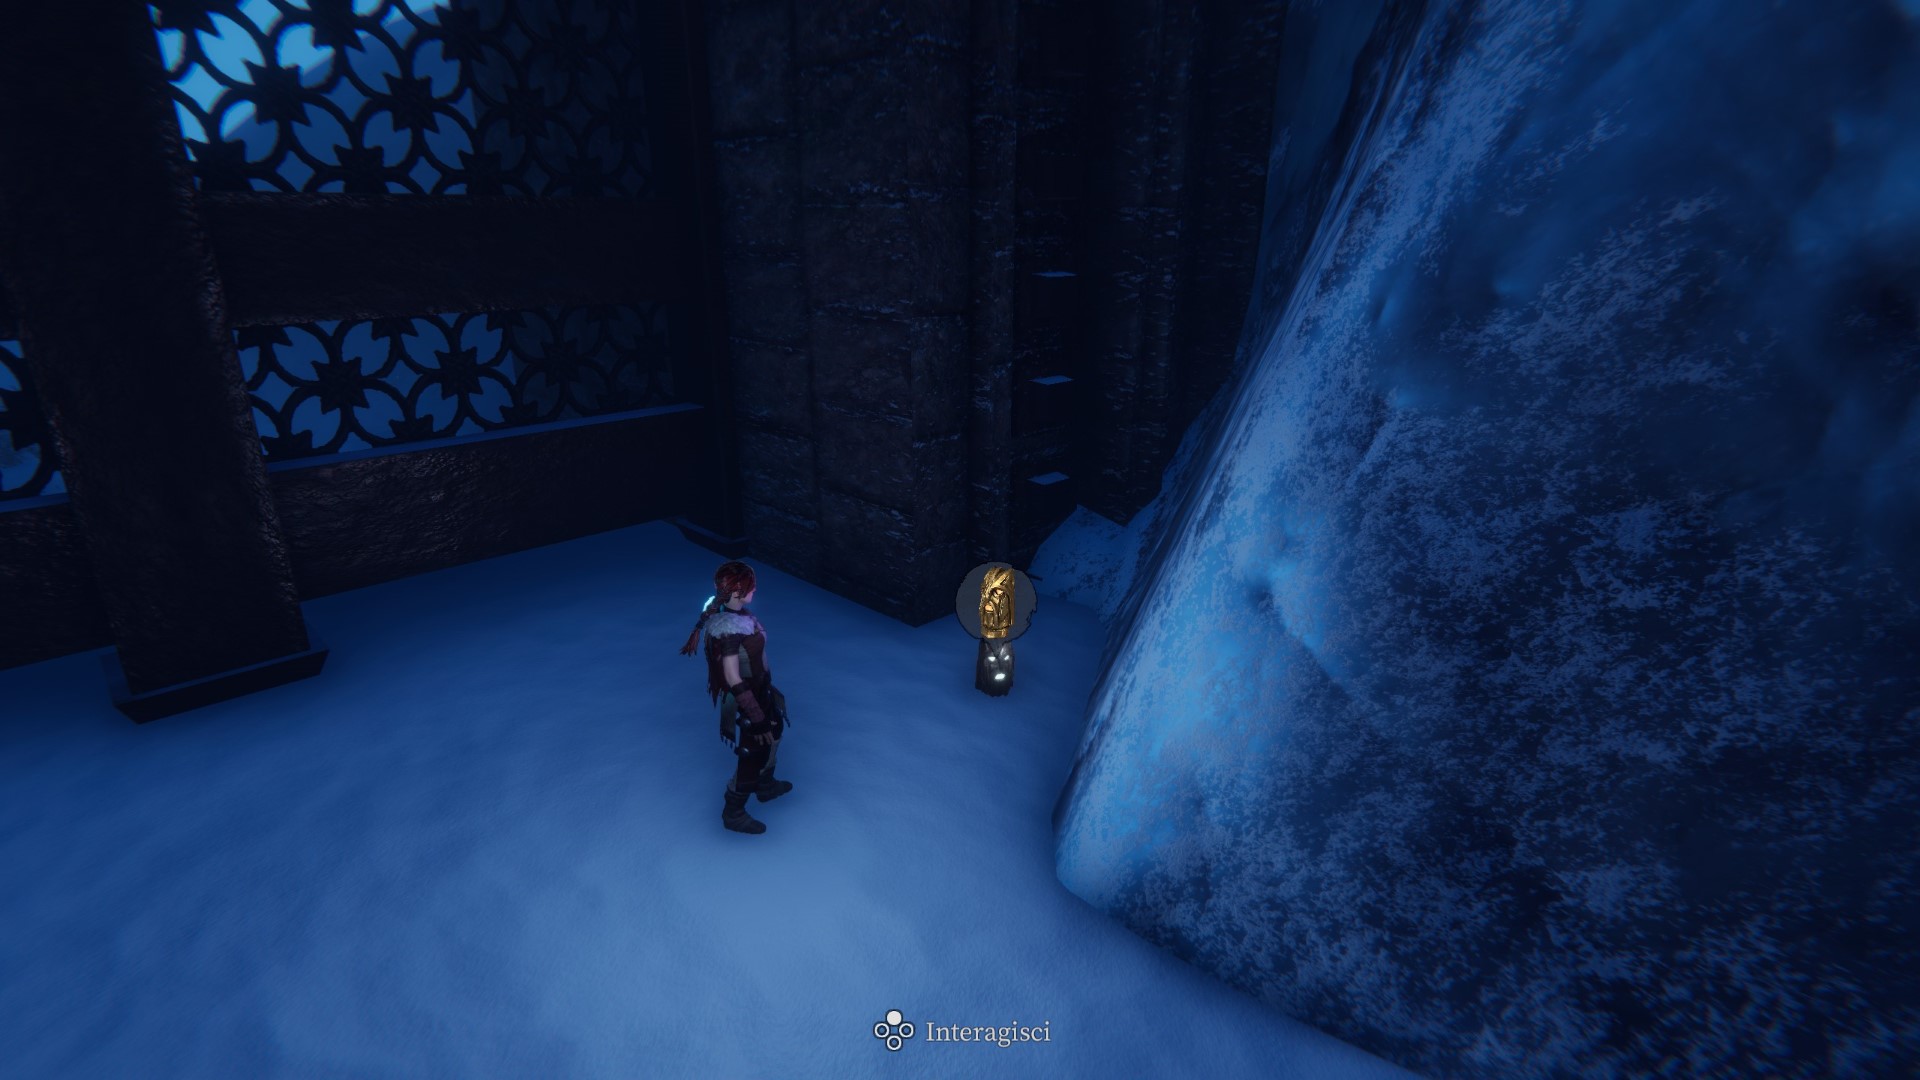
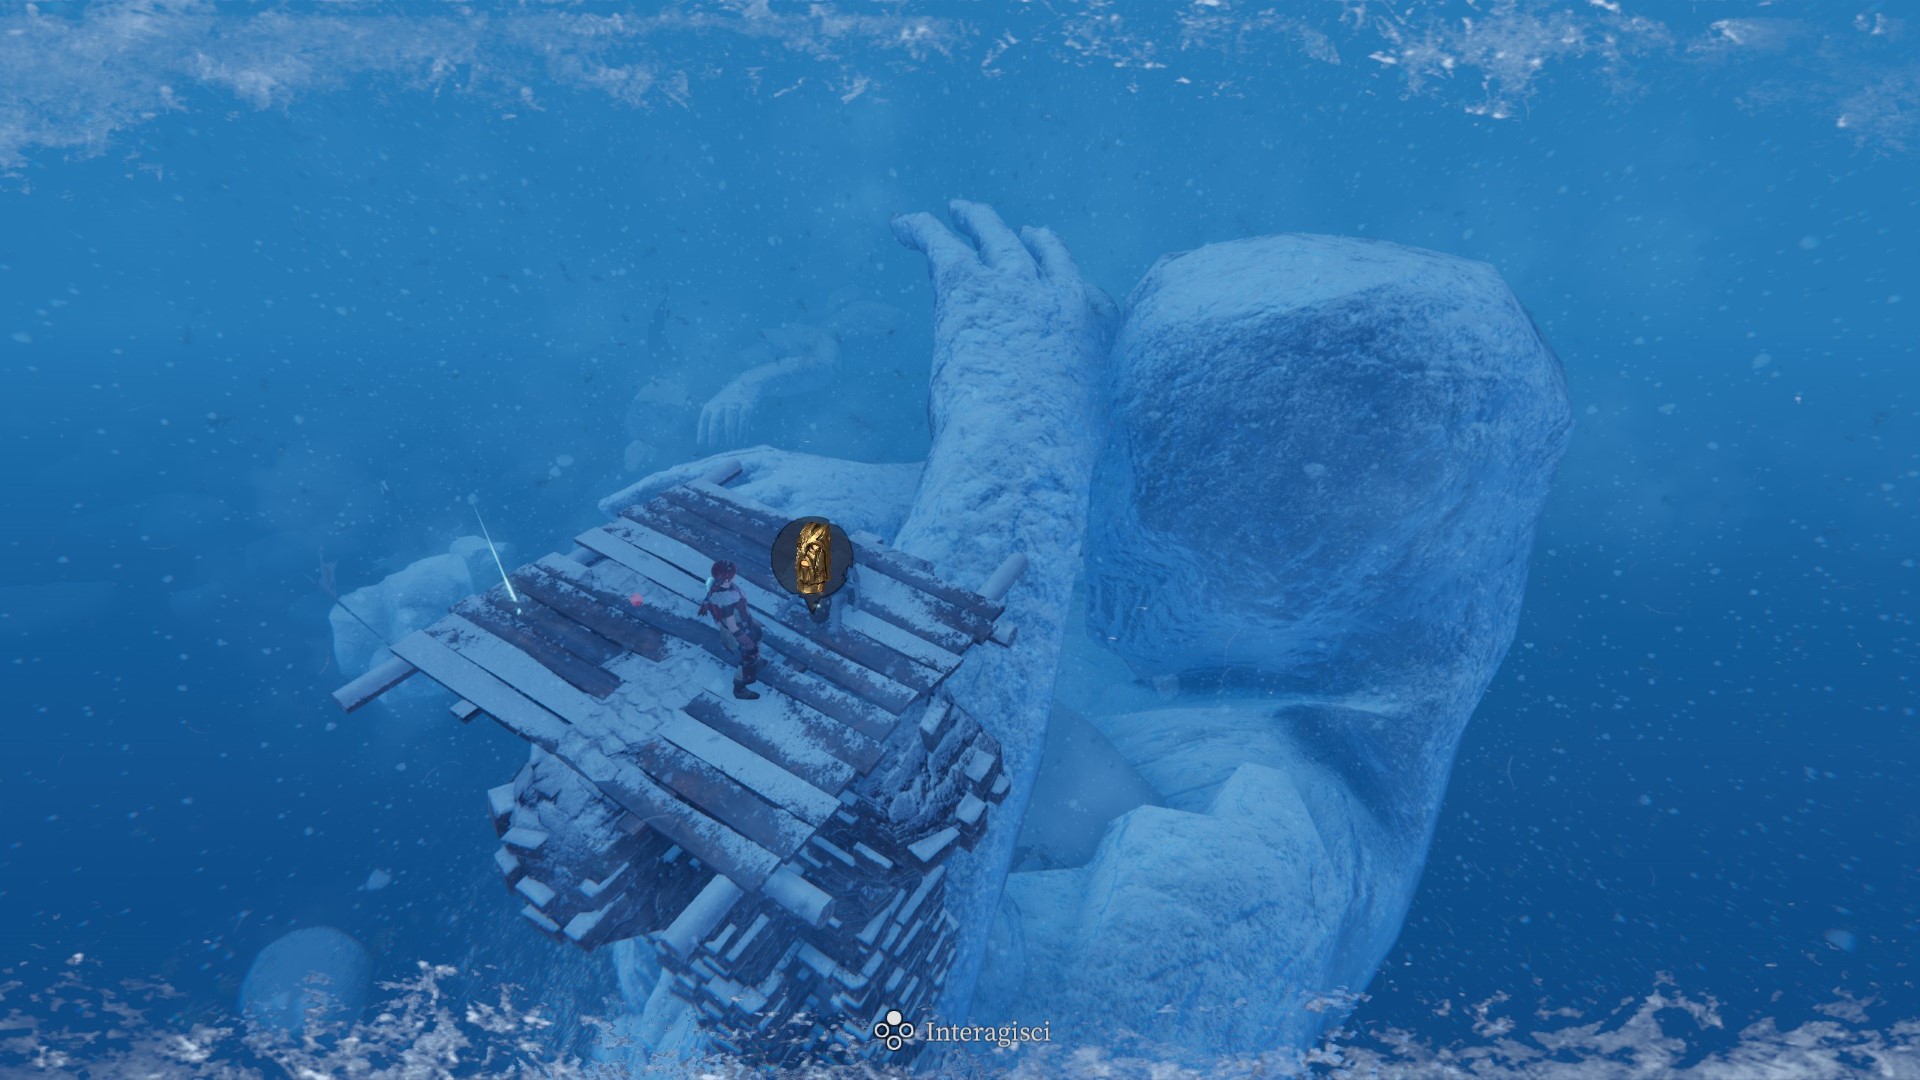
Totems
Totems are the most difficult collectibles to track, because the only information available in-game is the total number of totems collected (in the “Stats” section of the pause menu). The only way to find out which totems you’re missing is to pull the list of totems directly from the save file, so here is how to do it by using the Windows Terminal app and some Powershell commands:
- Go to the save file location of the game, then copy your save file in a new folder (anywhere on your PC). This way, your original save file will be safe in case you screw things up while checking the list of totems. On Windows, you can copy-paste the following shortcut into the address bar of File Explorer and press Enter to open the folder very quickly:
%USERPROFILE%\AppData\LocalLow\No Matter Studios\Praey For the Gods\
- Open Windows Terminal in the folder containing the (copied) save file, and start a Powershell session. You can do this in multiple ways, but the easiest is to type “powershell” in the address bar of File Explorer and press Enter.
- Copy-paste the following commands in the terminal and execute them by pressing Enter, one by one:
$savefile = Get-Content -Path .\'FILENAME.sav'
$totems = $savefile | Select-String -Pattern 'Totem\d\d","value":(true|false)' -AllMatches
$totems.Matches.Value -replace '","value":', ': ' | Sort-Object
Please note that FILENAME is the name of your save file, so you must edit the command and use the correct name (it should be something like “Manual SaveXX.sav” or “Automatic SaveX.sav”).
If done correctly, a list of key/value pairs will be shown in the terminal: pairs with a “true” value represent the collected totems, while those with a “false” value represent the missing totems. For example, if you get a pair like “Totem04: false”, it means that you’re still missing the totem.
Please note that some totems may not yet be present in the save file: in such cases, the totem is to be considered missing. For example, if the list contains no “Totem04” pair, it means that you’re still missing the totem.
For the sake of completeness, I point out that an alternative method consists of opening the save file with a text editor and consulting the totem entries manually, but this is a much longer and more cumbersome process with the risk of causing damage to the file itself, therefore I recommend sticking to the method I explained above.
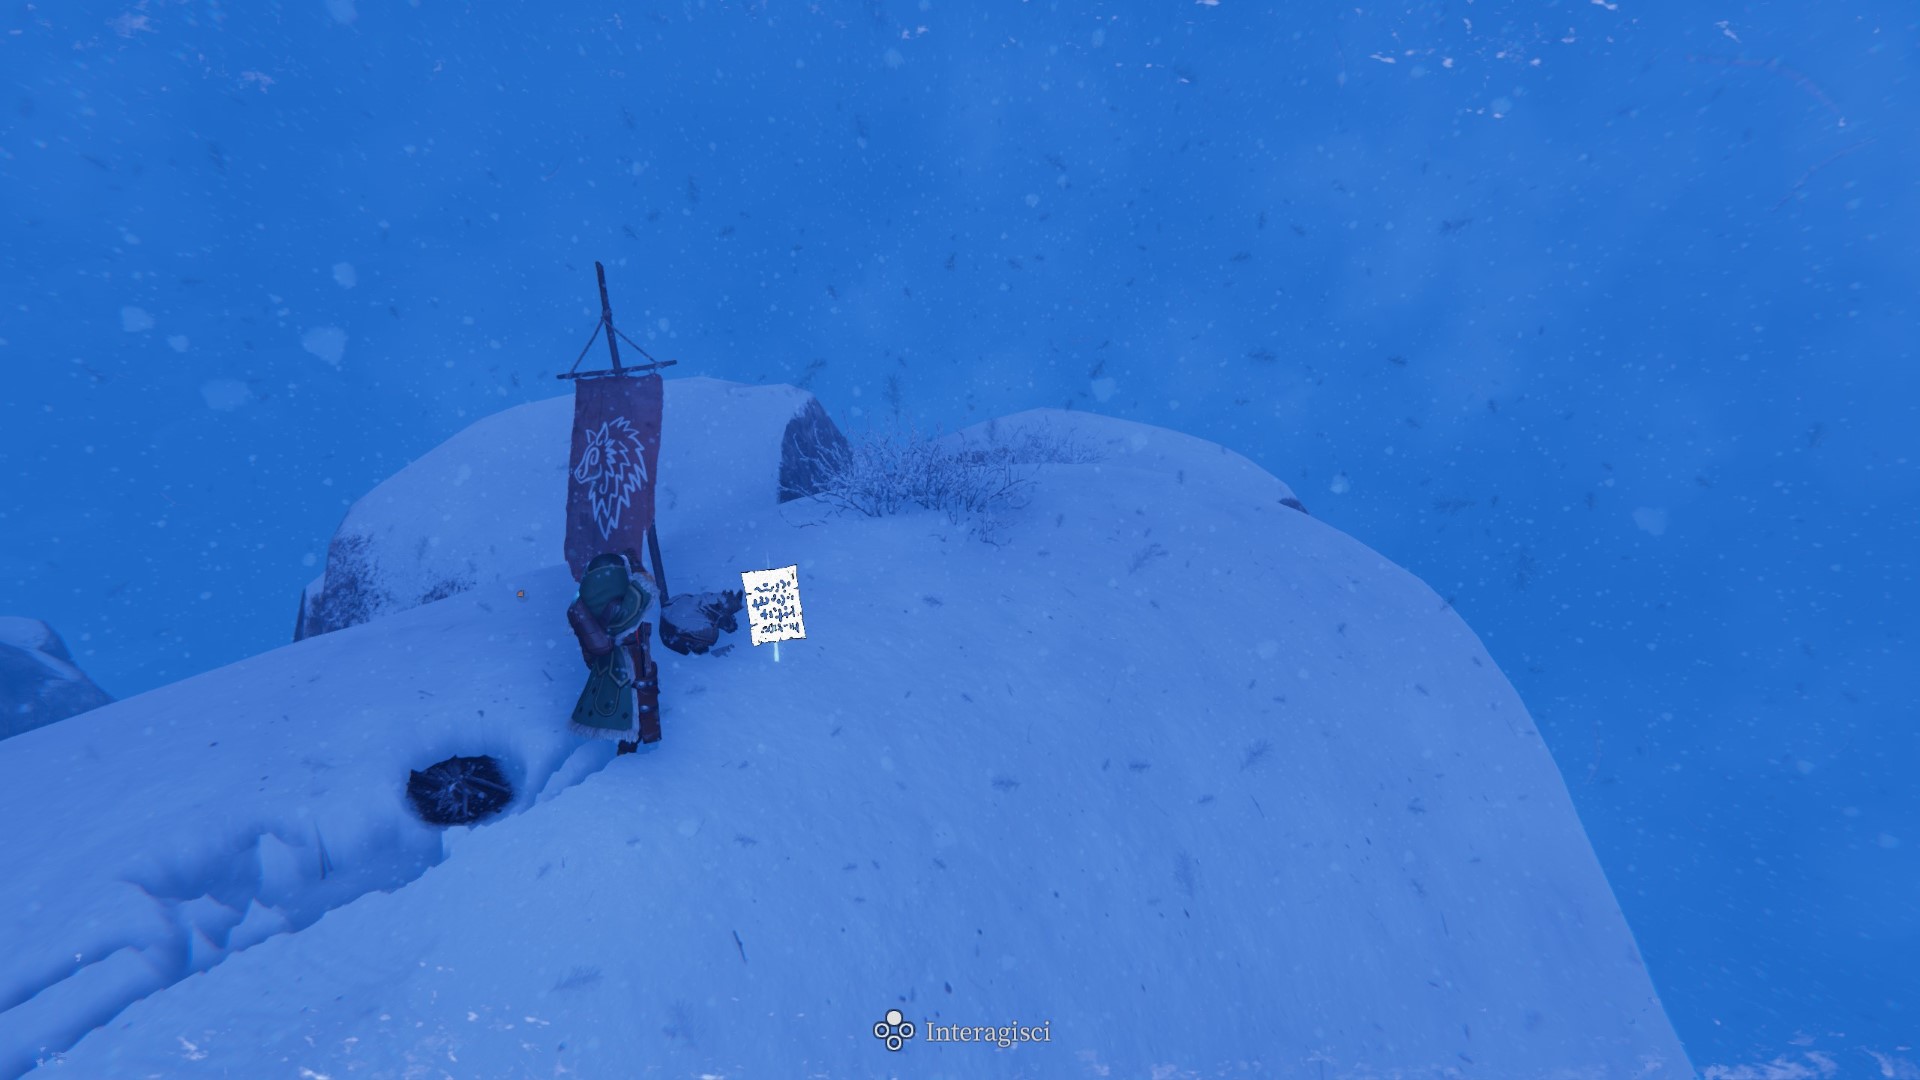
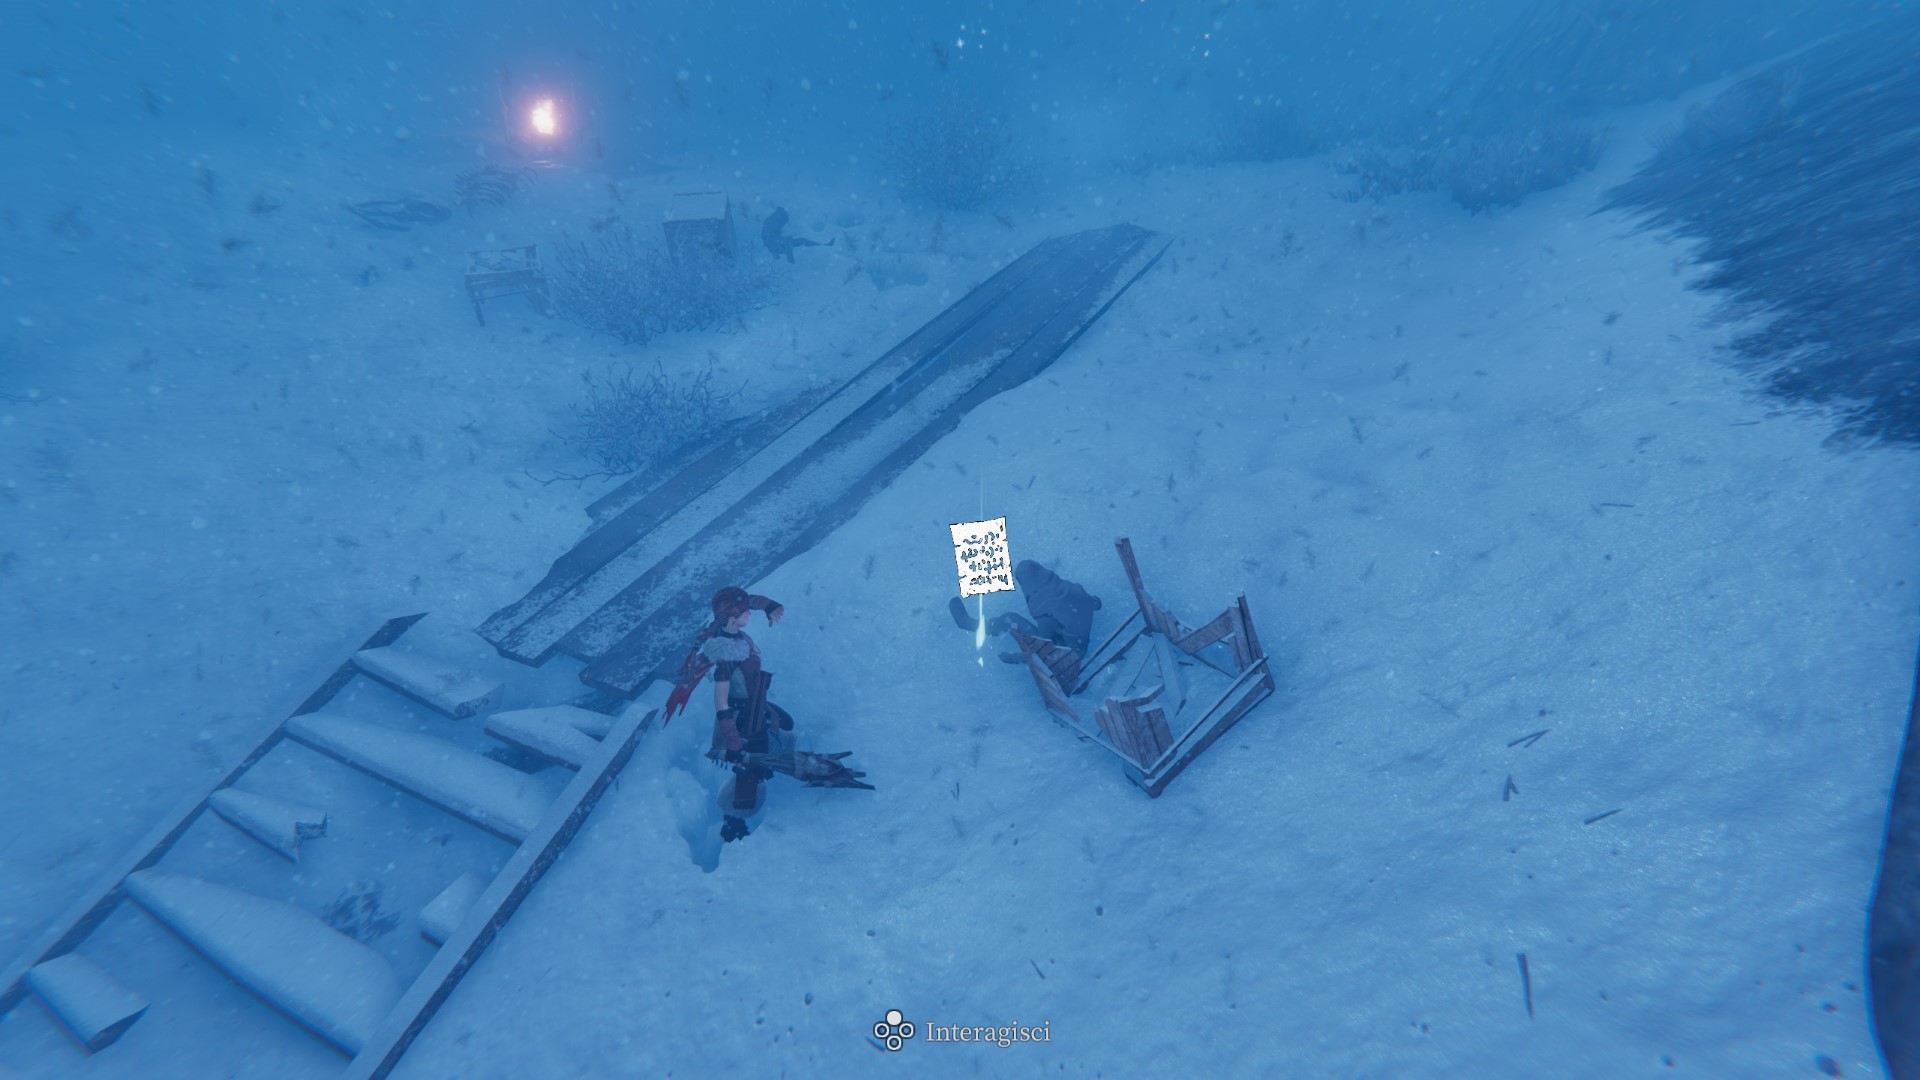
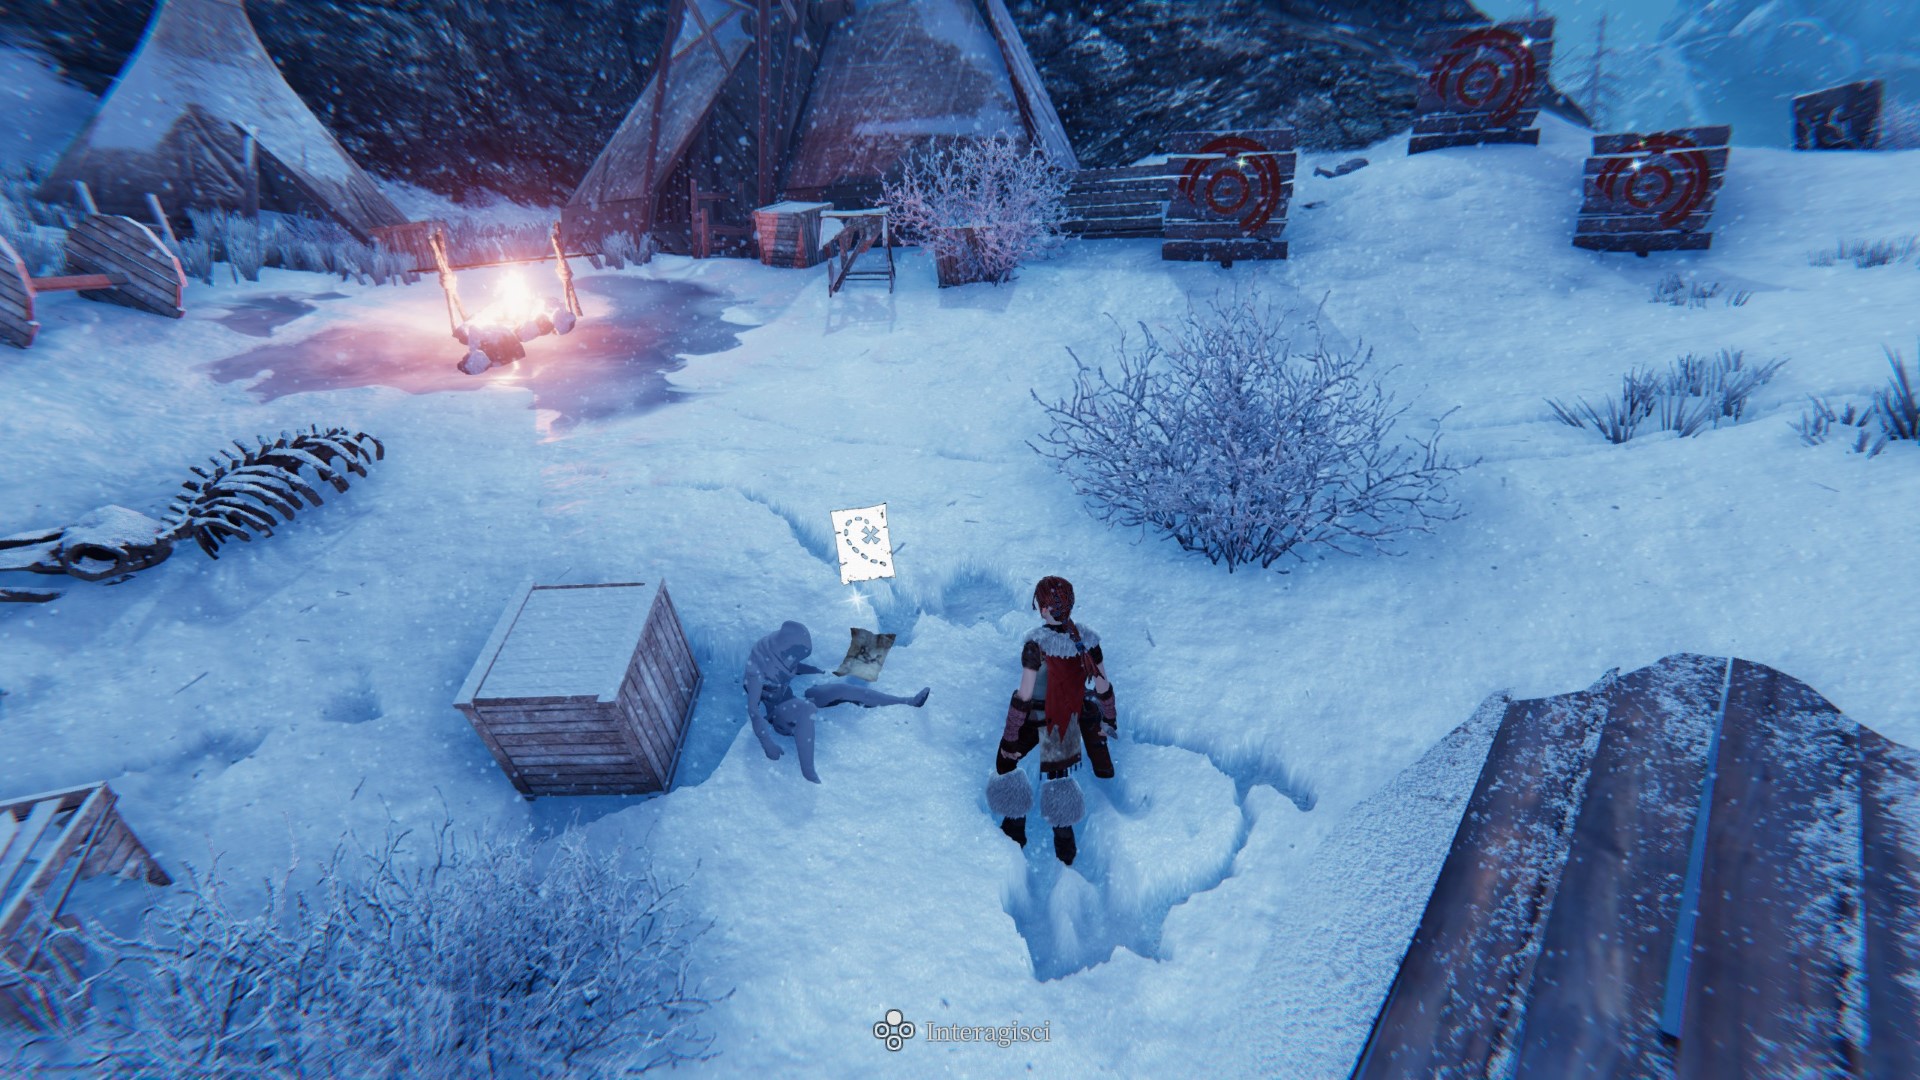
Notes: Lore notes are divided into three groups: (1) Gorm’s letters, (2) lost journal, and (3) notes of the Fallen. The “map” tab of the inventory clearly shows the collected notes, also allowing you to read them again. For the purpose of this guide, the notes in each group have been numbered from top to bottom and left to right.
Maps
There are two types of maps: island maps and treasure maps. Specifically:
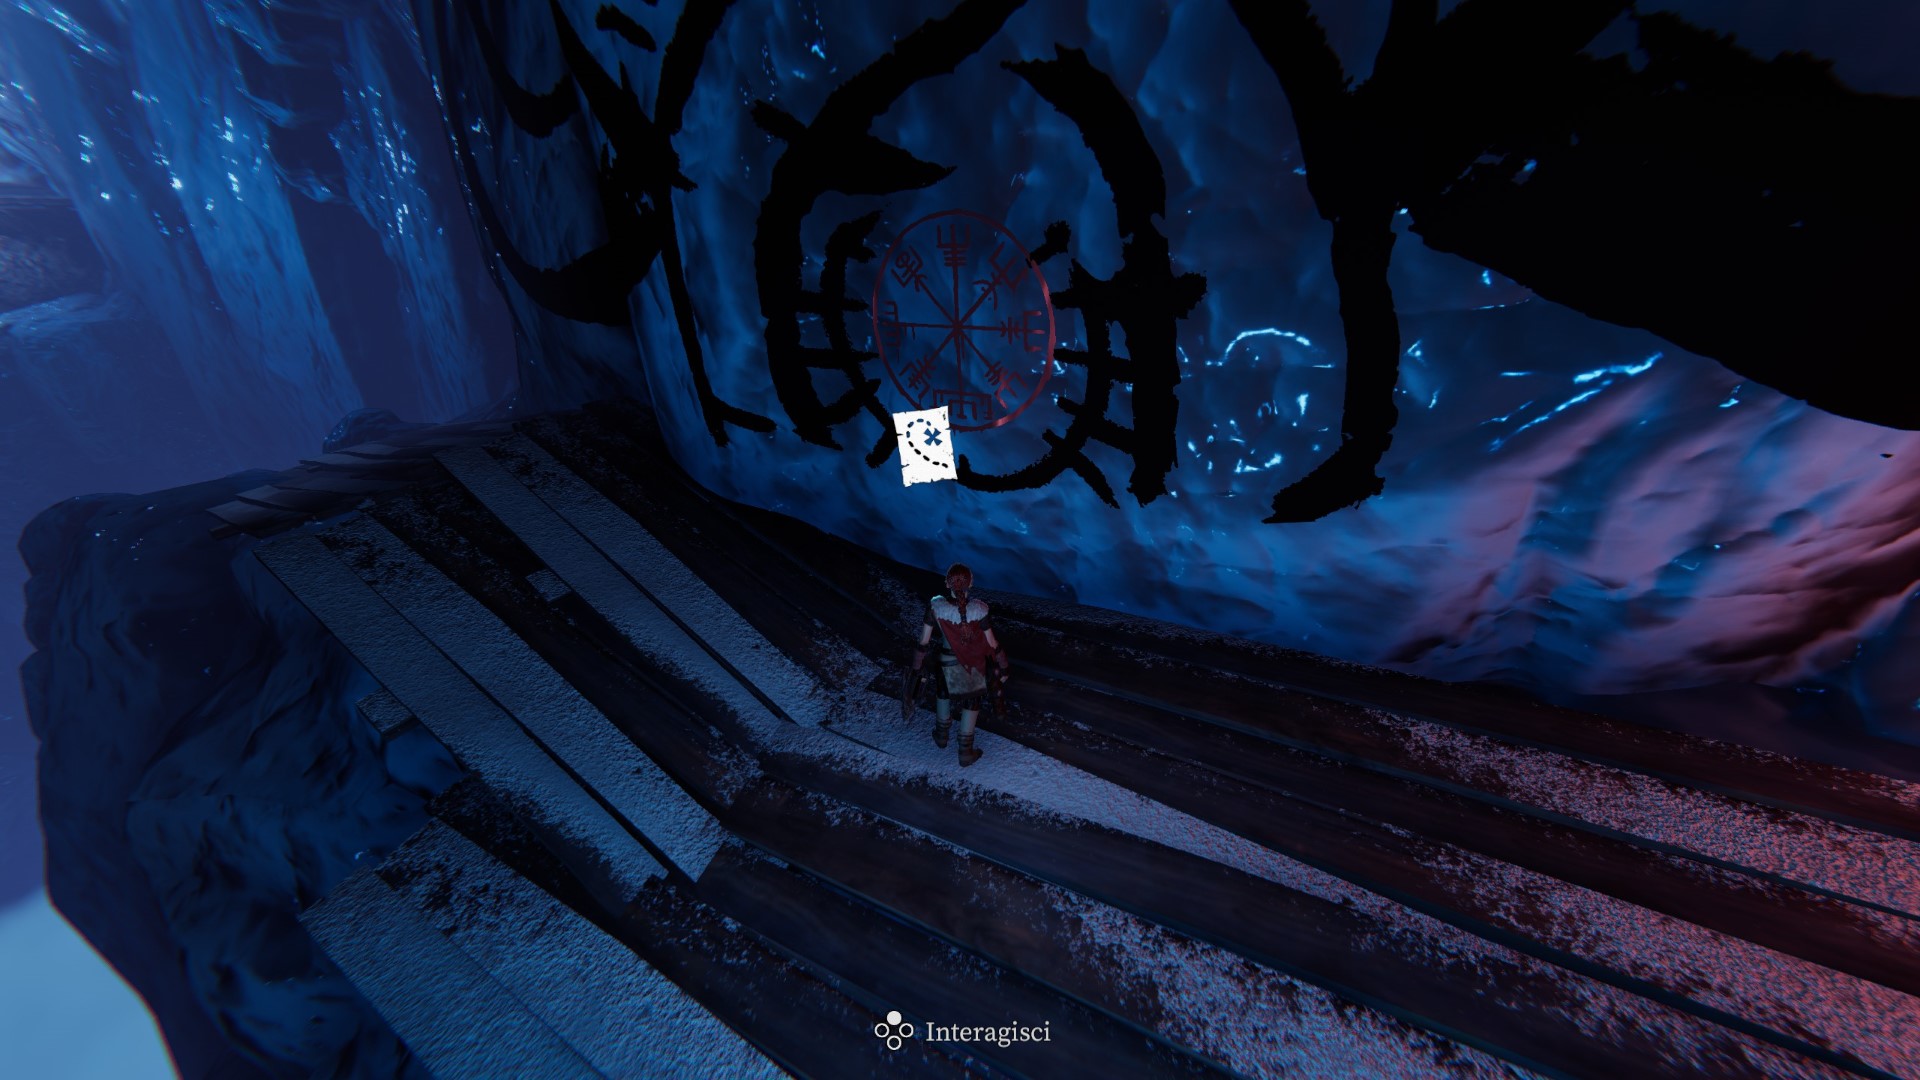
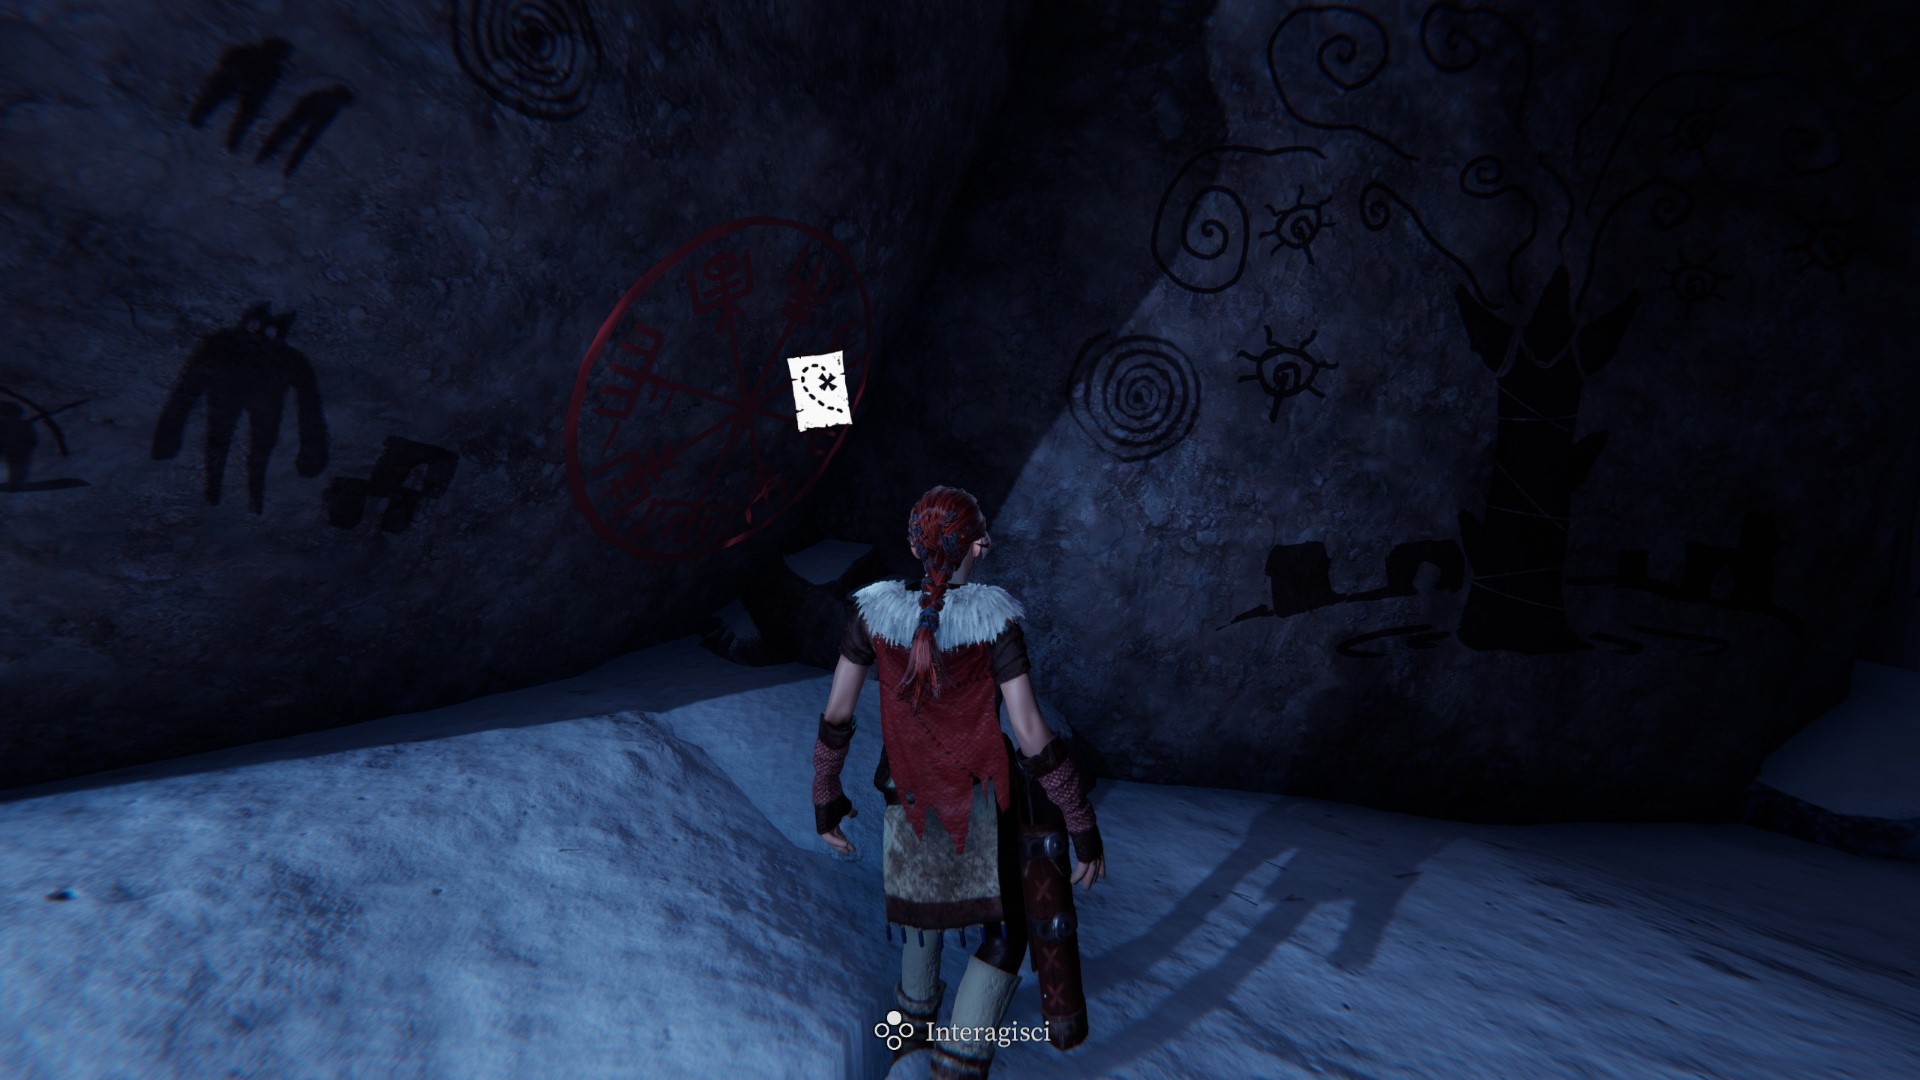
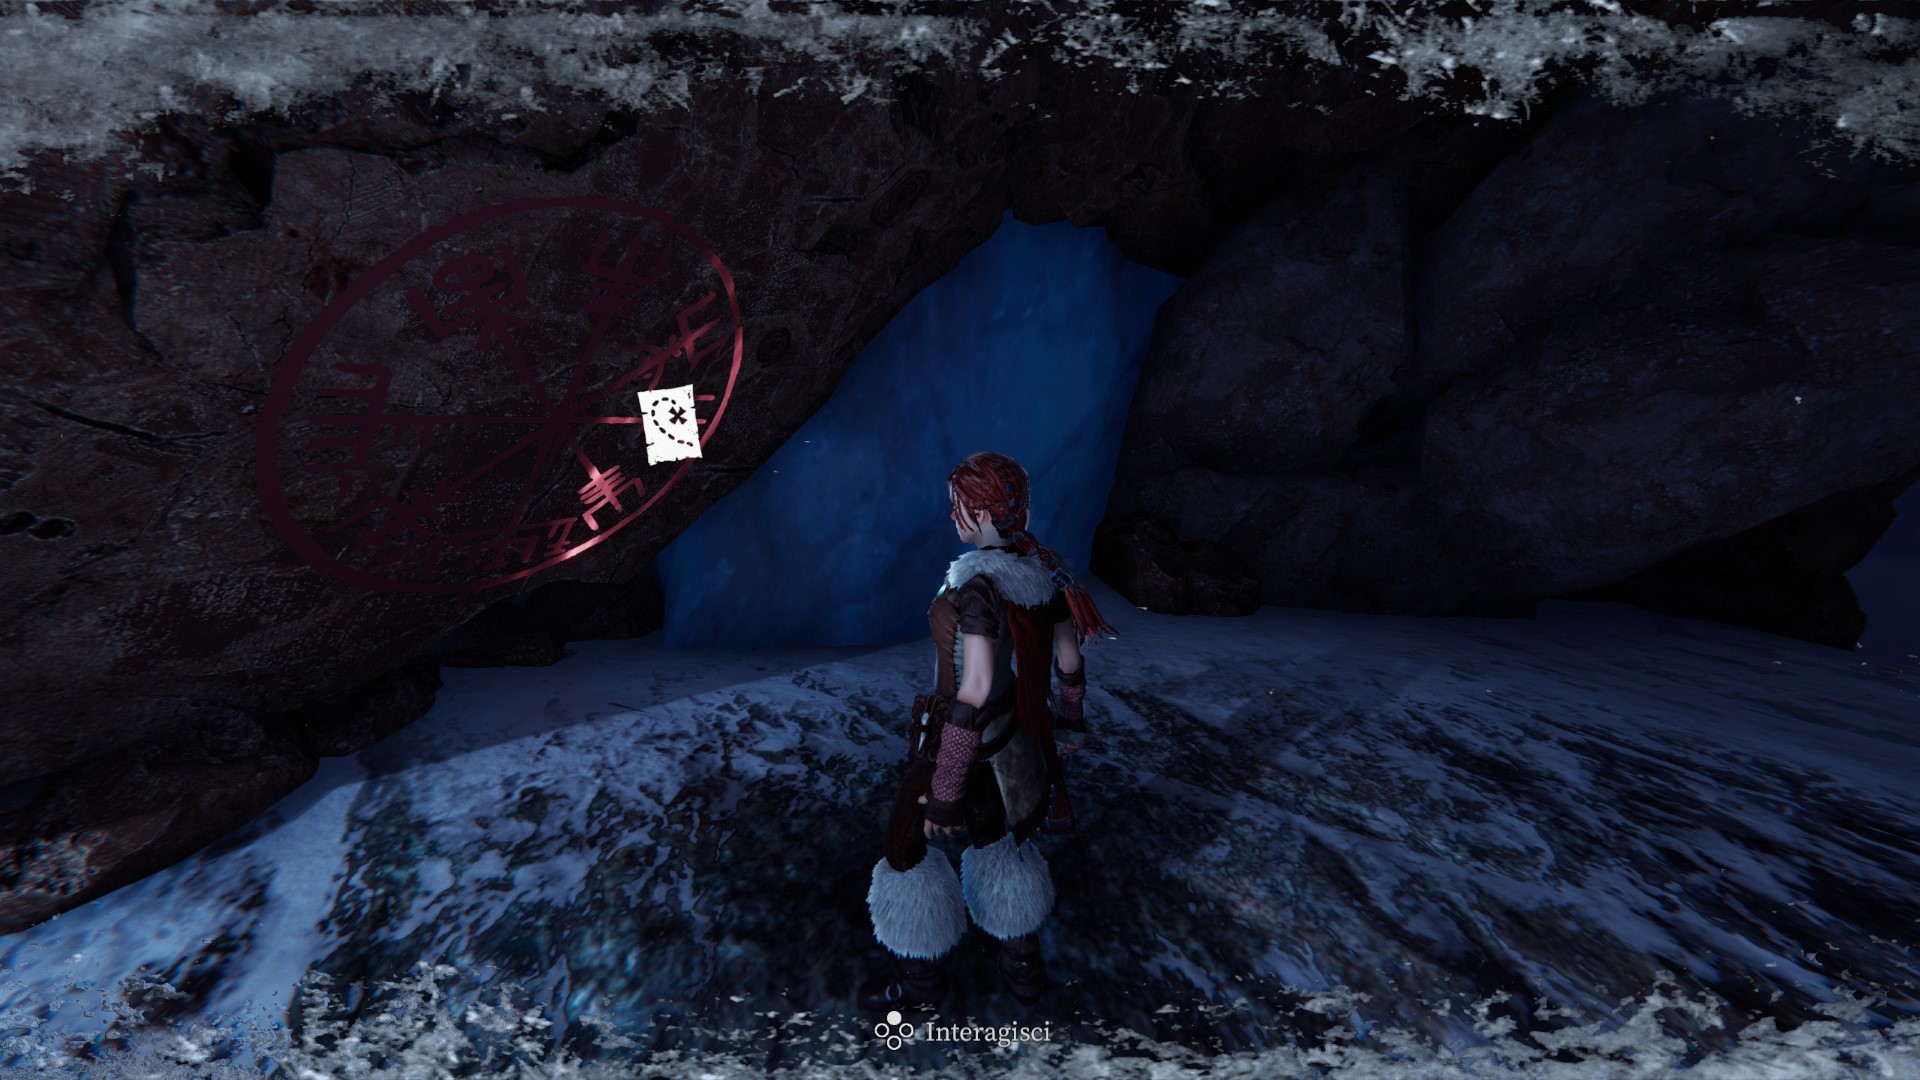
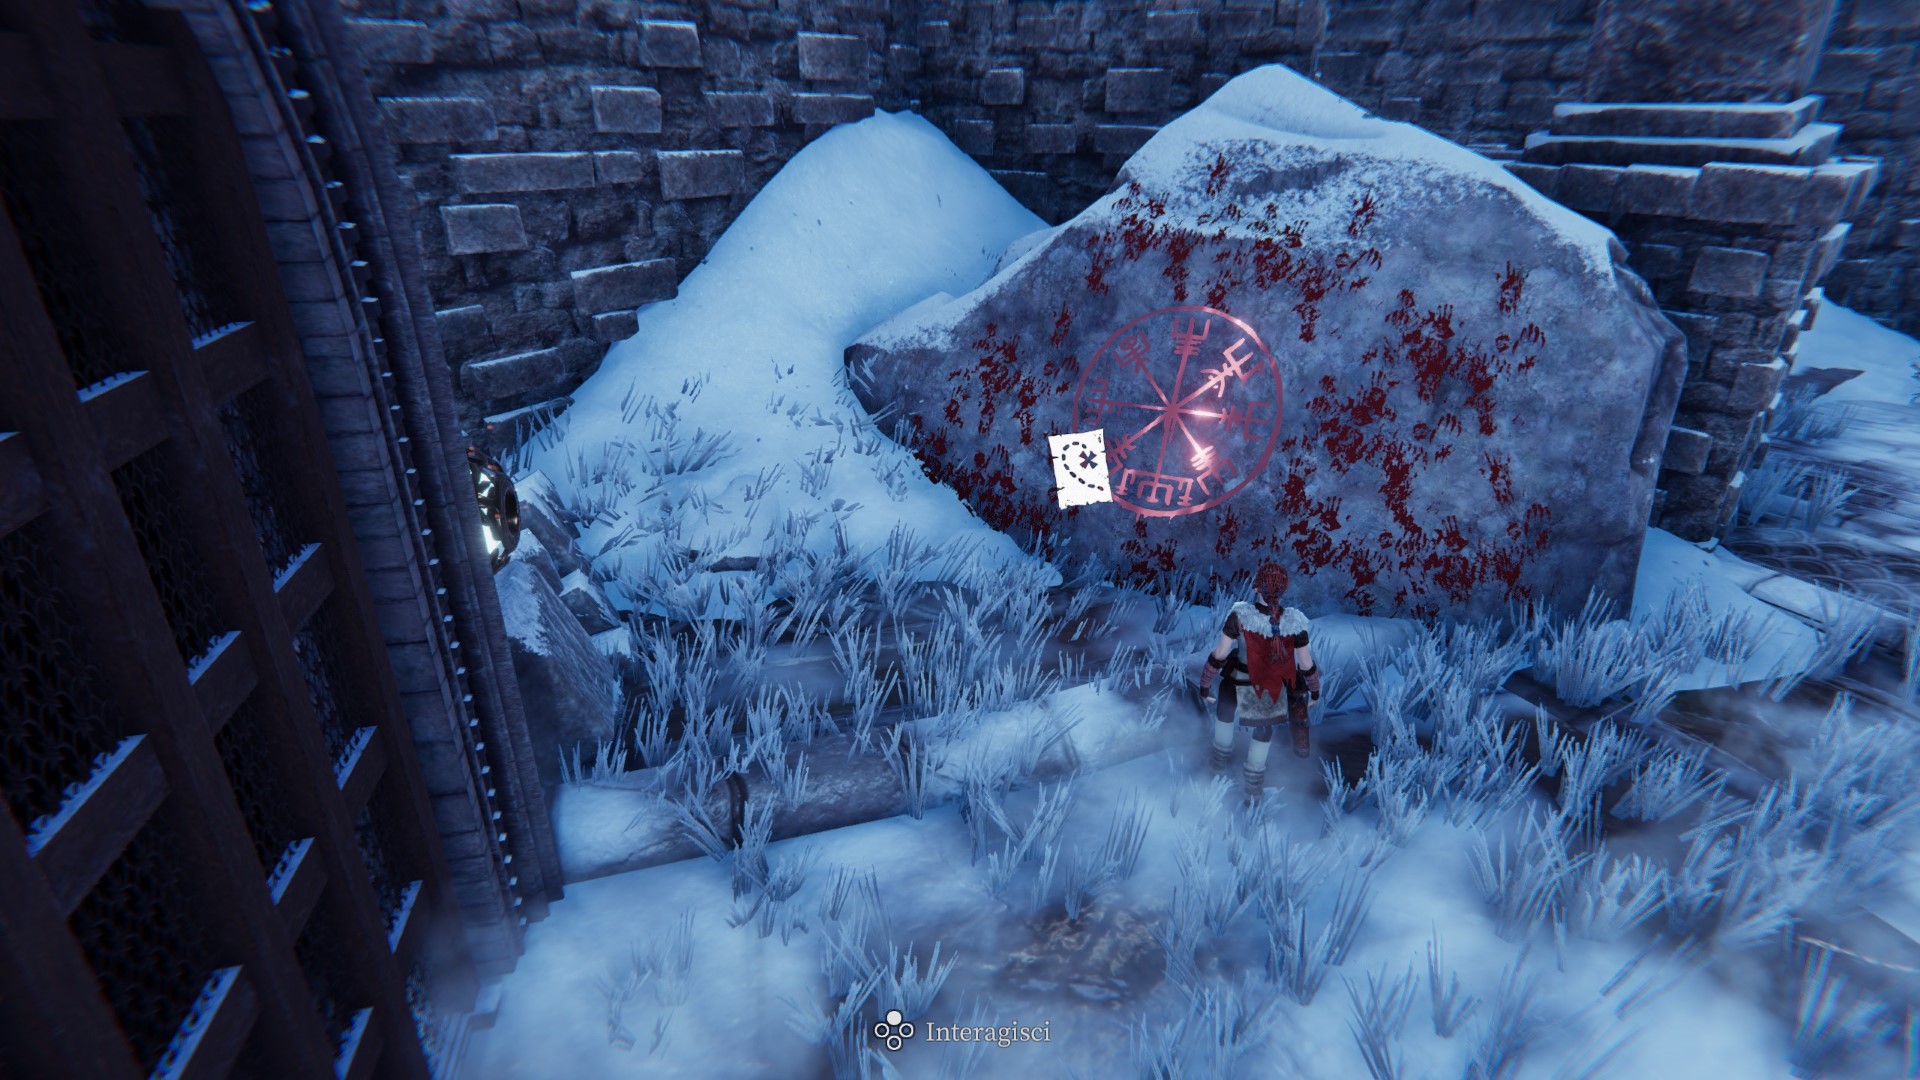
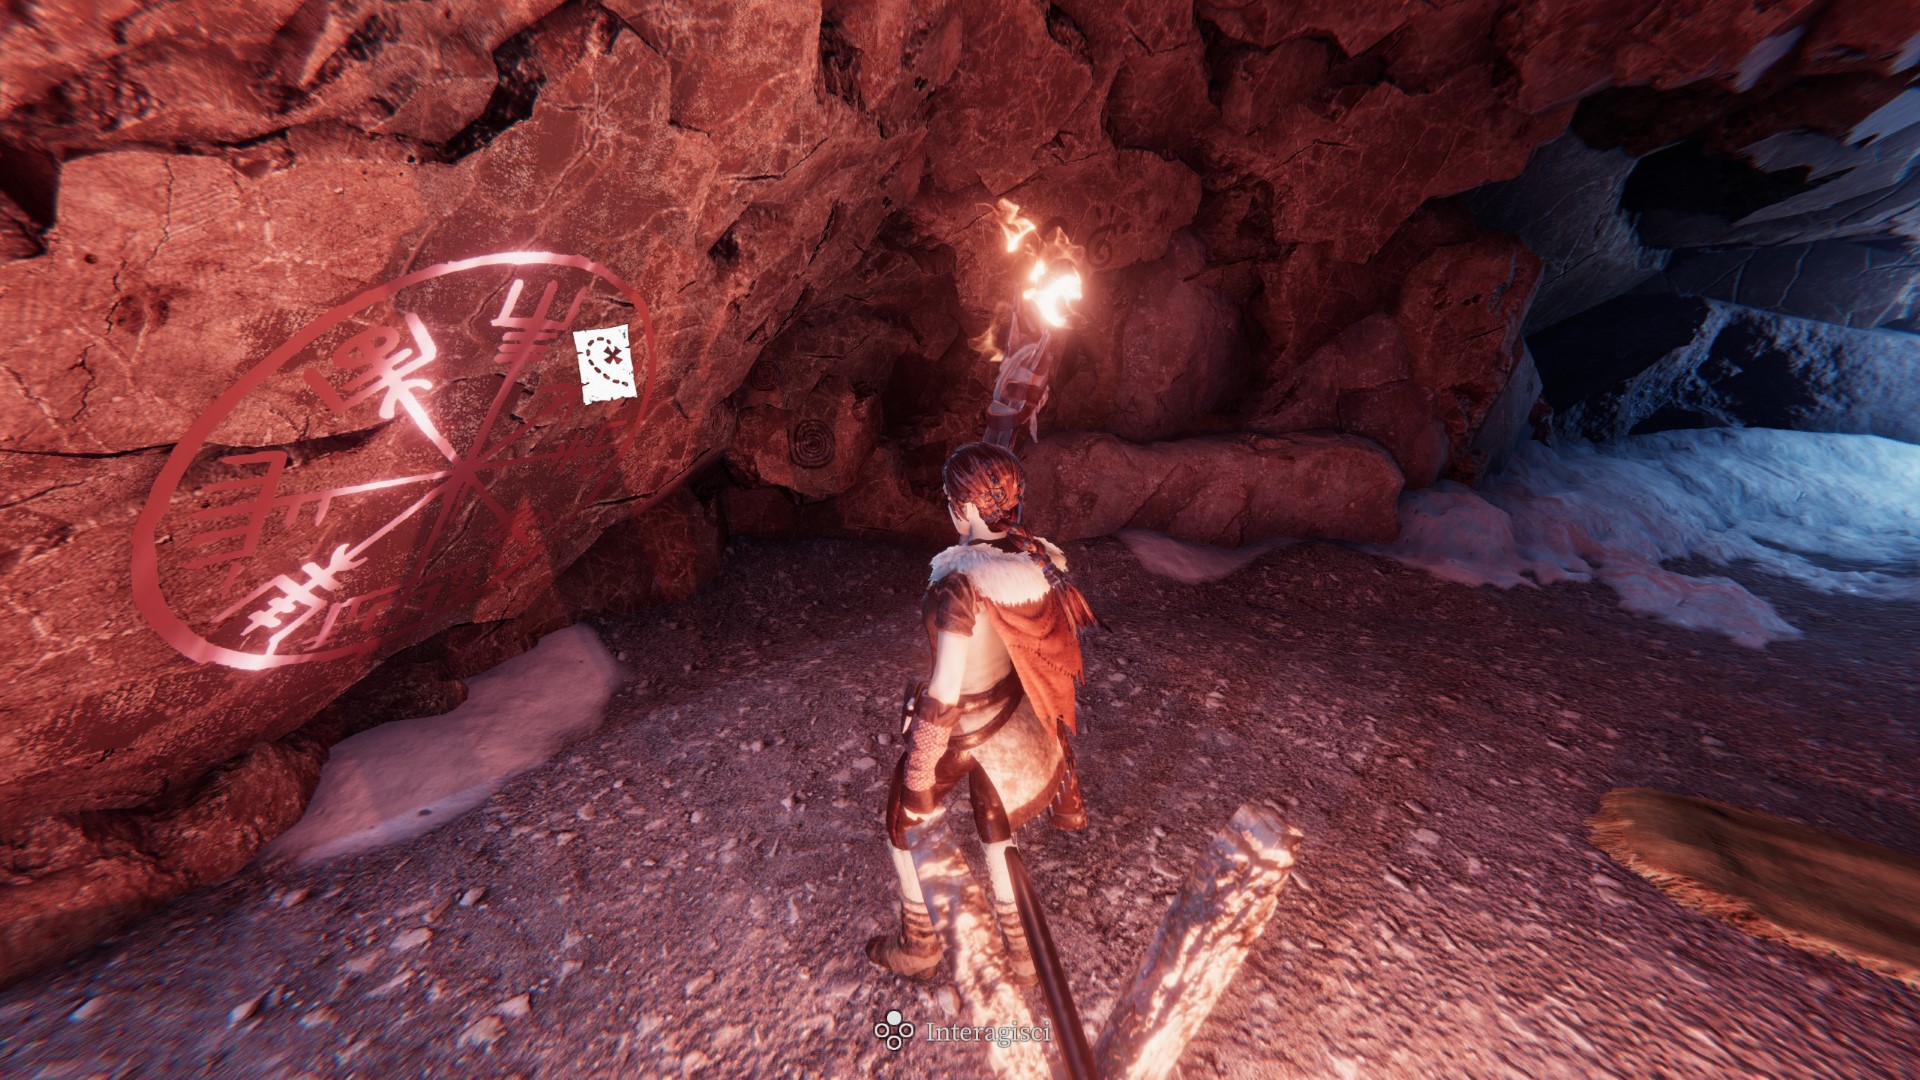
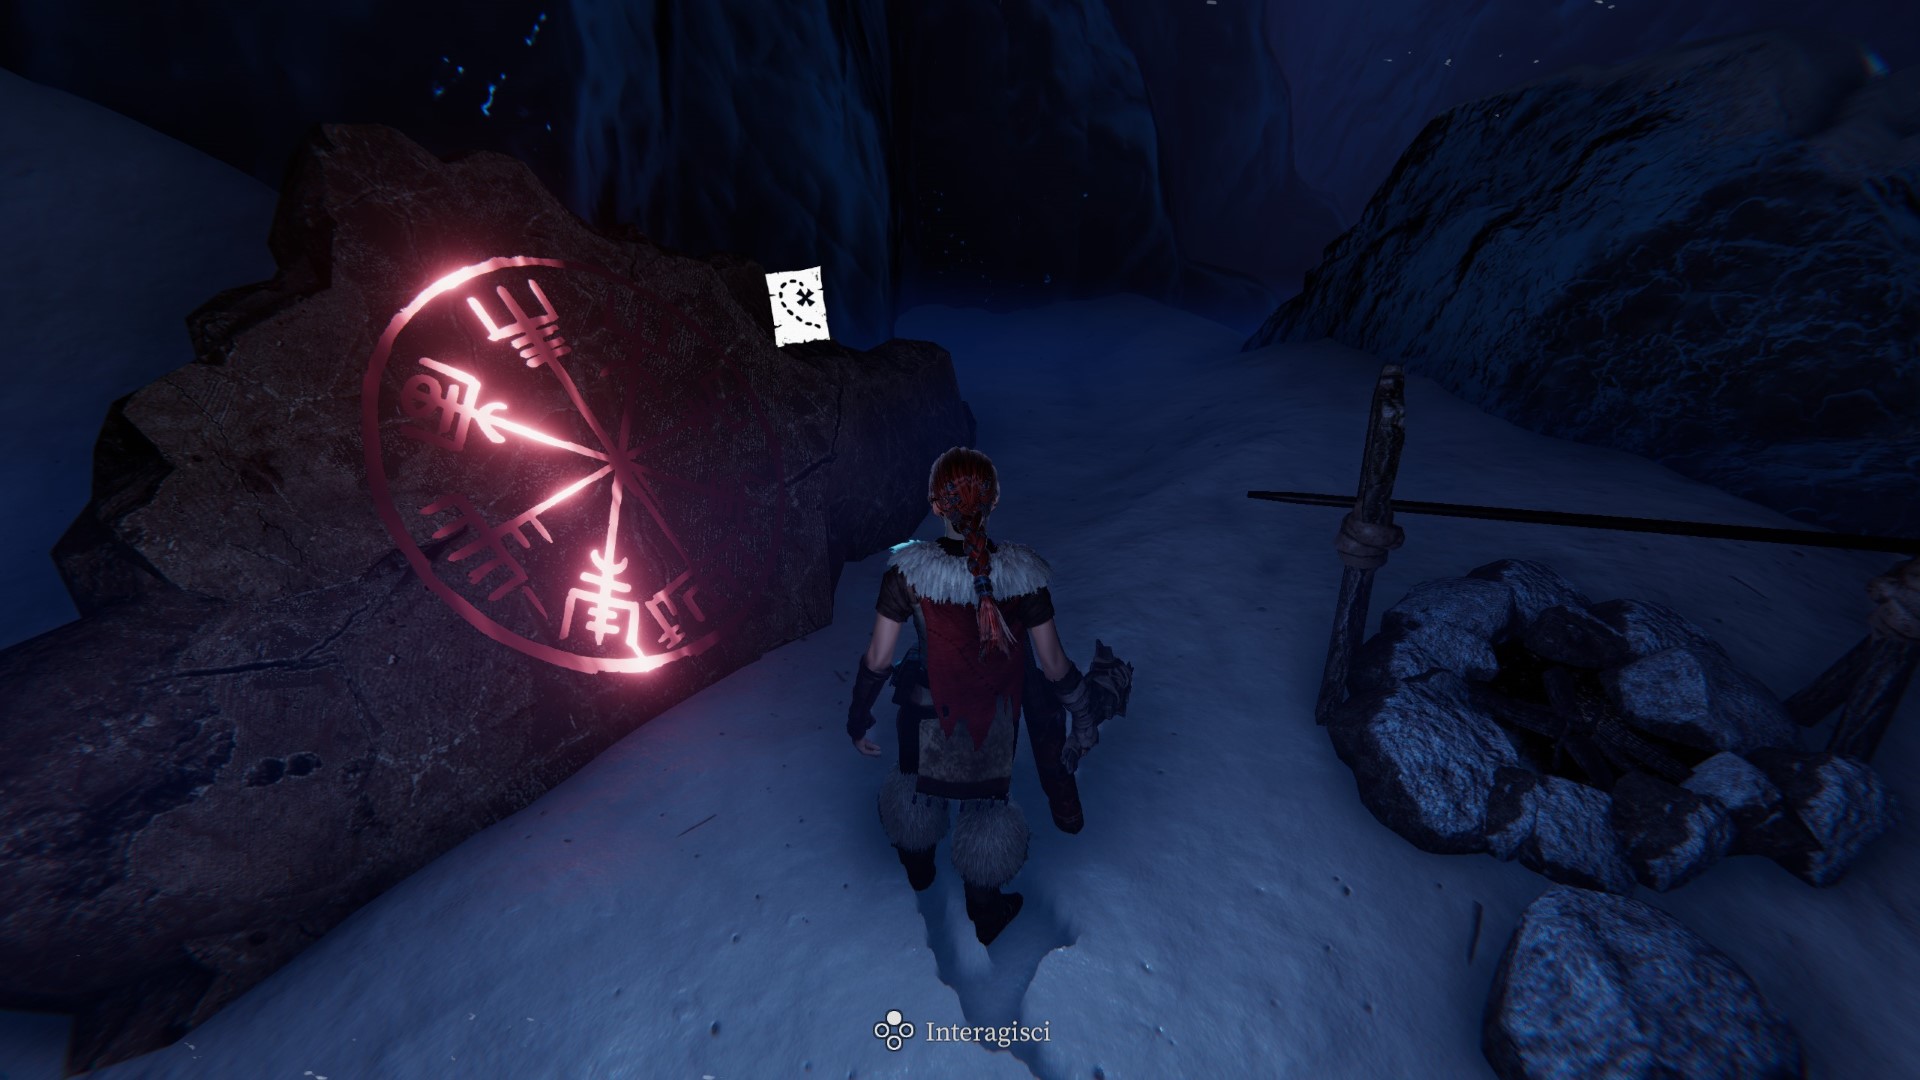
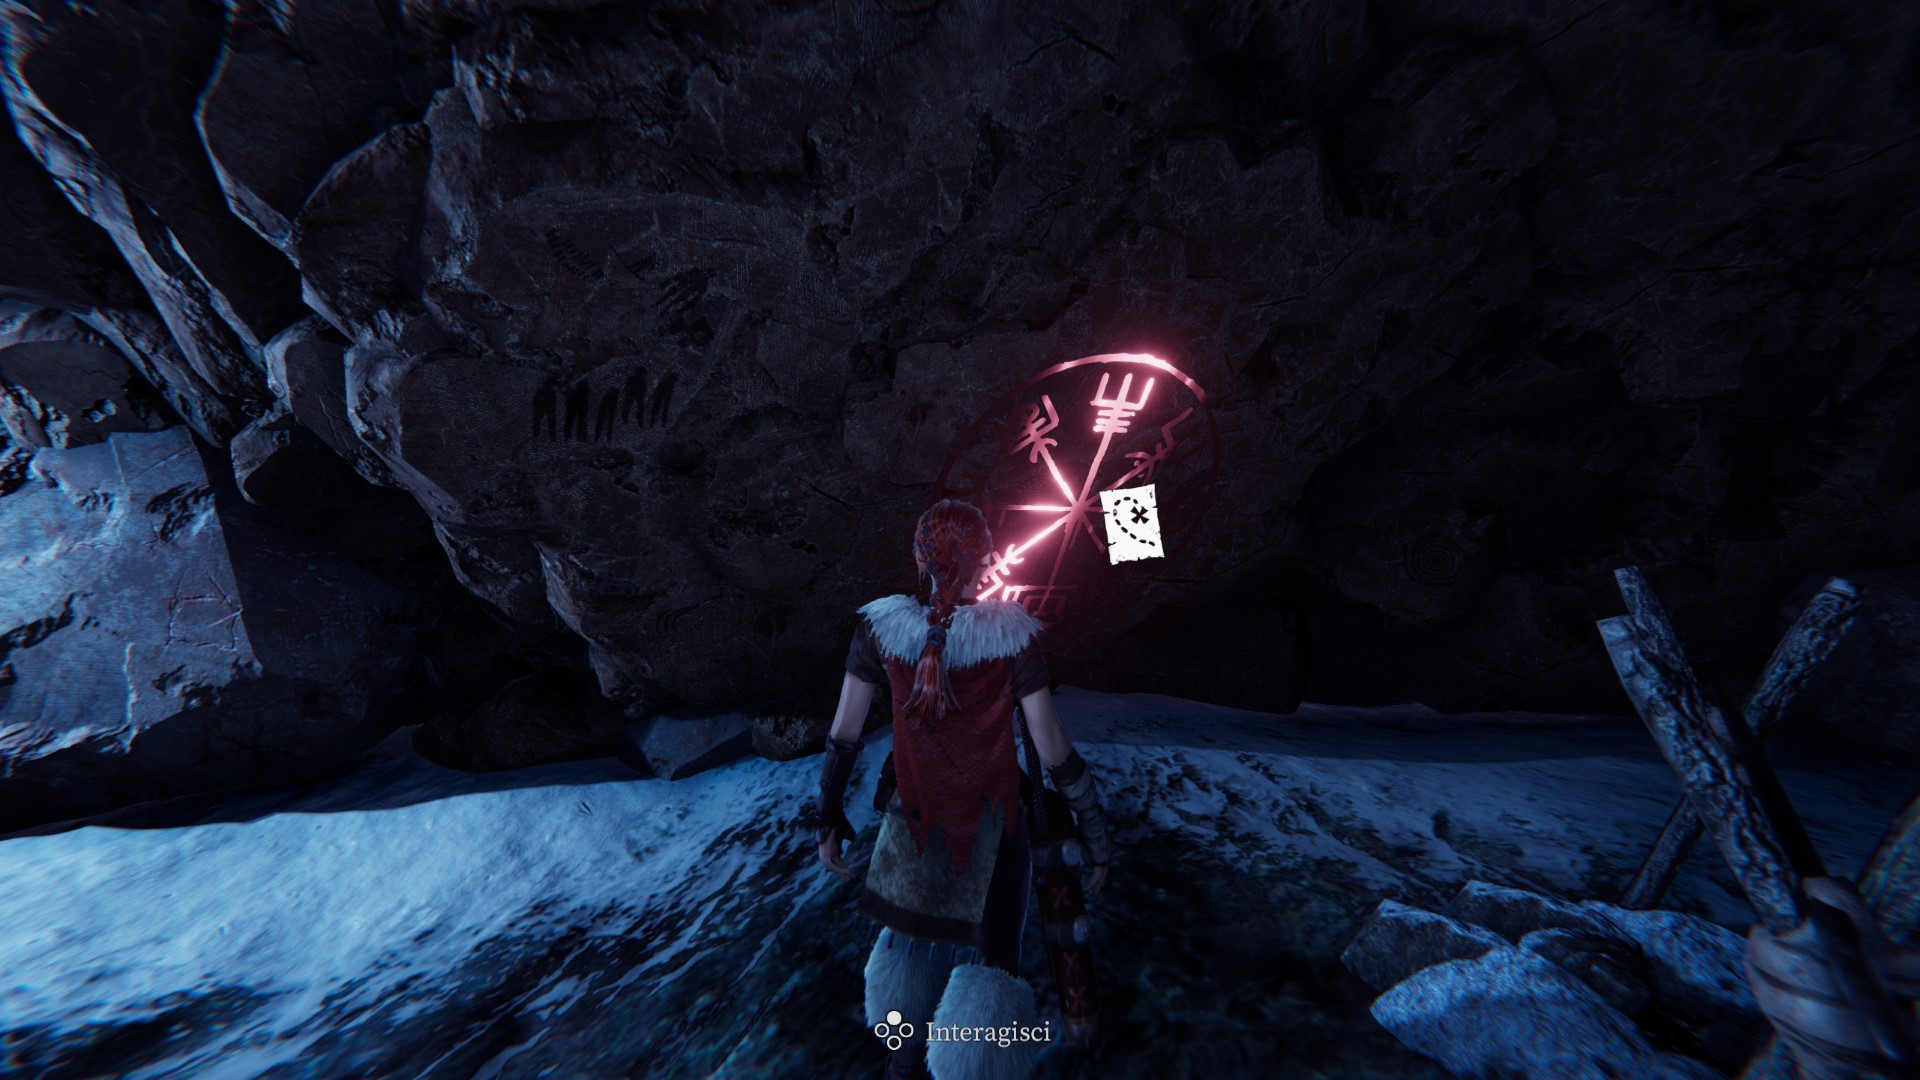
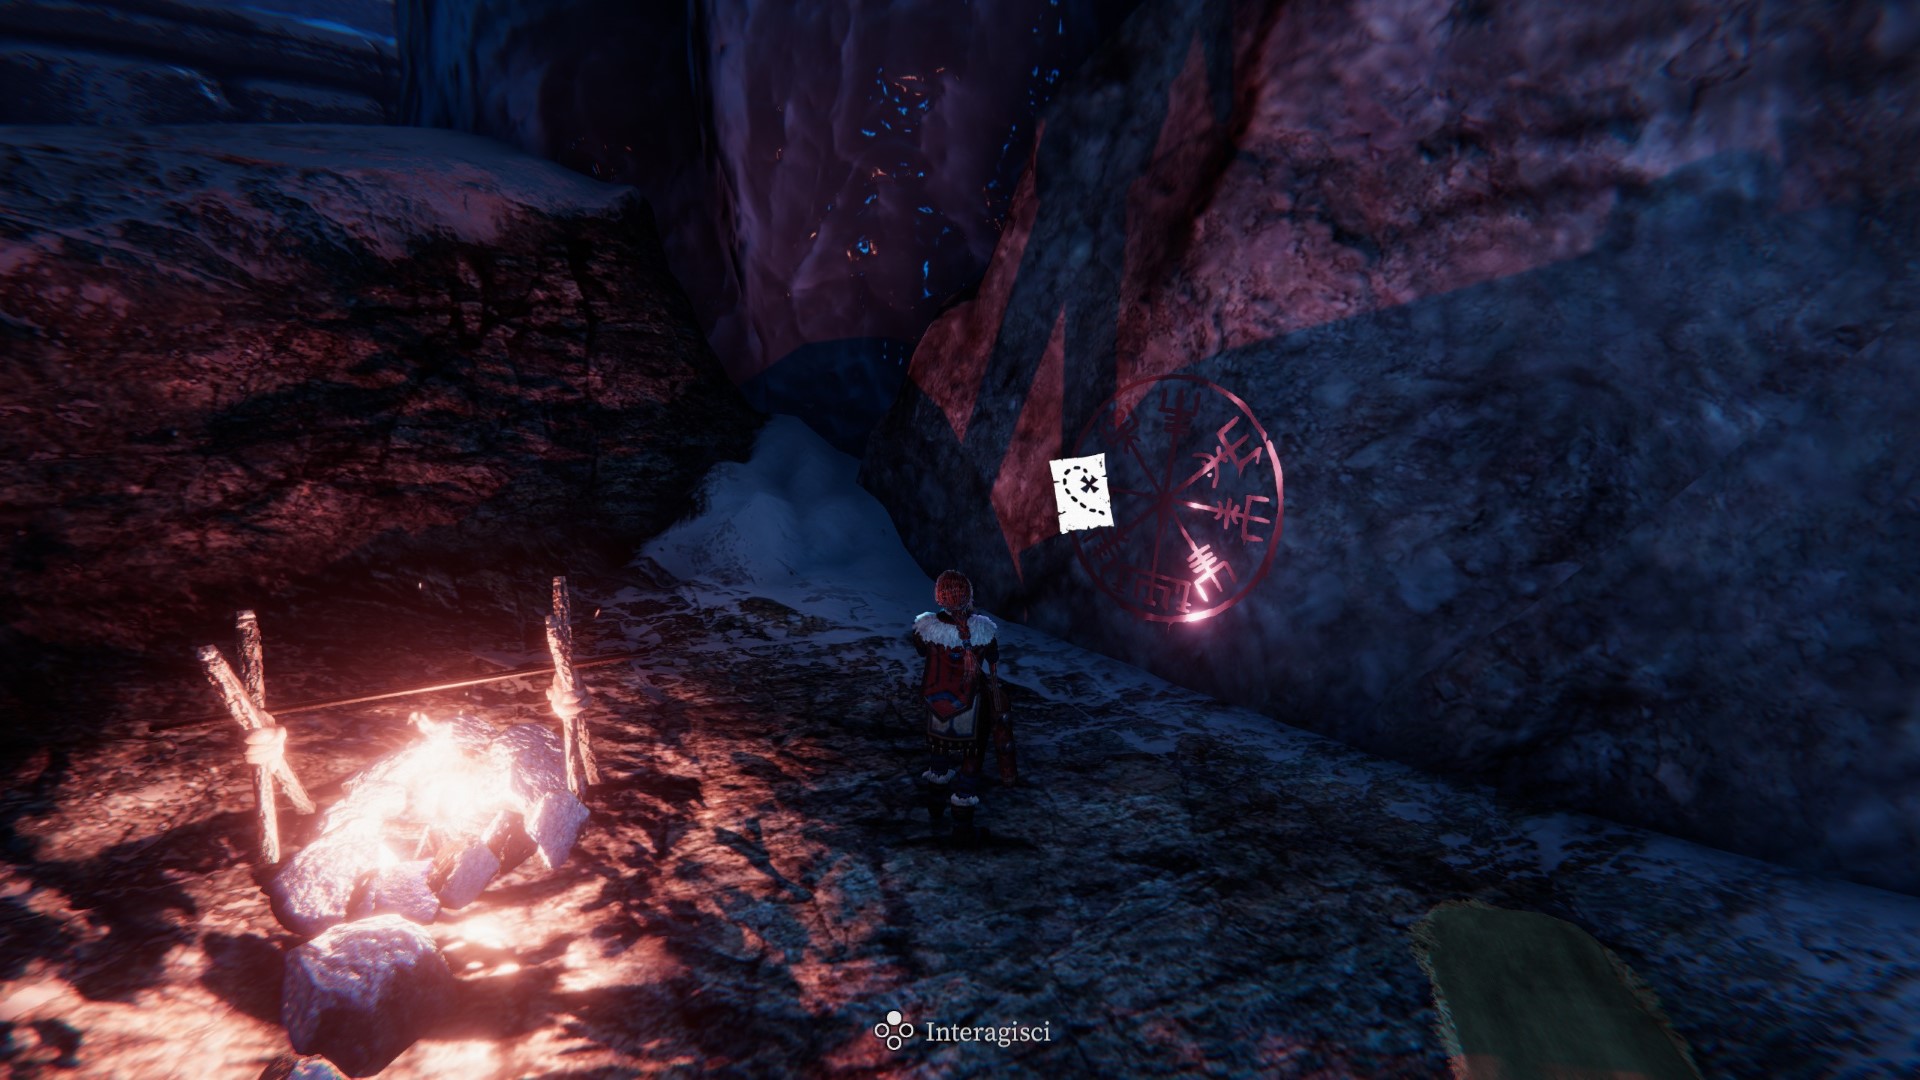
- Island maps appear in the form of a large red glyph, painted on a rock or wall, and make a portion of the world map visible (which otherwise remains hidden).
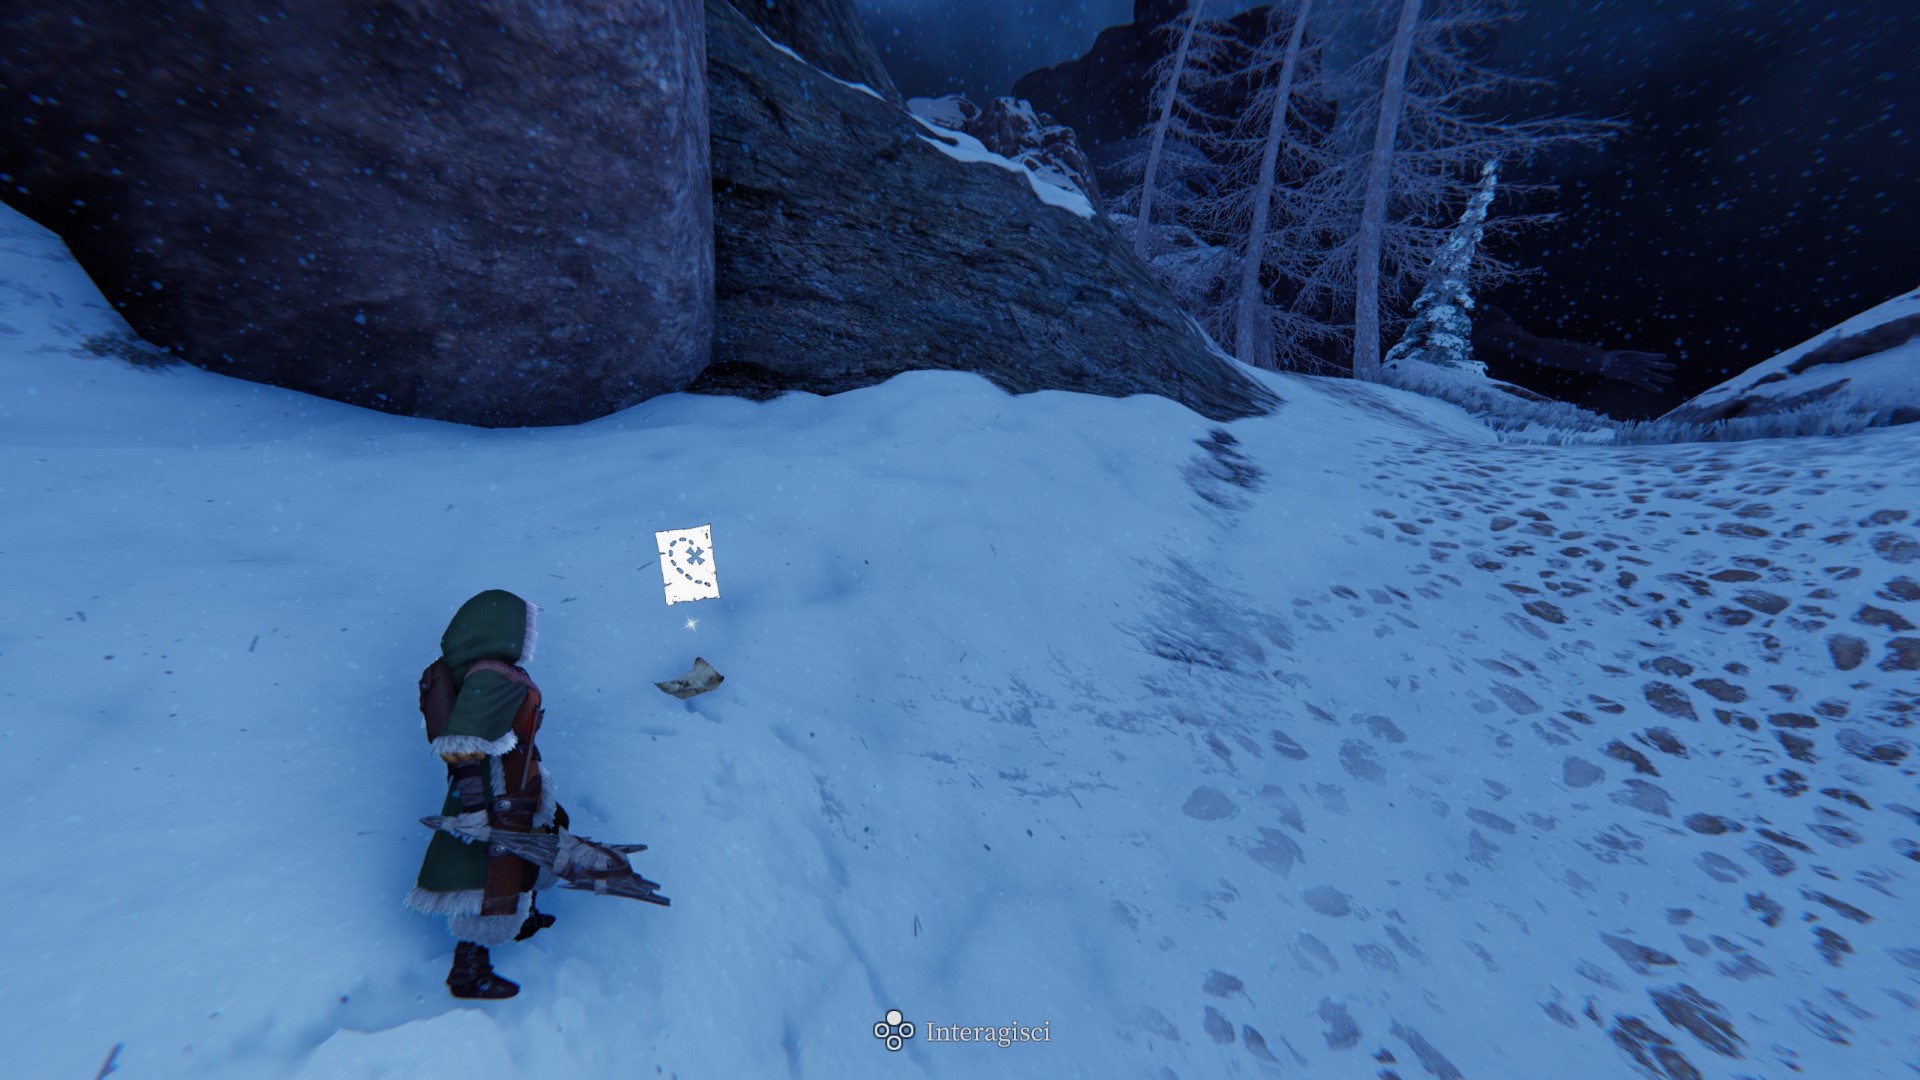
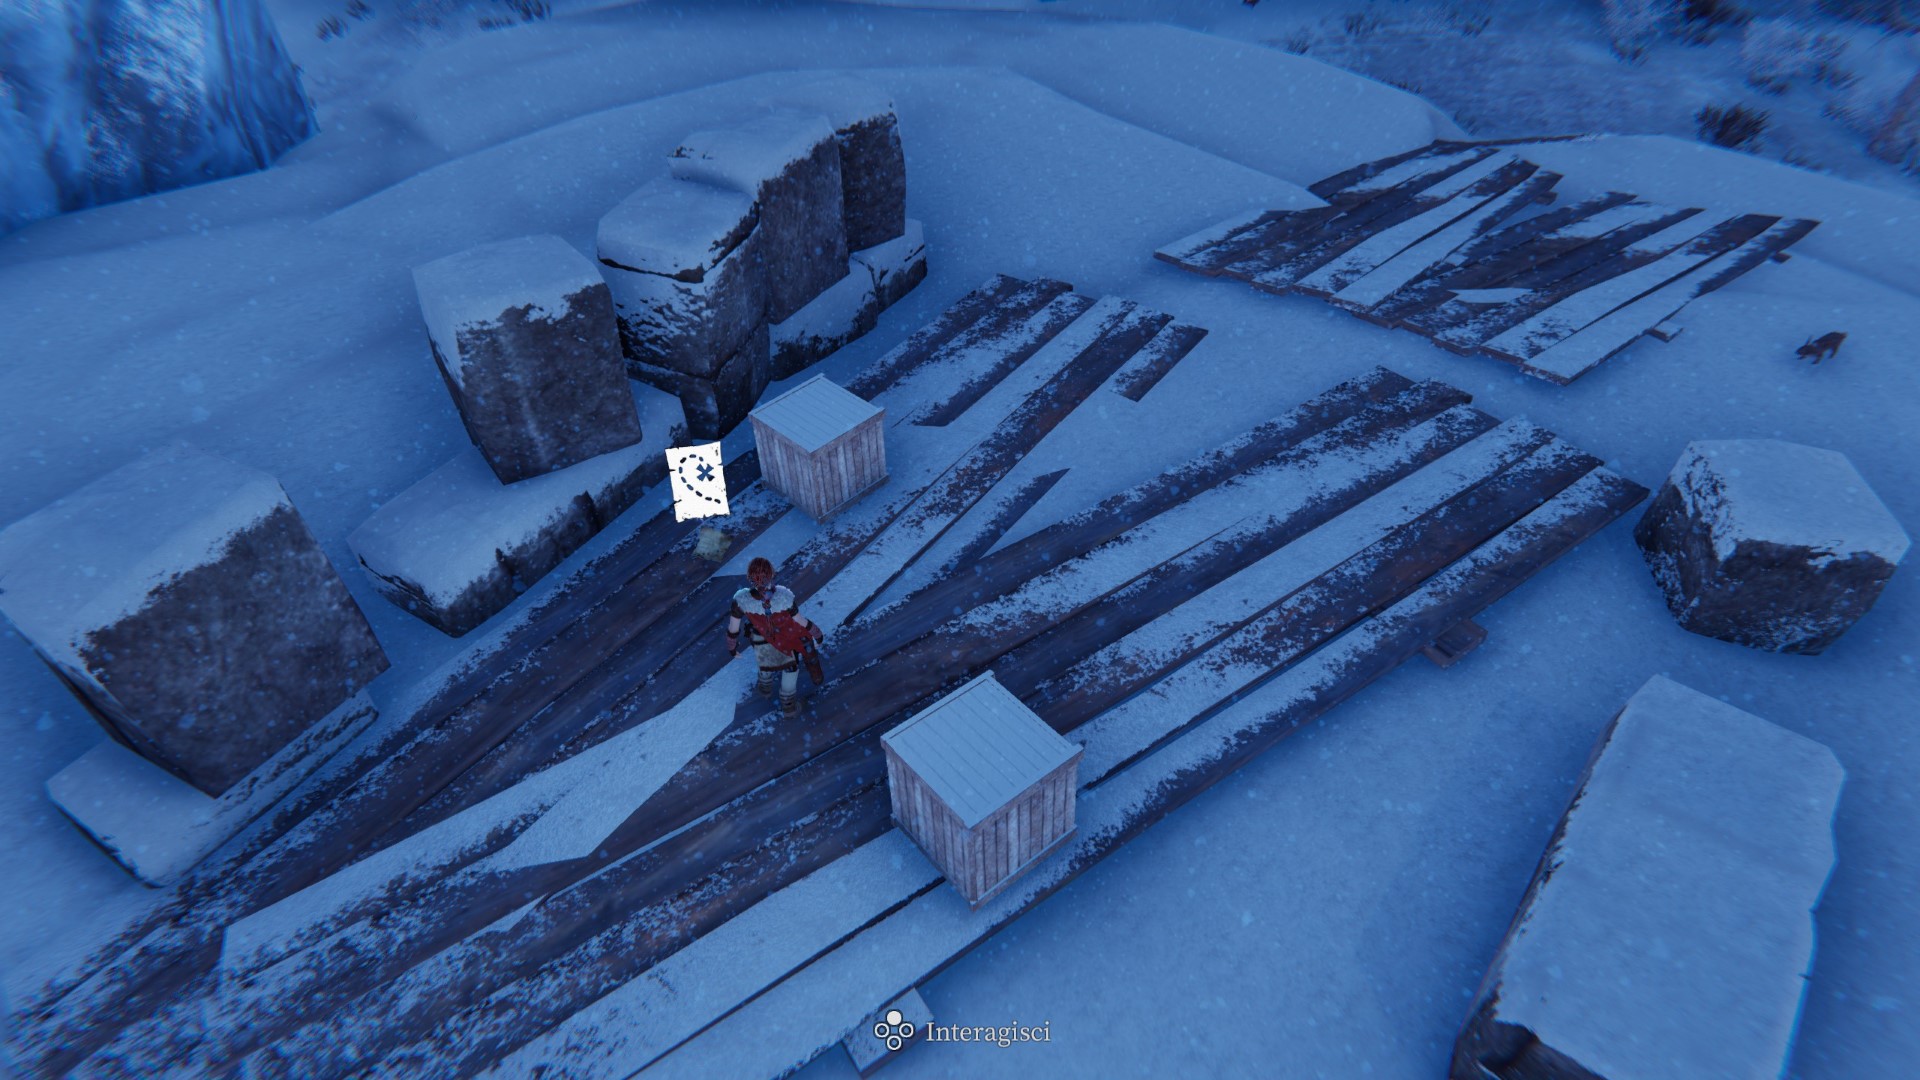
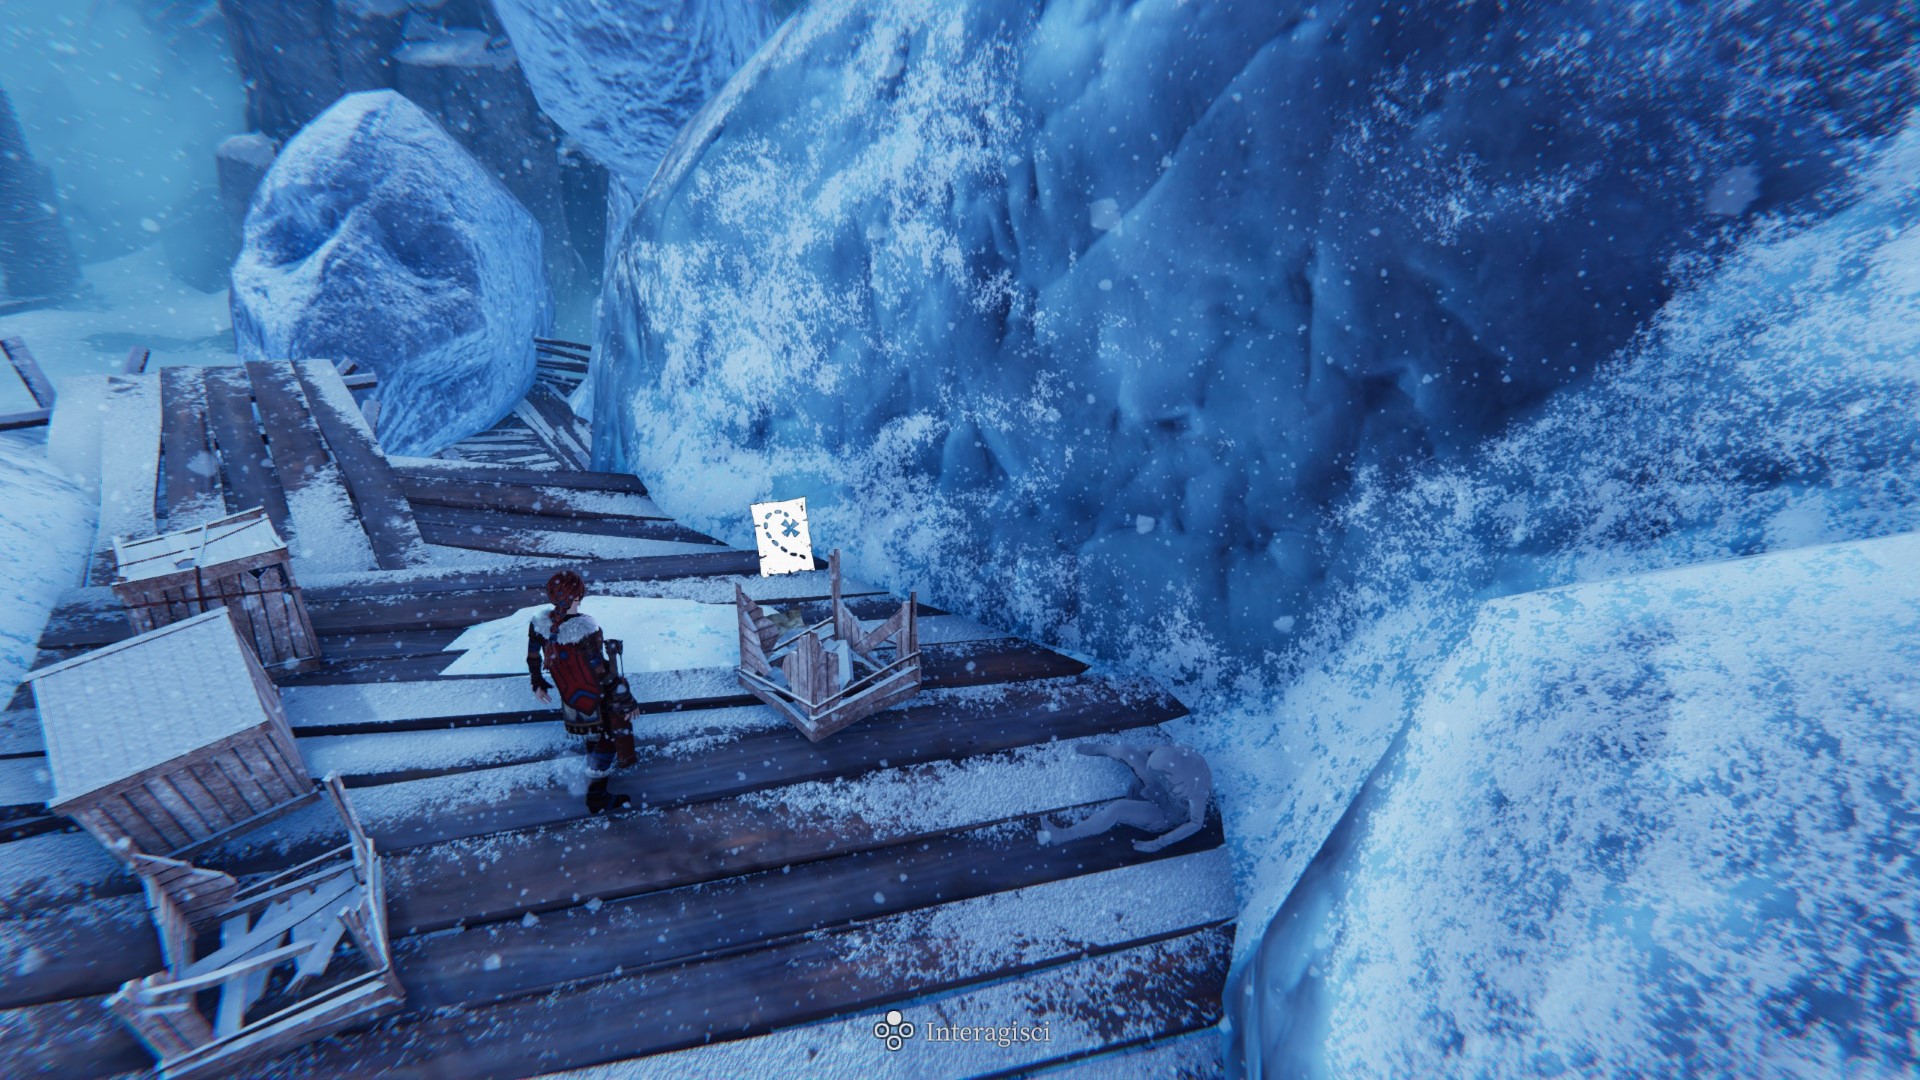
- Treasure maps reveal the location of equipment (which almost always matches a cave). When you get a treasure map, a red mark is added to the world map, and the mark turns black after getting the corresponding piece of equipment.
Consequently, a quick look at the world map in the inventory allows you to immediately check which maps are missing.
Equipment
Equipment comes in various forms: torsos, gloves, boots, weapons, and a grappling hook. Specifically:
- There are 3 outfits to collect (3 pieces per outfit), and their location is revealed by treasure maps.
- The “soul” weapons and grappling hook are dropped by champions, after defeating them. They are located at 3 specific places, not revealed by maps but quite easy to recognize on the world map. Considering that champions respawn periodically, it is possible to get multiple soul gears.
- Finally, the Elite axe) is a special weapon whose location is secret. Common items respawn periodically in the game, but I don’t know if this weapon behaves the same because I haven’t visited its secret location since collecting it.
To check for missing equipment, simply refer to the inventory.
World map
The image below shows the entire world map with numbered labels at specific locations.
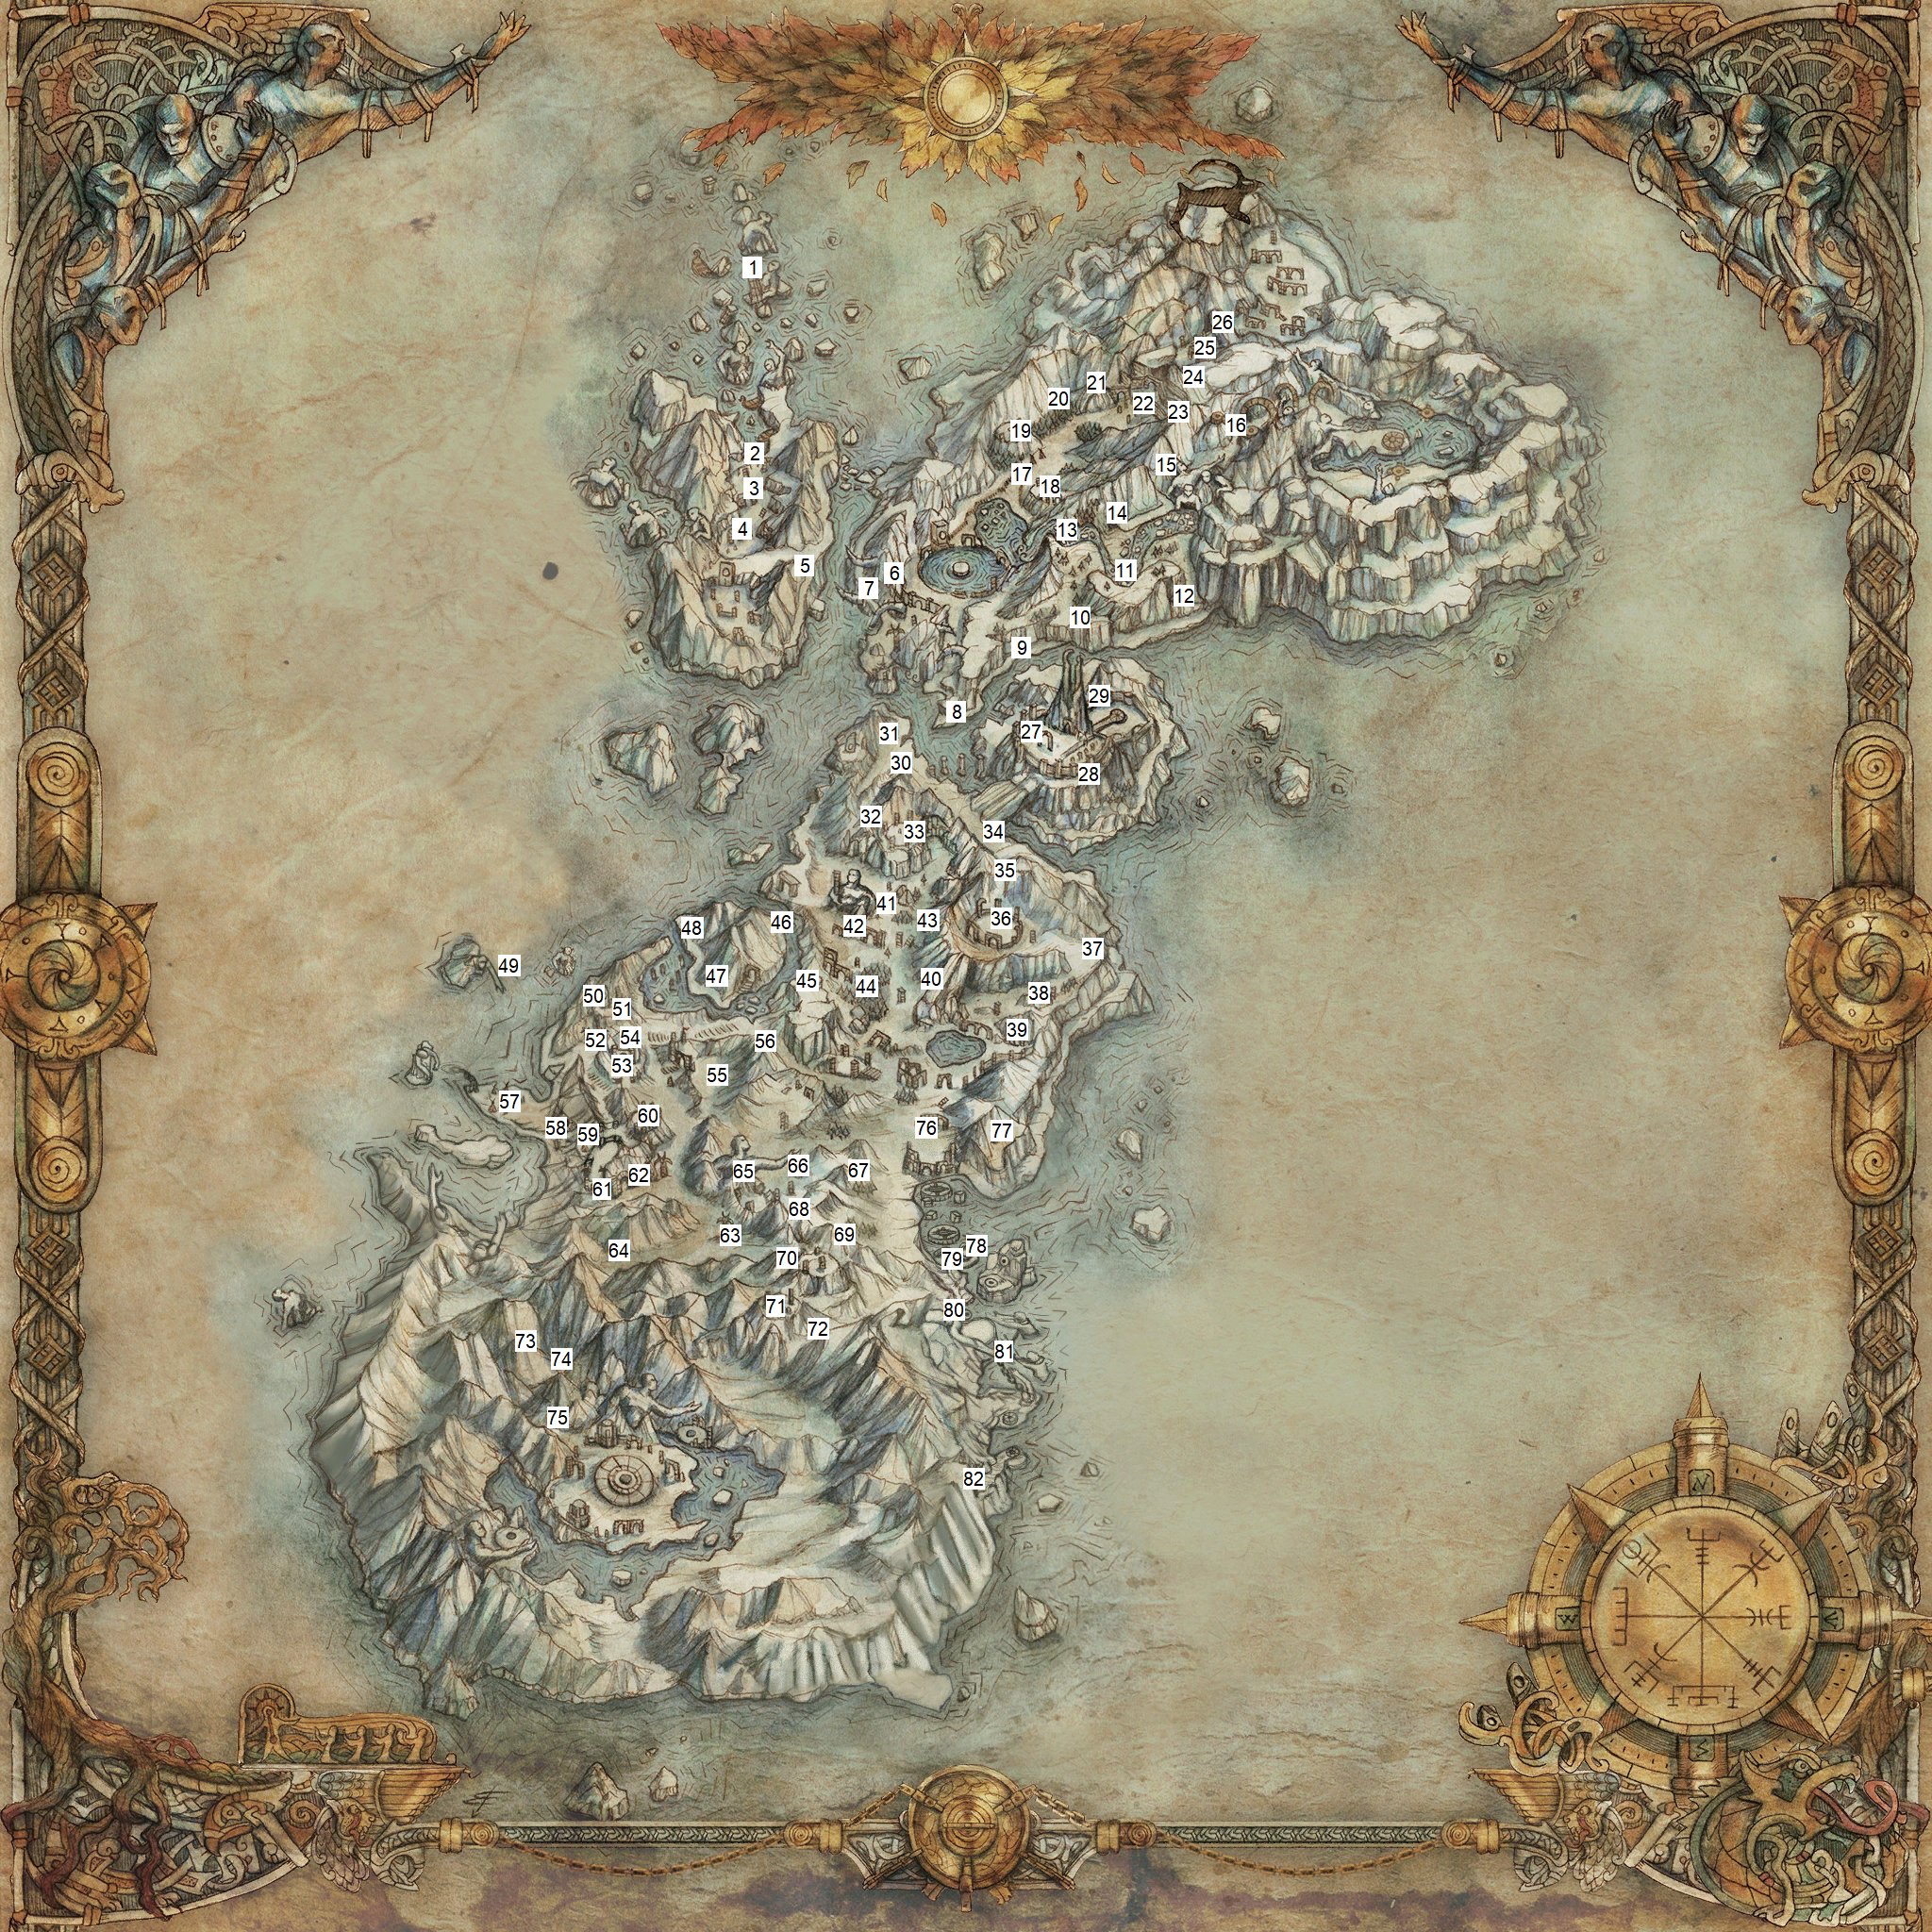
Locations marked with a number represent places of interest where a collectible is located (even more than one, in some of them). The numbered labels will be useful to you in the next sections of the guide, as each collectible entry contains the number of the place of interest where it is located.
List of all collectibles by zone
Zone 1
- Totem38
- Notes of the Fallen #8
Zone 2
- Notes of the Fallen #1
Zone 3
- Totem11
- Notes of the Fallen #2
- Notes of the Fallen #3
- Notes of the Fallen #4
- North-West Island map
Zone 4
- Notes of the Fallen #5
Zone 5
- Totem22
- Notes of the Fallen #6
Zone 6
- Notes of the Fallen #9
Zone 7
- Totem12
- North-East Island (south-eastern part) map
Zone 8
- Totem30
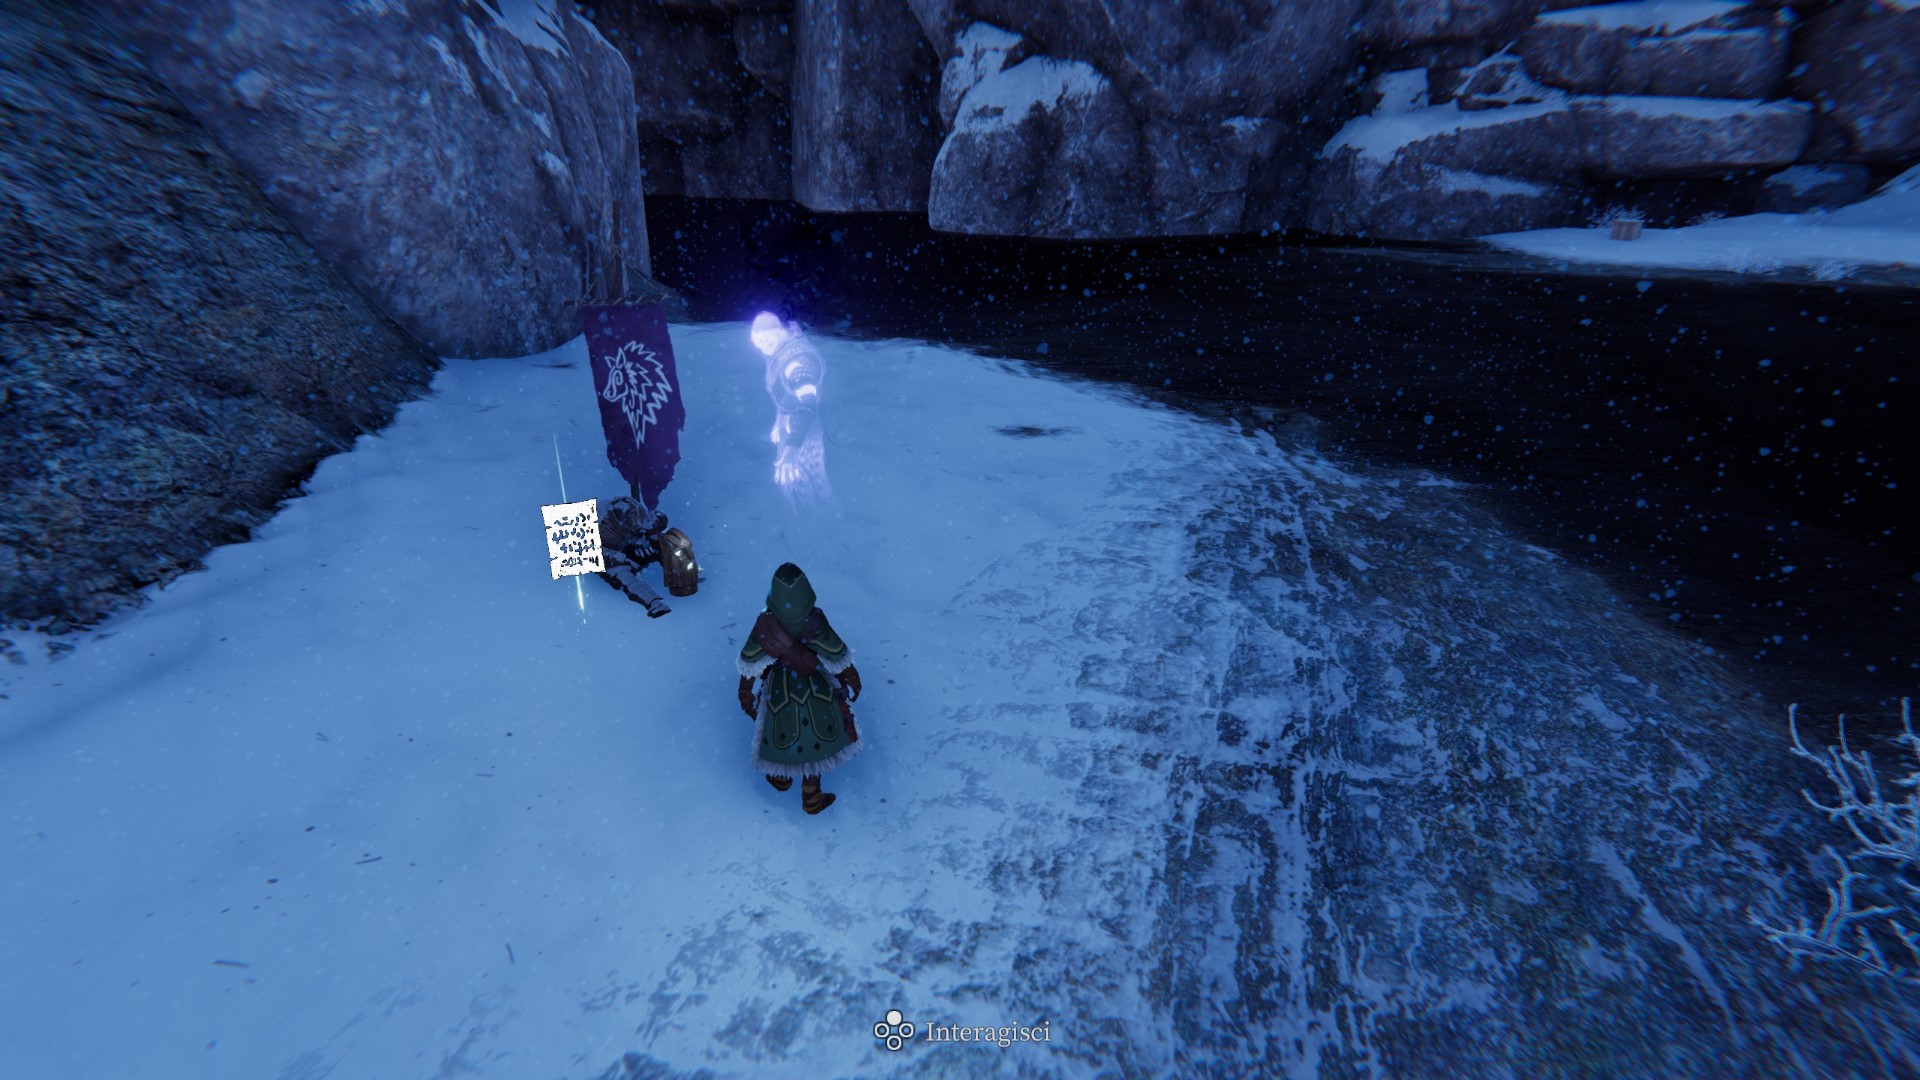
- Gorm’s letters #1
Zone 9
- Totem45
Zone 10
- Lost journal #7
Zone 11
- Gorm’s letters #2
Zone 12
- Totem47
Zone 13
- Totem42
Zone 14
- Totem33
Zone 15
Medium boots
Zone 16
- Totem43
- Notes of the Fallen #12
Zone 17
- Totem17
- Lost journal #3
- Treasure map (mark at 26)
Zone 18
- Totem39
Zone 19
- Totem15
- Soul bow
Zone 20
- Totem03
- Notes of the Fallen #18
Zone 21
- Totem16
Zone 22
- Totem14
Zone 23
- Totem13
Zone 24
- Totem04
- Totem05
- Totem06
- North-East Island (northern part) map
Zone 25
- Notes of the Fallen #11
Zone 26
- Totem07
- Totem08
- Totem09
- Medium torso
Zone 27
- Totem20
- Temple Island map
Zone 28
- Totem19
Zone 29
- Totem37
Zone 30
- Lost journal #1
Zone 31
- Totem27
- Lost journal #2
- Treasure map (mark at 15)
Zone 32
- Lost journal #6
- South Island (northern part) map
Zone 33
- Totem28
- Notes of the Fallen #15
Zone 34
- Notes of the Fallen #7
Zone 35
- Totem21
Zone 36
- Soul hook
Zone 37
- Totem36
Zone 38
- Notes of the Fallen #16
Zone 39
- Totem18
- Notes of the Fallen #14
Zone 40
- Treasure map (mark at 43)
Zone 41
- Lost journal #8
Zone 42
- Totem32
- Totem35
Zone 43
- Totem31
- Lost journal #5
- Medium gloves
Zone 44
- Notes of the Fallen #10
Zone 45
- Totem48
Zone 46
- Treasure map (mark at 54)
Zone 47
- Lost journal #9
Zone 48
- Totem50
Zone 49
- Notes of the Fallen #24
Zone 50
- Treasure map (mark at 62)
Zone 51
- Totem25
Zone 52
- Treasure map (mark at 58)
- Treasure map (mark at 61)
Zone 53
- Totem34
Zone 54
- Heavy boots
Zone 55
- Gorm’s letters #4
Zone 56
- Treasure map (mark at 71)
Zone 57
- Totem53
- Notes of the Fallen #23
Zone 58
- Totem54
- Totem59
- Knight’s gloves
Zone 59
- Gorm’s letters #6
Zone 60
- Soul blade
Zone 61
- Totem60
- Knight’s boots
Zone 62
- Heavy gloves
Zone 63
- Lost journal #4
Zone 64
- Totem23
- Gorm’s letters #5
Zone 65
- South Island (south-western part) map
Zone 66
- Totem46
Zone 67
- Totem41
Zone 68
- Totem40
- South Island (central part) map
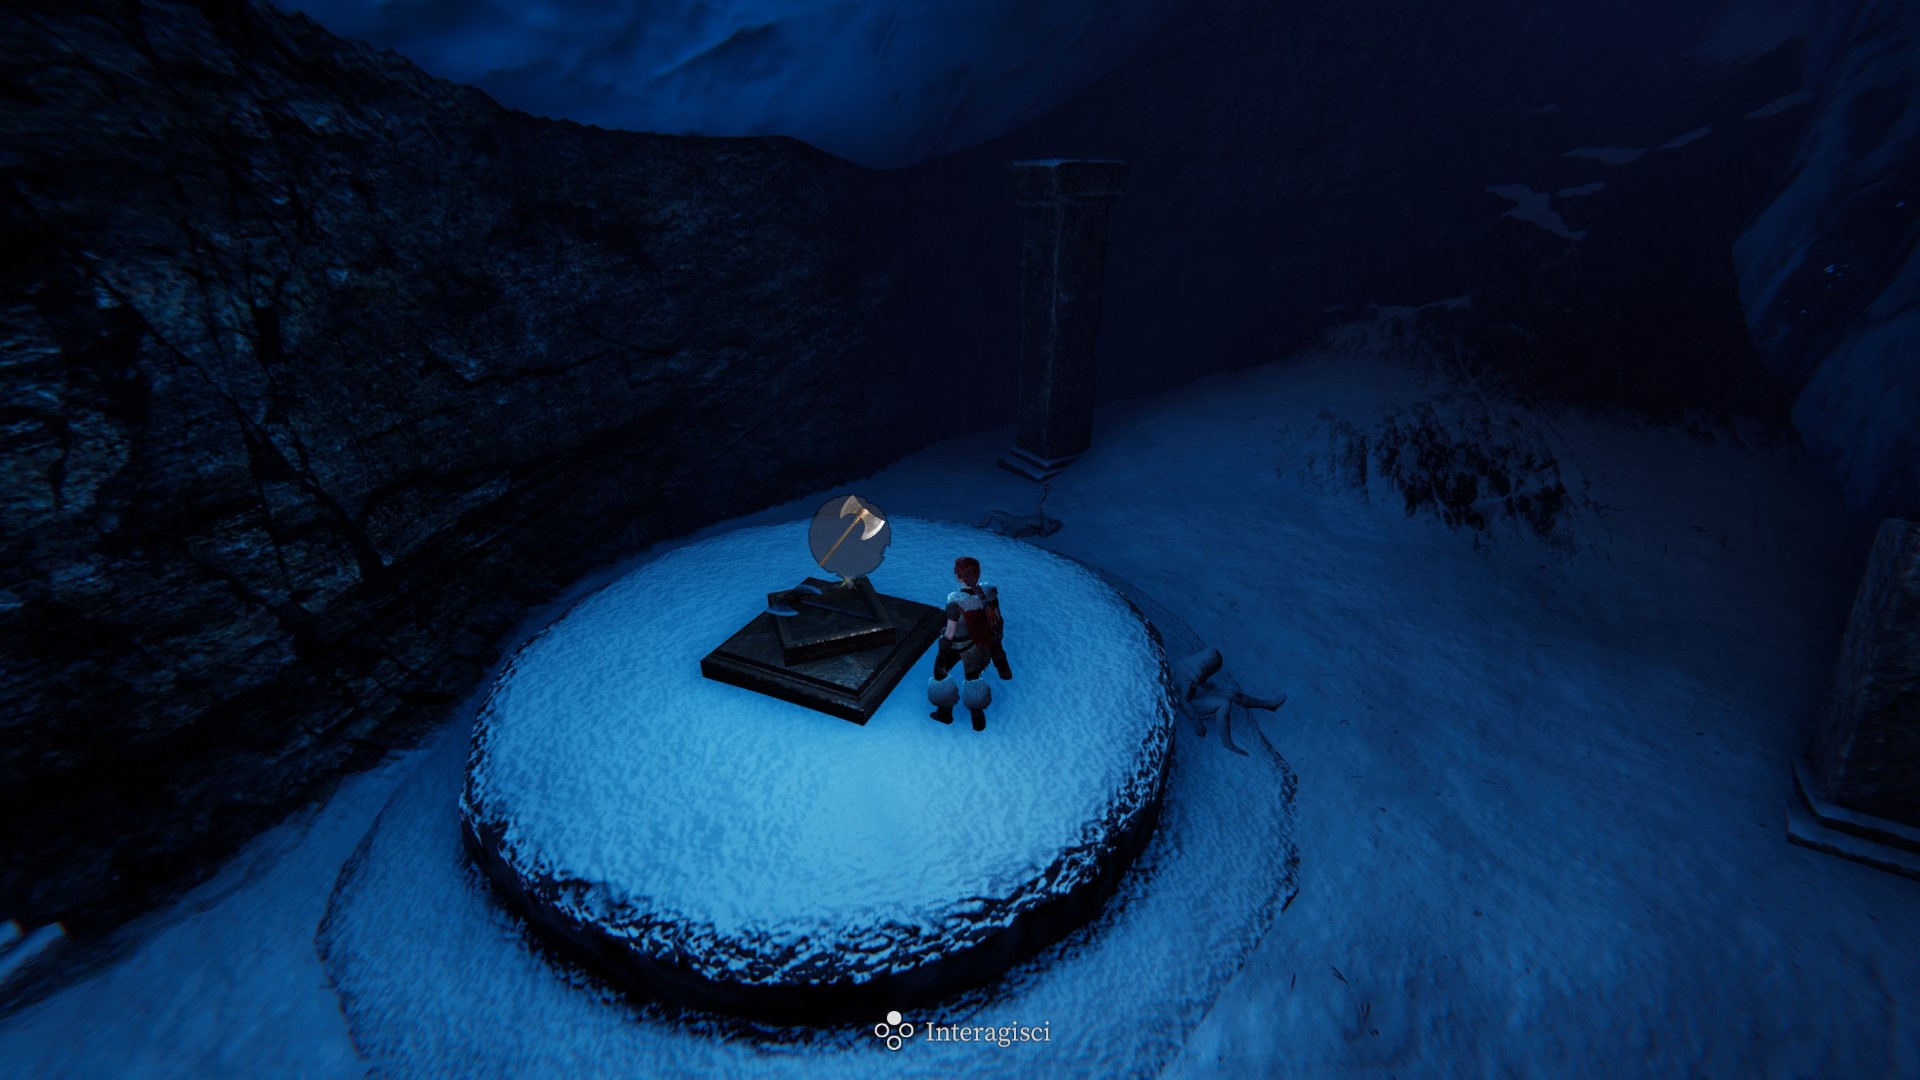
- Elite axe
Zone 69
- Totem49
Zone 70
- Notes of the Fallen #17
- South Island (south-eastern coast) map
Zone 71
- Heavy torso
Zone 72
- Totem26
Zone 73
- Totem01
- Totem02
- Totem10
Zone 74
- Totem24
Zone 75
- Notes of the Fallen #13
Zone 76
- Totem29
- Gorm’s letters #3
Zone 77
- Totem44
Zone 78
- Totem51
Zone 79
- Notes of the Fallen #25
- Treasure map (mark at 82)
Zone 80
- Totem55
- Totem56
- Totem57
- Notes of the Fallen #20
- Notes of the Fallen #21
- Notes of the Fallen #22
Zone 81
- Totem52
Zone 82
- Totem58
- Notes of the Fallen #19
- Knight’s armor
List of totems
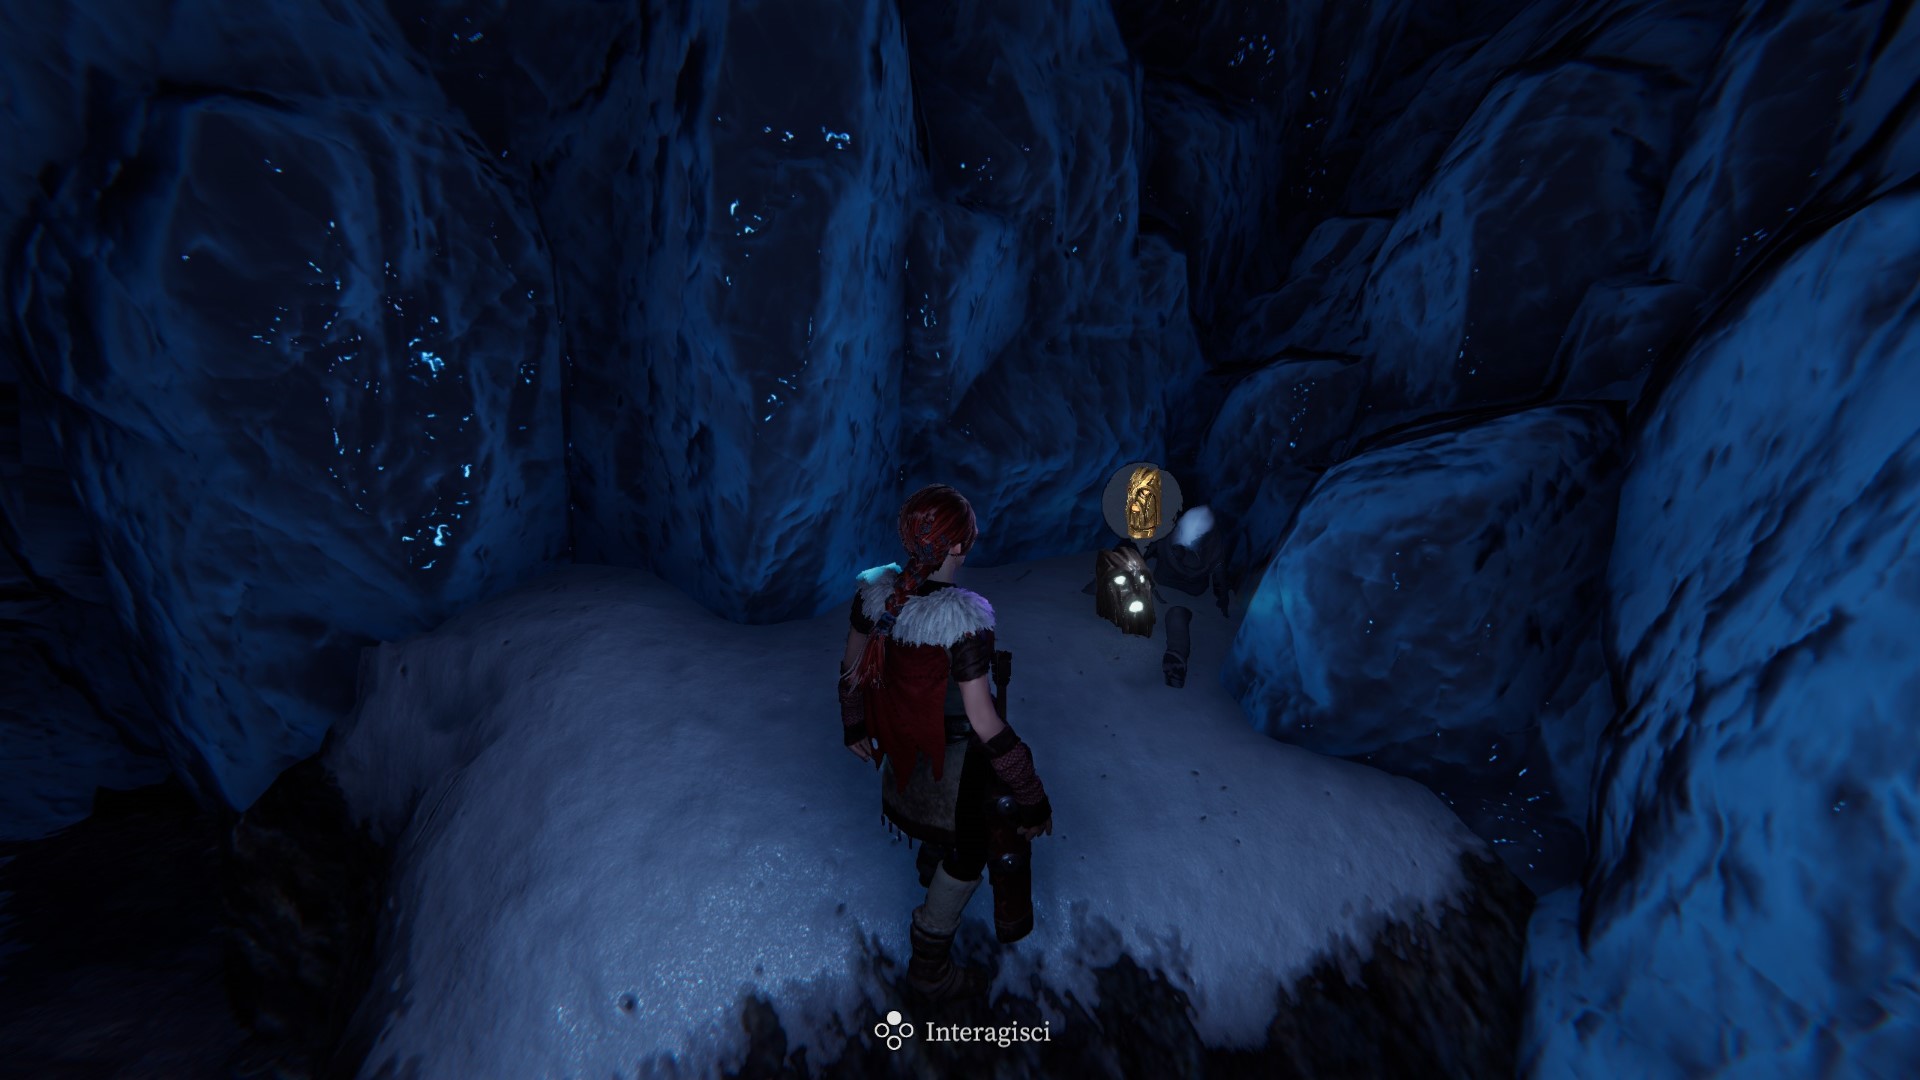
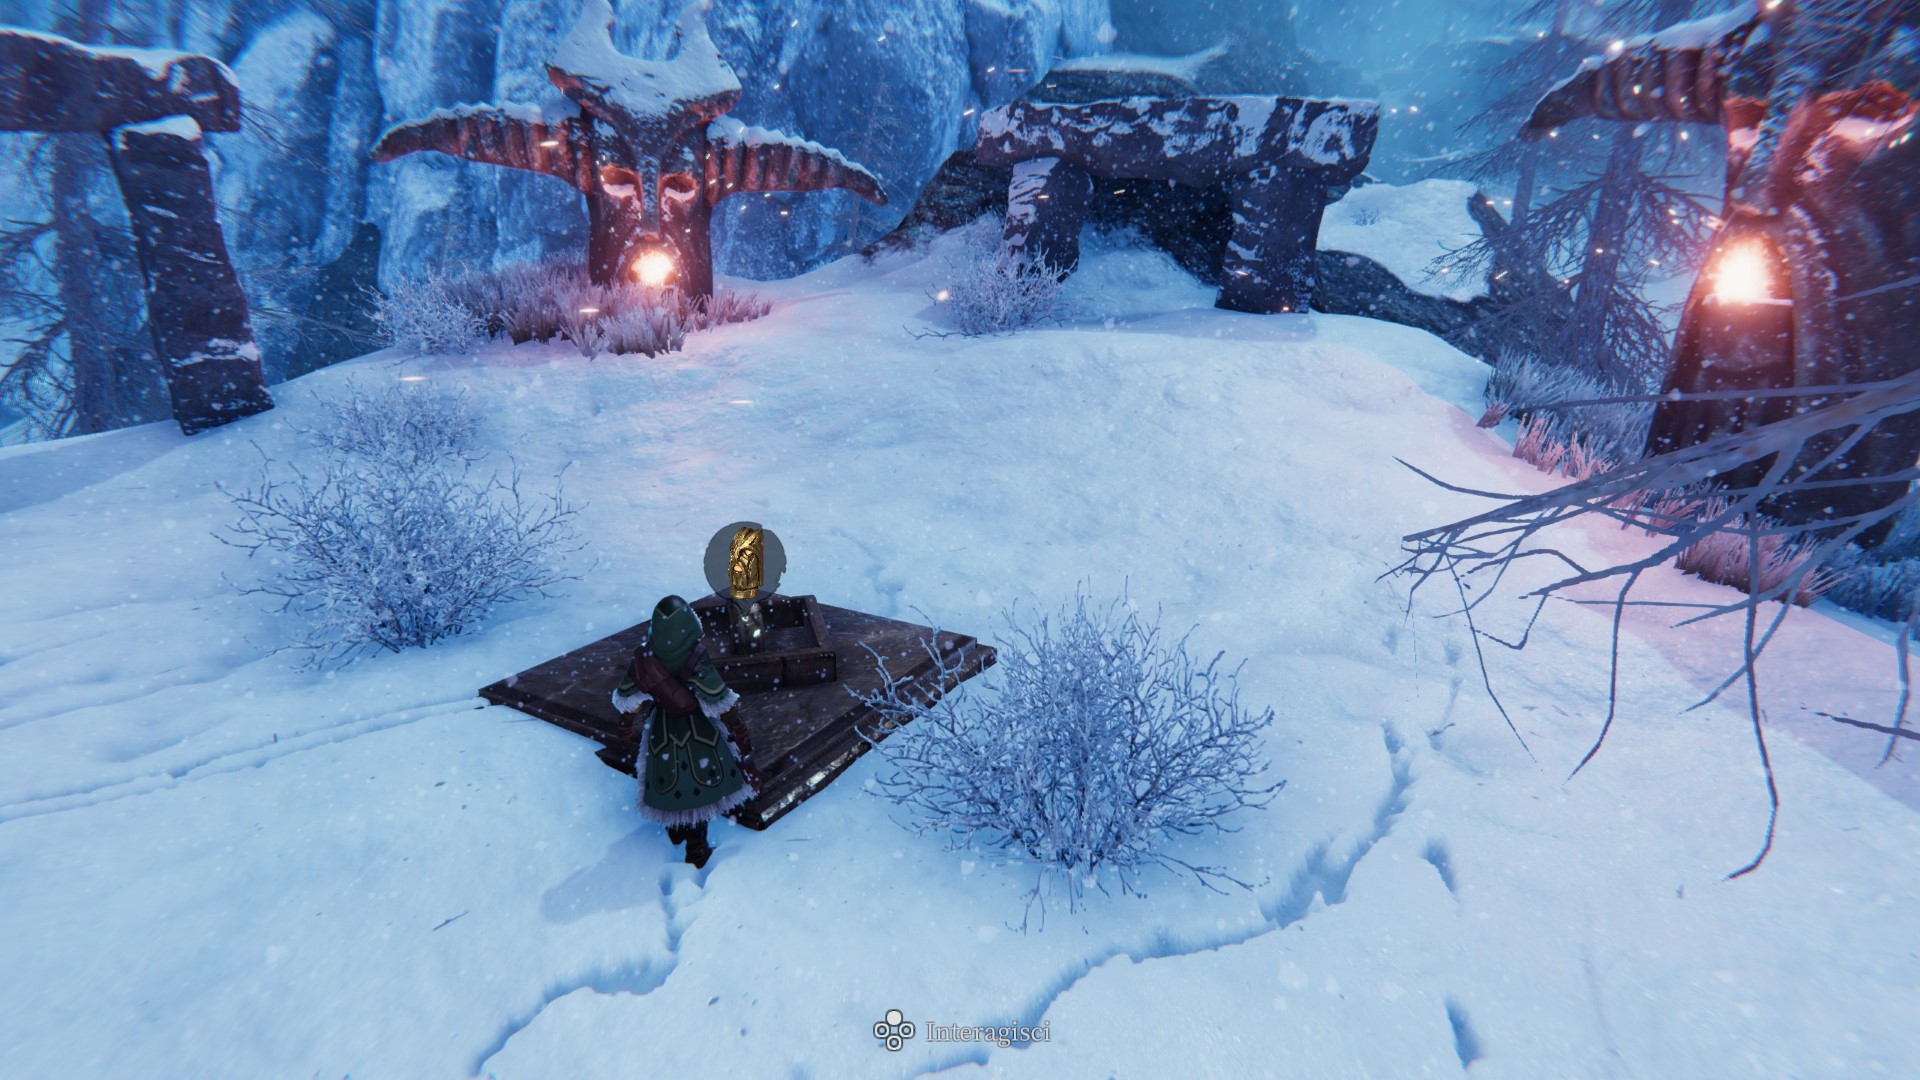
Totem01
Zone 73 — Inside the cave, in a small room among the big stalagmites, by looking to the left (there’s a small breach in the ceiling, with a hanging rope).
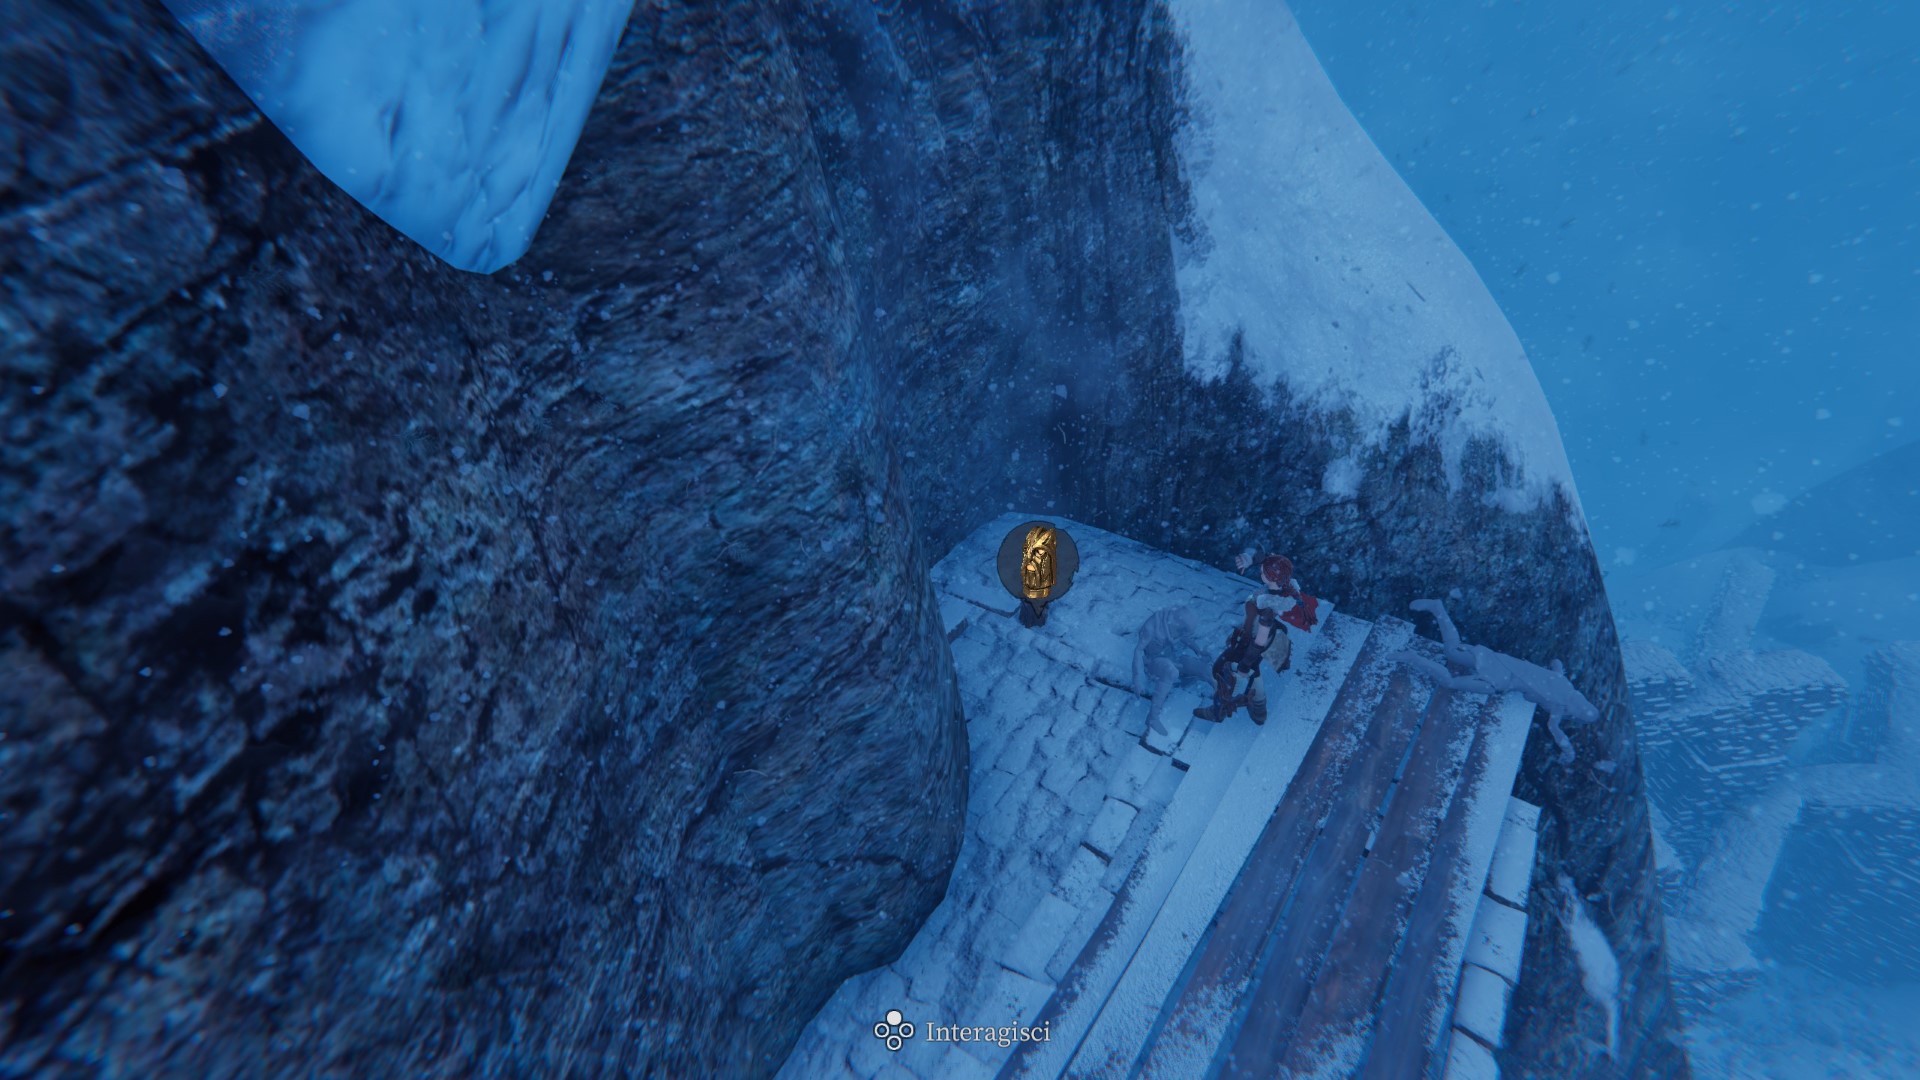
Totem02
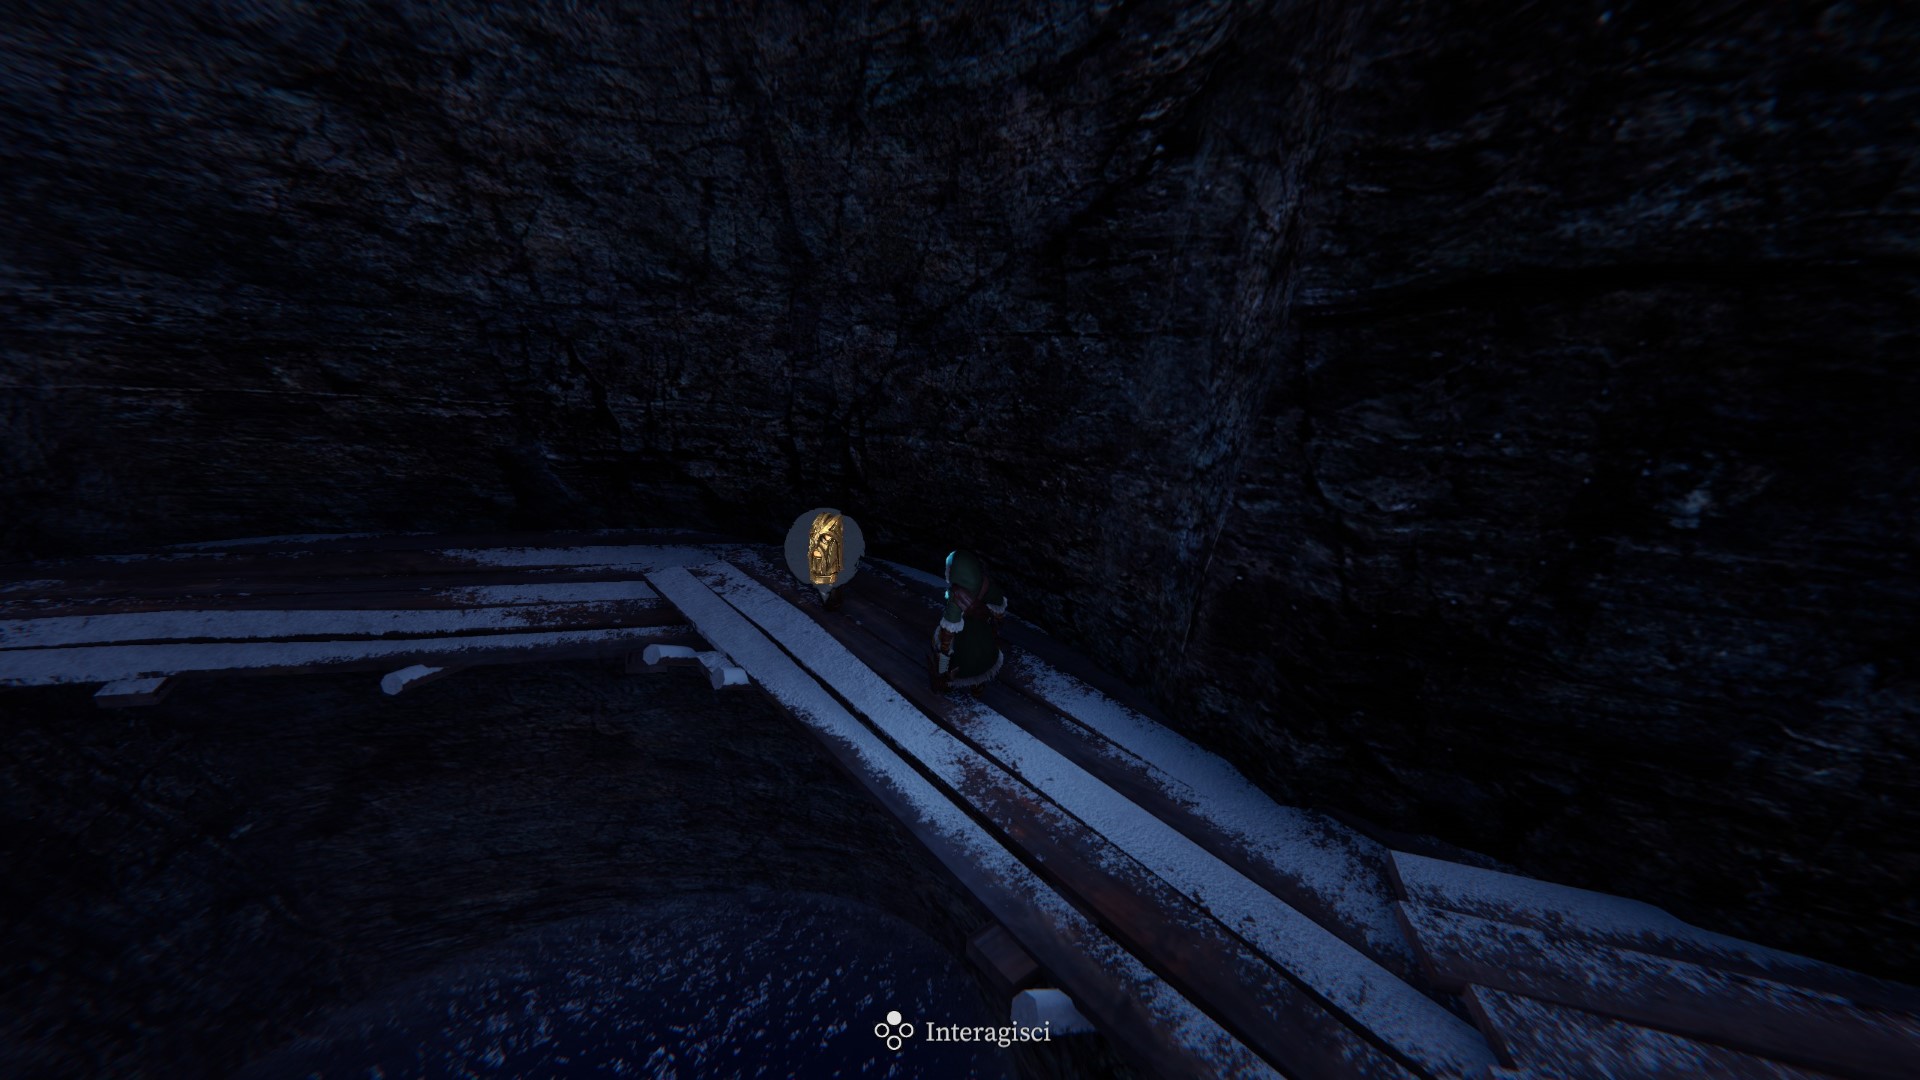
Zone 73 — Inside the cave, on a wooden platform at the water level.
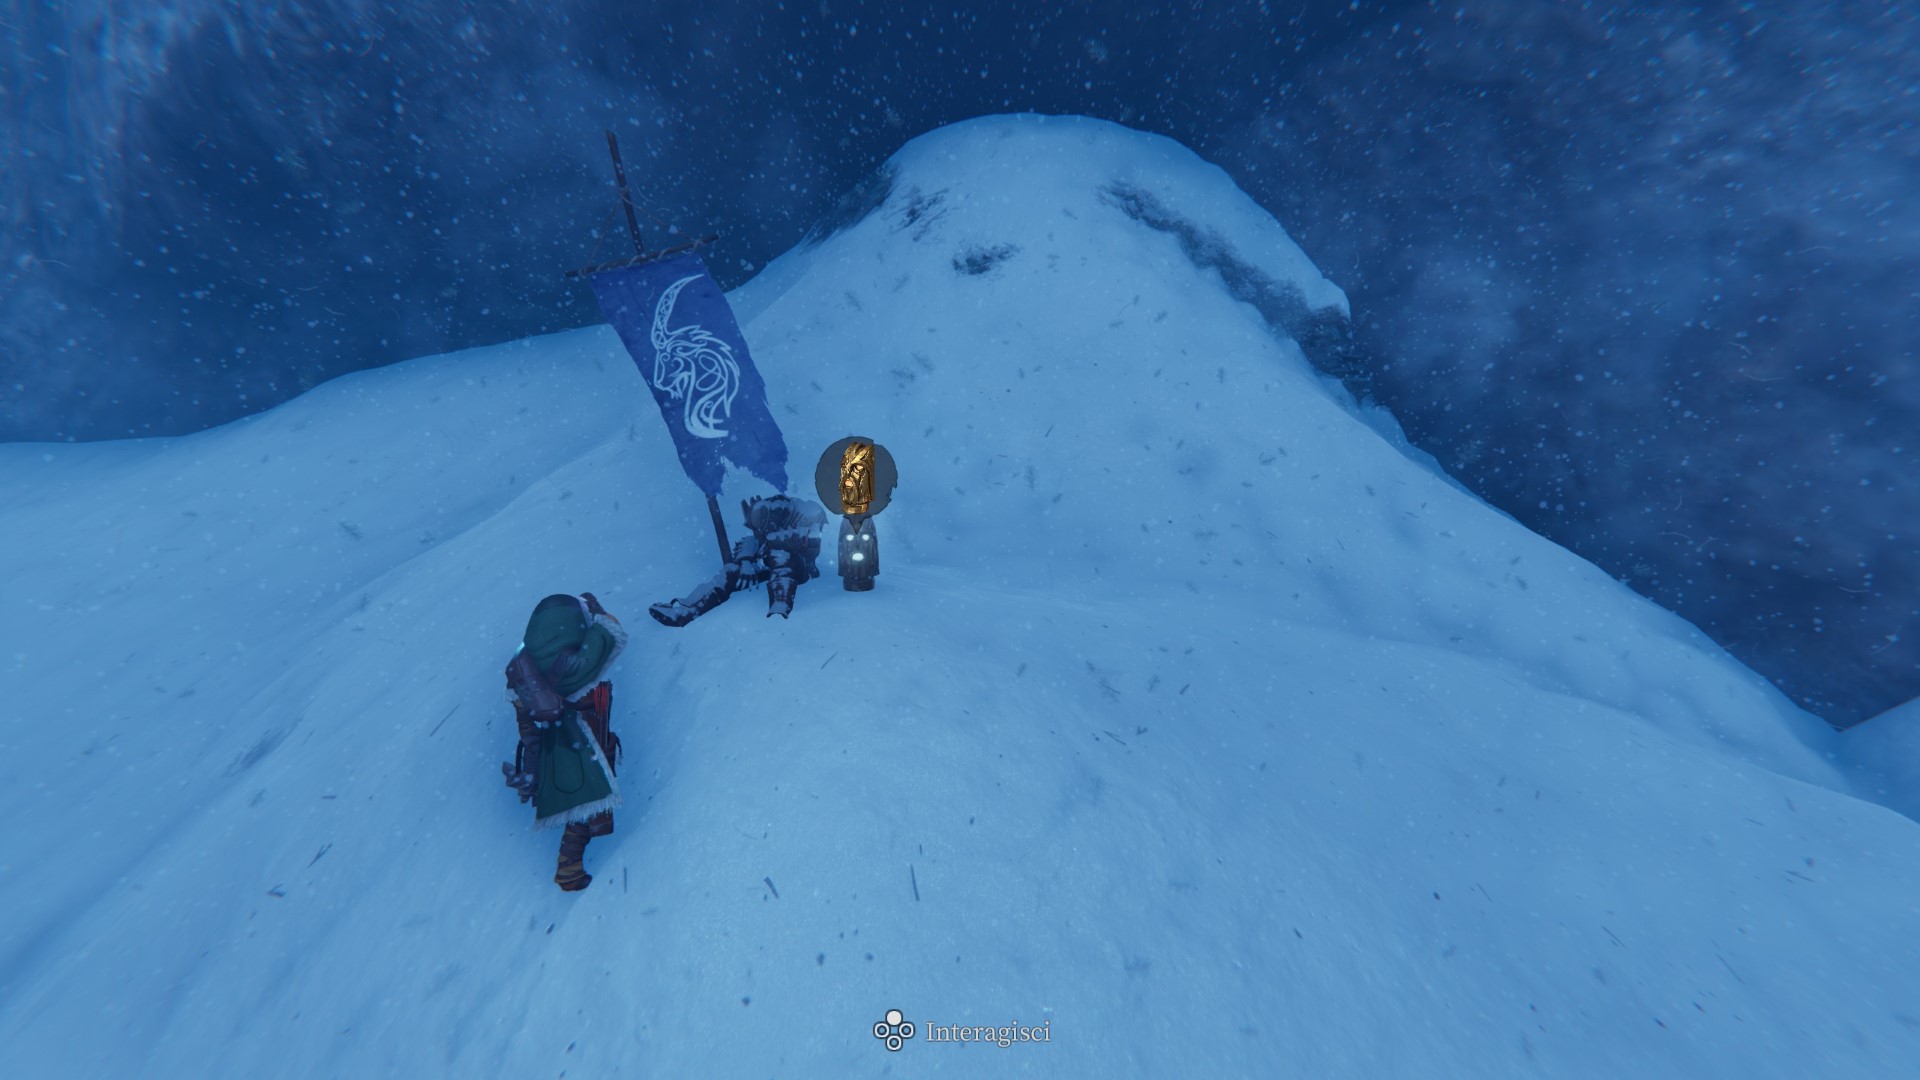
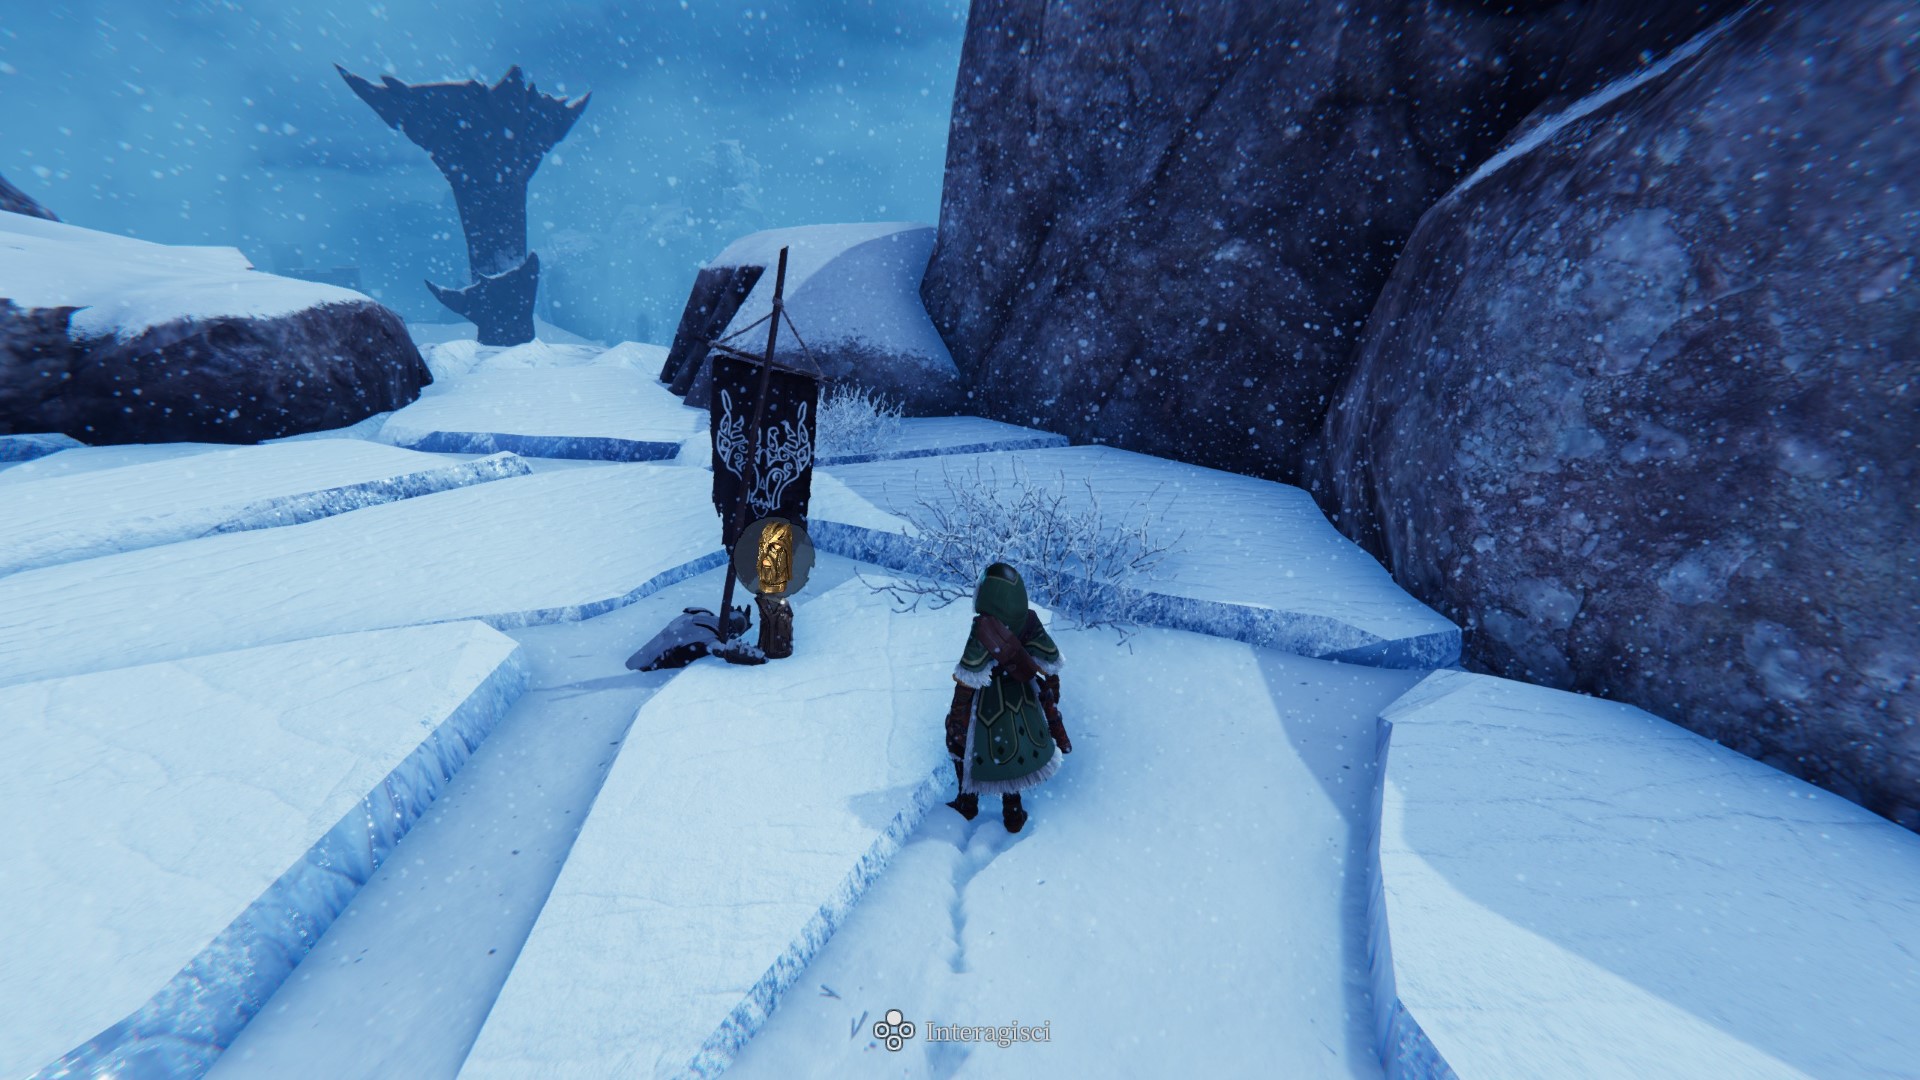
Totem03
Zone 20 — On a ledge of the mountain.
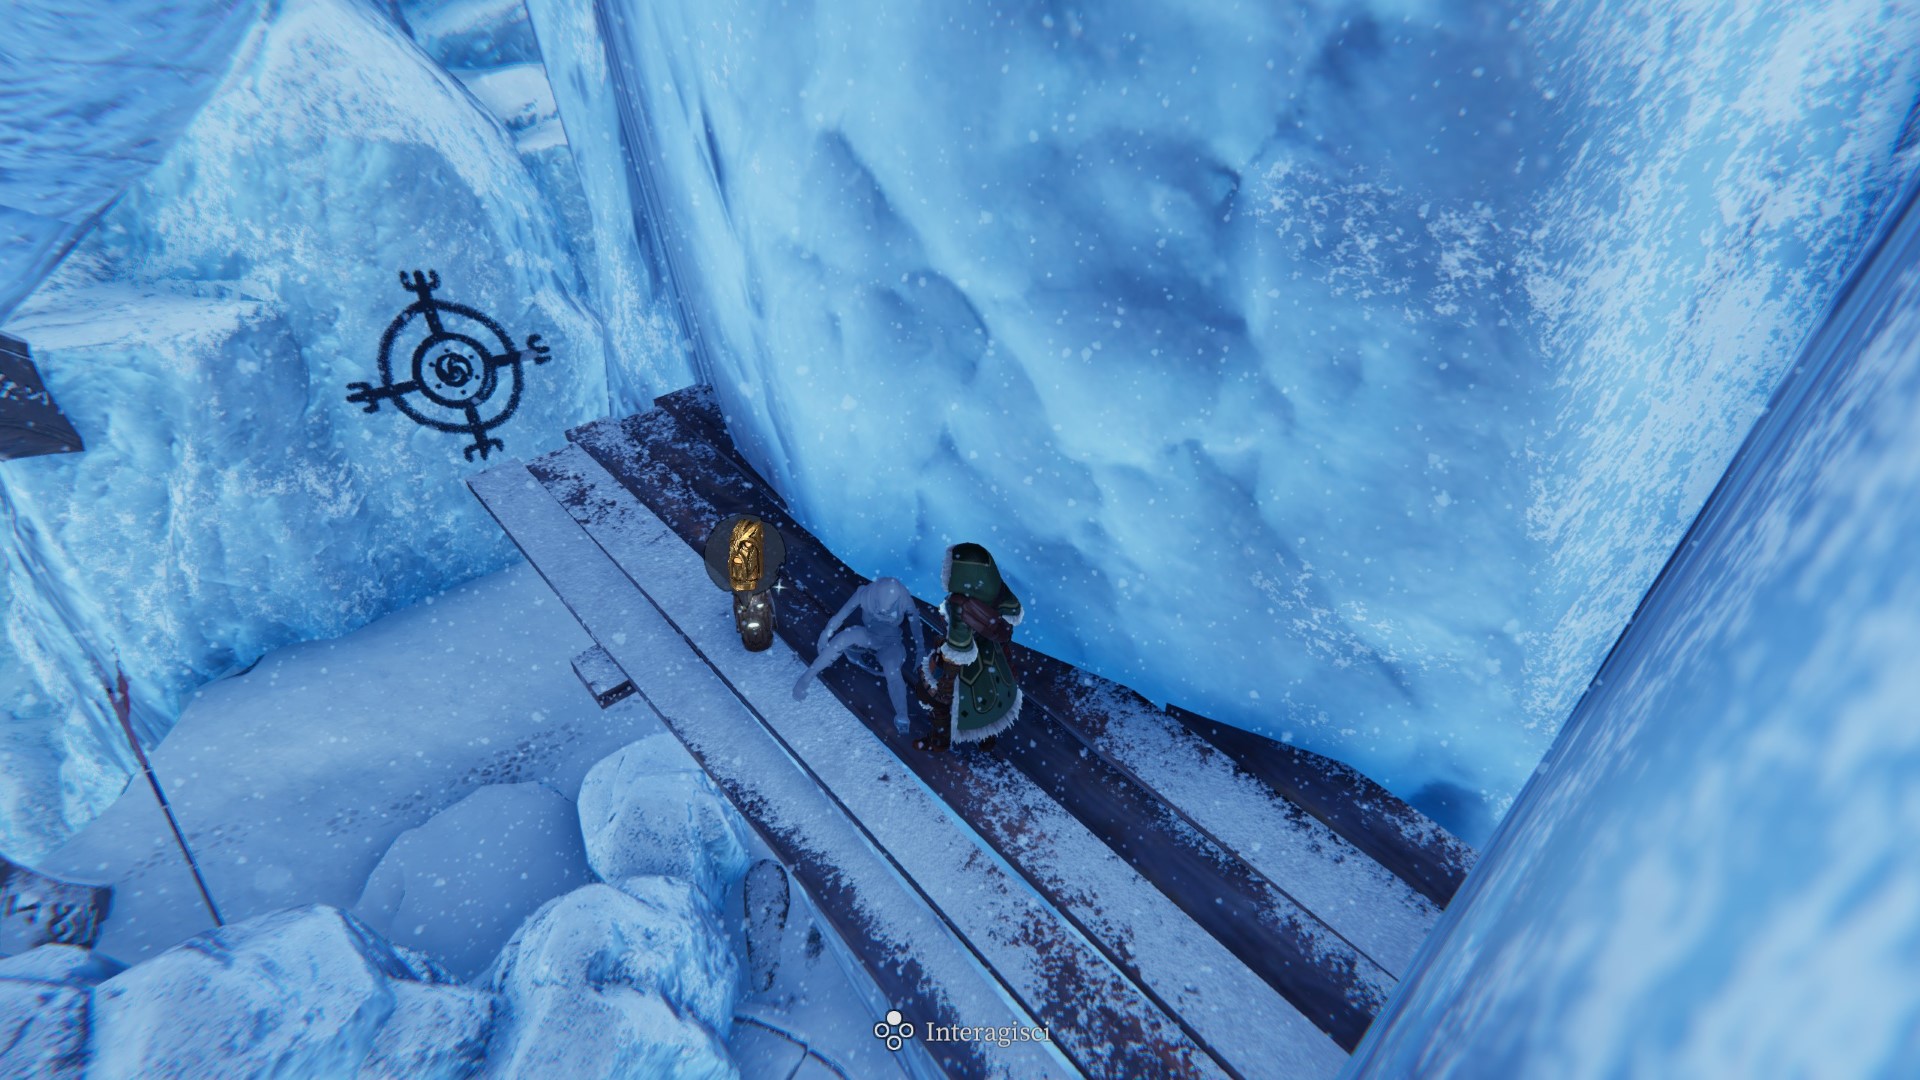
Totem04
Zone 24 — Inside the cave, on the highest ledge (reachable from the location of Totem06).
Totem05
Zone 24 — Inside the cave, on the ledge by the (southern) entrance.
Totem06
Zone 24 — Inside the cave, at the top of the narrow passage to the left of the (southern) entrance (accessible only from the innermost side).
Totem07
Zone 26 — Inside the cave, on a ledge high up to the left after entering the cave.
Totem08
Zone 26 — Inside the cave, at the bottom of the dip in the rear room behind the gate (reachable after lowering the water level).
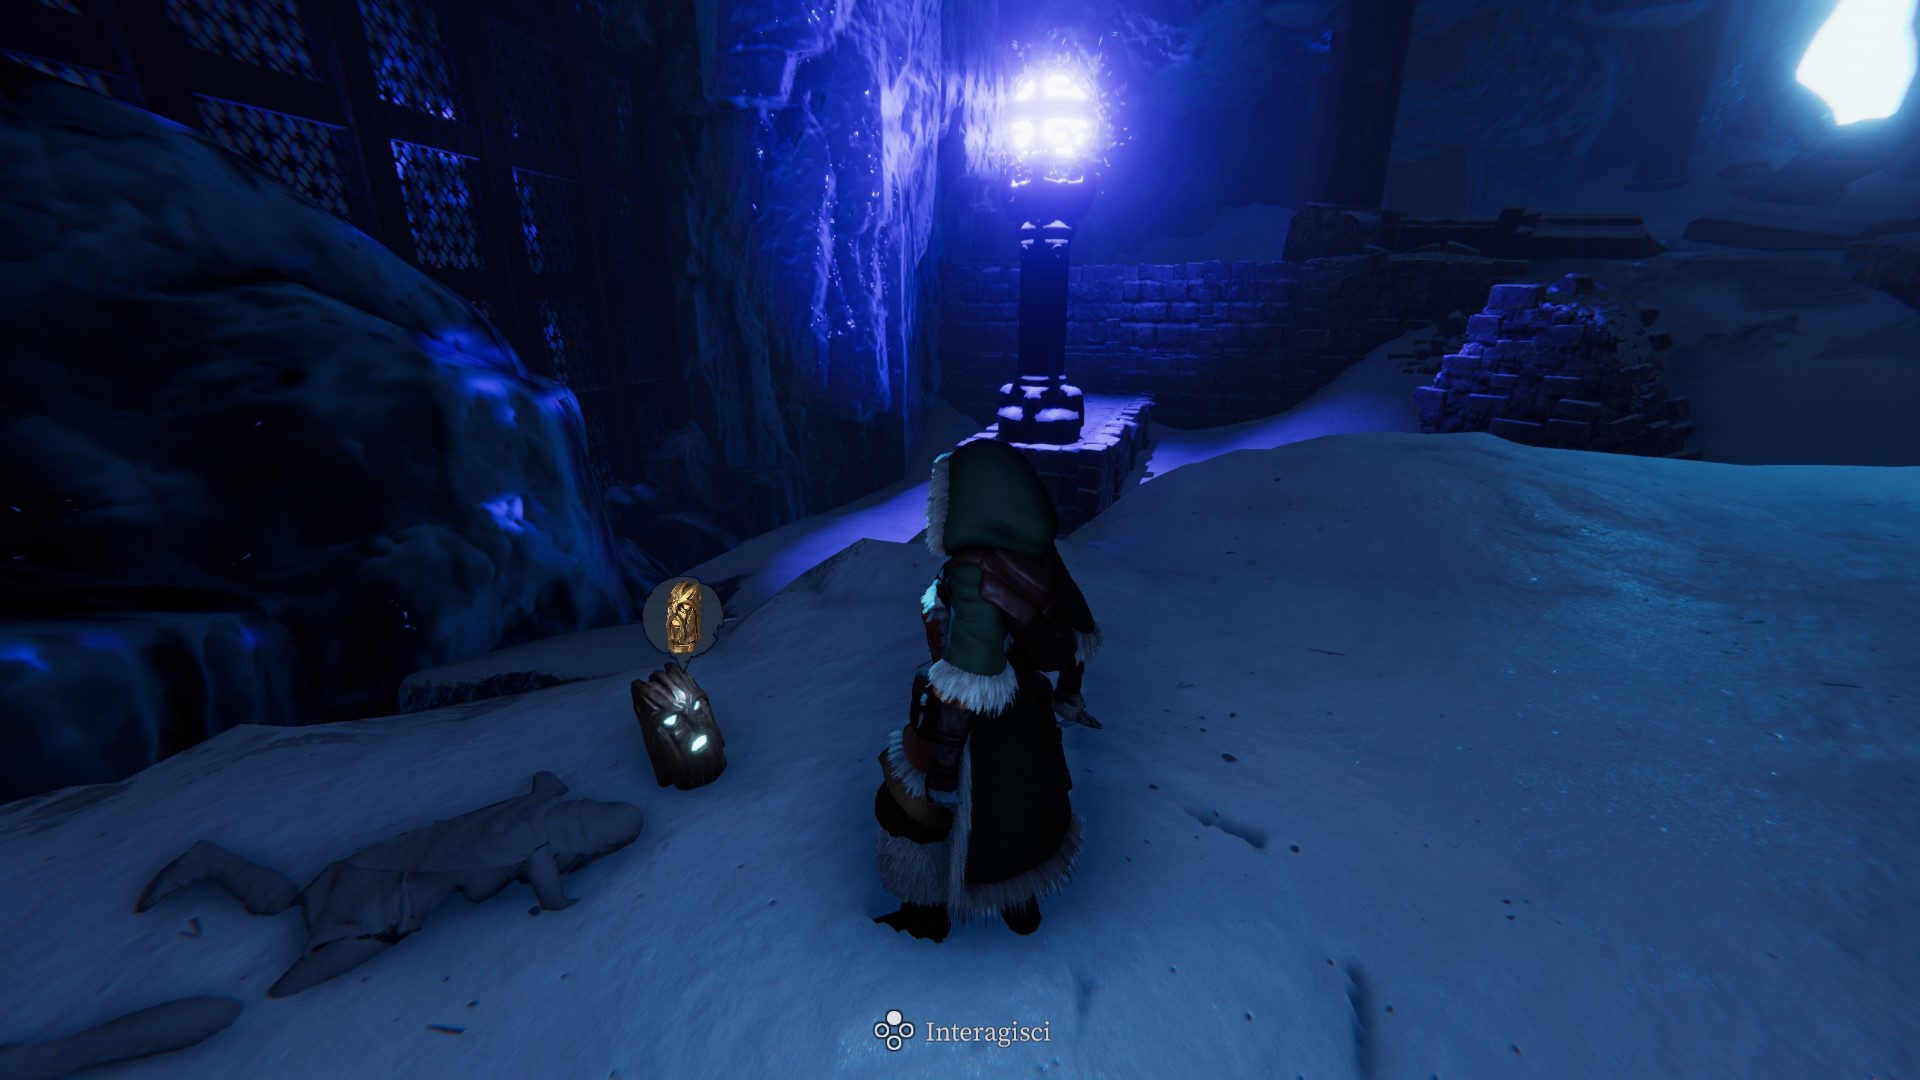
Totem09
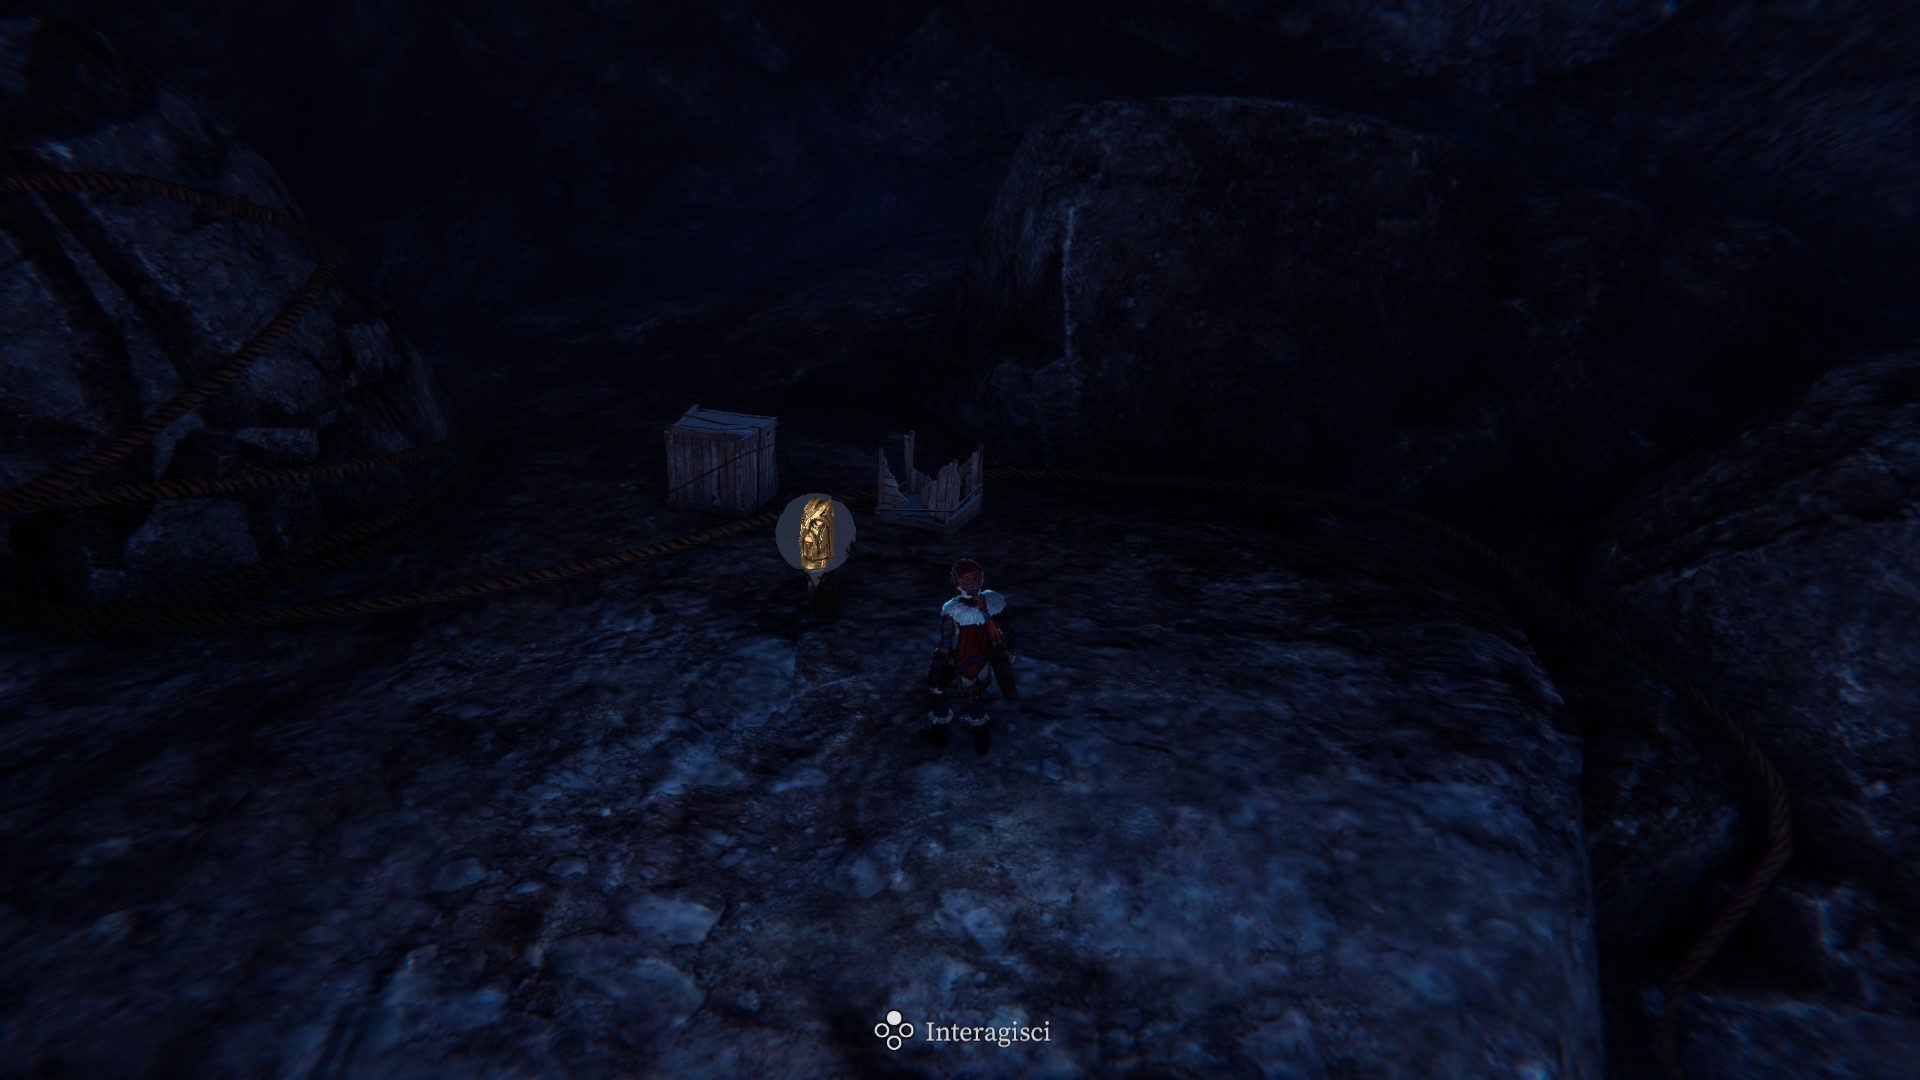
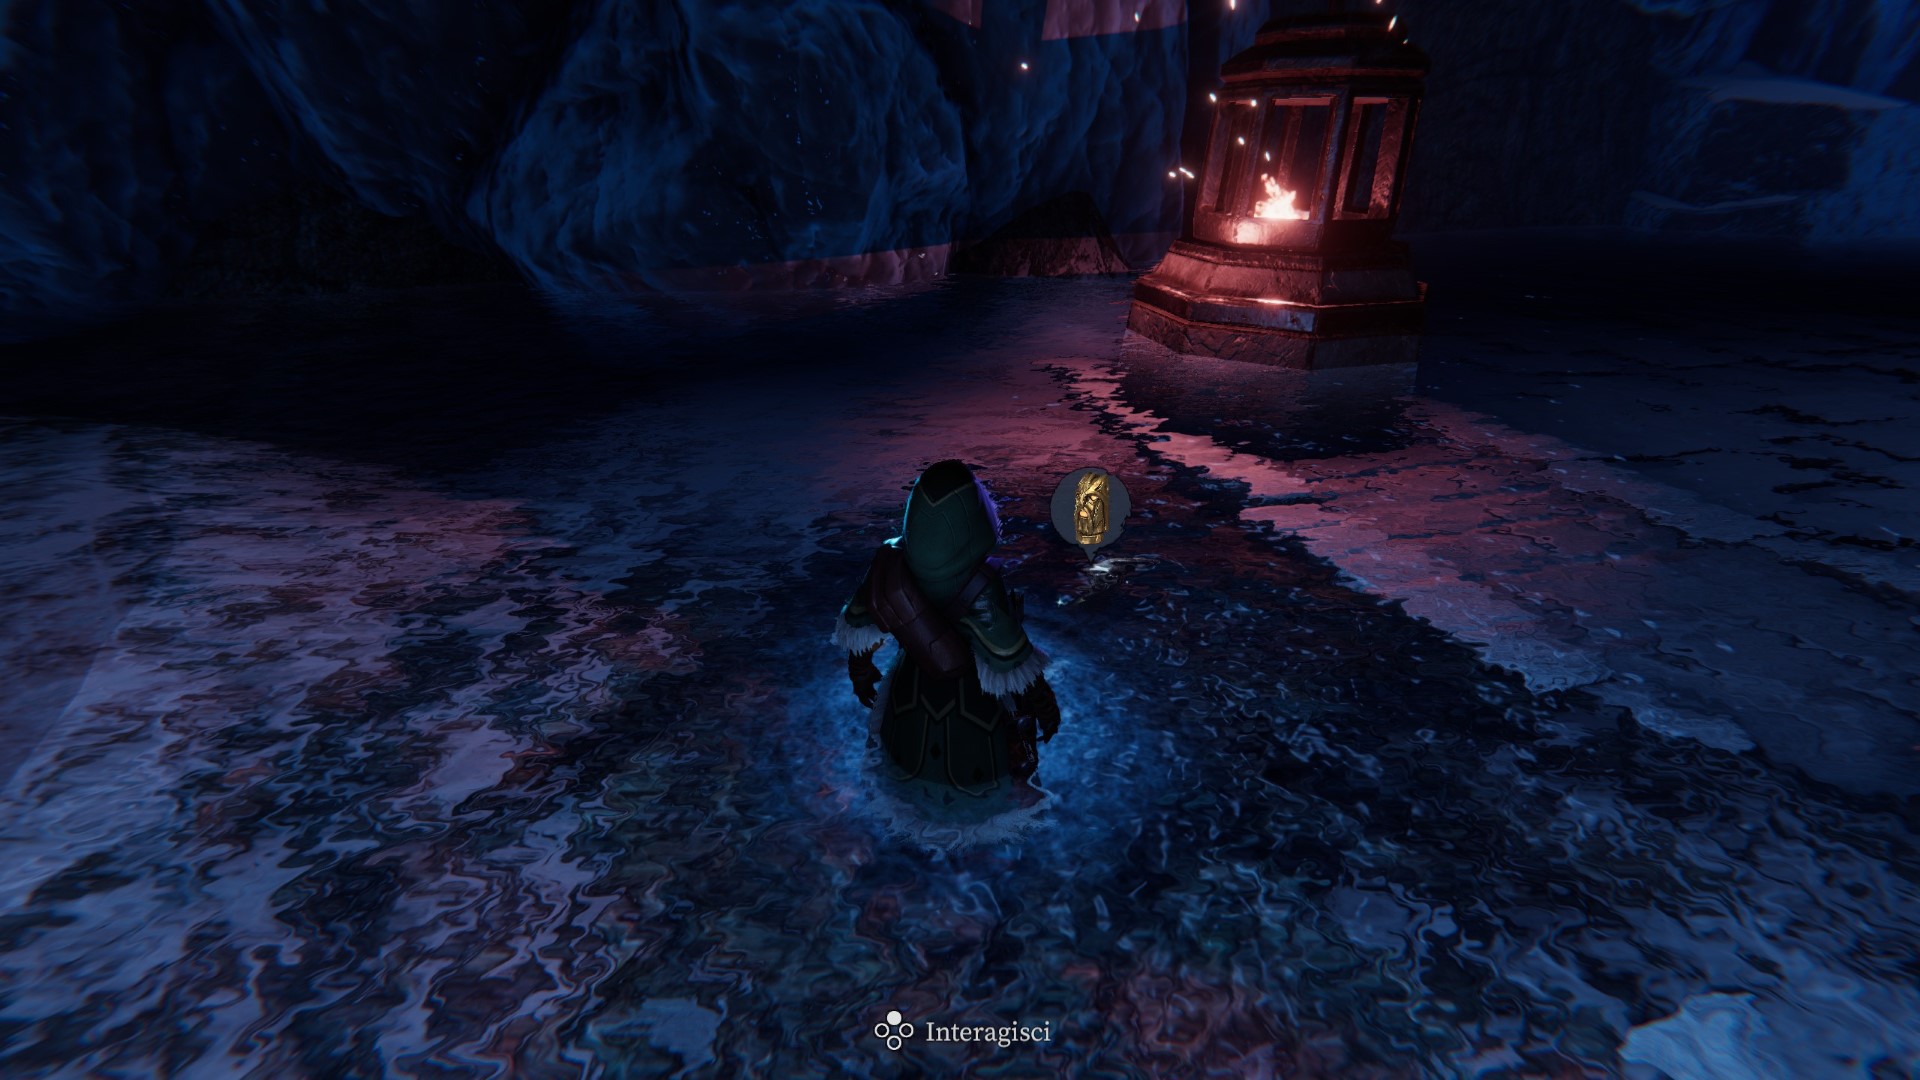
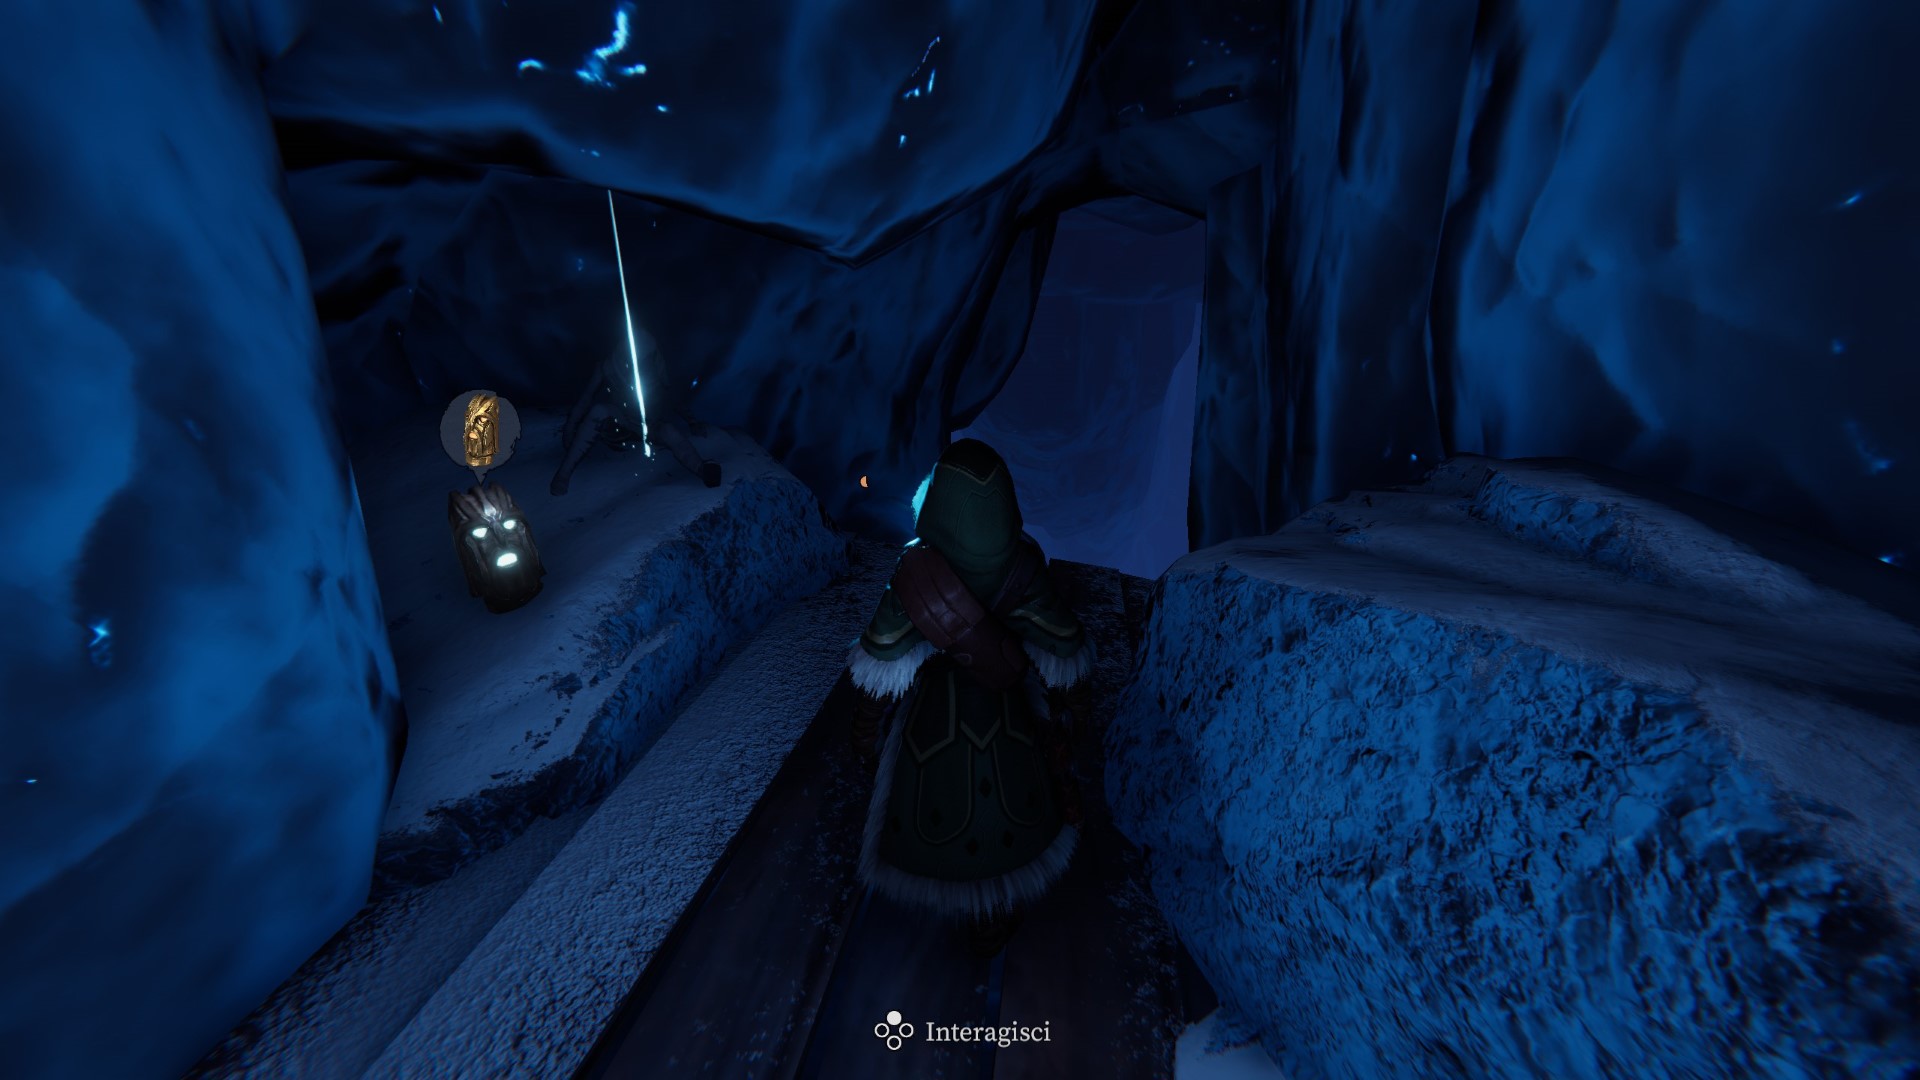
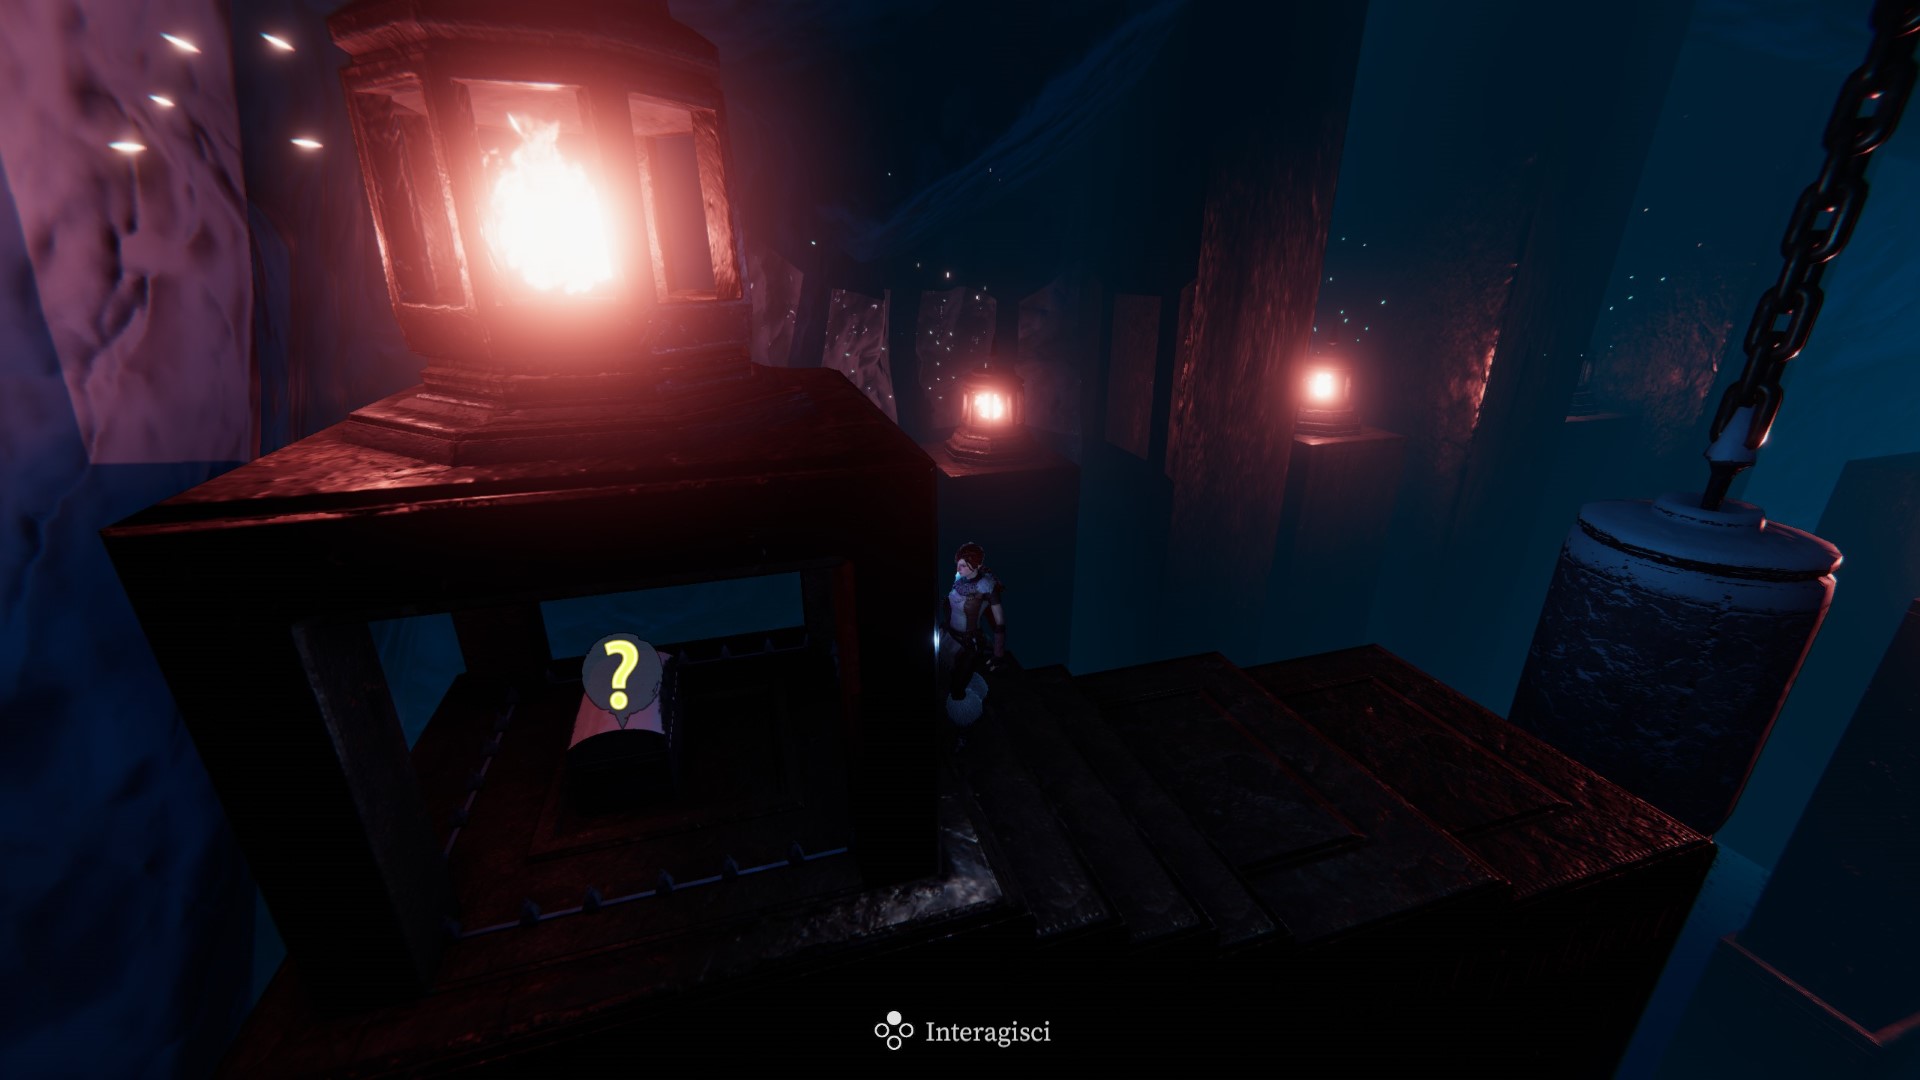
Zone 26 — Inside the cave, close to the lit lantern.
Totem10
Zone 73 — Inside the cave, on a wooden platform just above the water level.
Totem11
Zone 3 — Inside the cave, to the left of a hill along the way.

Totem12
Zone 7 — Inside the cave, on a rock.
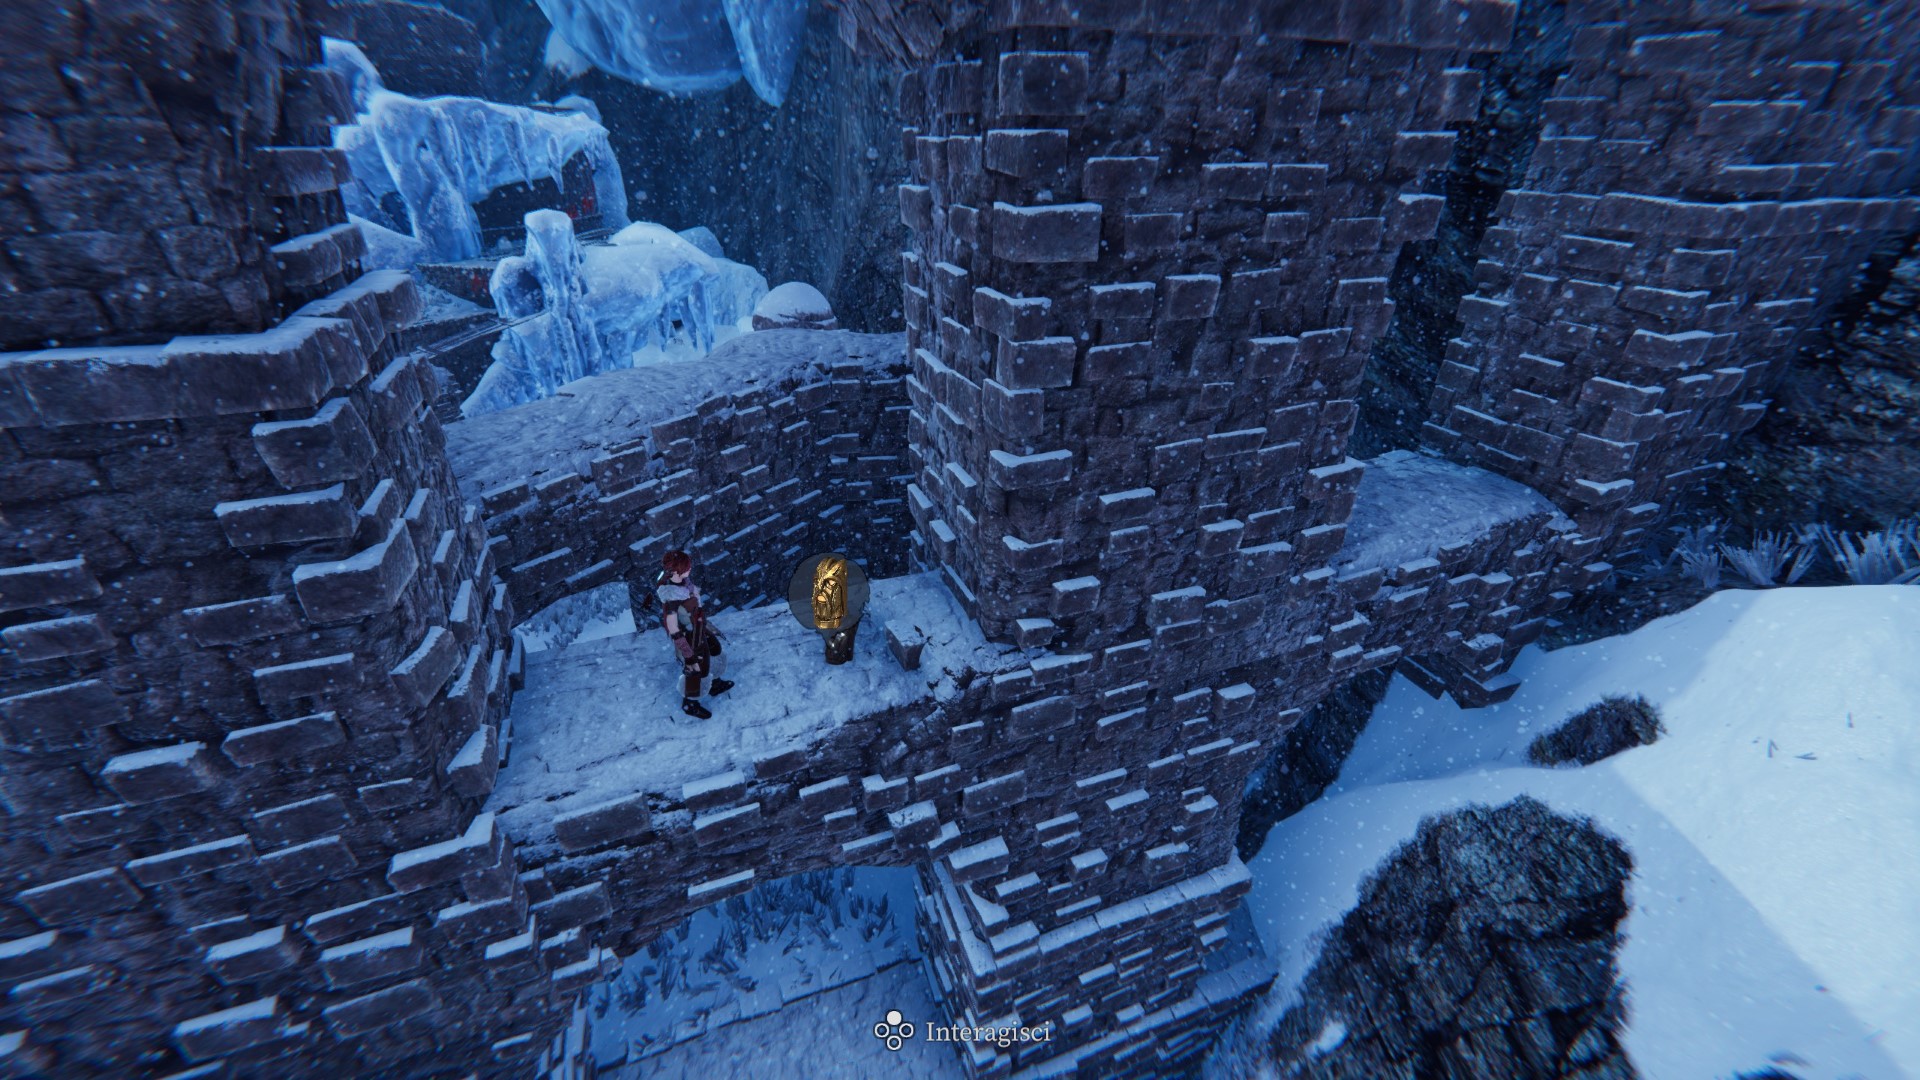
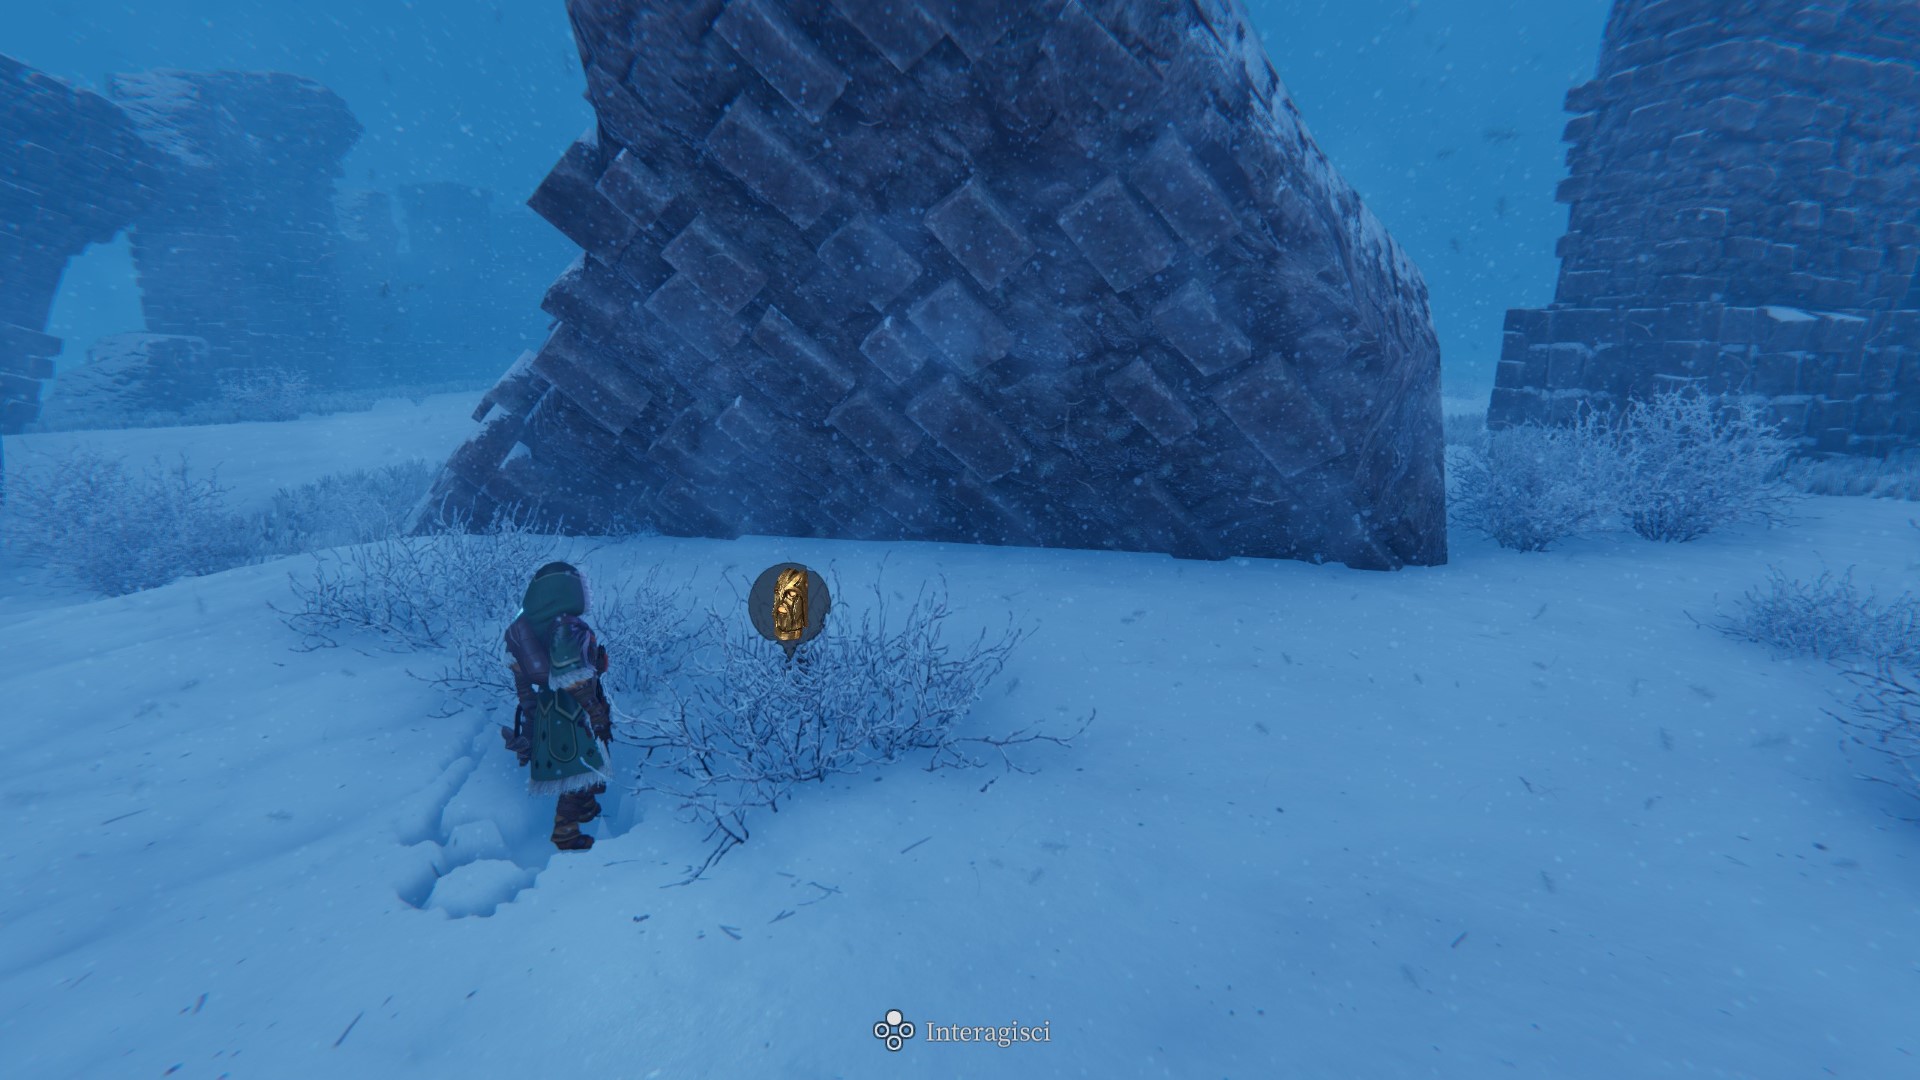
Totem13
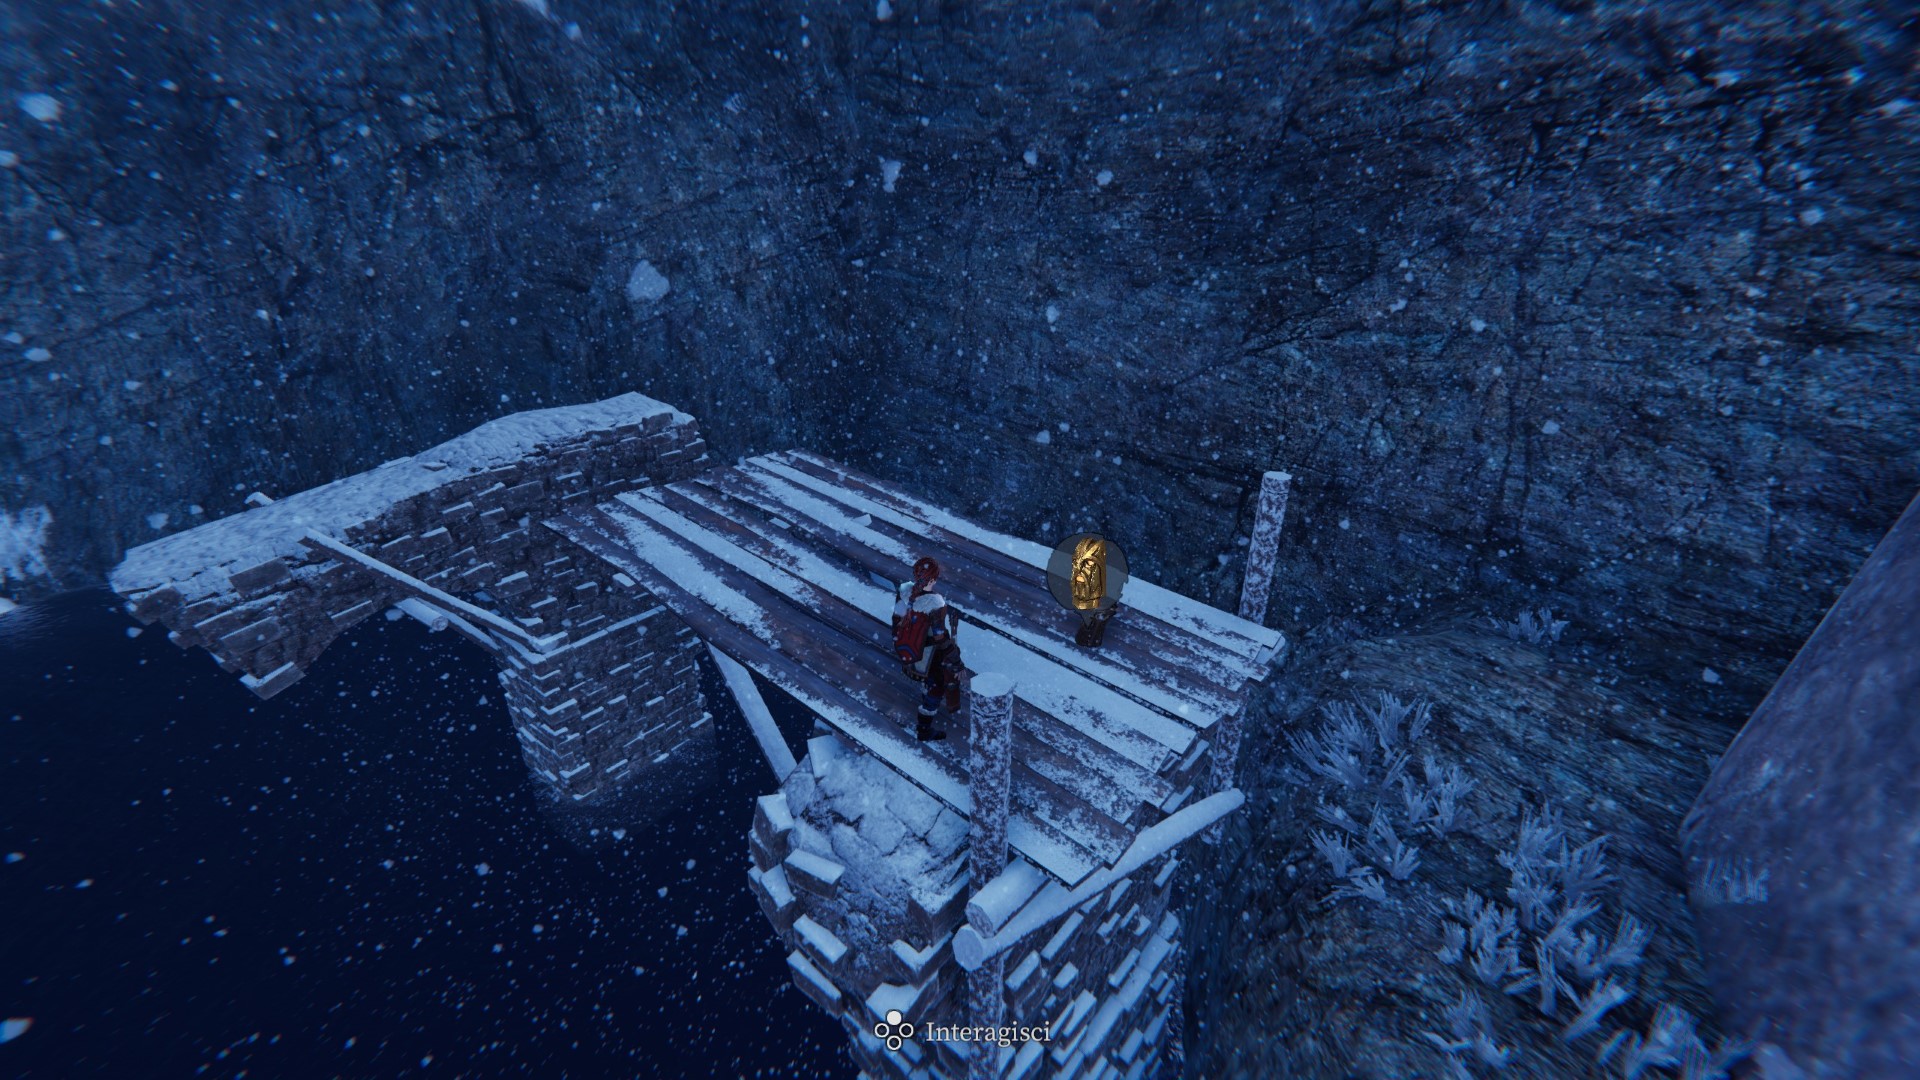
Zone 23 — On an architectural structure built on the mountain wall.
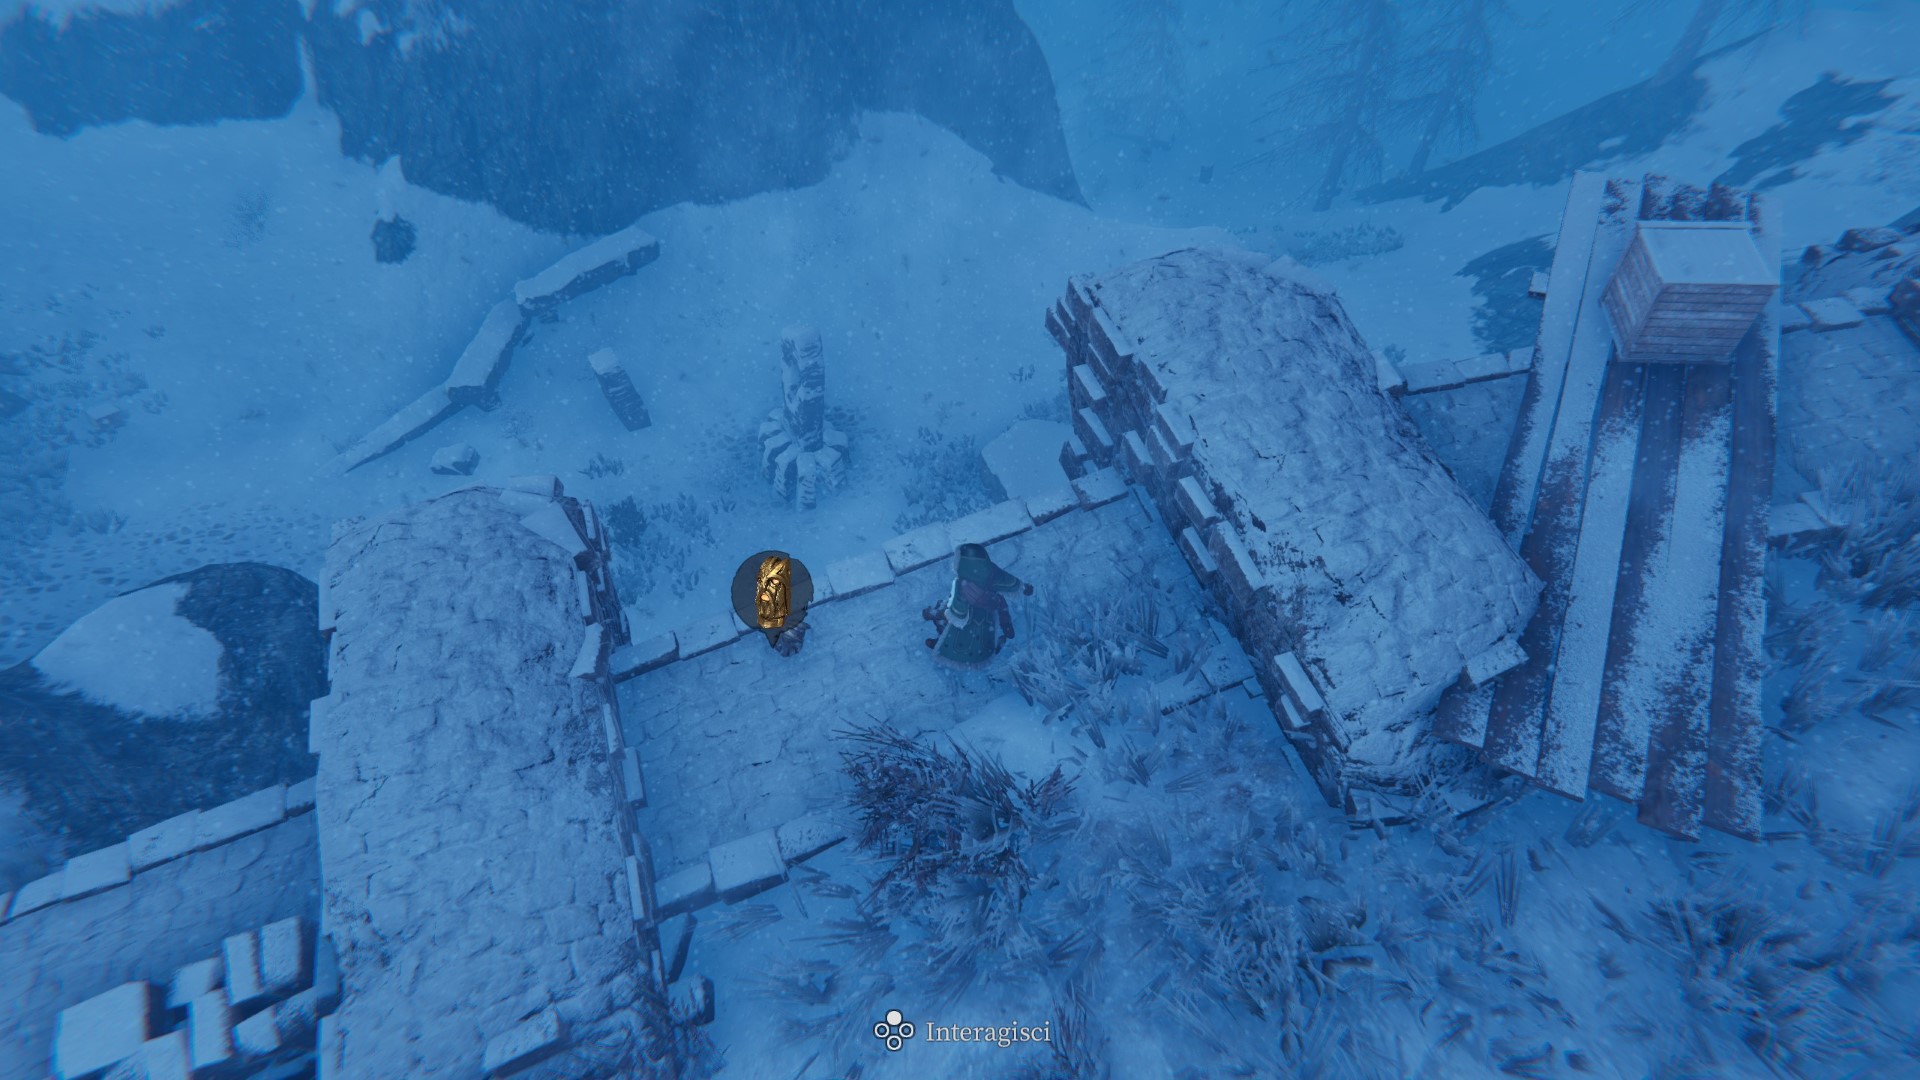
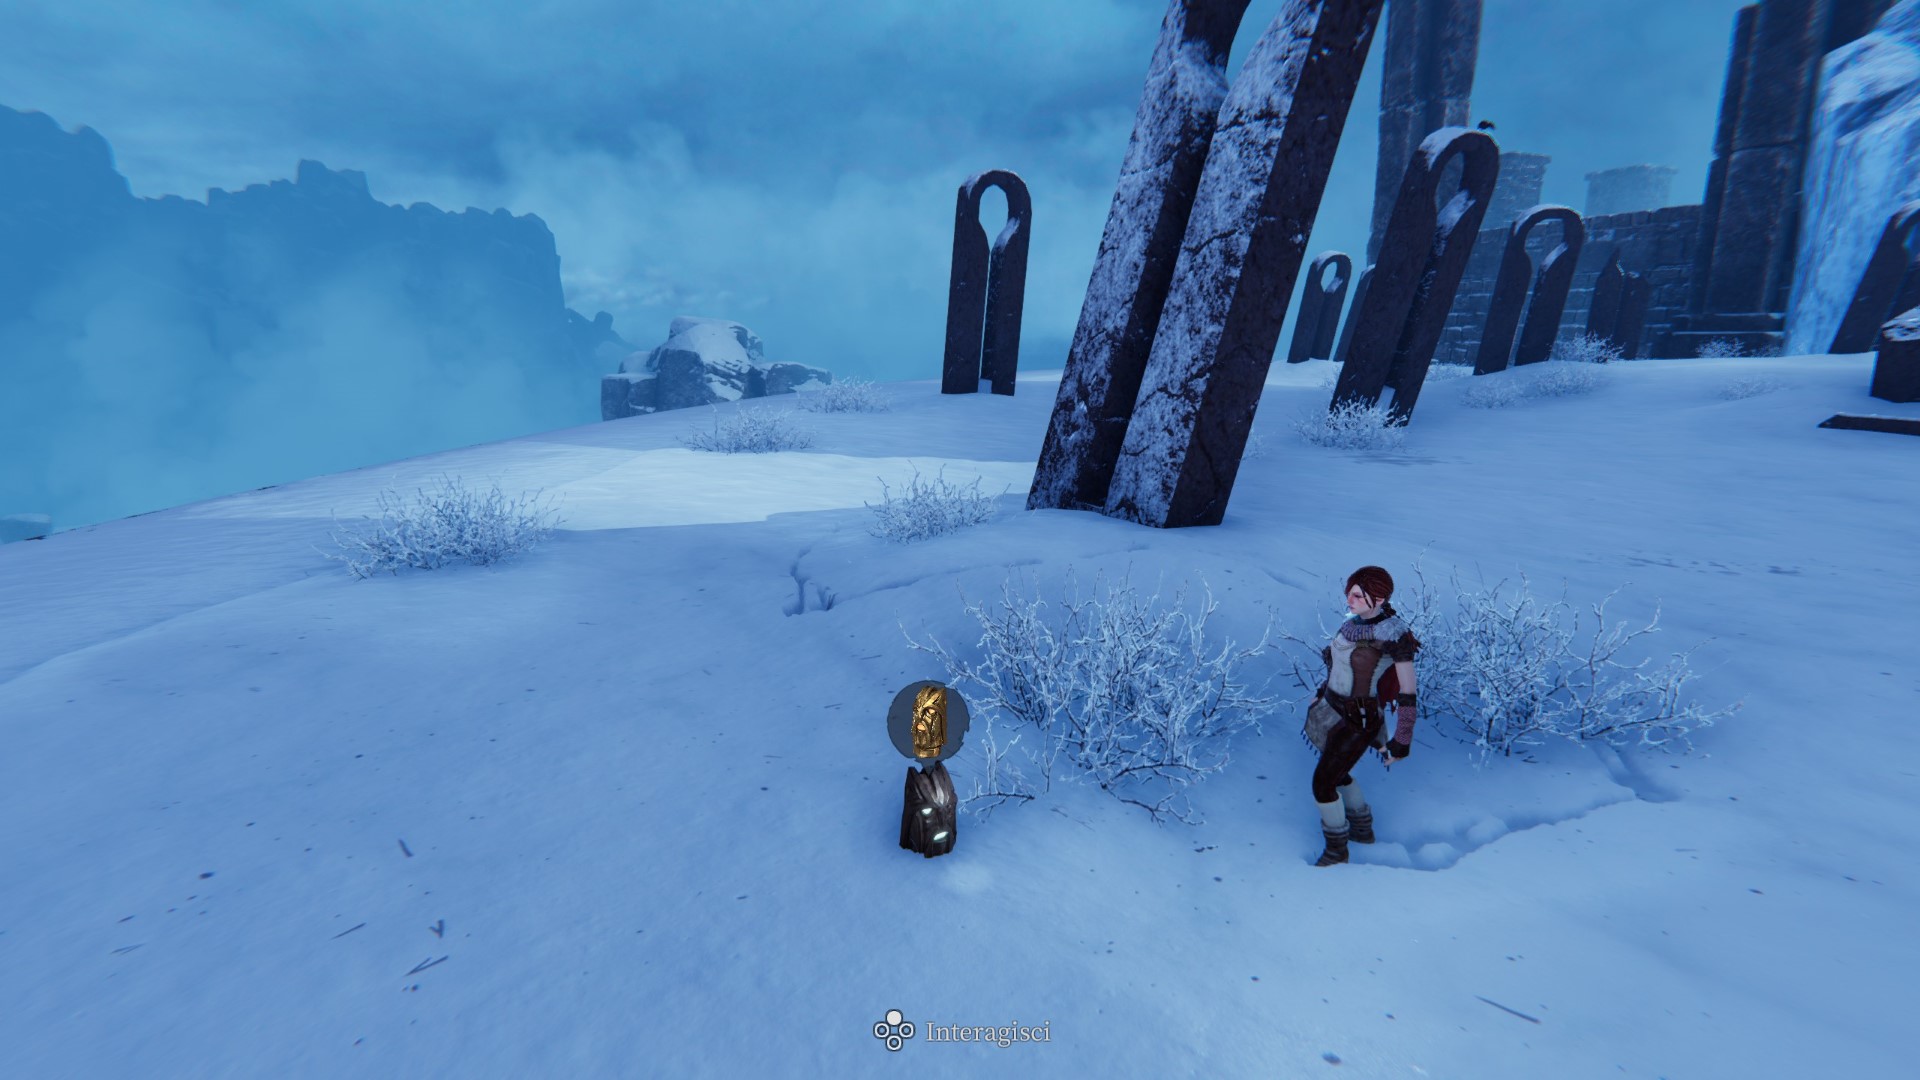
Totem14
Zone 22 — On one of the arches of the architectural structure.
Totem15
Zone 19 — Near the champion’s arena.
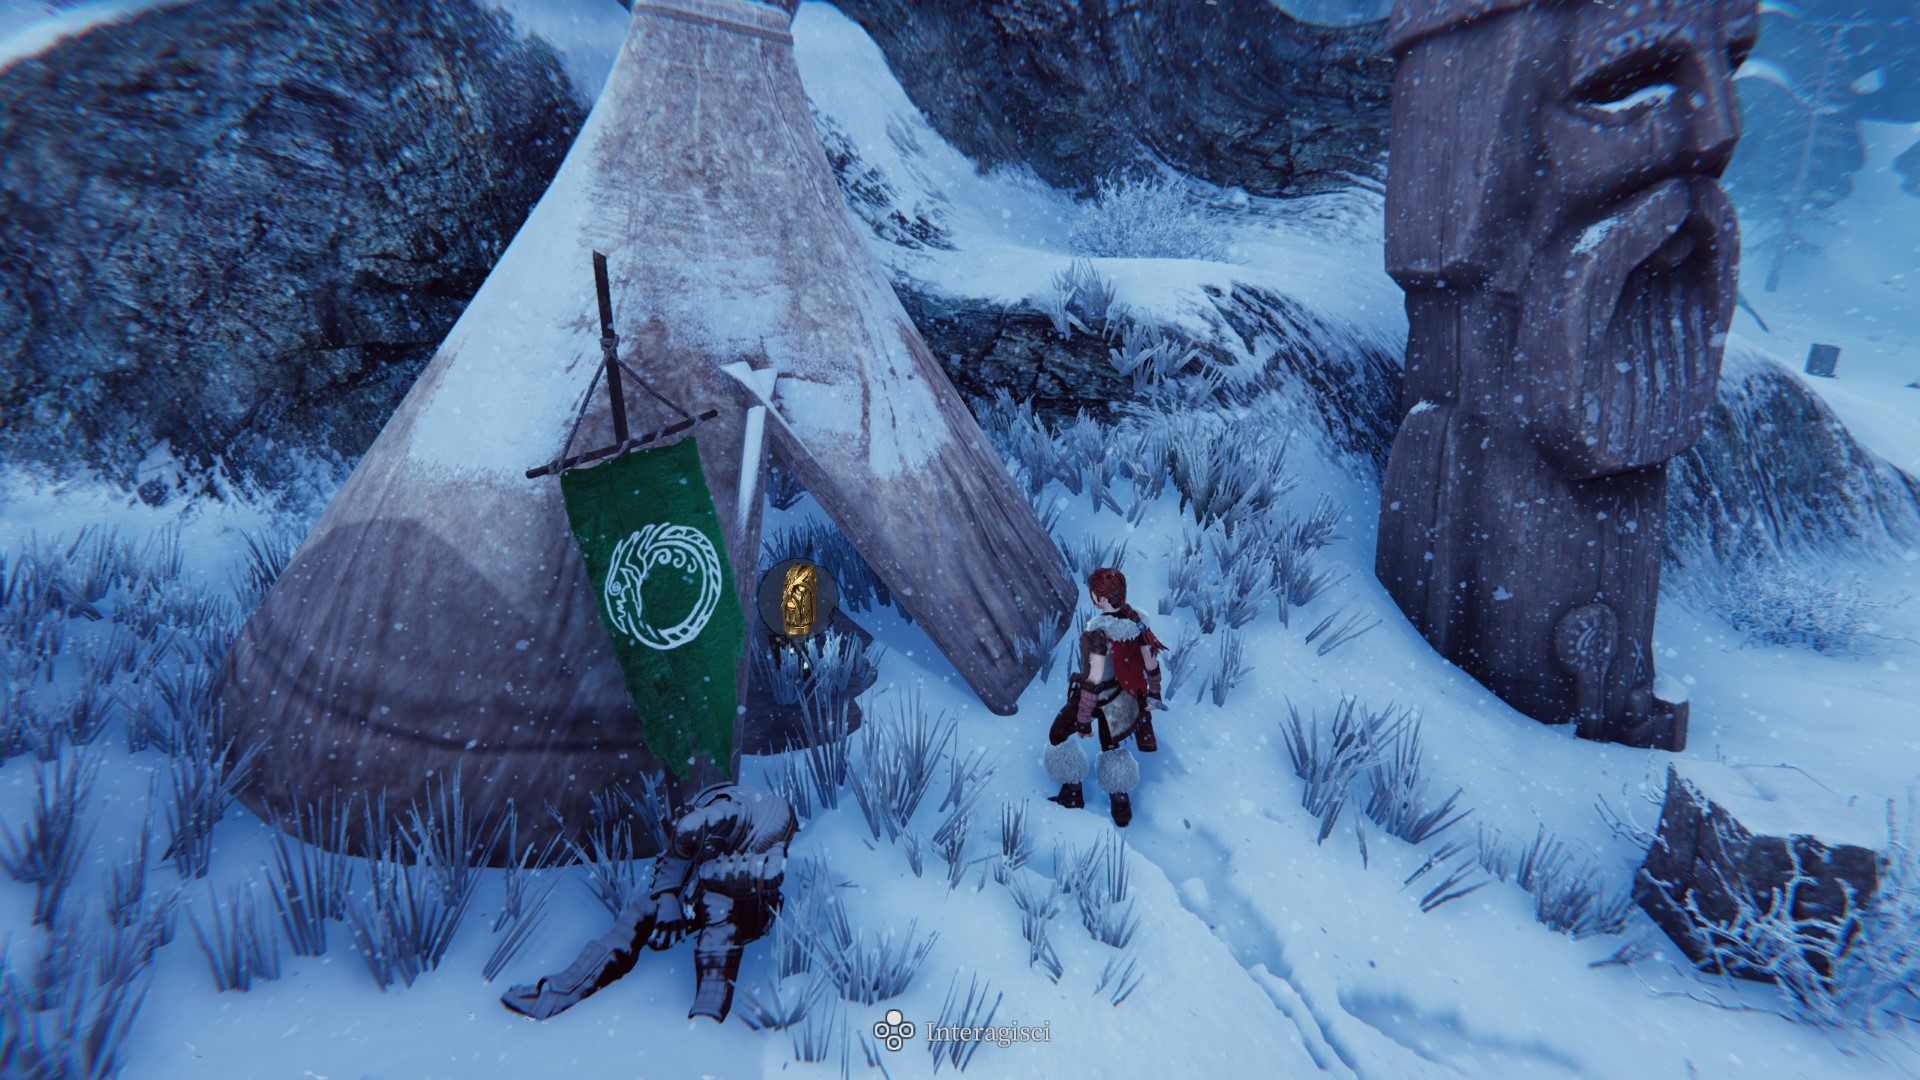
Totem16
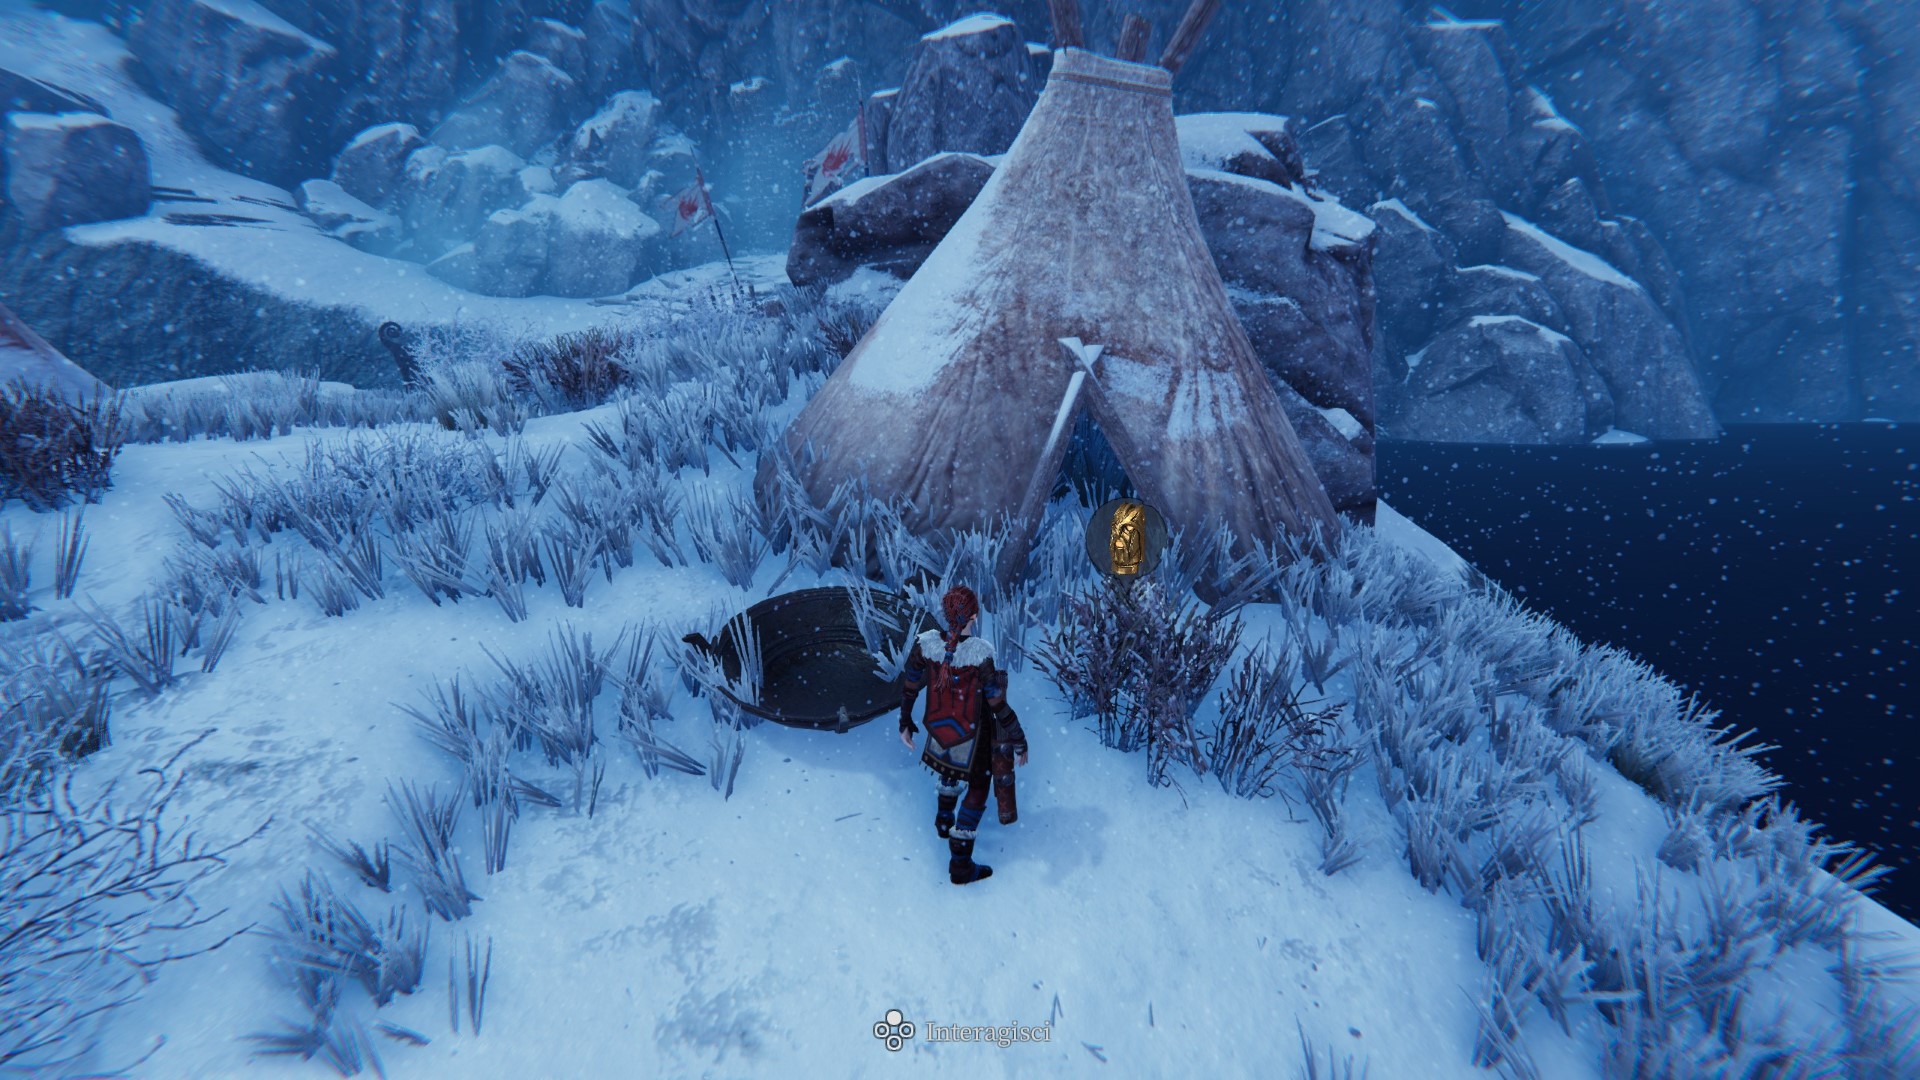
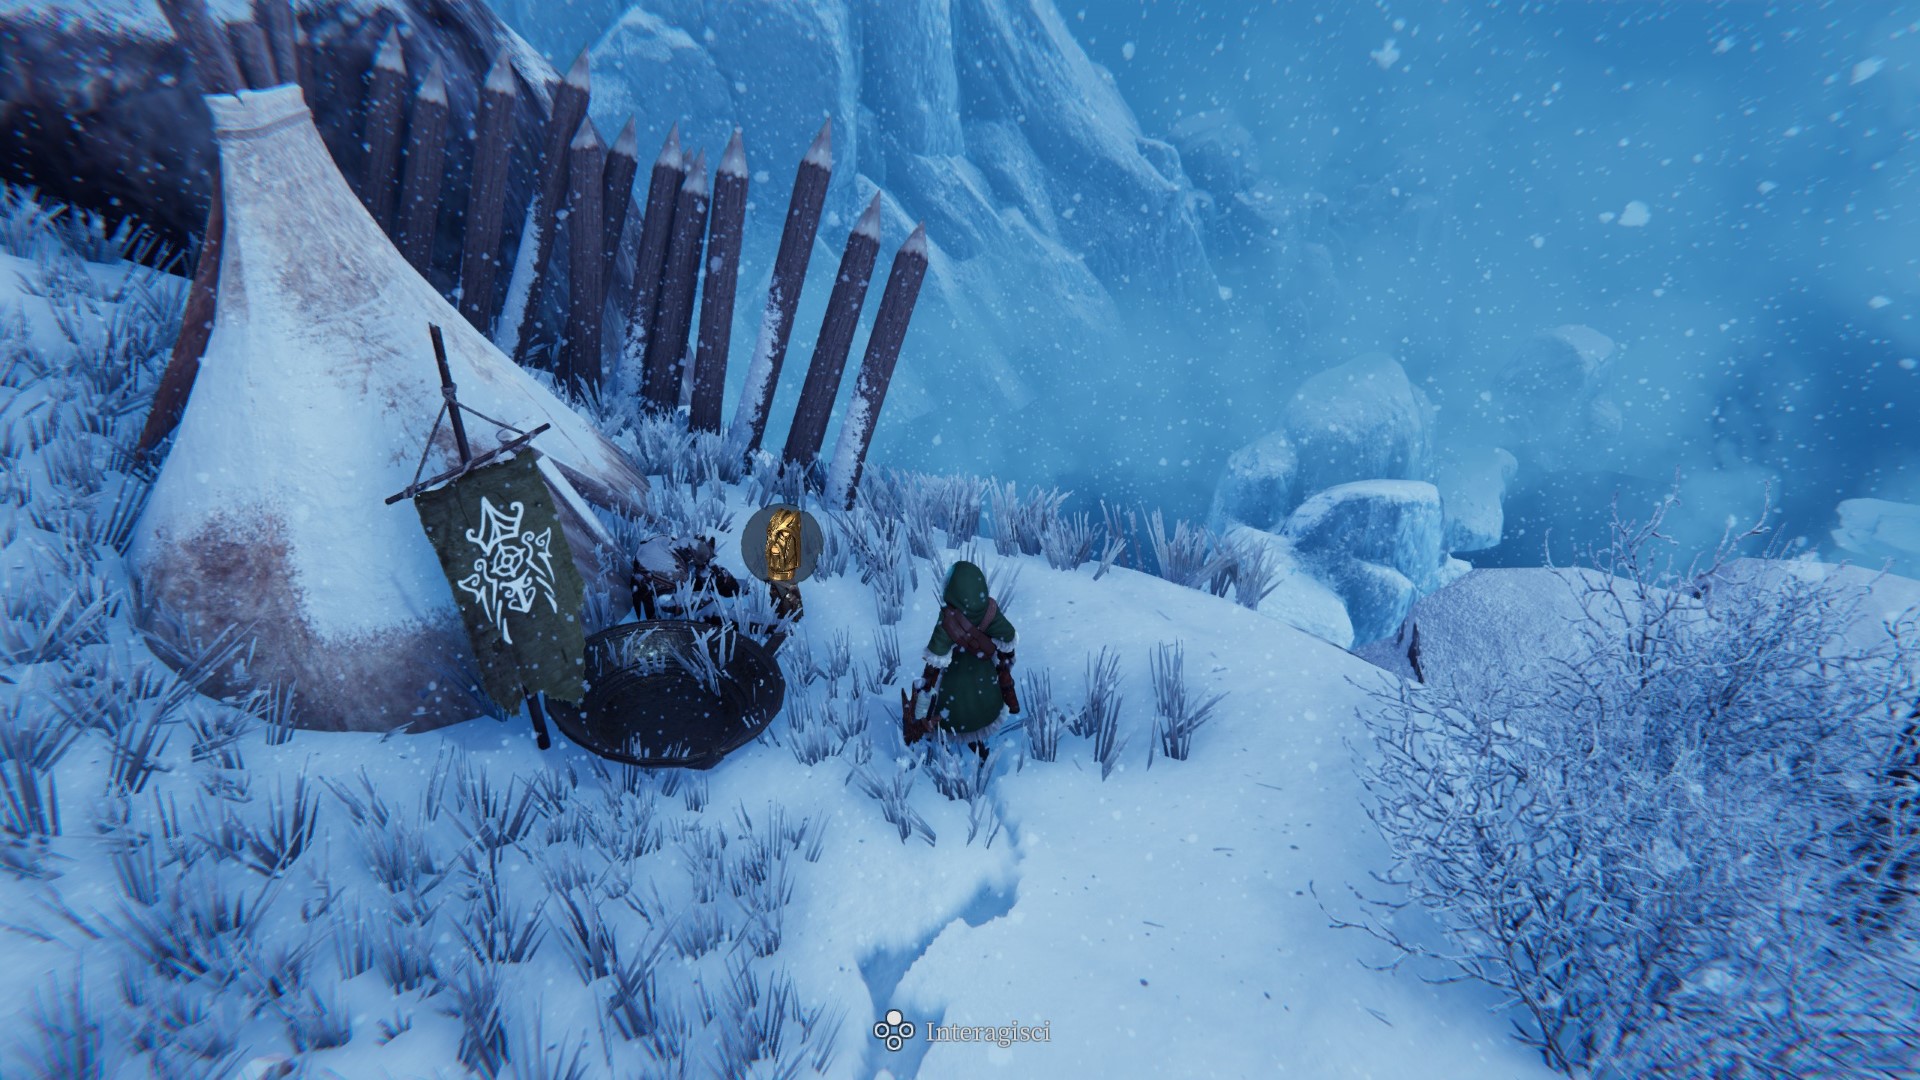
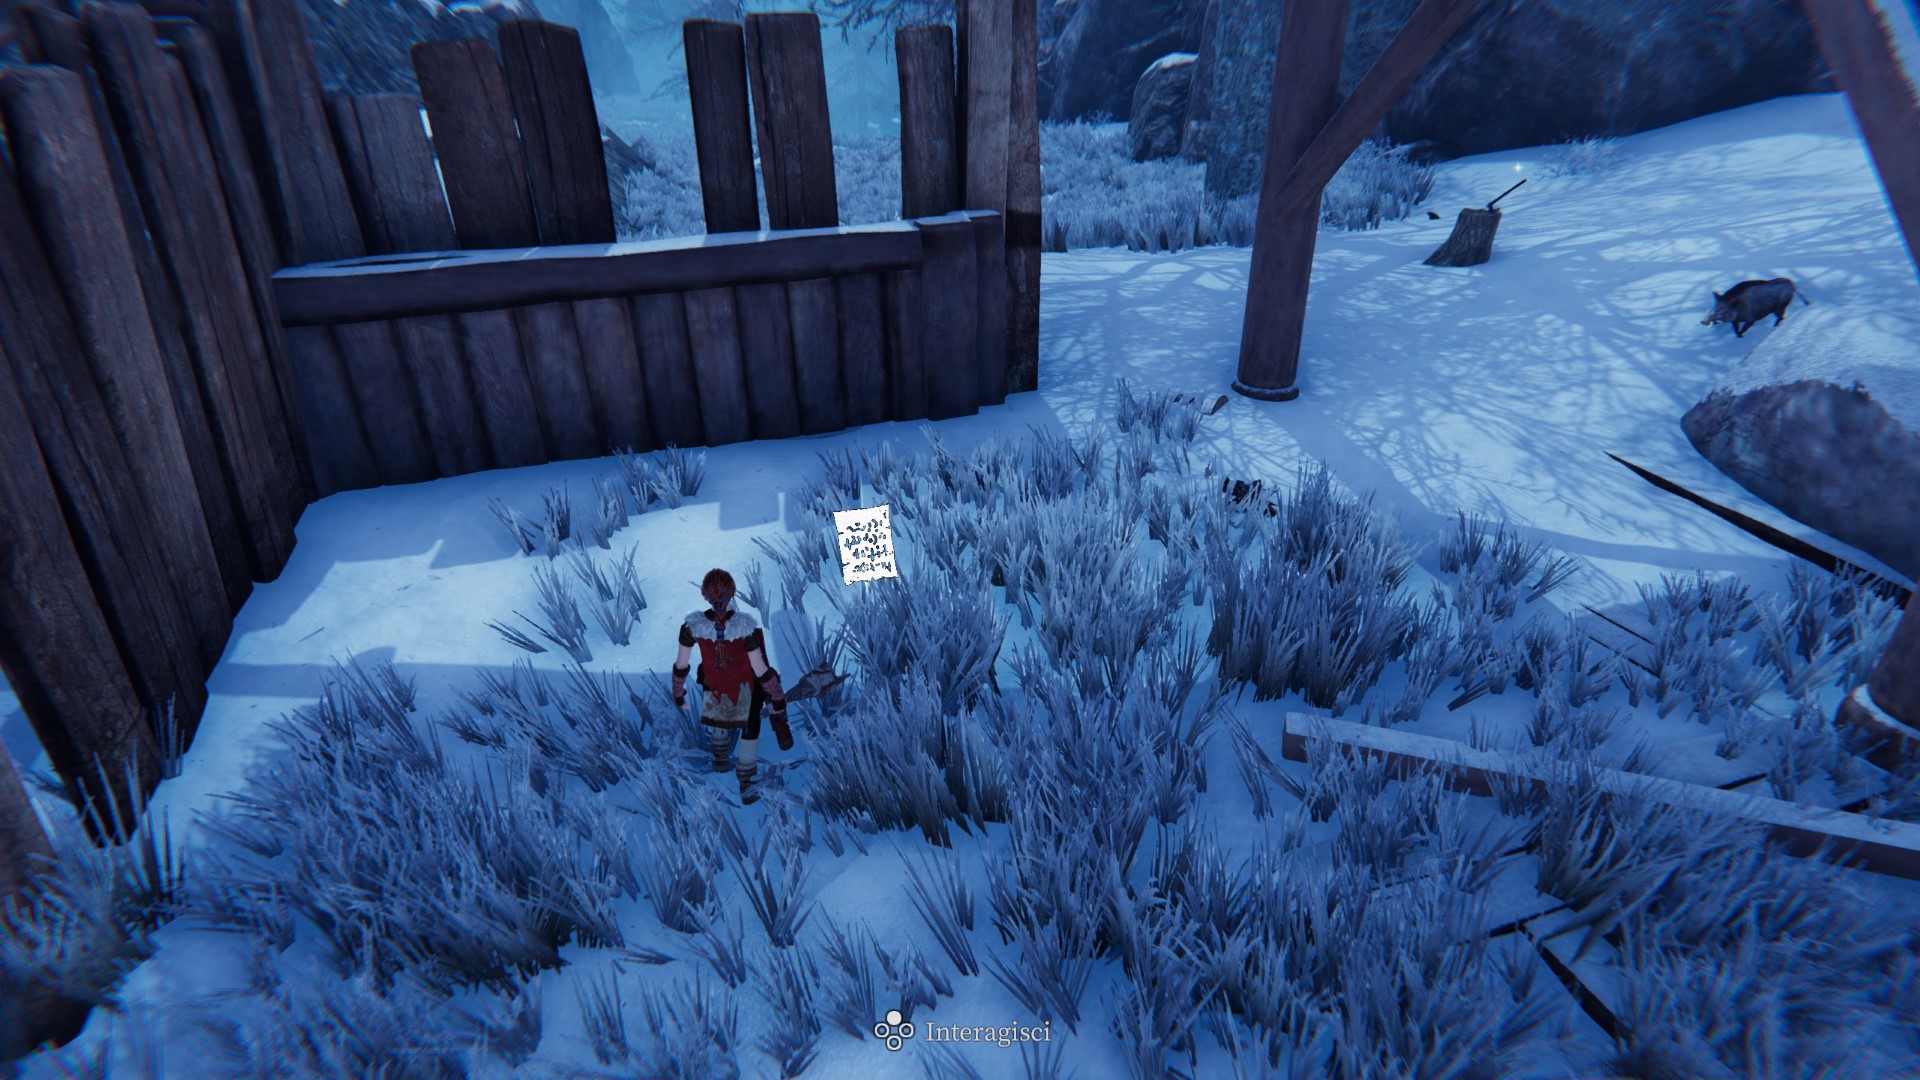
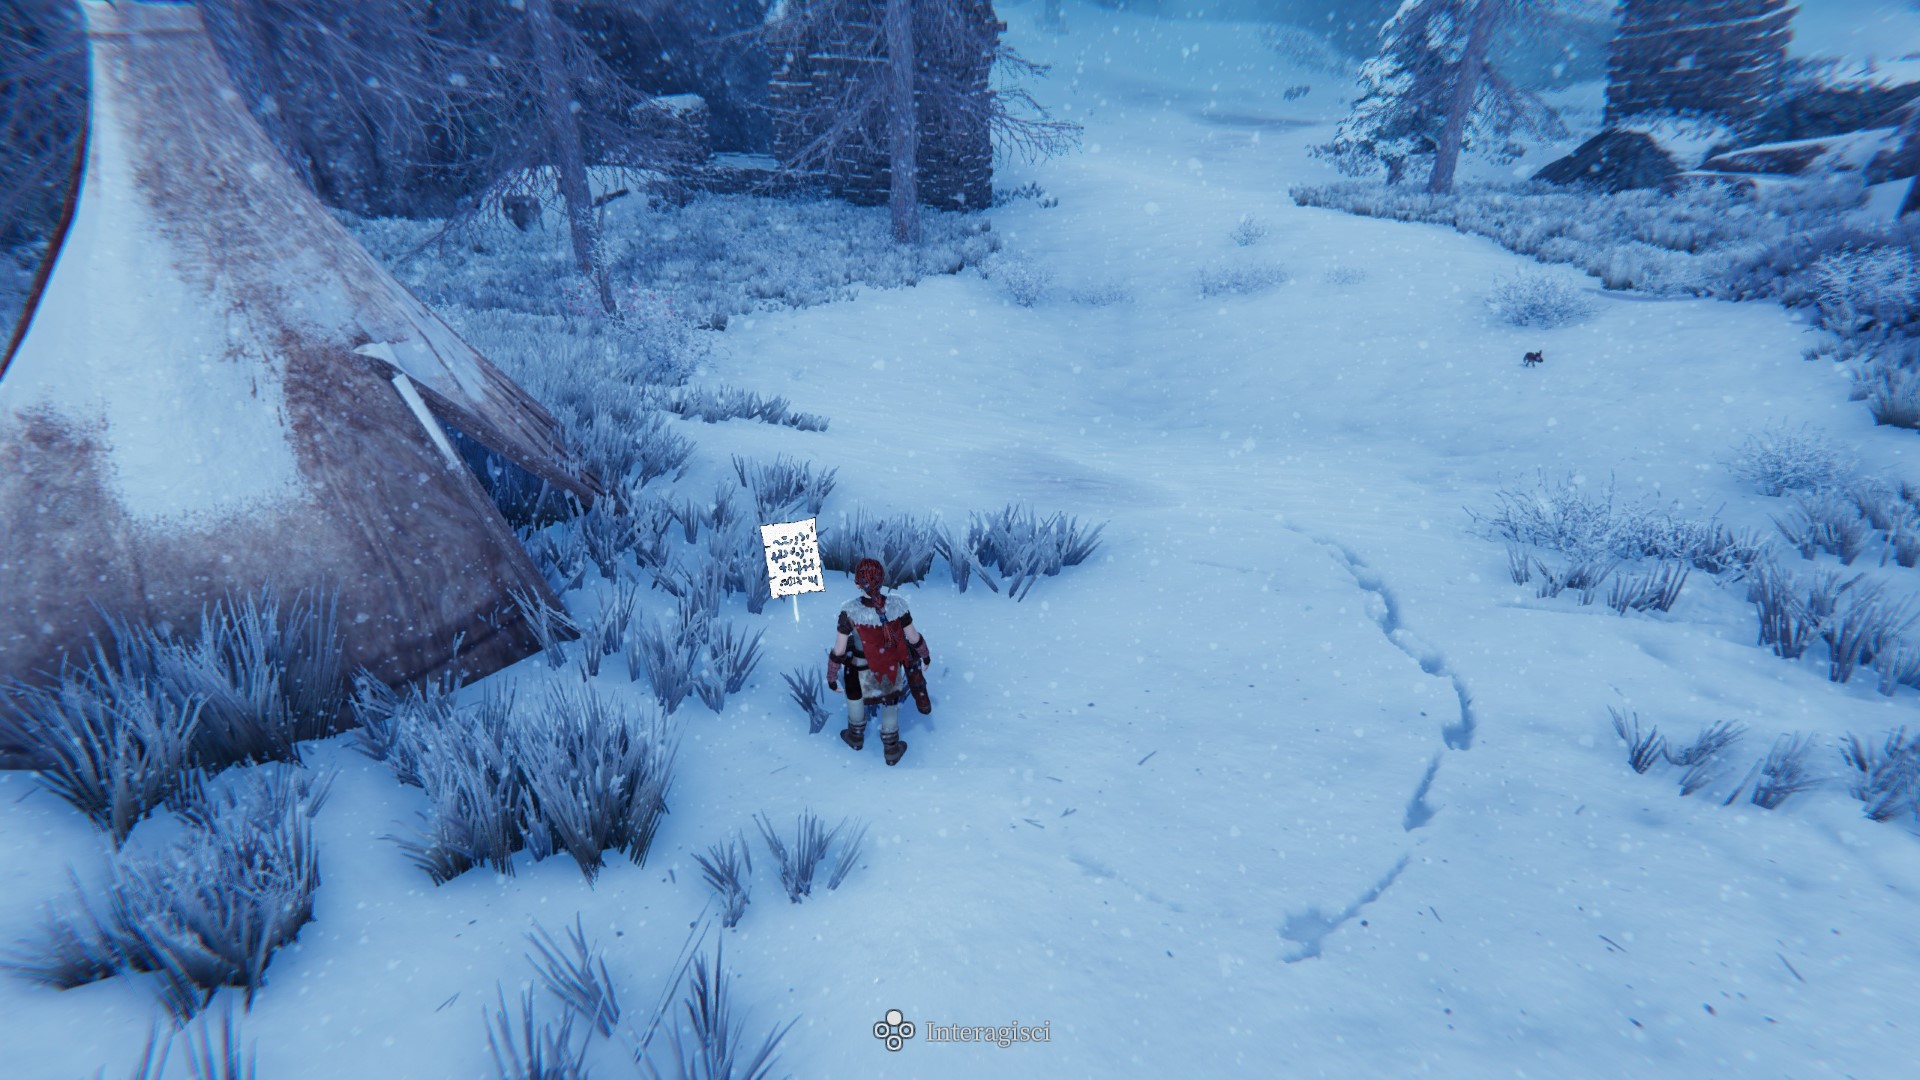
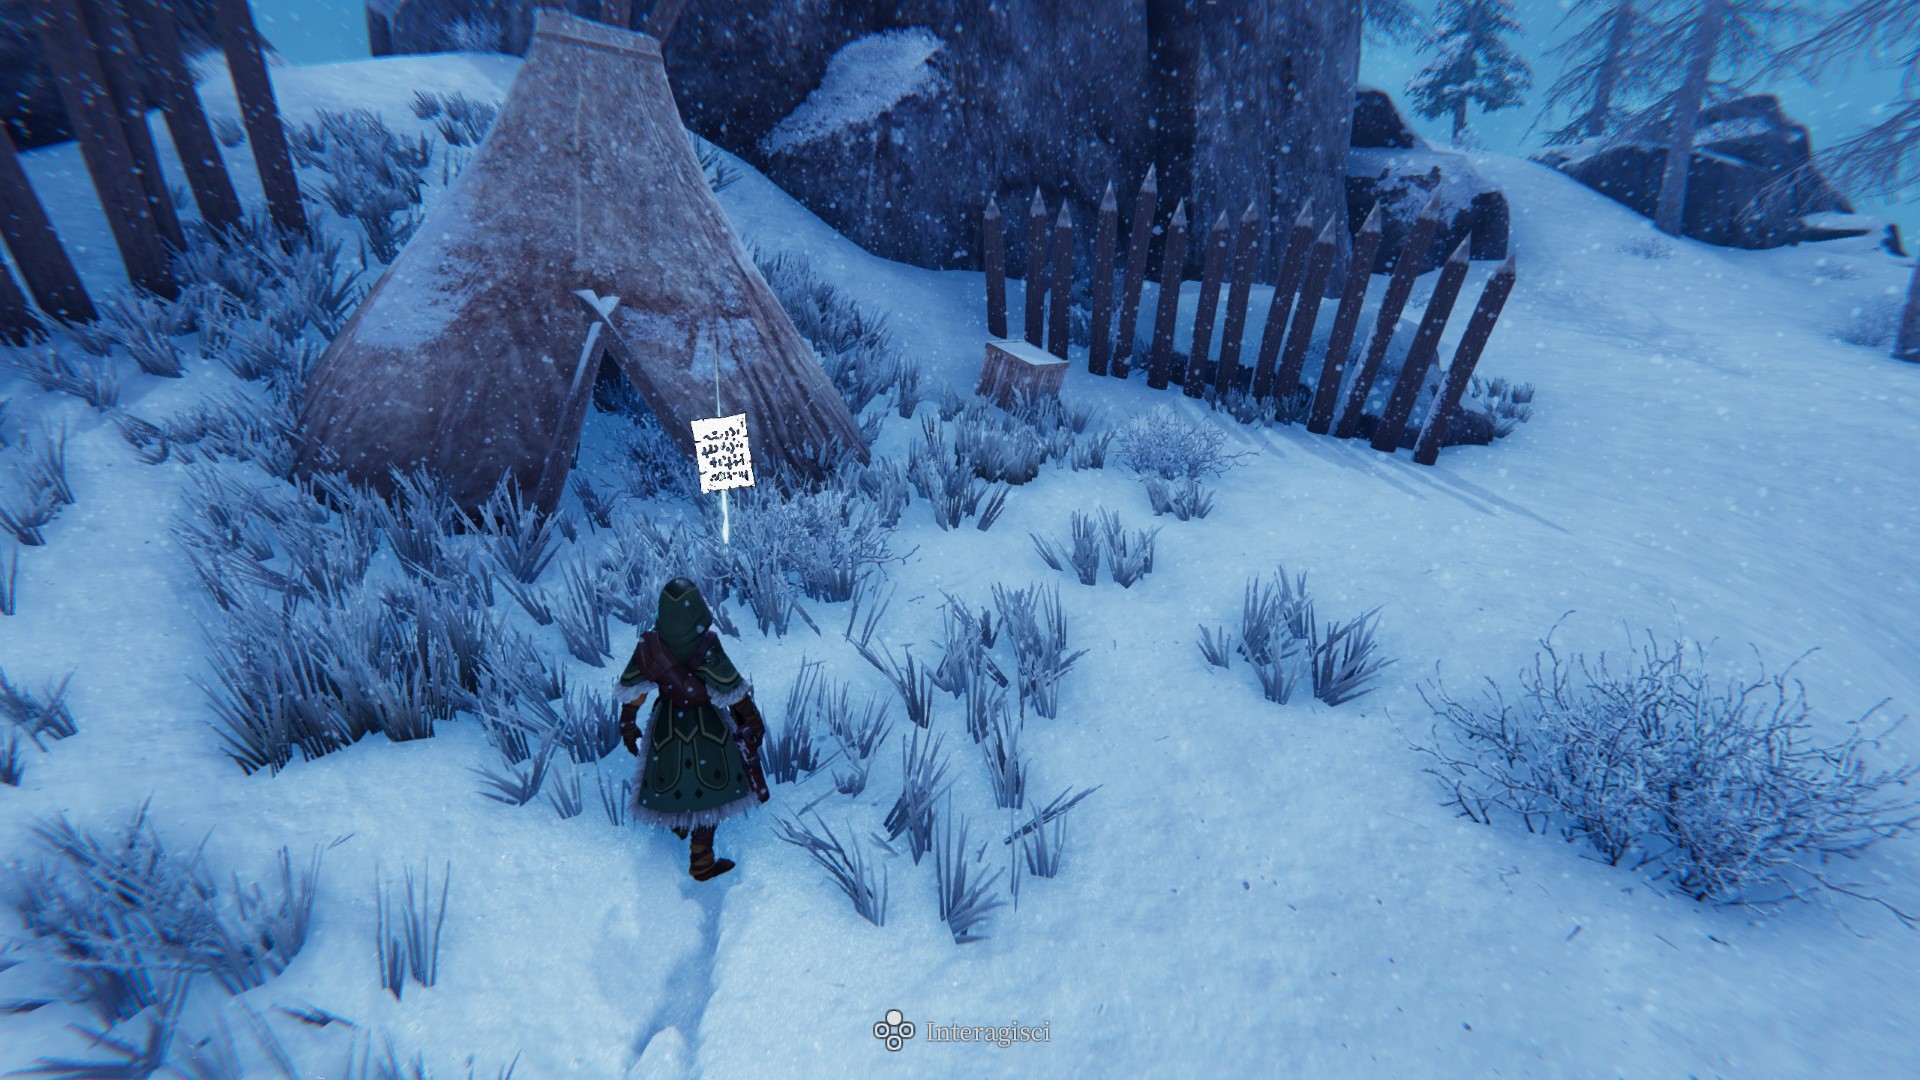
Zone 21 — In front of a tent.
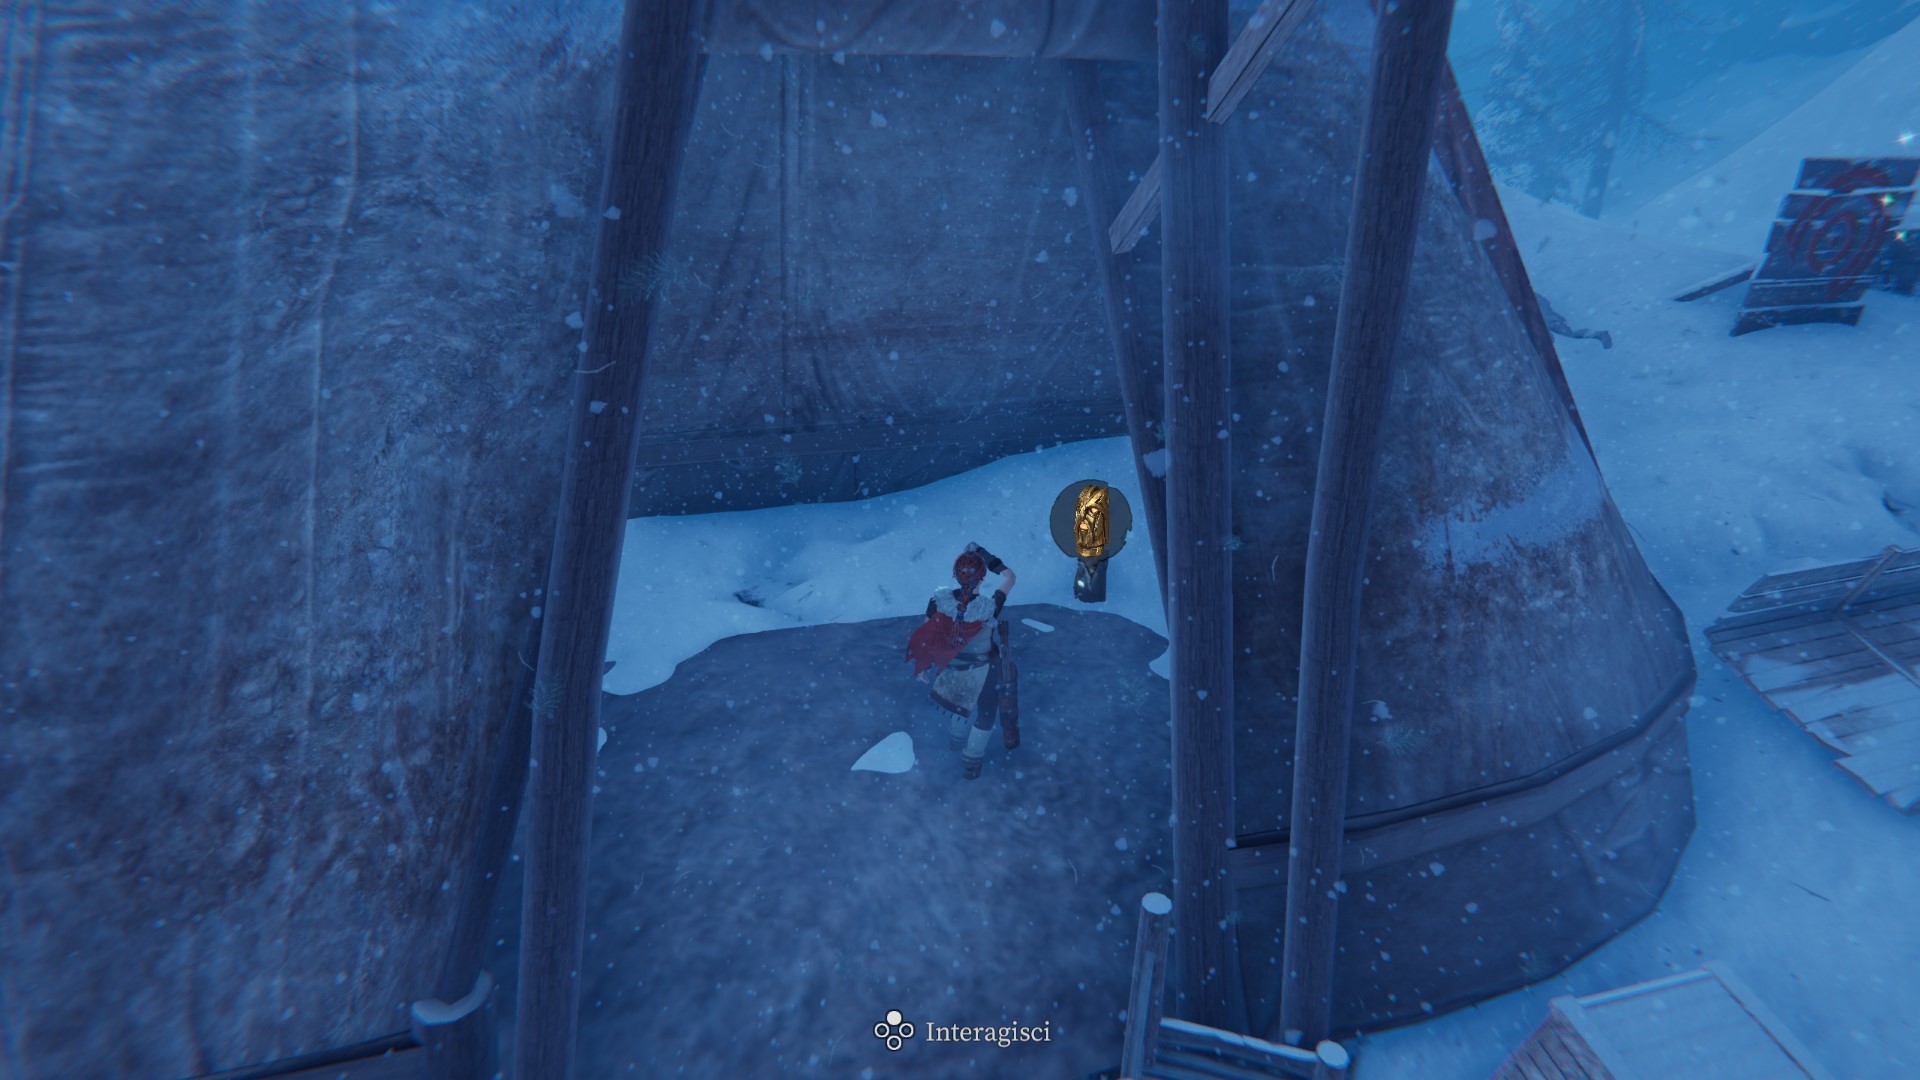
Totem17
Zone 17 — Inside the largest tent in the camp.
Totem18
Zone 39 — Inside the cave, bottom right from the entrance.

Totem19
Zone 28 — In the area to the left of the temple courtyard.
Totem20
Zone 27 — On a wooden platform hidden in the courtyard of the temple (reachable by using the grappling hook).

Totem21
Zone 35 — Behind a collapsed arch, by the champion’s arena.
Totem22
Zone 5 — Inside the cave, in a narrow passage to the left of the (western) entrance.
Totem23
Zone 64 — On a mountain peak.
Totem24
Zone 74 — On wooden platforms in the lake near the mountain.
Totem25
Zone 51 — In a clearing on the mountainside, to the right of the altar.

Totem26
Zone 72 — On a mountain peak.
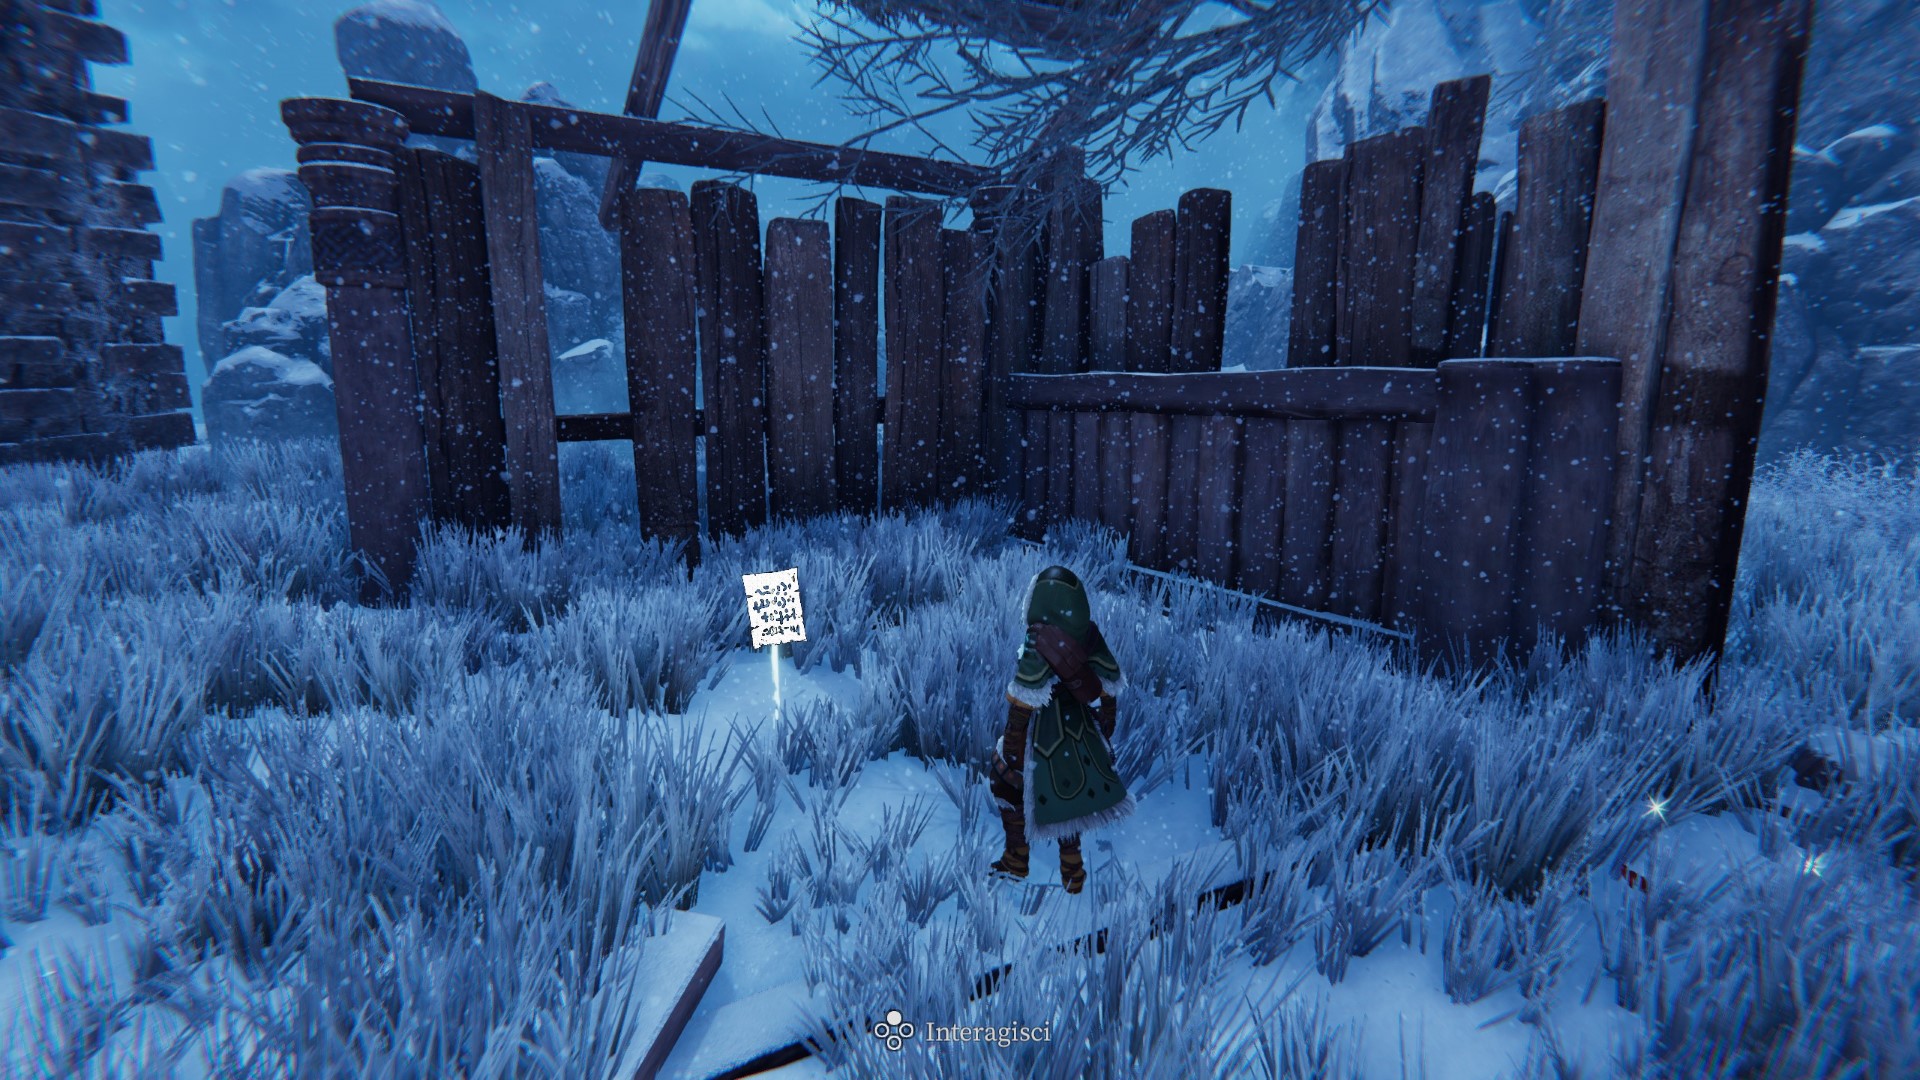
Totem27
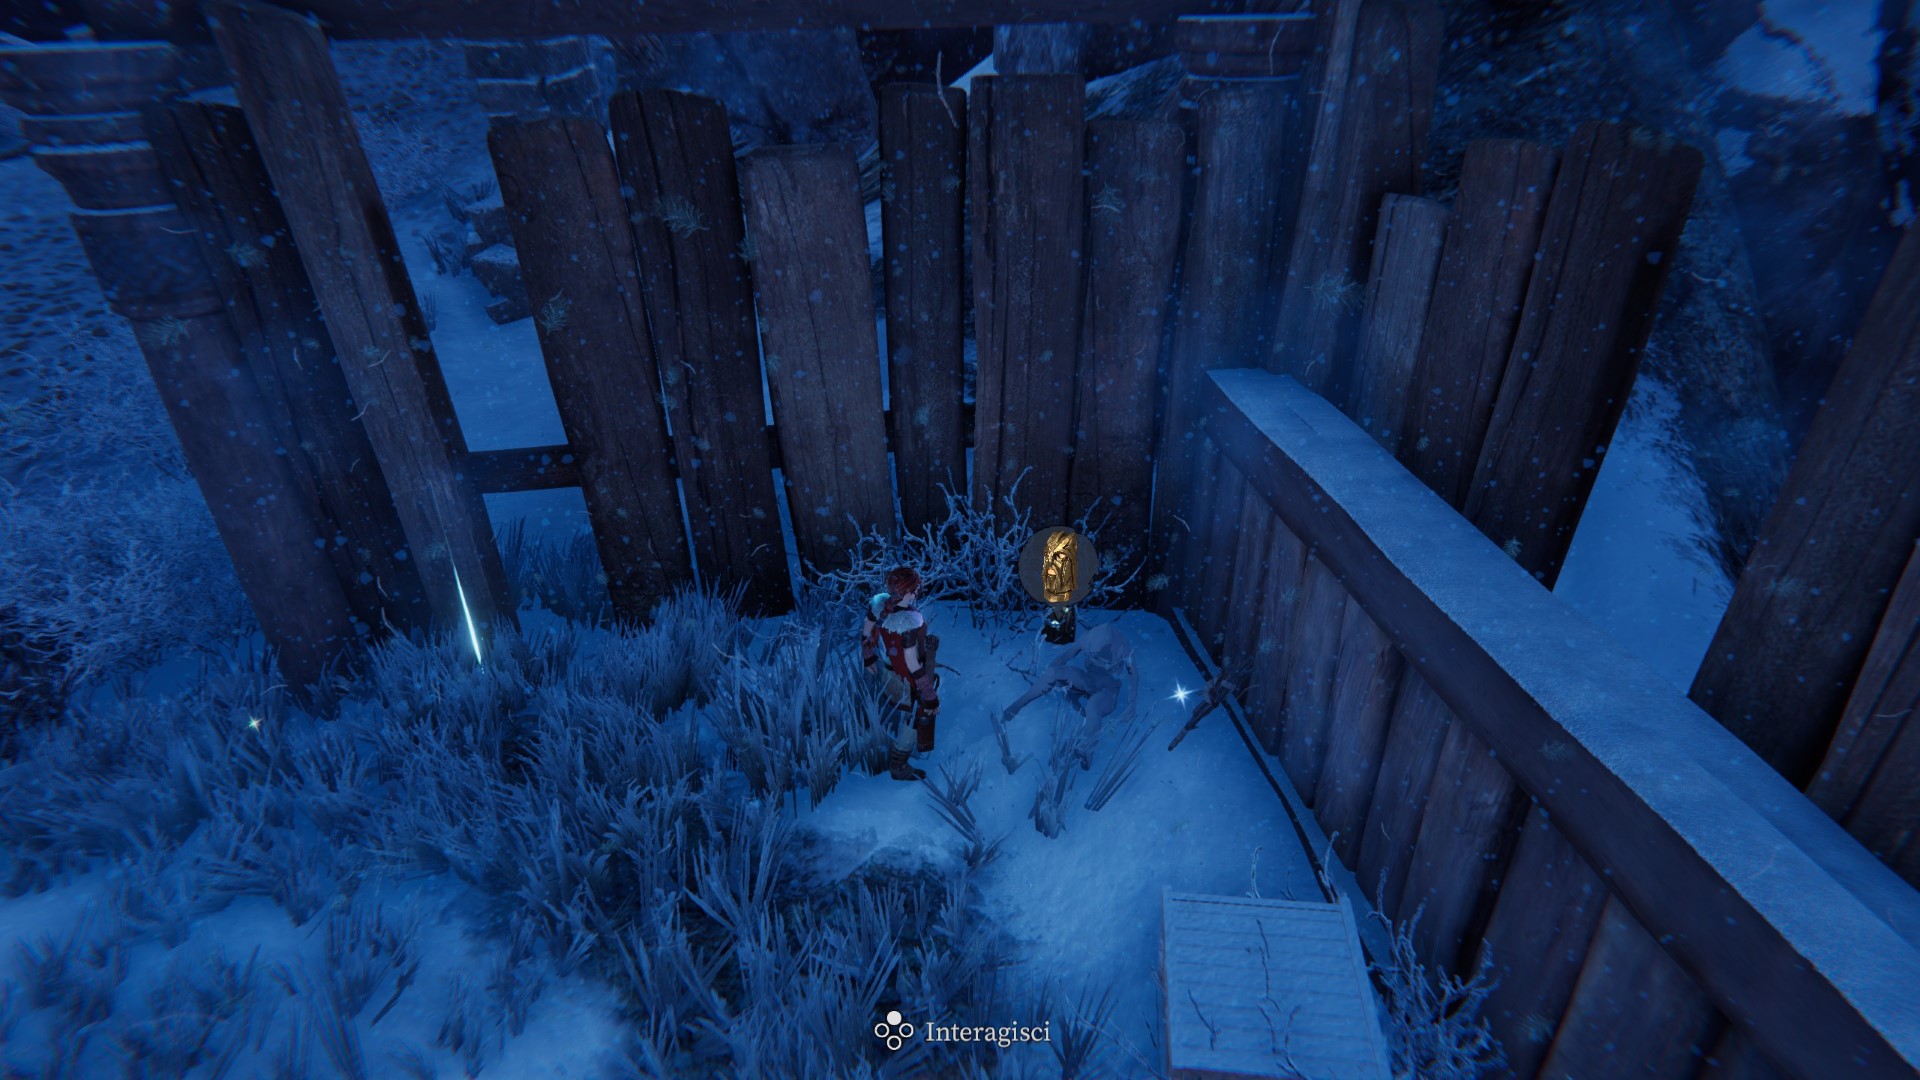
Zone 31 — In the corner between two wooden walls.
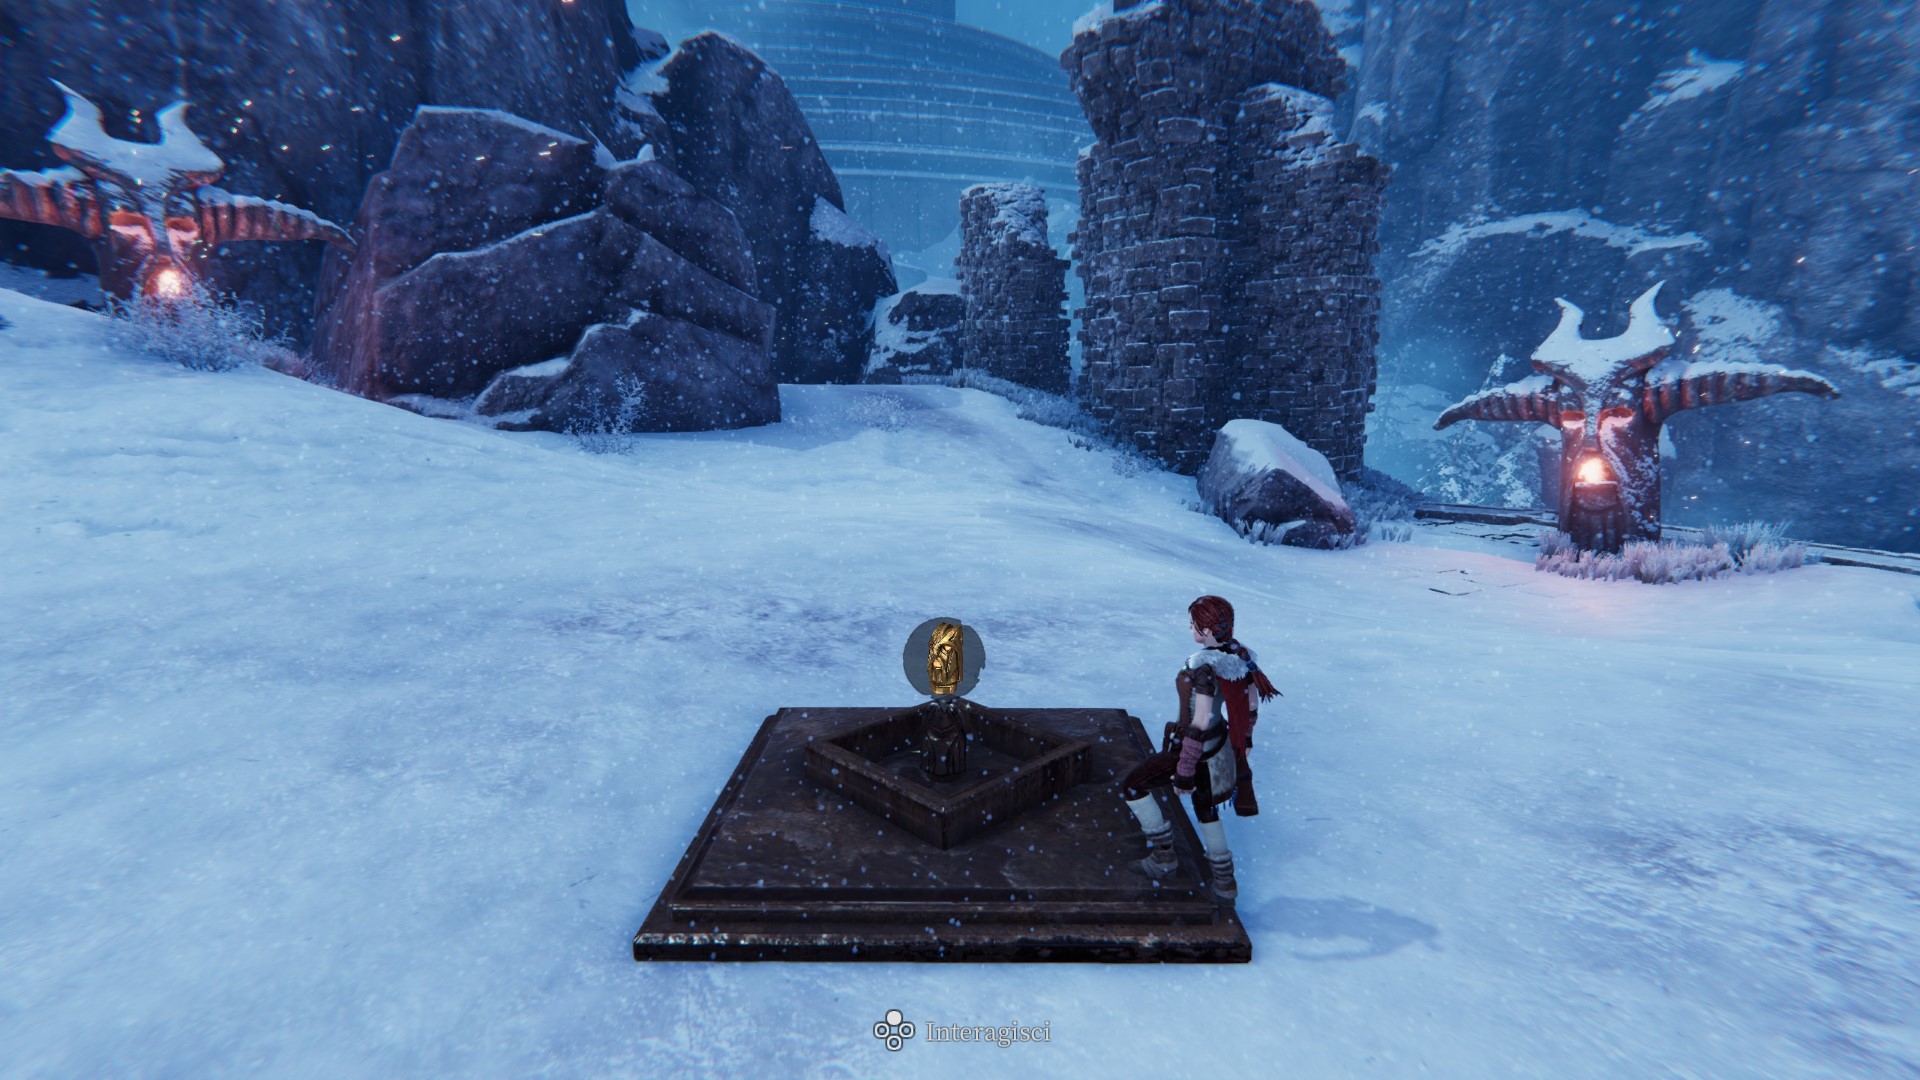
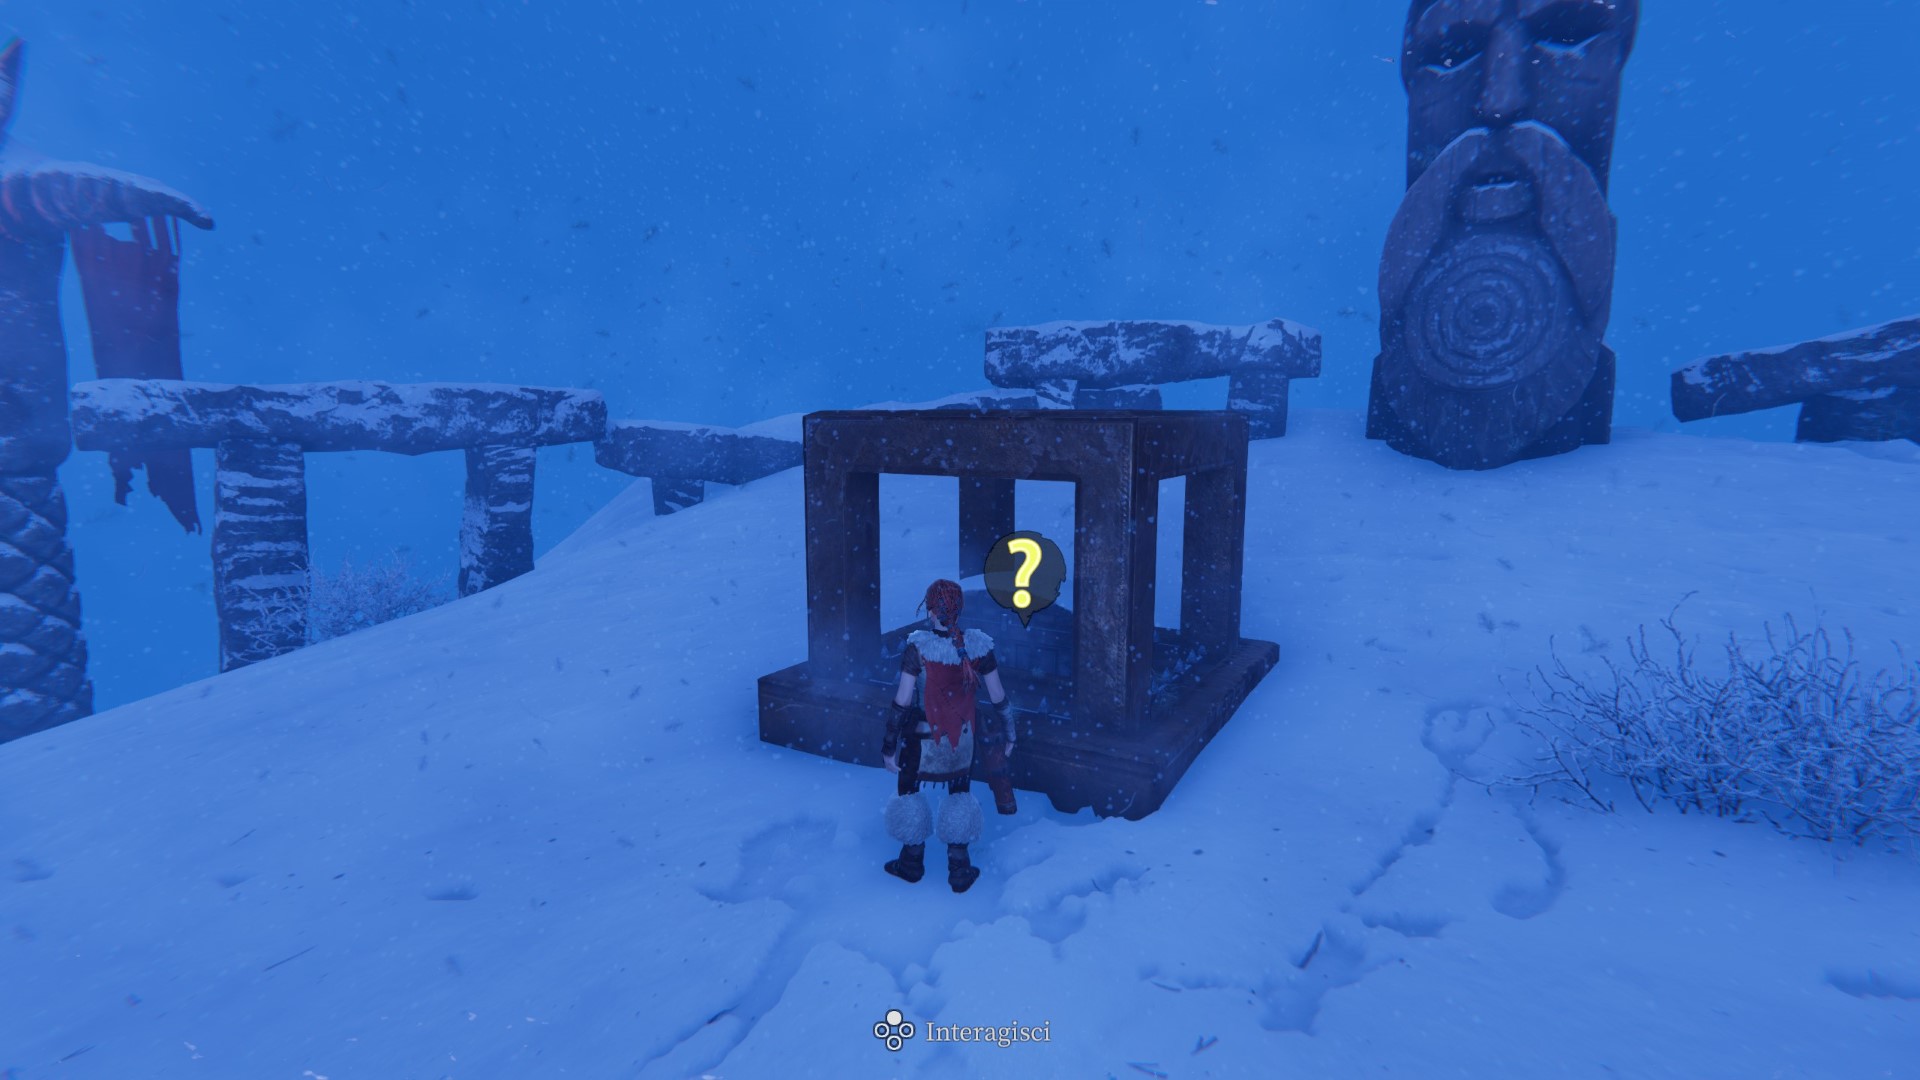
Totem28
Zone 33 — By lighting the mouths of the big totem around.
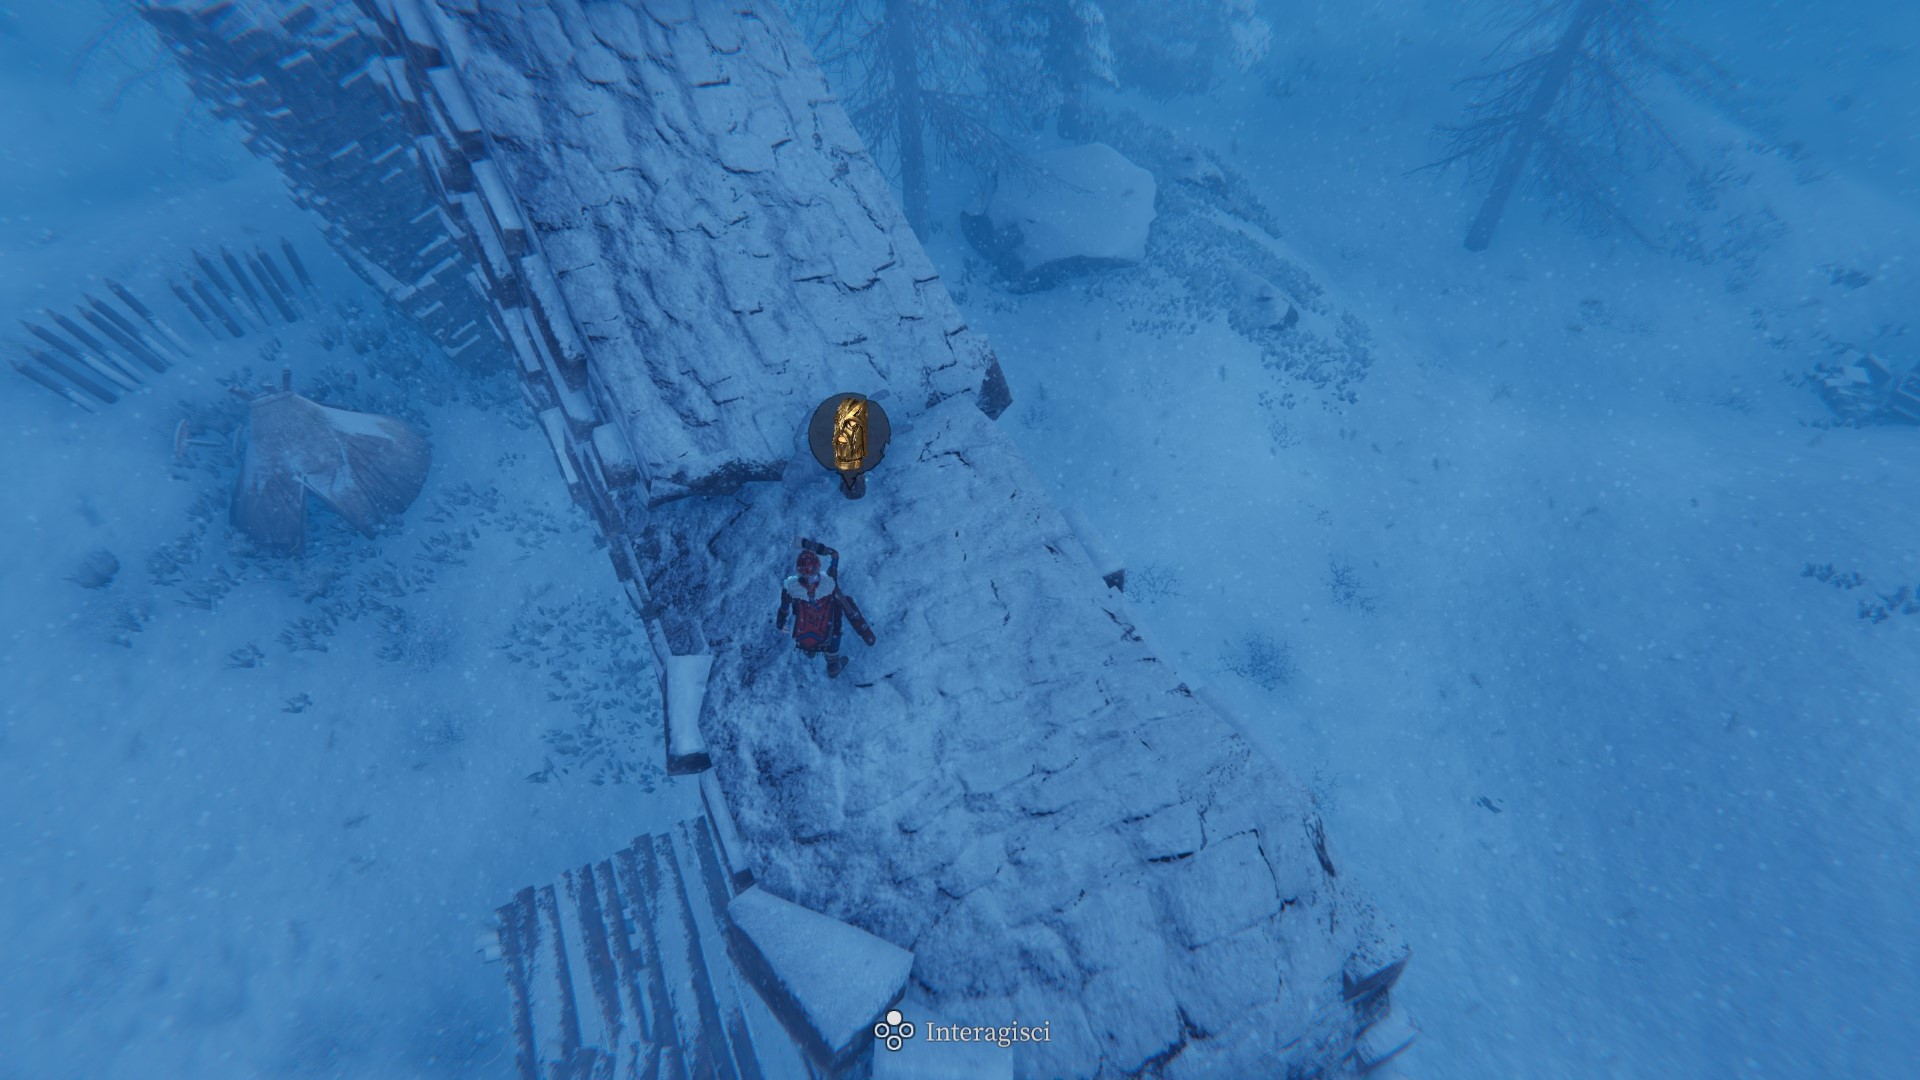
Totem29
Zone 76 — At the top of the architectural structure.
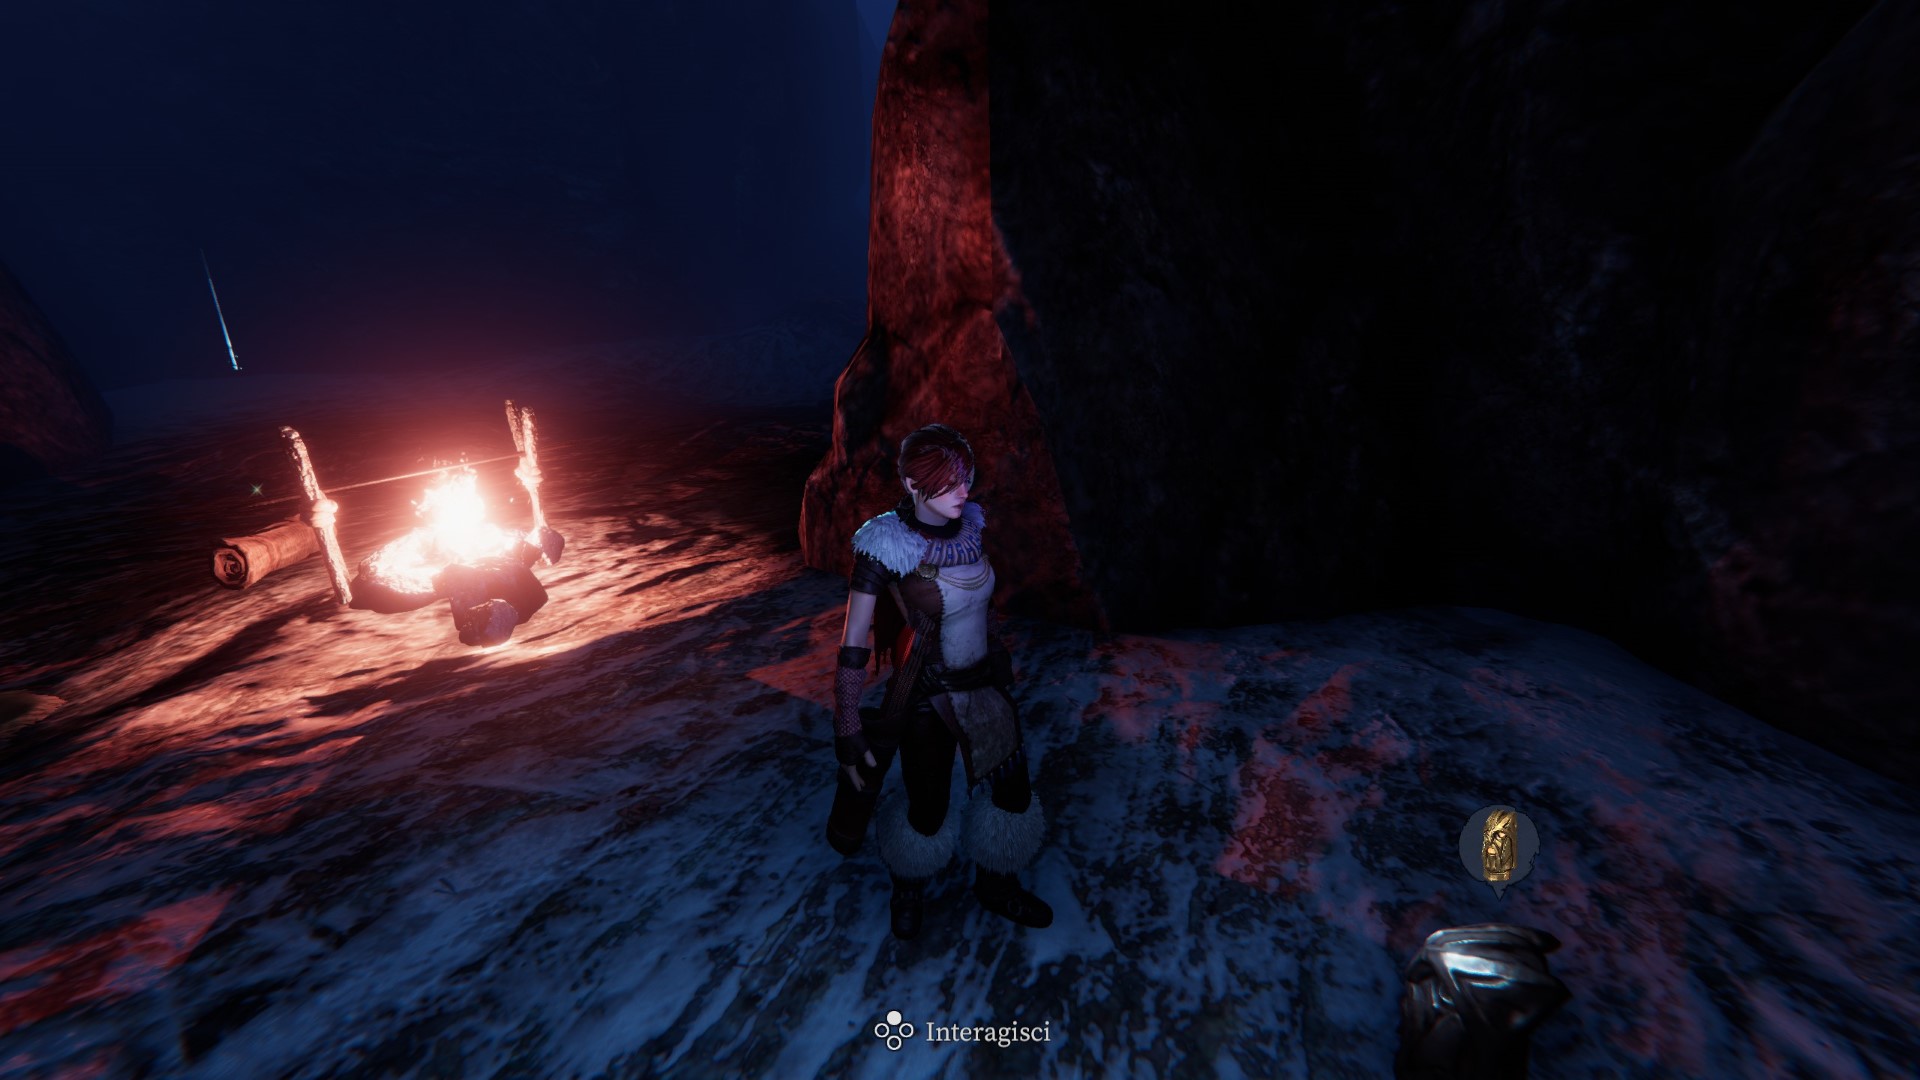
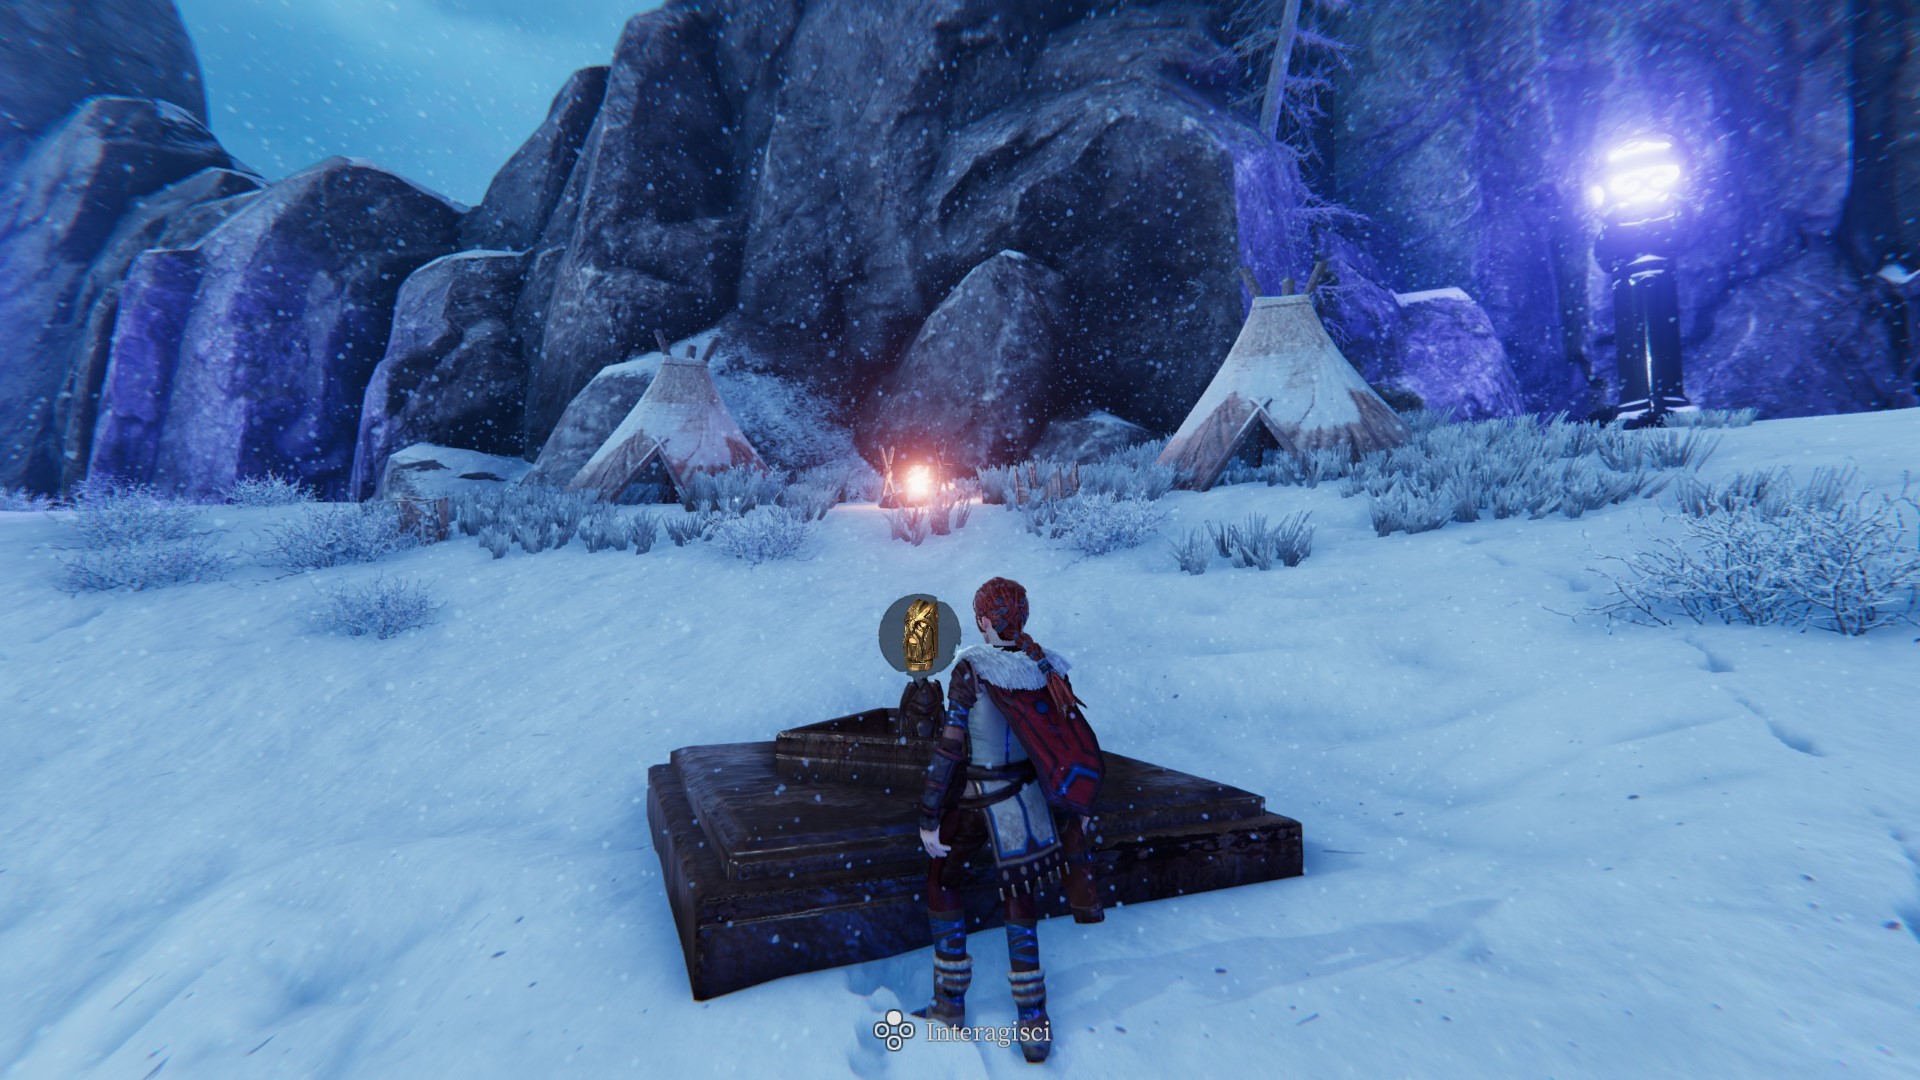
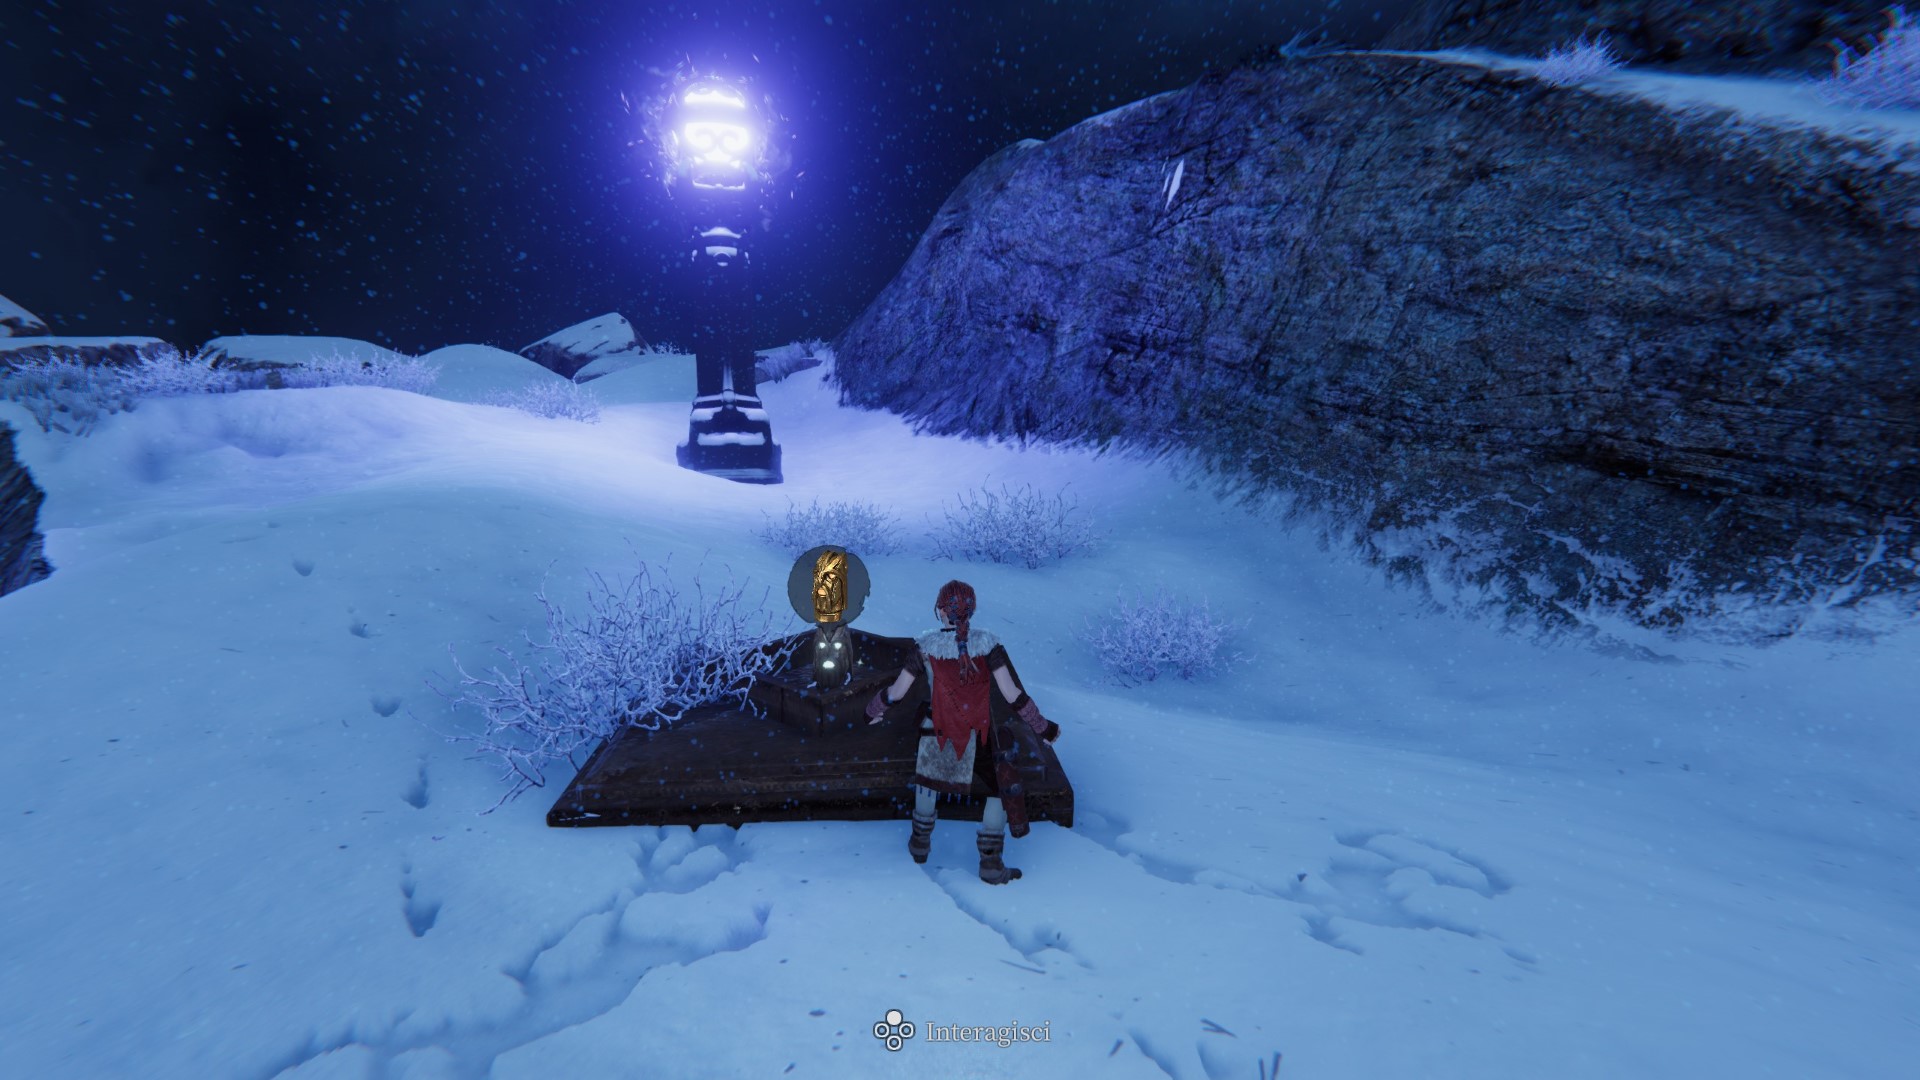
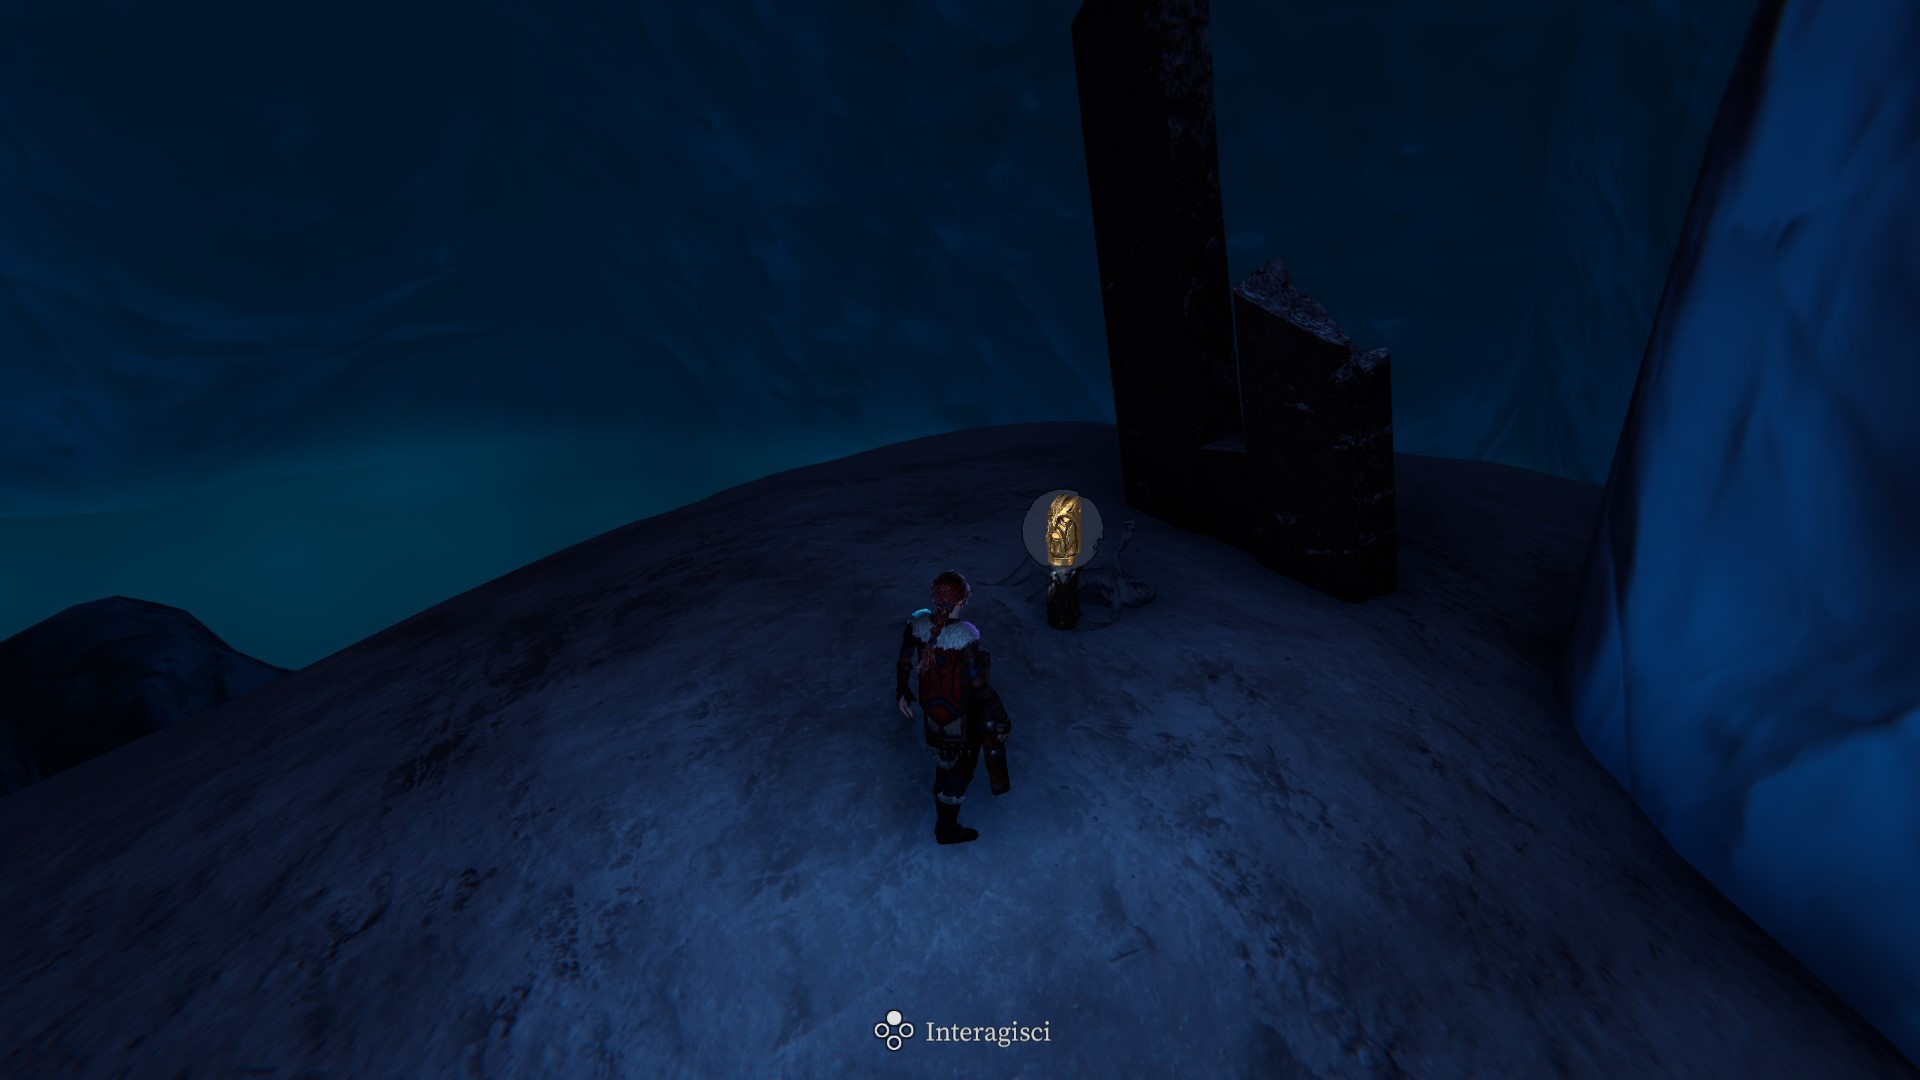
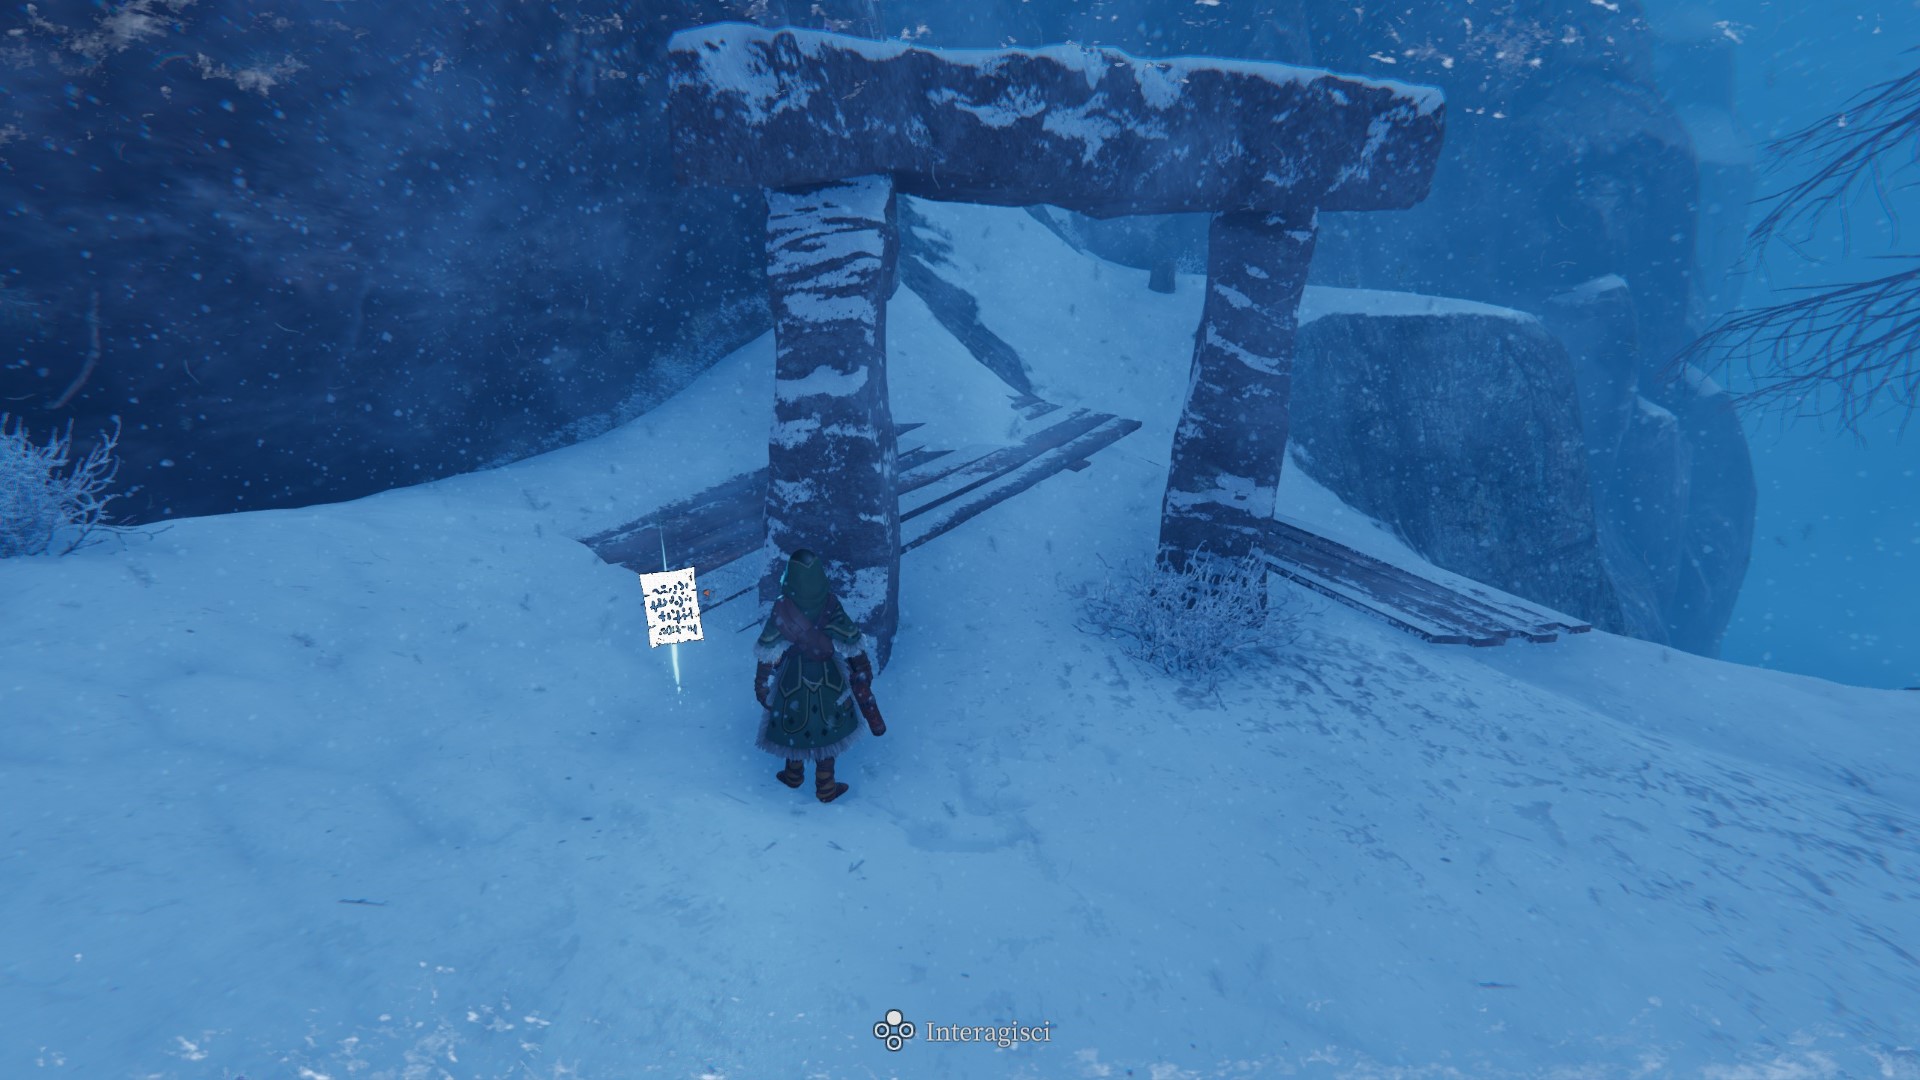
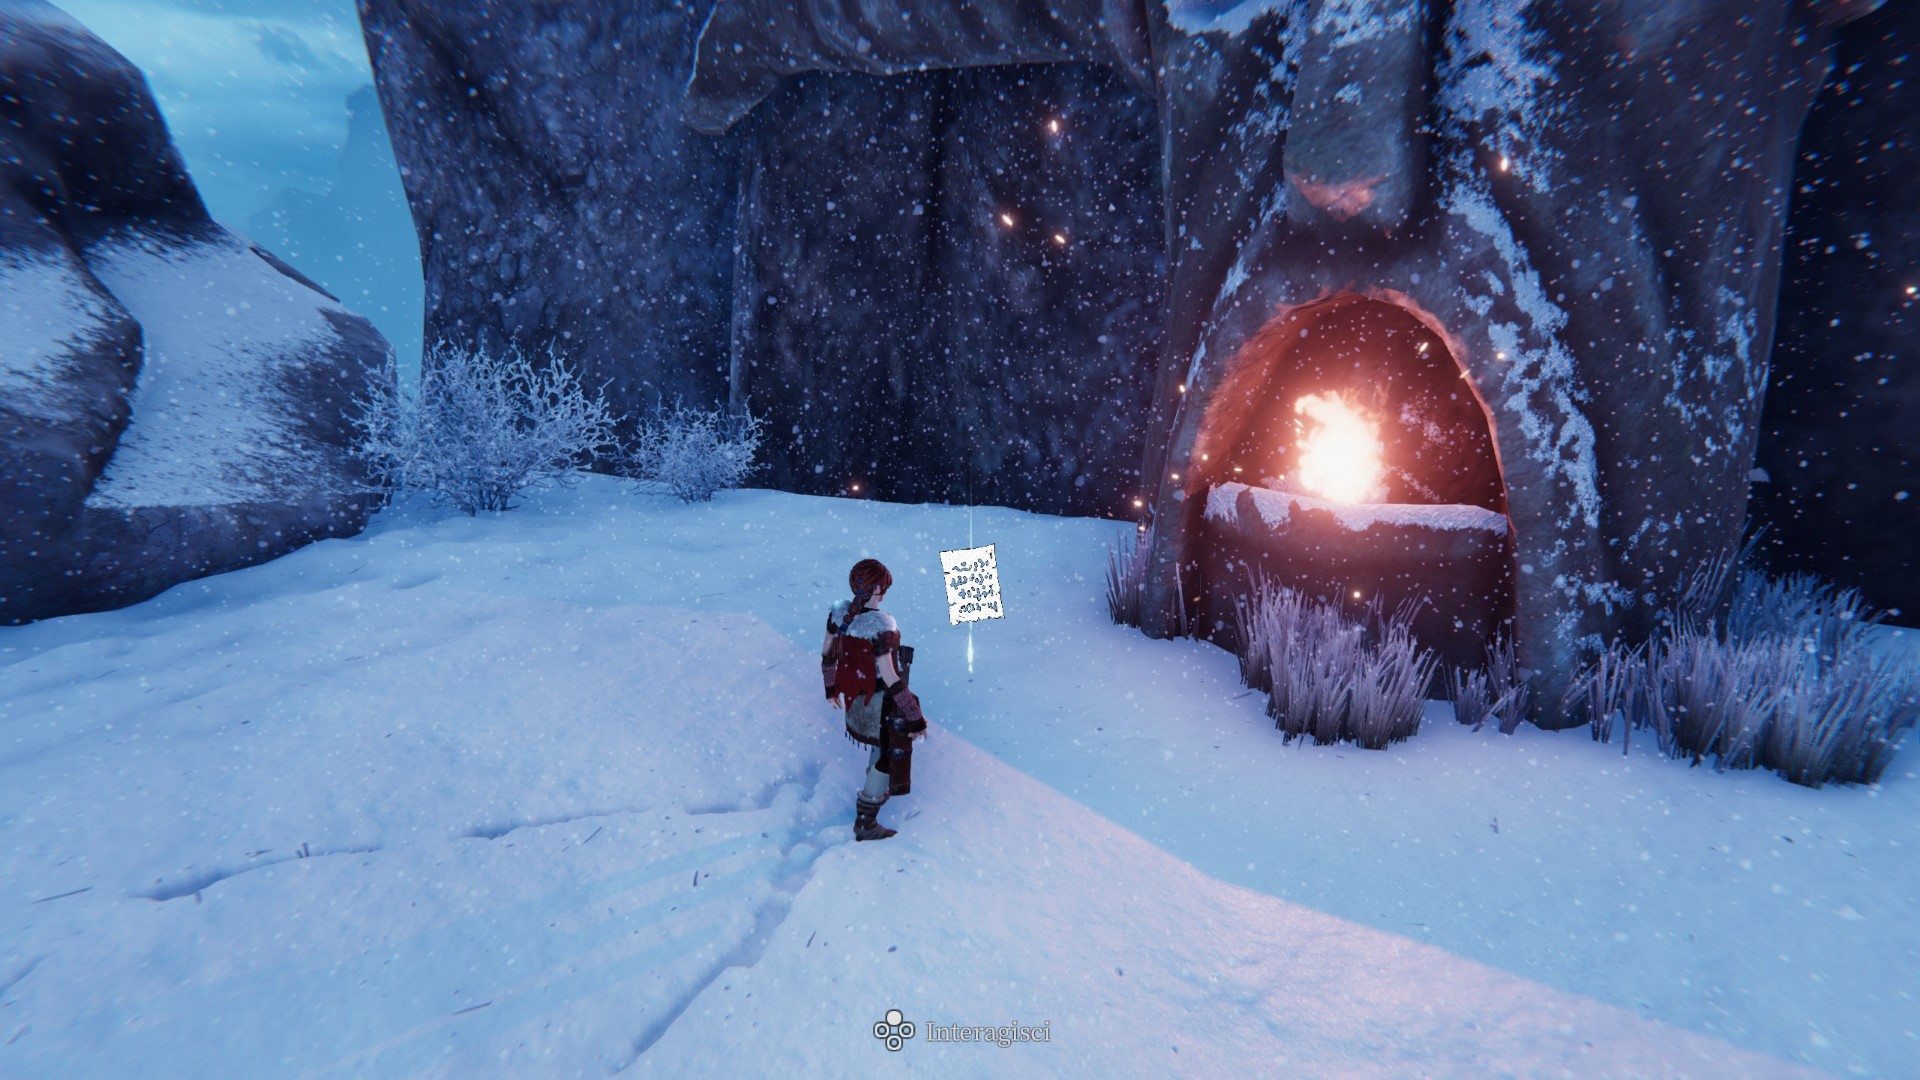
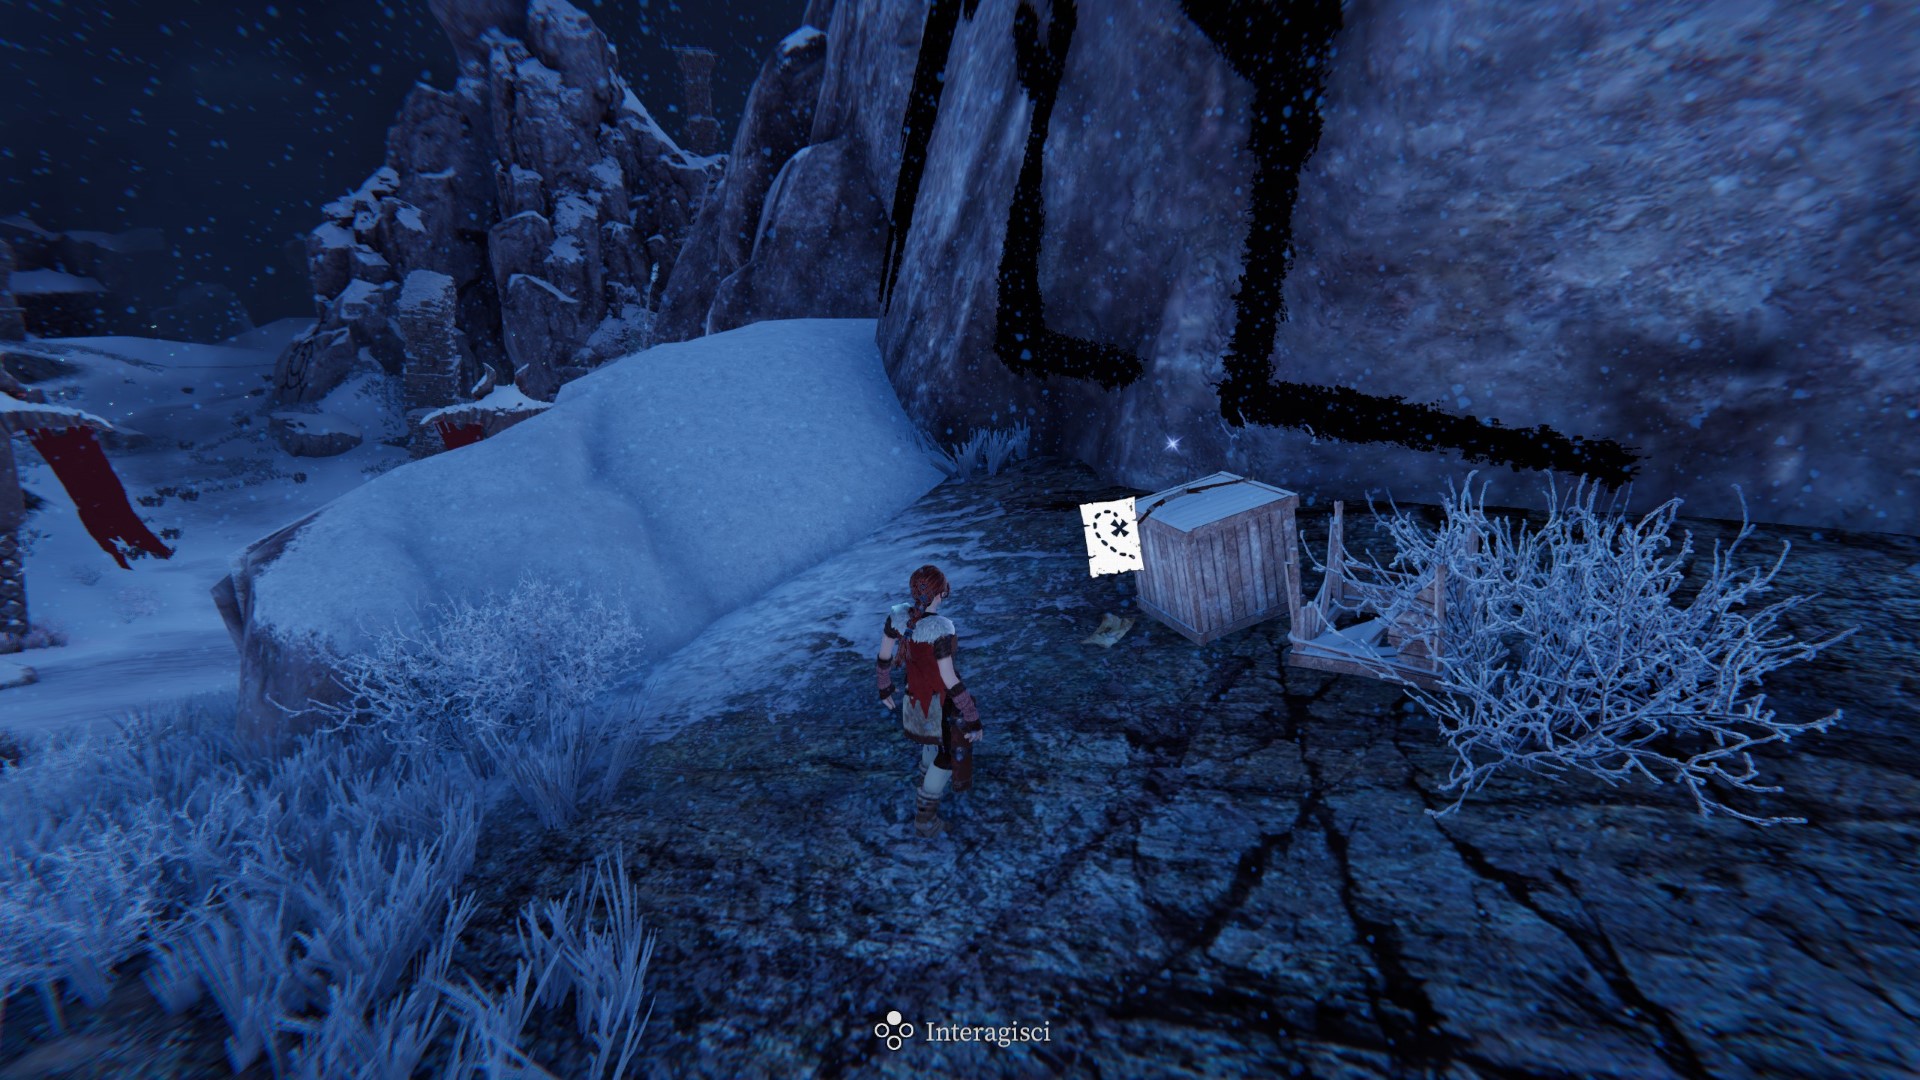
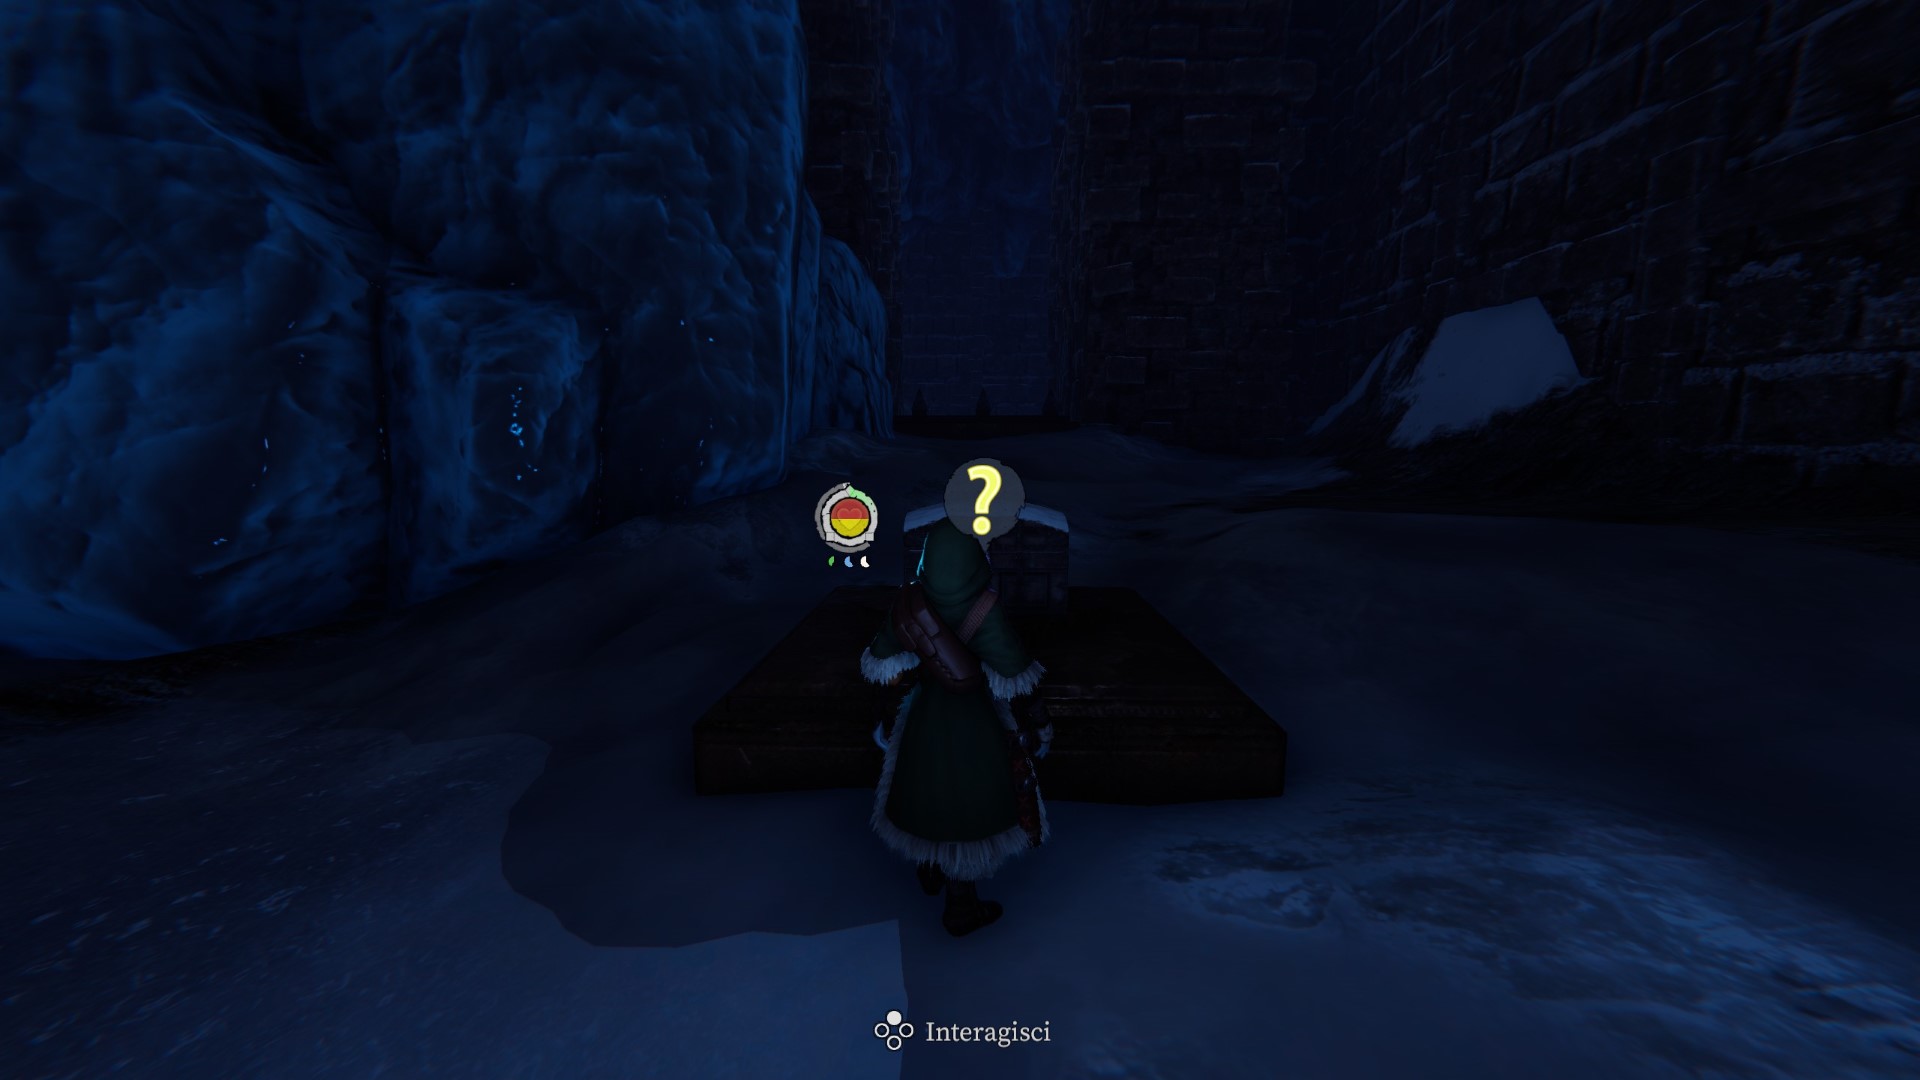
Totem30
Zone 8 — On the little beach.
(easter egg included in the image)
Totem31
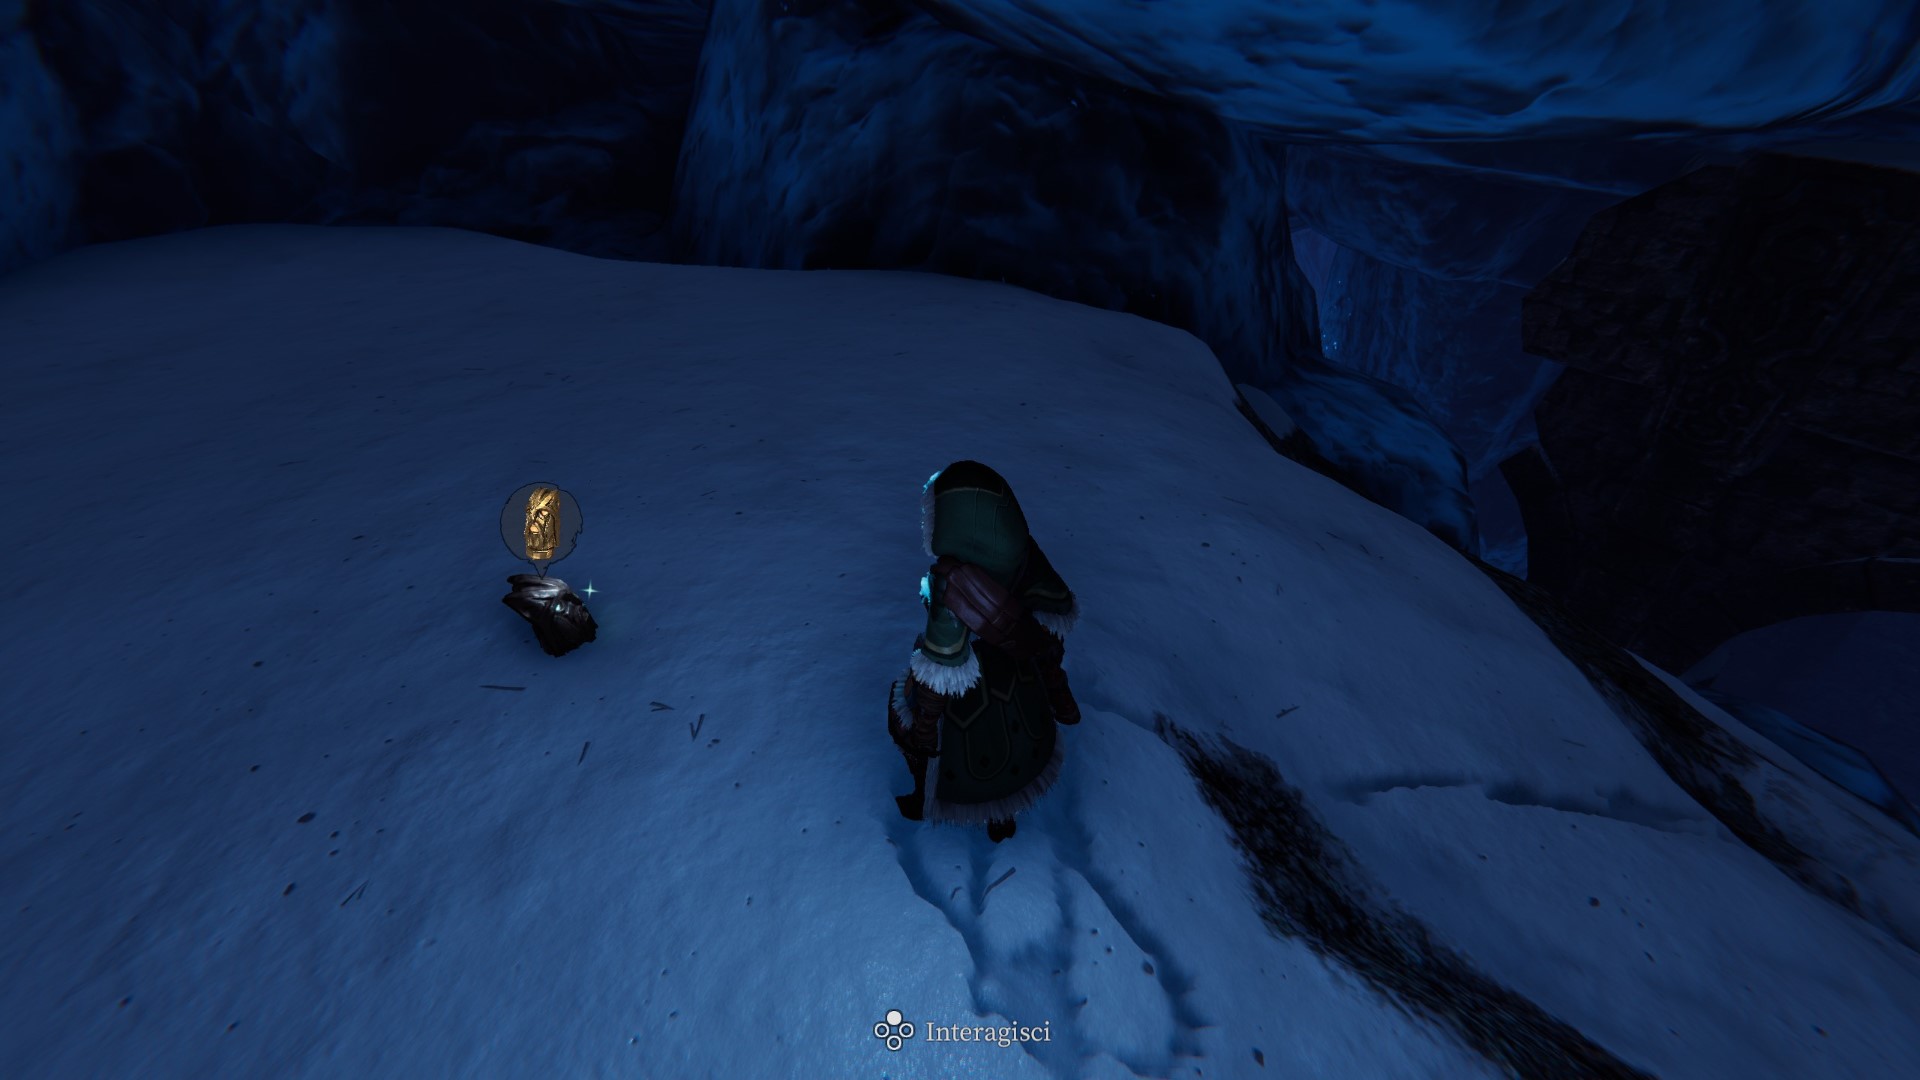
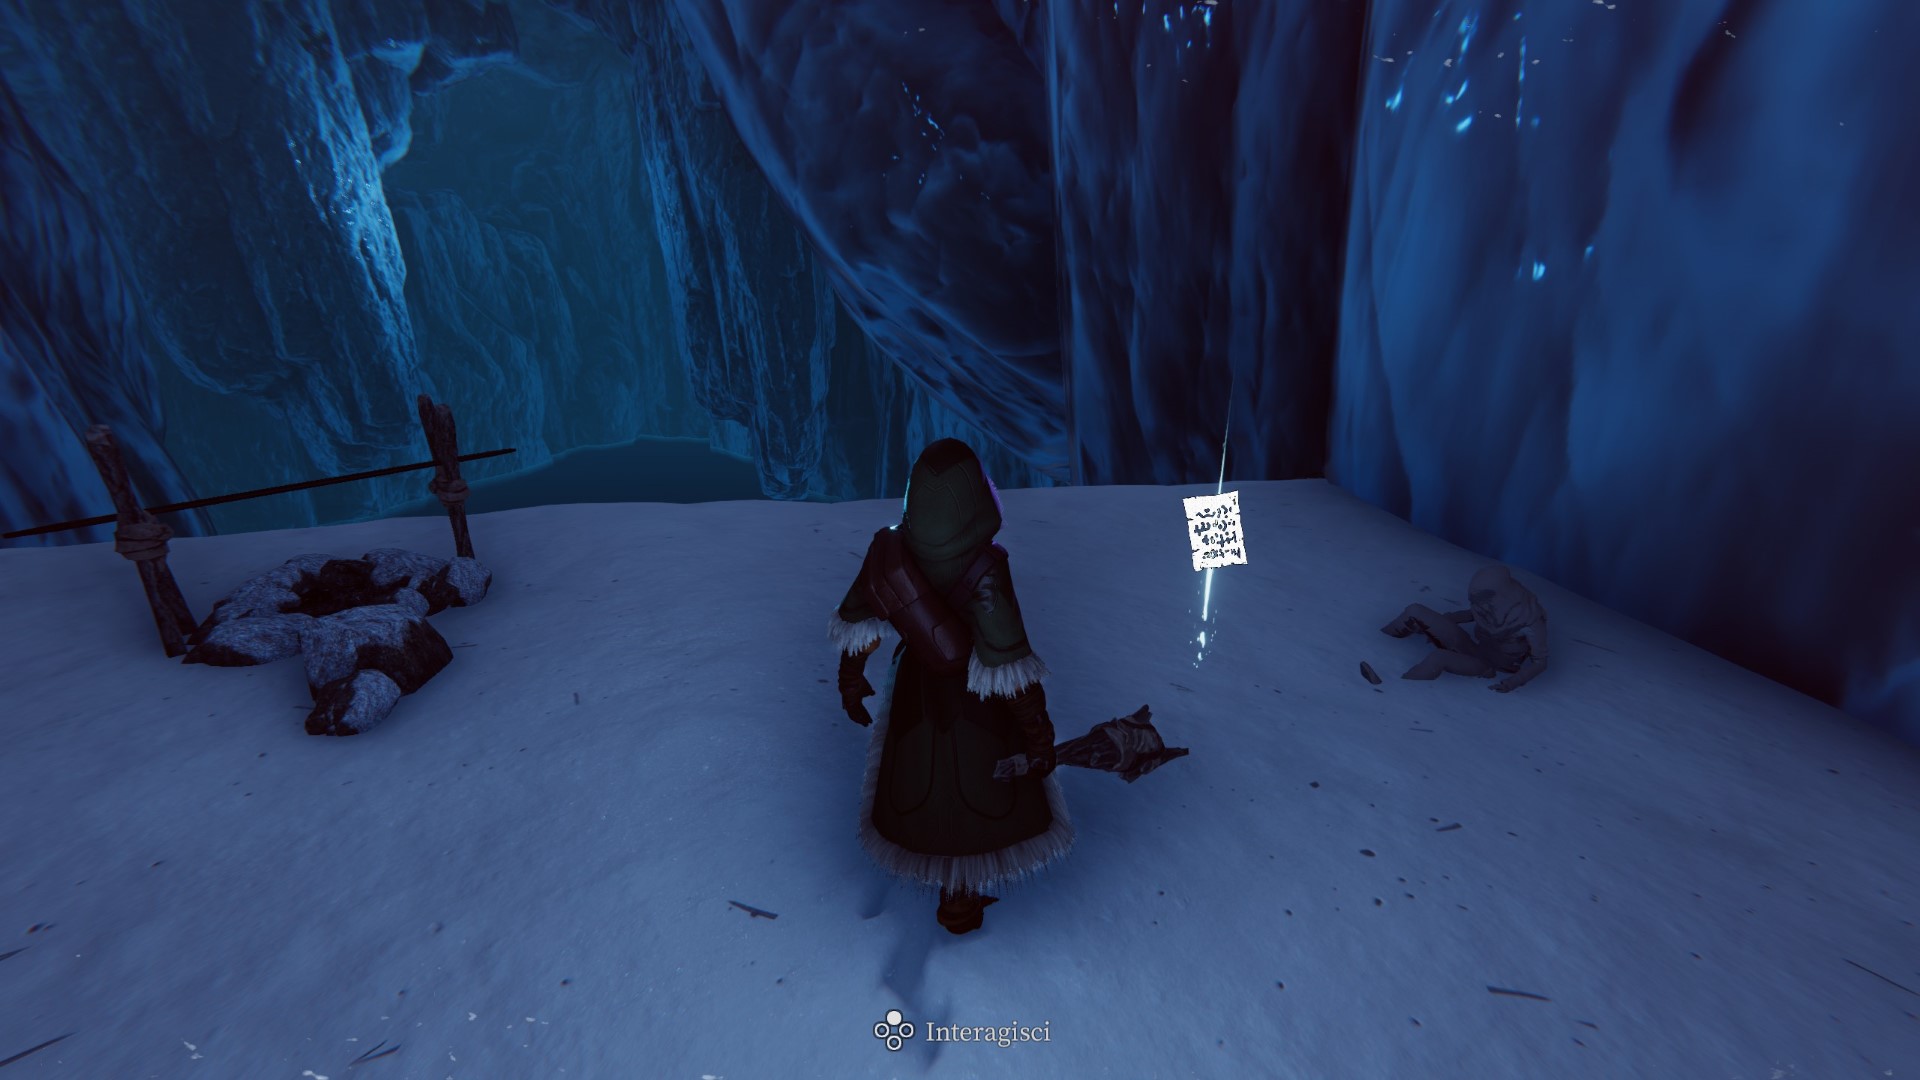
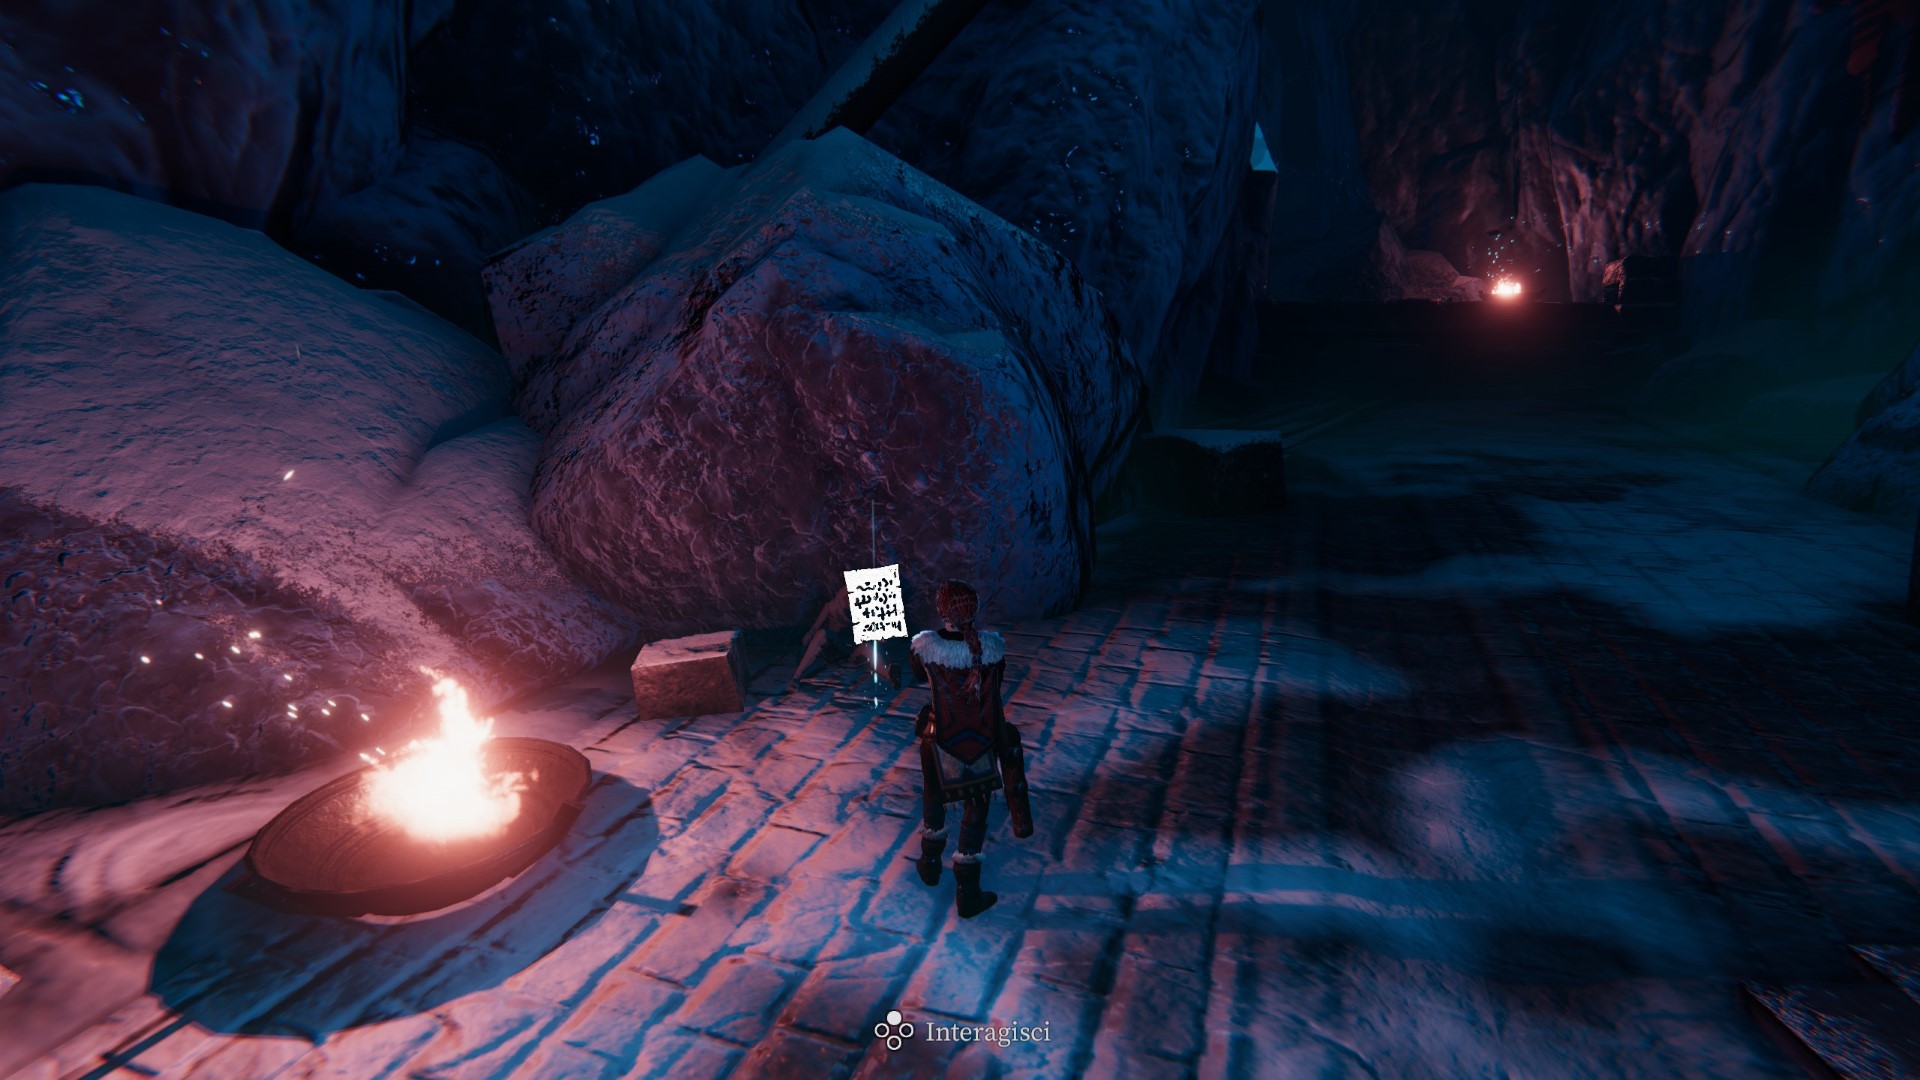
Zone 43 — Inside the cave, near the bonfire.
Totem32
Zone 42 — By dropping some boar meat (medium meat) on each pedestal.
Totem33
Zone 14 — By dropping some deer meet (large meat) on each pedestal.
Totem34
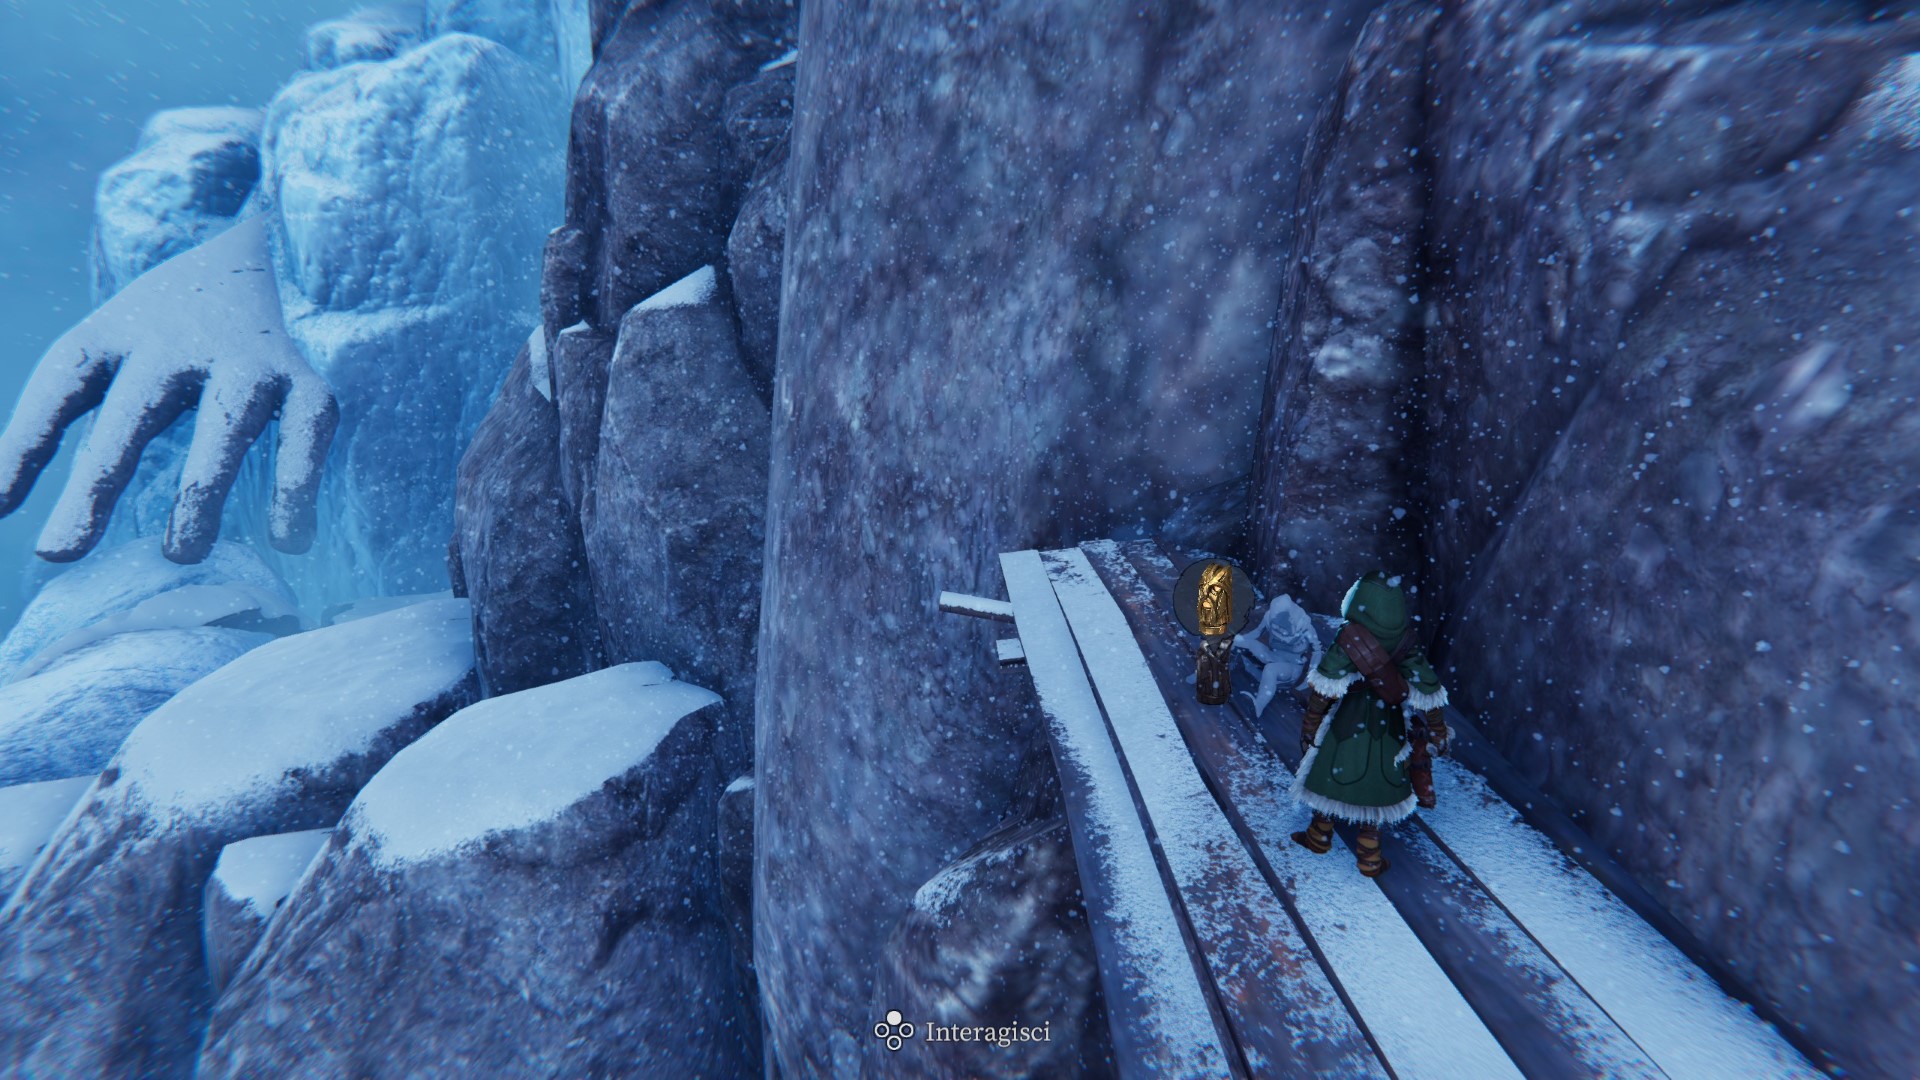
Zone 53 — At the top of the small tower.
Totem35
Zone 42 — Behind the fingers of the giant hand.
Totem36
Zone 37 — By dropping some deer meat (large meat) on each pedestal.
Totem37
Zone 29 — Near a gate, inside the temple.
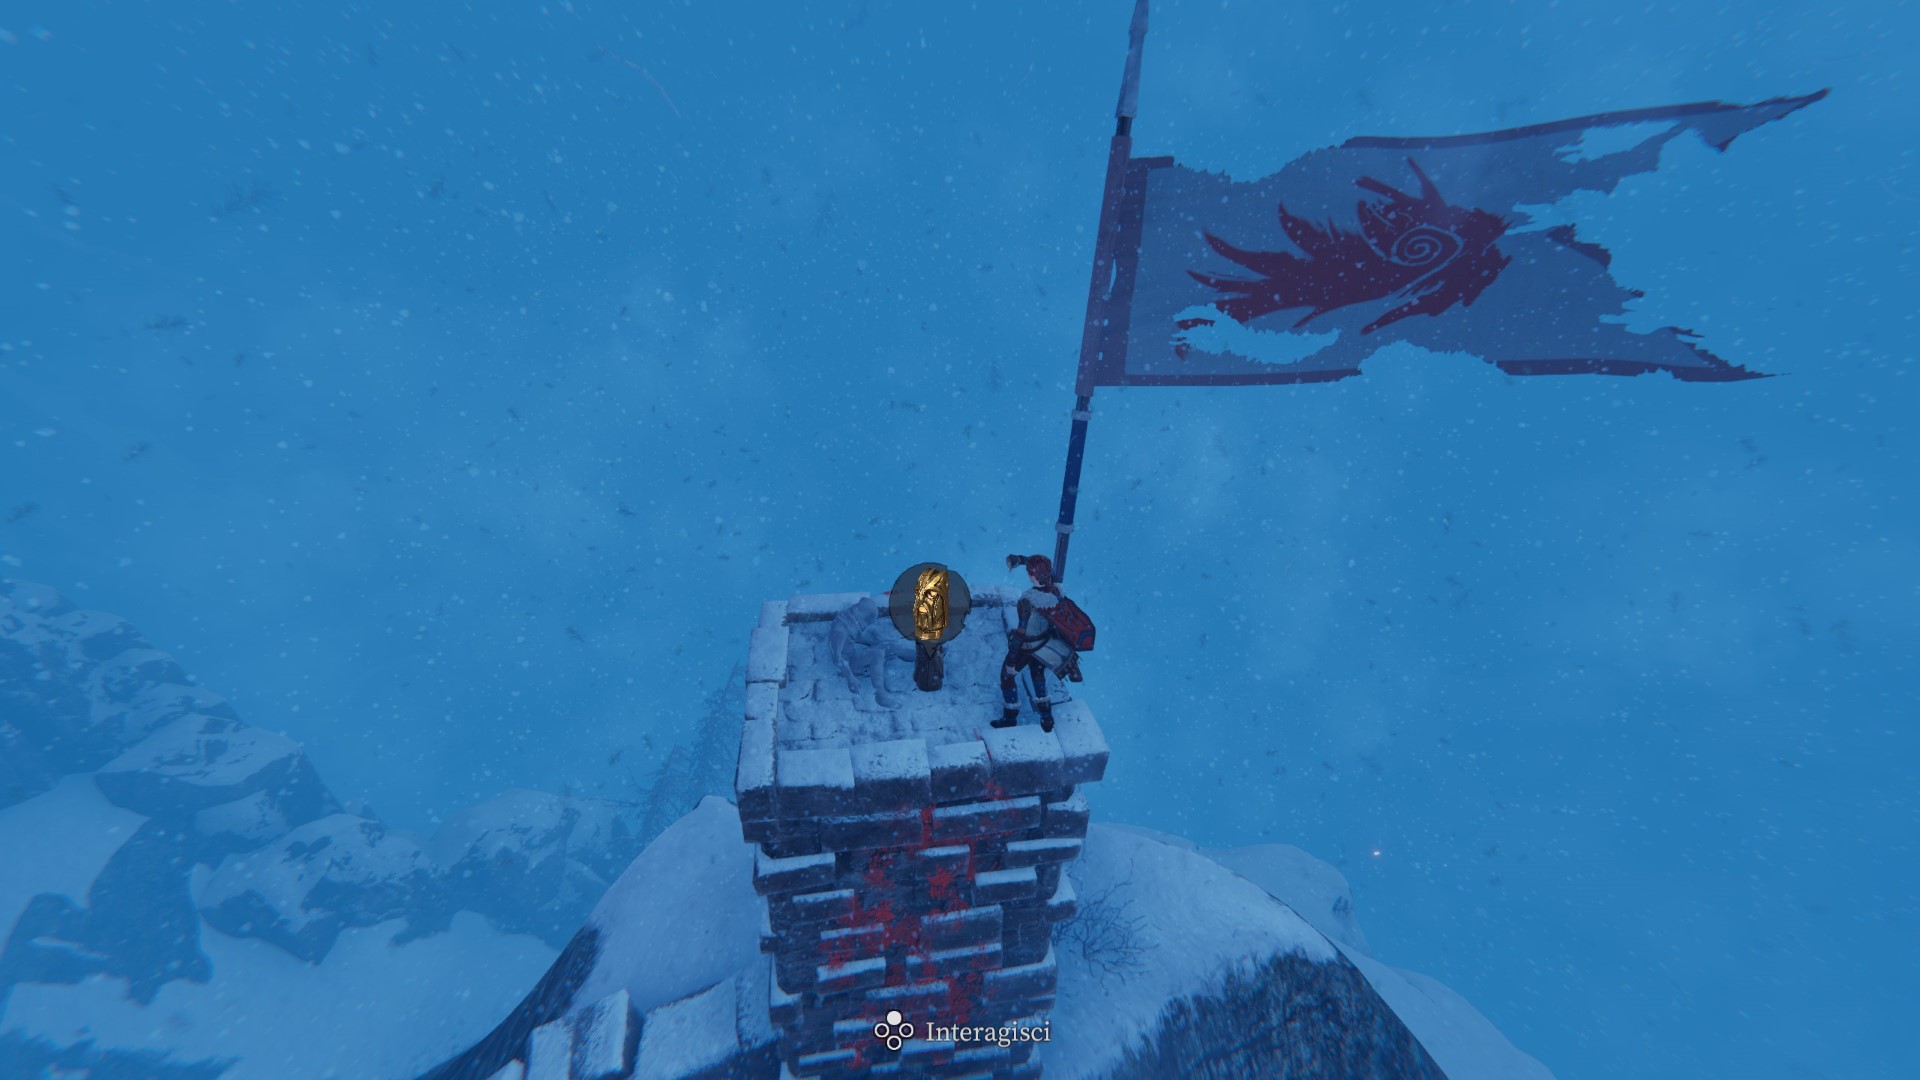
Totem38
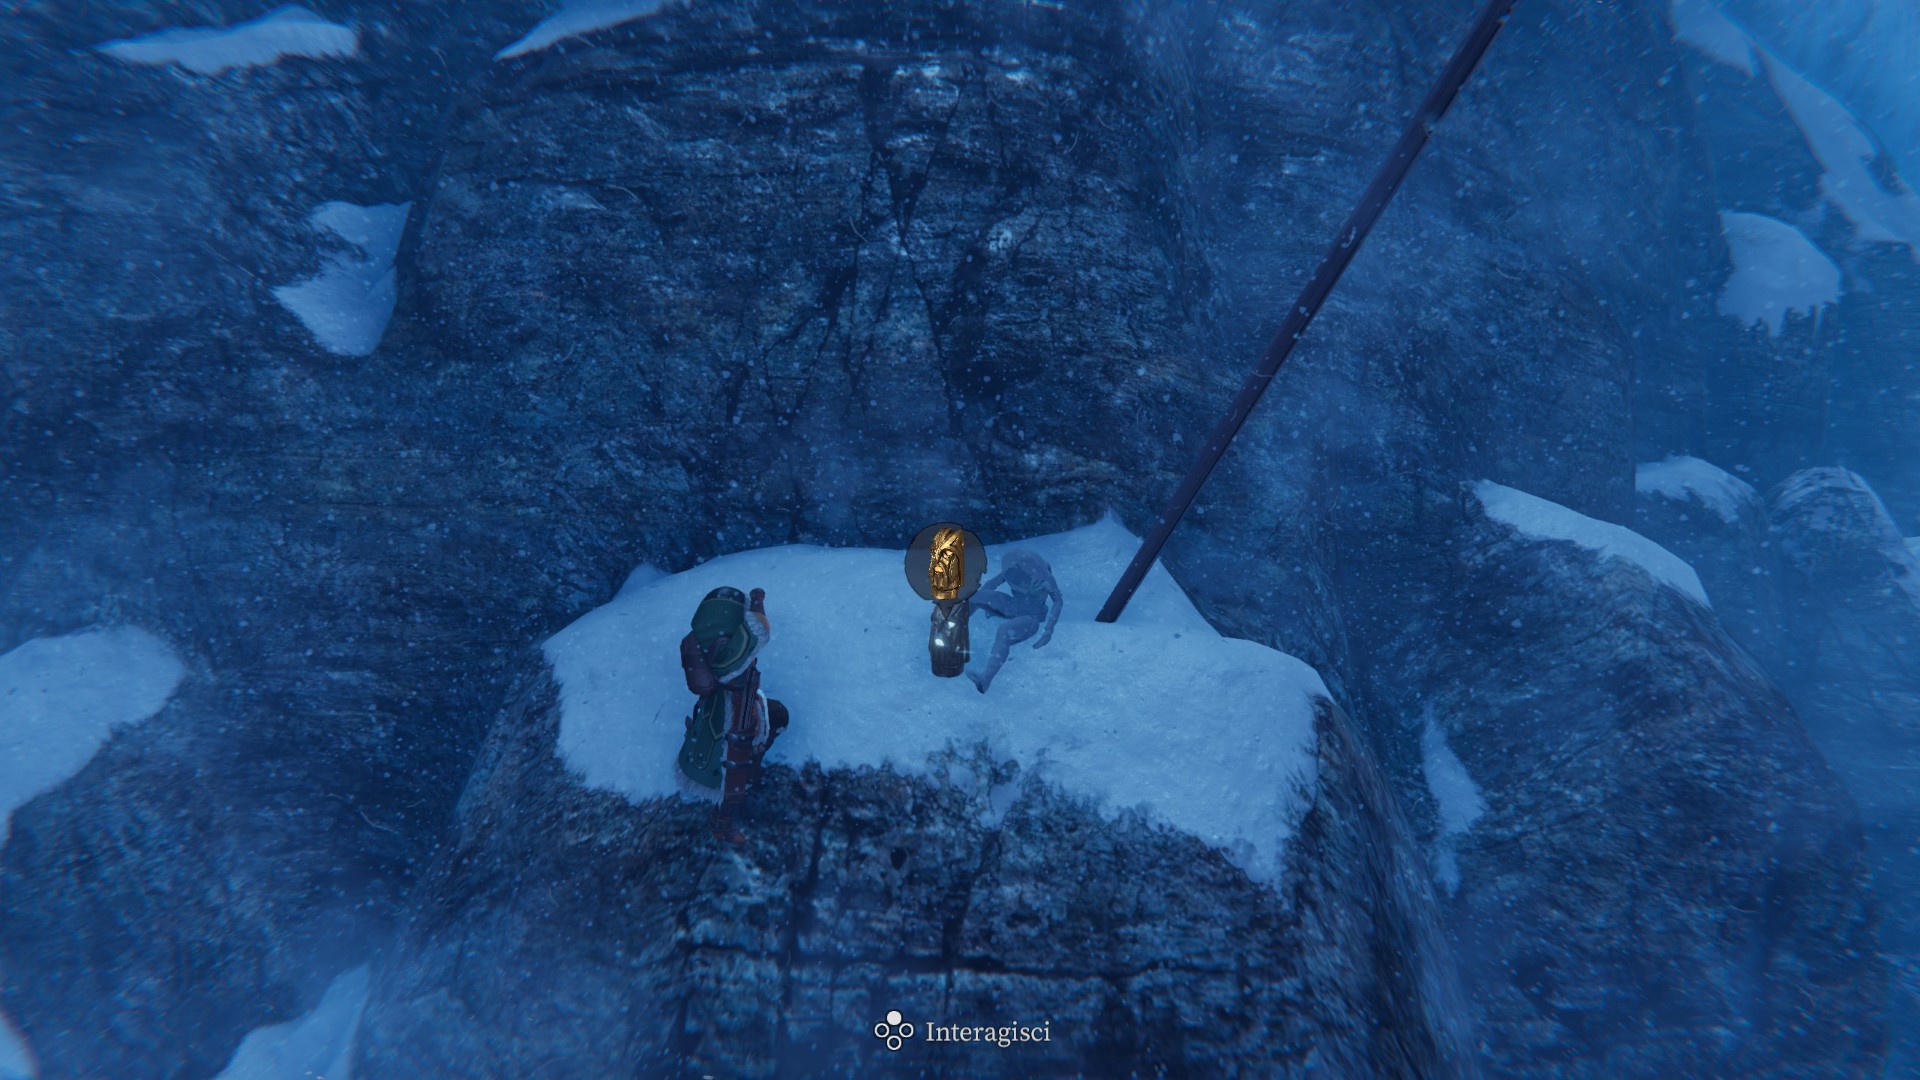
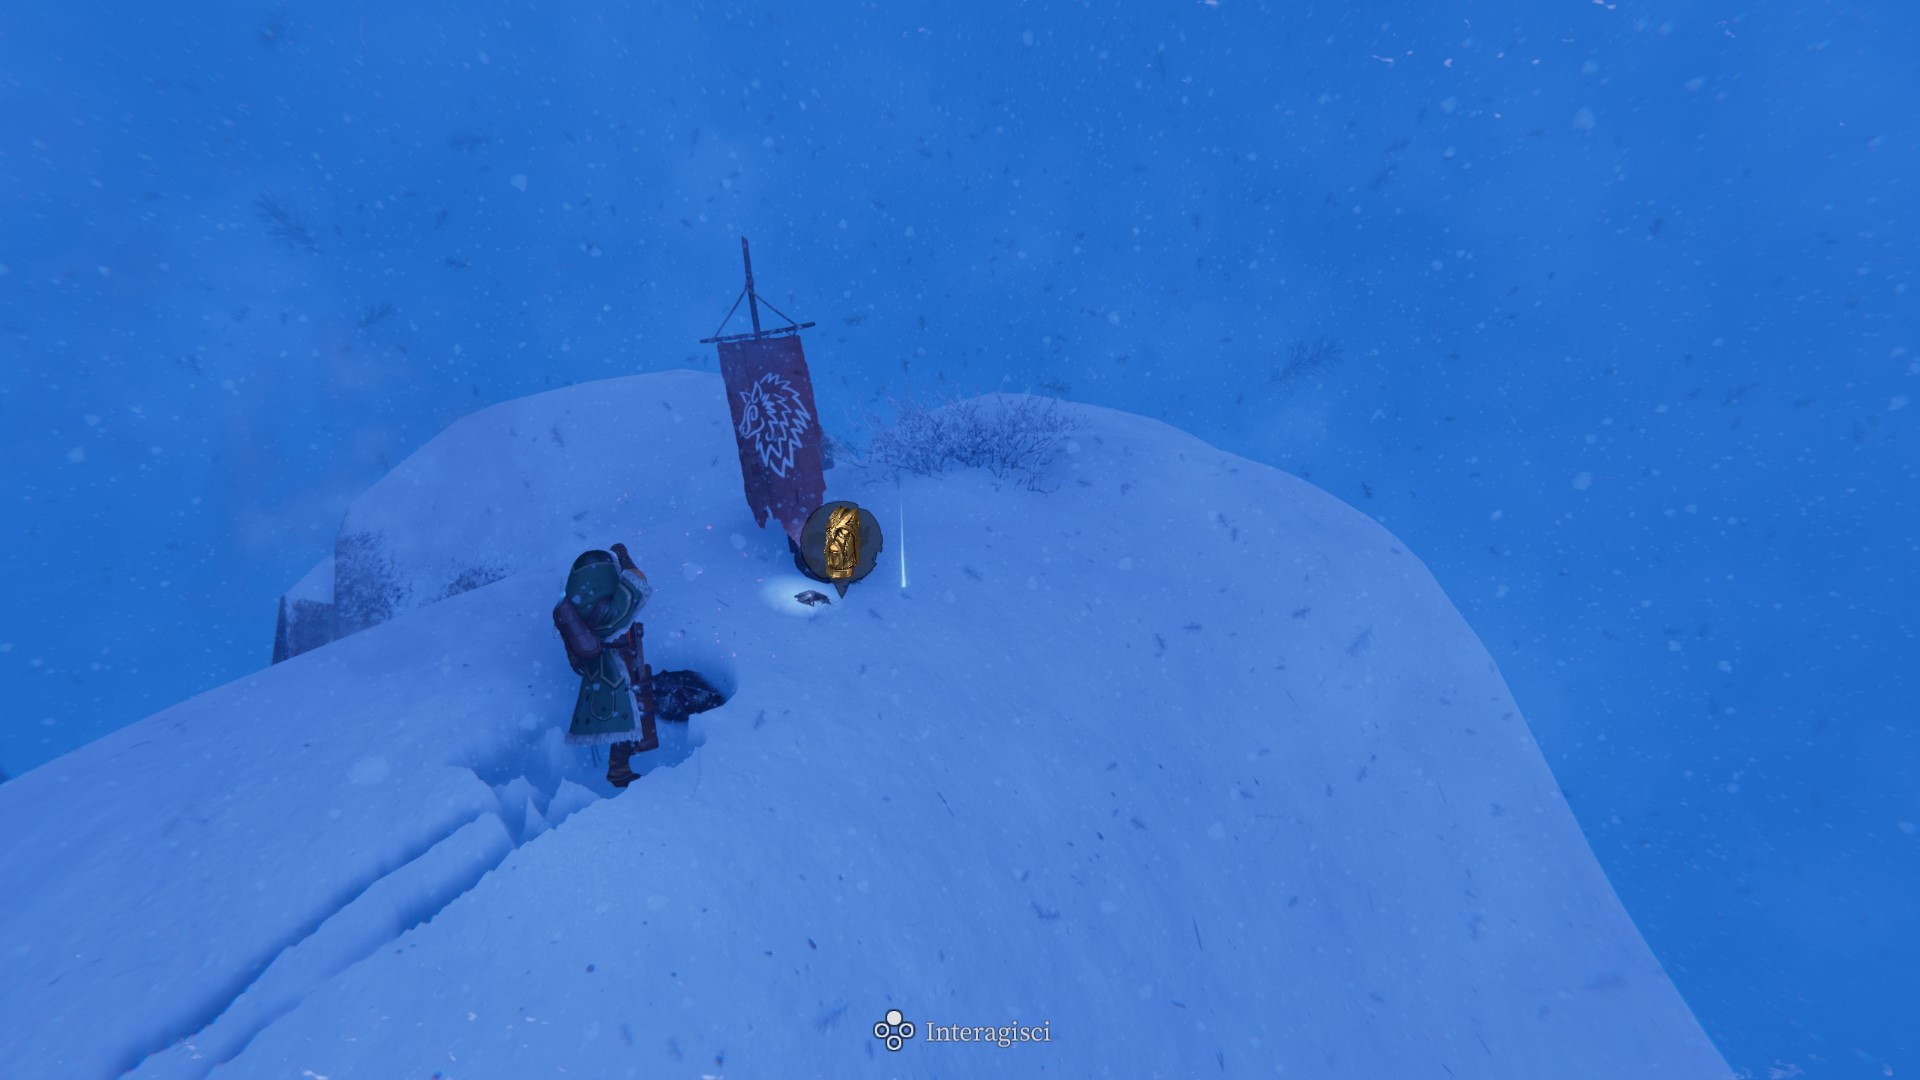
Zone 1 — At the top of the tower.
Totem39
Zone 18 — By lighting the mouths of the big totems around.
Totem40
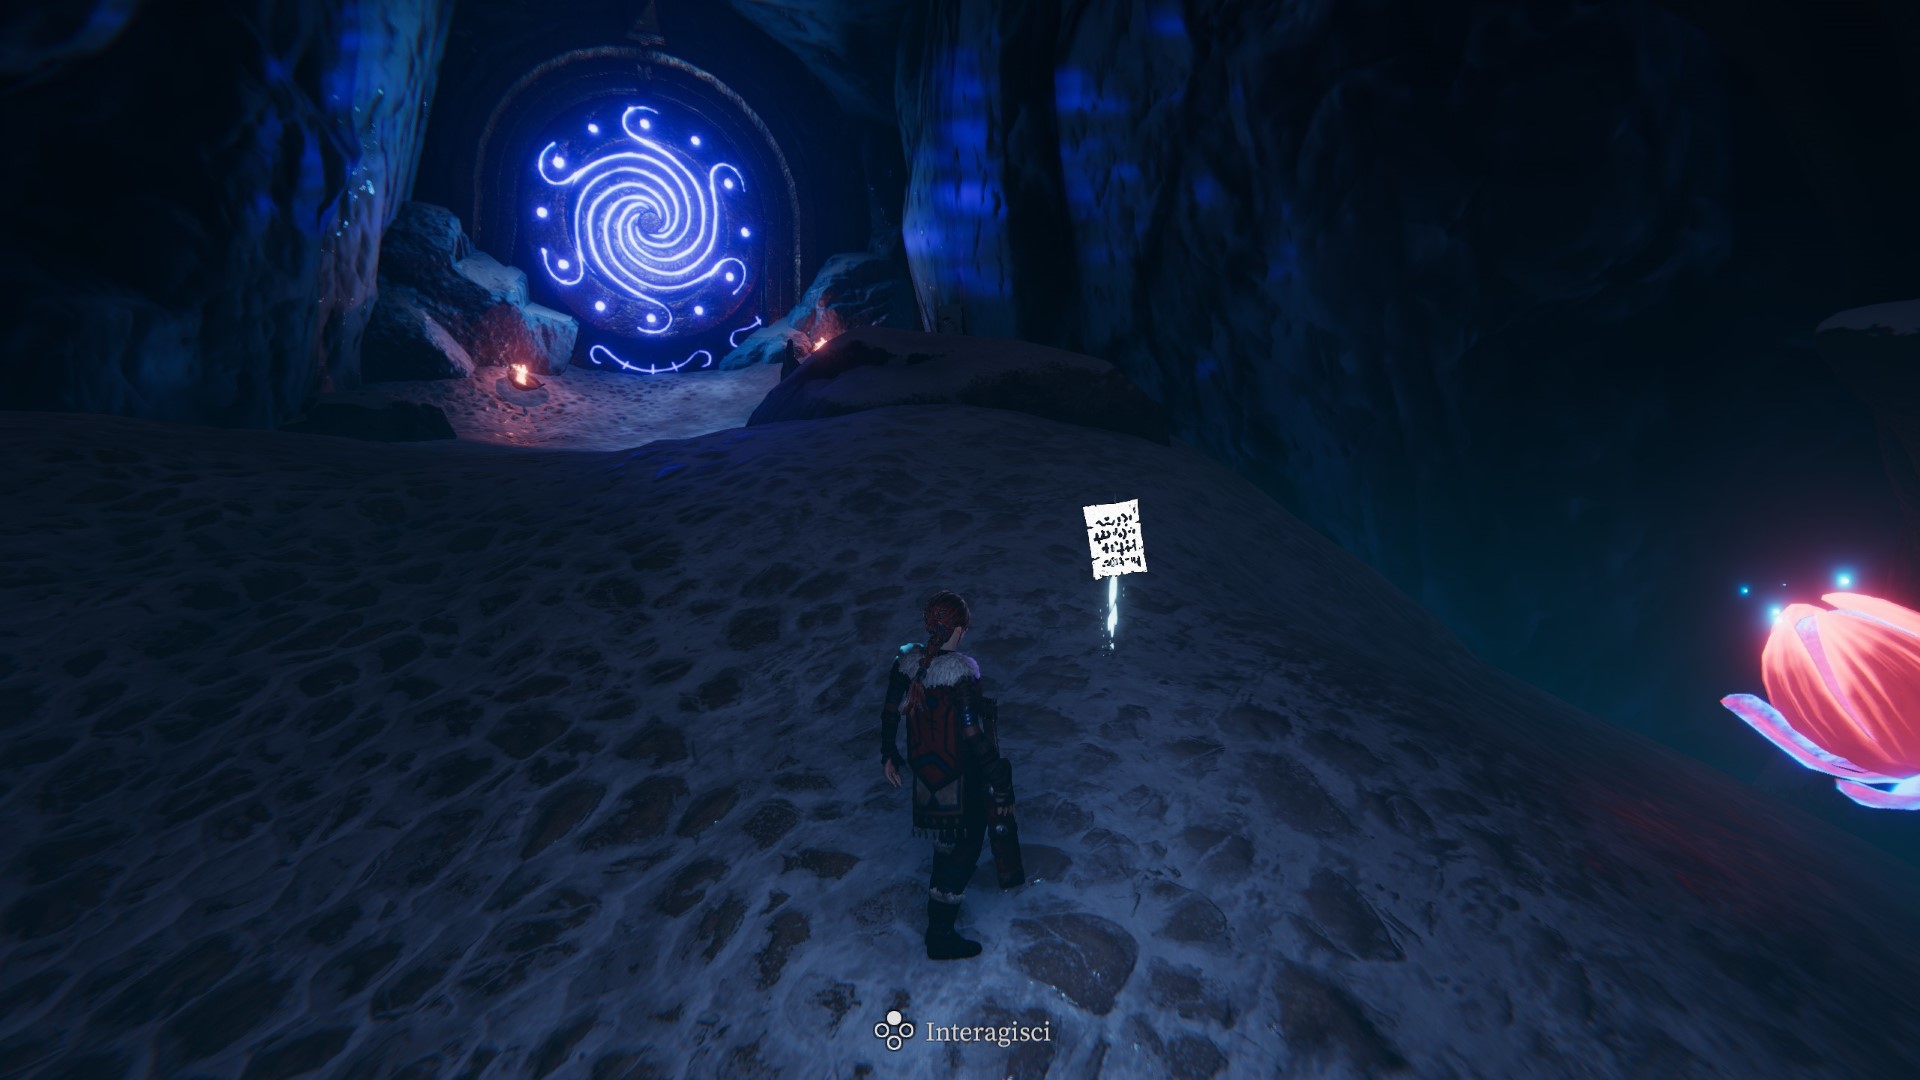
Zone 68 — Inside the cave, near the bonfire.

Totem41
Zone 67 — Near a huge rock.
Totem42
Zone 13 — In a small frozen clearing.
Totem43
Zone 16 — On a wooden platform at the top of a small gap in the mountain, left before the Dreki area. To reach it, you need to hit a spherical switch located at the highest part of the gap, on a rocky ledge (an explosive arrow is recommended). The switch activates the fan at the bottom of the gap, thanks to which it is possible to cling to the rocky ledge by using the grappling hook. From there, slide onto the wooden platform below.
Totem44
Zone 77 — By lighting the orbs with the energy spheres fired by the worms (the soul arrows also work).
Totem45
Zone 9 — By lighting the orbs with with the energy spheres fired by the worms (the soul arrows also work).
Totem46
Zone 66 — On the palm of the giant hand stretched toward the sky.
Totem47
Zone 12 — By lighting the mouths of the big totems around.

Totem48
Zone 45 — By dropping some fish on each pedestal.
Totem49
Zone 69 — On a wooden platform on the mountain wall.
Totem50
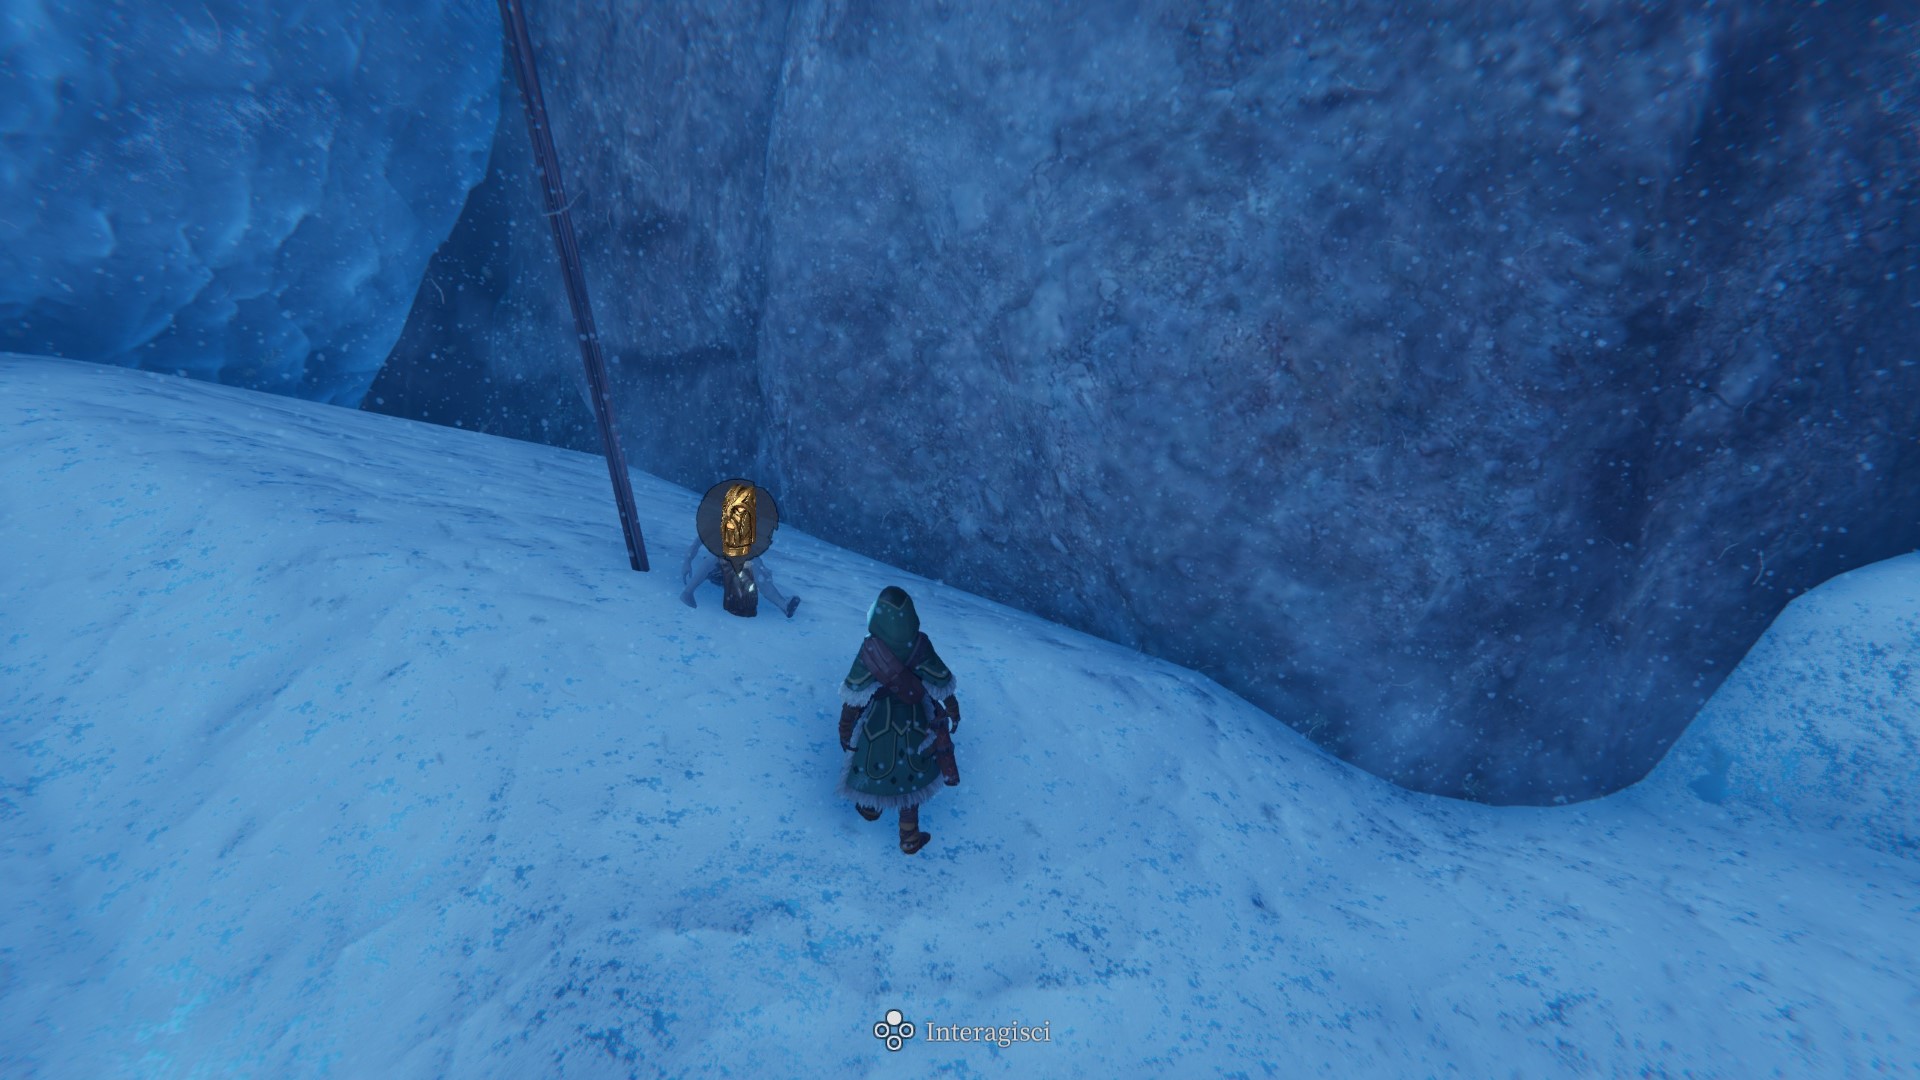
Zone 48 — Near the rock wall.
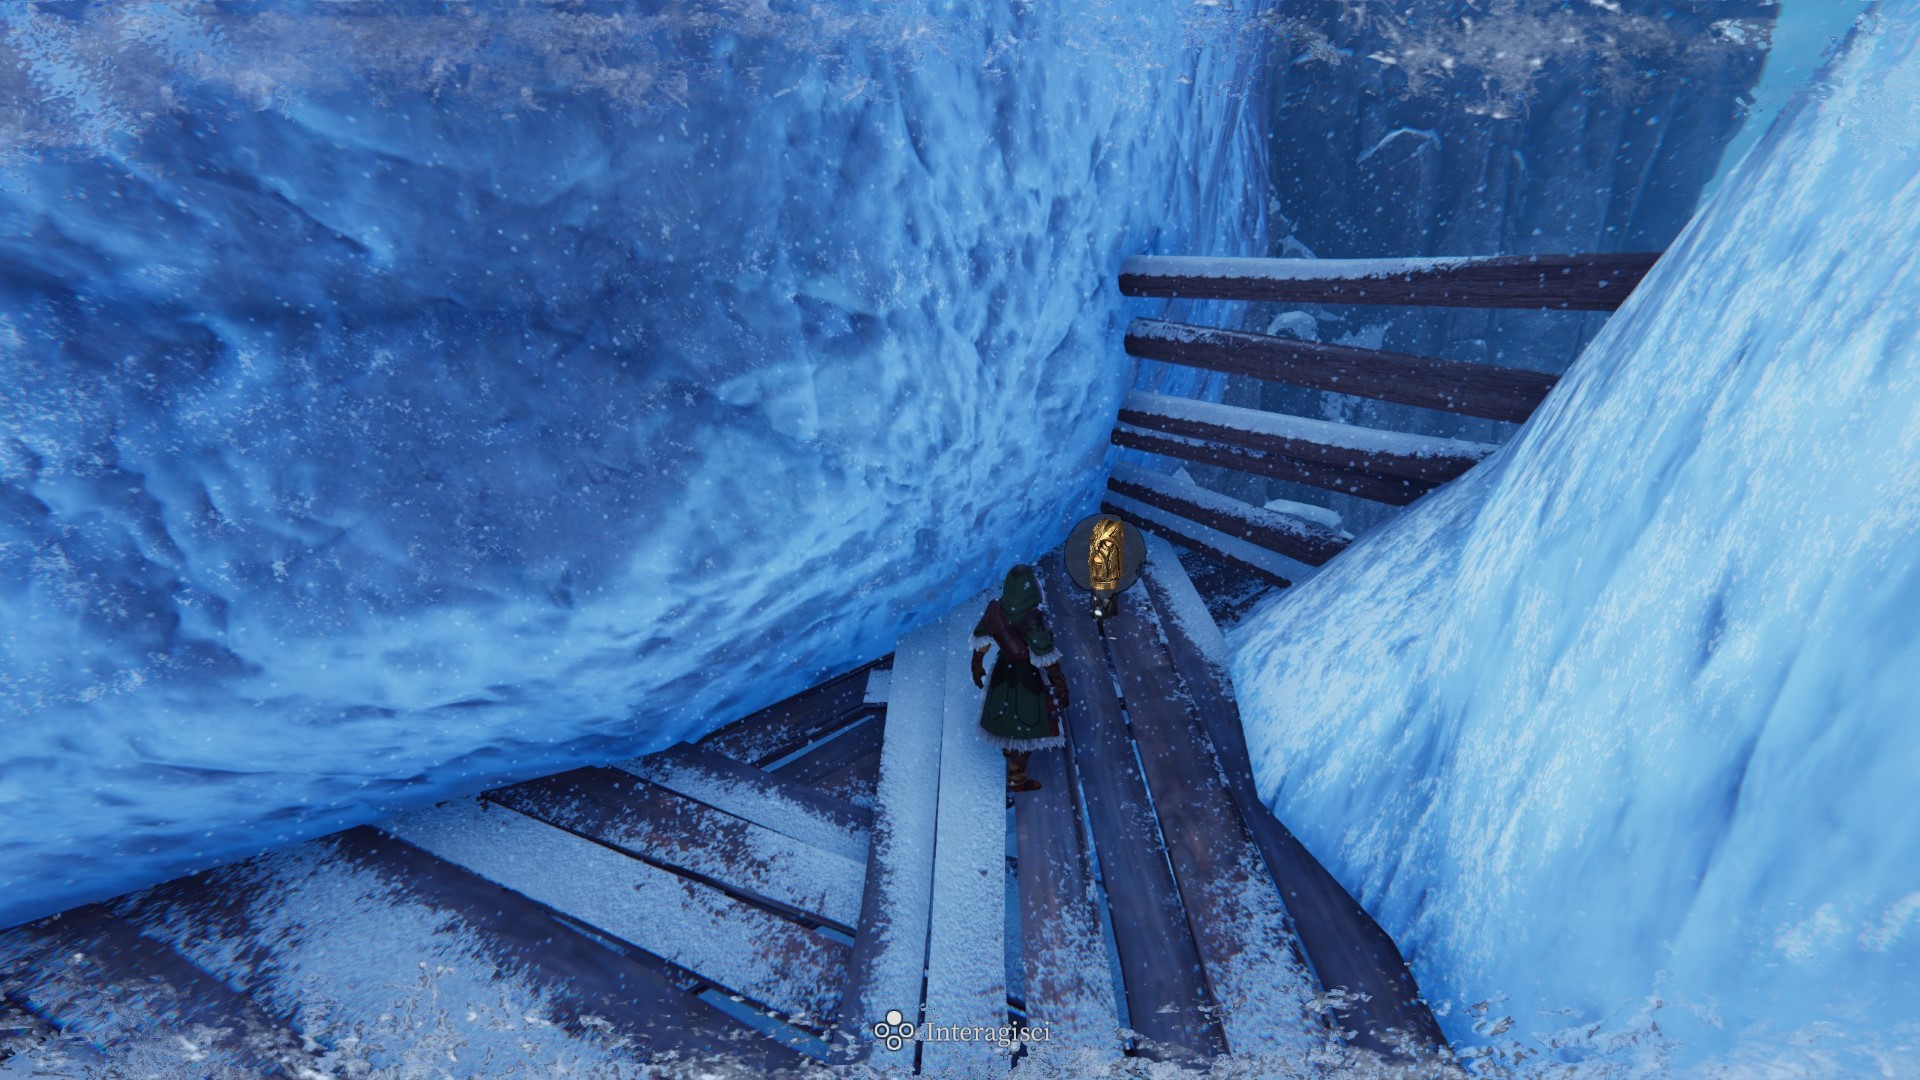
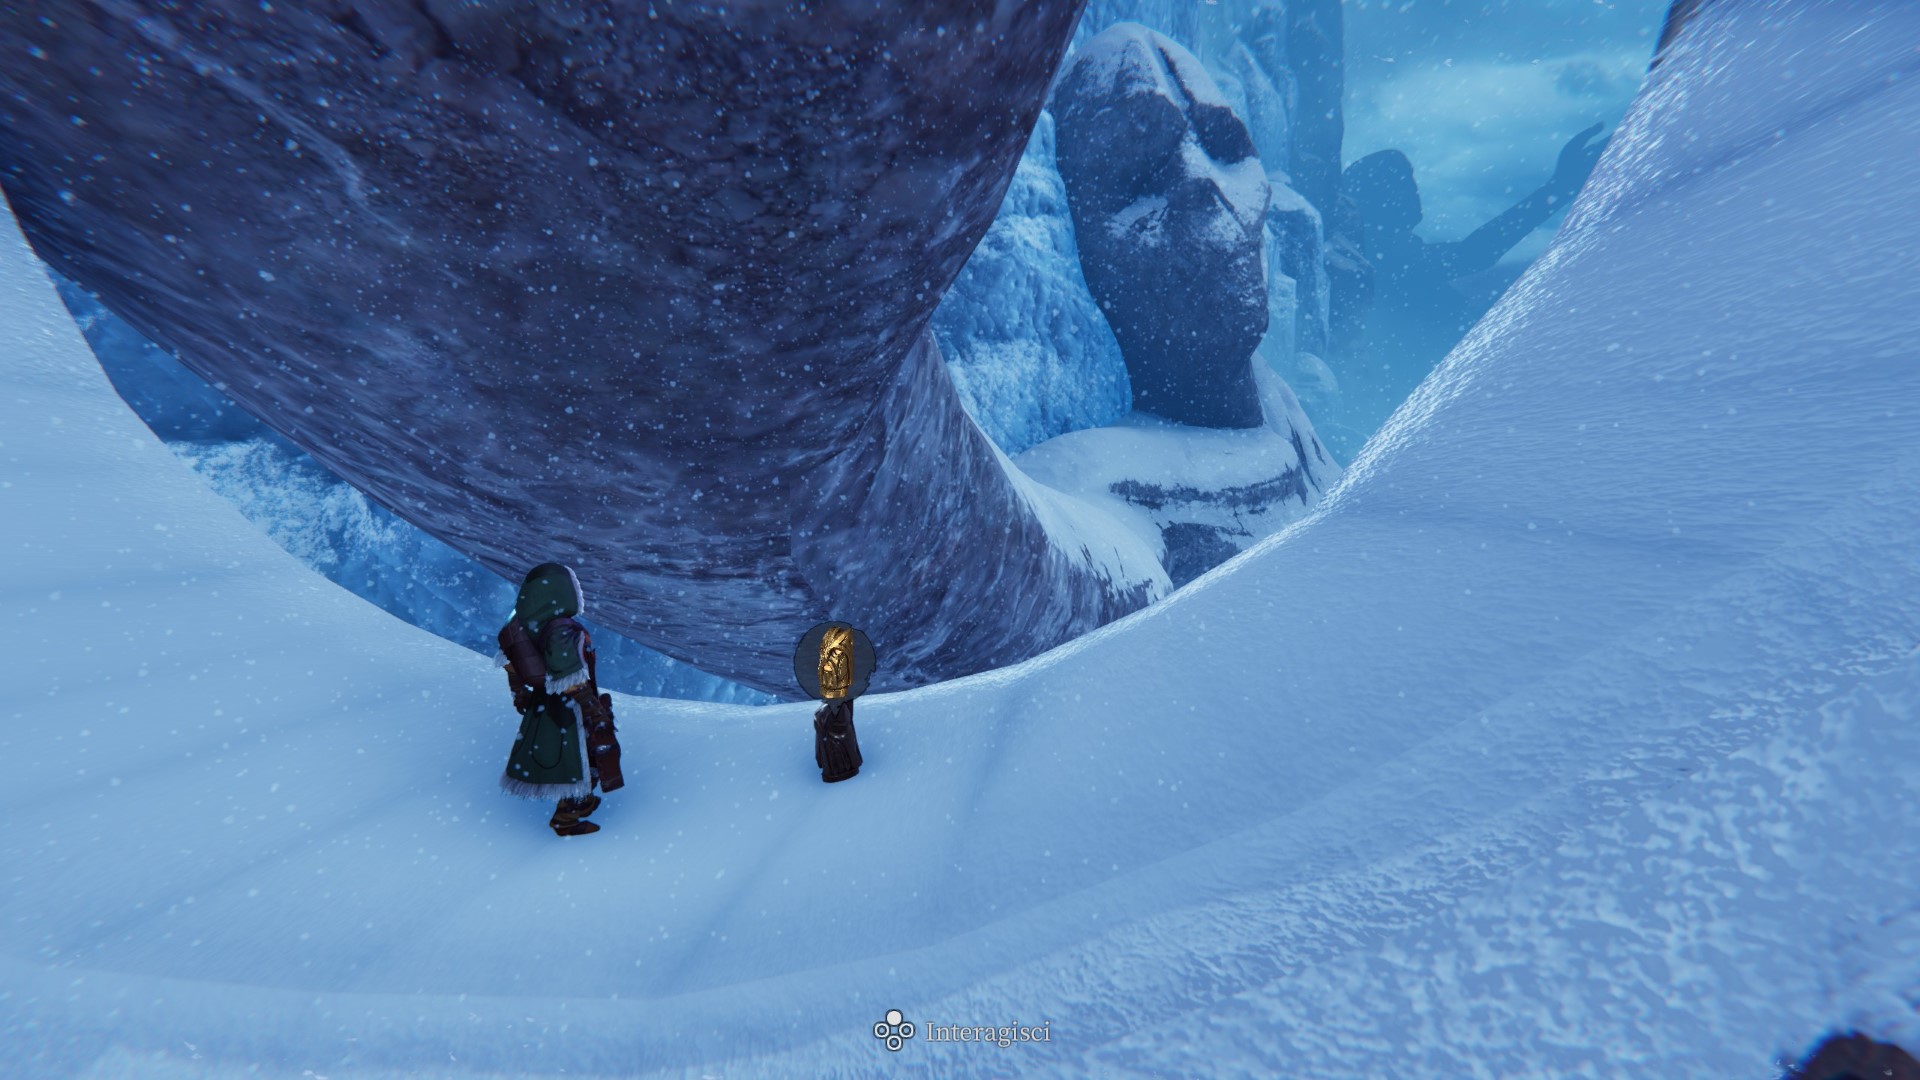
Totem51
Zone 78 — On a wooden platform behind the giant head (requires the use of the sail cloth and the wind in your favor, if you are not high enough).
Totem52
Zone 81 — Inside the ring on the wrist of the giant statue.
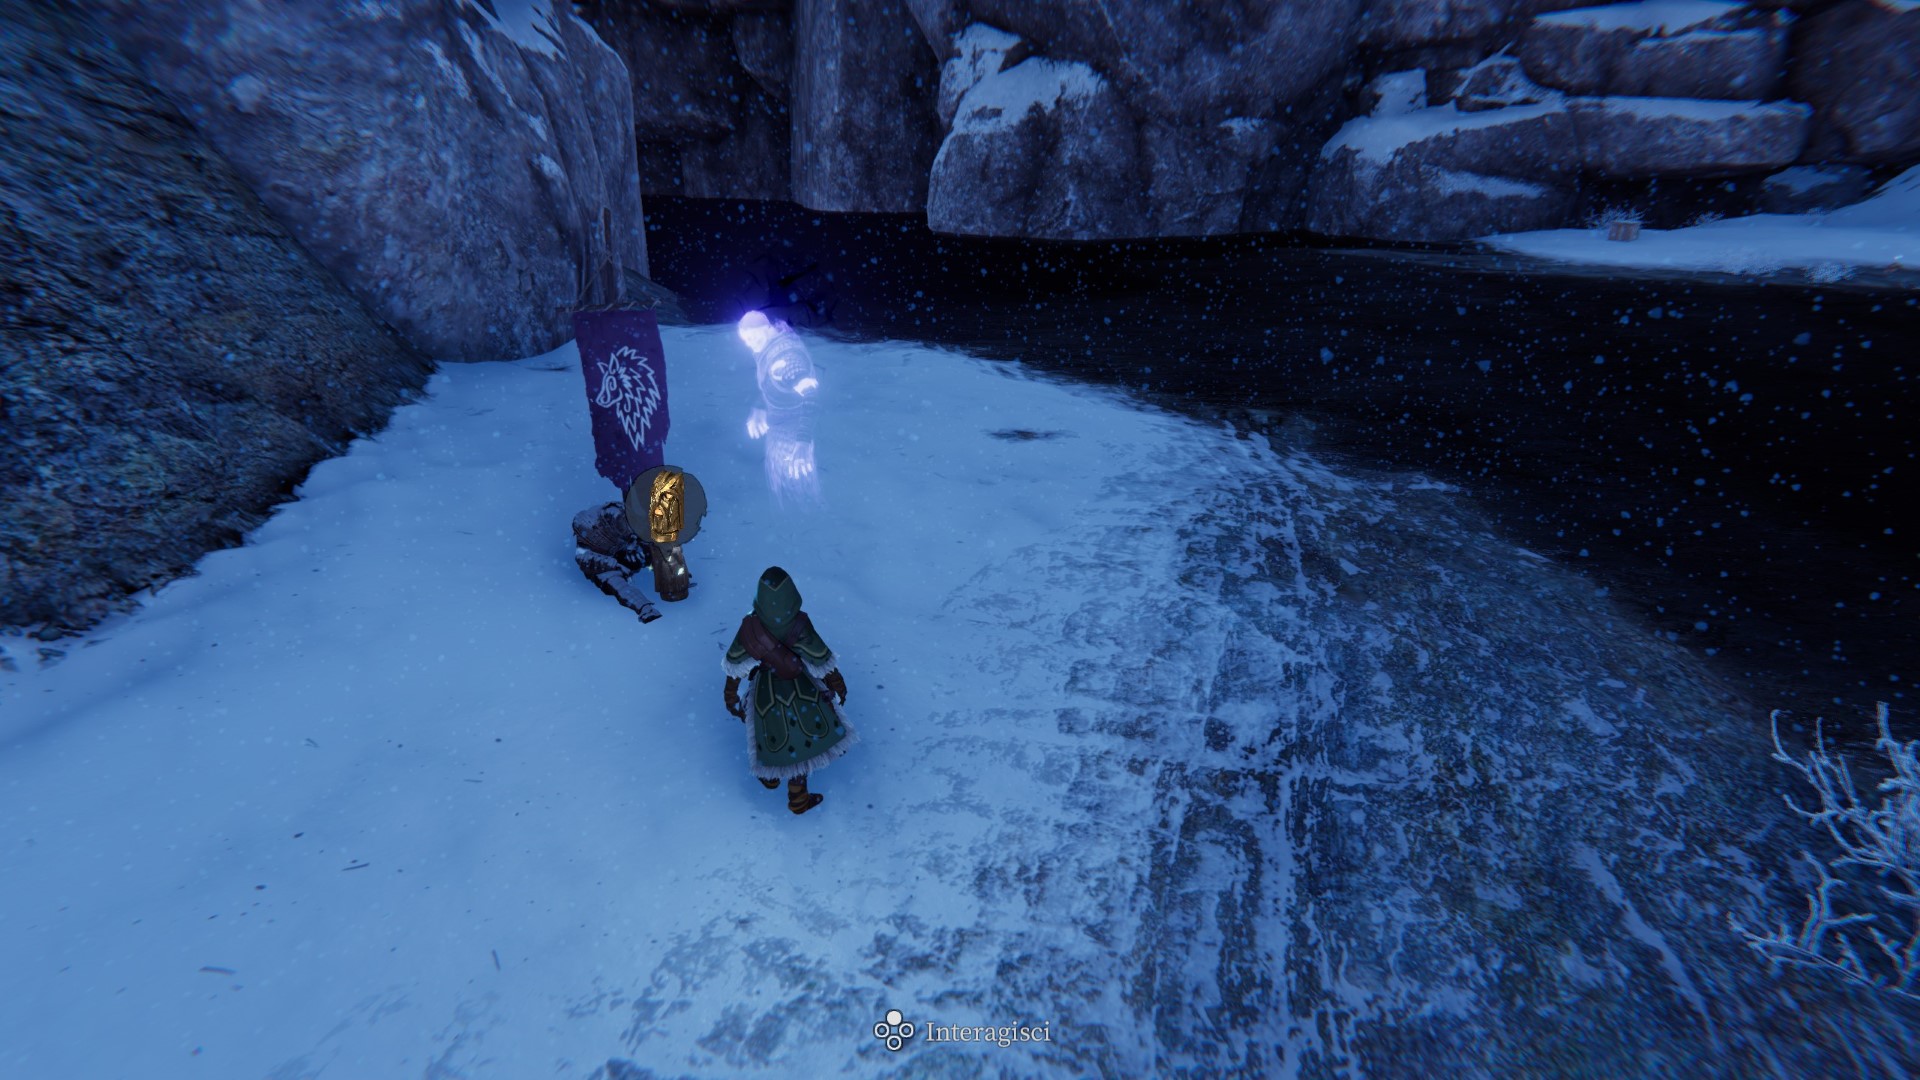
Totem53
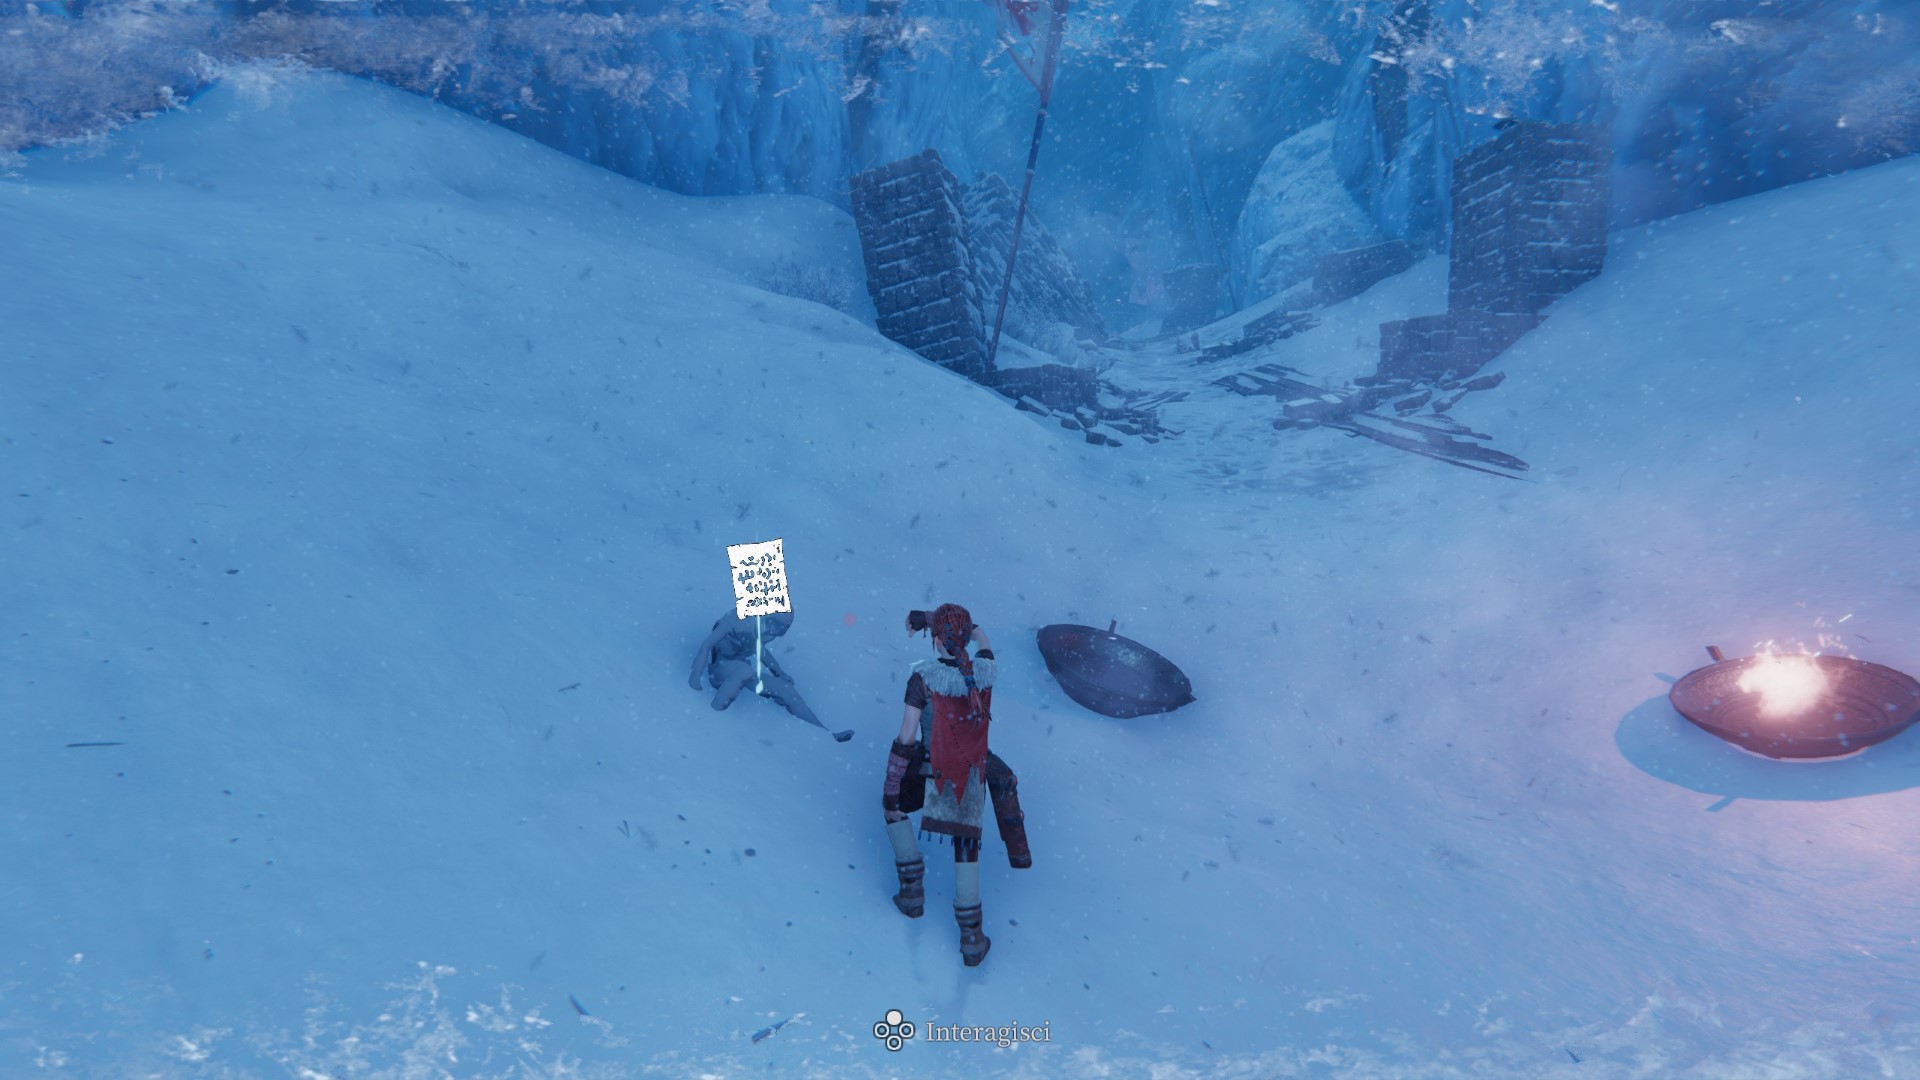
Zone 57 — In front of a tent on the beach.
Totem54
Zone 58 — In front of a tent.
Totem55
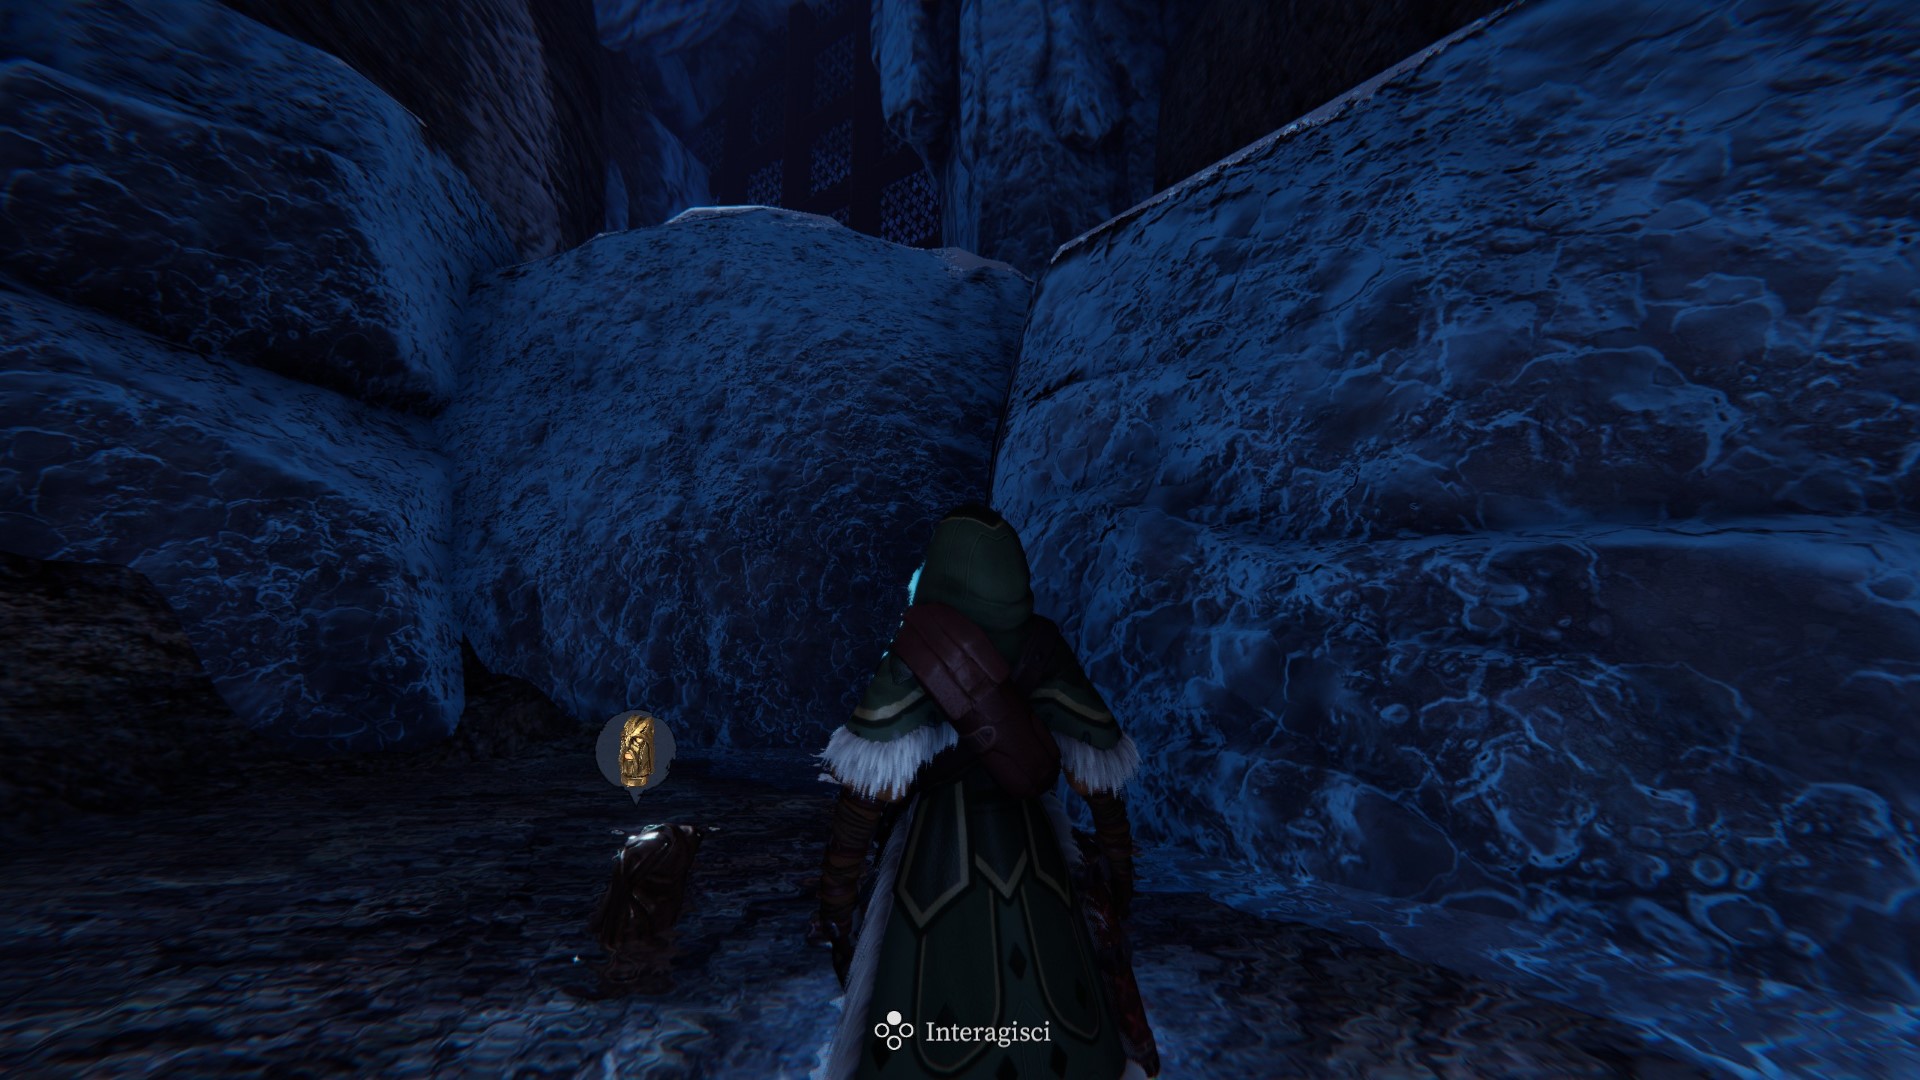
Zone 80 — Inside the cave (lower part, before the elevator), behind some rocks near the bonfire.
Totem56
Zone 80 — Inside the cave (upper part, after the elevator), behind some rocks forward to the right of the elevator.
Totem57
Zone 80 — Inside the cave (lower part, before the elevator), to the right immediately after the closed door.
Totem58
Zone 82 — Inside the cave, in the innermost area (a lot of stamina is required).
Totem59
Zone 58 — Inside the cave, on a rock.
Totem60
Zone 61 — Inside the cave, in the area beyond the treasure chest (reachable by lowering the water level).
List of lore notes
Gorm’s letters
Gorm’s letters #1
Zone 8 — On the little beach.
(easter egg included in the image)
Gorm’s letters #2
Zone 11 — Behind the rocks.
Gorm’s letters #3
Zone 76 — On a wooden platform of the architectural structure.
Gorm’s letters #4
Zone 55 — On a mountain ledge.
Gorm’s letters #5
Zone 64 — On a mountain peak.
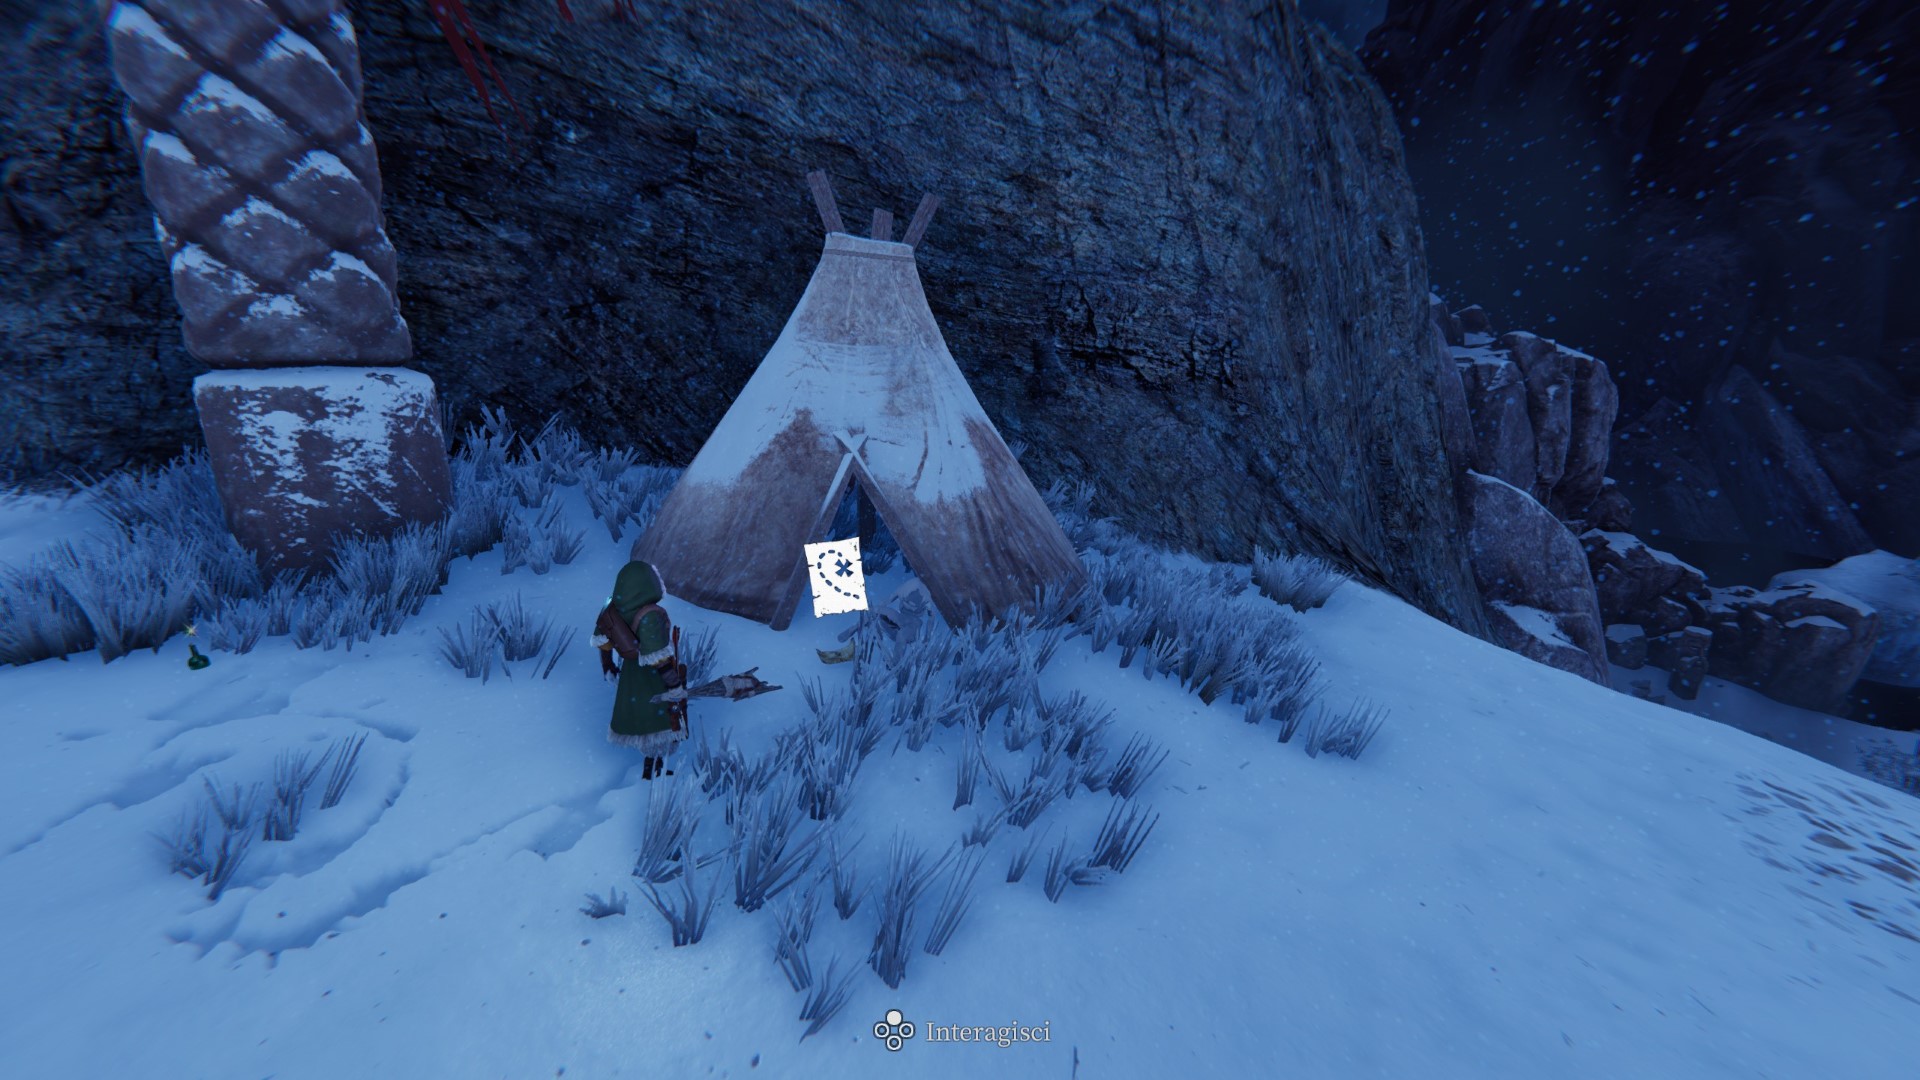
Gorm’s letters #6
Zone 59 — In front of a tent.
Lost journal
Lost journal #1
Zone 30 — In a clearing, not far from an altar.
Lost journal #2
Zone 31 — Near a wooden wall.
Lost journal #3
Zone 17 — In the surroundings of the camp.
Lost journal #4
Zone 63 — Near a big totem.
Lost journal #5
Zone 43 — Inside the cave, near the bonfire.
Lost journal #6
Zone 32 — Inside the cave, near the bonfire.
Lost journal #7
Zone 10 — Under a wooden structure.
Lost journal #8
Zone 41 — In front of a tent.
Lost journal #9
Zone 47 — In front of a tent.
Notes of the Fallen
Notes of the Fallen #1
Zone 2 — On the initial beach.
Notes of the Fallen #2
Zone 3 — Inside the cave, along the way.
Notes of the Fallen #3
Zone 3 — Inside the cave, on a wooden platform at the bottom of the first jump.
Notes of the Fallen #4
Zone 3 — Inside the cave, along the way.
Notes of the Fallen #5
Zone 4 — Along the way, not far from the cave exit.

Notes of the Fallen #6
Zone 5 — Inside the cave, in a narrow passage to the left of the (western) entrance.
Notes of the Fallen #7
Zone 34 — Inside a clearing, next to a trilithon.
Notes of the Fallen #8
Zone 1 — At the top of the tower.
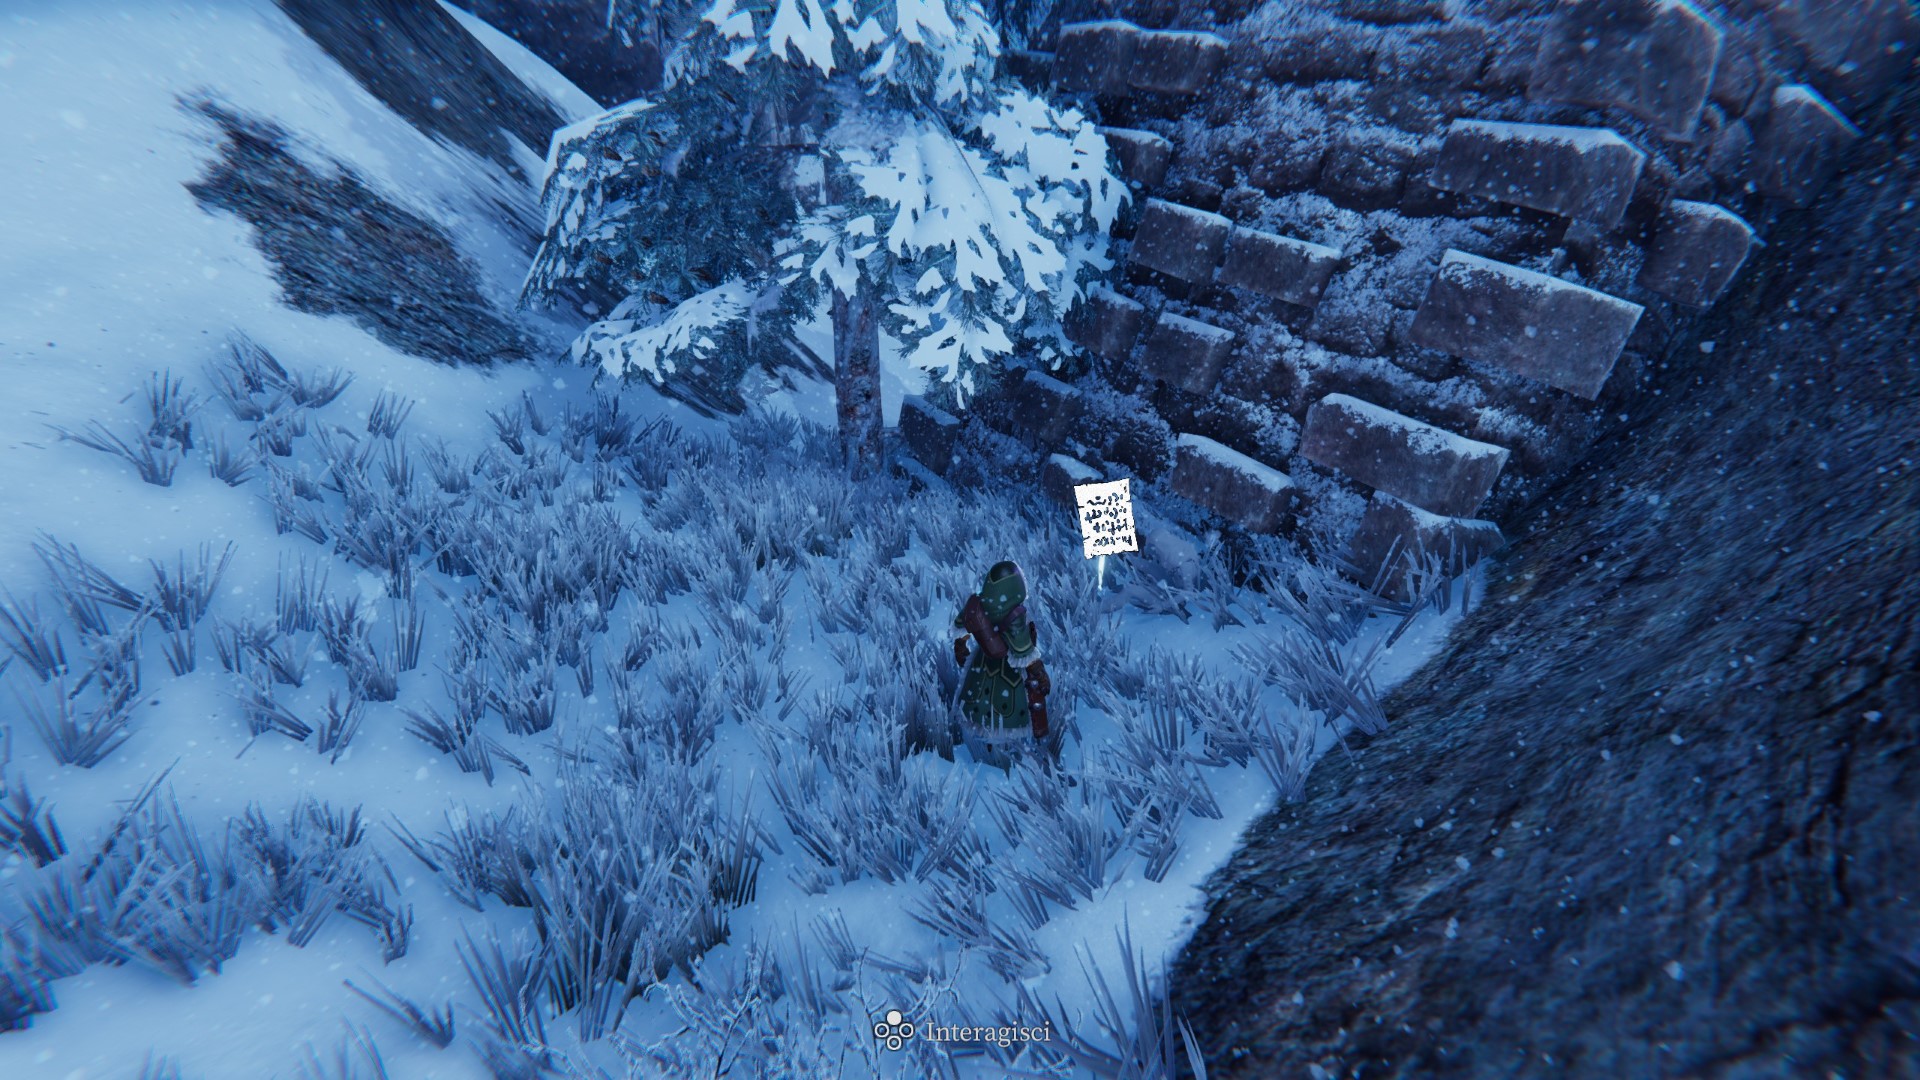
Notes of the Fallen #9
Zone 6 — On the architectural structure on the edge of the mountain wall.
Notes of the Fallen #10
Zone 44 — Between two wooden walls.
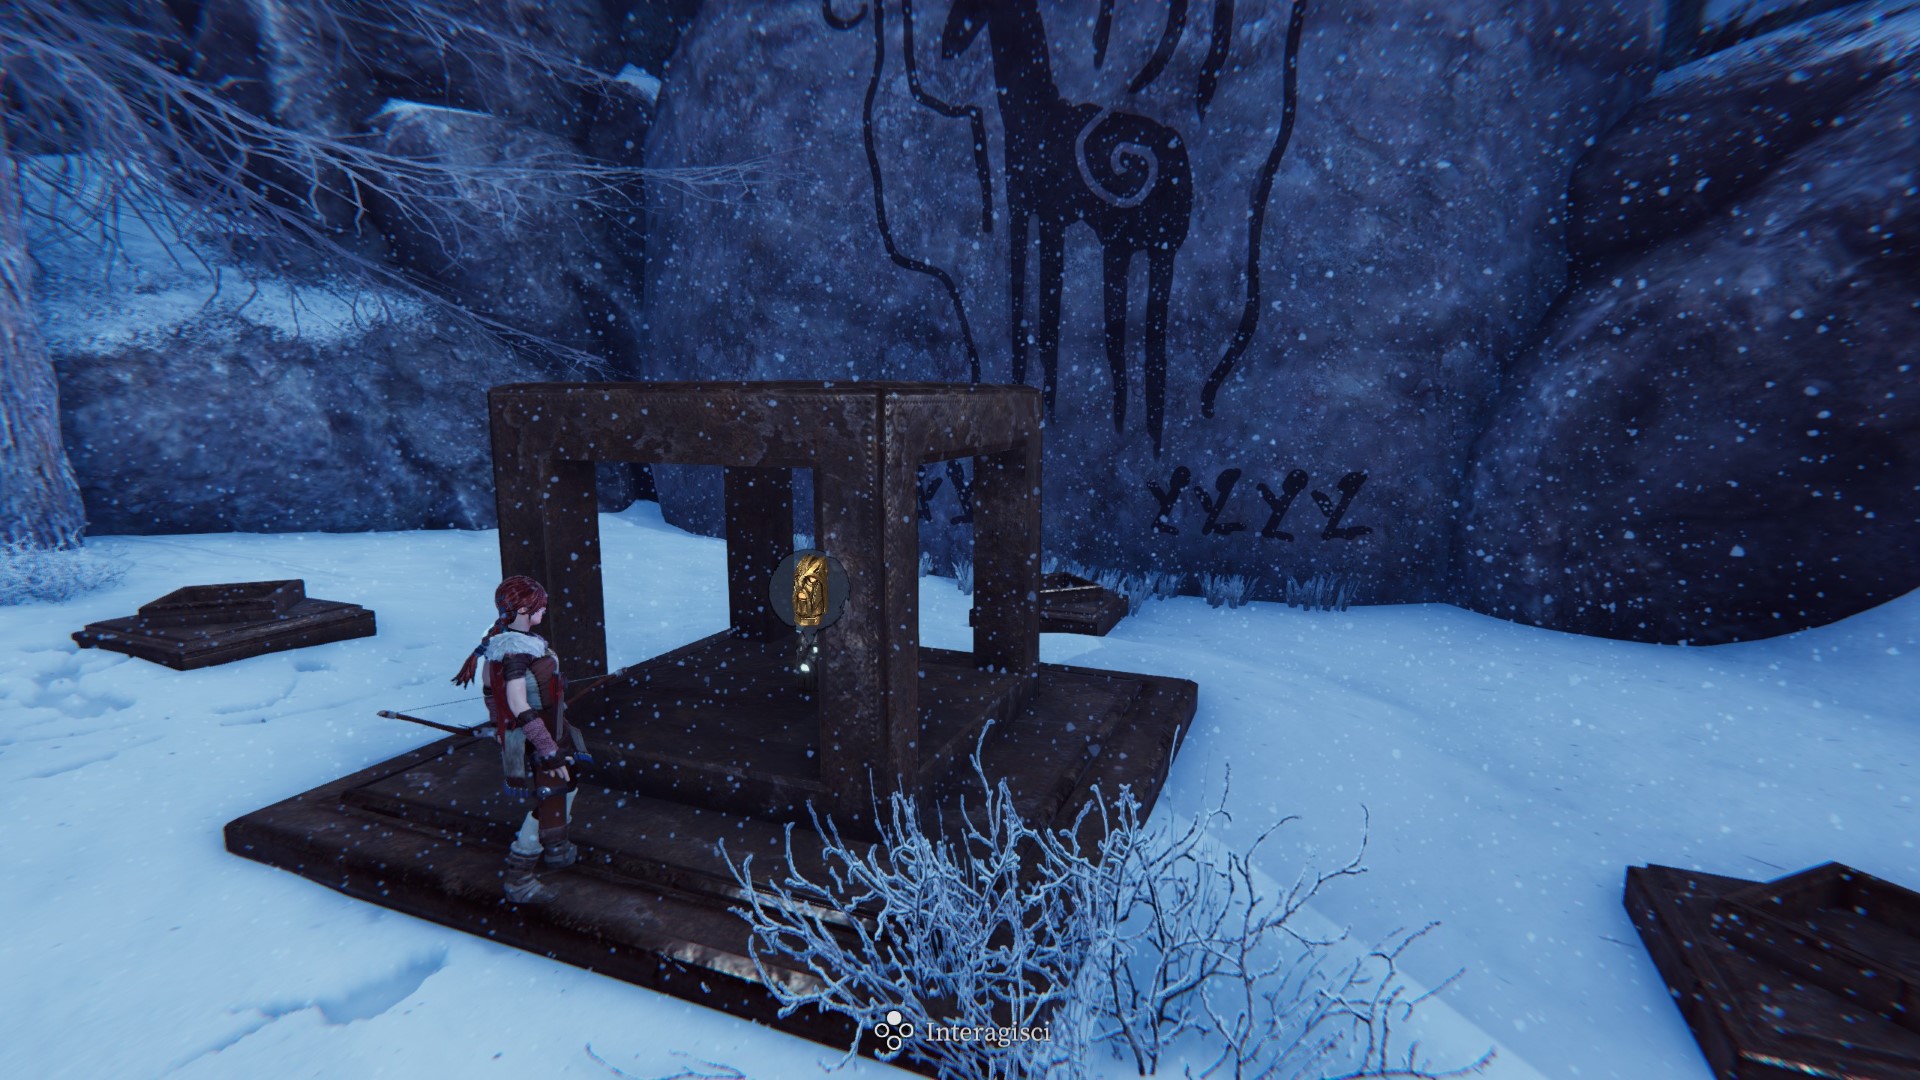
Notes of the Fallen #11
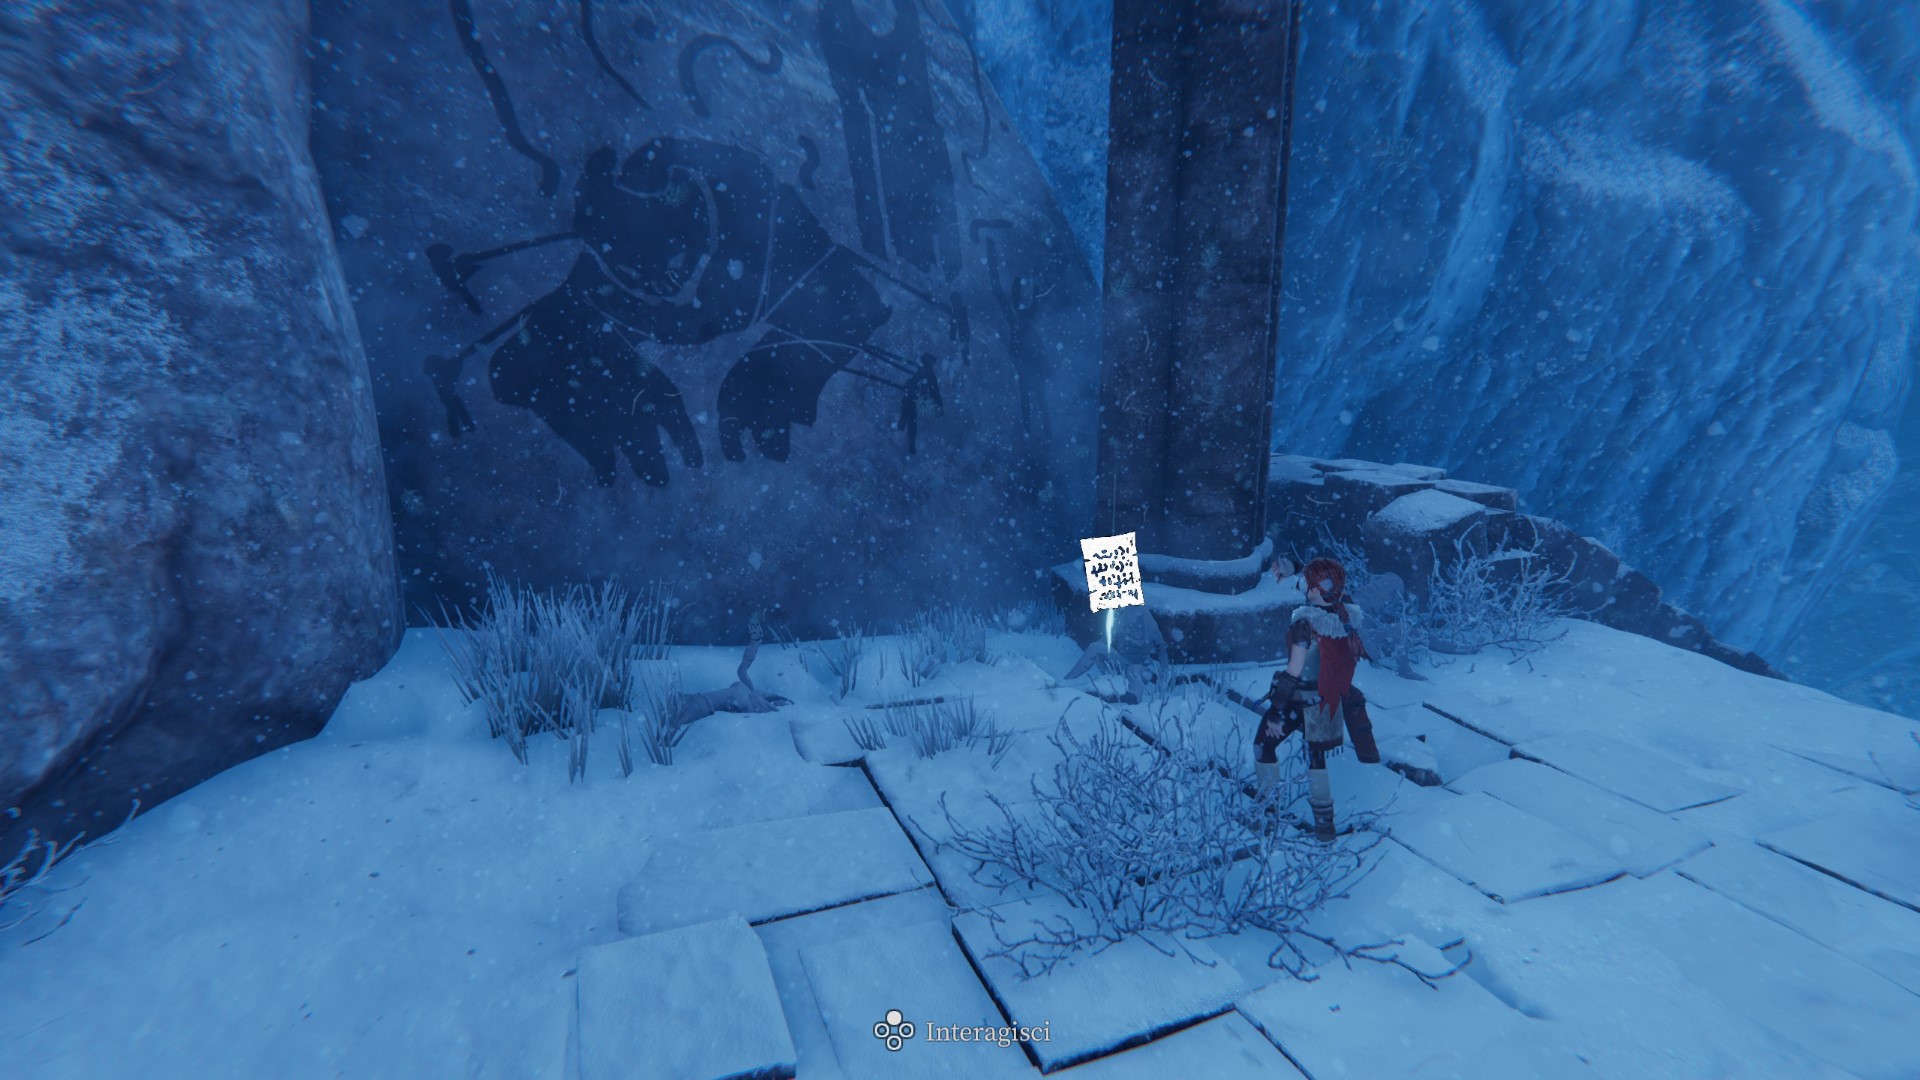
Zone 25 — In front of the paintings depicting the Yeti.
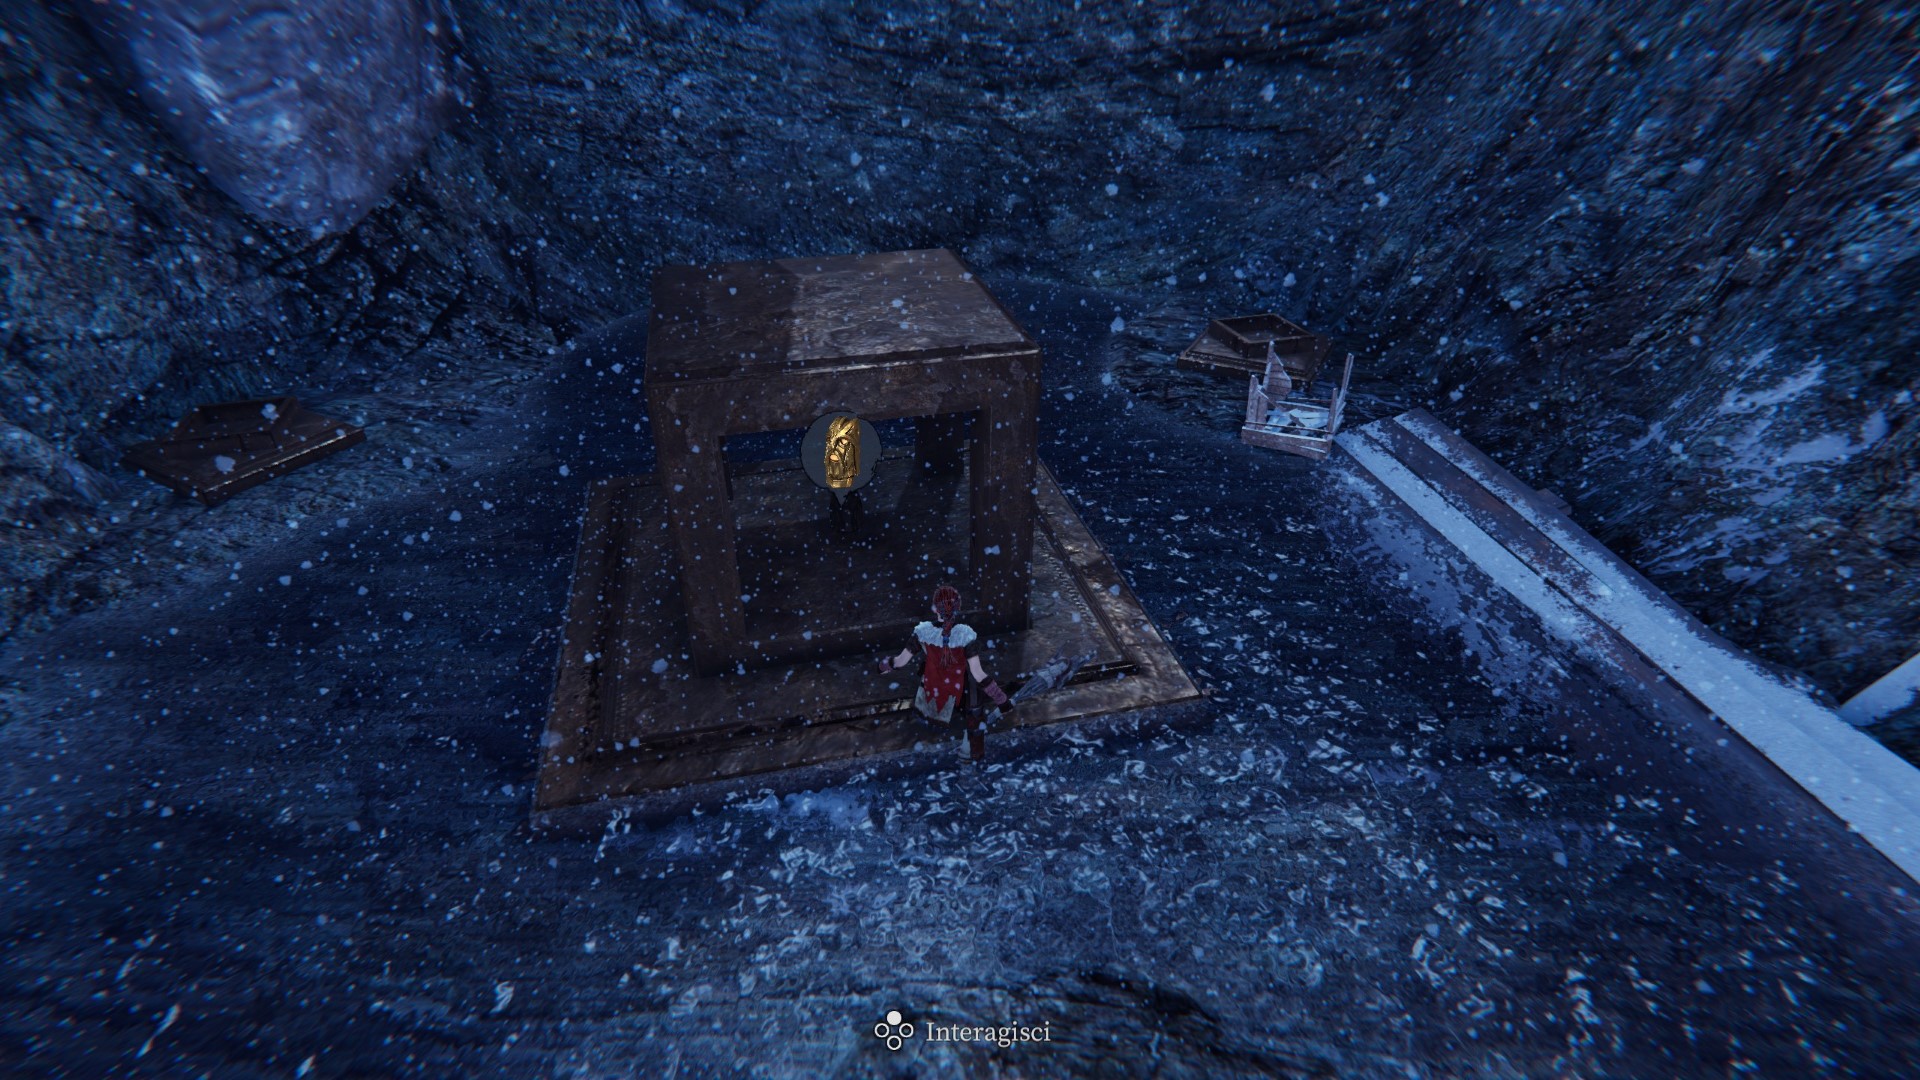
Notes of the Fallen #12
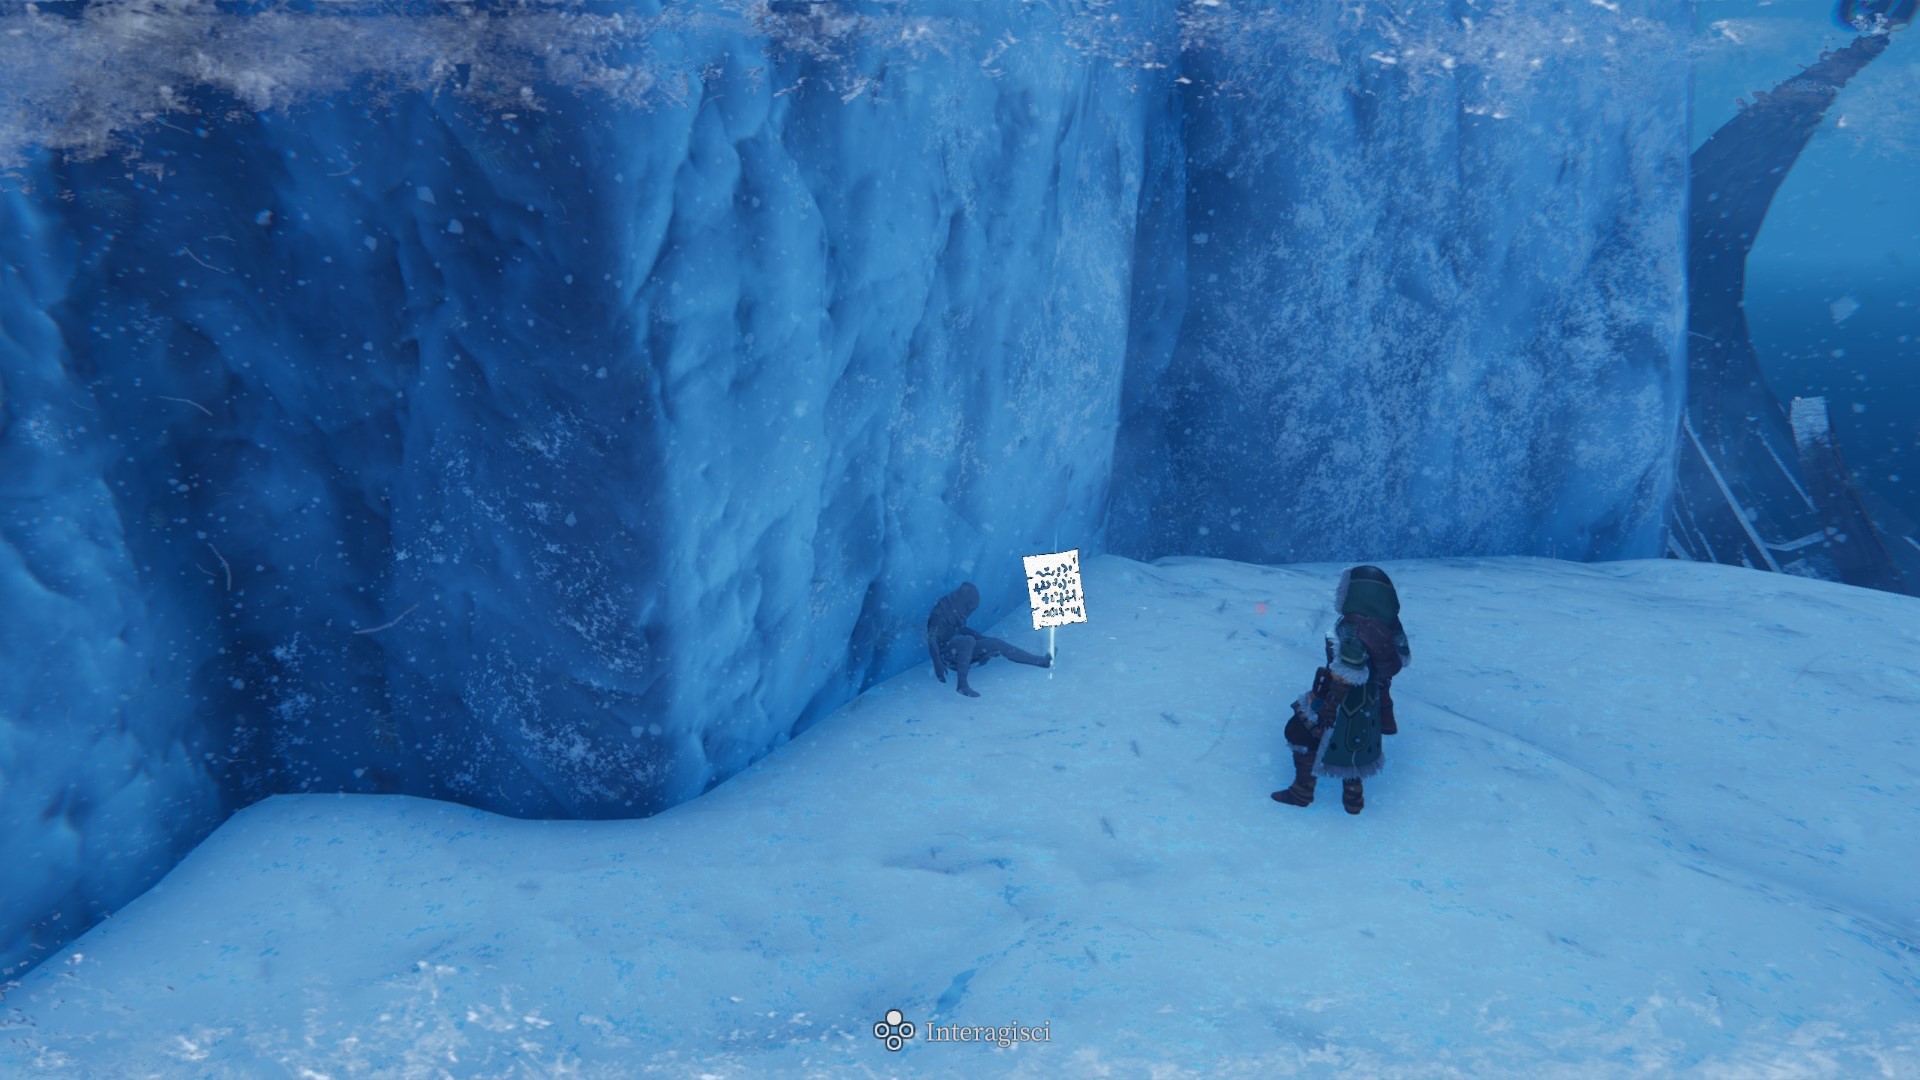
Zone 16 — Behind the giant ring dipped in snow.
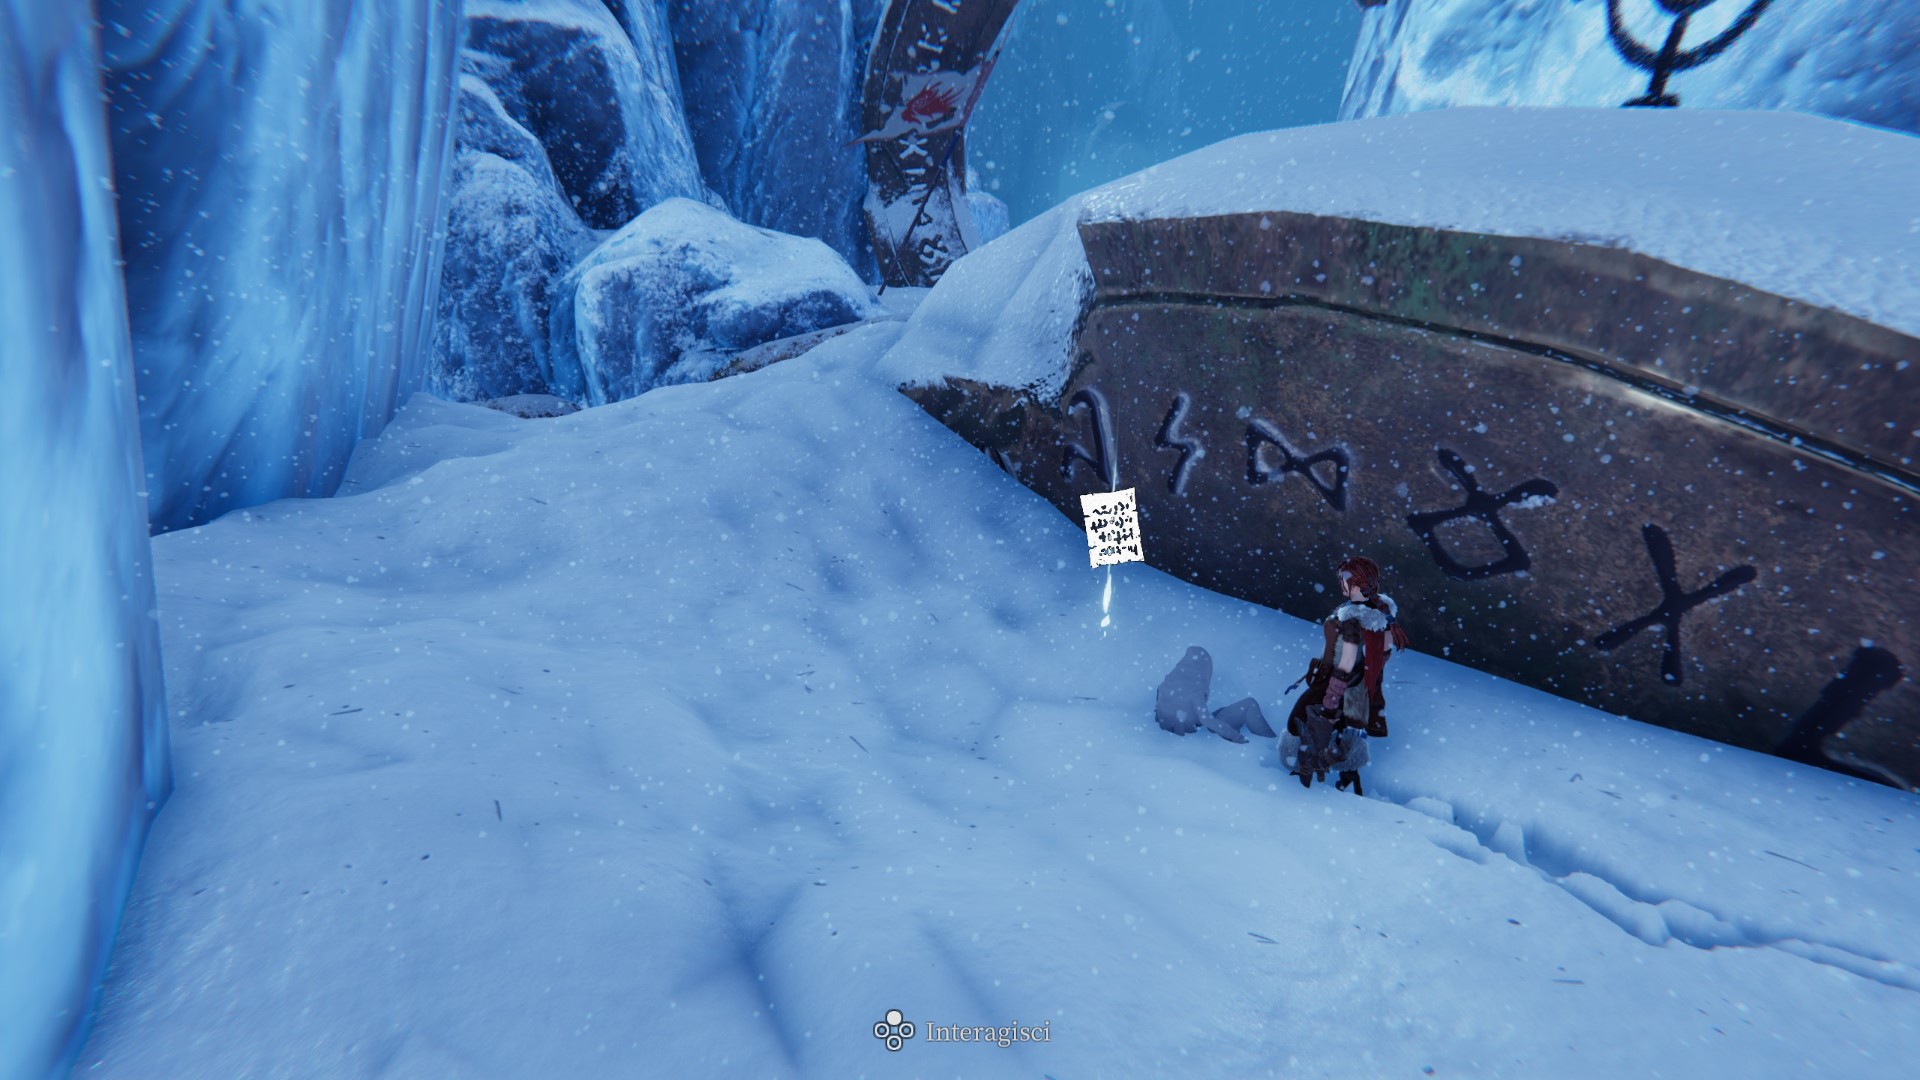
Notes of the Fallen #12
Zone 16 — Behind the giant ring dipped in snow.
Notes of the Fallen #13
Zone 75 — In a clearing among the threes.
Notes of the Fallen #14
Zone 39 — Inside the cave, bottom left from the entrance.
Notes of the Fallen #15
Zone 33 — In front of a big totem head.
Notes of the Fallen #16
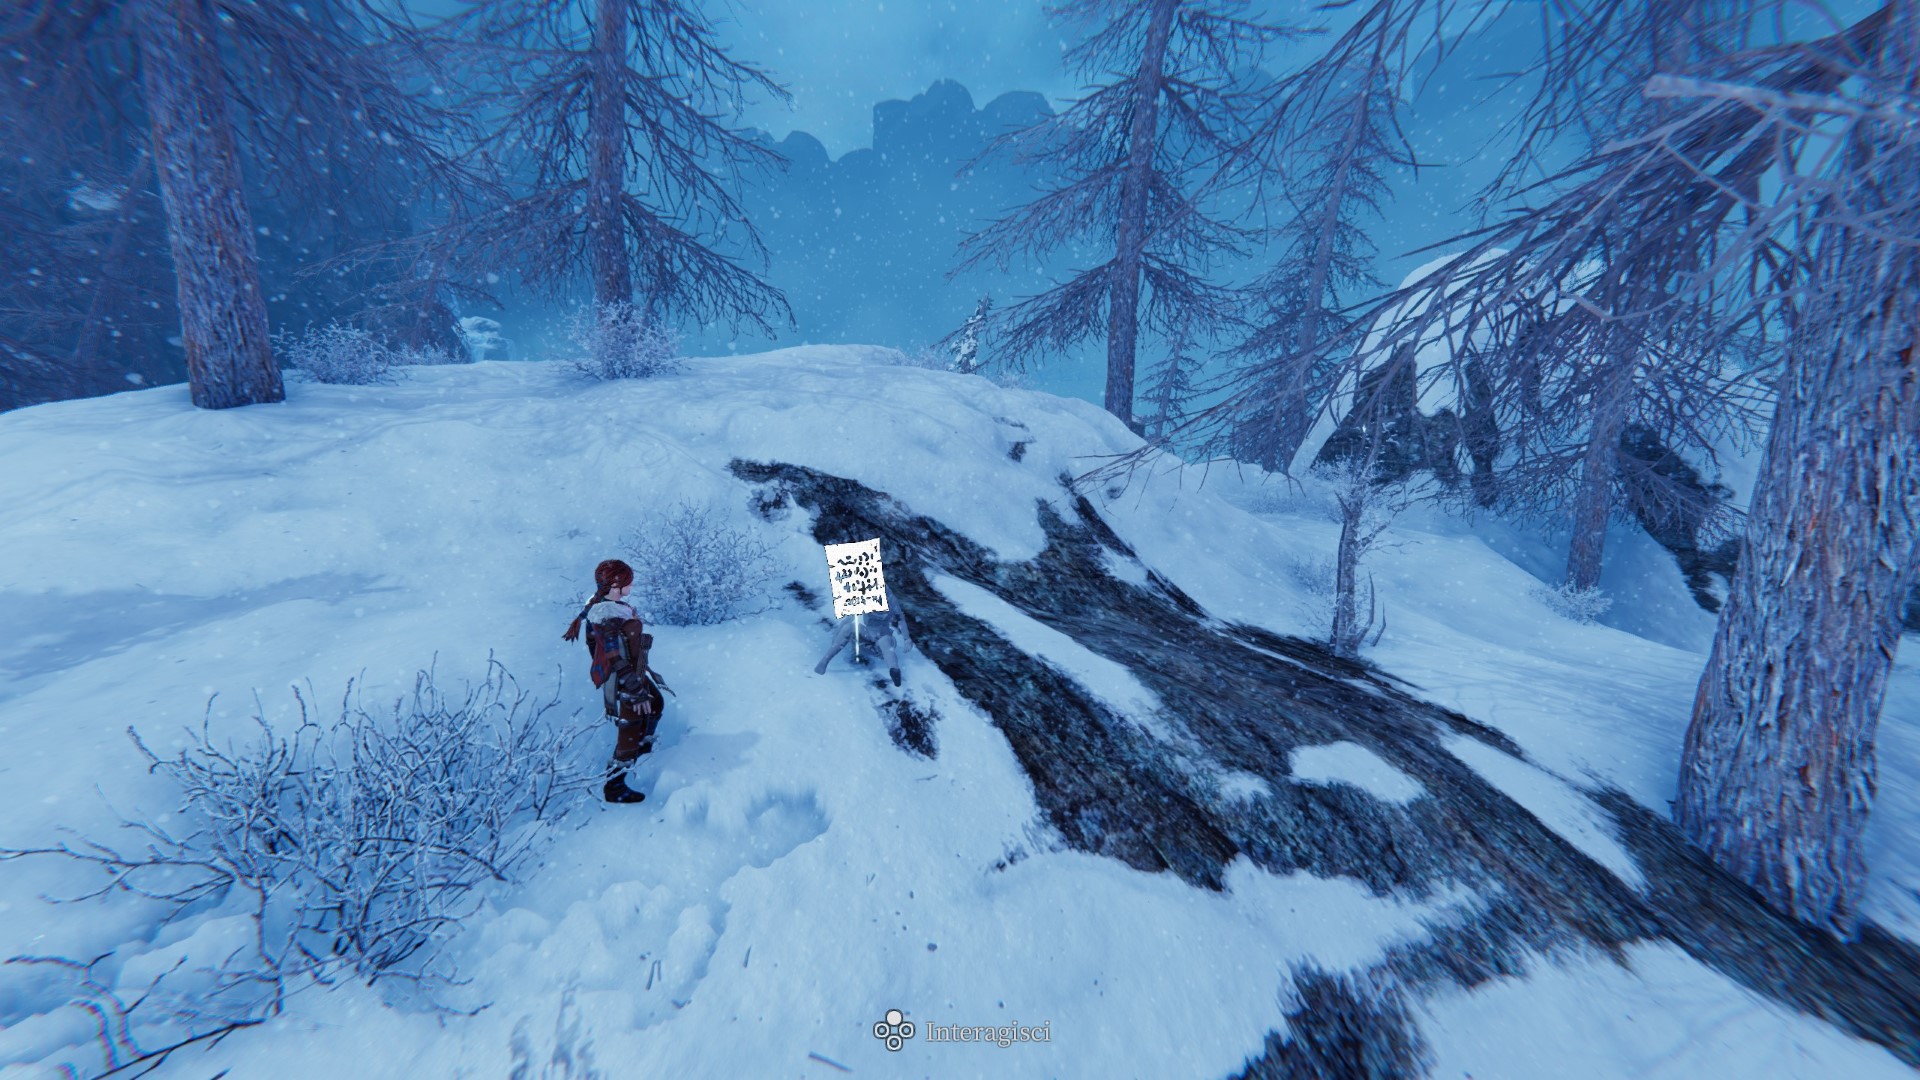
Zone 38 — At the collapsed architectural structure near the huge rock.
Notes of the Fallen #17
Zone 70 — On a mountain ledge above the entrance of the cave.
Notes of the Fallen #18
Zone 20 — Near a tent.
Notes of the Fallen #19
Zone 82 — Inside the cave, near the bonfire at the entrance.
Notes of the Fallen #20
Zone 80 — Inside the cave (lower part, before the elevator), near the bonfire.

Notes of the Fallen #21
Zone 80 — Inside the cave (lower part, before the elevator), immediately after entering.
Notes of the Fallen #22
Zone 80 — Inside the cave (upper part, after the elevator), along the way to the Thrall.
Notes of the Fallen #23
Zone 57 — In front of a tent on the beach.
Notes of the Fallen #24
Zone 49 — On the island’s strip of land.
Notes of the Fallen #25
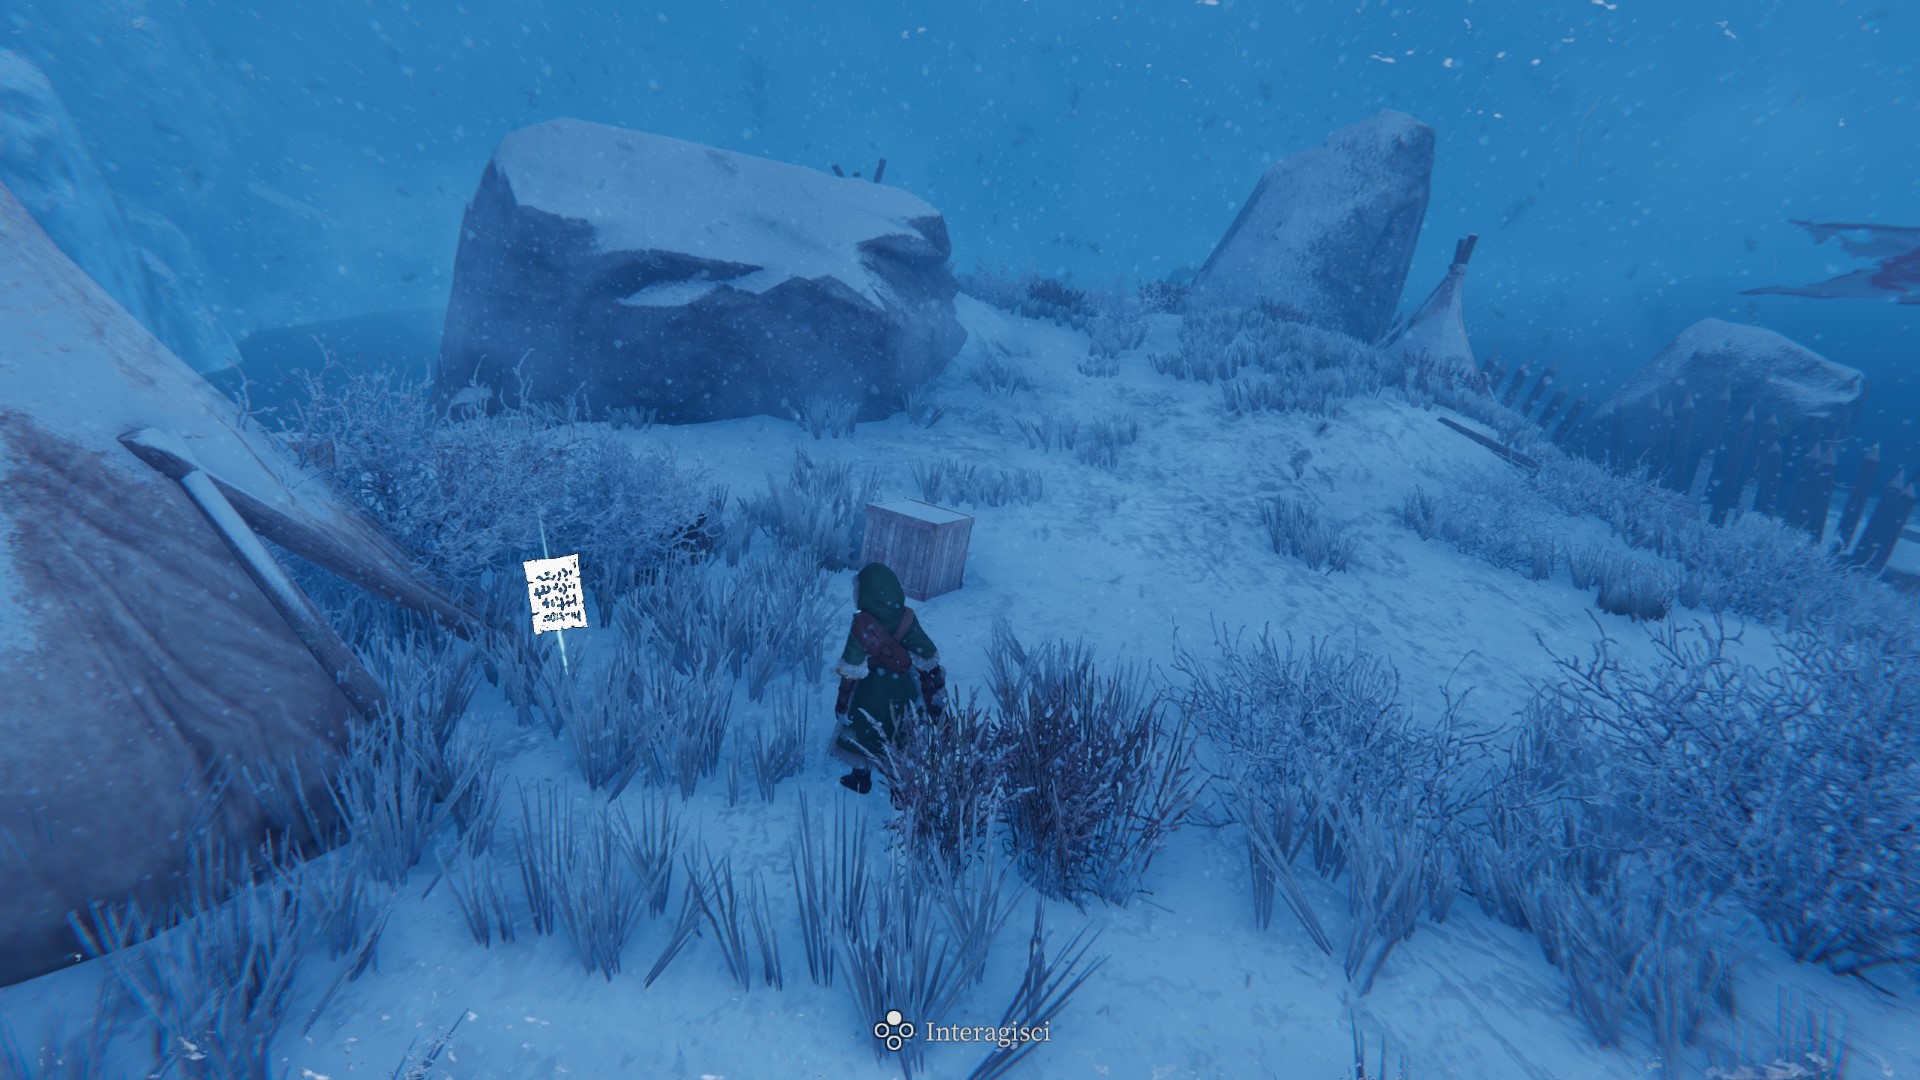
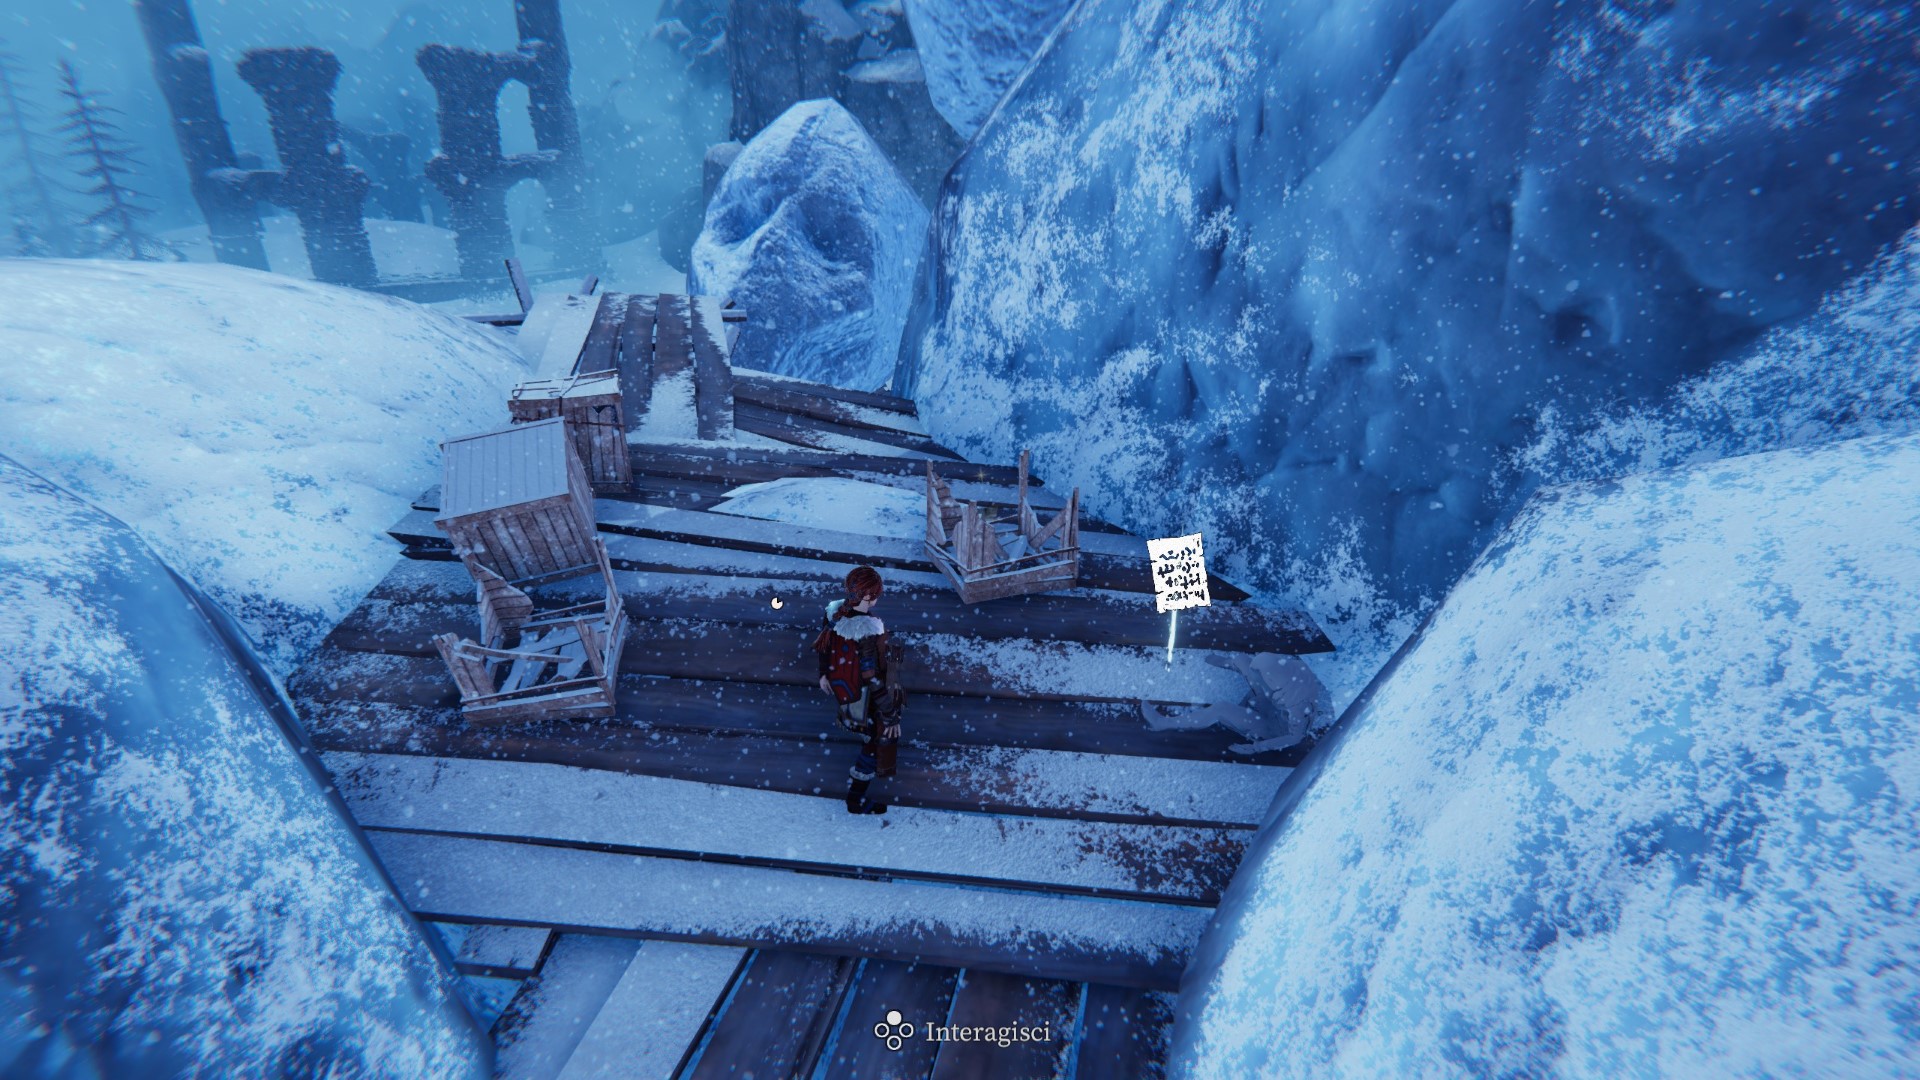
Zone 79 — On a wooden platform behind an icy wall.
List of maps
Island maps
North-West Island
Zone 3 — Inside the cave, along the way.
North-East Island (south-eastern part)
Zone 7 — Inside the cave, near the (eastern) entrance.
North-East Island (northern part)
Zone 24 — Inside the cave, near the (southern) entrance.
Temple Island
Zone 27 — At the entrance of the temple.
South Island (northern part)
Zone 32 — Inside the (small) cave, near the bonfire.
South Island (central part)
Zone 68 — Inside the cave, near a bonfire by the (northern) entrance.
South Island (south-eastern coast)
Zone 70 — Inside the cave, near the bonfire at the (southern) entrance.
South Island (south-western part)
Zone 65 — Inside the cave, near a bonfire by the (northern) entrance.
Treasure maps
Mark at 26
Zone 17 — Near the bonfire.
Mark at 15
Zone 31 — Near a wooden wall.
Mark at 43
Zone 40 — Under a big rock, near the wall with the paintings.
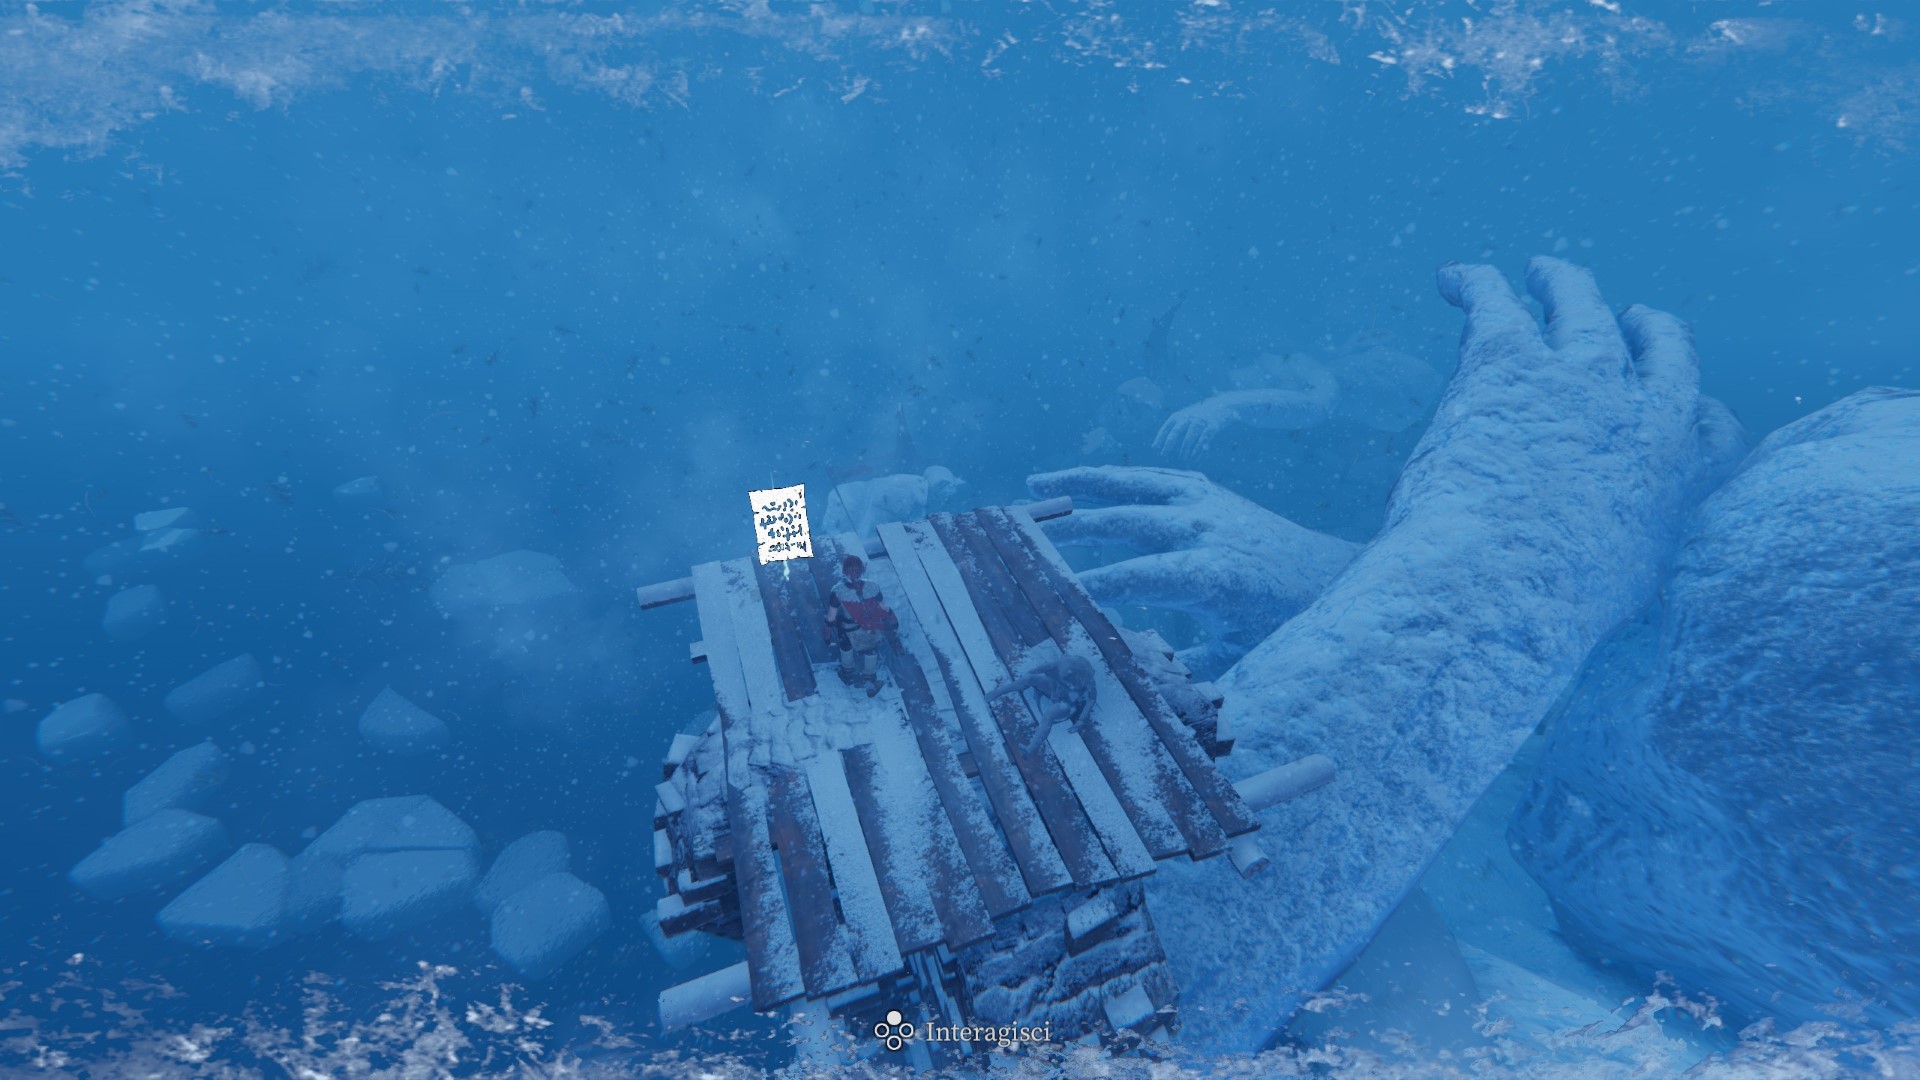
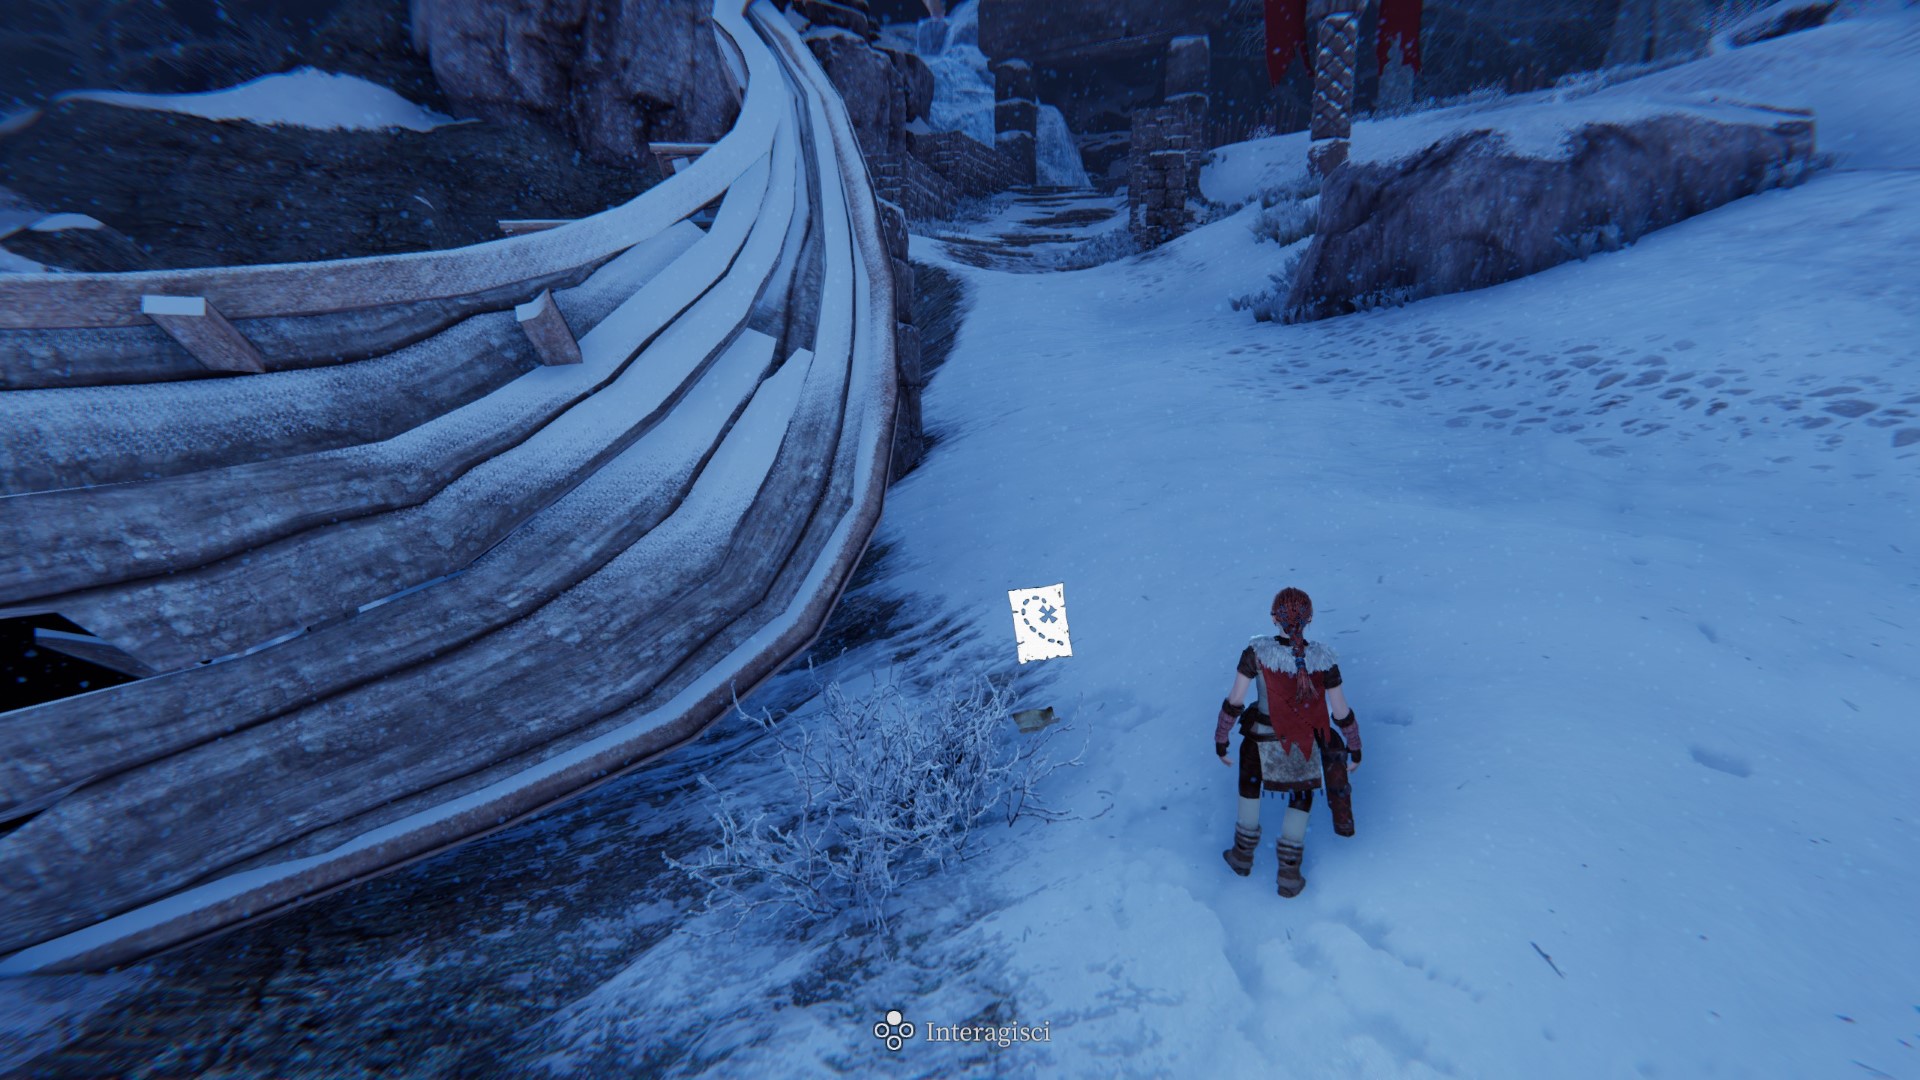
Mark at 54
Zone 46 — Near the beached ship.
Mark at 62
Zone 50 — Near the altar.
Mark at 58
Zone 52 — In front of a tent near a big totem.
Mark at 61
Zone 52 — In a clearing.
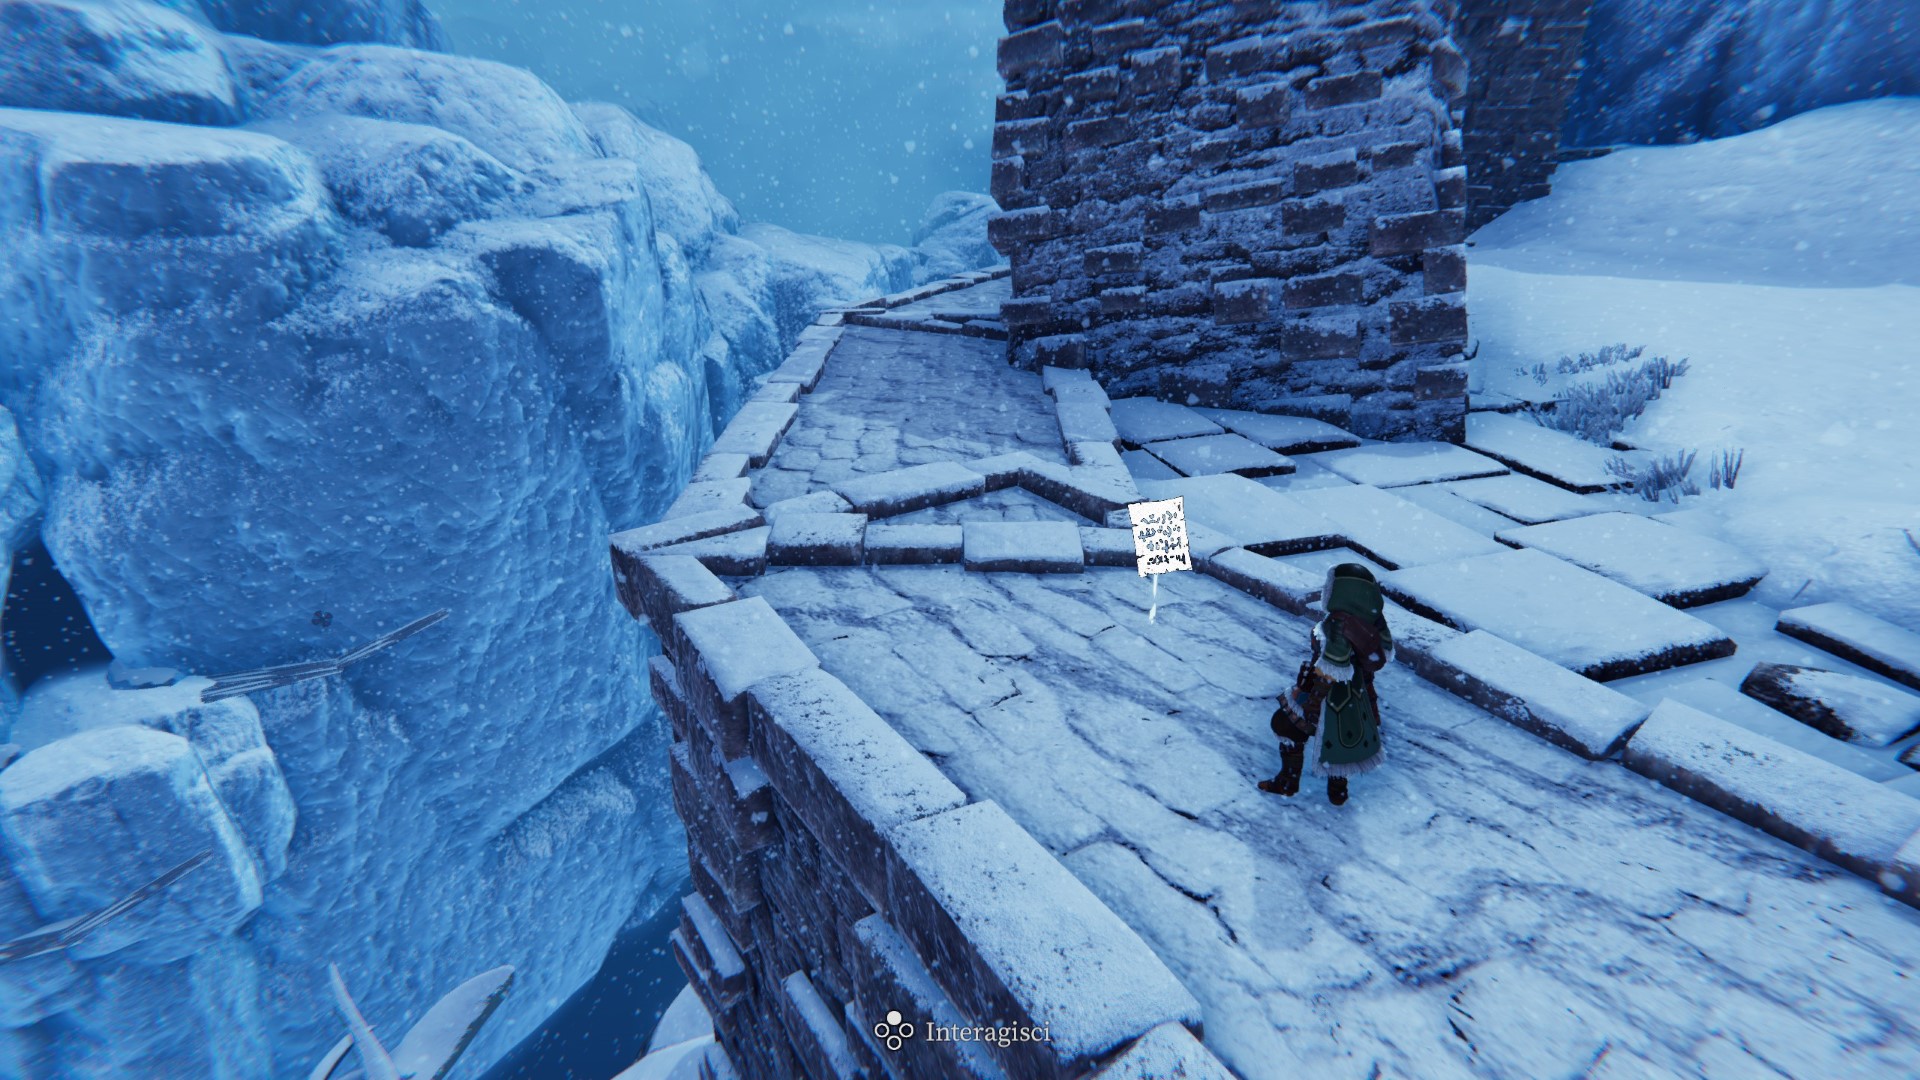
Mark at 71
Zone 56 — In a clearing, on some wooden planks.
Mark at 82
Zone 79 — On a wooden platform behind an icy wall.
List of equipment
Clothes
Medium torso
Zone 26 — Inside the cave, by lighting all the lanterns.
Medium gloves
Zone 43 — Inside the cave, by lighting all the lanterns in the lower secret room (reachable by burning a wooden platform near the entrance).
Medium boots
Zone 15 — Inside the cave, by lighting the eyes of the stone sculpture.

Heavy torso
Zone 71 — By lighting the mouths of the big totems around.
Heavy gloves
Zone 62 — Inside the cave, by lighting all the lanterns.

Heavy boots
Zone 54 — Inside the cave, by pressing the floor switch in the rear area (you have to light the lanterns to reach it) and lowering the water level.
Knight’s armor
Zone 82 — Inside the cave, in the innermost area (a lot of stamina is required).

Knight’s gloves
Zone 58 — Inside the cave, by lighting the orbs with the energy spheres fired by the worms (the soul arrows also work).
Knight’s boots
Zone 61 — Inside the cave, by lowering the water level and lighting the orbs with the energy spheres fired by the worms (the soul arrows also work).
Gears
Soul bow
Zone 19 — Dropped by the champion, after defeating them.
Soul hook
Zone 36 — Dropped by the champion, after defeating them.

Soul blade
Zone 60 — Dropped by the champion, after defeating them.

Elite axe
Zone 68 — Inside the cave, in the secret room behind the gate (reached by opening the grate in the lower ceiling near the entrance, thanks to a floor switch nearby).