Are you tired of staring at a frozen Start Menu on your Windows 11? Frustrated by the lack of responsiveness and functionality?
Don’t worry, you’re not alone. Countless users have been struggling with this annoying glitch, wondering why the Start Menu is not working correctly.
But fear not, dear reader, for we have the answers you seek. In this article, we will delve into the possible solutions to this confounding issue.
From adjusting settings to performing a magical reset with PowerShell, we’ve got you covered. So, grab your troubleshooting hat and let’s dive into the mystical realm of the Windows 11 Start Menu woes.
Start Menu Settings in the Settings Menu
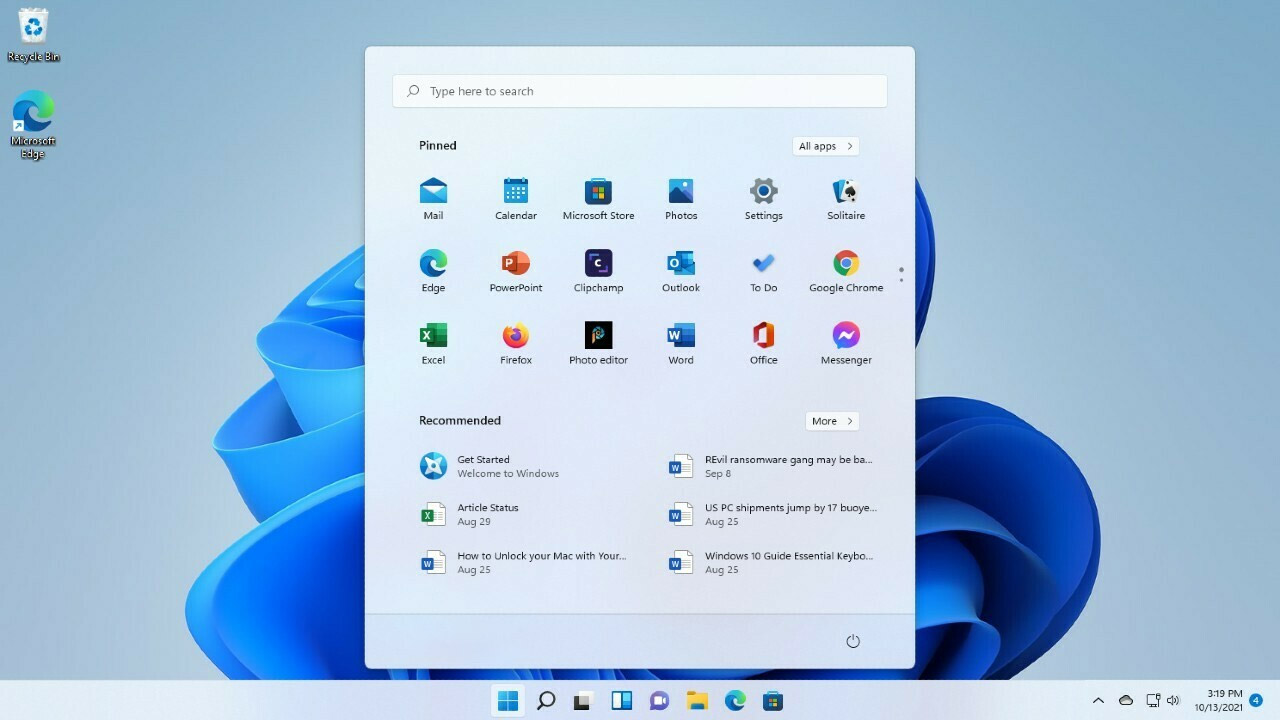
The Start Menu is an essential feature in Windows 11 that allows users to access their applications and settings quickly. However, there are instances when the Start Menu may not work correctly, causing frustration and inconvenience for users.
If you are experiencing issues with your Start Menu in Windows 11, there are several troubleshooting steps you can take to resolve the problem.
One of the first things you should do is check the Start Menu settings in the Settings menu. To do this, click on the Start button in the taskbar, then select “Settings” from the menu.
In the Settings window, navigate to the “Personalization” section and click on “Start”. Here, you will find various options and settings related to the Start Menu.
Ensure that the necessary settings are enabled and configured correctly.
Ensure the Start Menu is enabled
If the Start Menu is not working at all, it is possible that it may have been accidentally disabled. To check if the Start Menu is enabled, go to the “Start” settings in the Settings menu as mentioned earlier.
Under the “Start behaviors” section, make sure the toggle for “Use Start full screen” is set to “Off”. This will enable the traditional Start Menu.
Reset the Start Menu layout
Another troubleshooting step you can take is to reset the Start Menu layout. This can be done by clicking on the “Reset” button under the “Start behaviors” section in the Start settings.
This will revert the Start Menu layout to its default settings and may resolve any issues caused by customizations or changes that were made.
Restarting Windows Explorer
If checking the Start Menu settings did not fix the issue, the next step is to restart Windows Explorer. Windows Explorer is responsible for managing and displaying the user interface, including the Start Menu.
Sometimes, restarting Windows Explorer can refresh the system and resolve any temporary glitches or conflicts that may be affecting the Start Menu.
This will restart the Windows Explorer process and refresh the Start Menu. Check if the Start Menu is working correctly after the restart.
If not, proceed to the next troubleshooting step.
Checking for Windows Updates
Outdated system files or missing updates can sometimes cause compatibility issues and affect the performance of the Start Menu. Therefore, it is essential to check for and install any available Windows updates to ensure optimal functionality.
It may take some time for the updates to download and install, so be patient.
After the restart, check if the Start Menu is now working correctly. If the issue persists, there is one more troubleshooting step you can try.
Resetting the Start Menu using Windows PowerShell command
If all else fails, you can try resetting the Start Menu using a Windows PowerShell command. This command will reset and rebuild the Start Menu database, potentially fixing any underlying issues.
After the restart, check if the Start Menu is functioning correctly. If the issue persists, it may be necessary to seek further assistance from Microsoft support or consider reinstalling Windows 11 to ensure a seamless experience.