Pictures for how to get all of the stars in every level.
About stabilizing
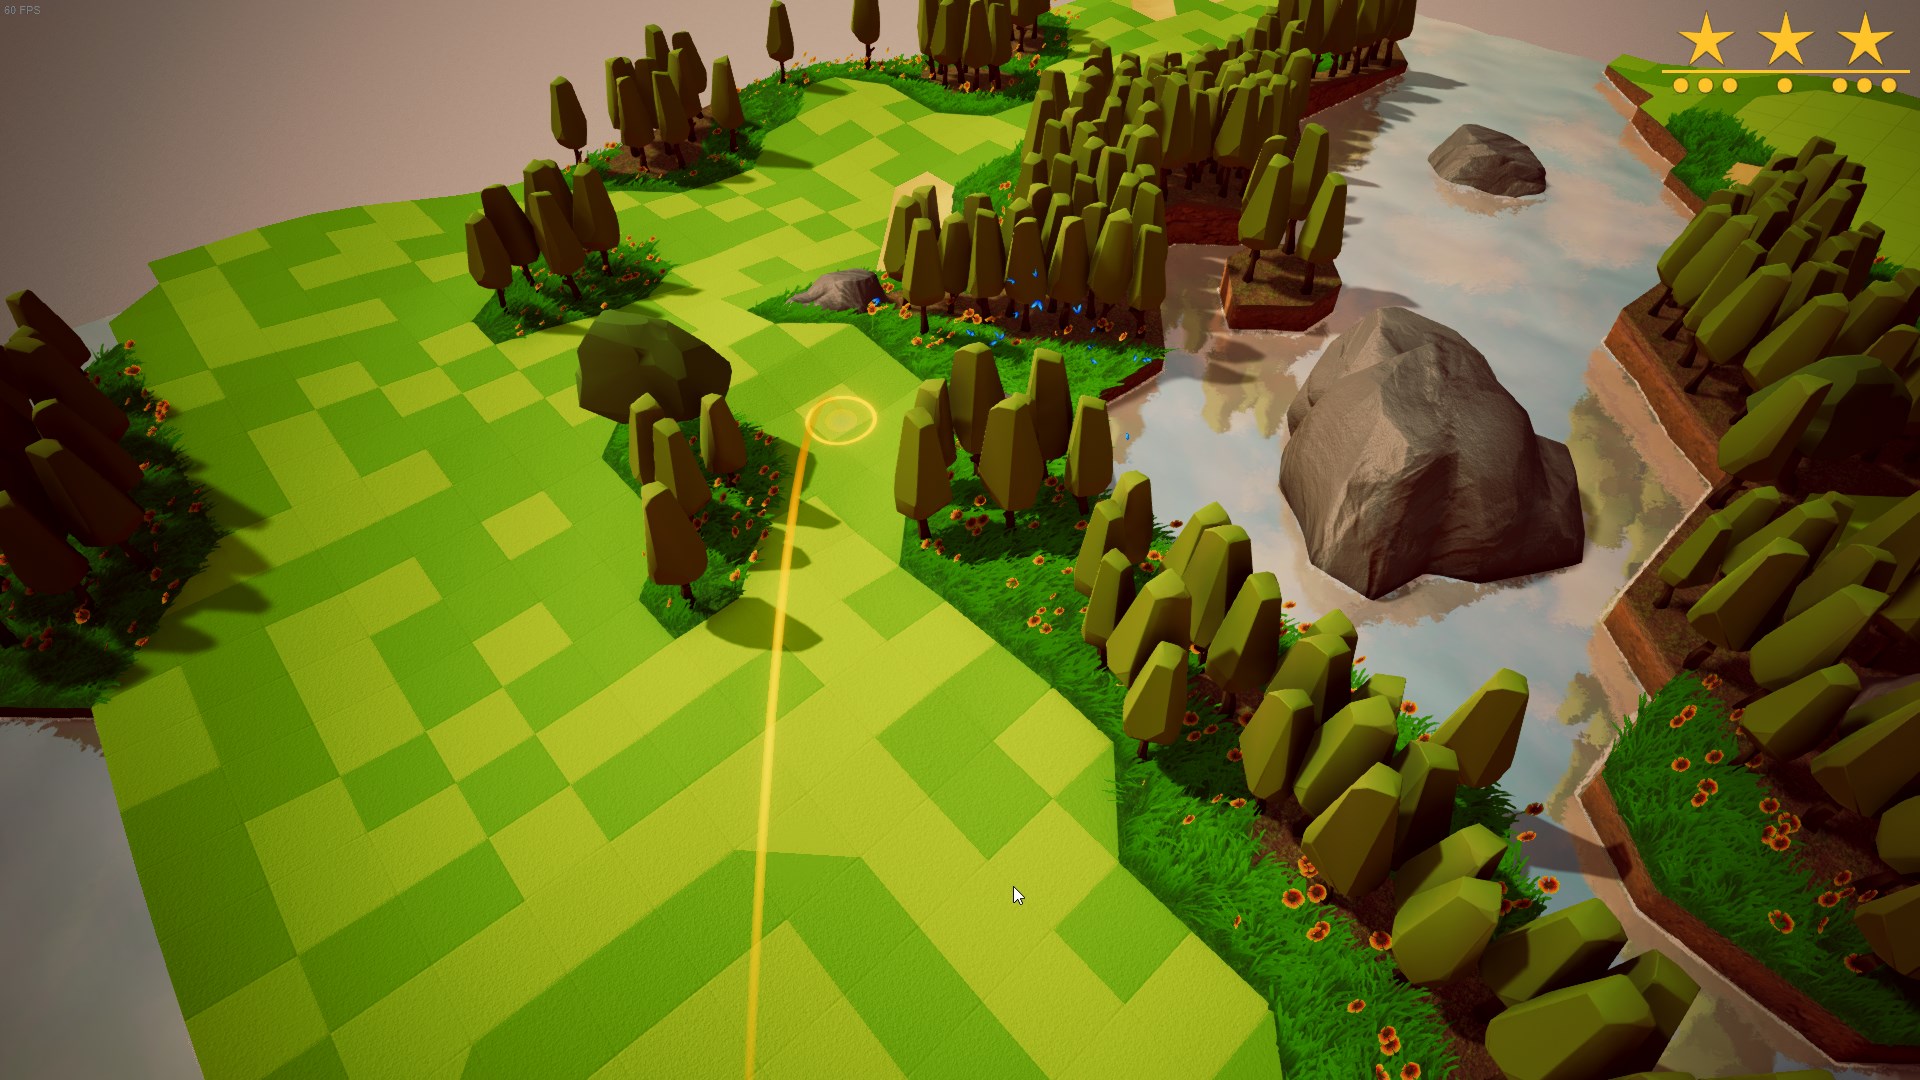
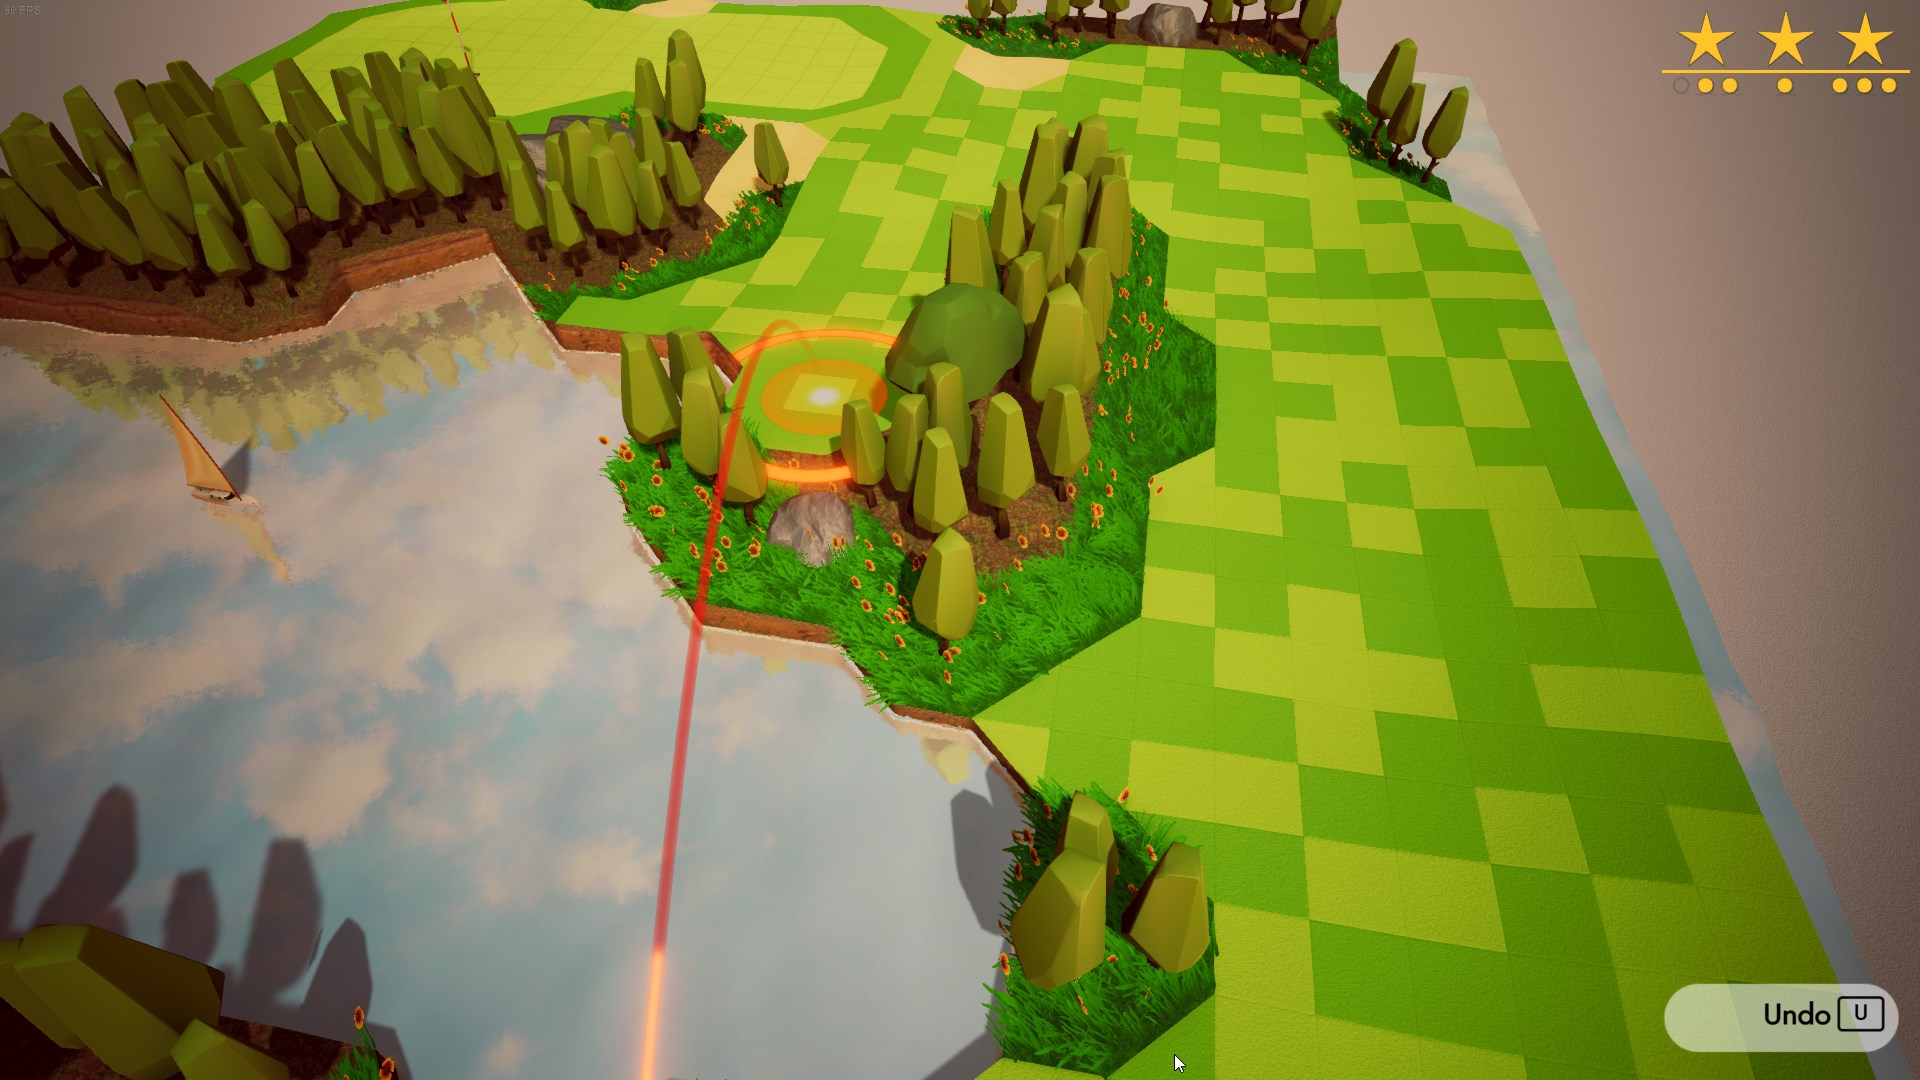
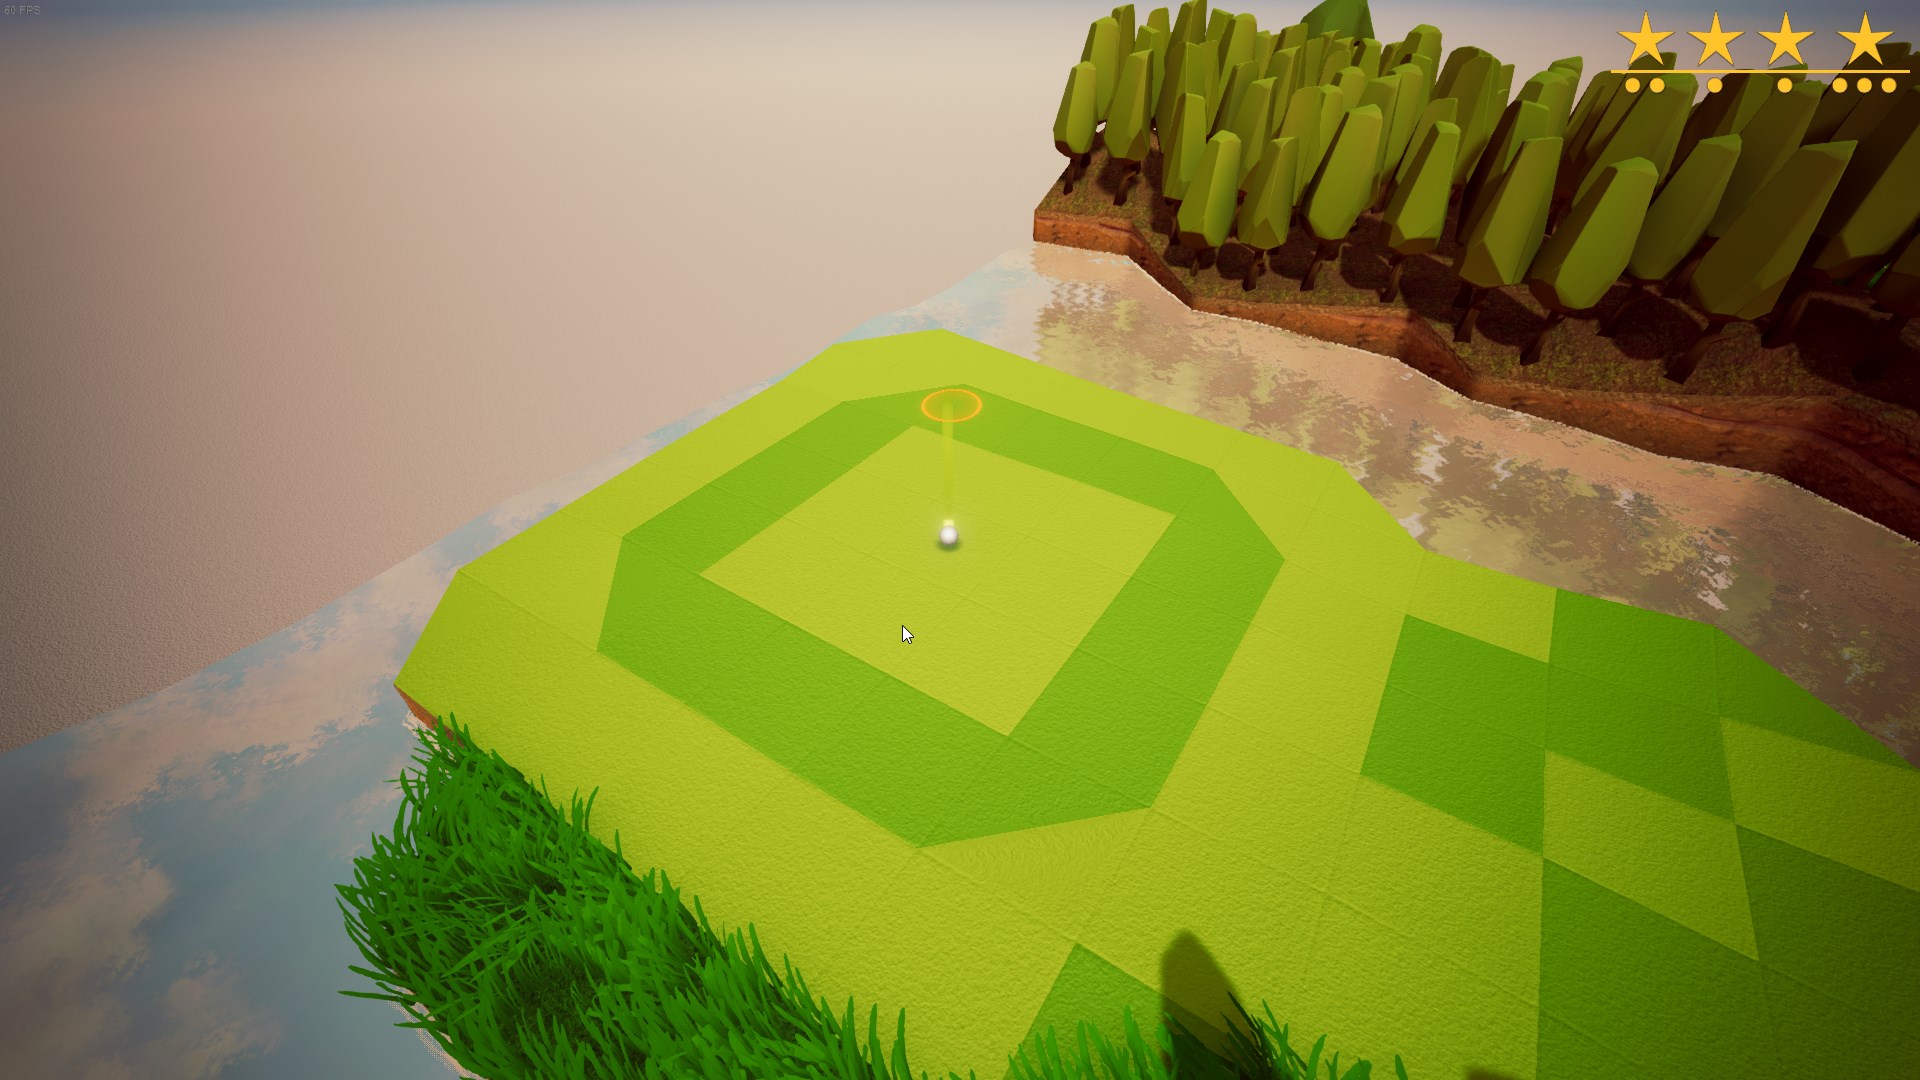
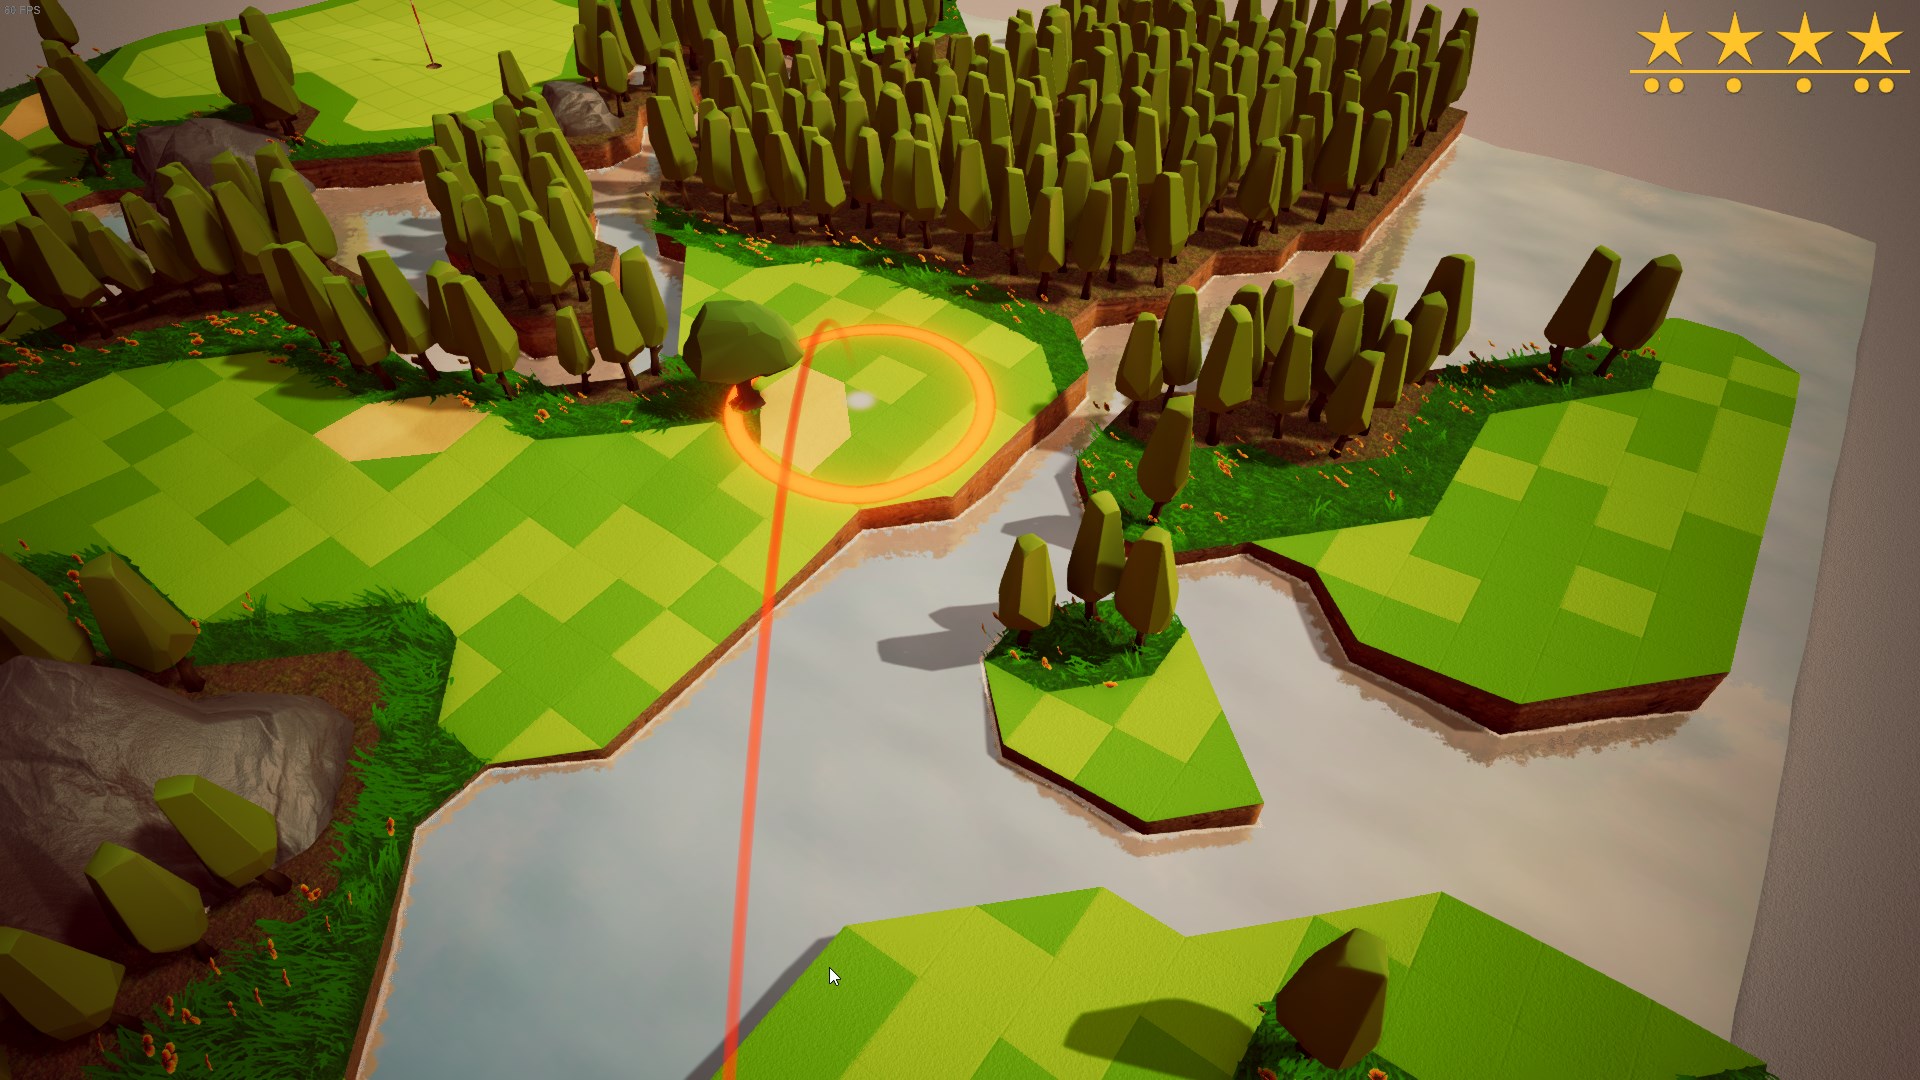
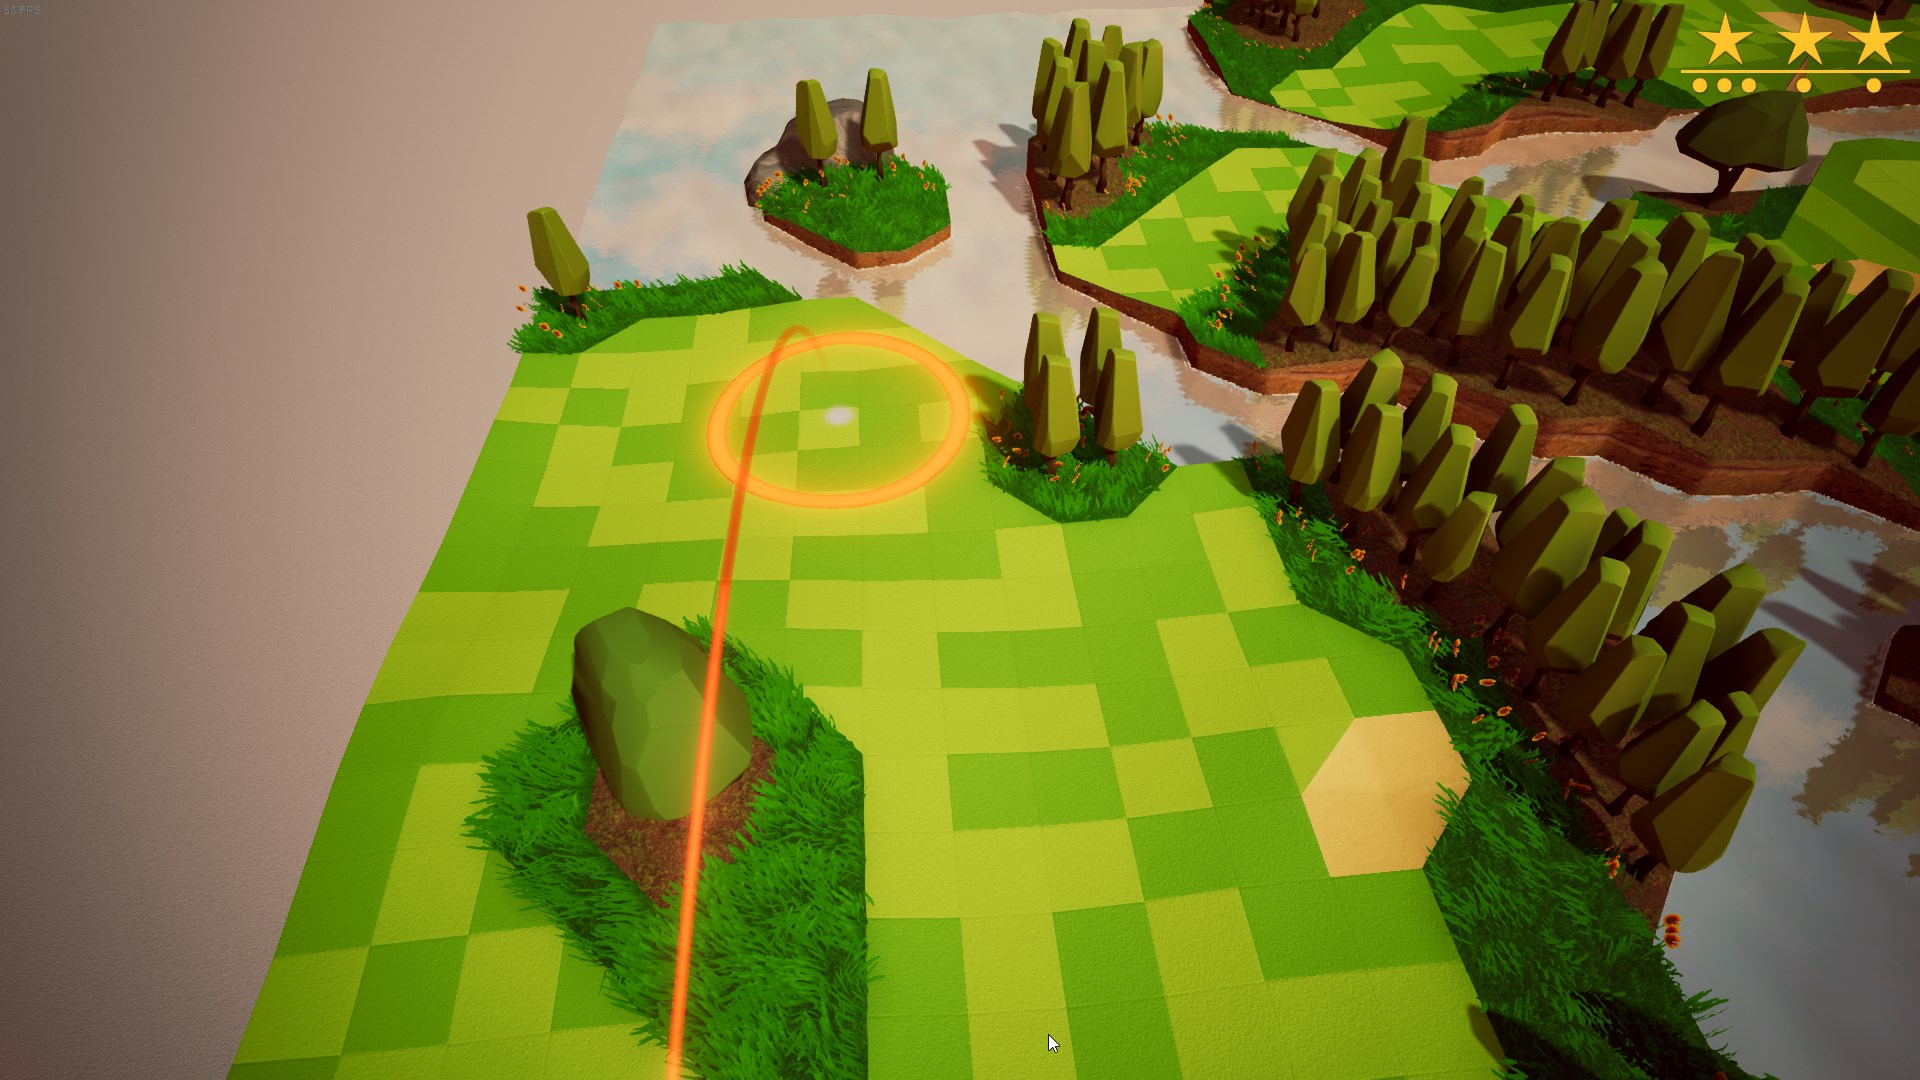
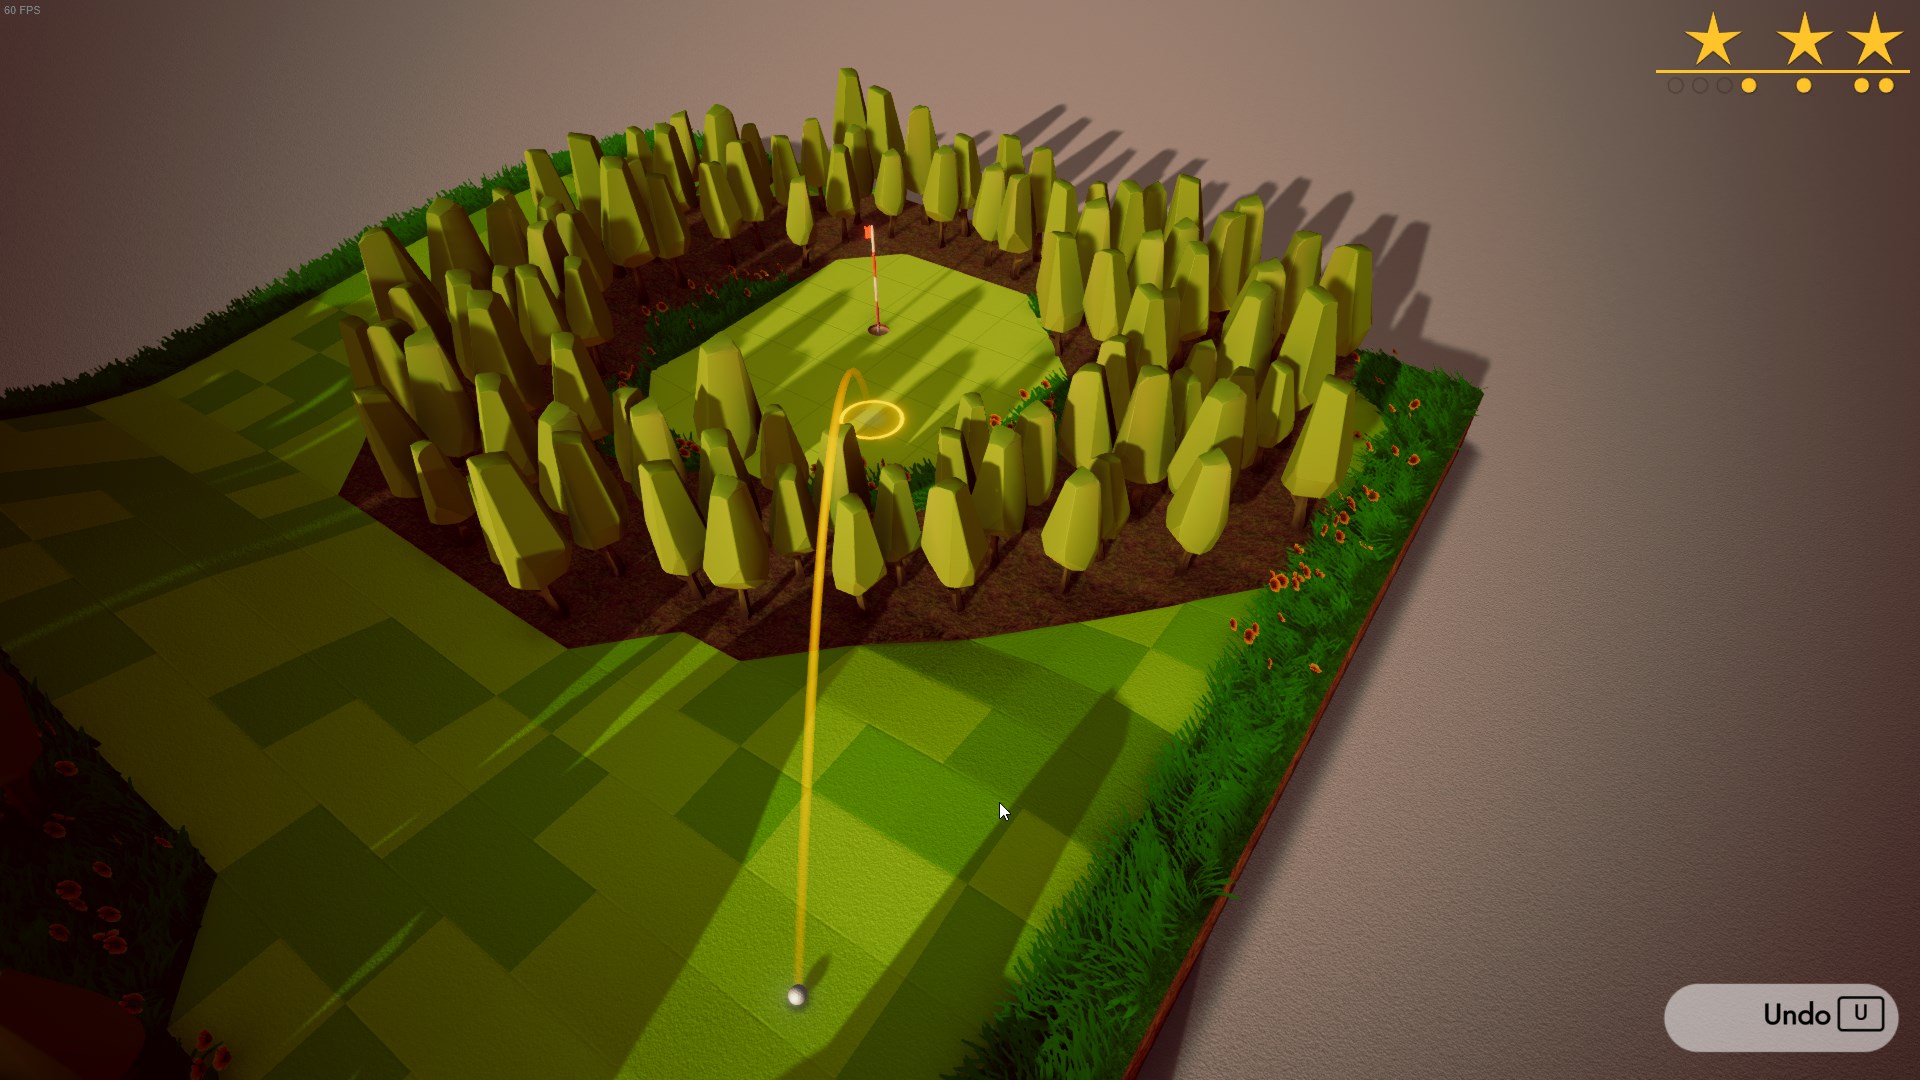
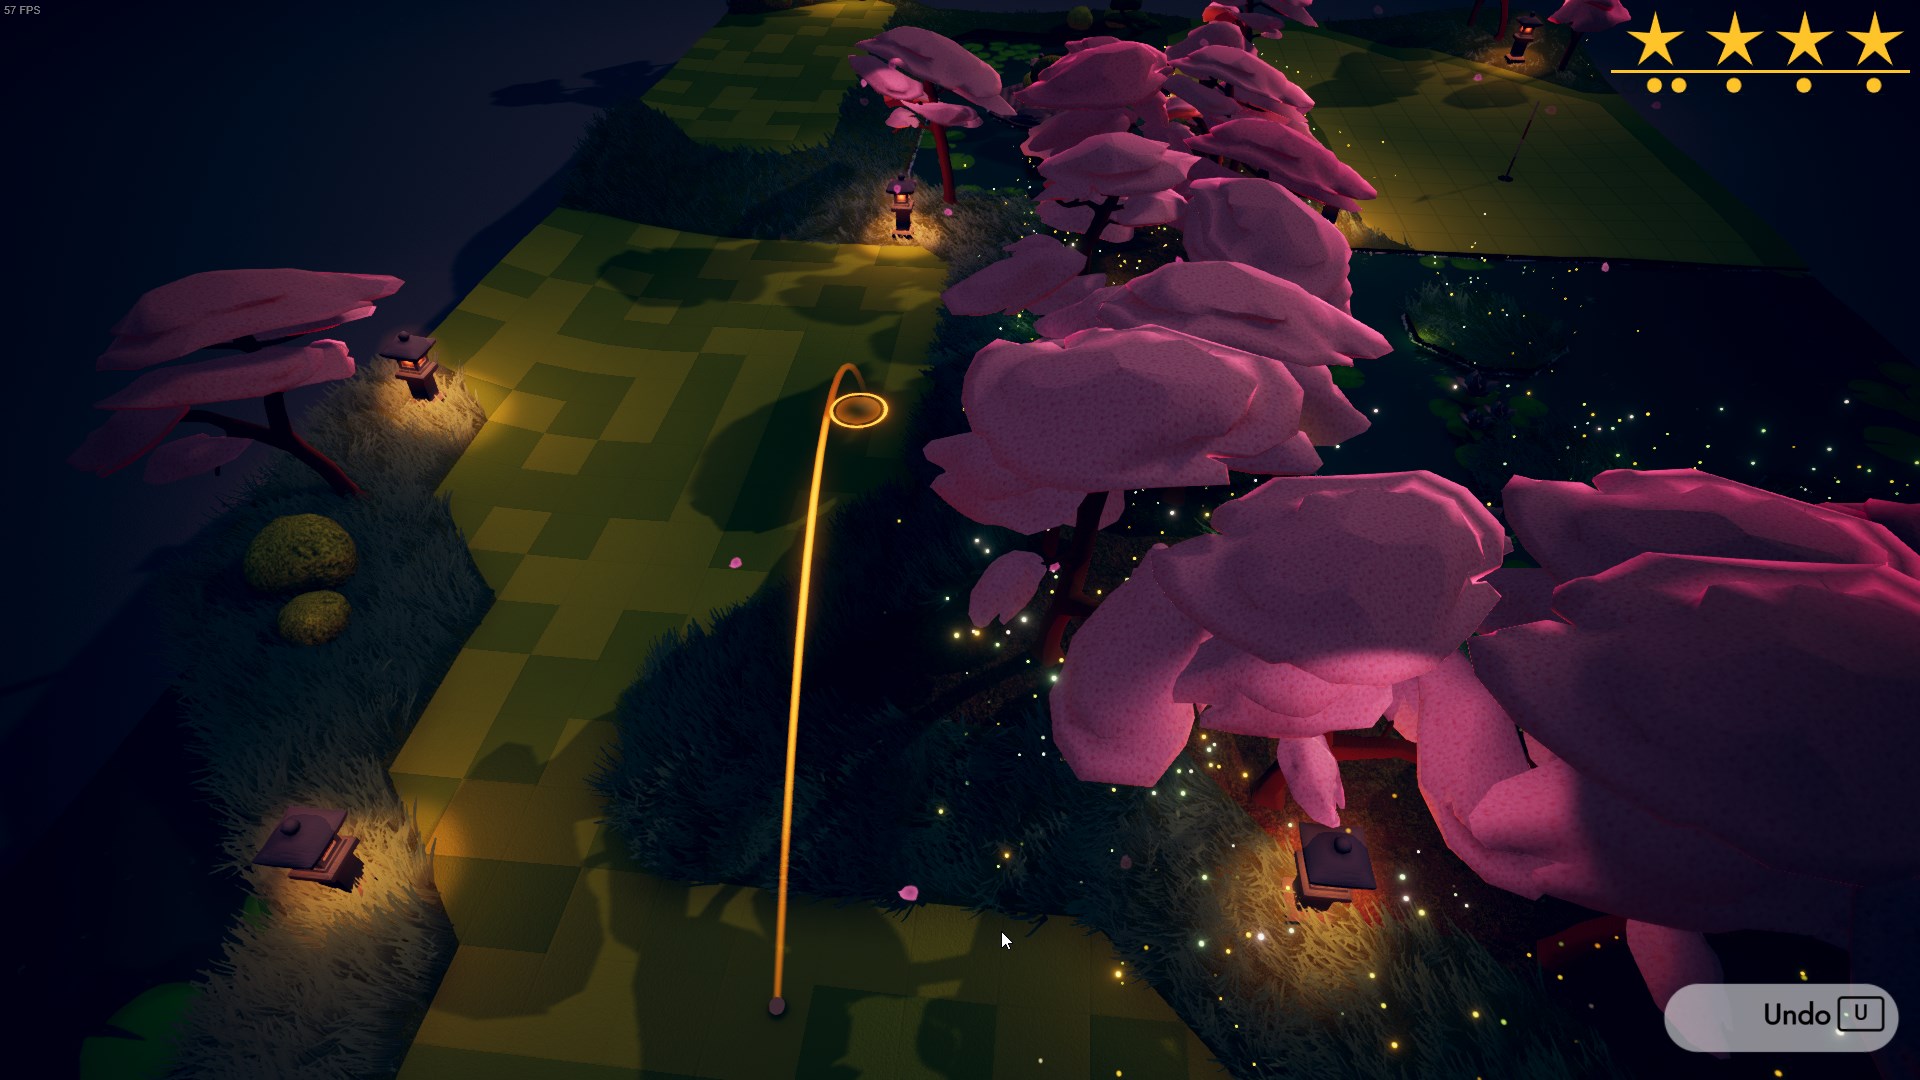
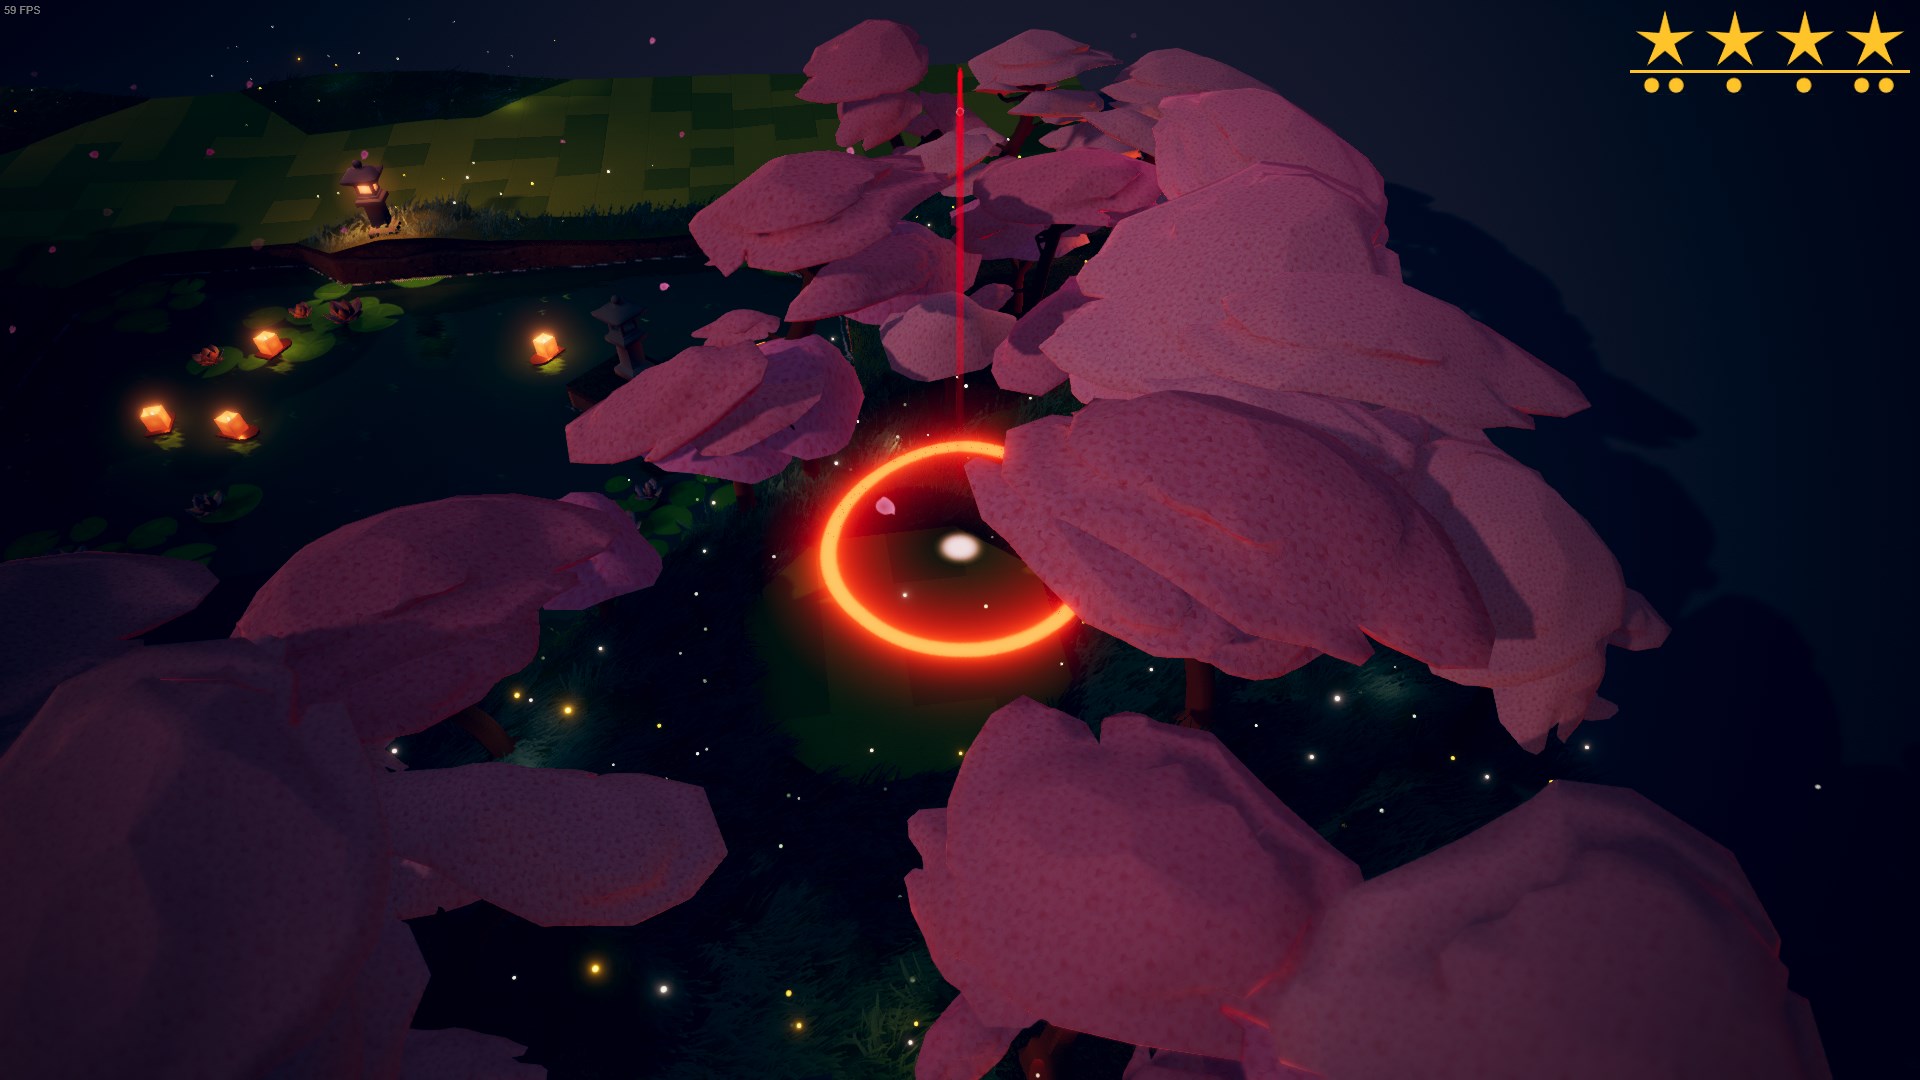
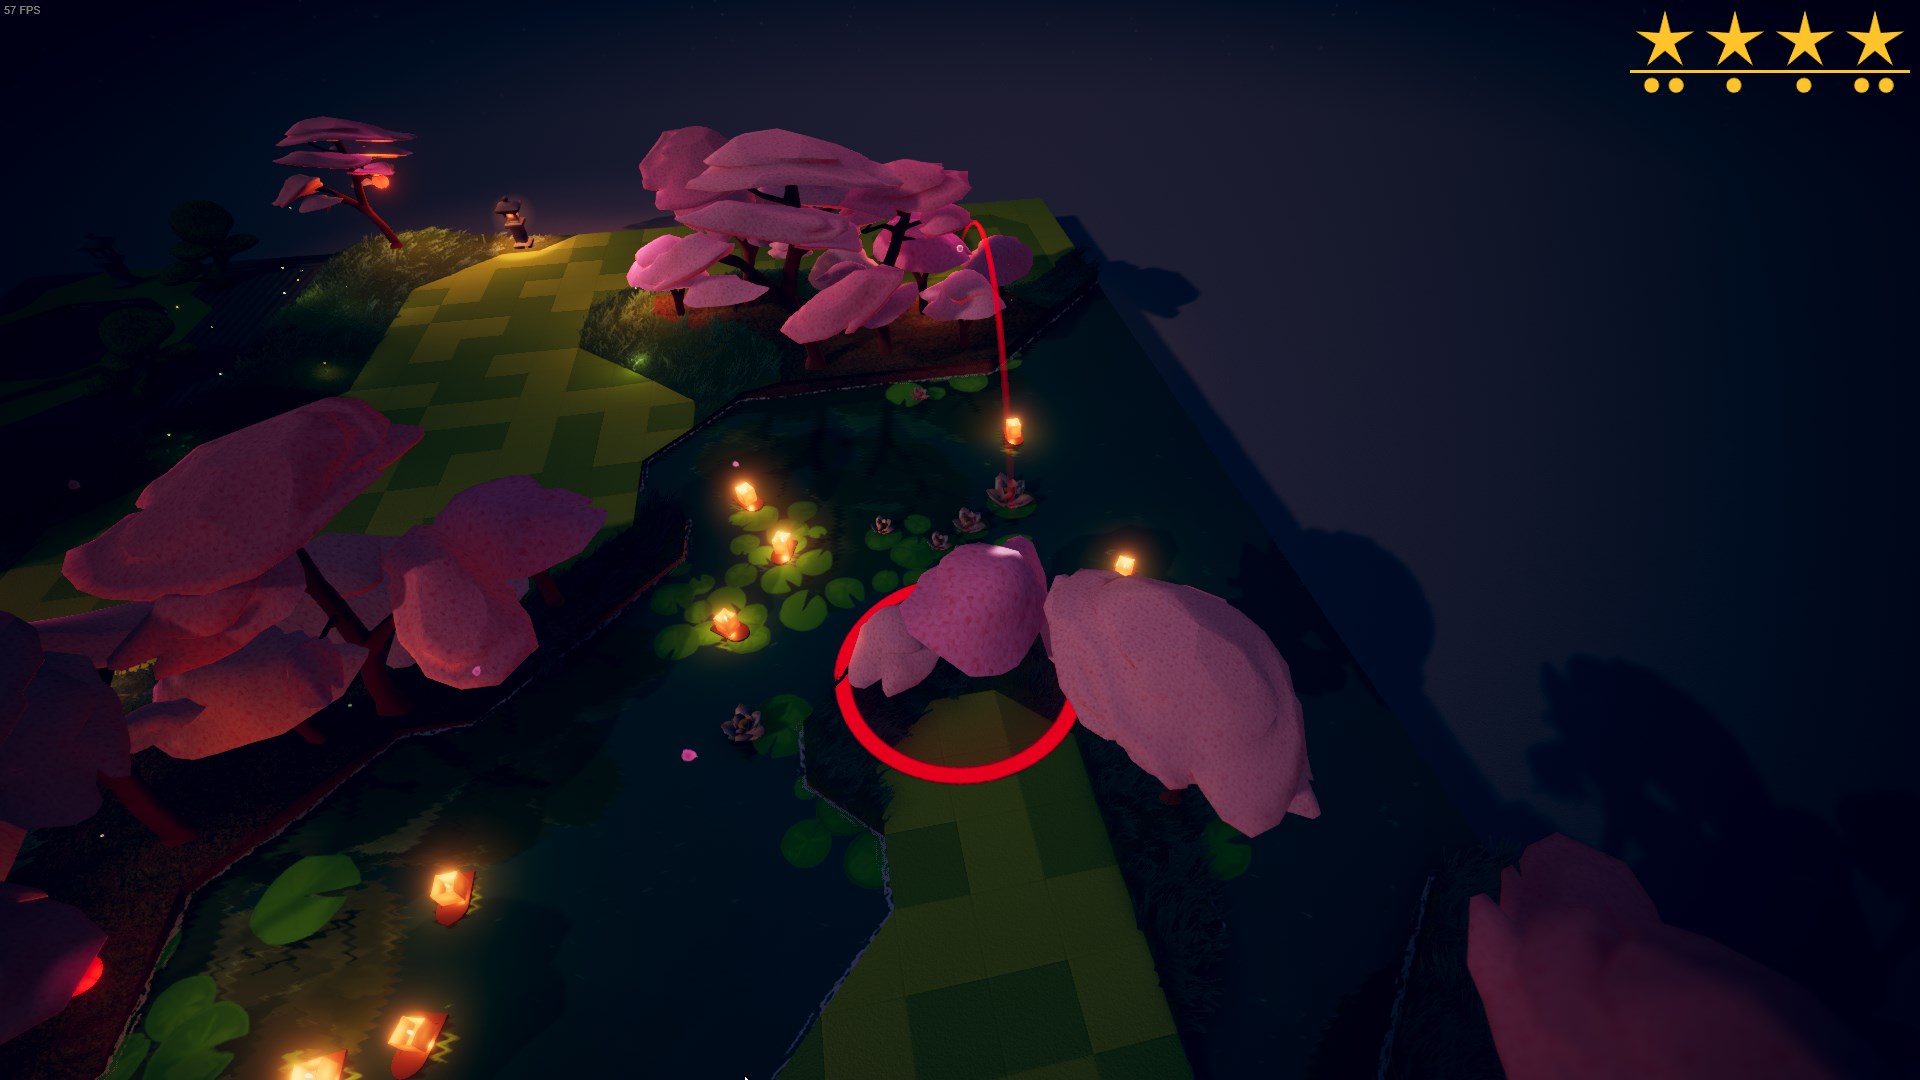
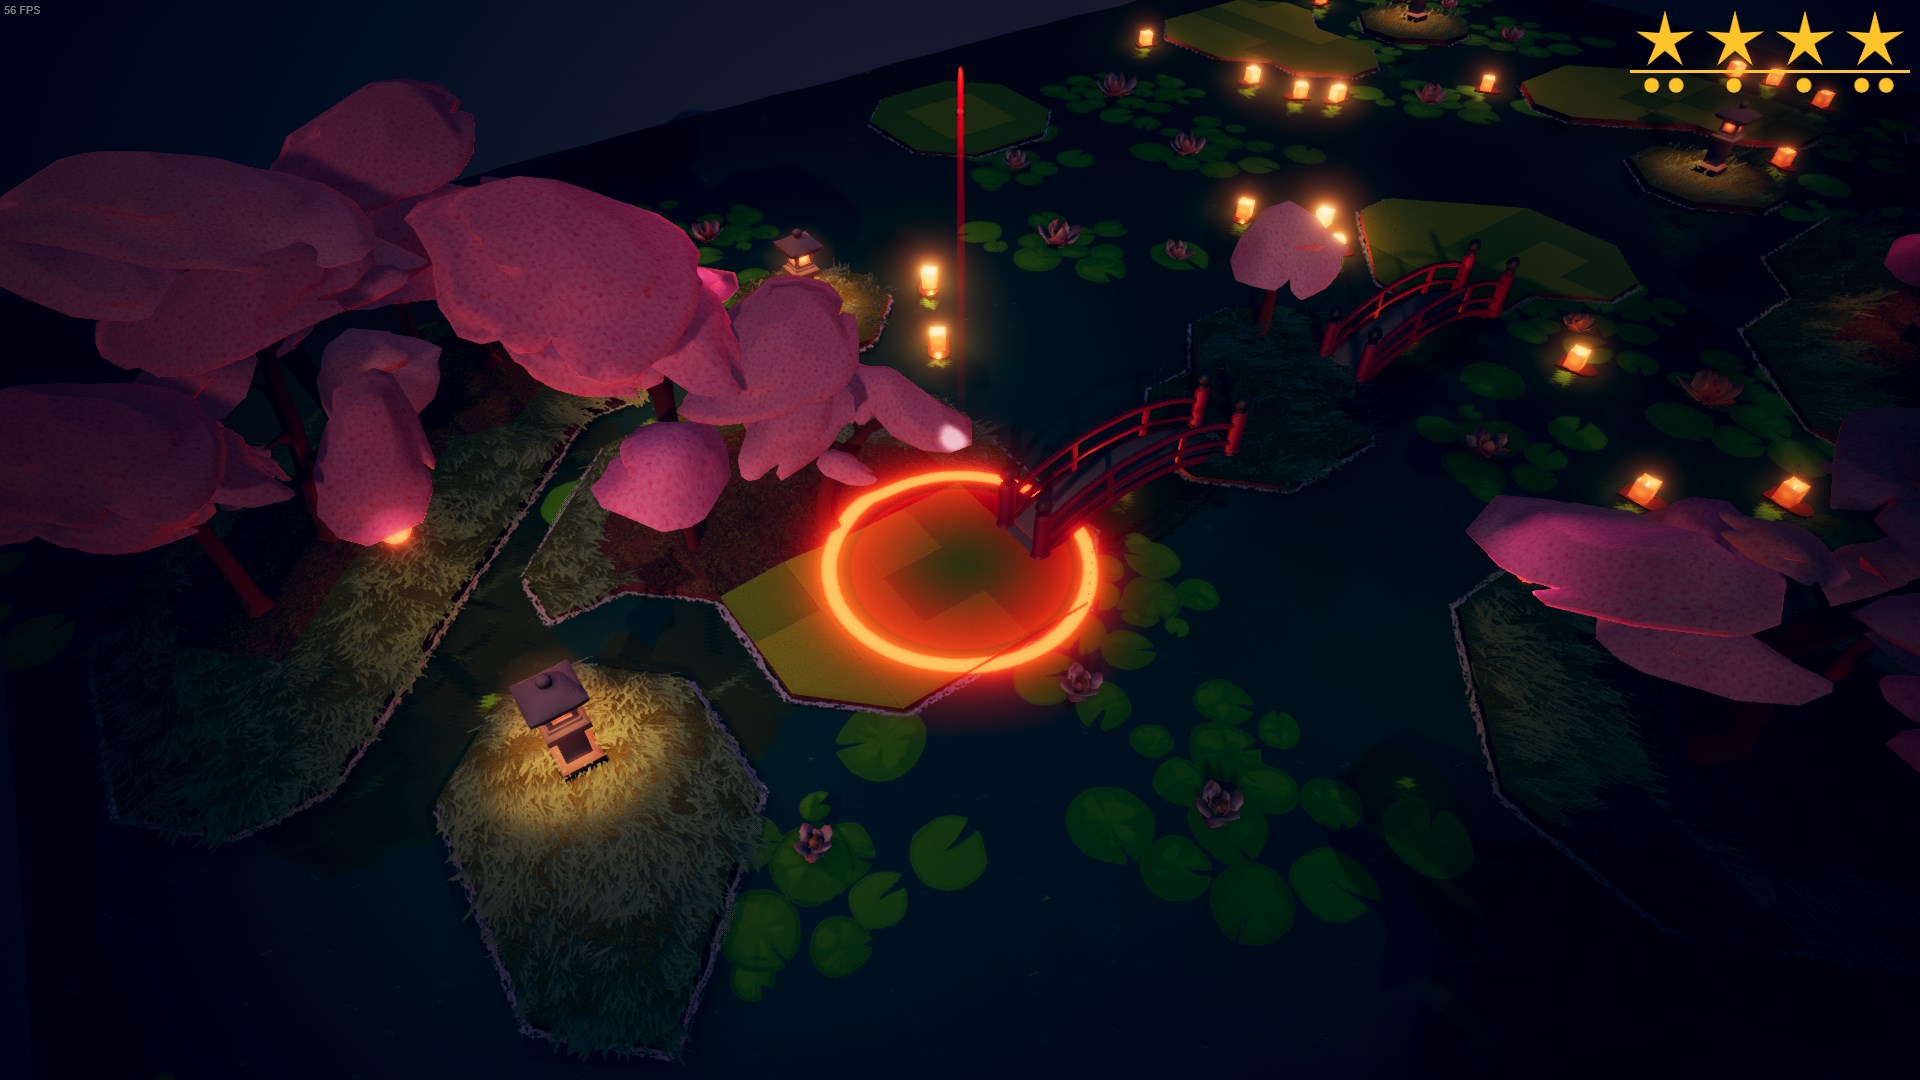
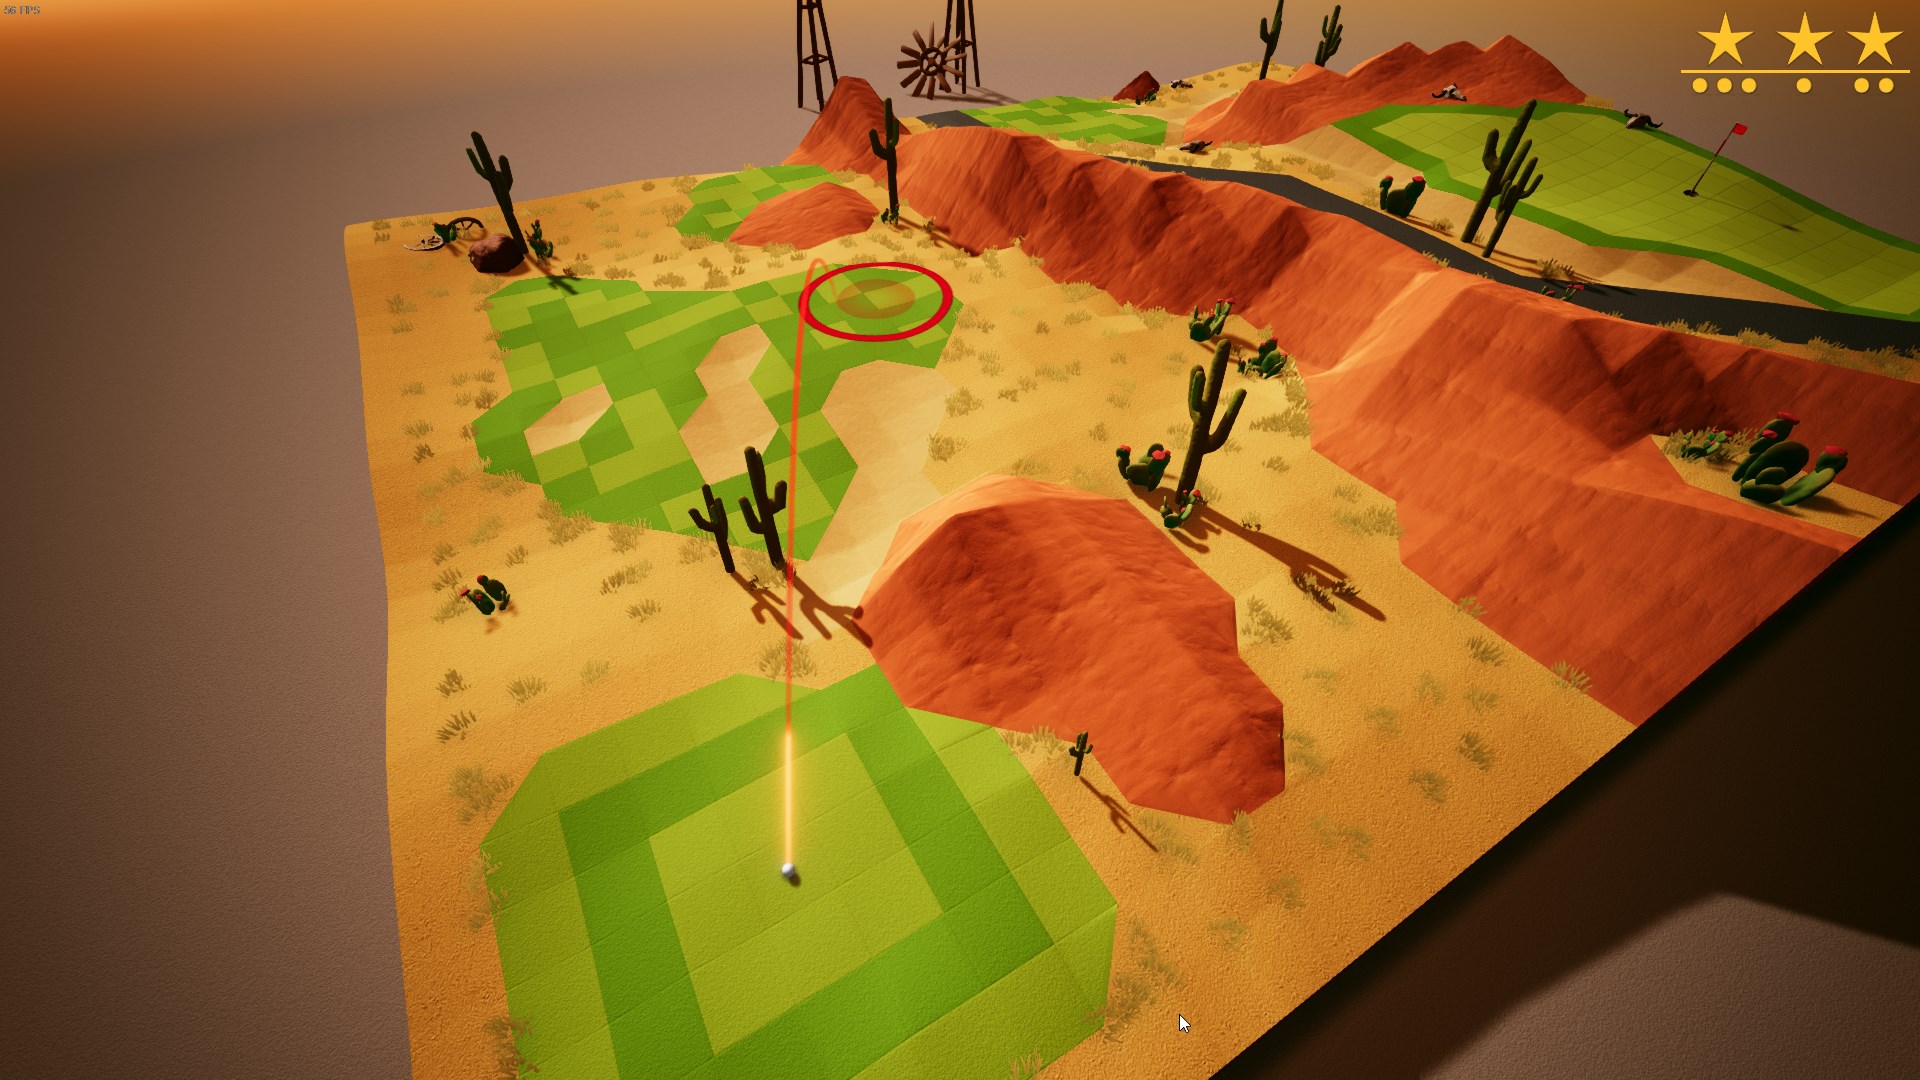
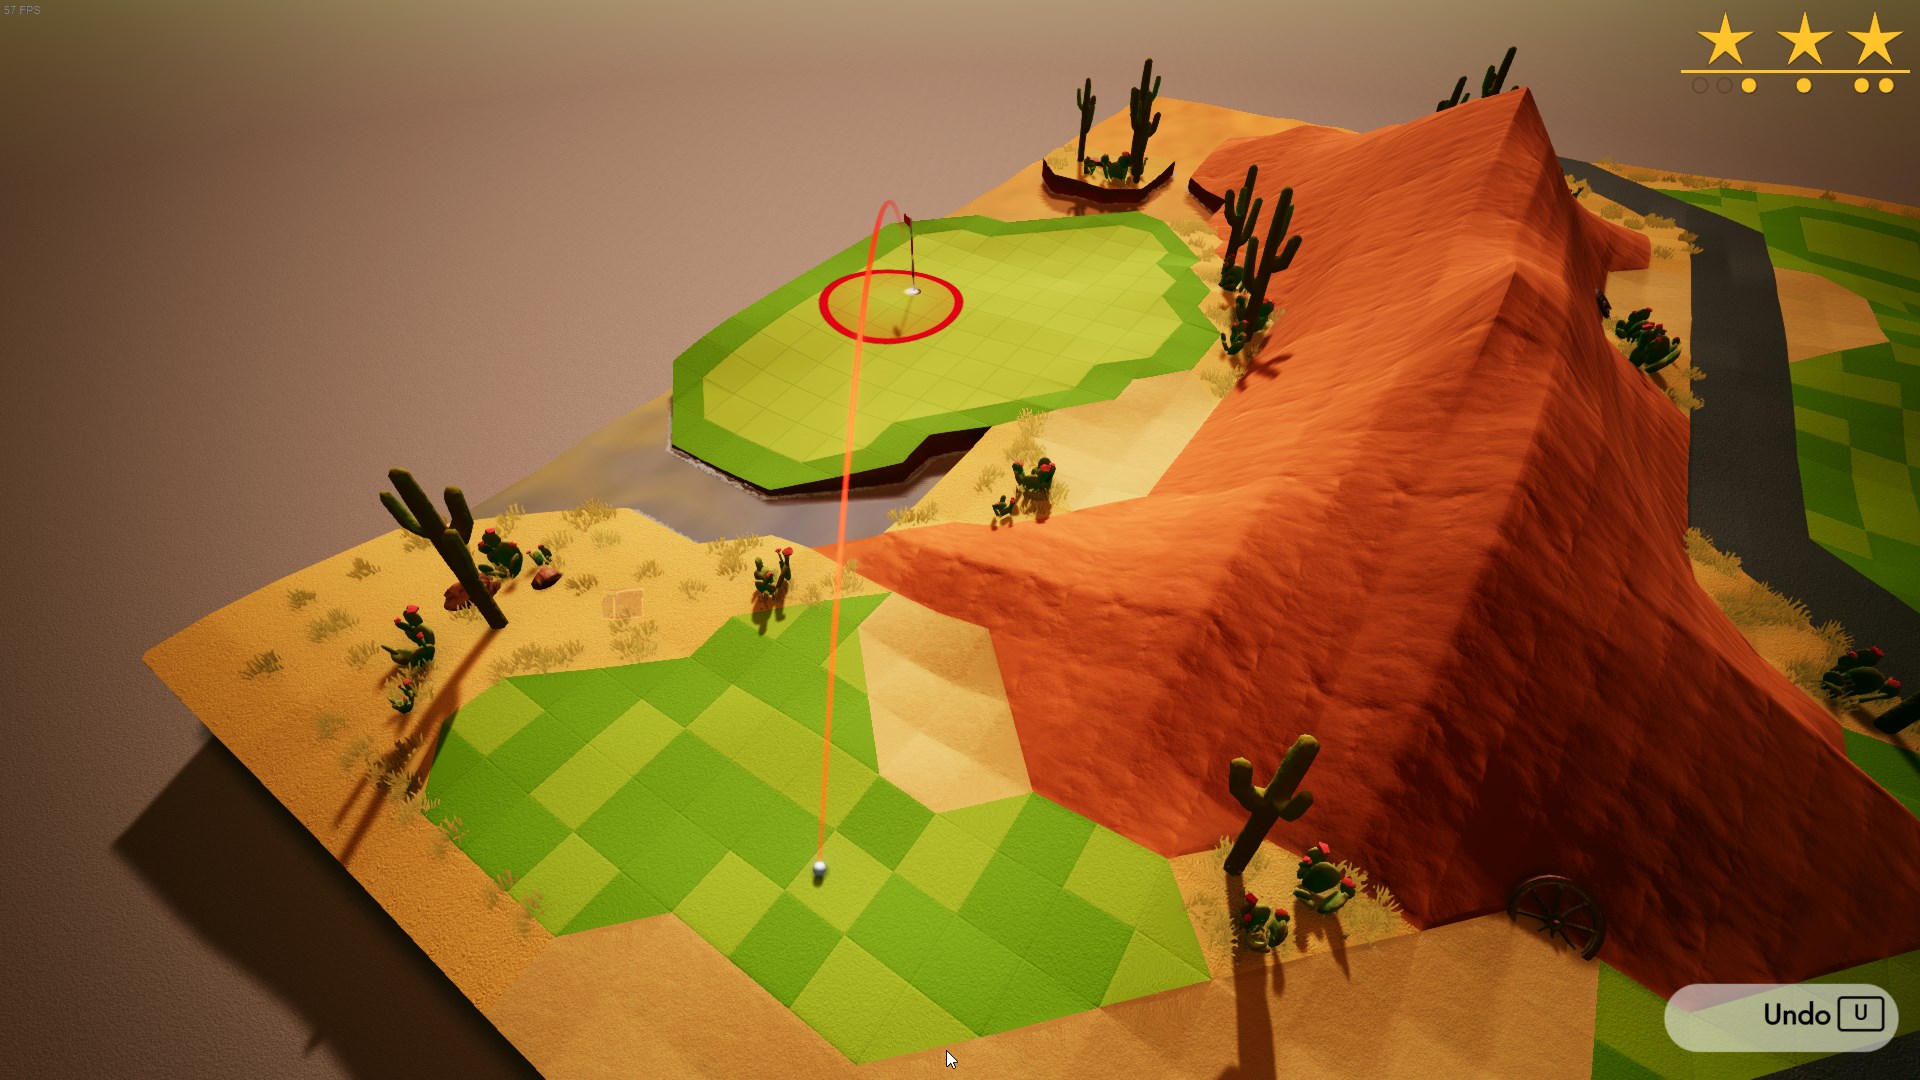
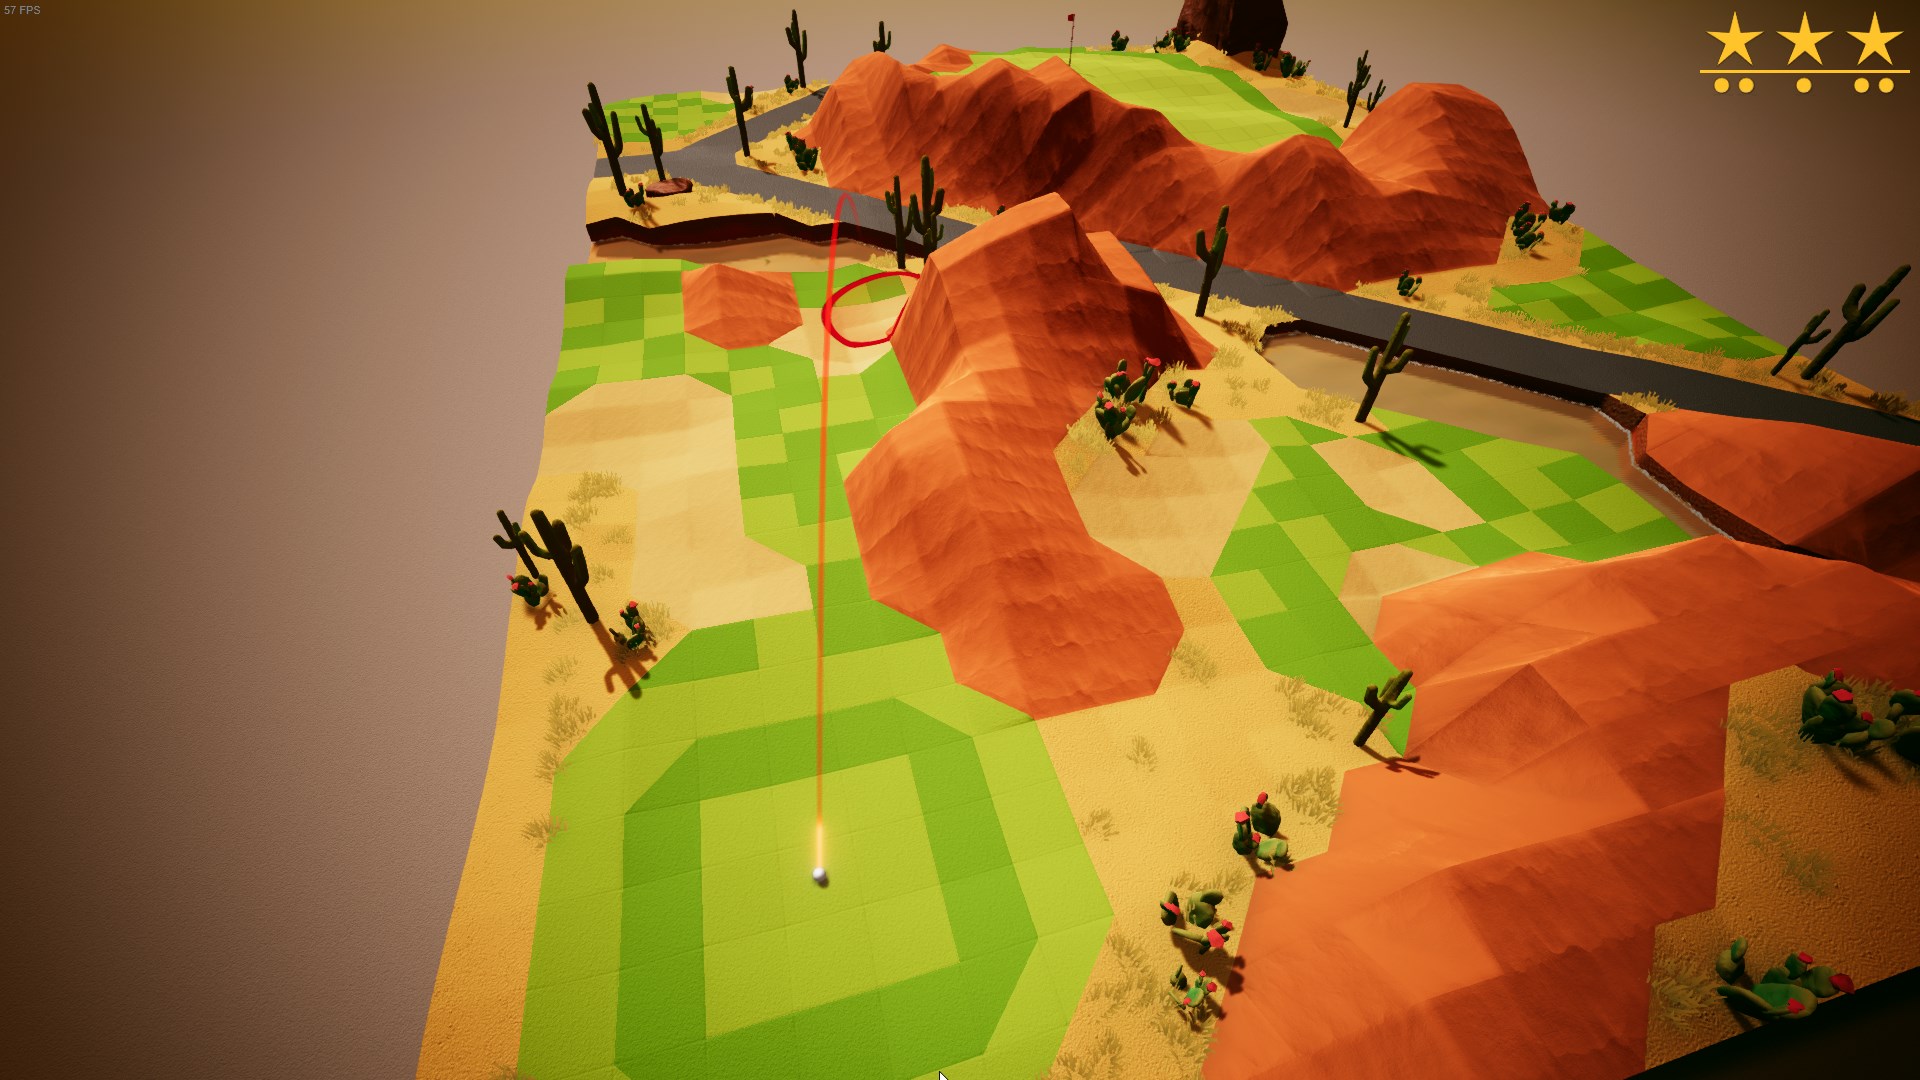
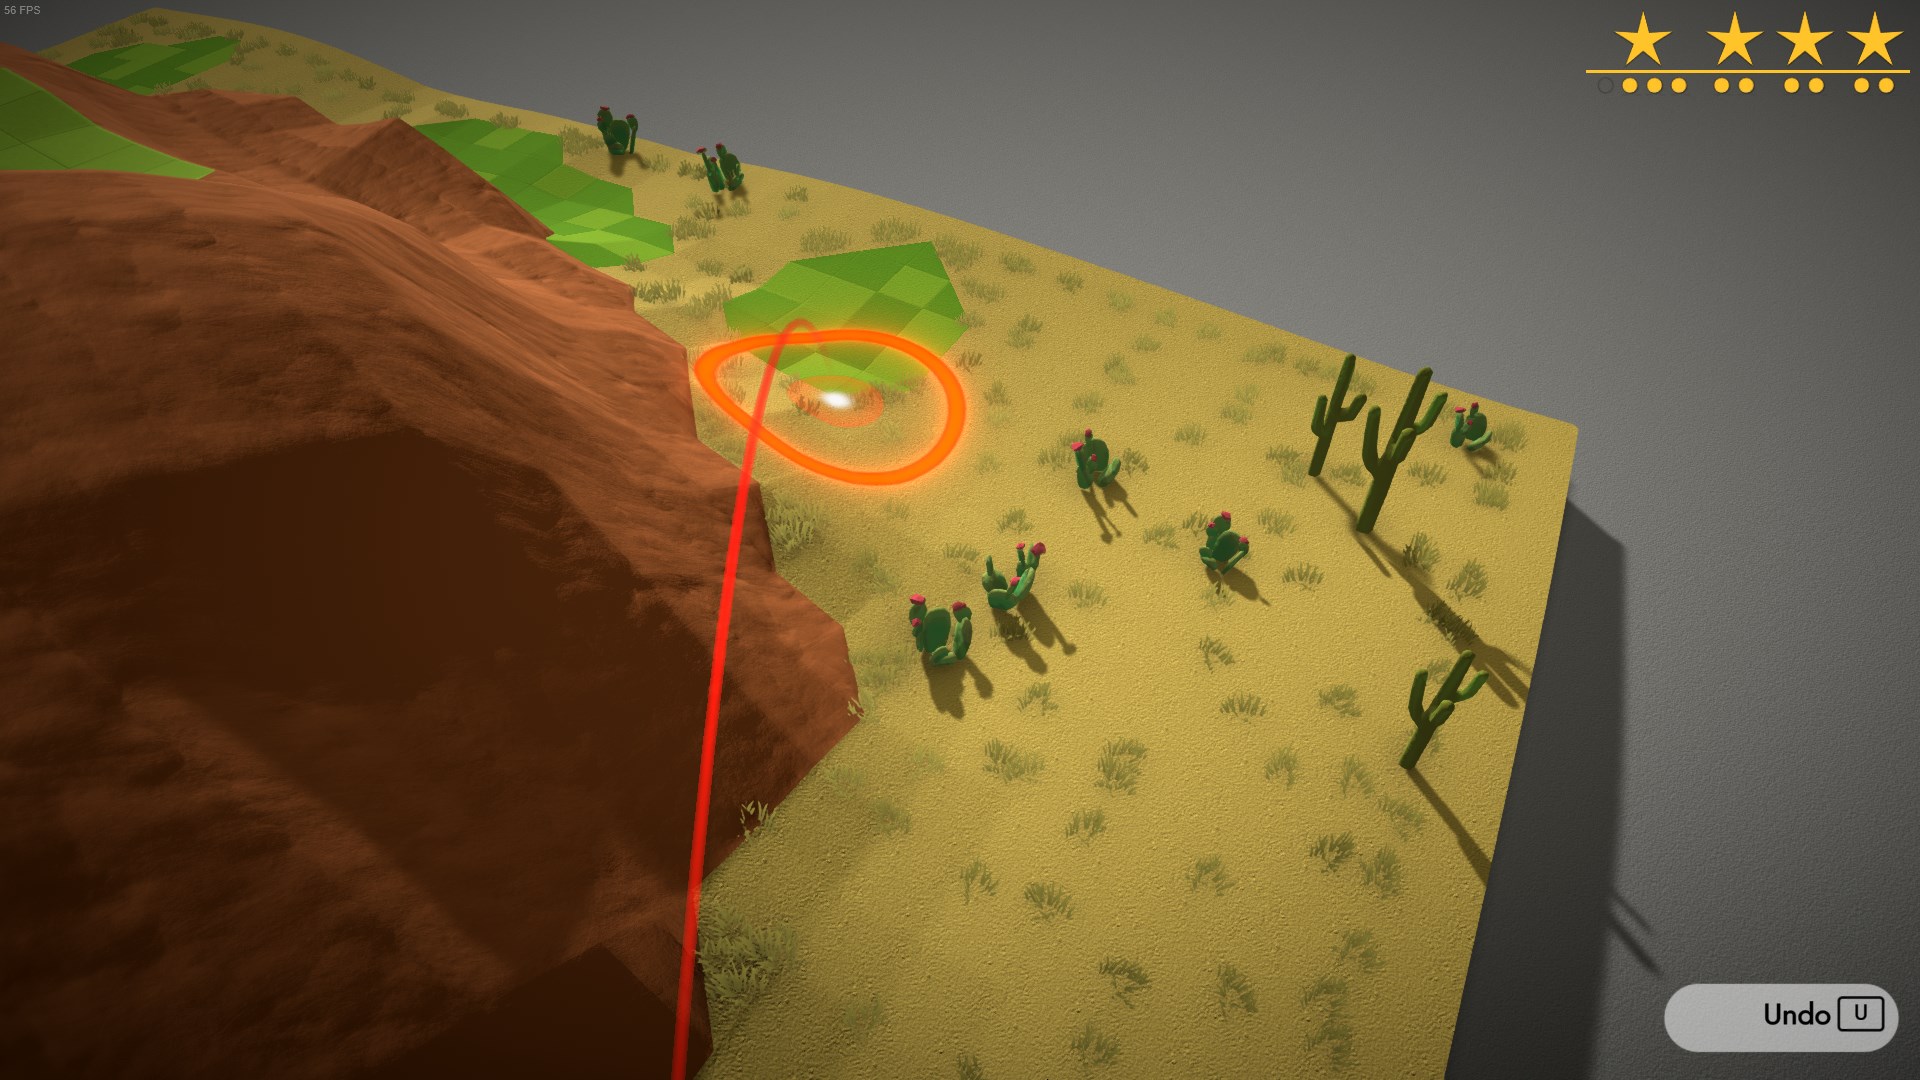
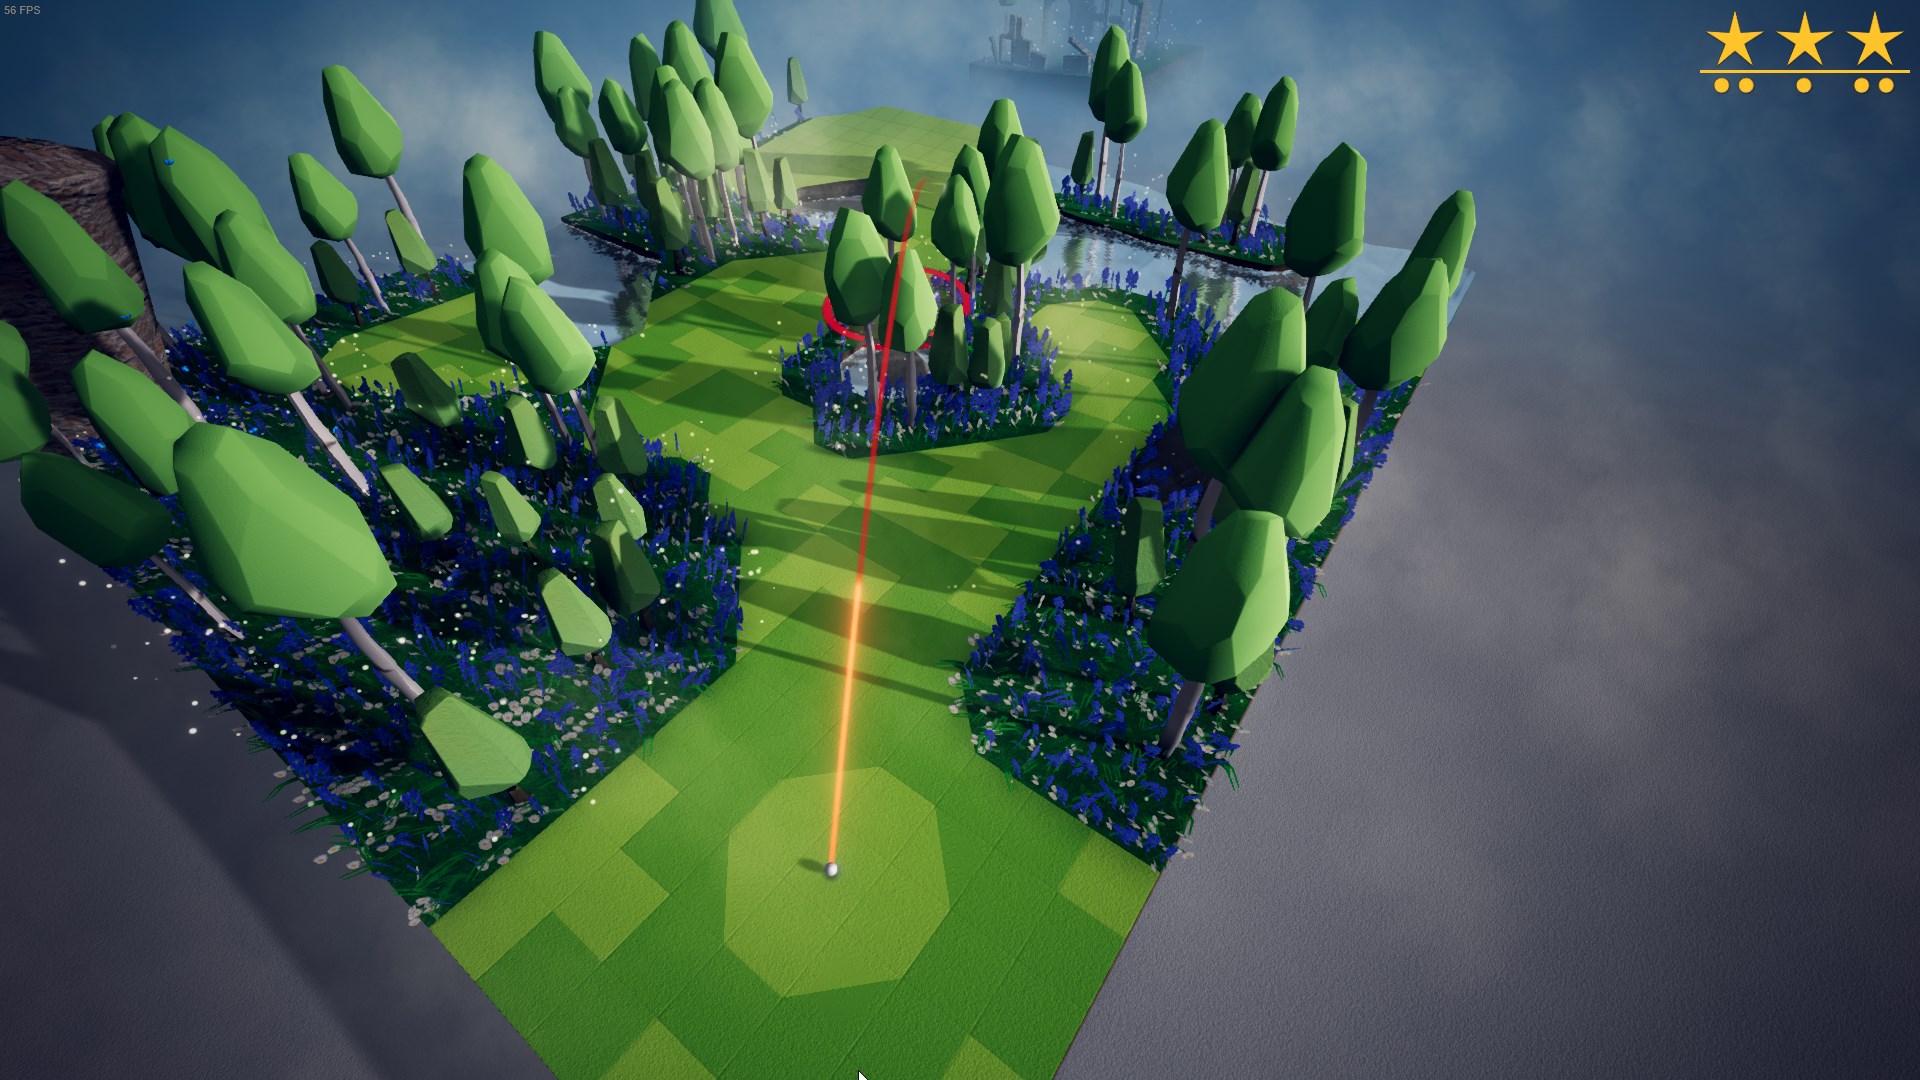
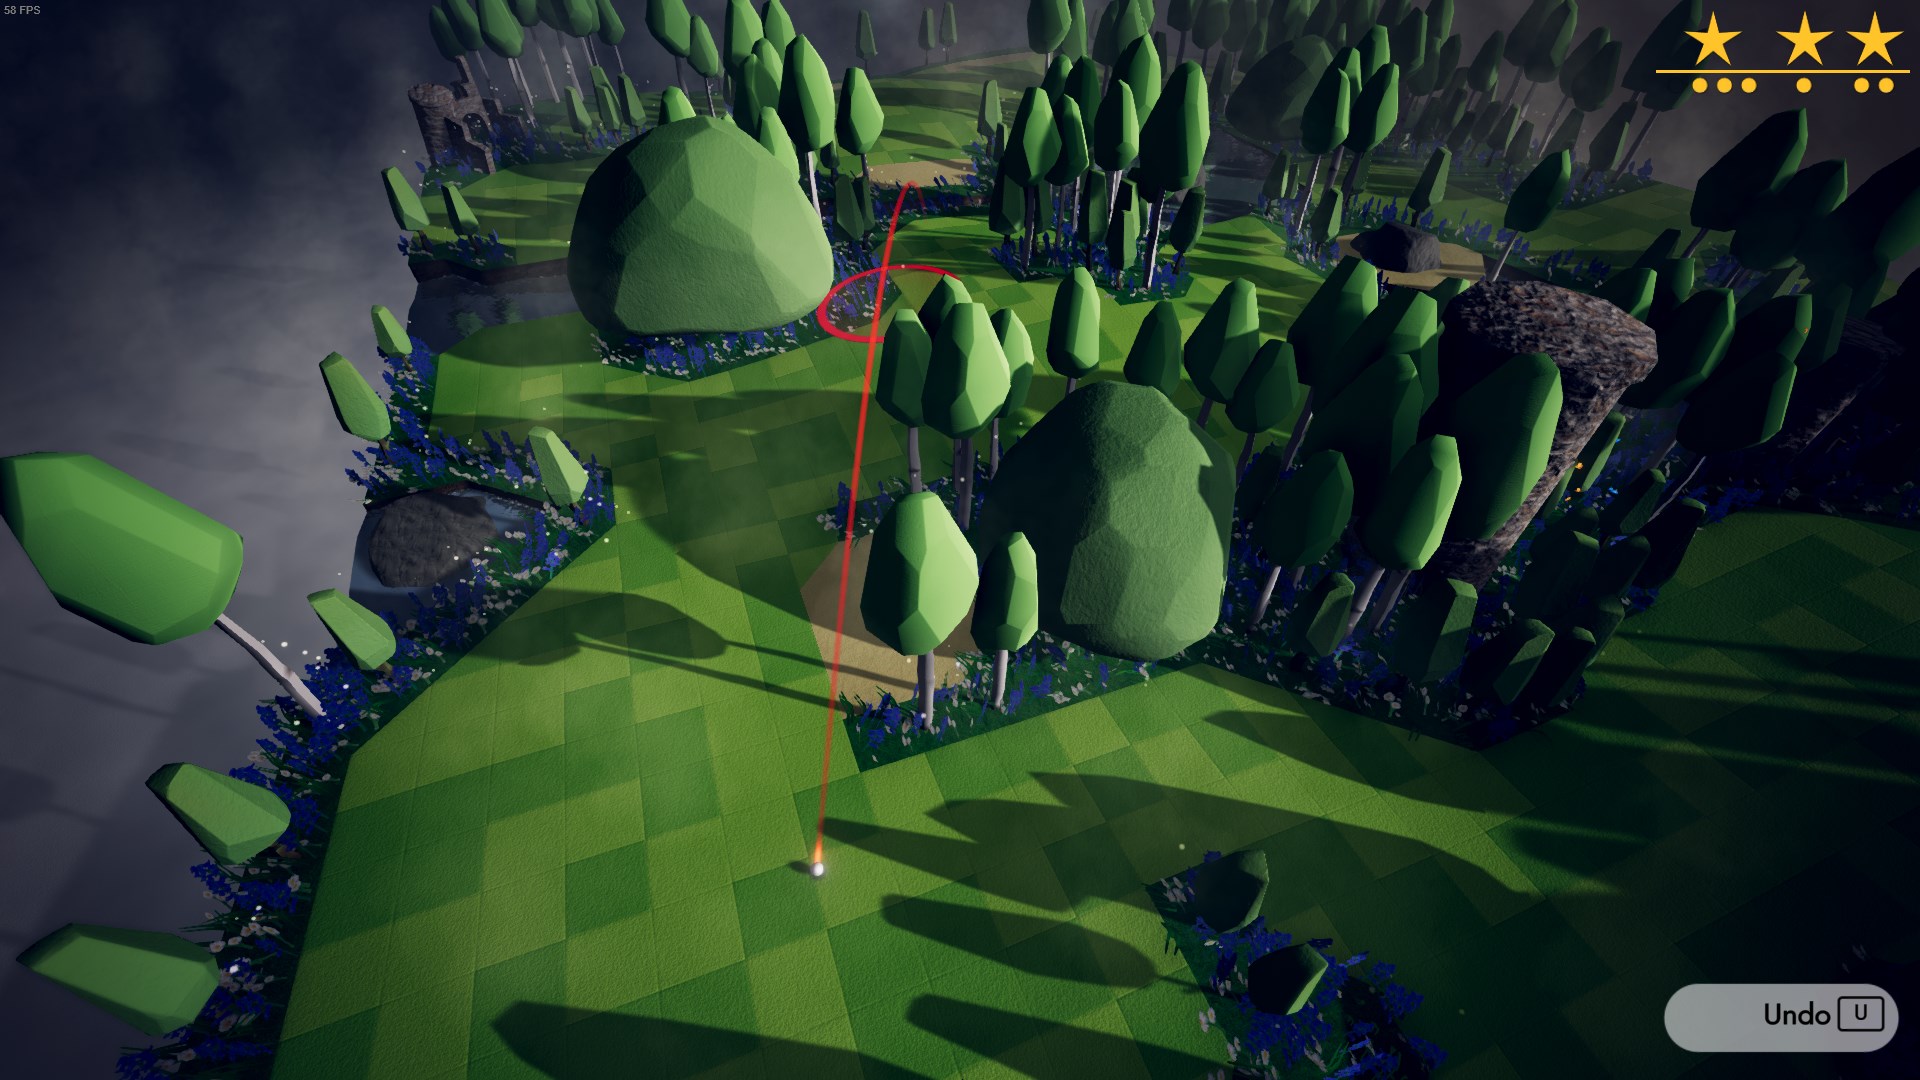
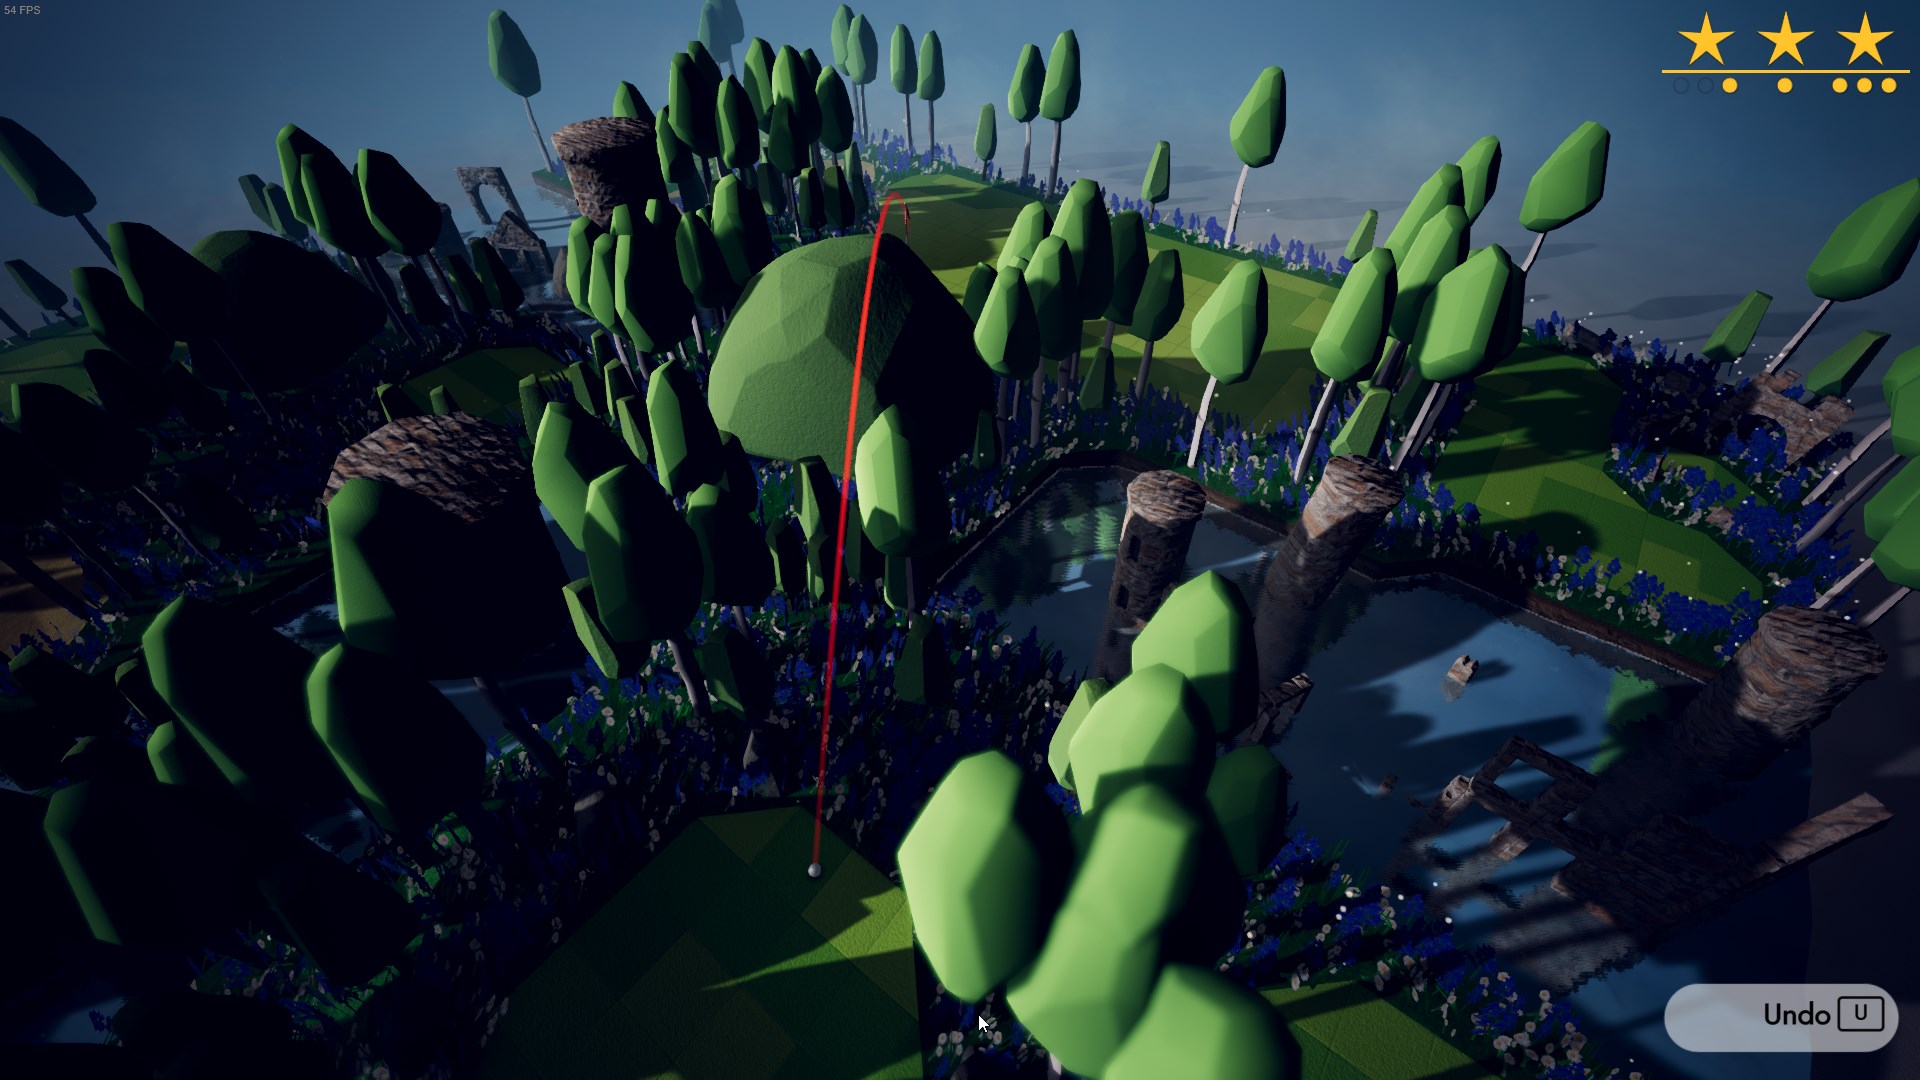
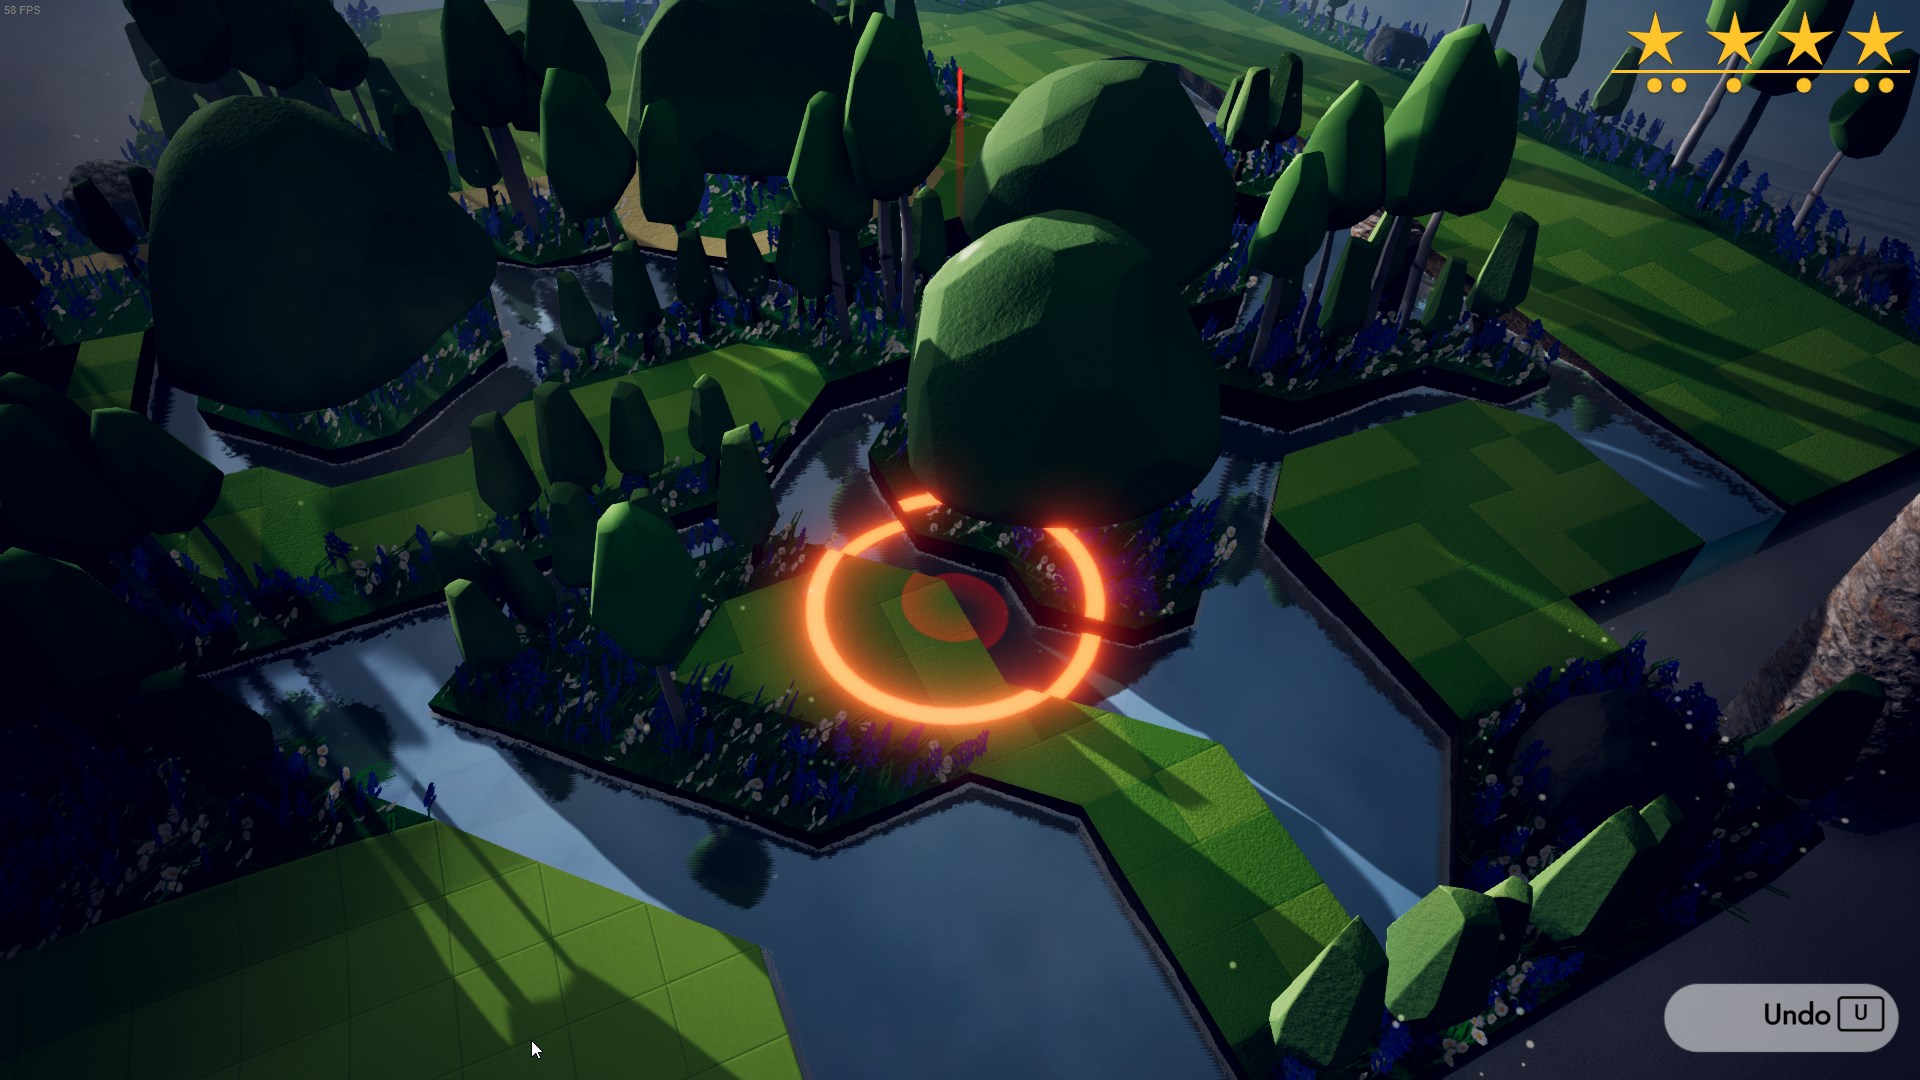
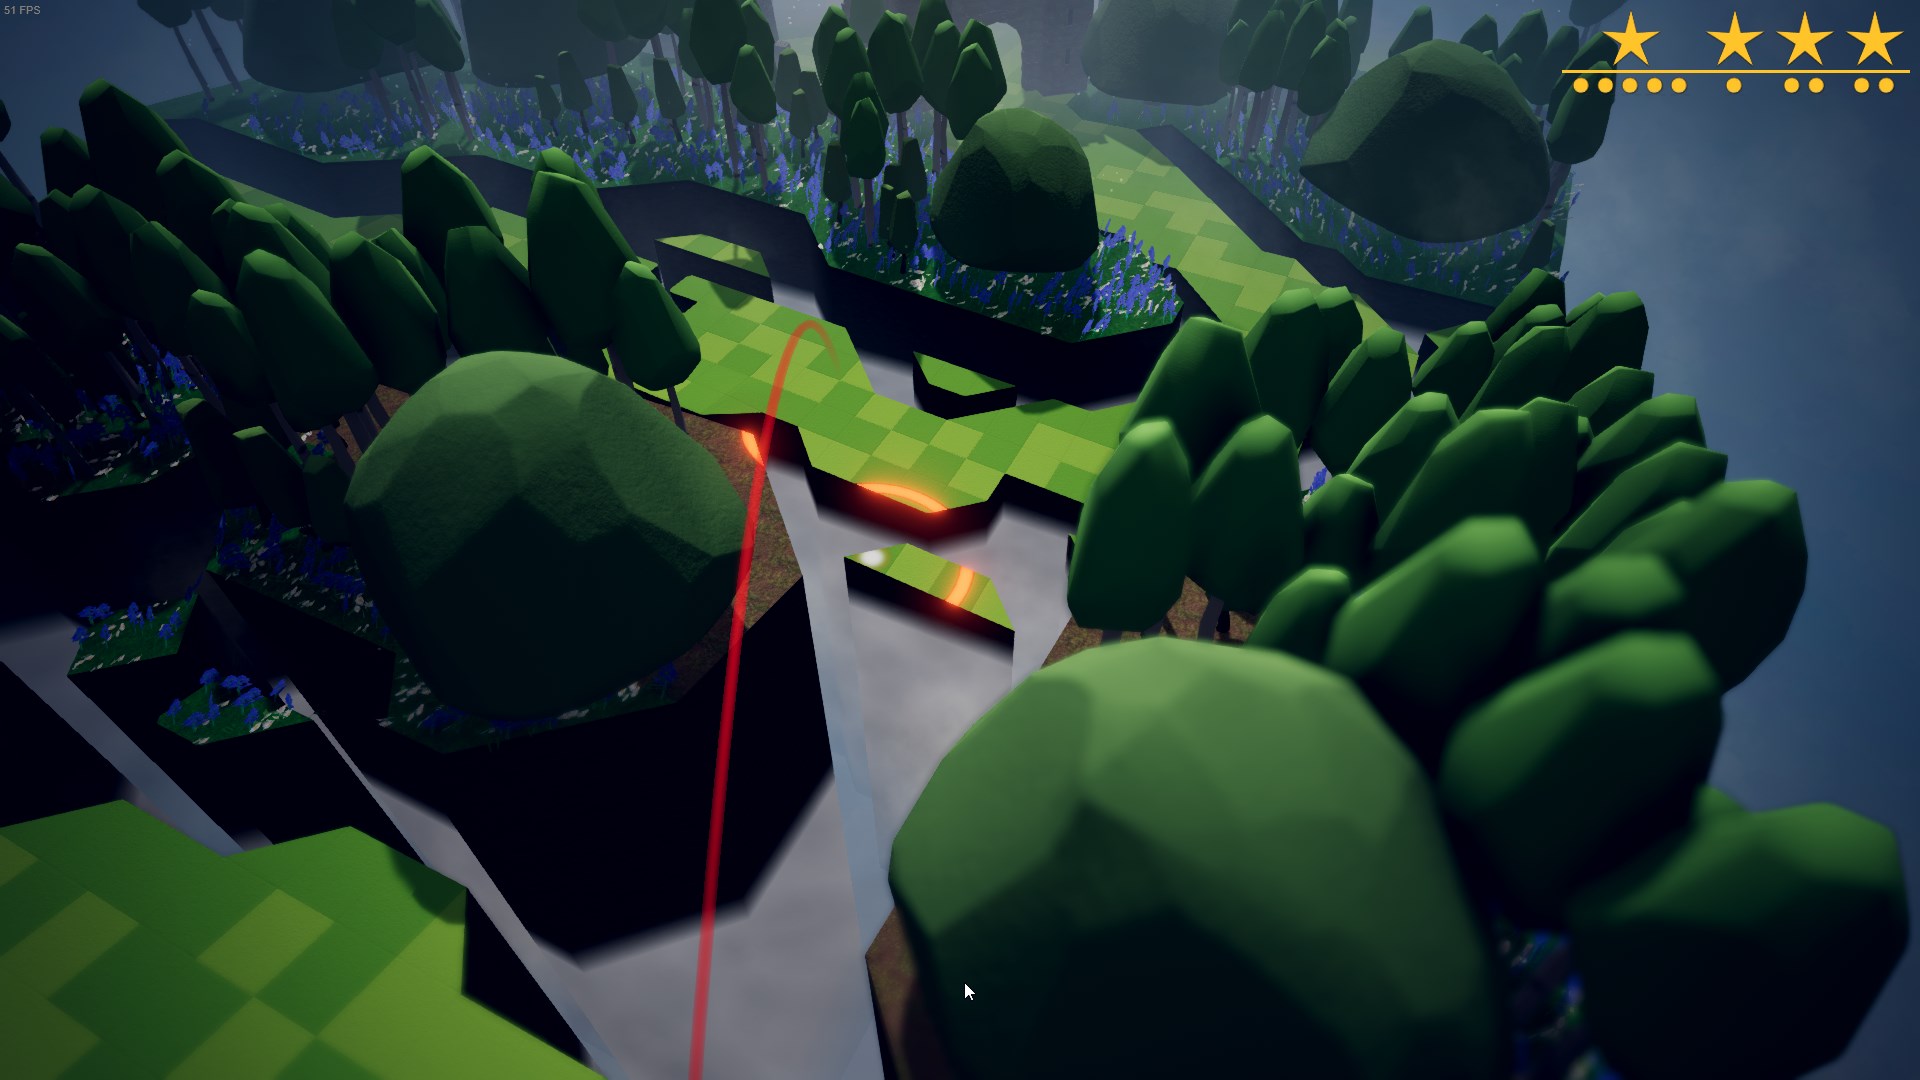
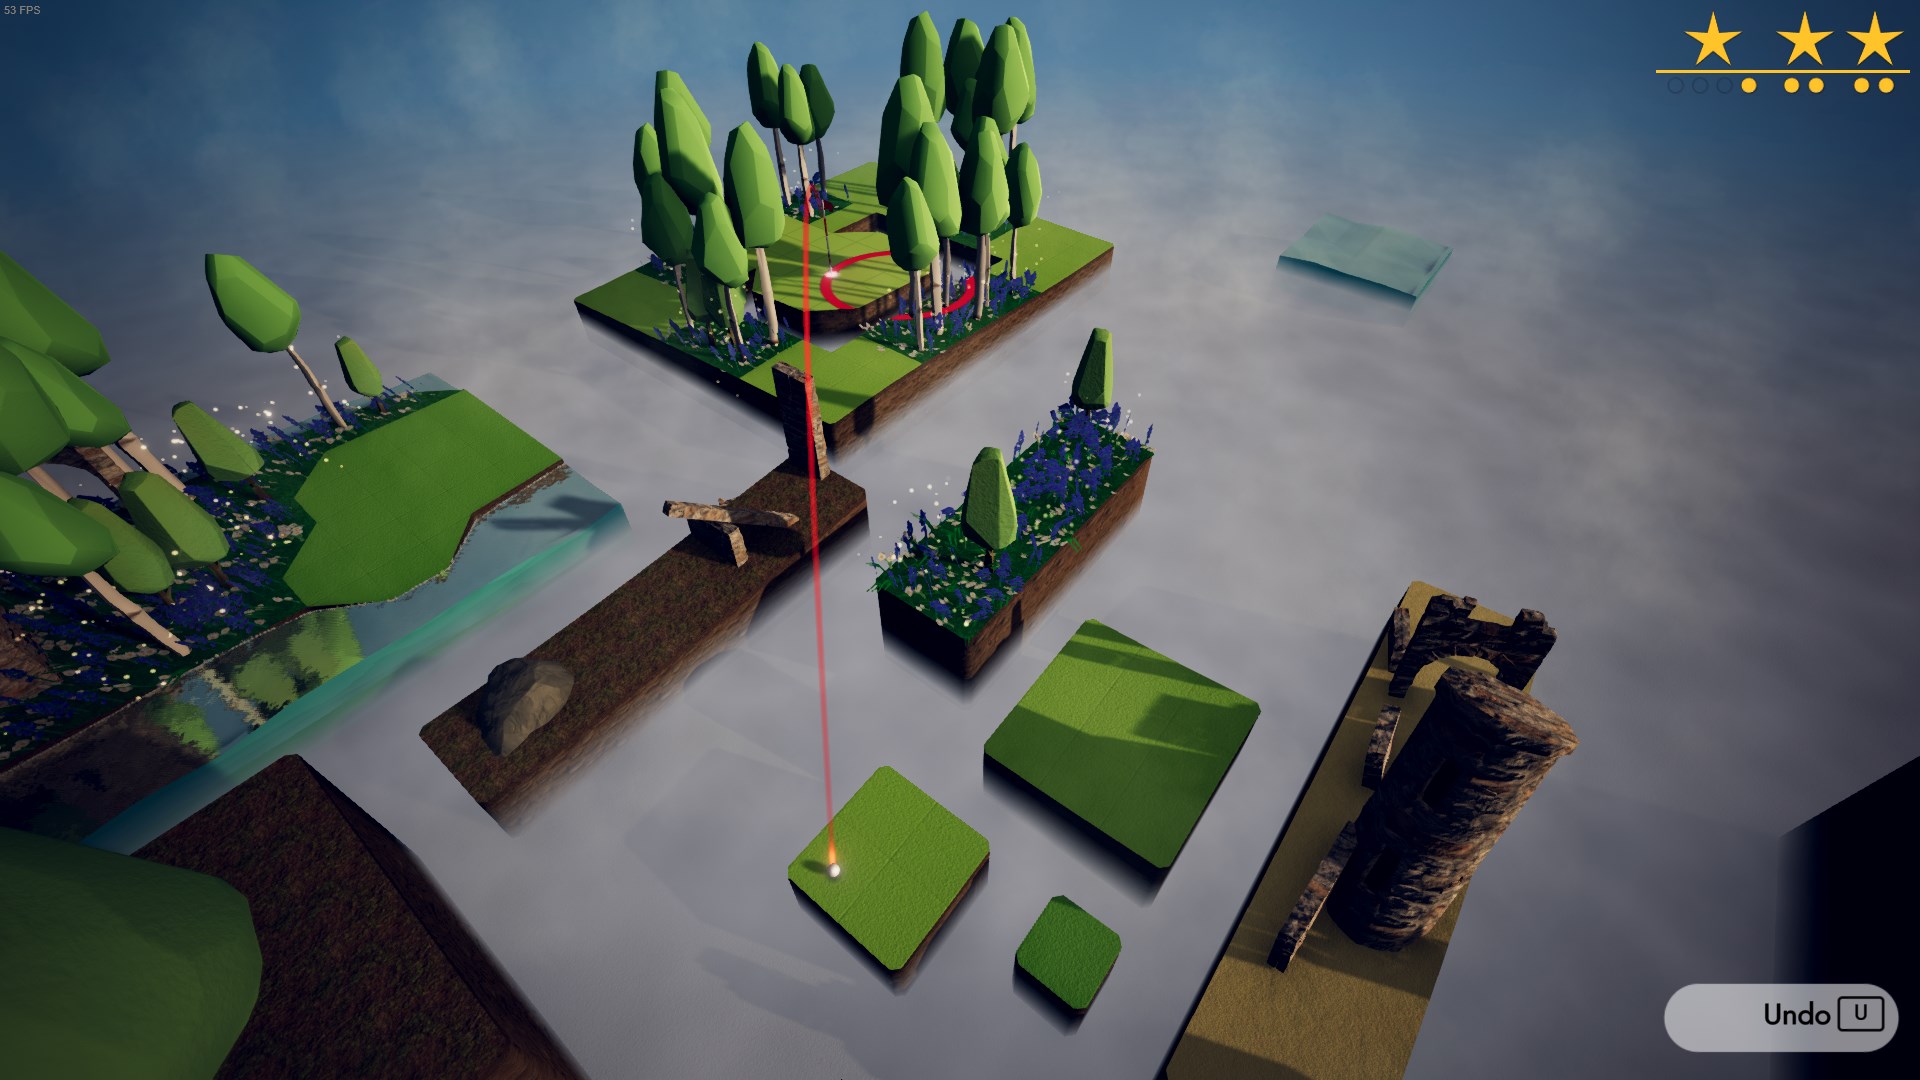
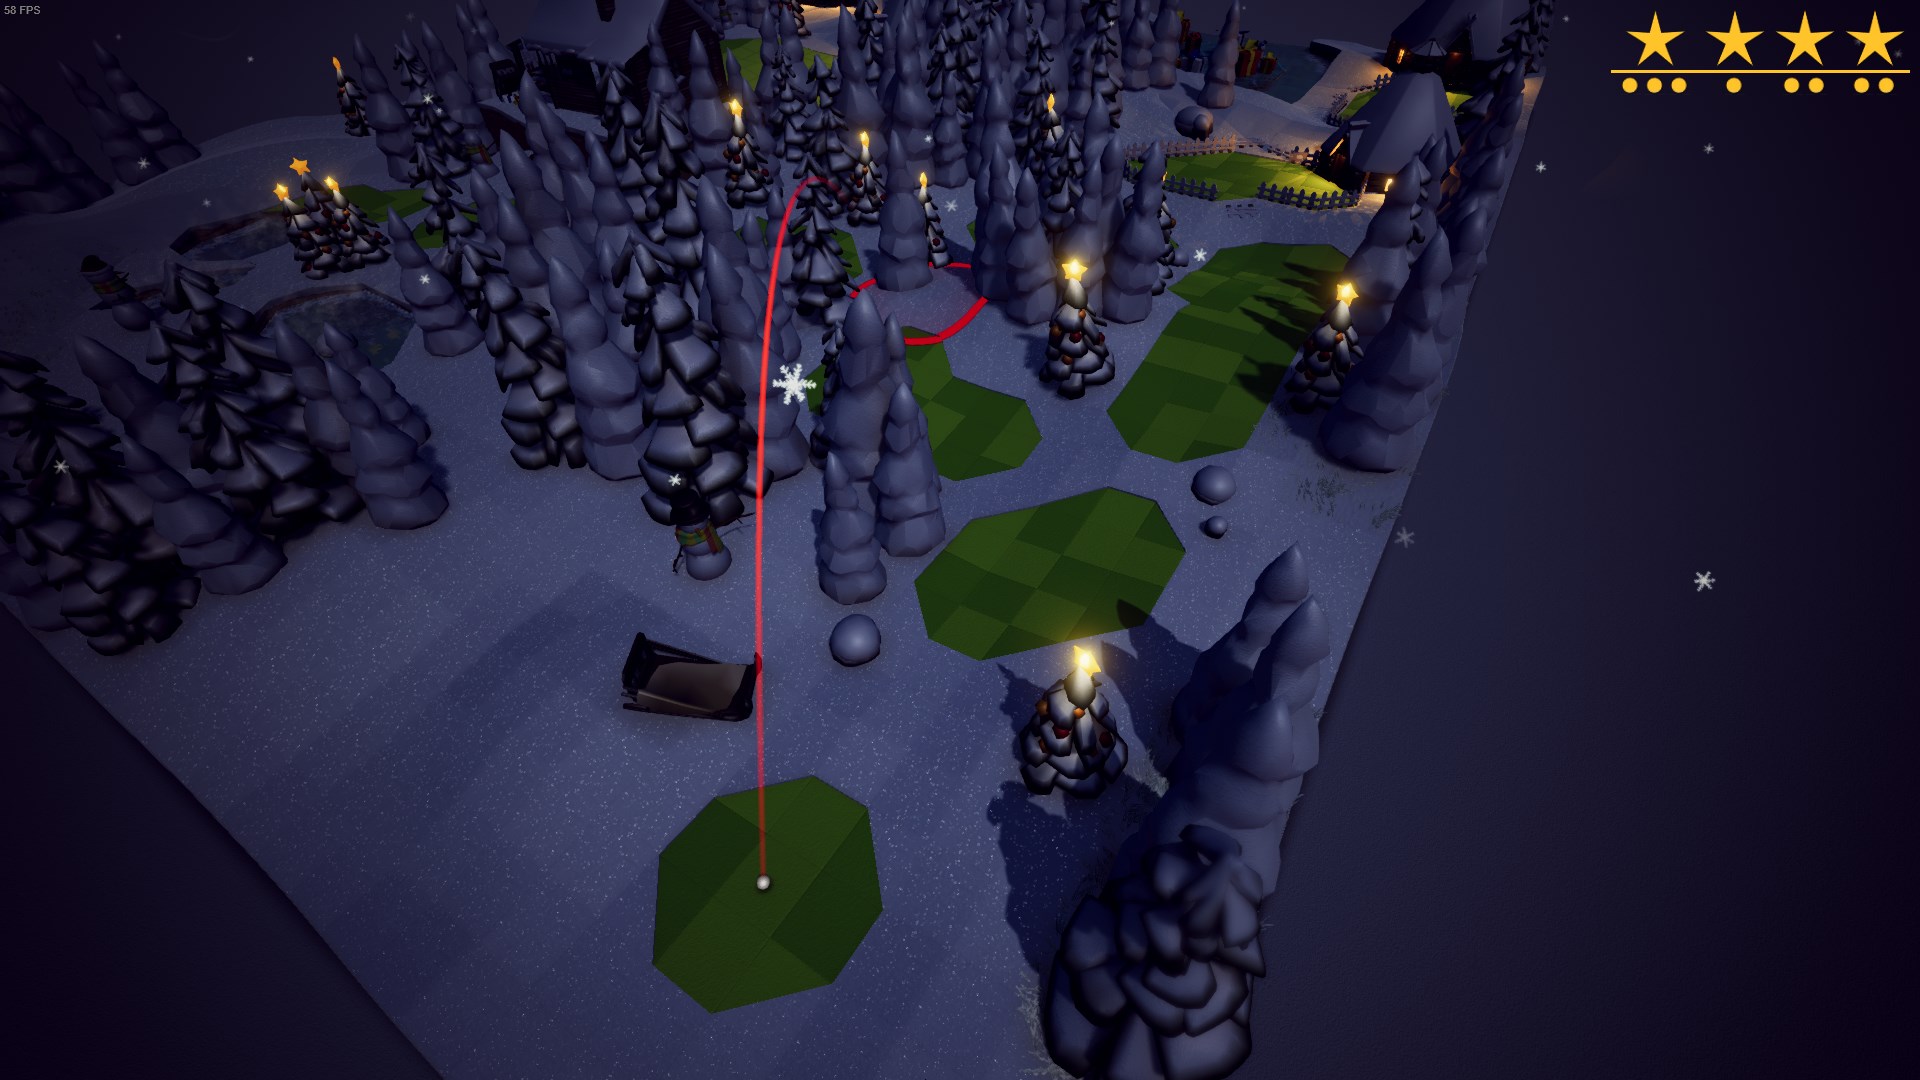
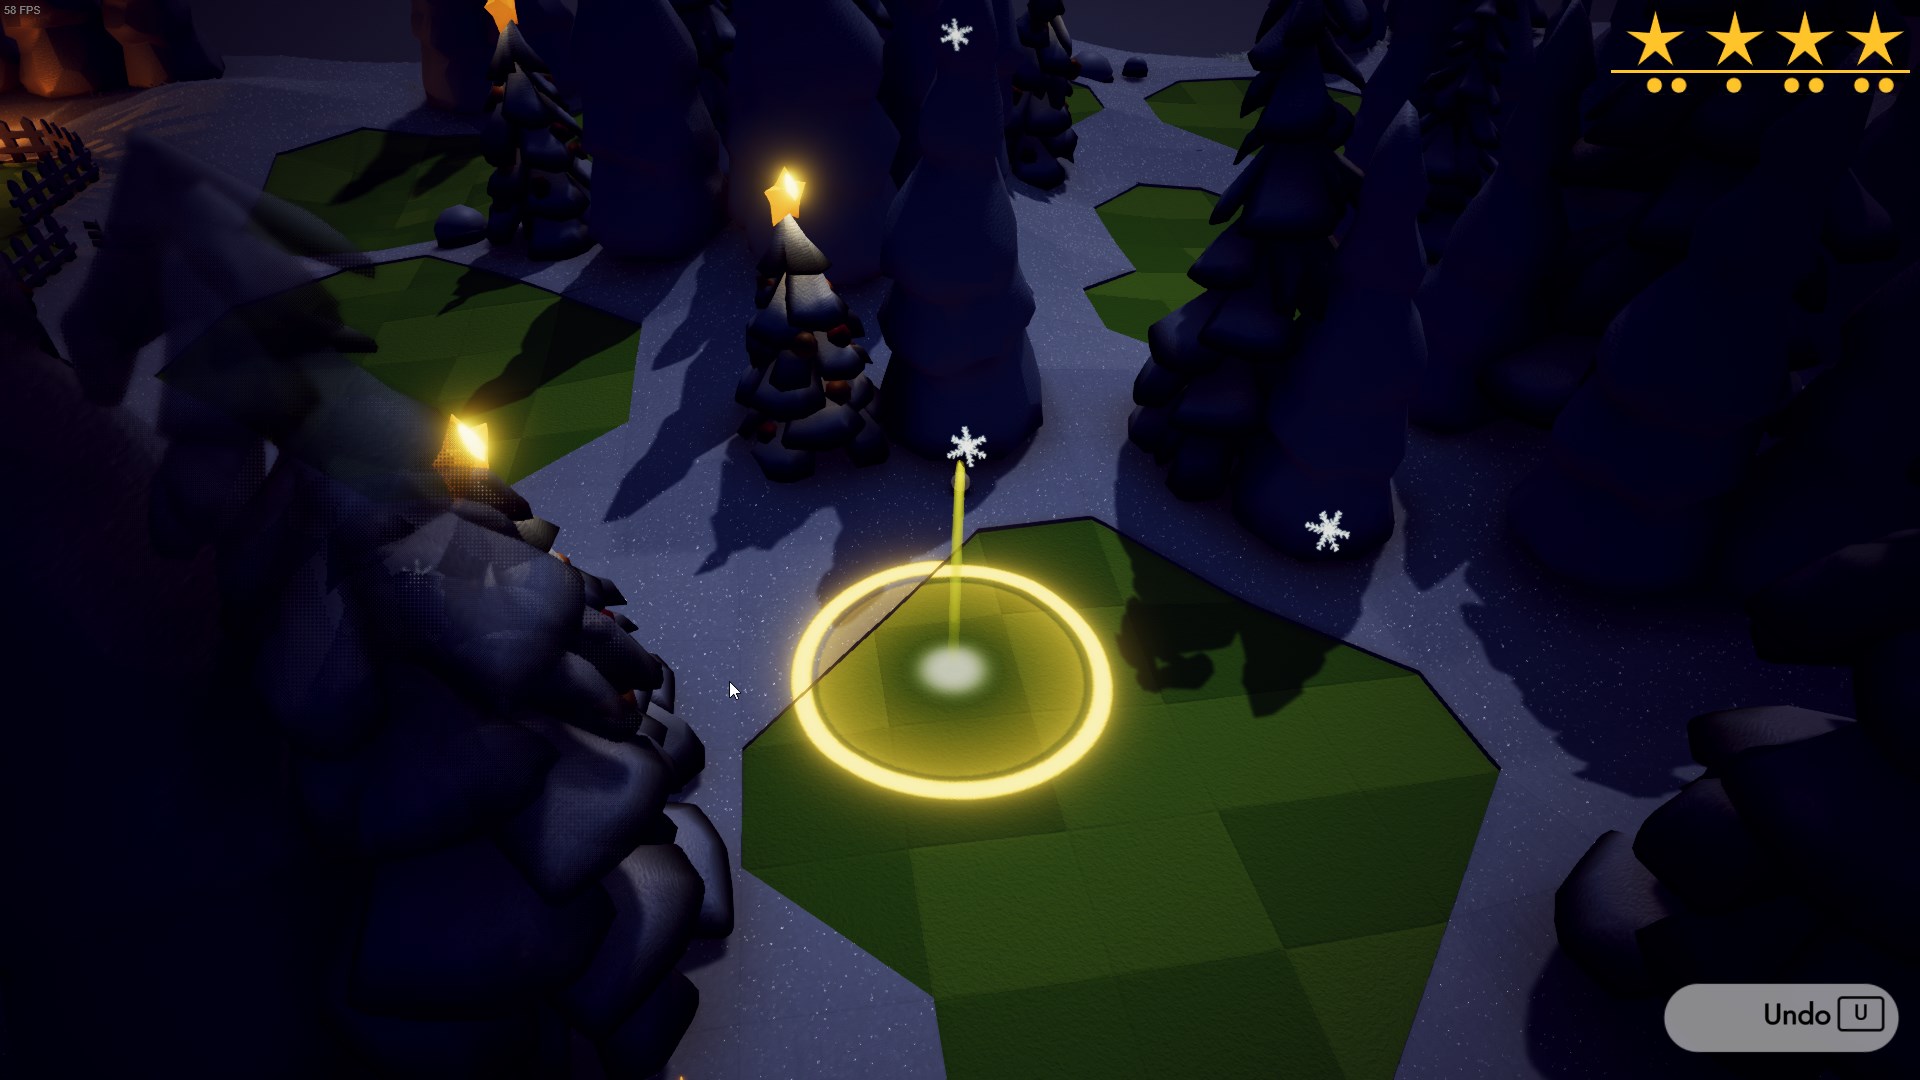
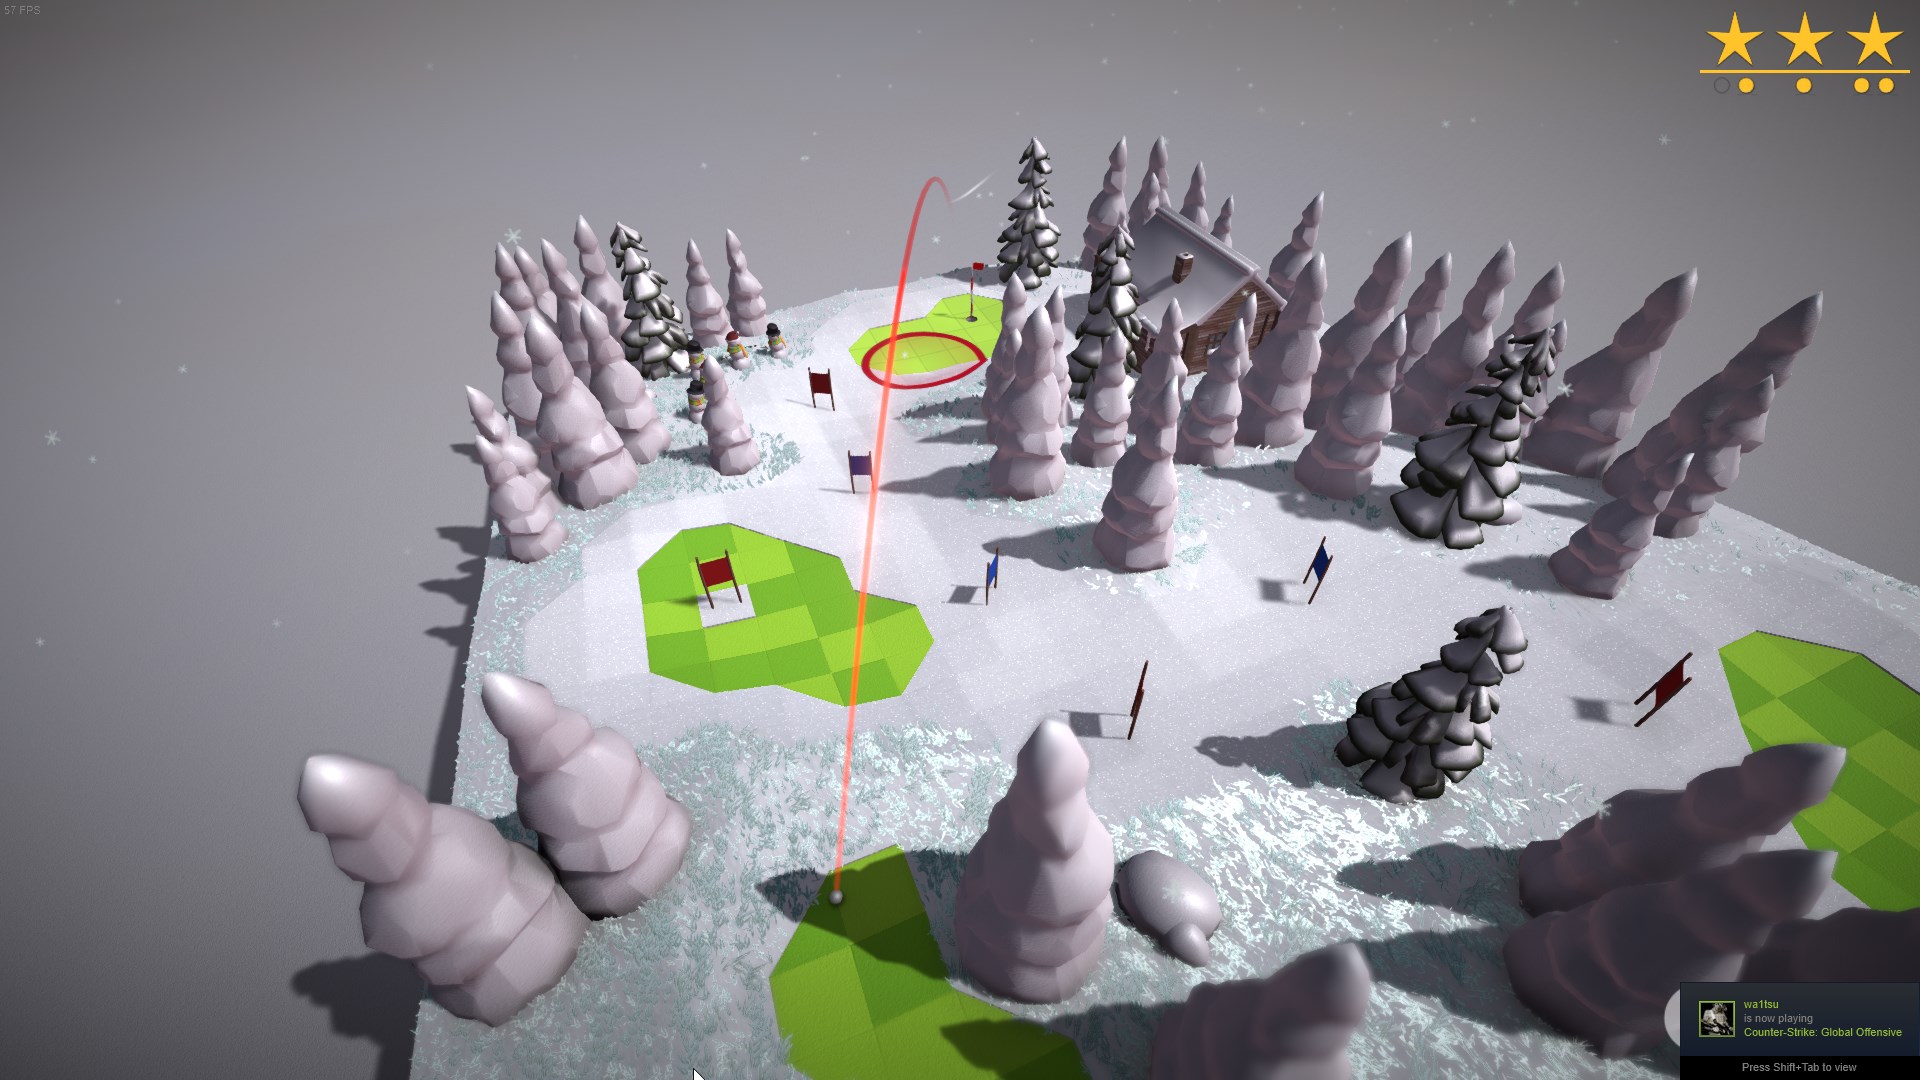
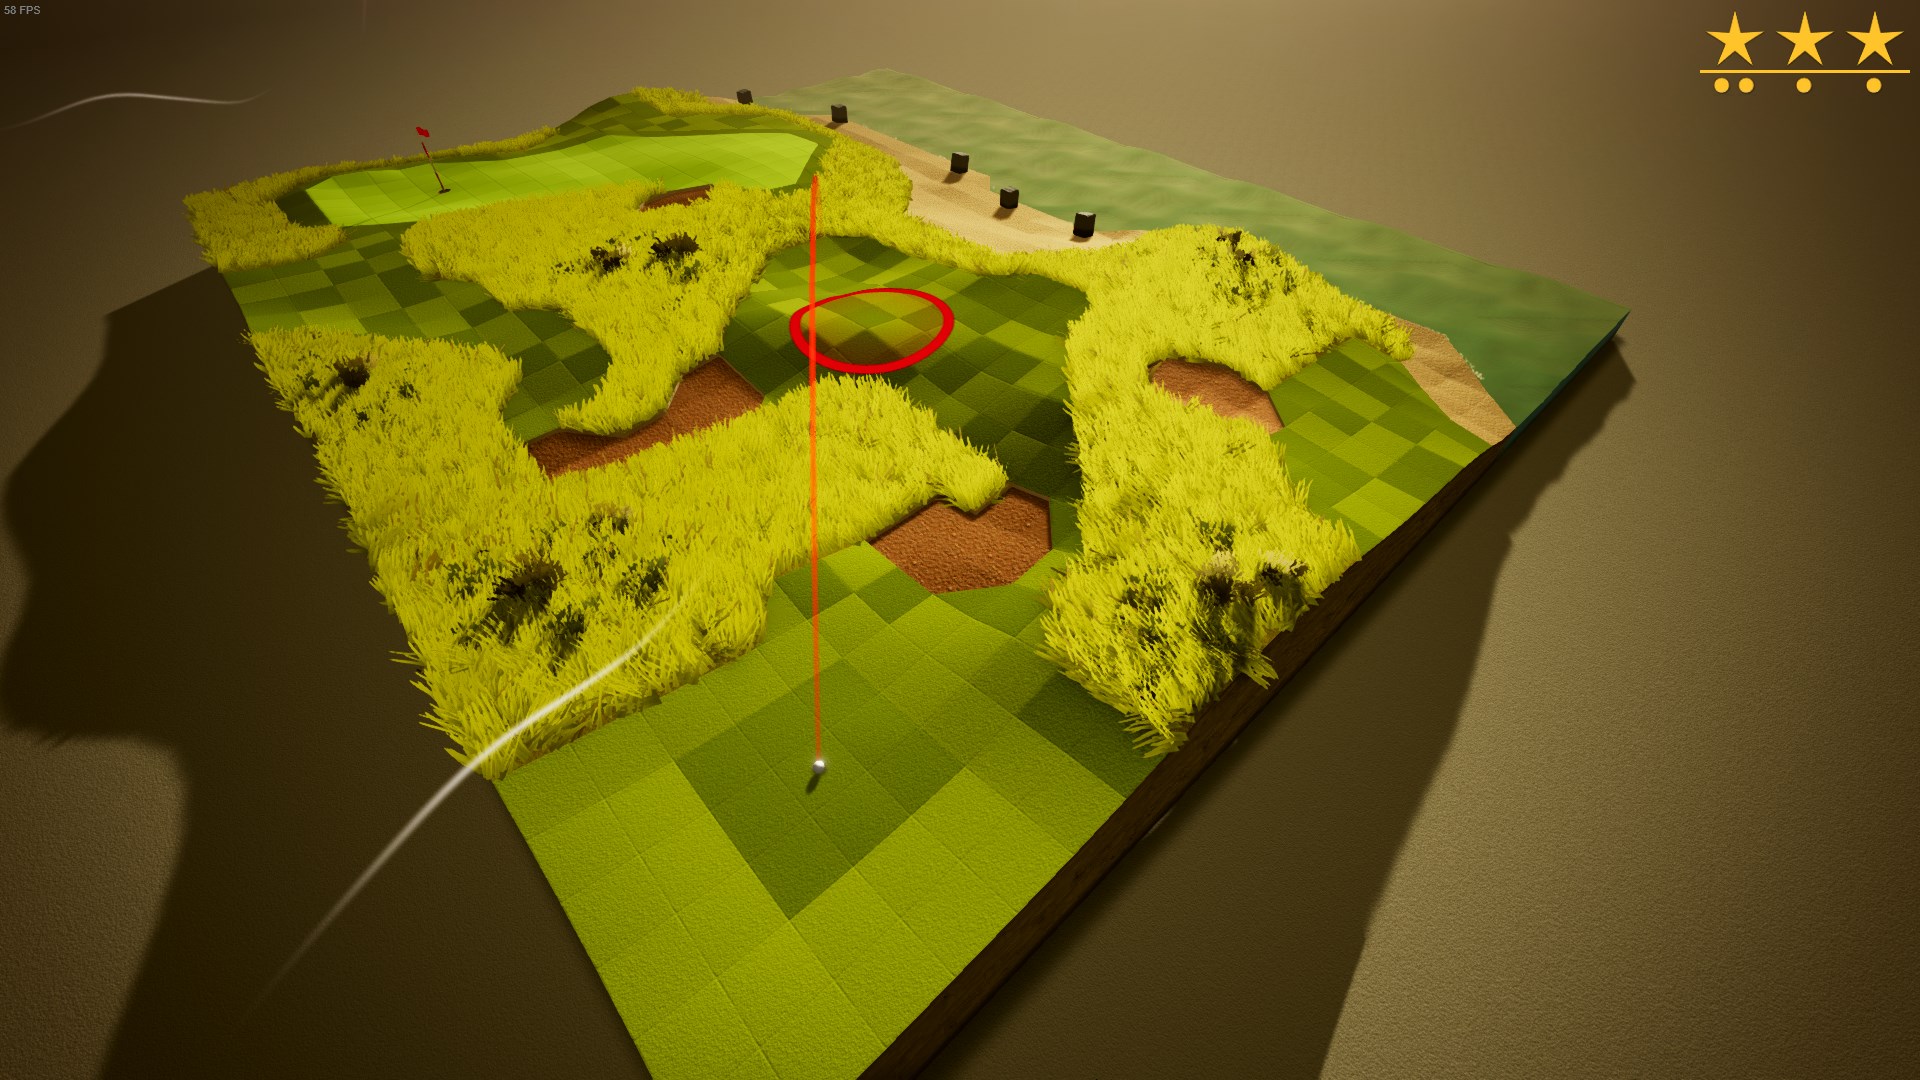
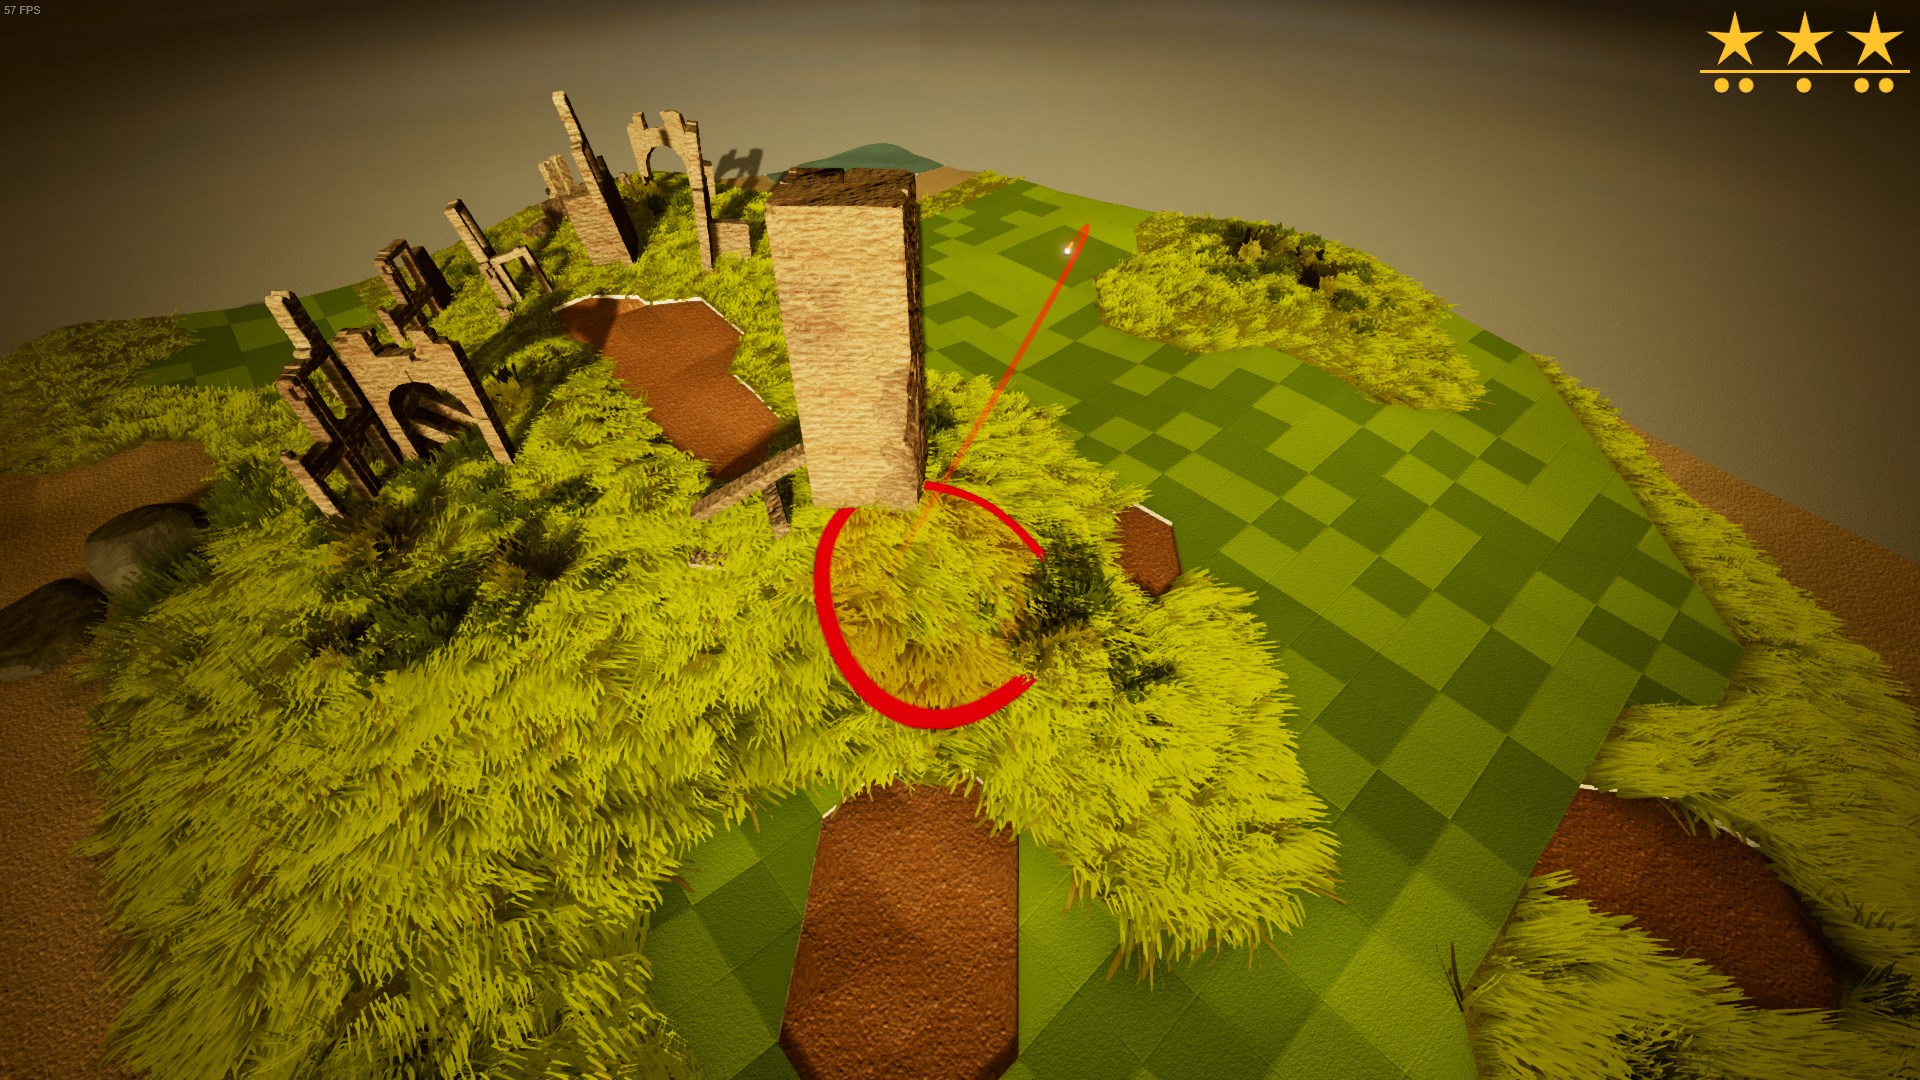
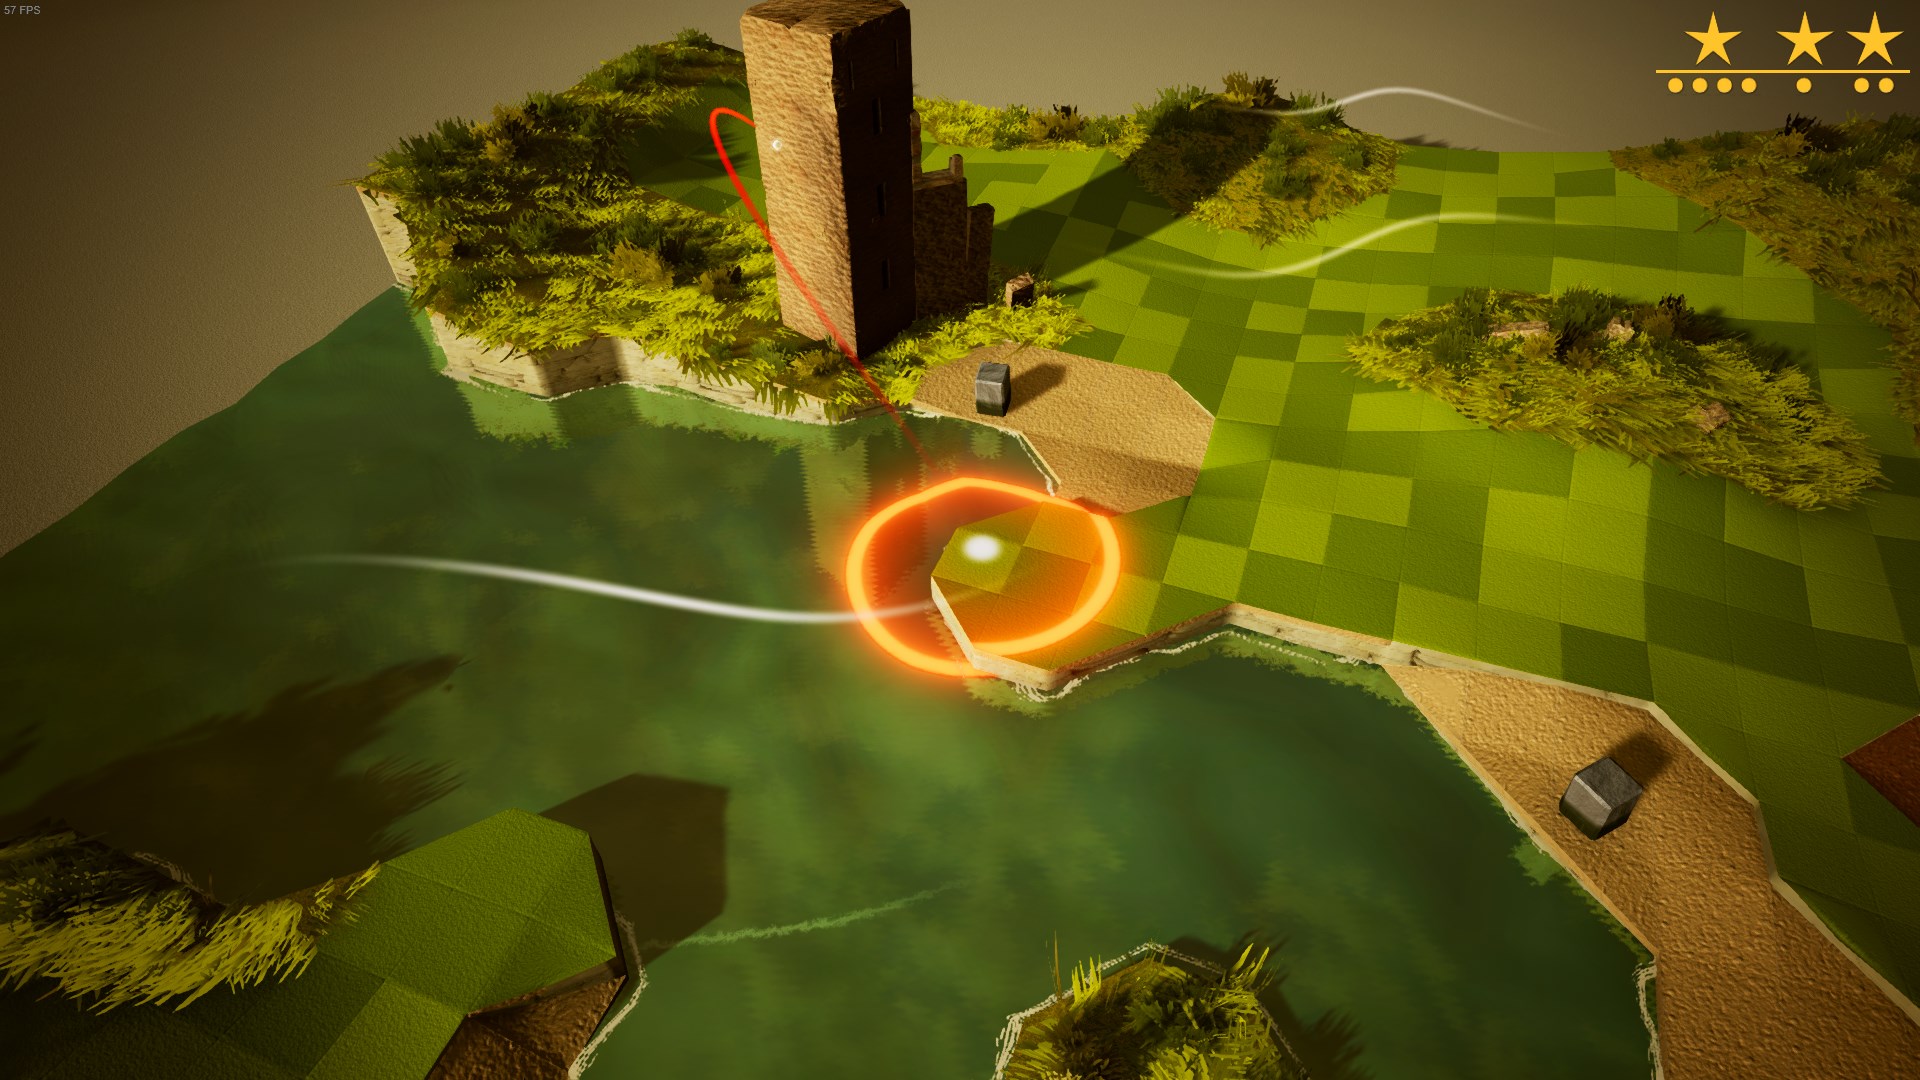
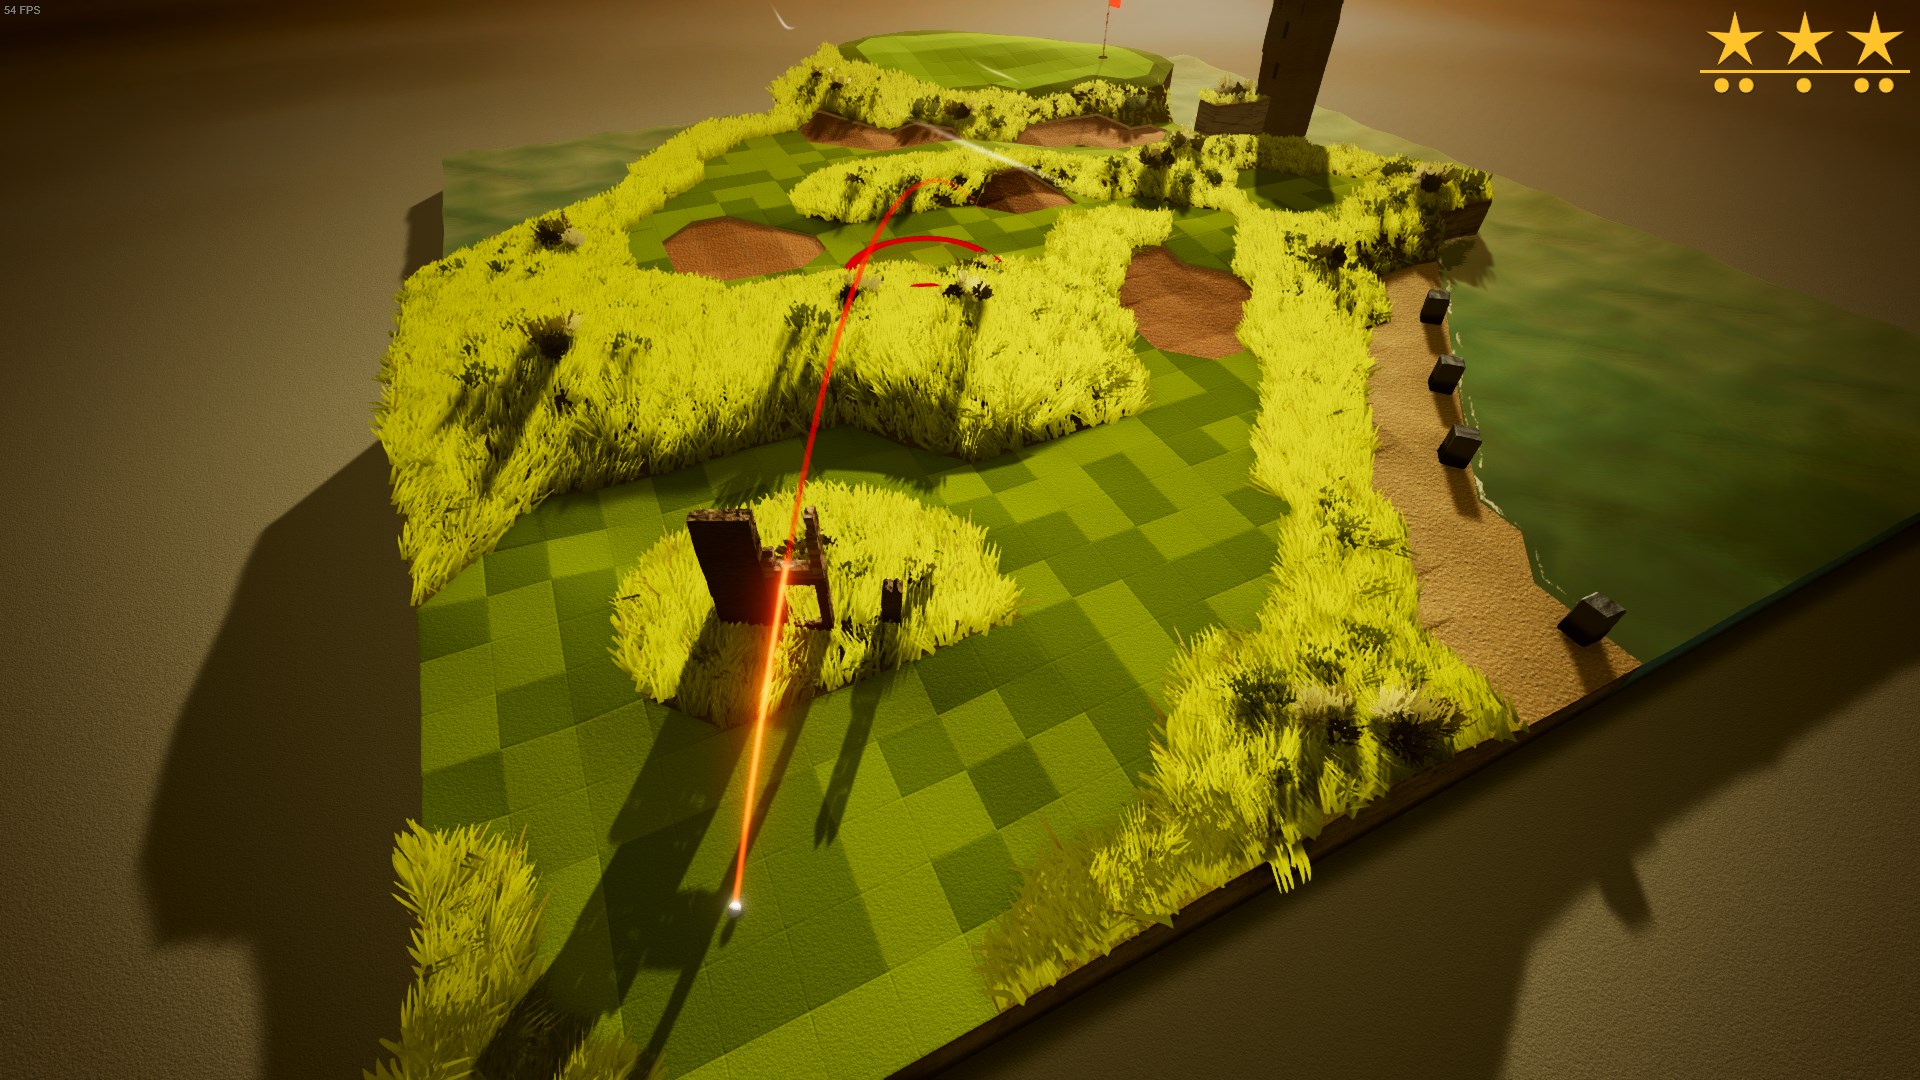
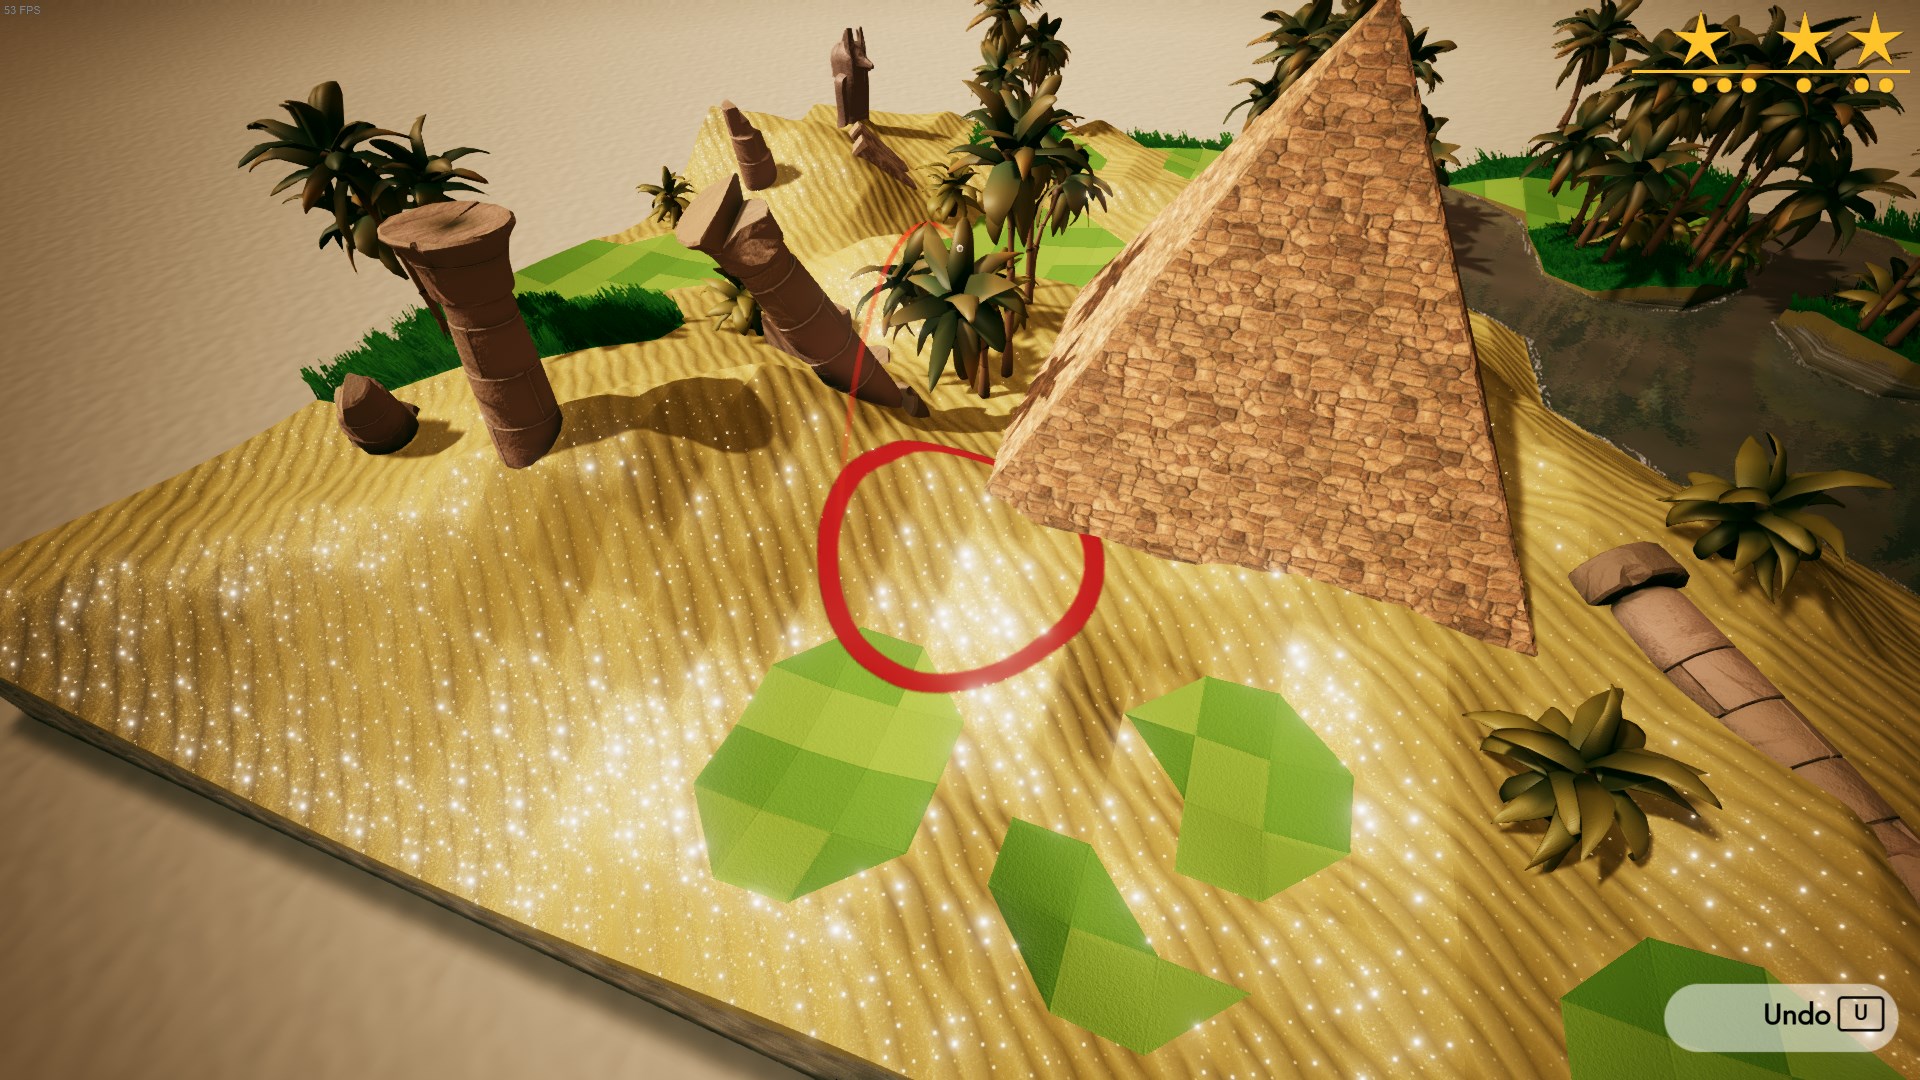
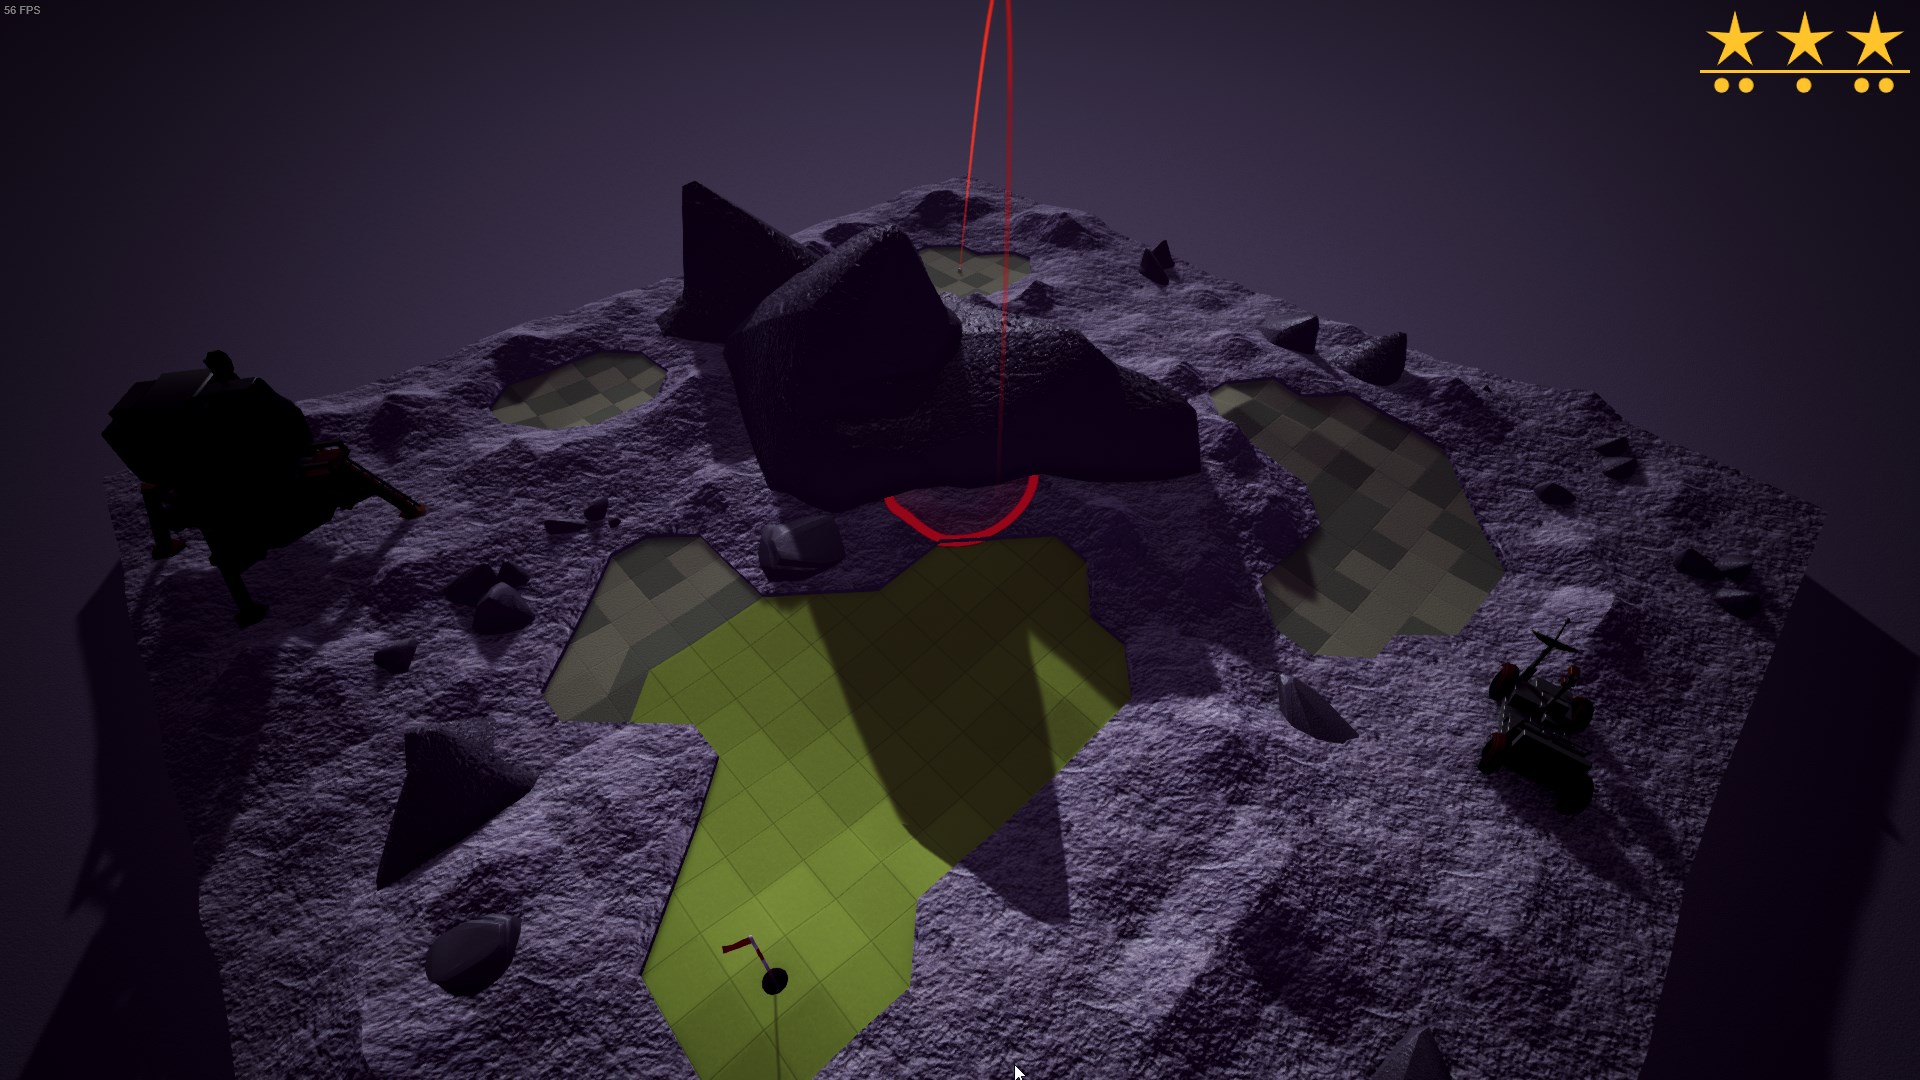
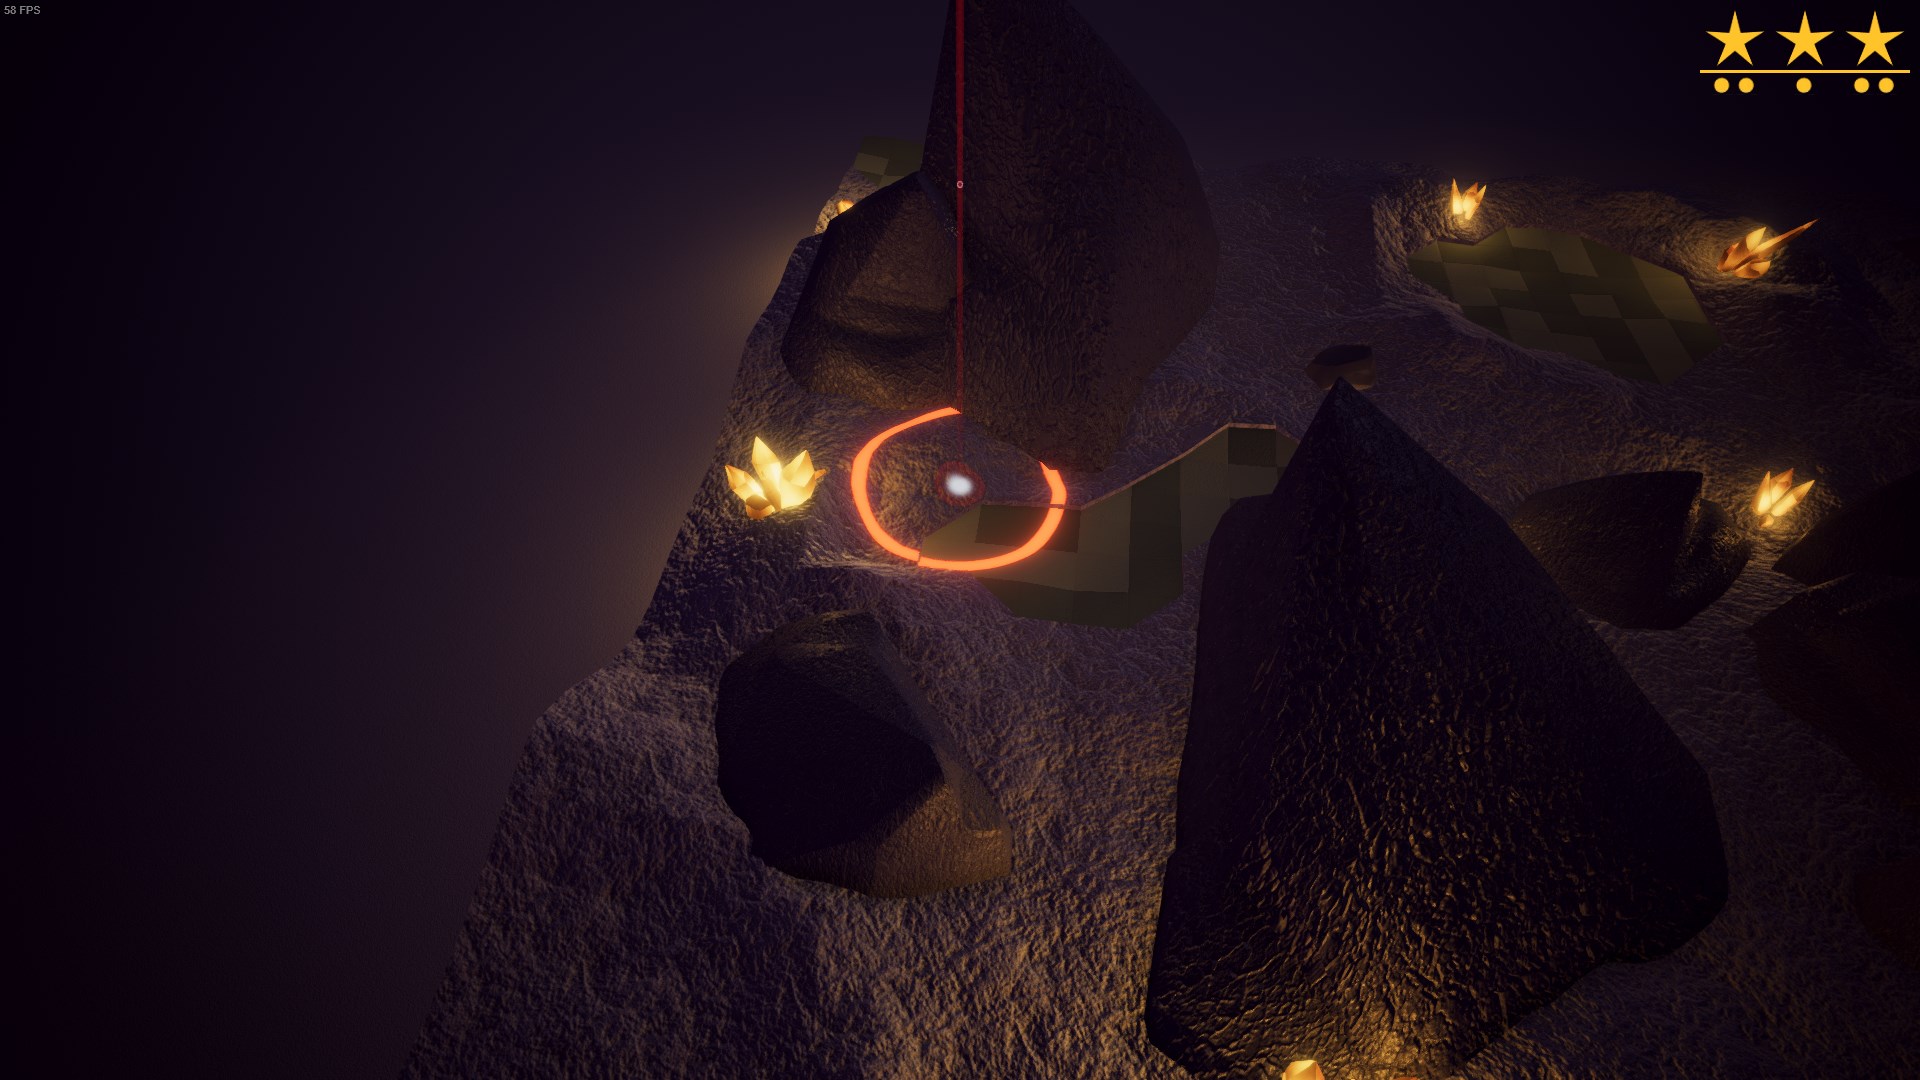
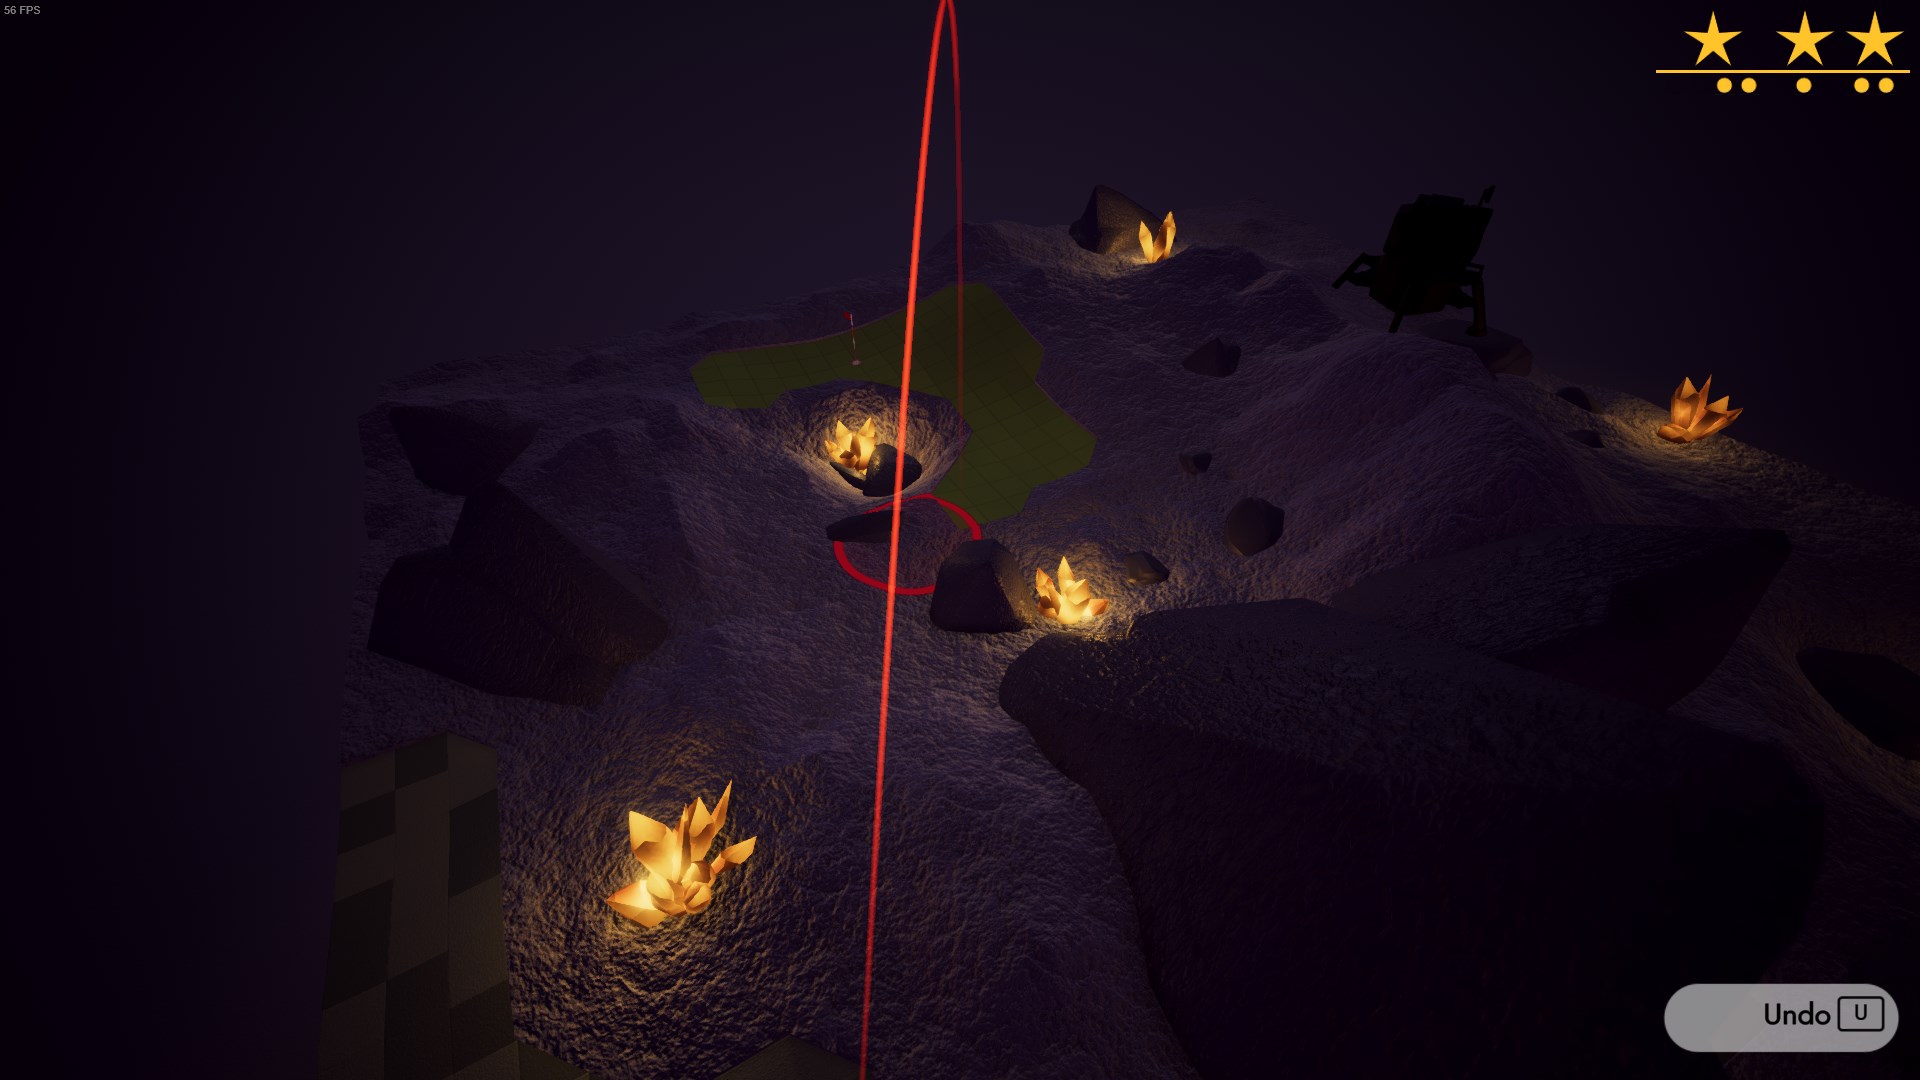
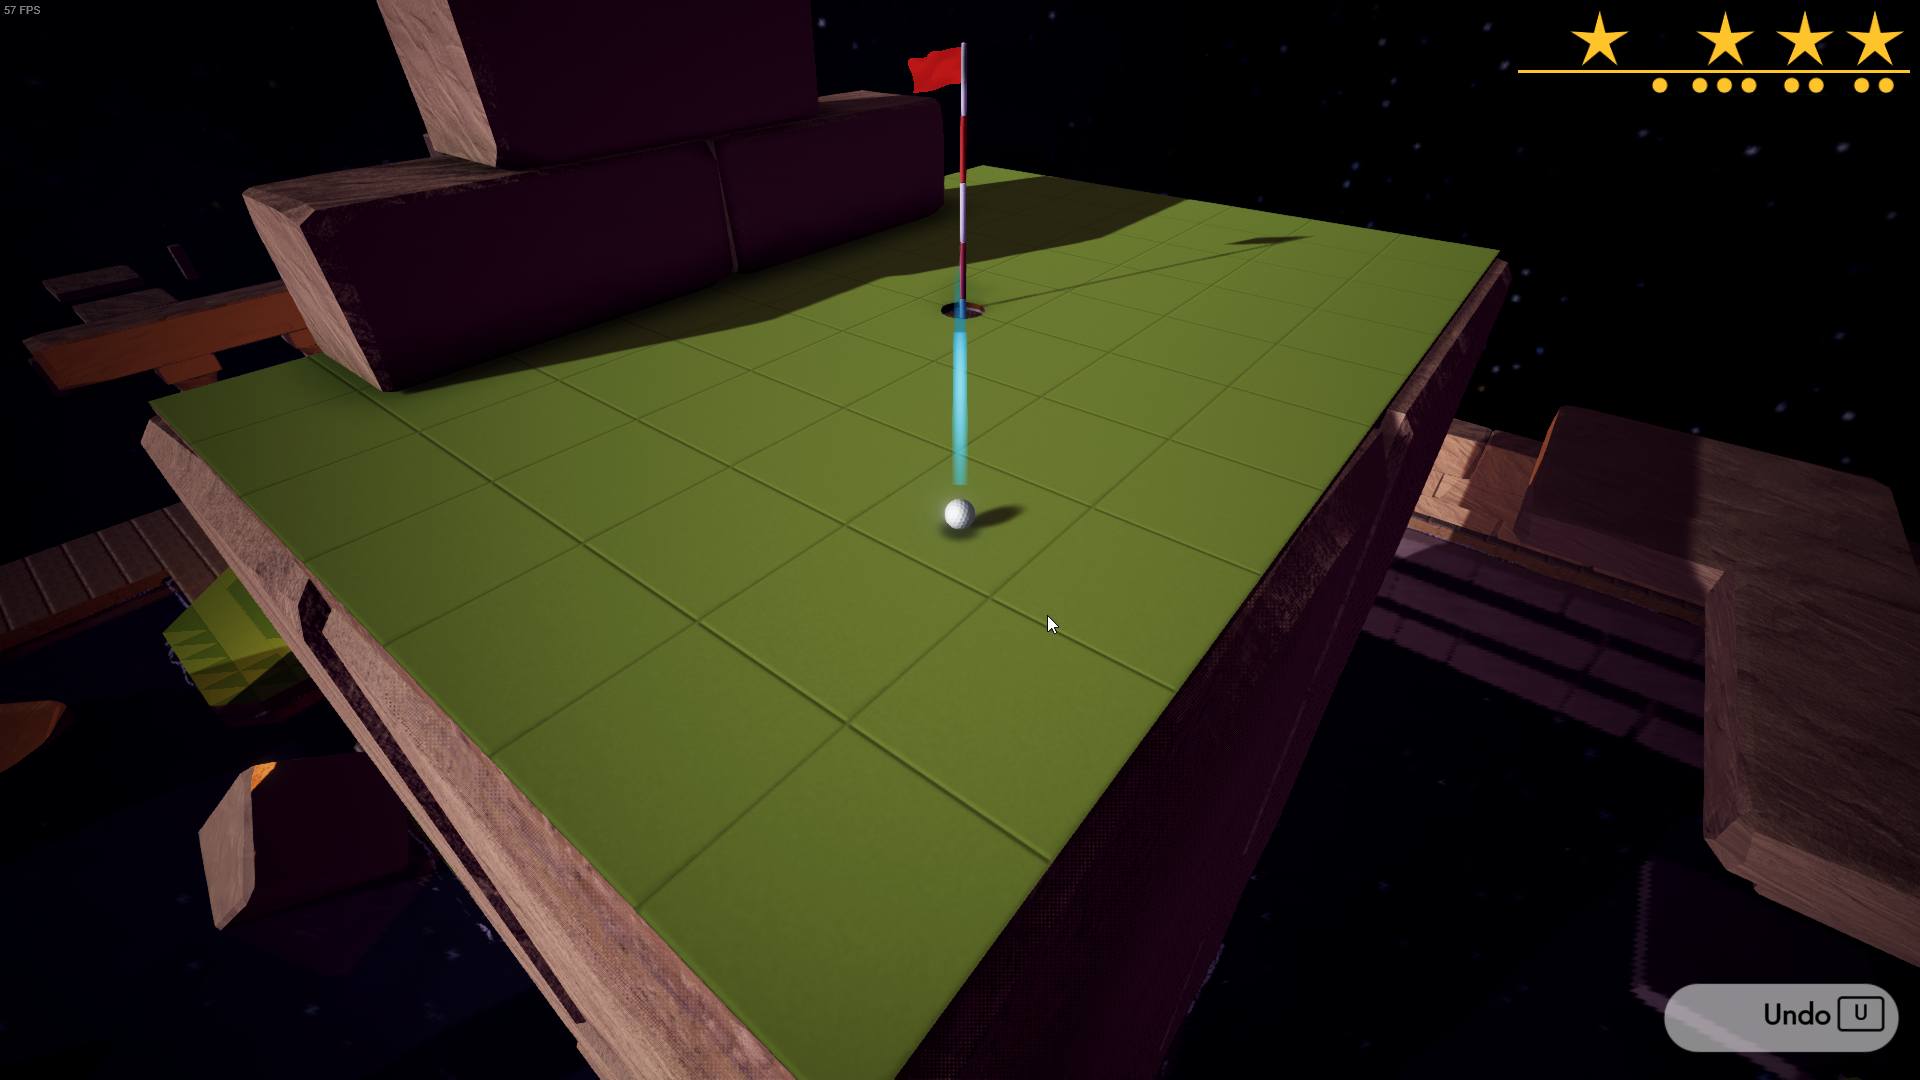
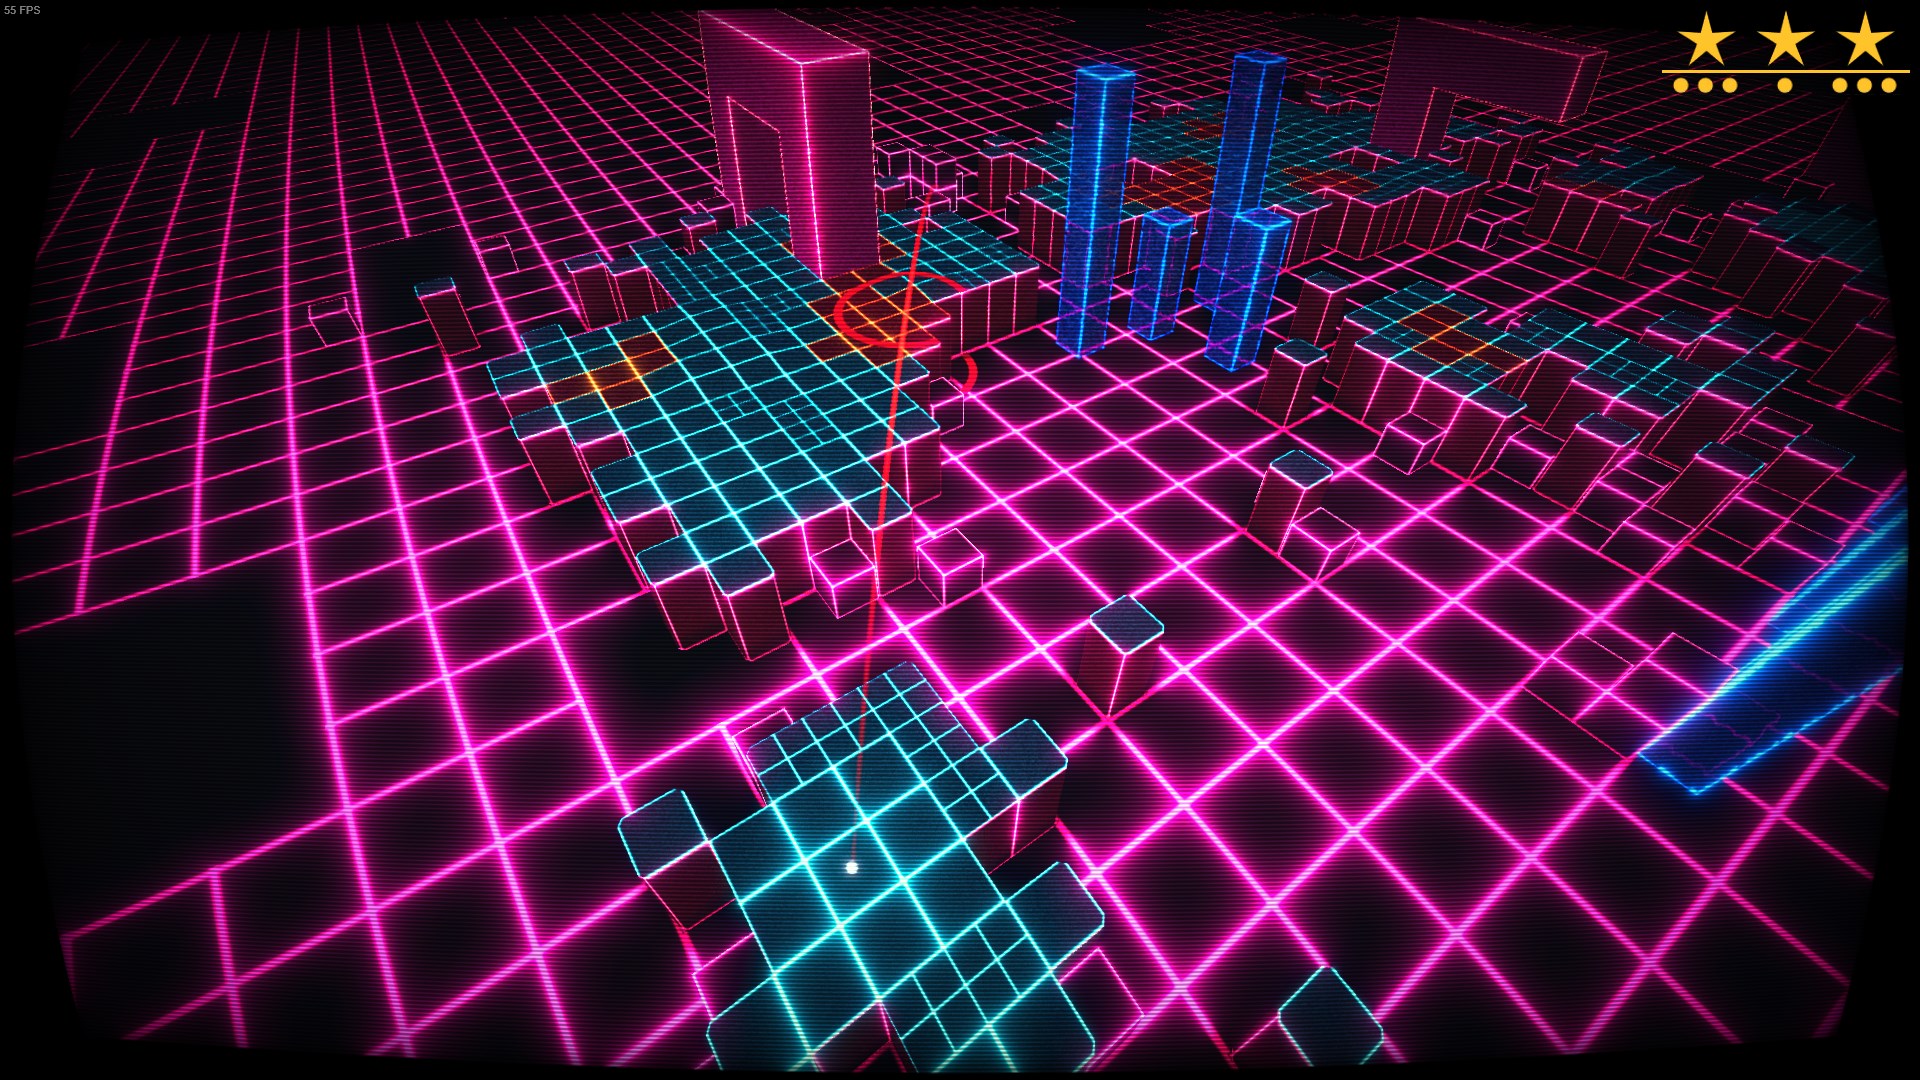
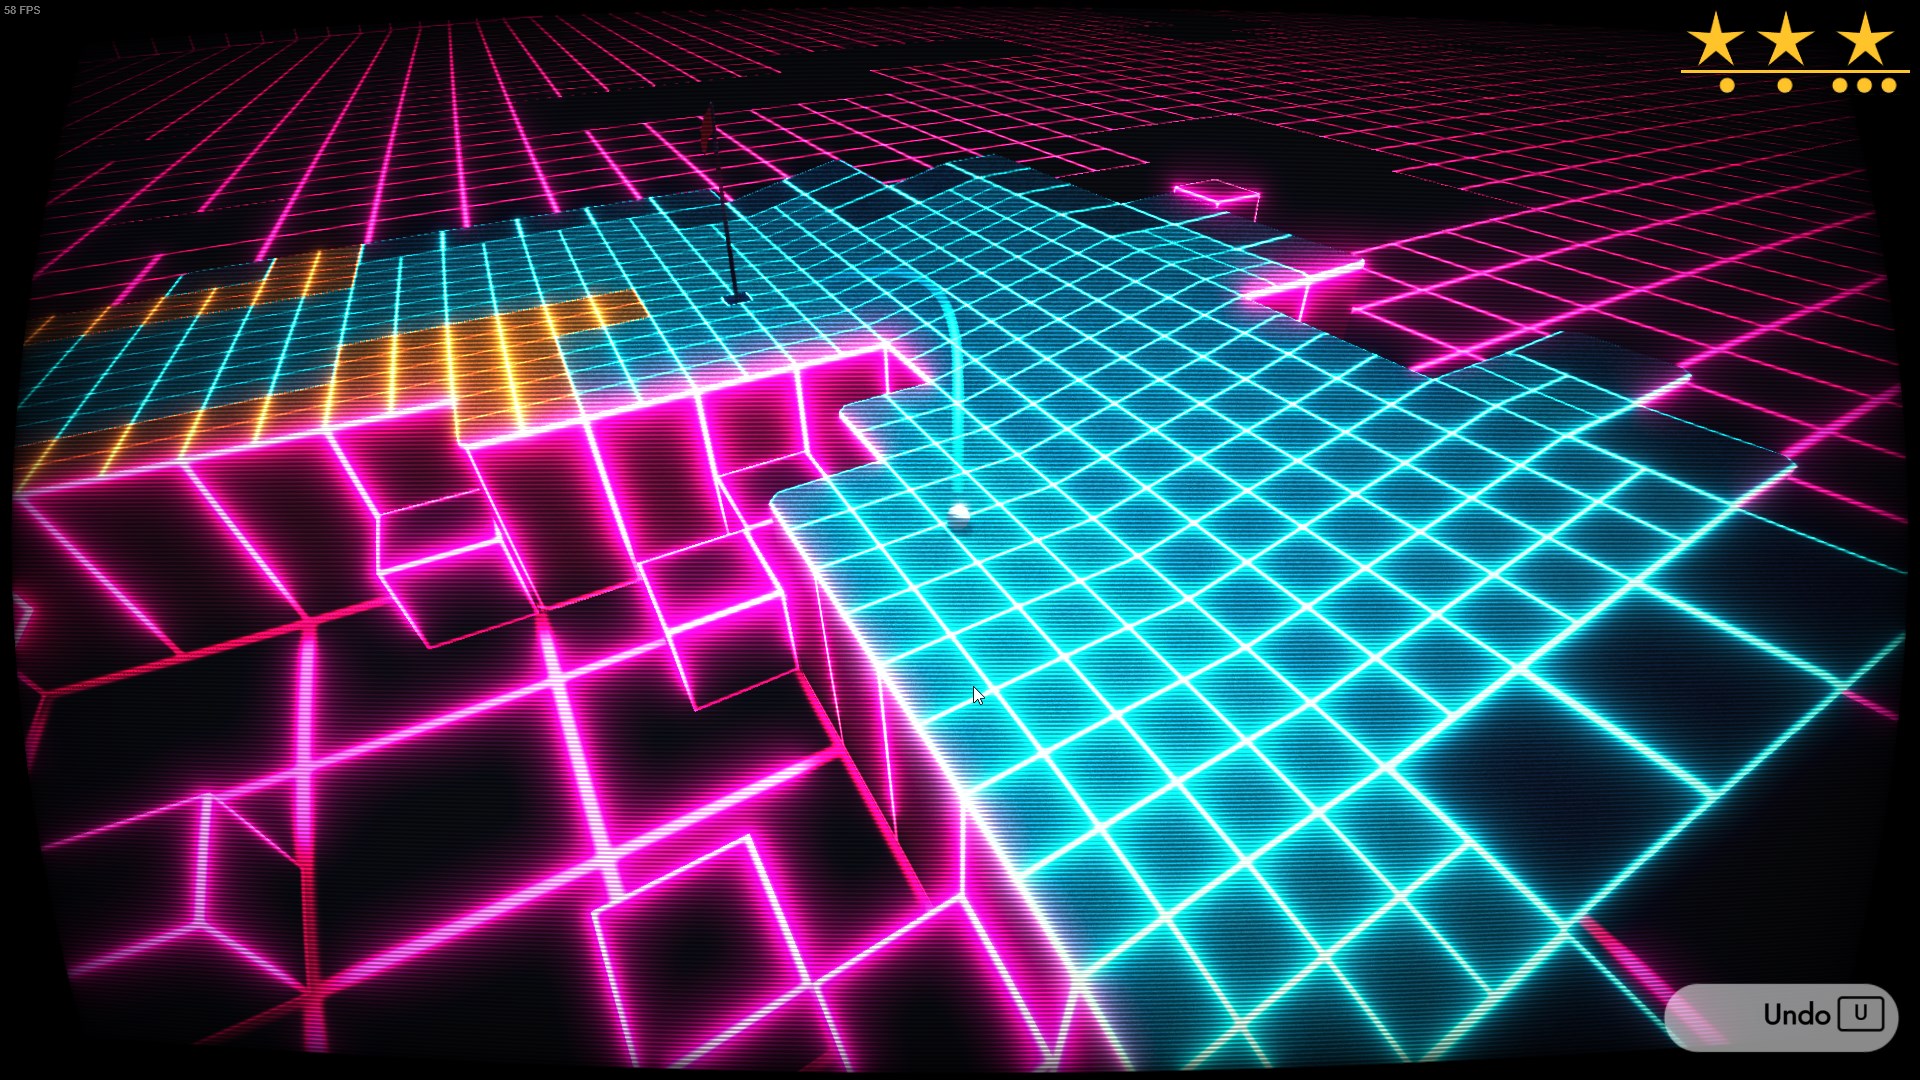
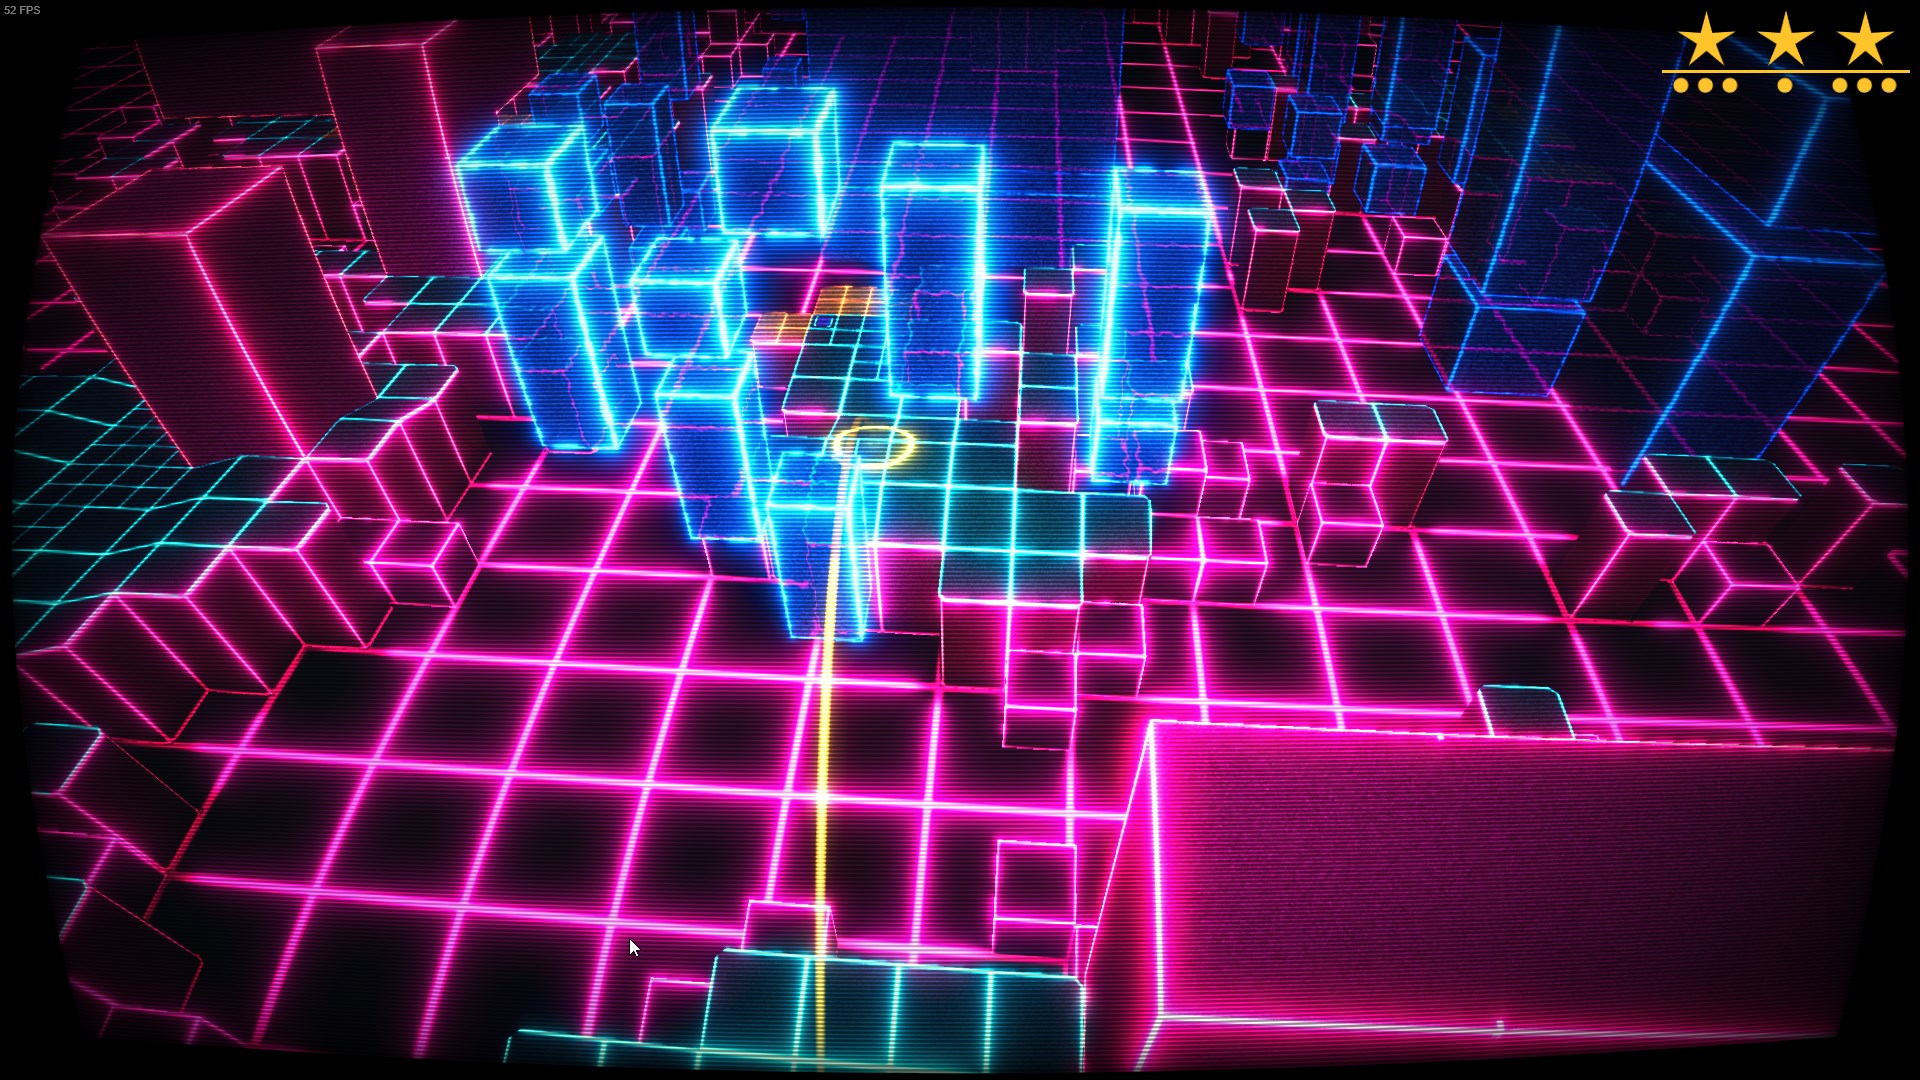
When you aim your shot, you will notice the aiming trajectory swaying from left to right, tracing approximately an 8-shape. You can hold shift to stabilize your aim and focus the trajectory in the center of the circle. Of course this makes it easier and more reliable to aim, but you can actually reach farther without stabilizing by aiming on the edge of the circle. For many holes this is required to get a perfect score. See below for a visual representation.
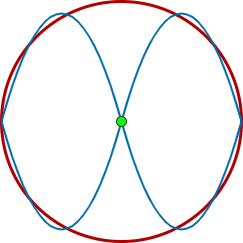
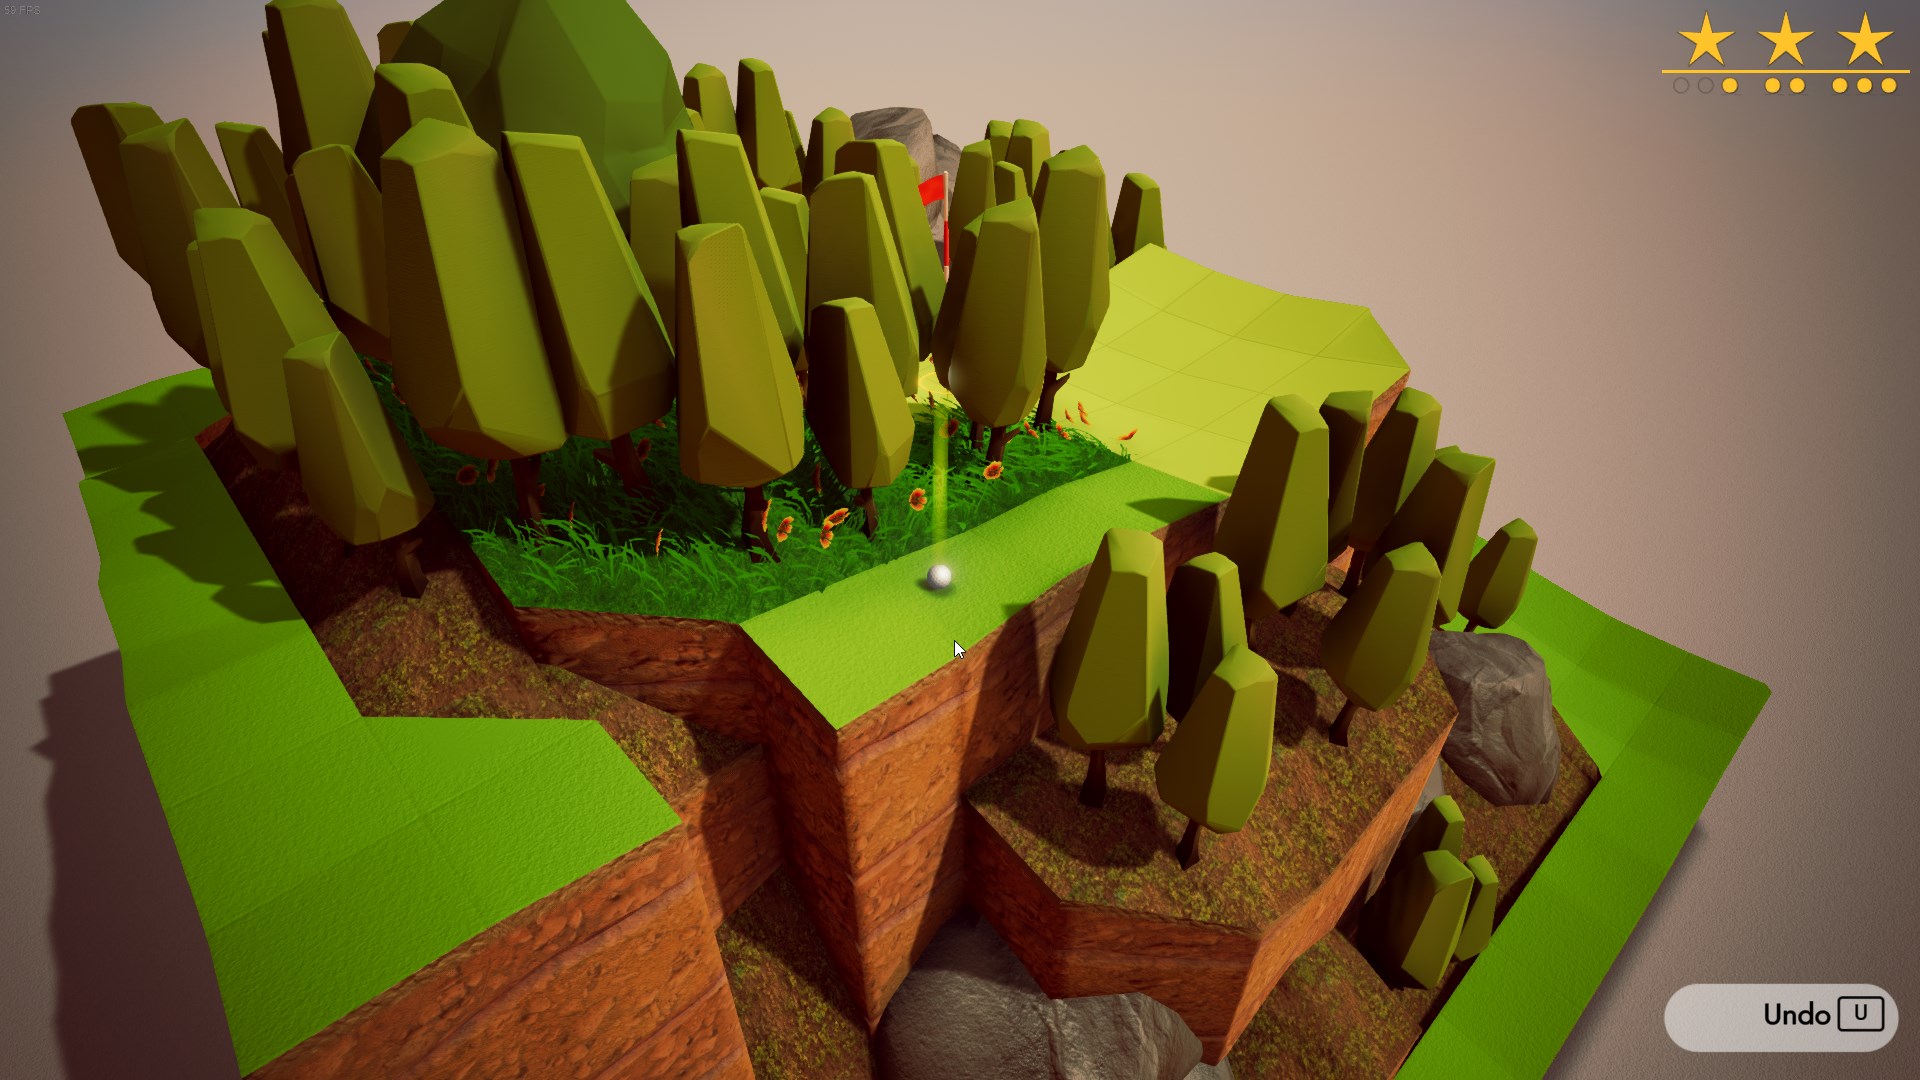
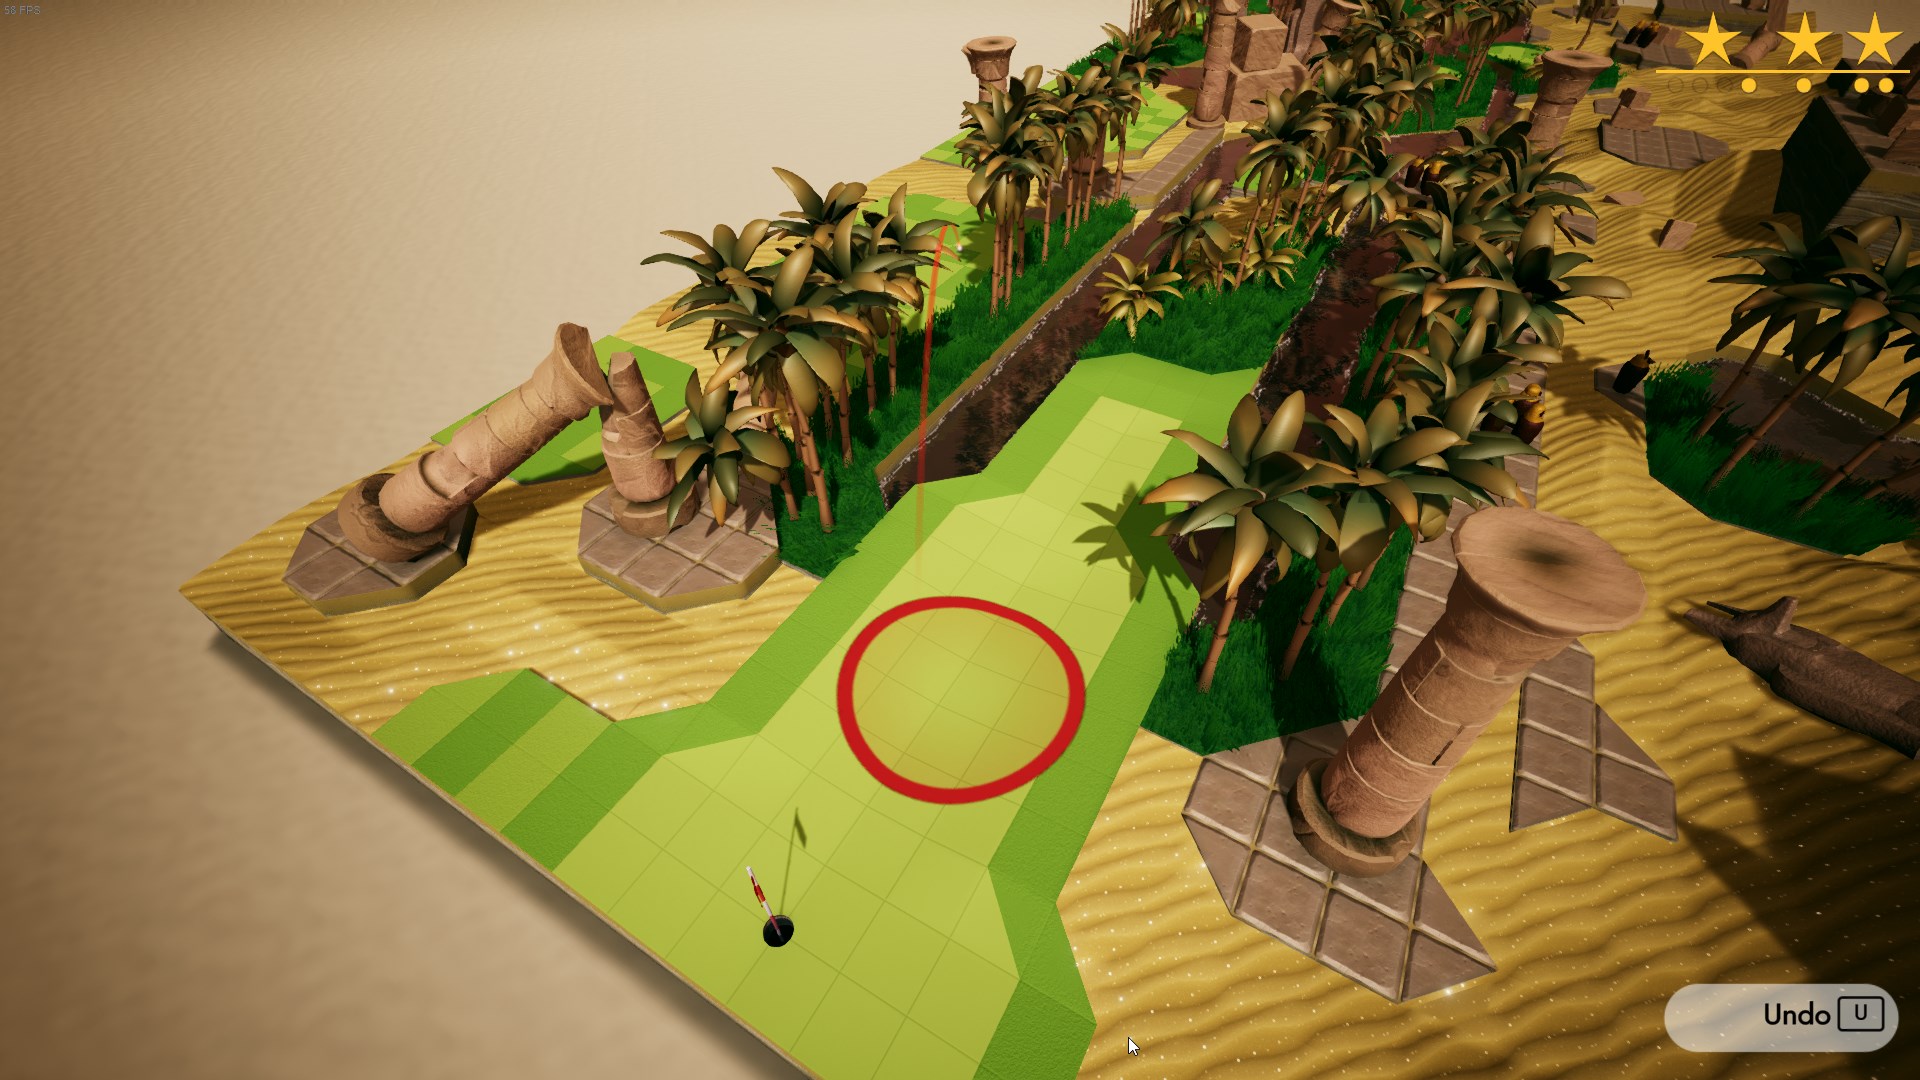
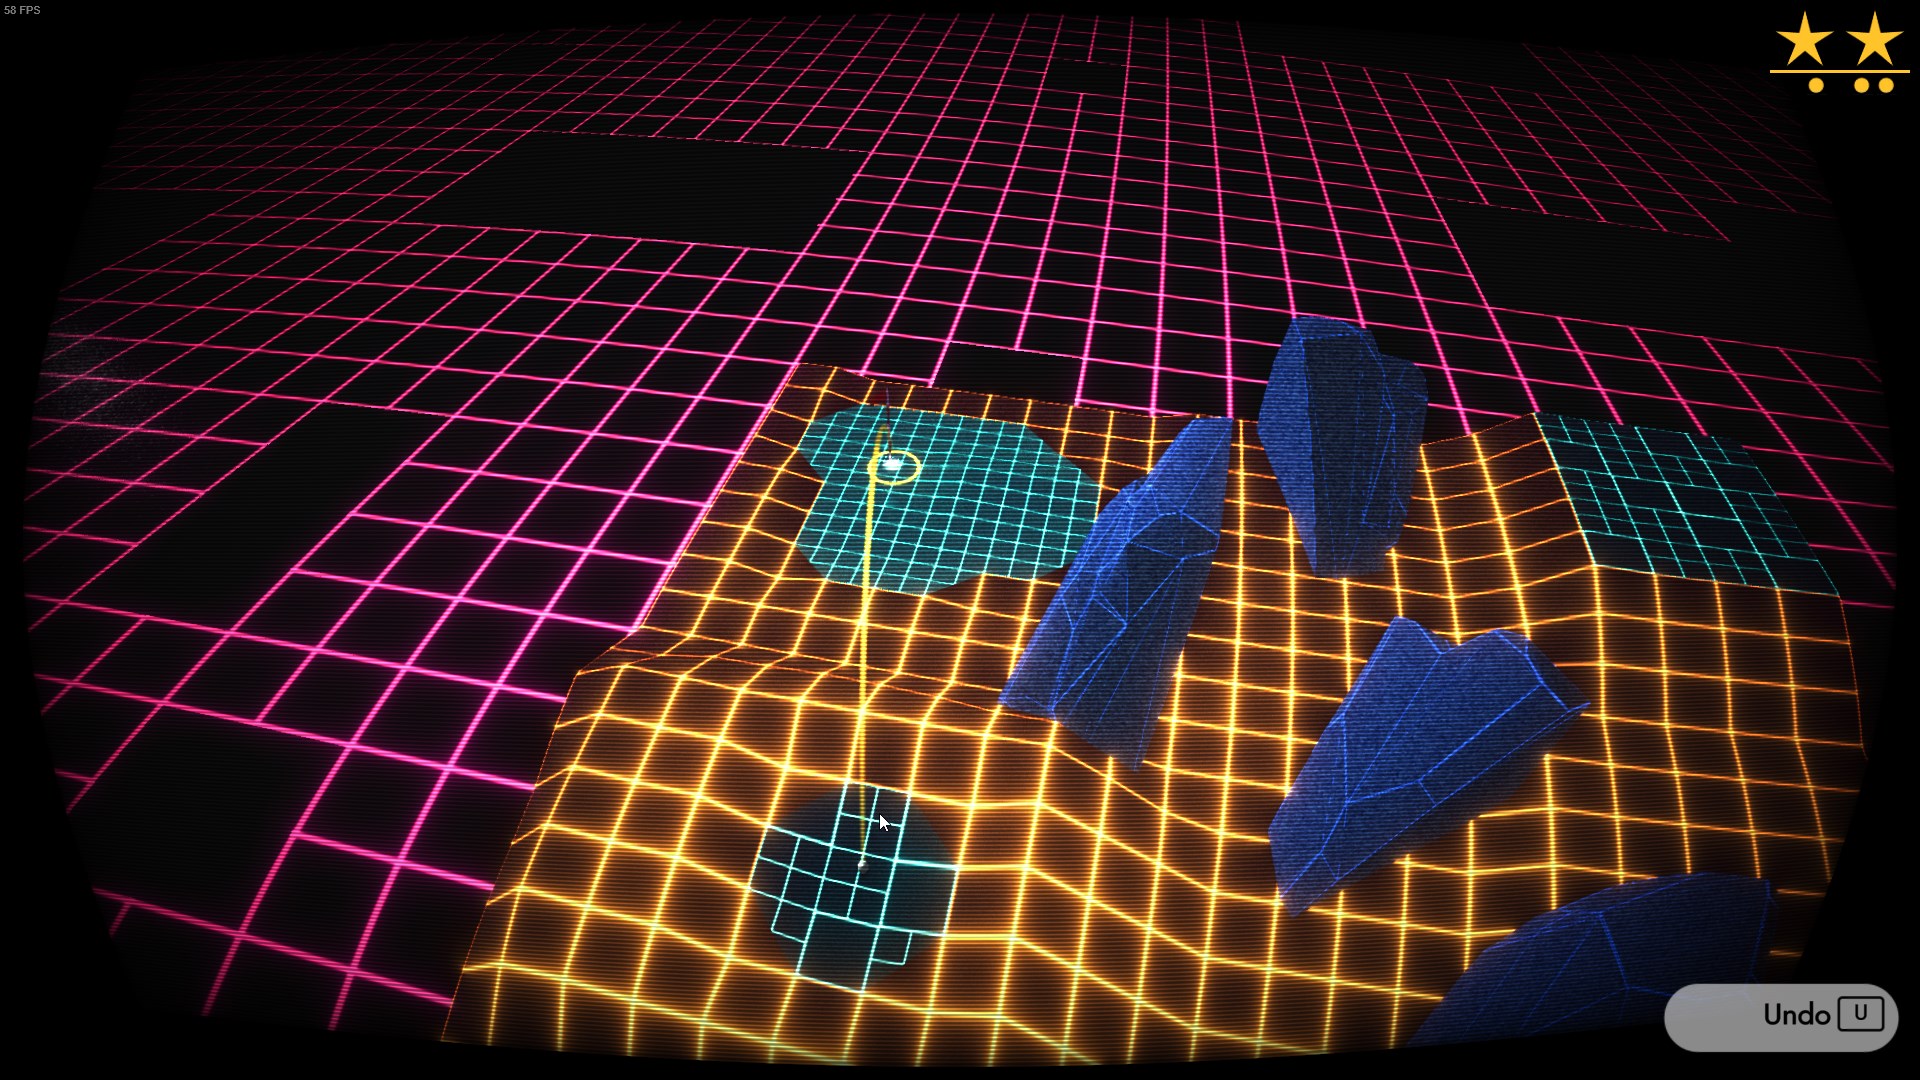
The green circle is where the ball will land when you stabilize, and the blue curve approximately represents the shape of the trajectory without stabilizing.
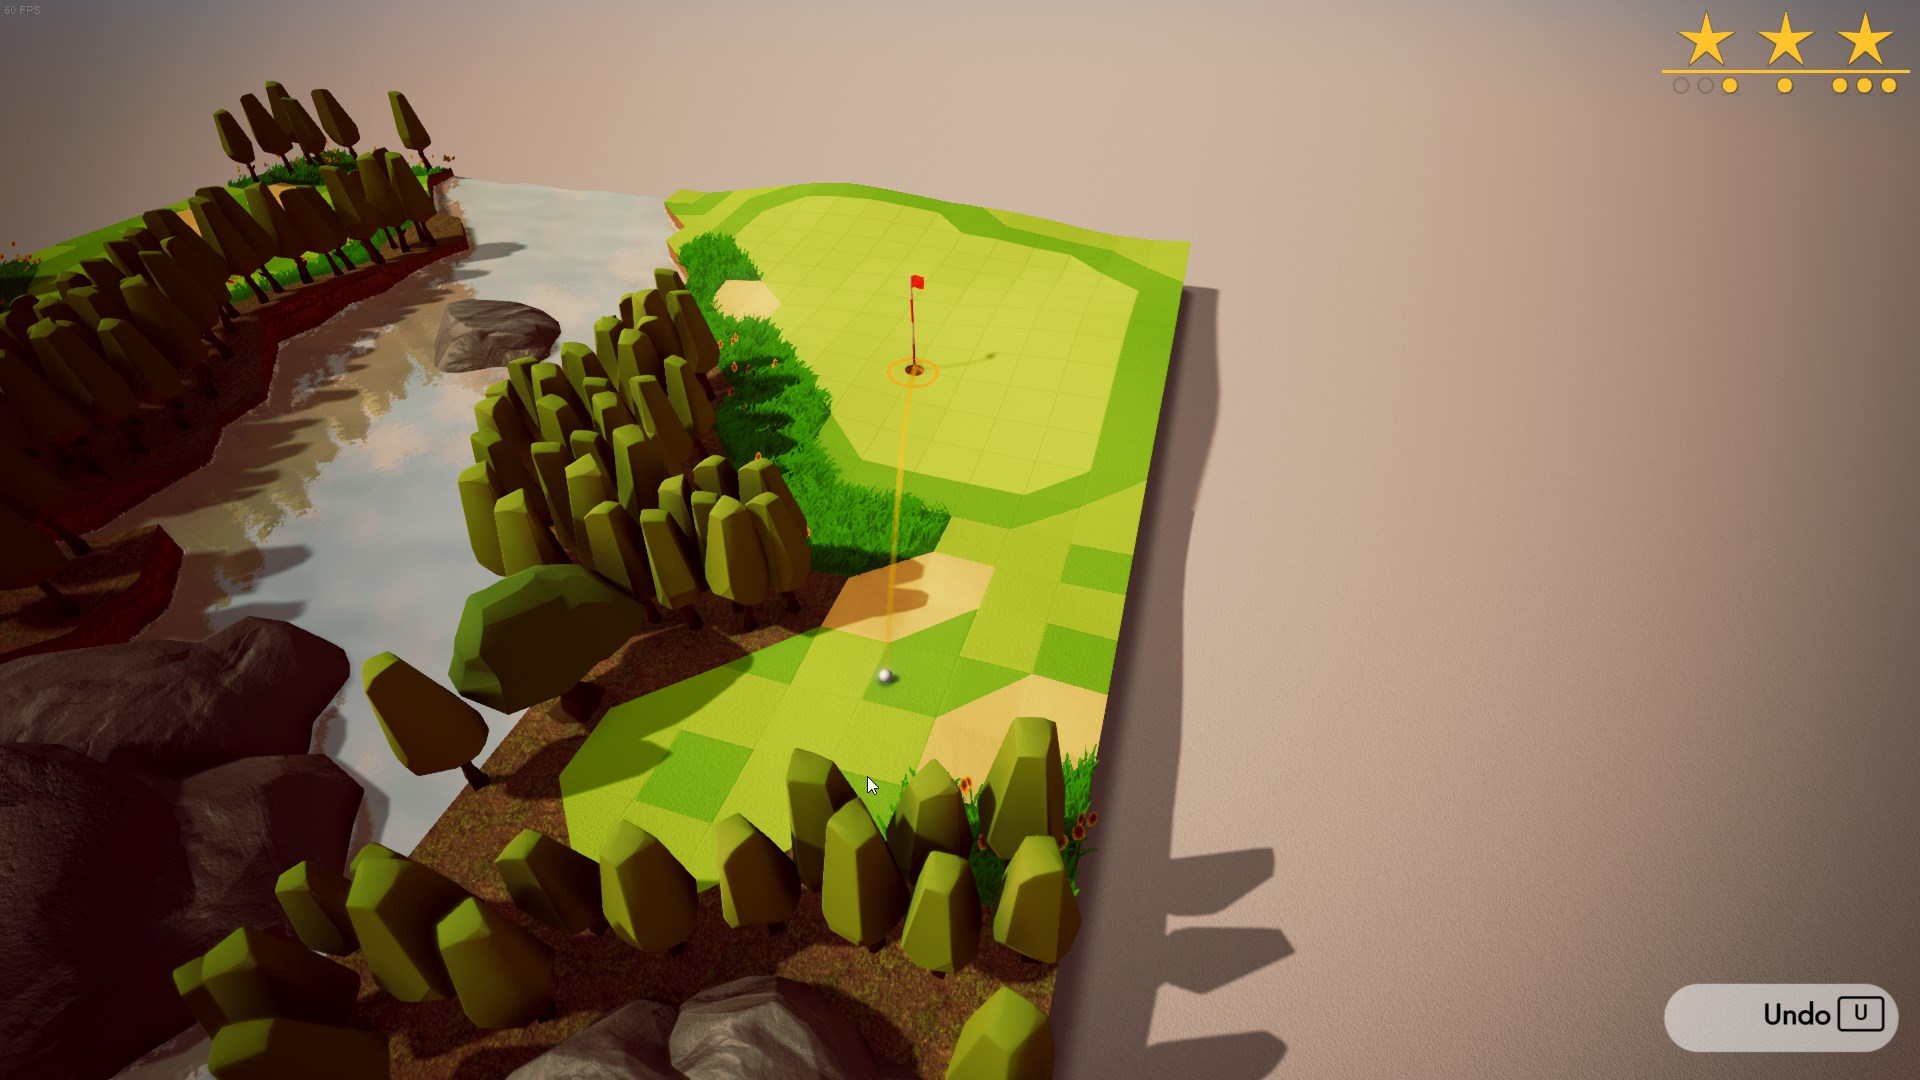
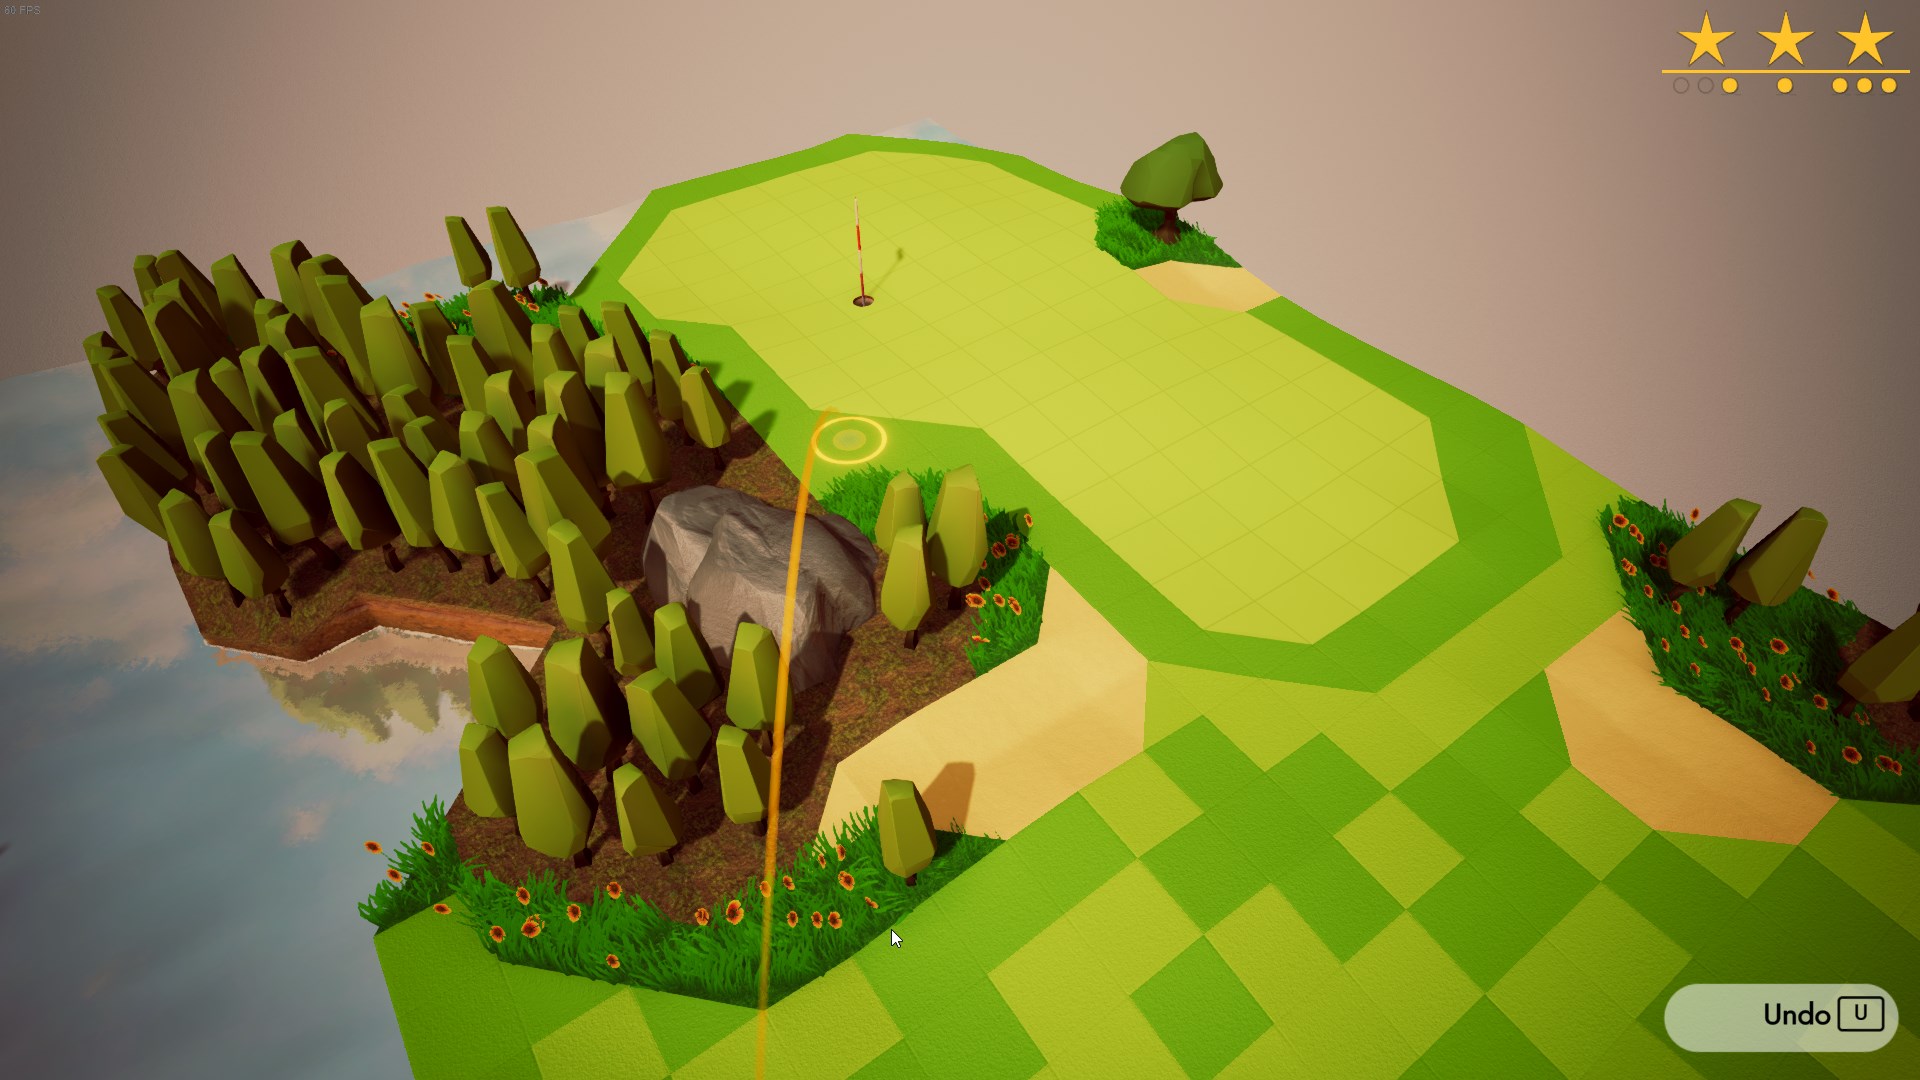
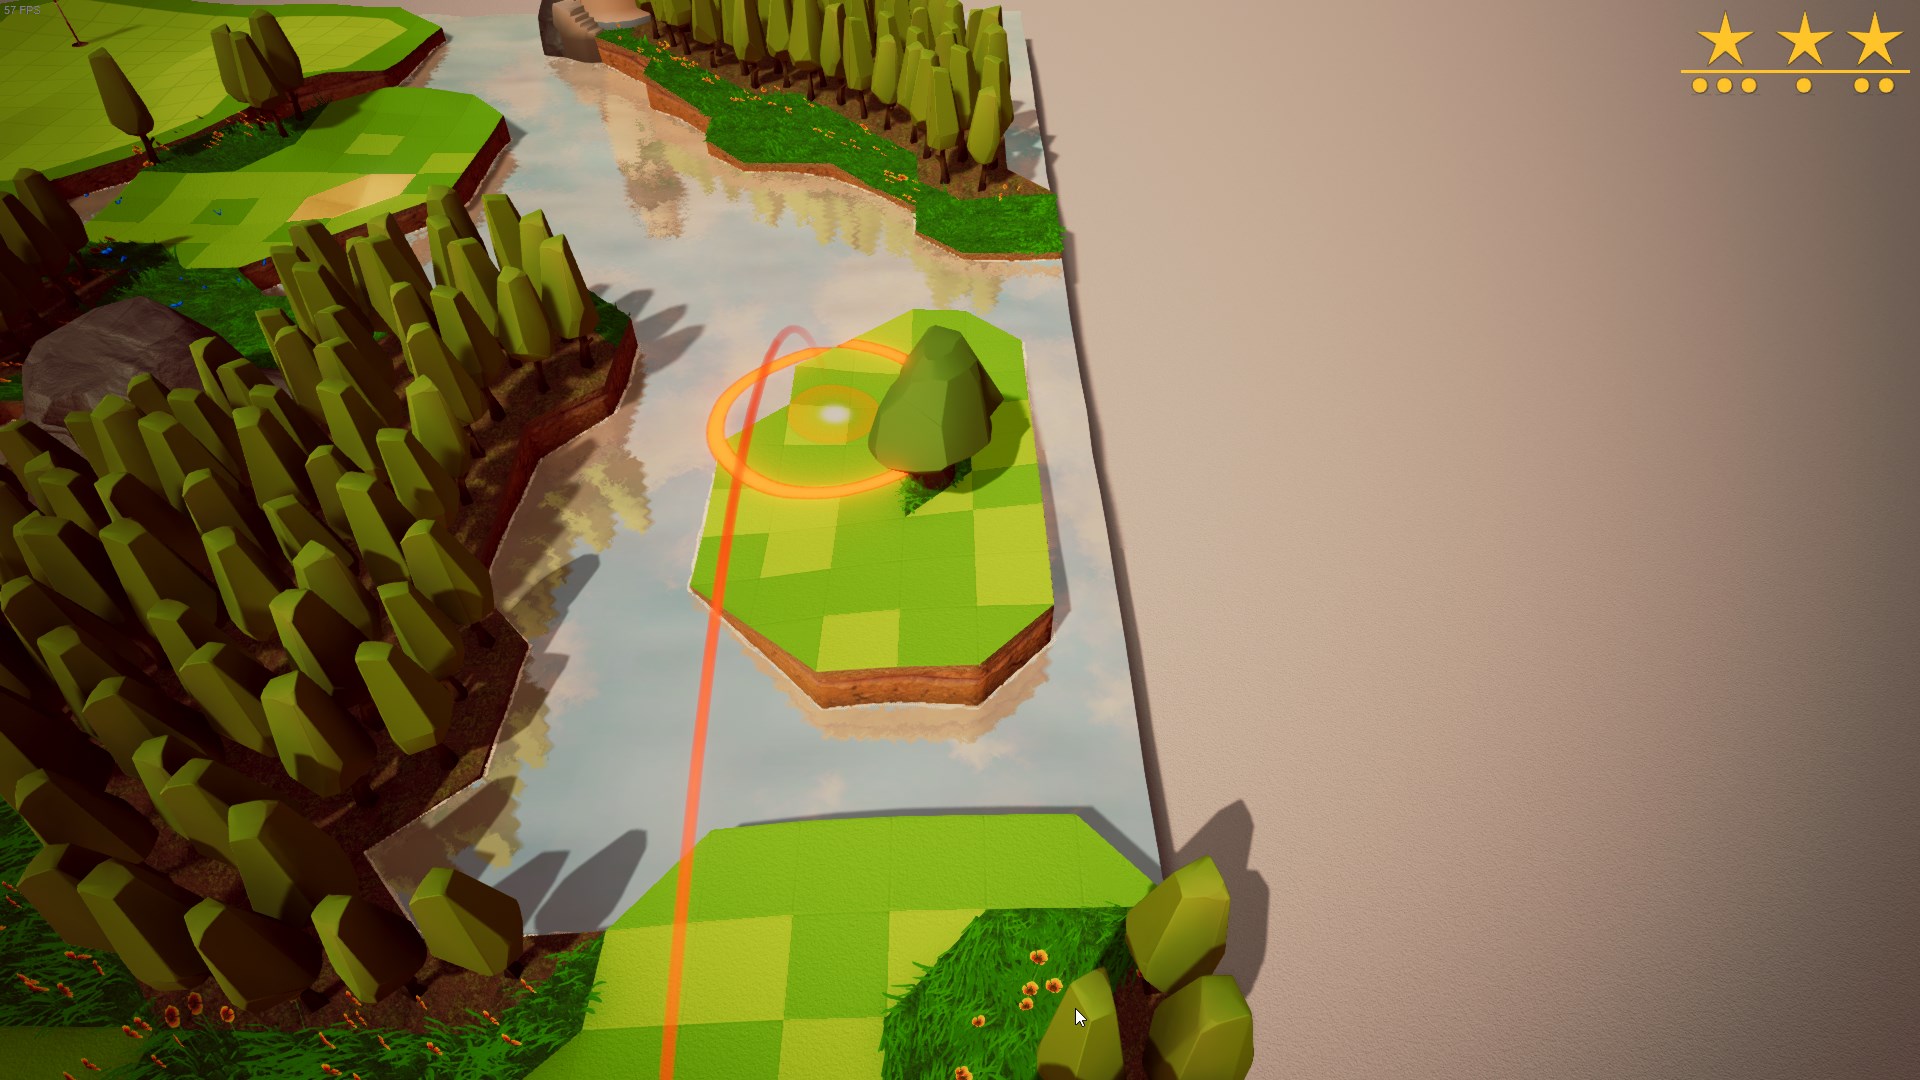
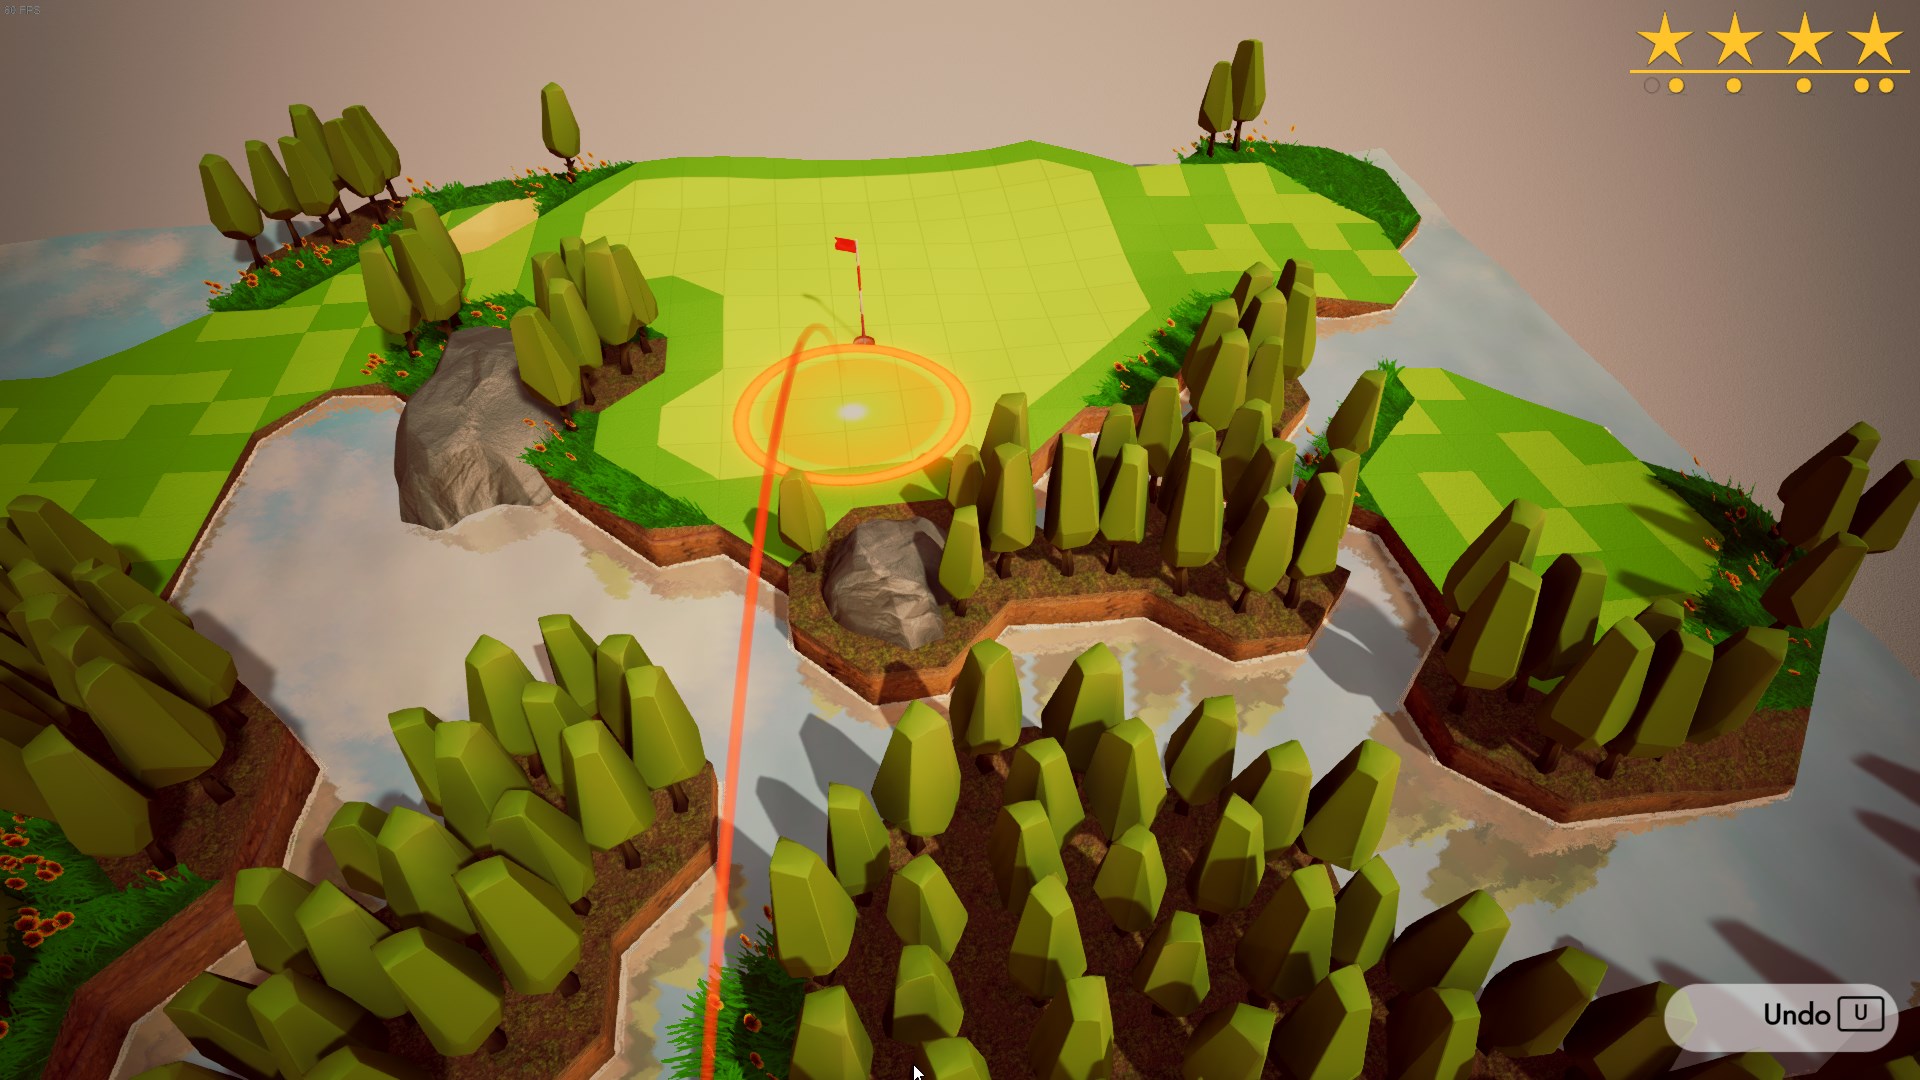
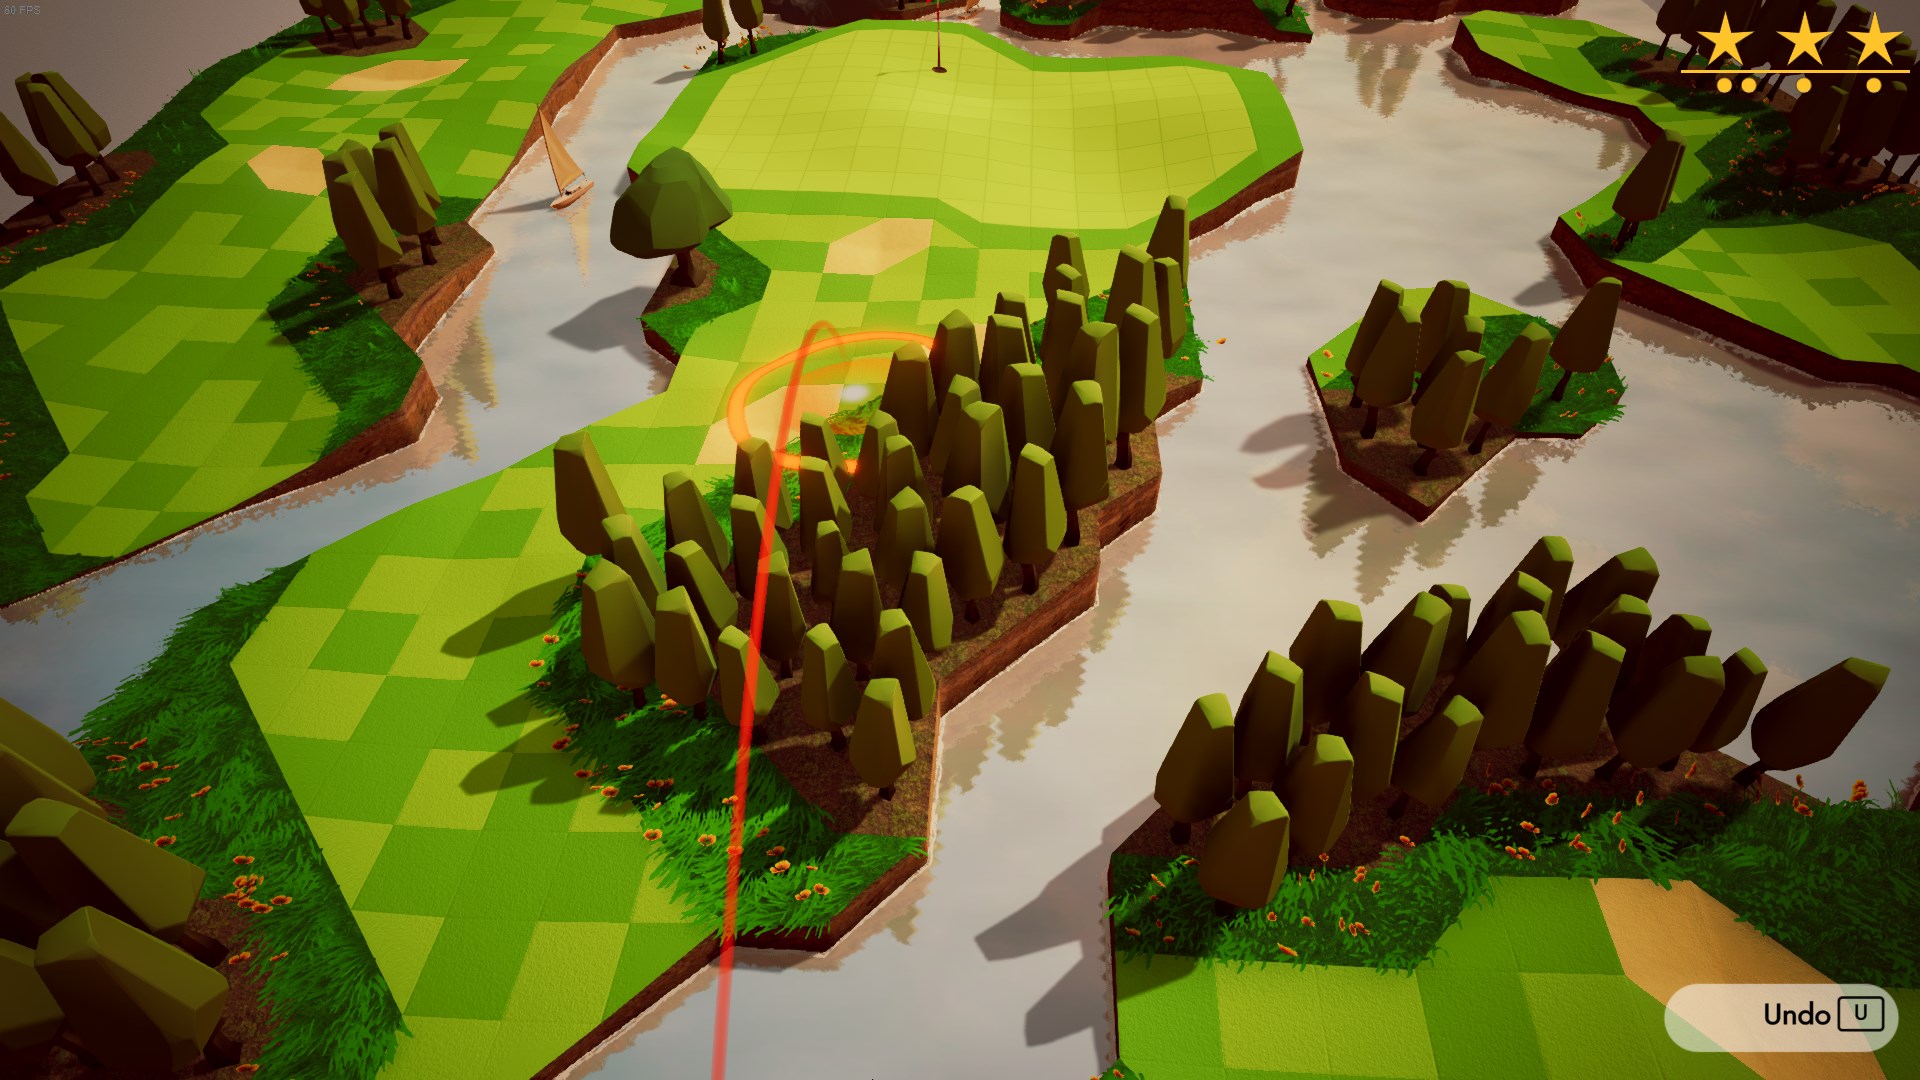
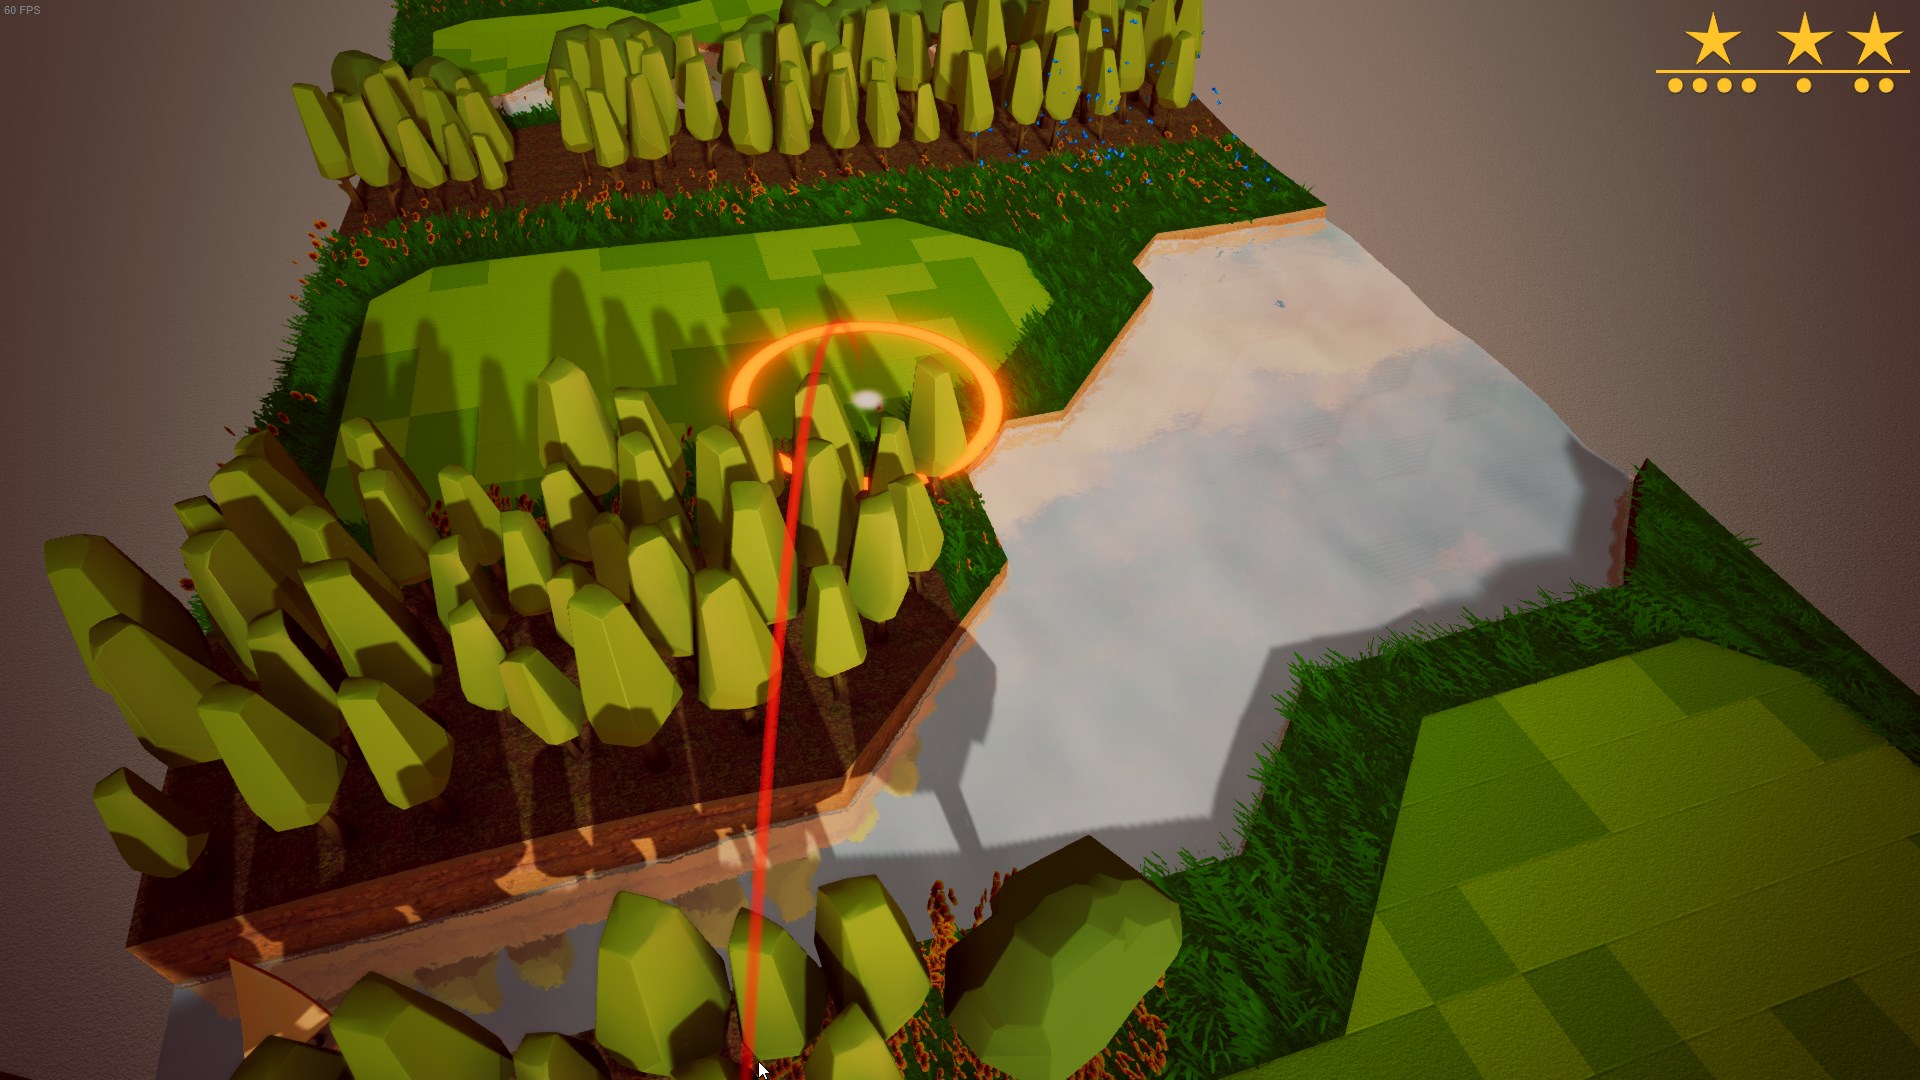
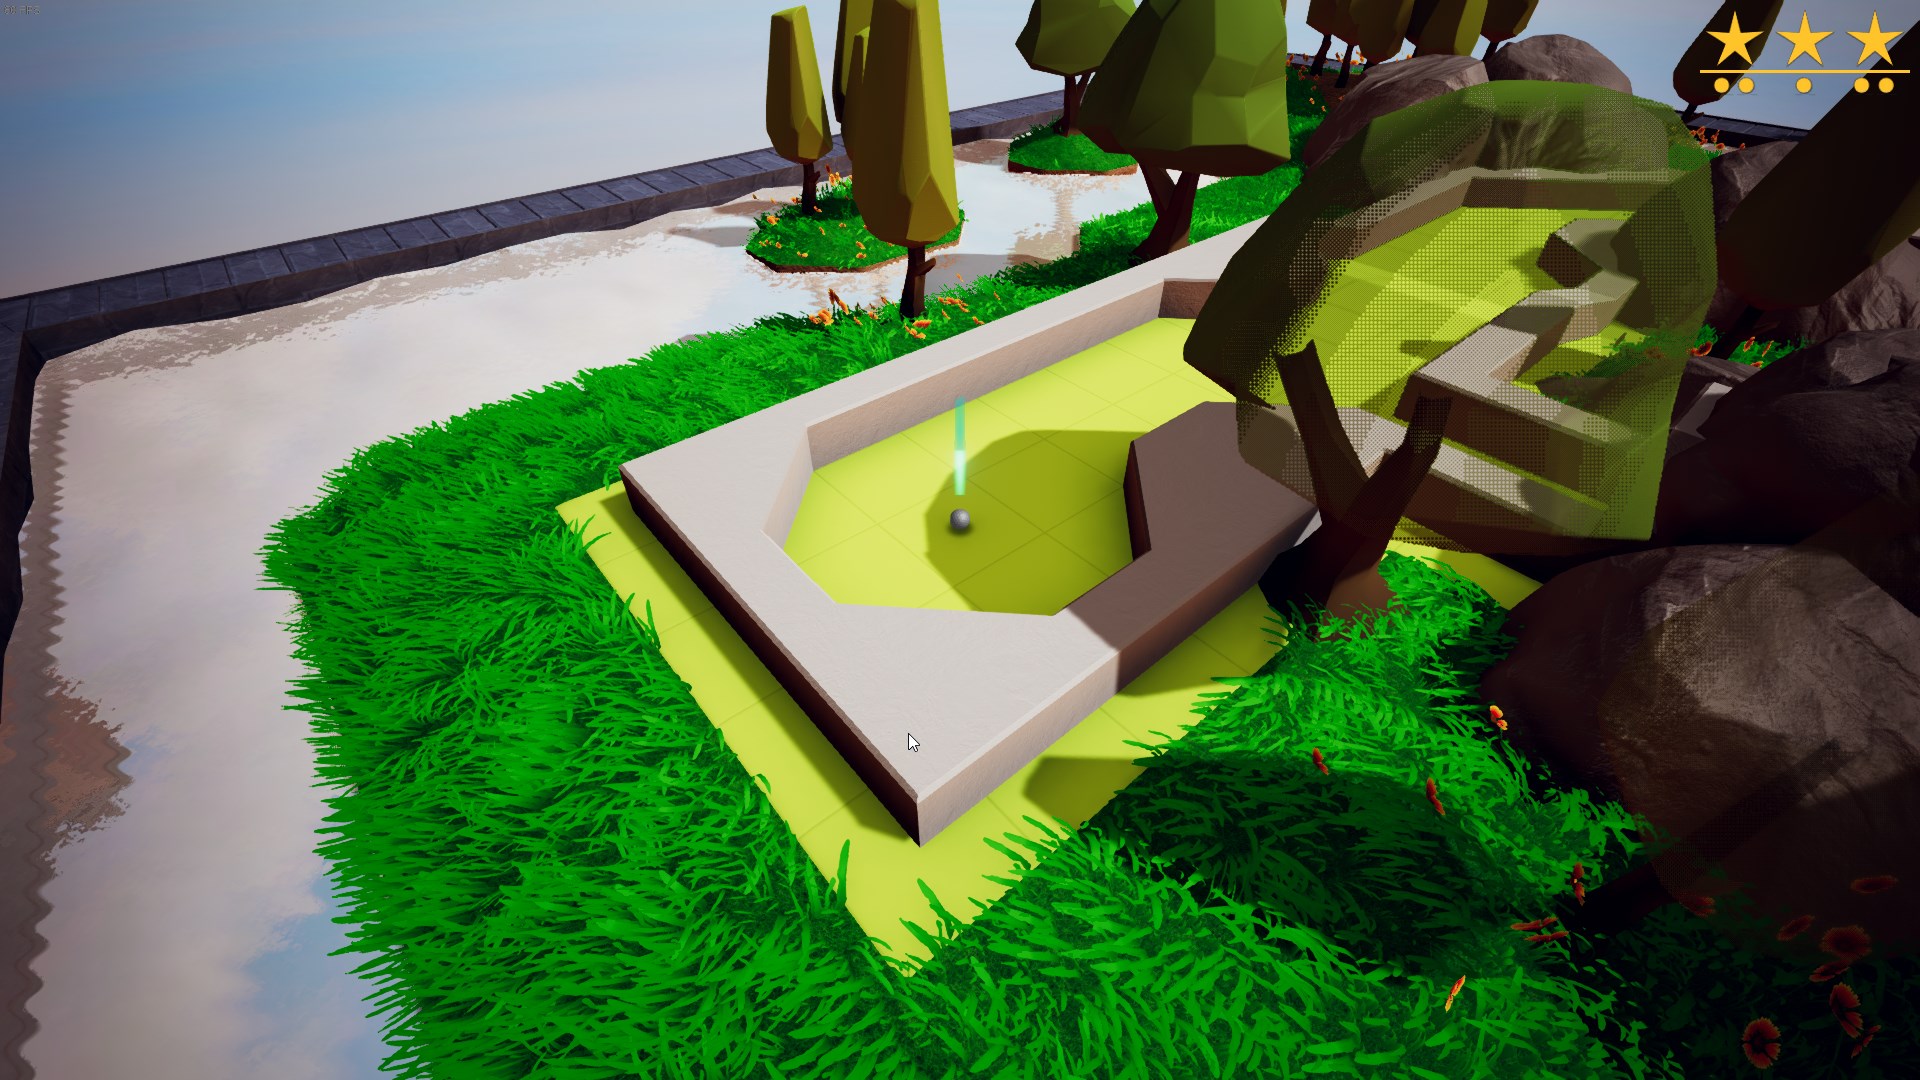
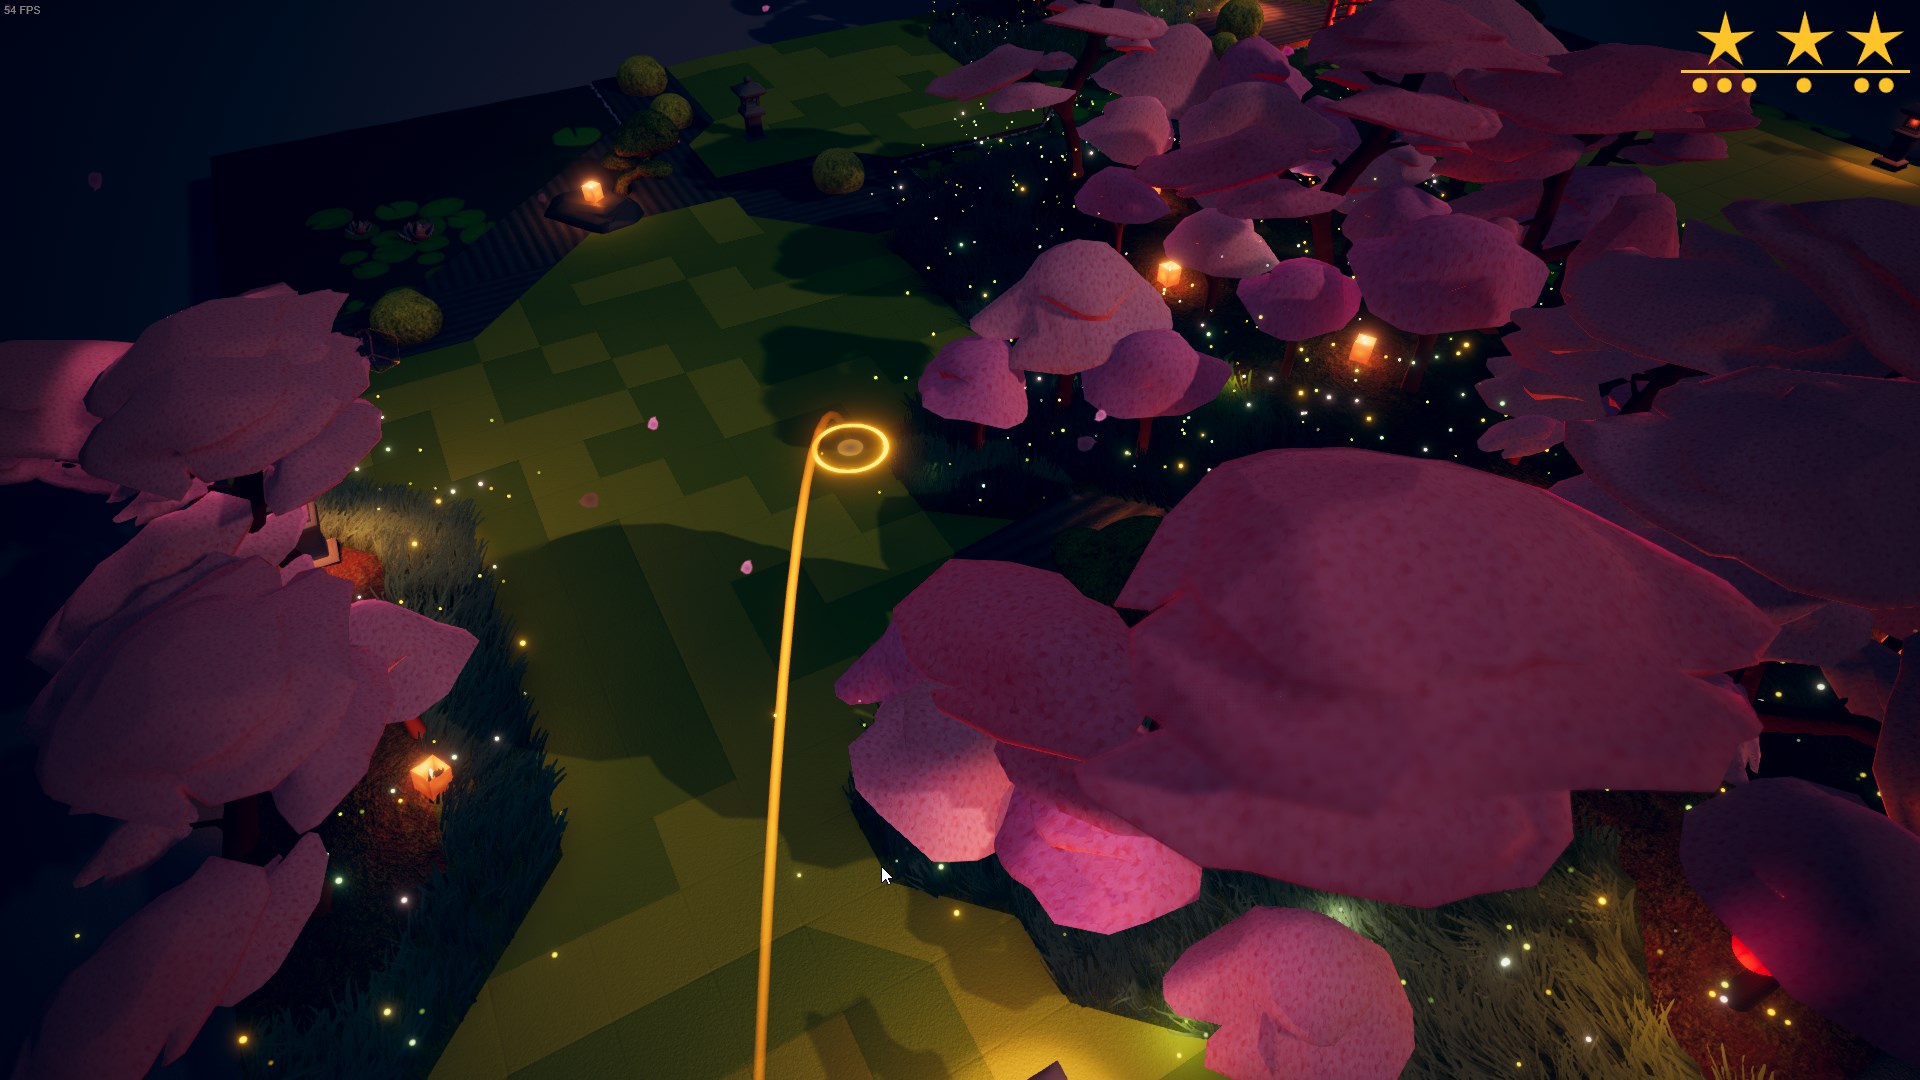
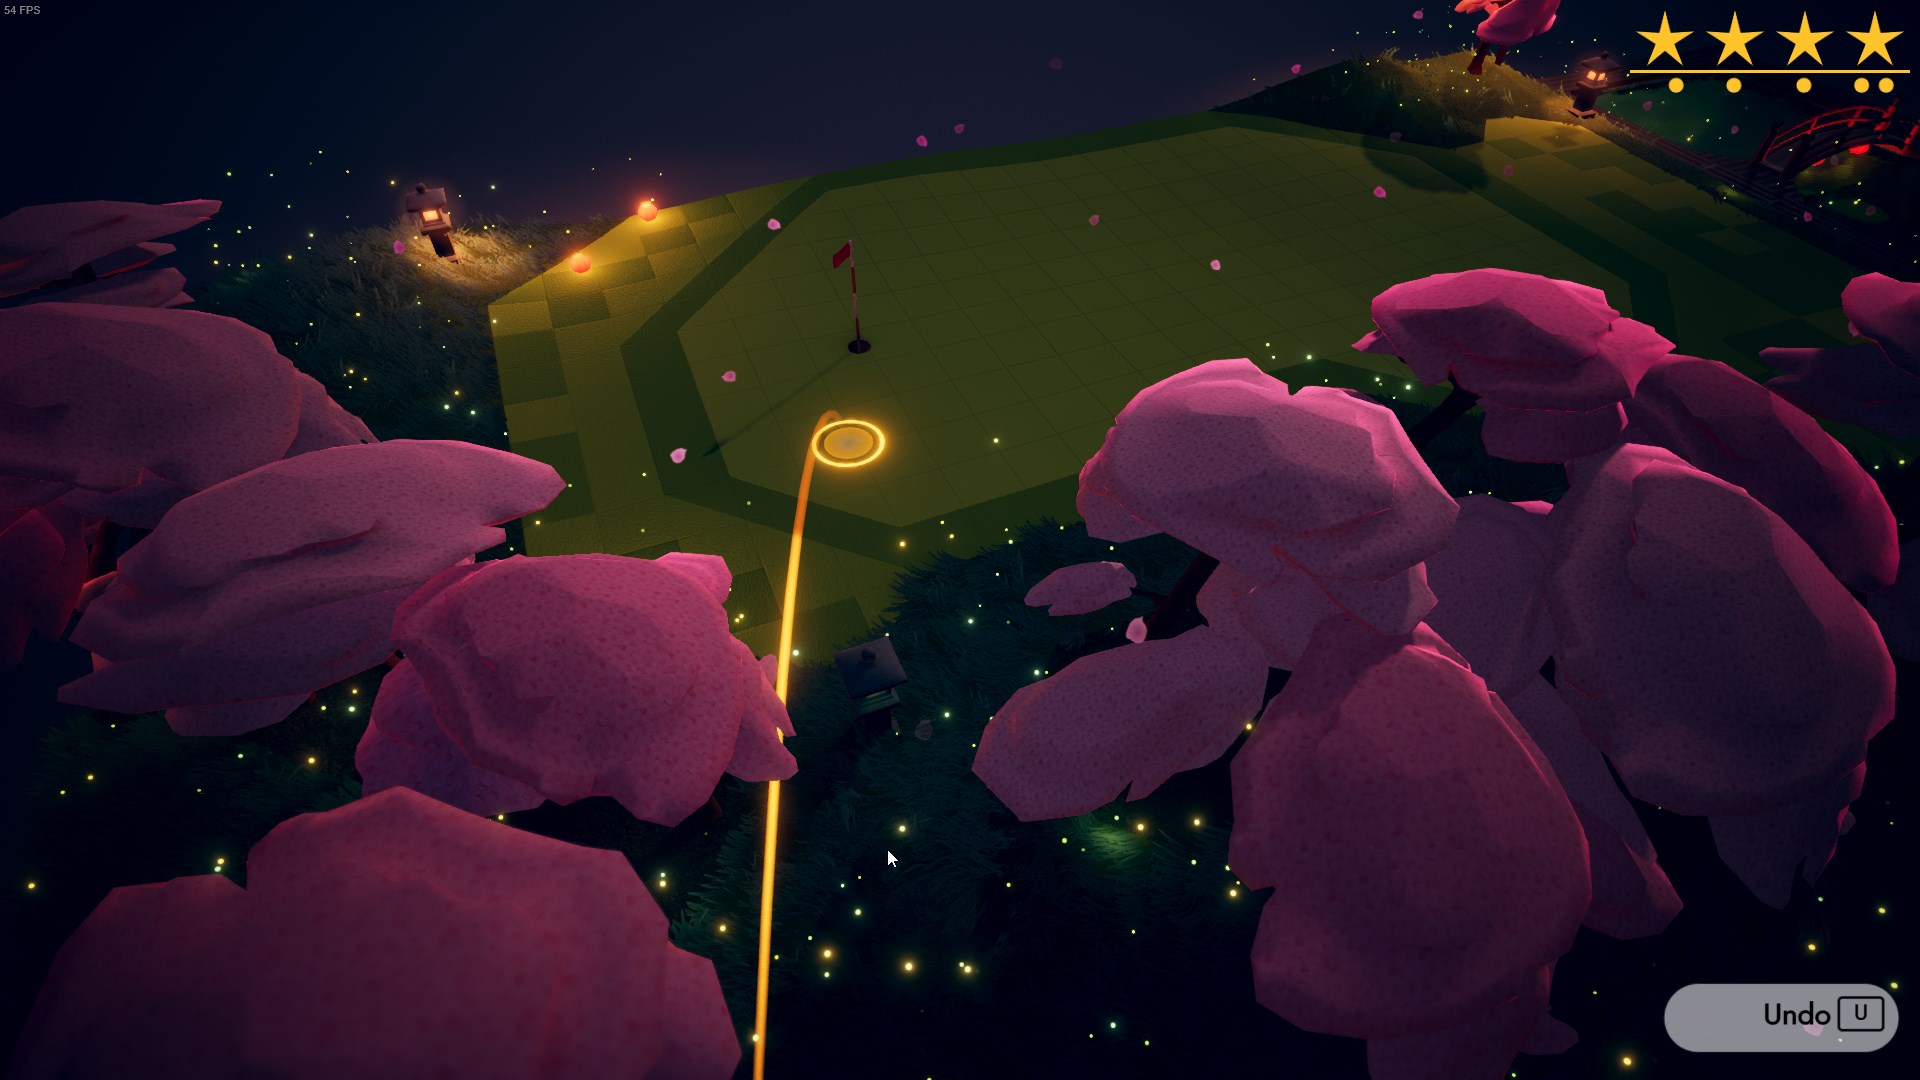
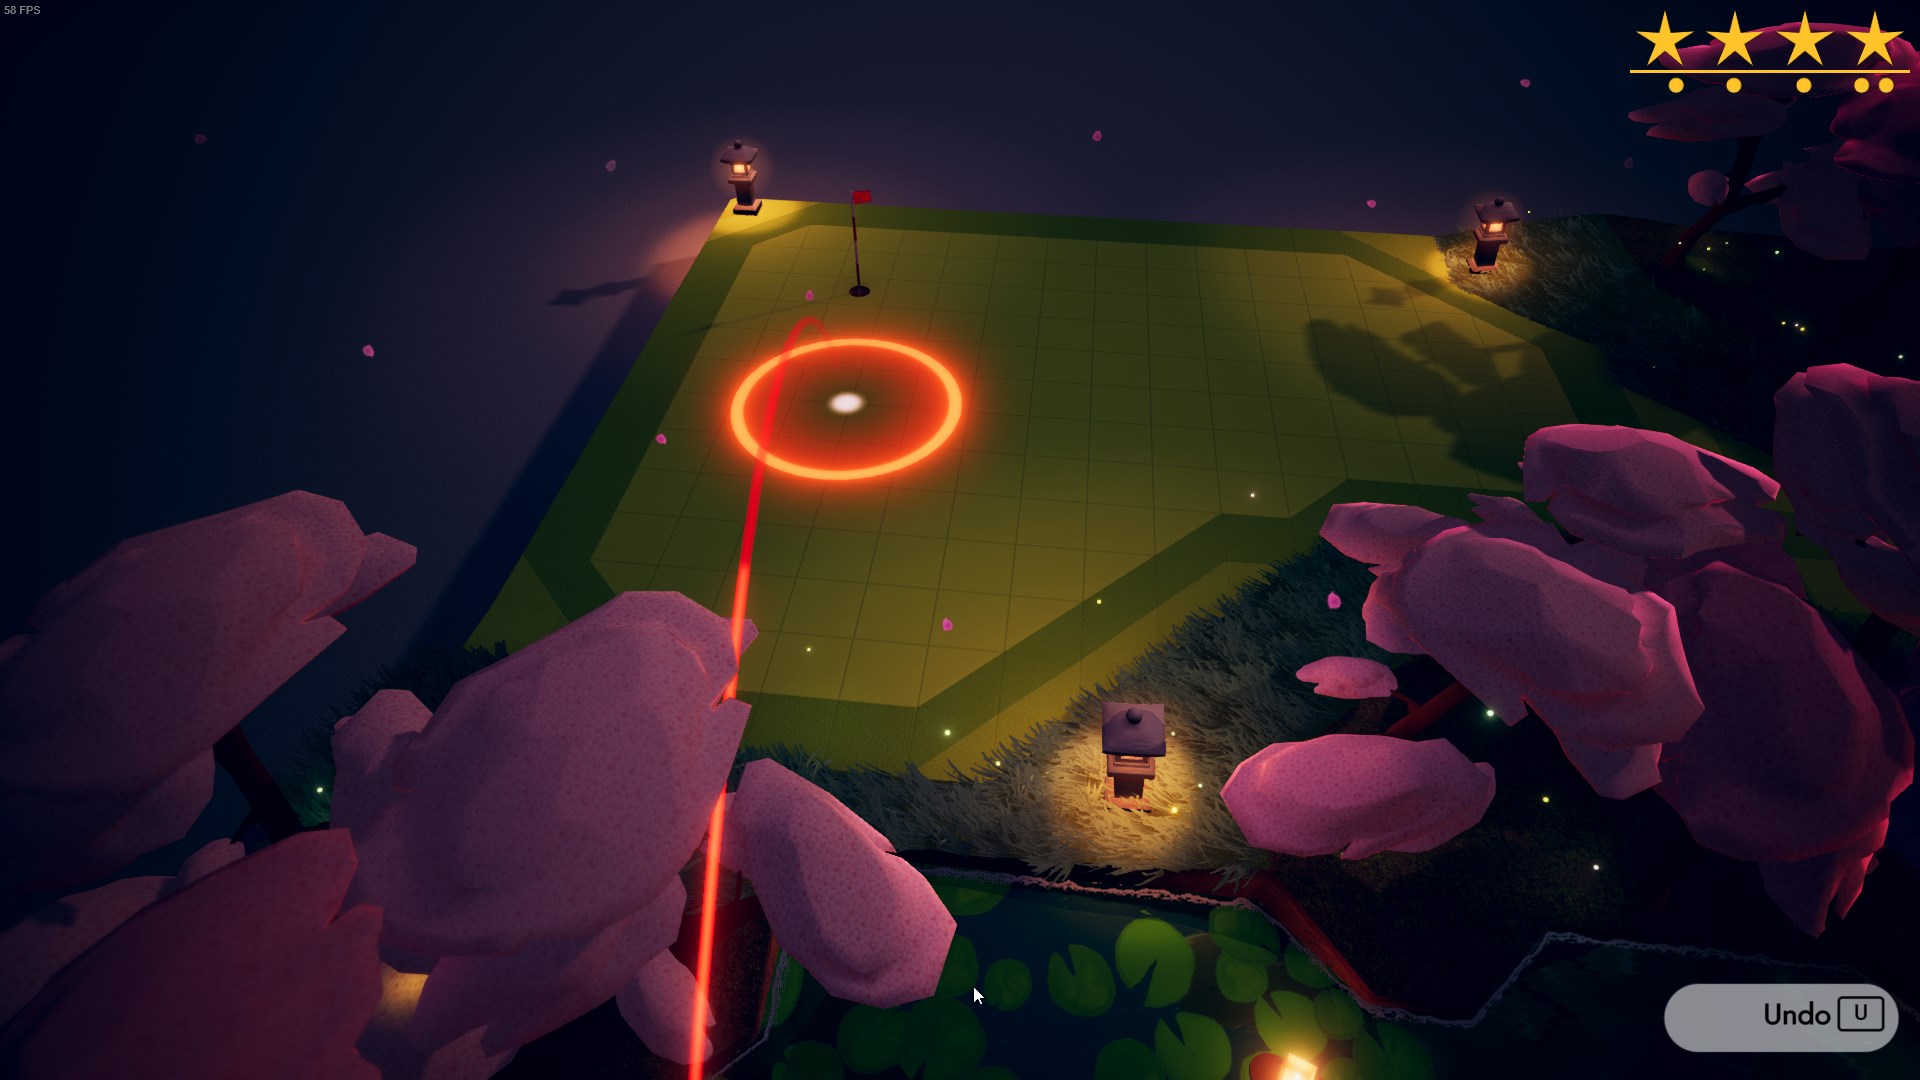
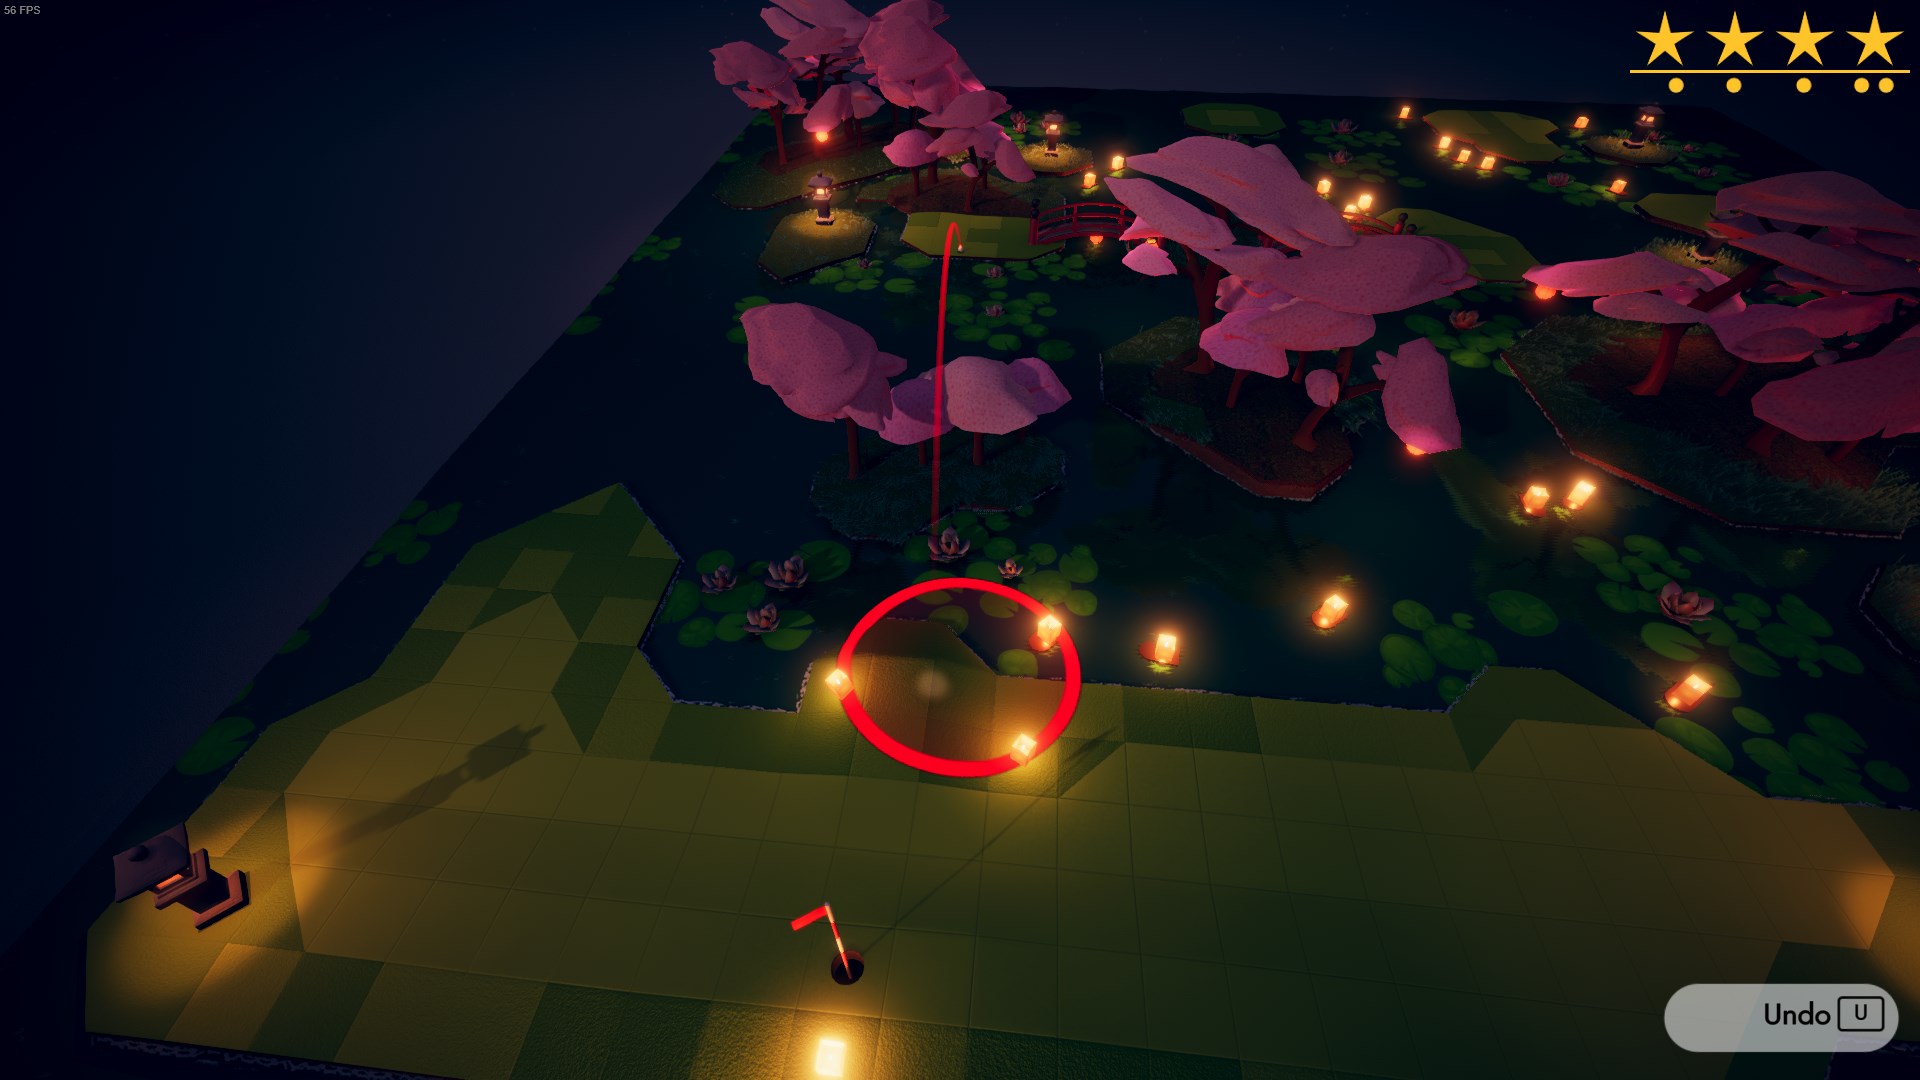
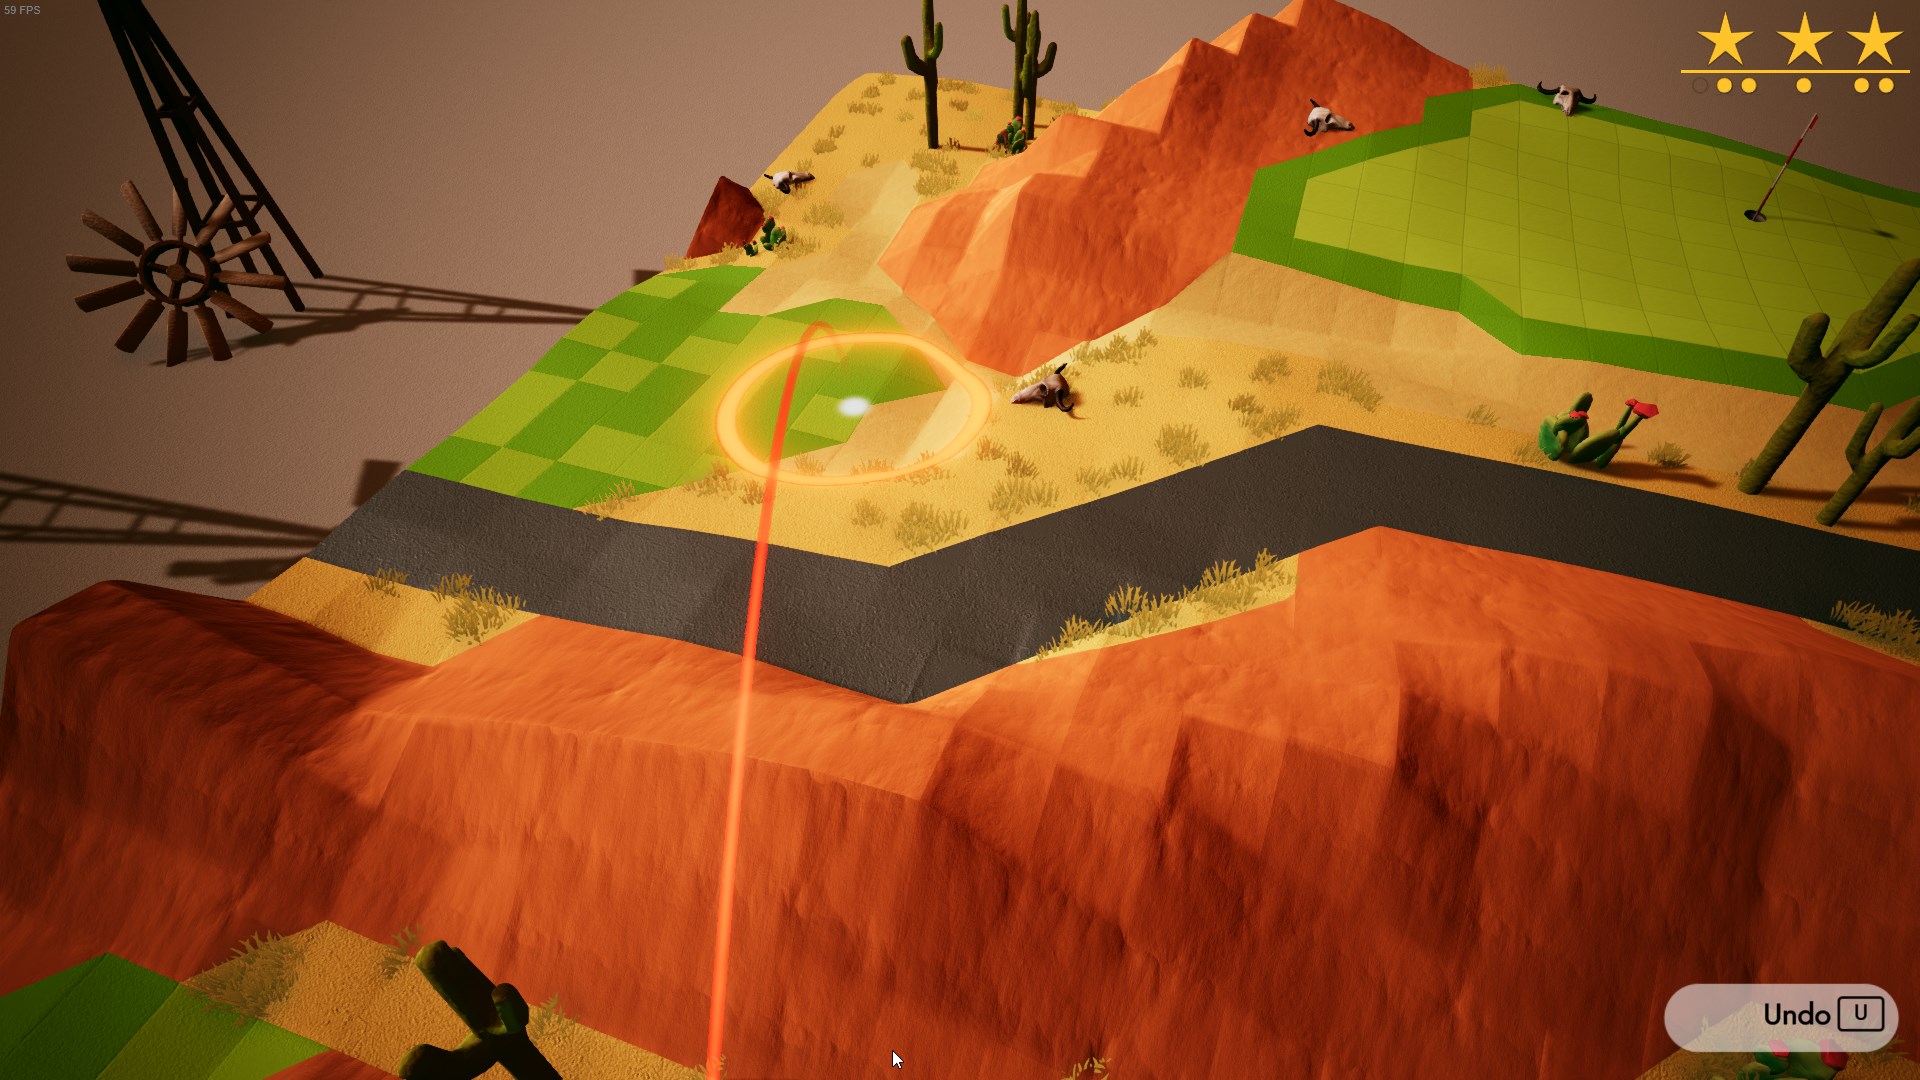
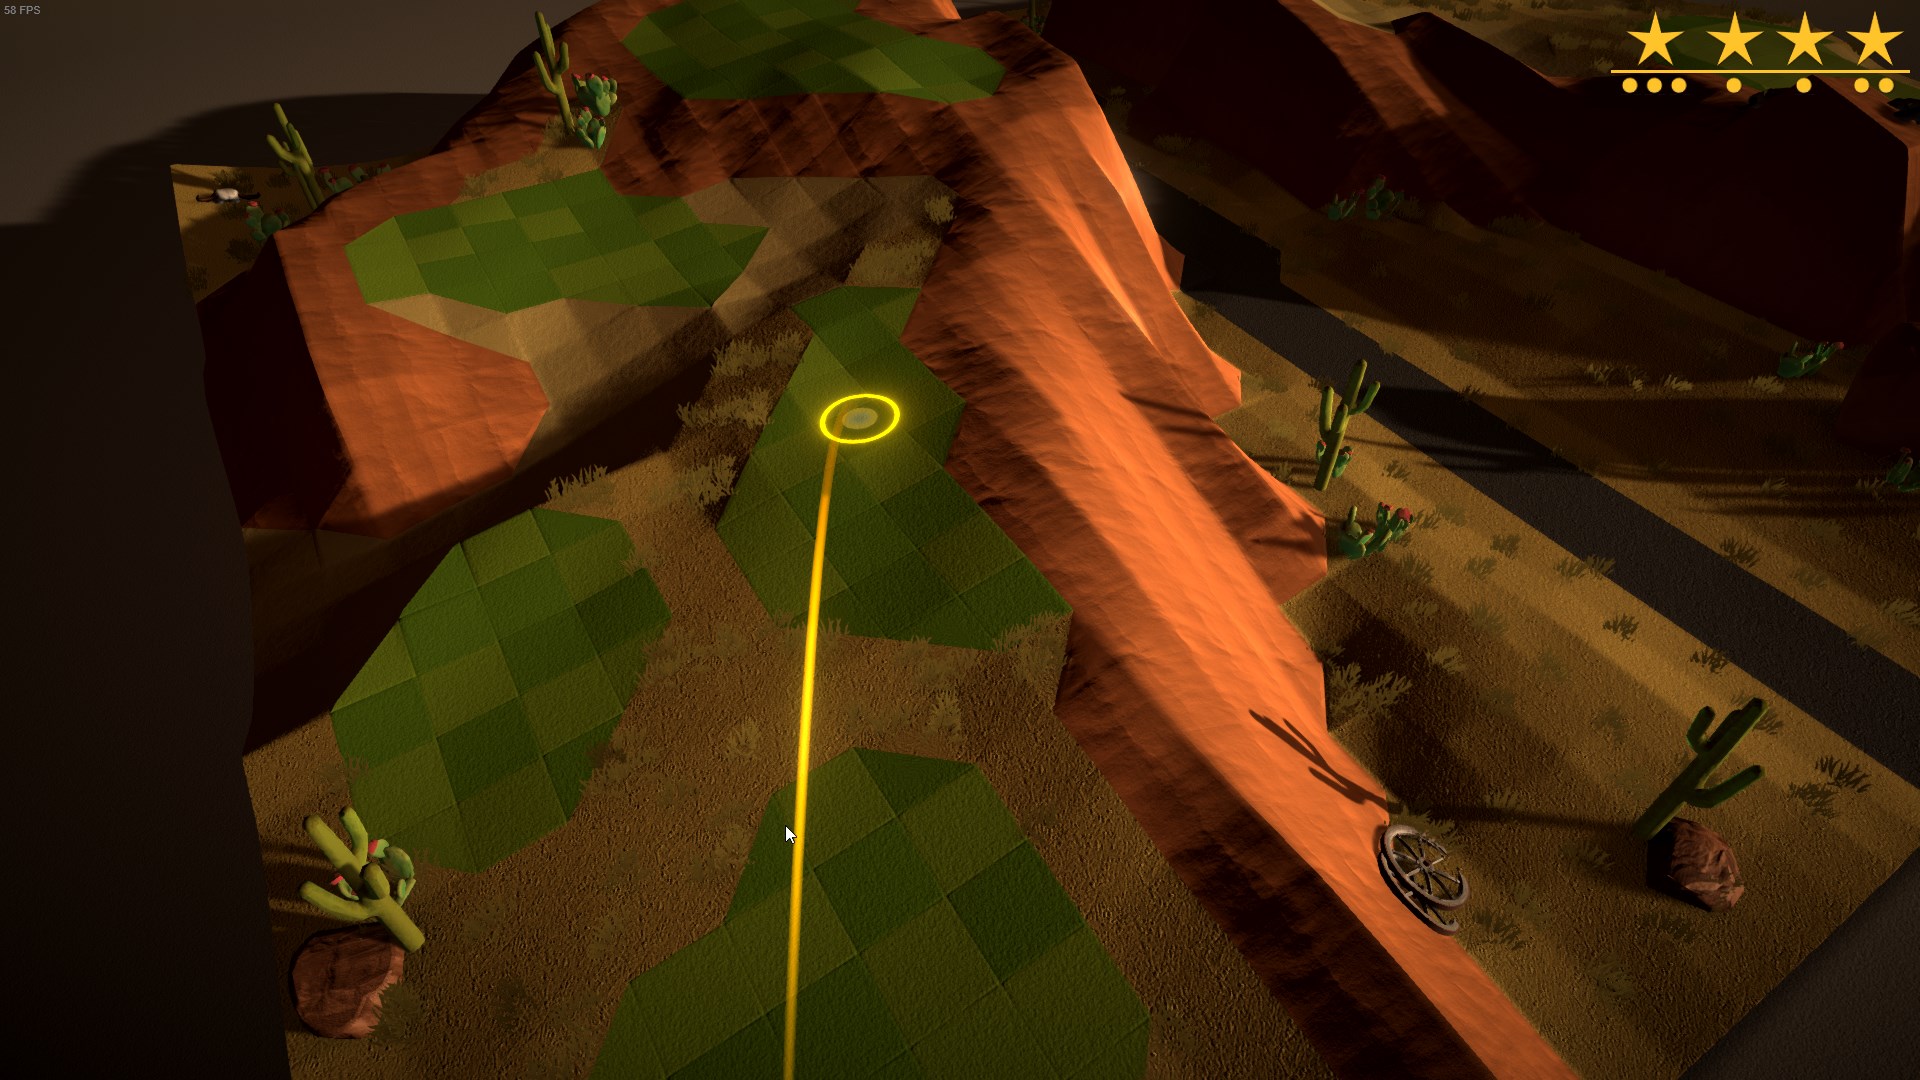
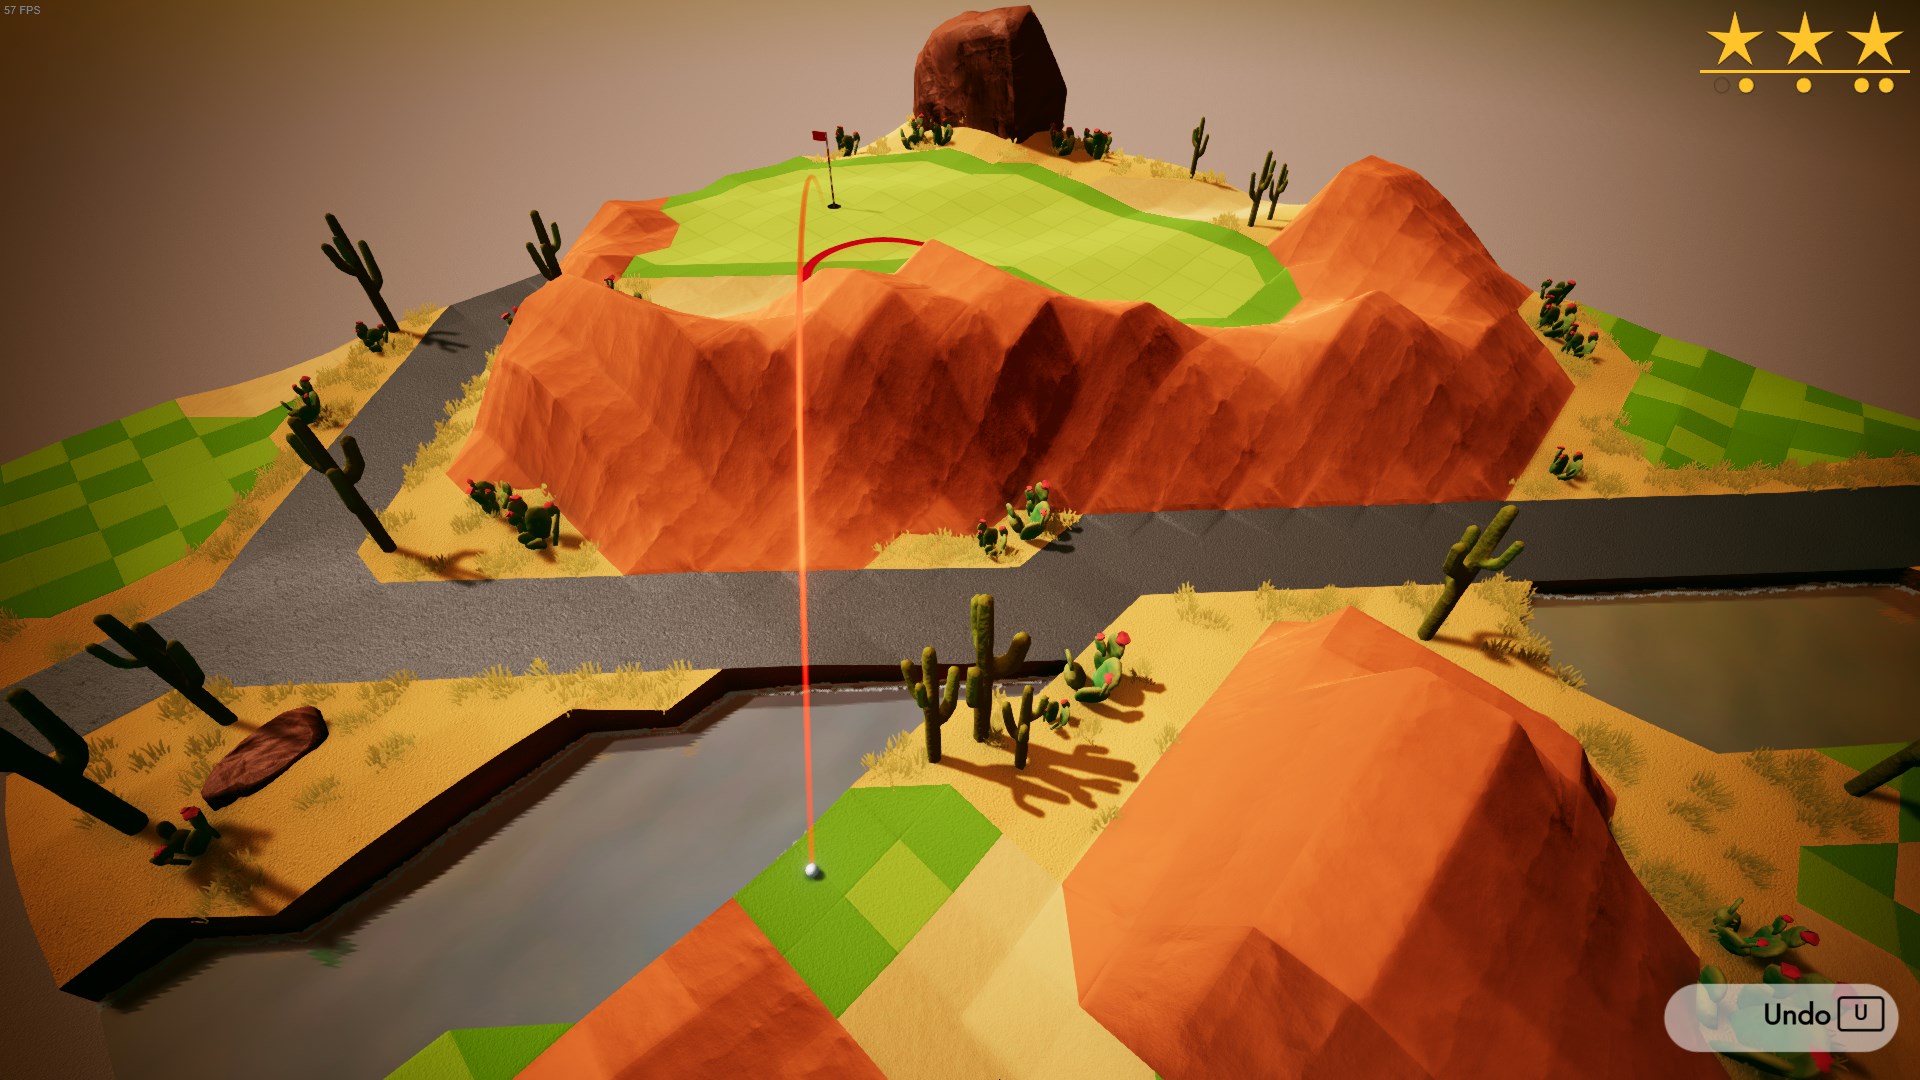
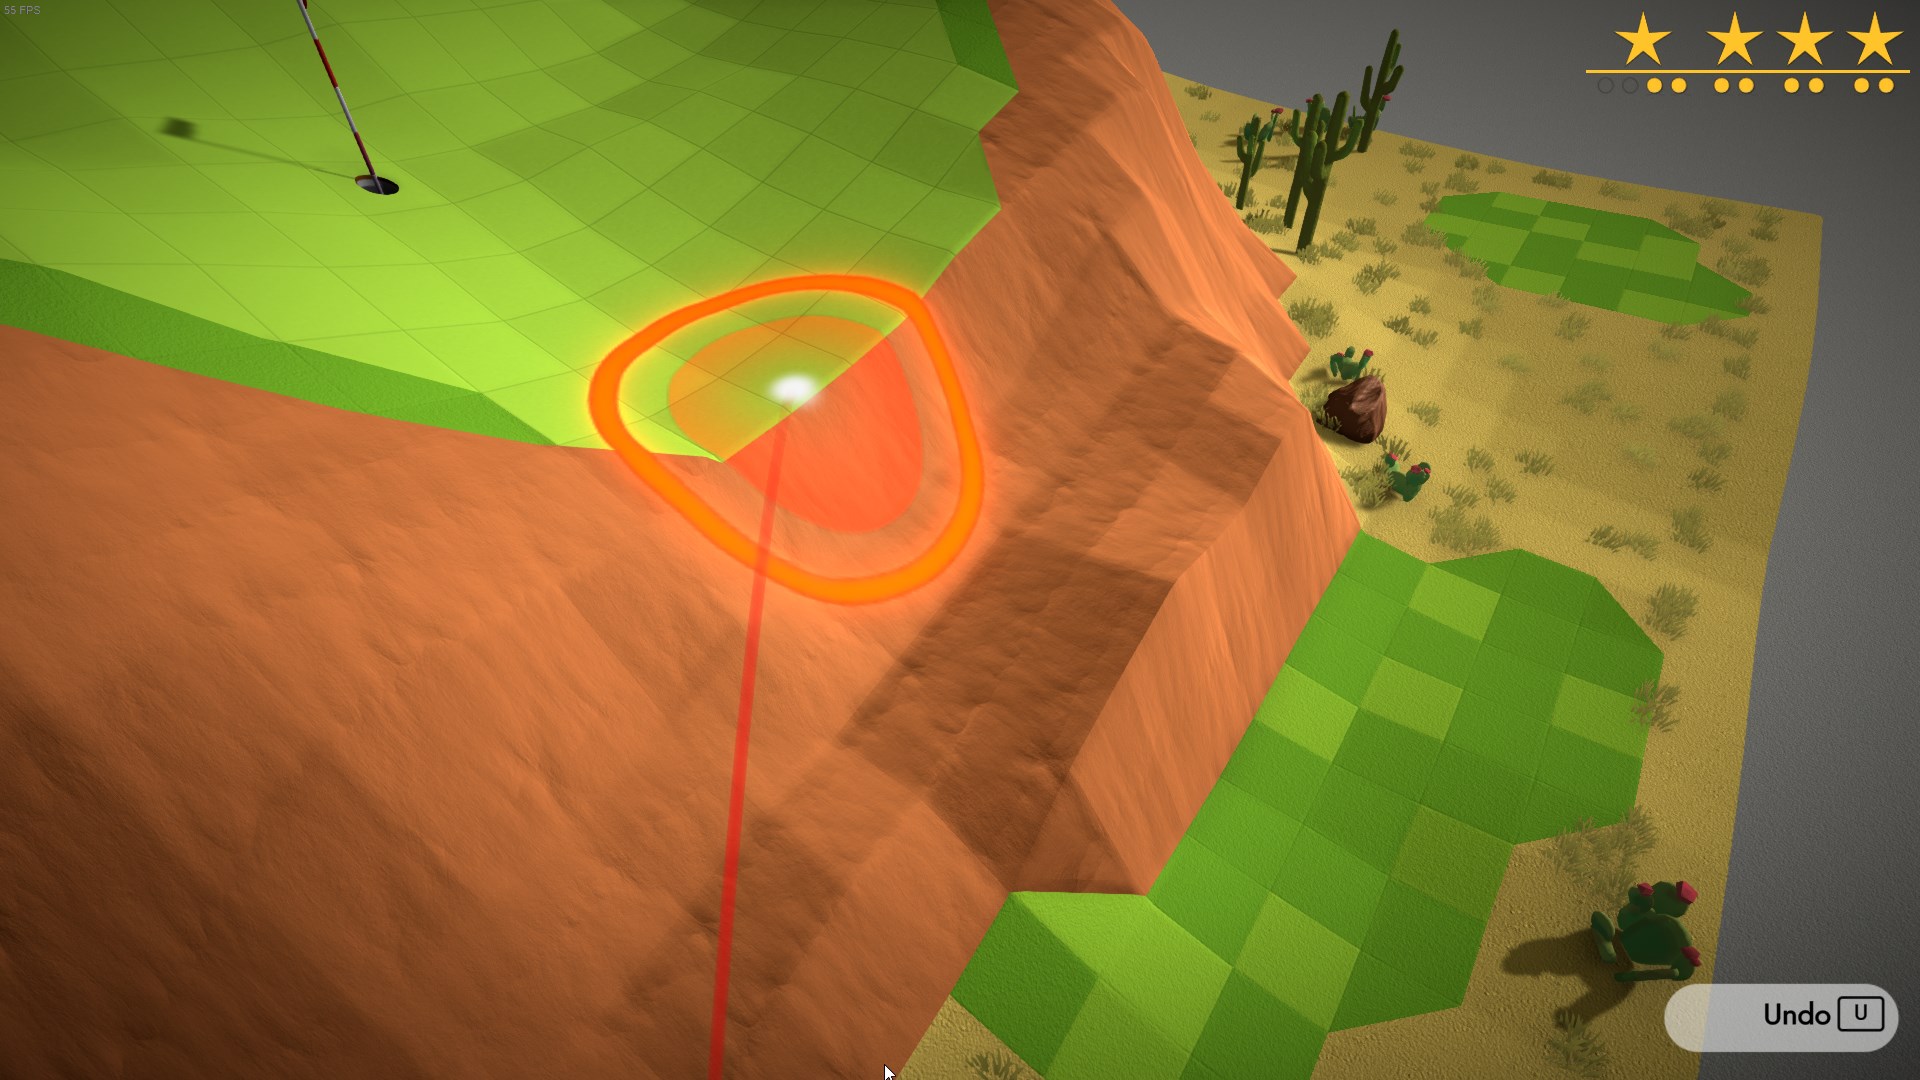
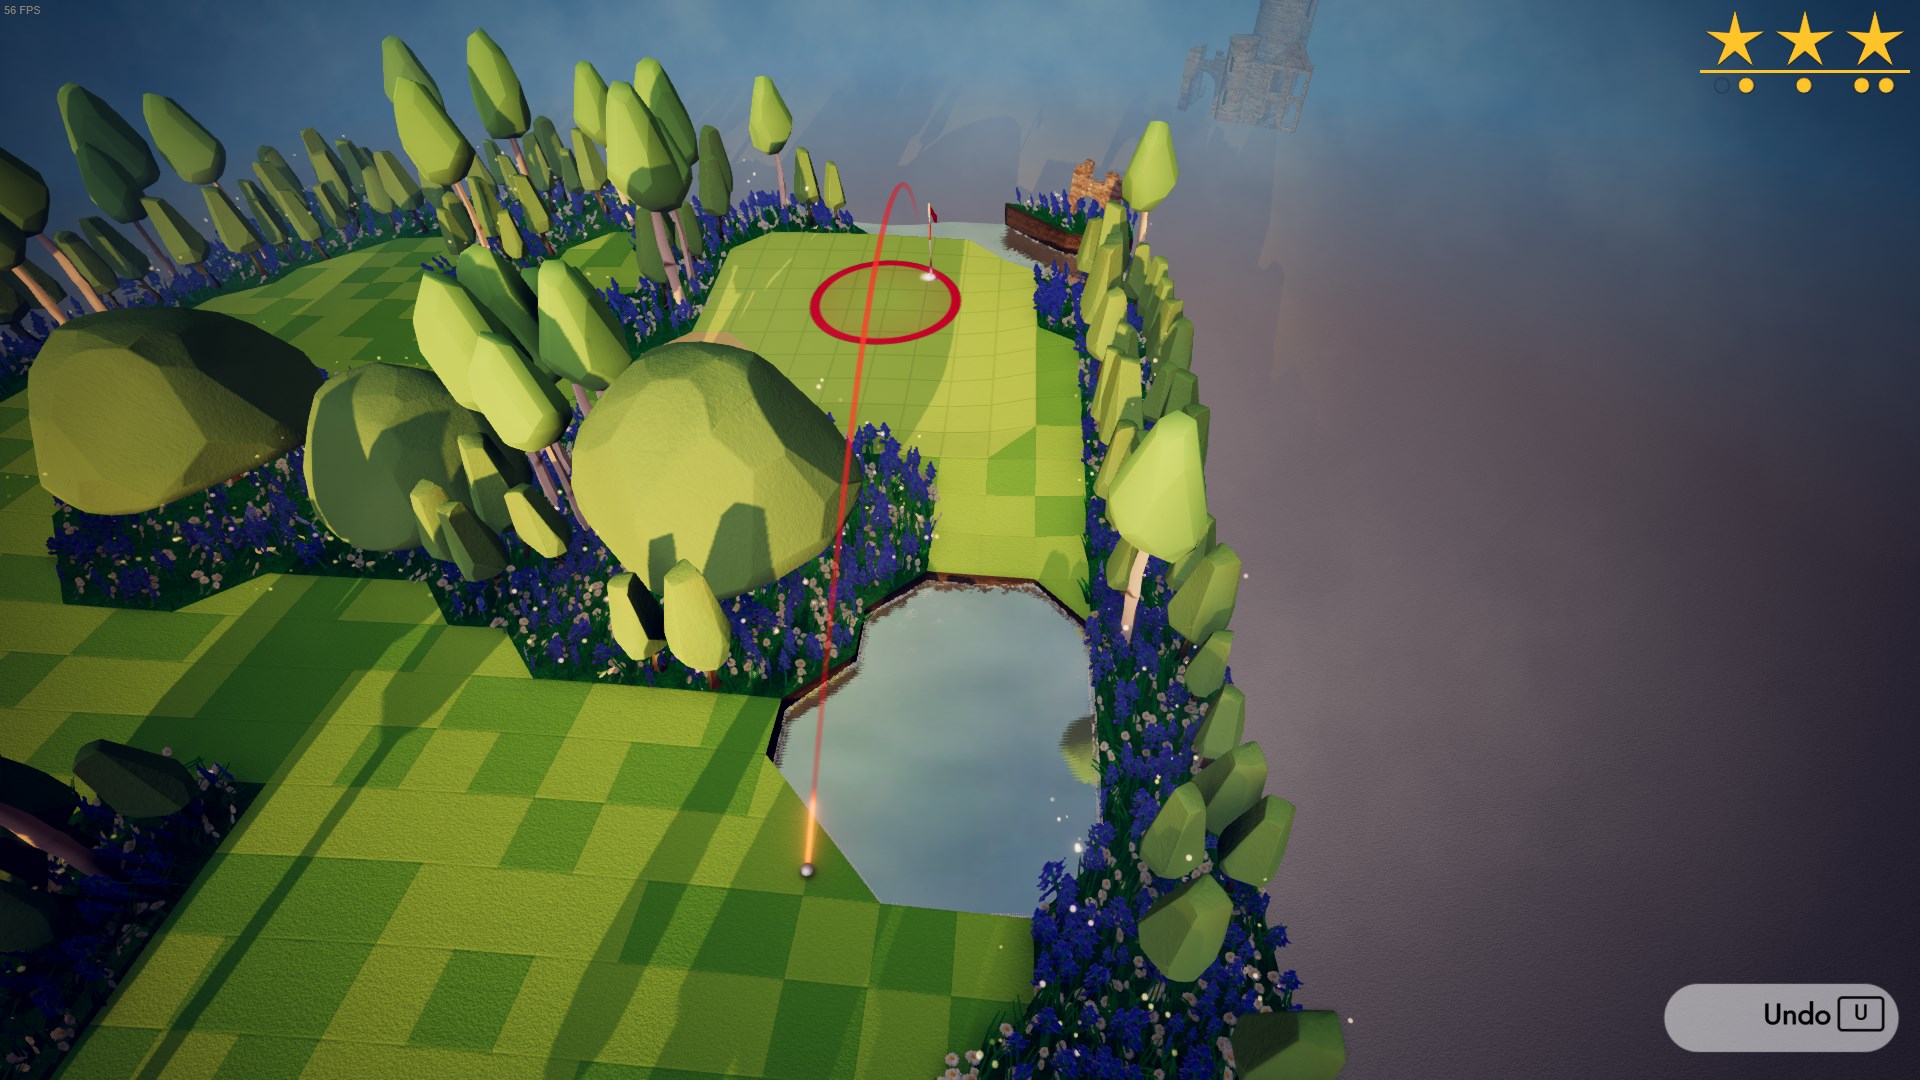
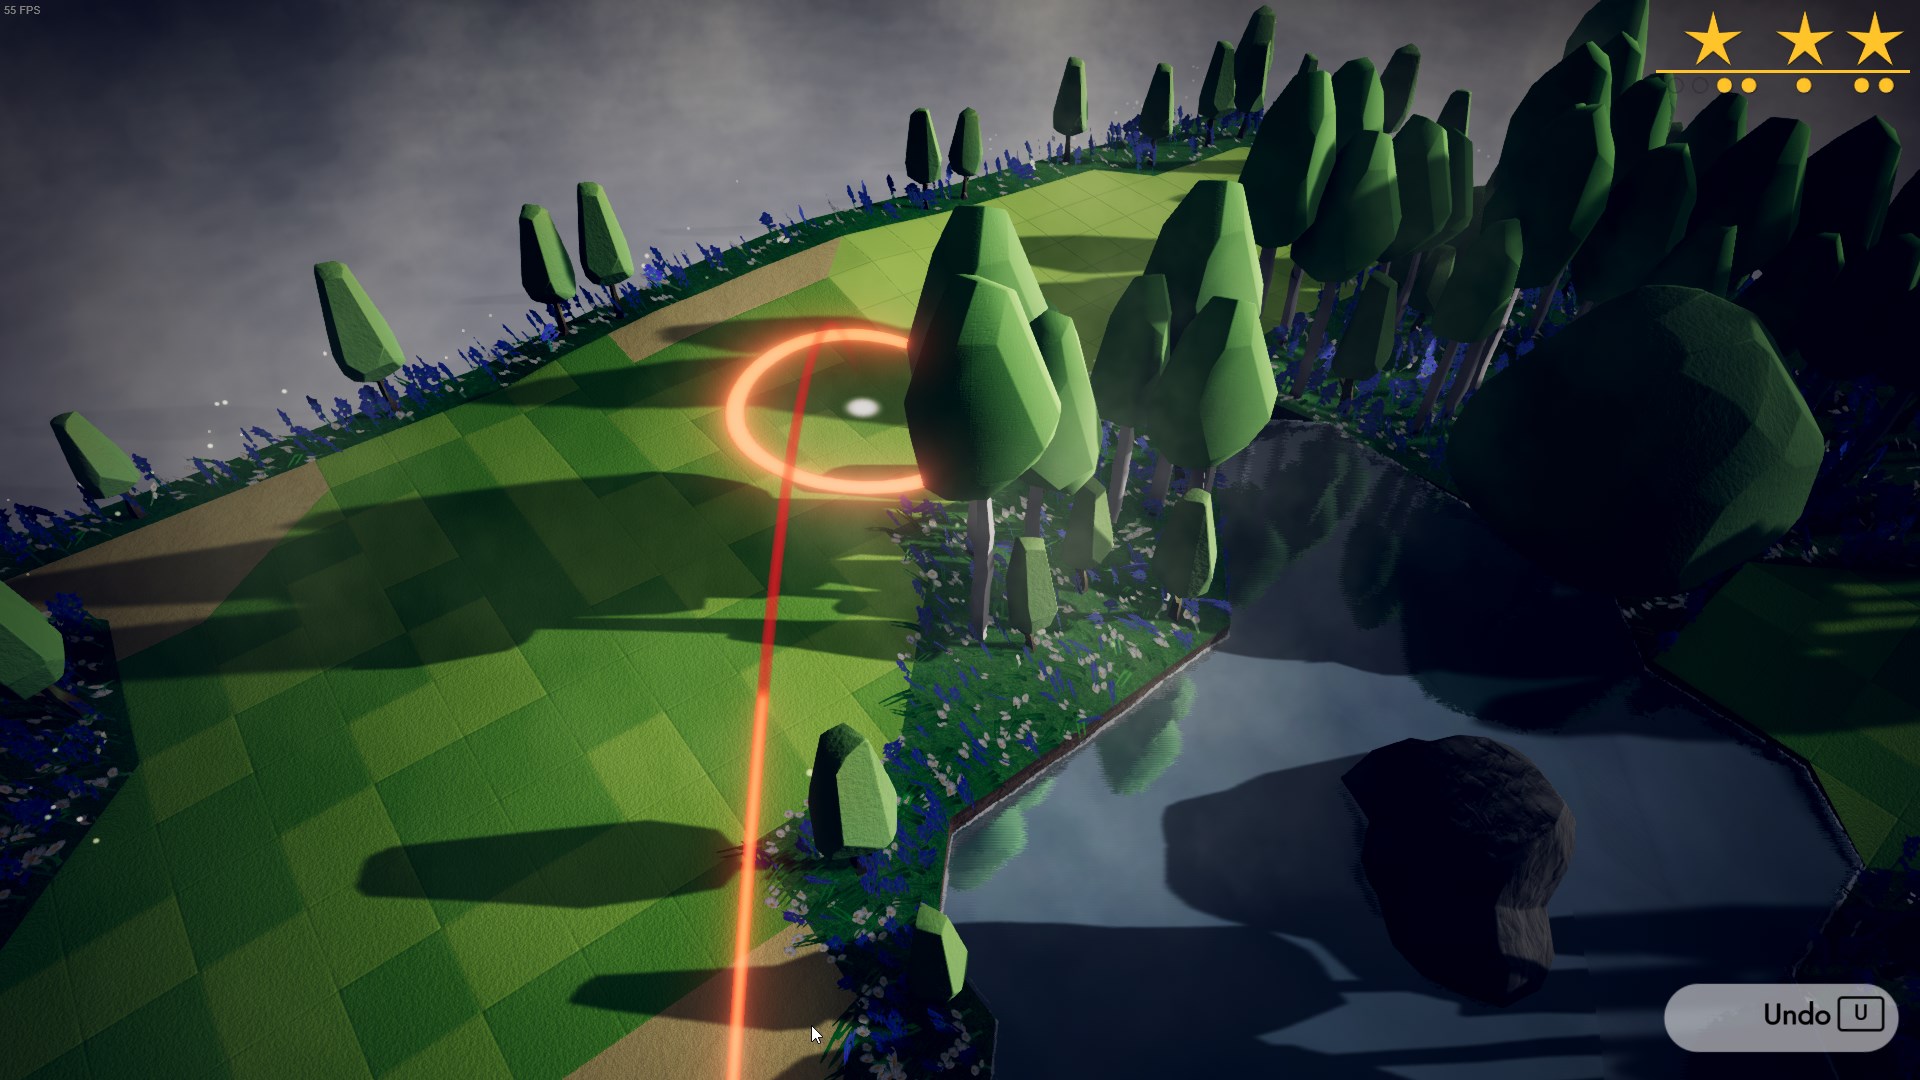
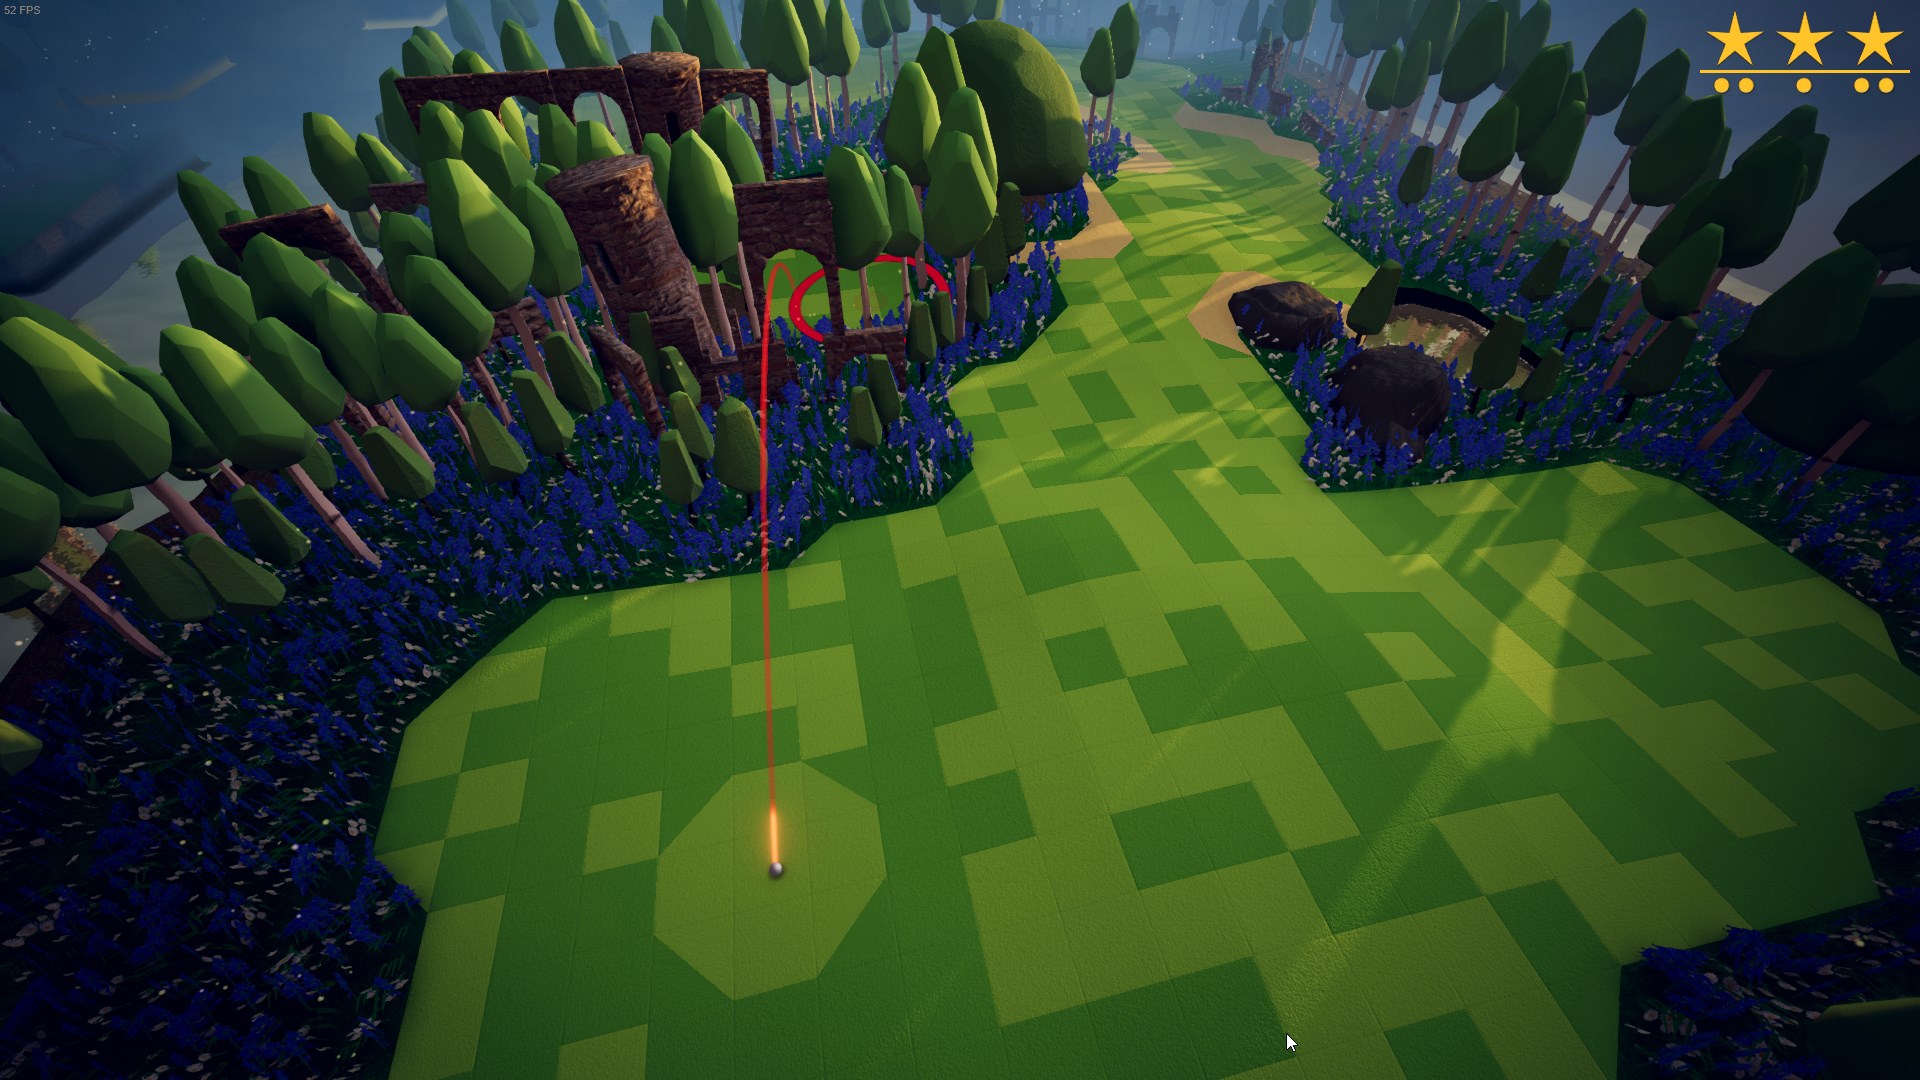
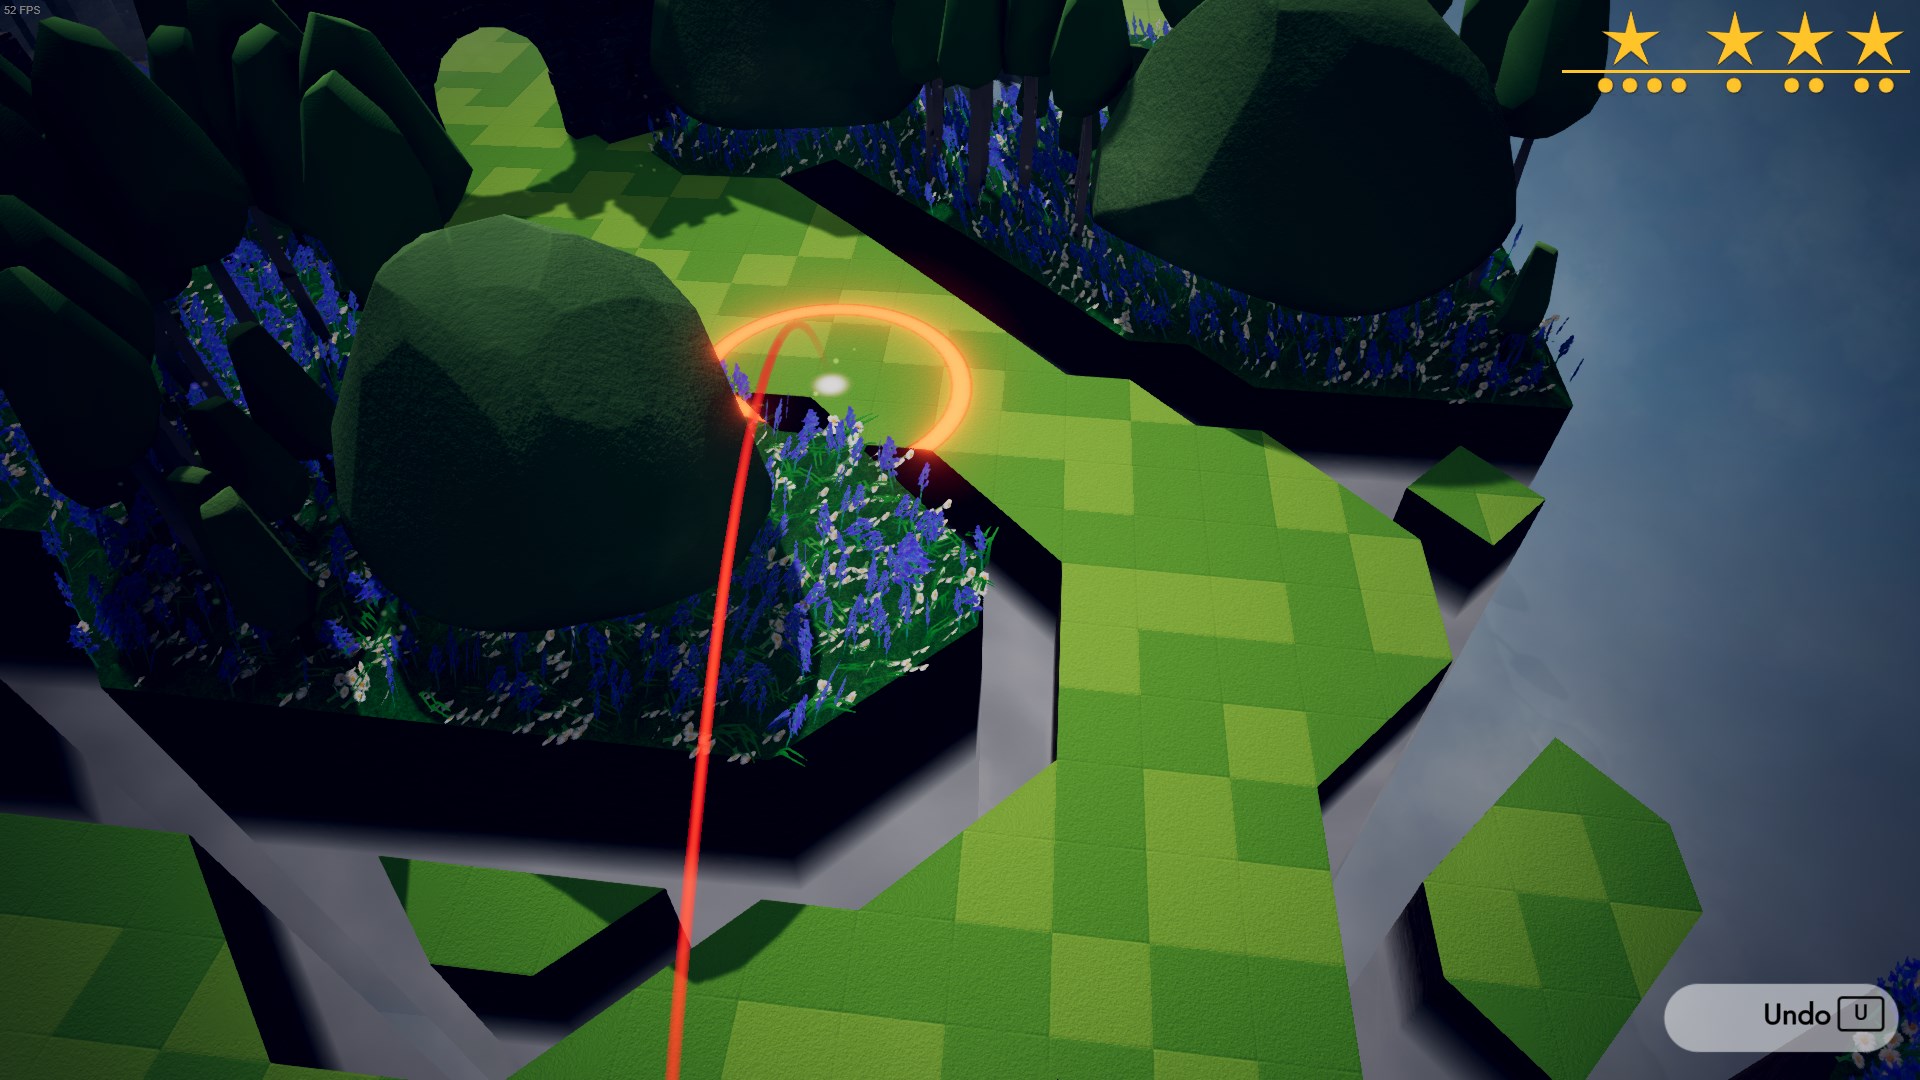
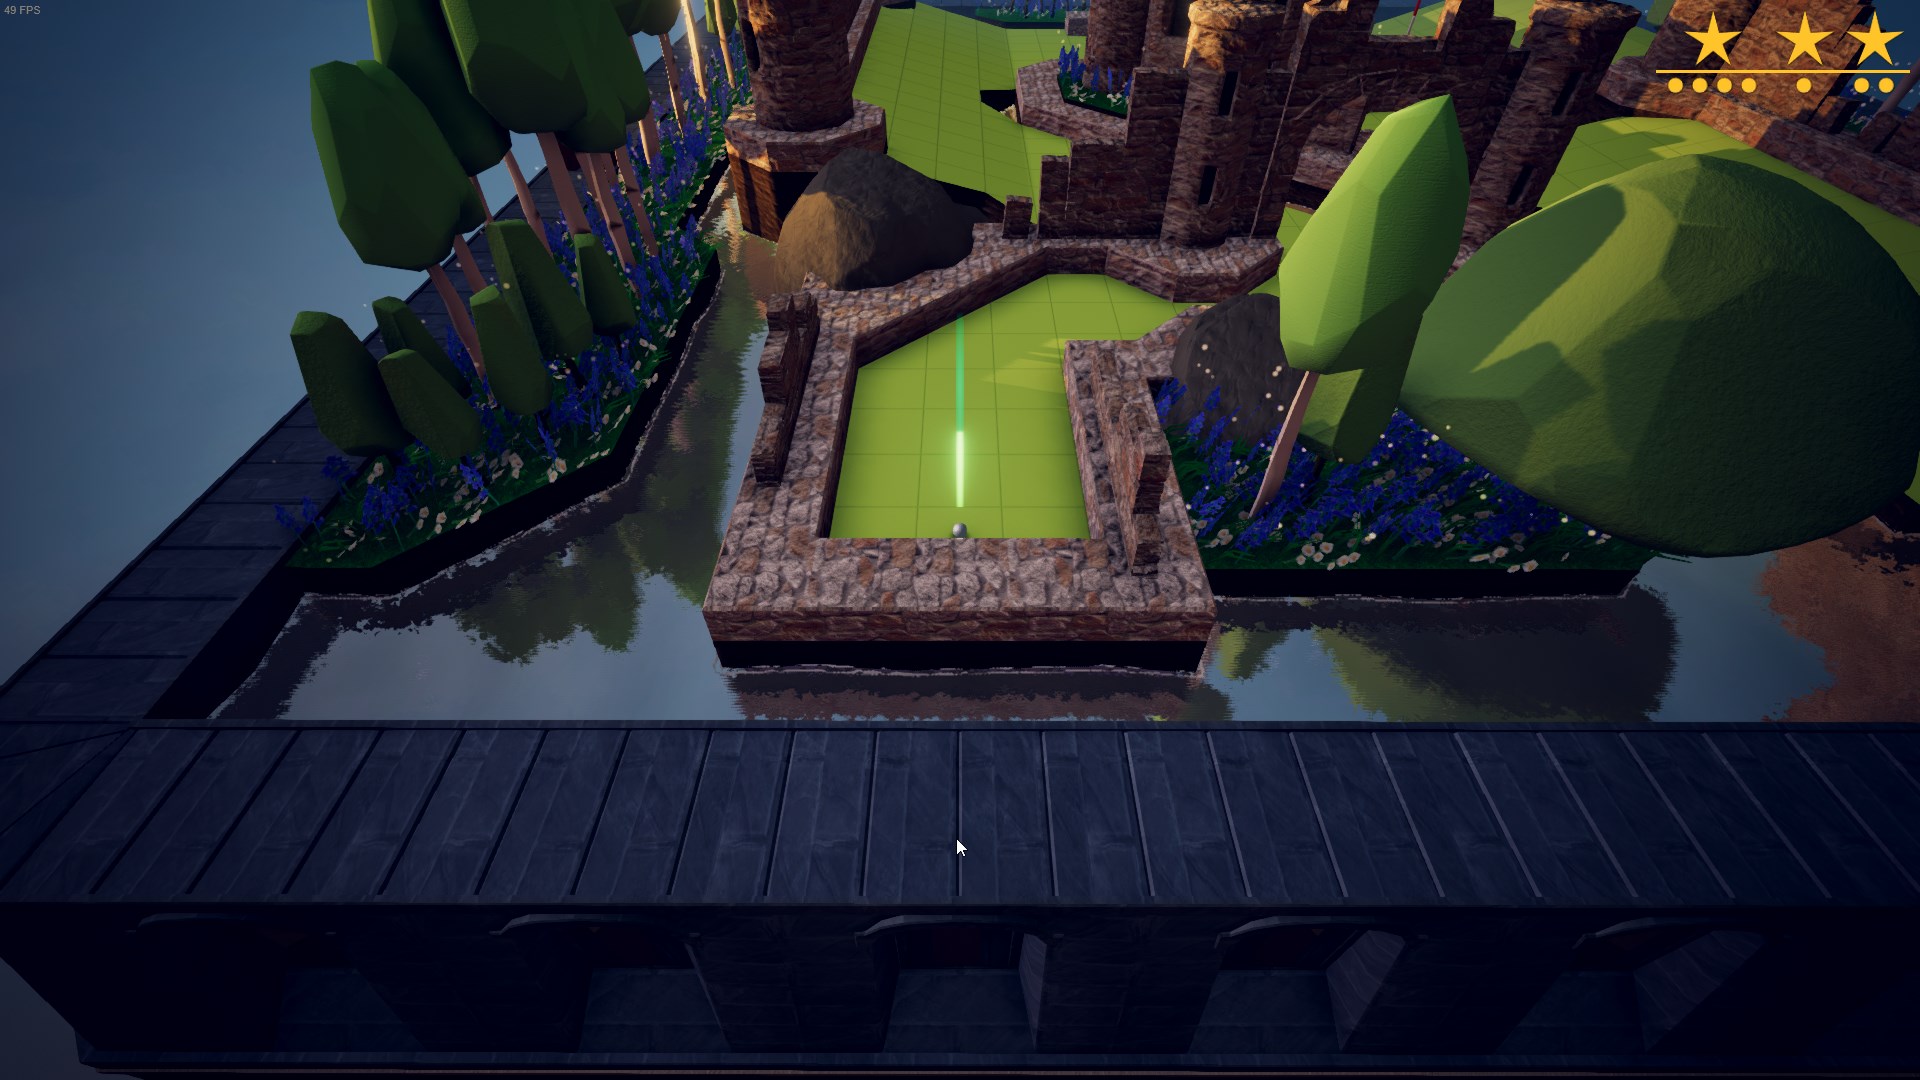
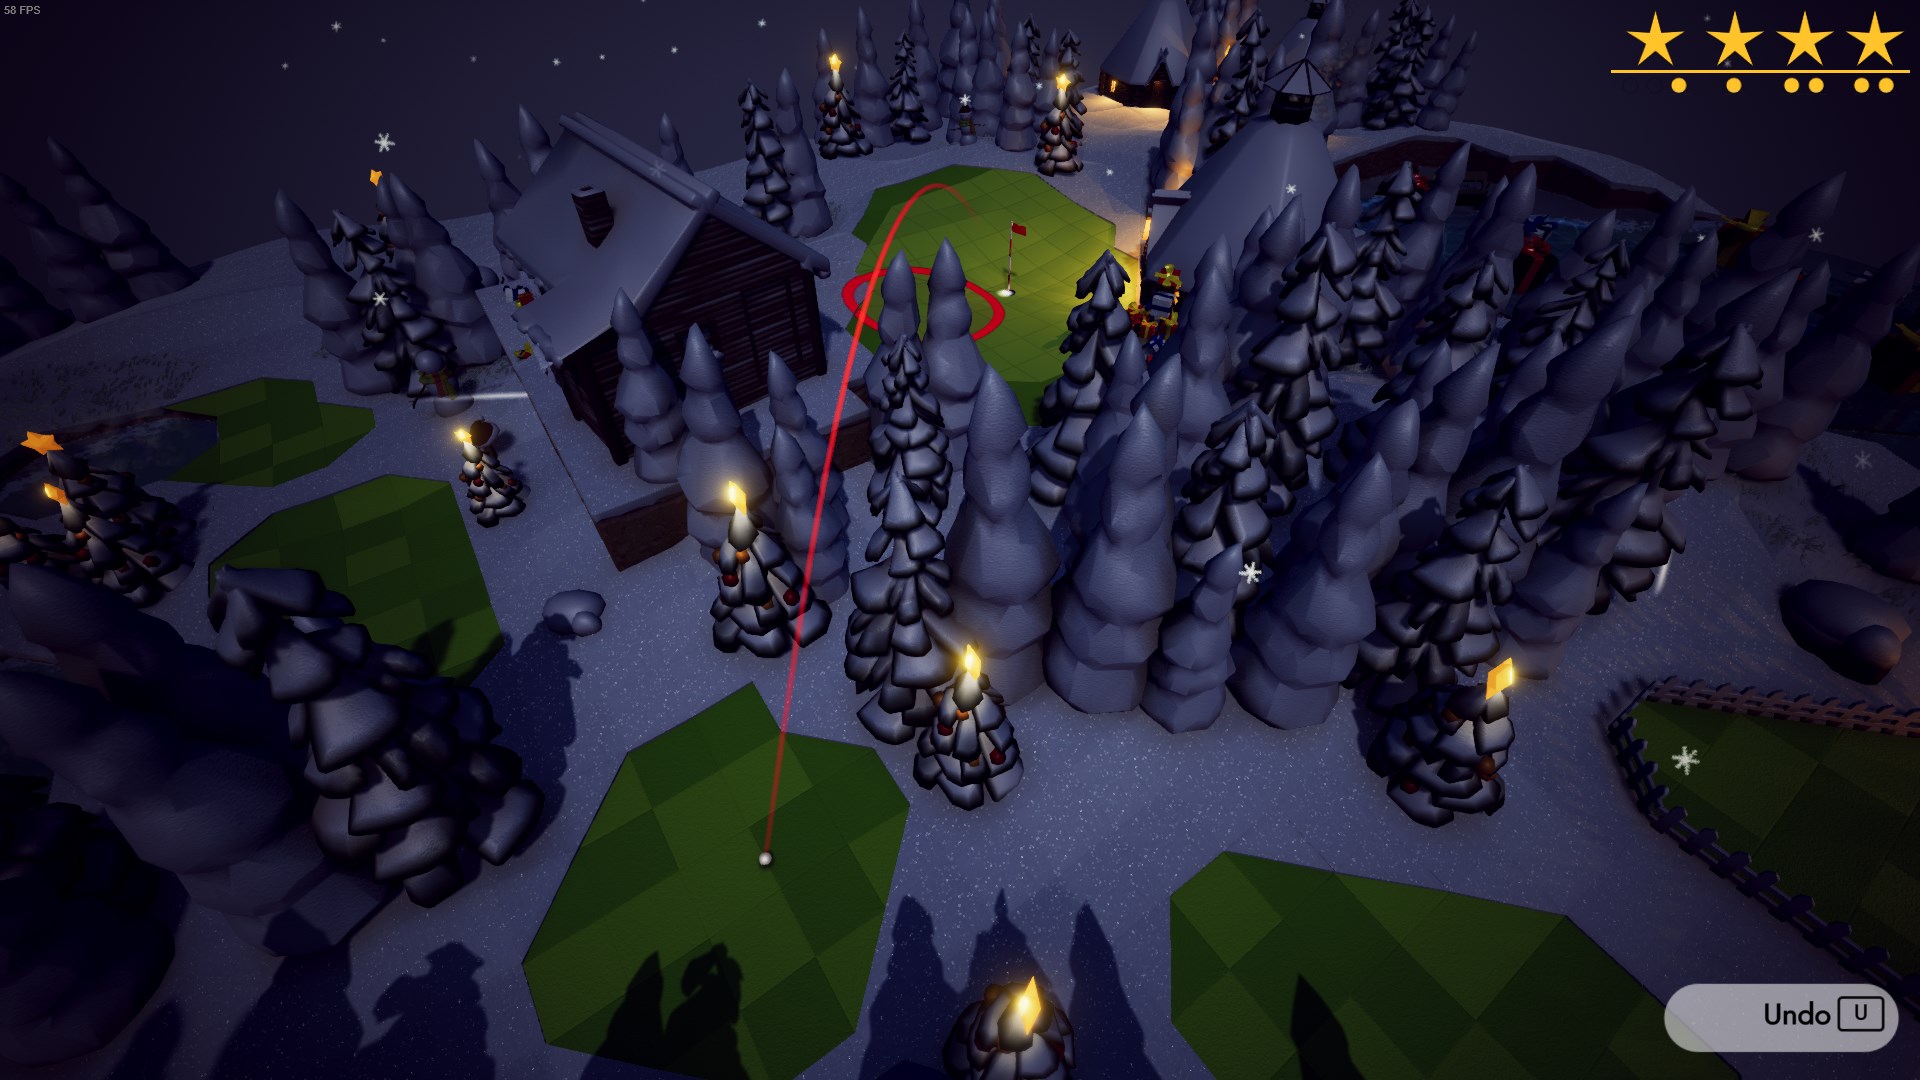
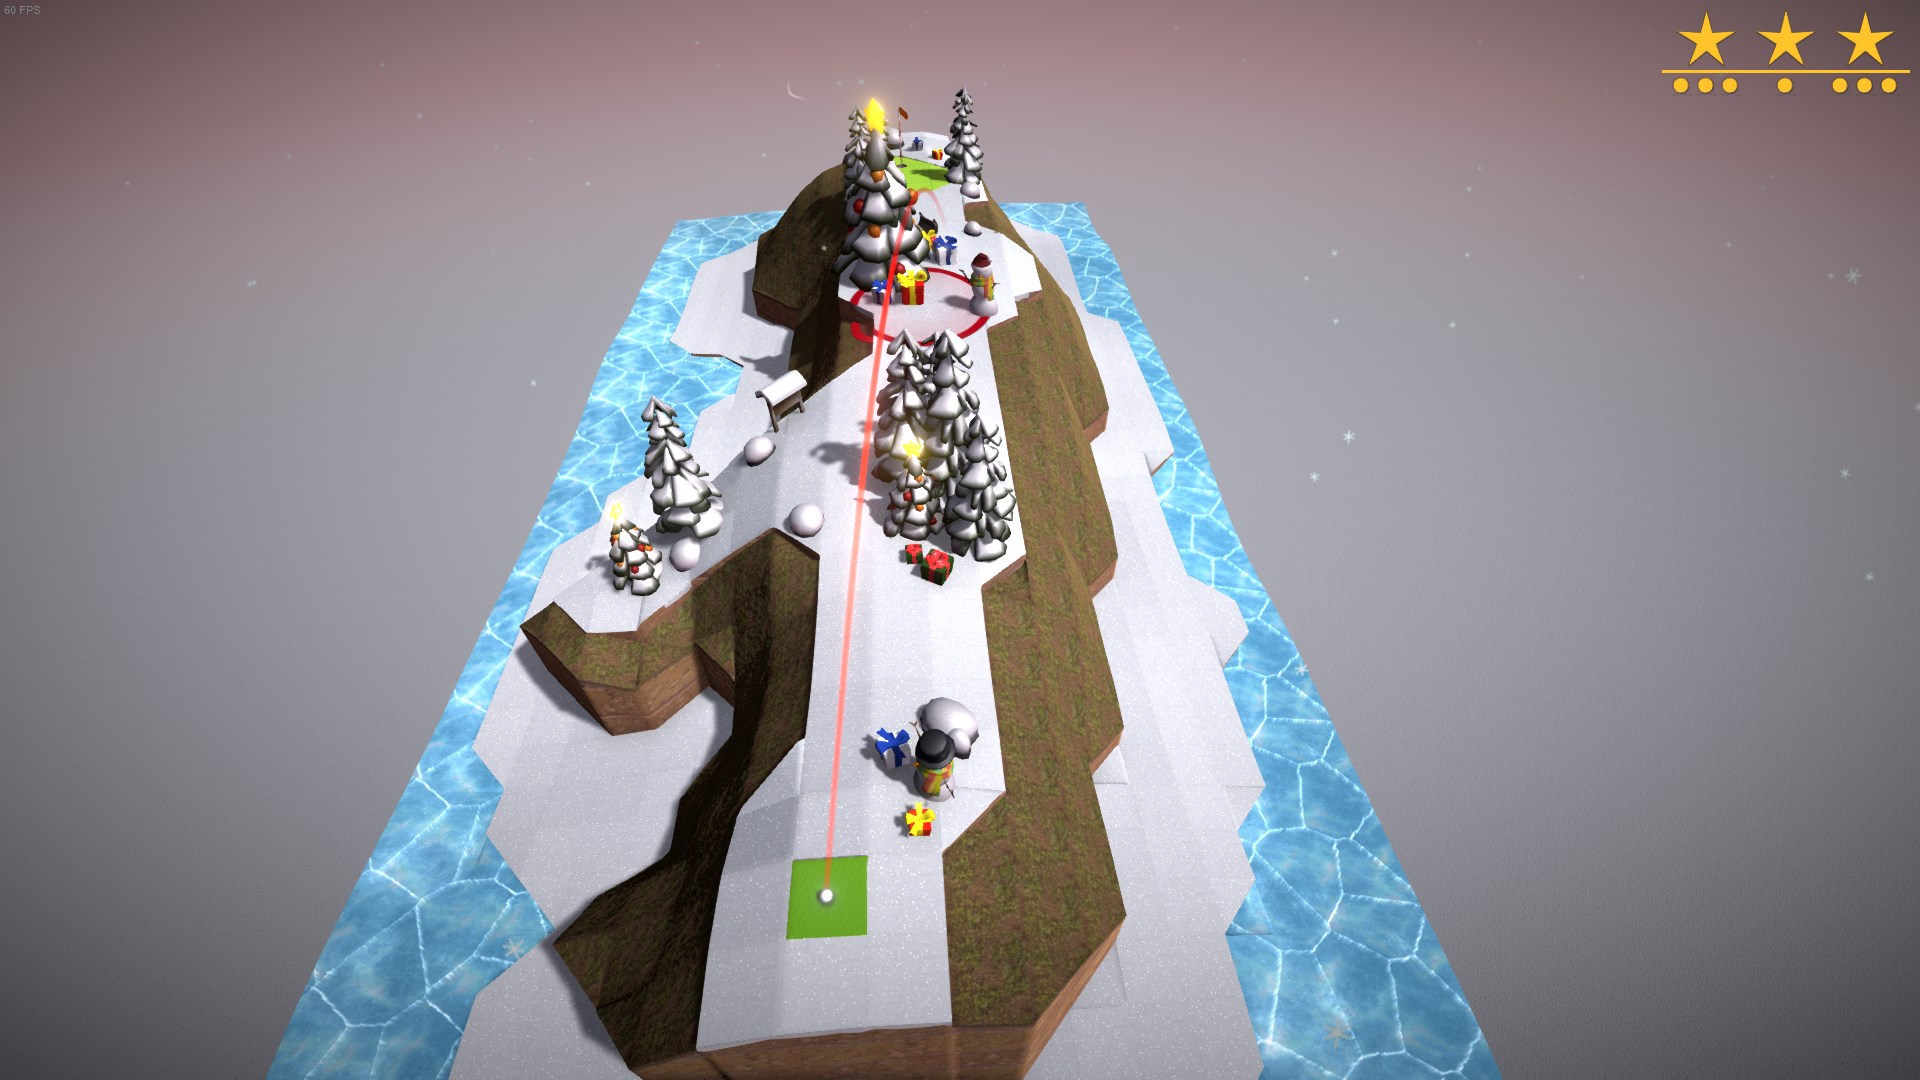
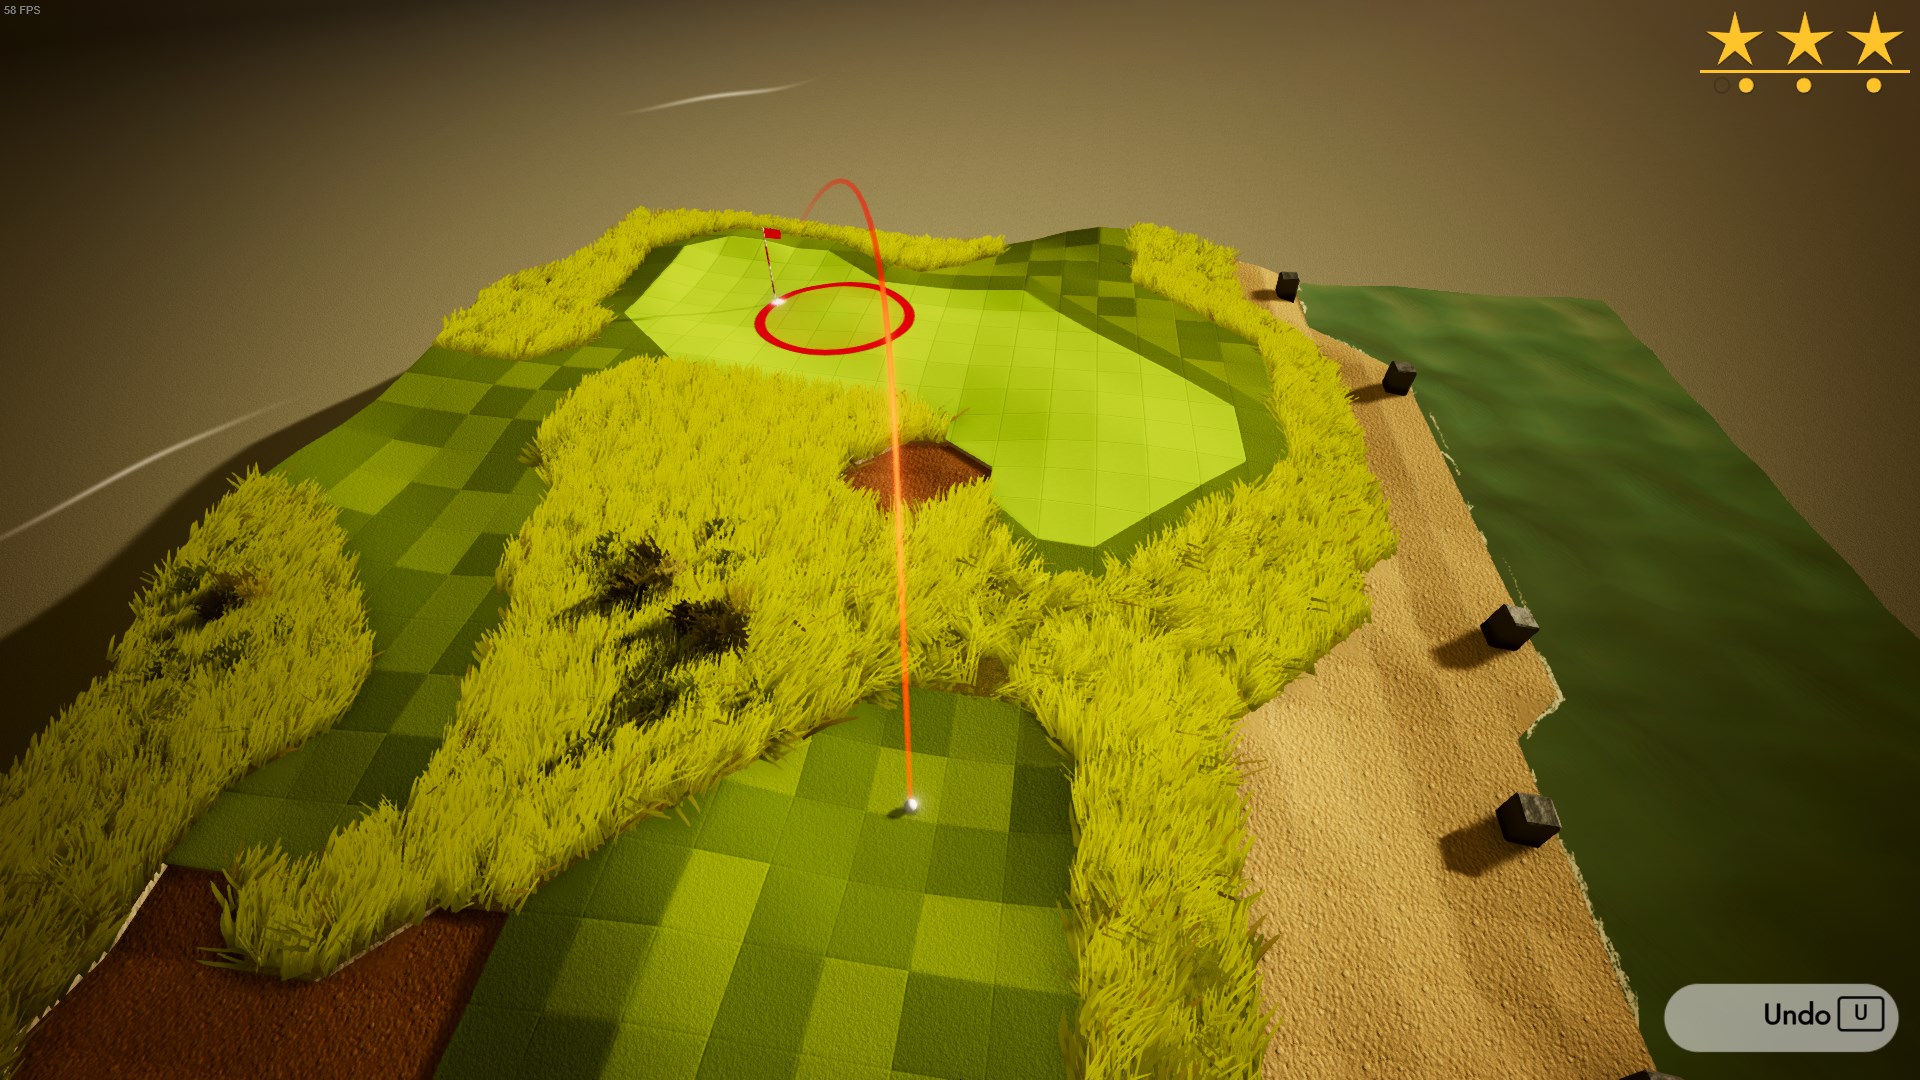
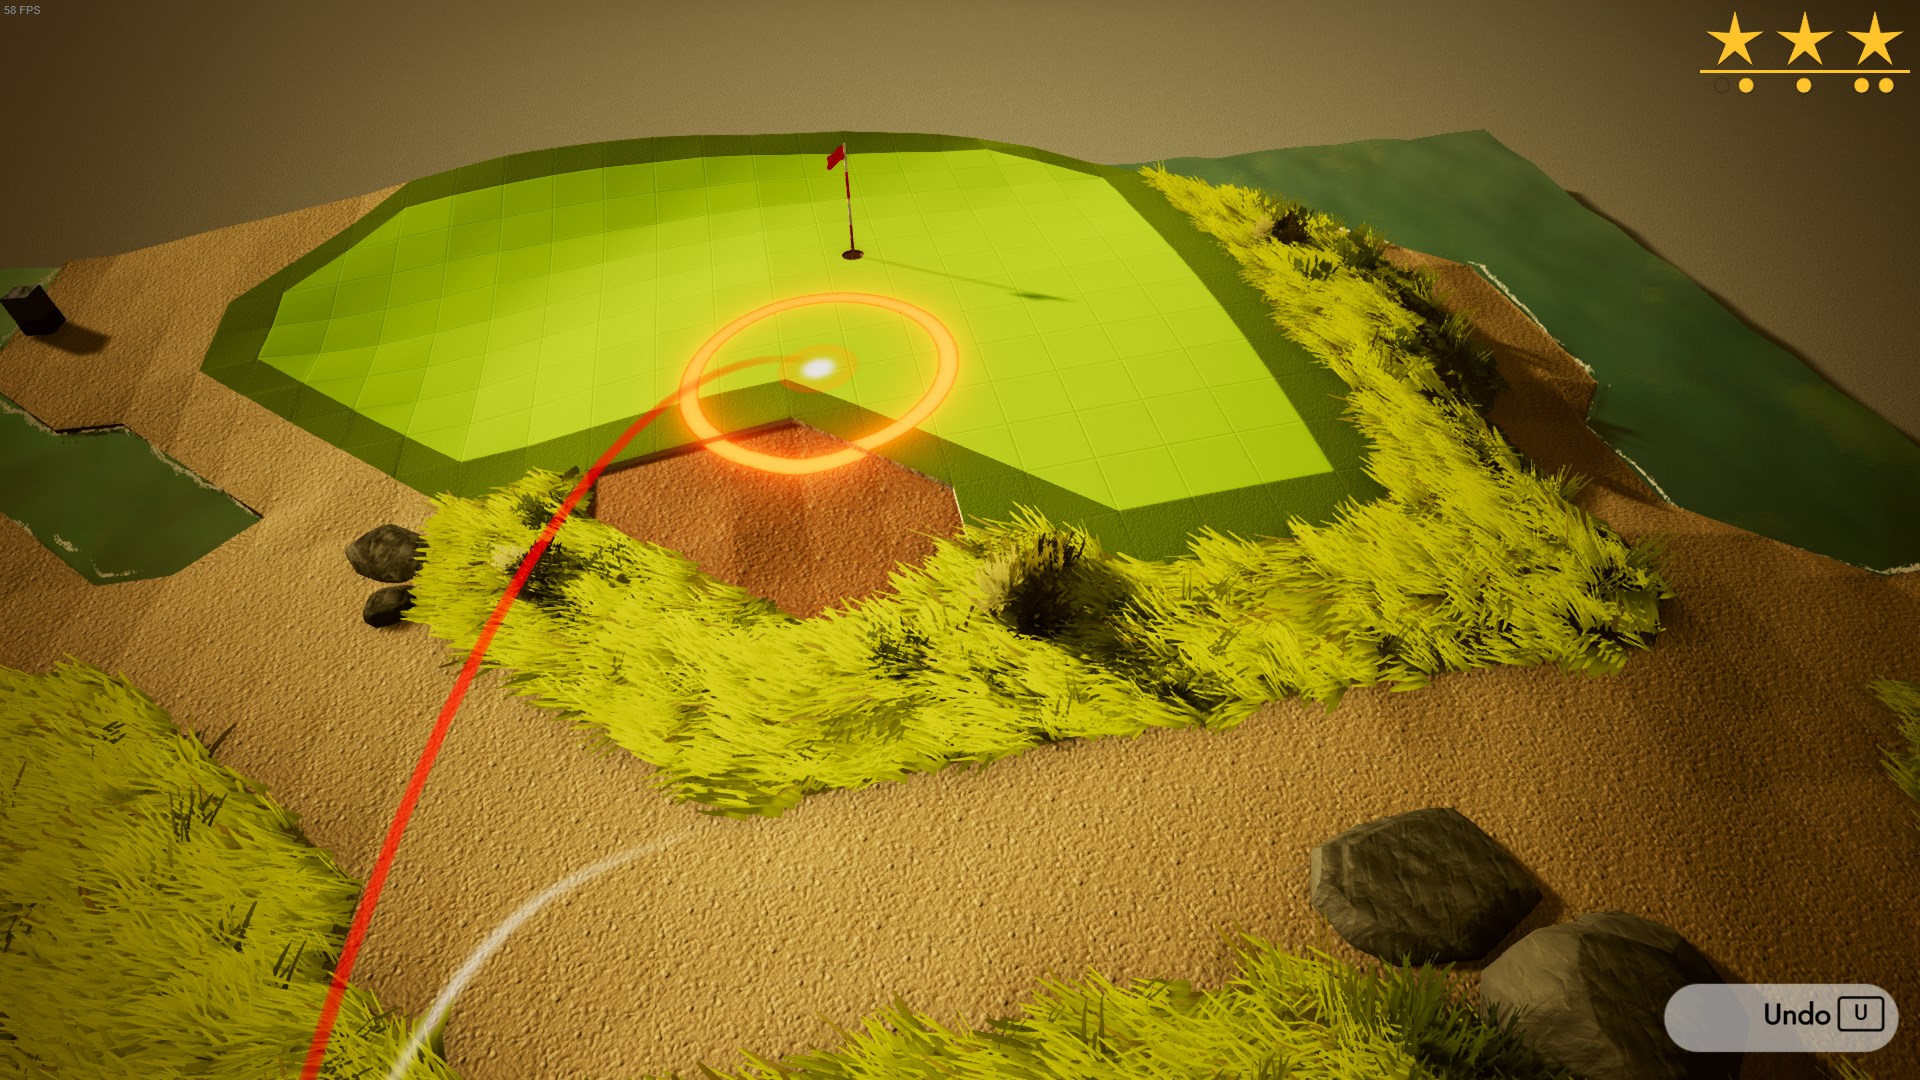
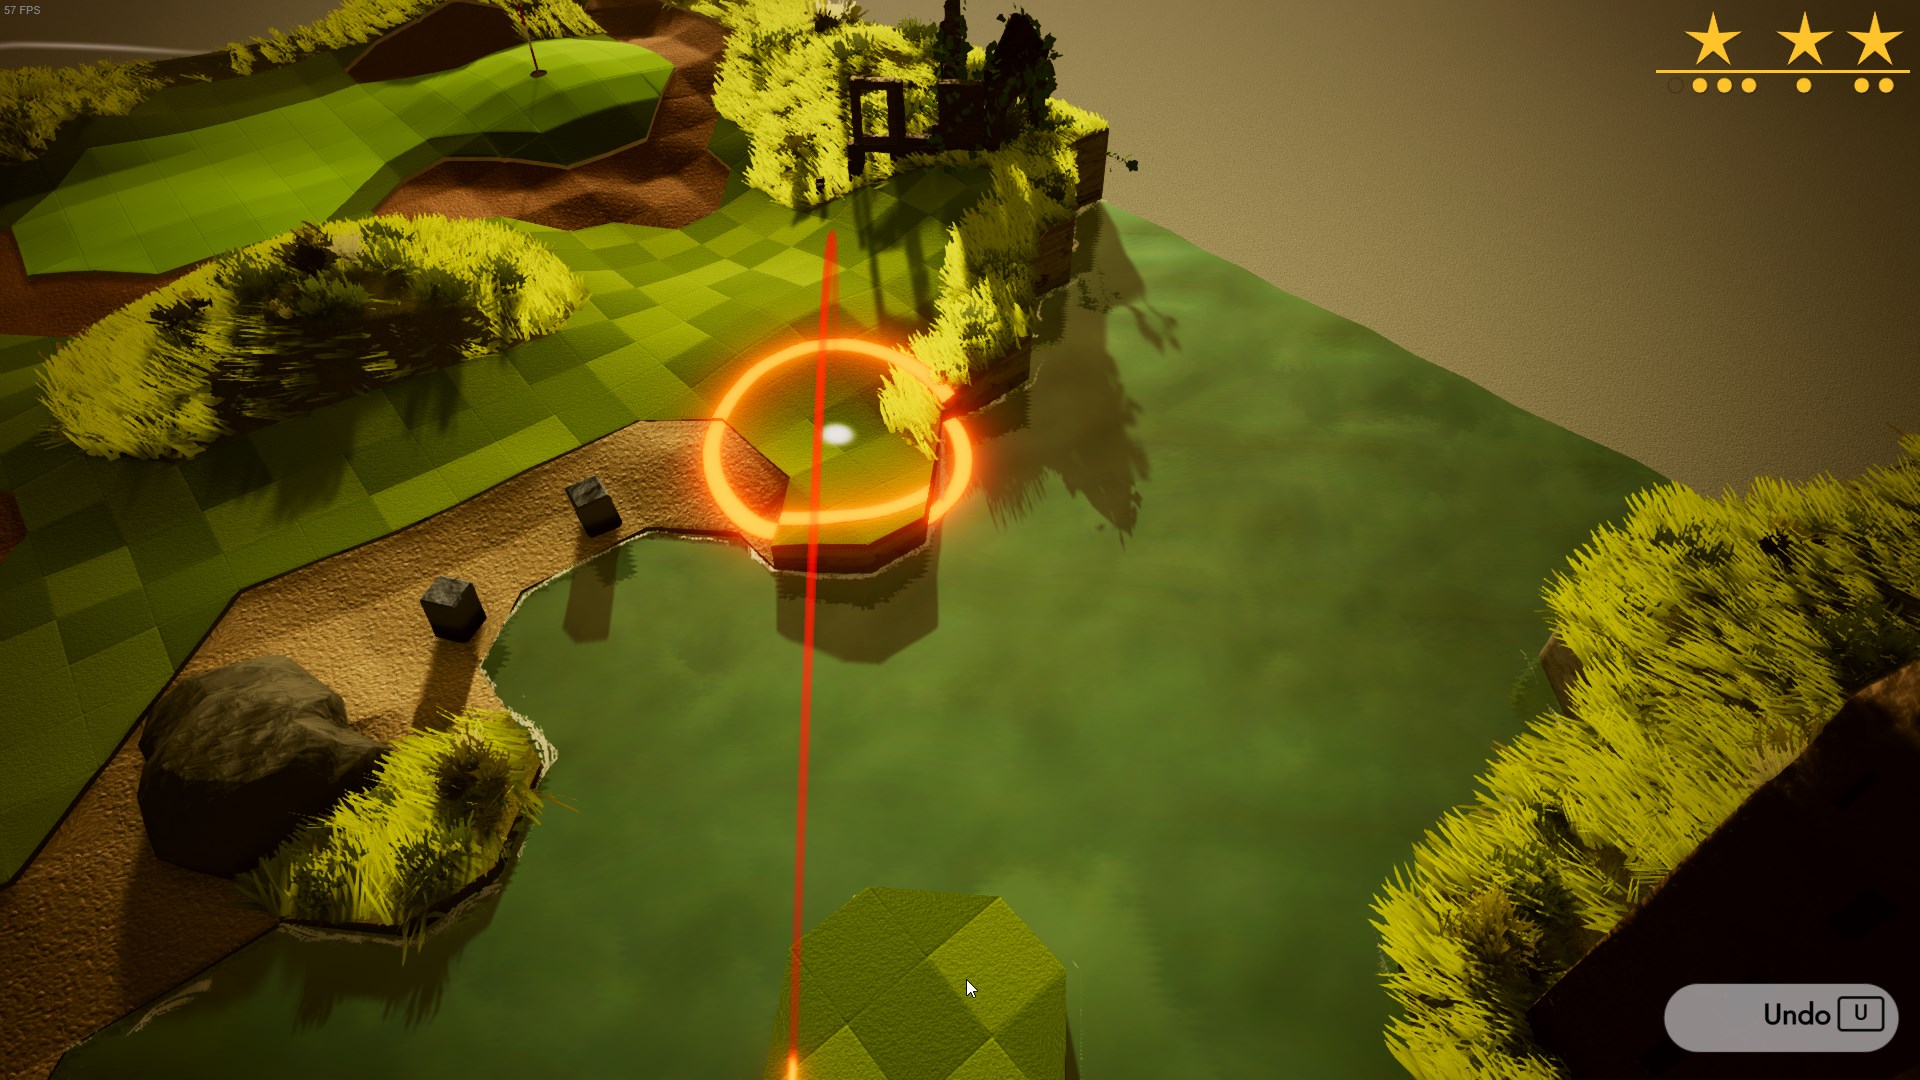
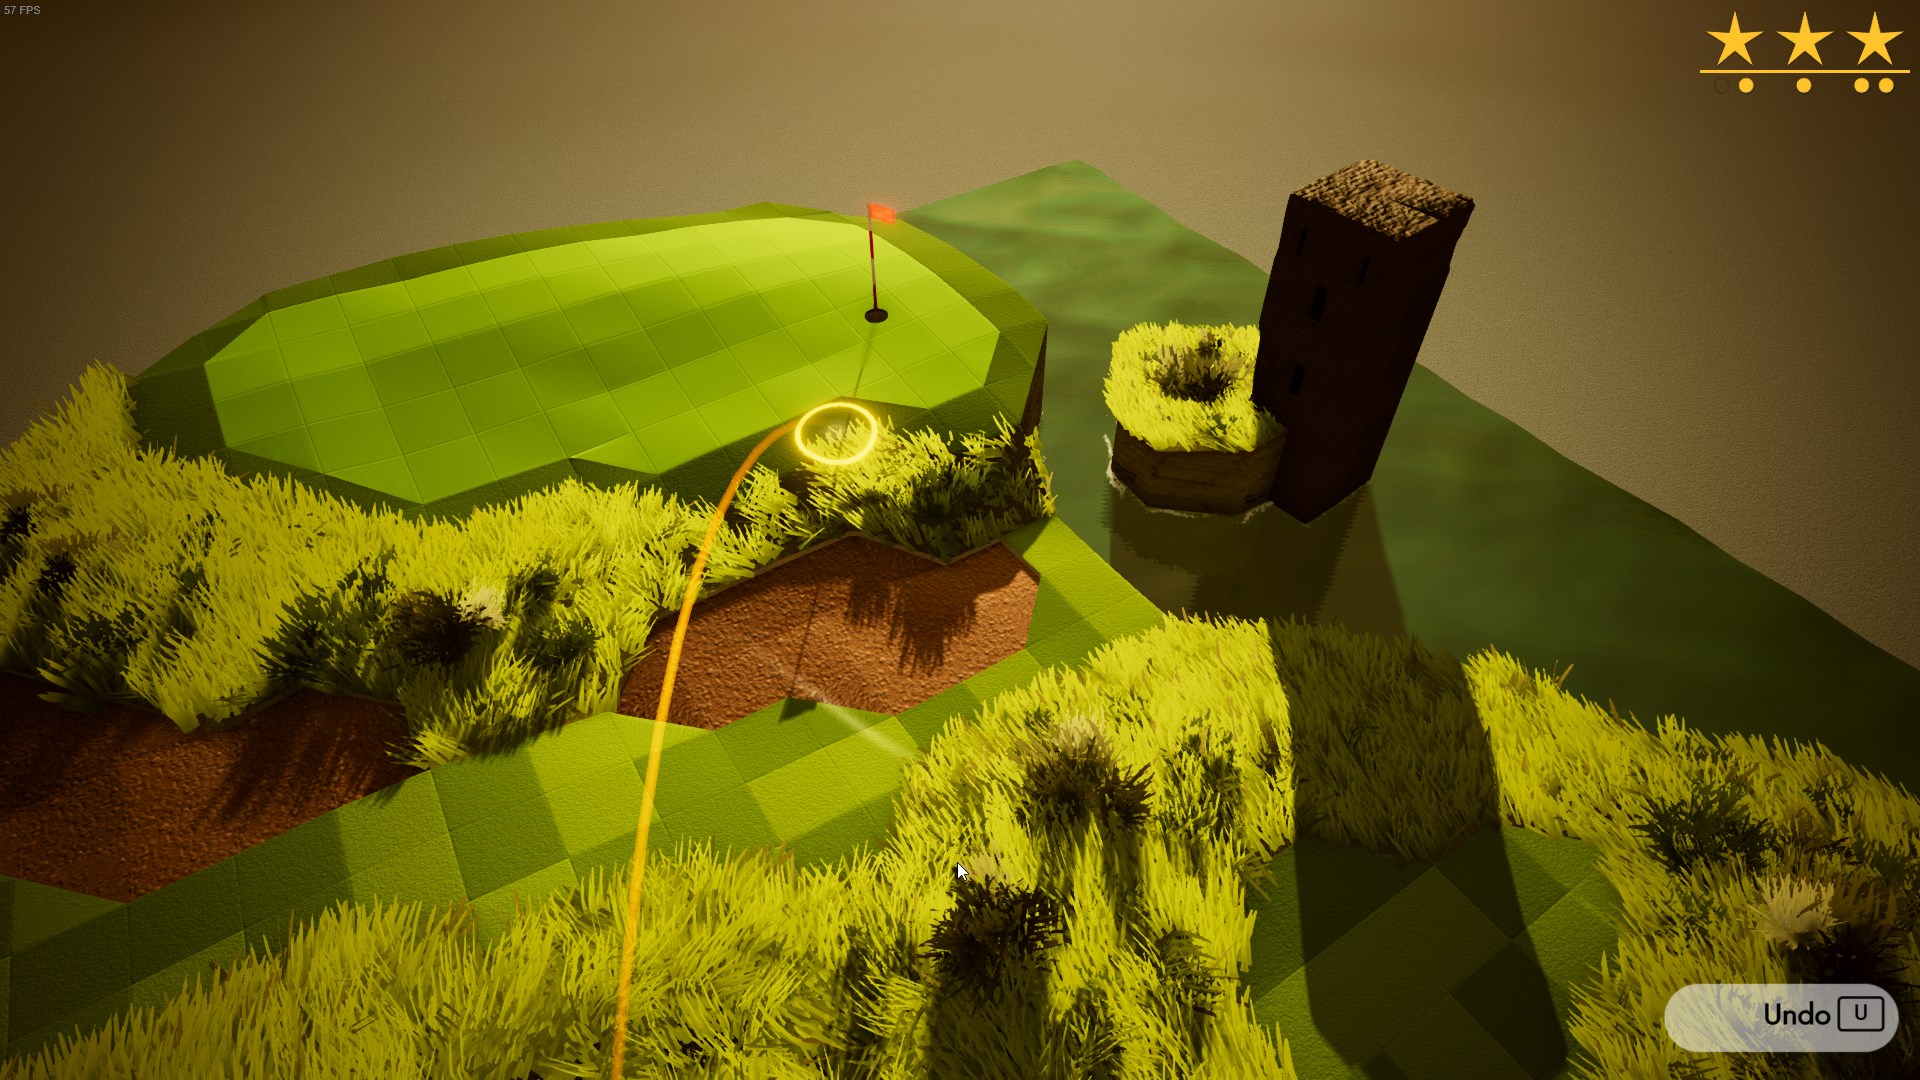
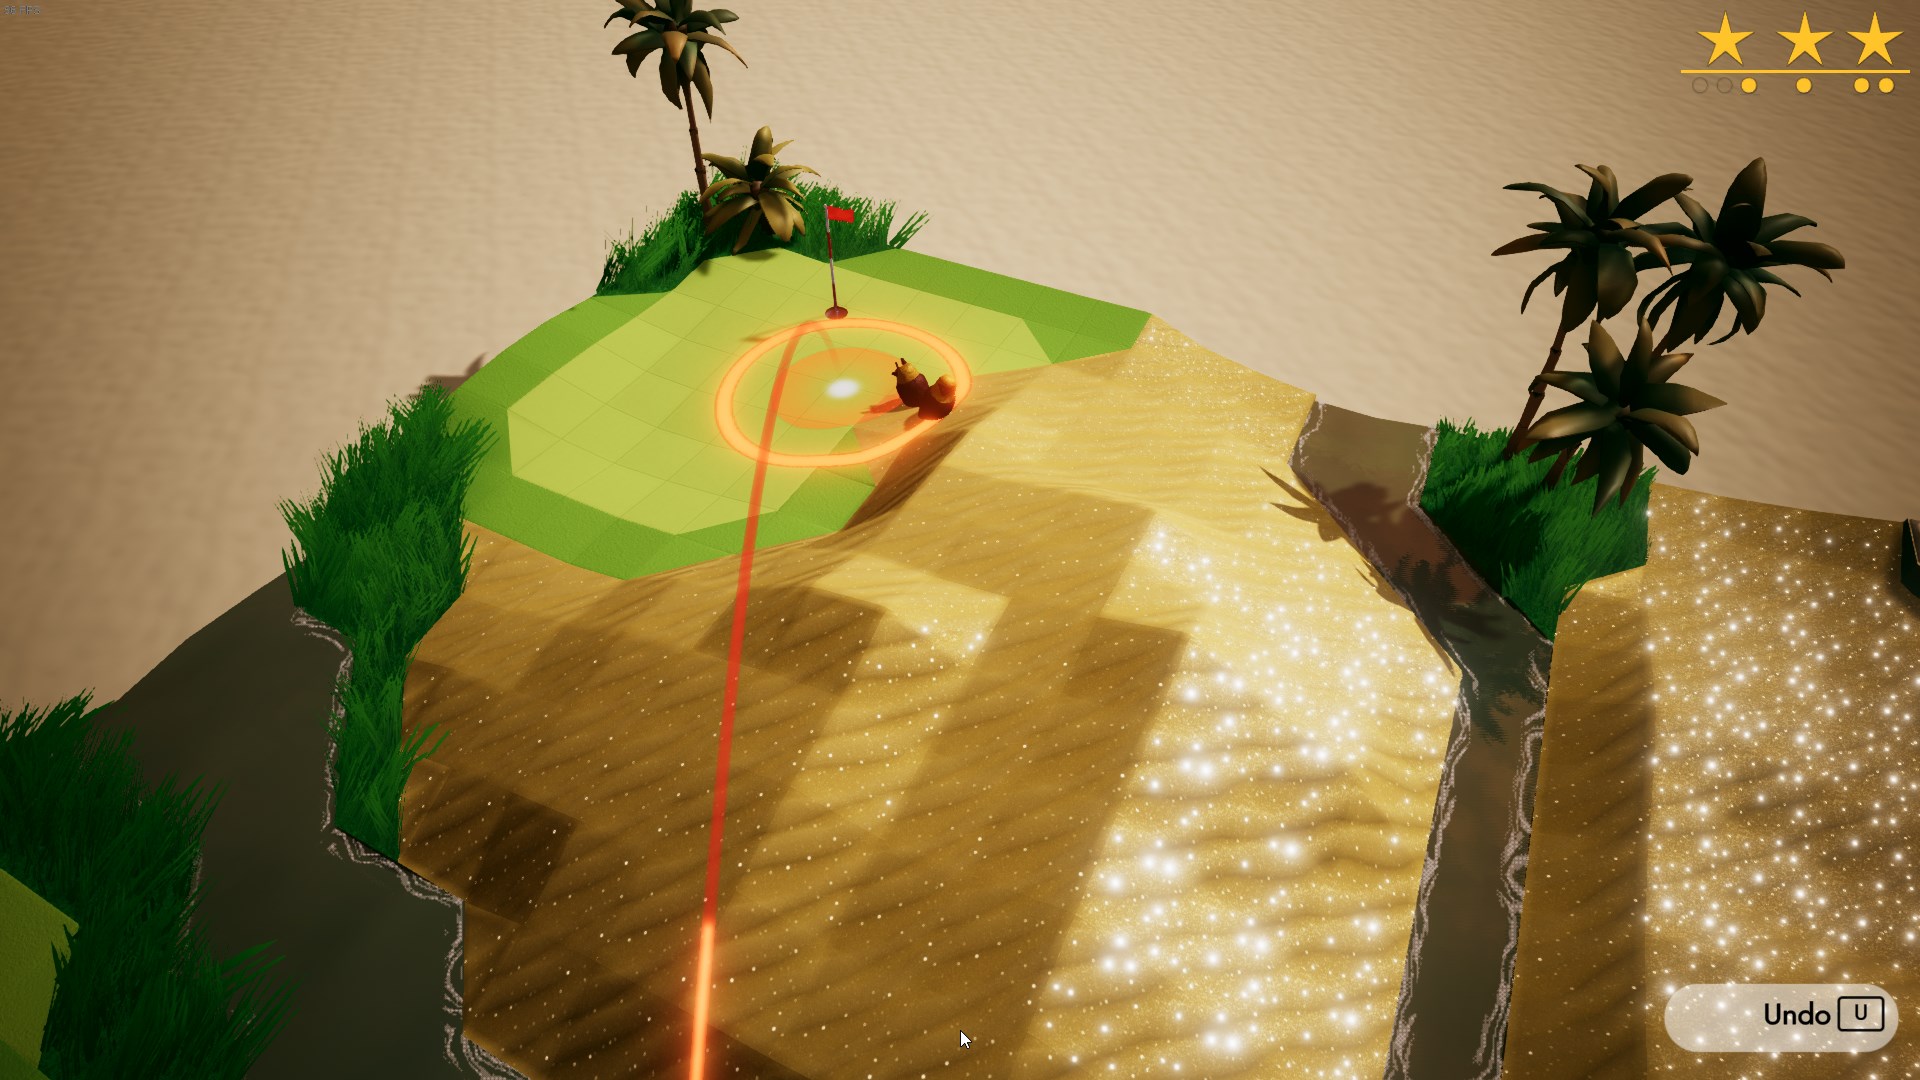
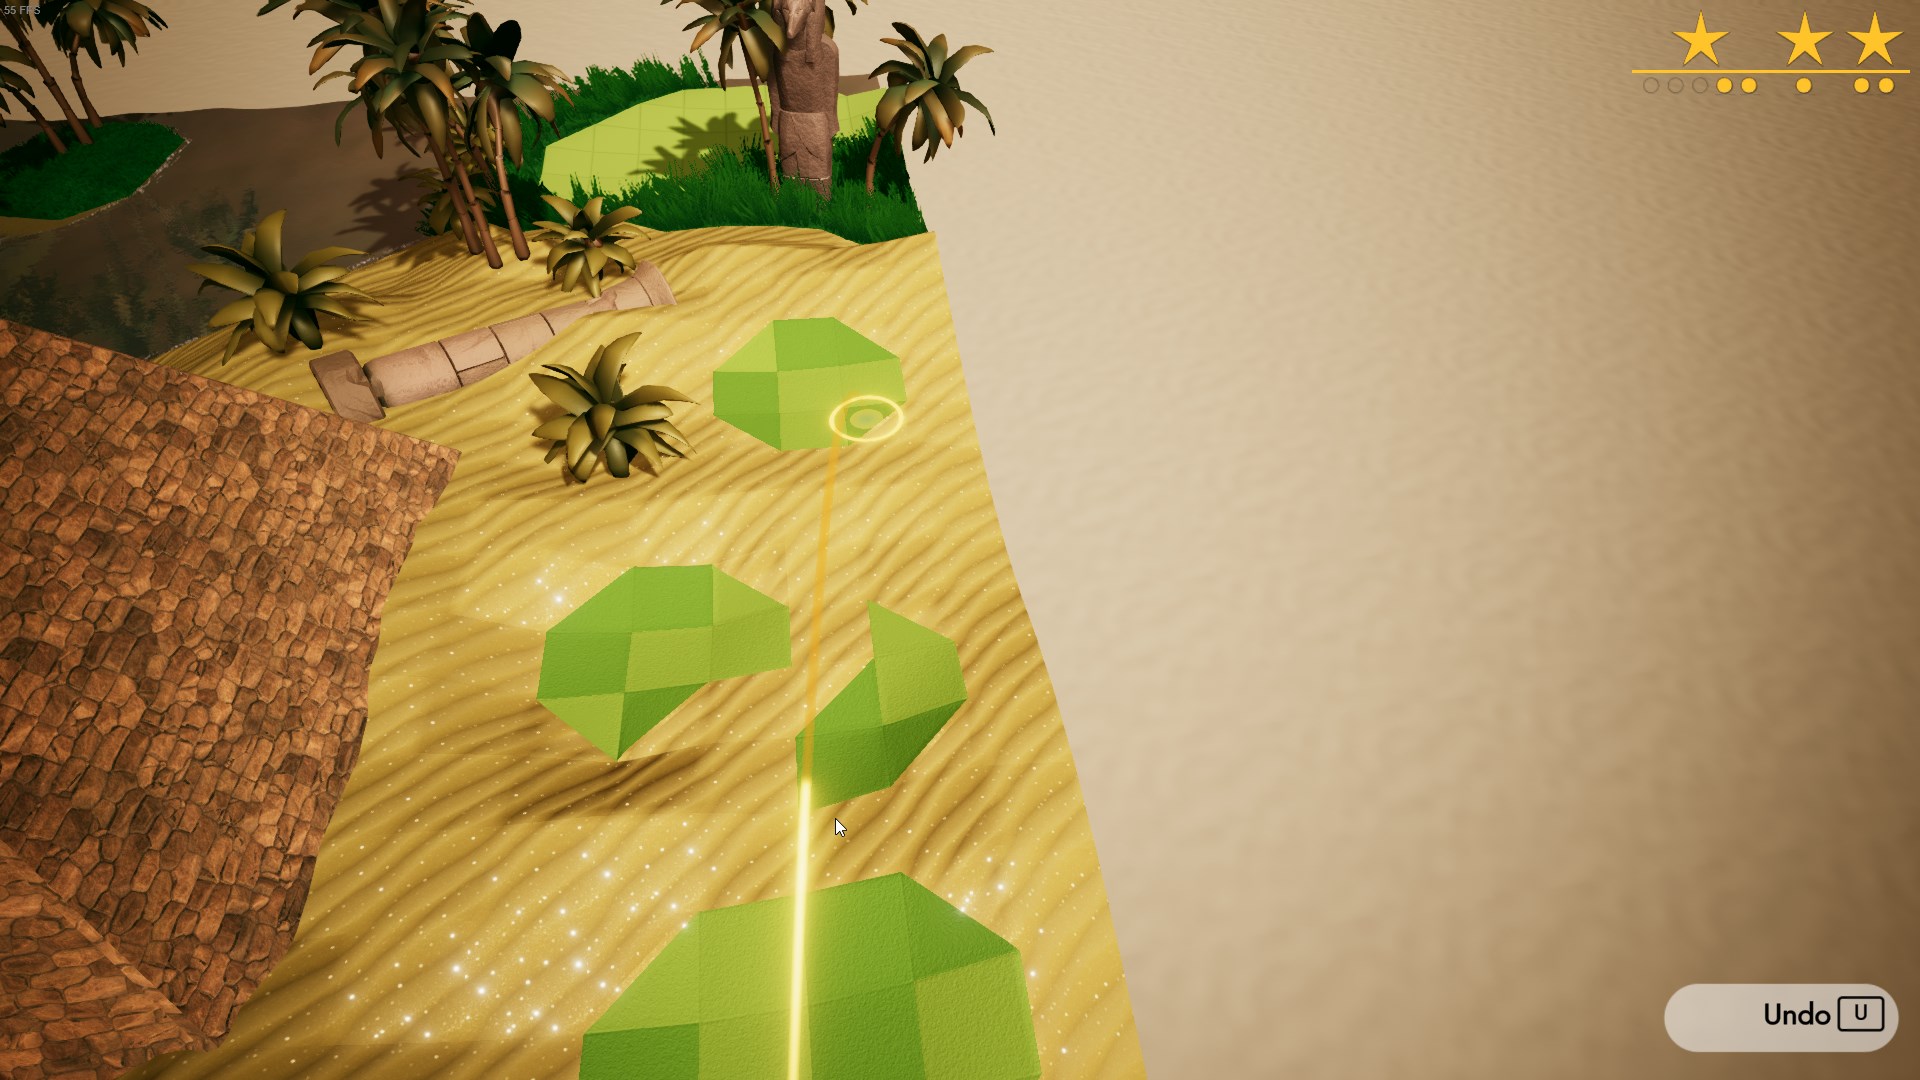
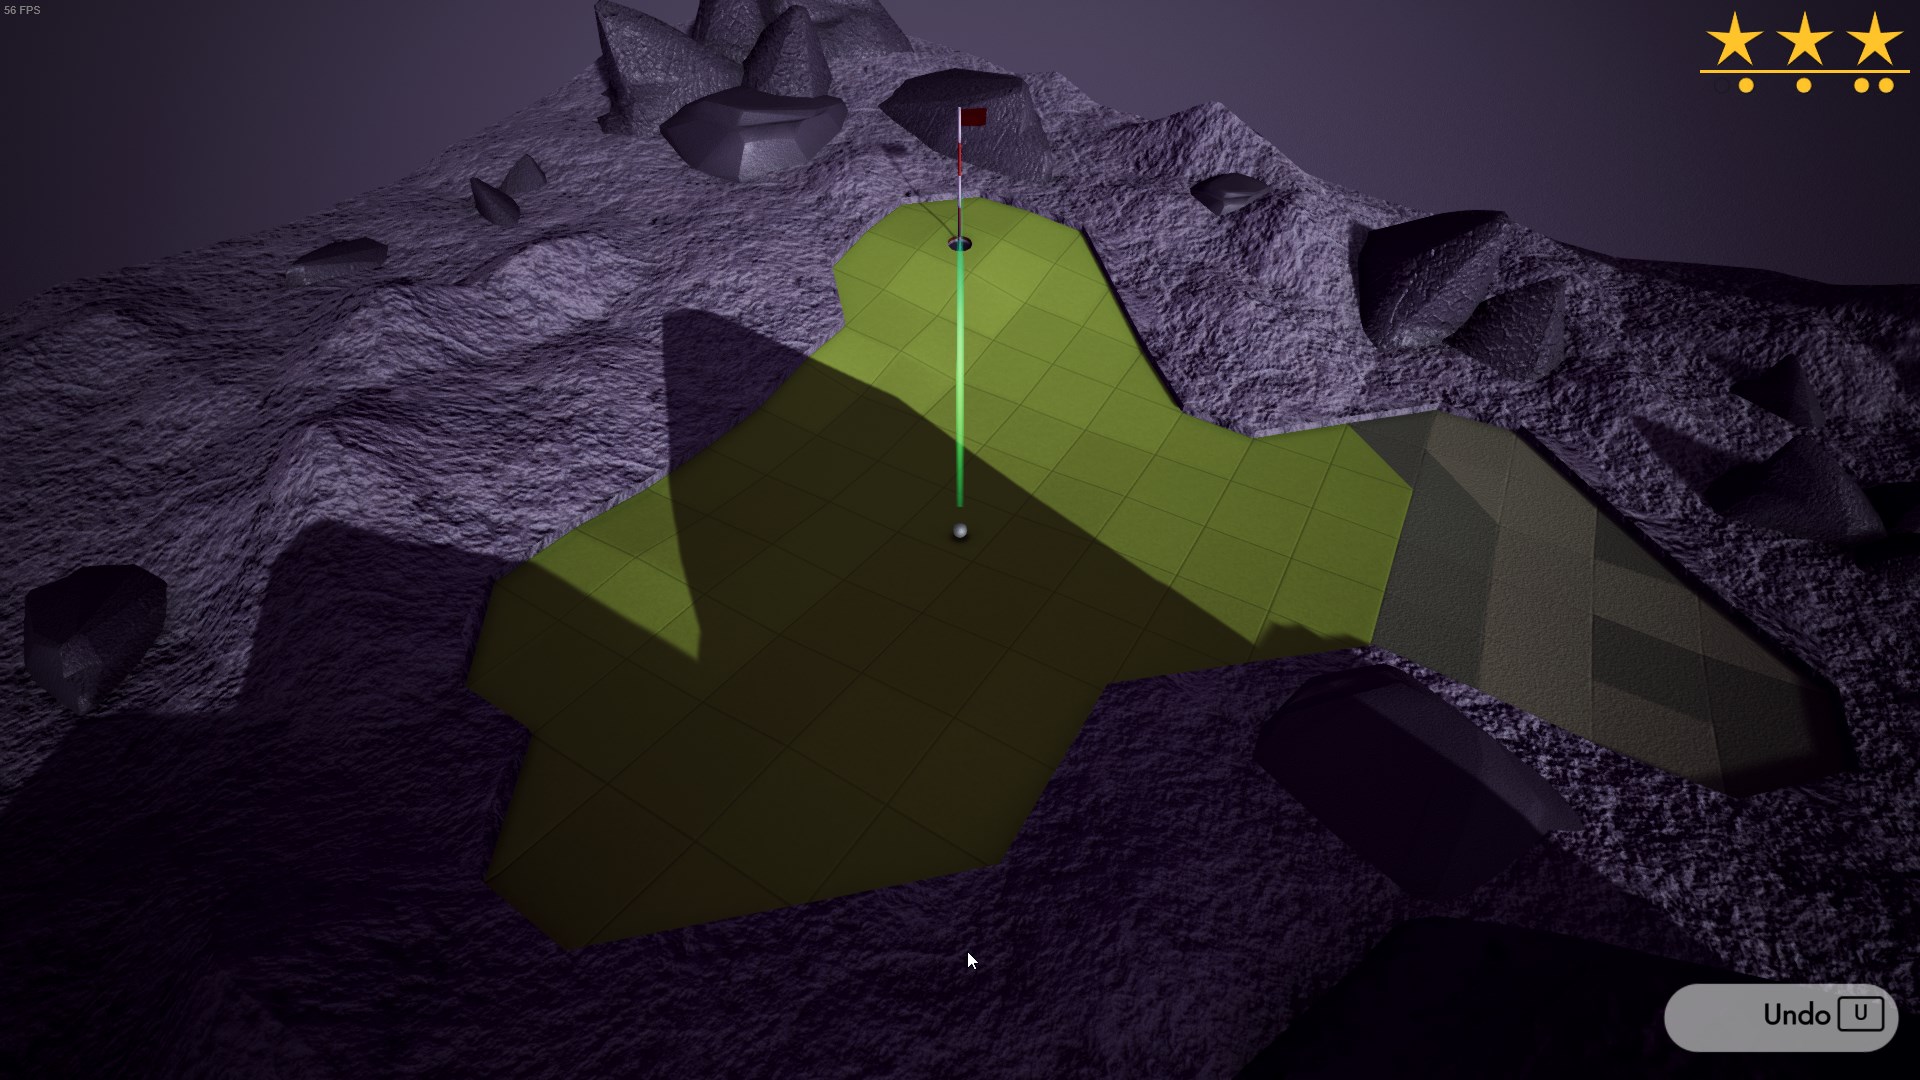
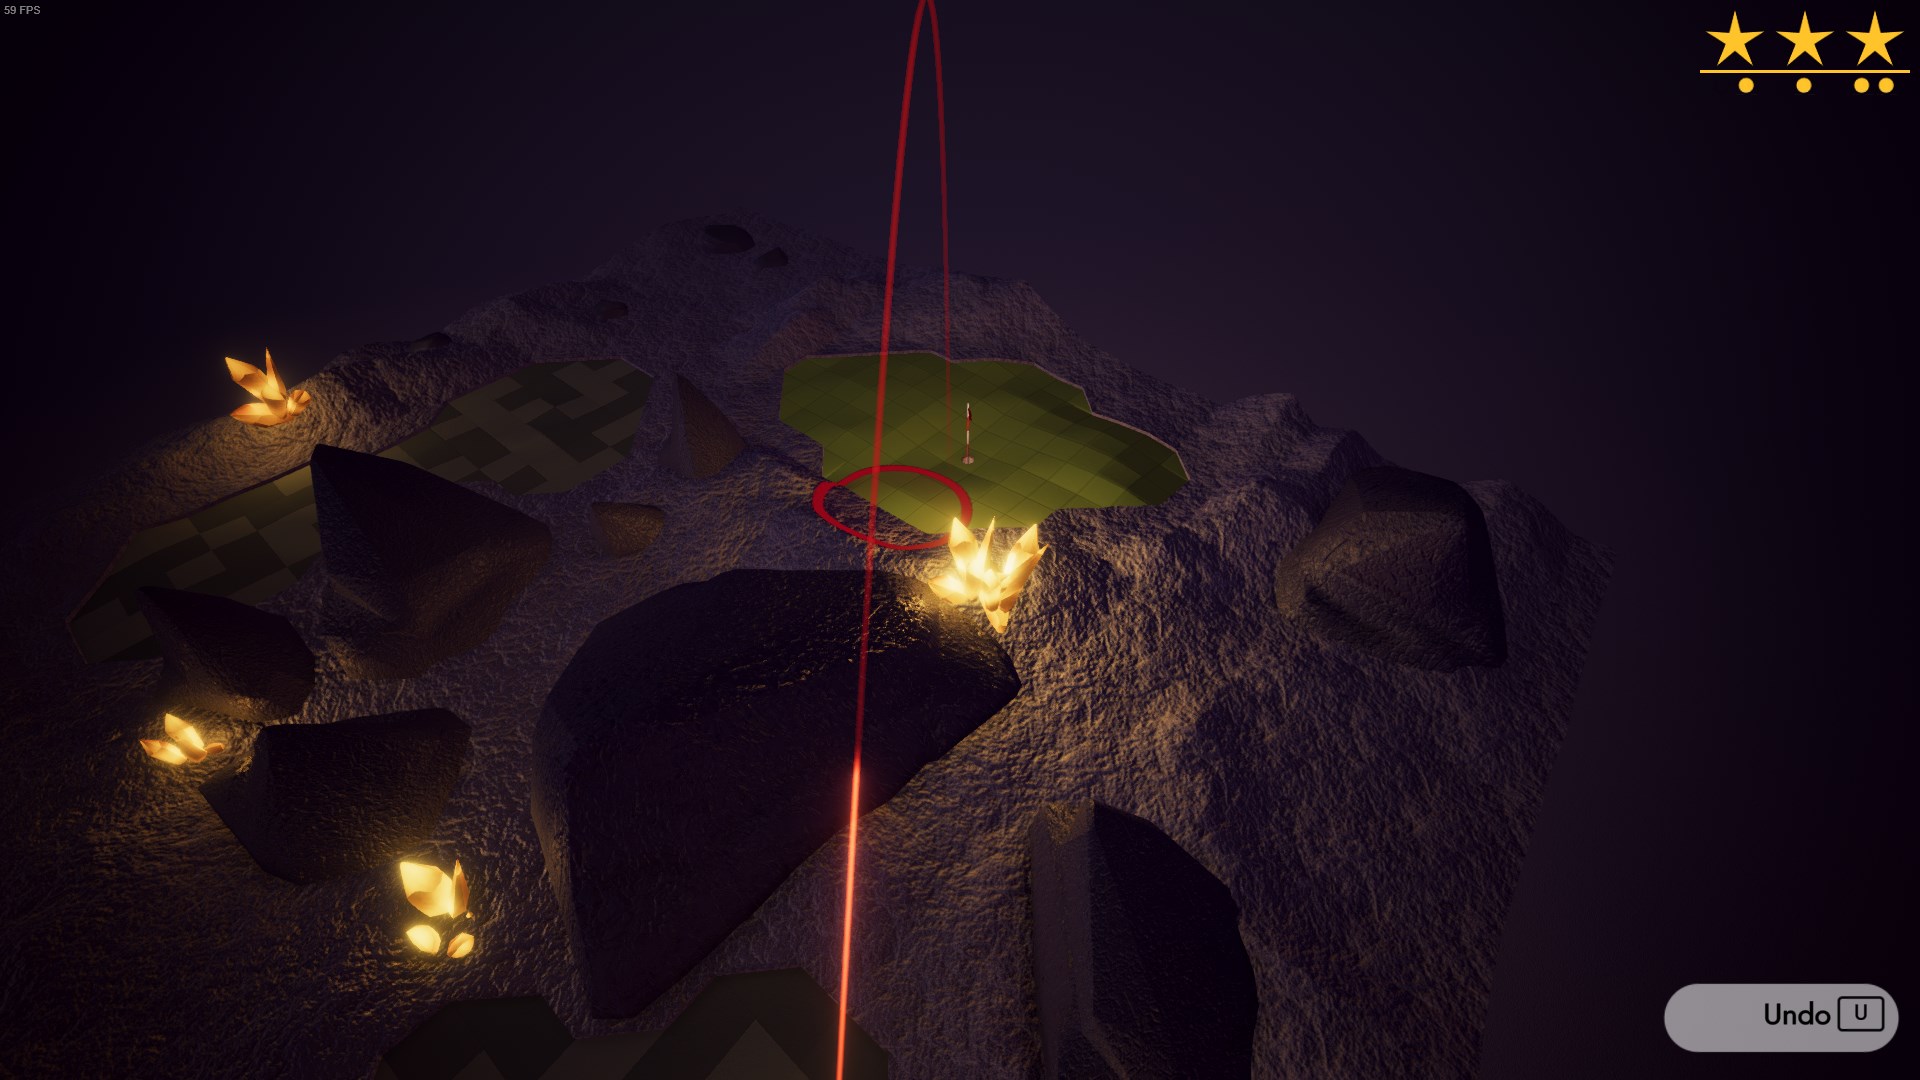
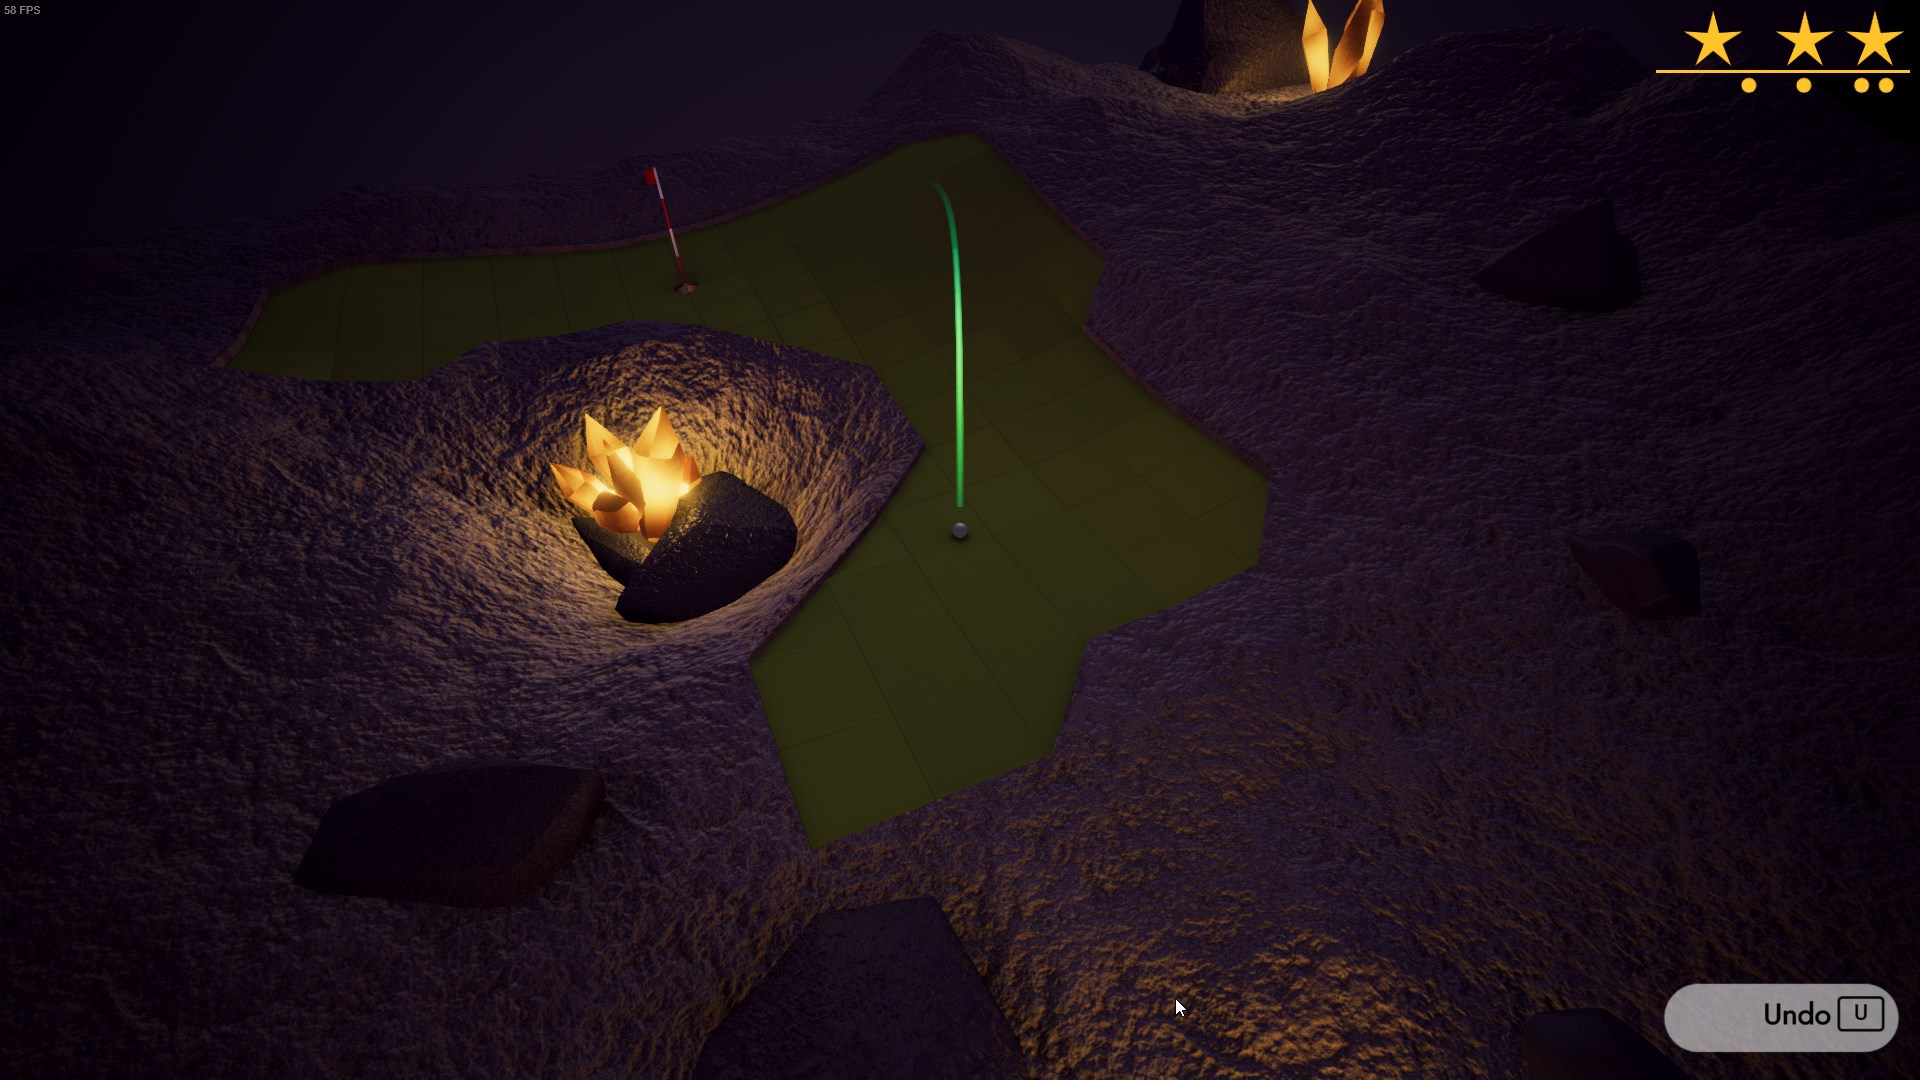
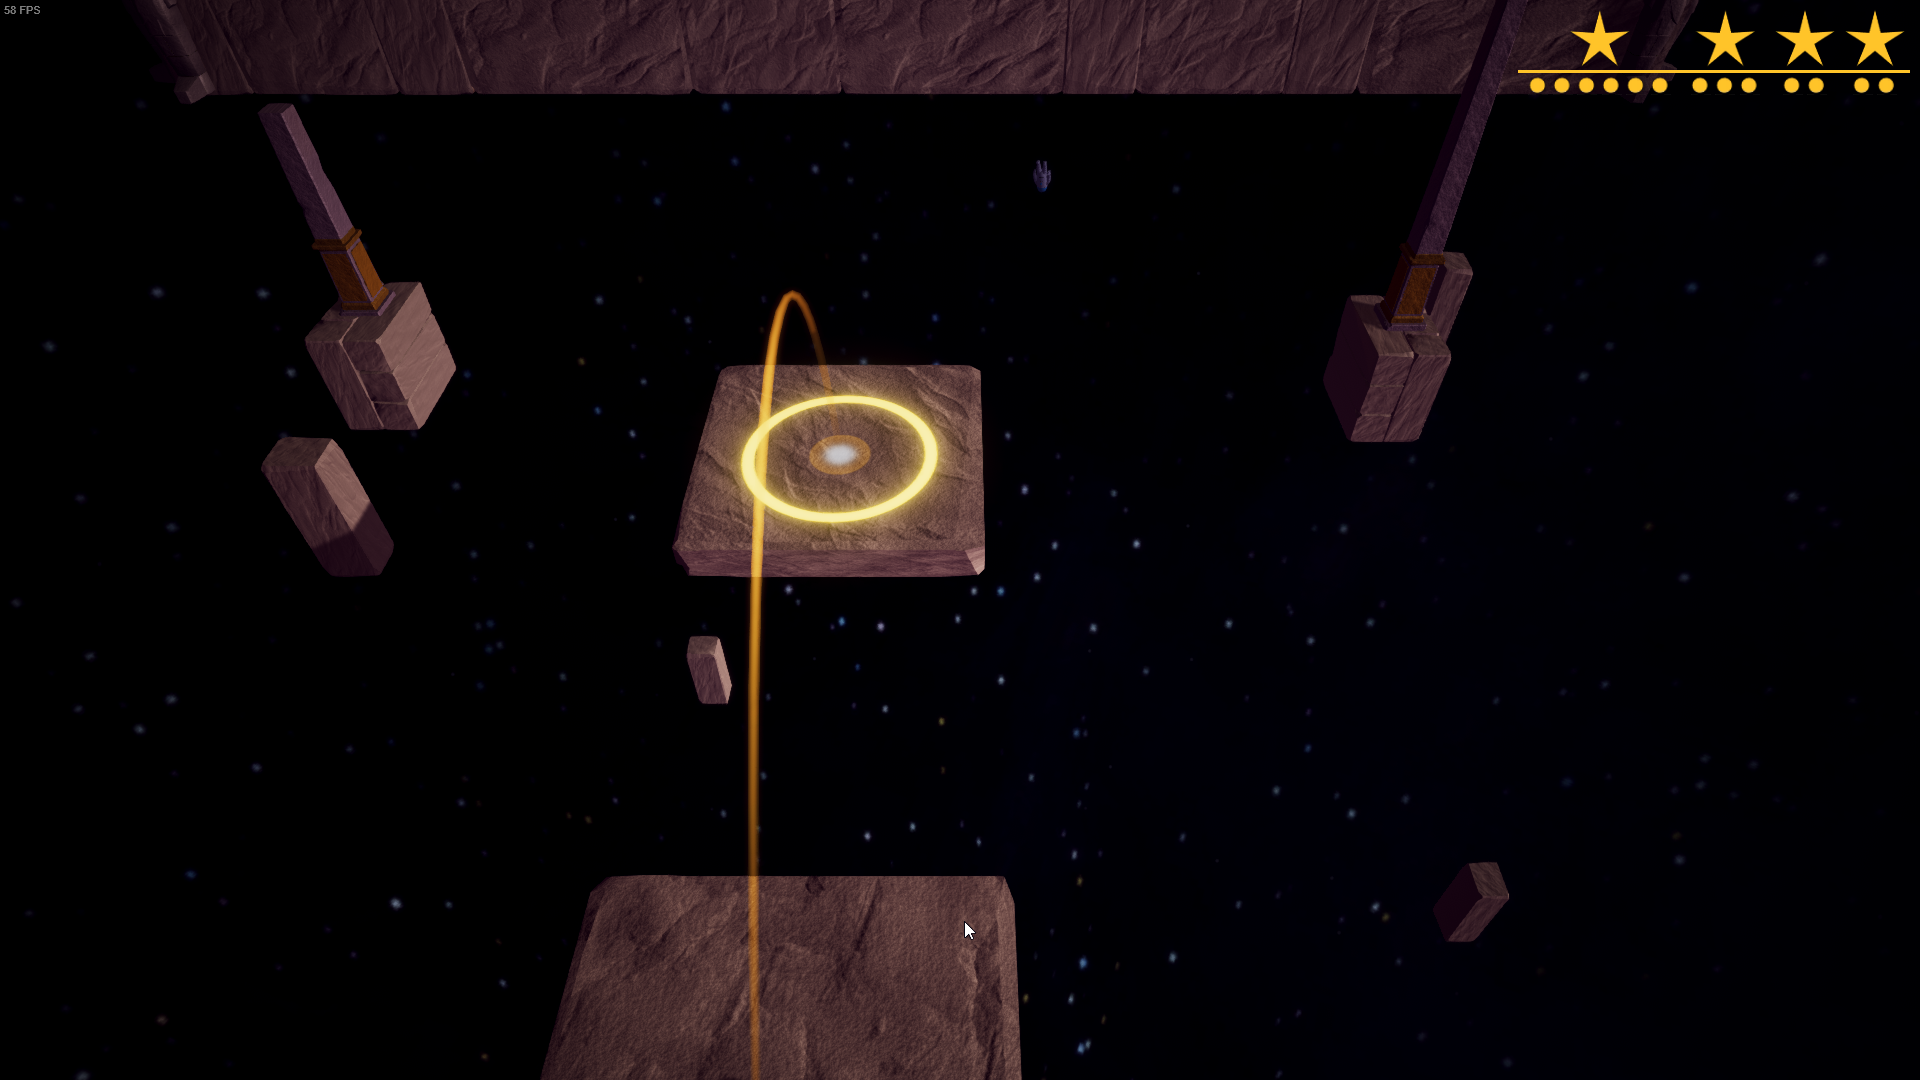
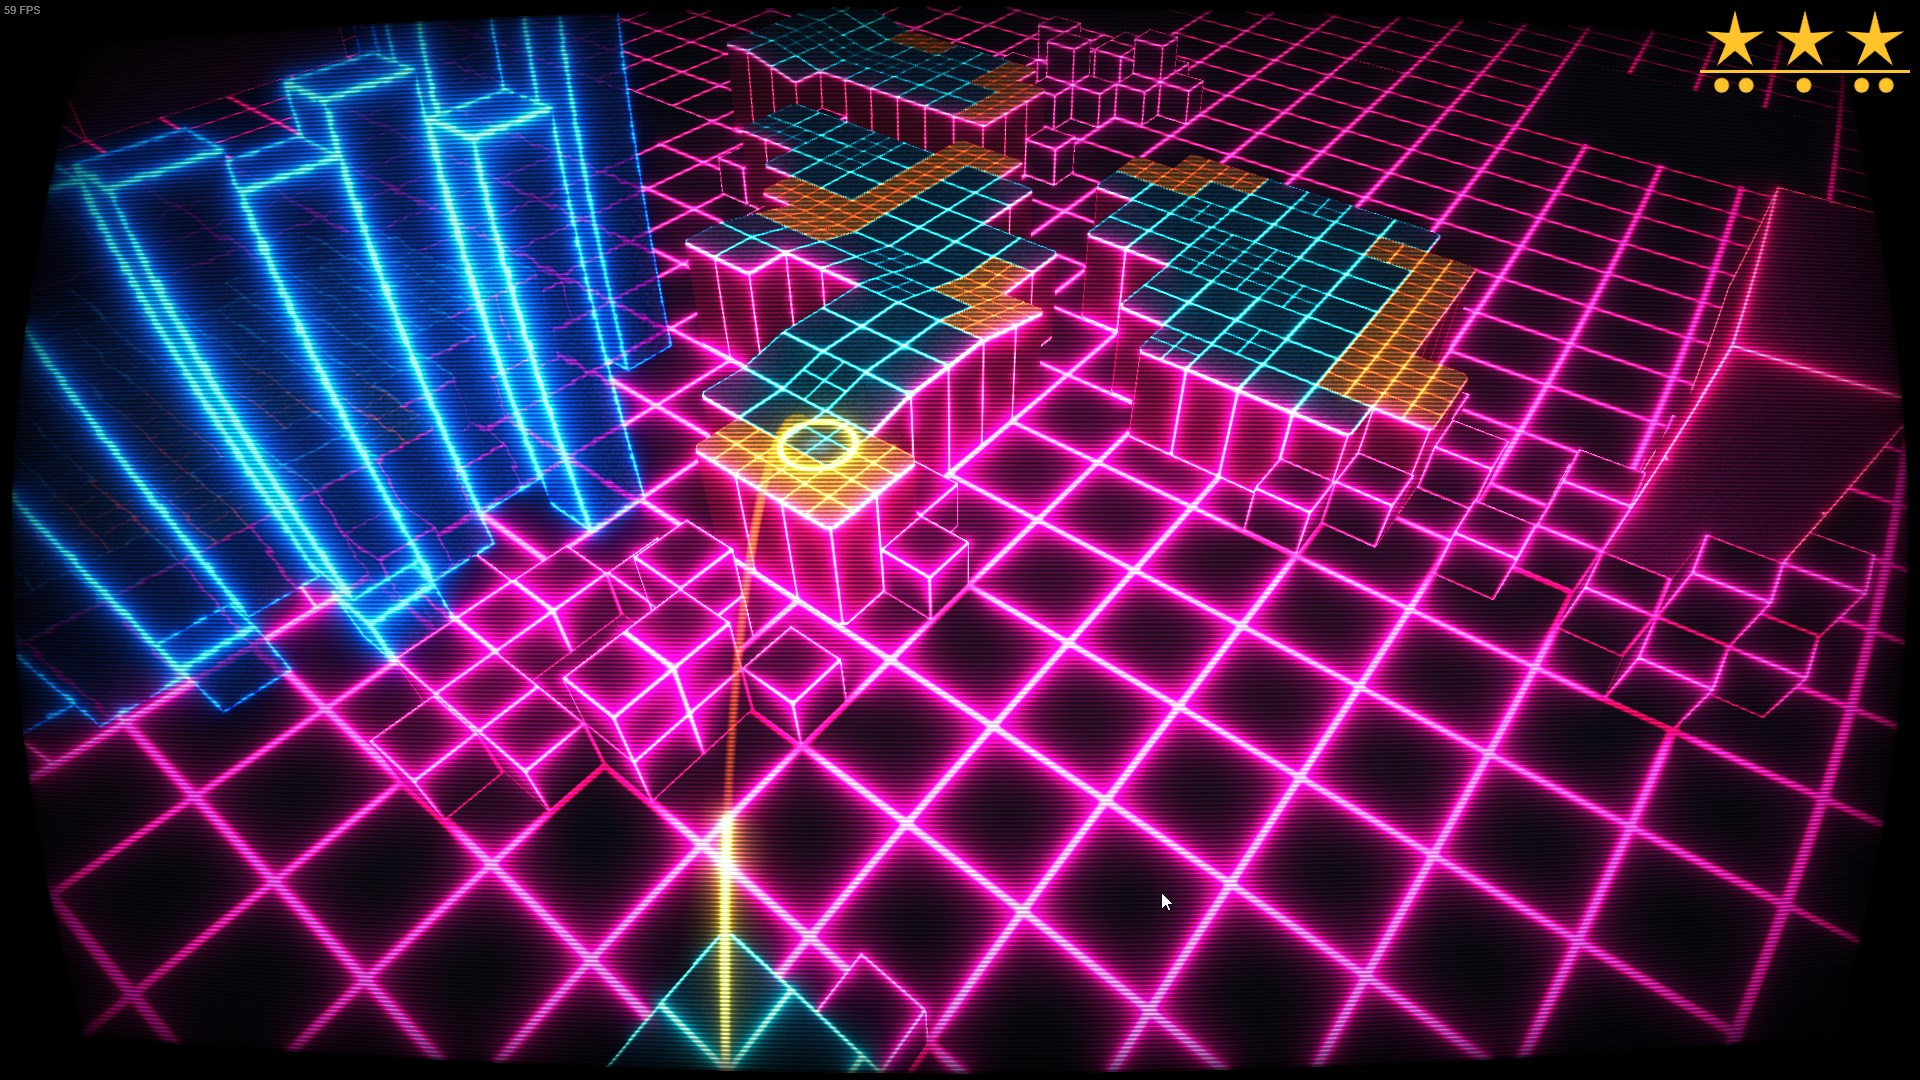
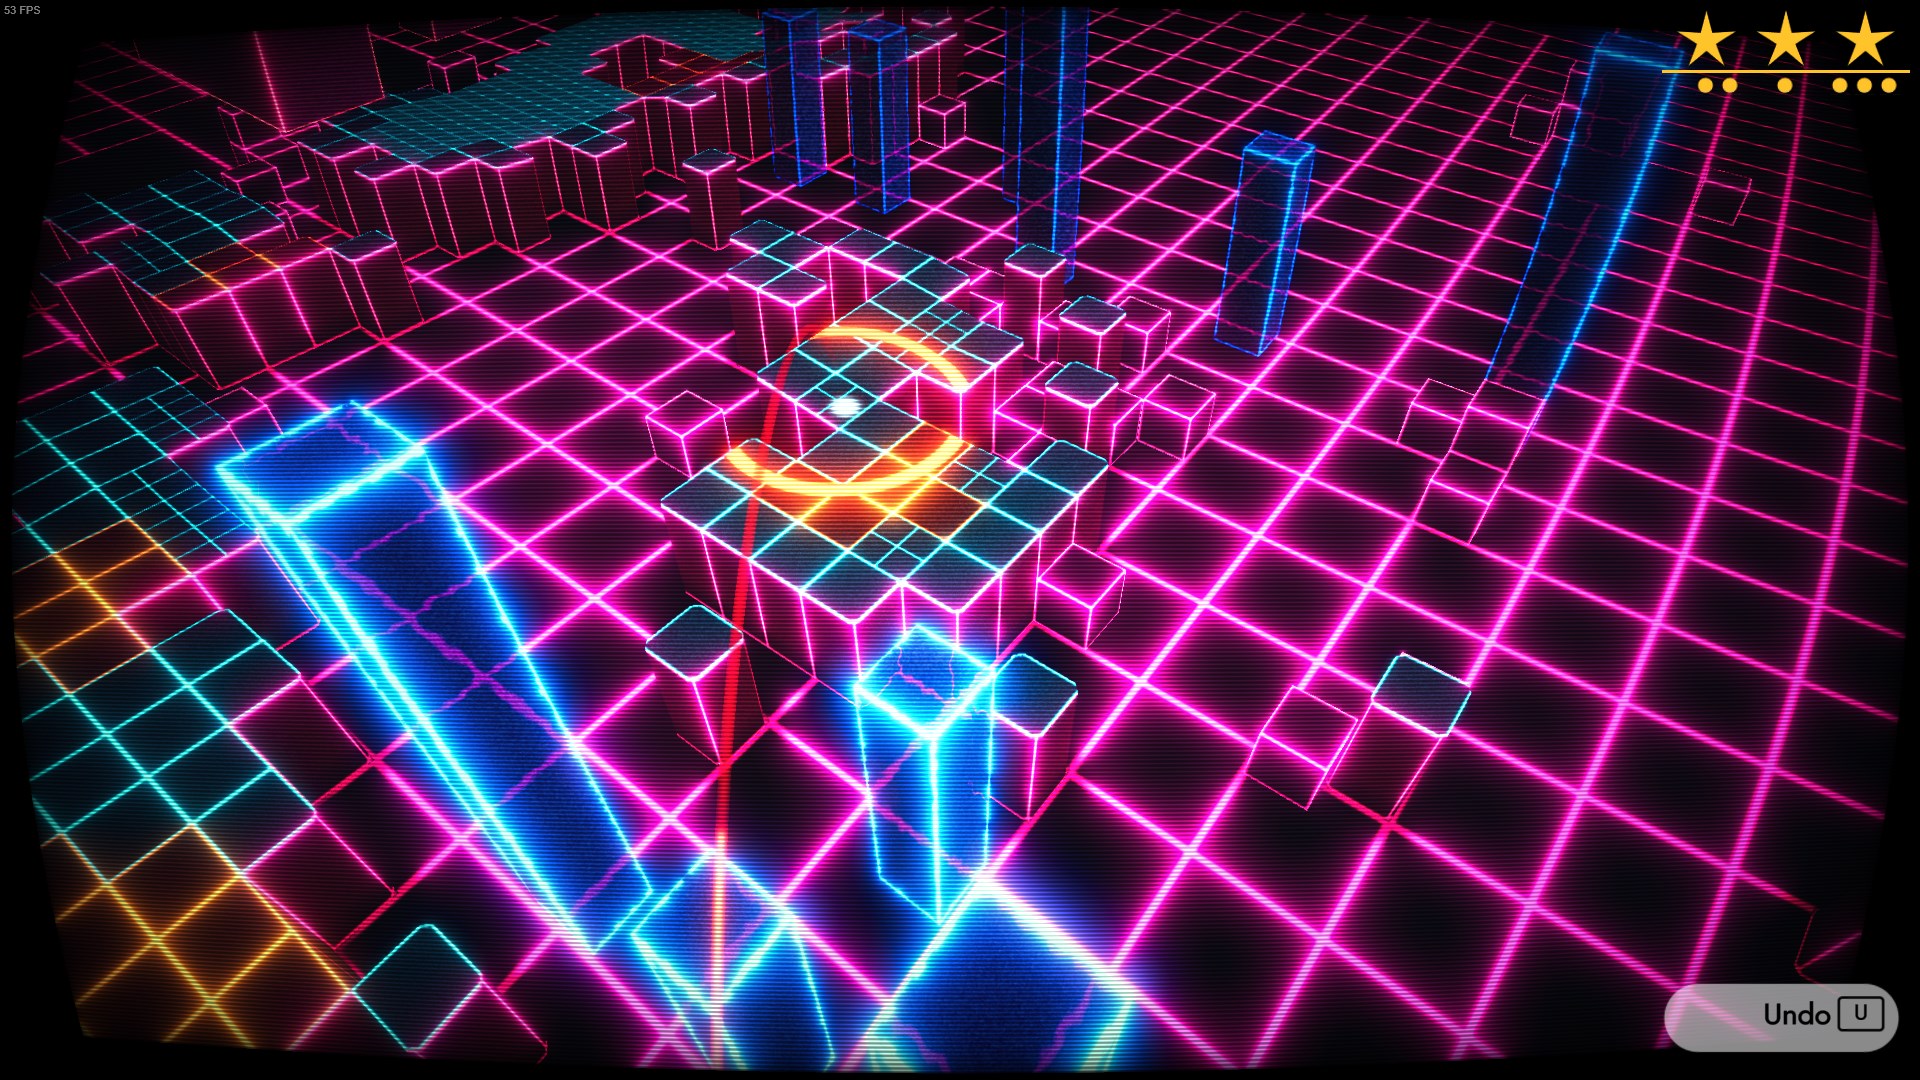
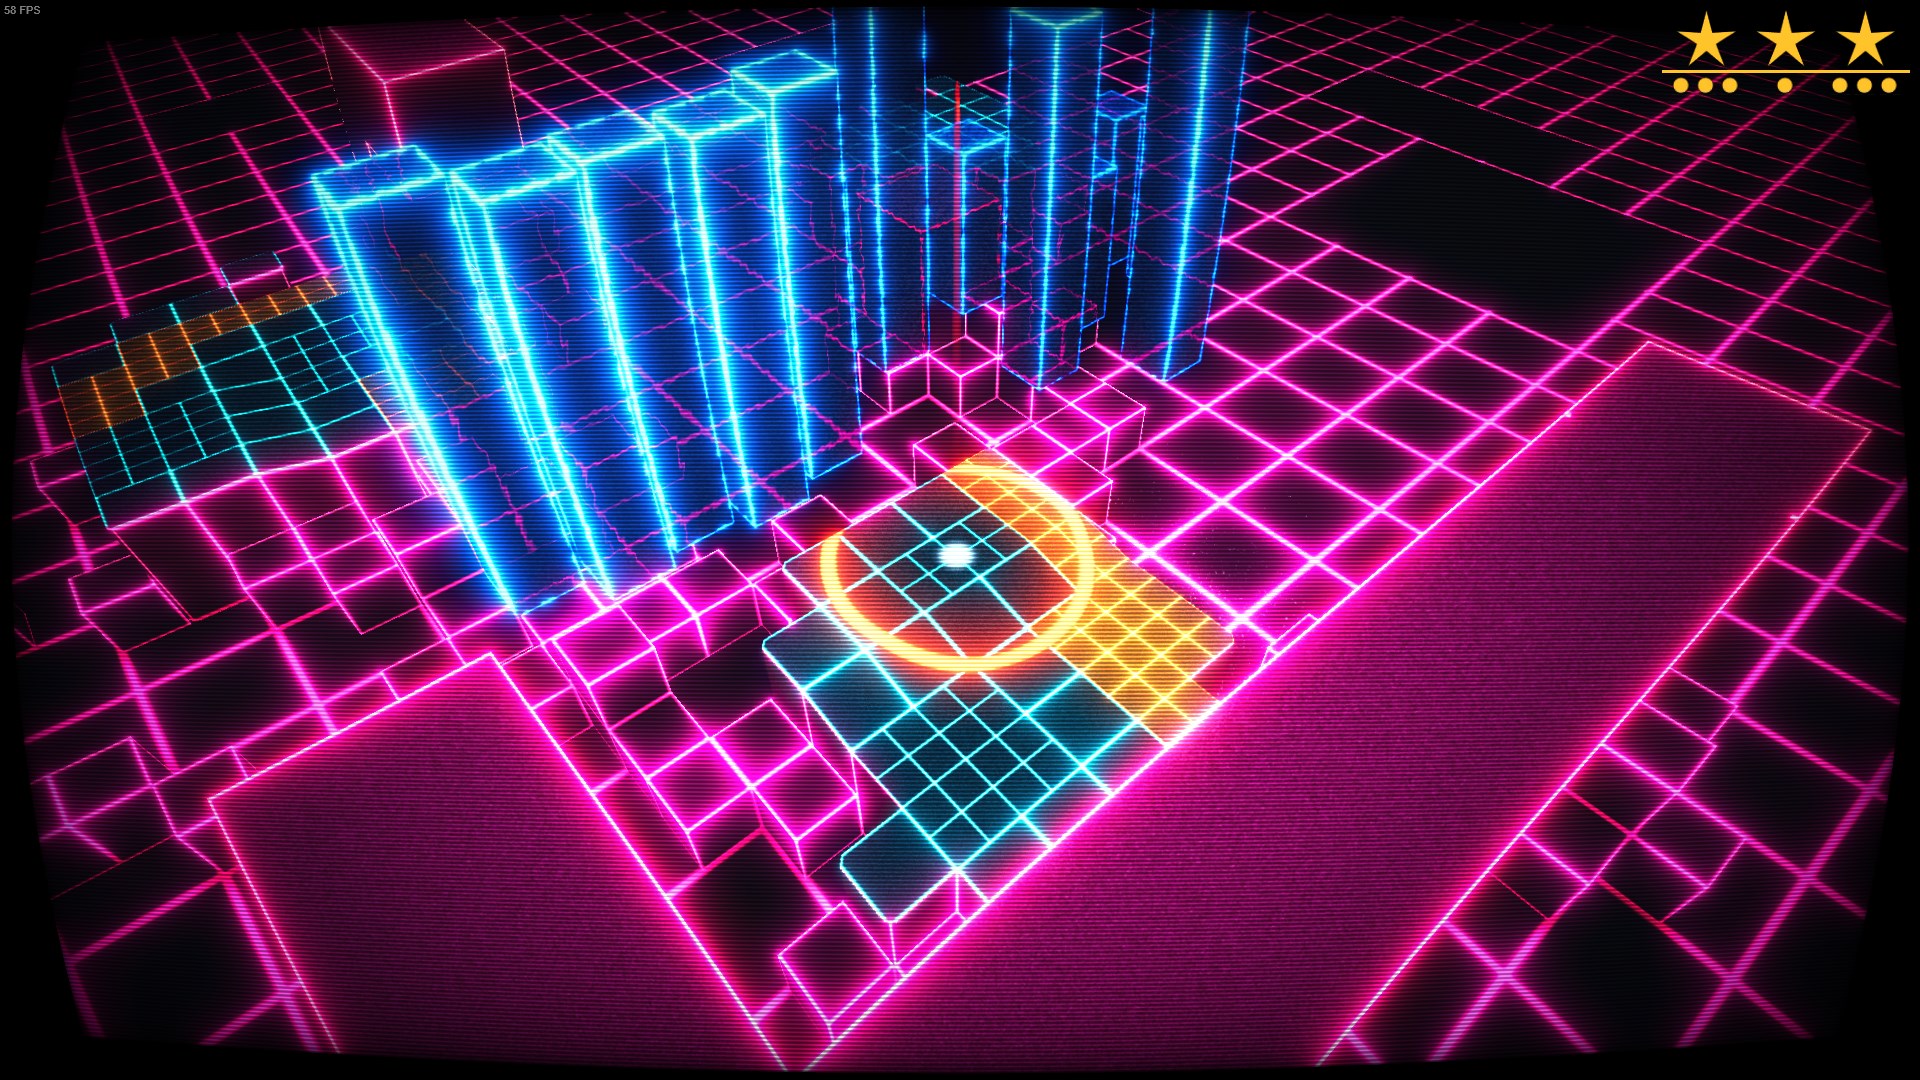
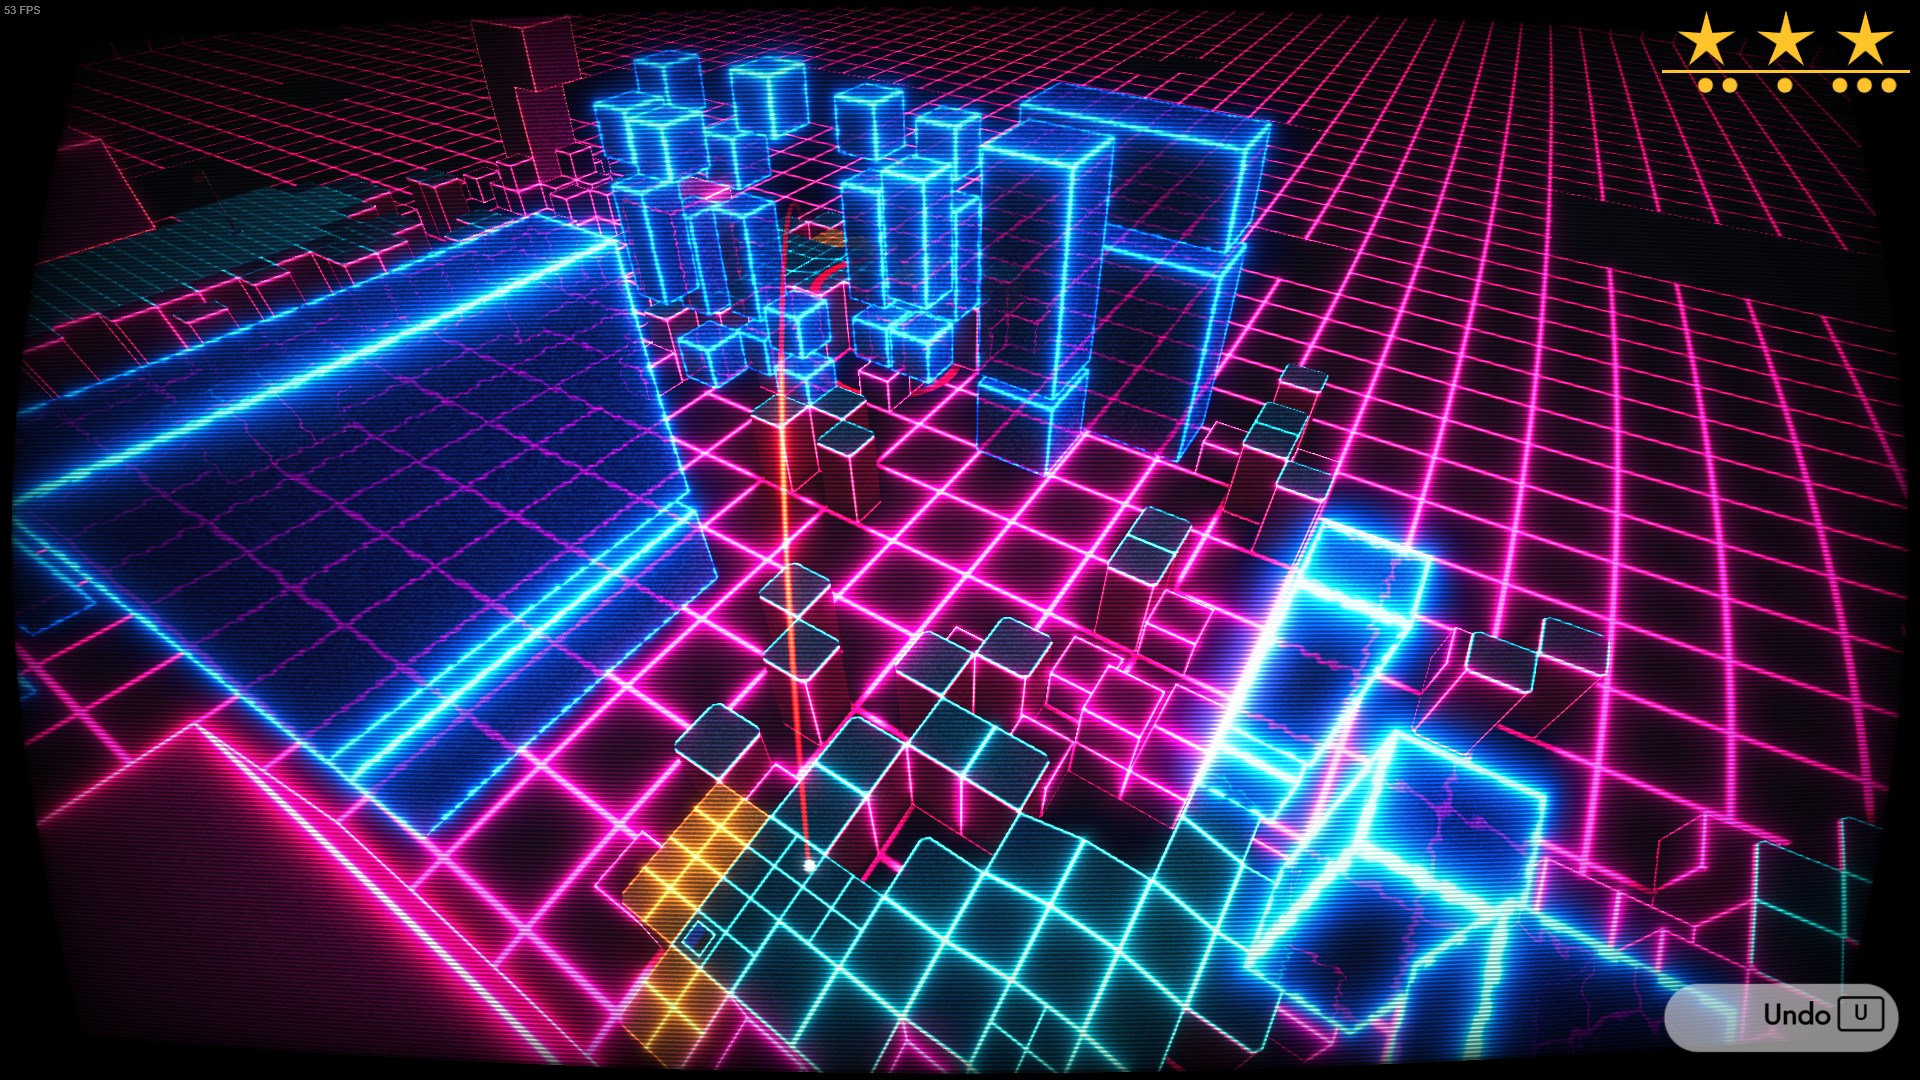
So let’s say you’re trying to putt on the next shot, and your stabilized trajectory looks like this:

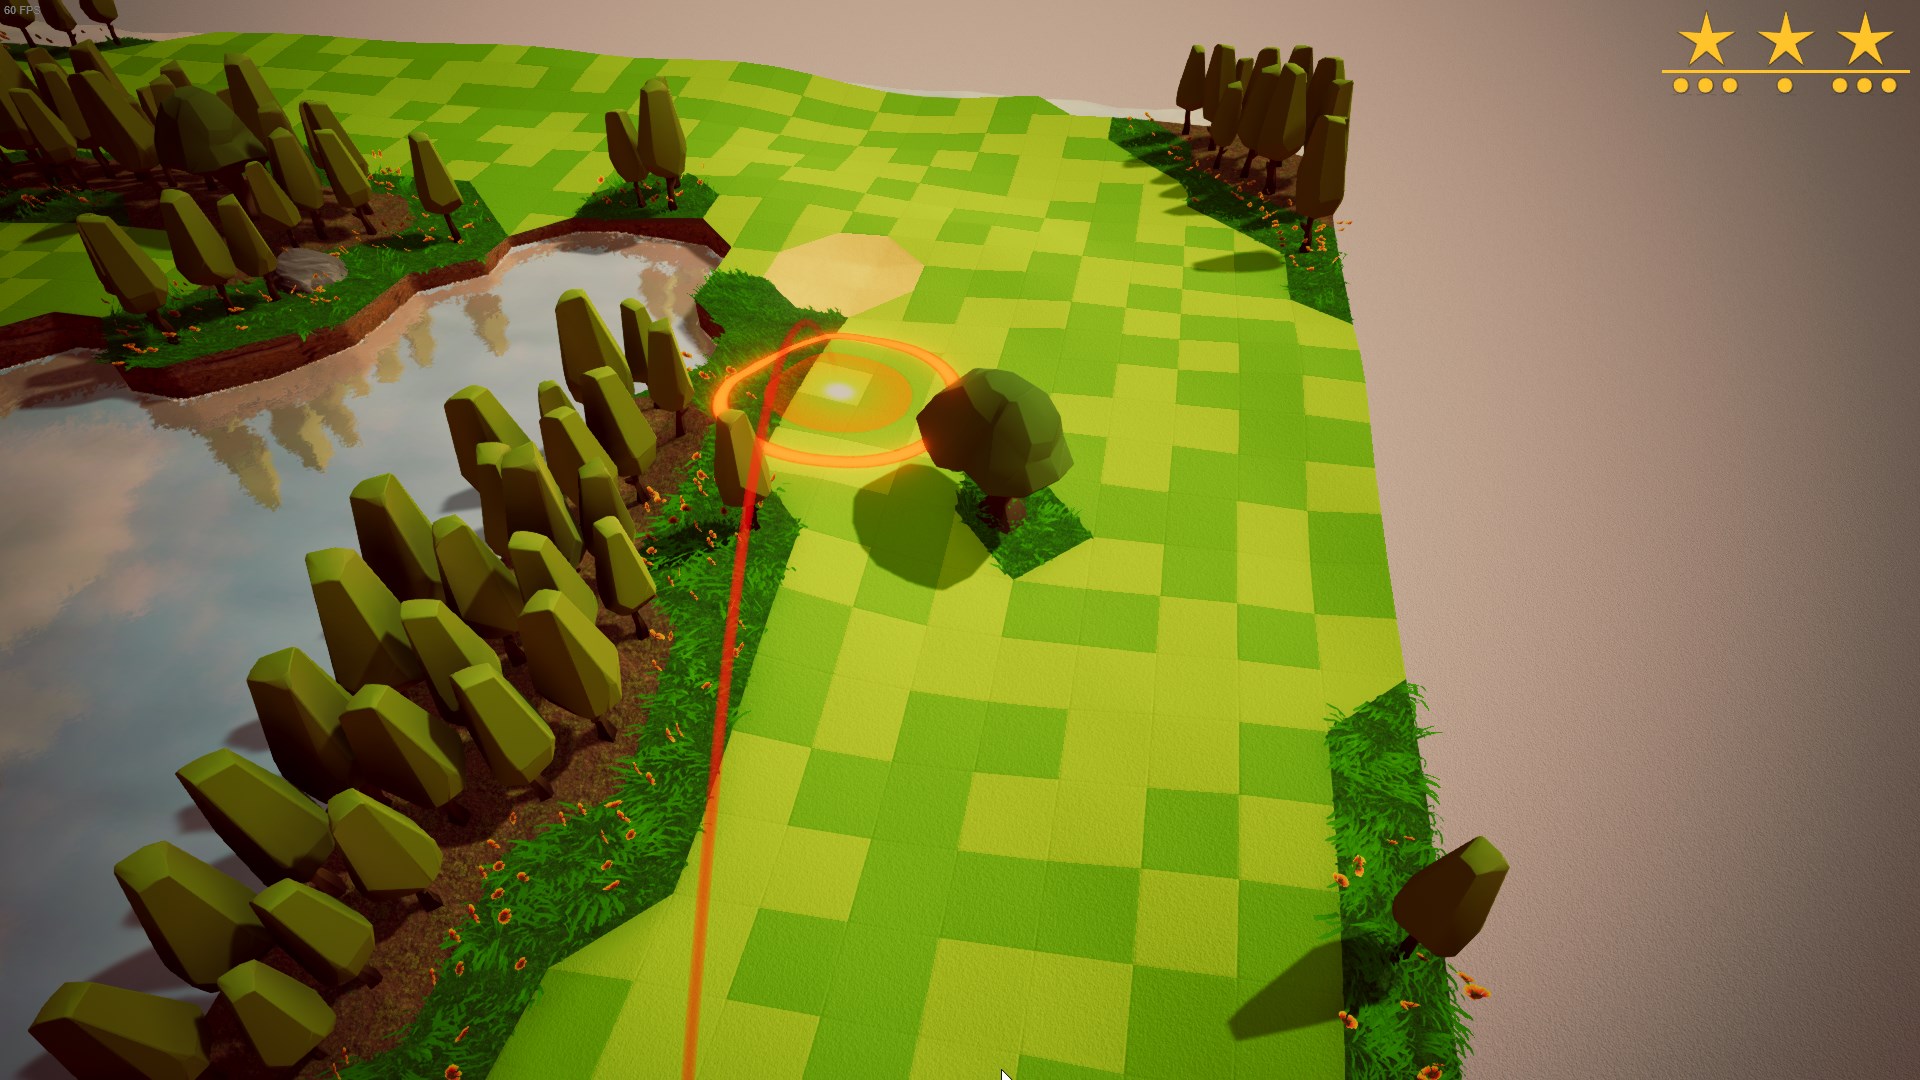
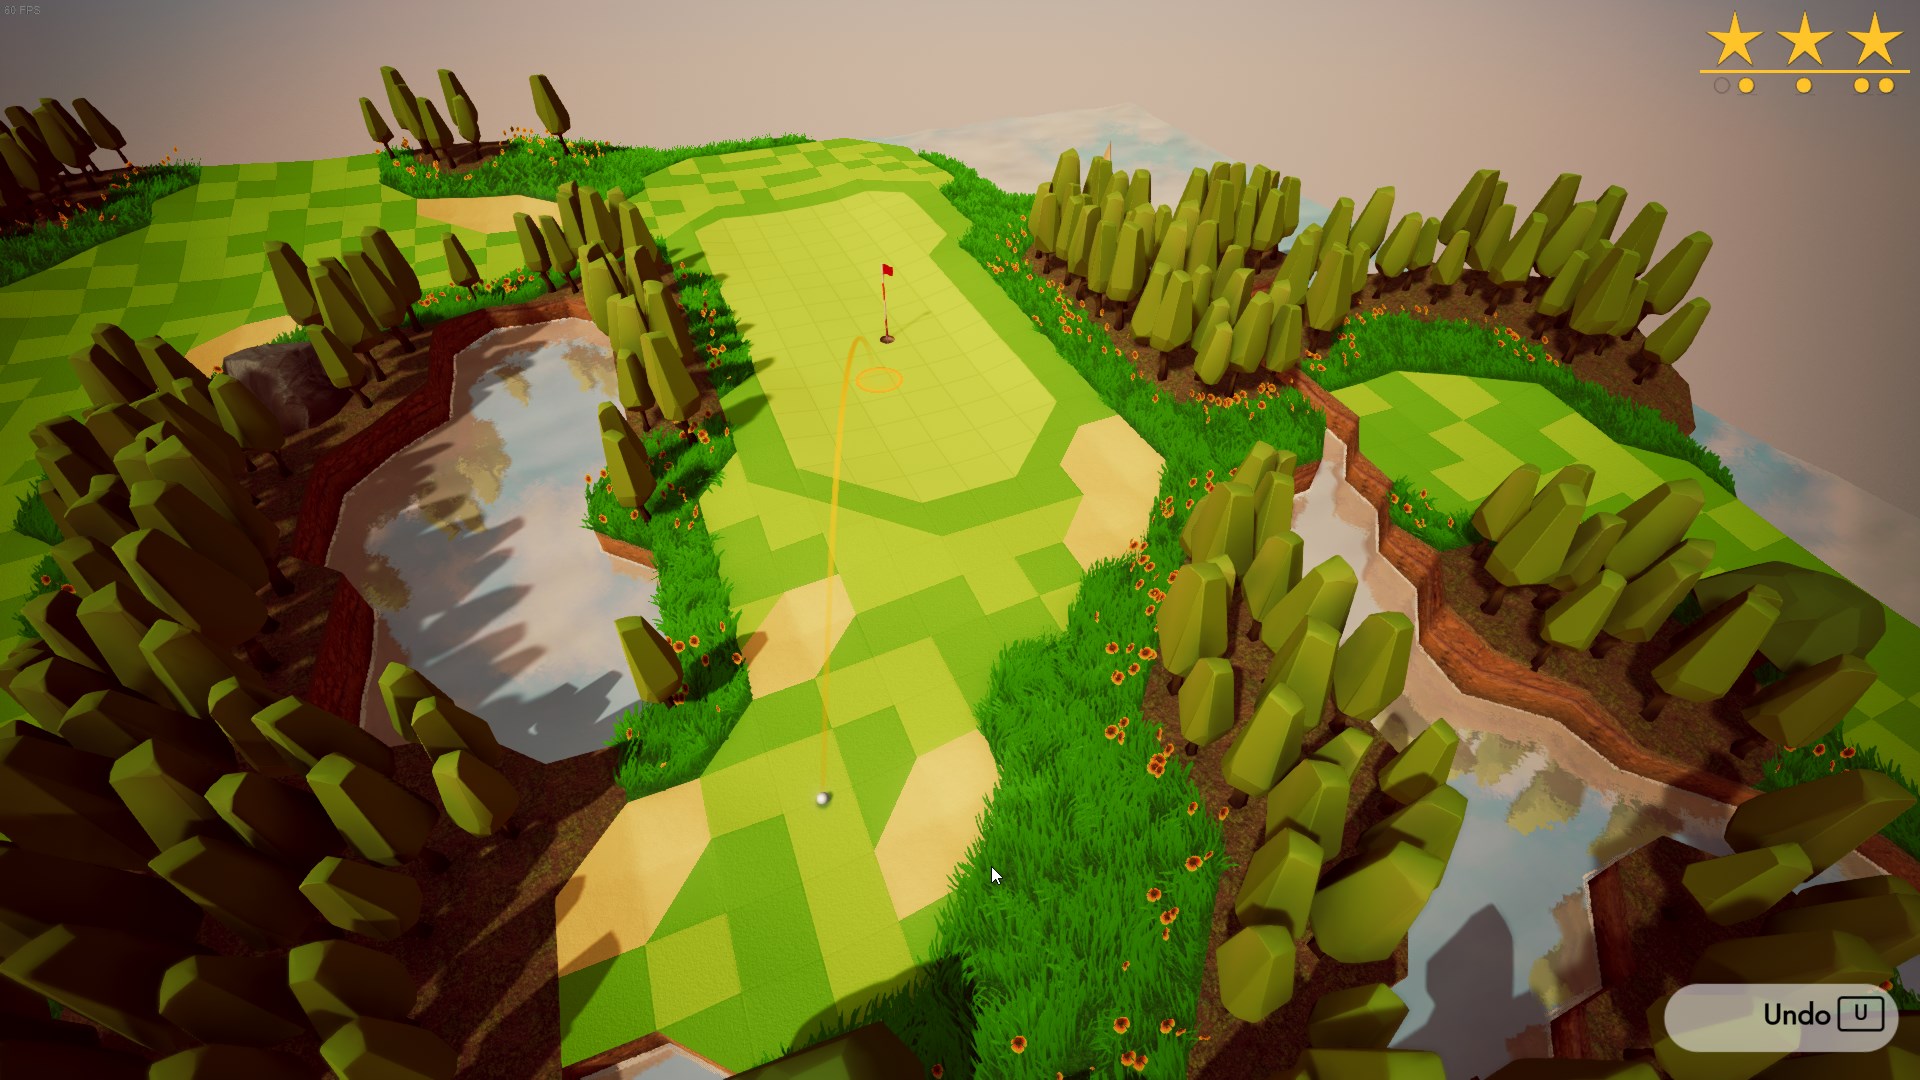
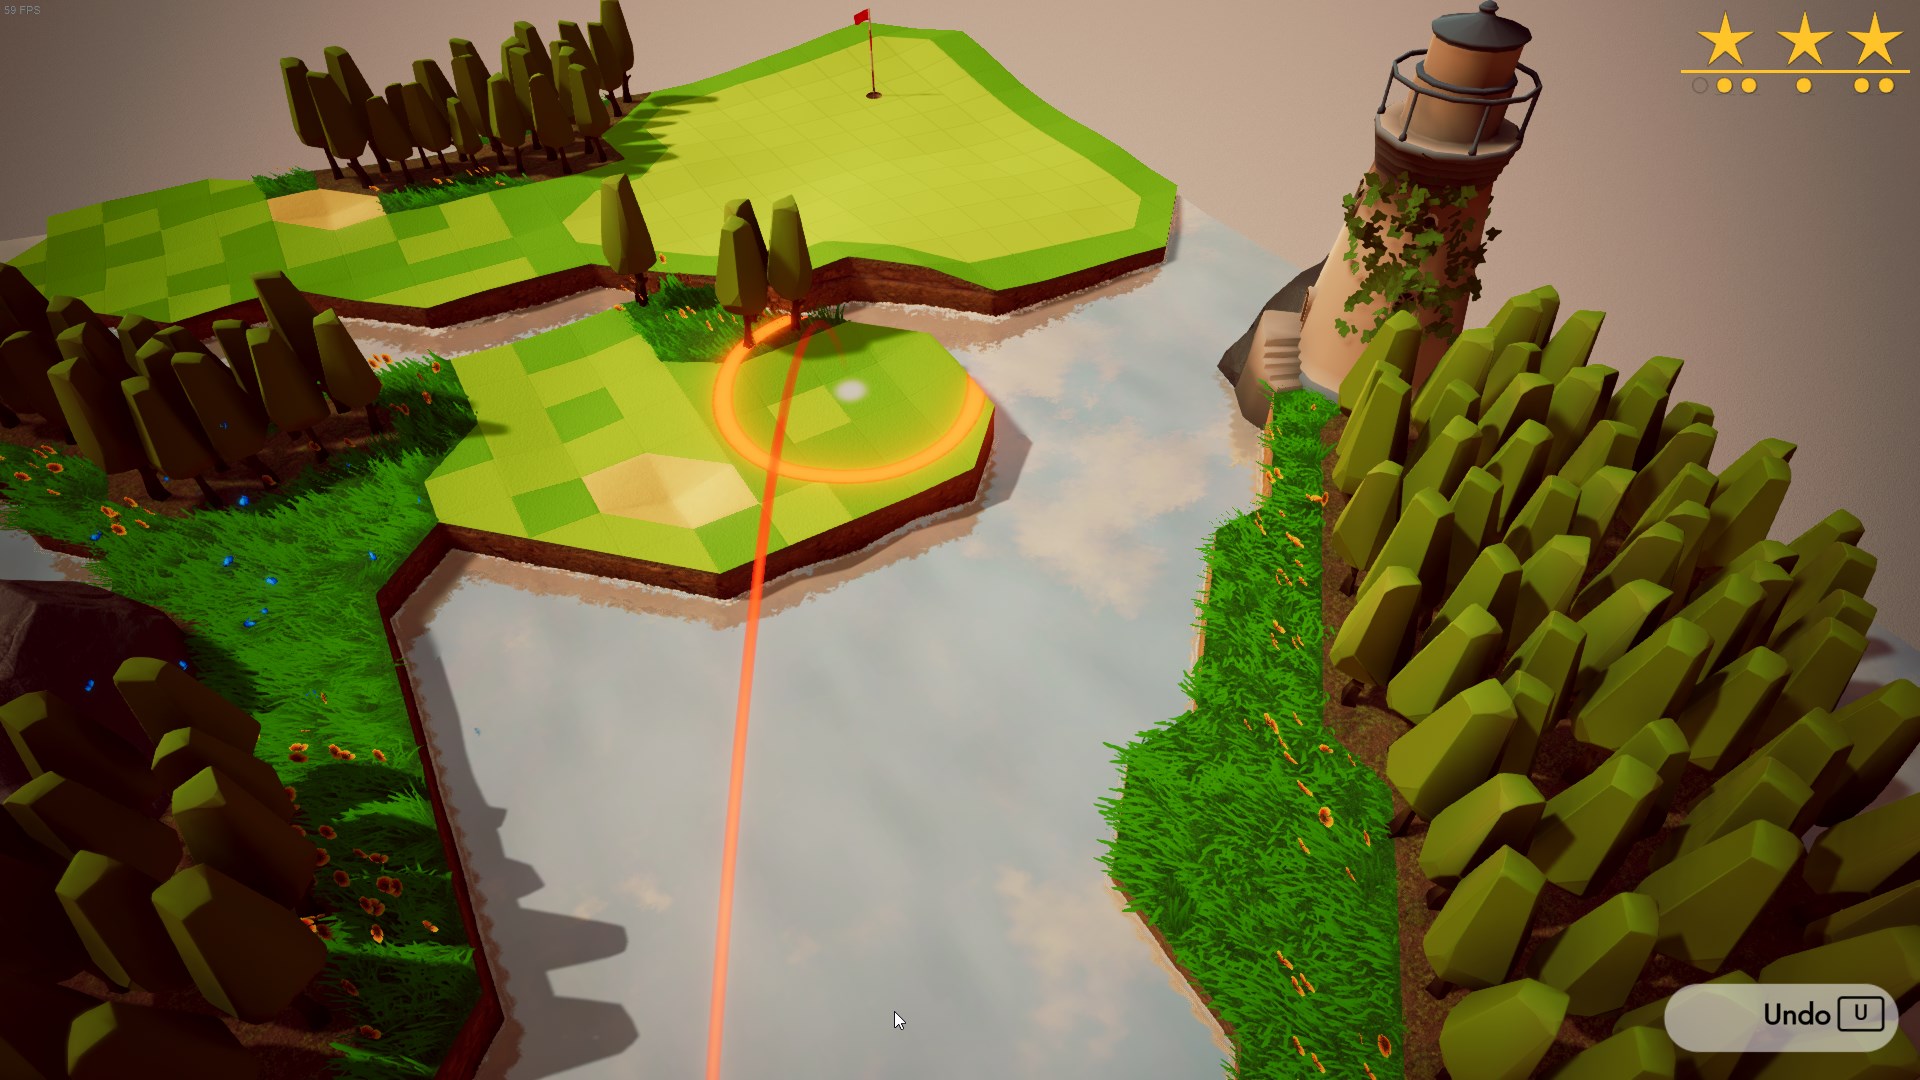
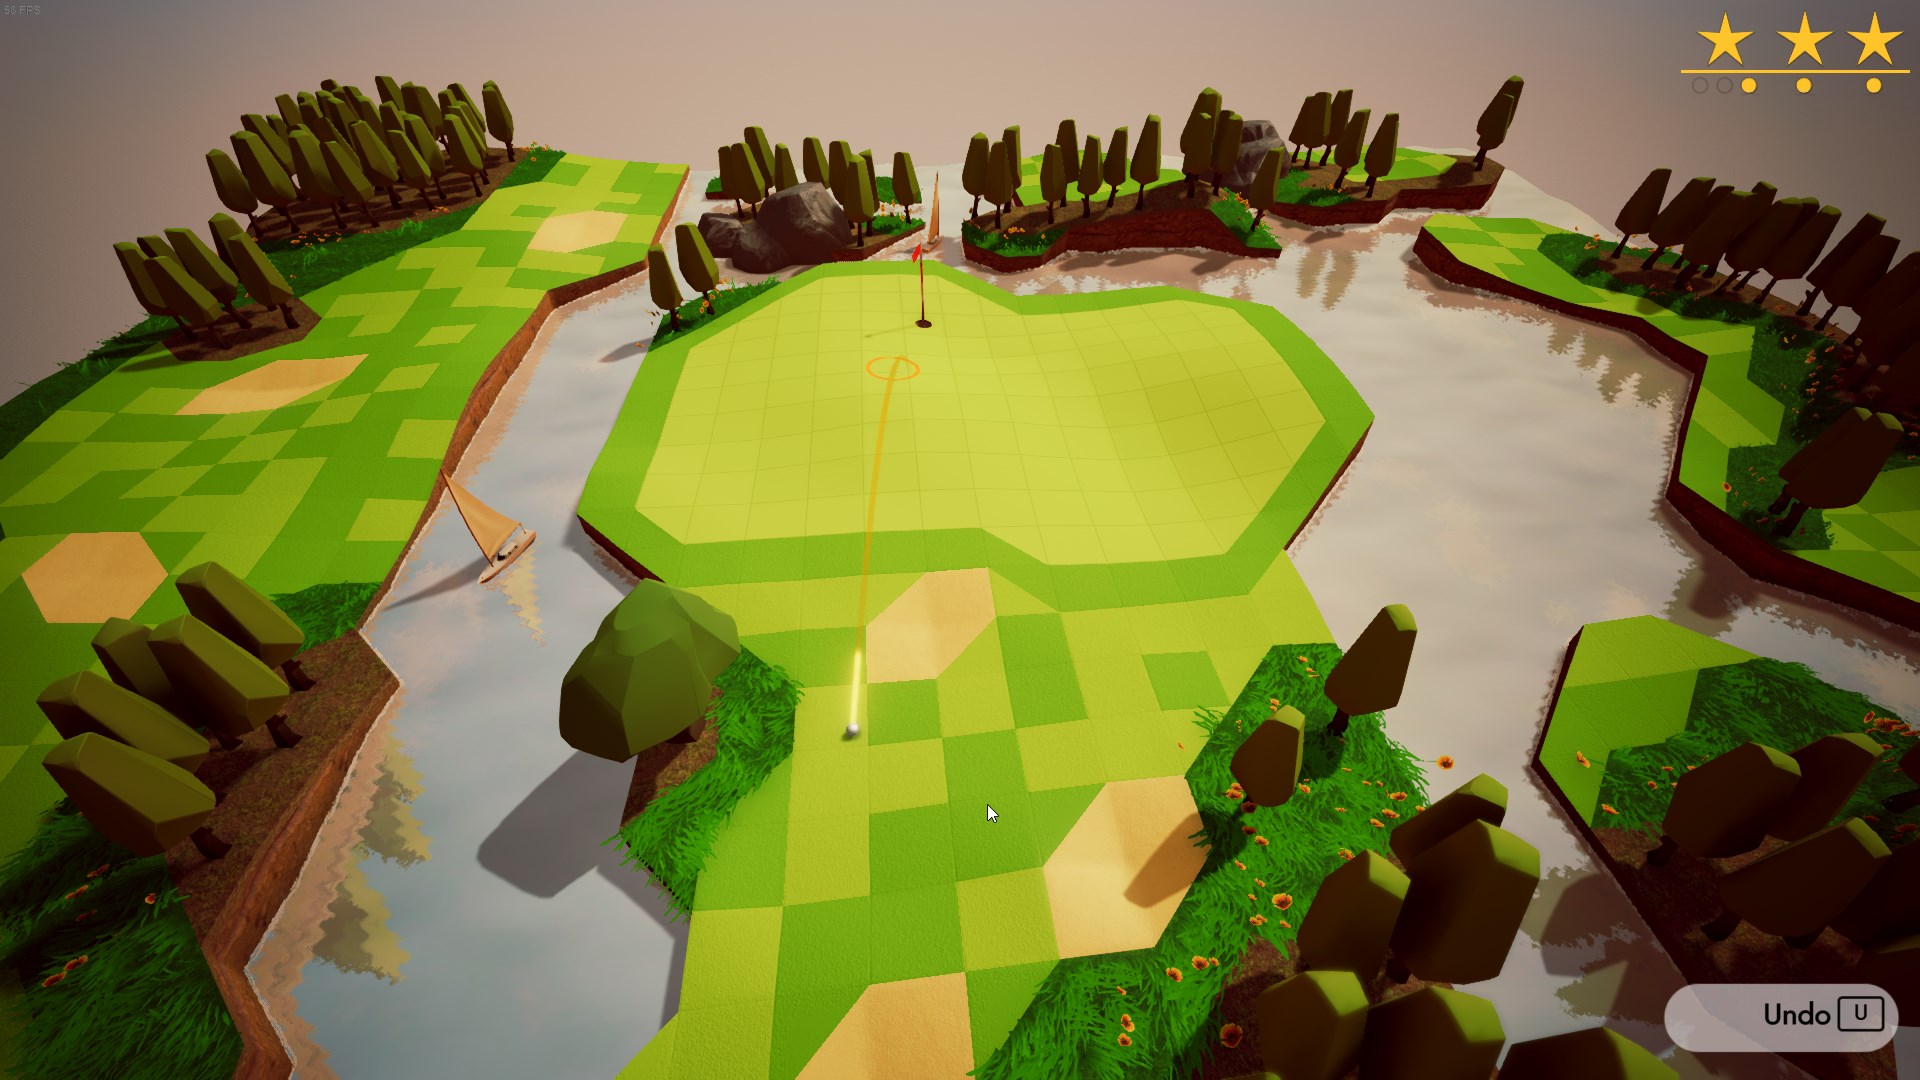
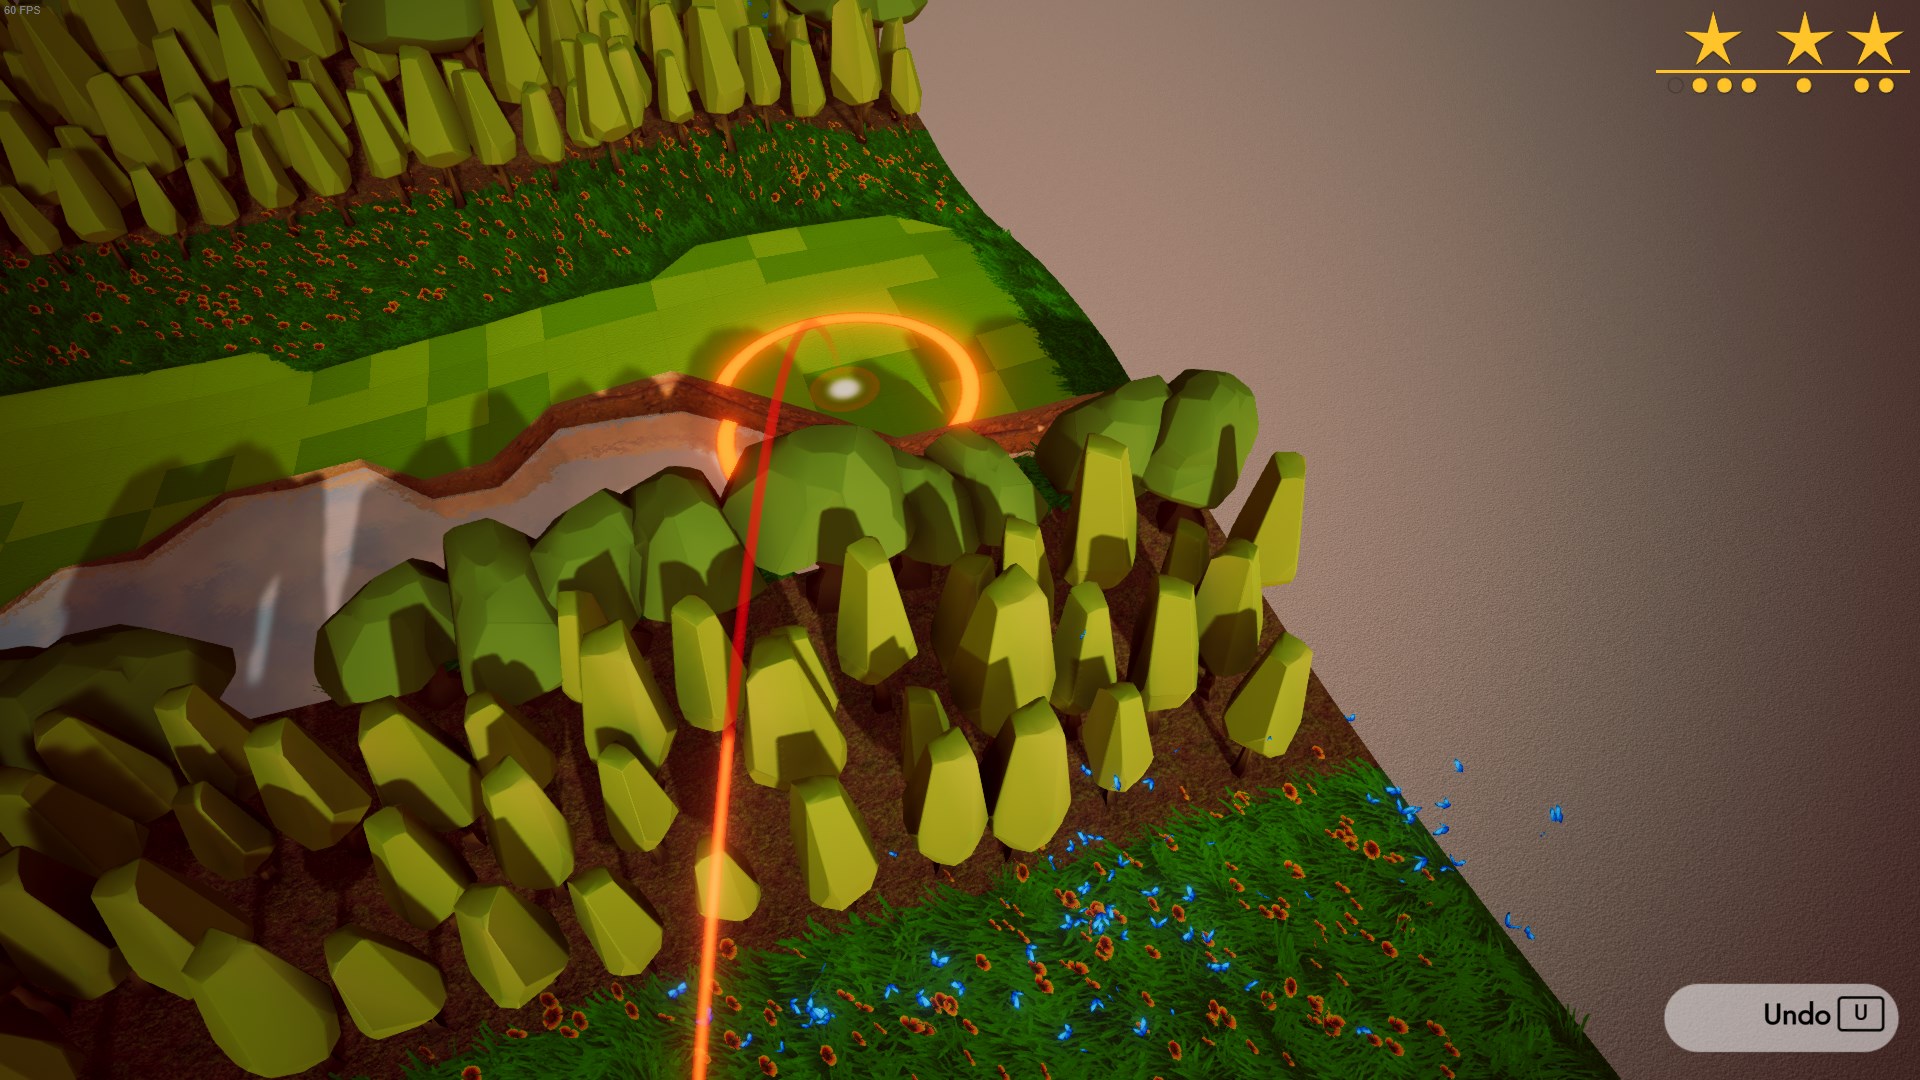
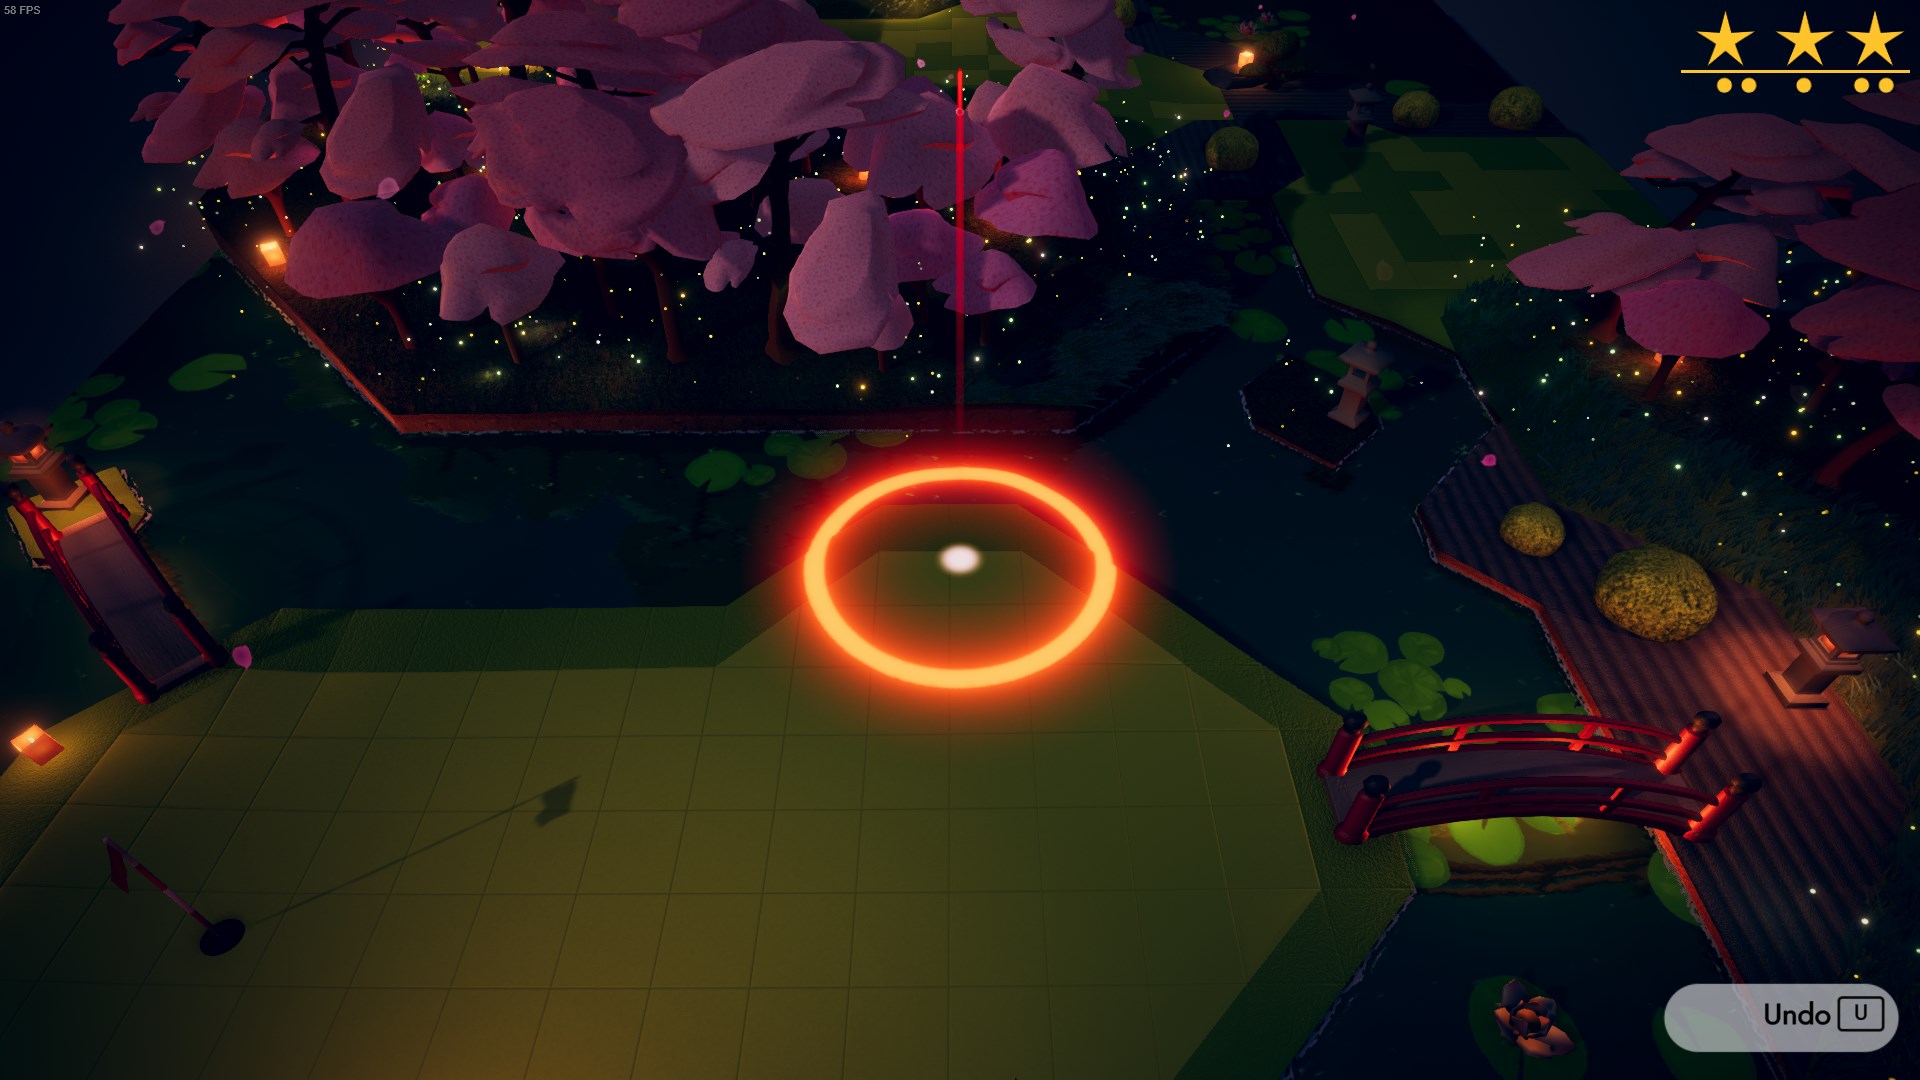
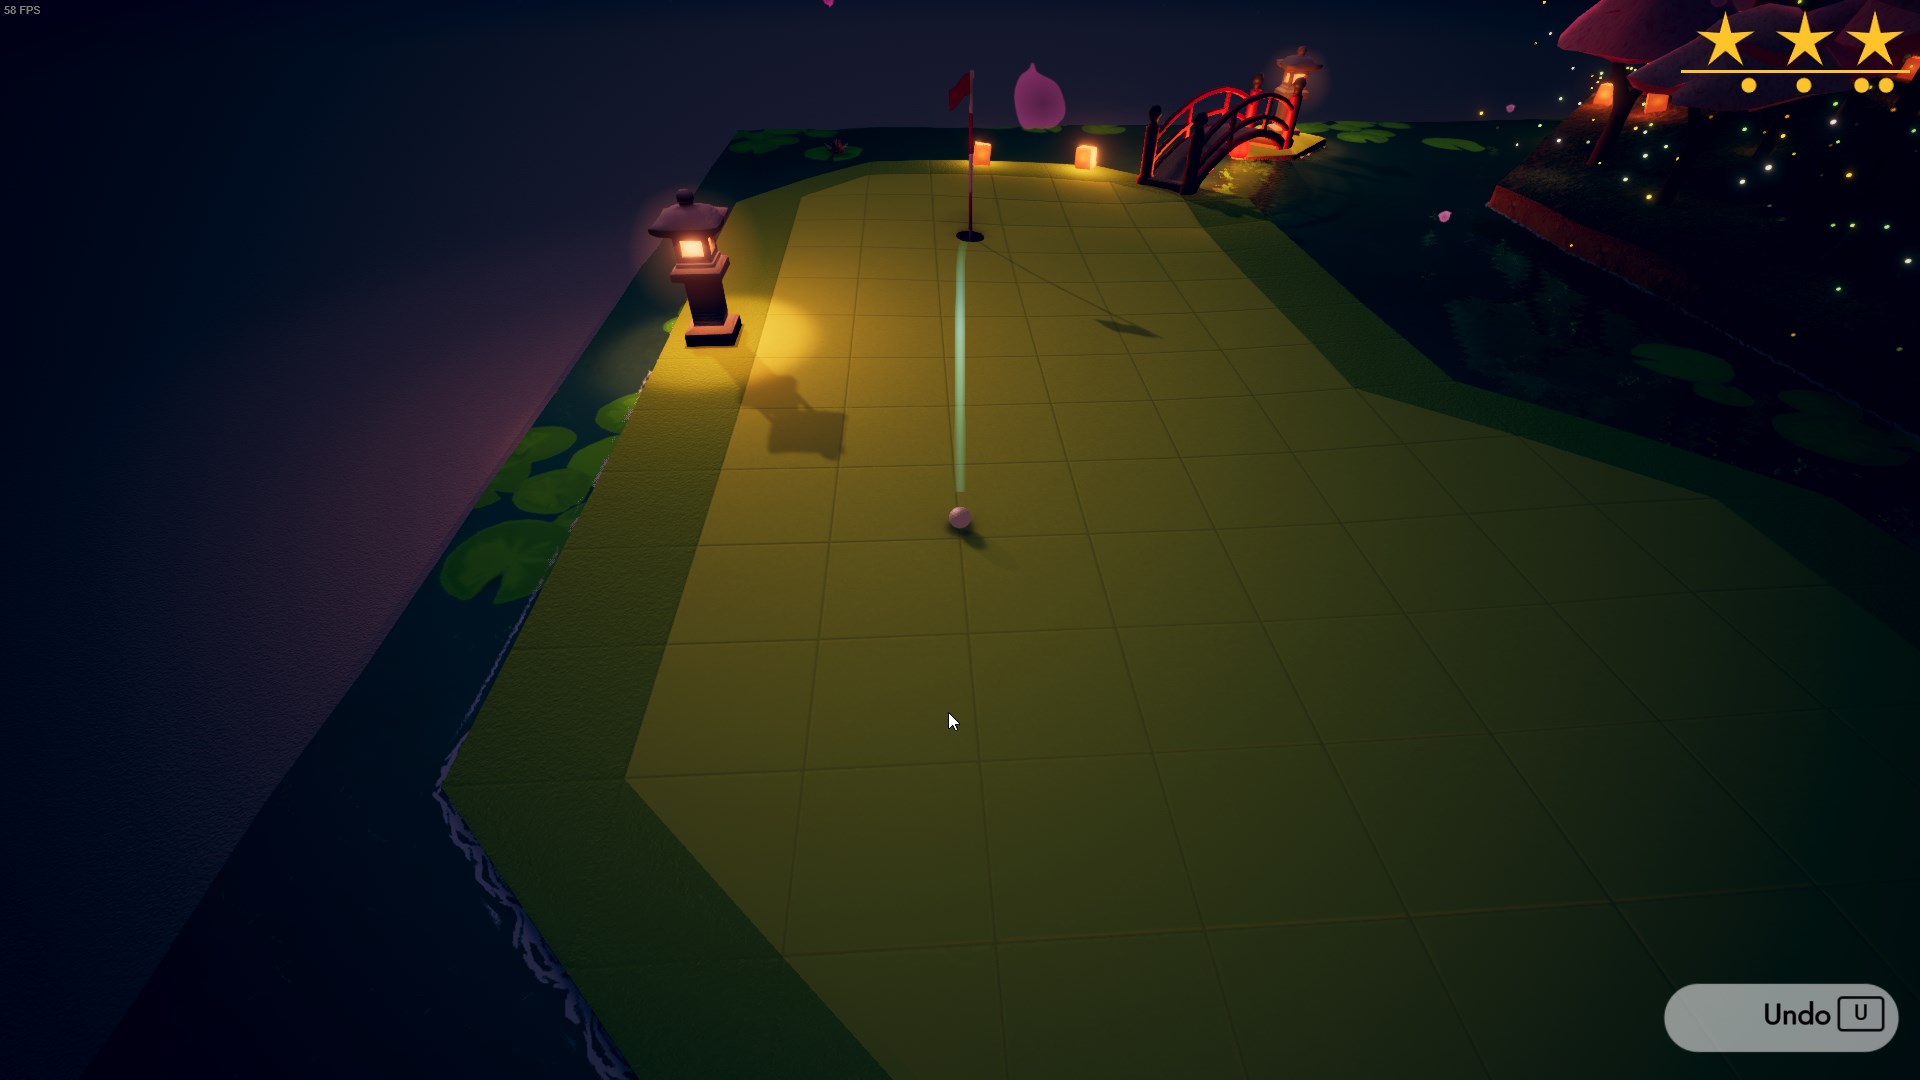
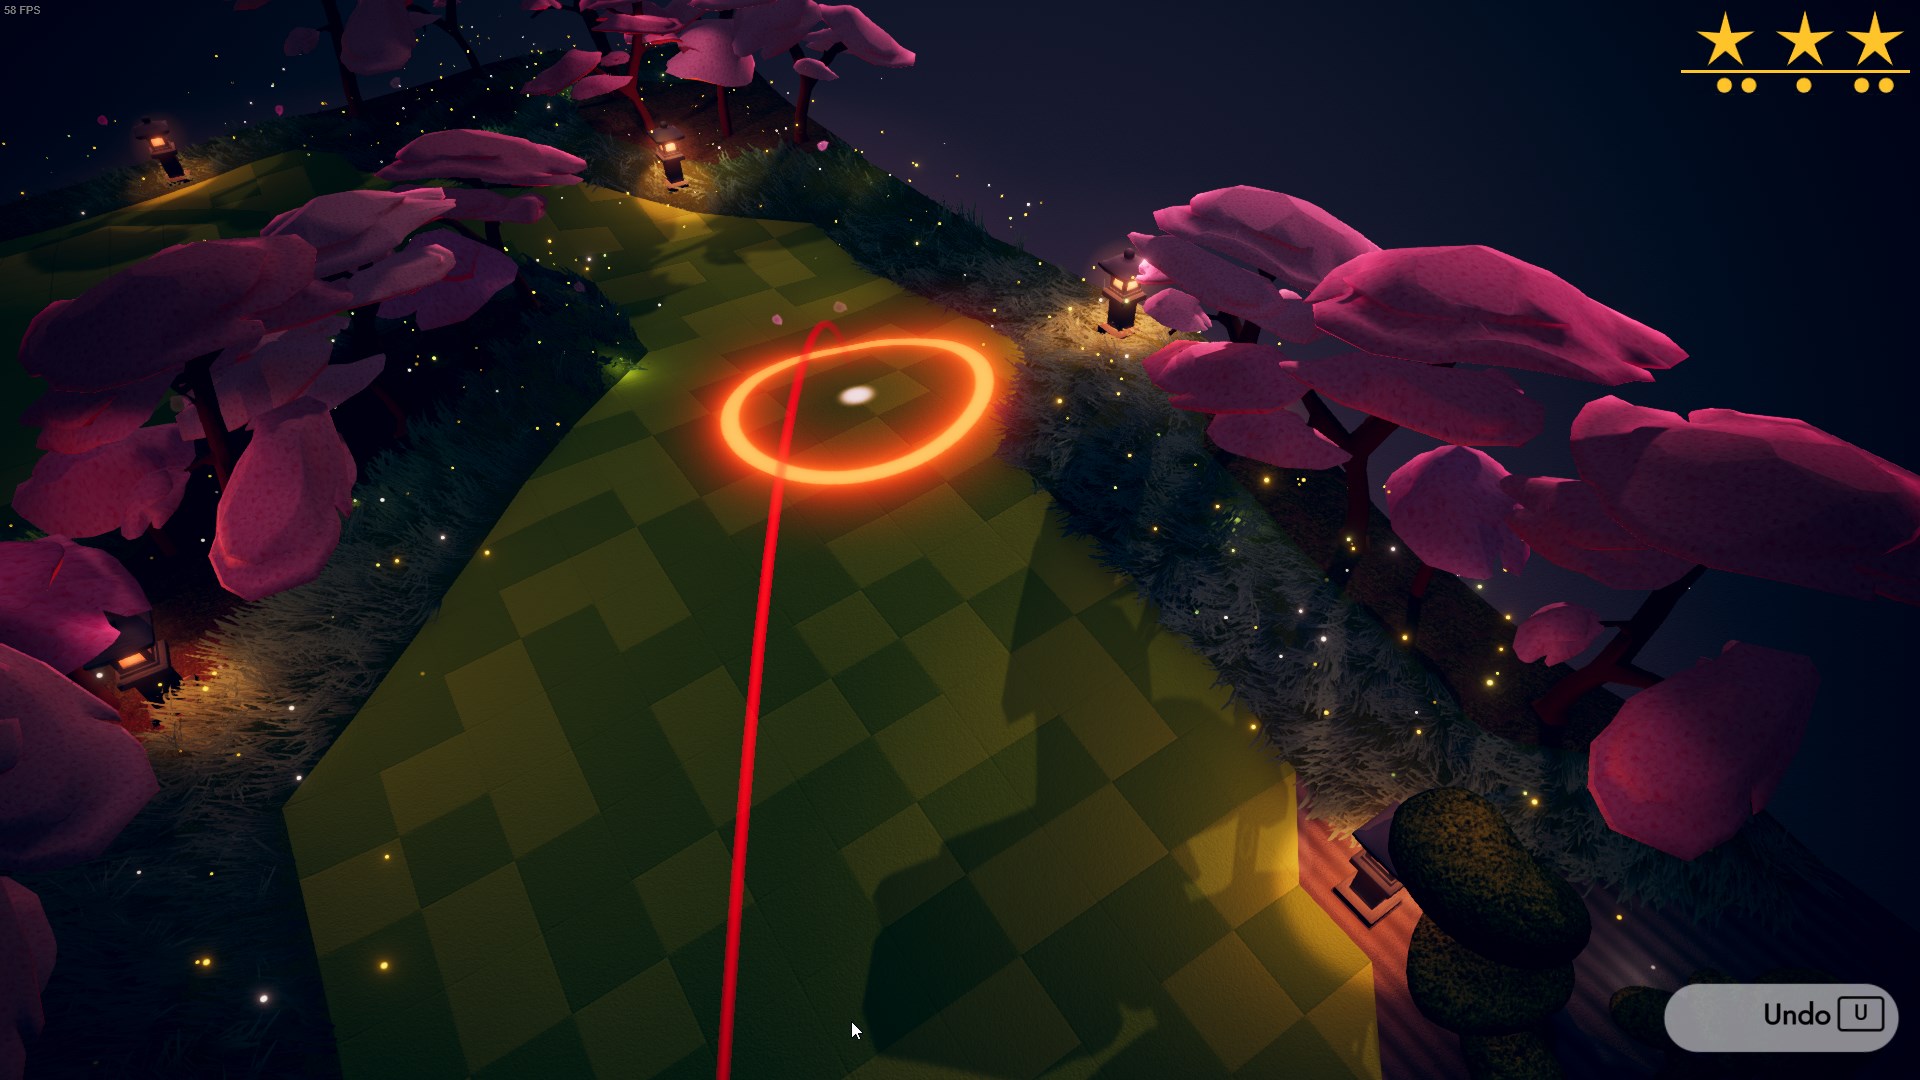
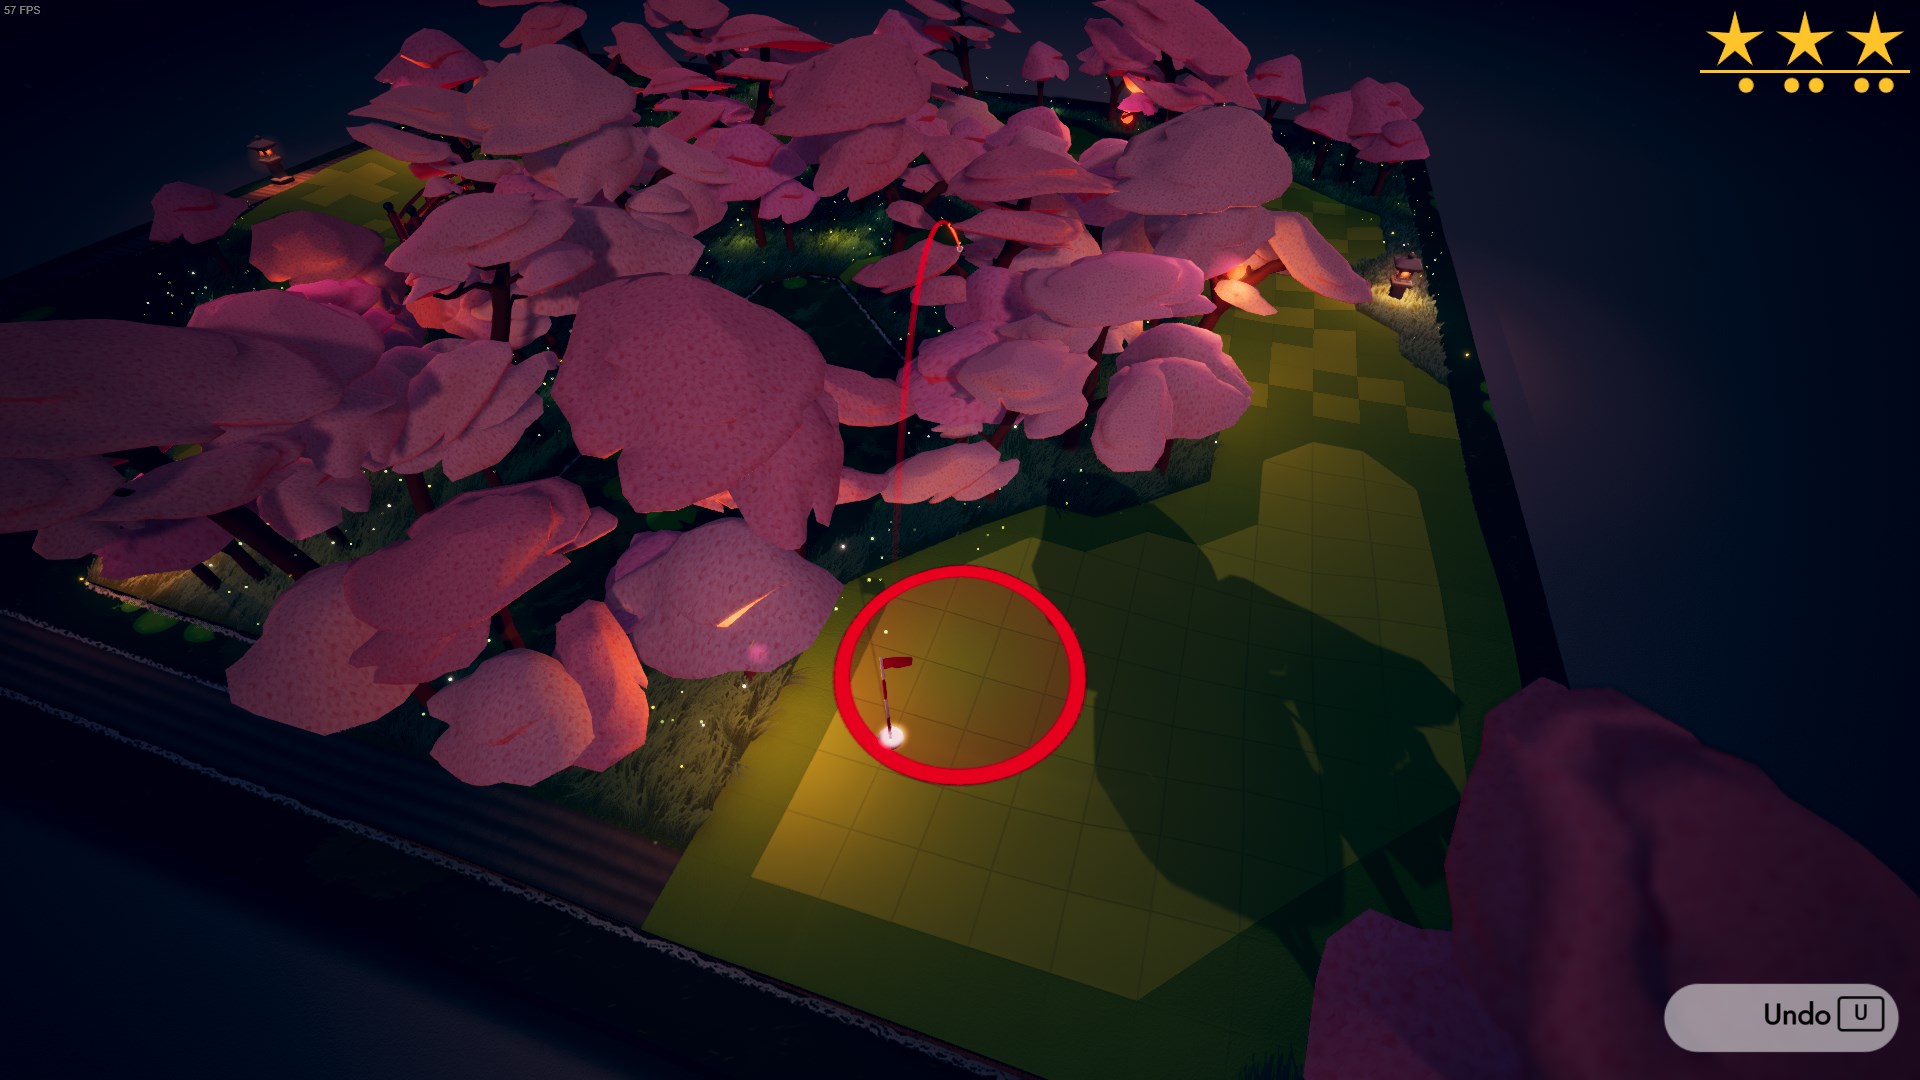
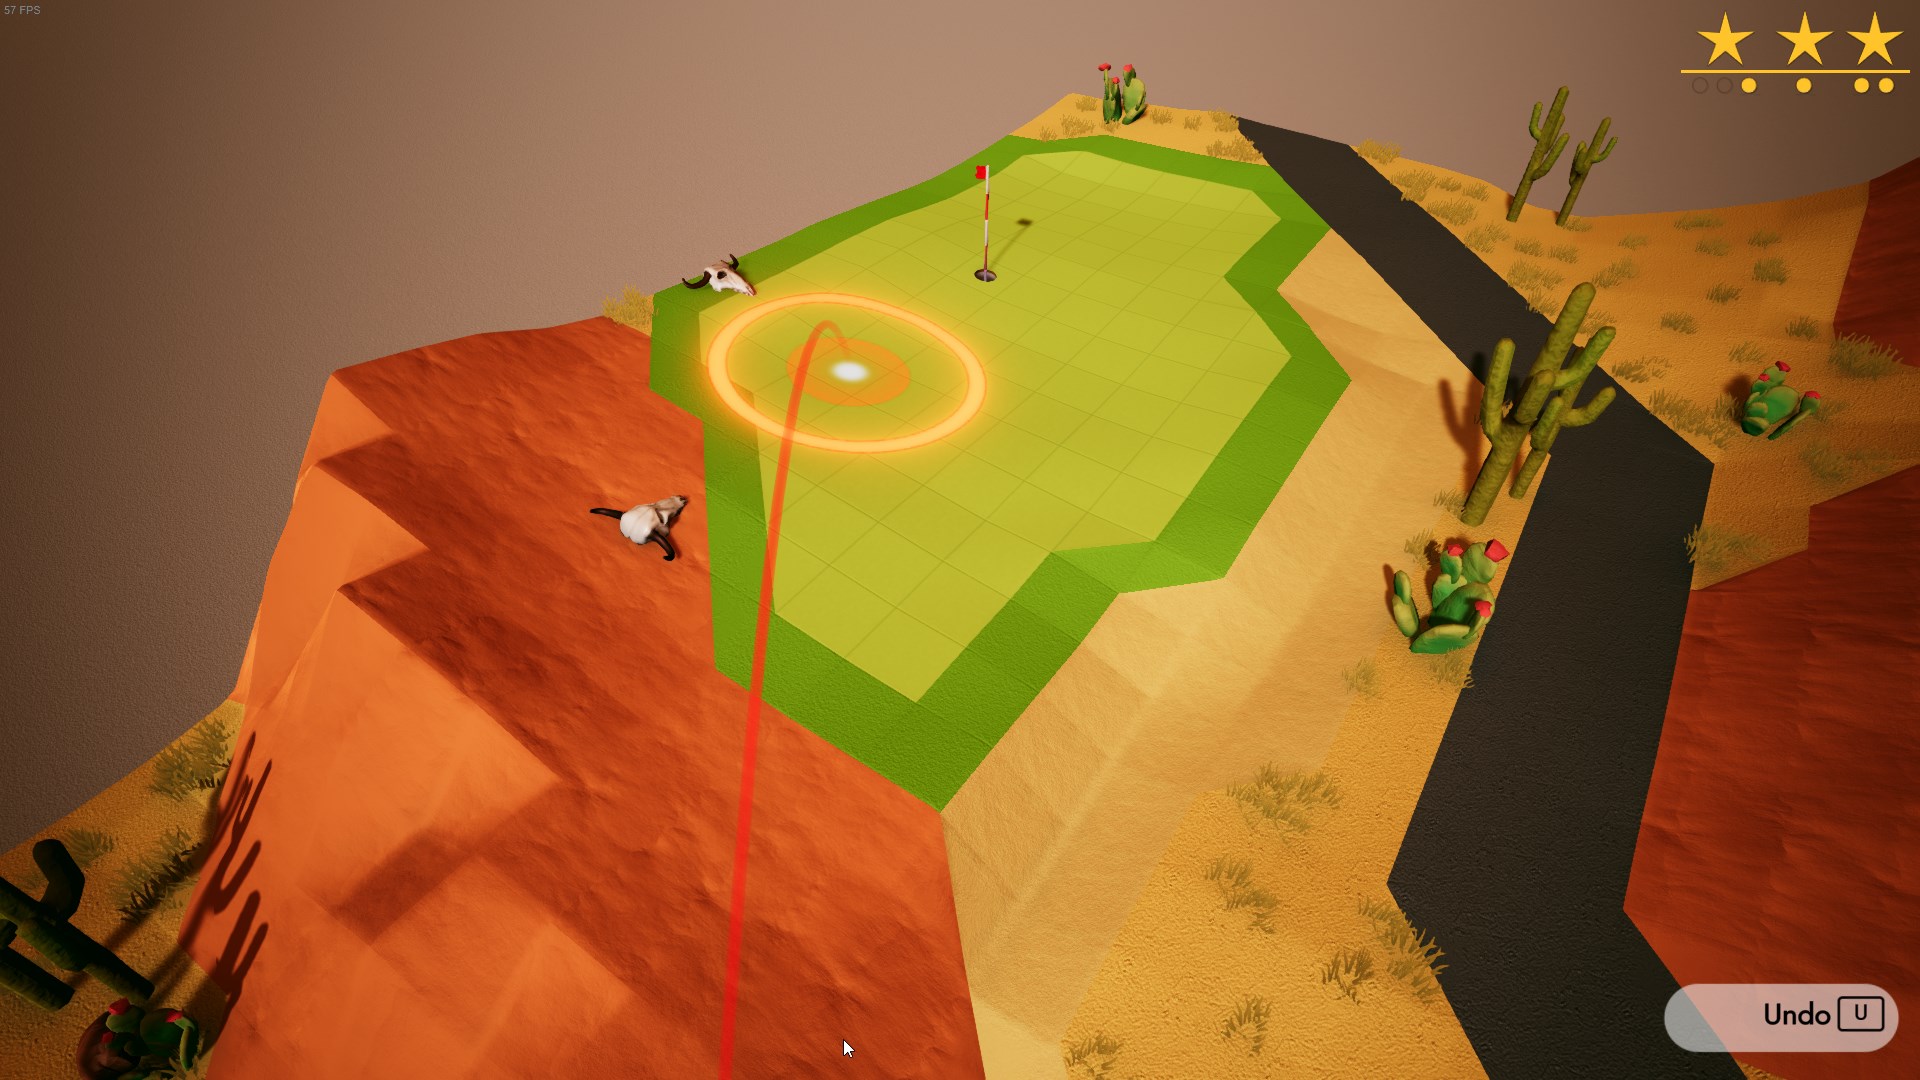
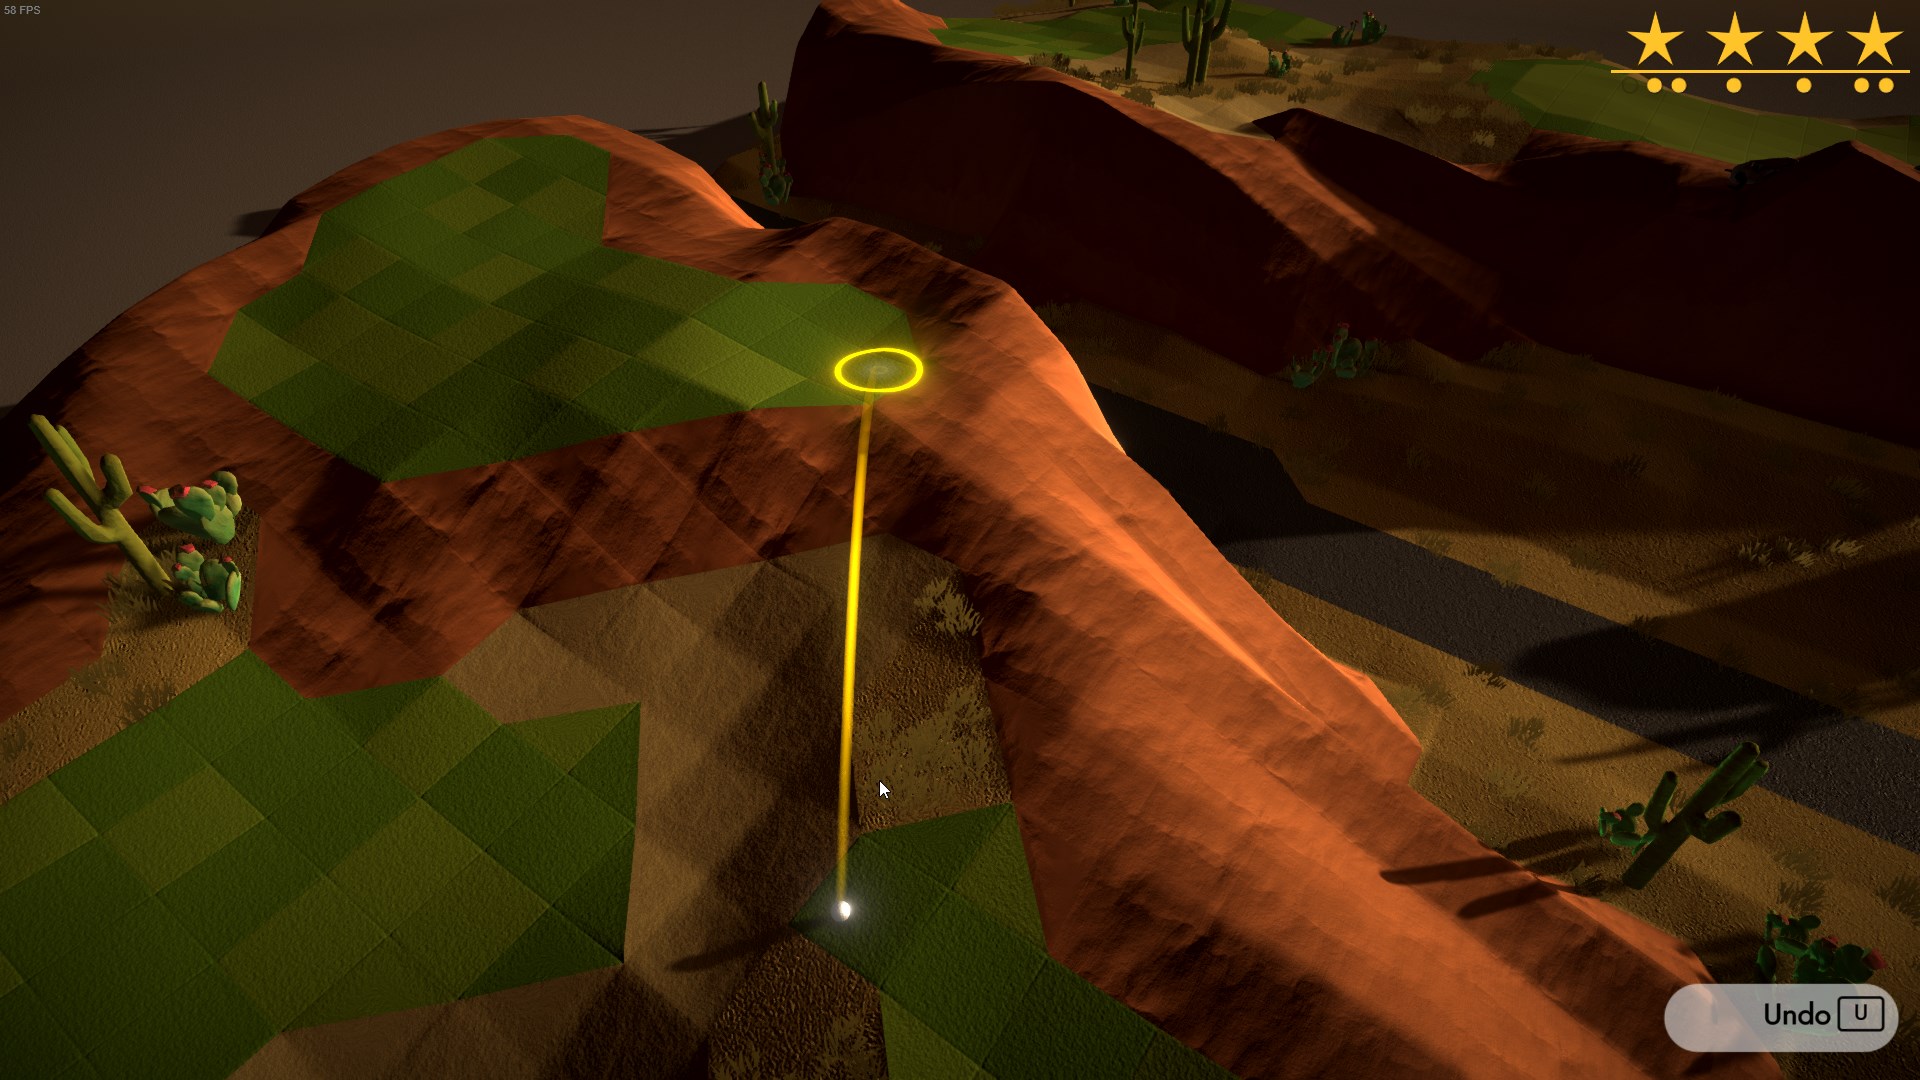
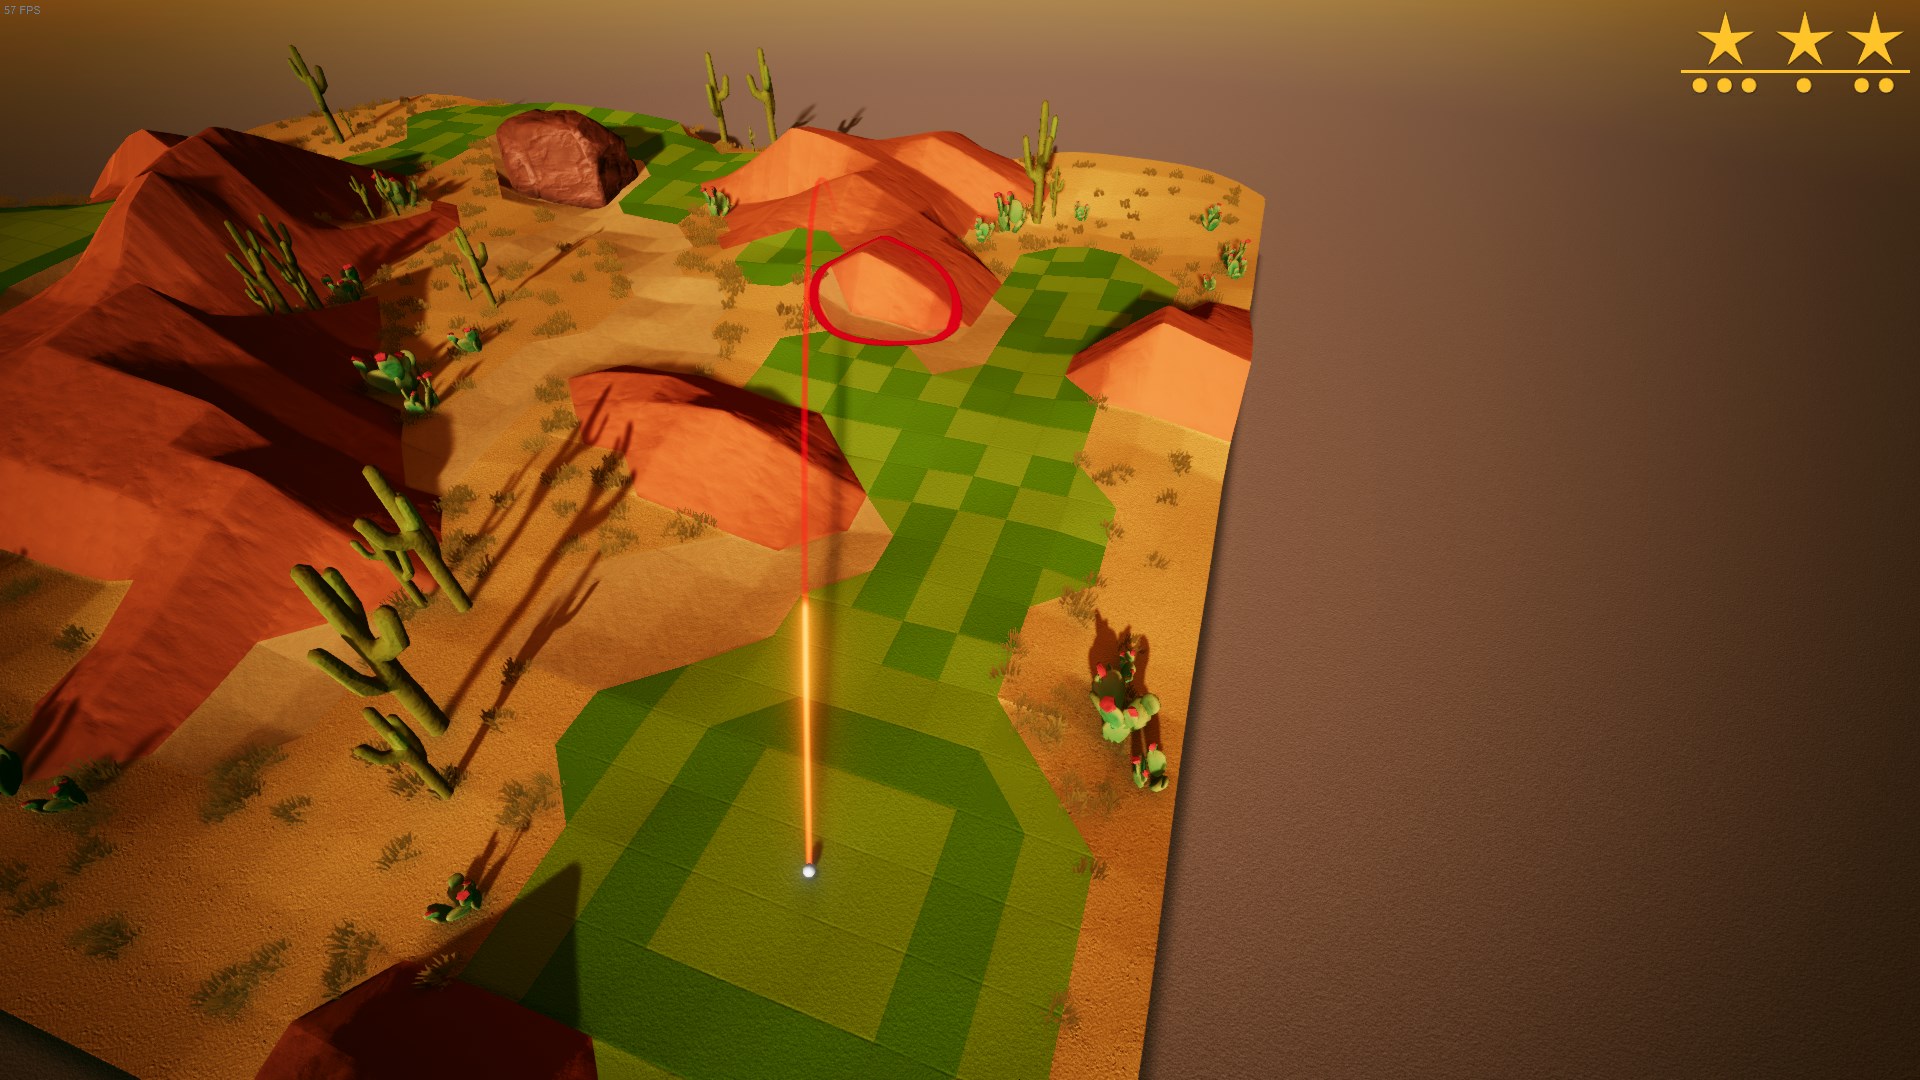
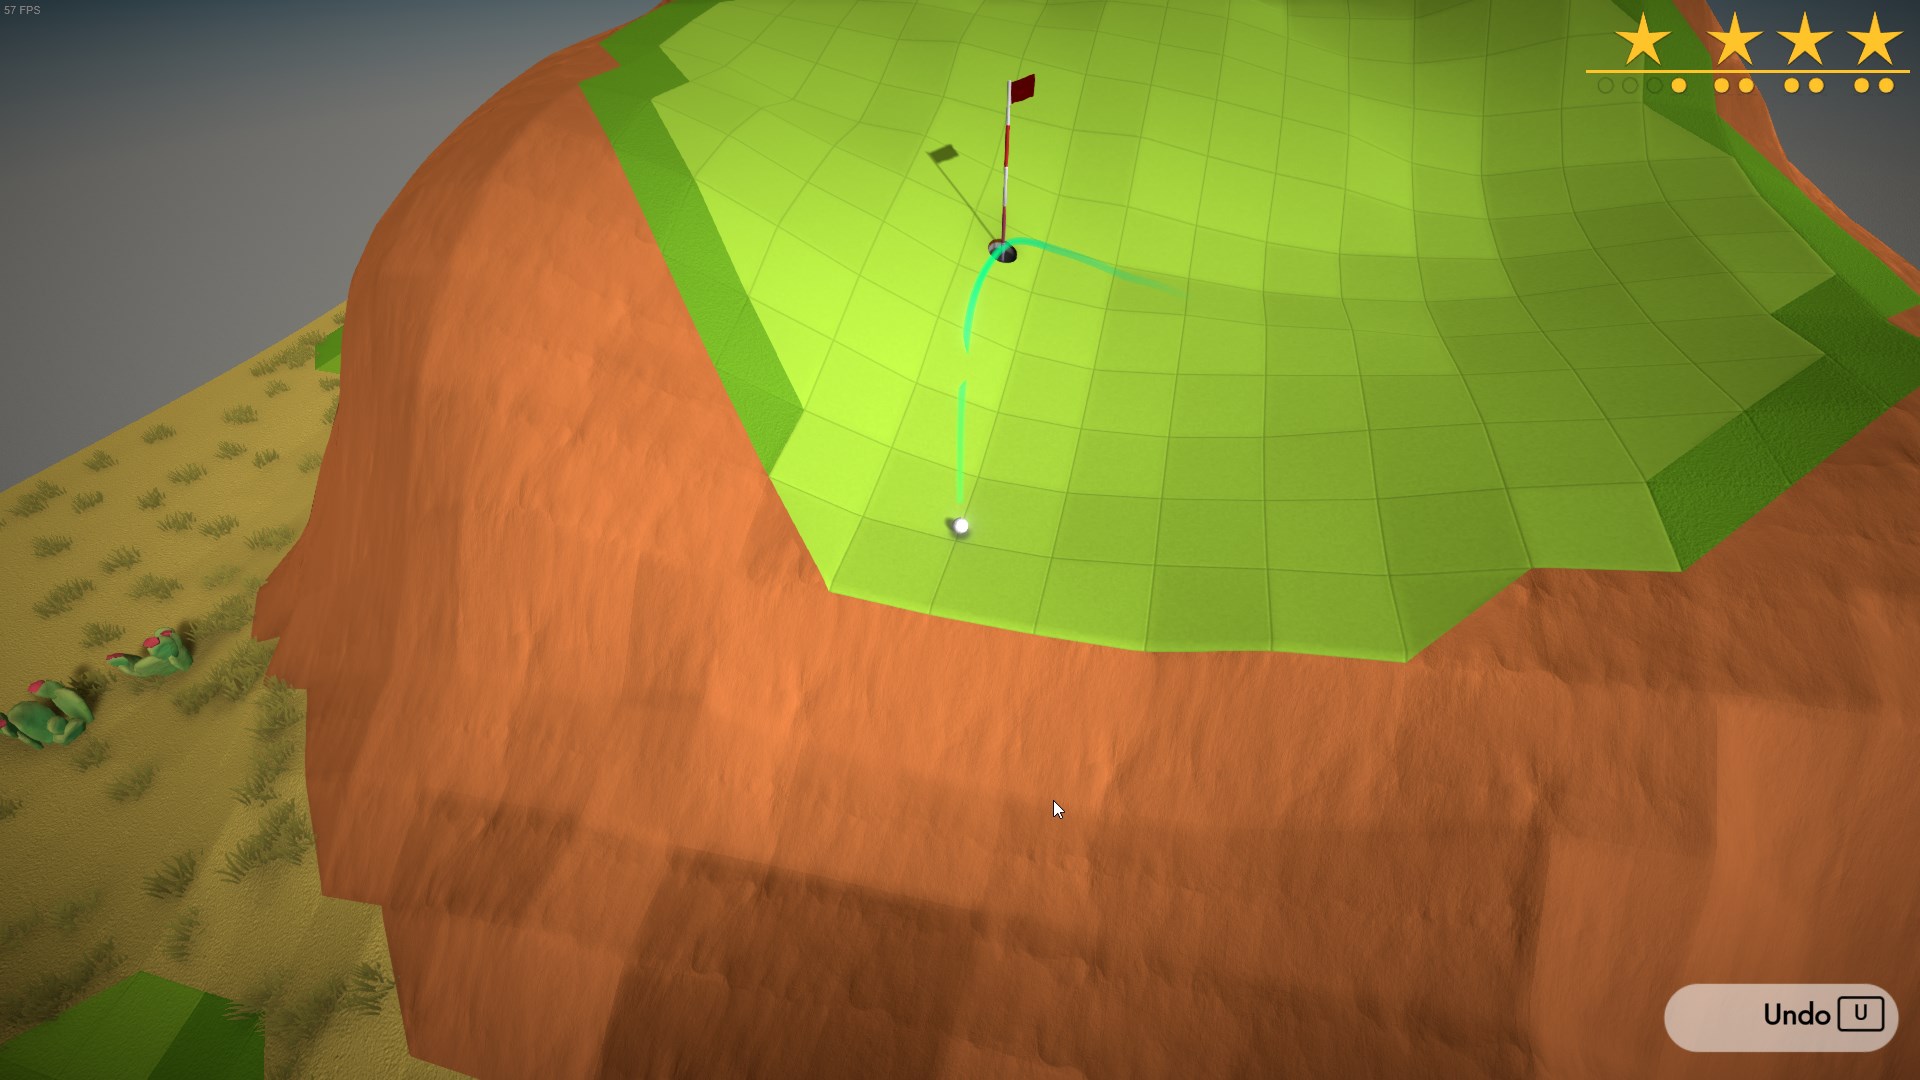
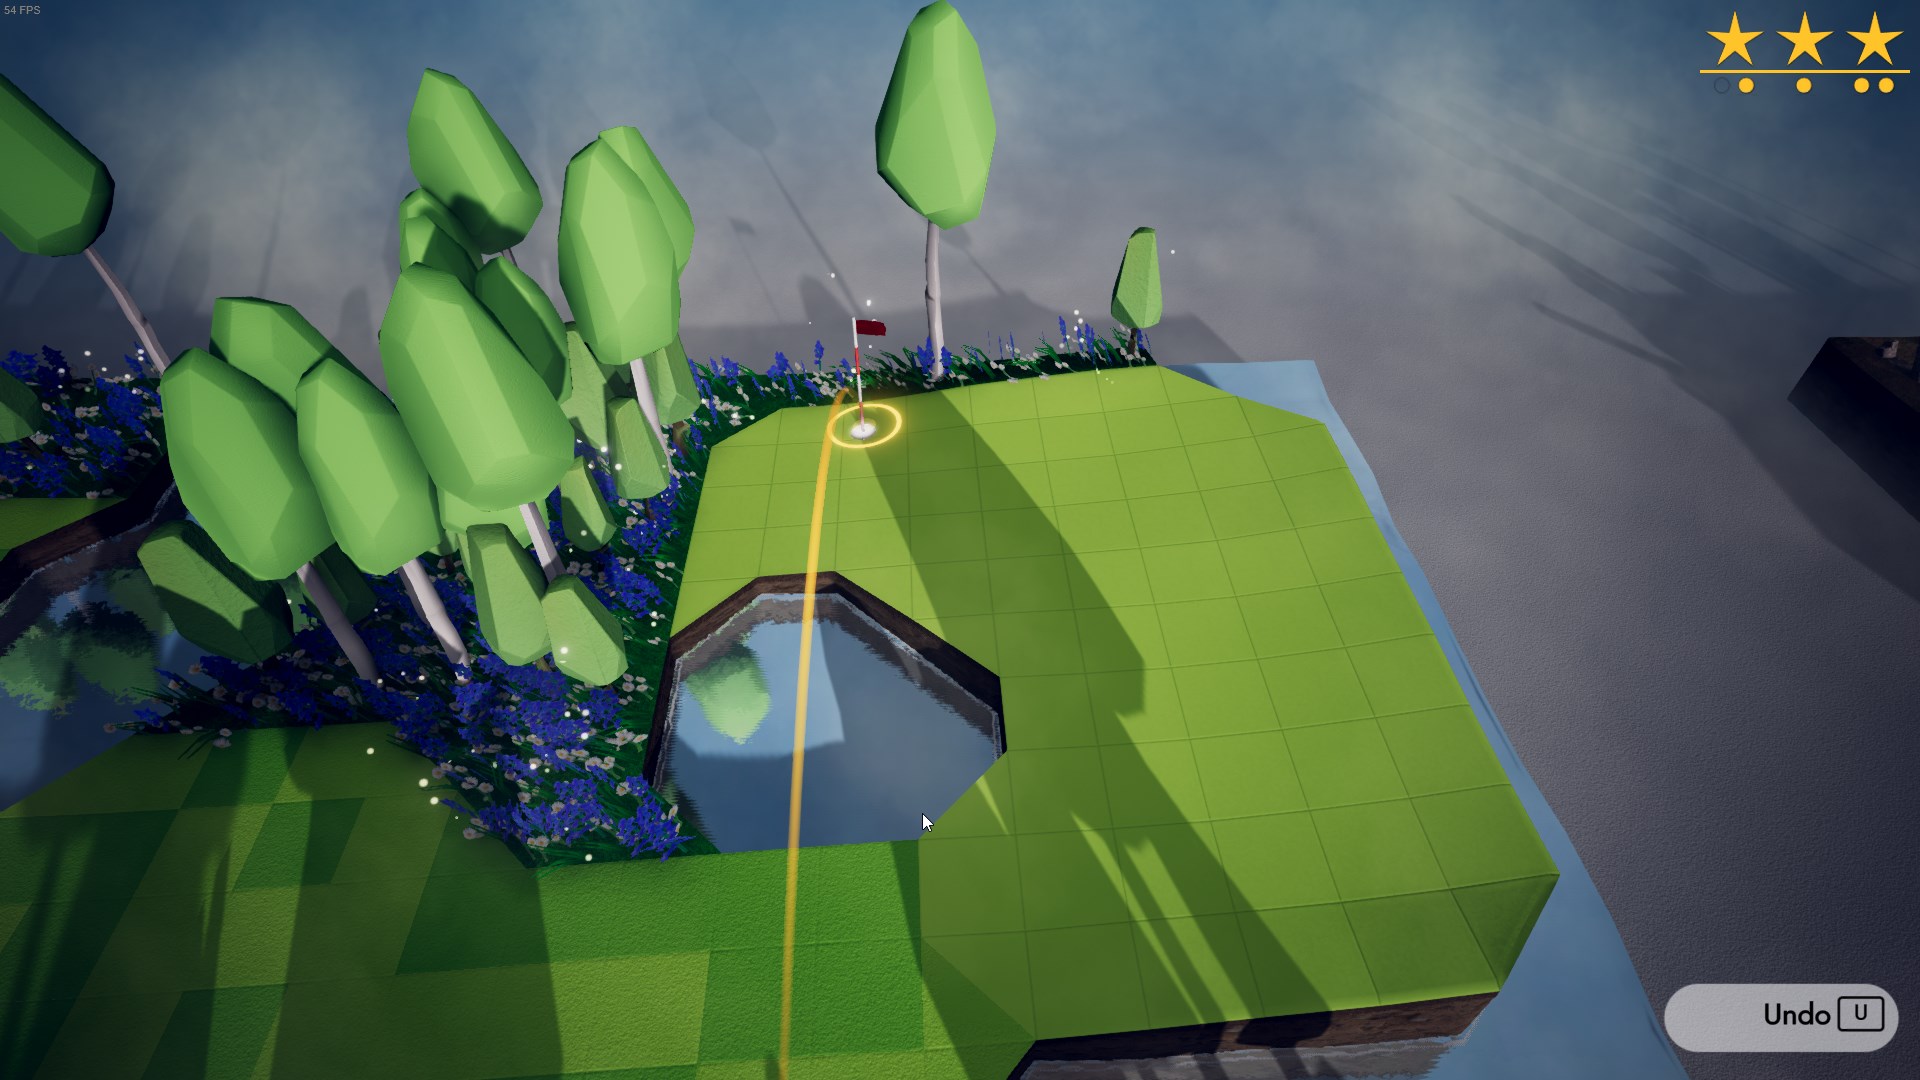
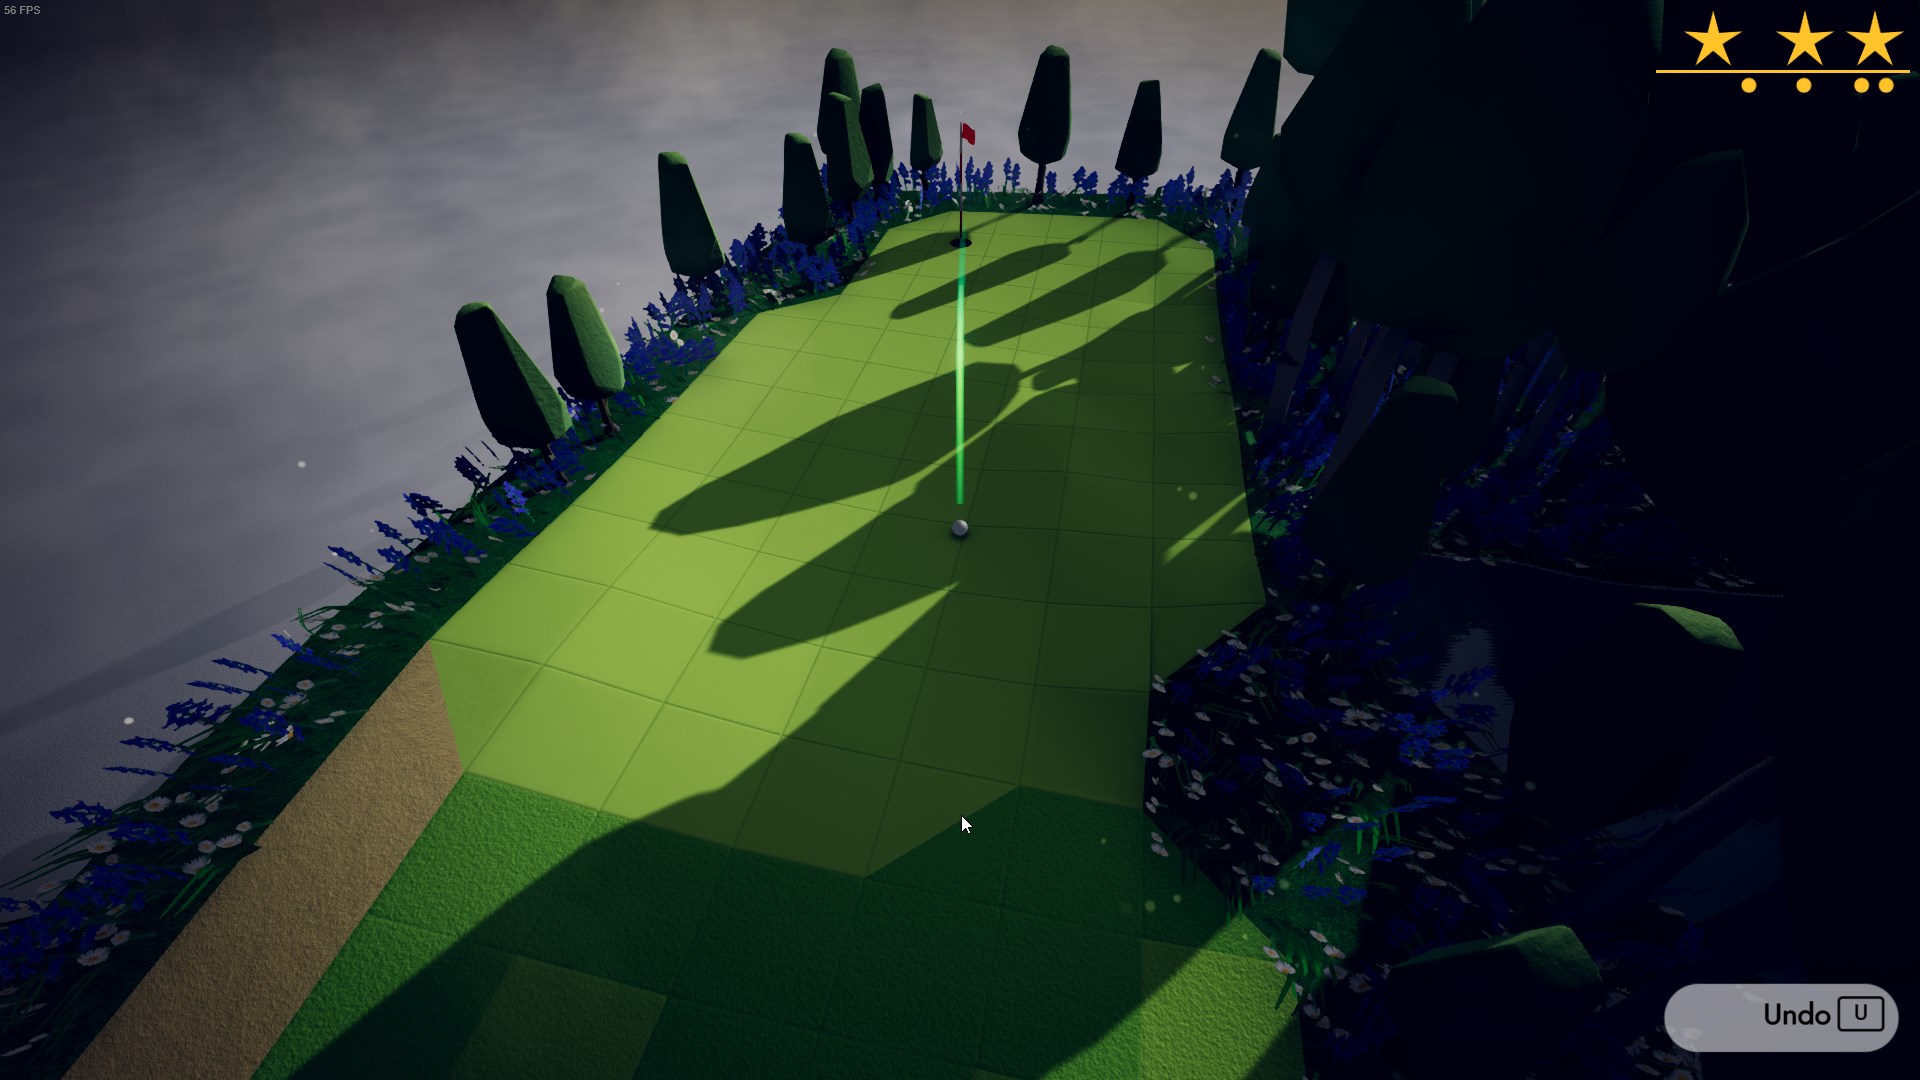
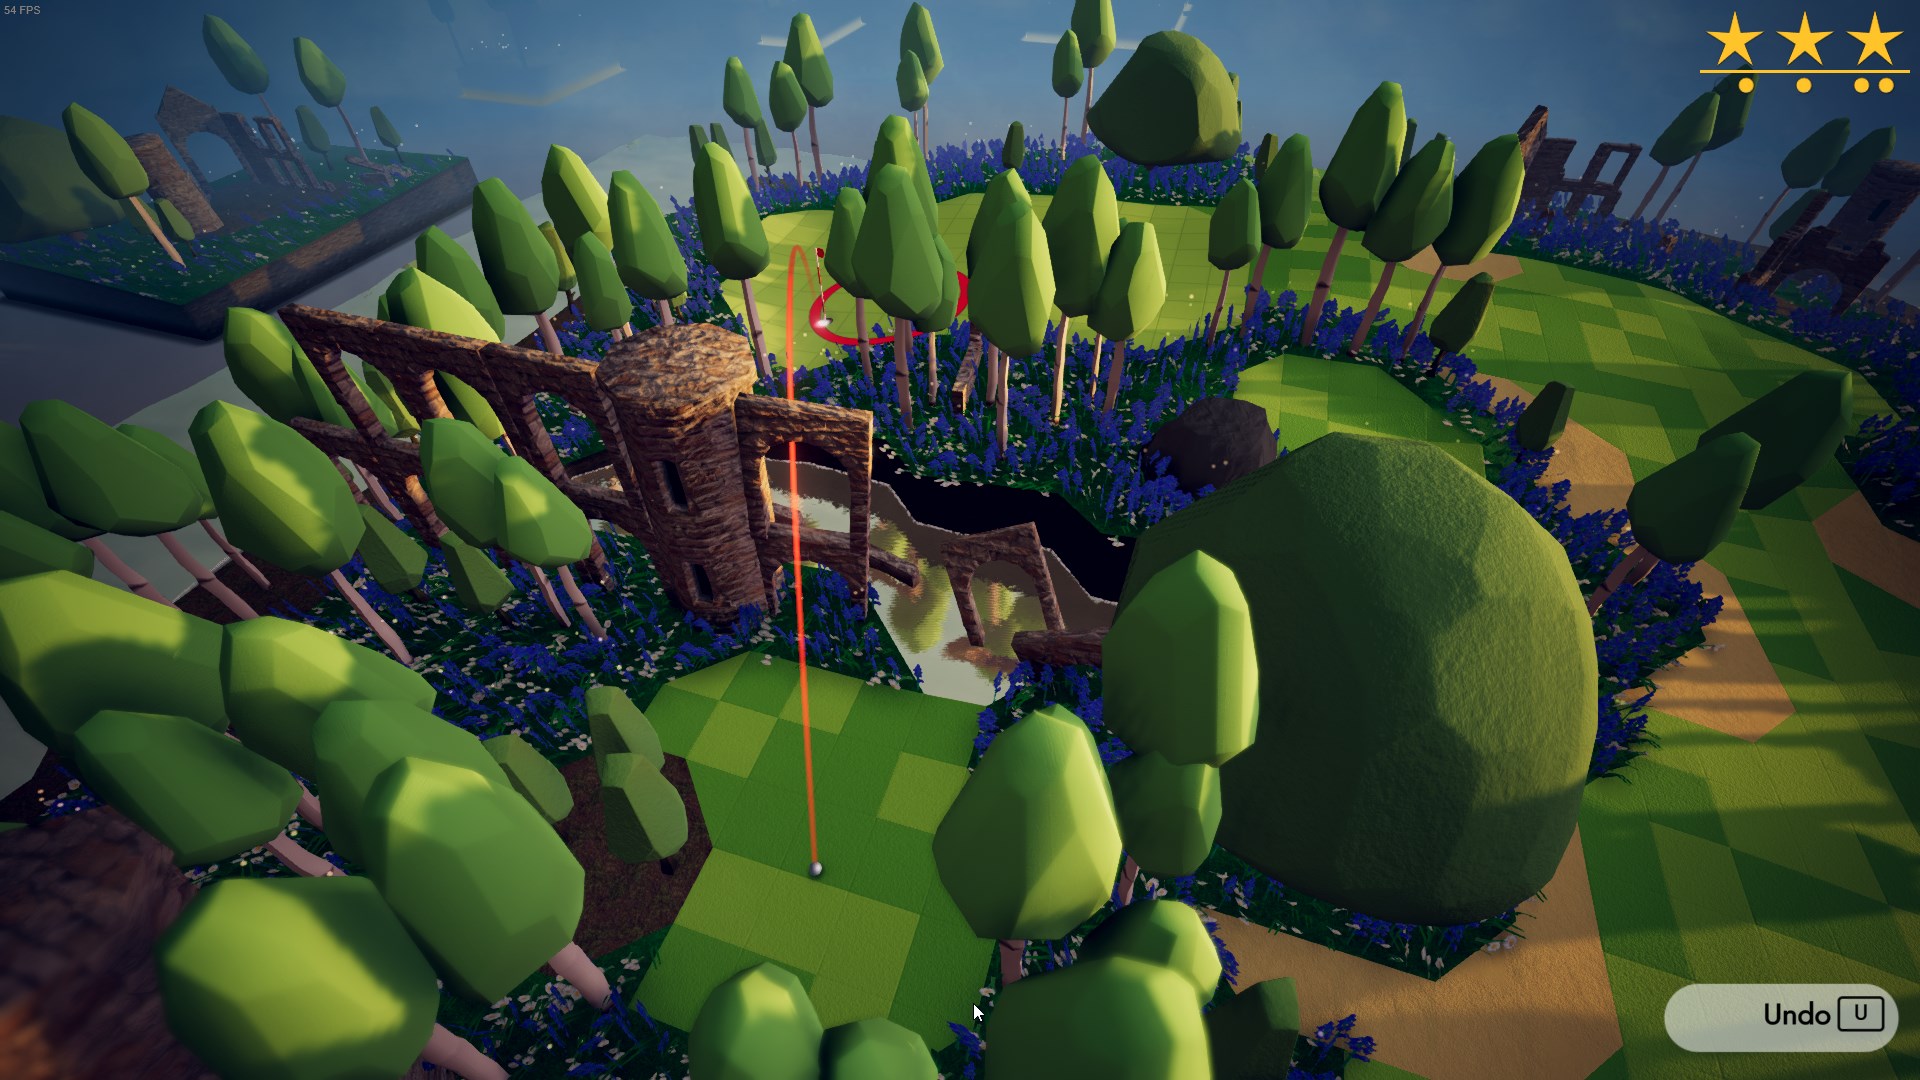
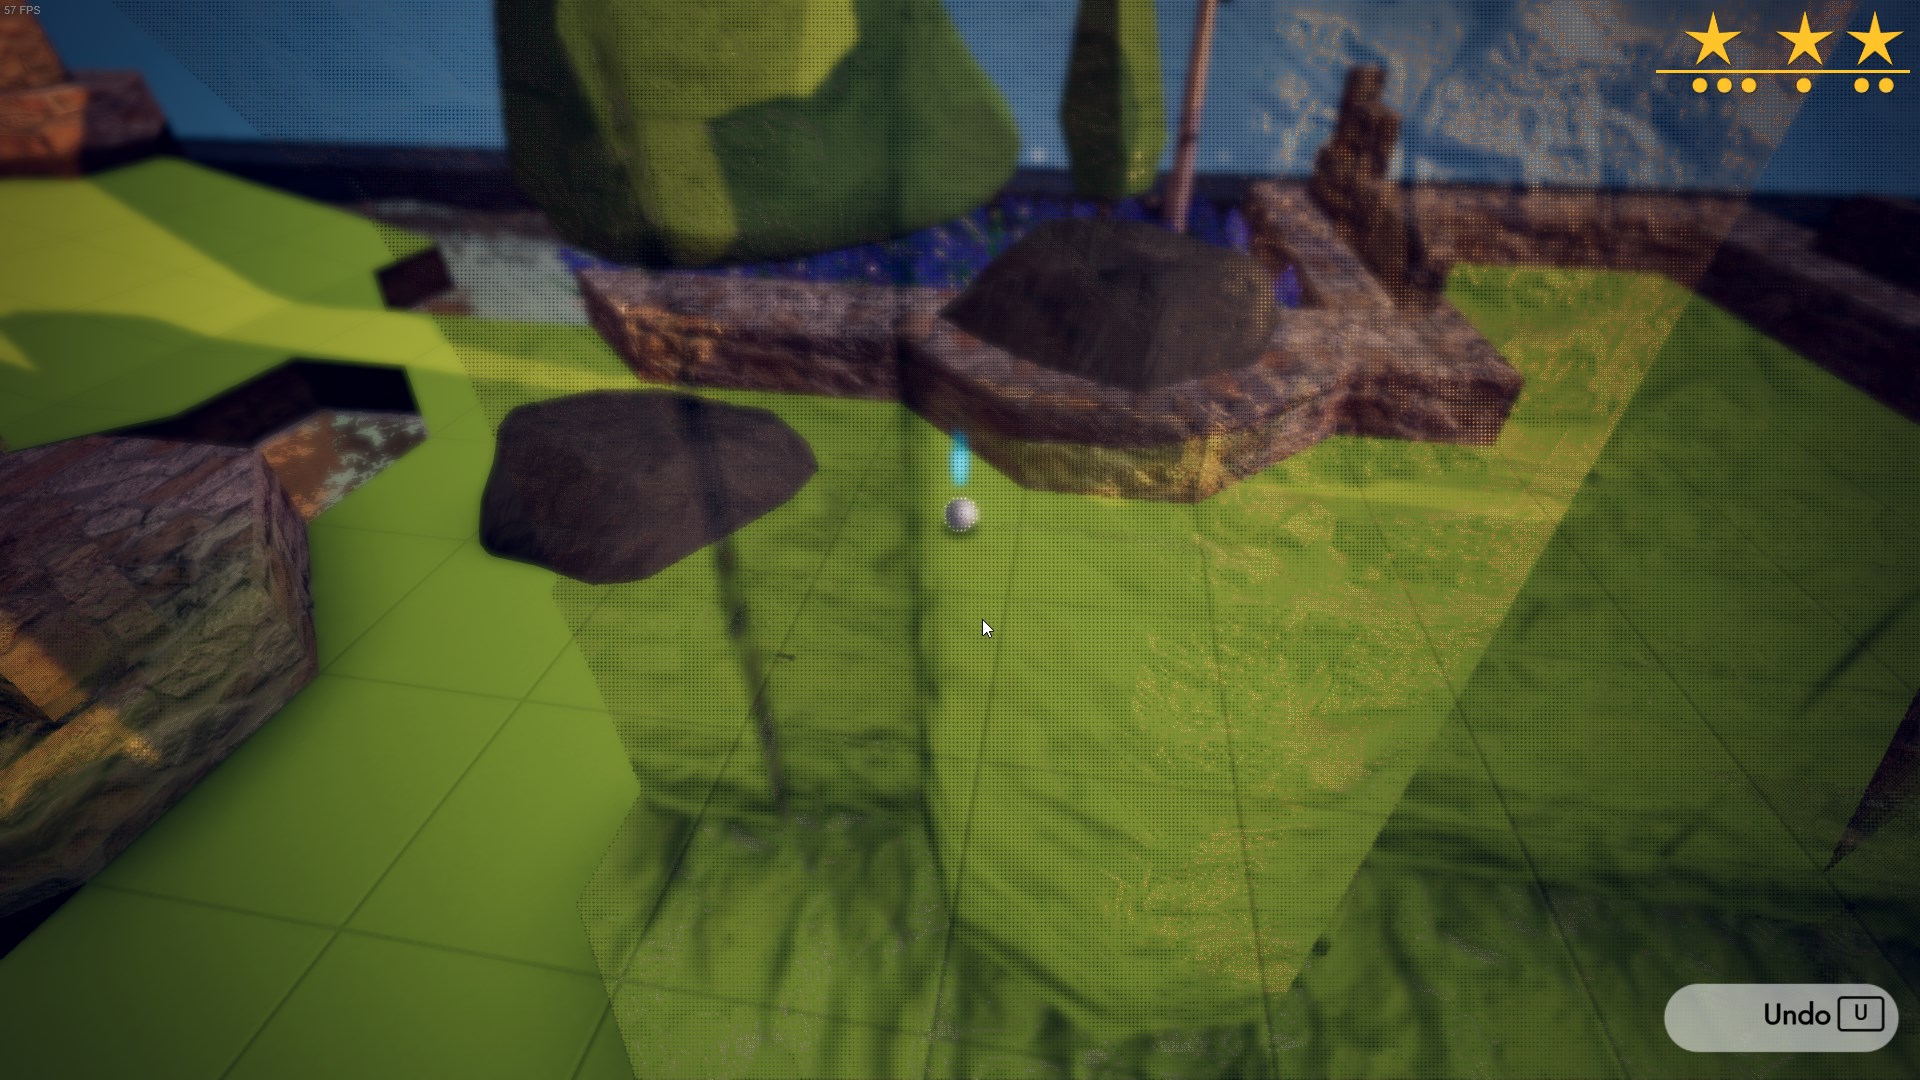
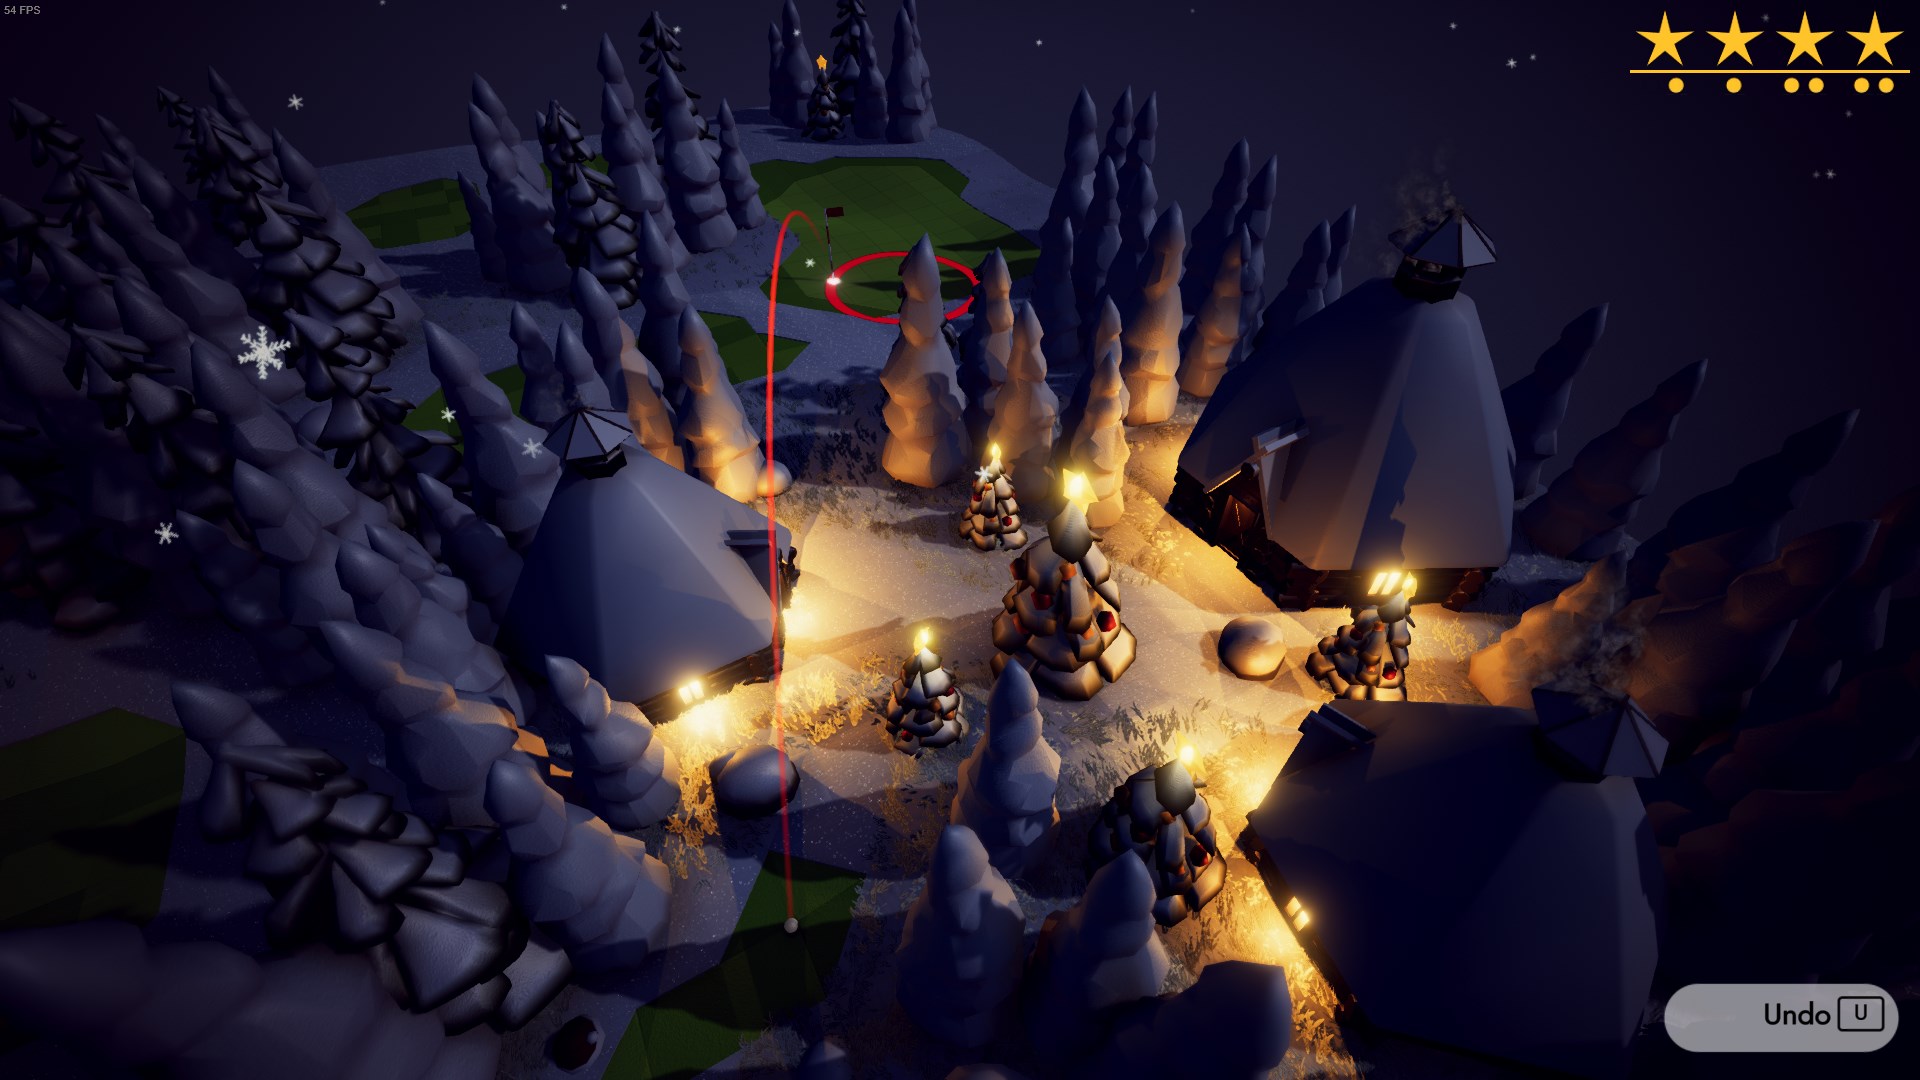
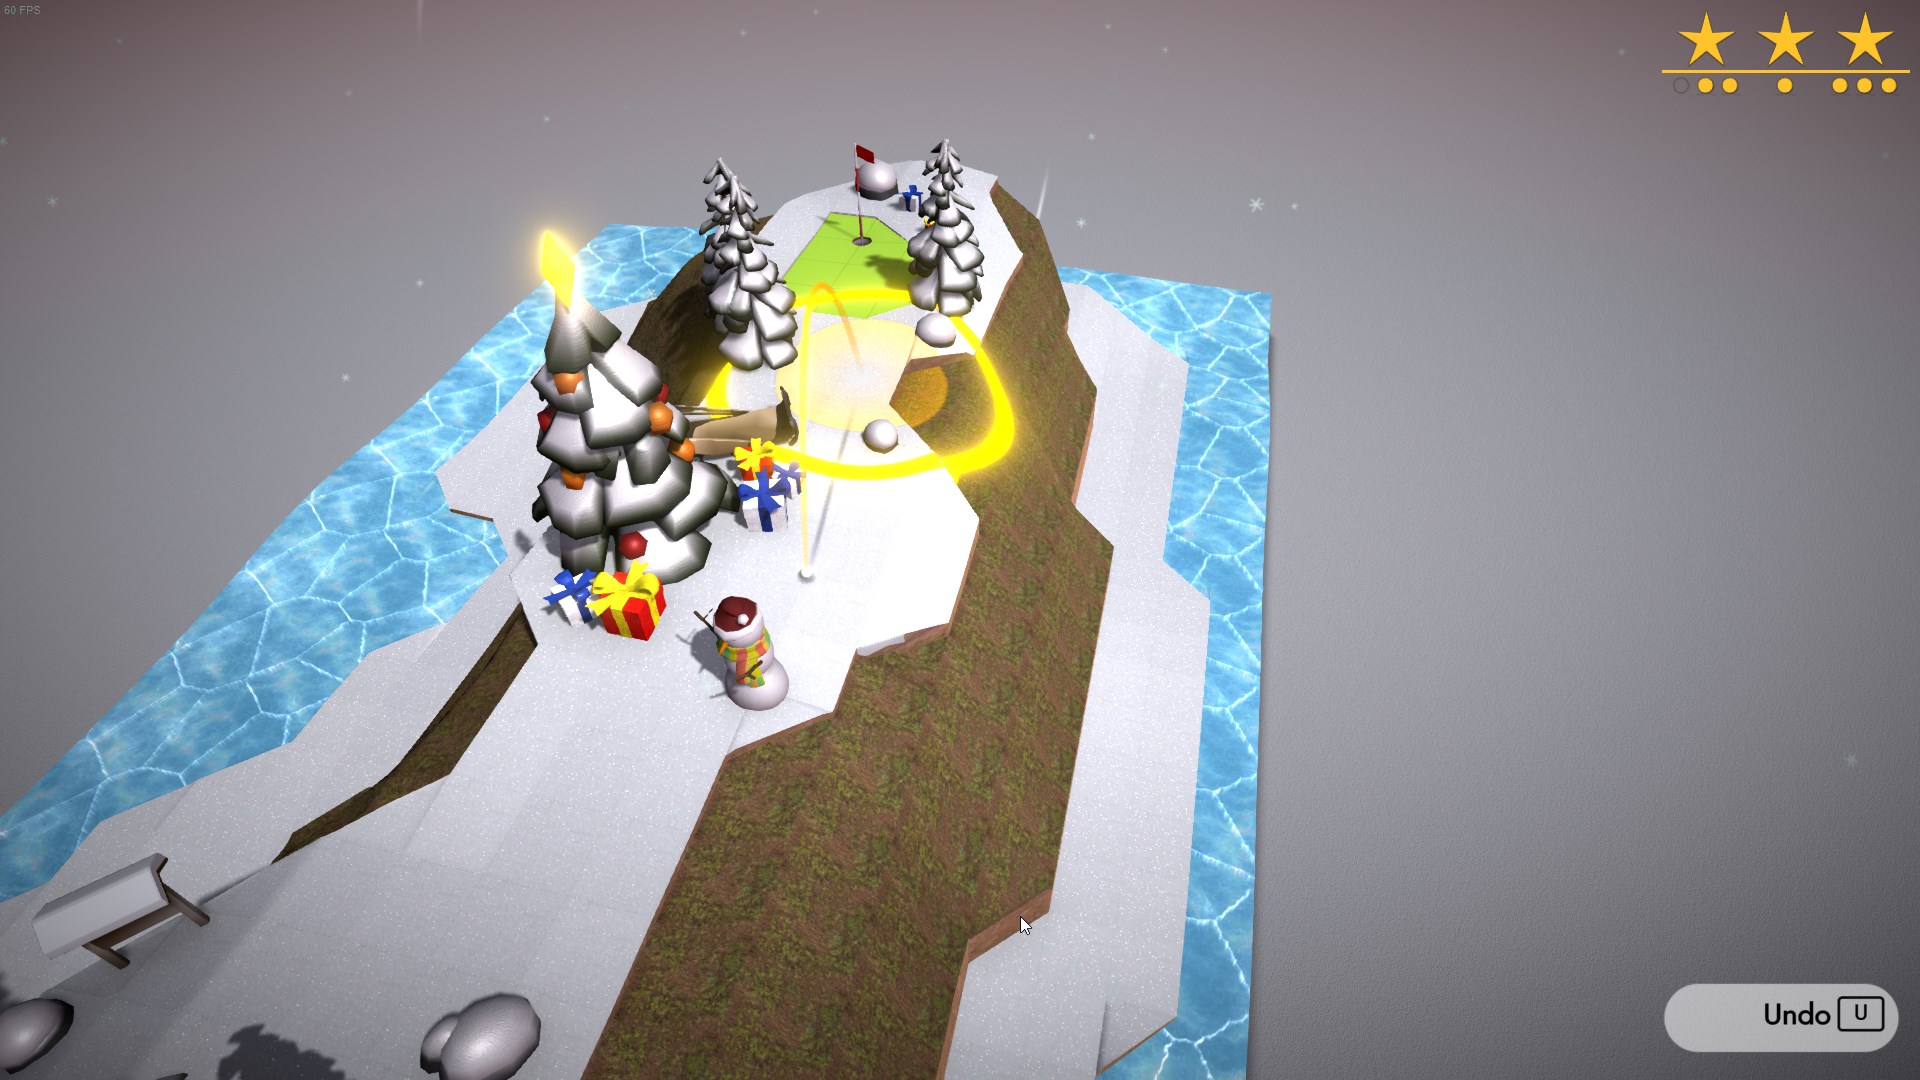
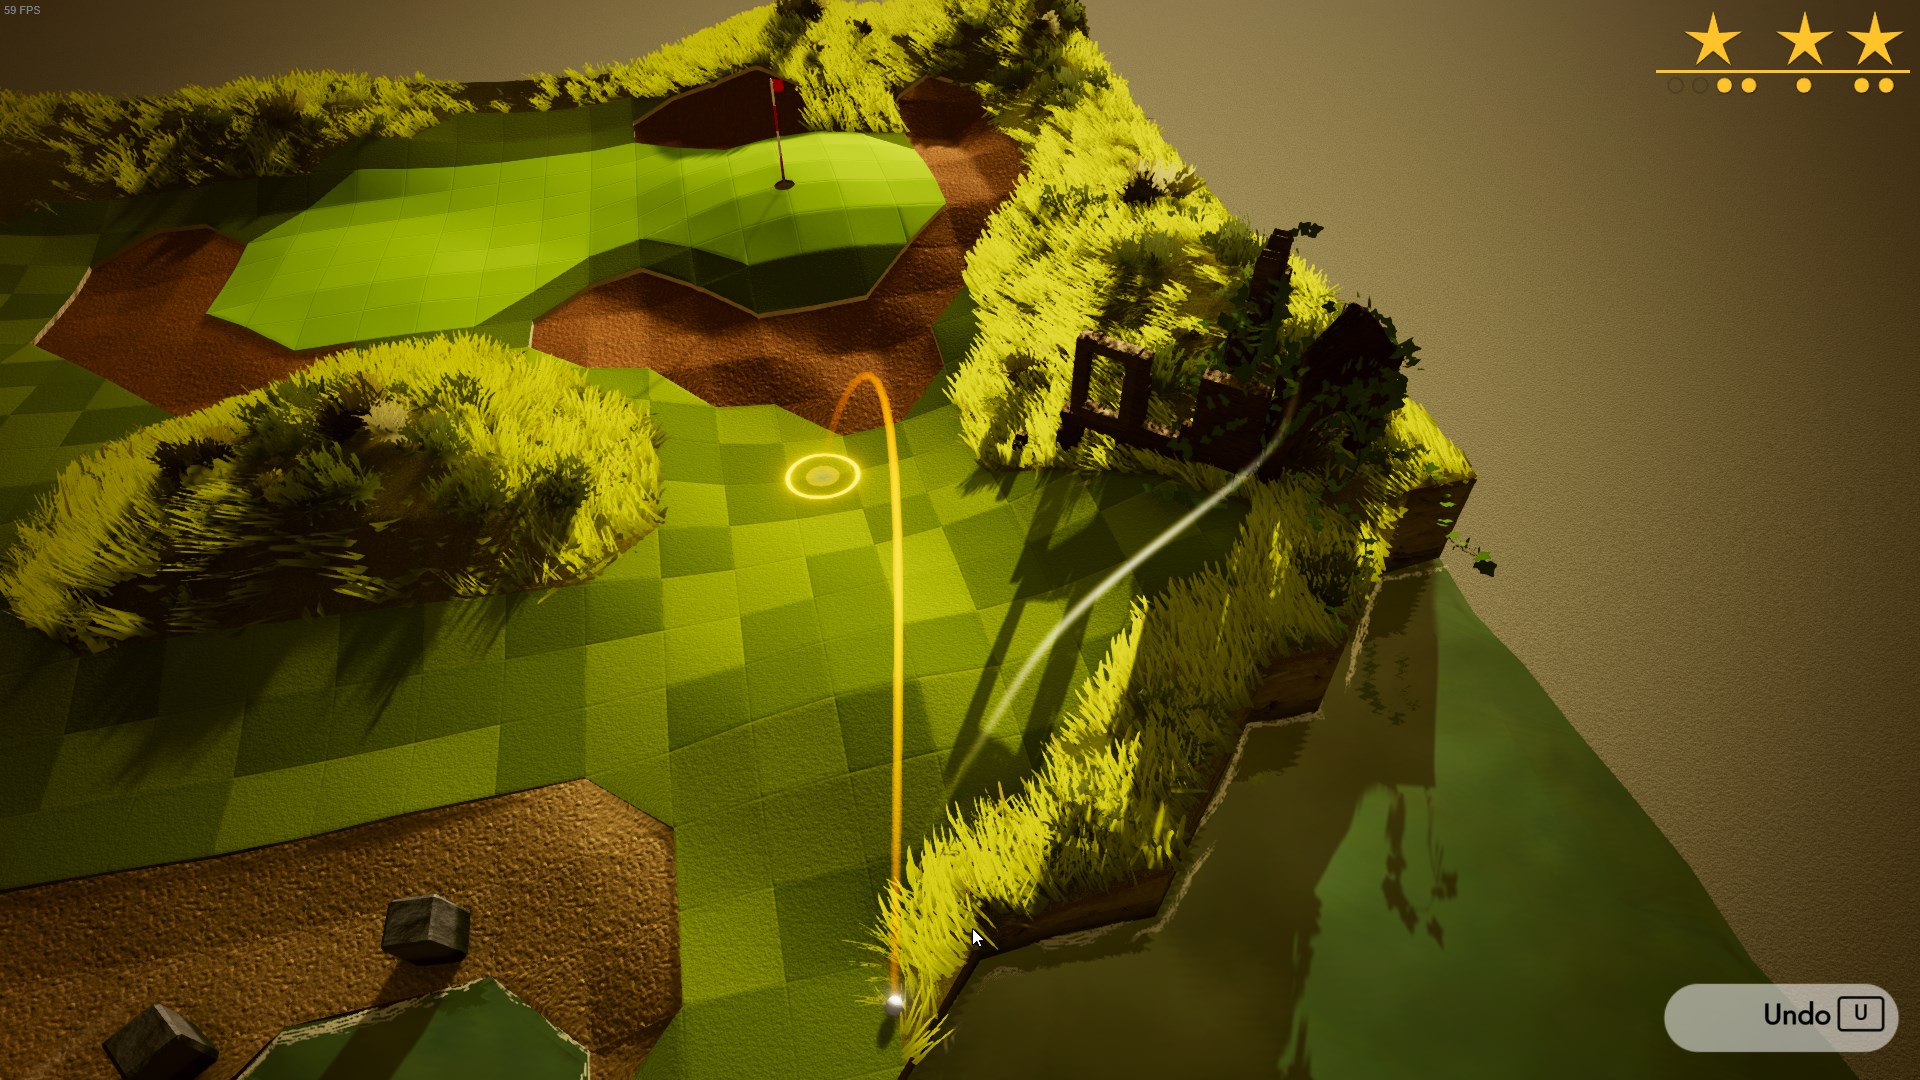
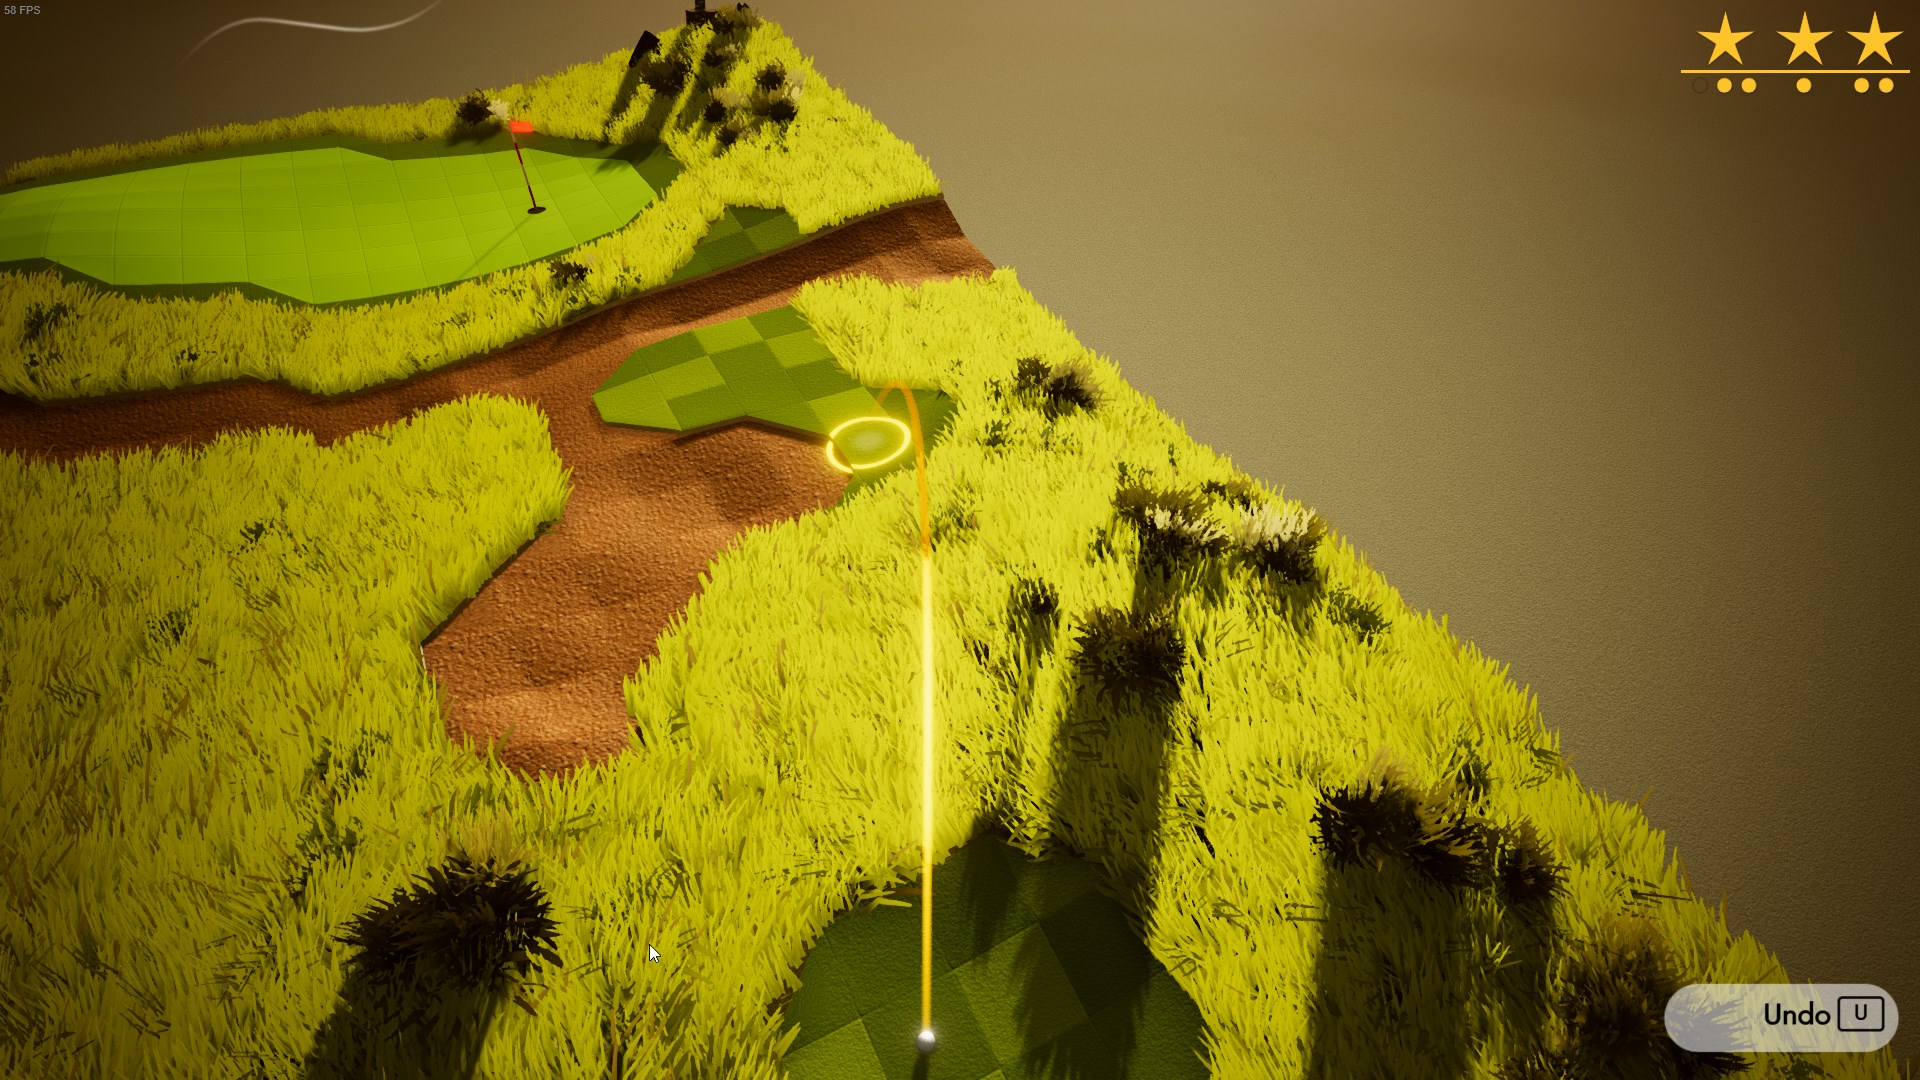
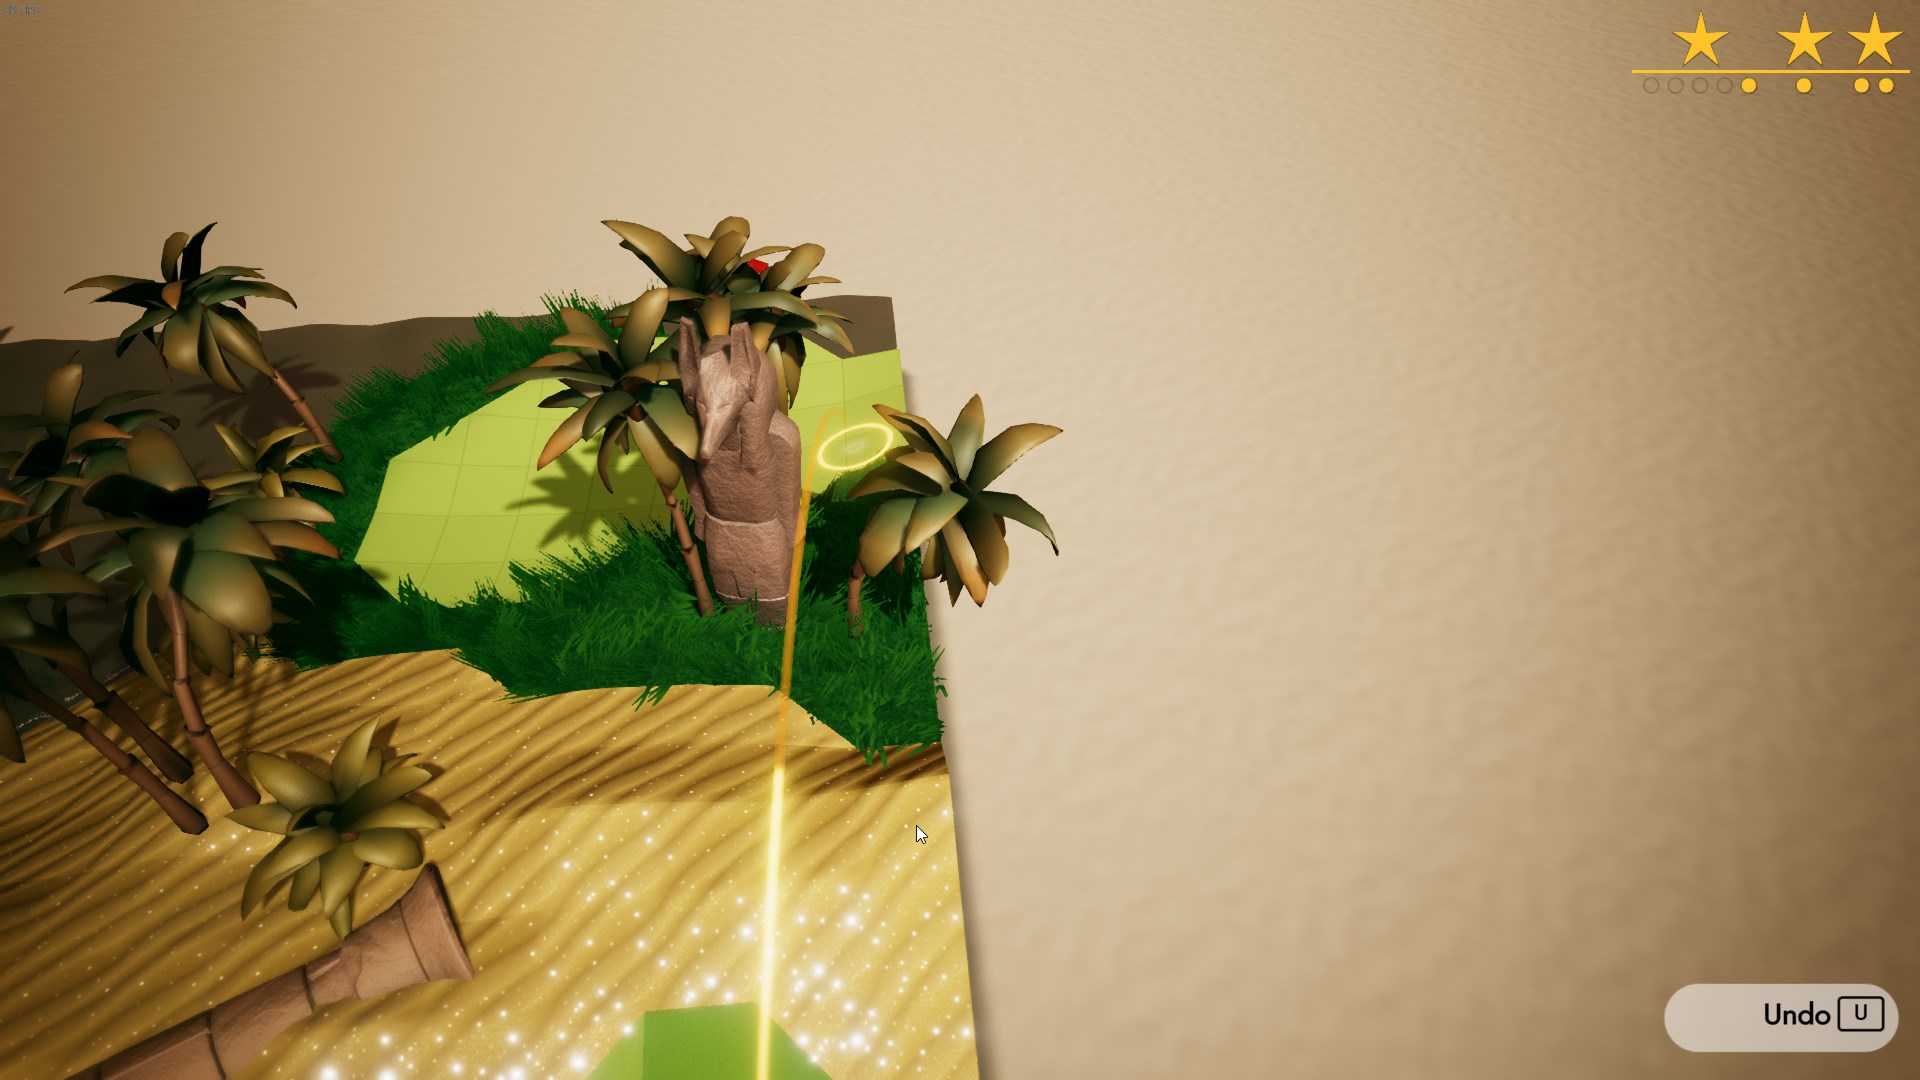
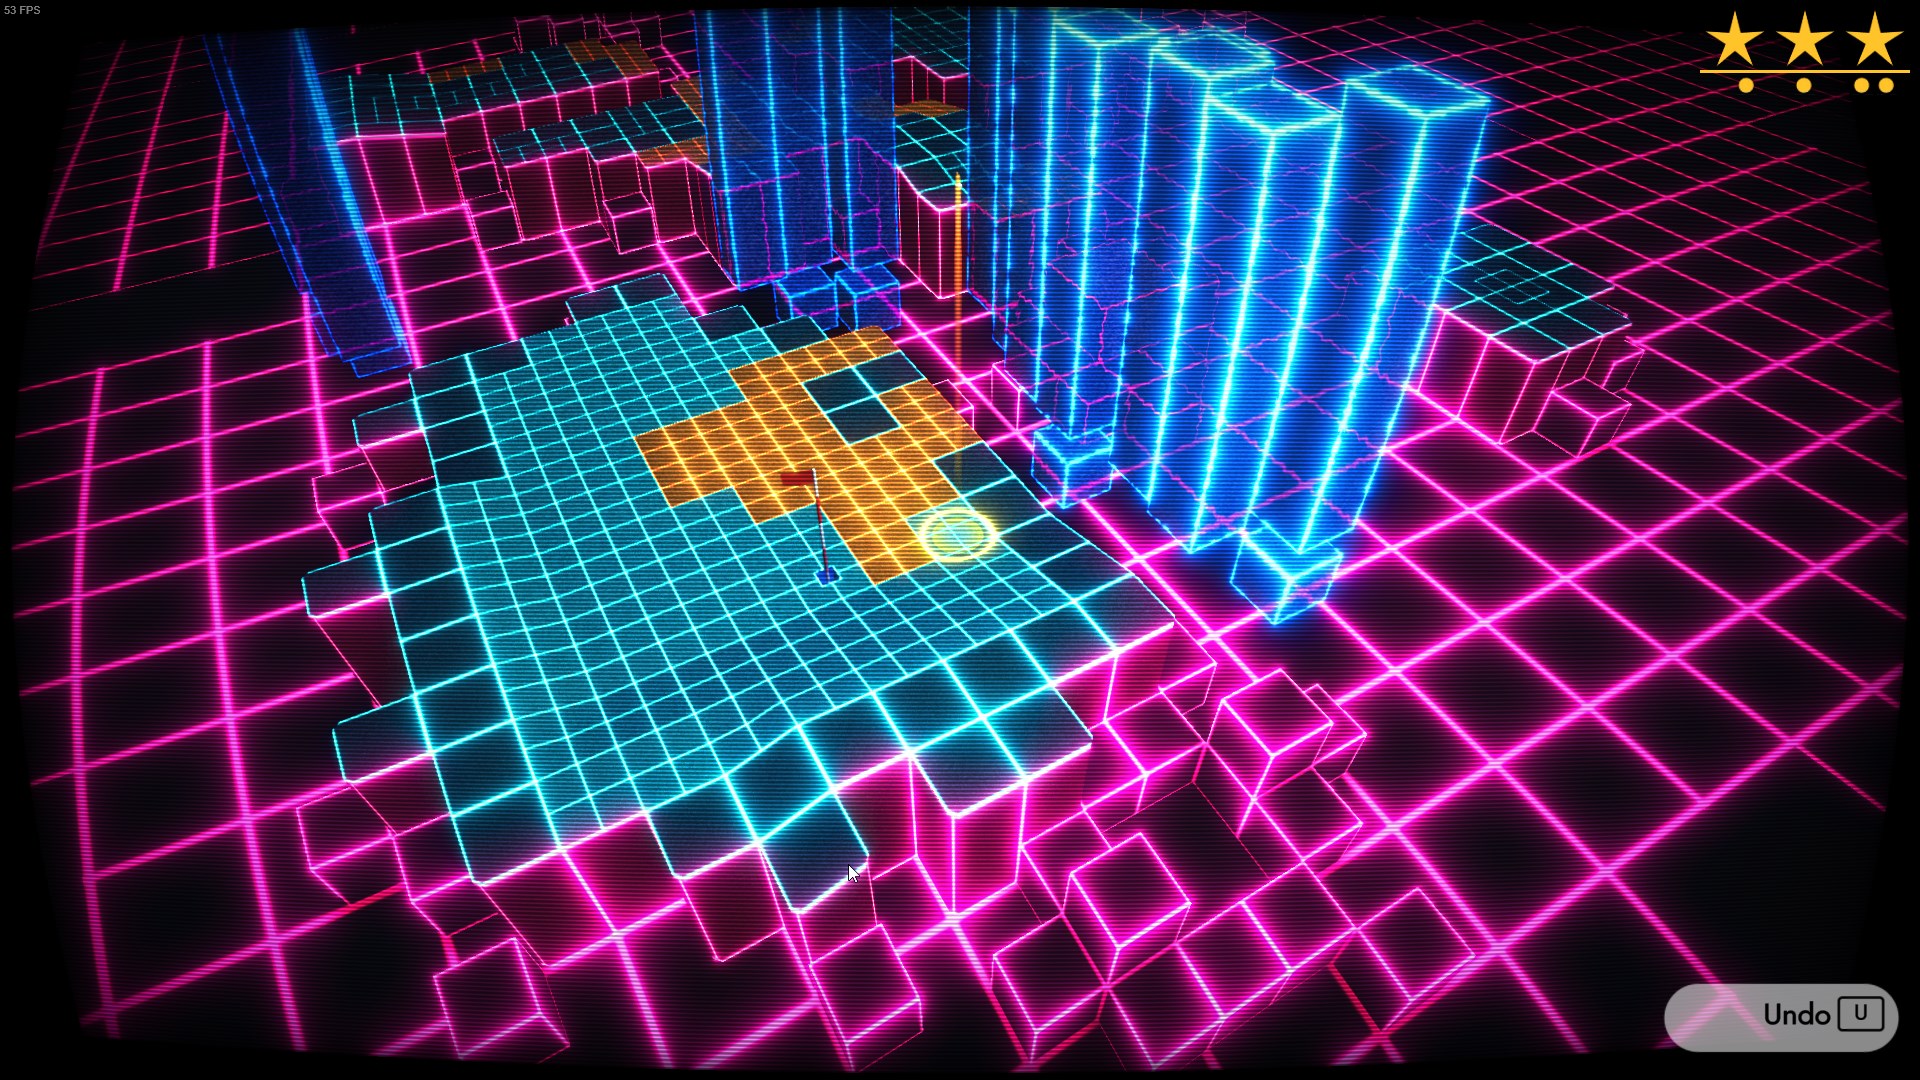
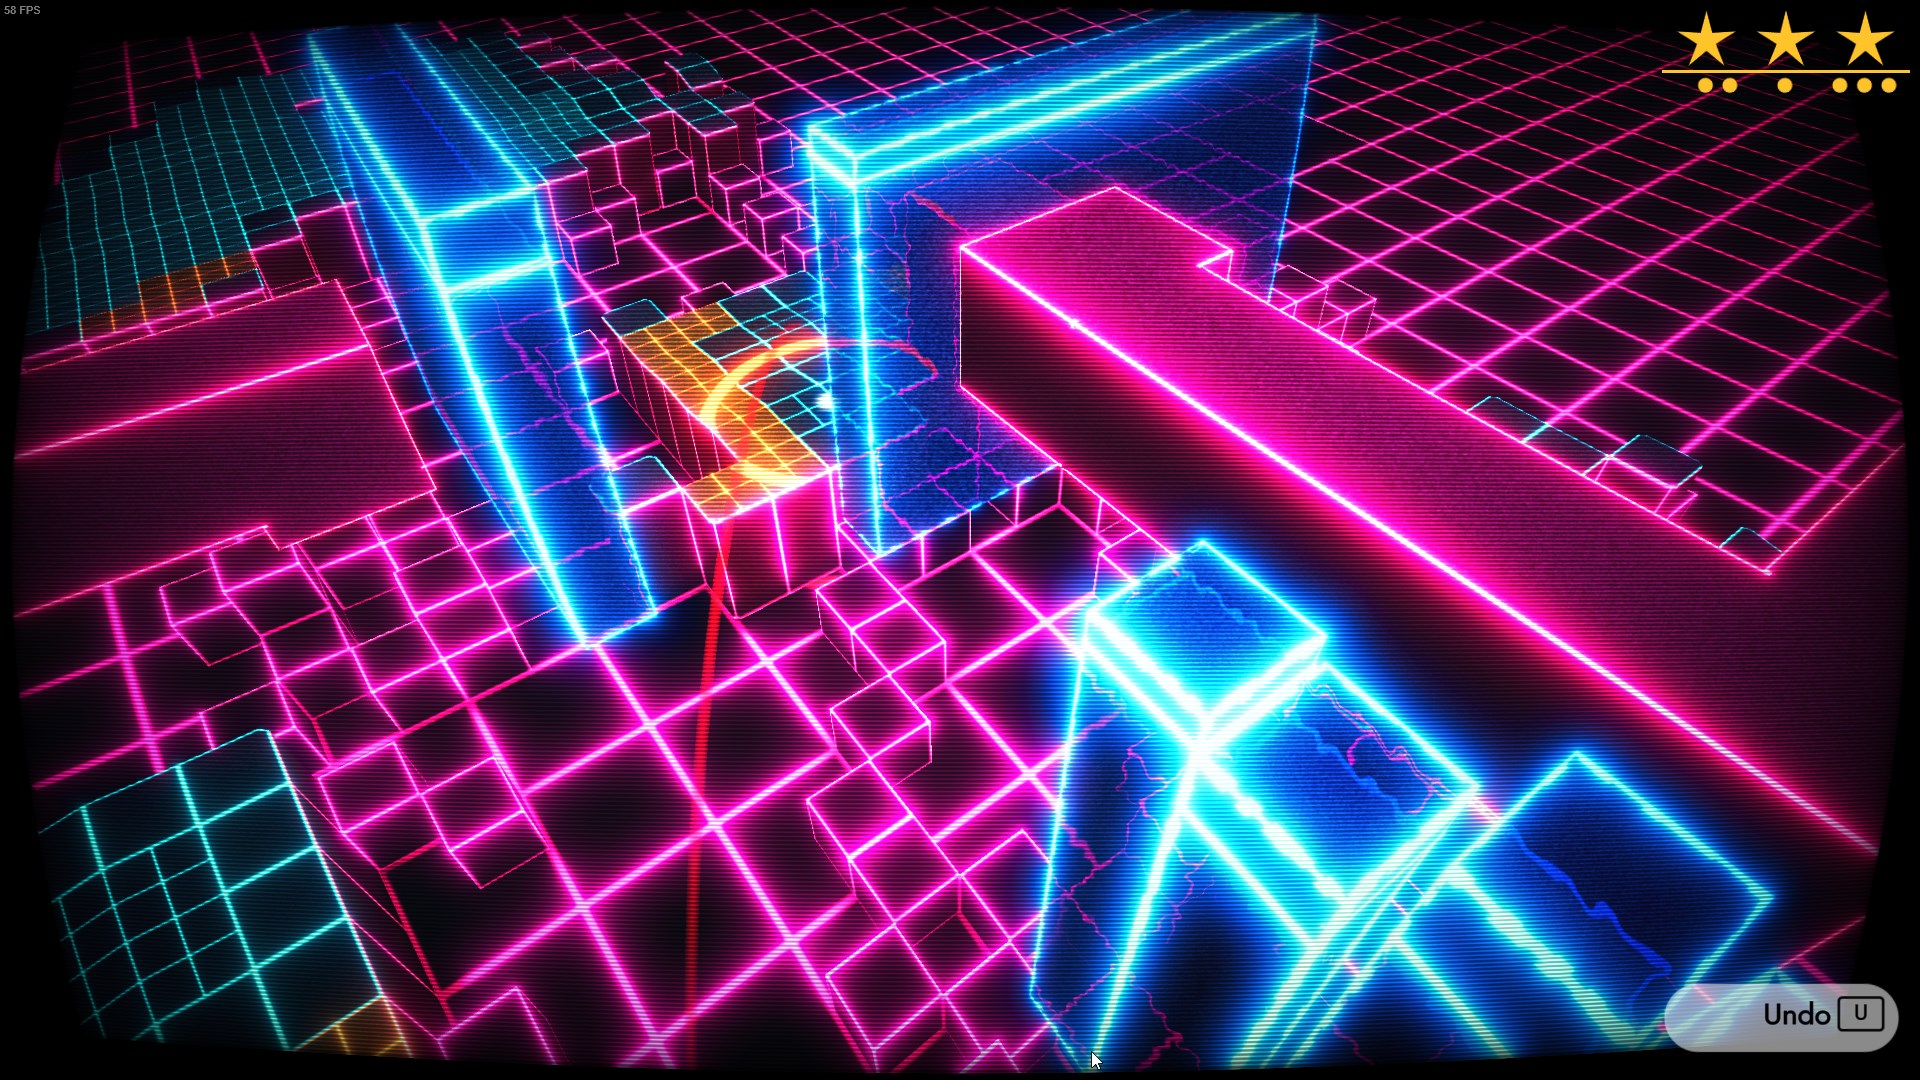
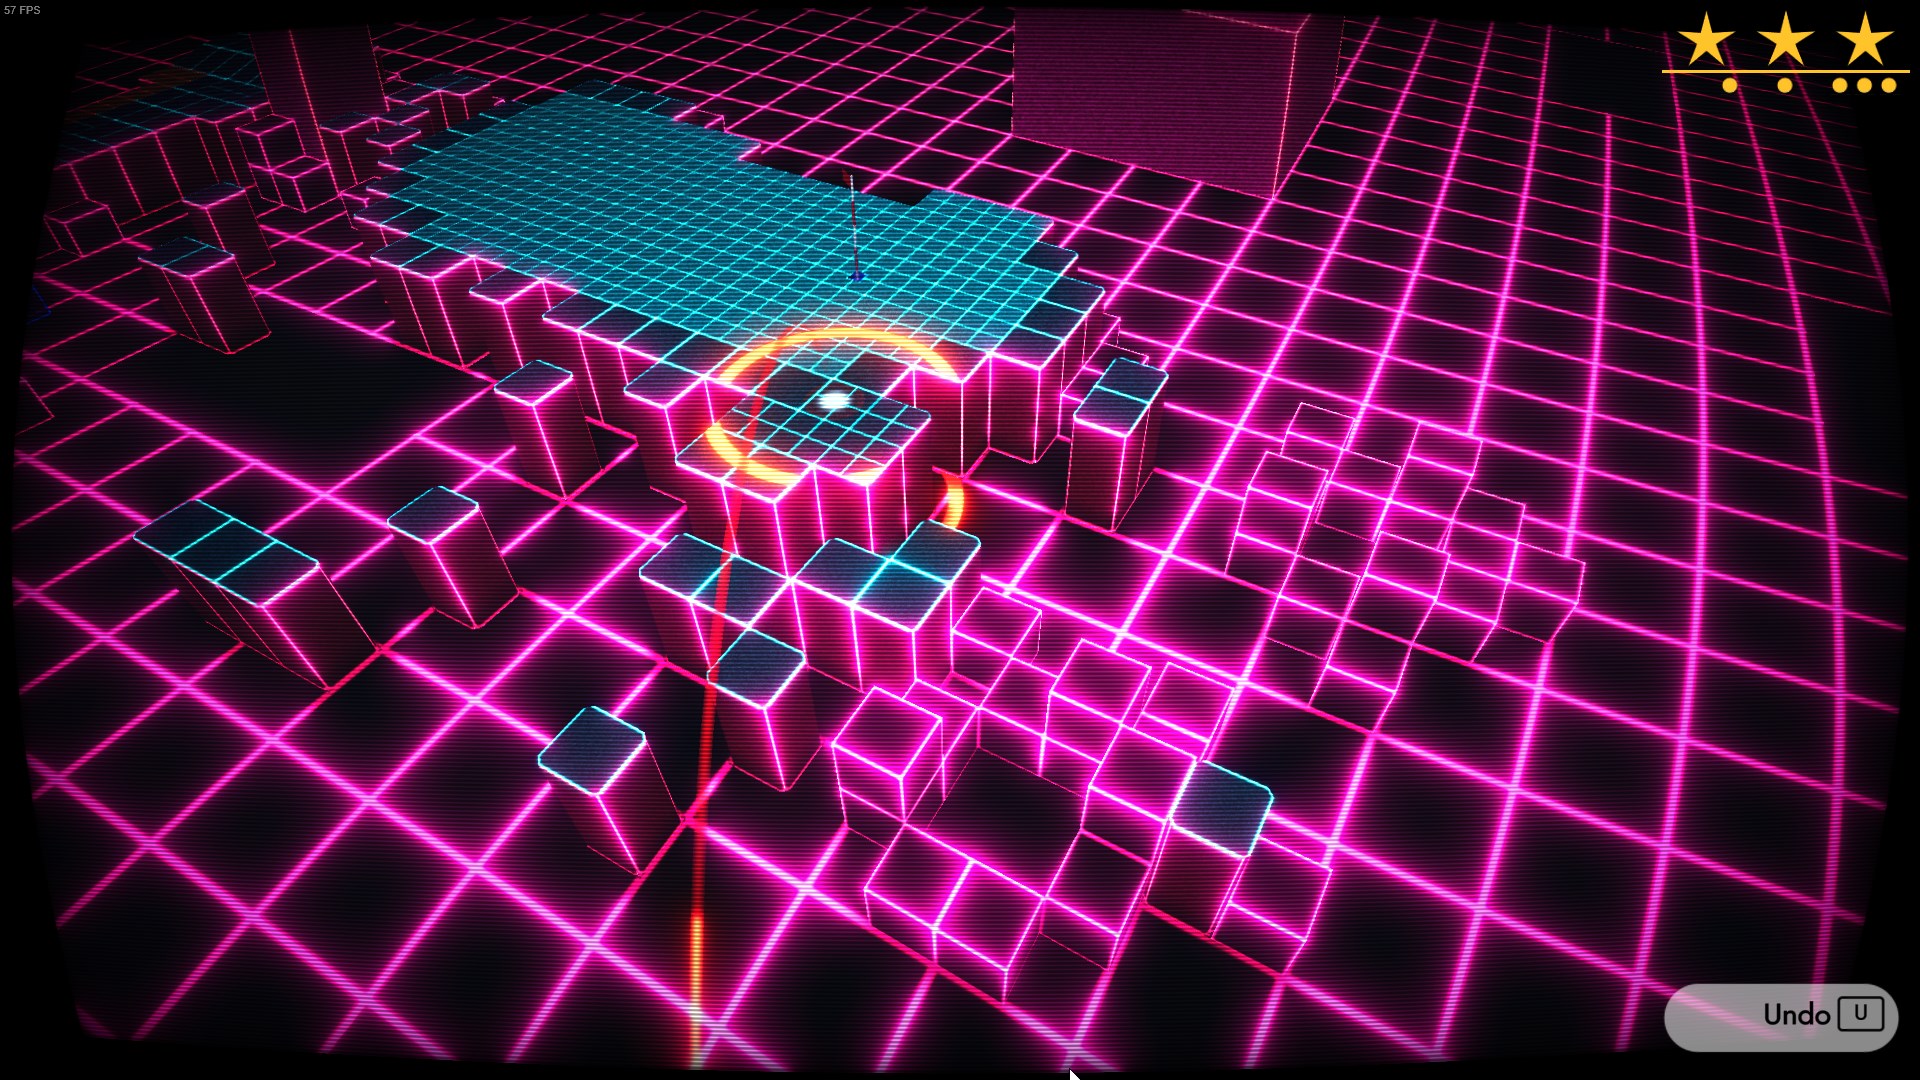
Your shooting power is slightly too weak to hit the hole directly, and if you shoot the ball will bounce over the hole. However by aiming a little bit to the side, you can move the swaying trajectory directly over the hole, allowing you to hit it dead-on:

The caveat of course is that you will only have a short window to shoot before the trajectory has moved, but this is the only way to complete a lot of courses optimally.
There is a setting in the assist mode that reduces the strength of the sway, but turning this down will make getting all stars impossible. All of the shots in this guide were taken with the default settings (50% aiming sway speed, 100% aiming sway strength).
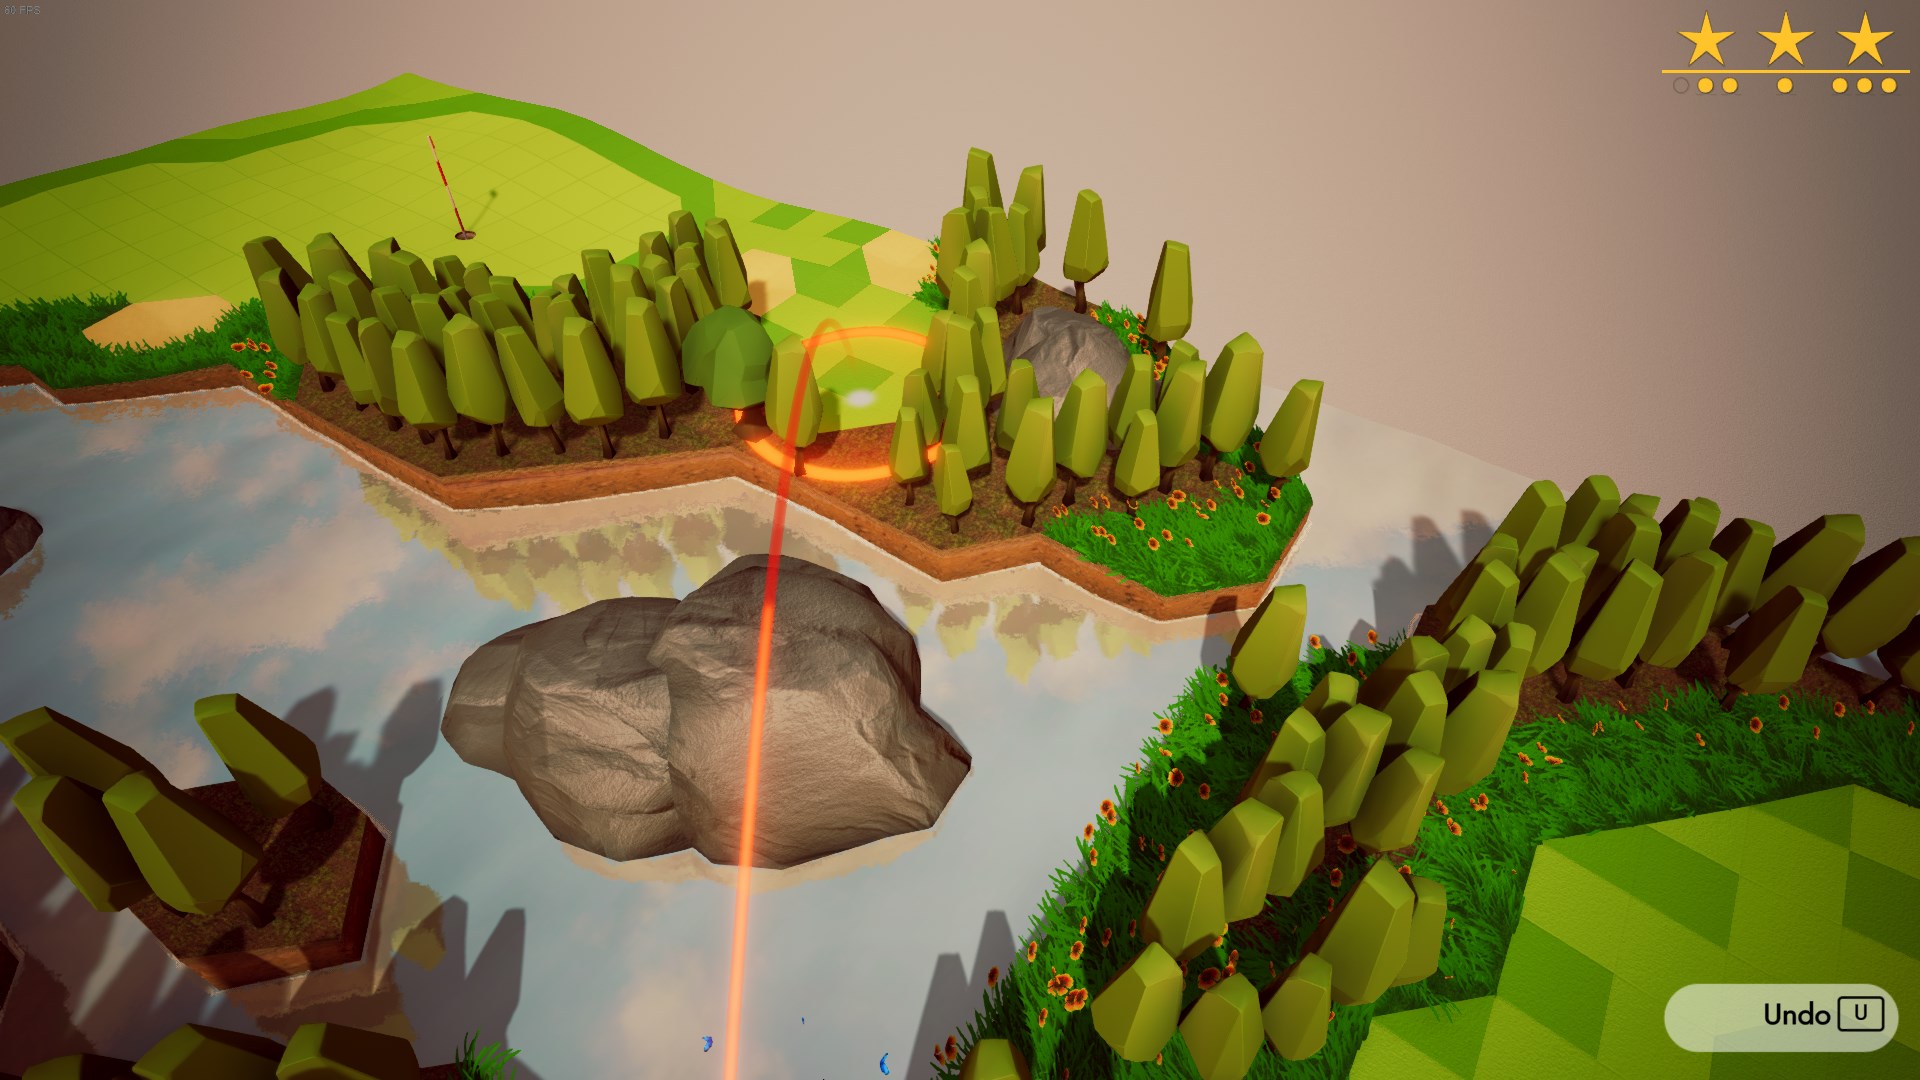
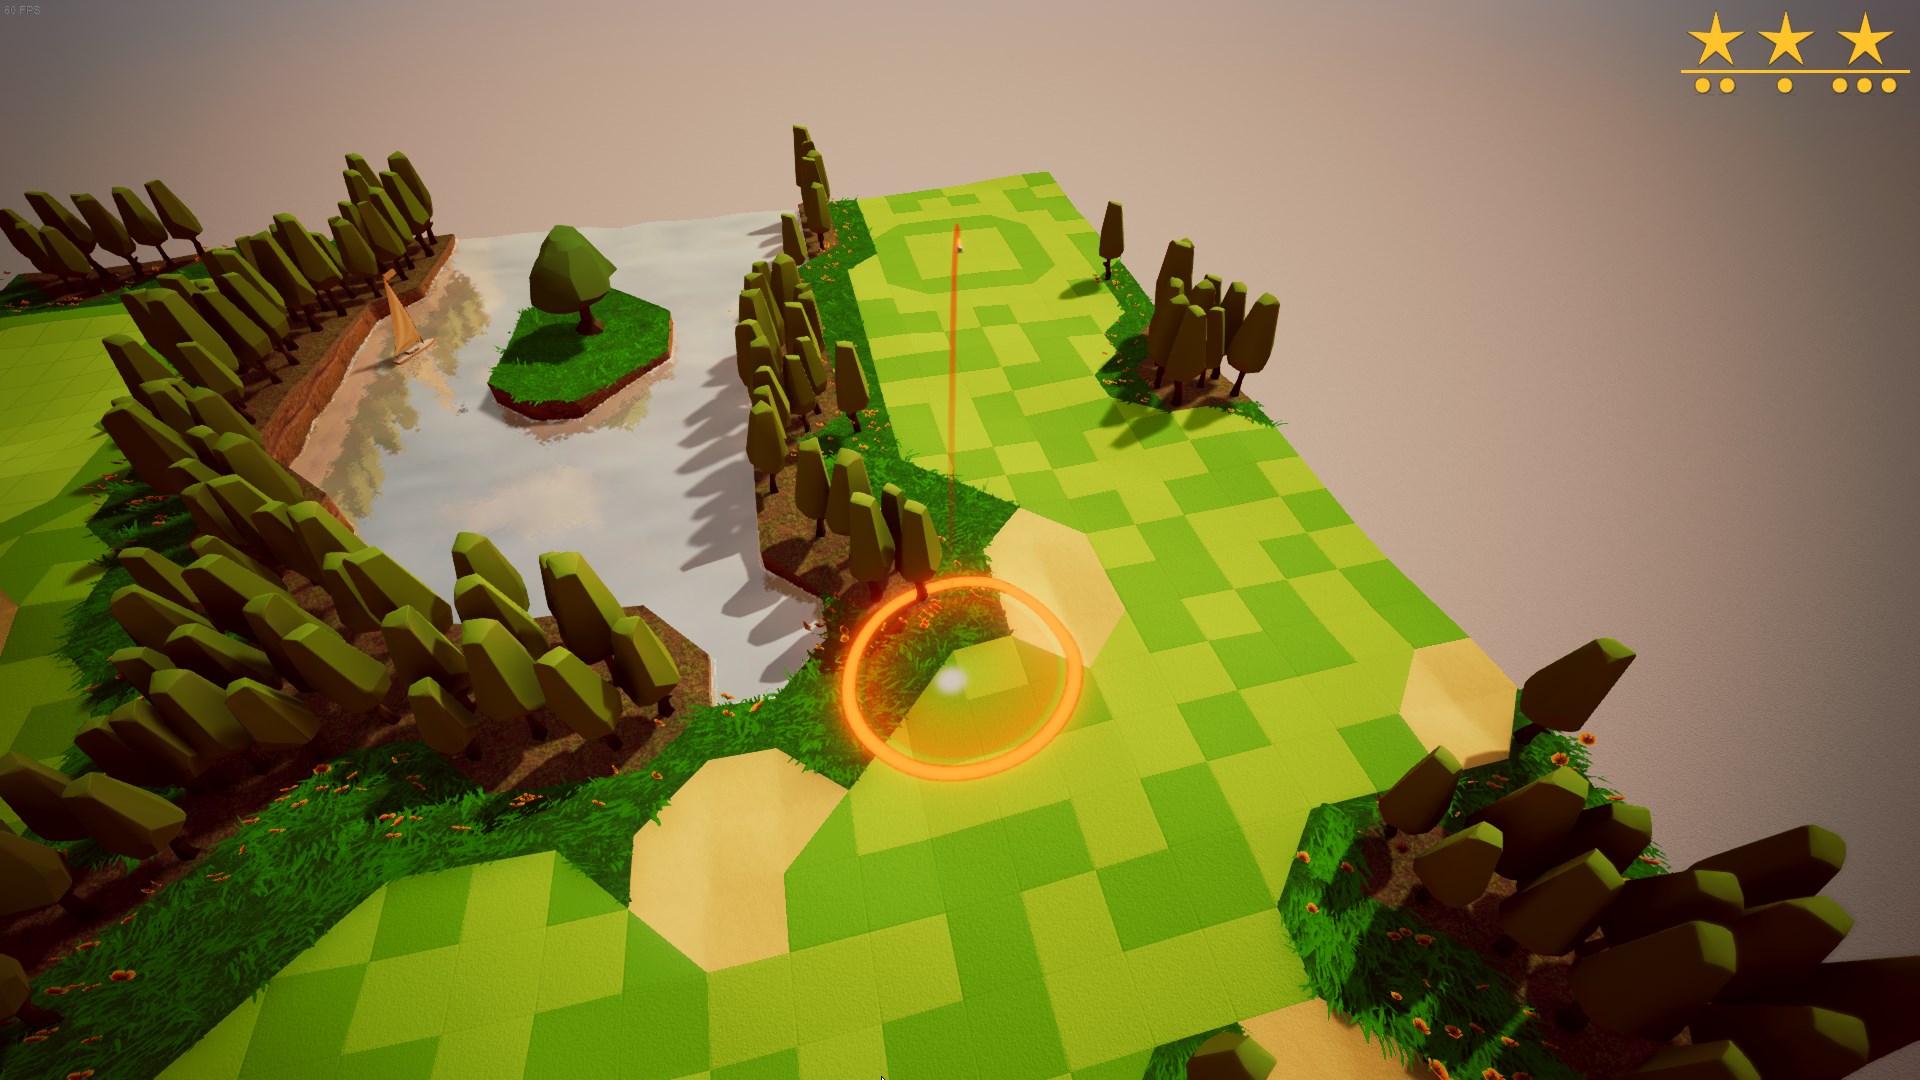
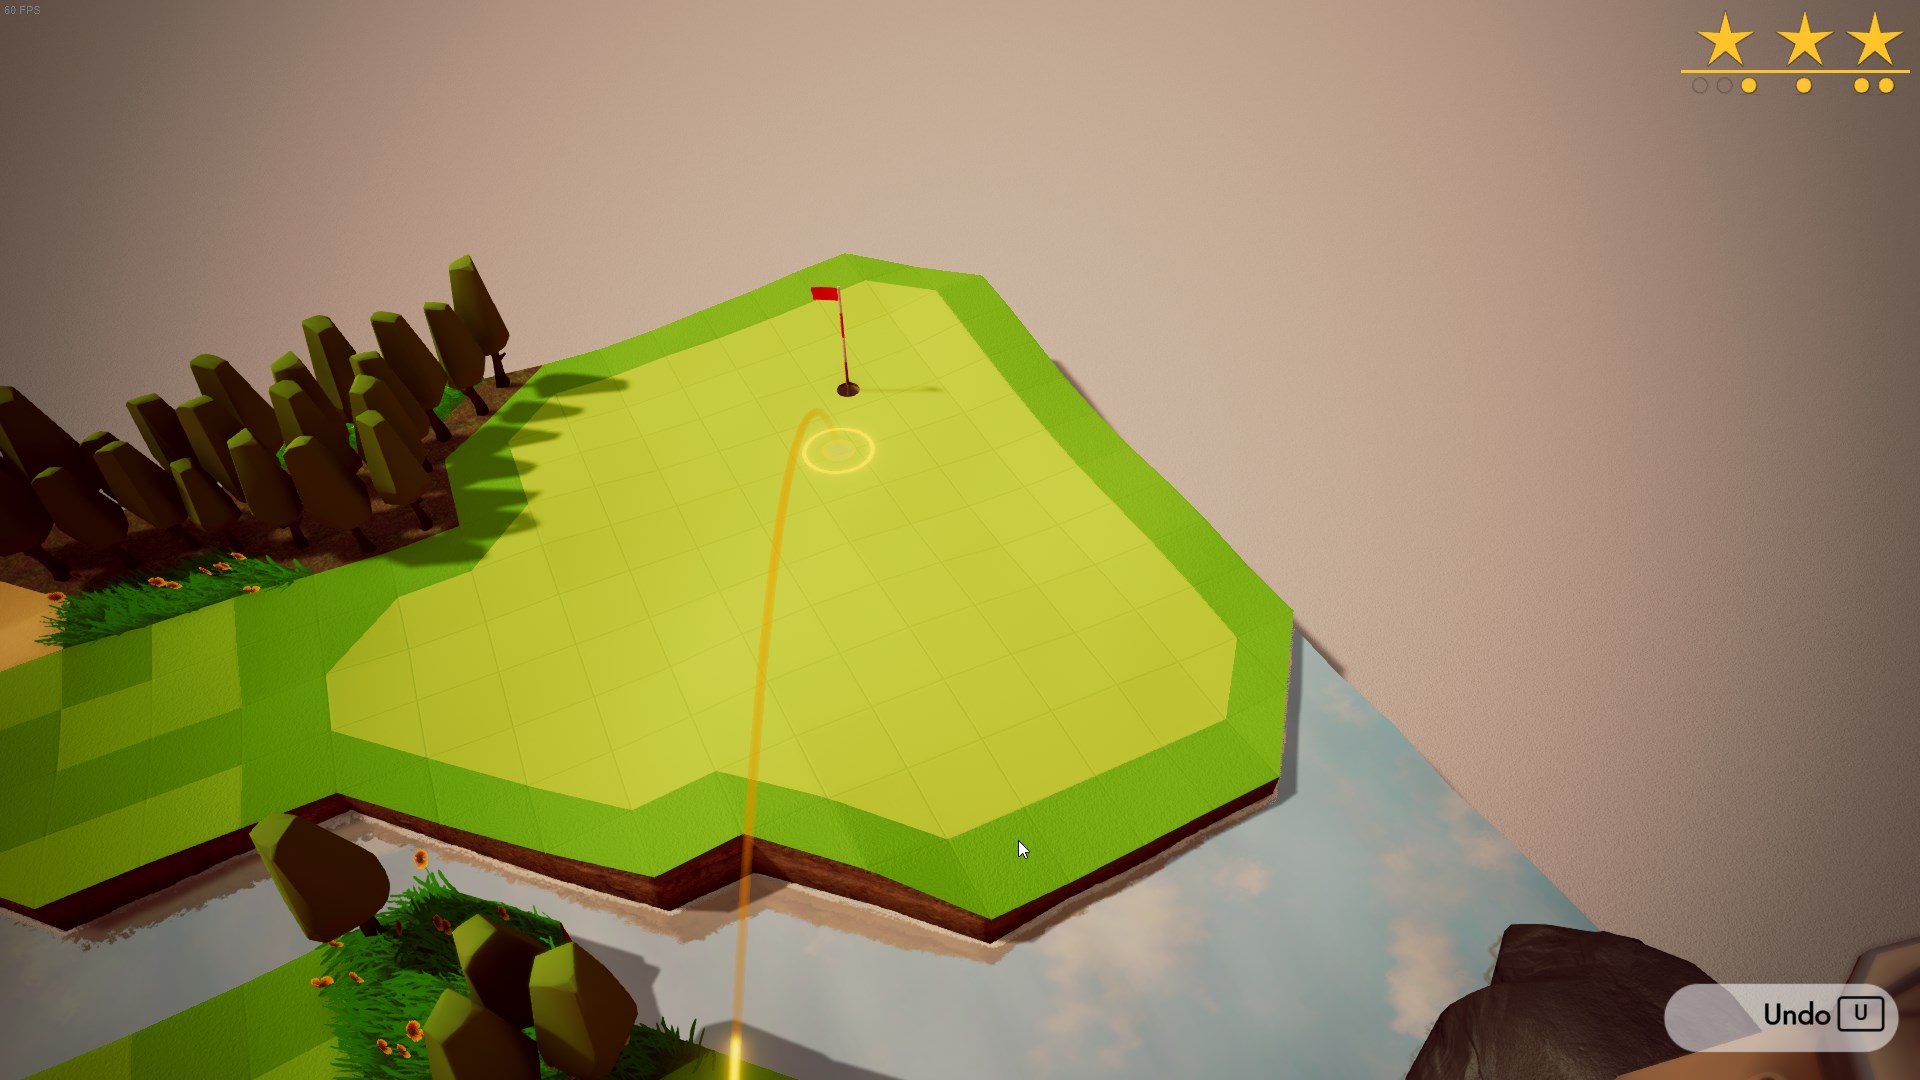
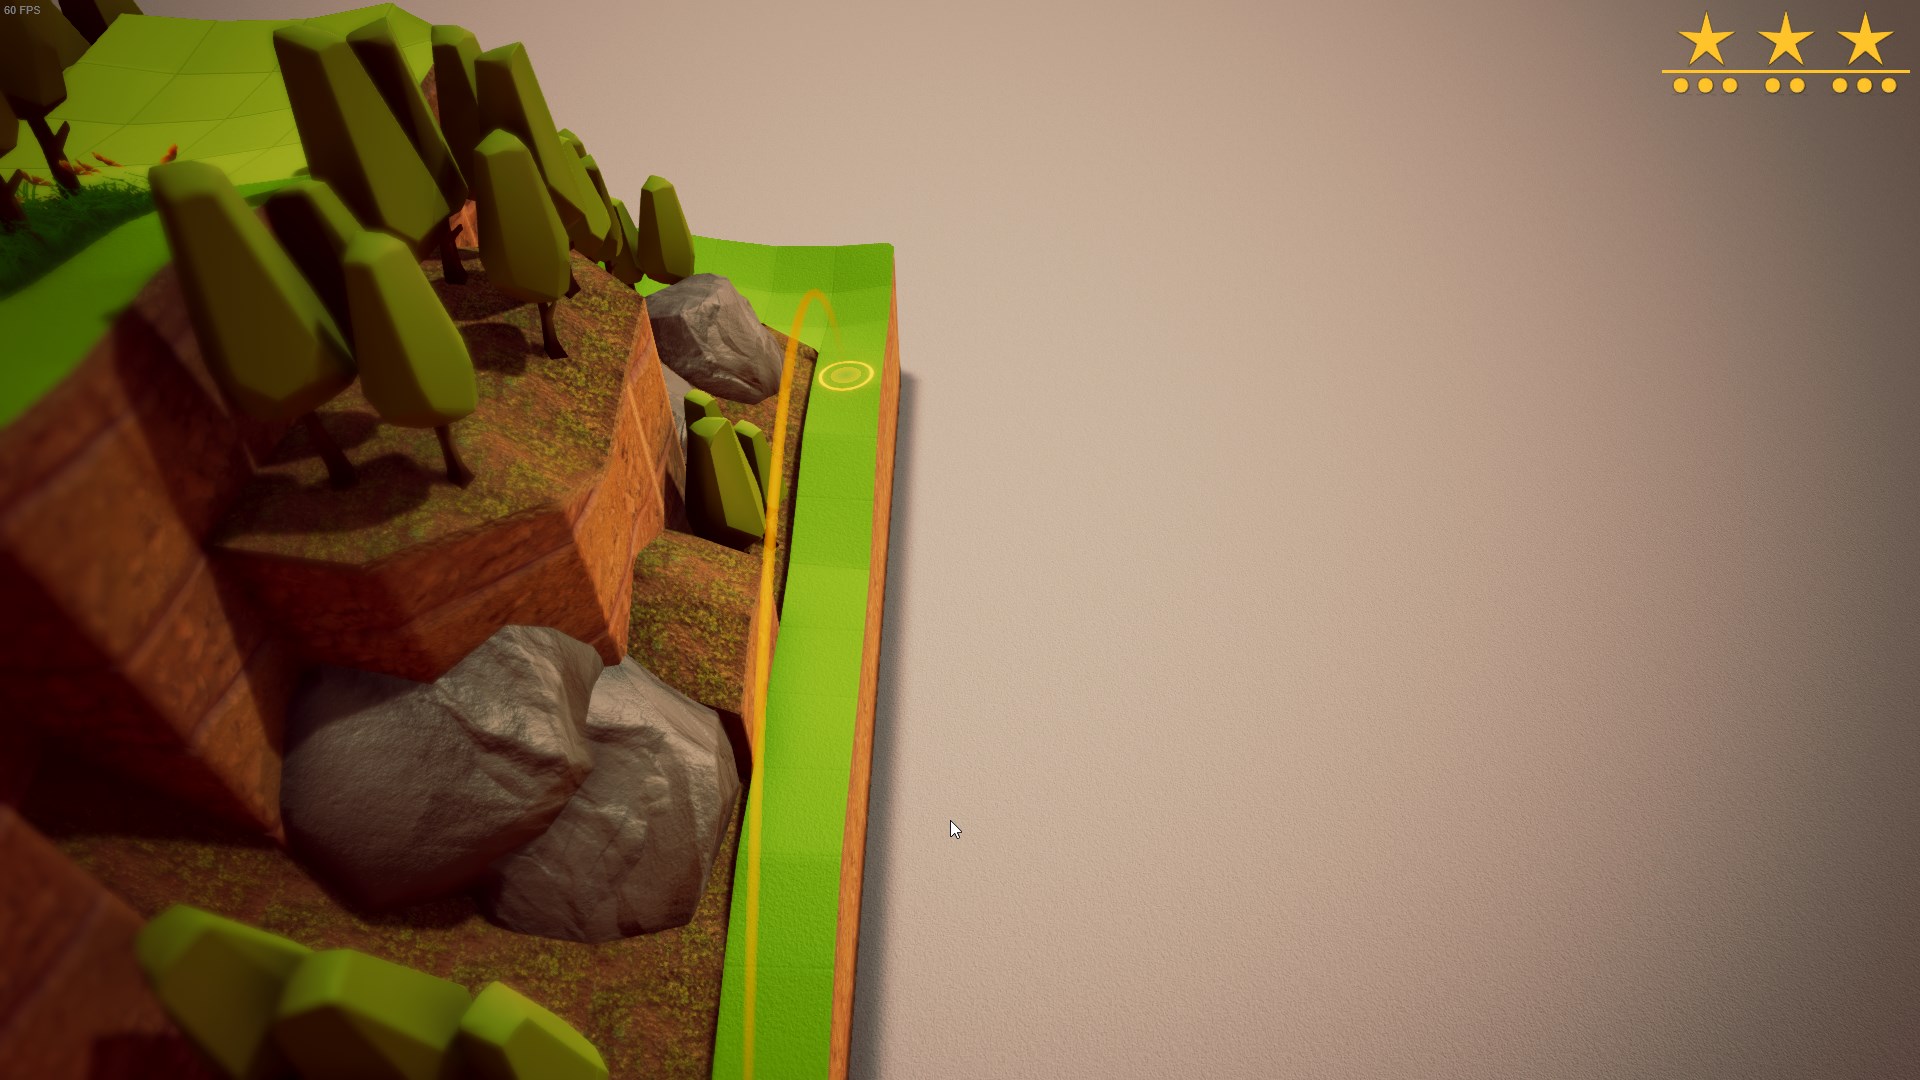
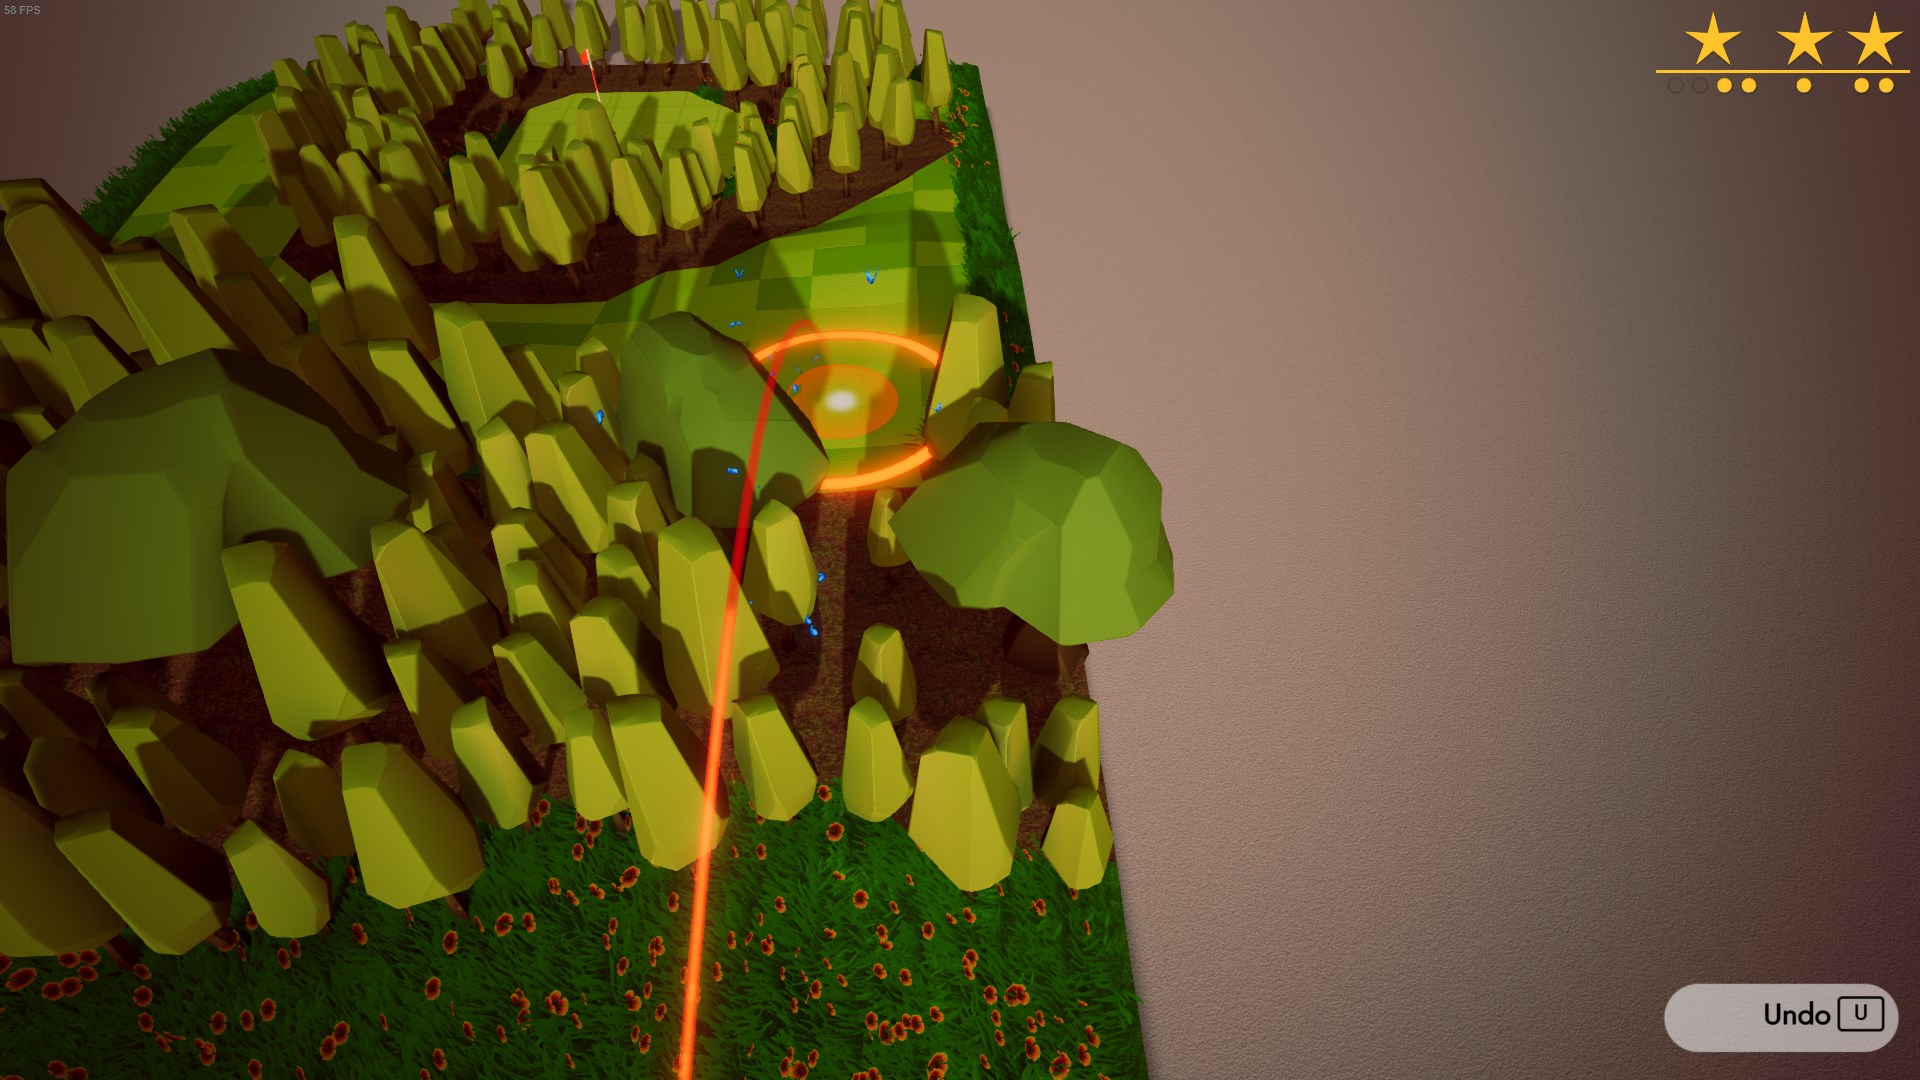
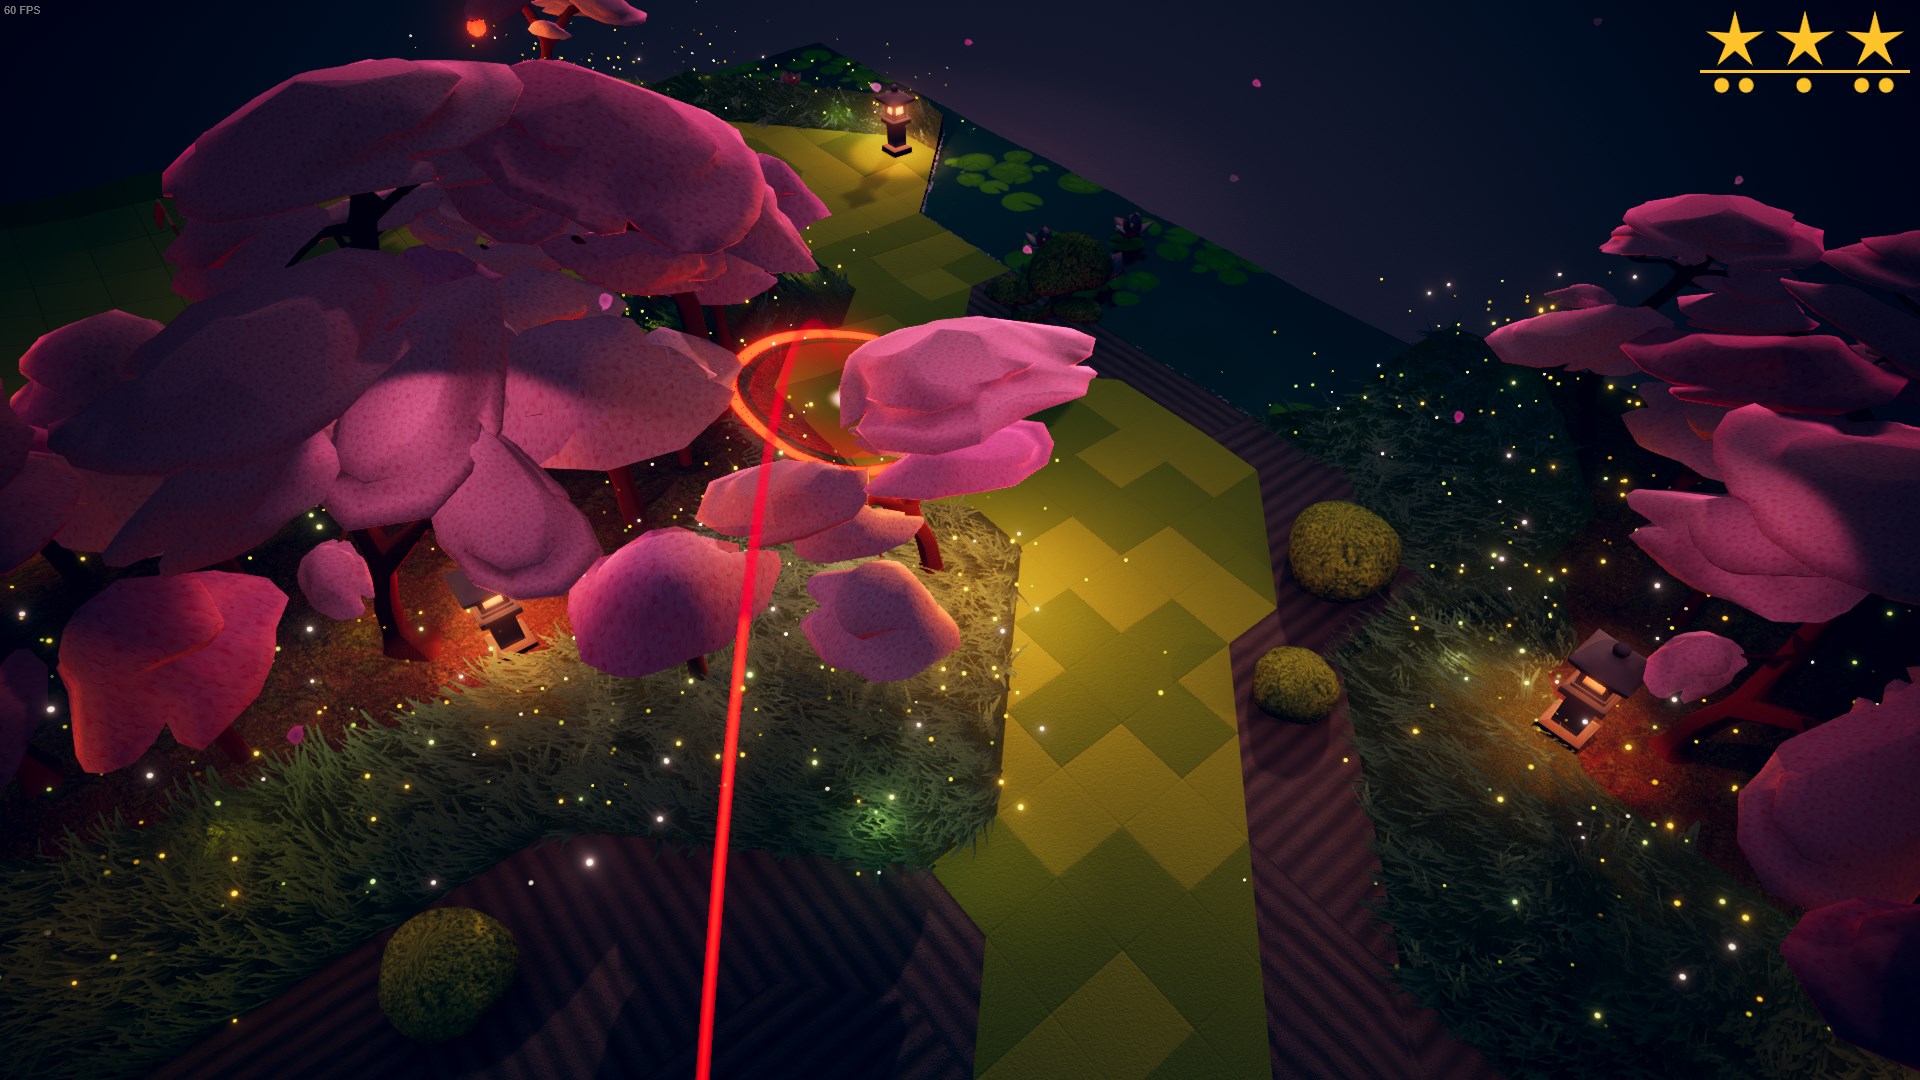
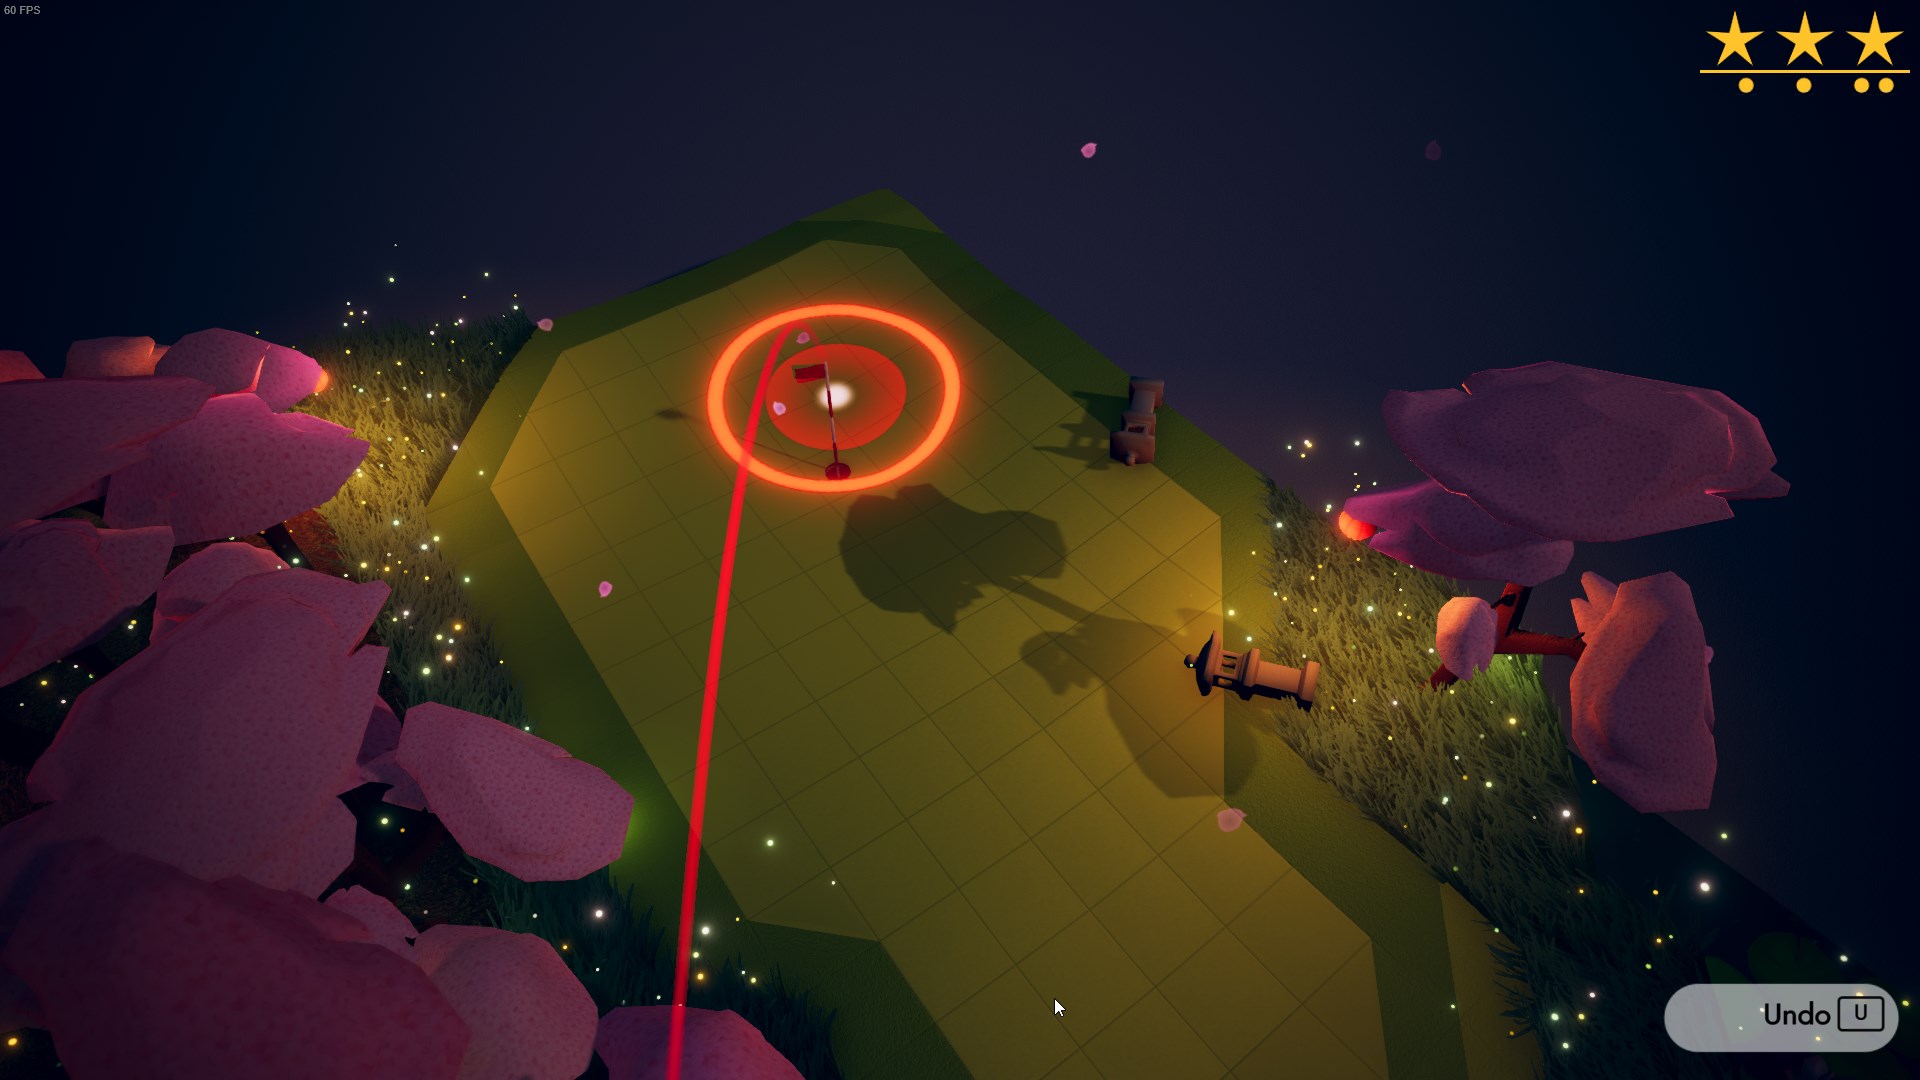
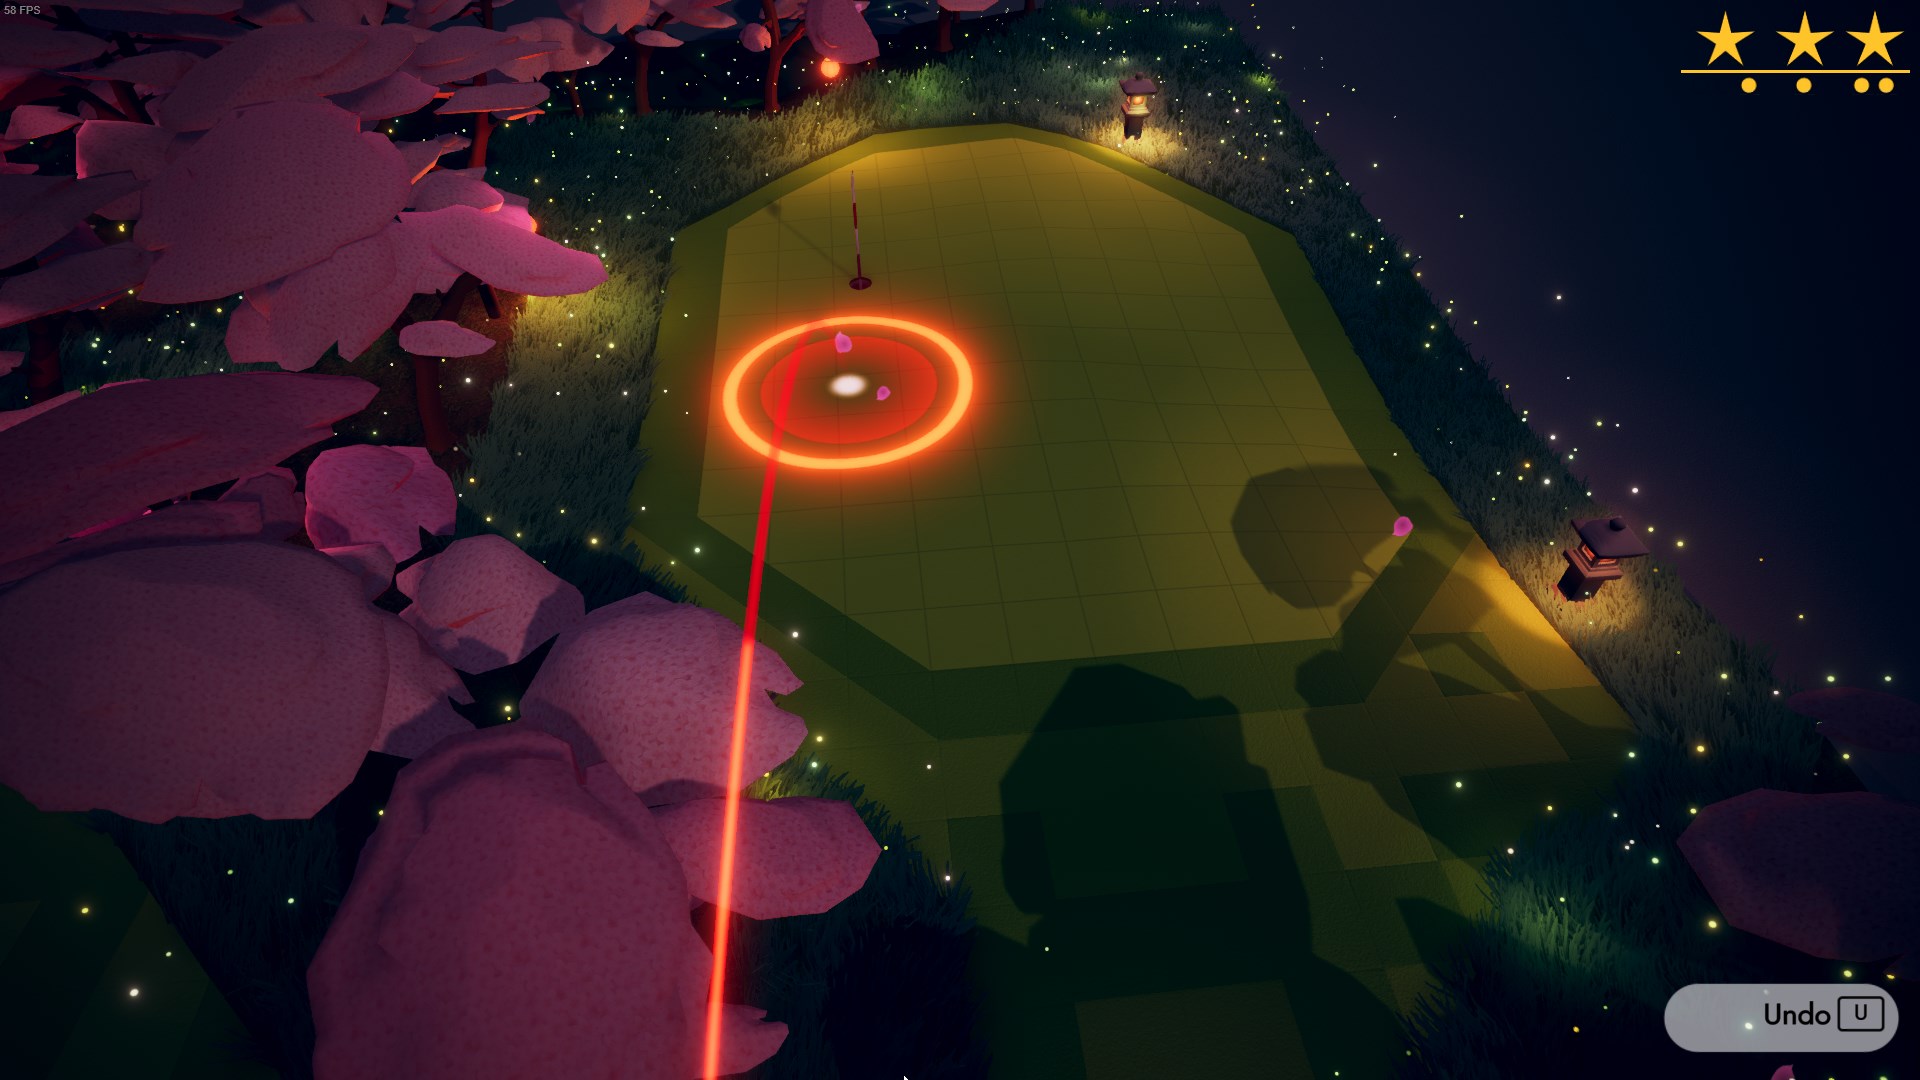
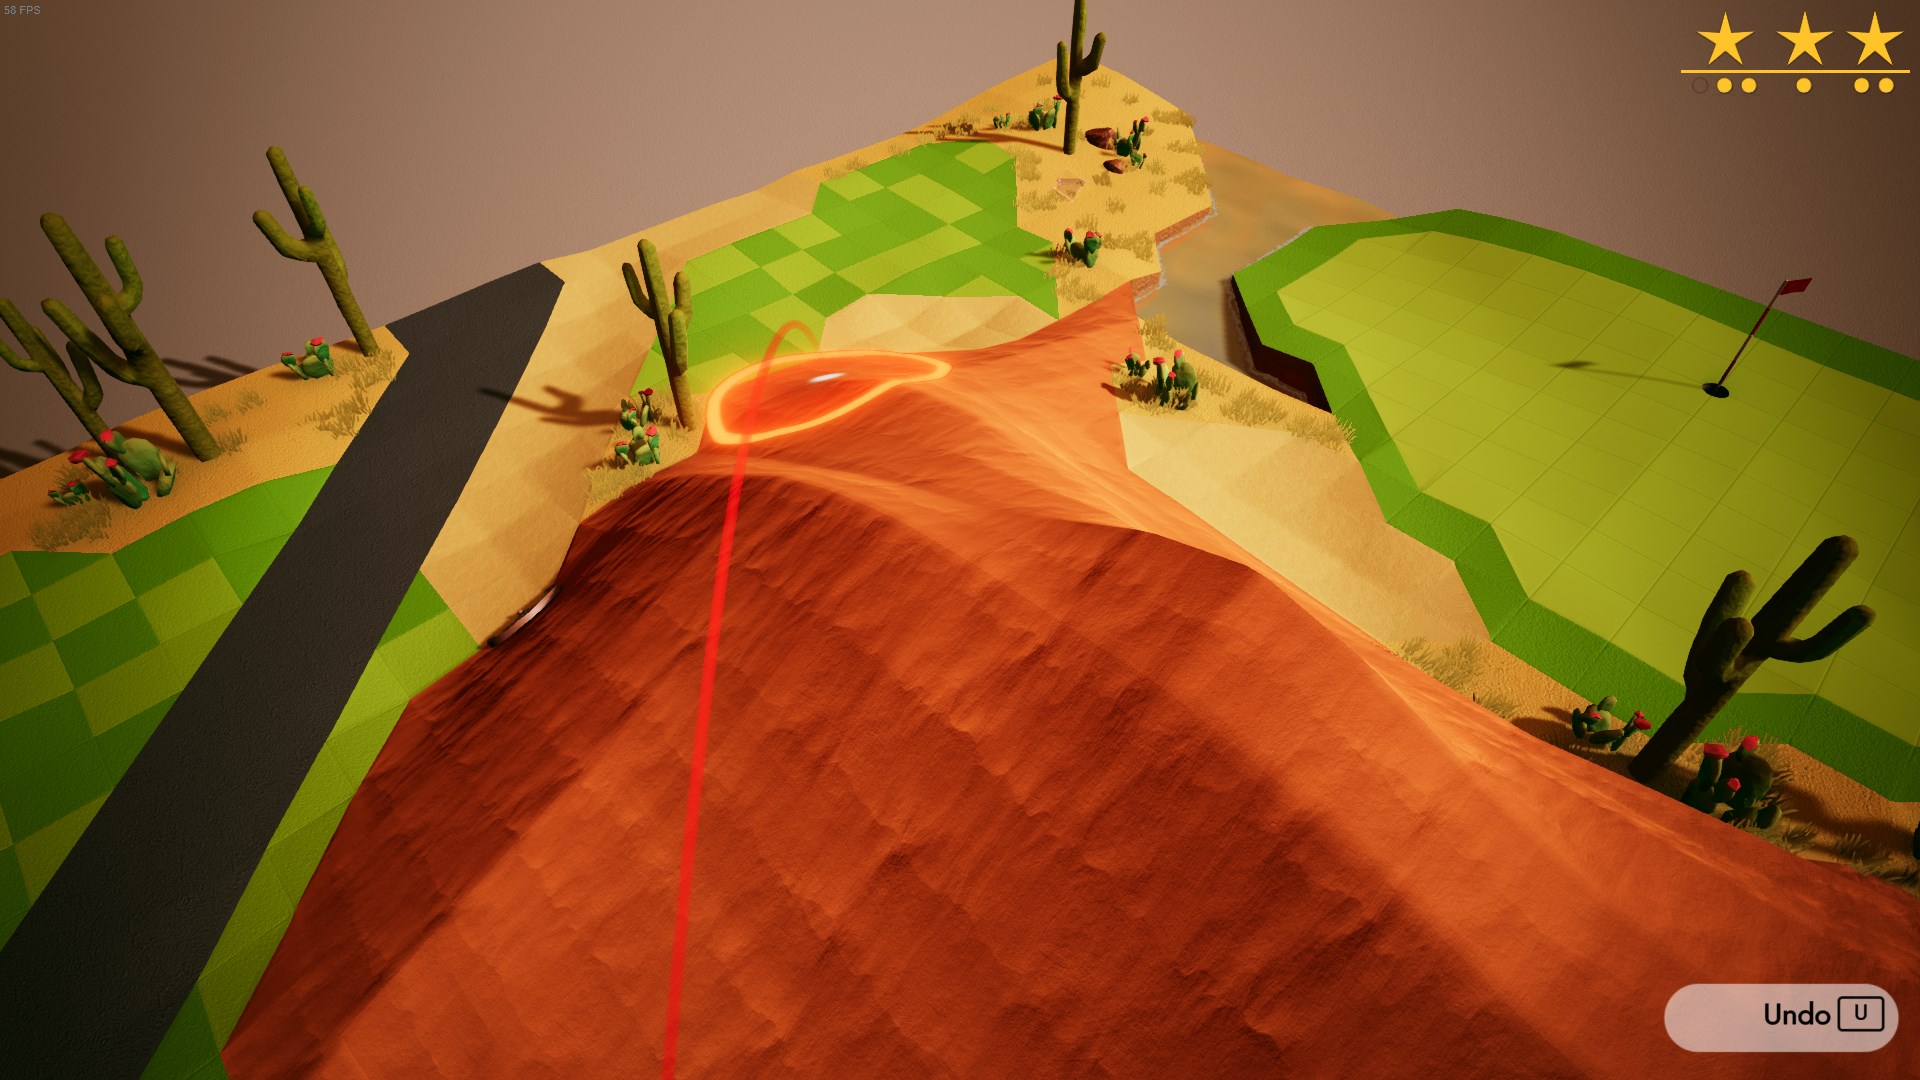
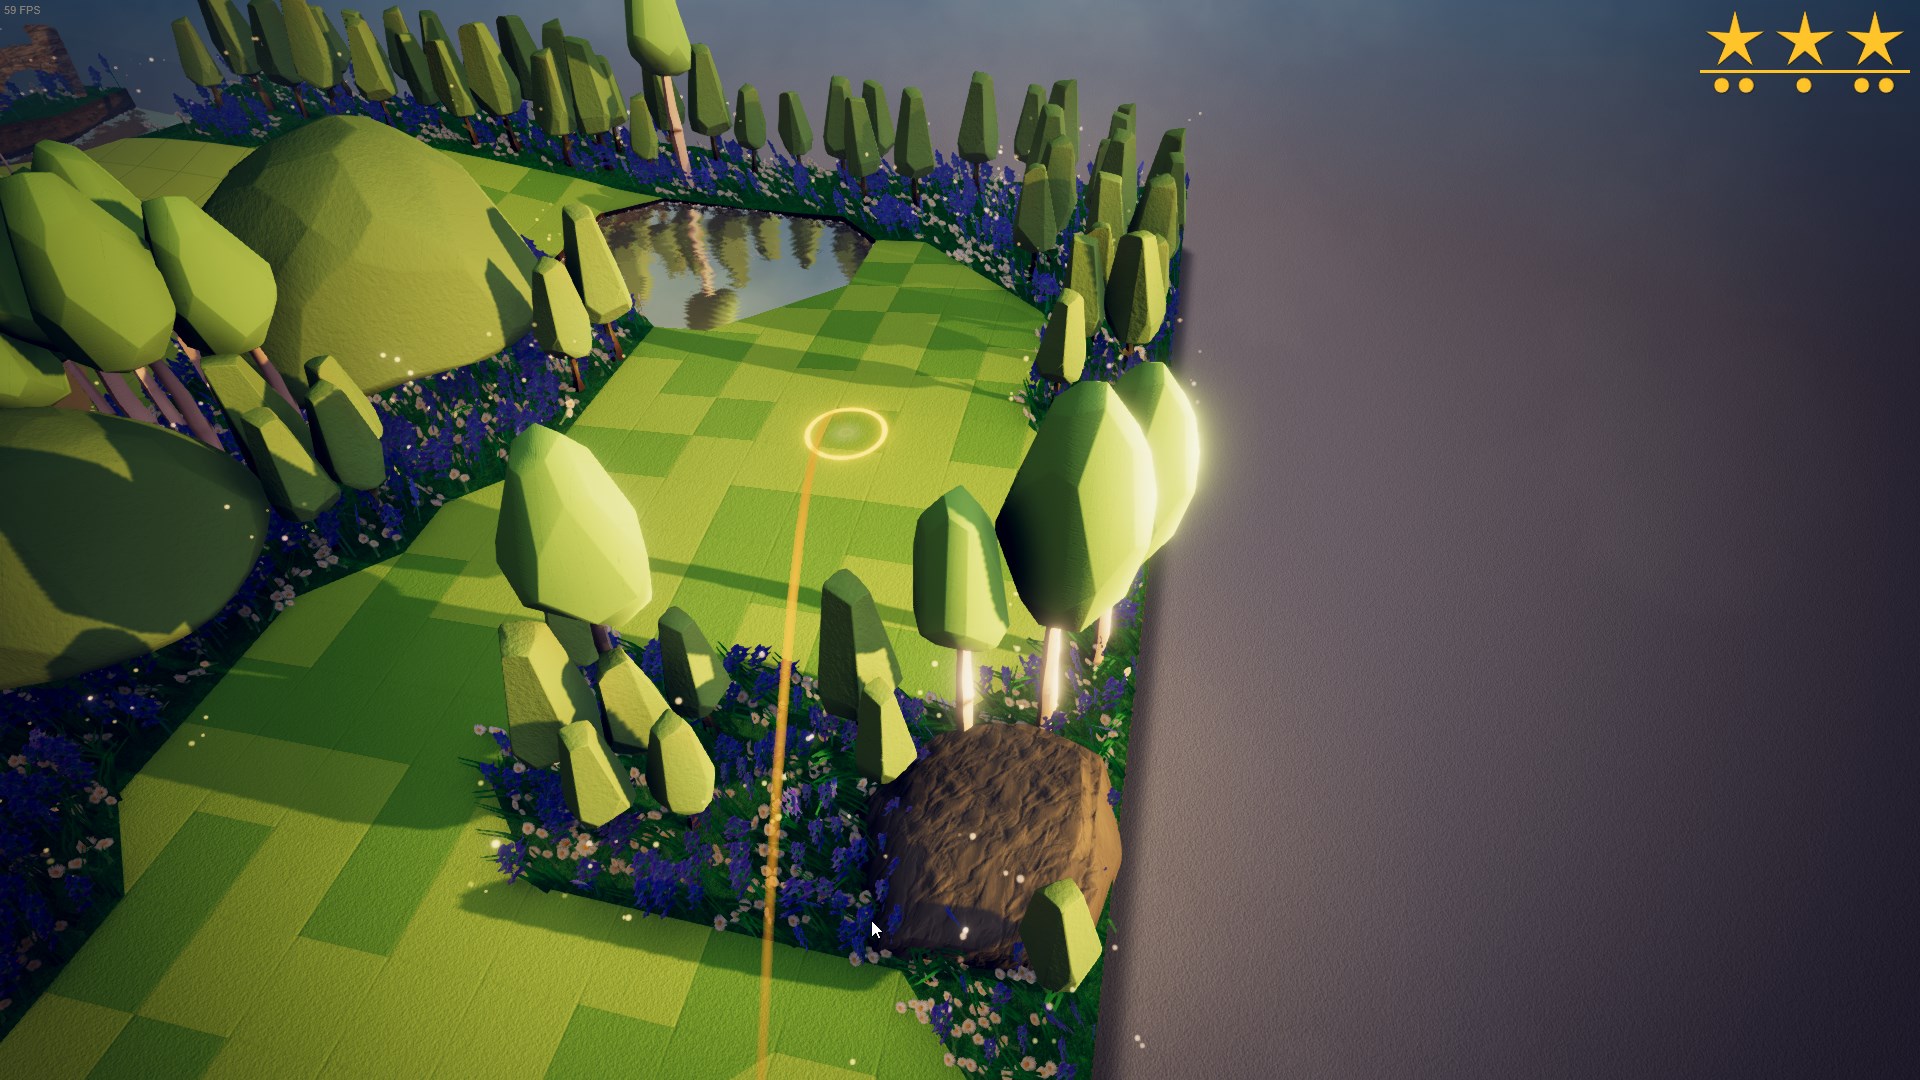
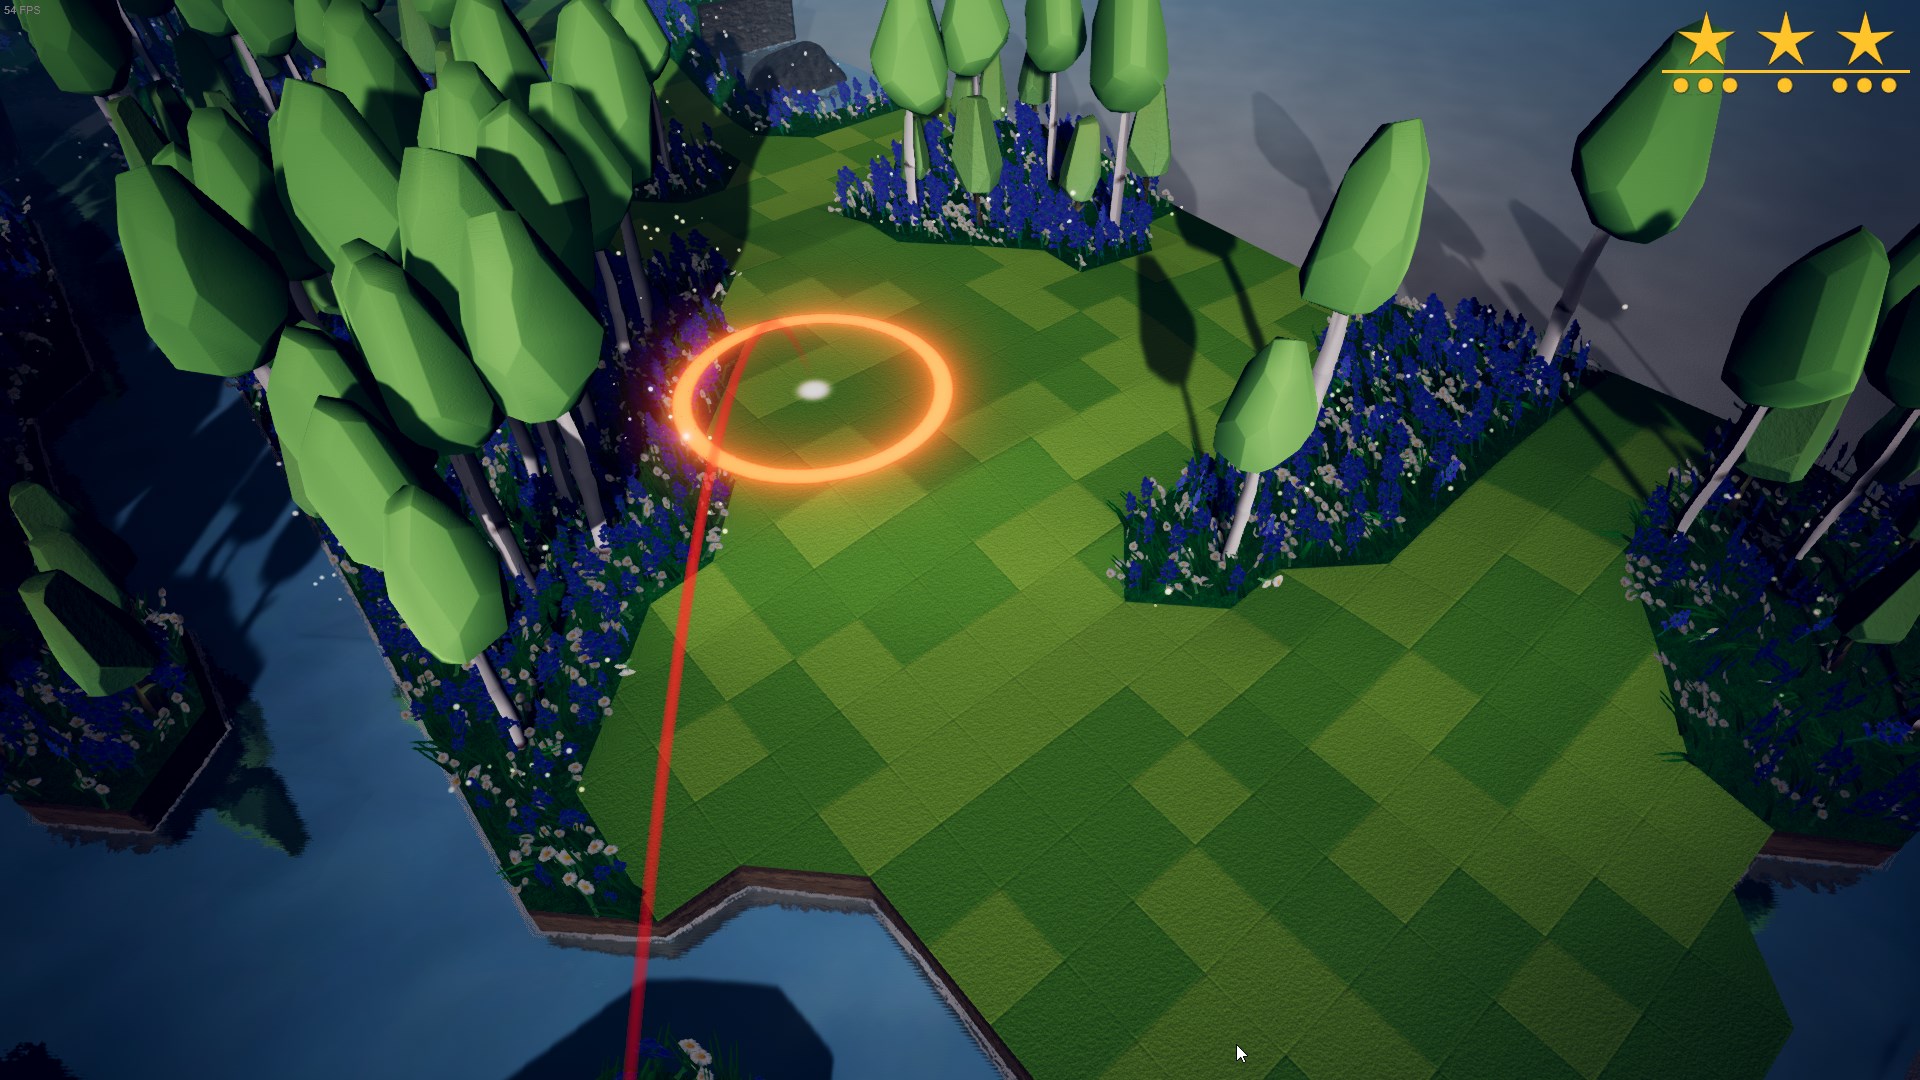
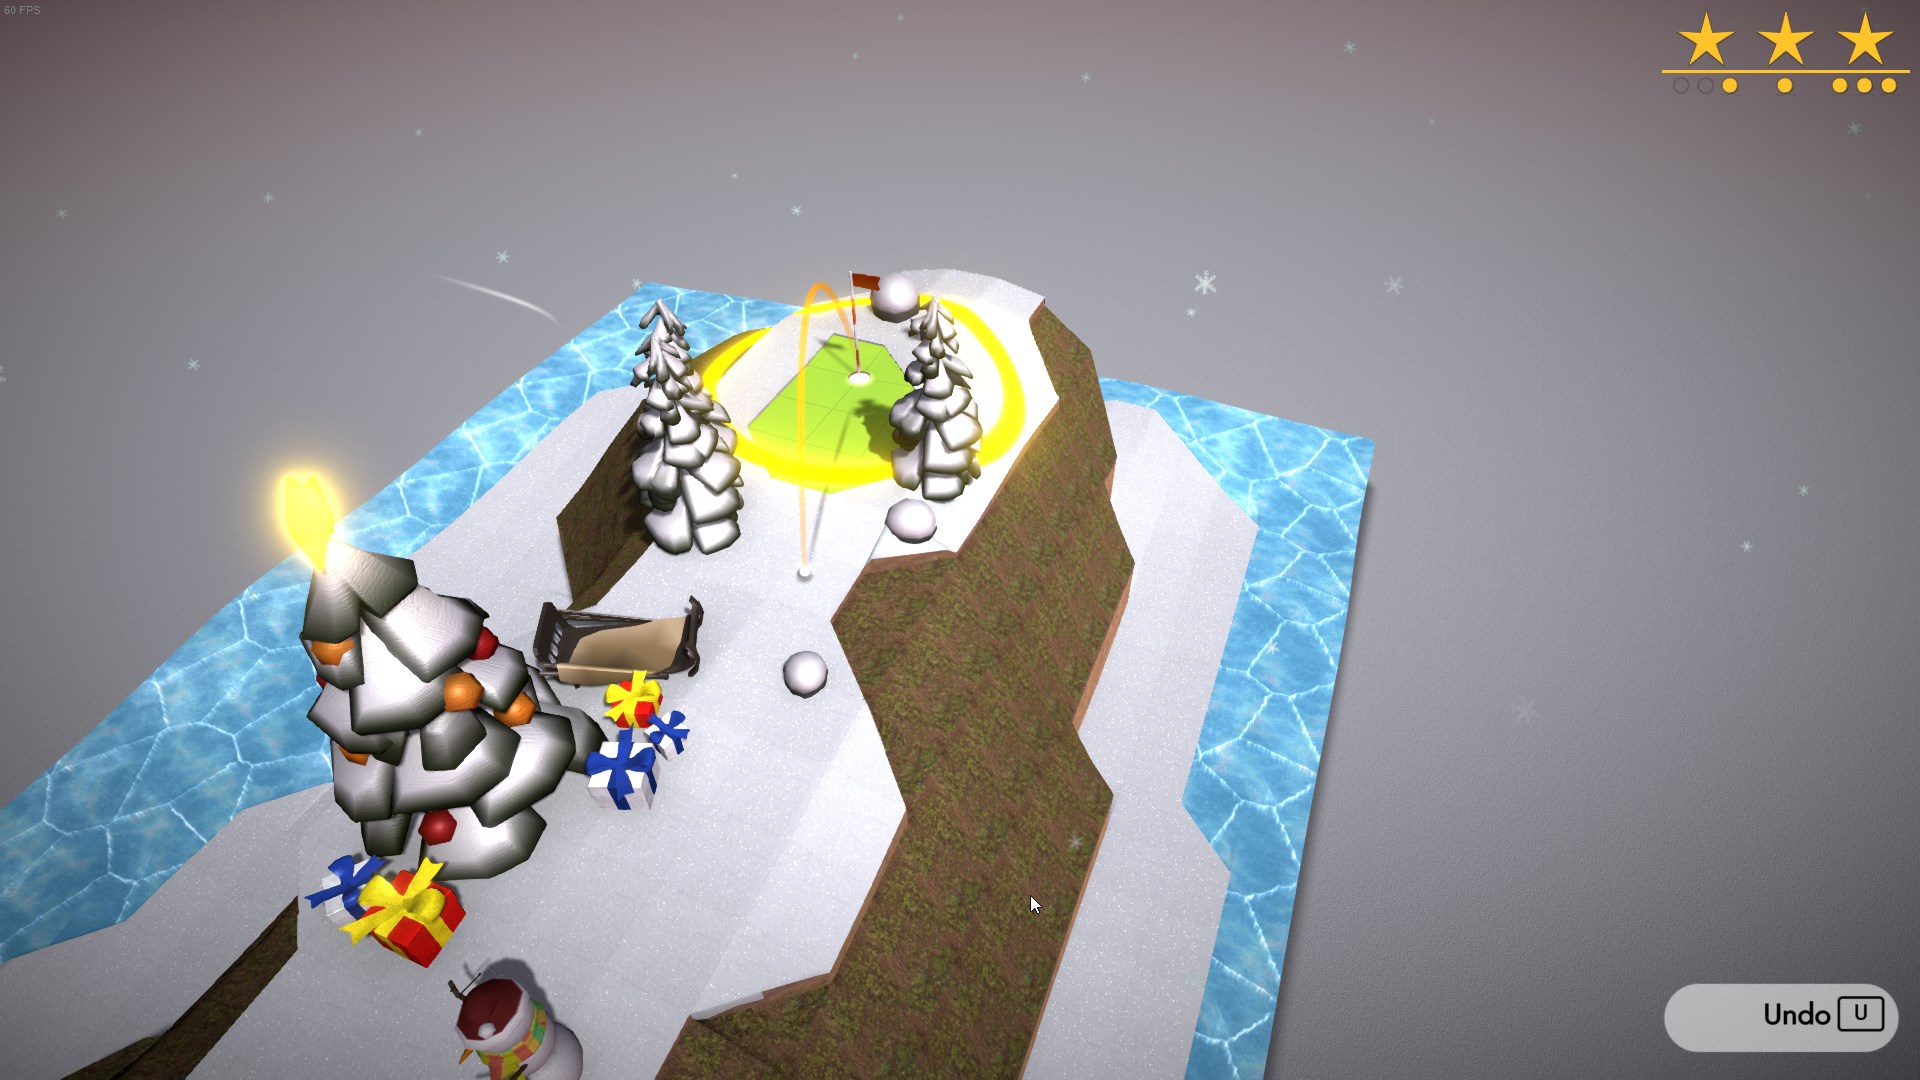
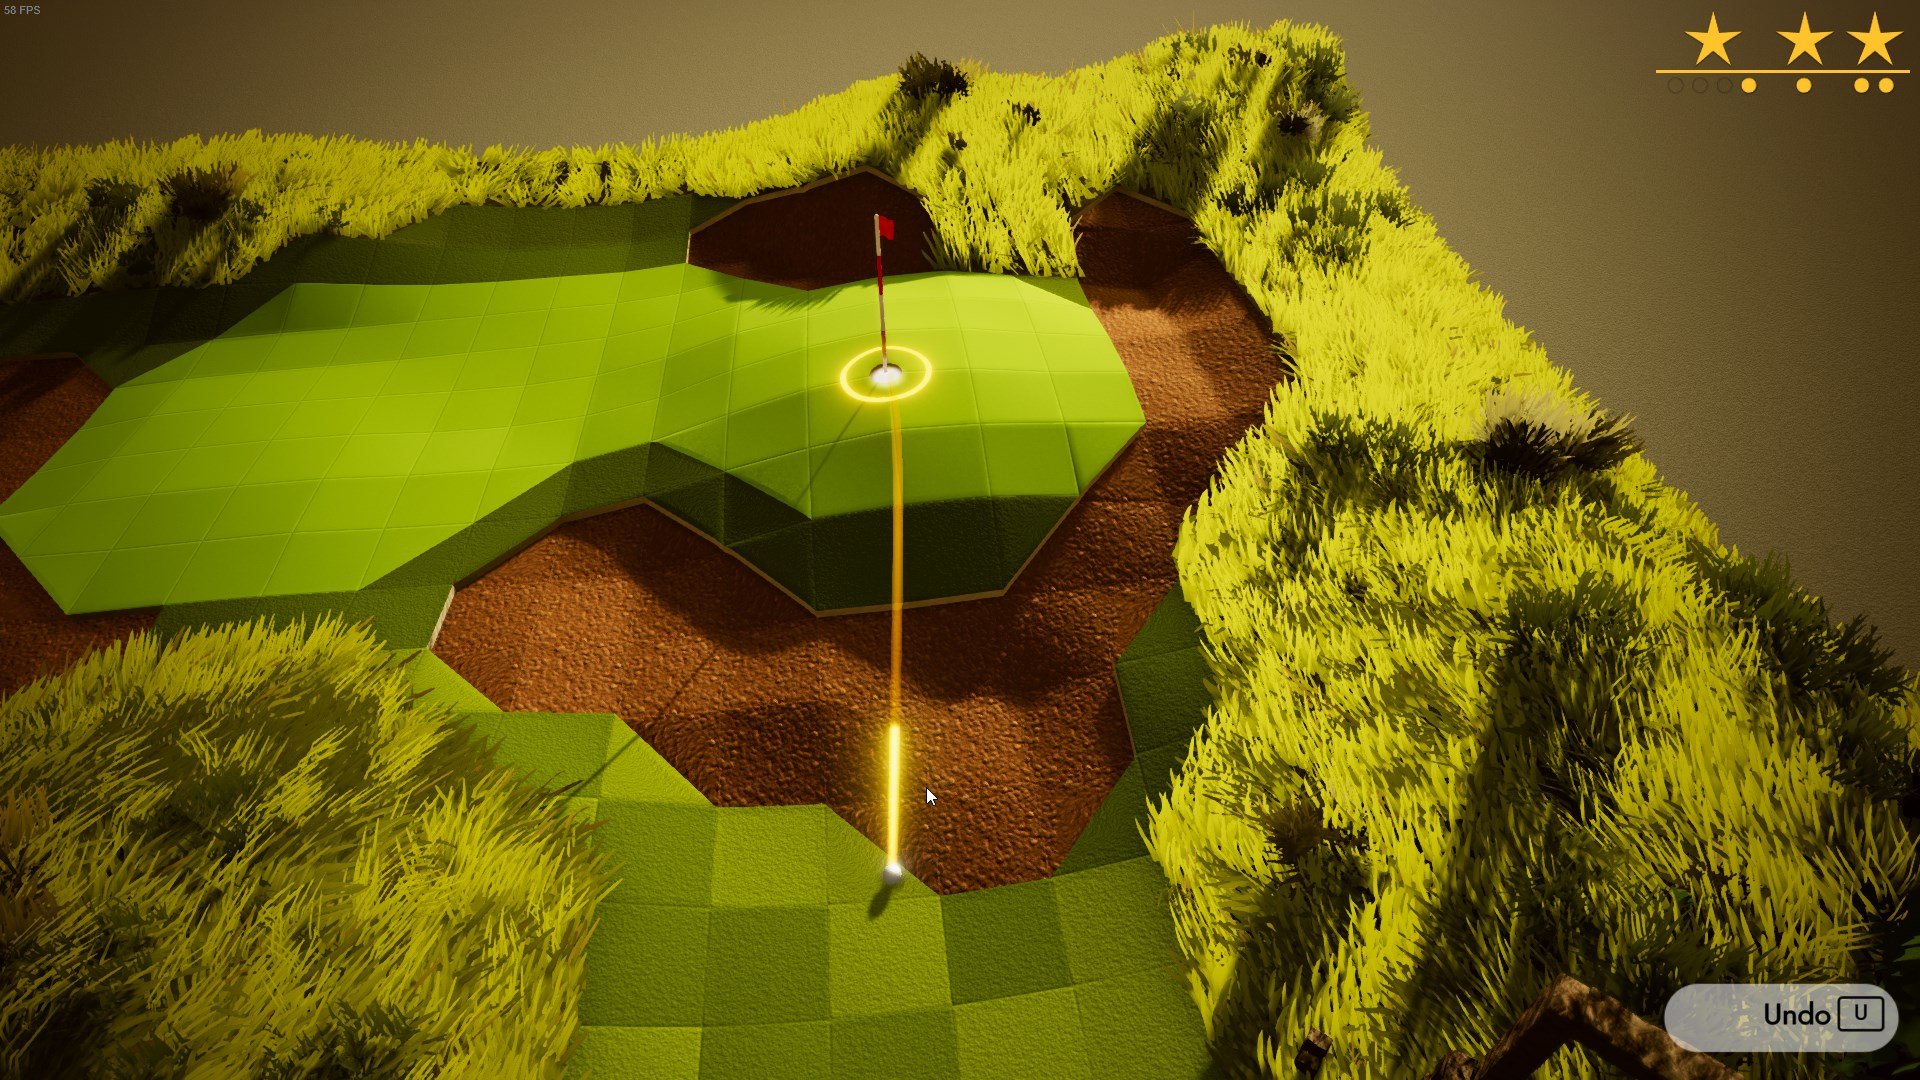
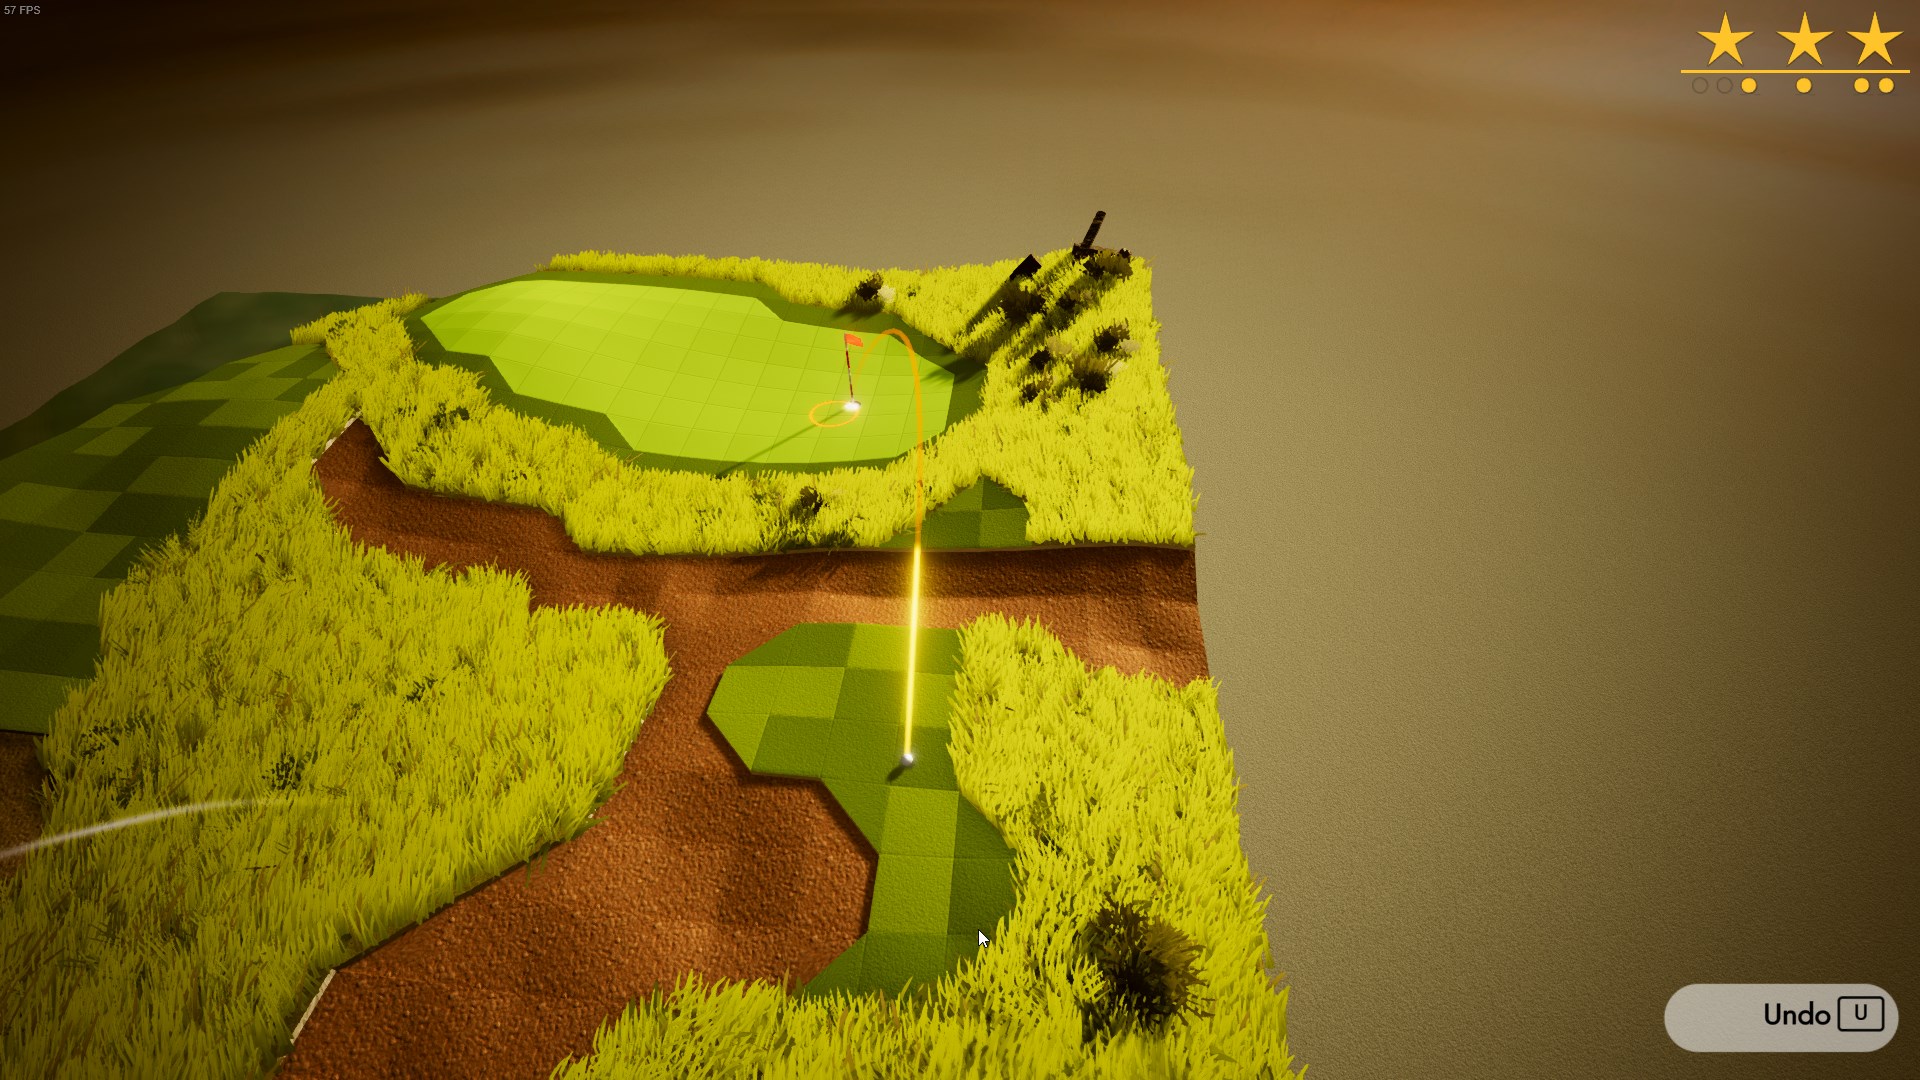
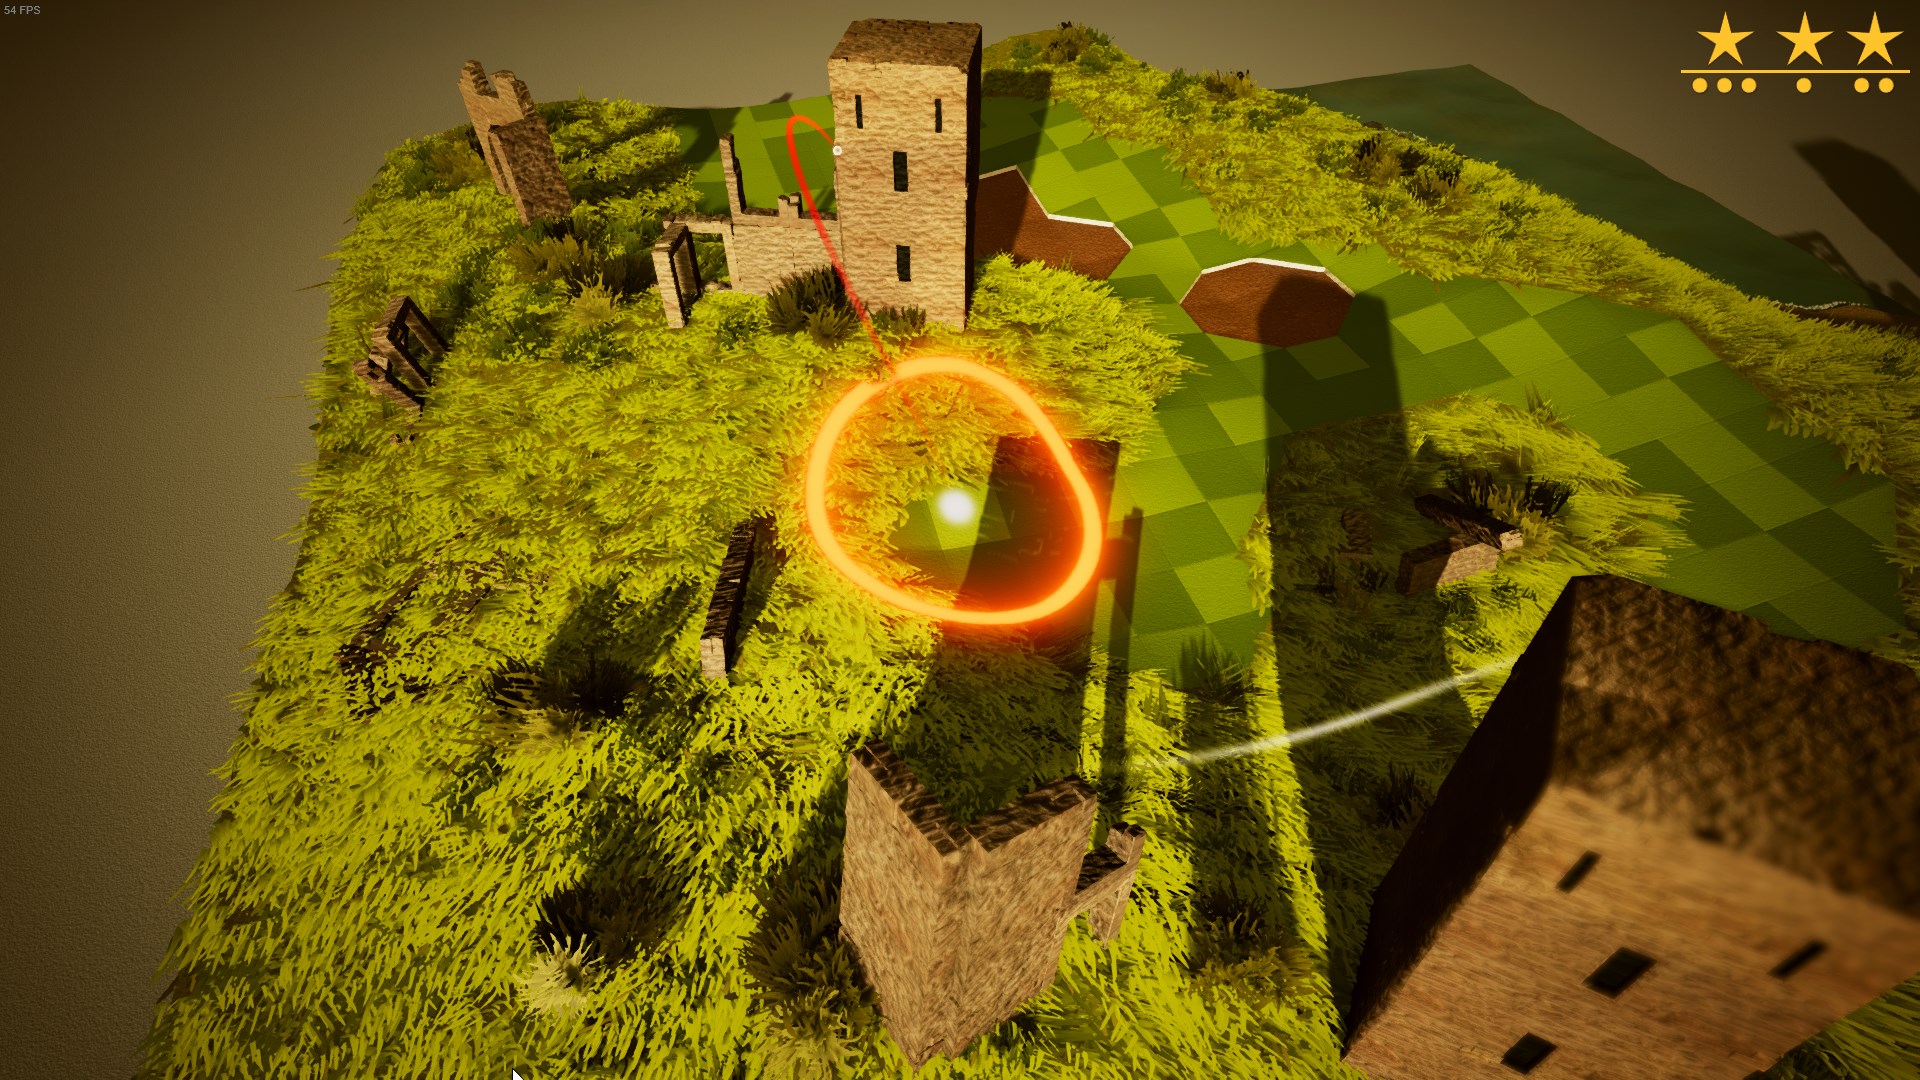
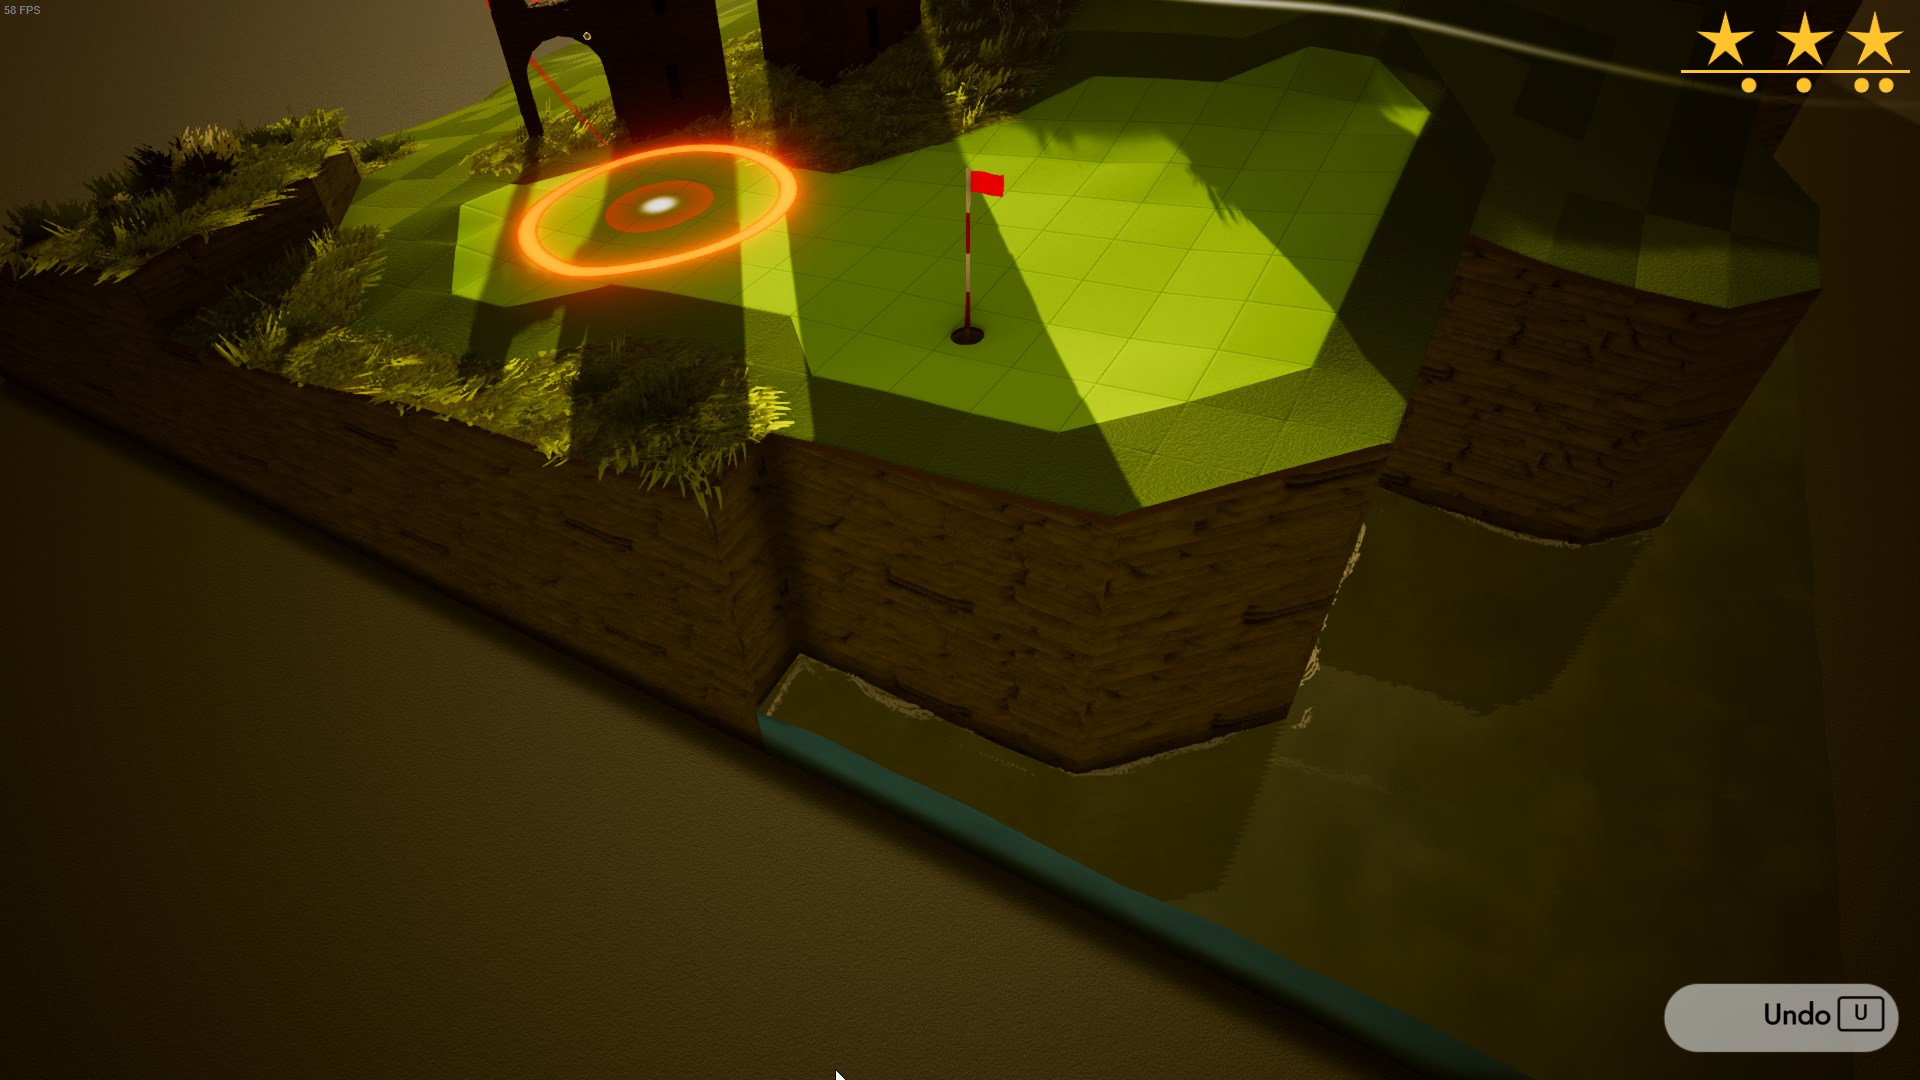
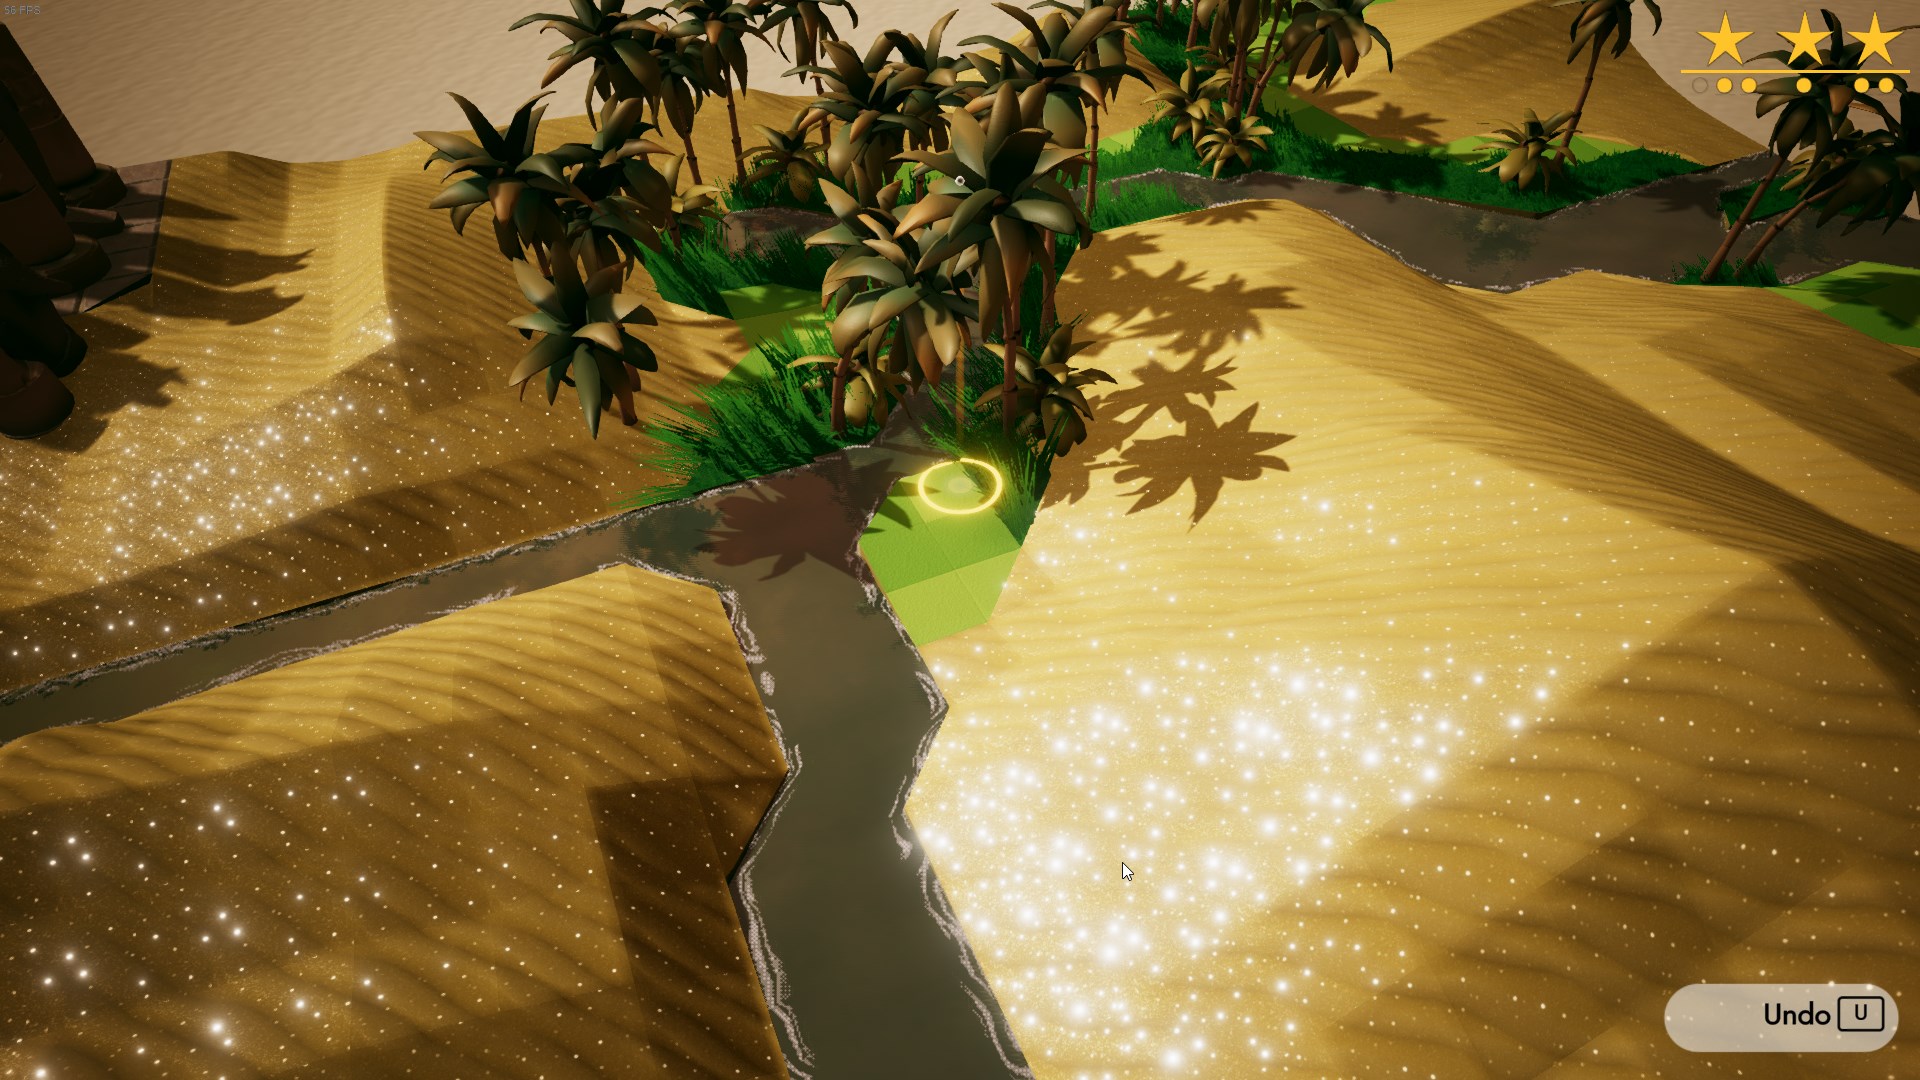
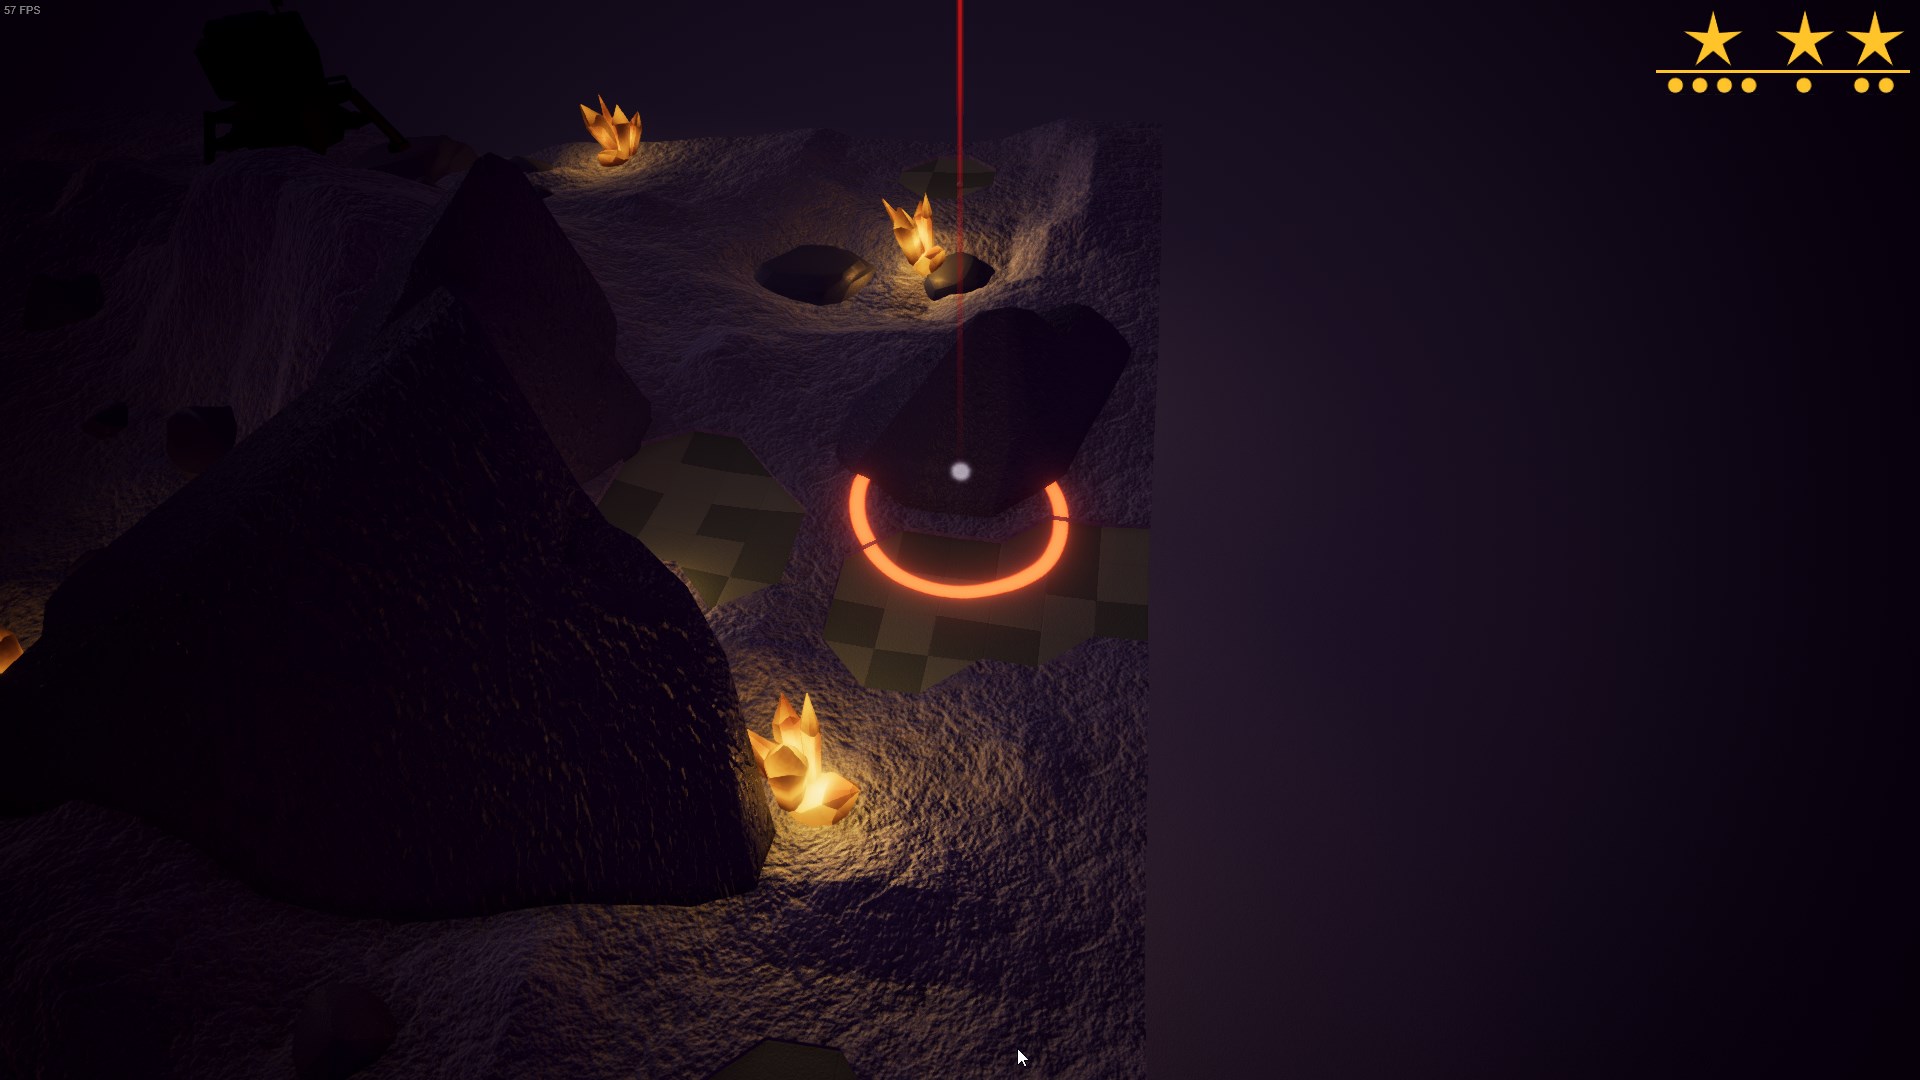
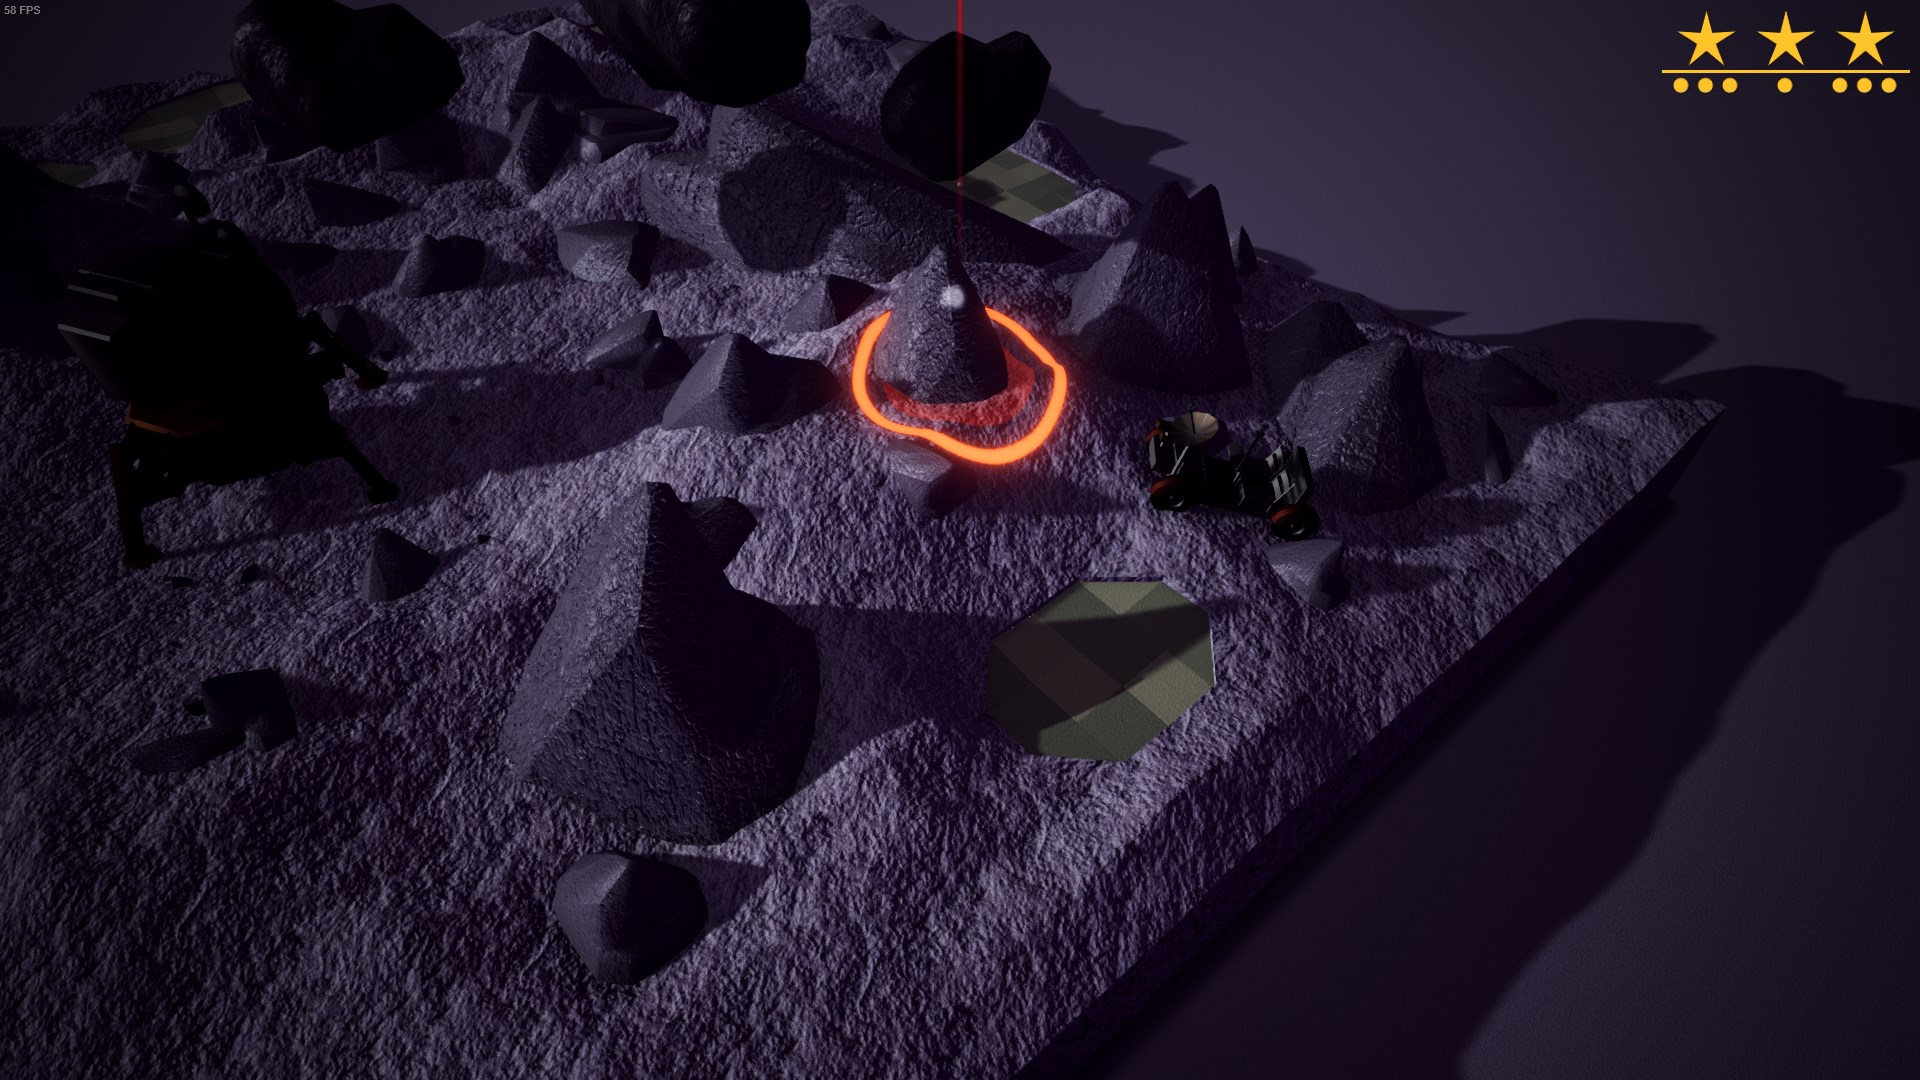
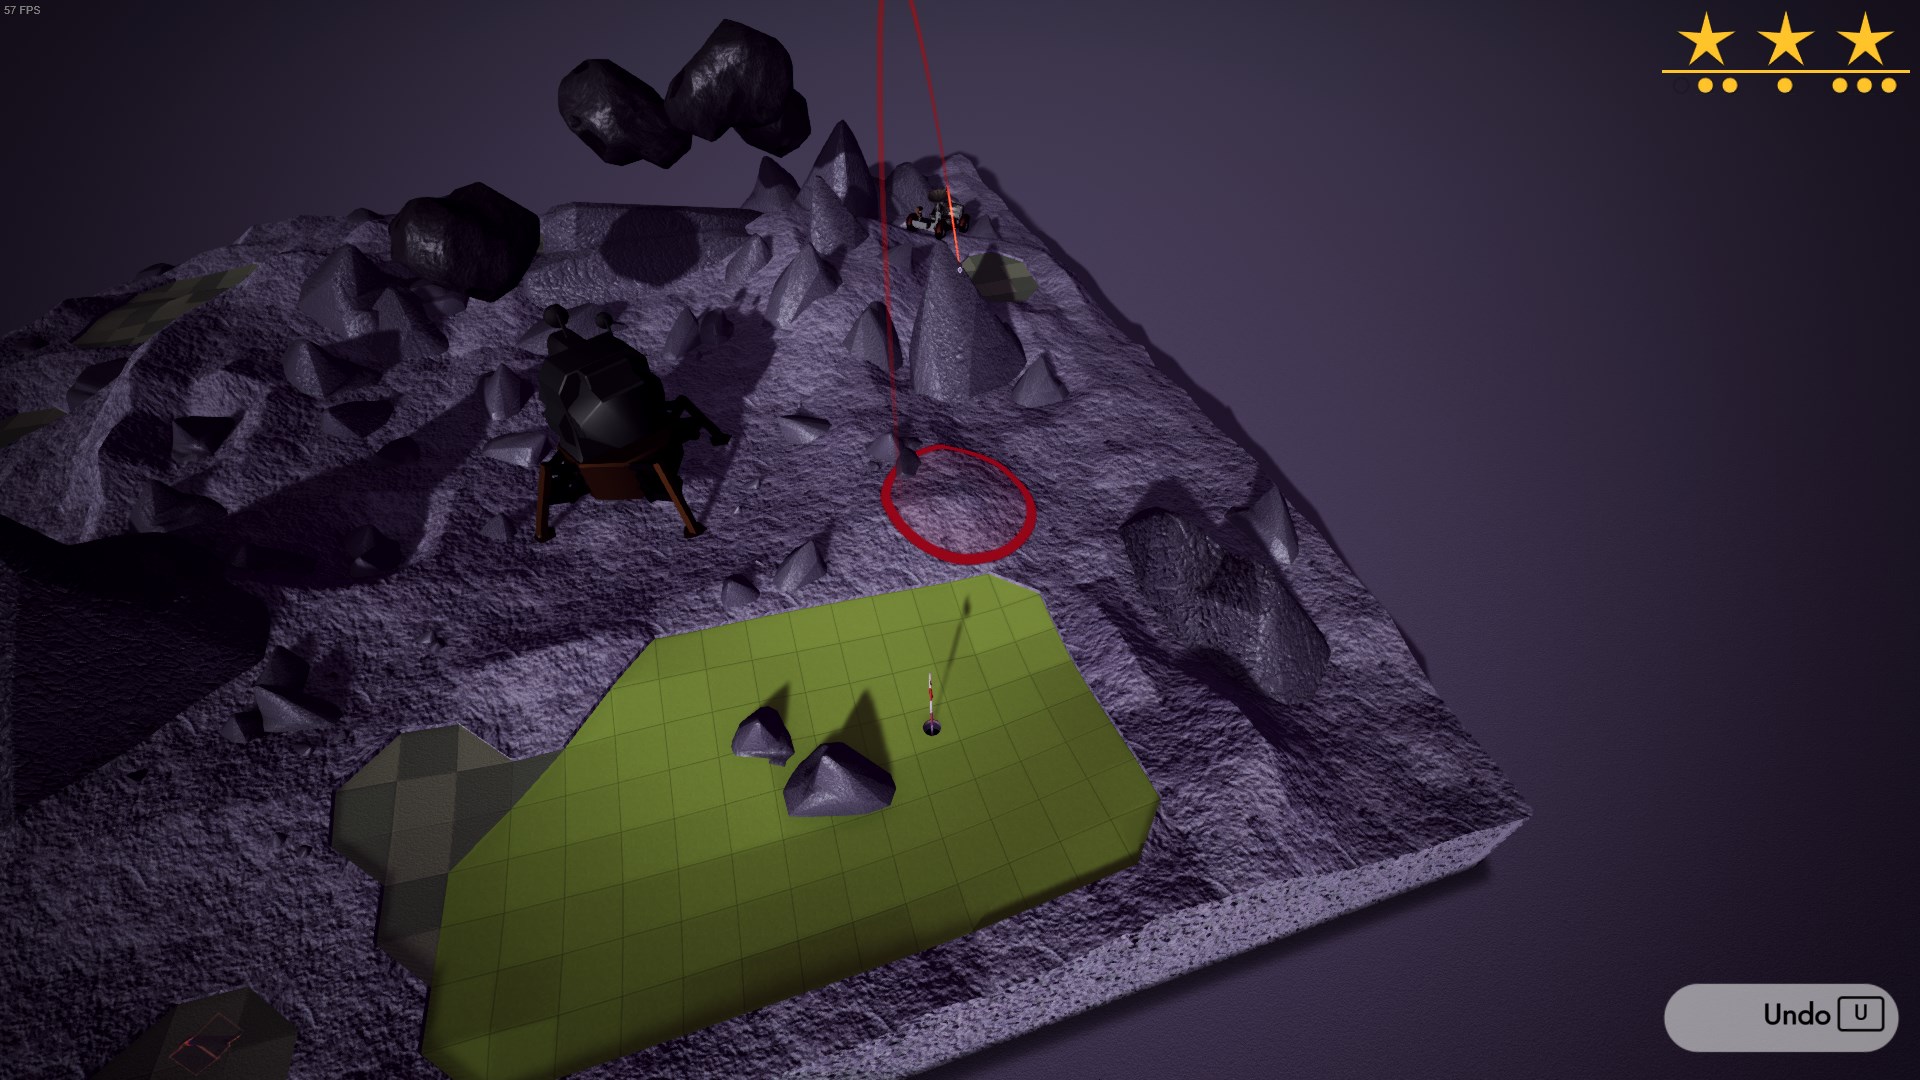
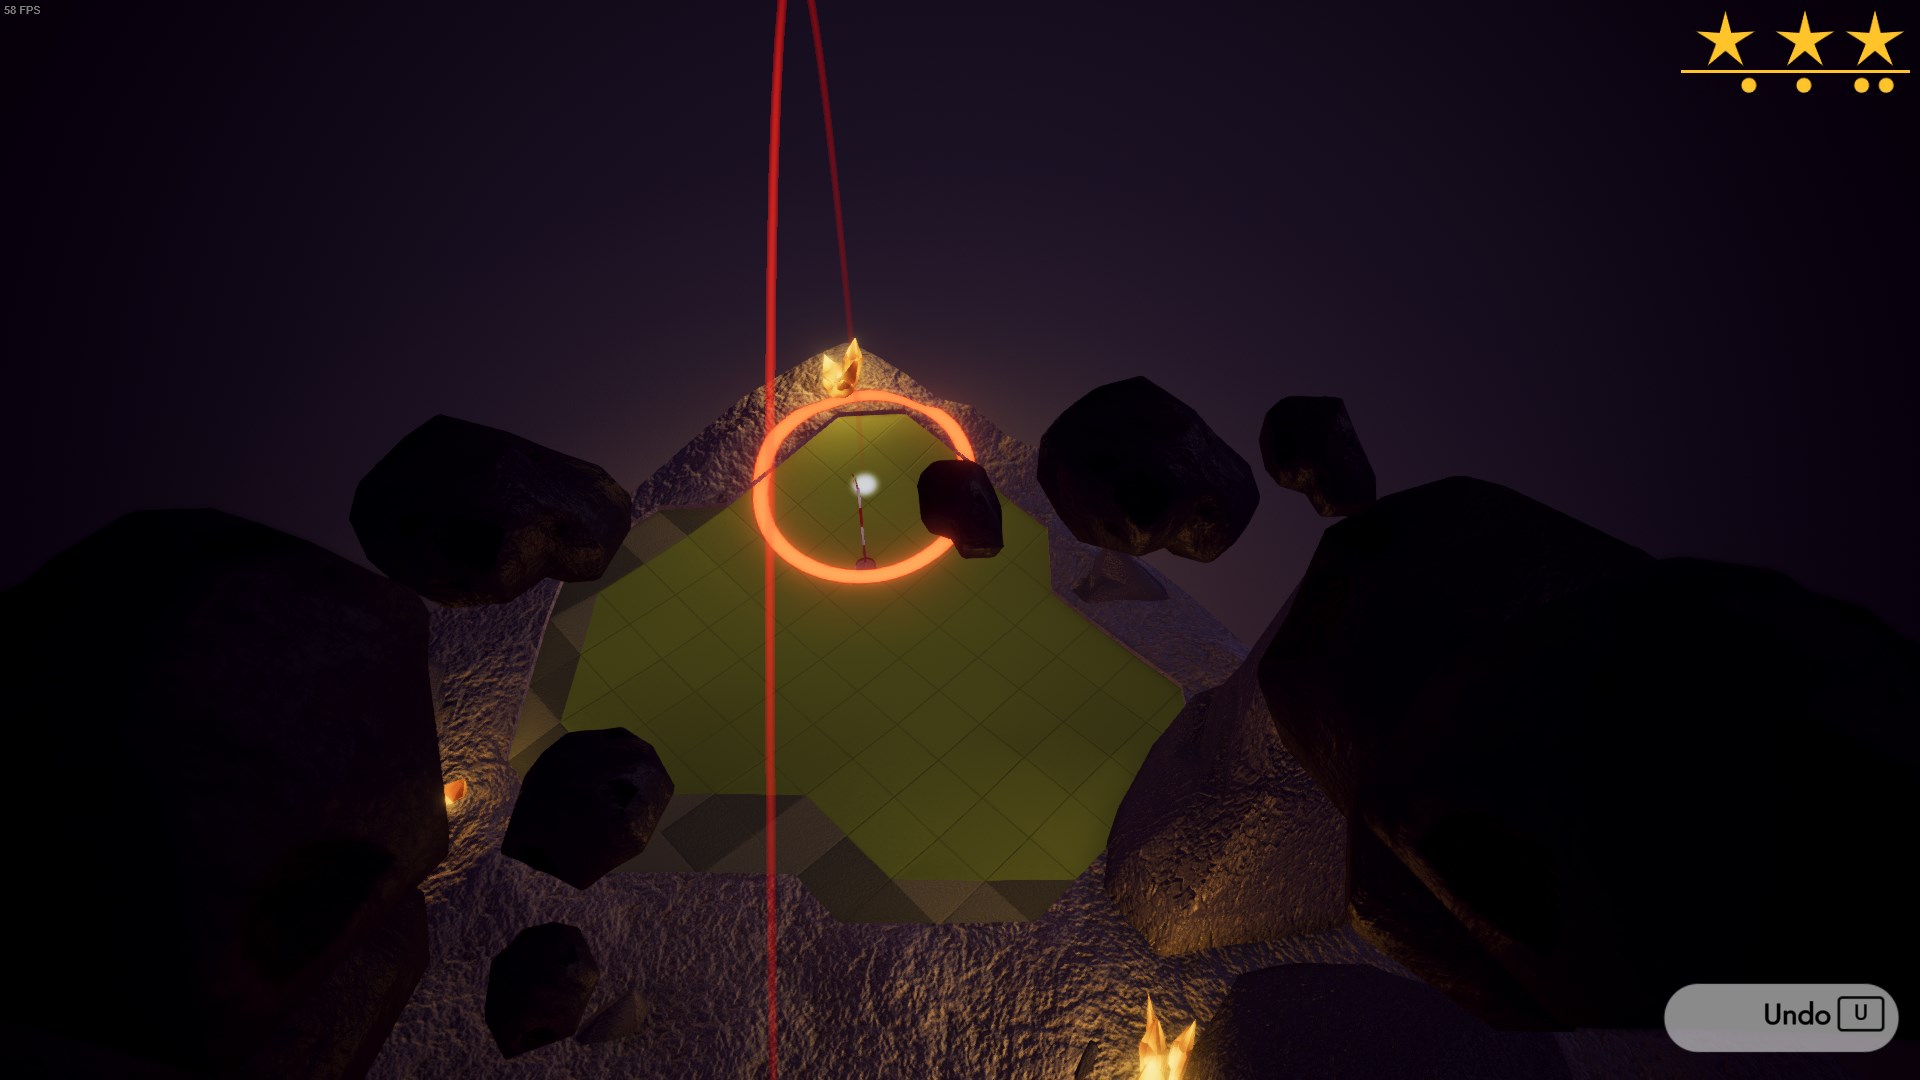
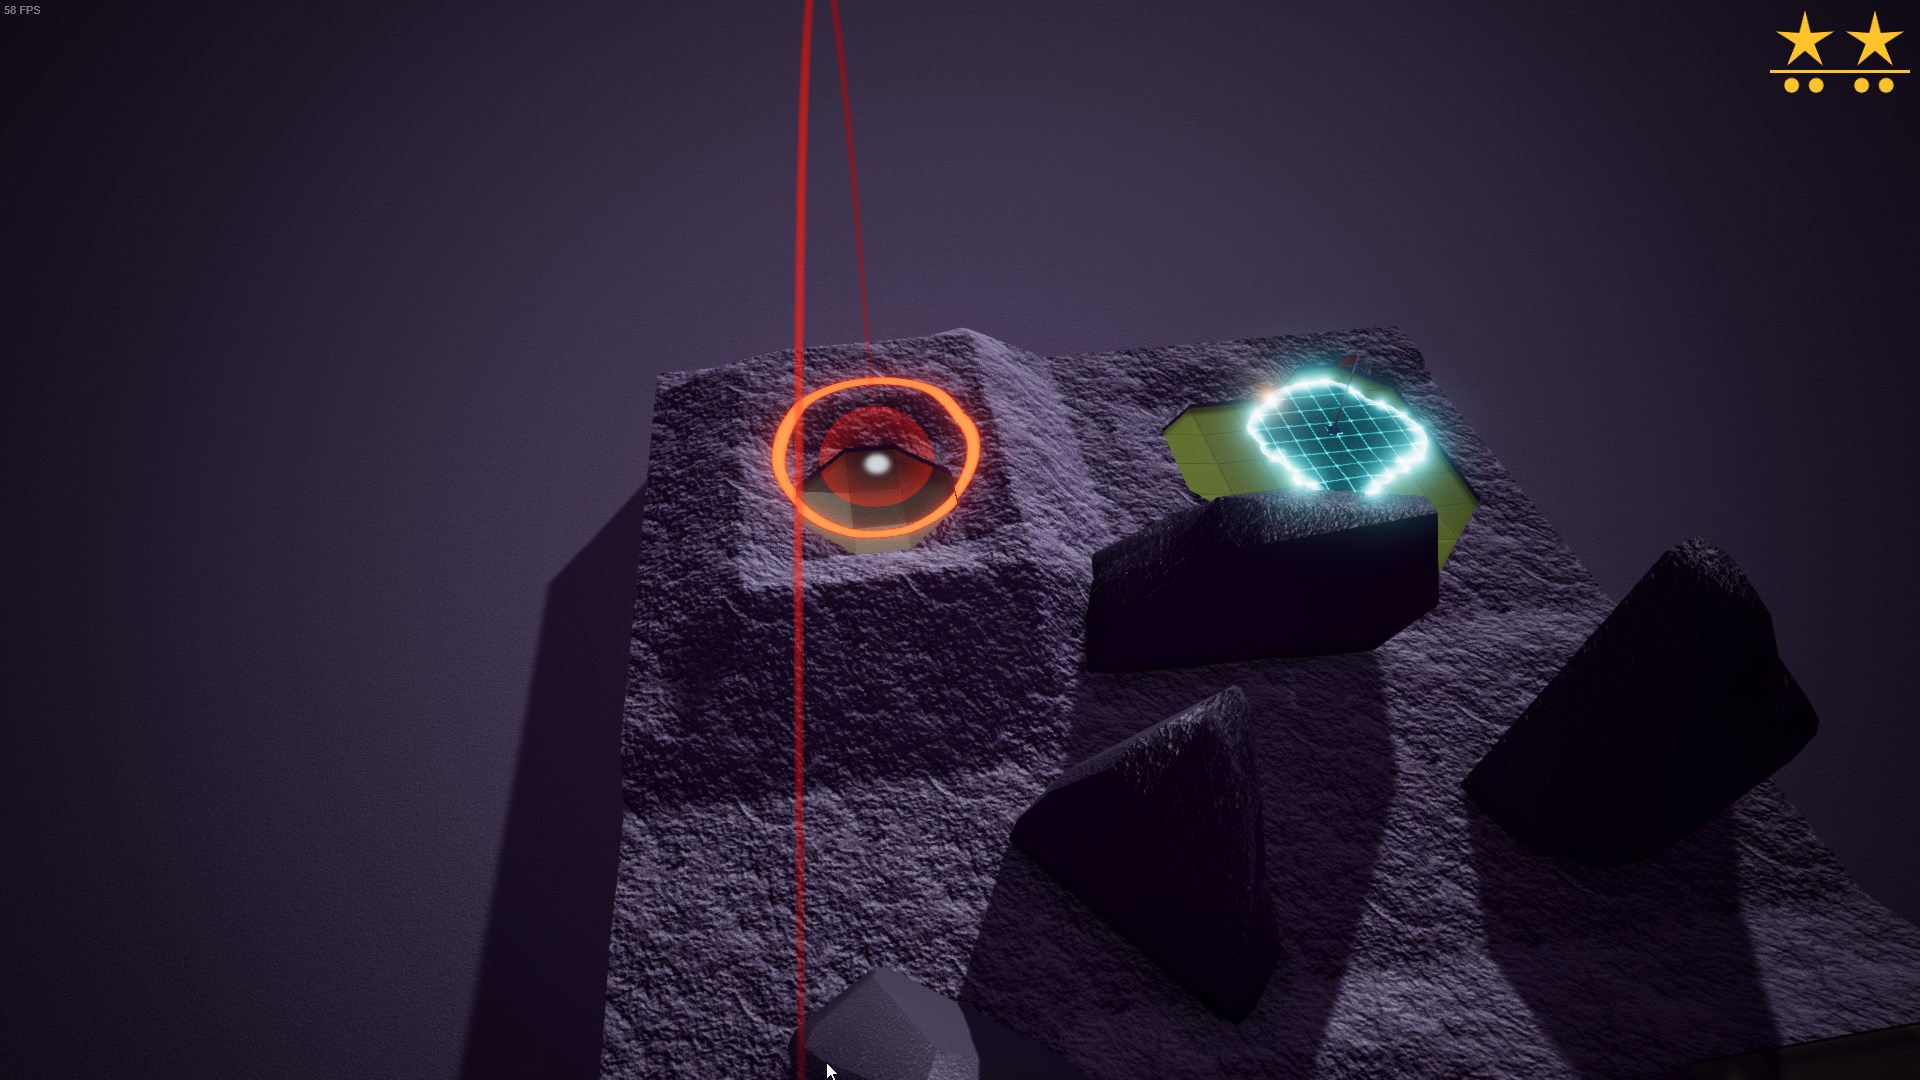
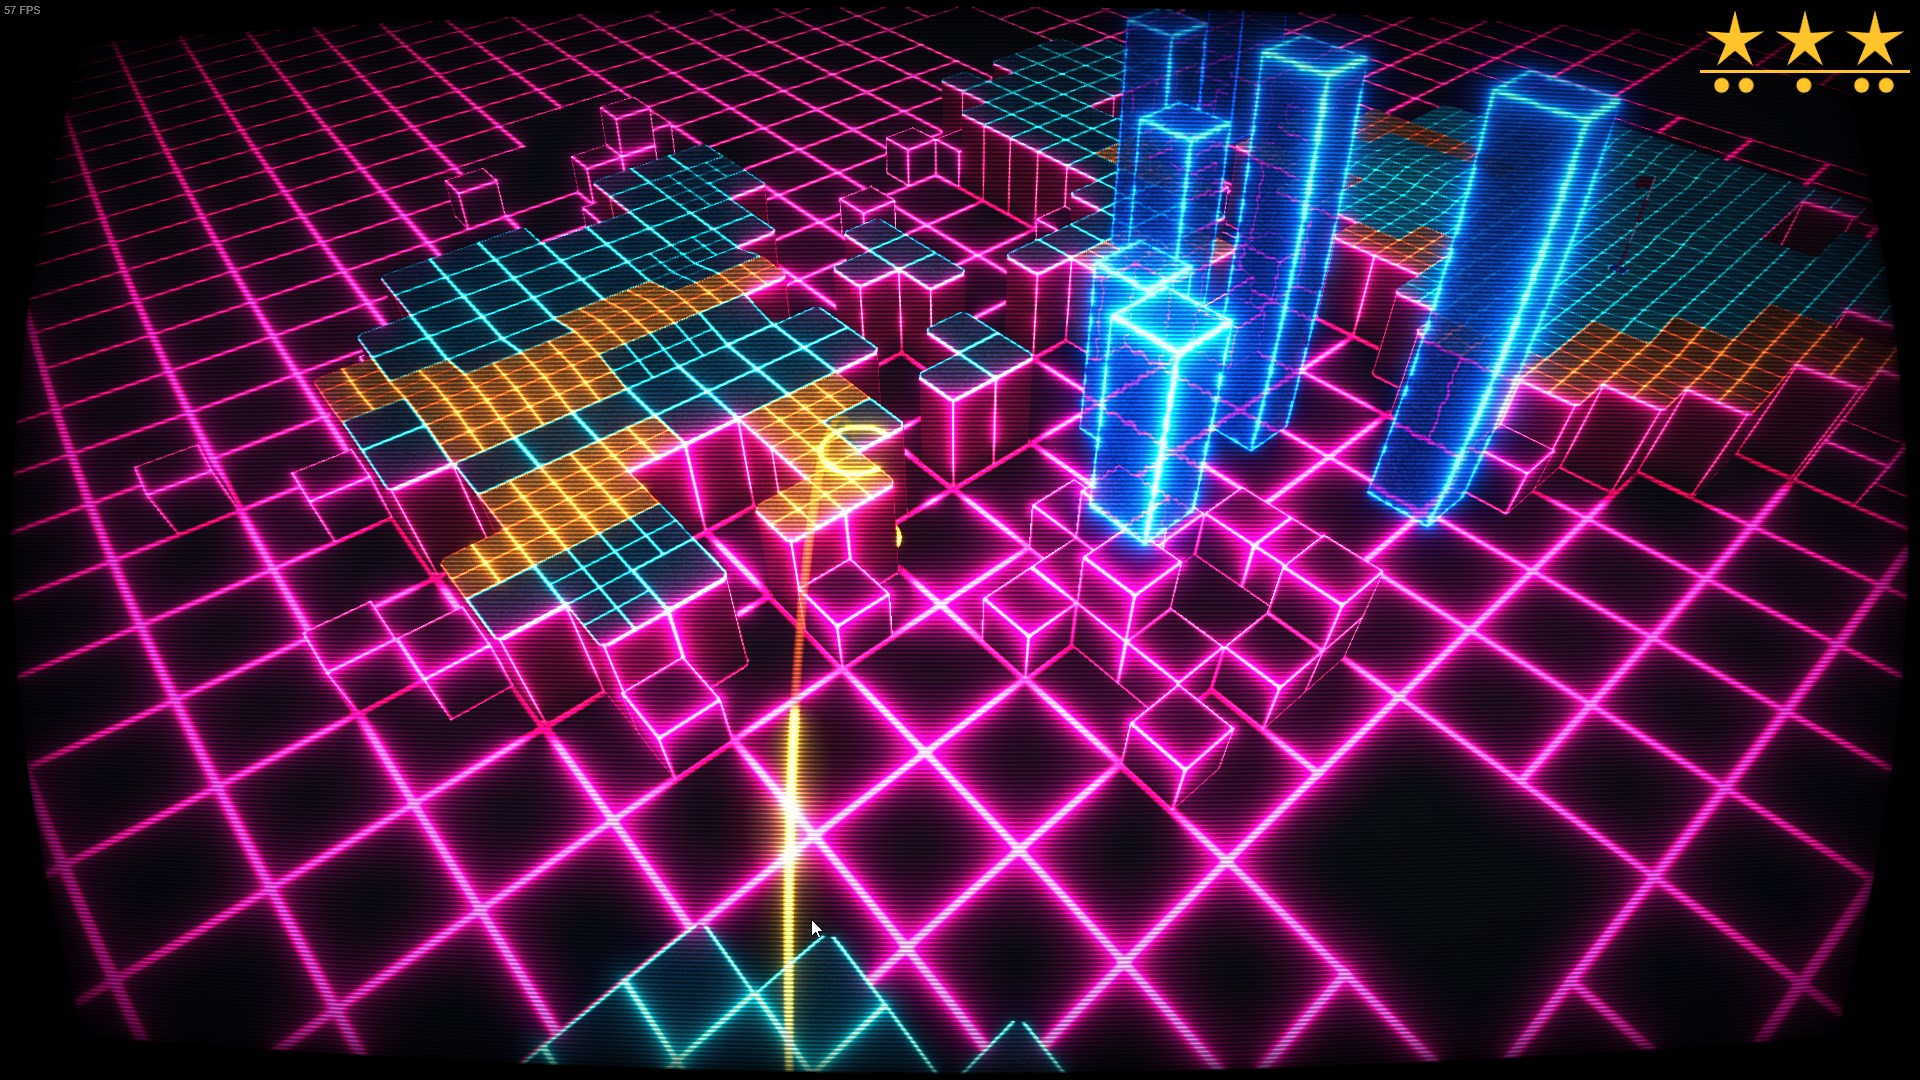
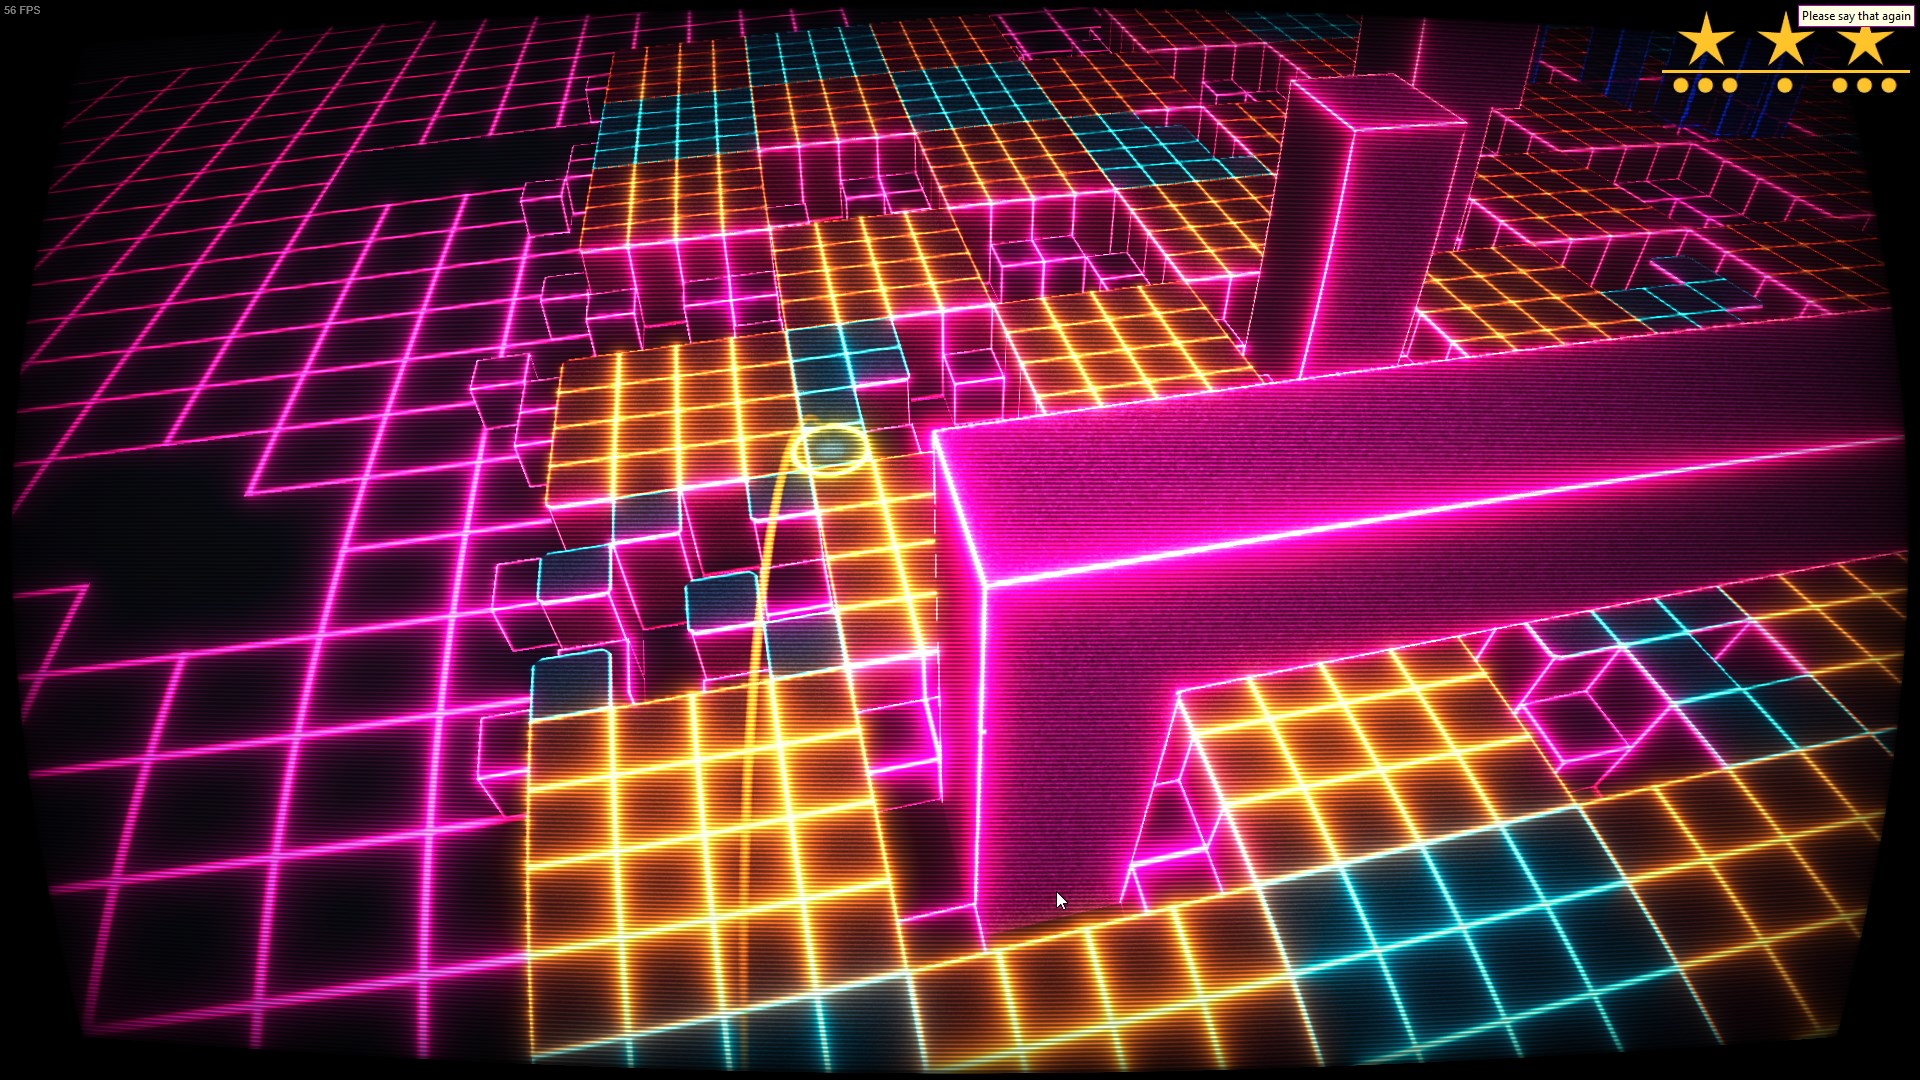
In the screenshots, for a stabilized shot the outer circle will glow brightly. Otherwise it’s dark. For the first few levels I didn’t use this technique of not stabilizing as I didn’t know it existed, which makes some of the shots there needlessly difficult. You can use the no-stabilization technique here at your own discretion to make them easier.
World 1 – The Doorway to the Lighthouse
Combined with the slope, this shot should give you enough momentum to roll straight to the flag.
The ball should bounce towards the right and end up just between the bunker and the rocks.
This shot can be a little trial-and-error due to the slopes, but it’s doable.
This shot is tricky, the ball has to land in the corner as close to the edge of the water as possible, or you won’t be able to make the next shot.

You have to aim slightly to the left of the flag (right side in reverse view) to compensate for the bounce.
For this last shot, you need to aim slightly to the left due to the slope behind the flag.
This level is really difficult. I’m not sure if this is the intended method, but I tried for a while and found nothing that works better.
Give this shot just a tiny bit less than full power, so the ball doesn’t roll back as far from the slope at the end.

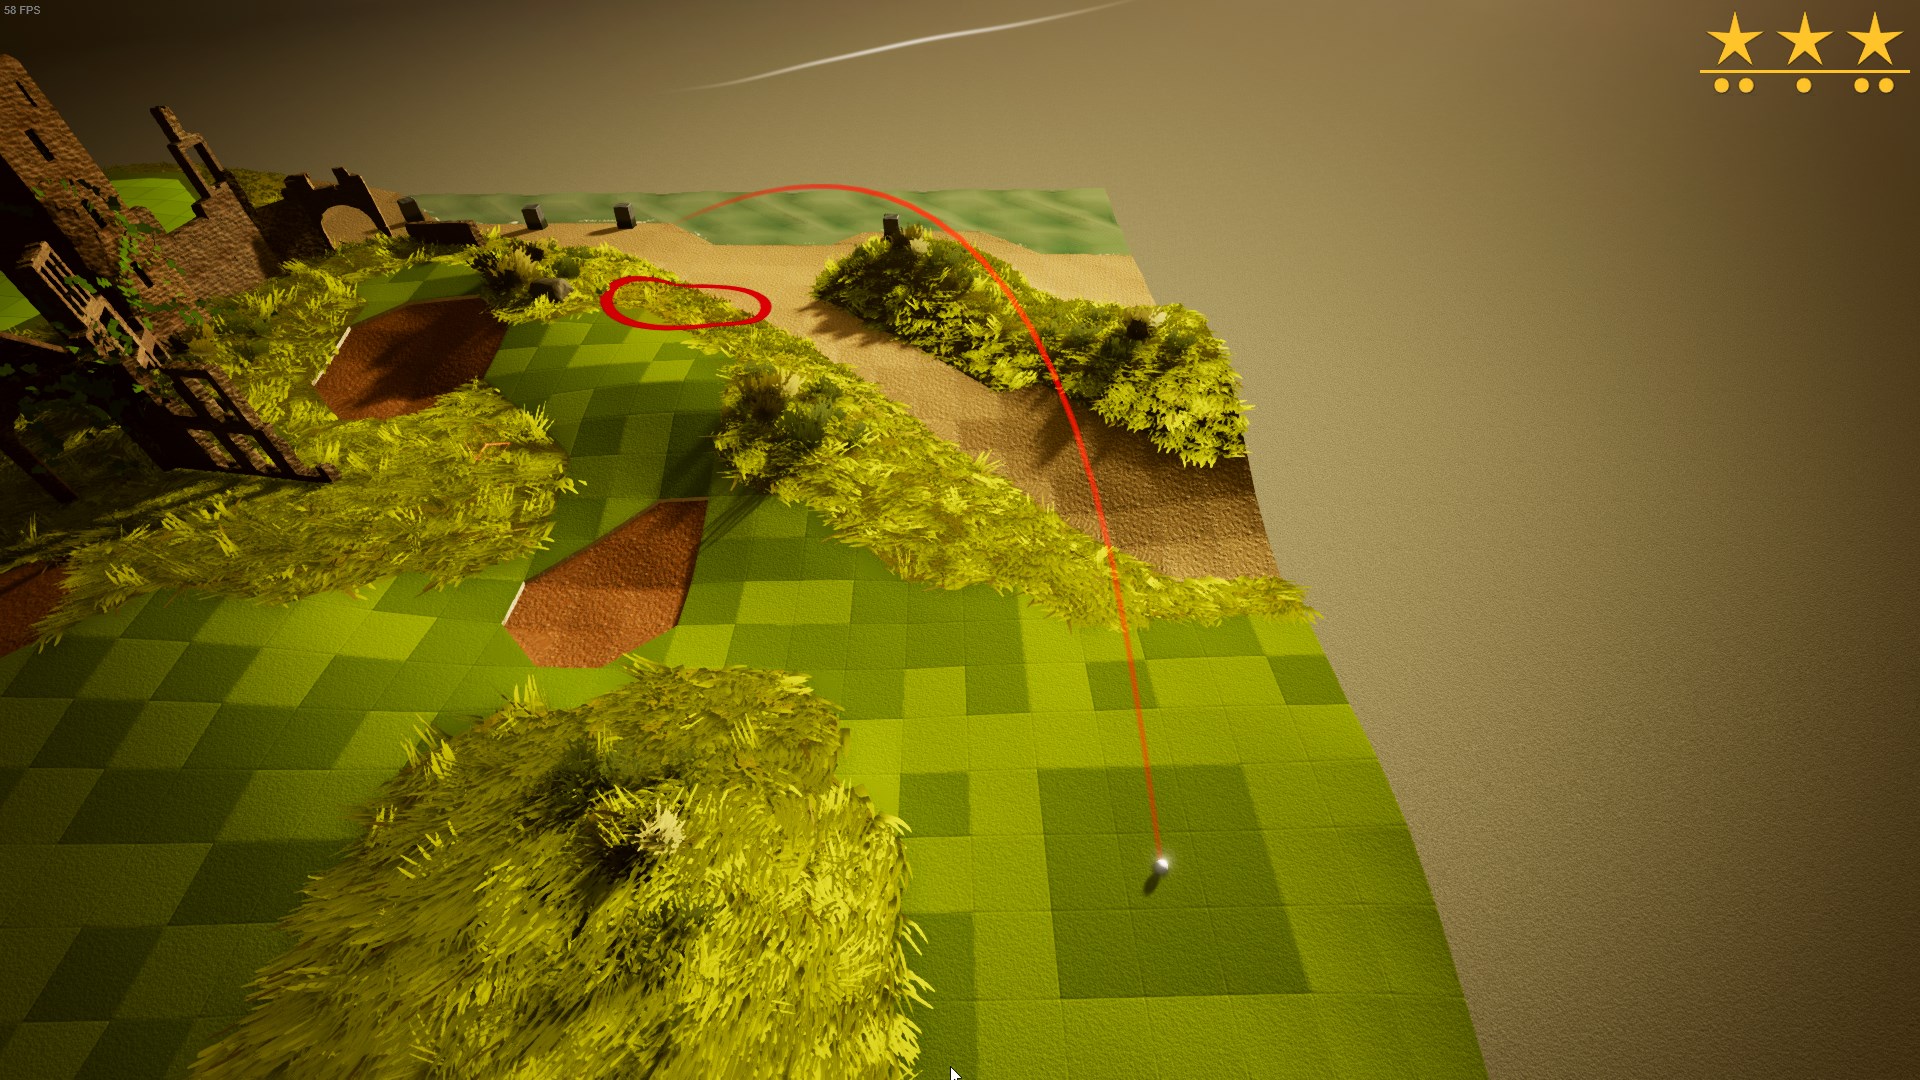
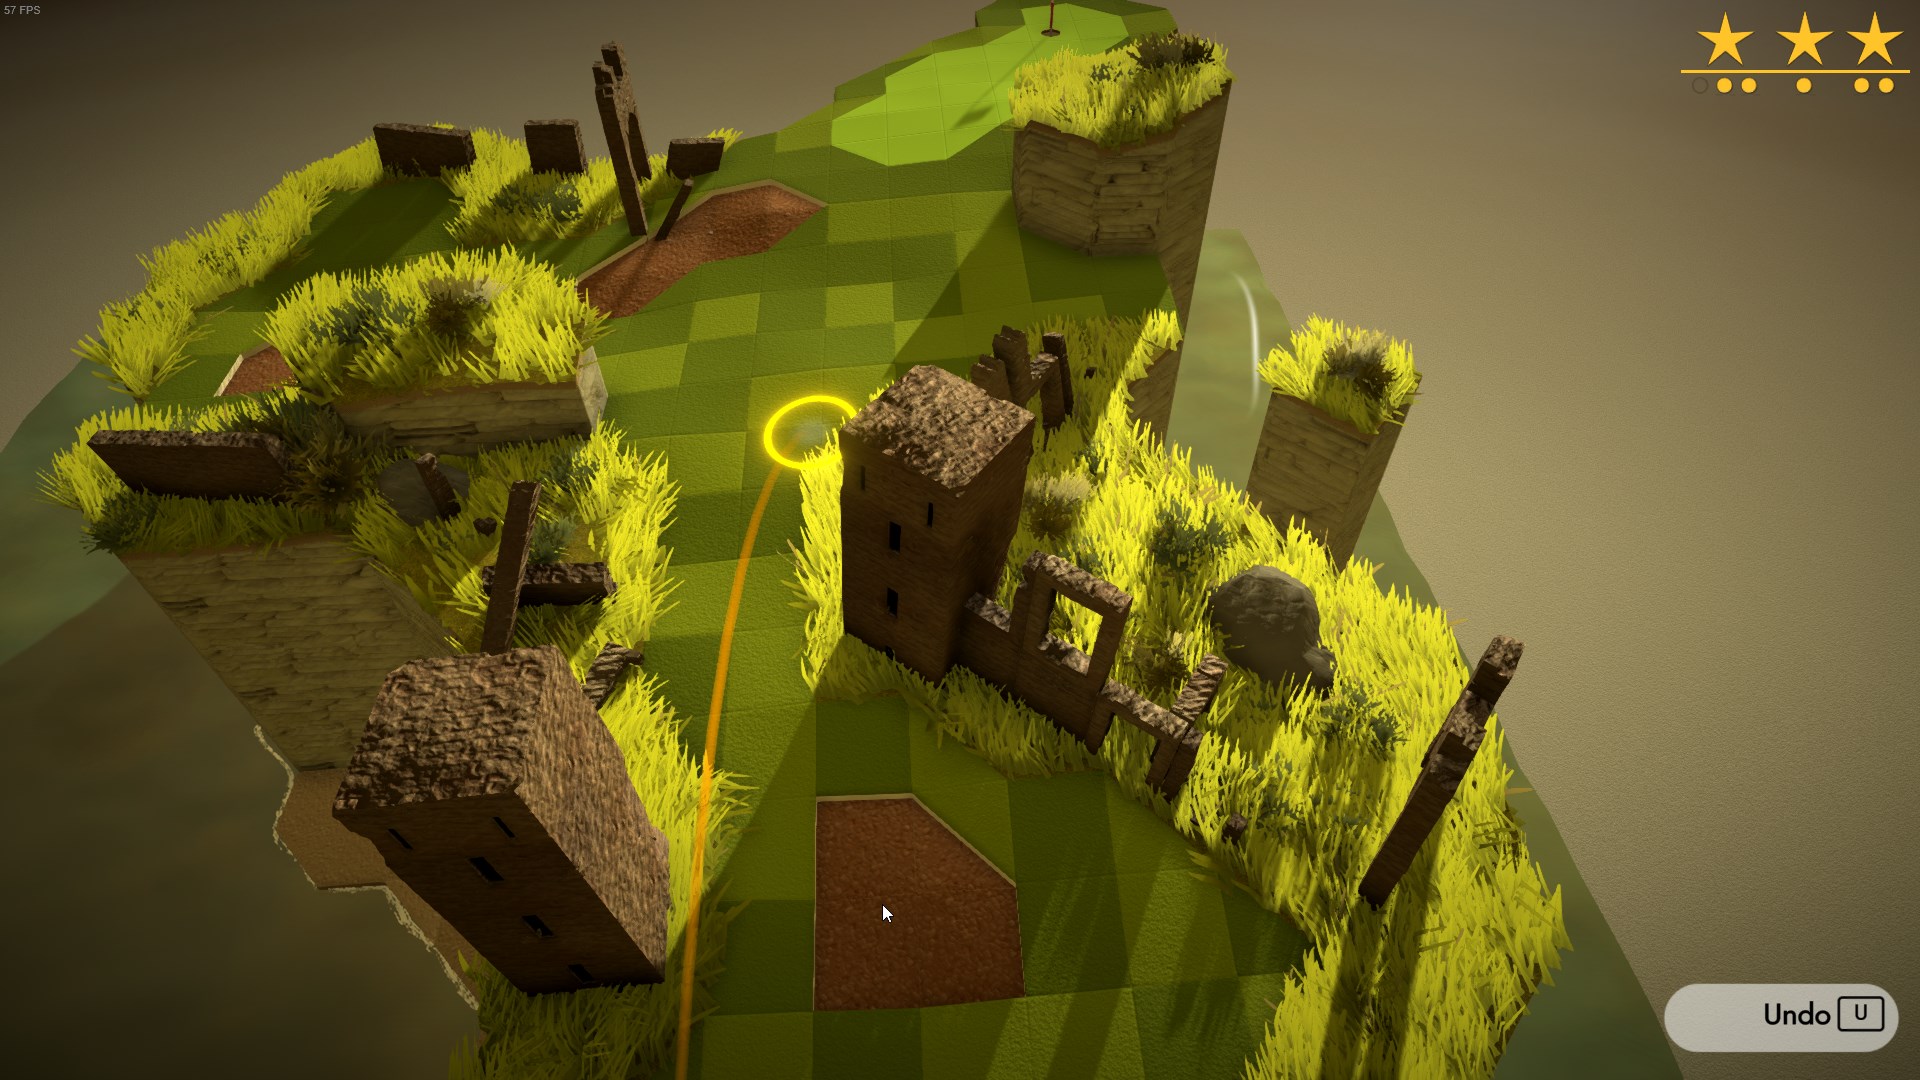
This is the hardest shot, you kinda just have to aim against the side of the cliff and hope your ball bounces on top of it without falling off. Try to use the sway of your shot to get the trajectory just on top, then time it.
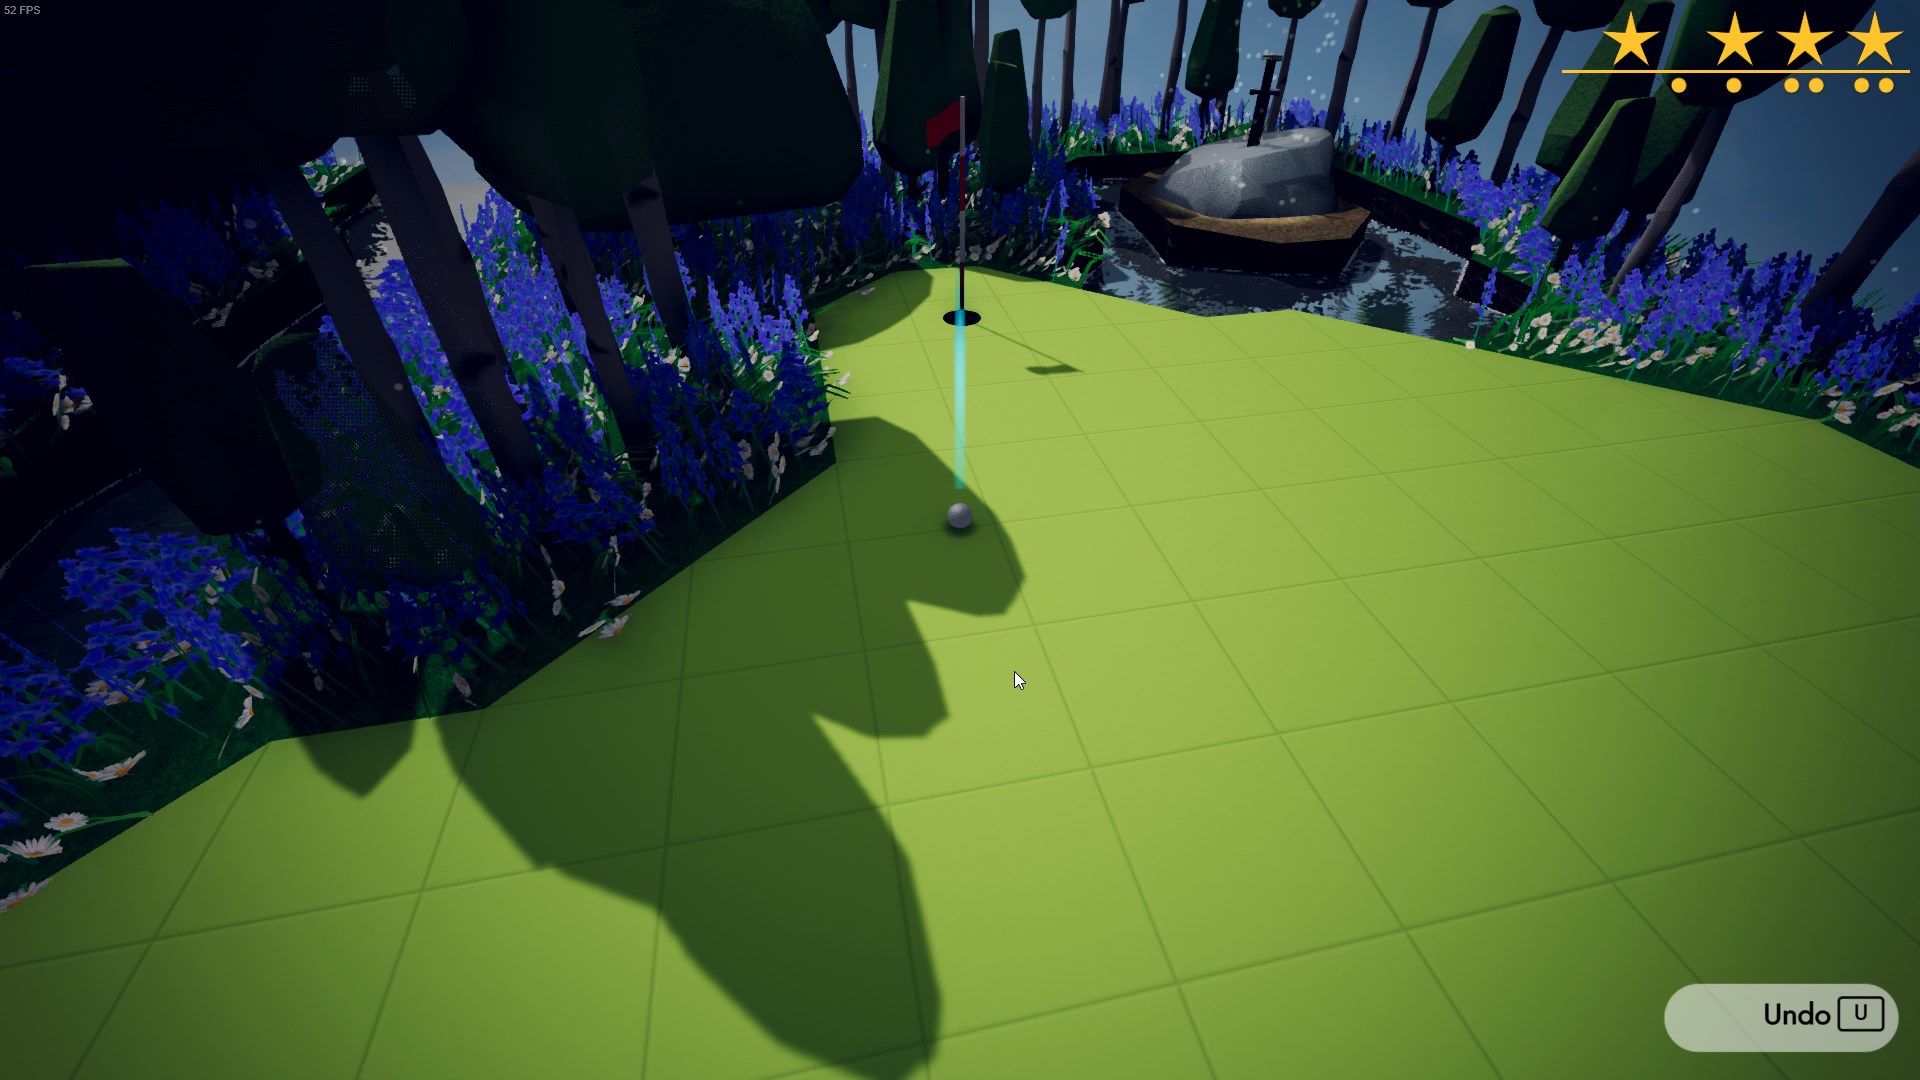
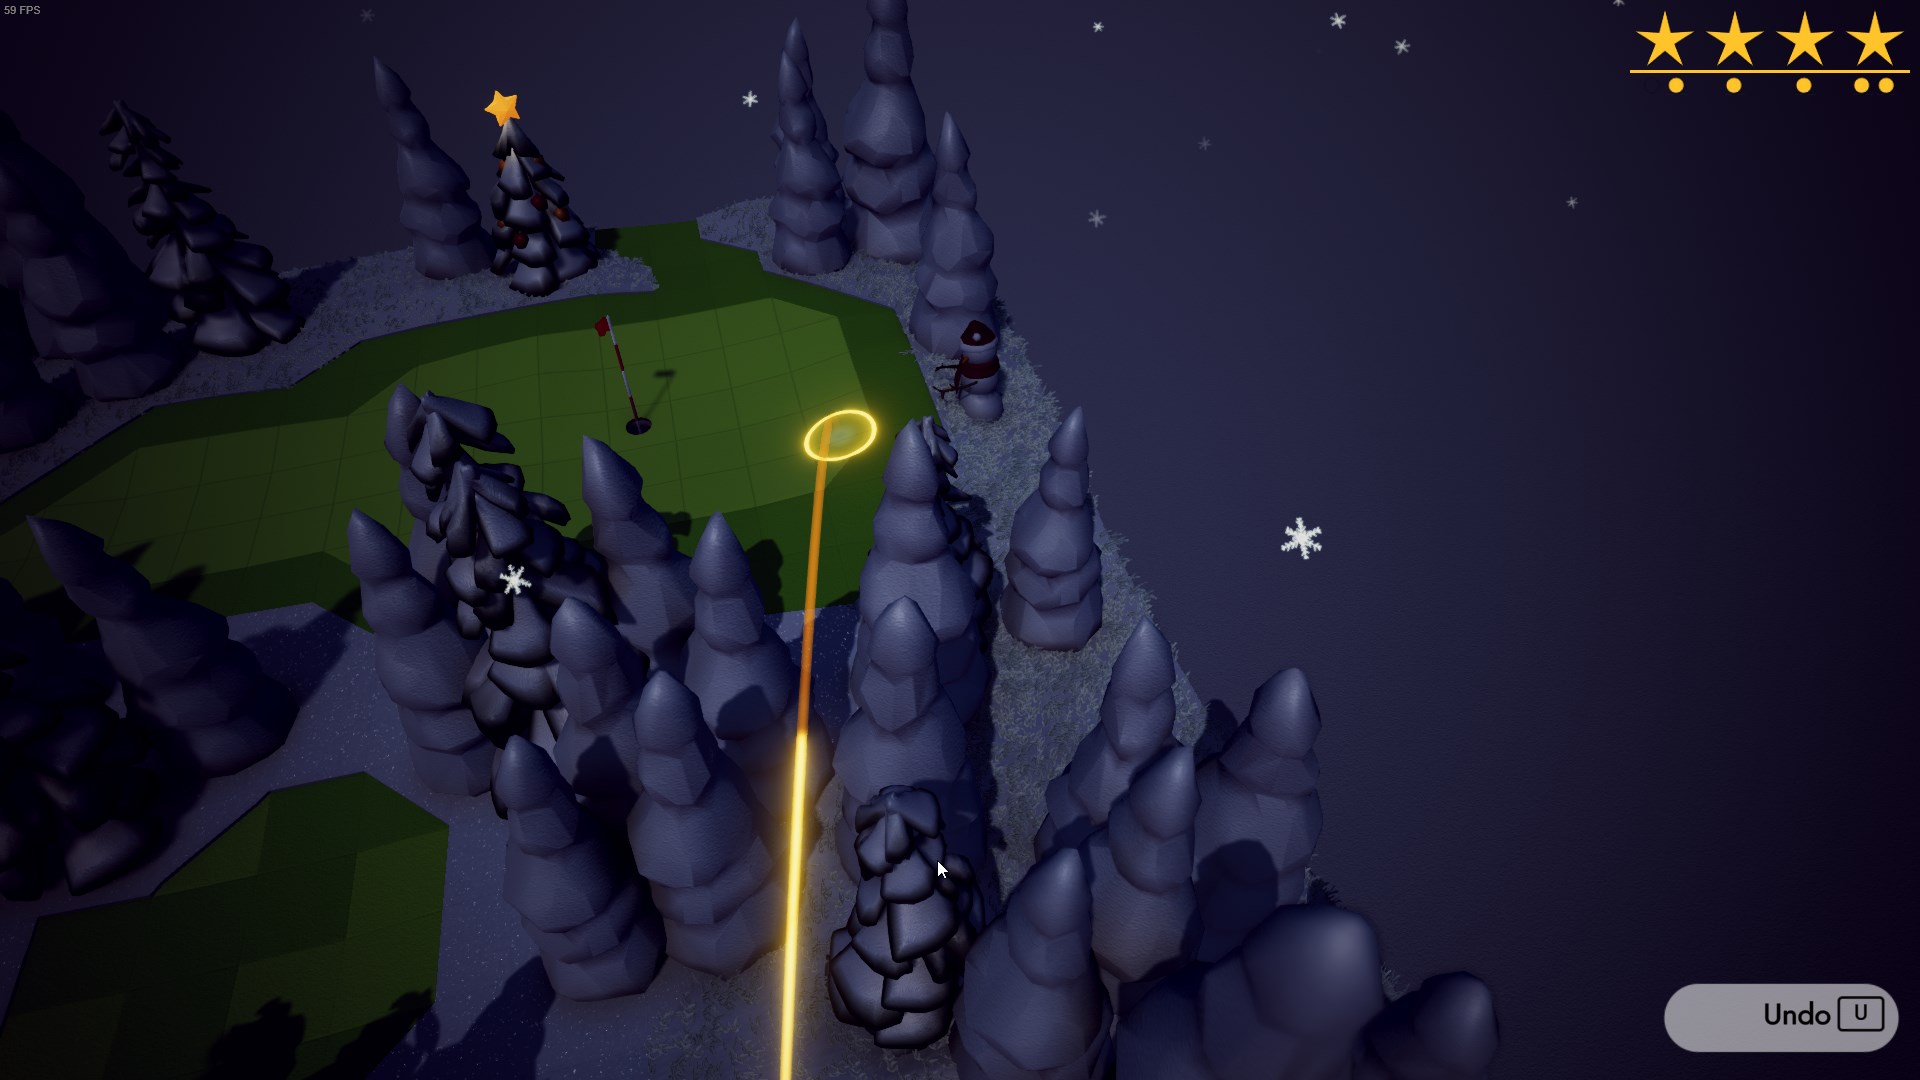
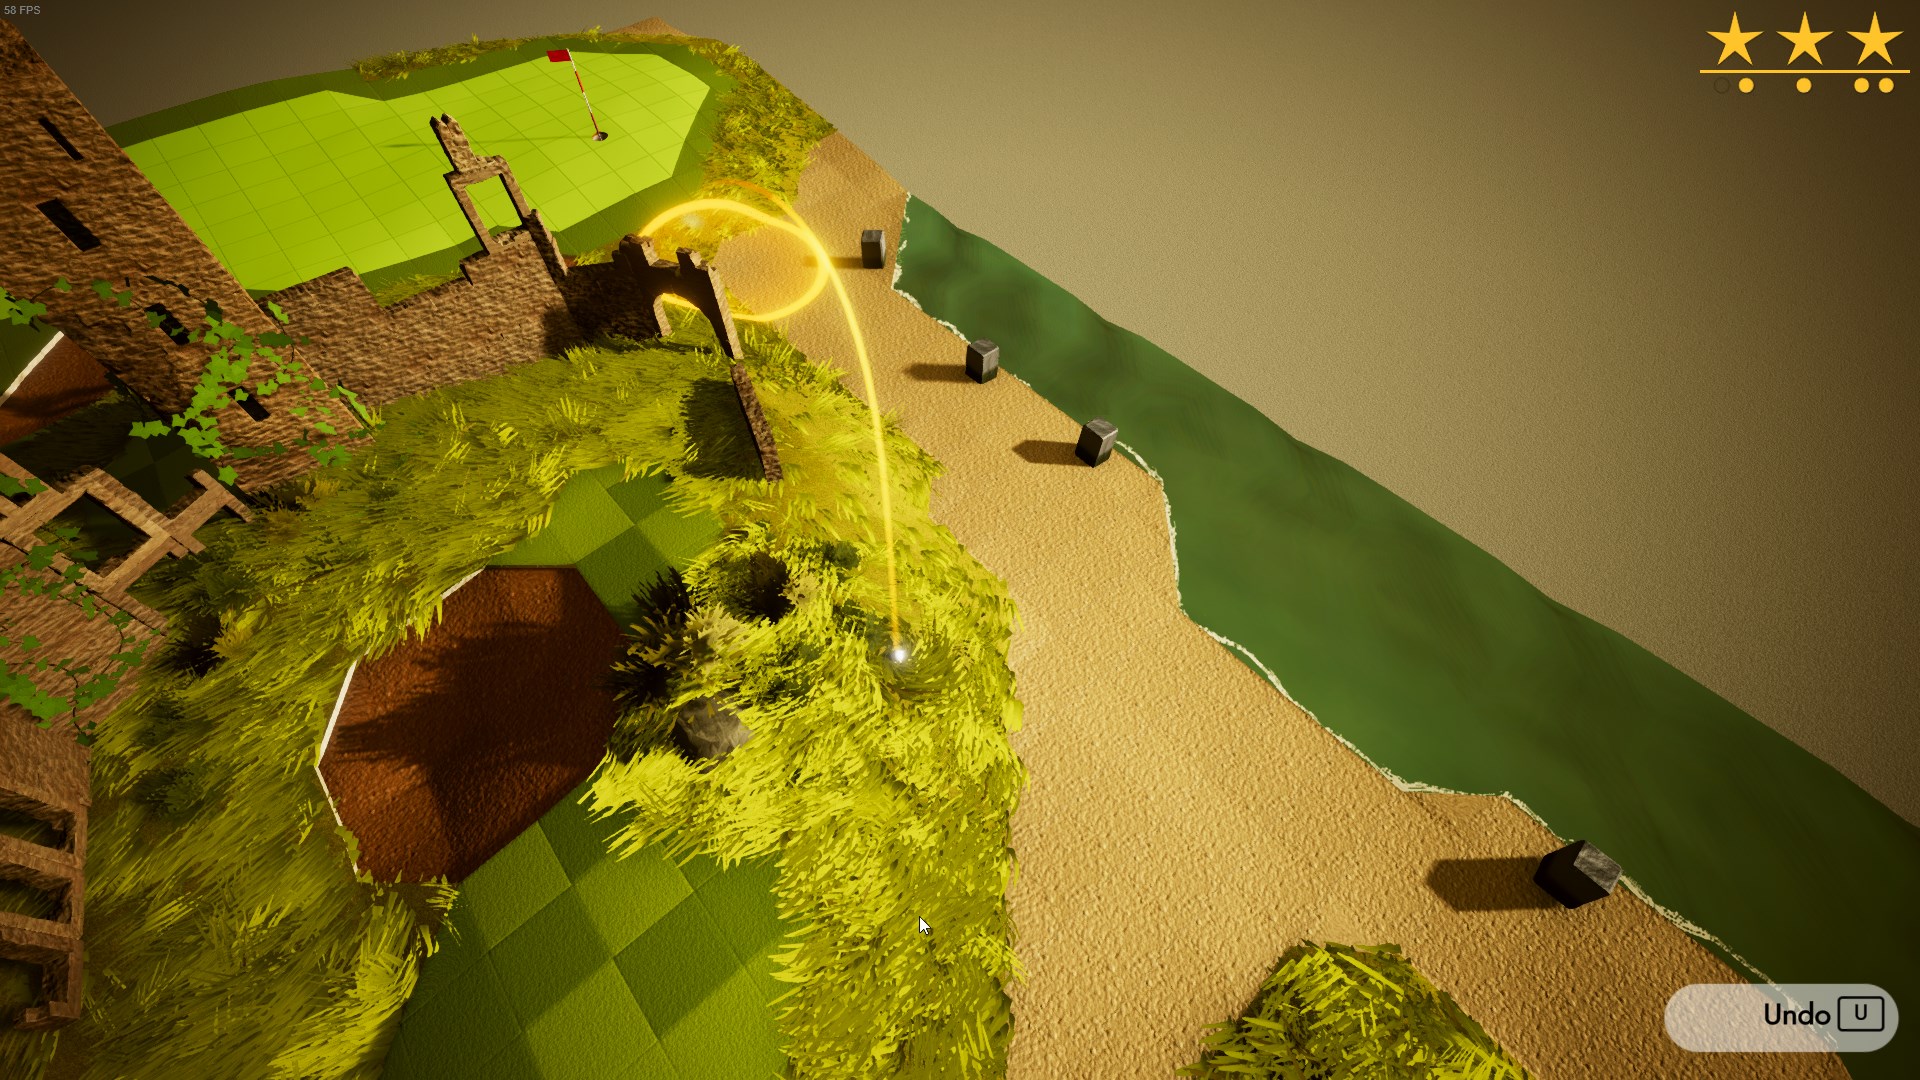
Aim just against the bottom side of the tree leaves, your ball should get caught in them and continue rolling straight into the hole.
Give this shot a bit below full power, or you’ll overshoot the hole.
Aim at the yellow flower just to the right of the tree.
Aim slightly to the left of the middle of the corner.
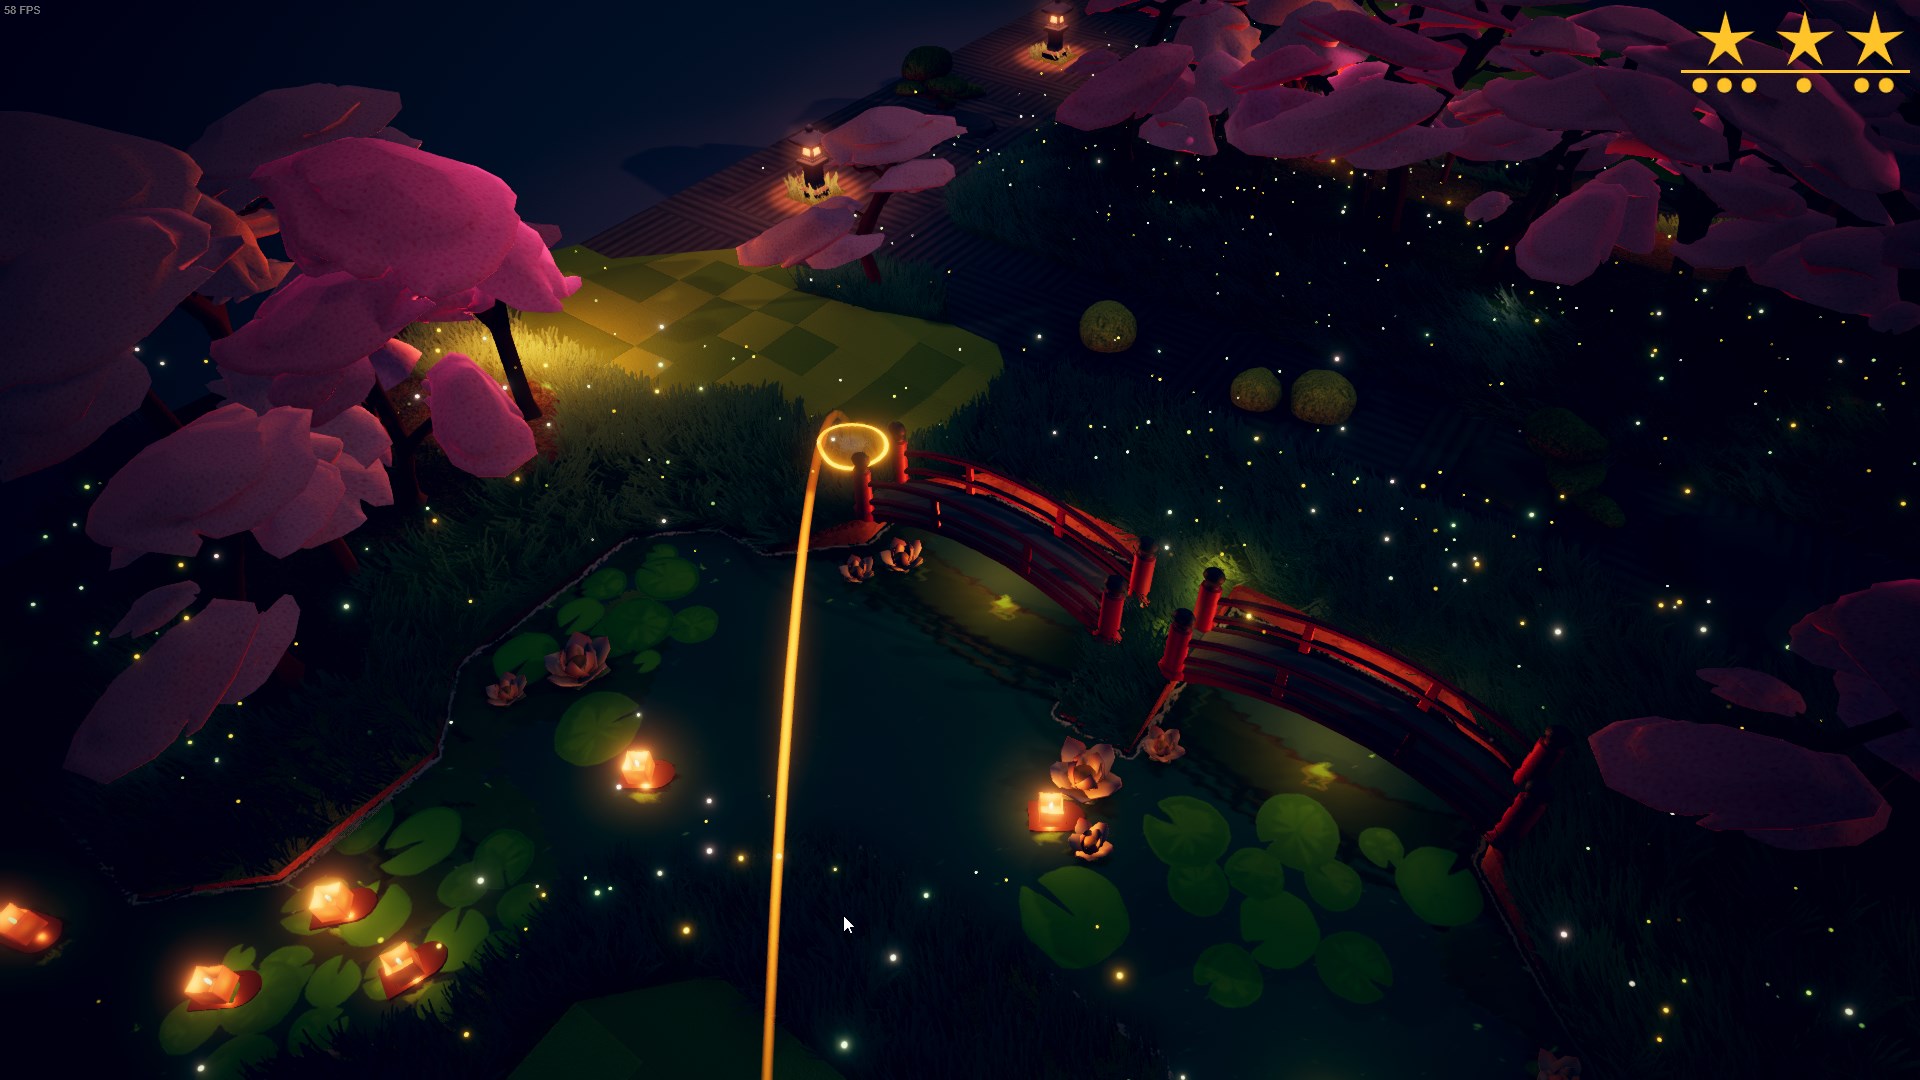
World 2 – Twin Bridges over a Moonlit Lake
The ball should bounce on the slope and roll to the hole.
Aim as far to the right as possible, right at the tip of the lantern lying on the ground, and the ball should curve straight into the hole.
Аim slightly to the left.
This shot is tricky, your ball should roll as far as possible to the edge of the fairway or you won’t have enough range for the next shot.
Don’t aim too far right, or you won’t be able to shoot the ball over the tree for the next shot.


This level is really hard and basically random to get perfectly.
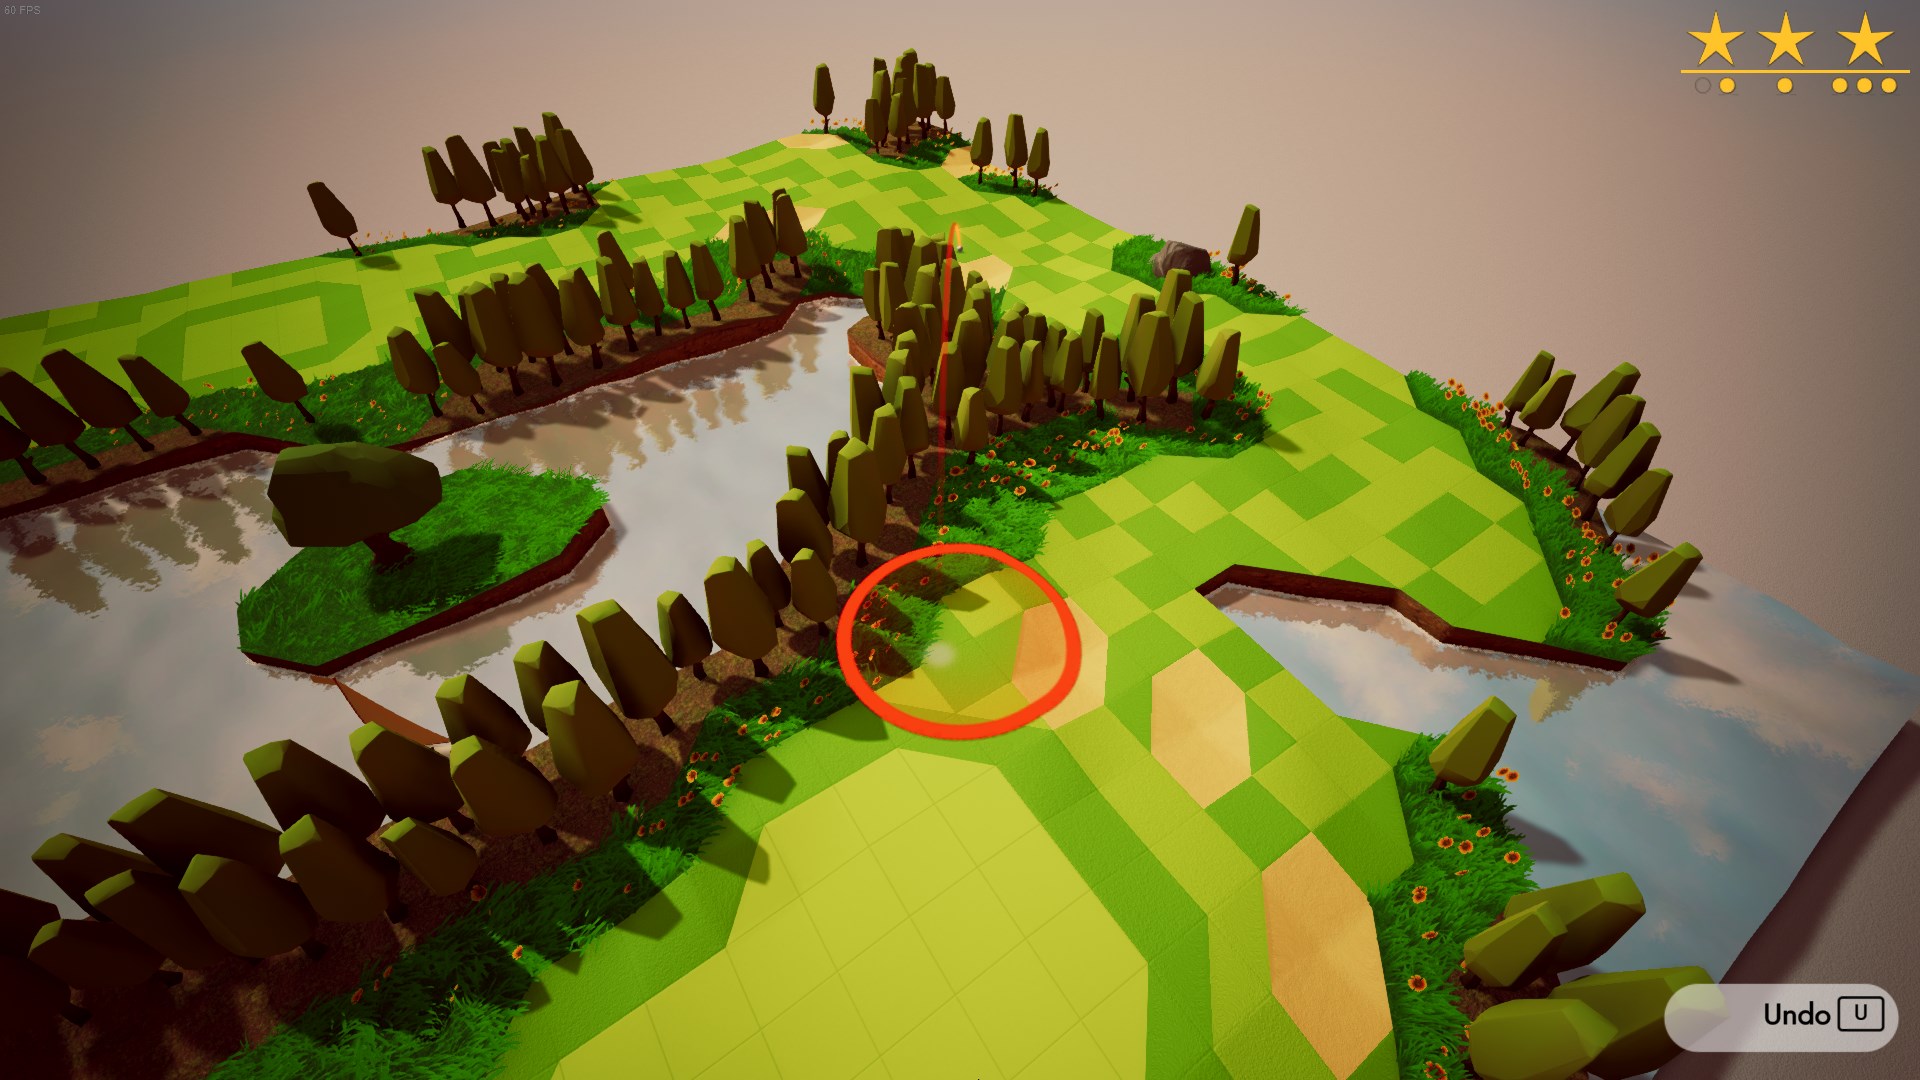
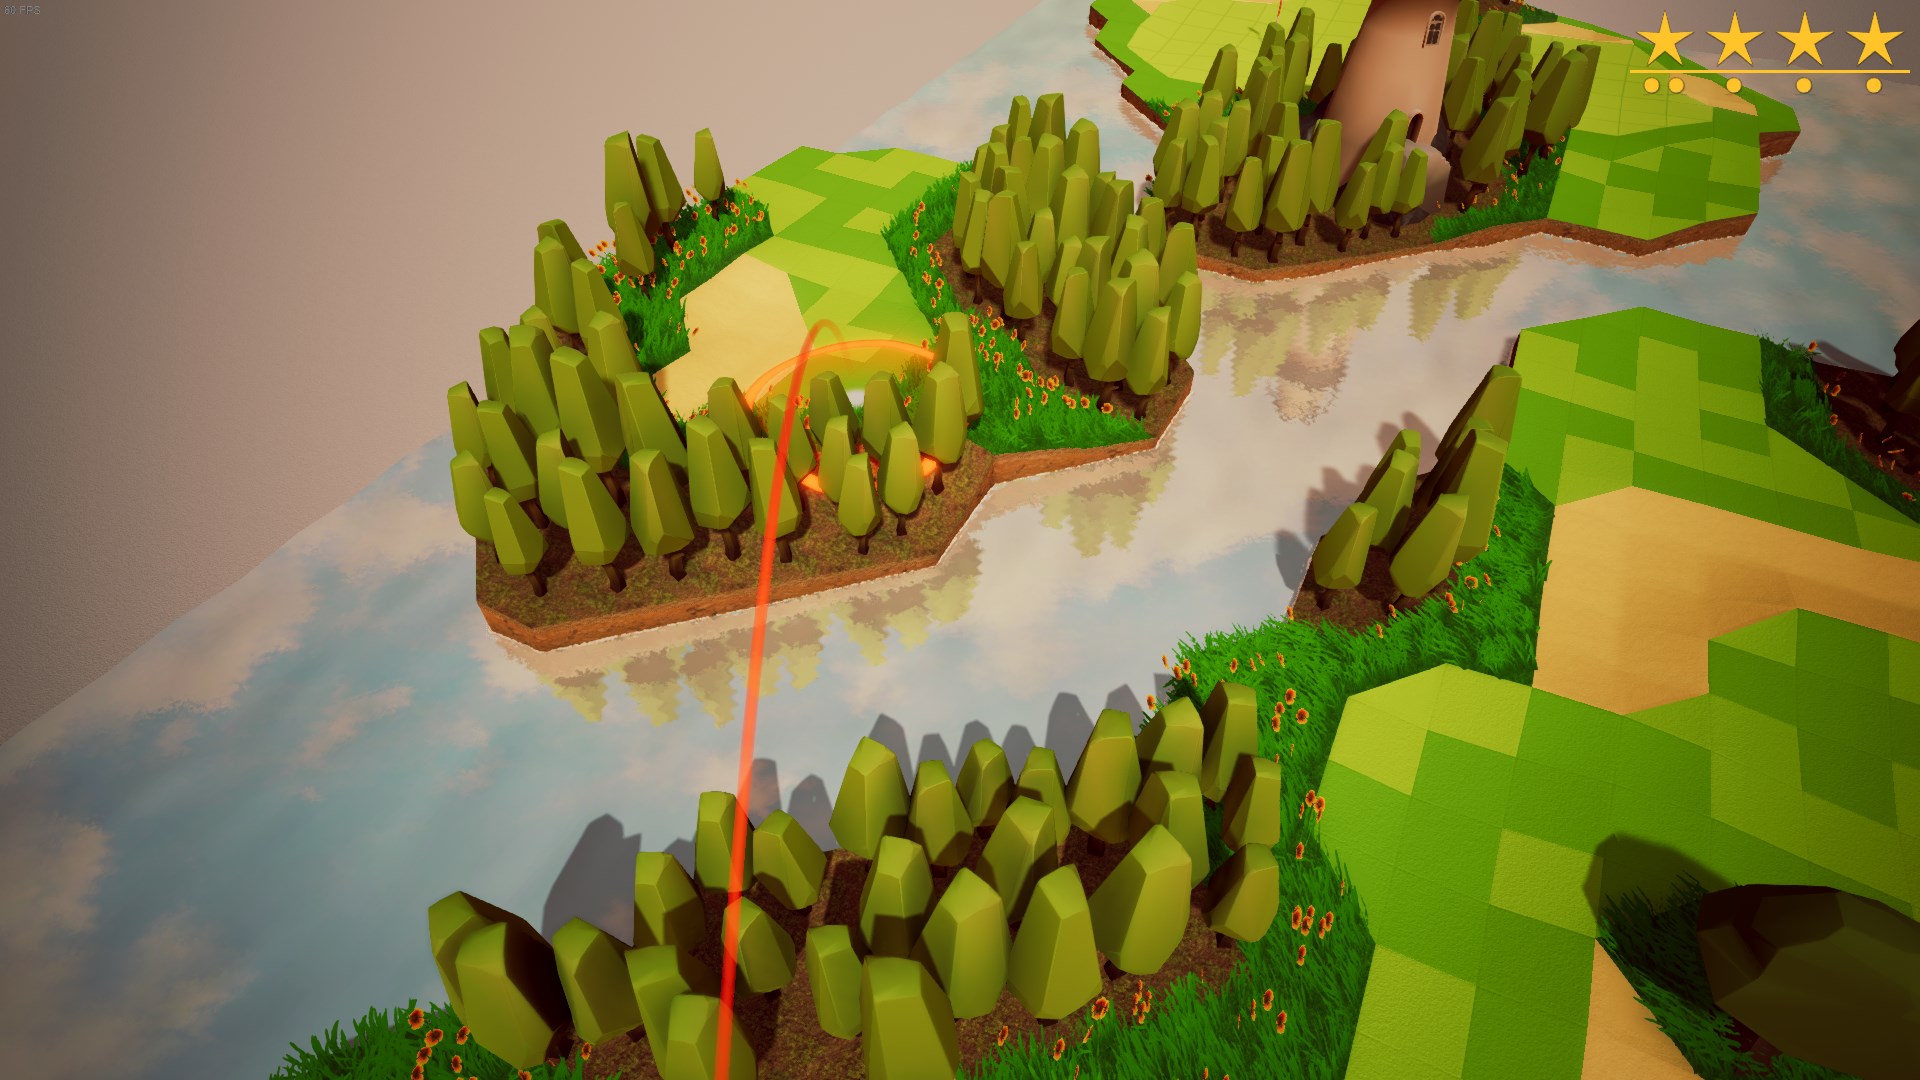
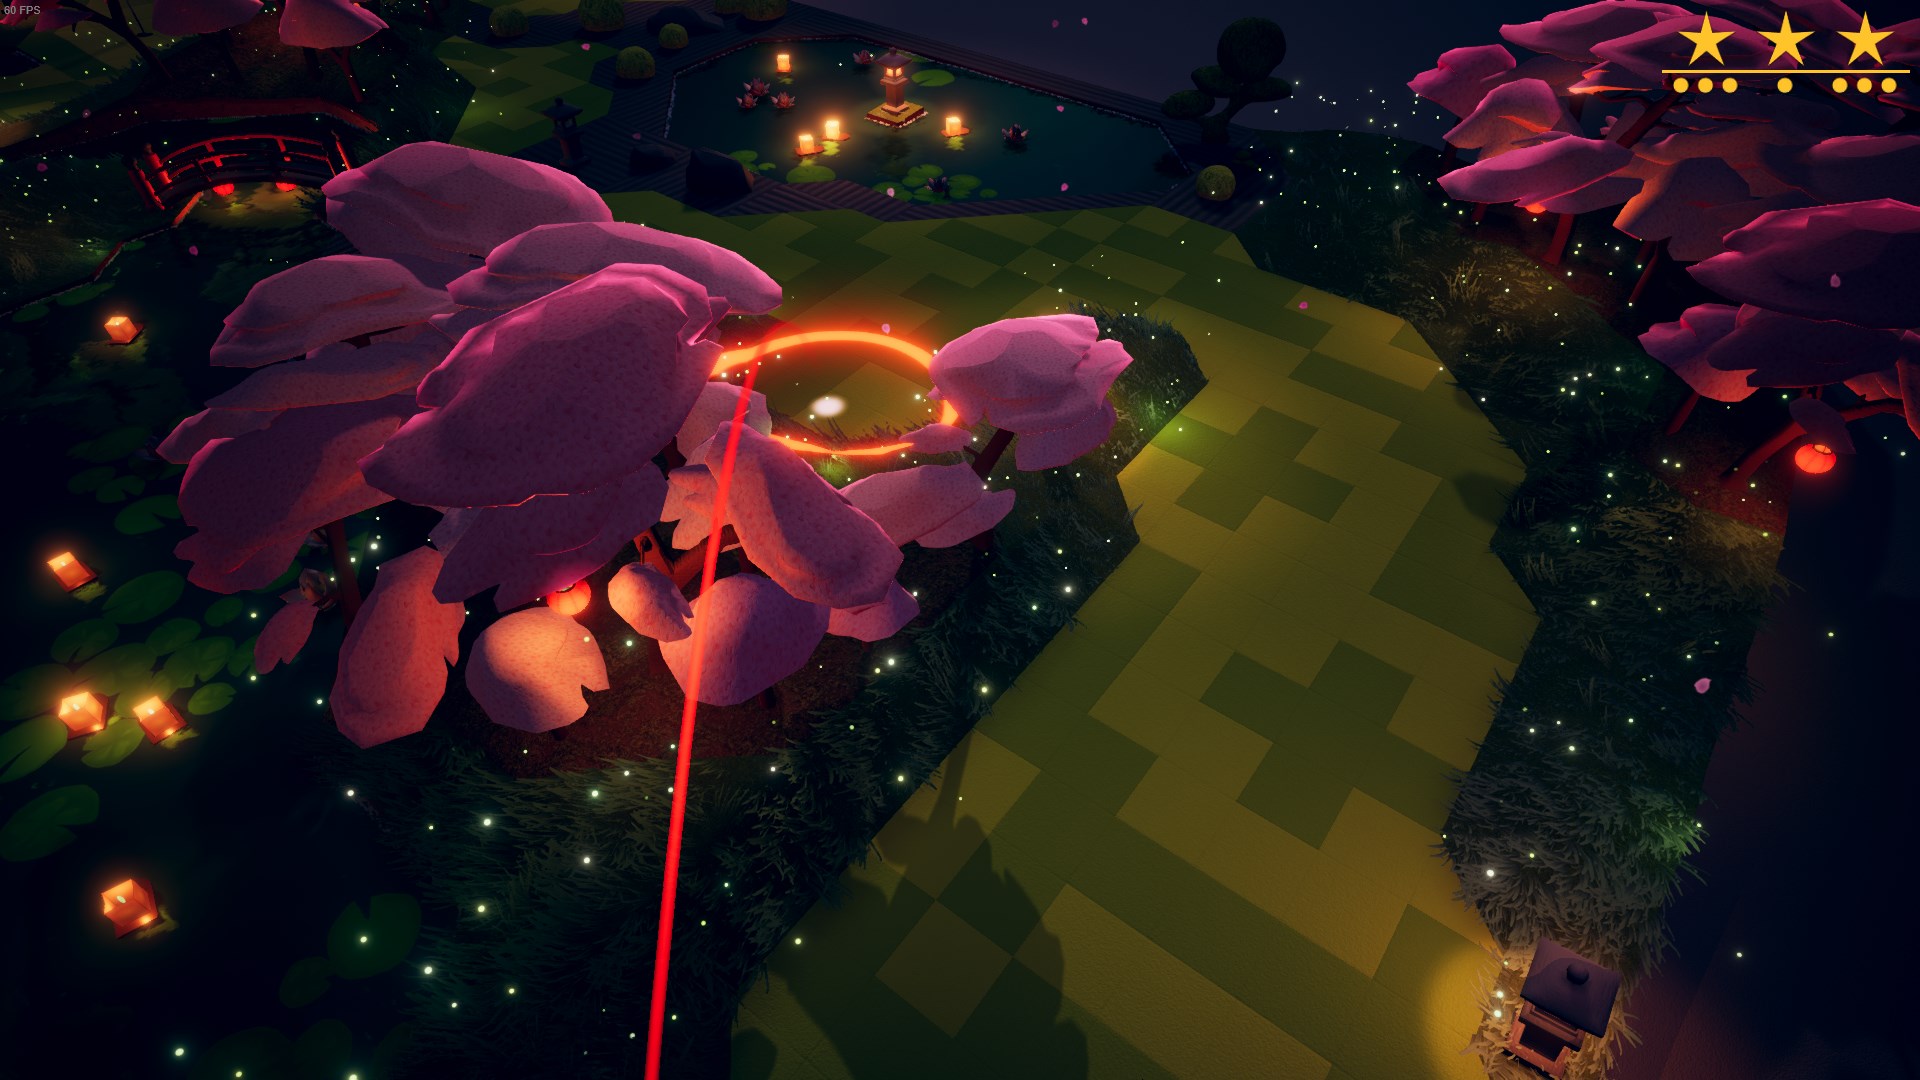
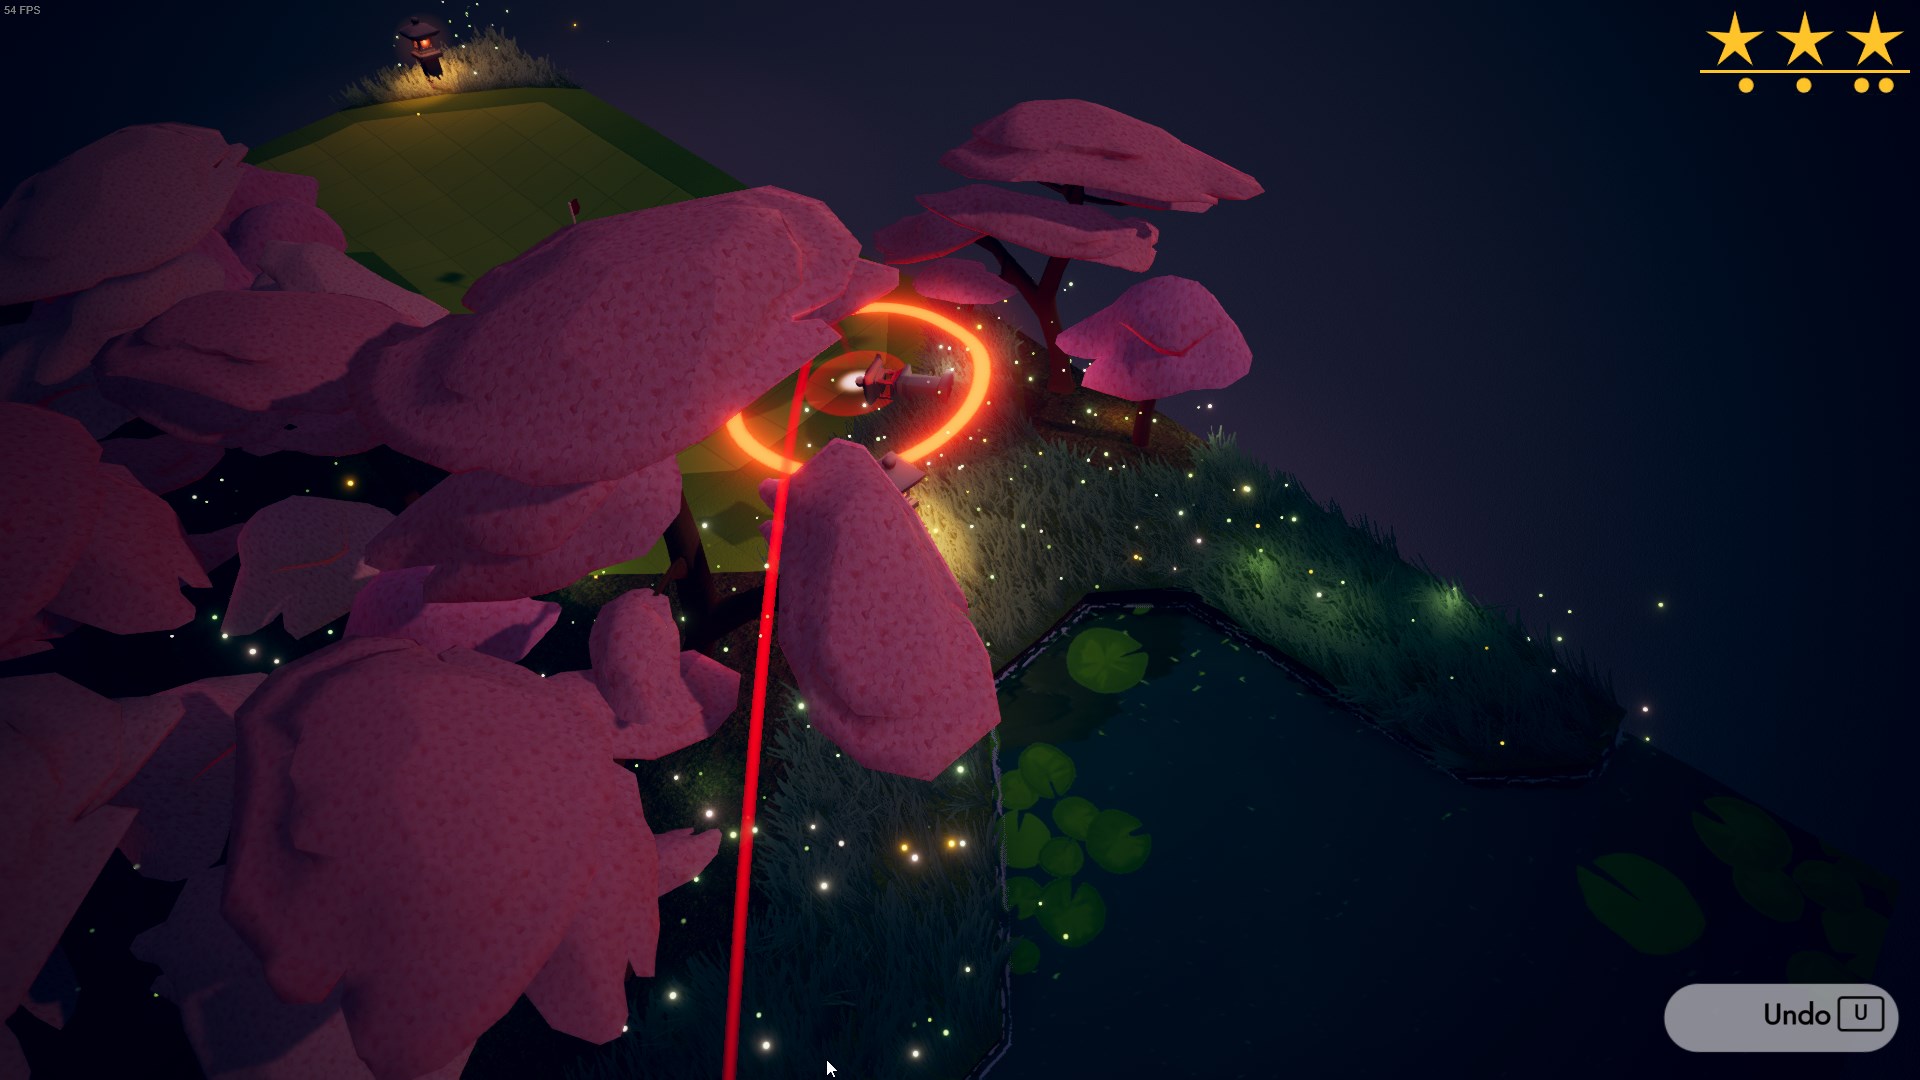
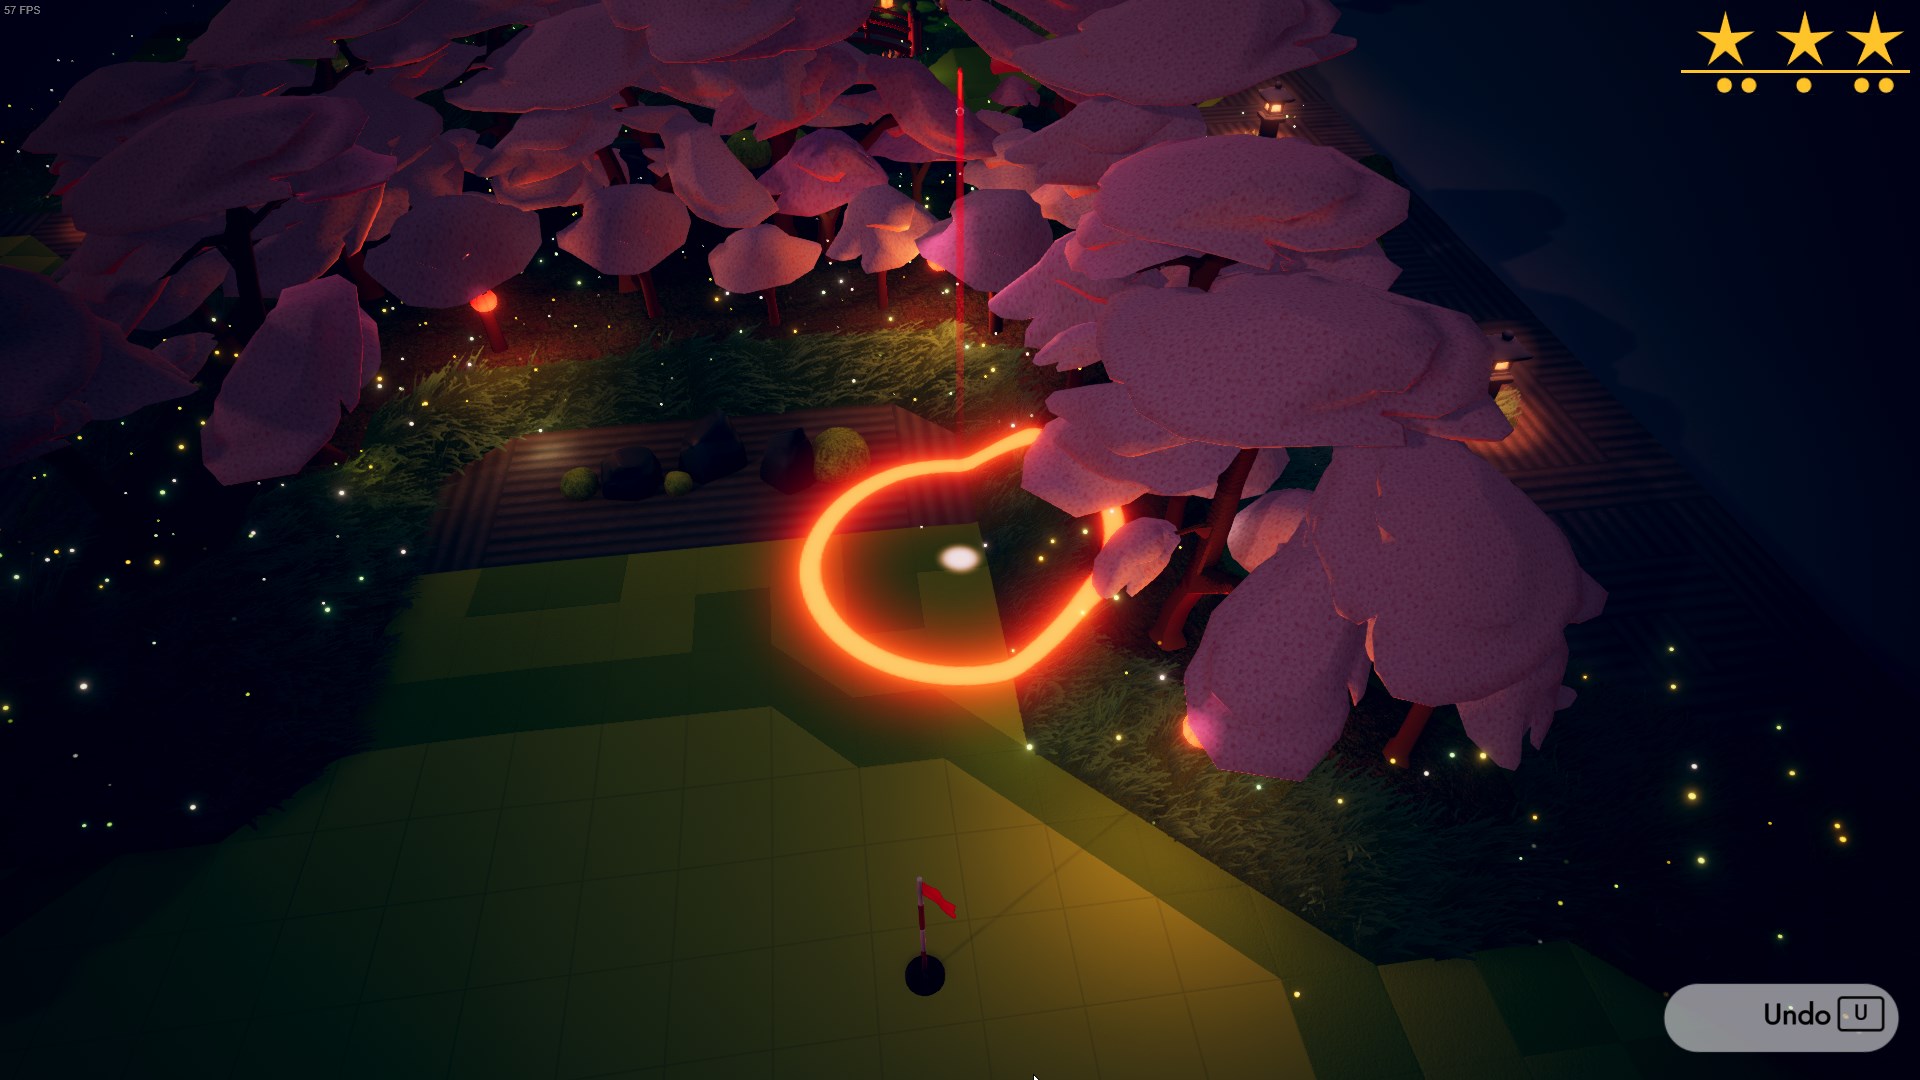
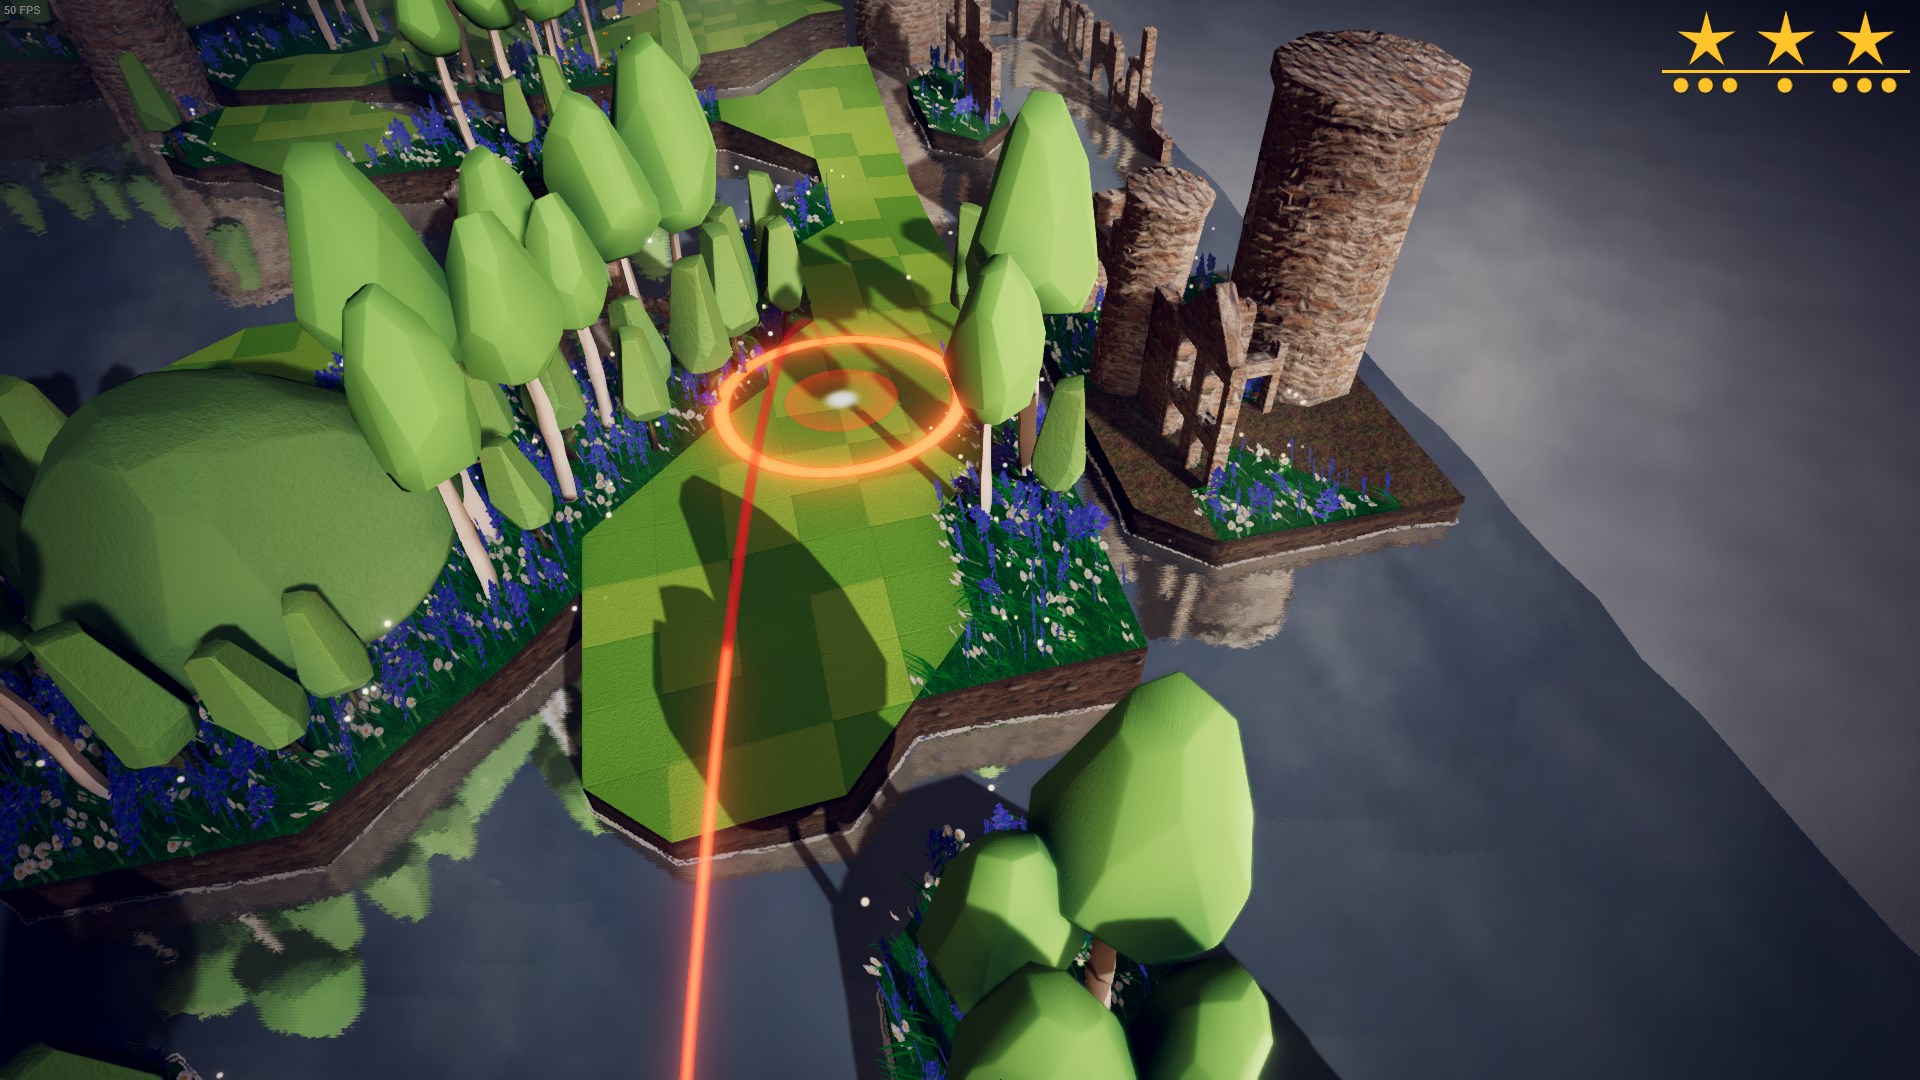
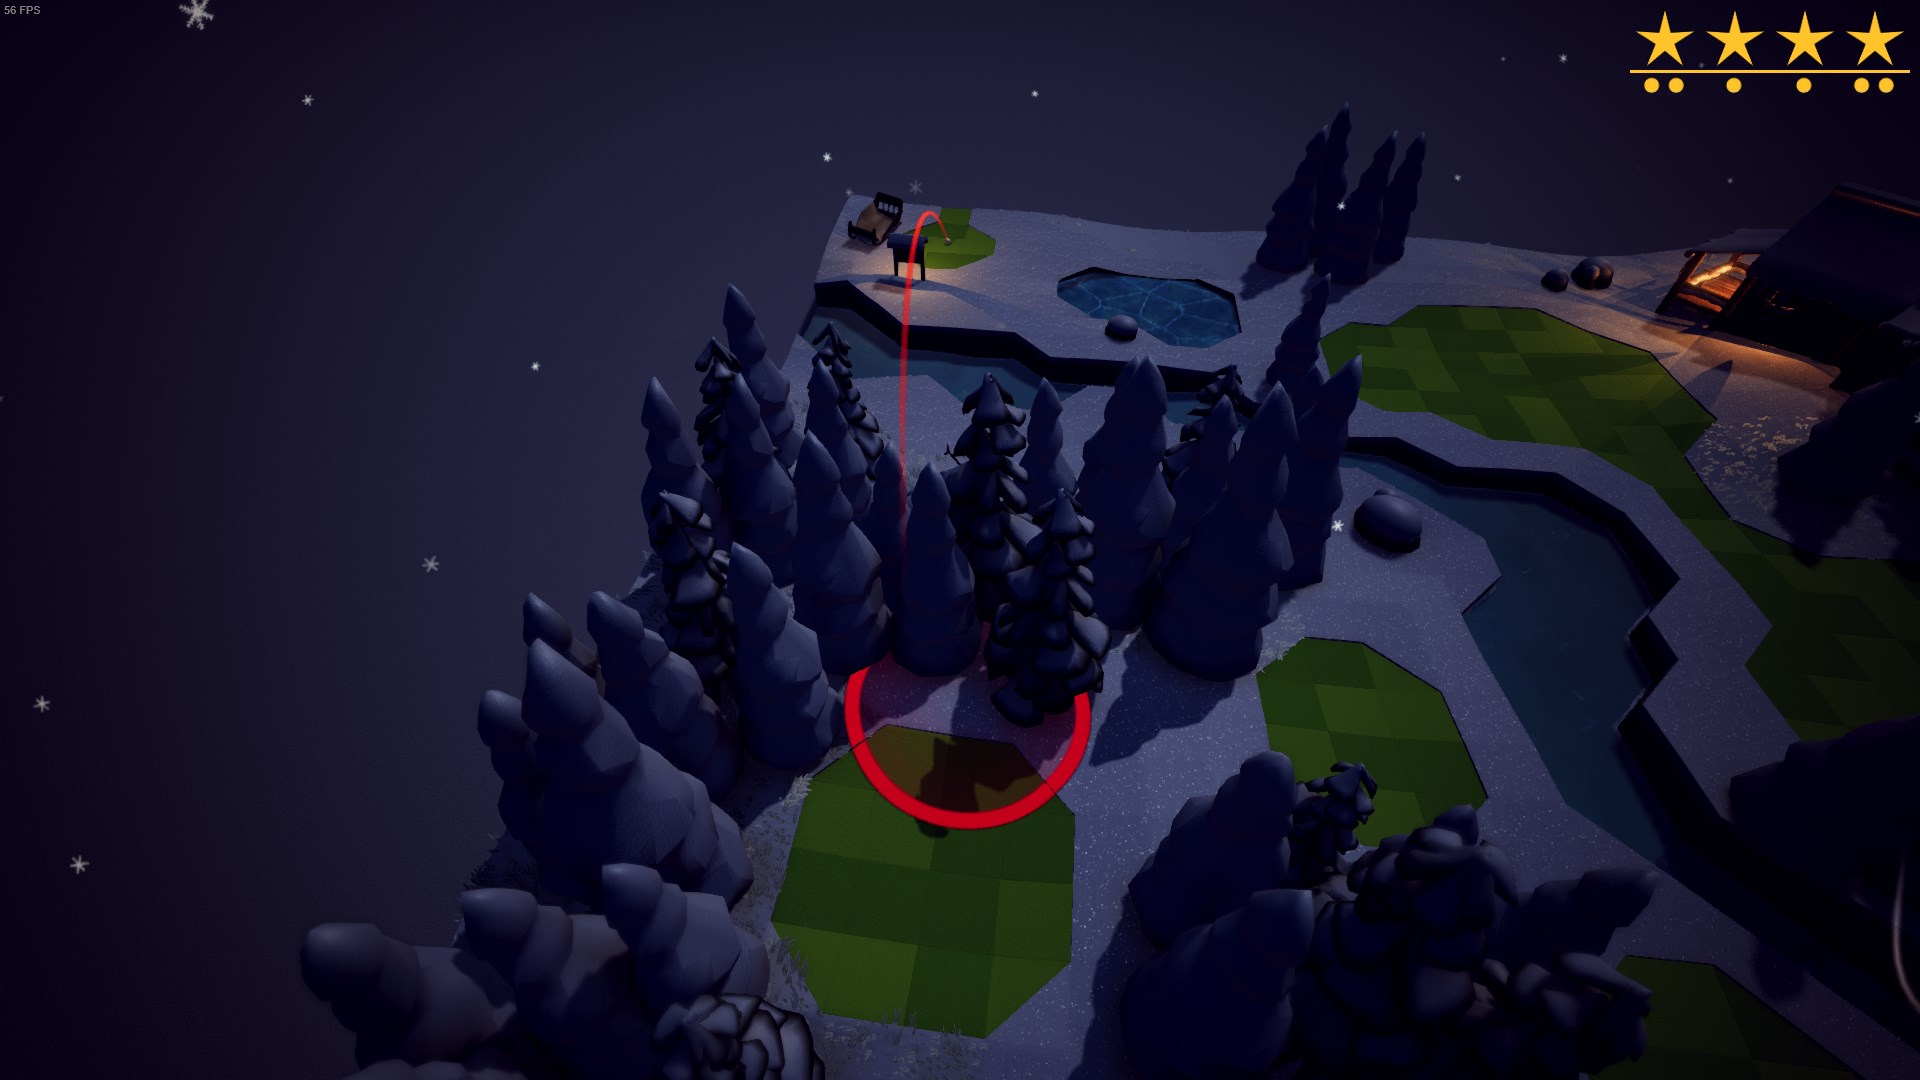
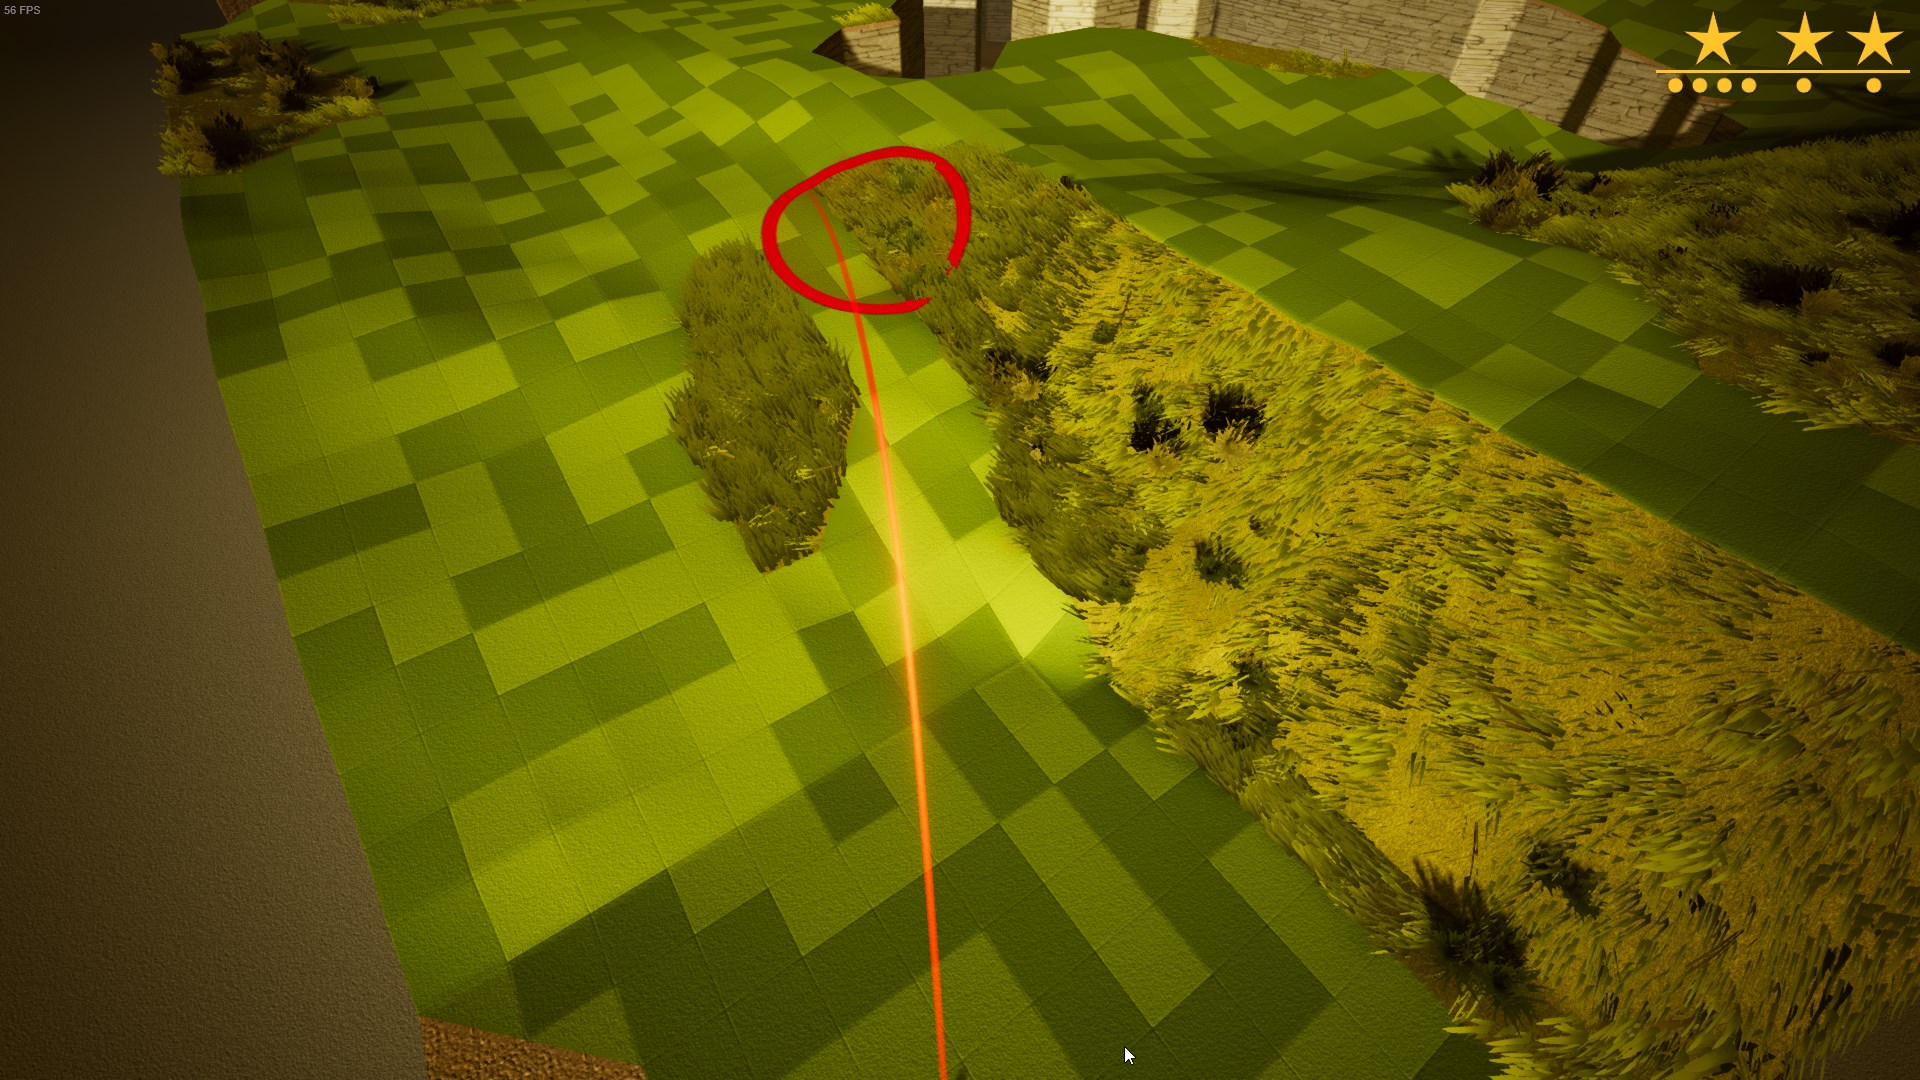
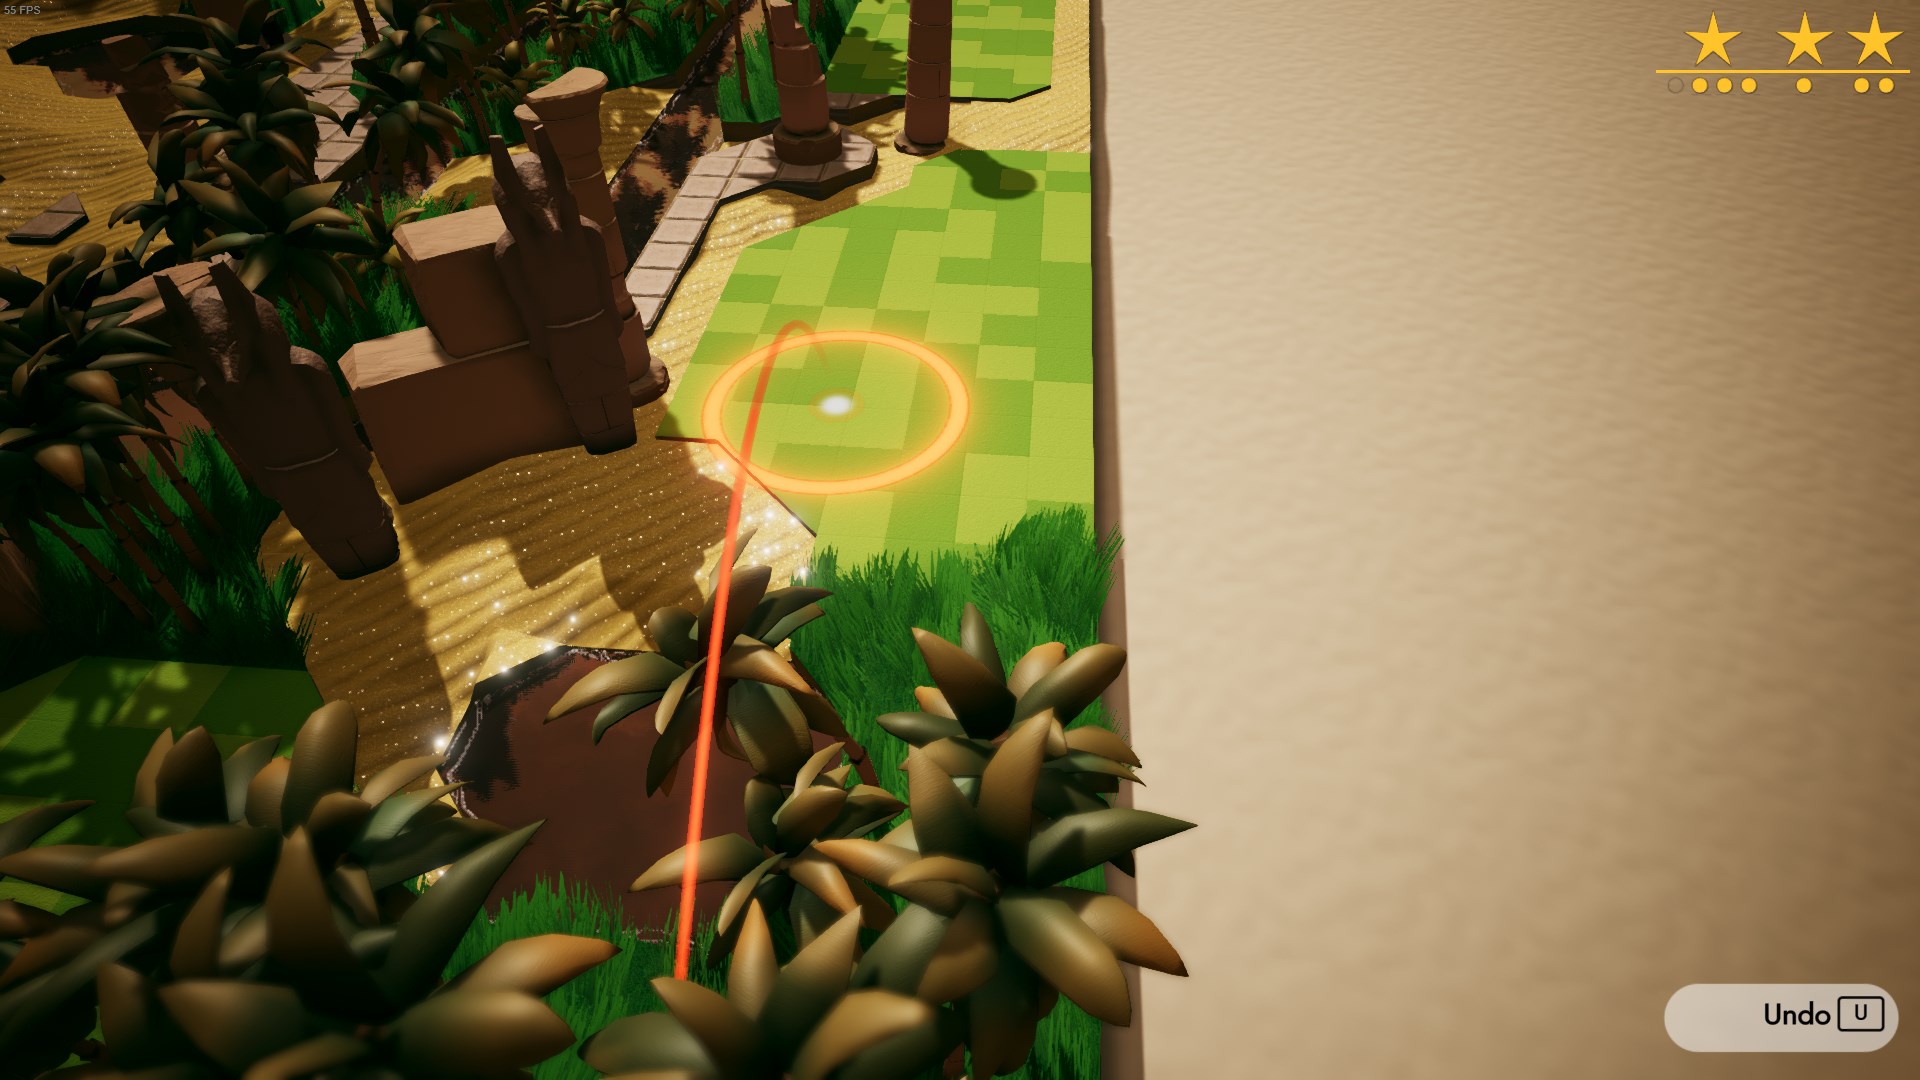
For this shot, you can’t hold shift to stabilize your aim. Wait until the sway moves the white spot over the tree and release. If you’re lucky, your ball will bounce slightly off the tree without hitting the rough, and roll forward far enough to go under the next tree to the hole. If it’s too far back you can’t reach the flag without getting stuck on the tree, so you’ll have to try again.
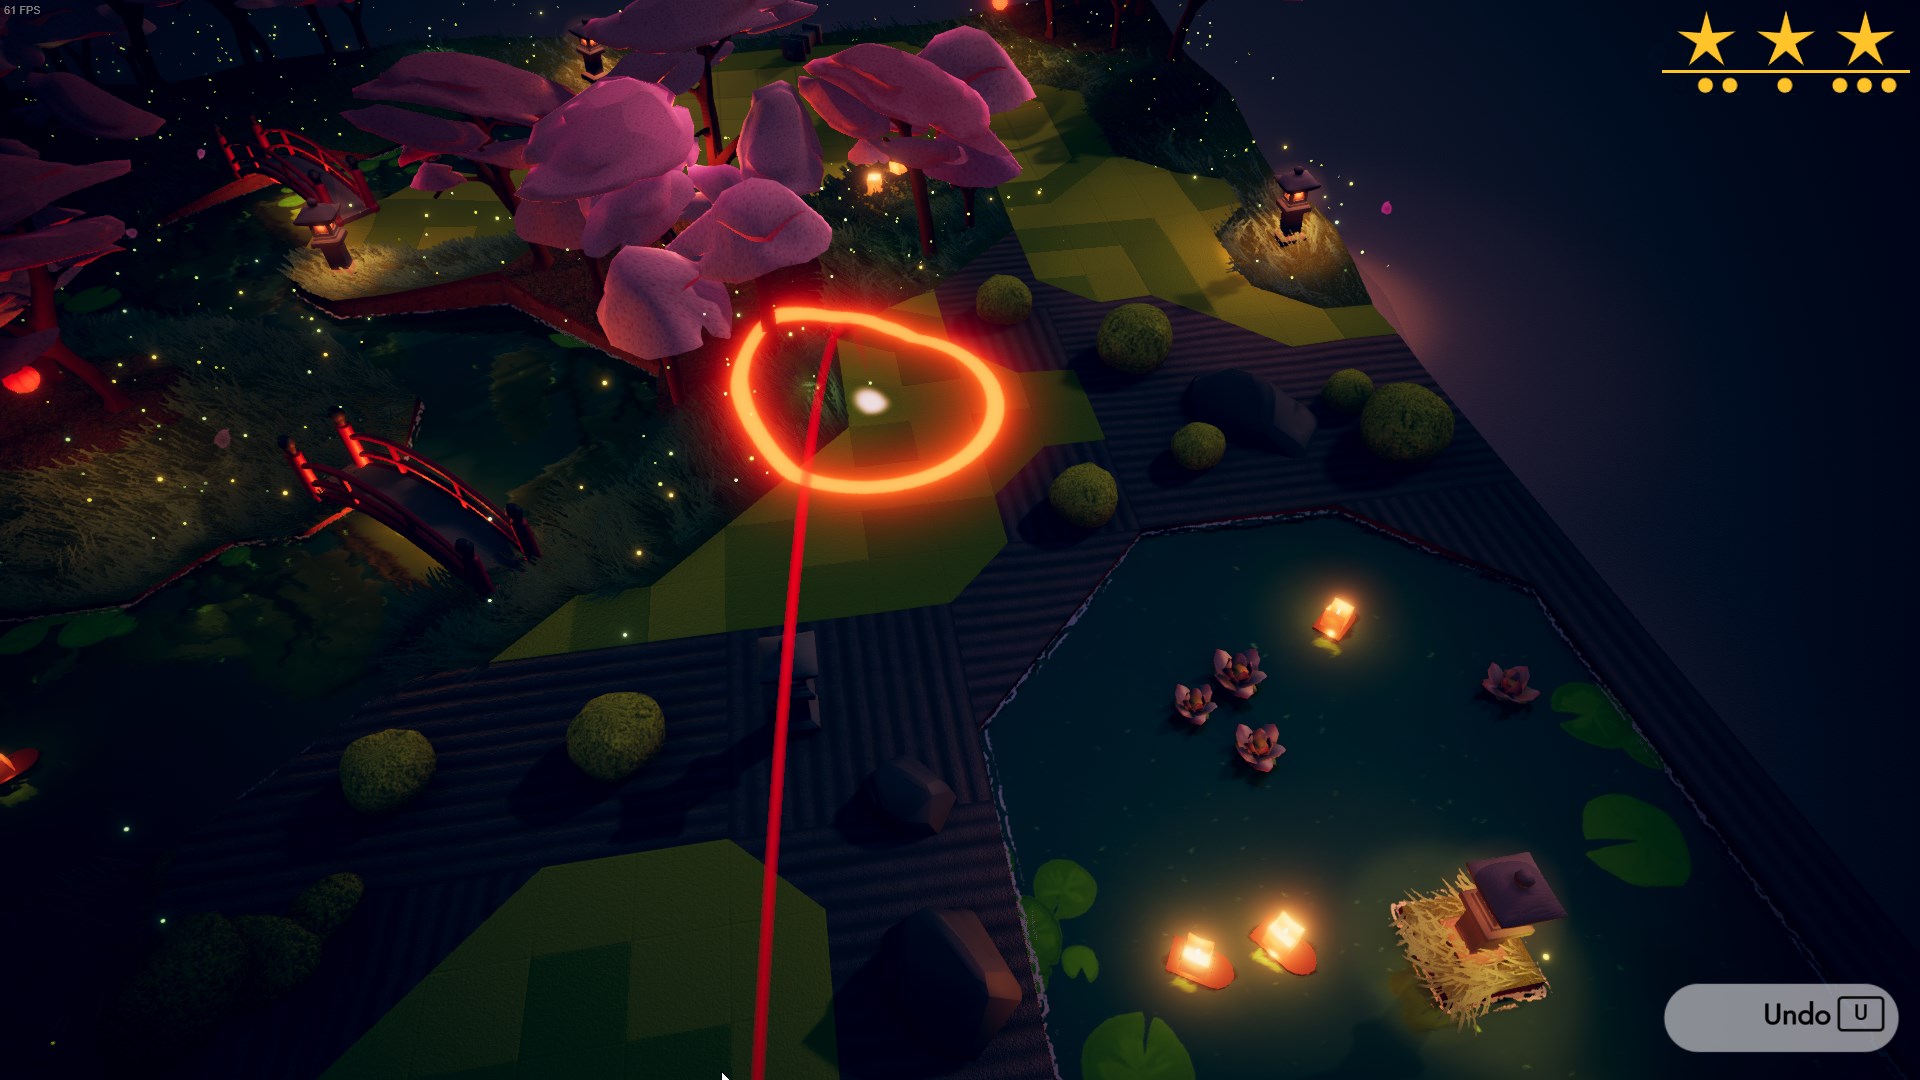
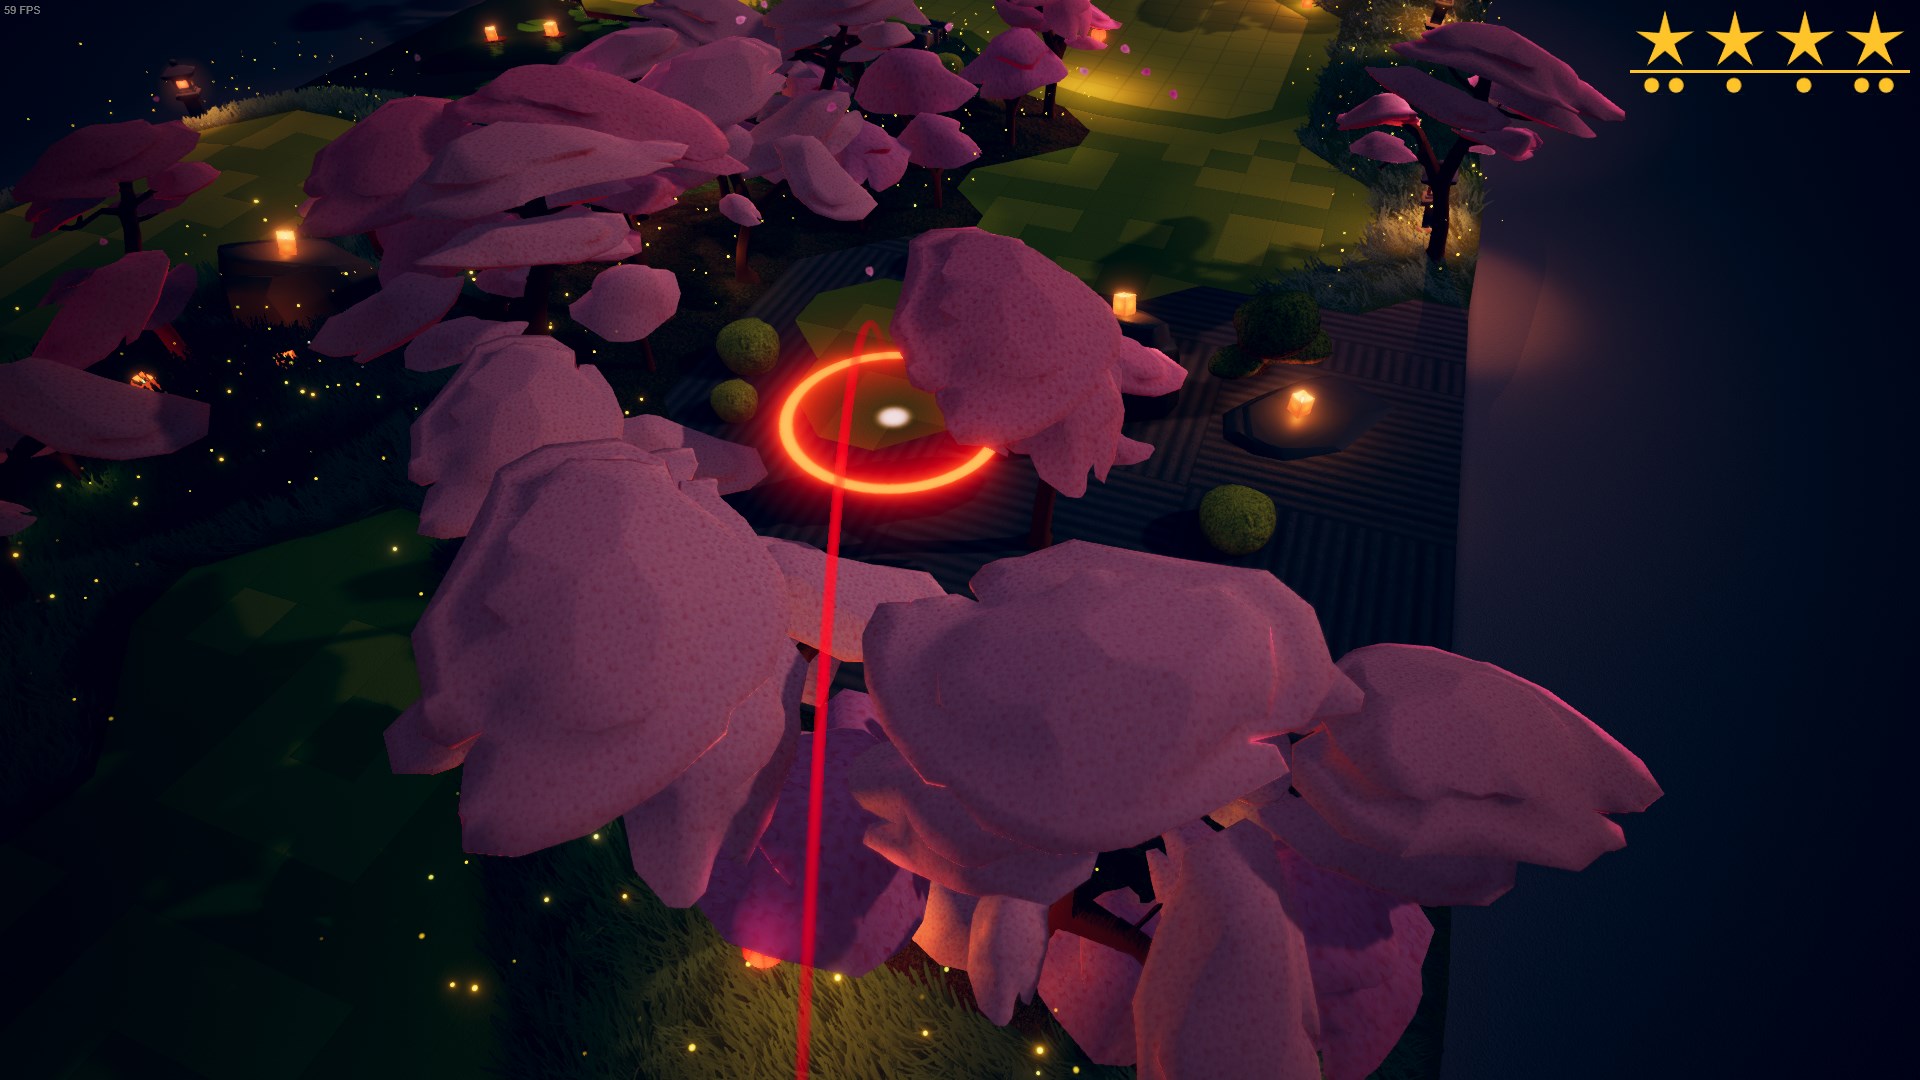
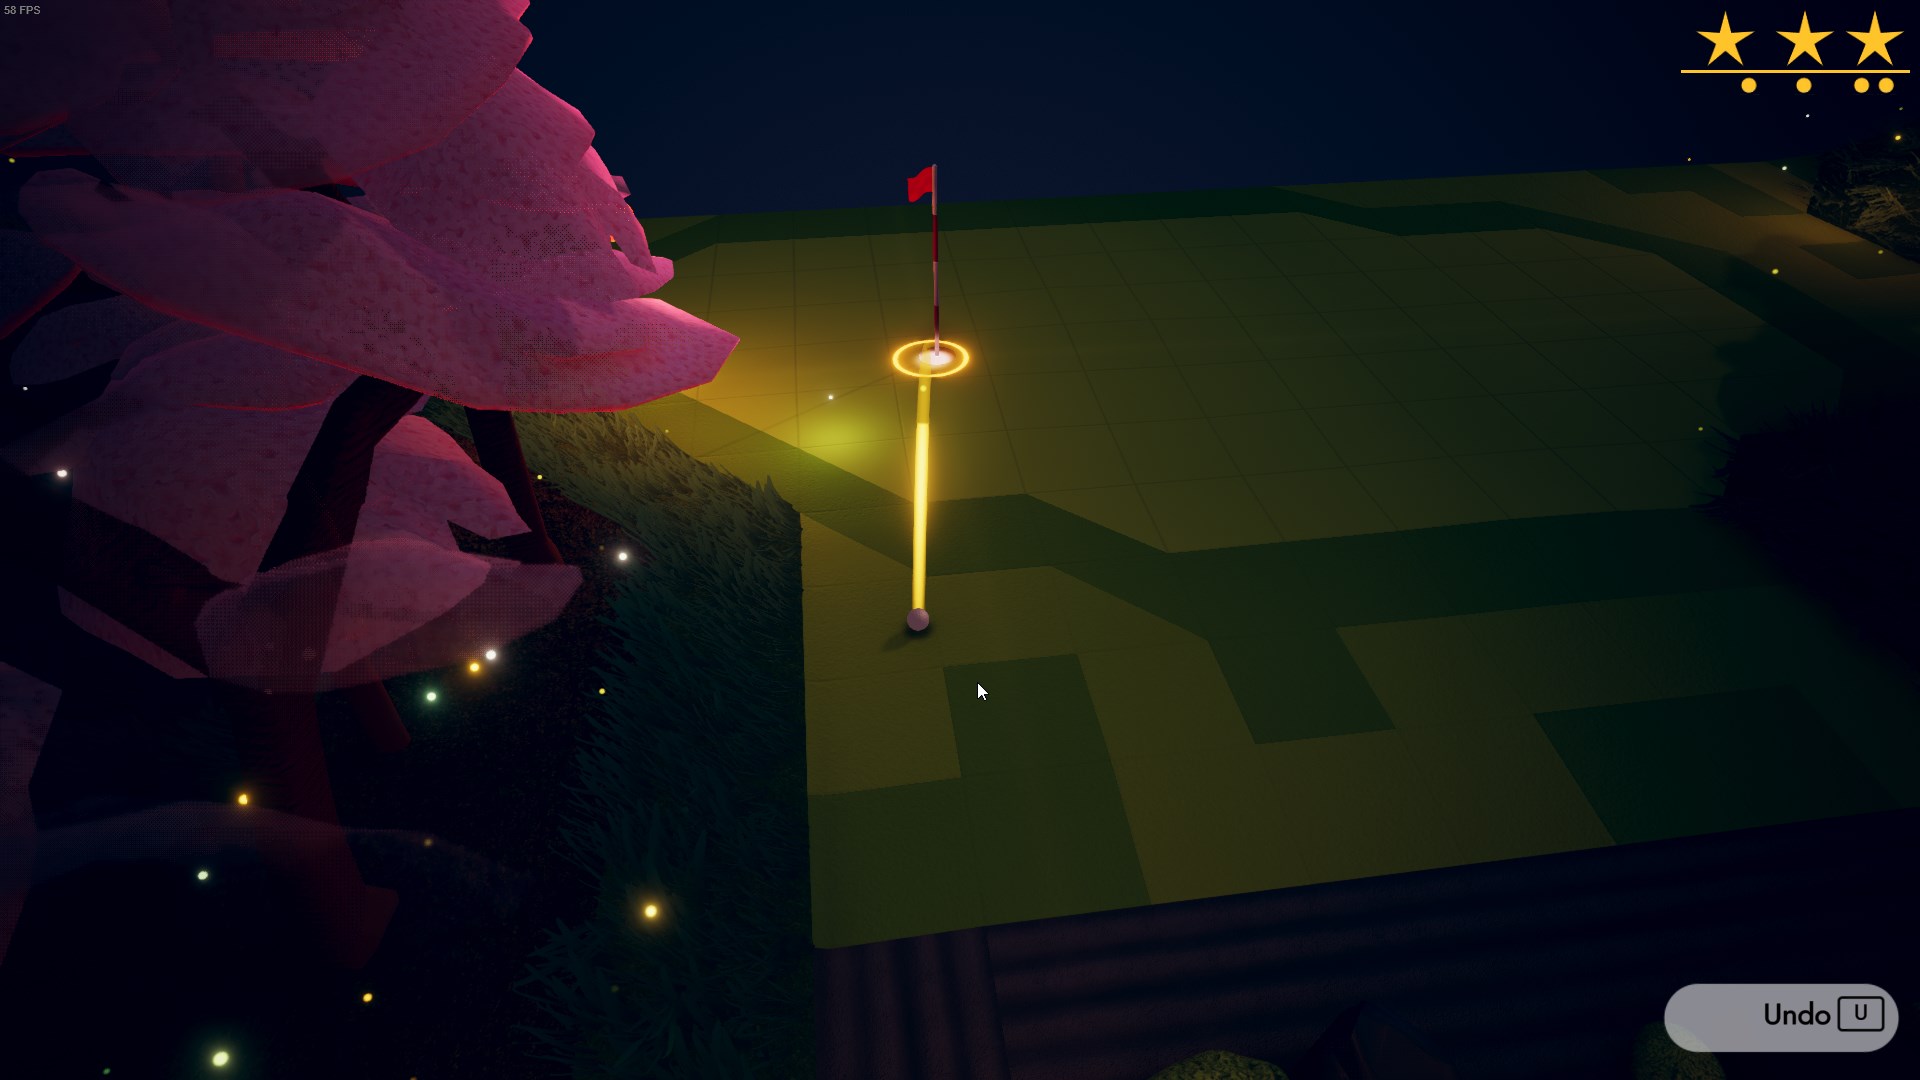
Don’t hold shift for this shot, wait until the sway takes the trajectory straight over the hole. If you time it right the ball will go straight in.
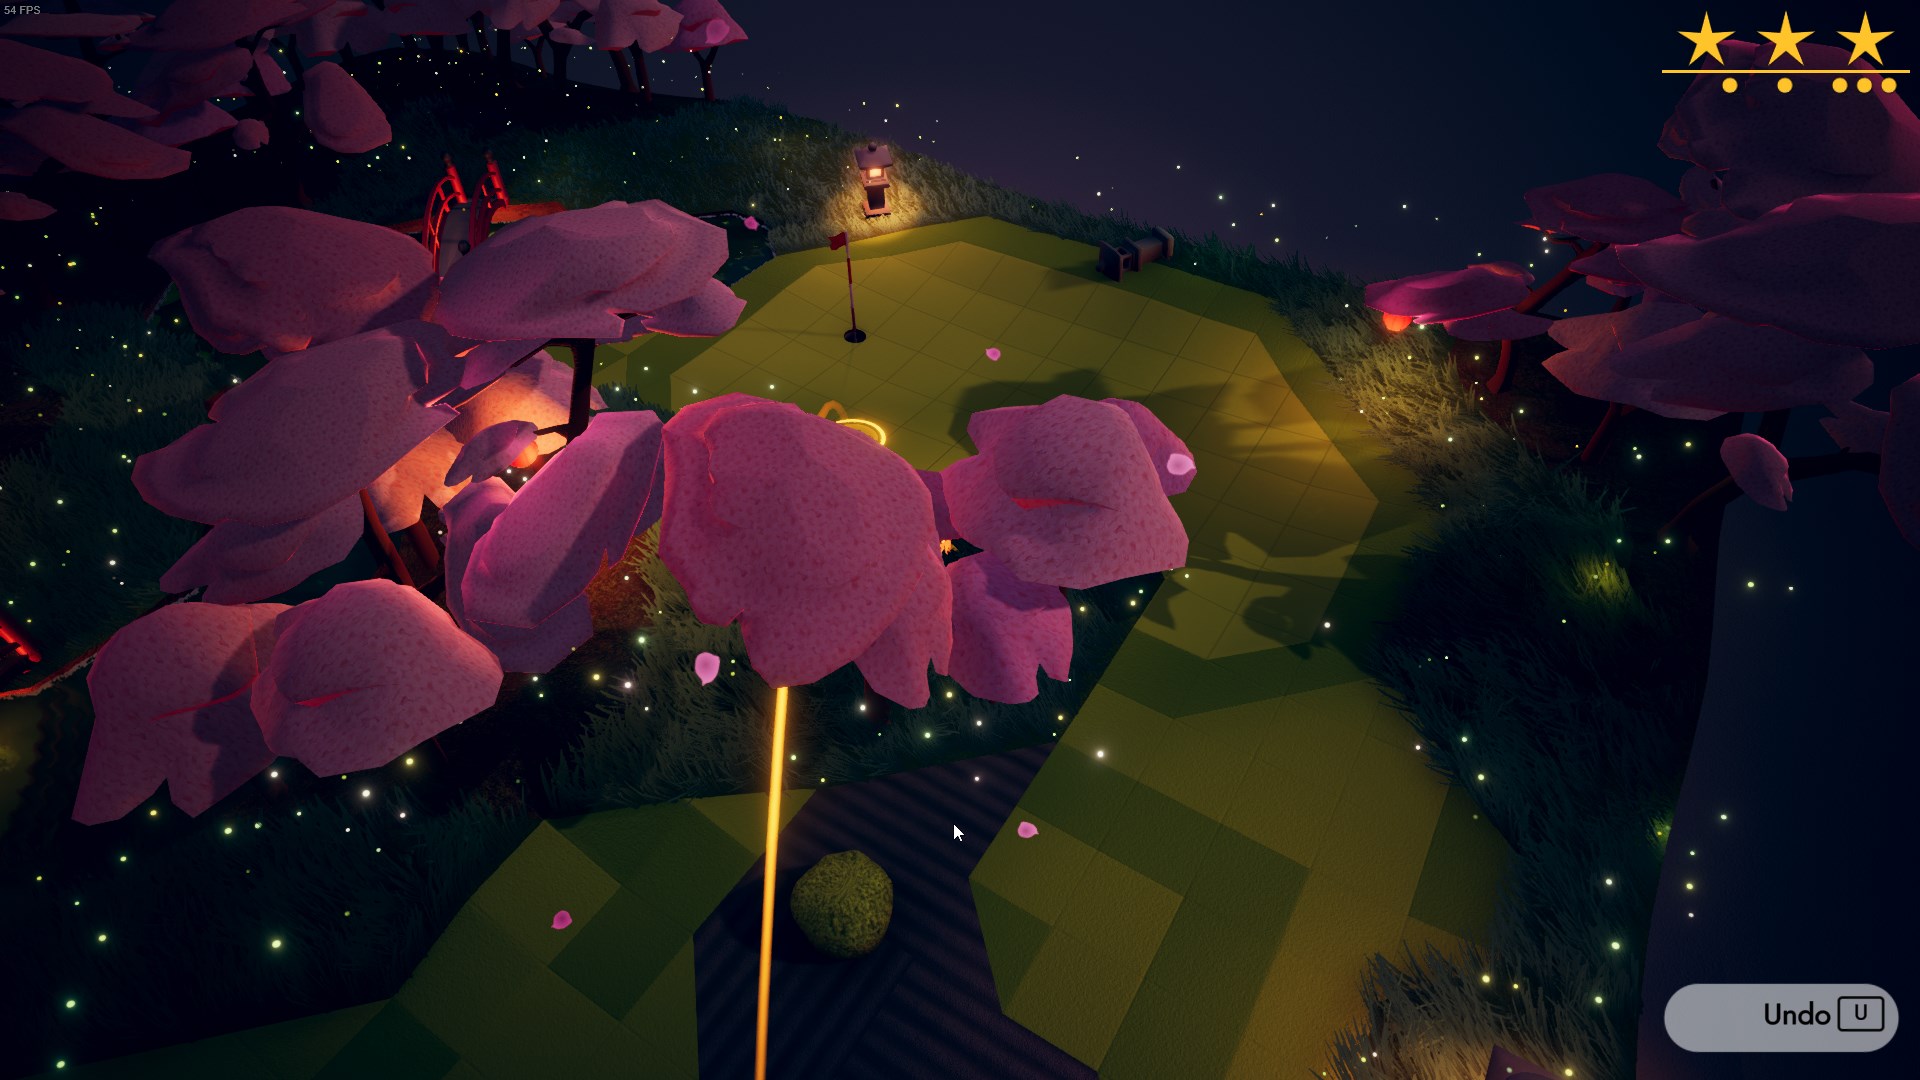
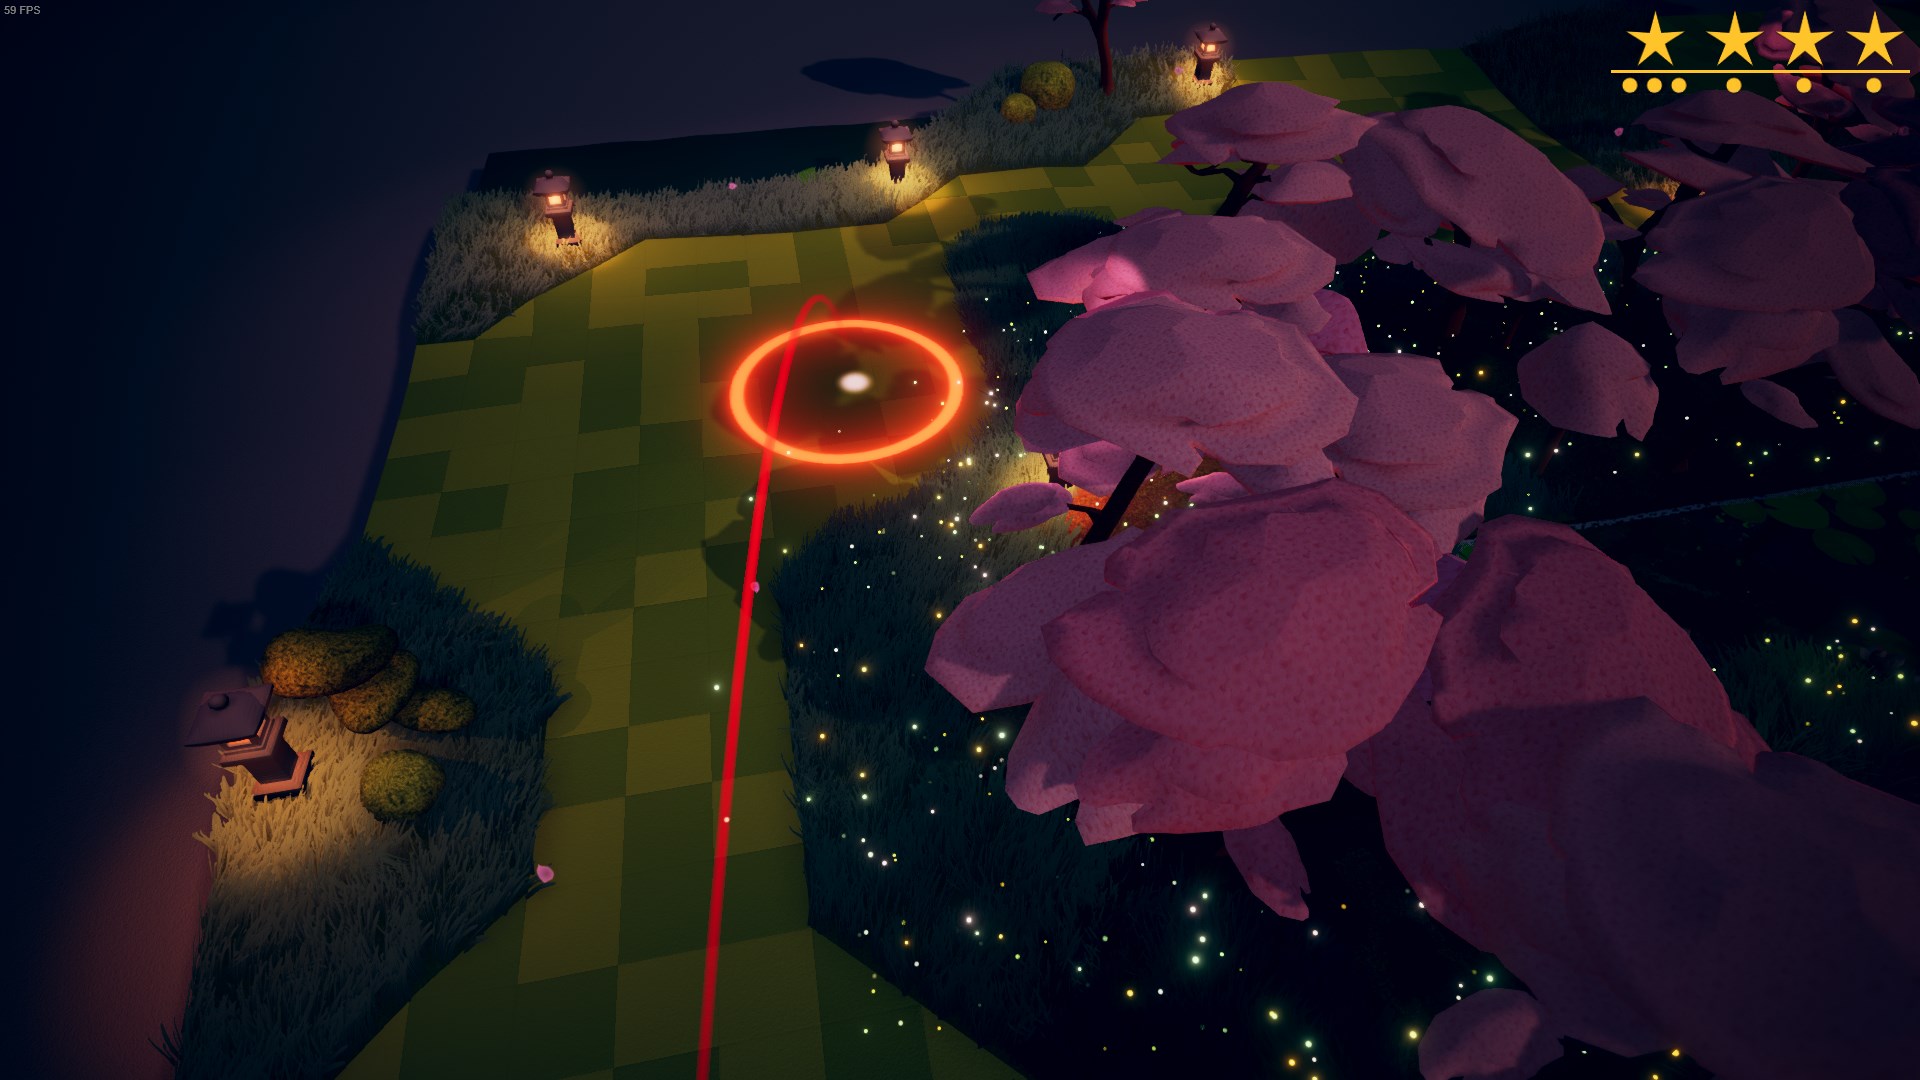
You need to hit the edge of the leaves to slow down your ball, but still have it land as close to the edge of the water as possible for the next shot.
Don’t hold shift here, or you won’t make it over the slope. Just time the sway.
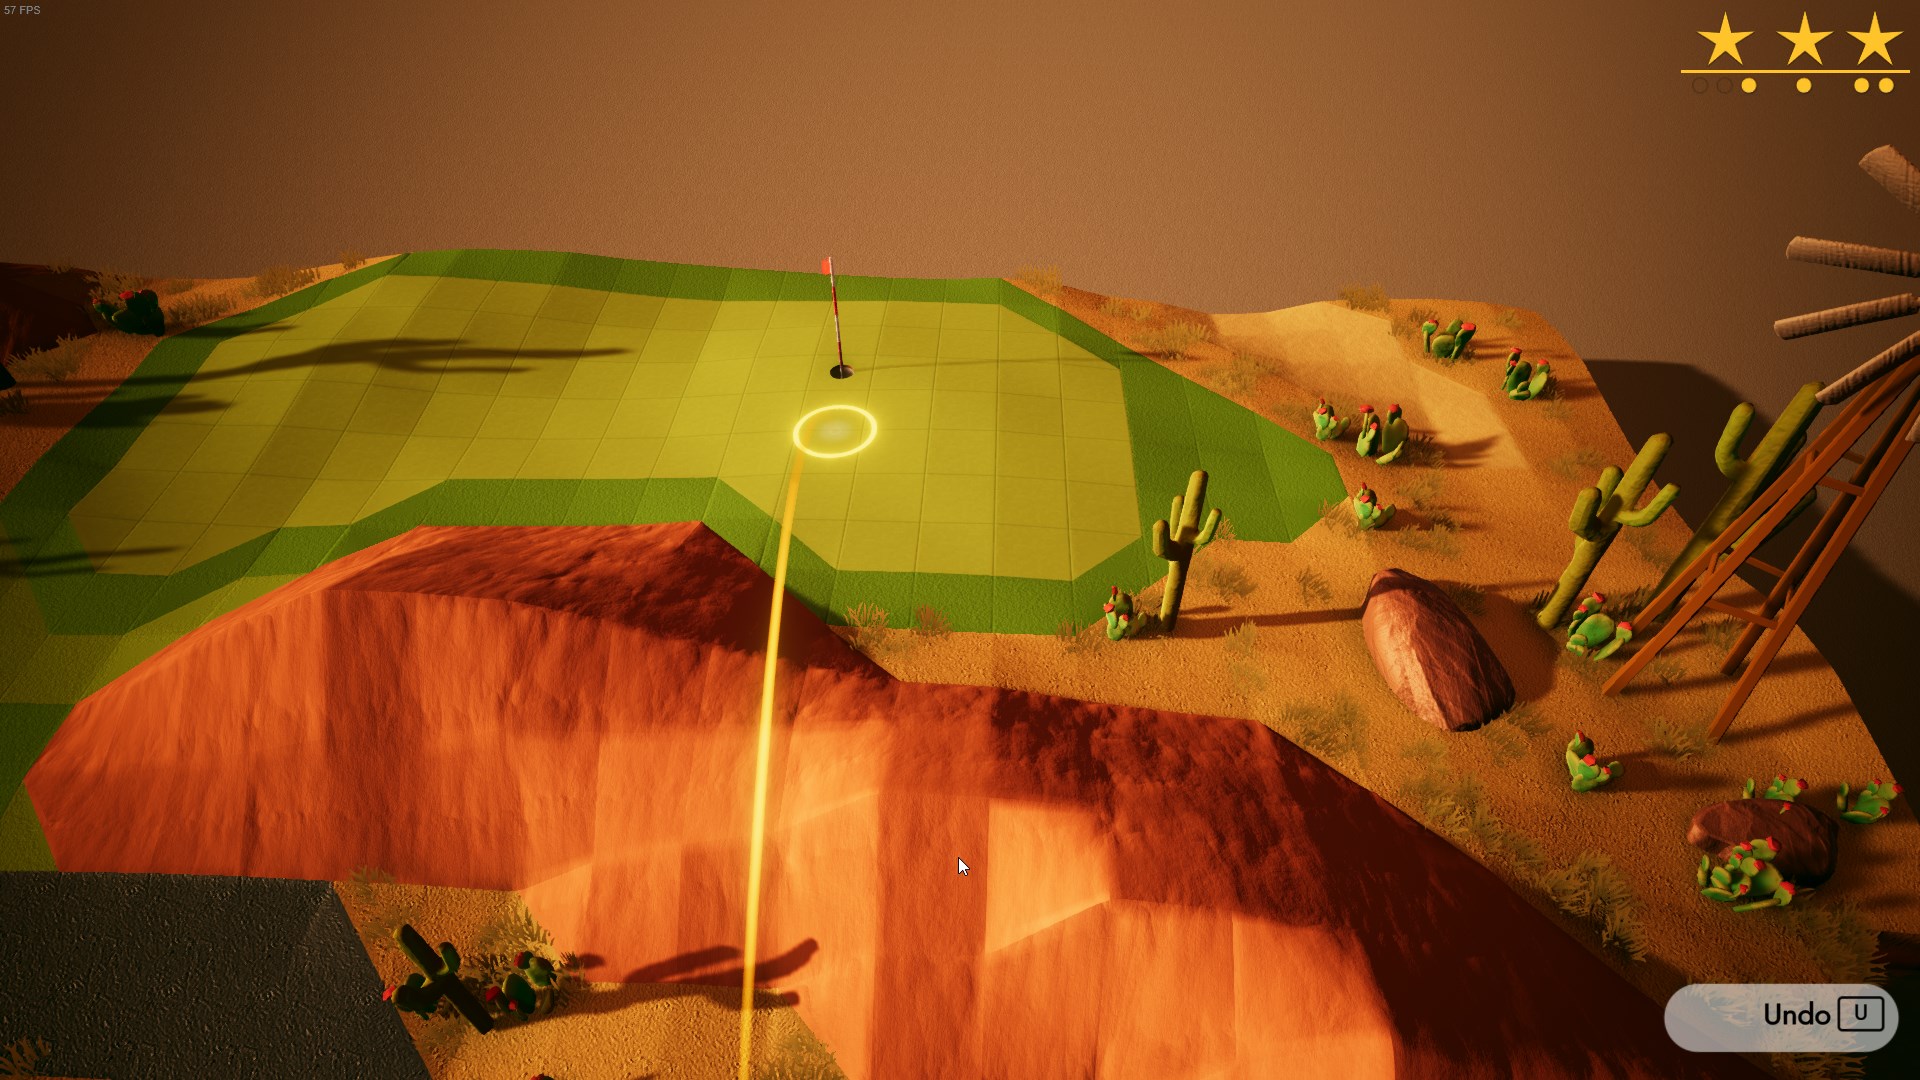
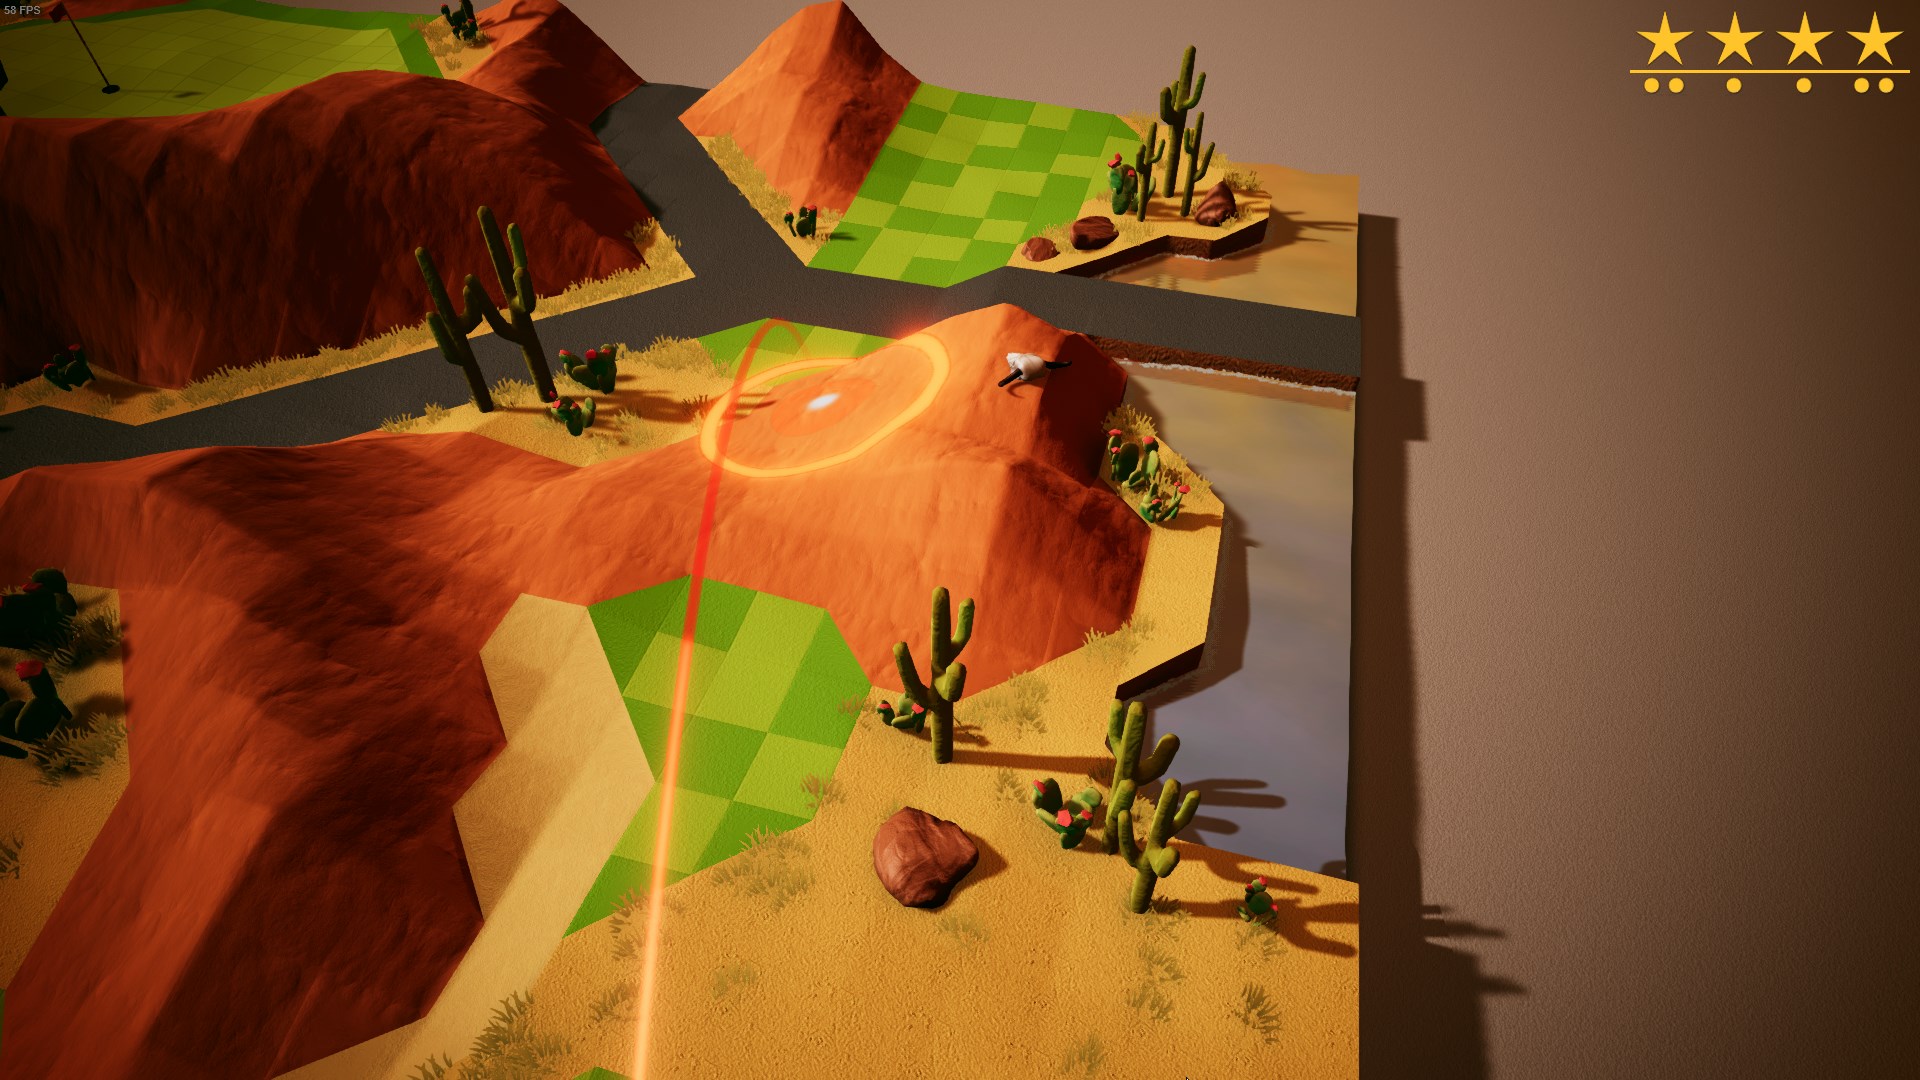
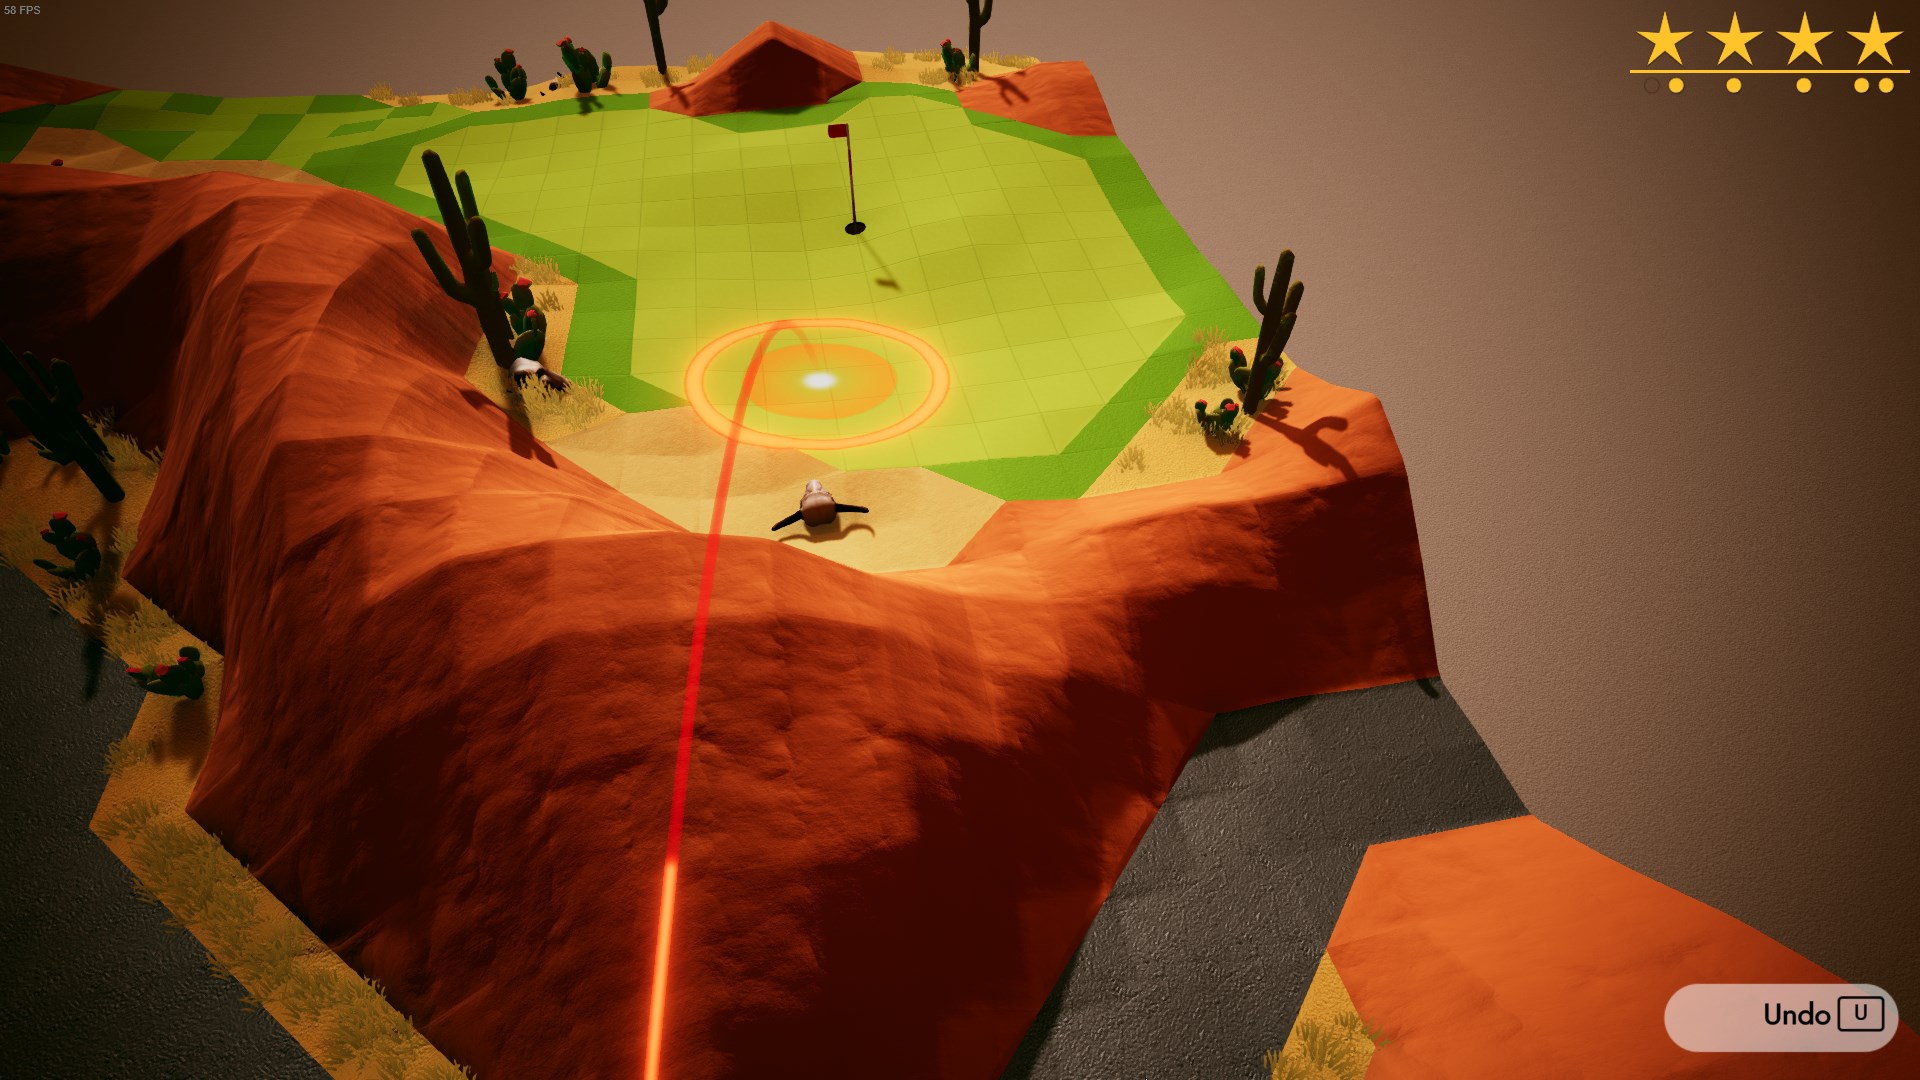
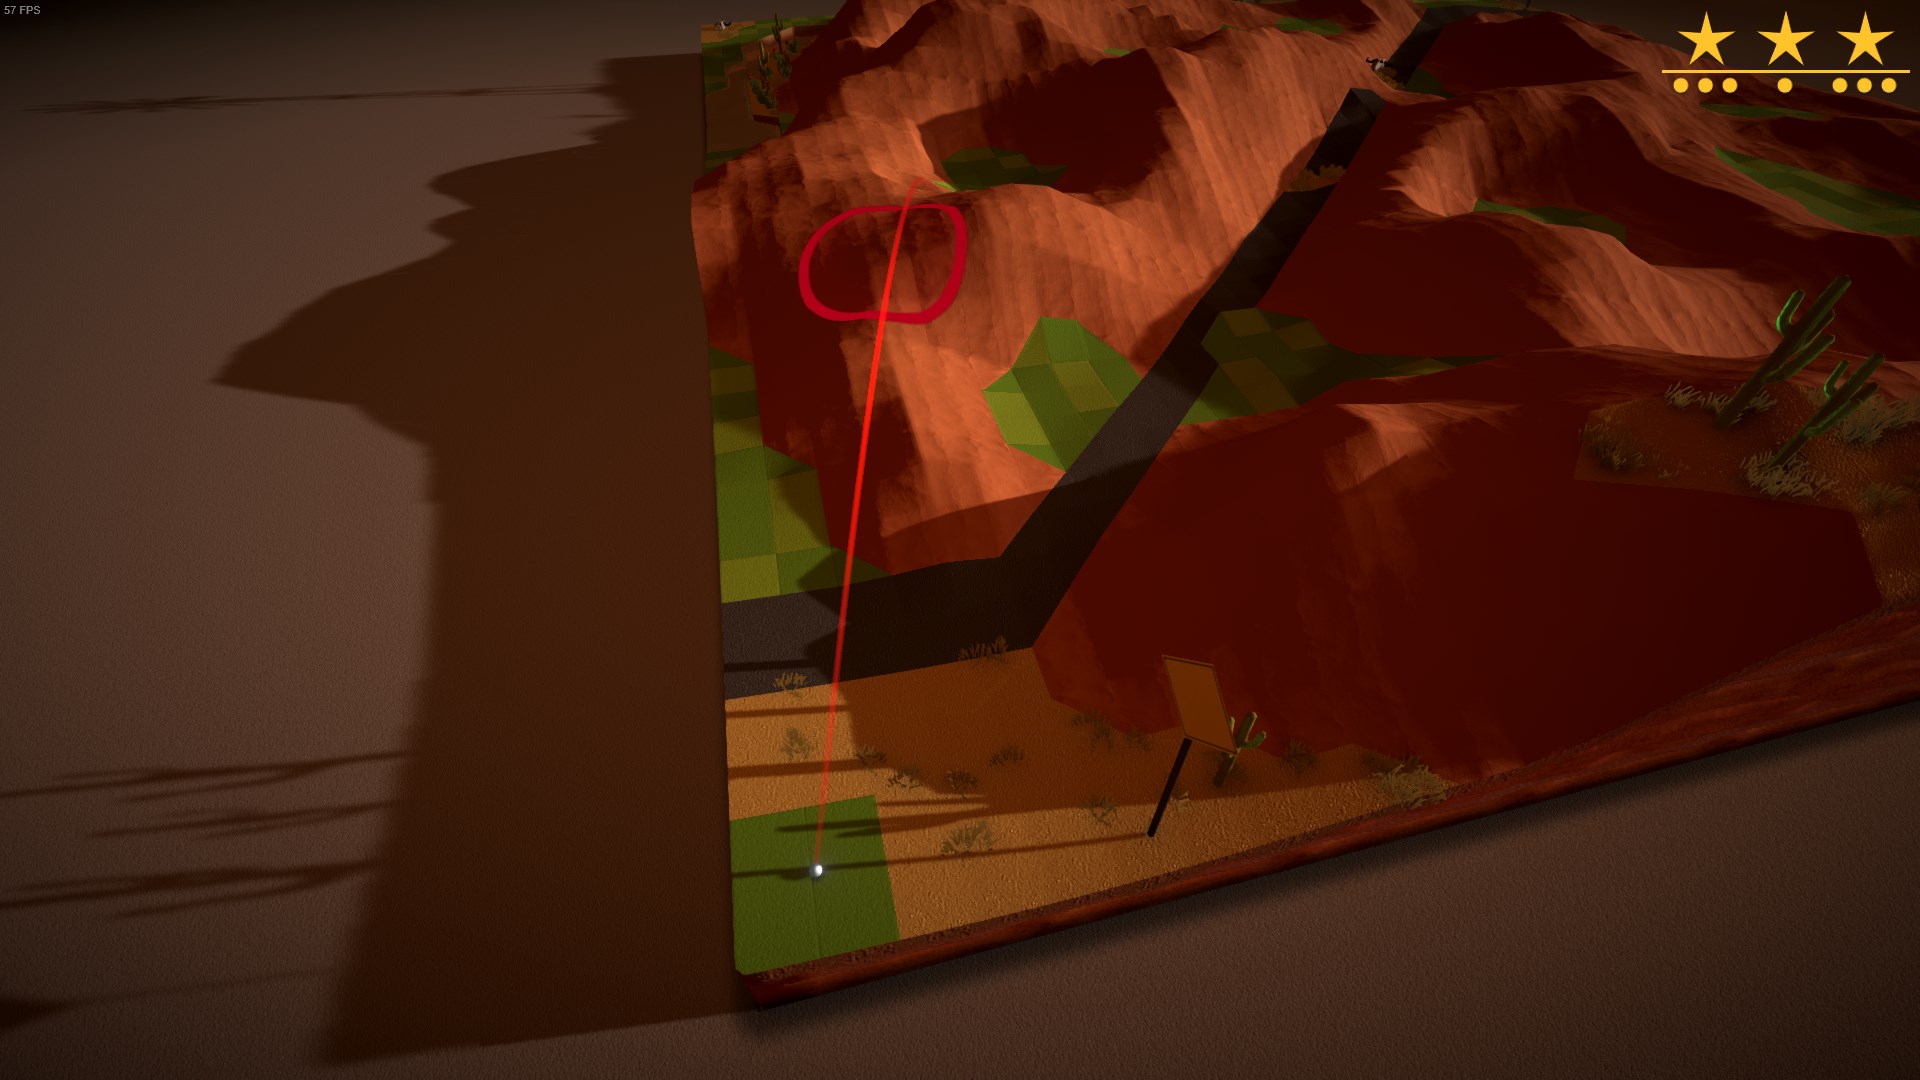
World 3 – Windmills atop the Parched Mesa
This one is a little trial-and-error. Don’t use shift and try to time the sway to get as far as possible.
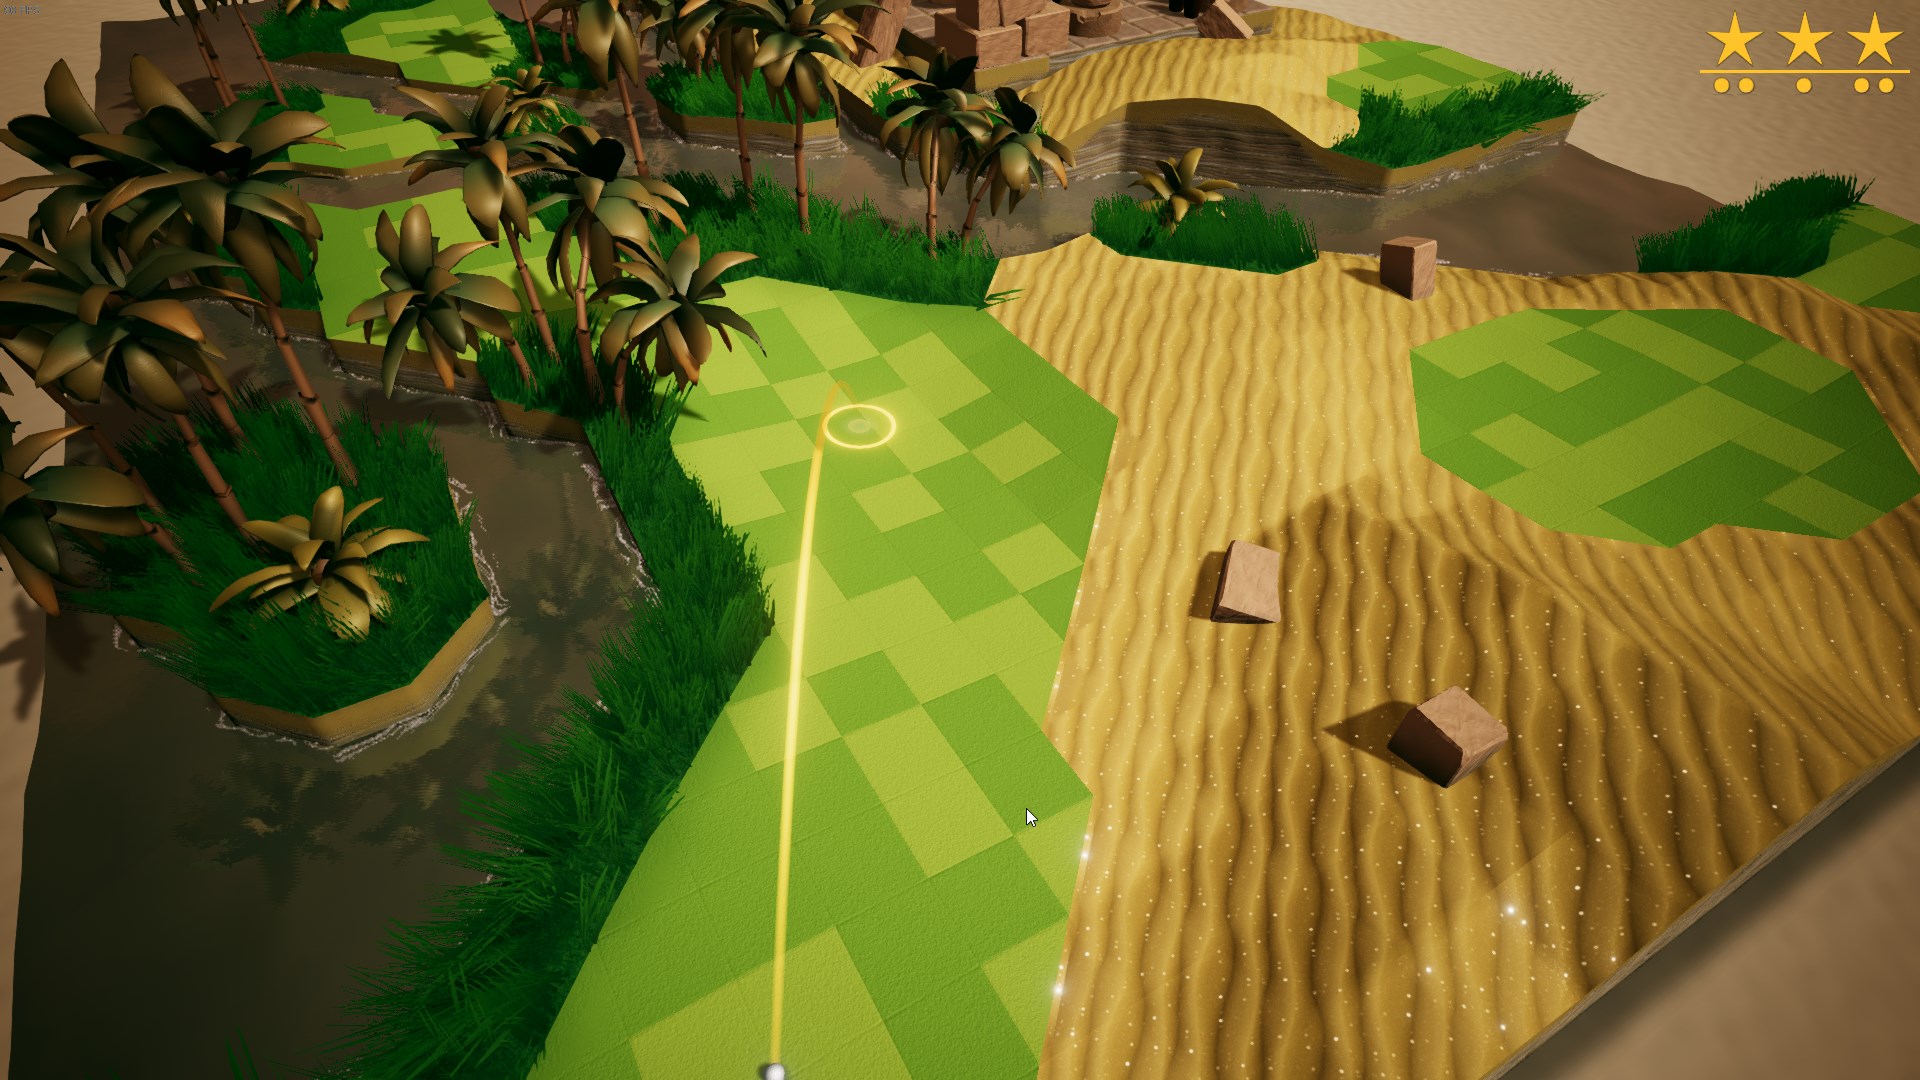
Don’t use shift, you need to land just behind the sand as far to the right as possible on the fairway.

Again don’t use shift or you will bounce and overshoot the flag, just time your shot so it goes straight in.
Aagain don’t use shift, but this time so you can slightly undershoot the shot so the ball doesn’t roll into the sand.
You have to aim pretty far left of the flag due to the slopes.

Don’t stabilize or you’ll overshoot, just time it so it goes directly in.
This level is pretty difficult and unreliable, but this method is the only one I found that works.
Don’t stabilize for this shot. Try to time it so the ball lands just on top of the flat rock surface in the distance, if you’re lucky it will land there and roll straight into the hole. This one will probably take a few attempts.

Aim as far to the right as you can without hitting the cactus, the ball should bounce against the rock and just land on the fairway.
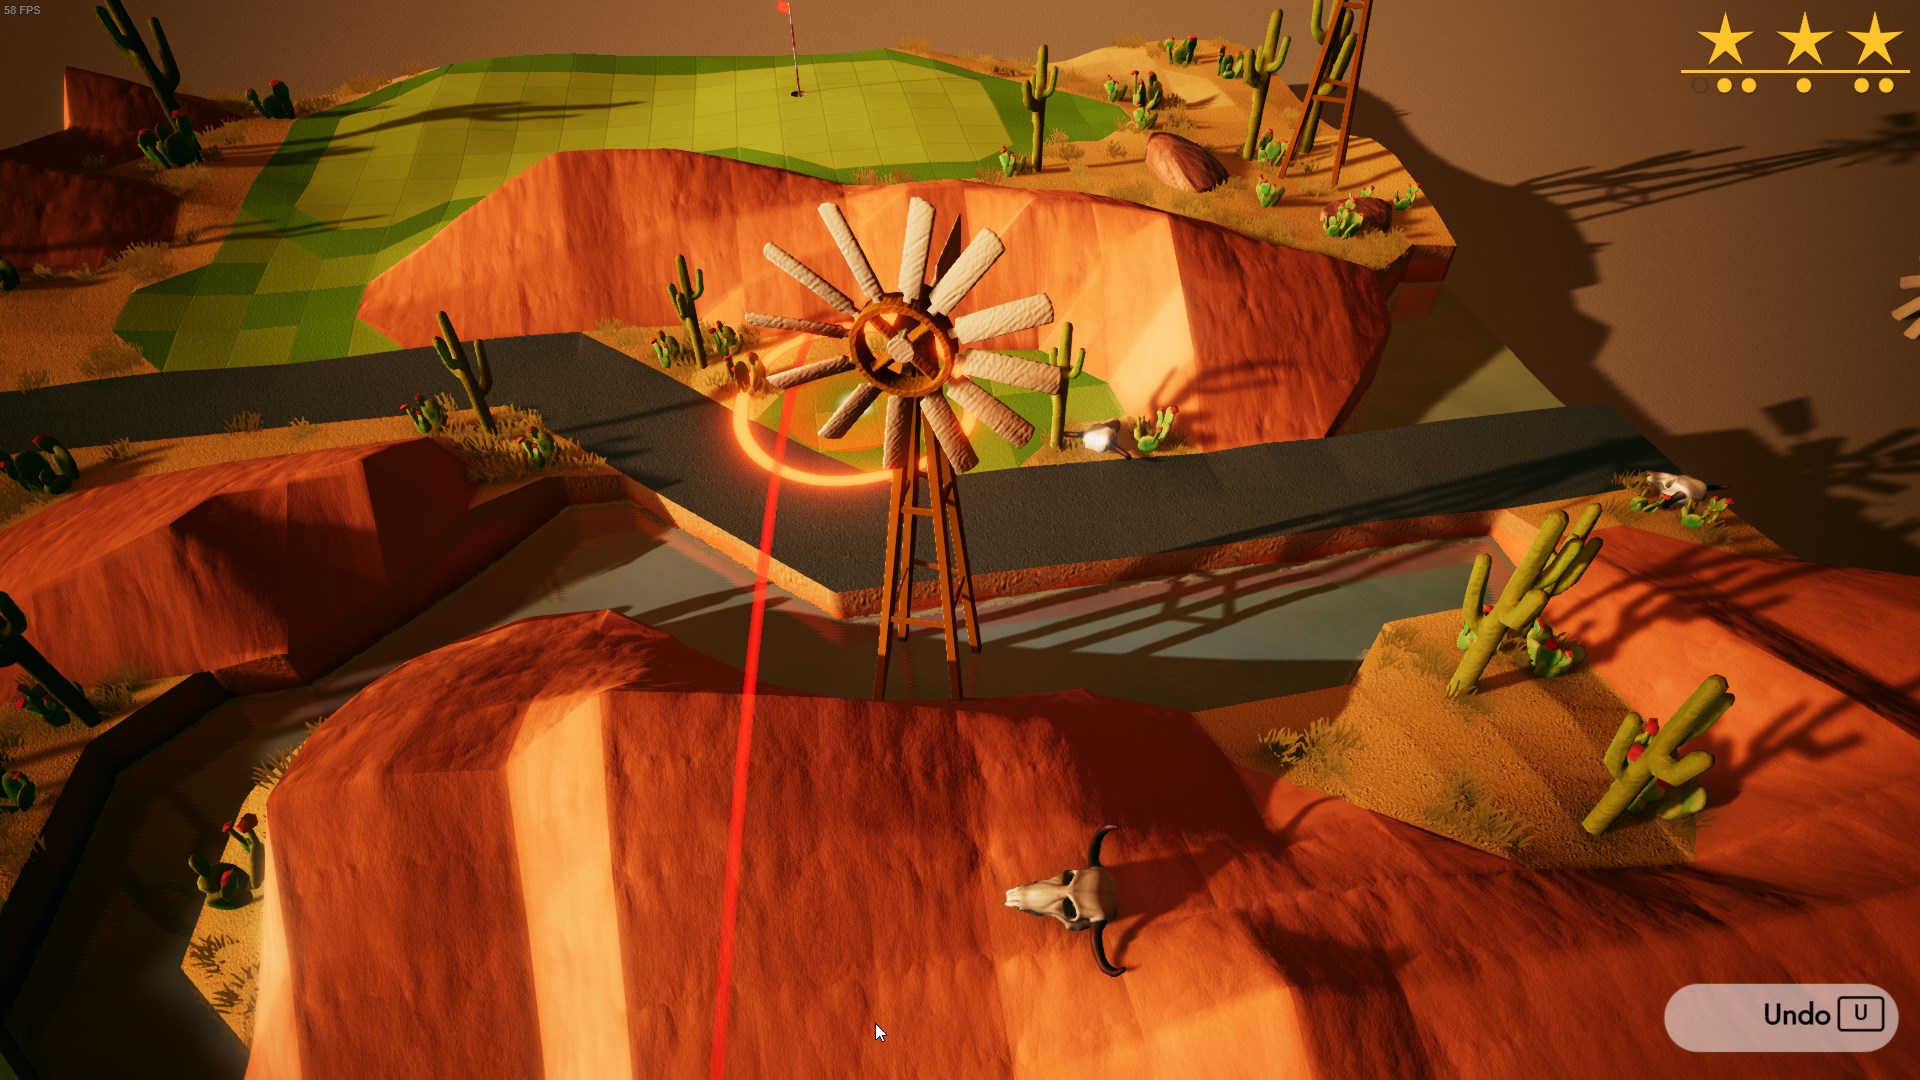
This one might take some luck or timing so you don’t hit the blades of the windmill.
This shot is a little random whether you land out of bounds or not, just keep trying.
Don’t stabilize so you have enough power to clear the bunker.
Again don’t stabilize for that little extra reach.
This level gives you 3 shots for 3 stars, but I found you only need 2. Don’t stabilize either shot.
If the ball doesn’t roll directly into the hole after this shot, it should be on the green right next to the flag at least, and the last shot should be trivial.
Again, all of these shots have to be done without stabilizing to get enough reach.
If you aim directly for the fairway the ball will overshoot and end up in the rough, so bounce off the rock instead.
You probably won’t get your ball in this exact position, but putting it from there is easy enough regardless.
Don’t stabilize.

World 4 – Forest of Mist and Legends
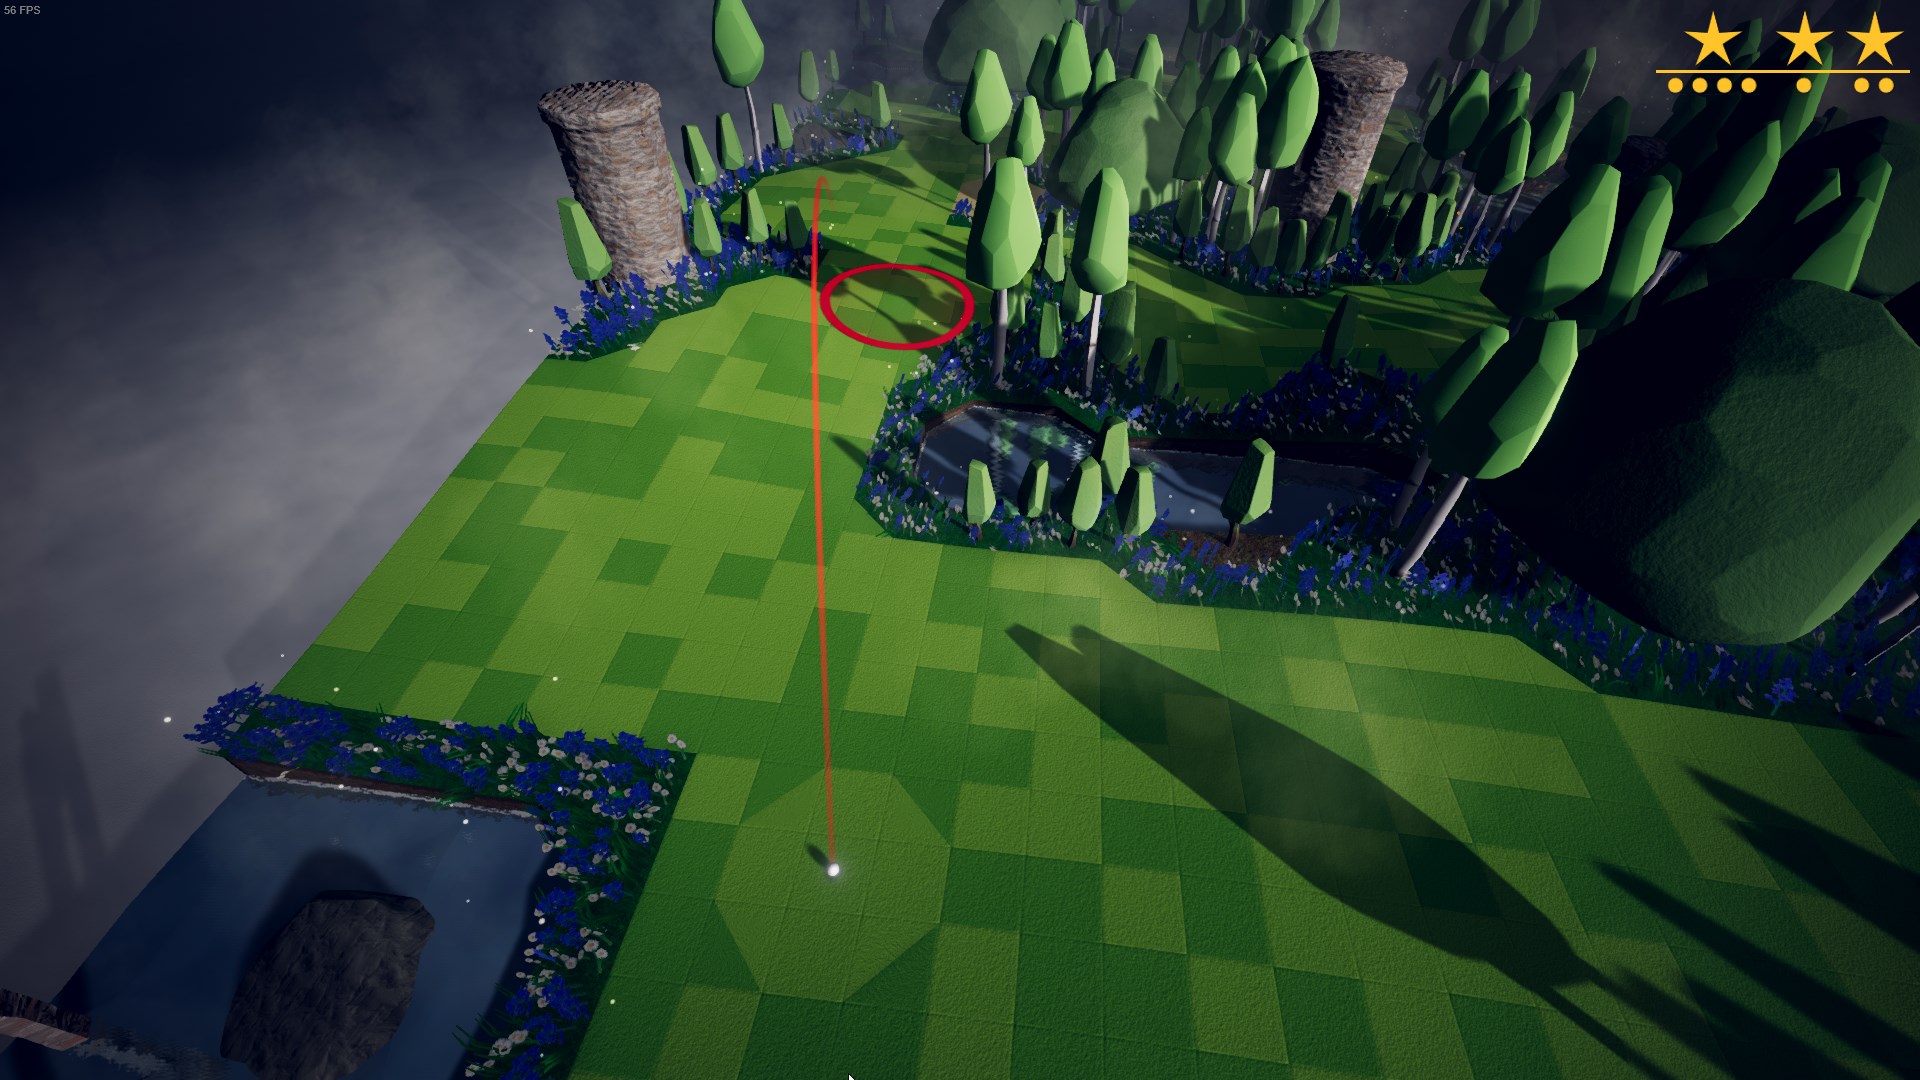
Don’t stabilize, but time for a direct shot.
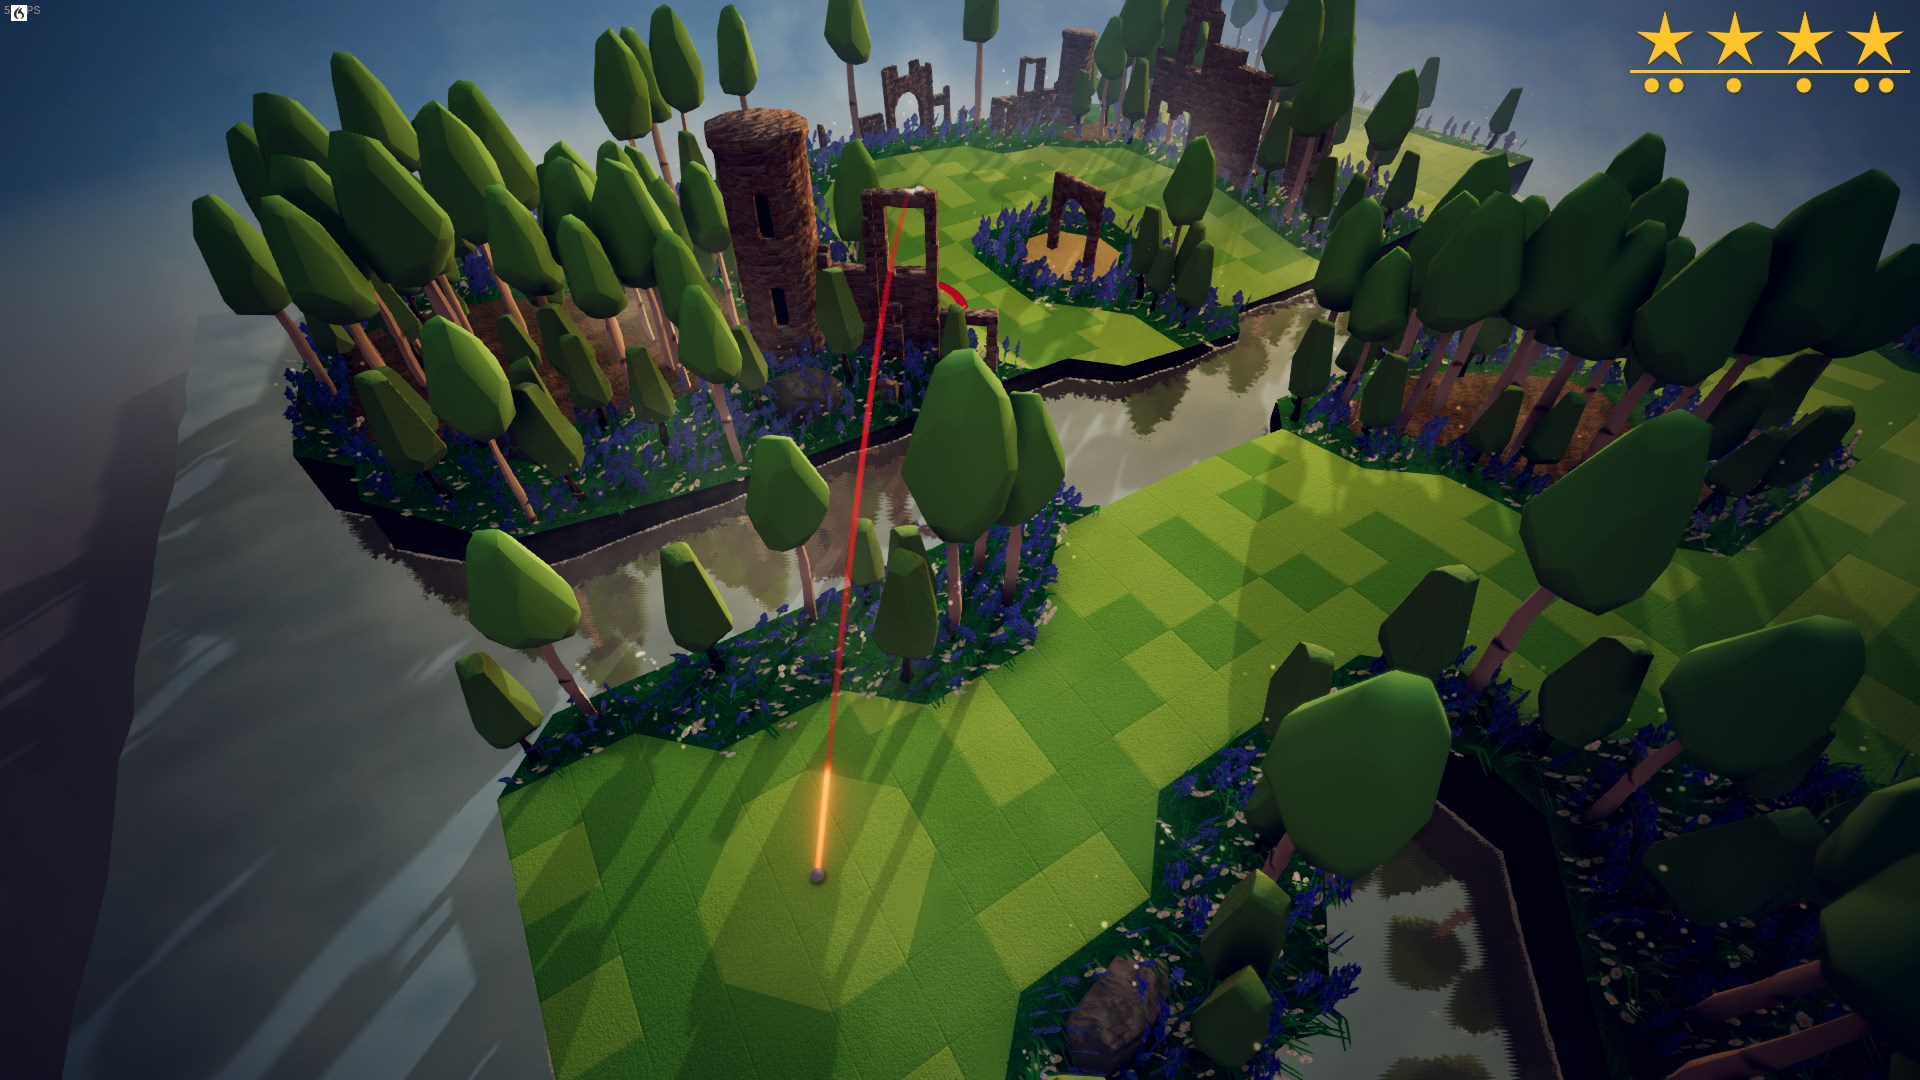
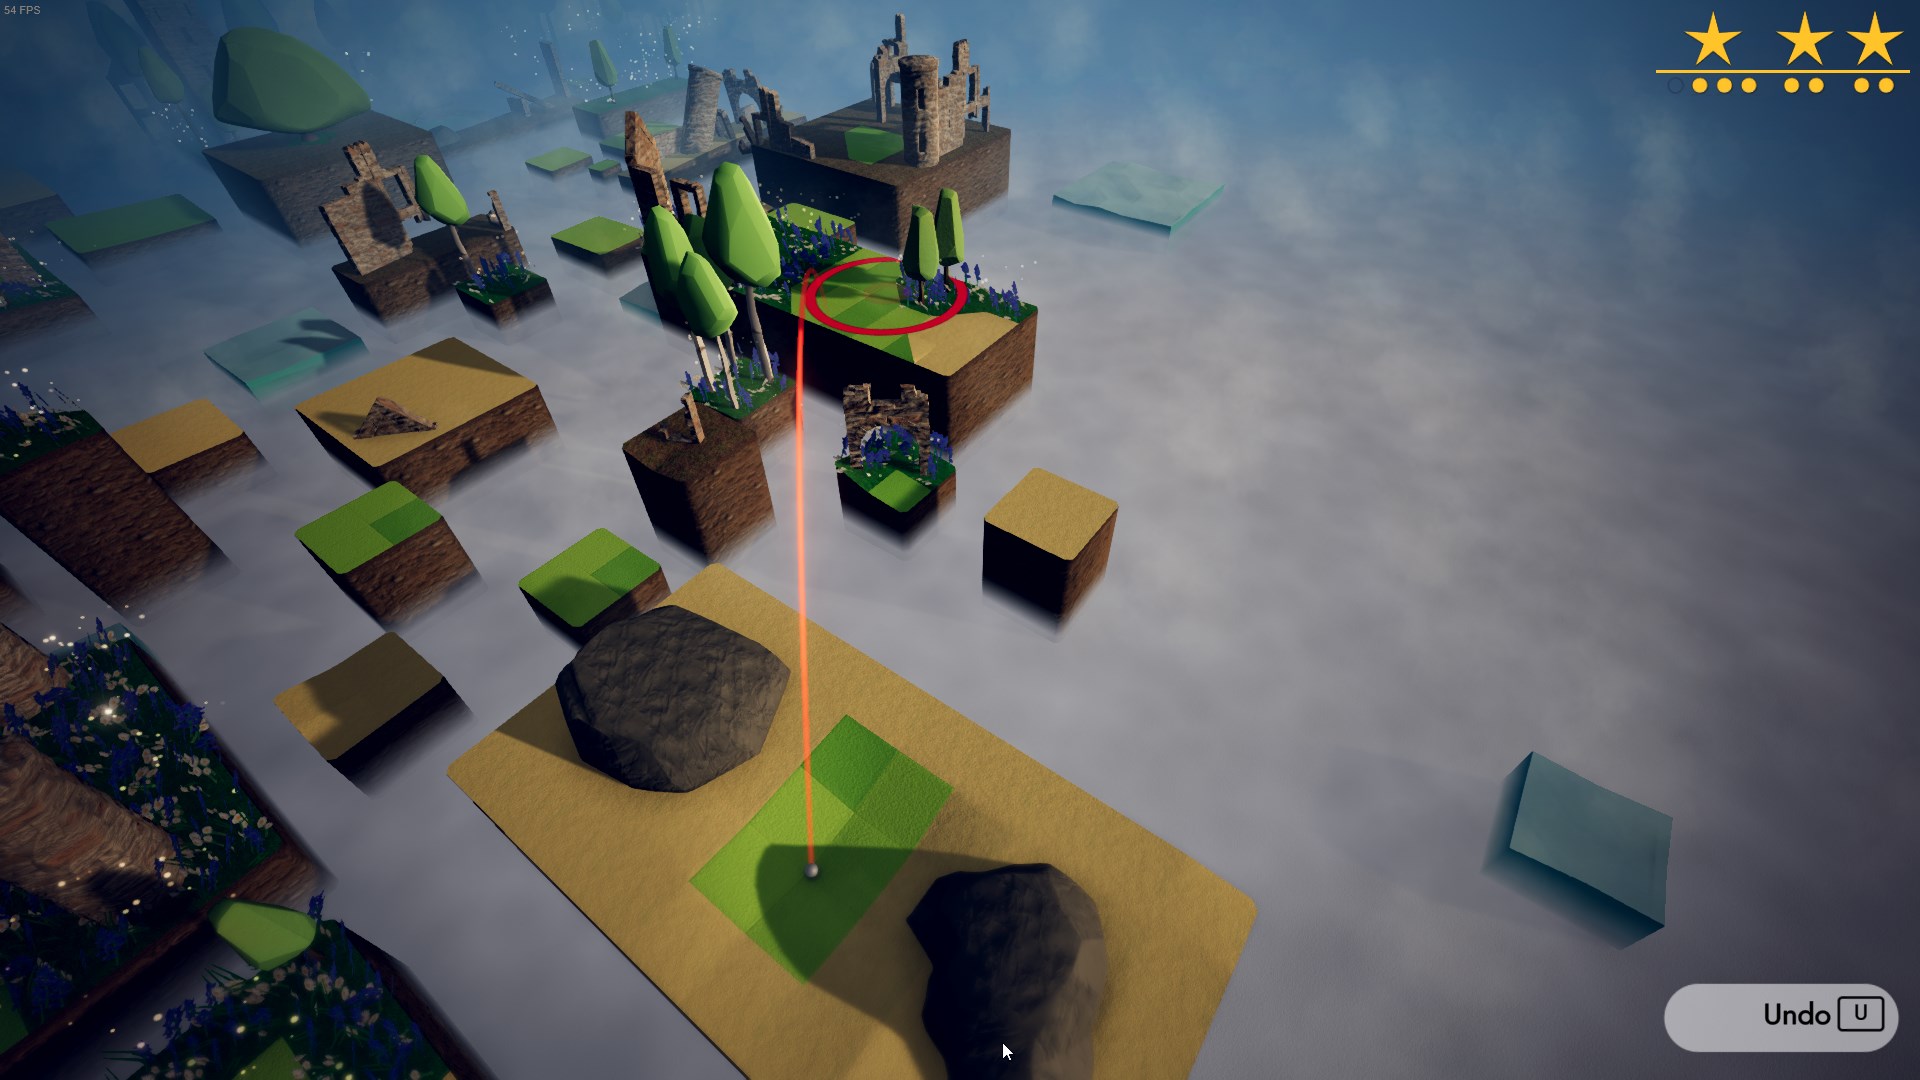
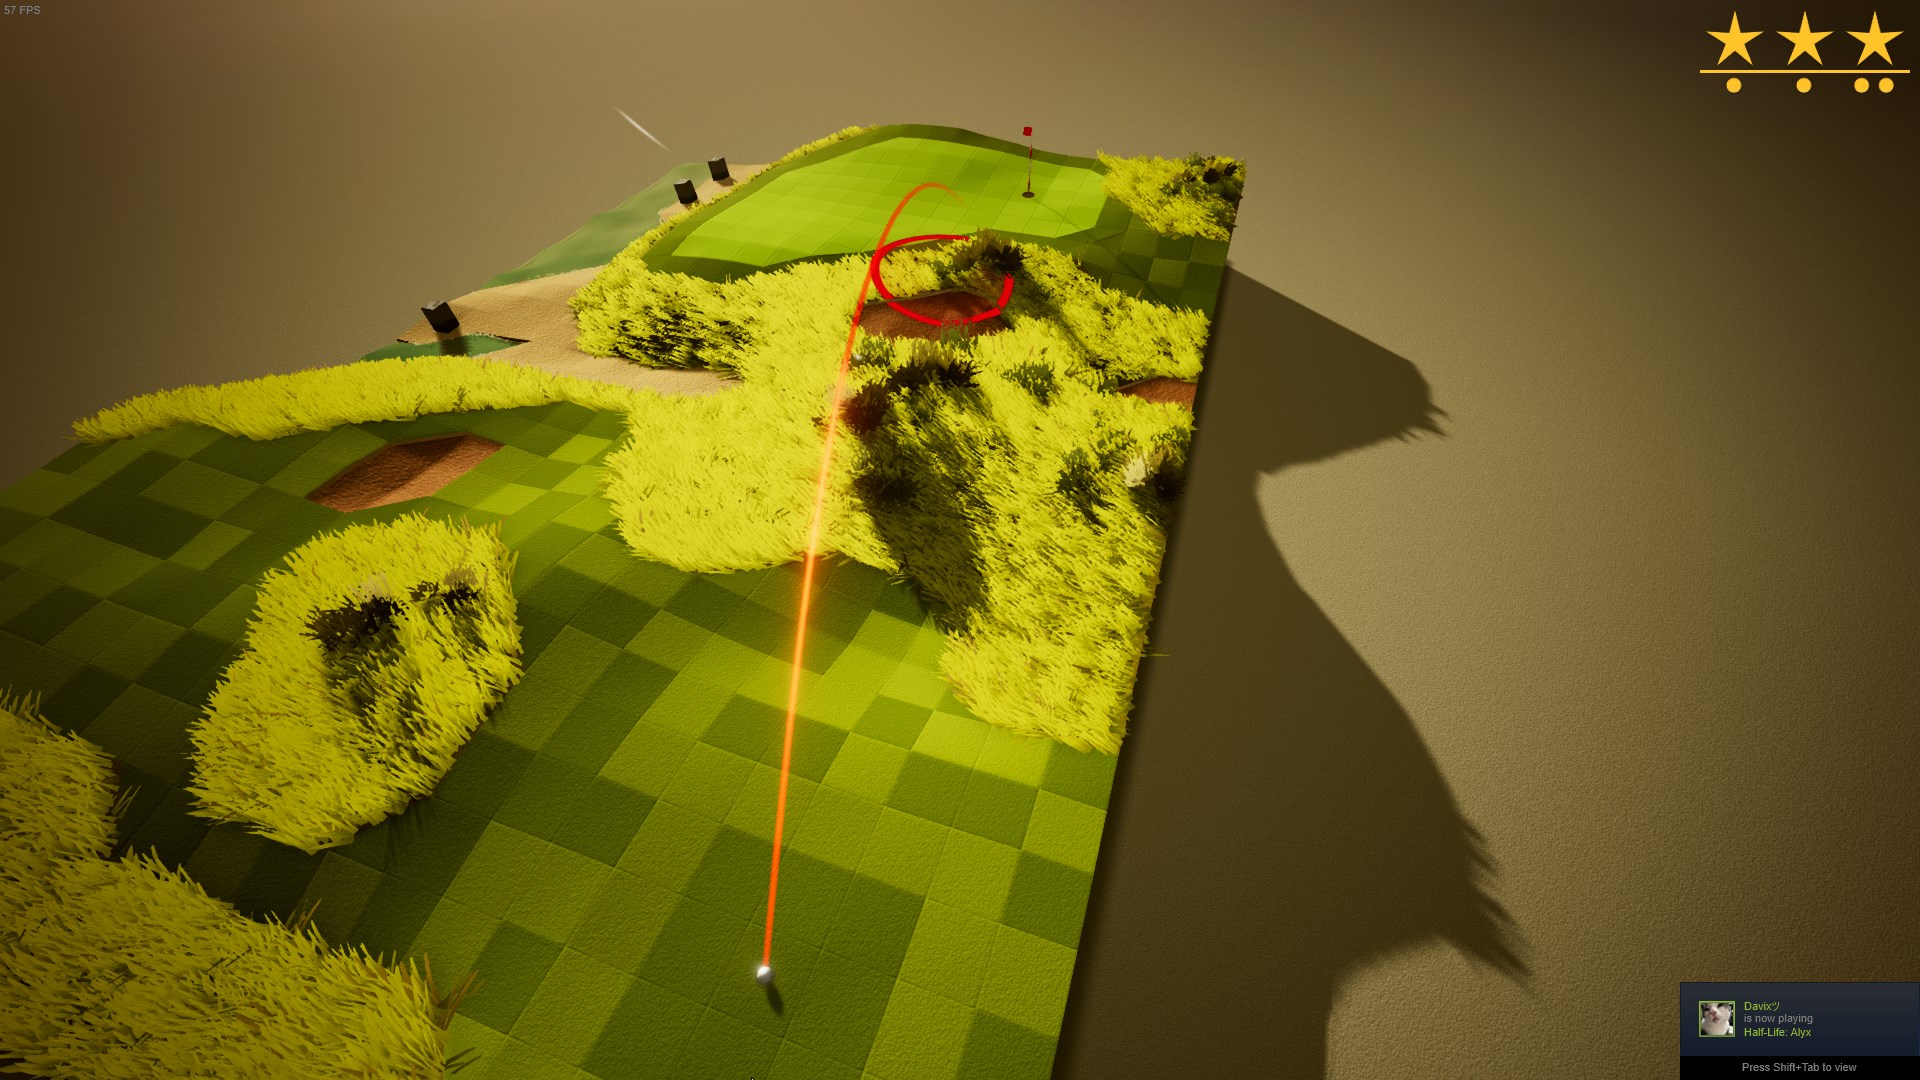
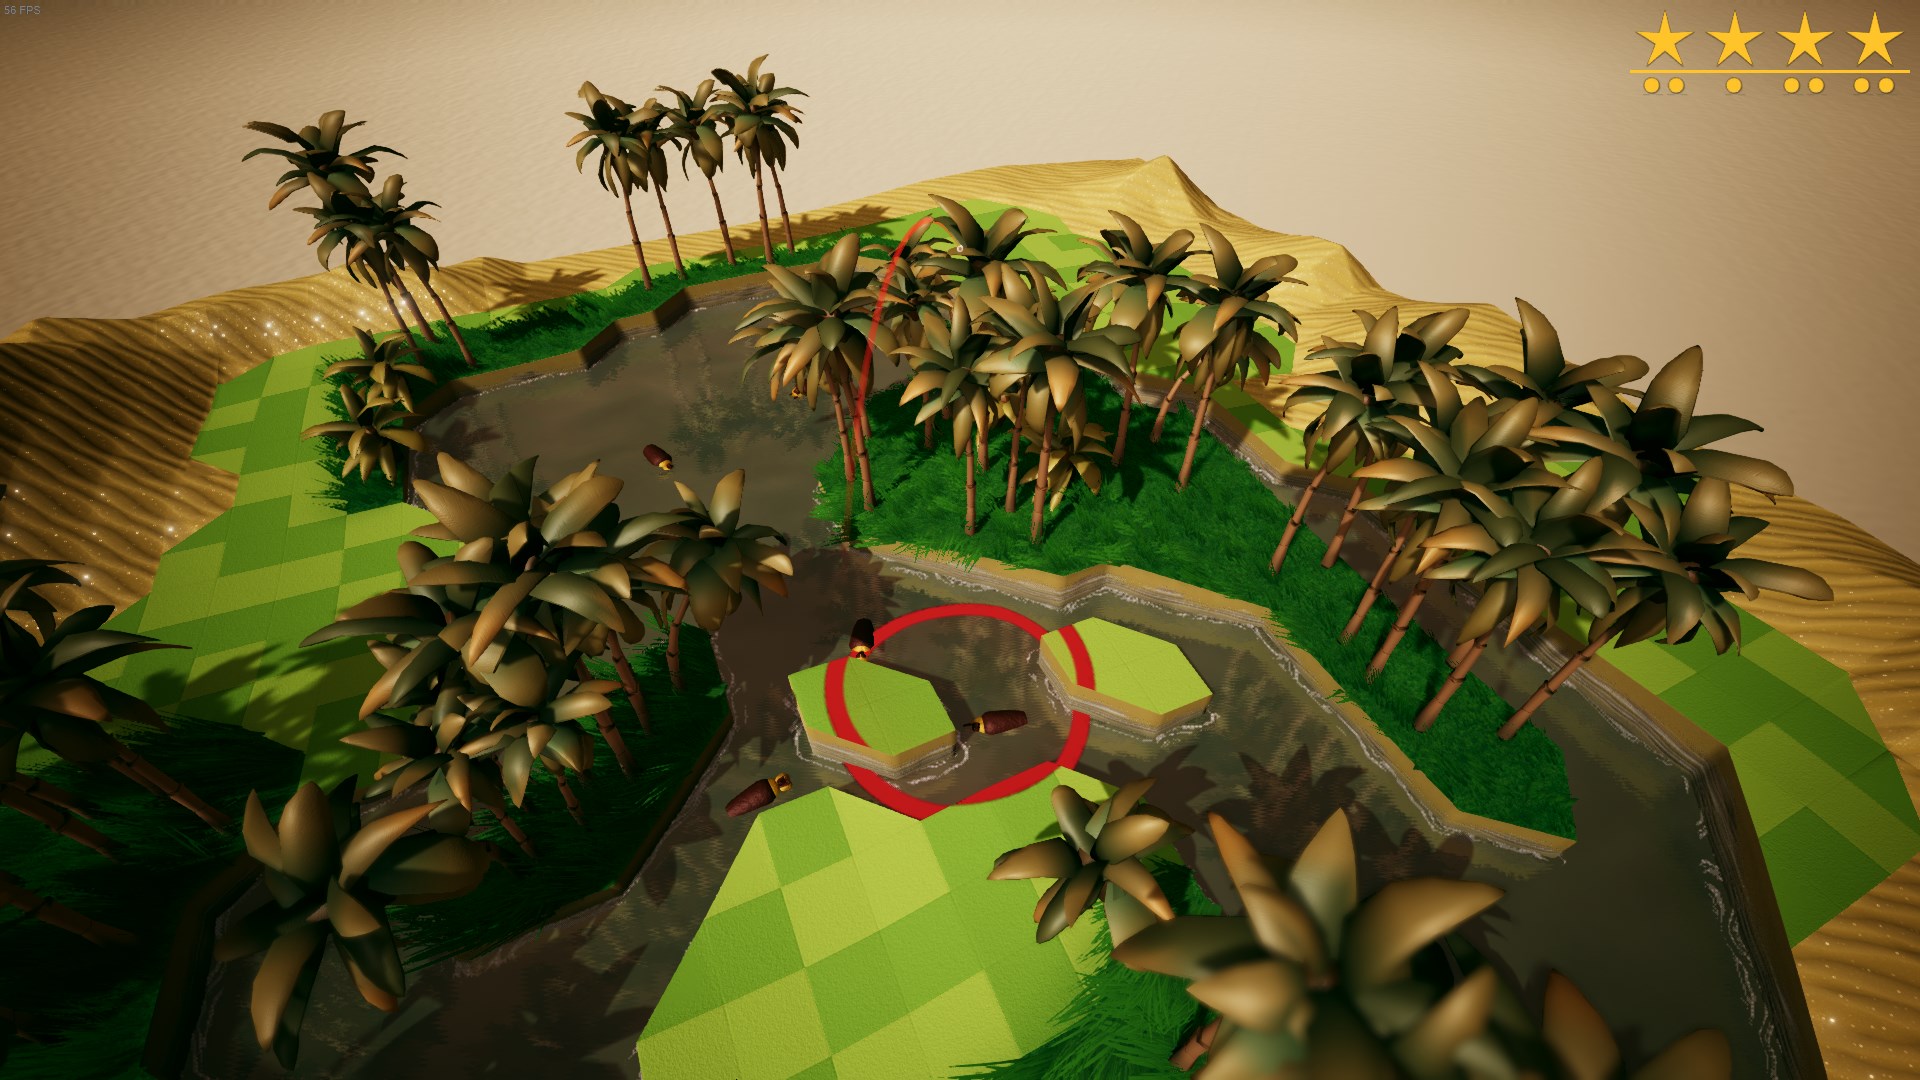
This level is deceptively difficult. There are probably multiple ways to do it in 2 shots, but this is the easiest from my experience. Don’t stabilize, and time your shot to go right between these two trees without hitting either of them.
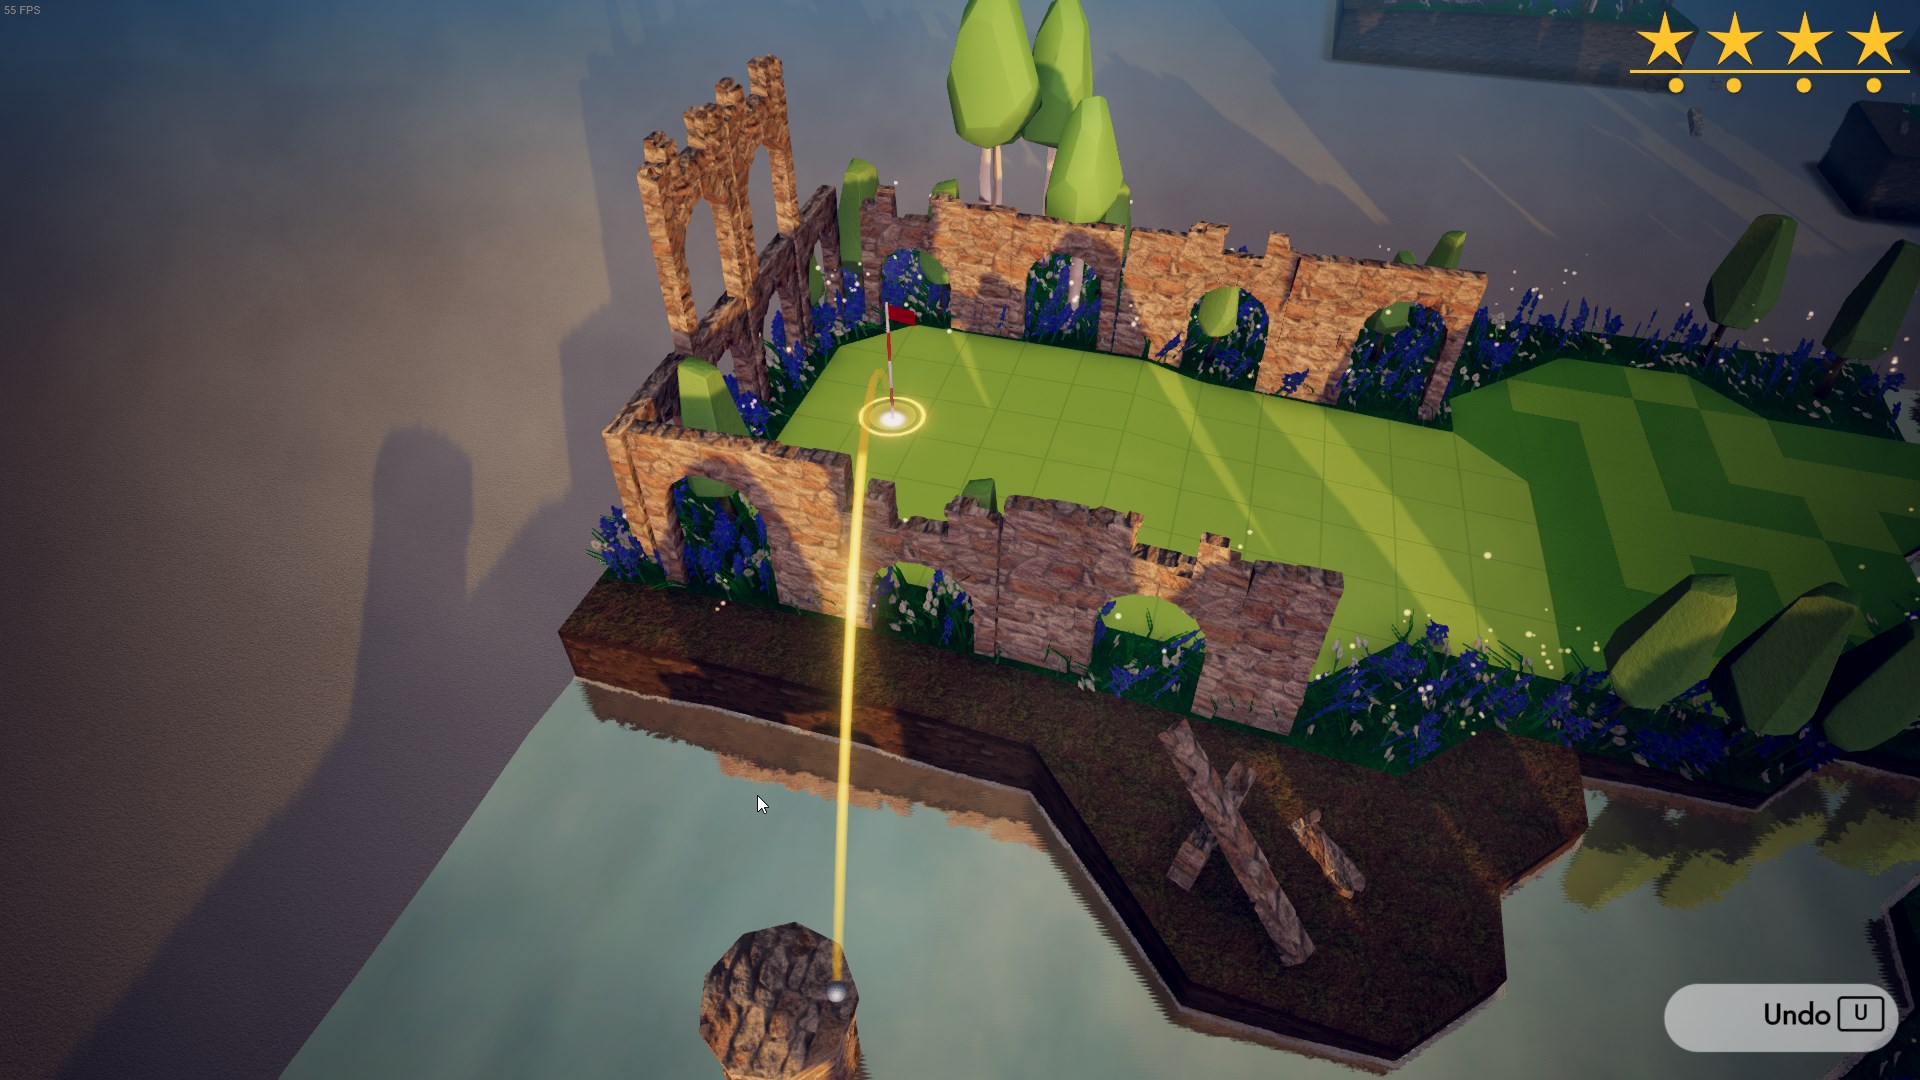
Luckily, the next shot is basically free.
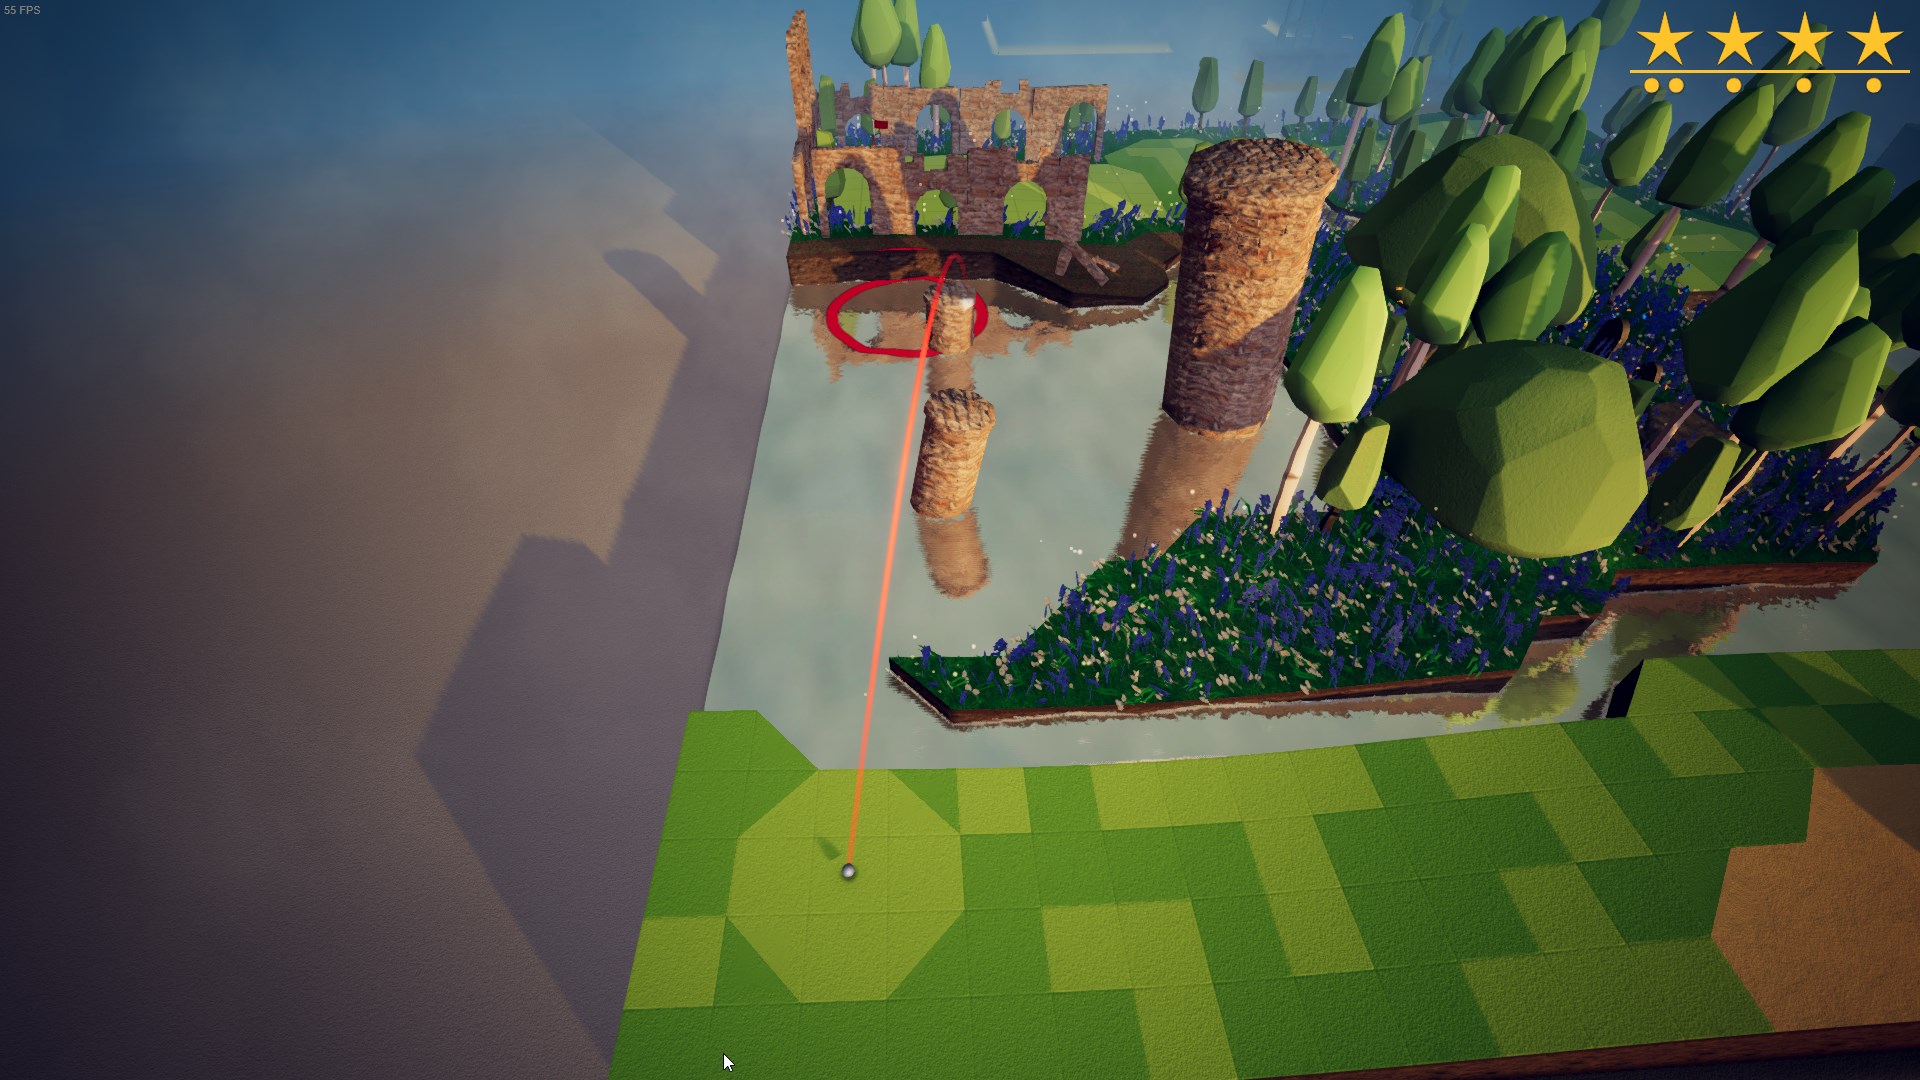
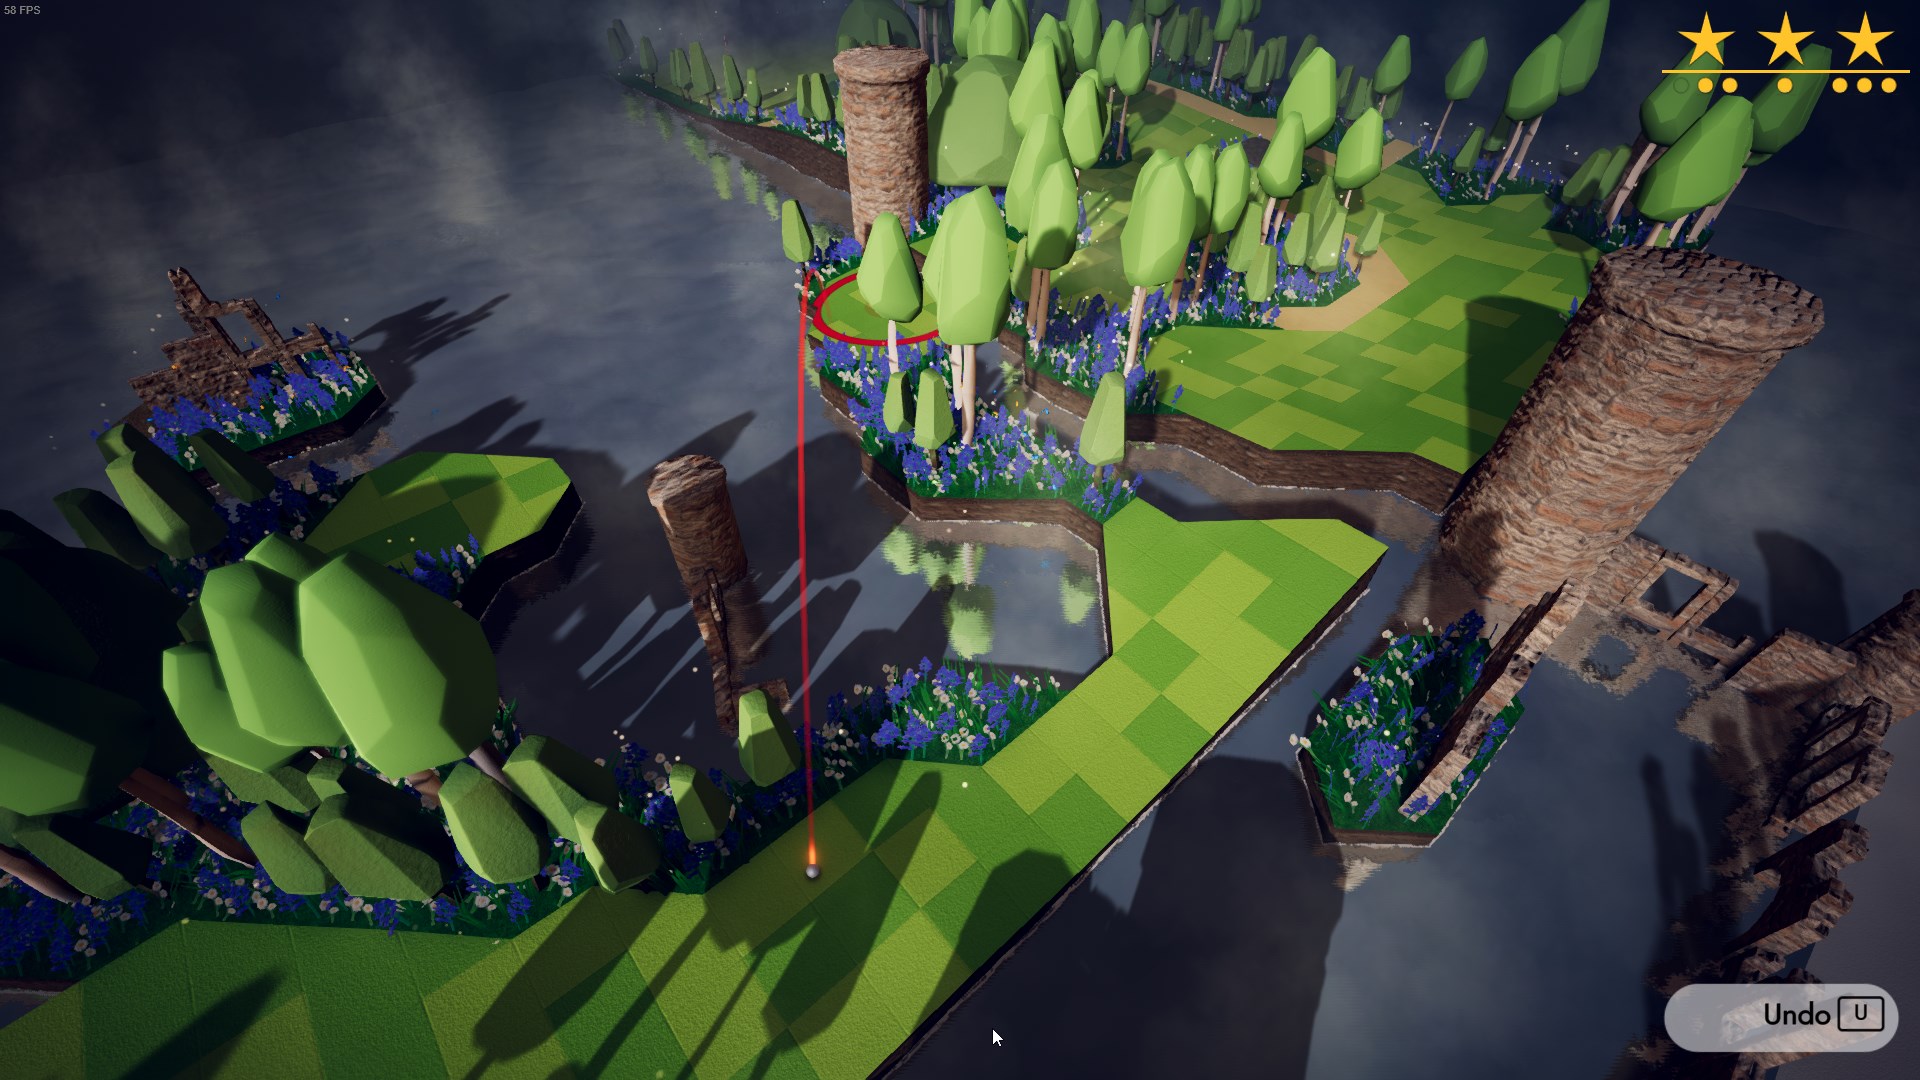
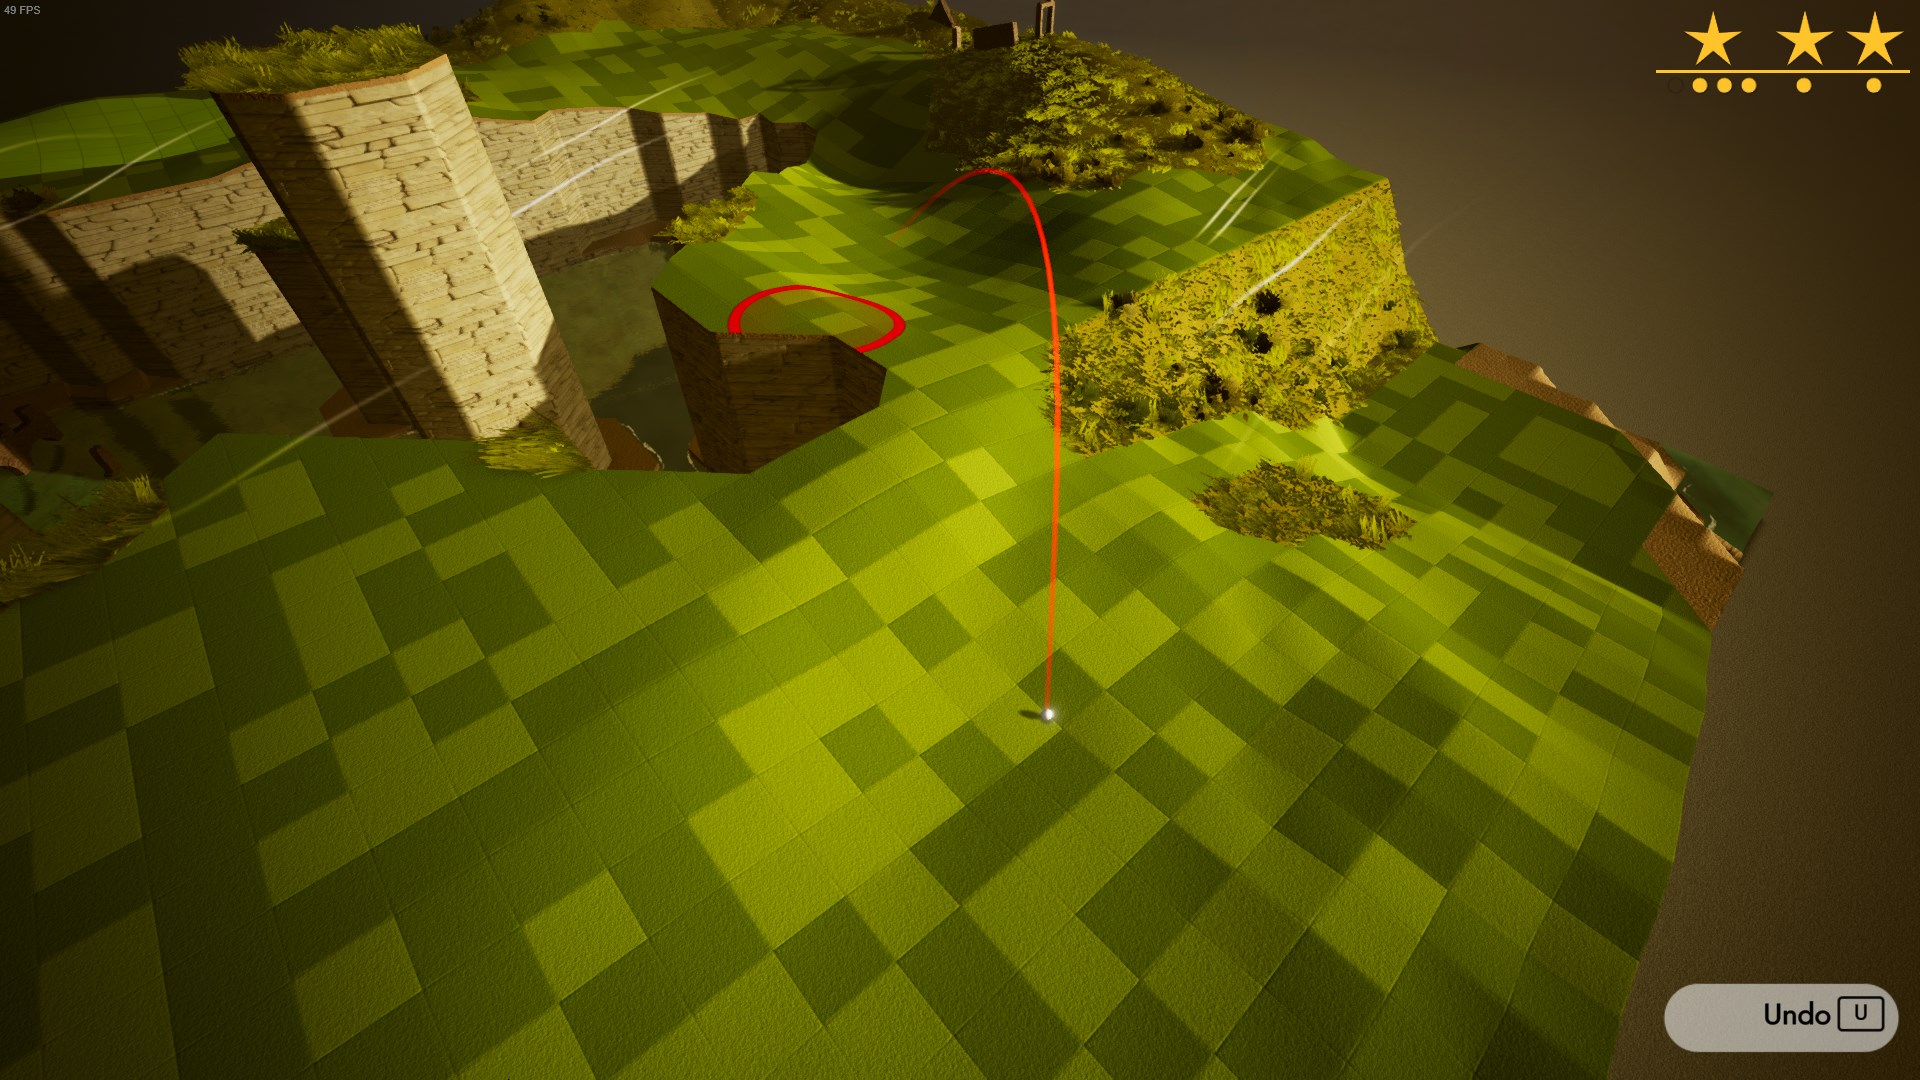
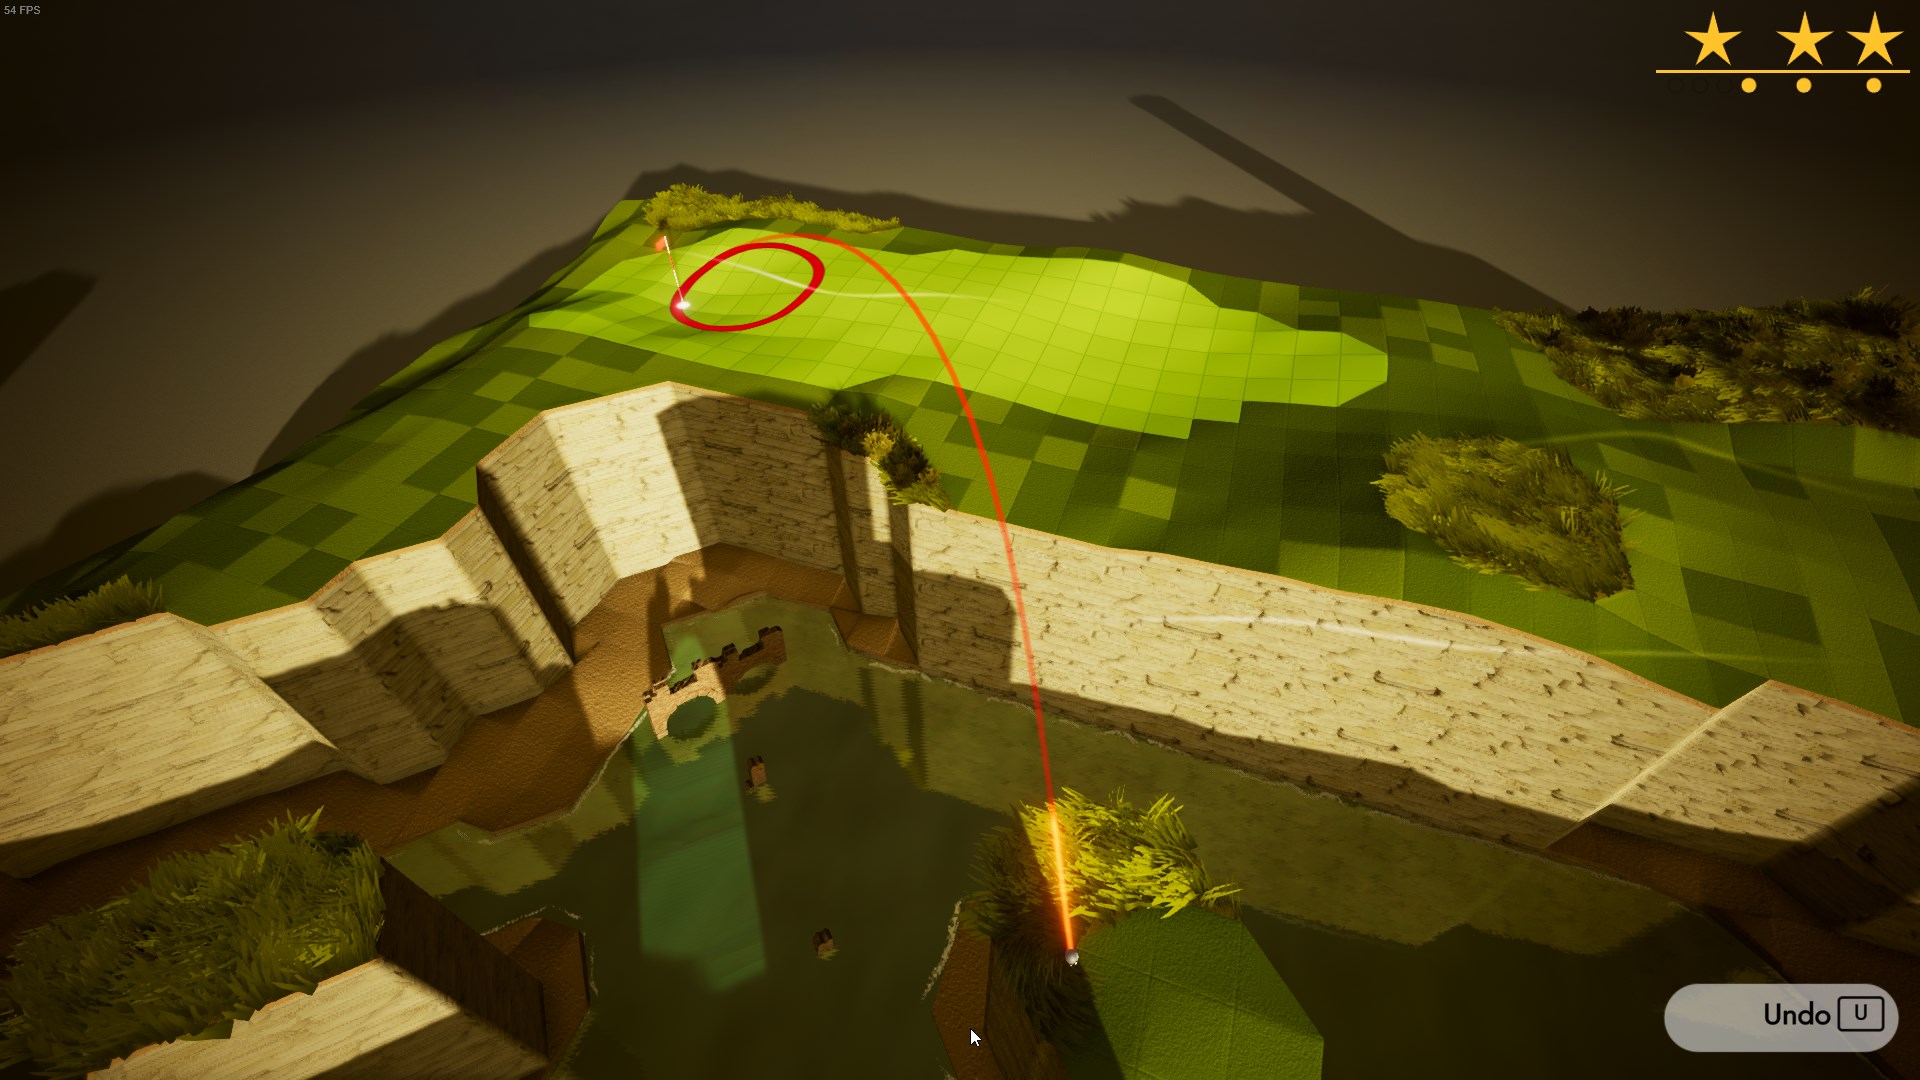
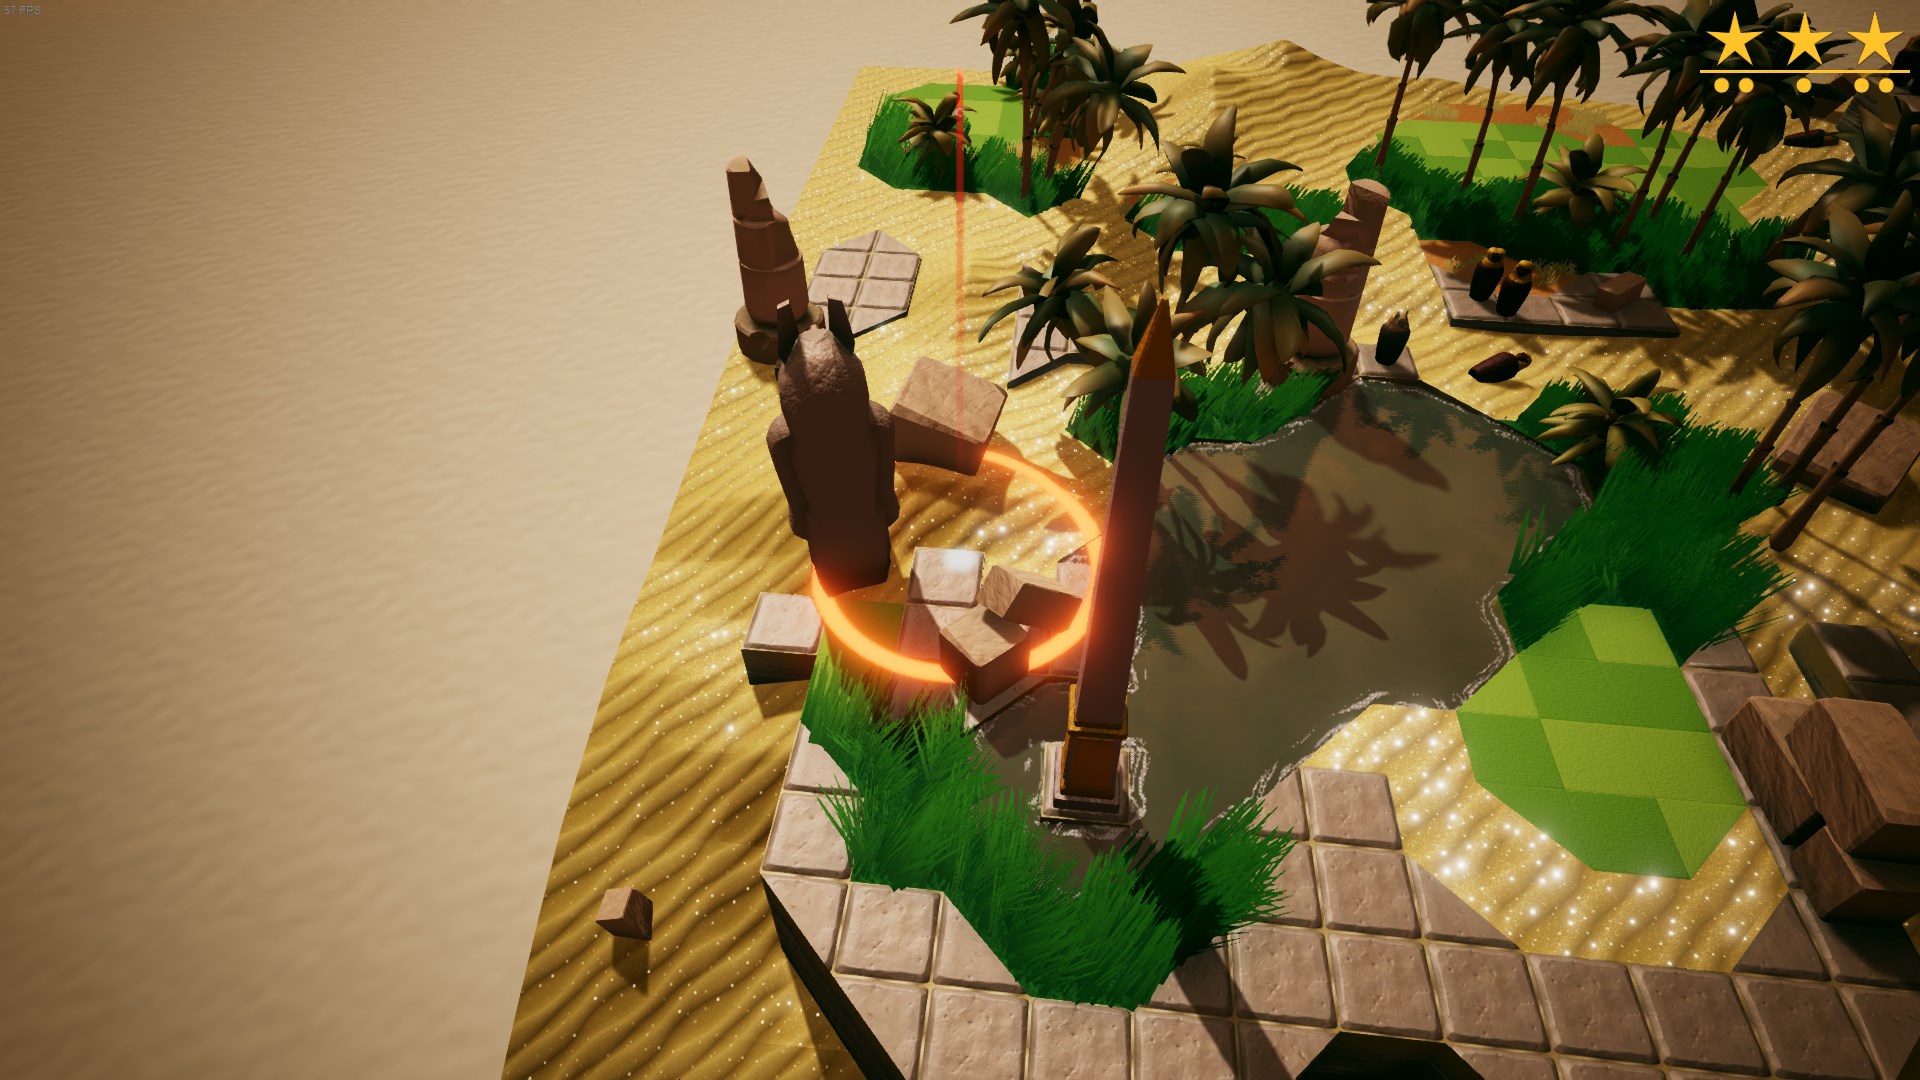
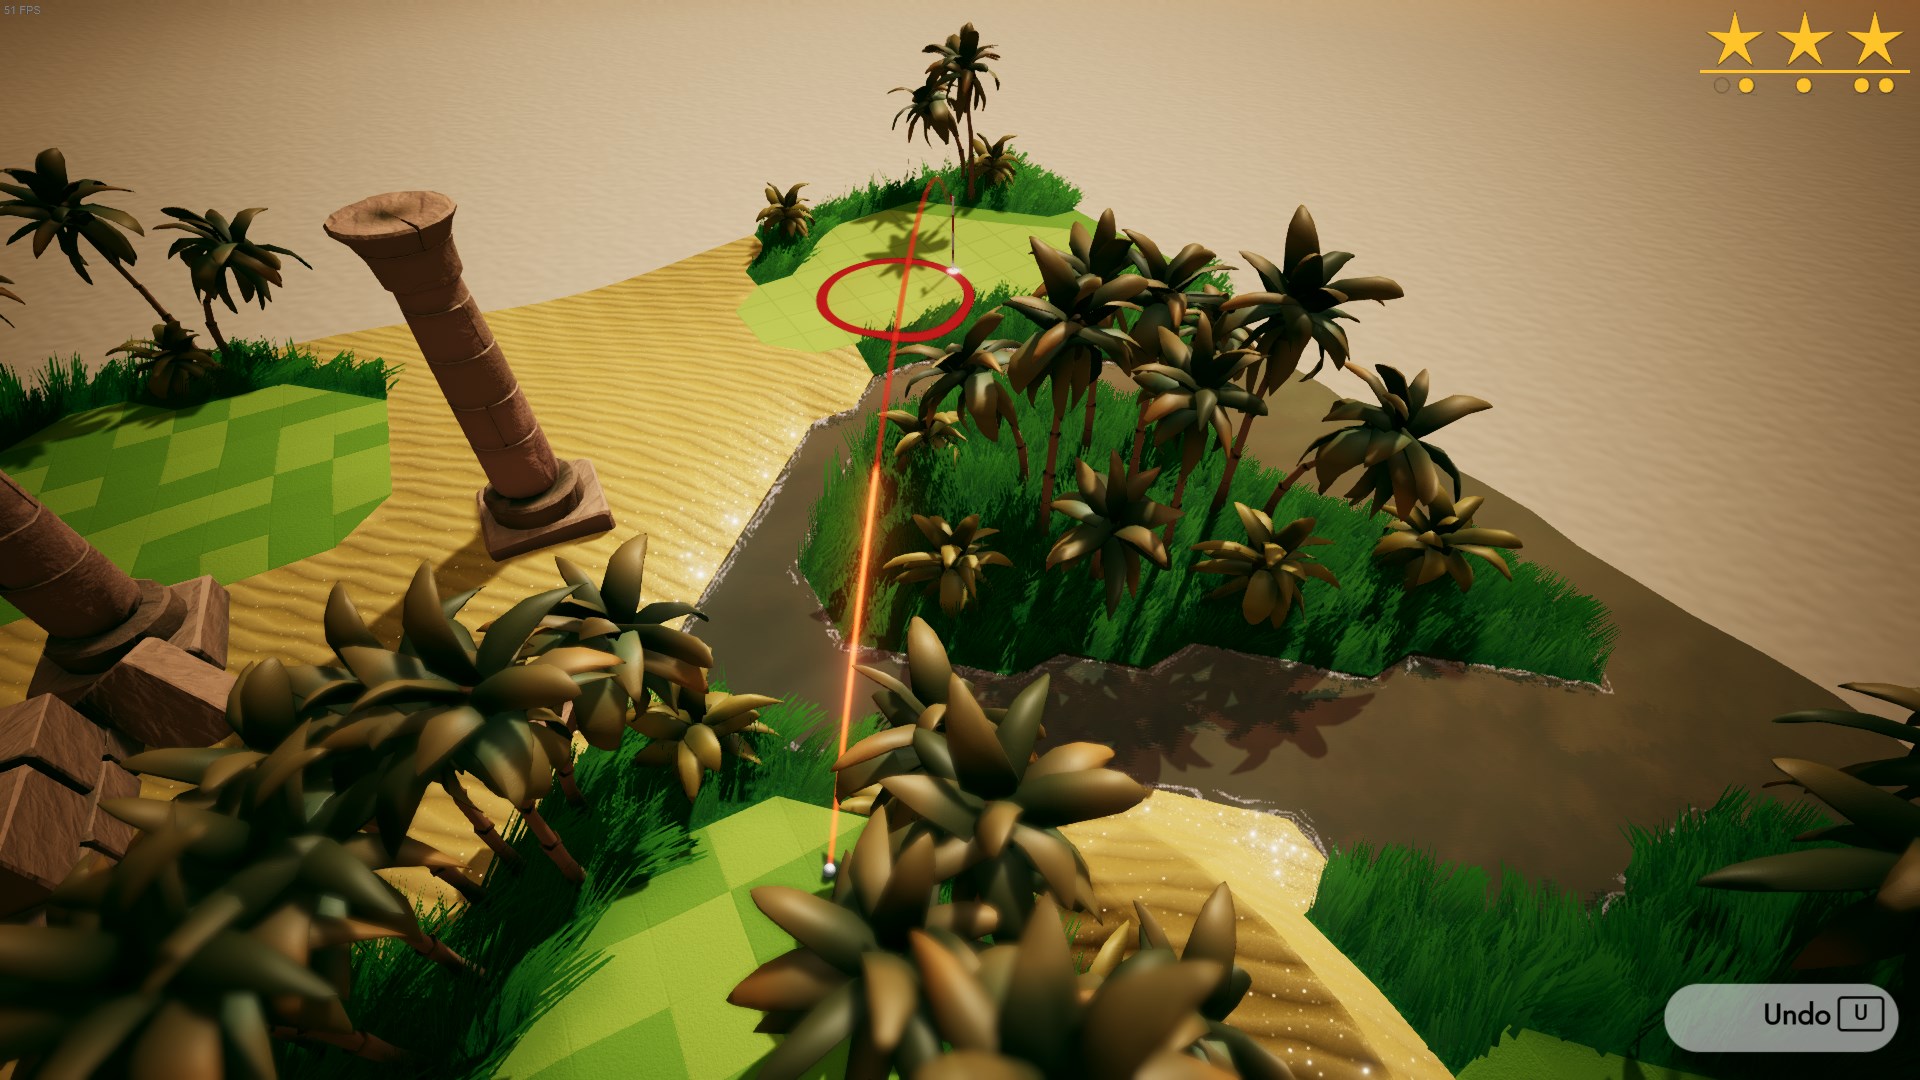
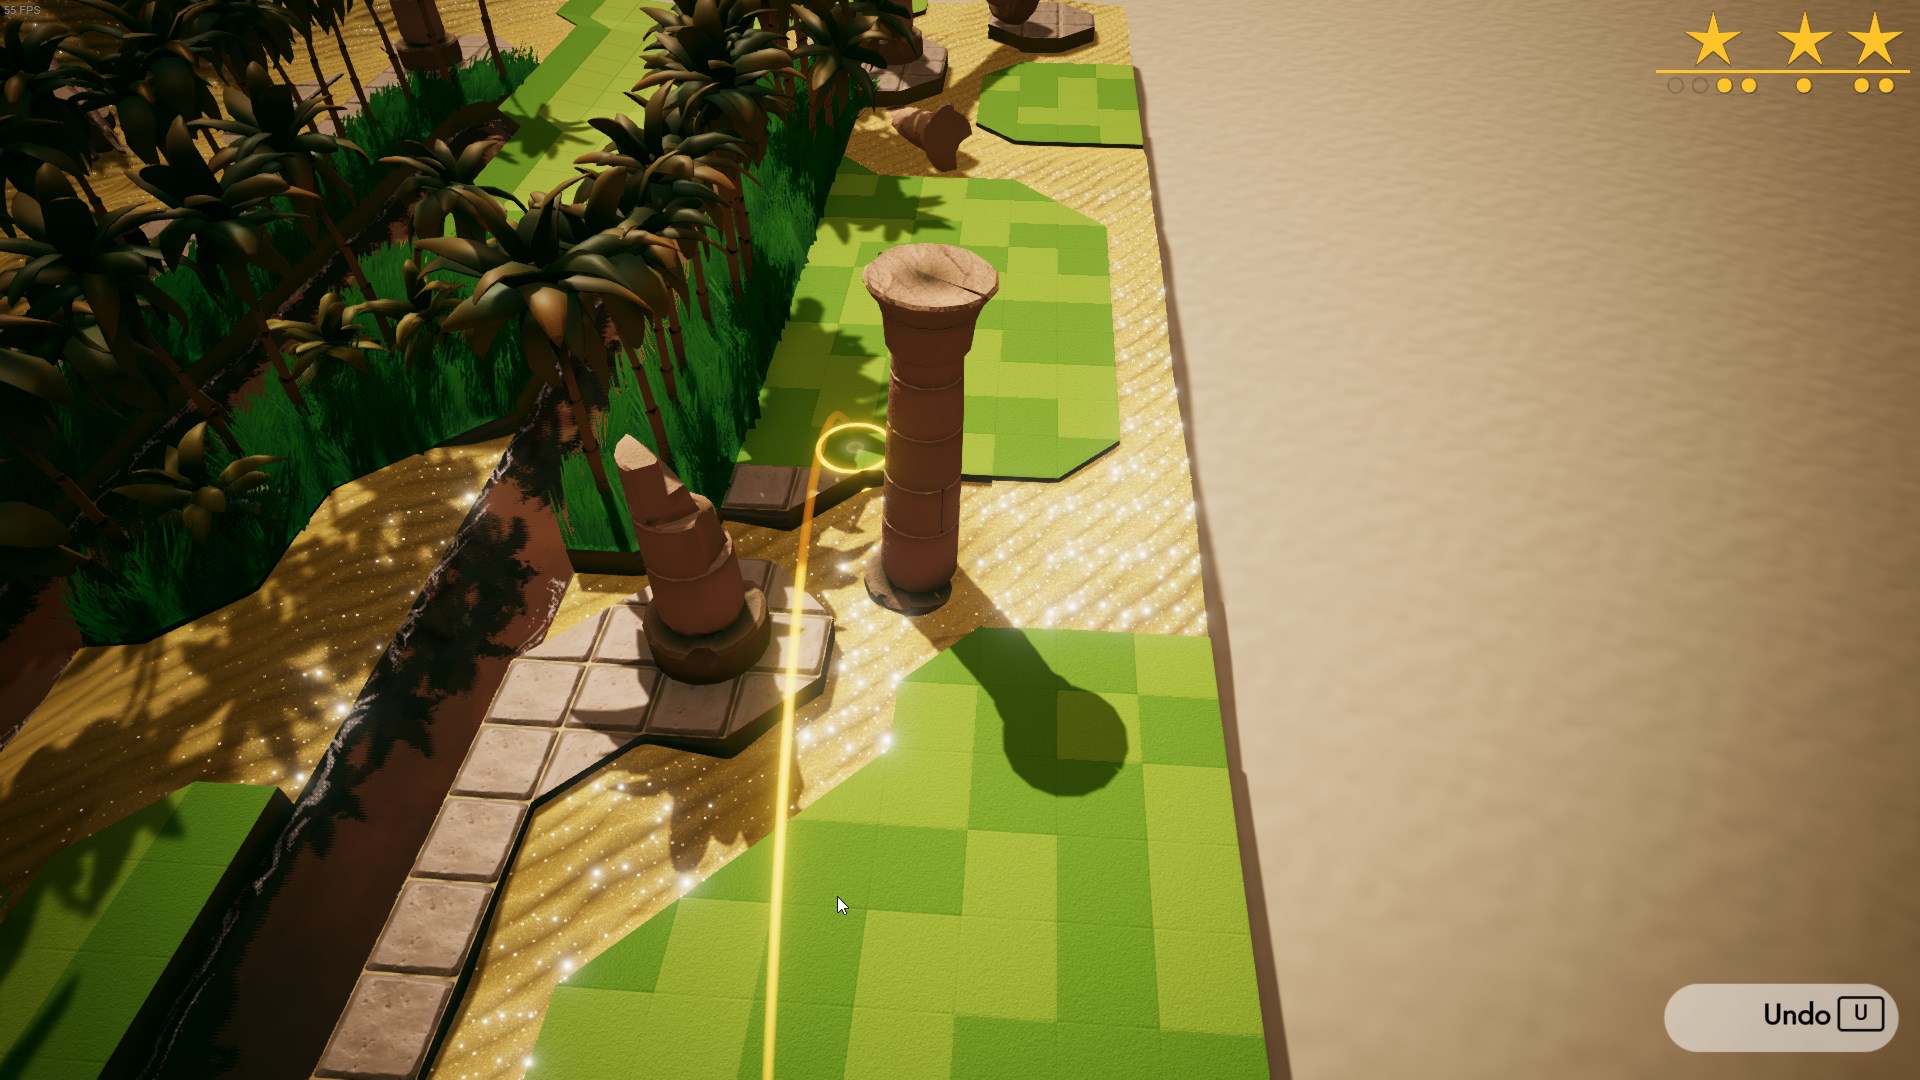
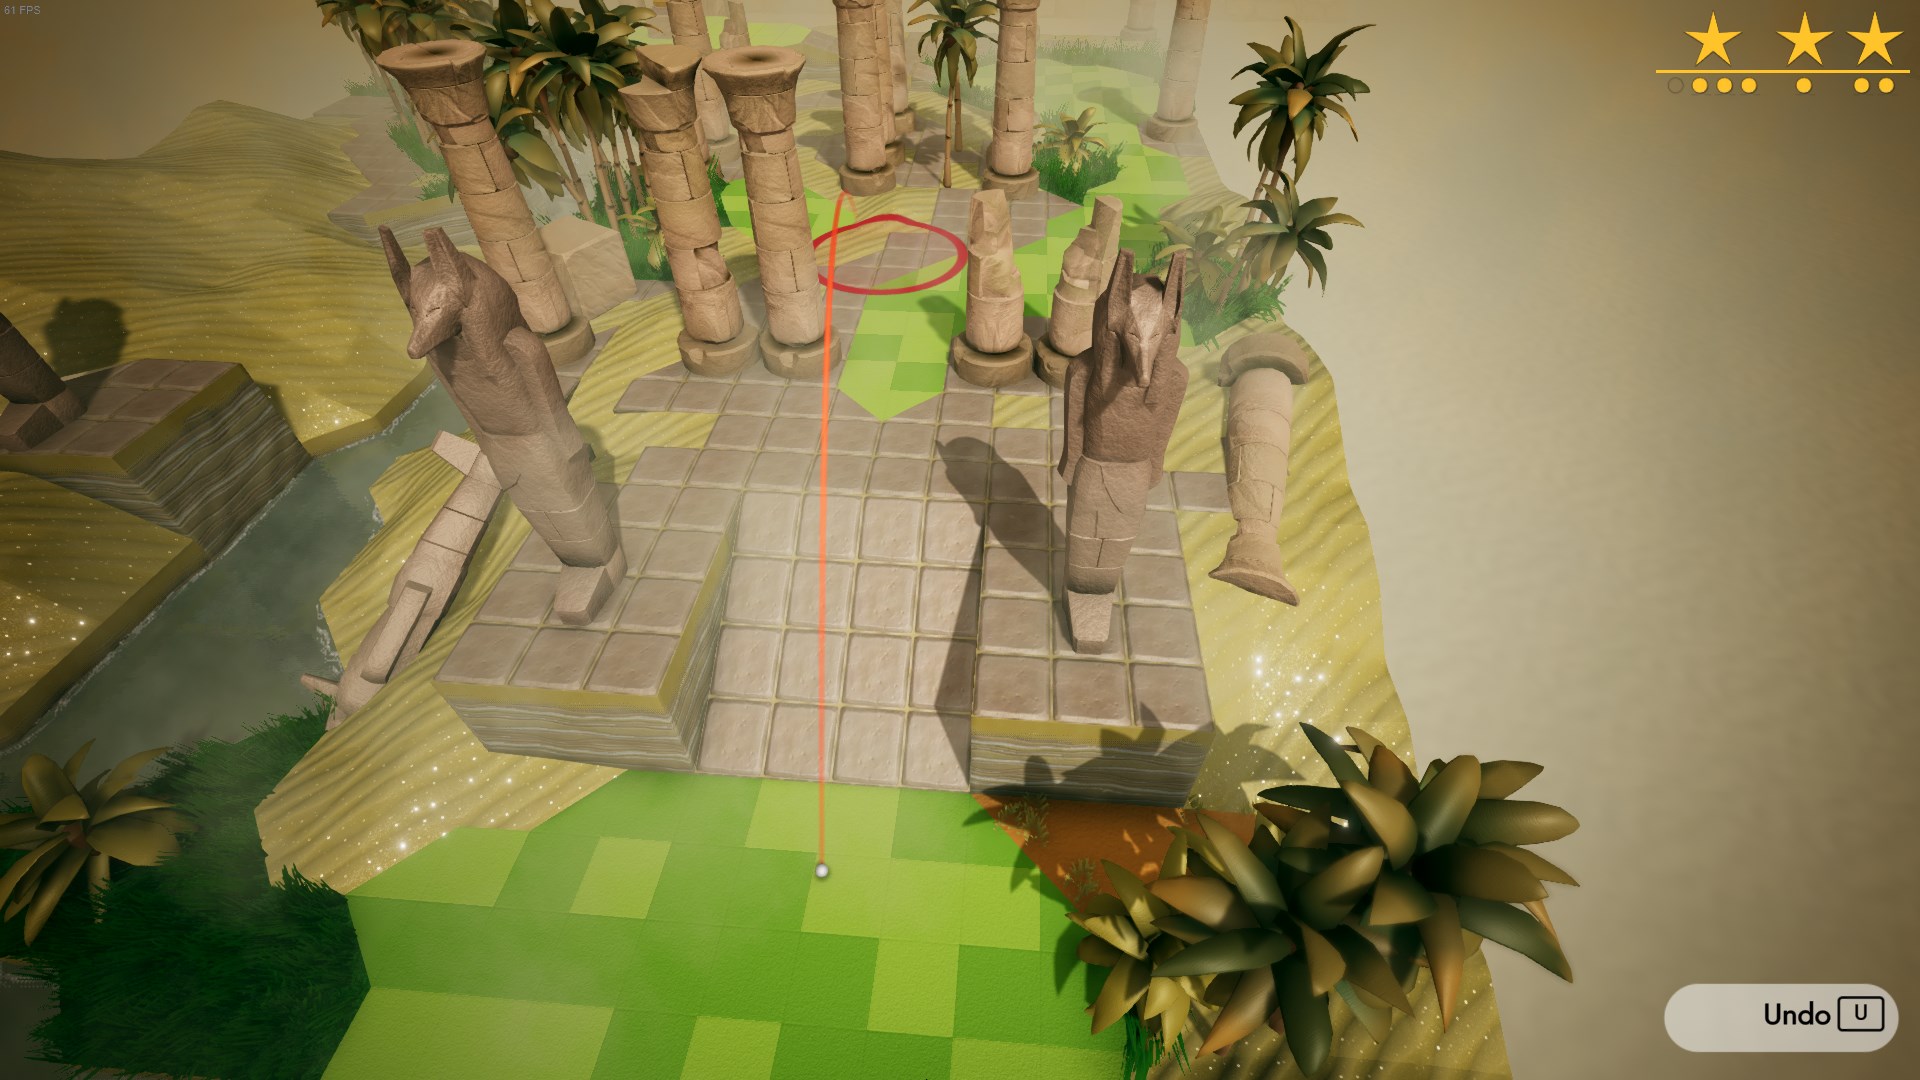
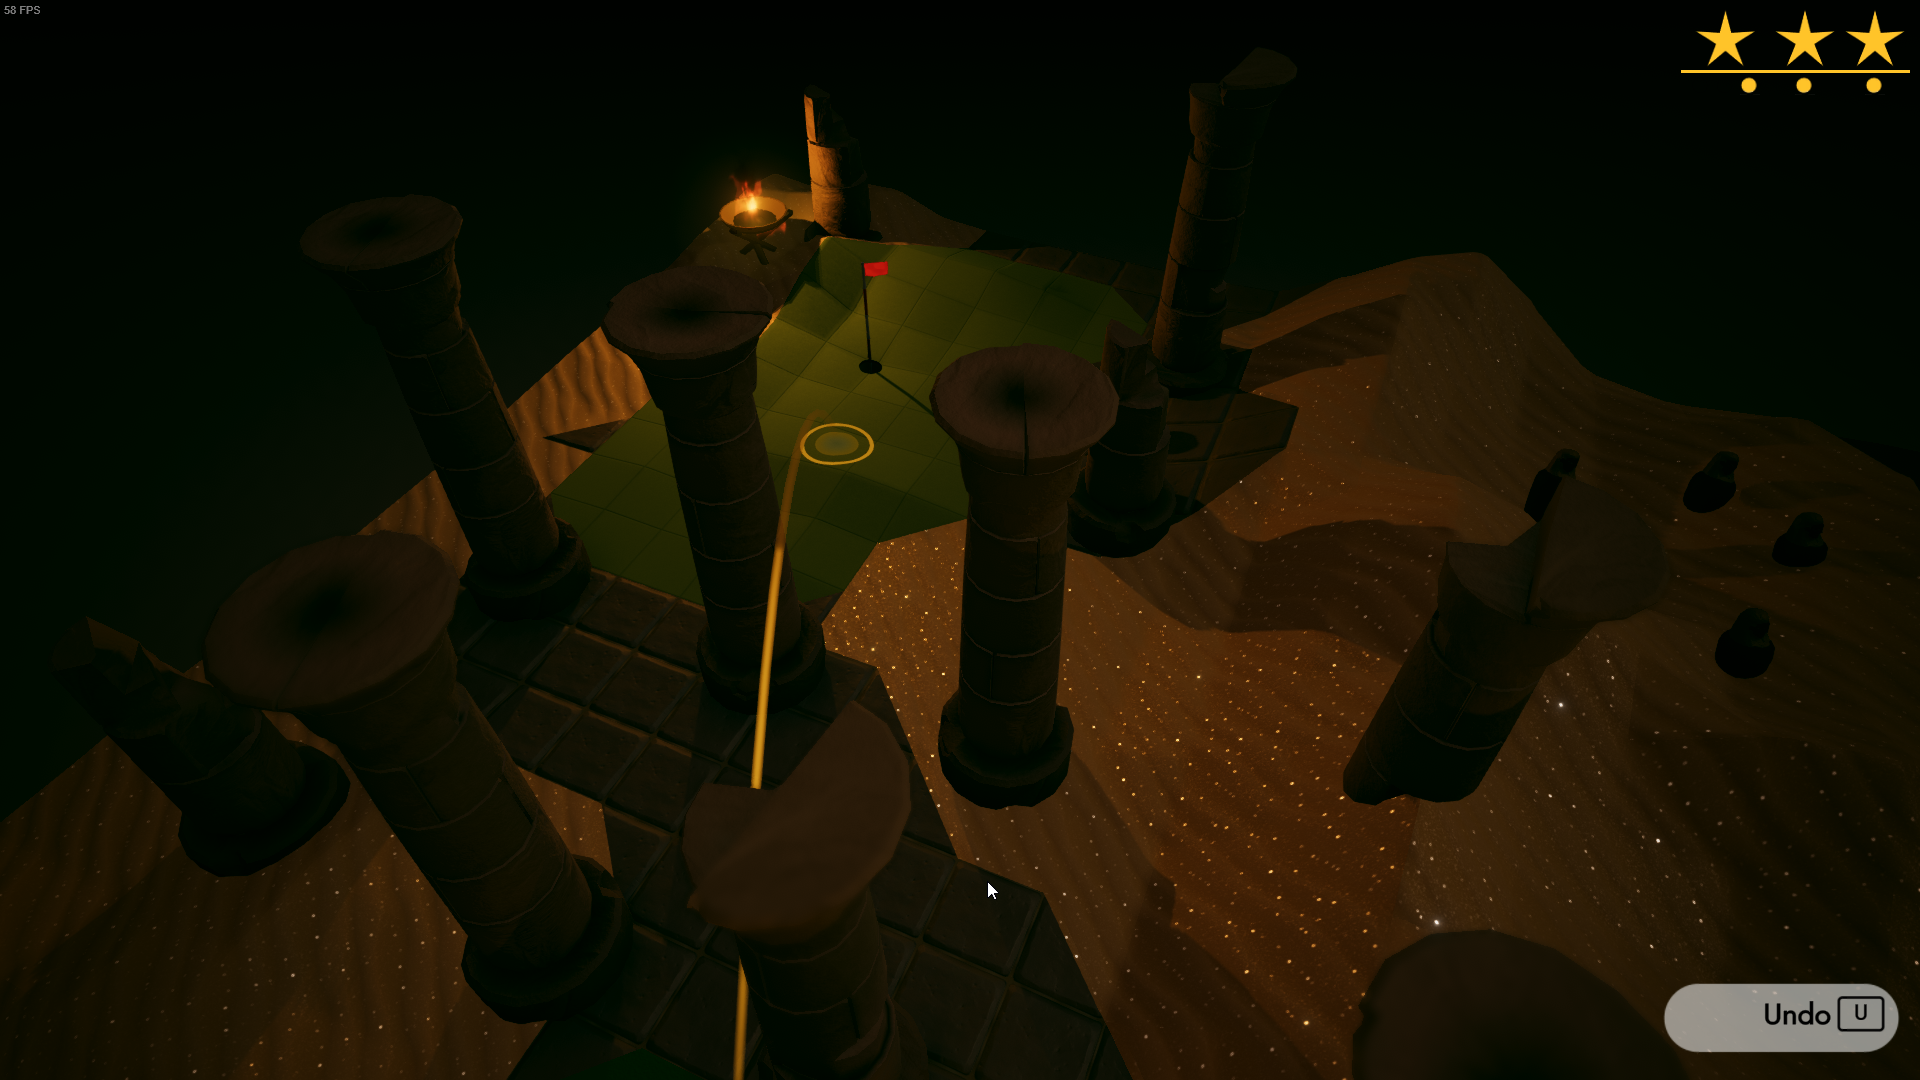
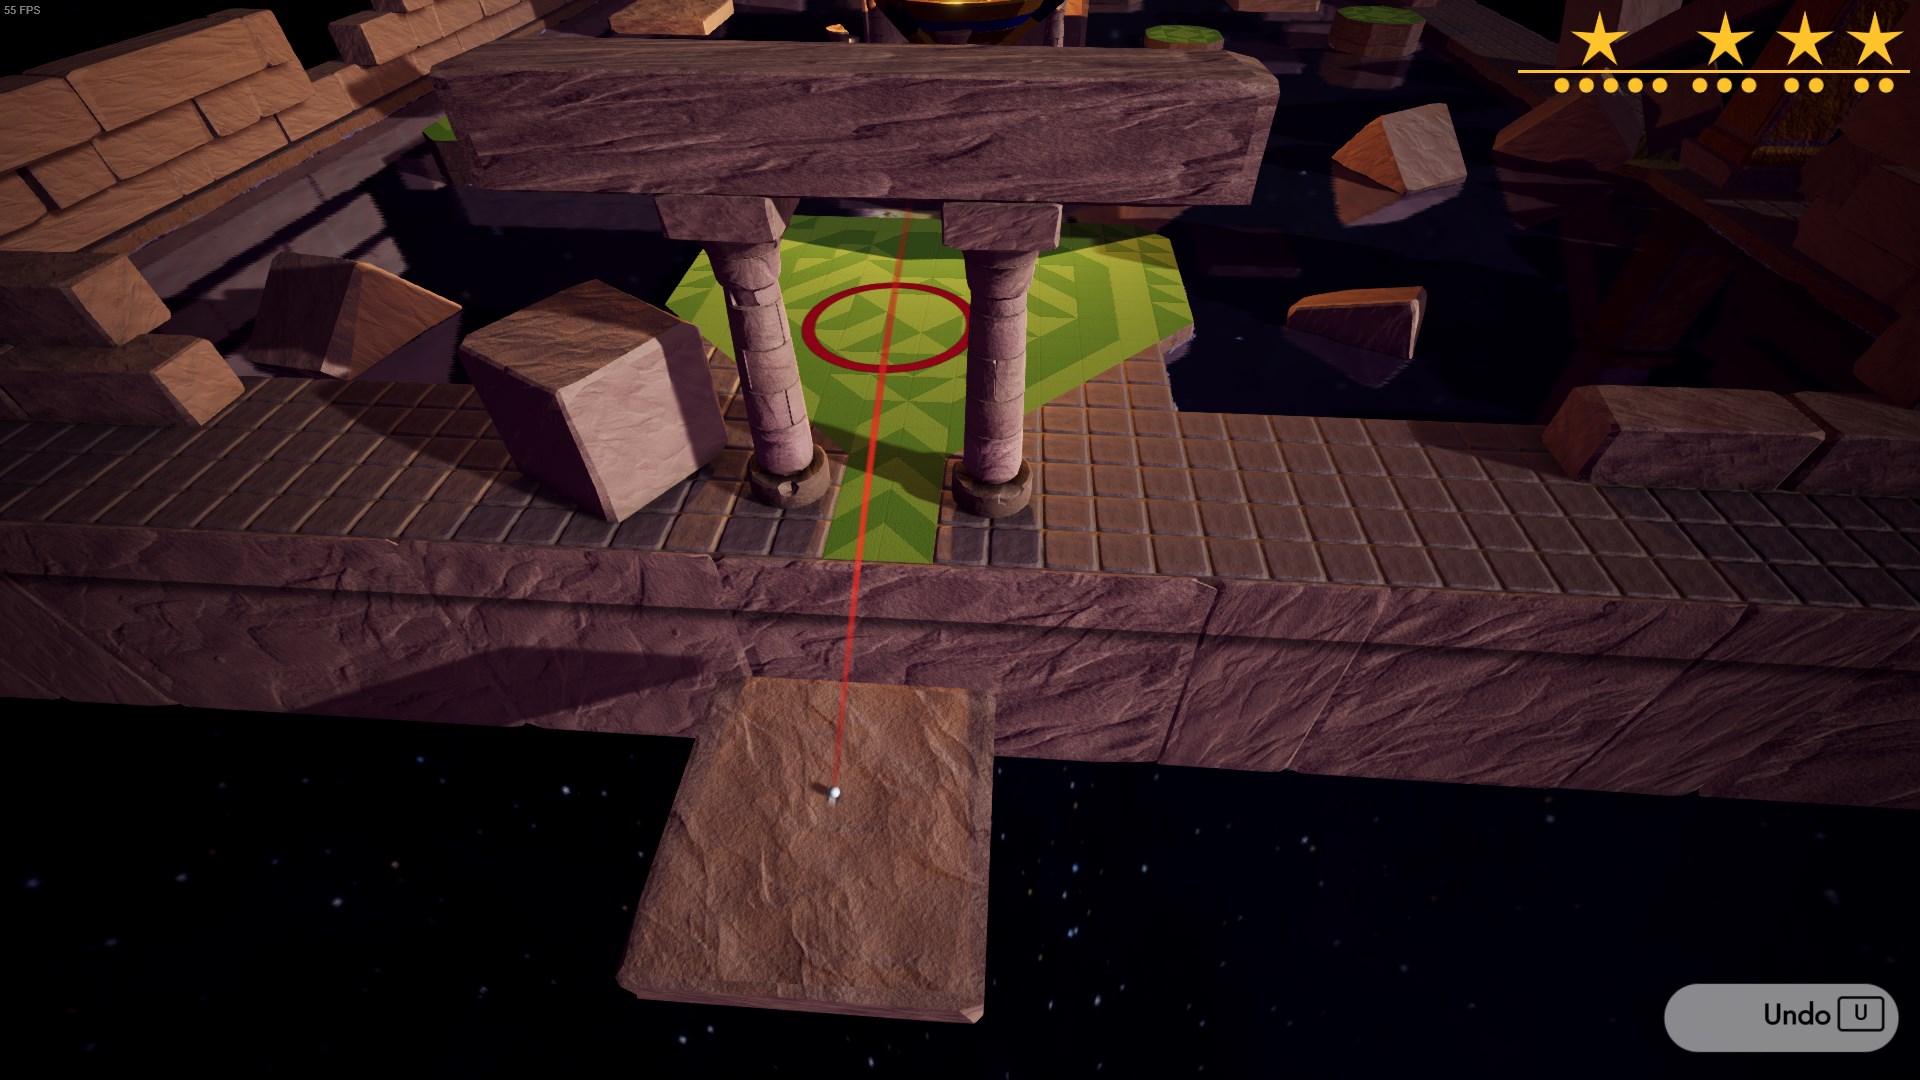
Don’t stabilize. Aim as far to the right side of the pillar as possible, if your ball is too far to the left you won’t be able to make the next shot.
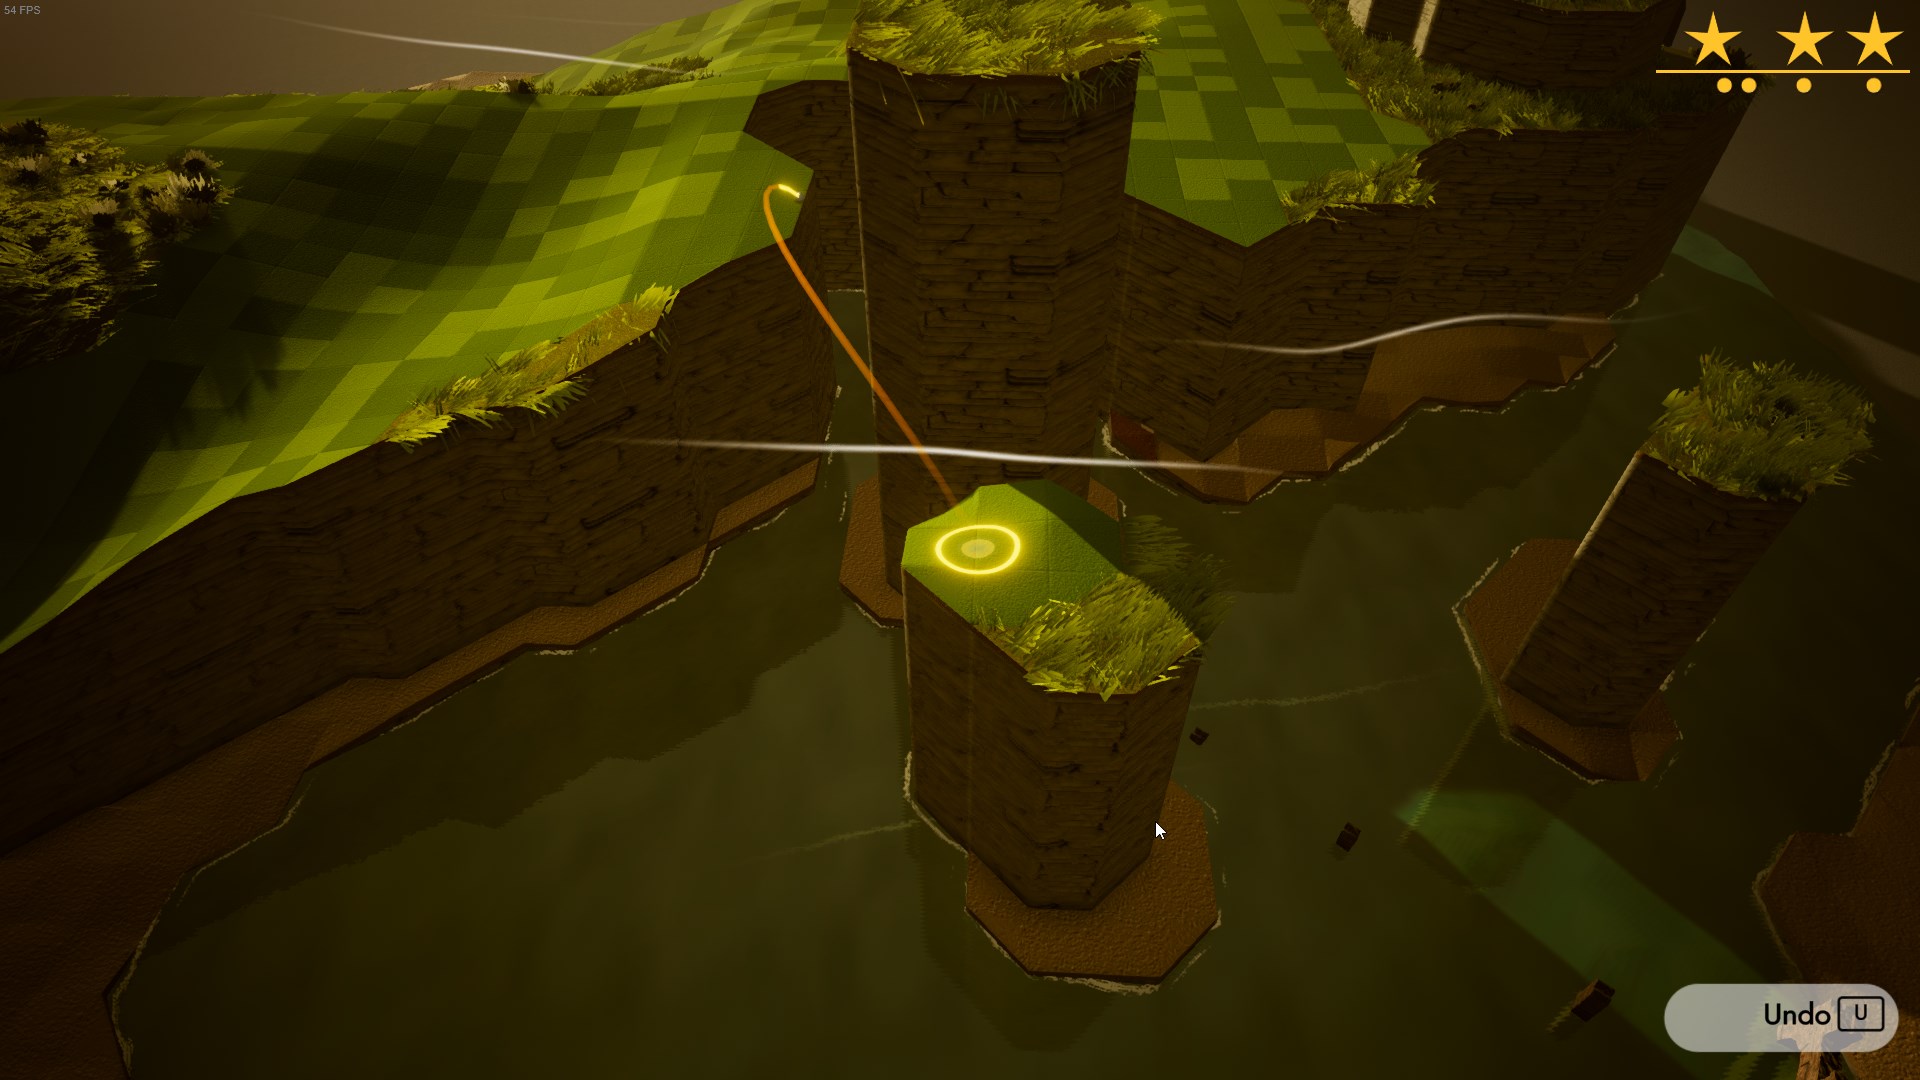
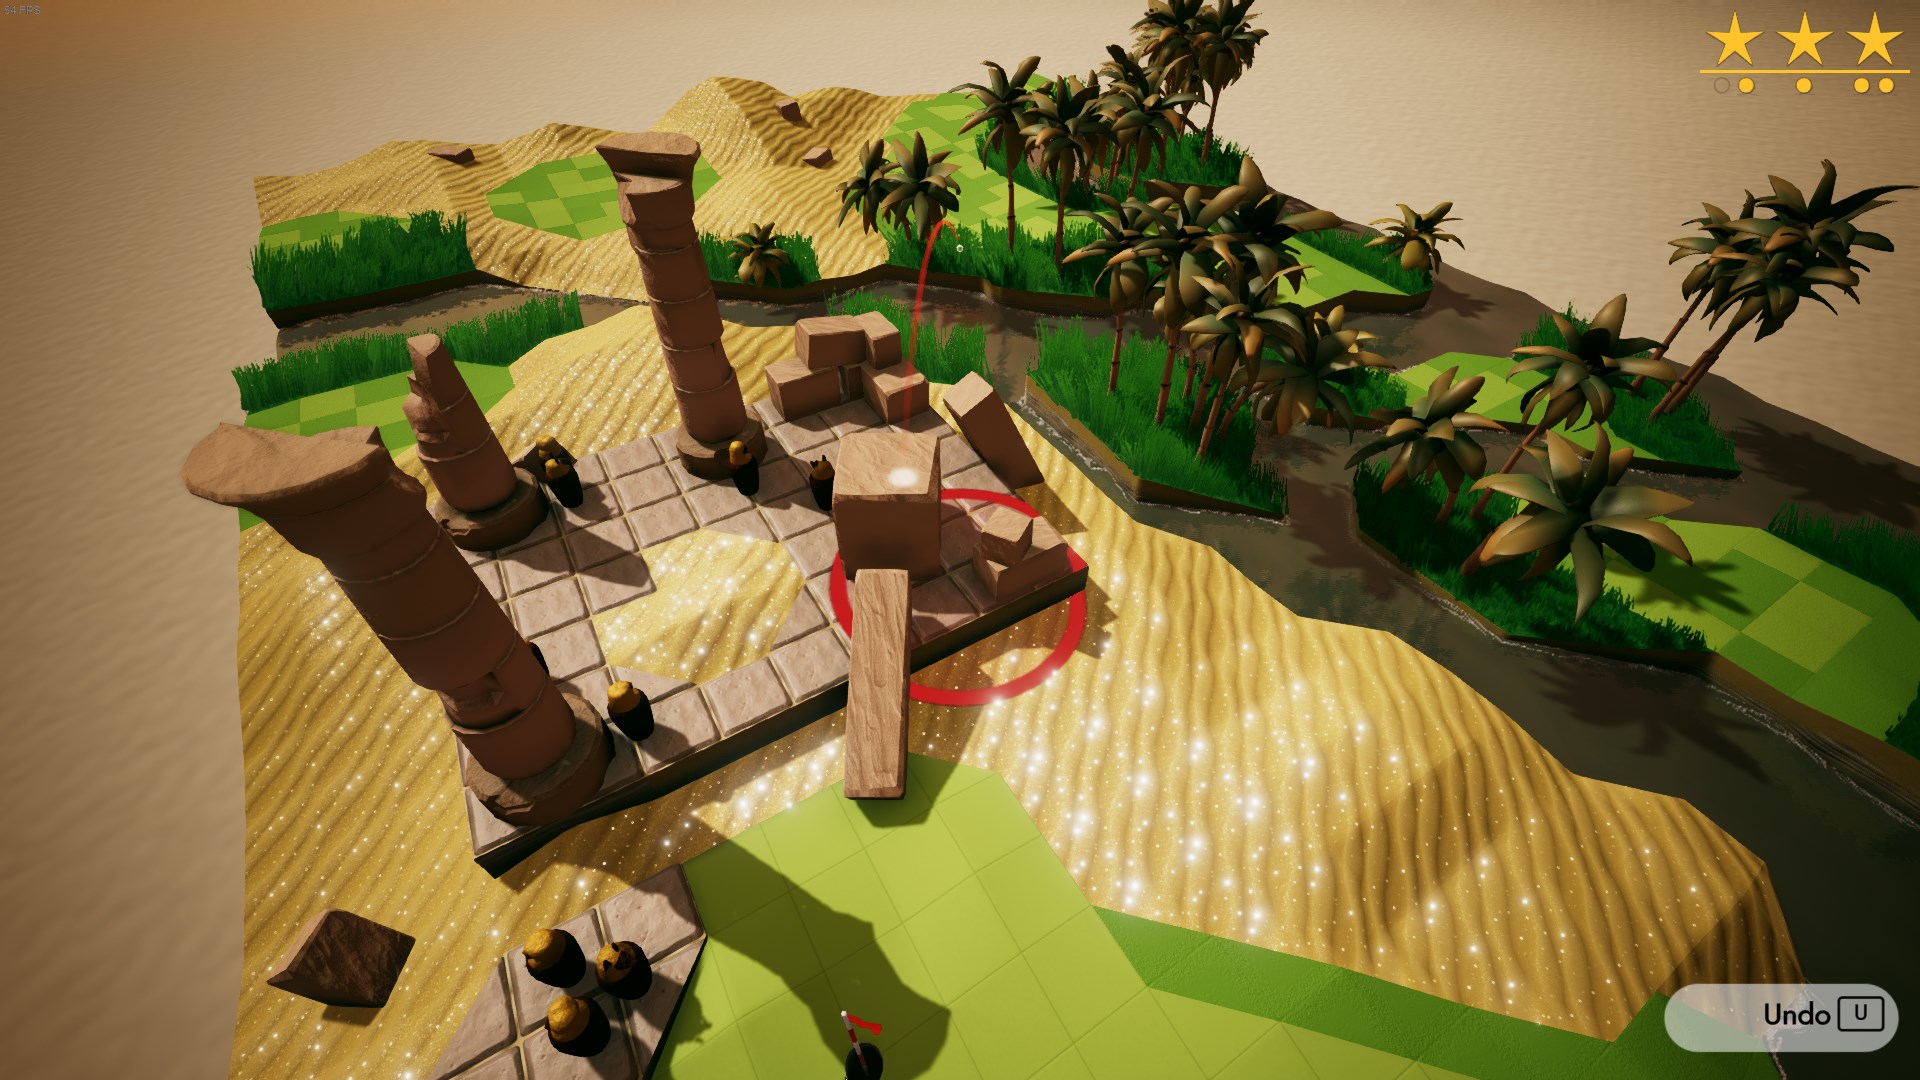
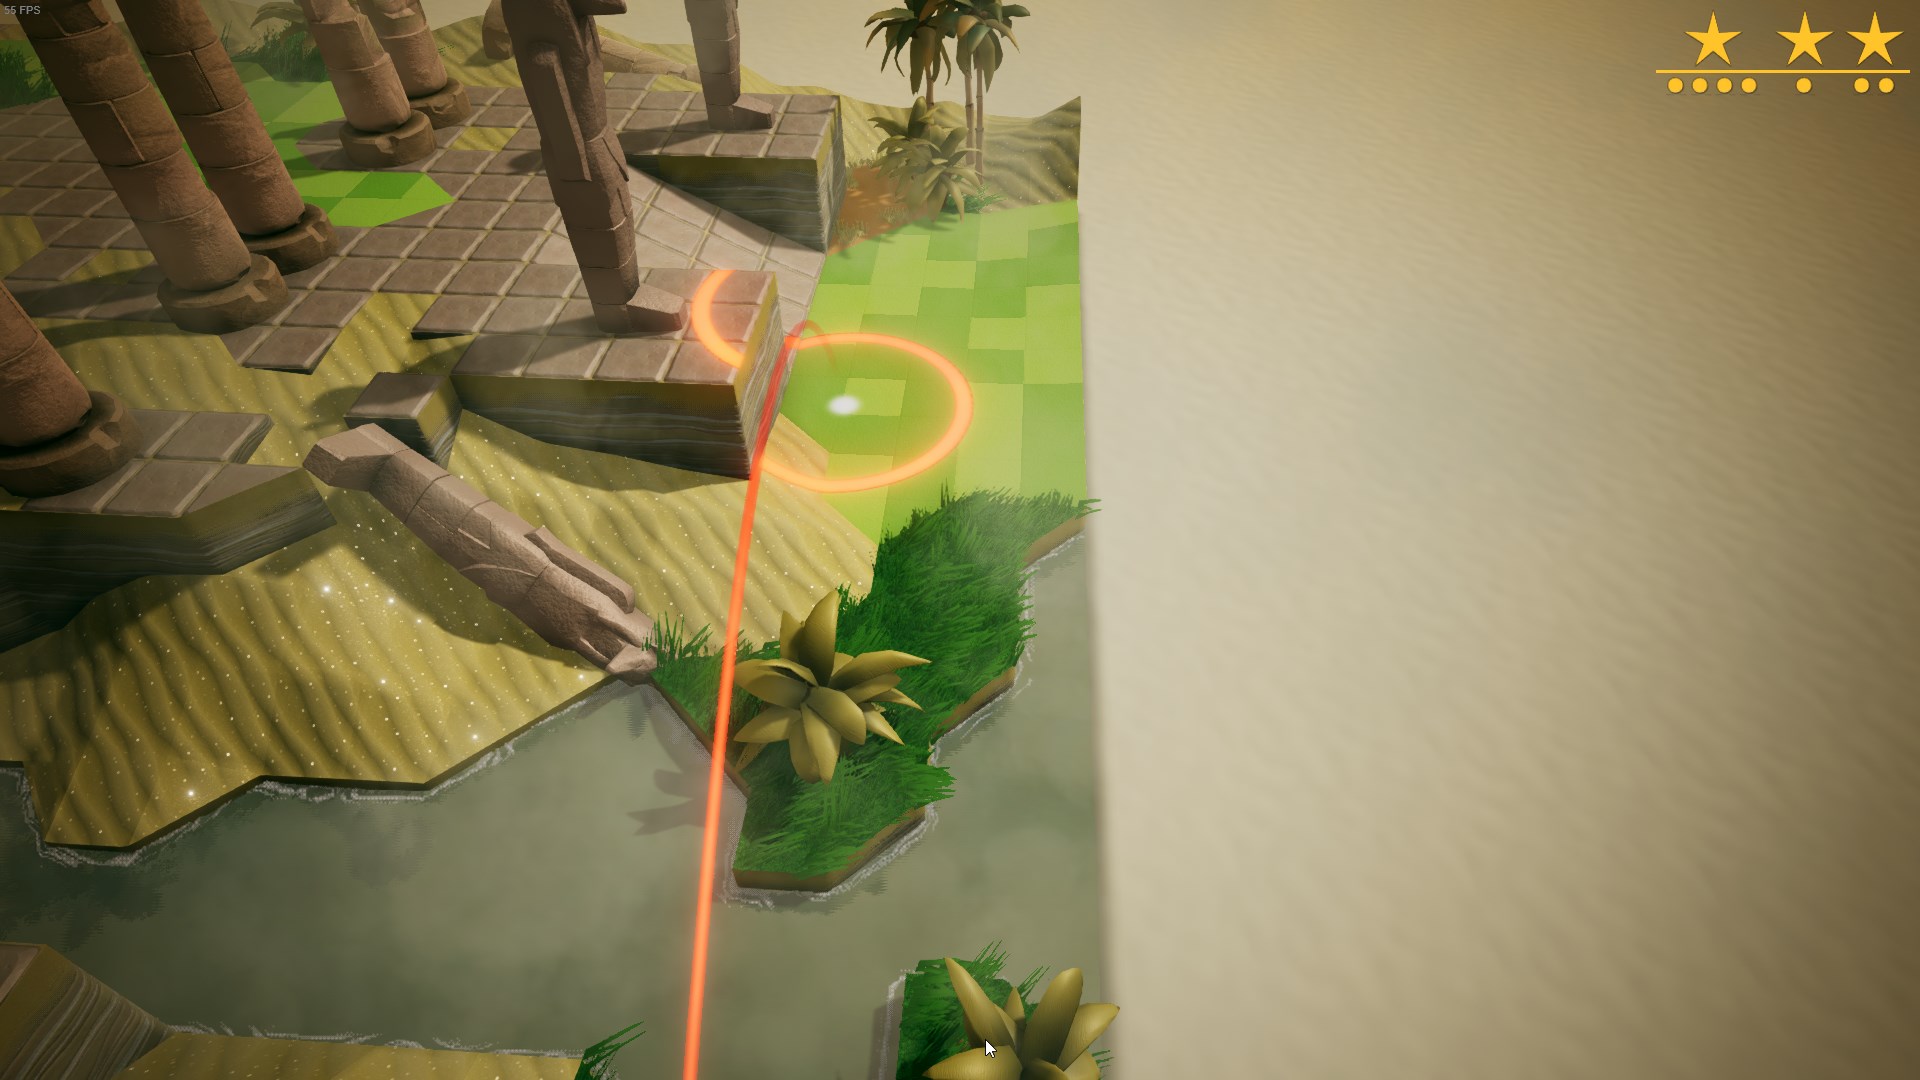
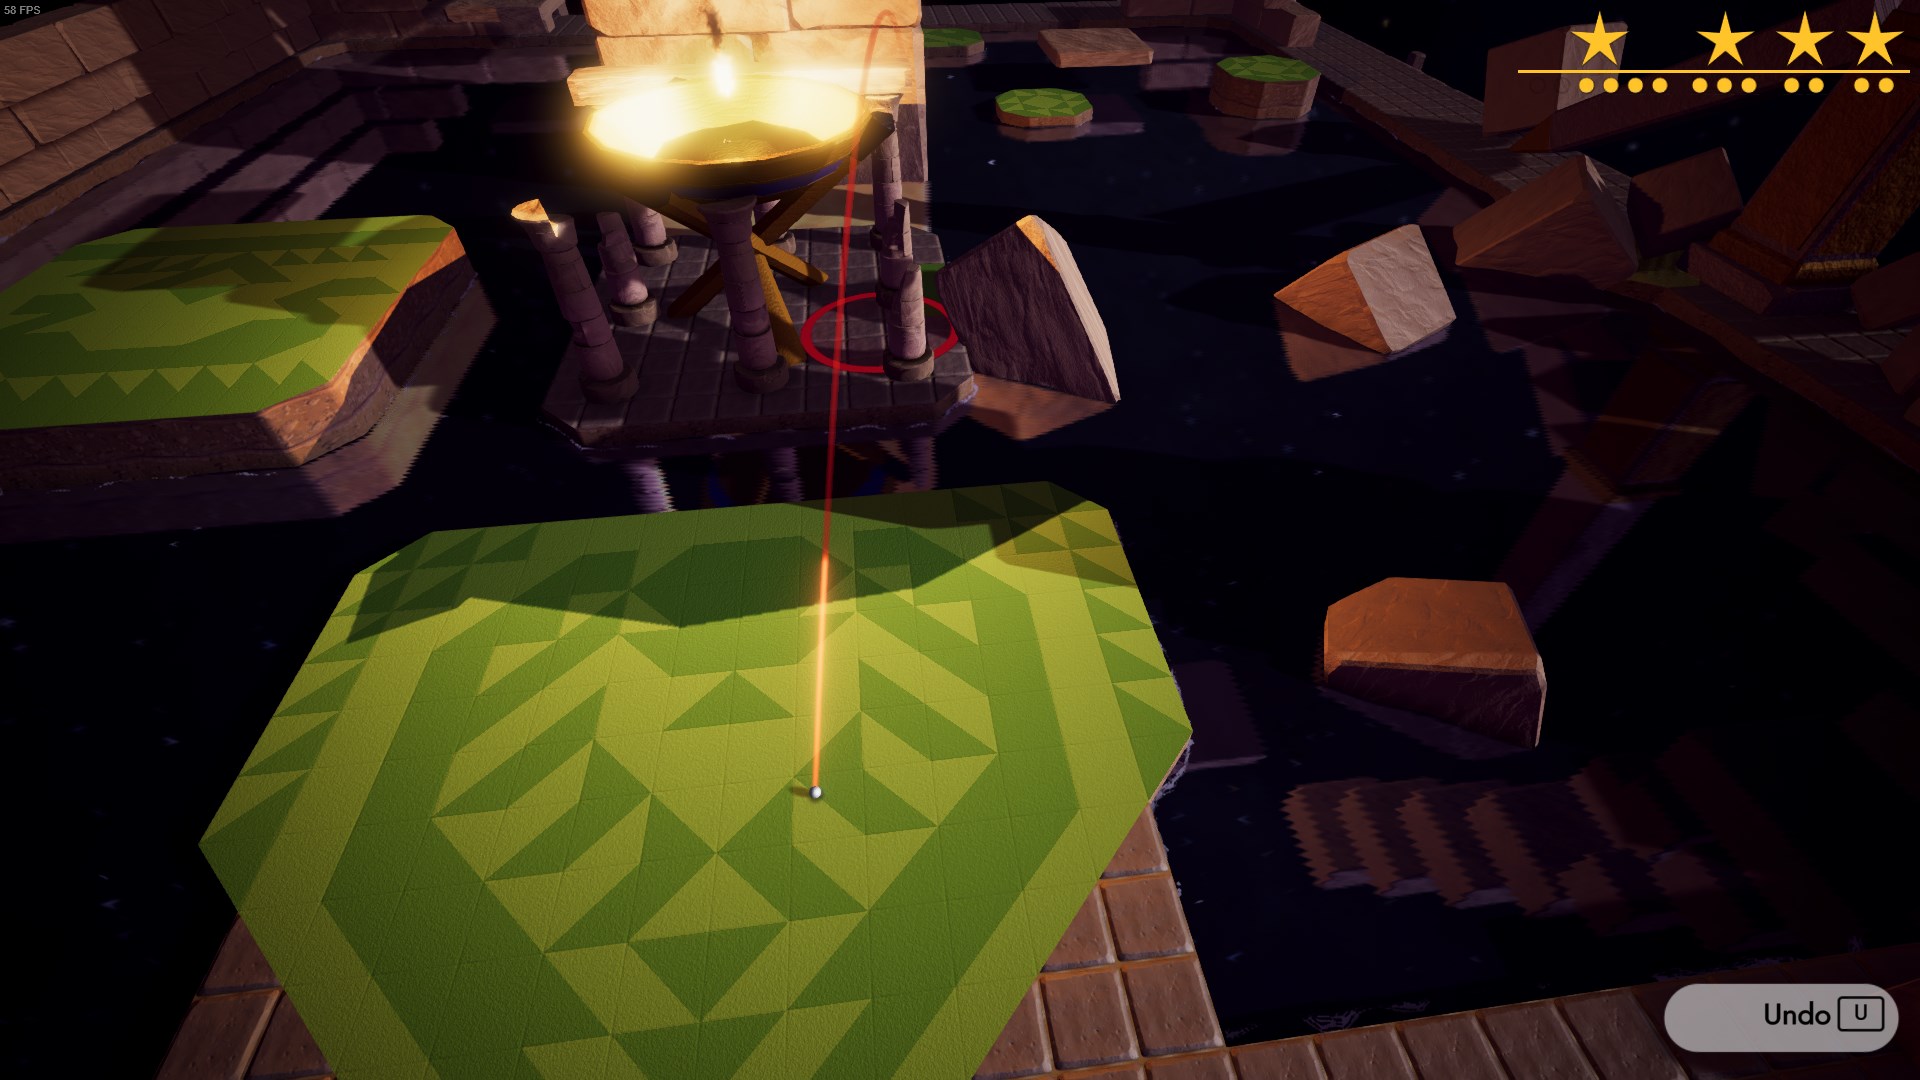
Aim at the top of the stone structure without stabilizing, the ball should just skim along the edge. You’ll want to end up as far right as possible for the next shot.

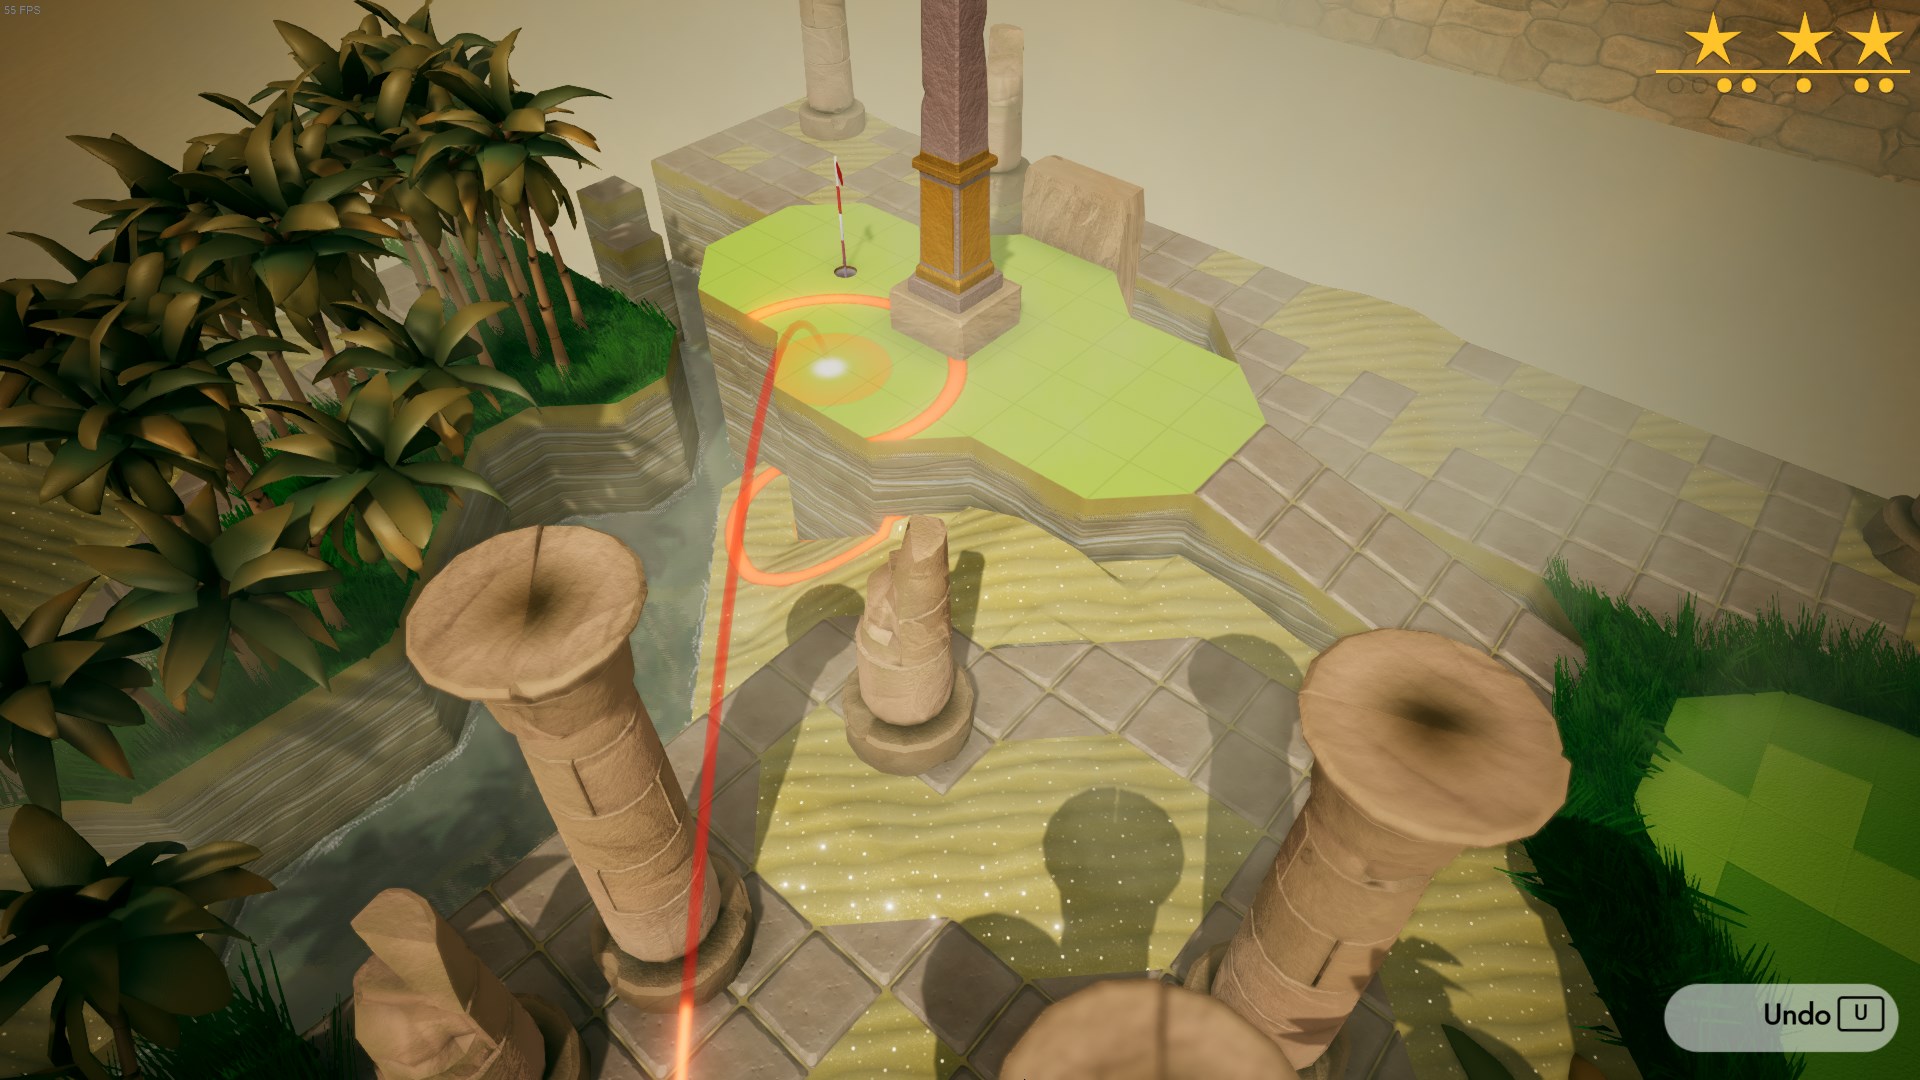
Aim slightly towards the right (left in reverse view) of the flag to compensate for the slope.
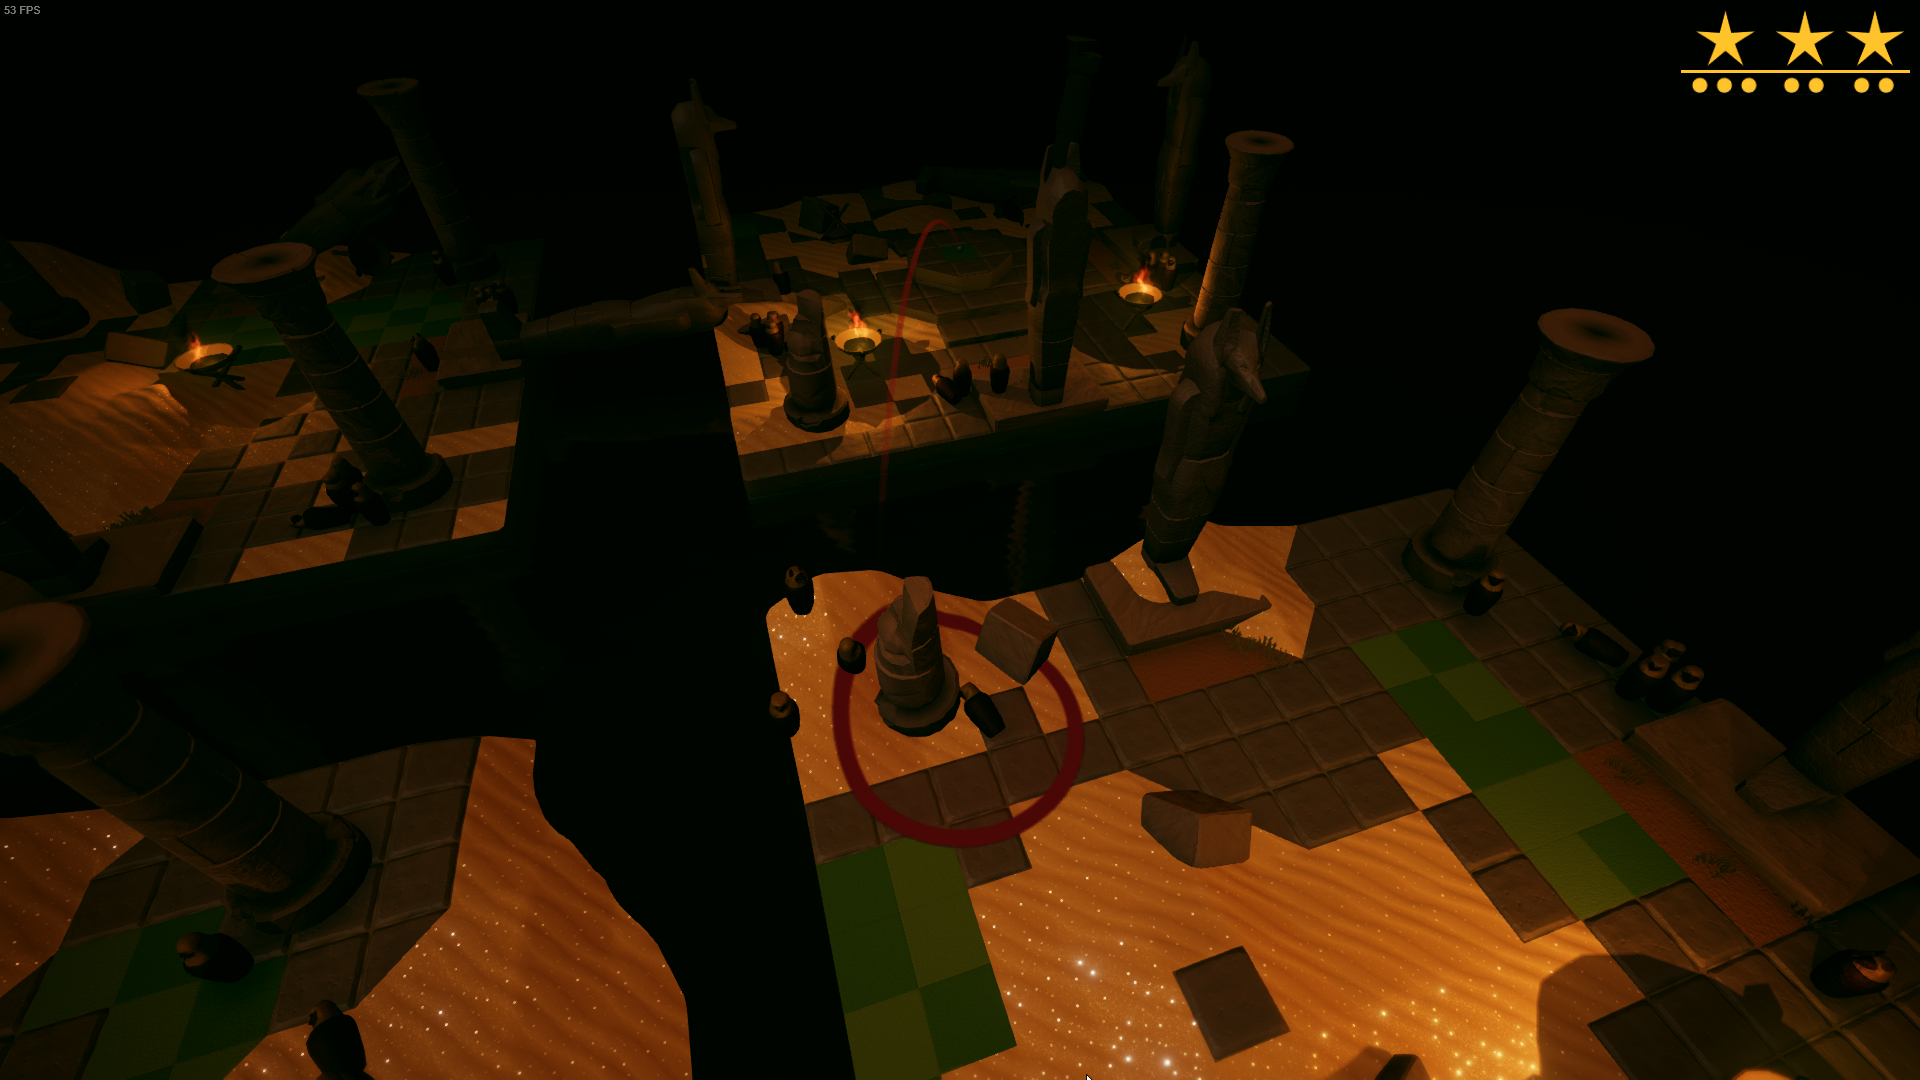
Don’t stabilize and aim as far left and back as you can.
Again, don’t stabilize and a aim as far right and back as you can.
You don’t want the ball too far forward on this one, it will make the next shot more difficult.

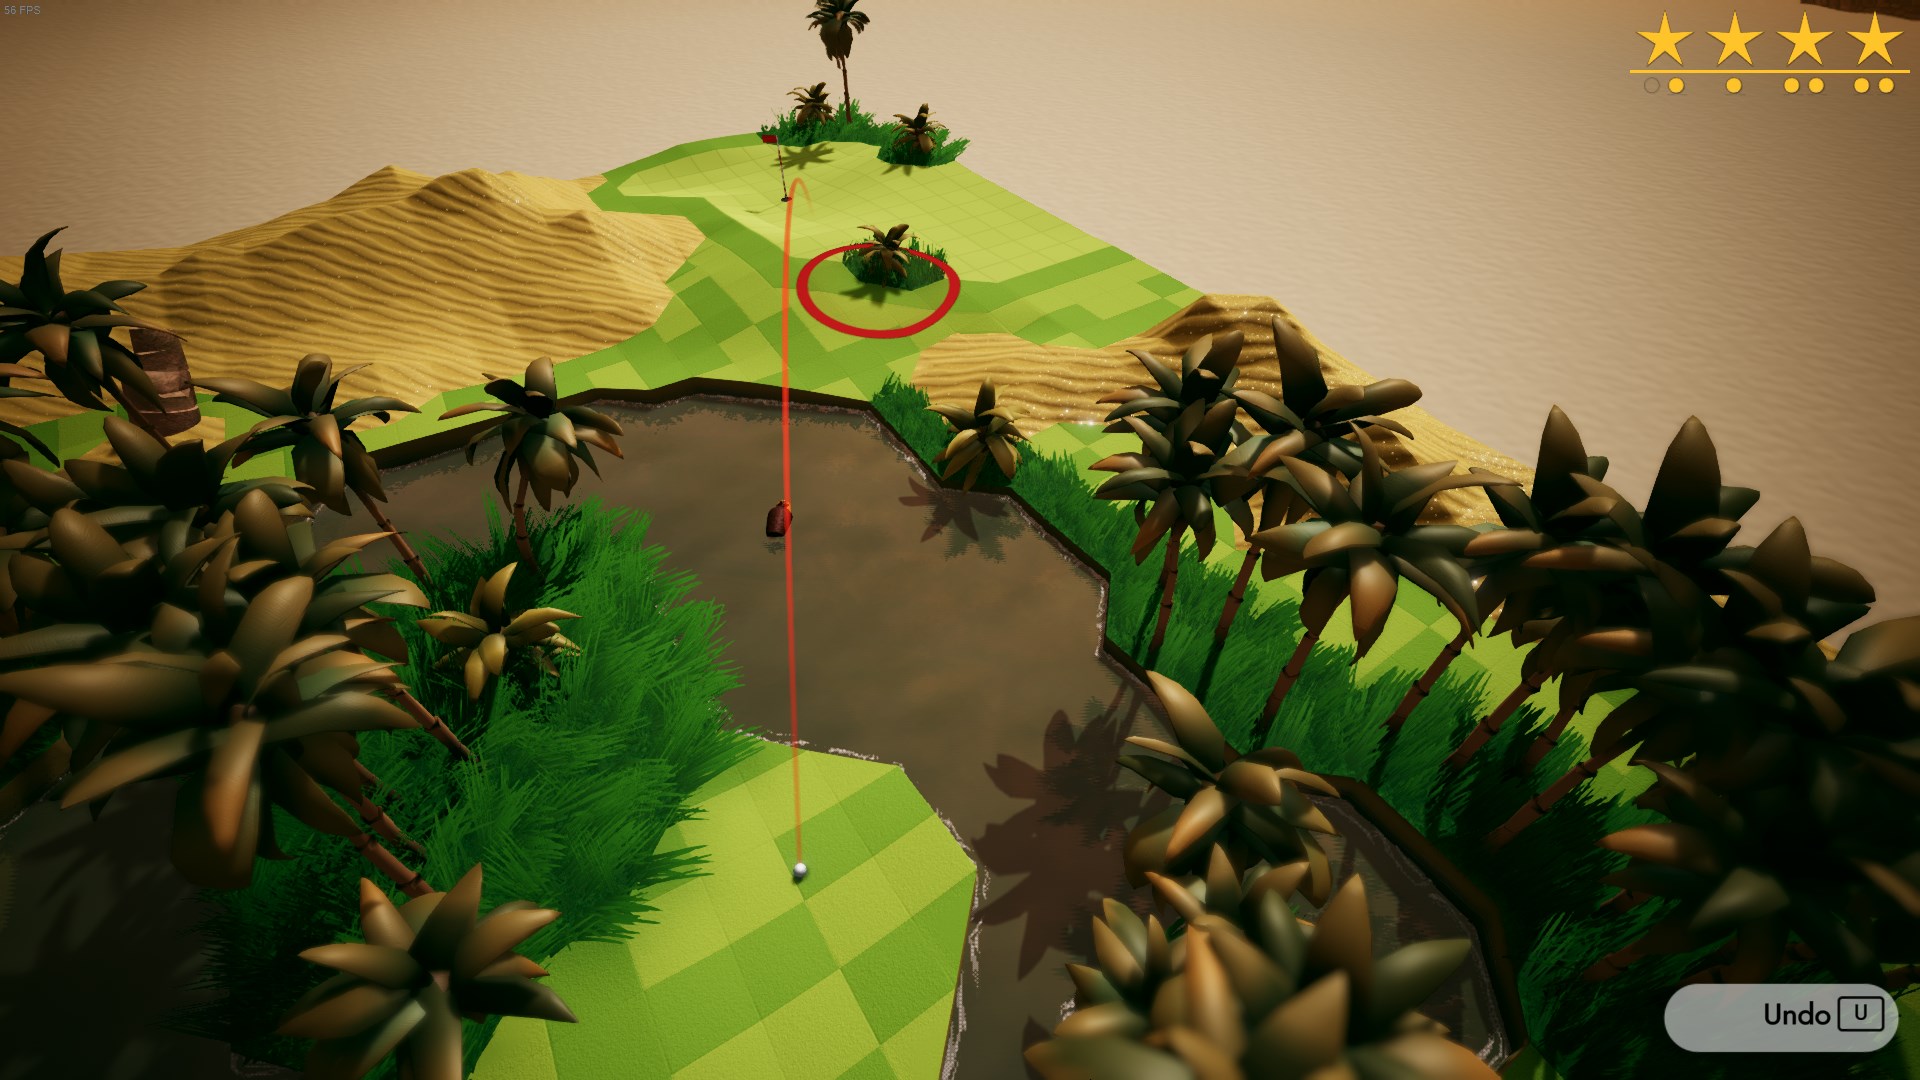
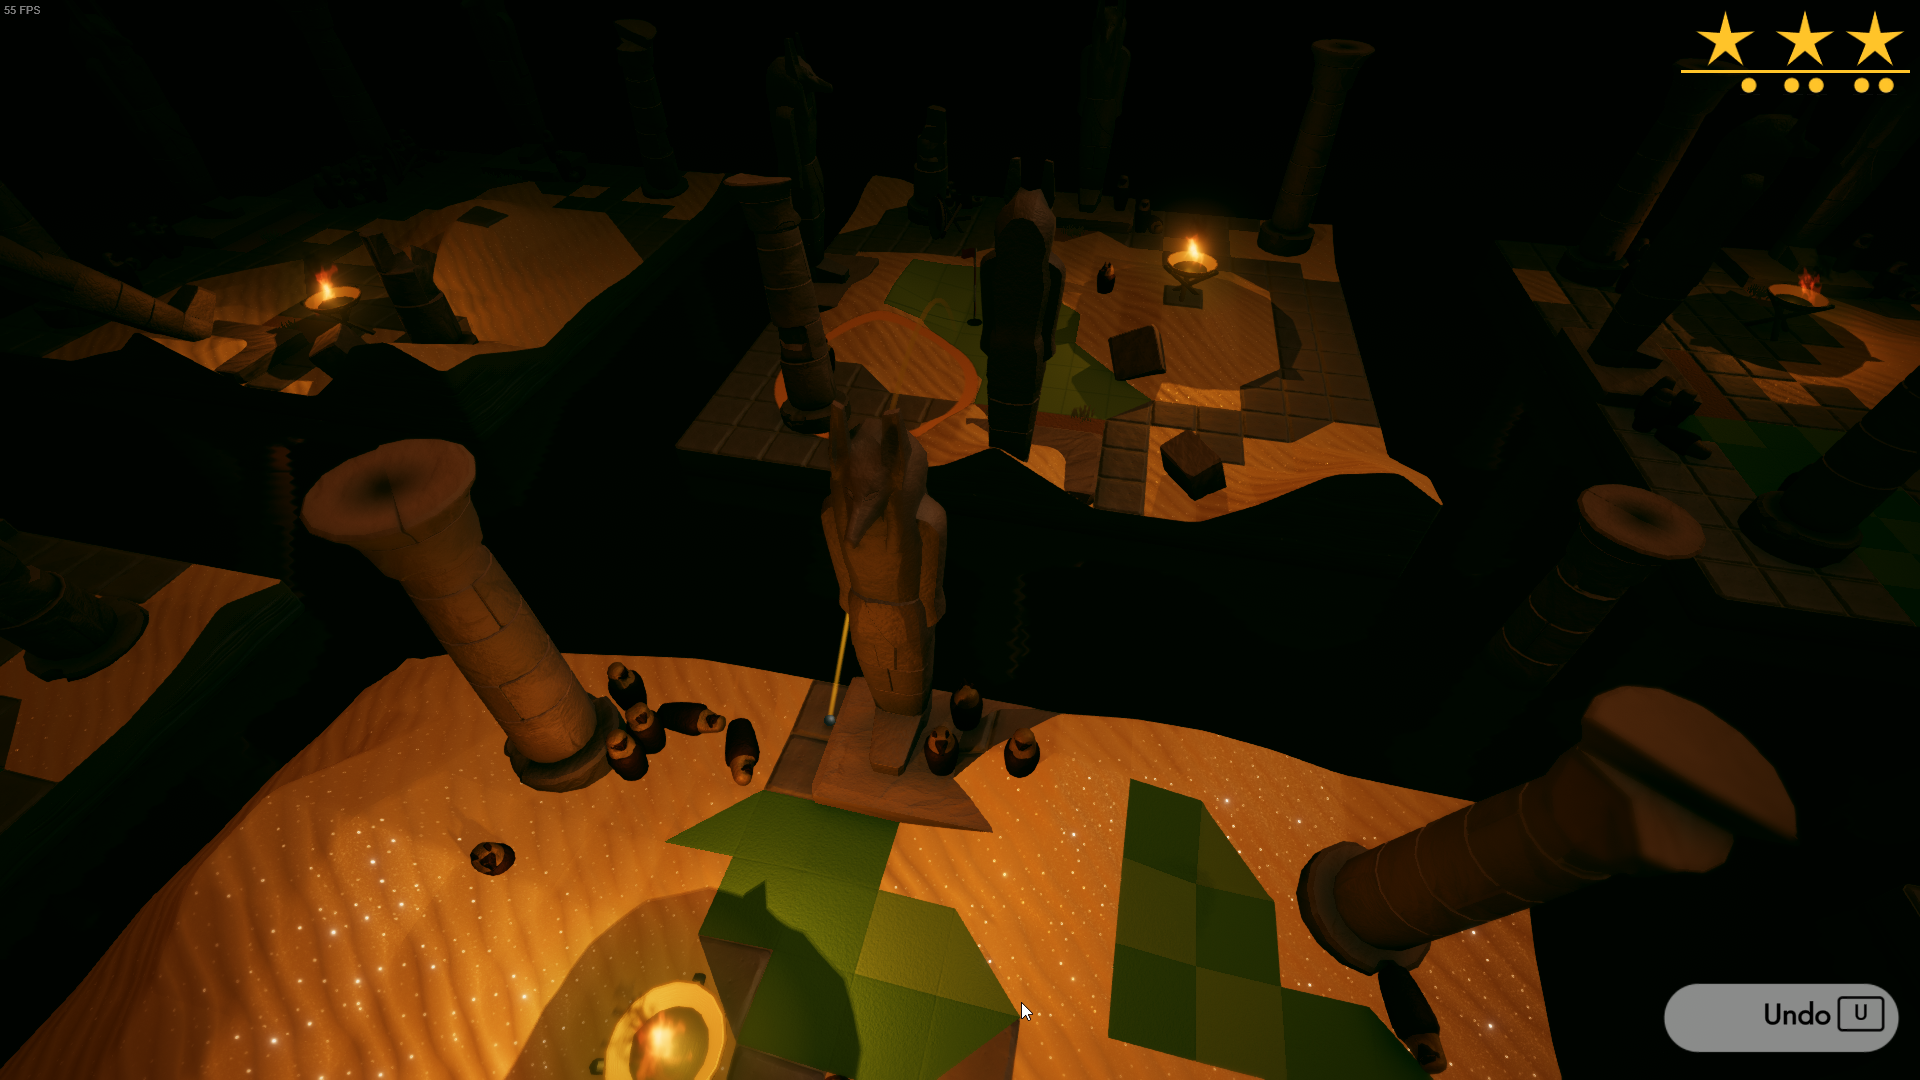
Don’t stabilize so you have enough range to go over the tree.
Again don’t stabilize. This shot is a little blind, it might take a couple of tries.
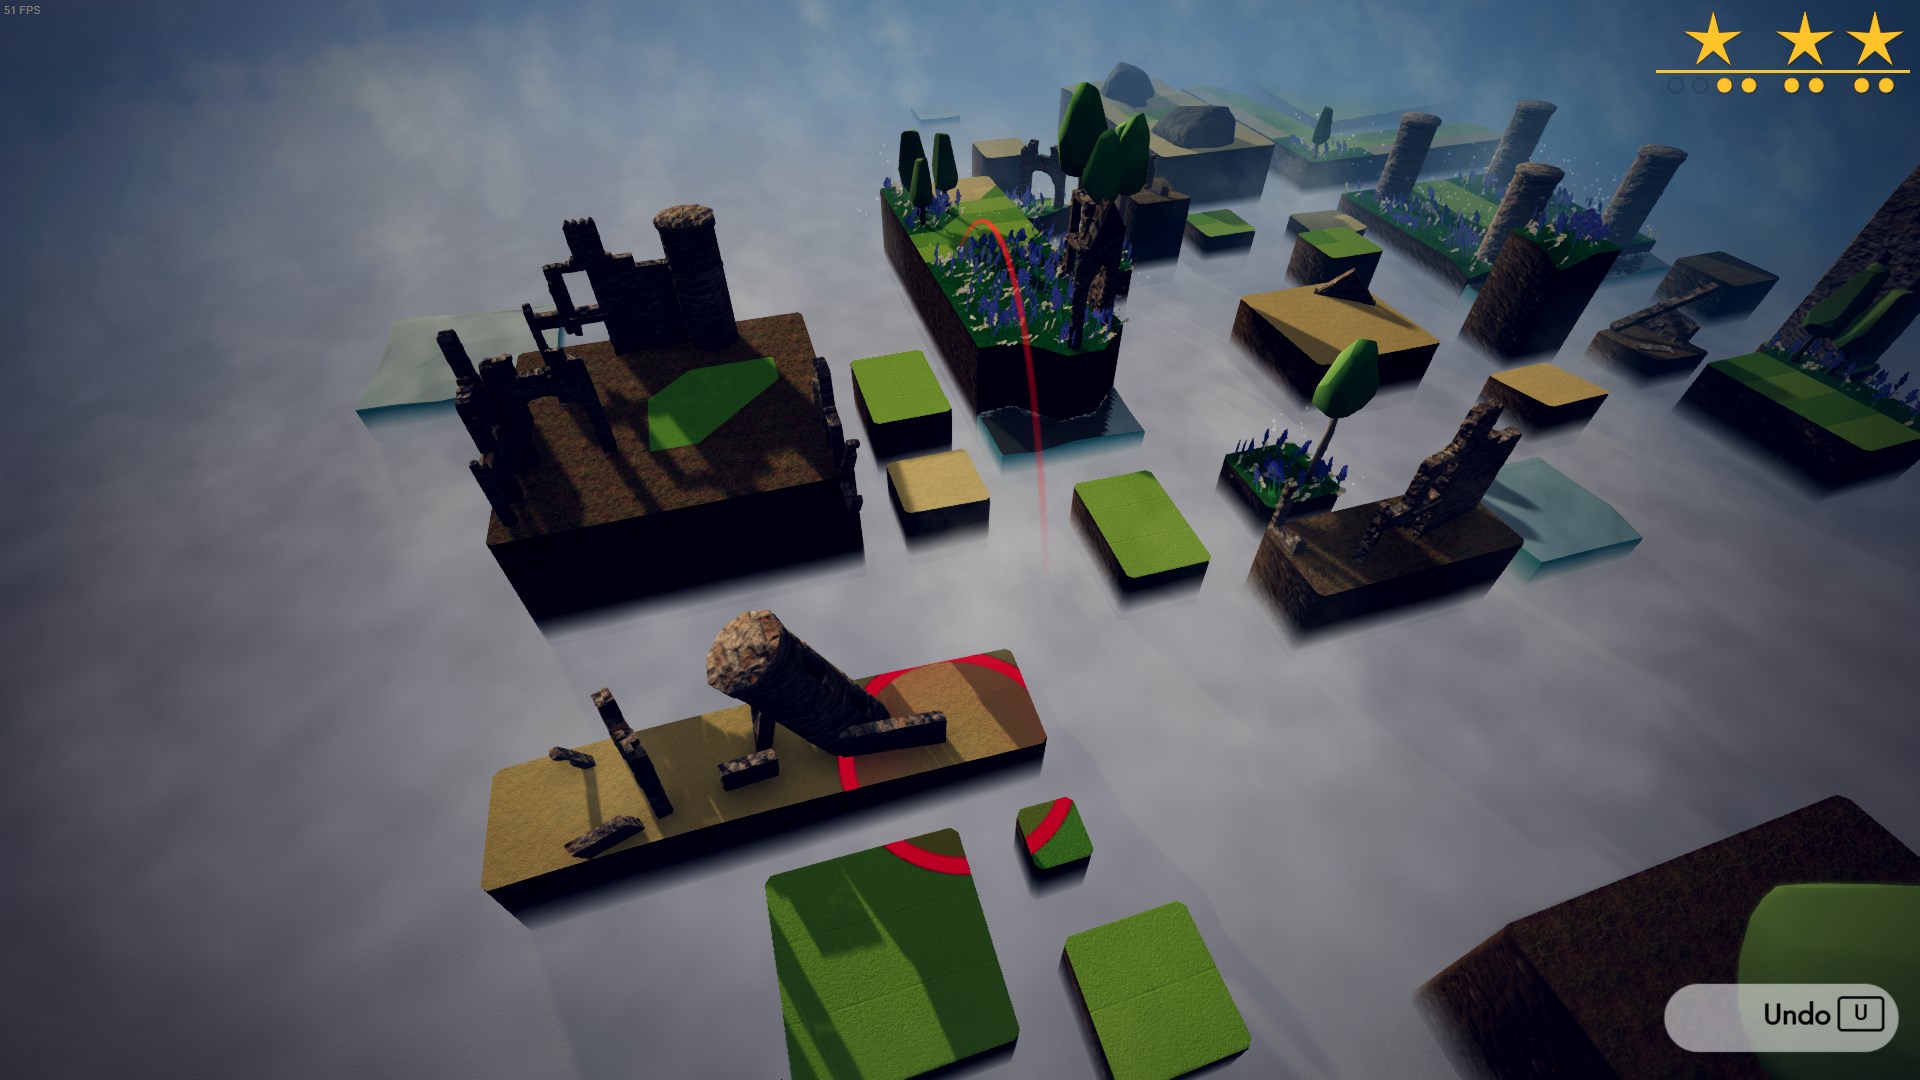
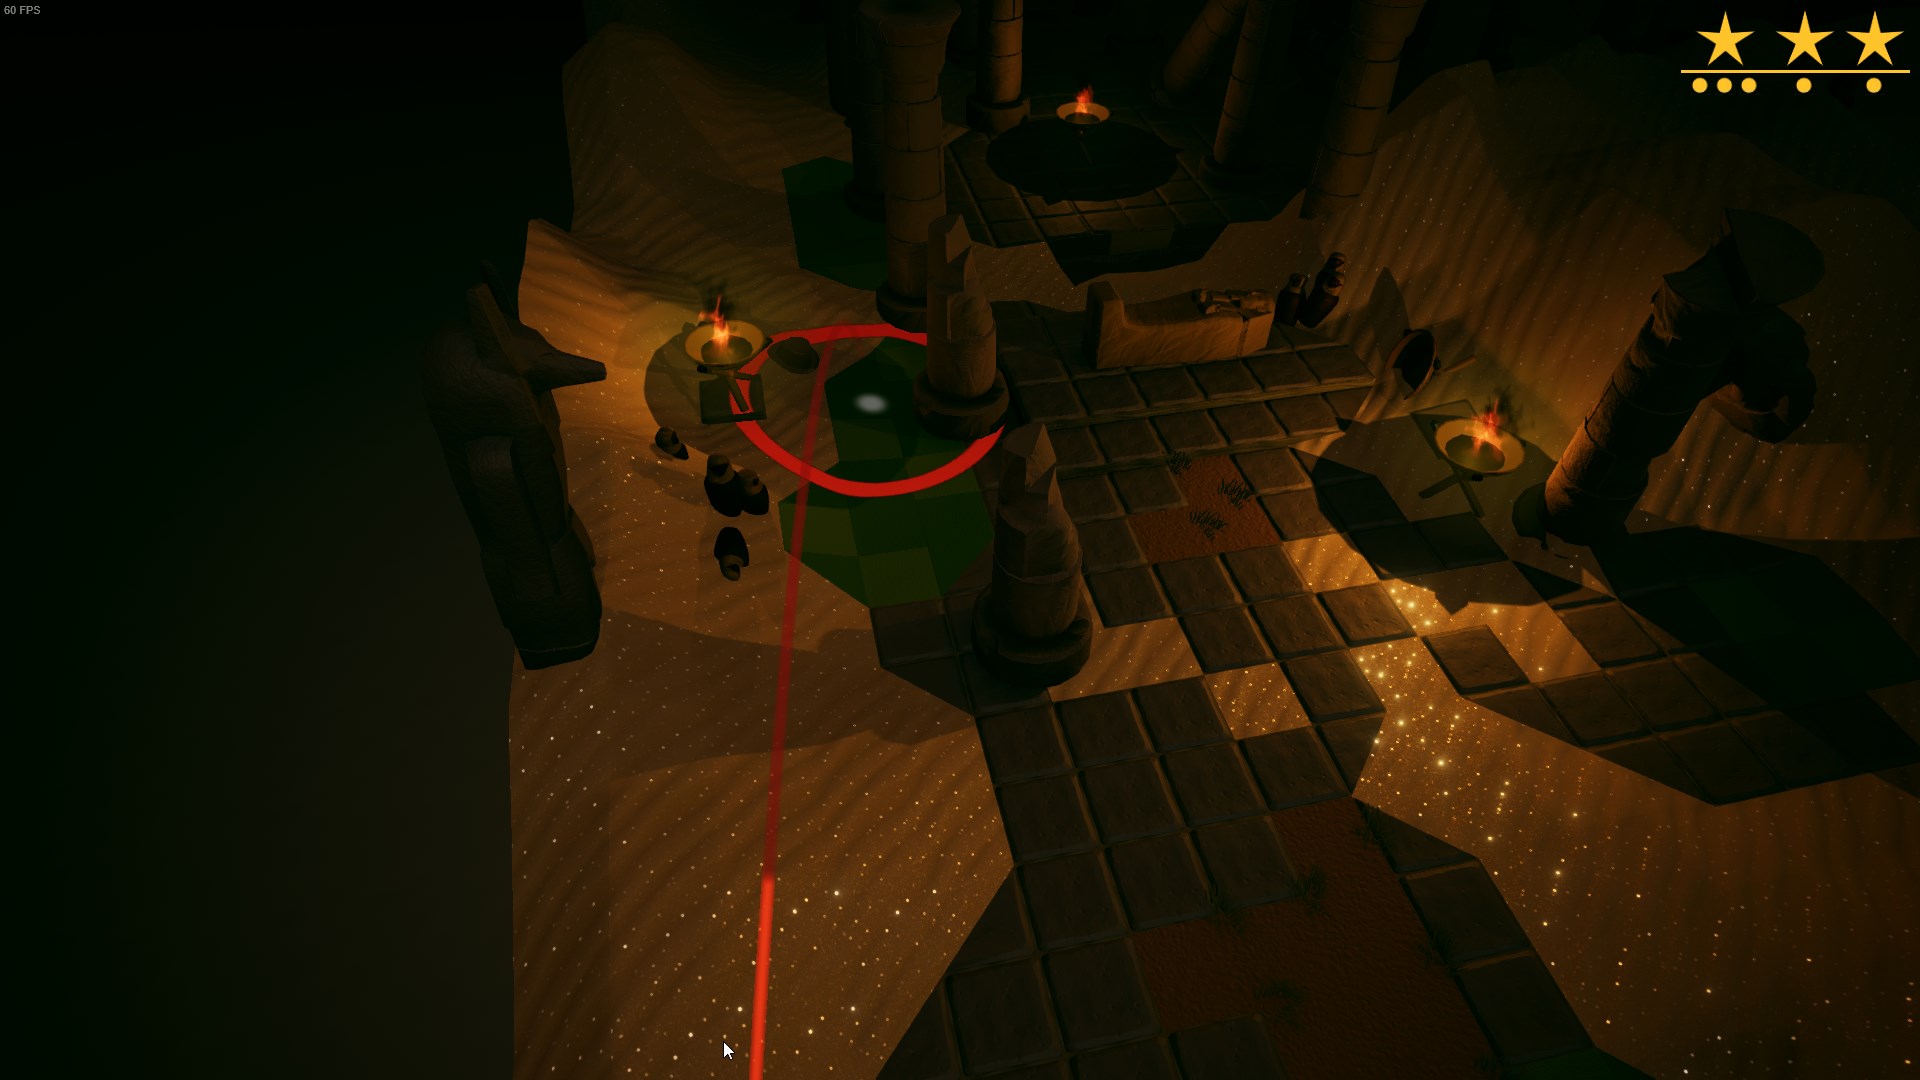
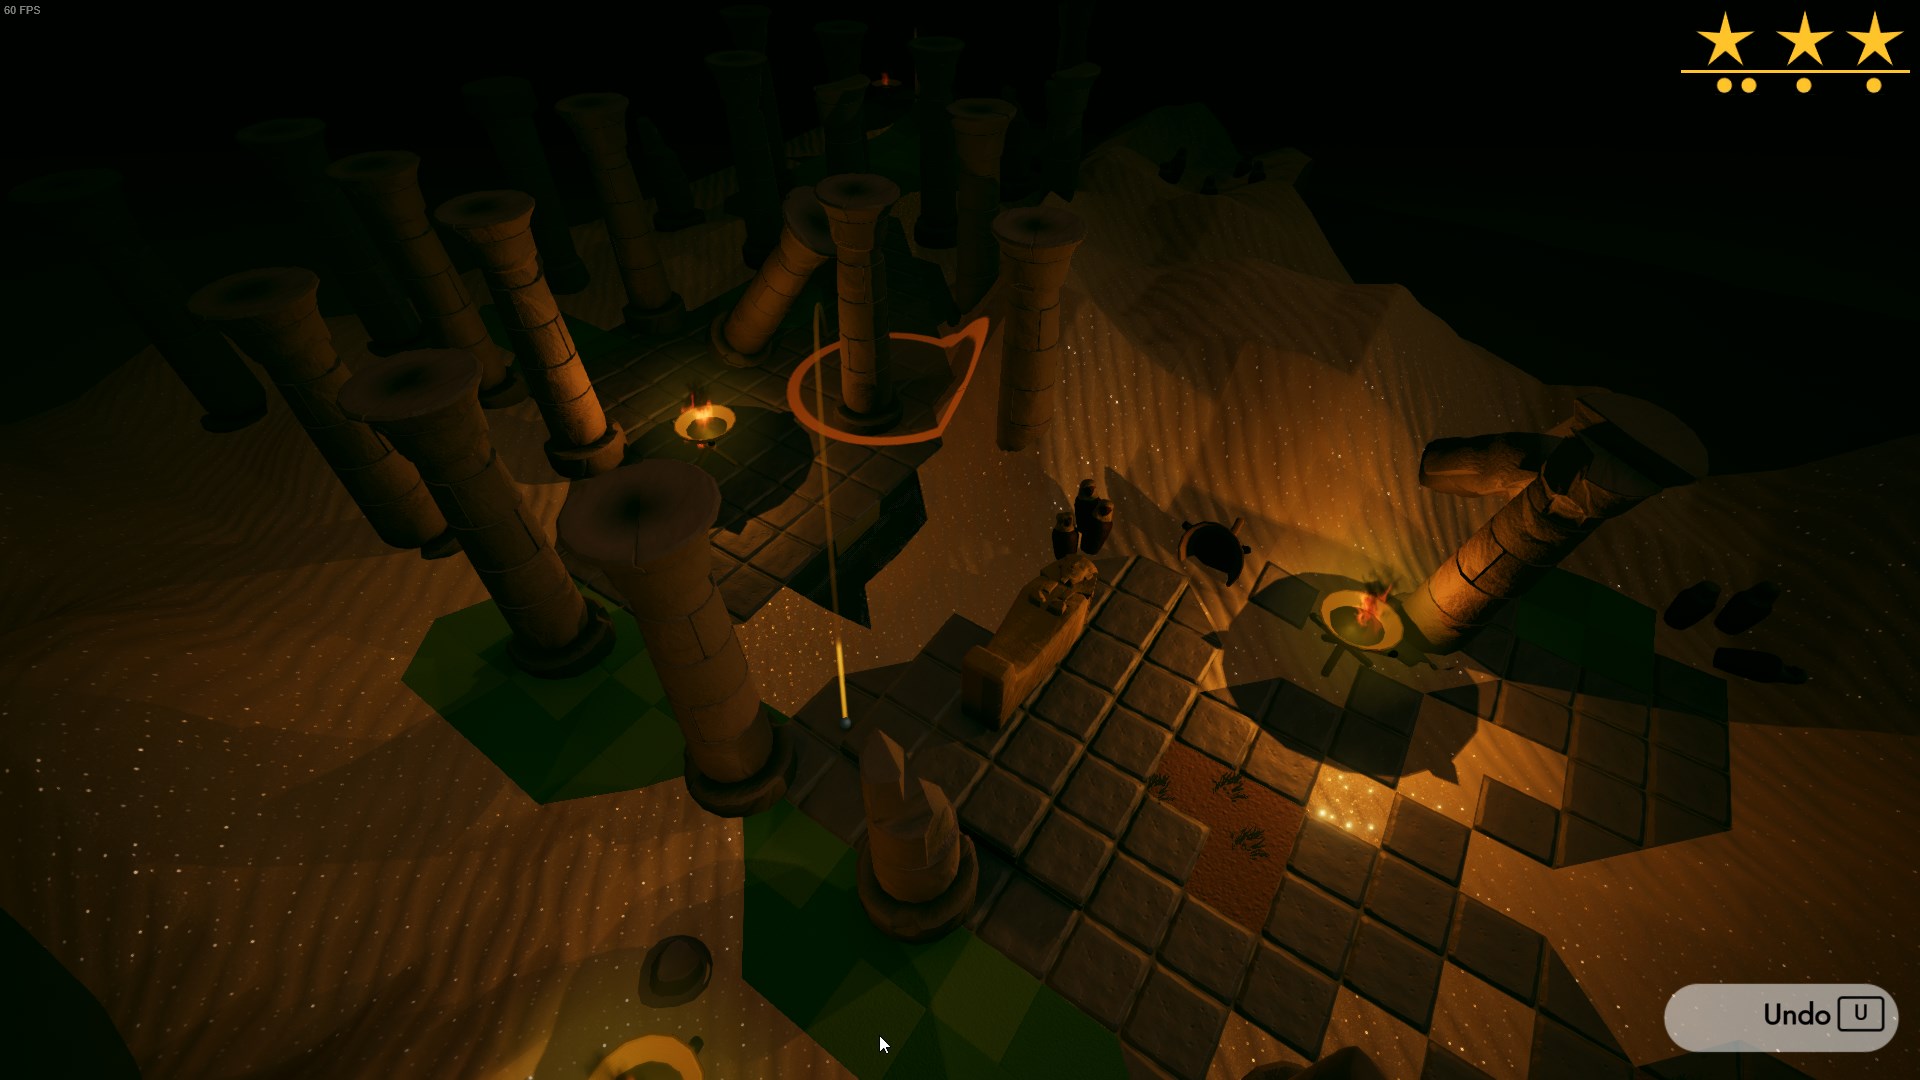
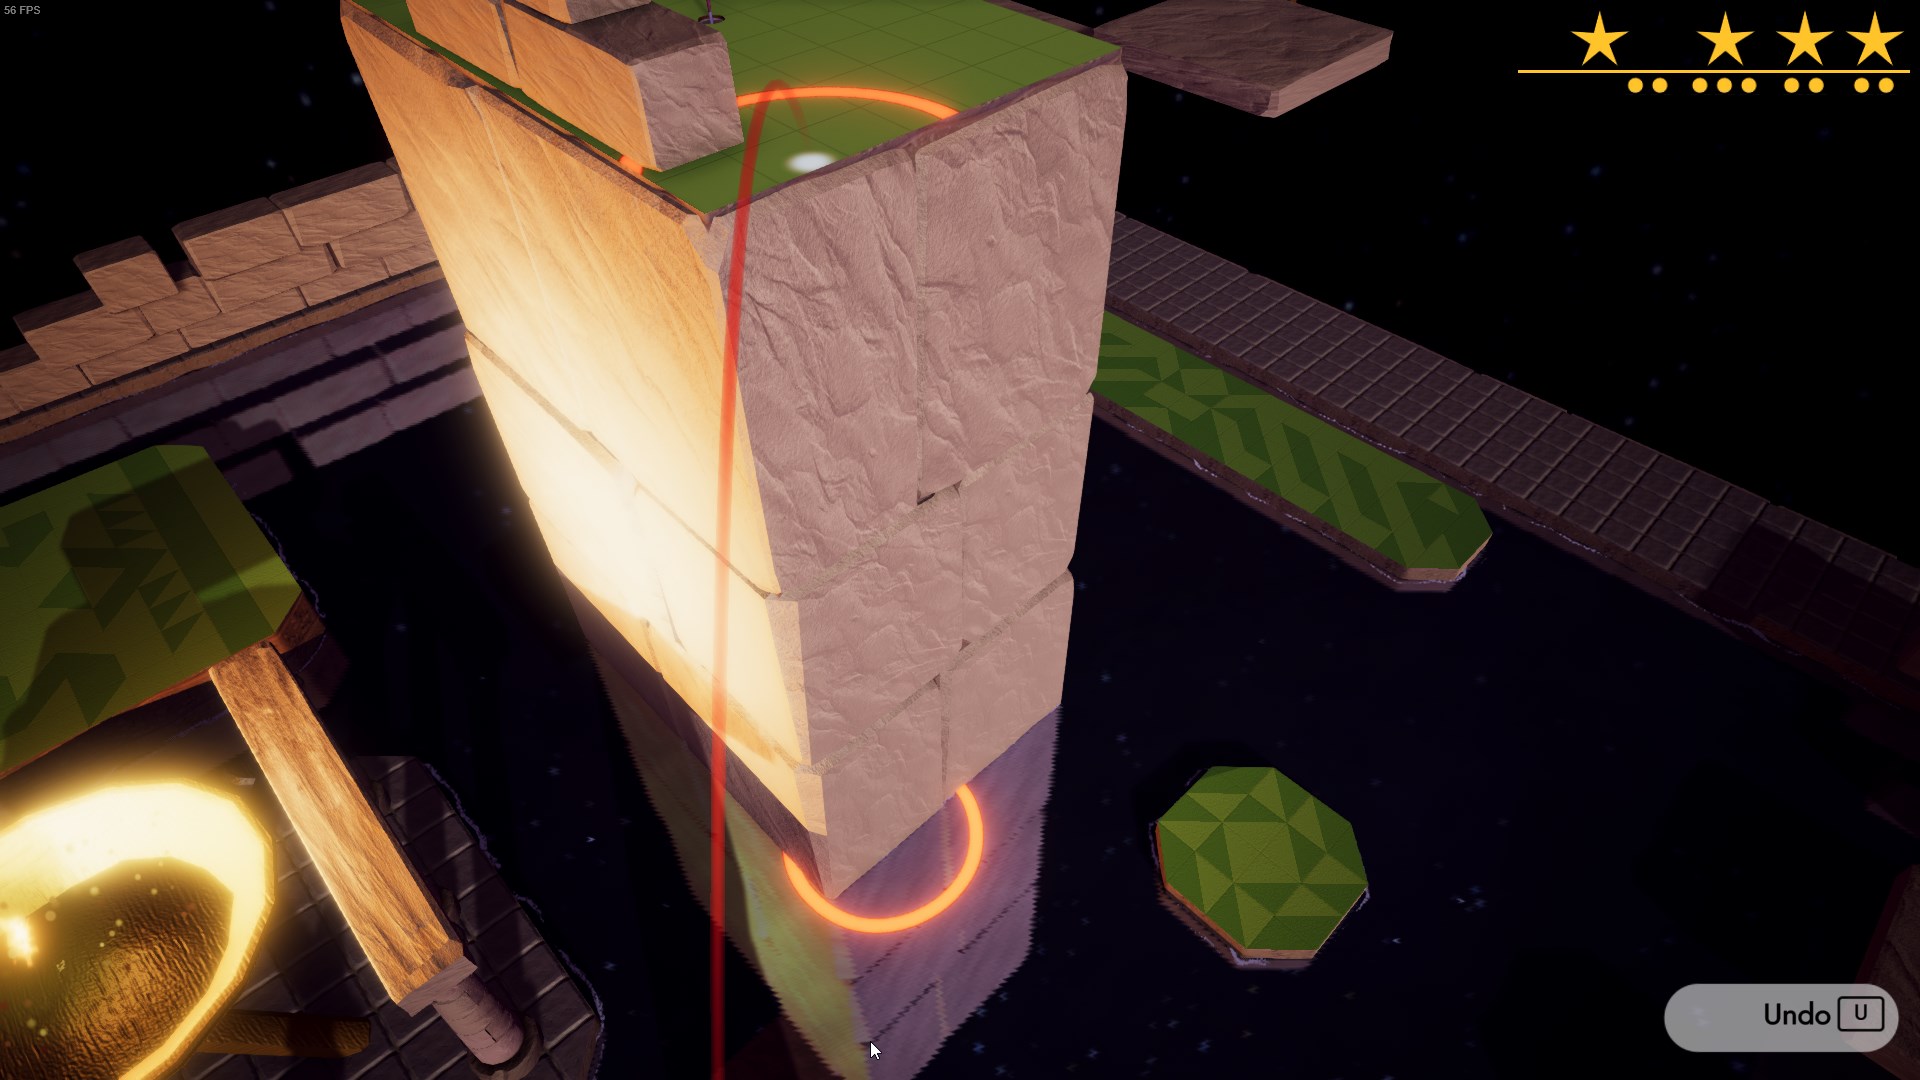
Don’t stabilize and wait for the trajectory to dip down so you can shoot through the window.
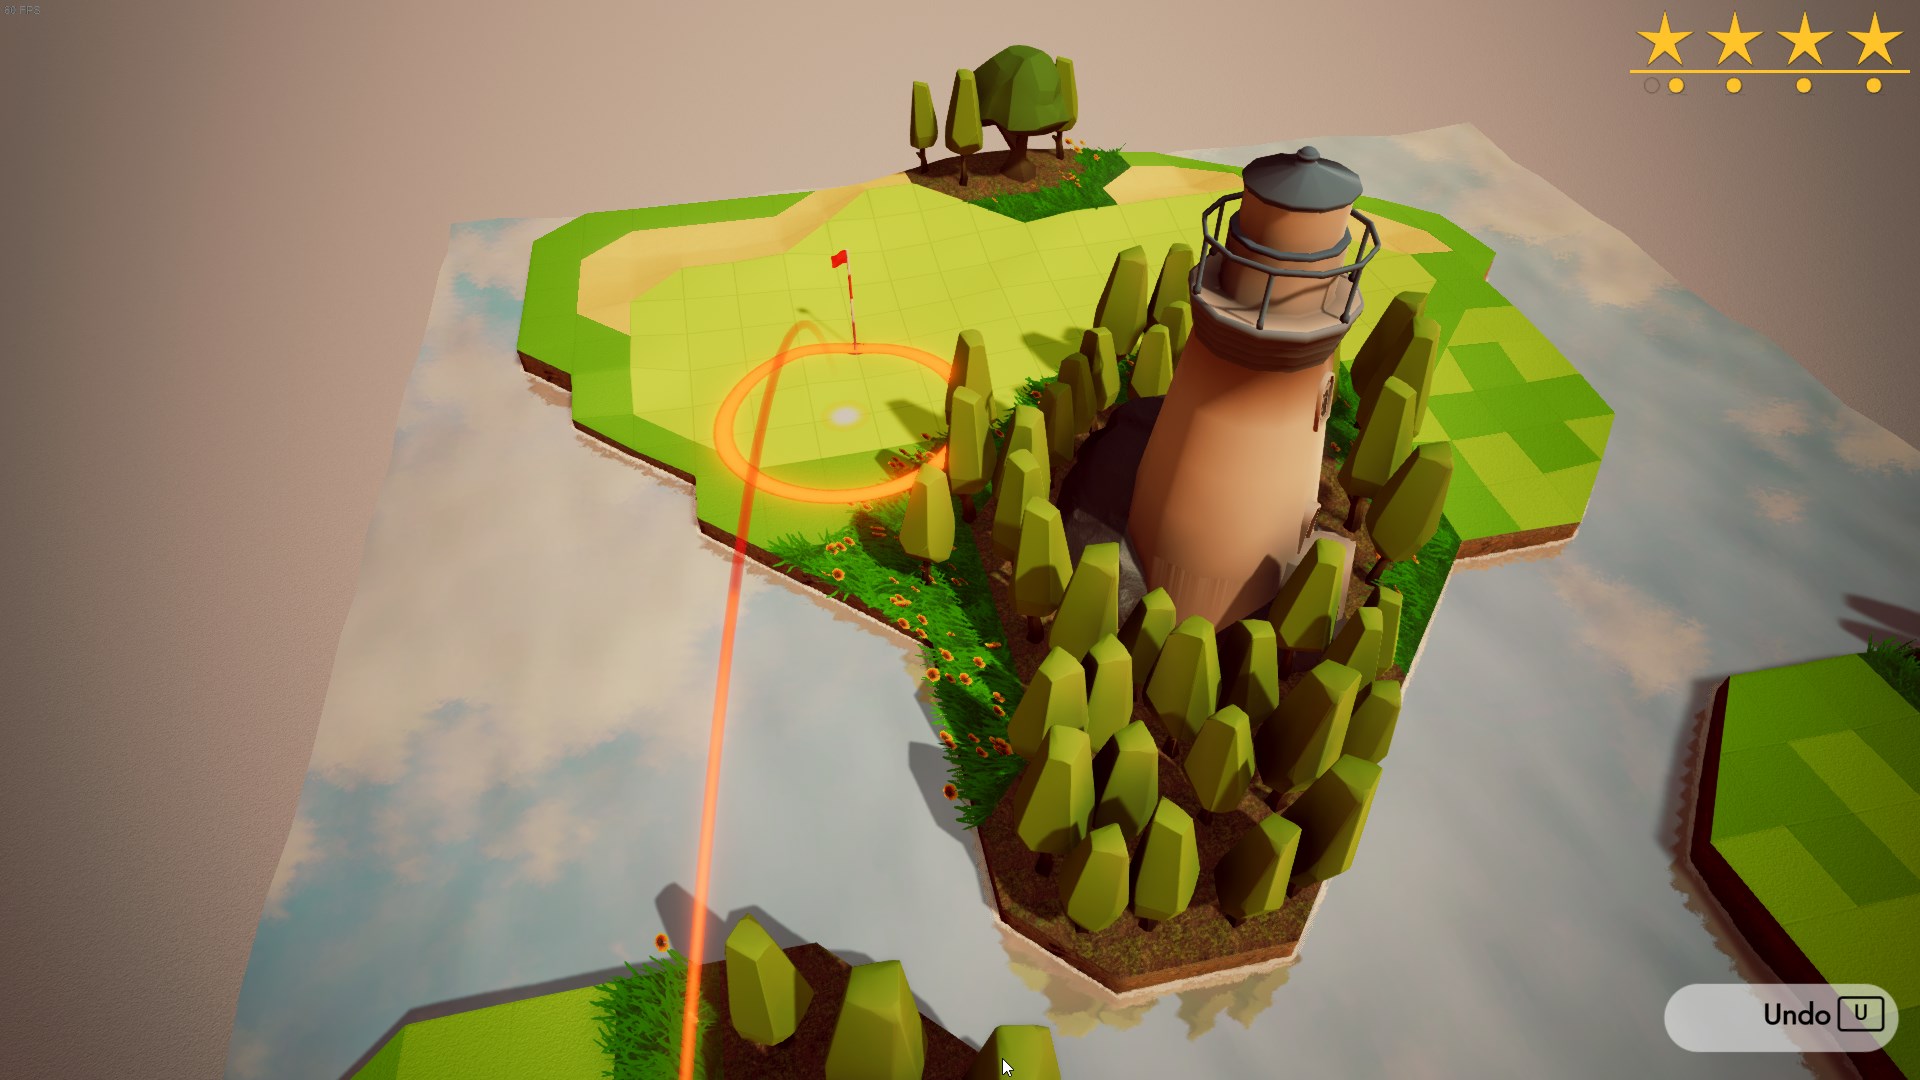
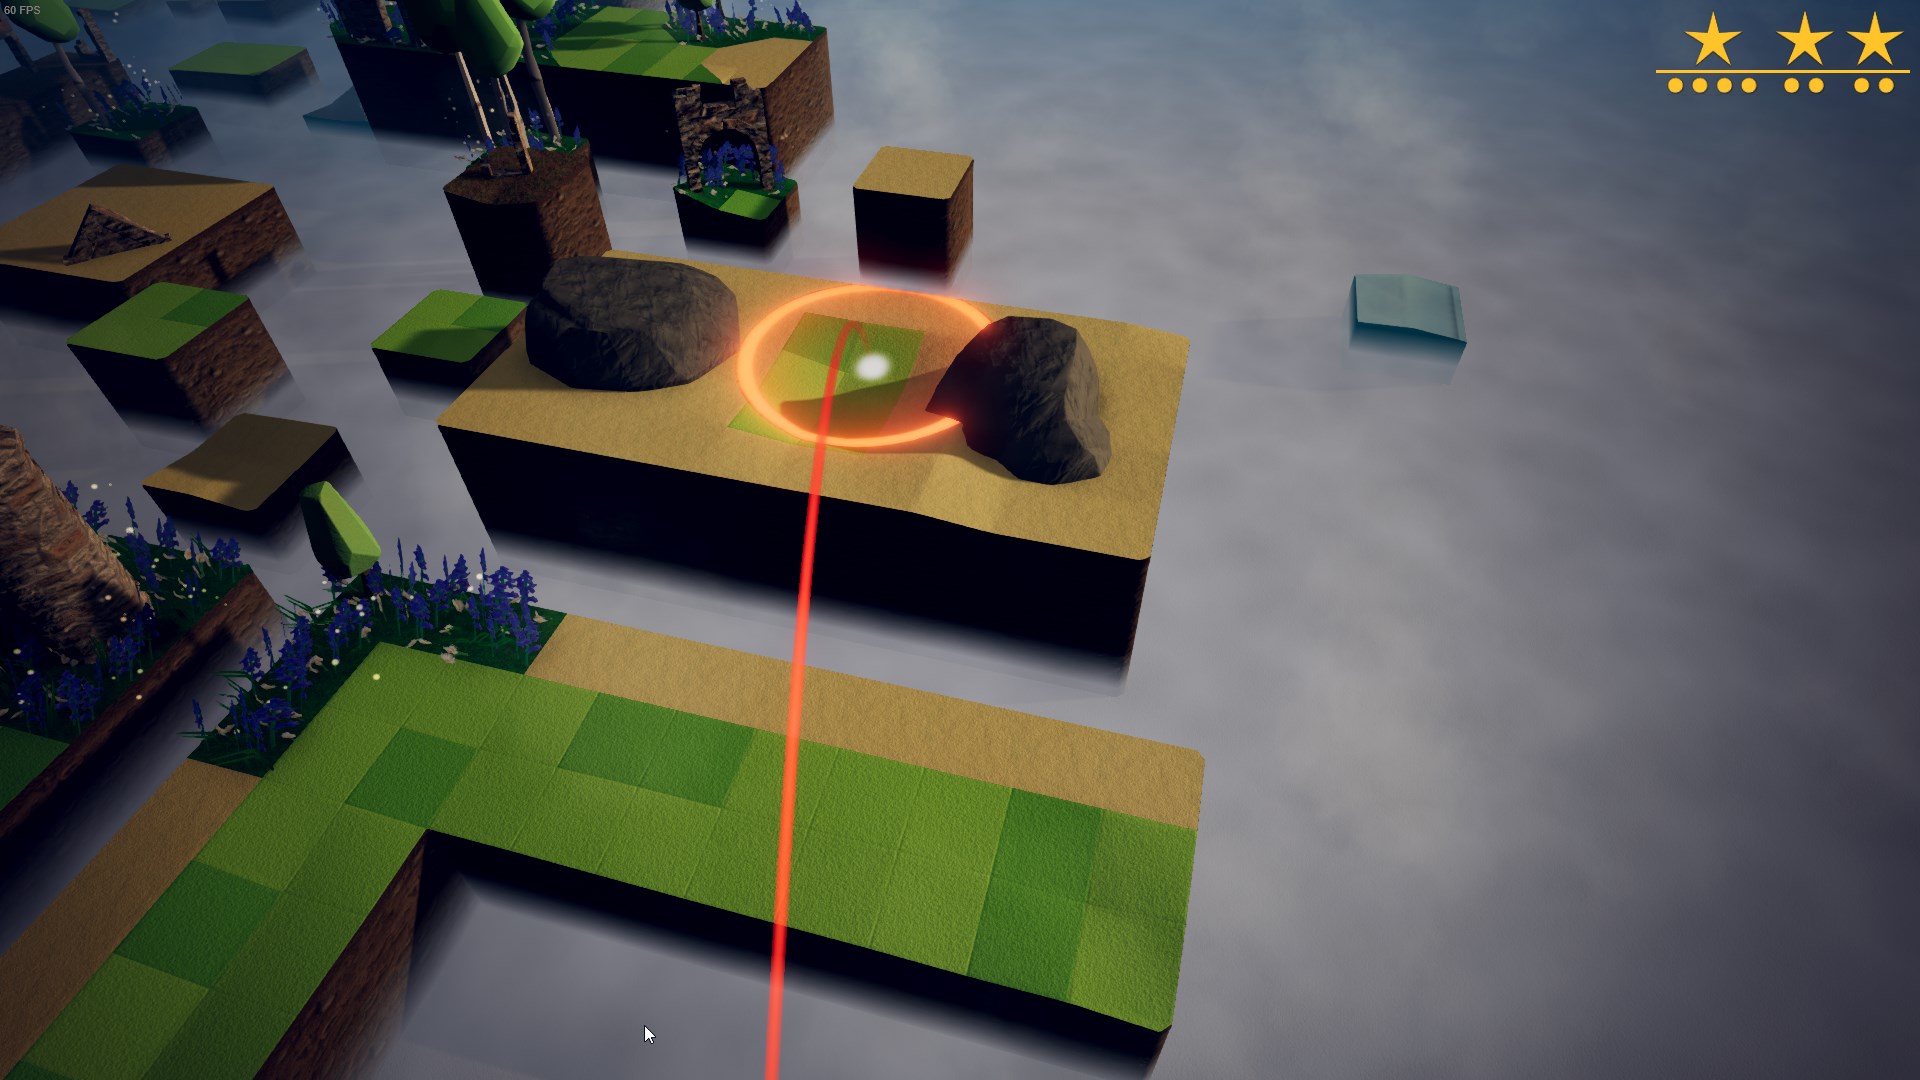
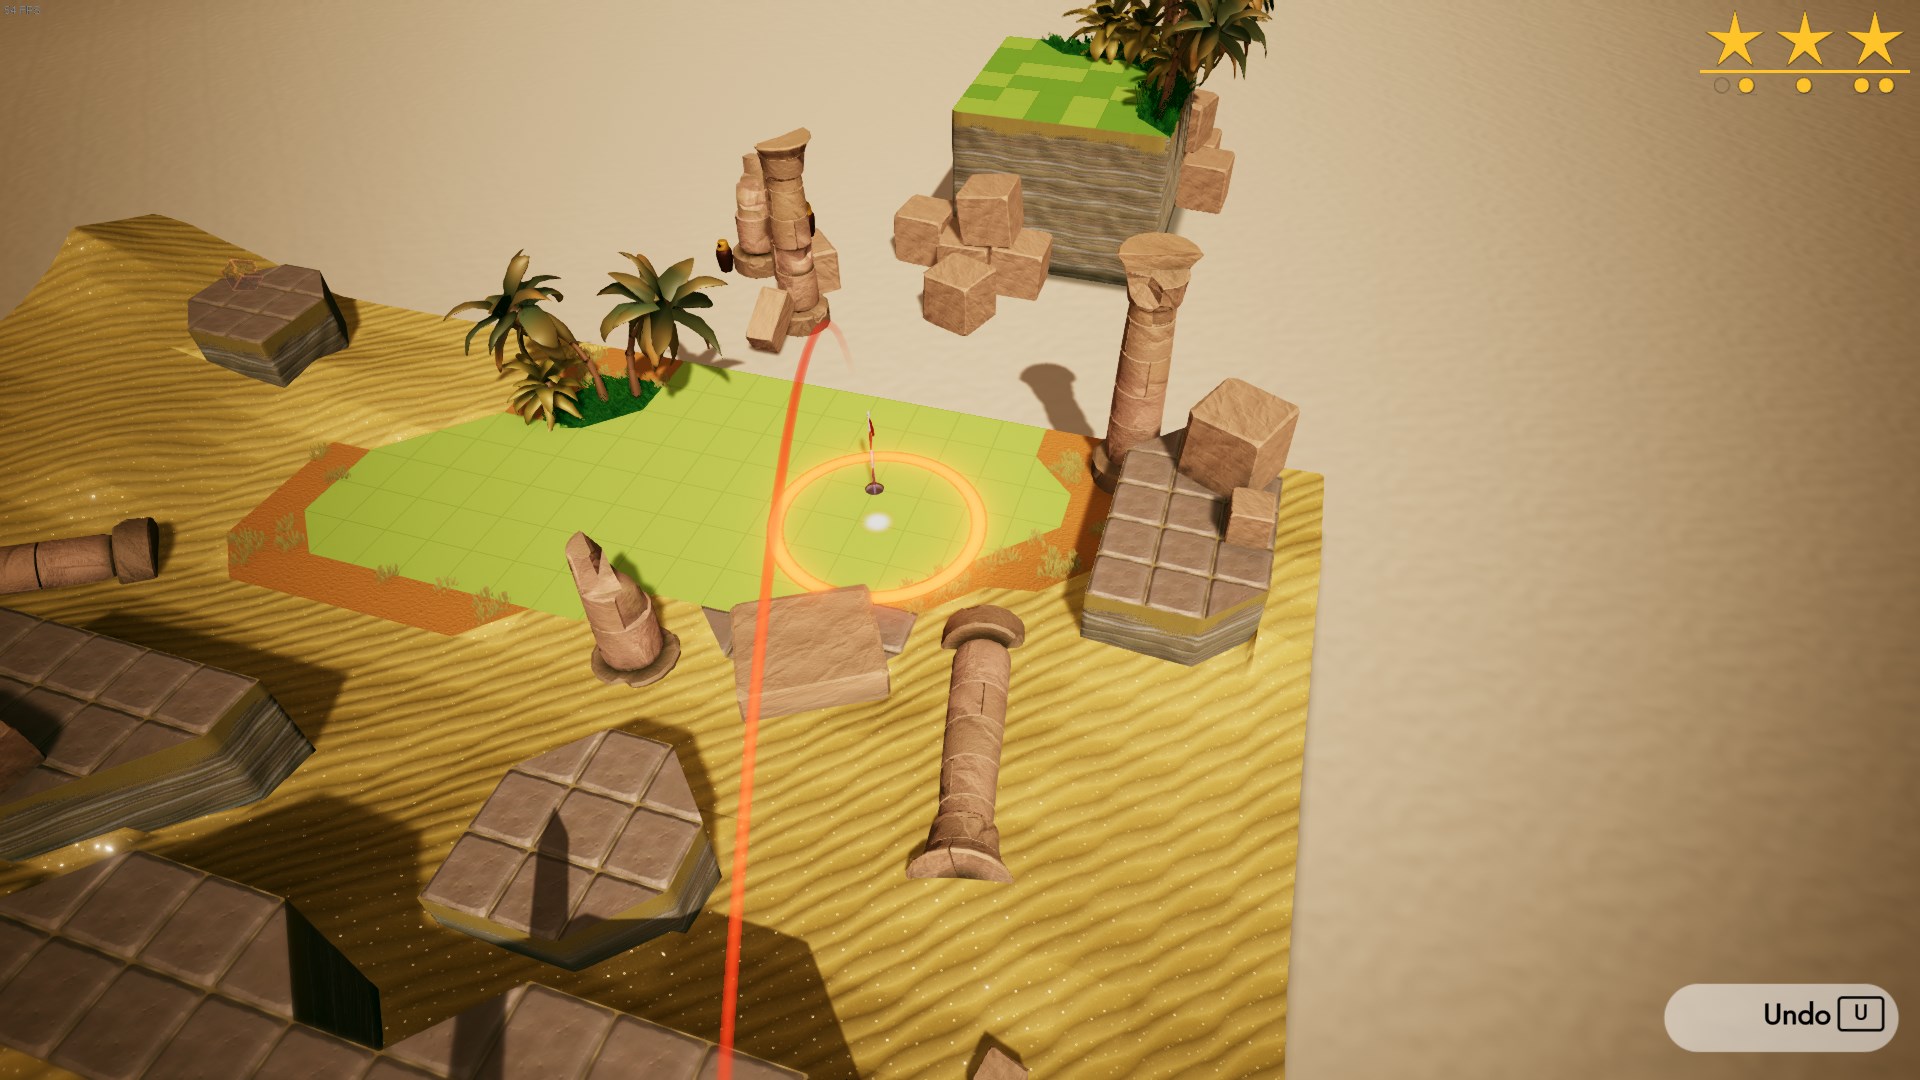
You have to put the flag right on the edge of your aiming circle. Don’t stabilize and you’ll have a very short window where you can shoot it straight into the hole.
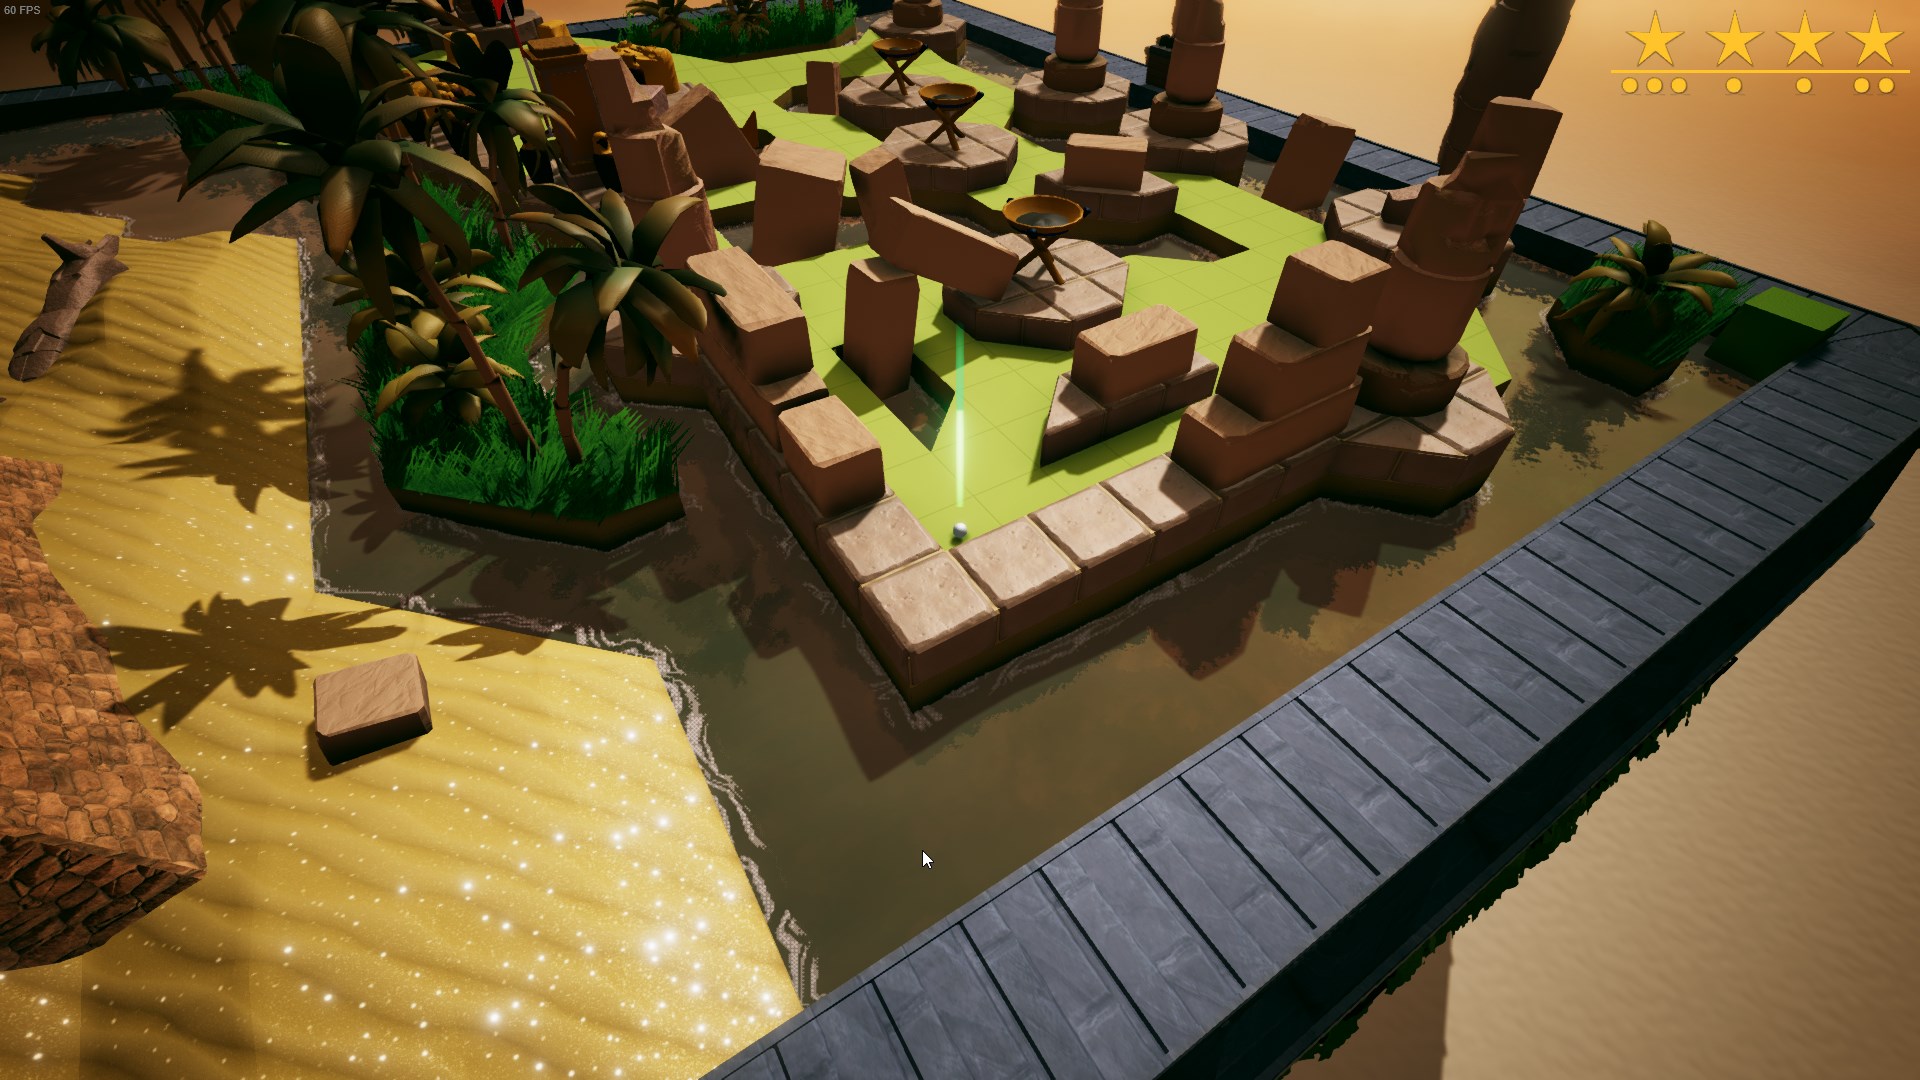
Aim for the top of the tree. The ball will slide off and land on the island.

Aim to the left to compensate for the slope.
Don’t stabilize and aim at the front left to undershoot, or the ball will end up in the rough.
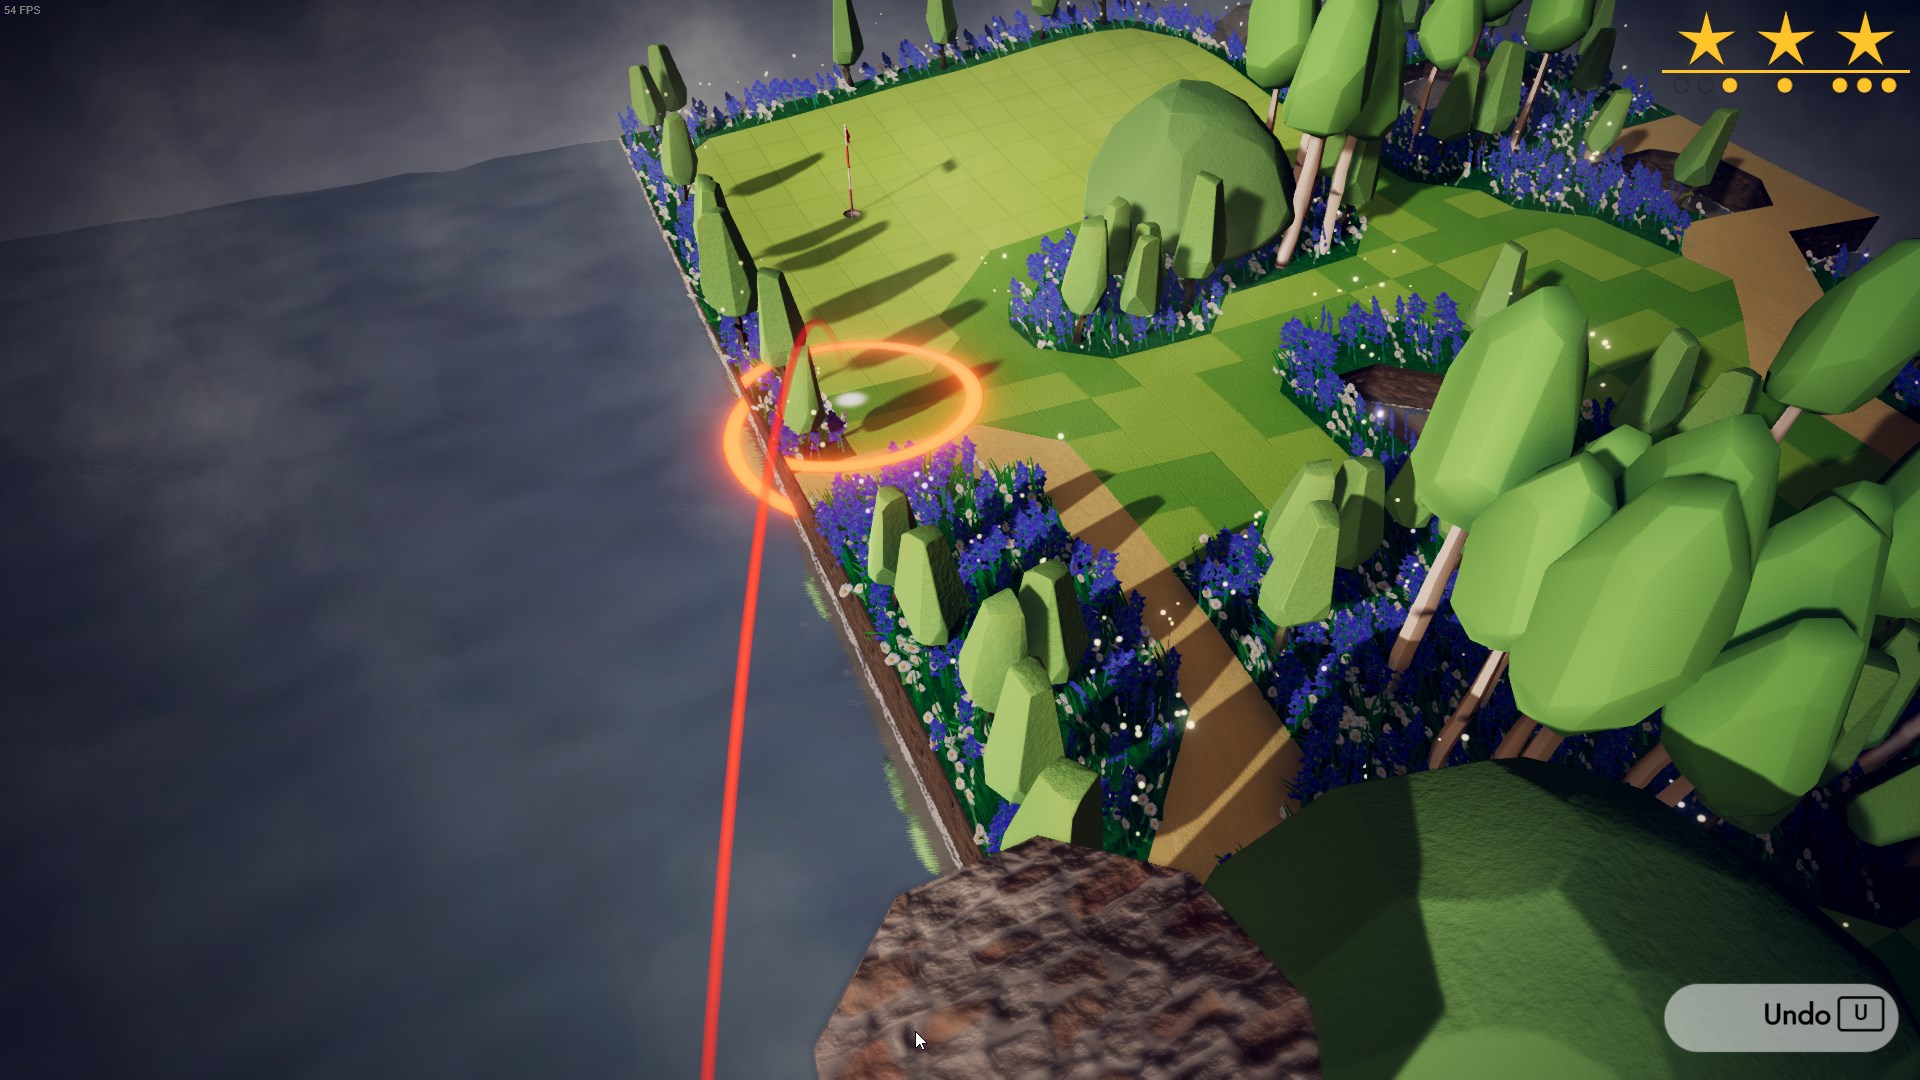
Aim for the very left corner of the island, the ball will bounce to the right and not fall off. The rest of the course is pretty trivial.
Aim at the front left so you don’t overshoot into the rough.
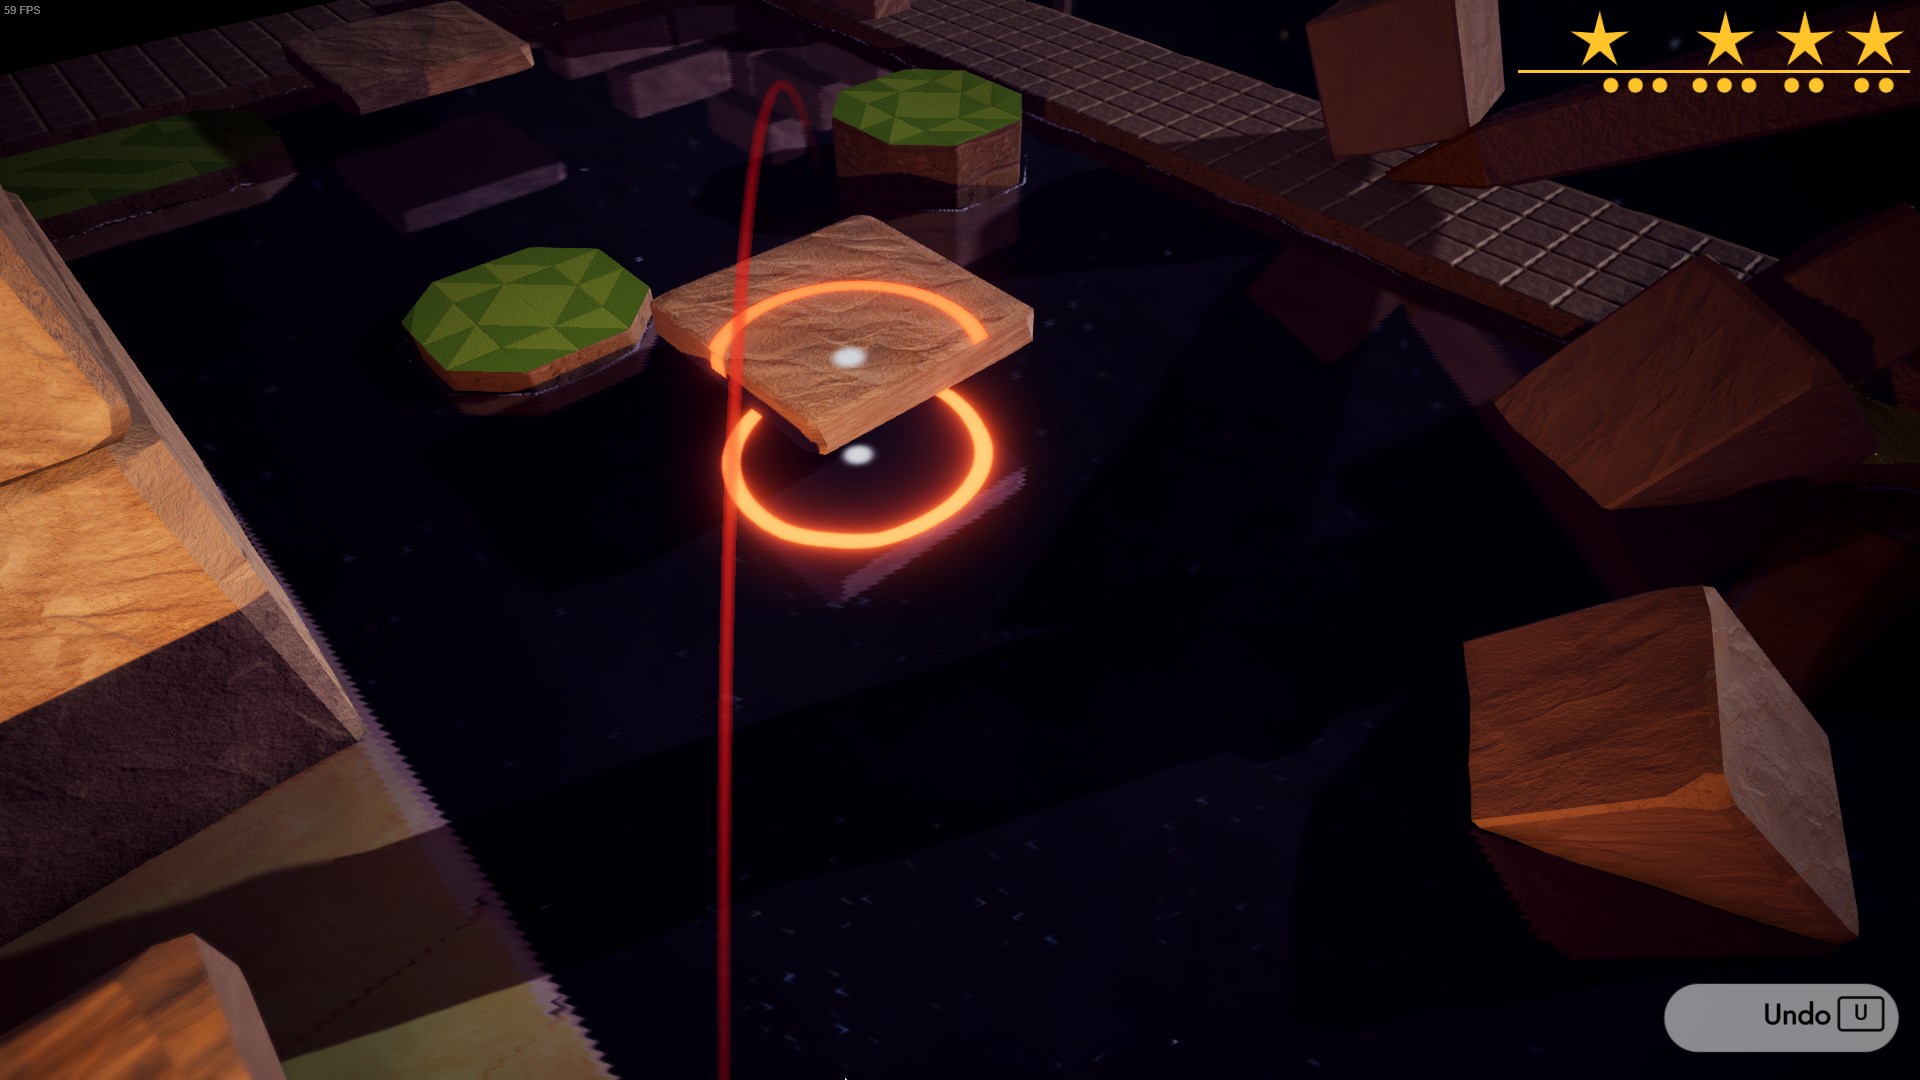
Aim for the tiny square island, the ball will bounce onto the next larger island.
Put the flag right on the edge of the circle and time it.
Aim as close to the corner of the water as possible.
World 5 – Slding Sleighs on Sleepy Snows
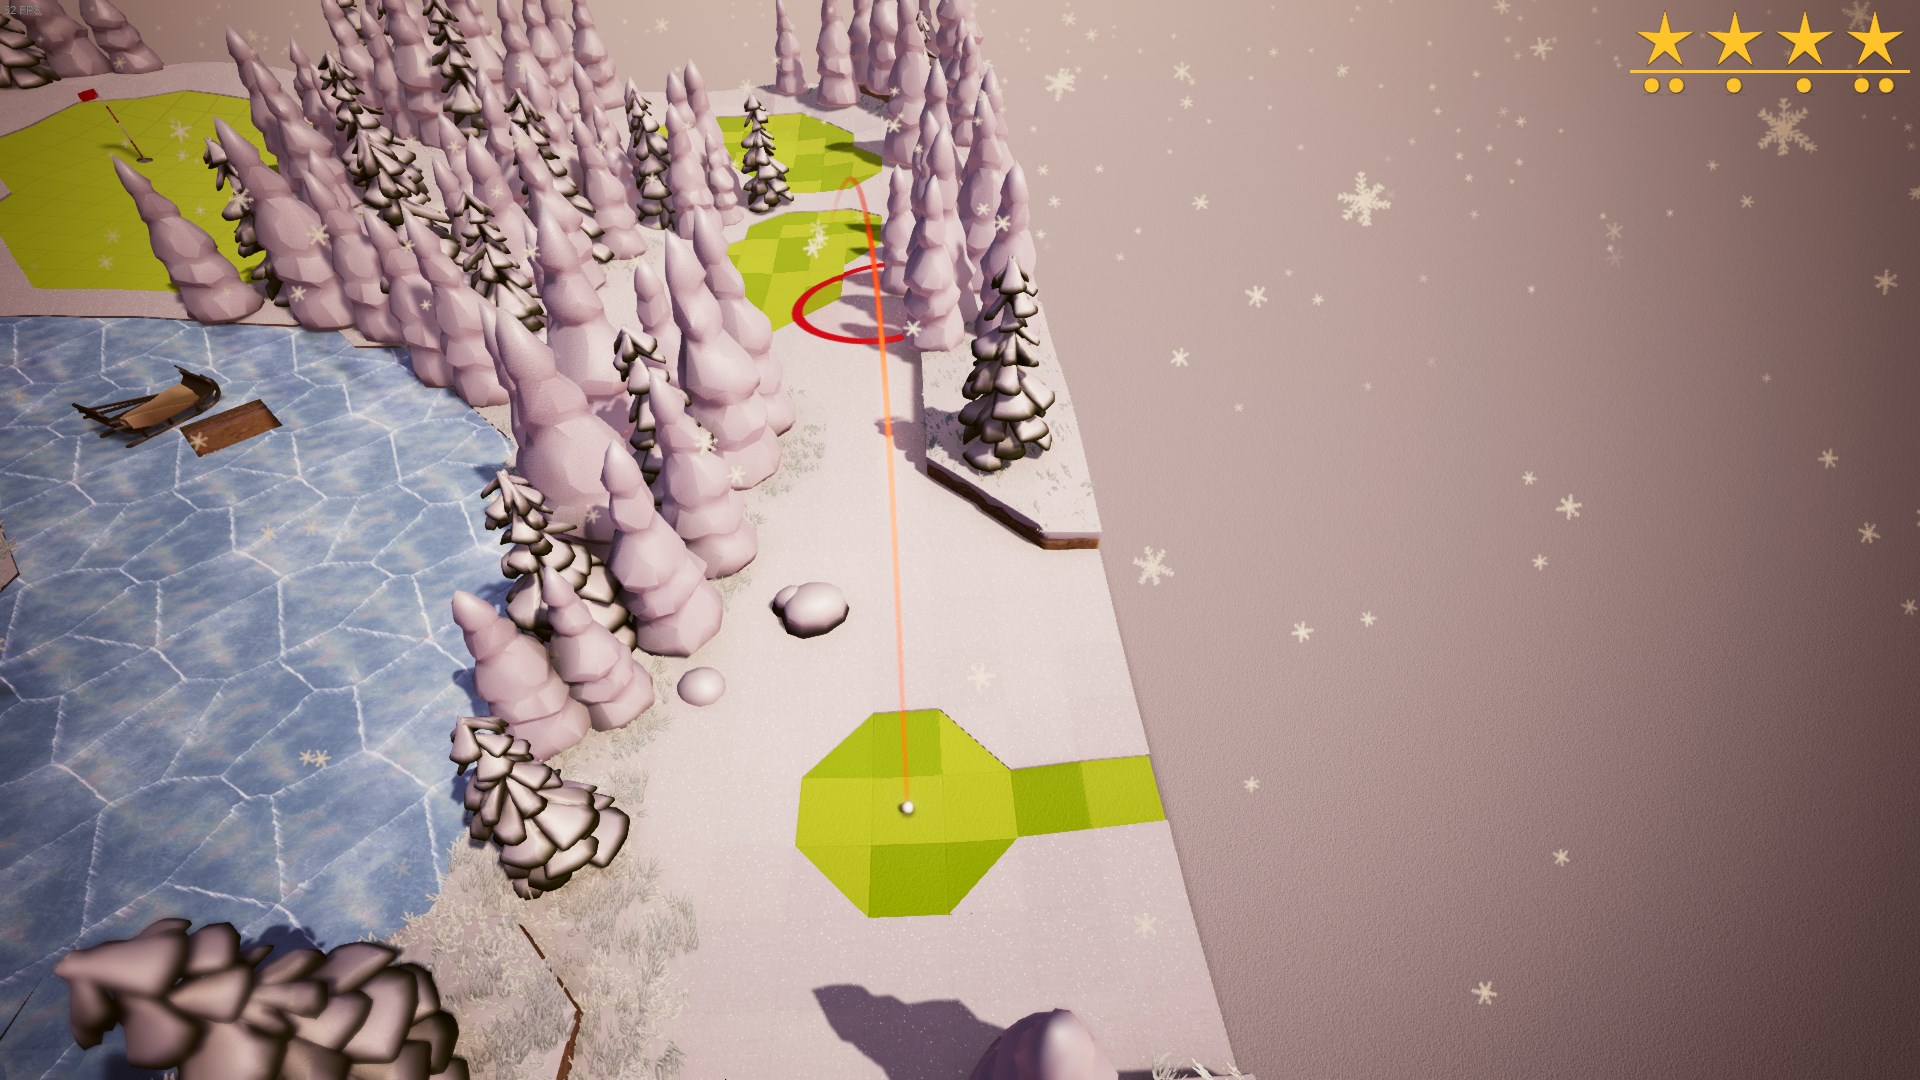
Don’t stabilize, aim back left.
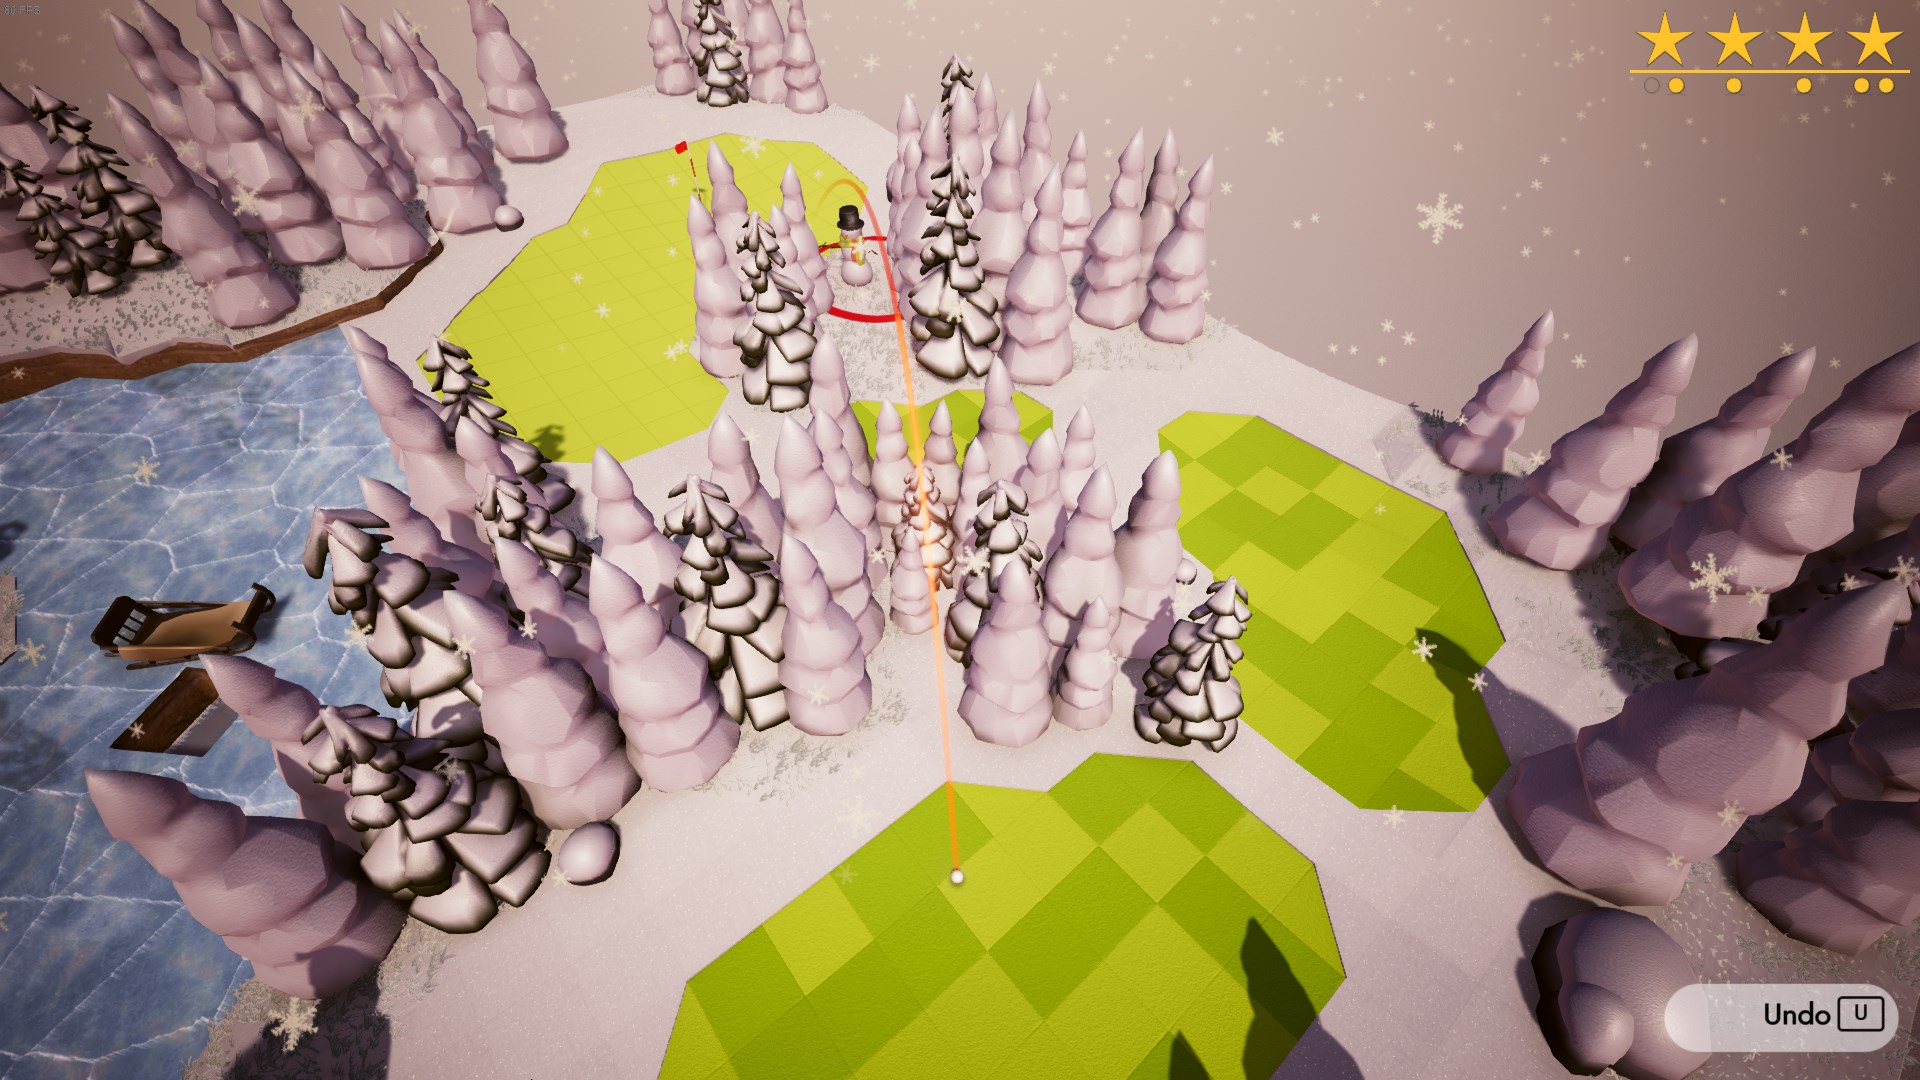
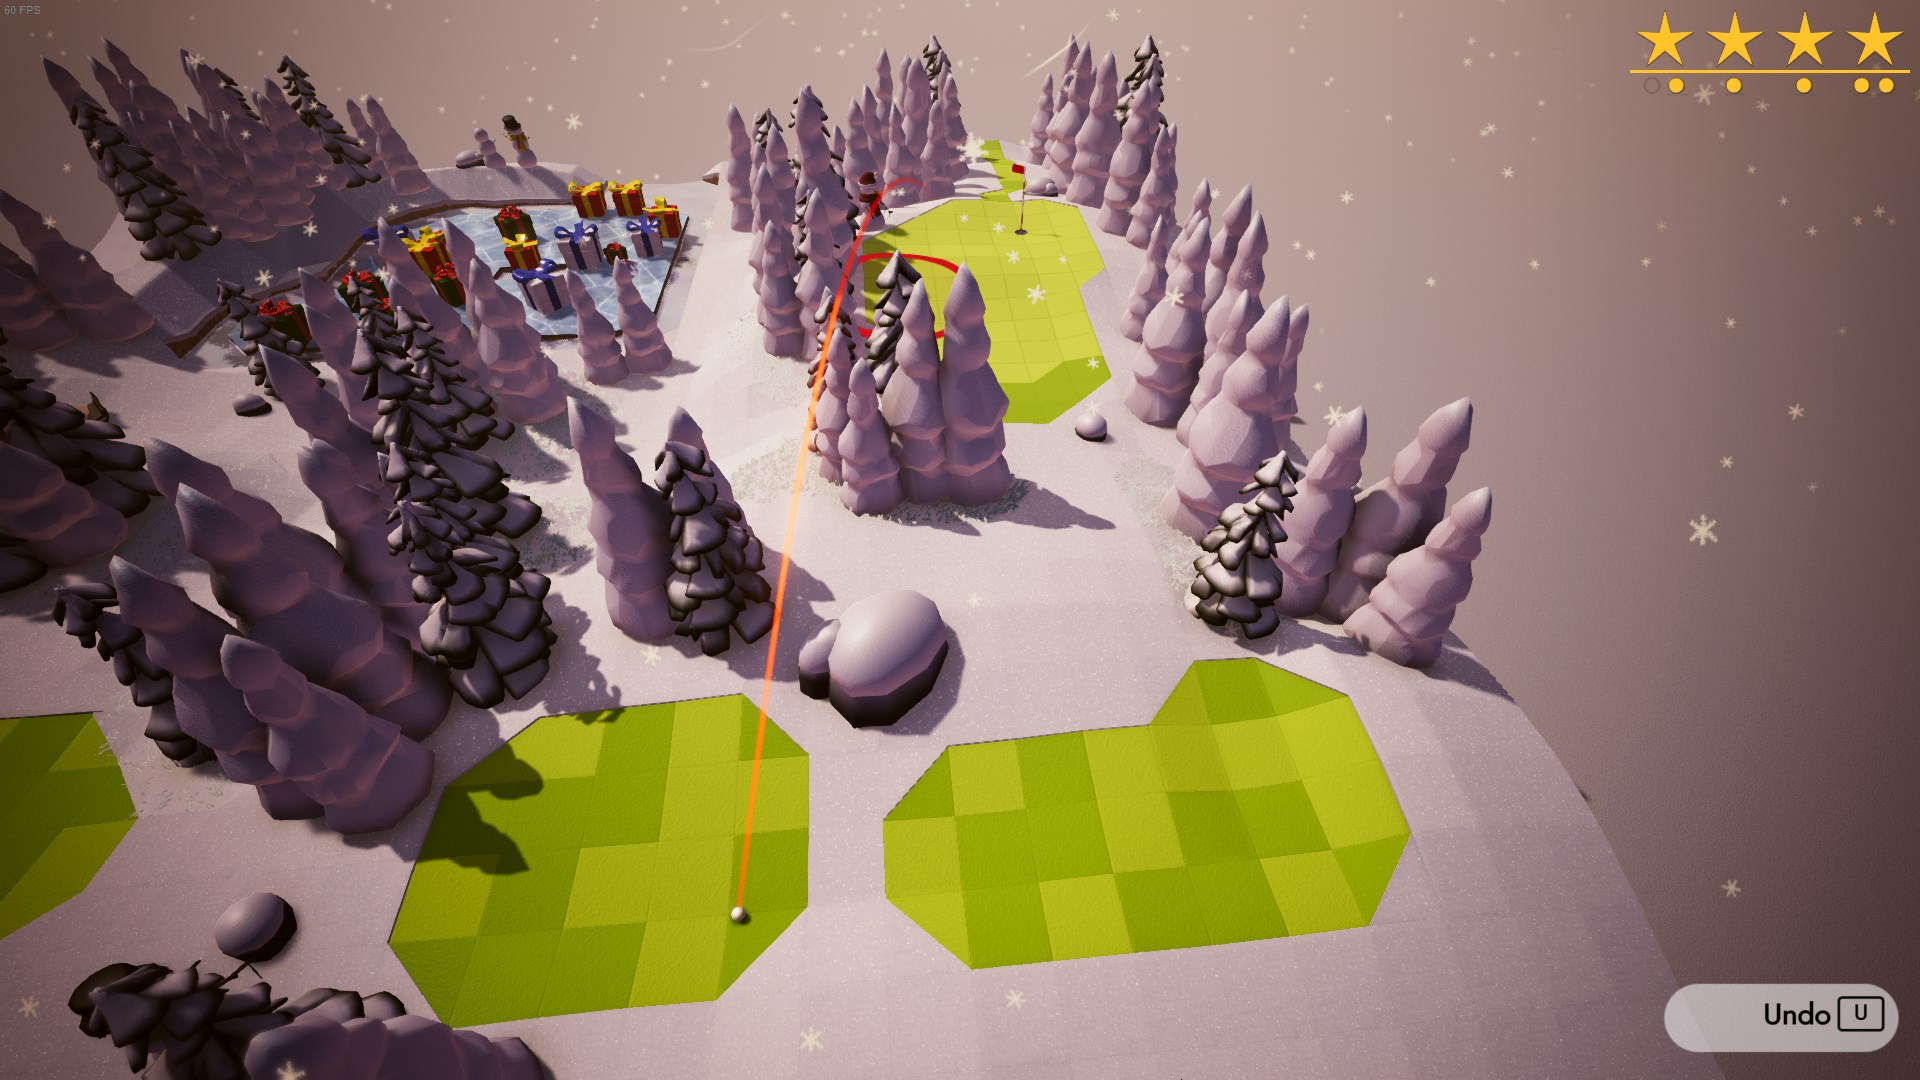
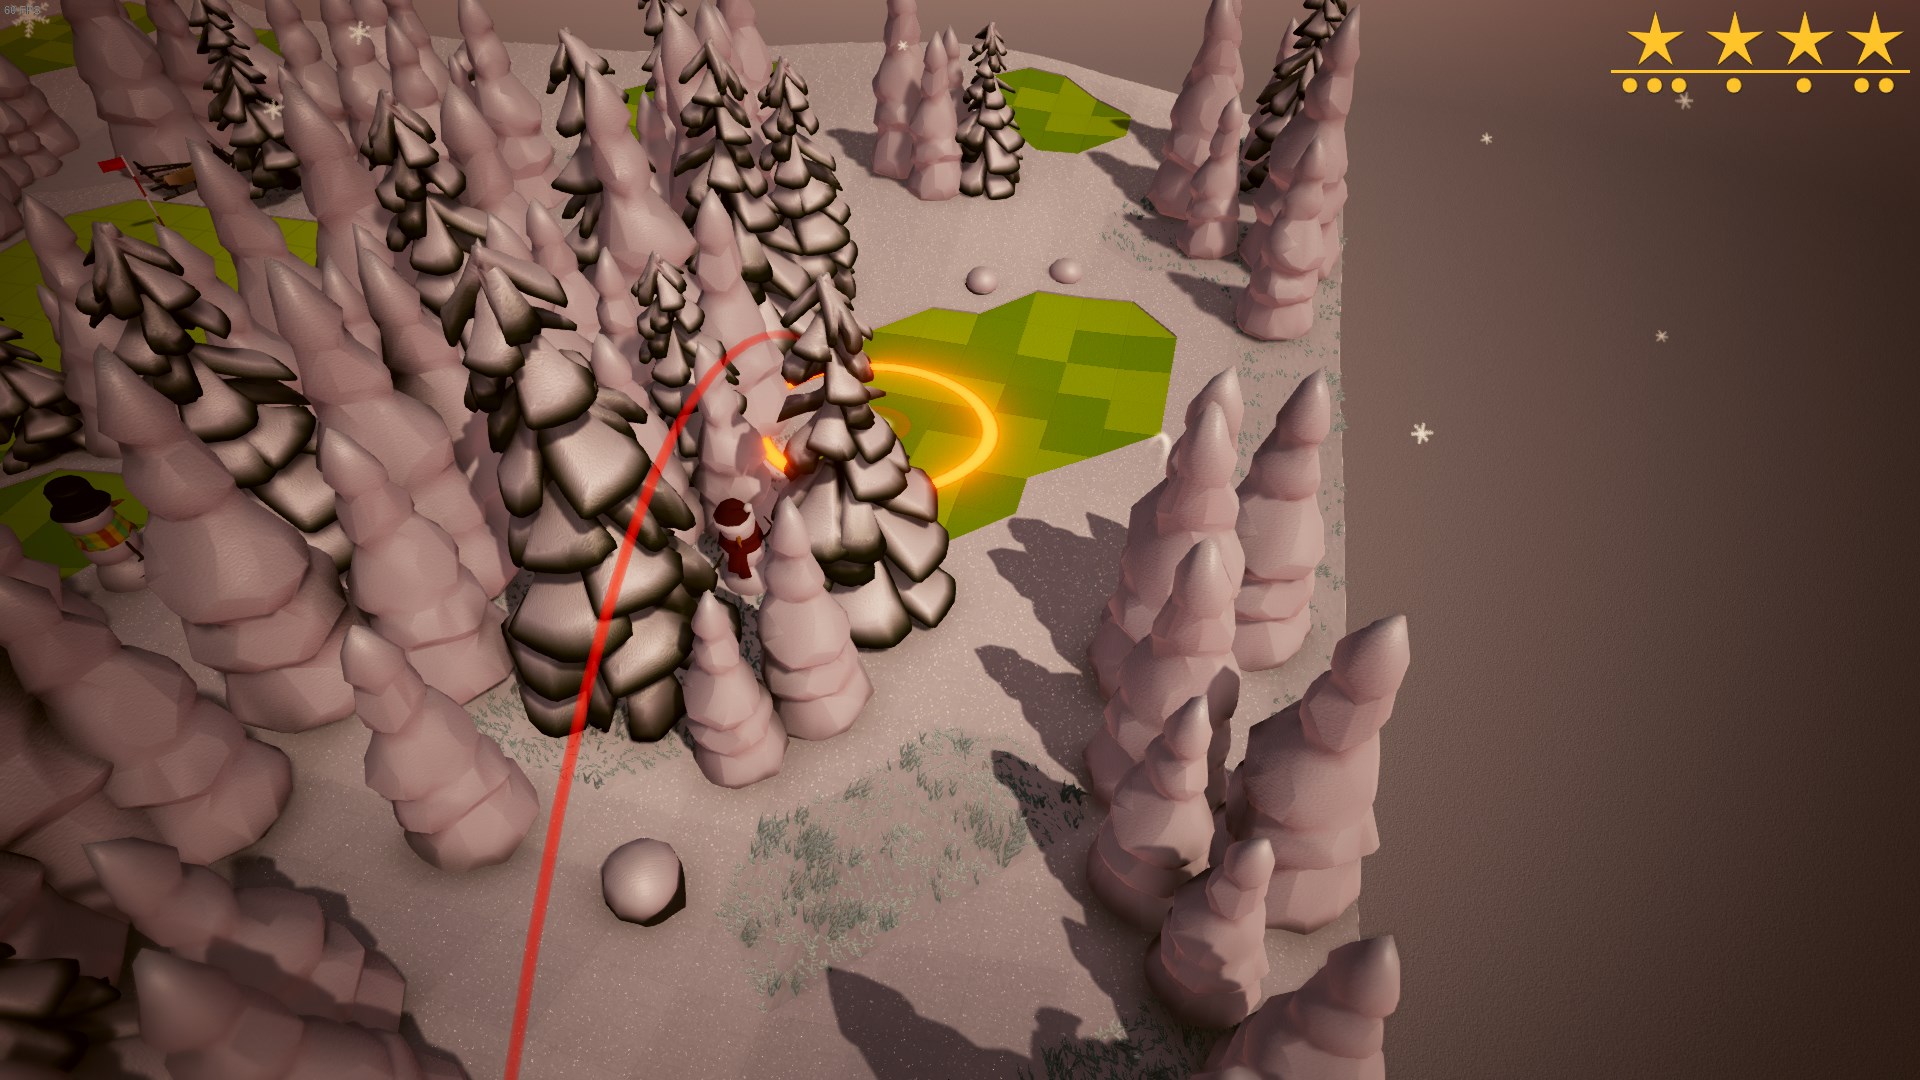
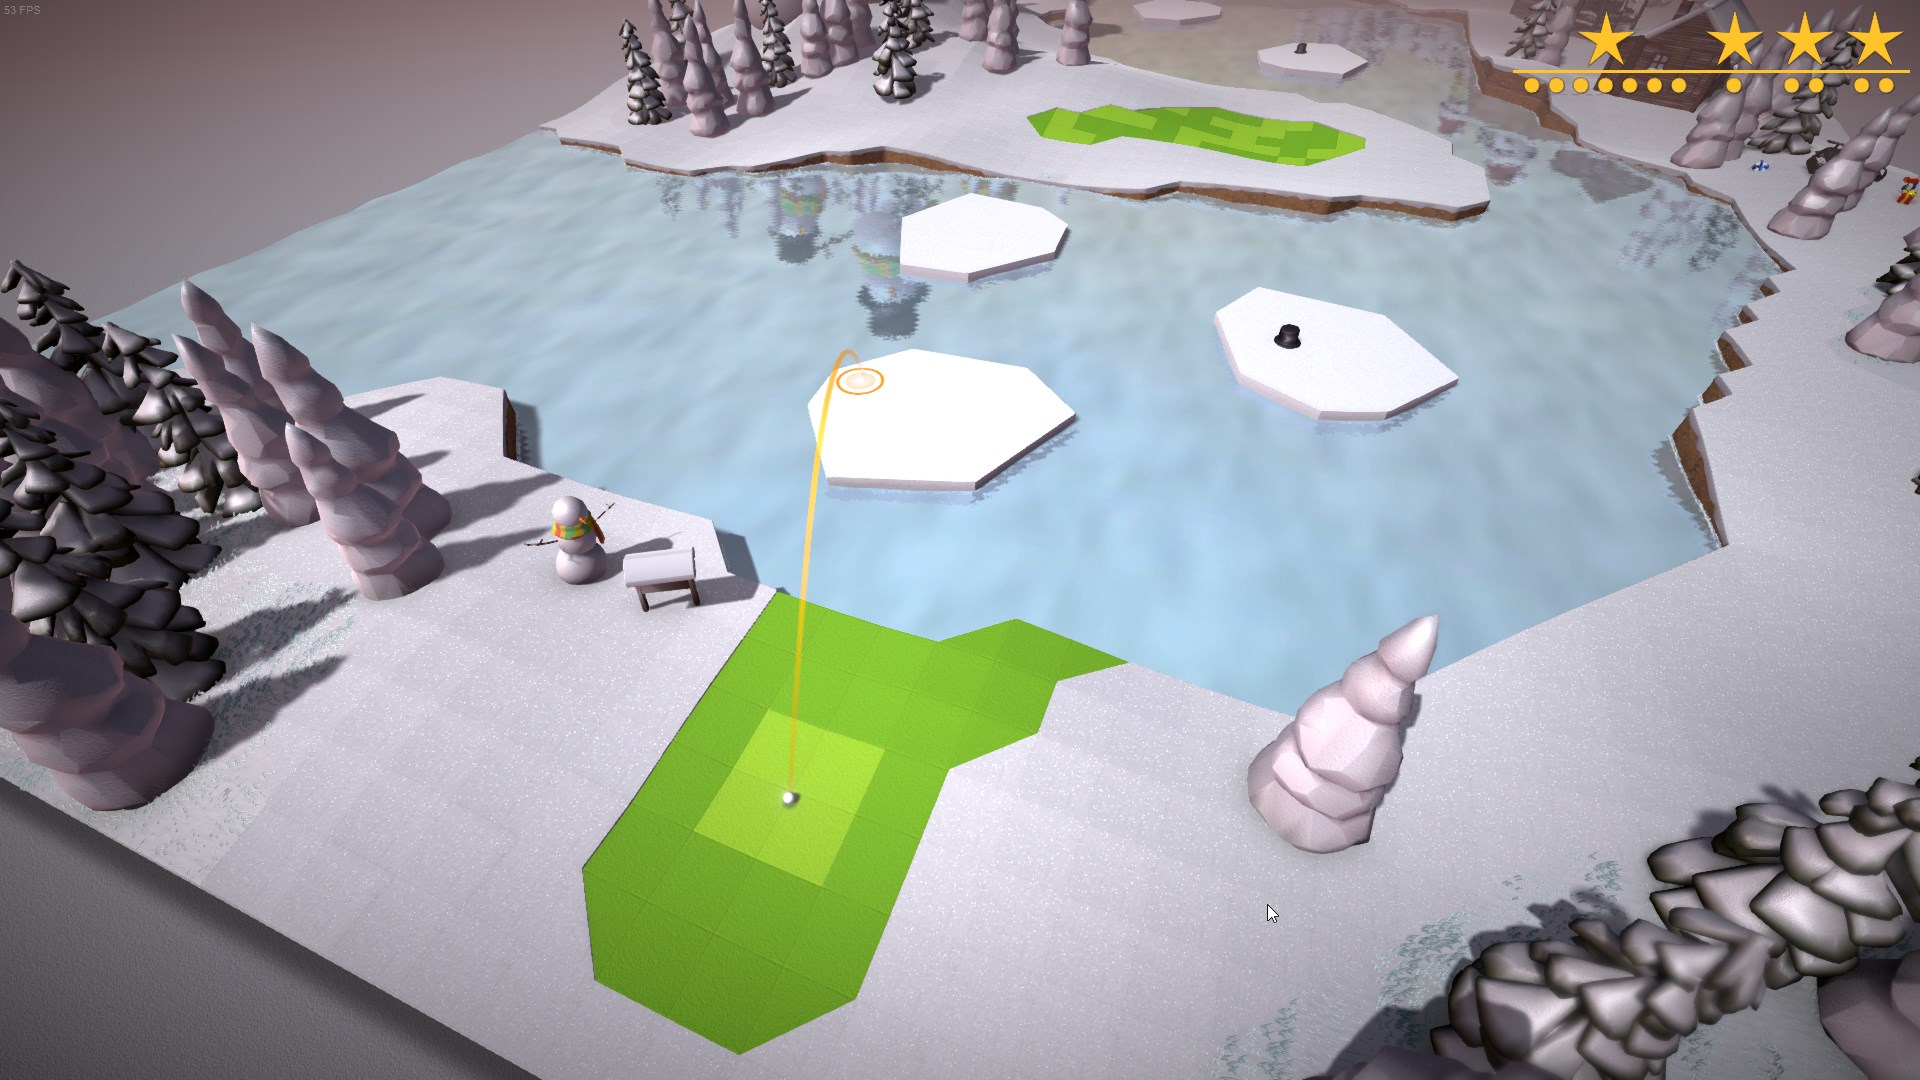
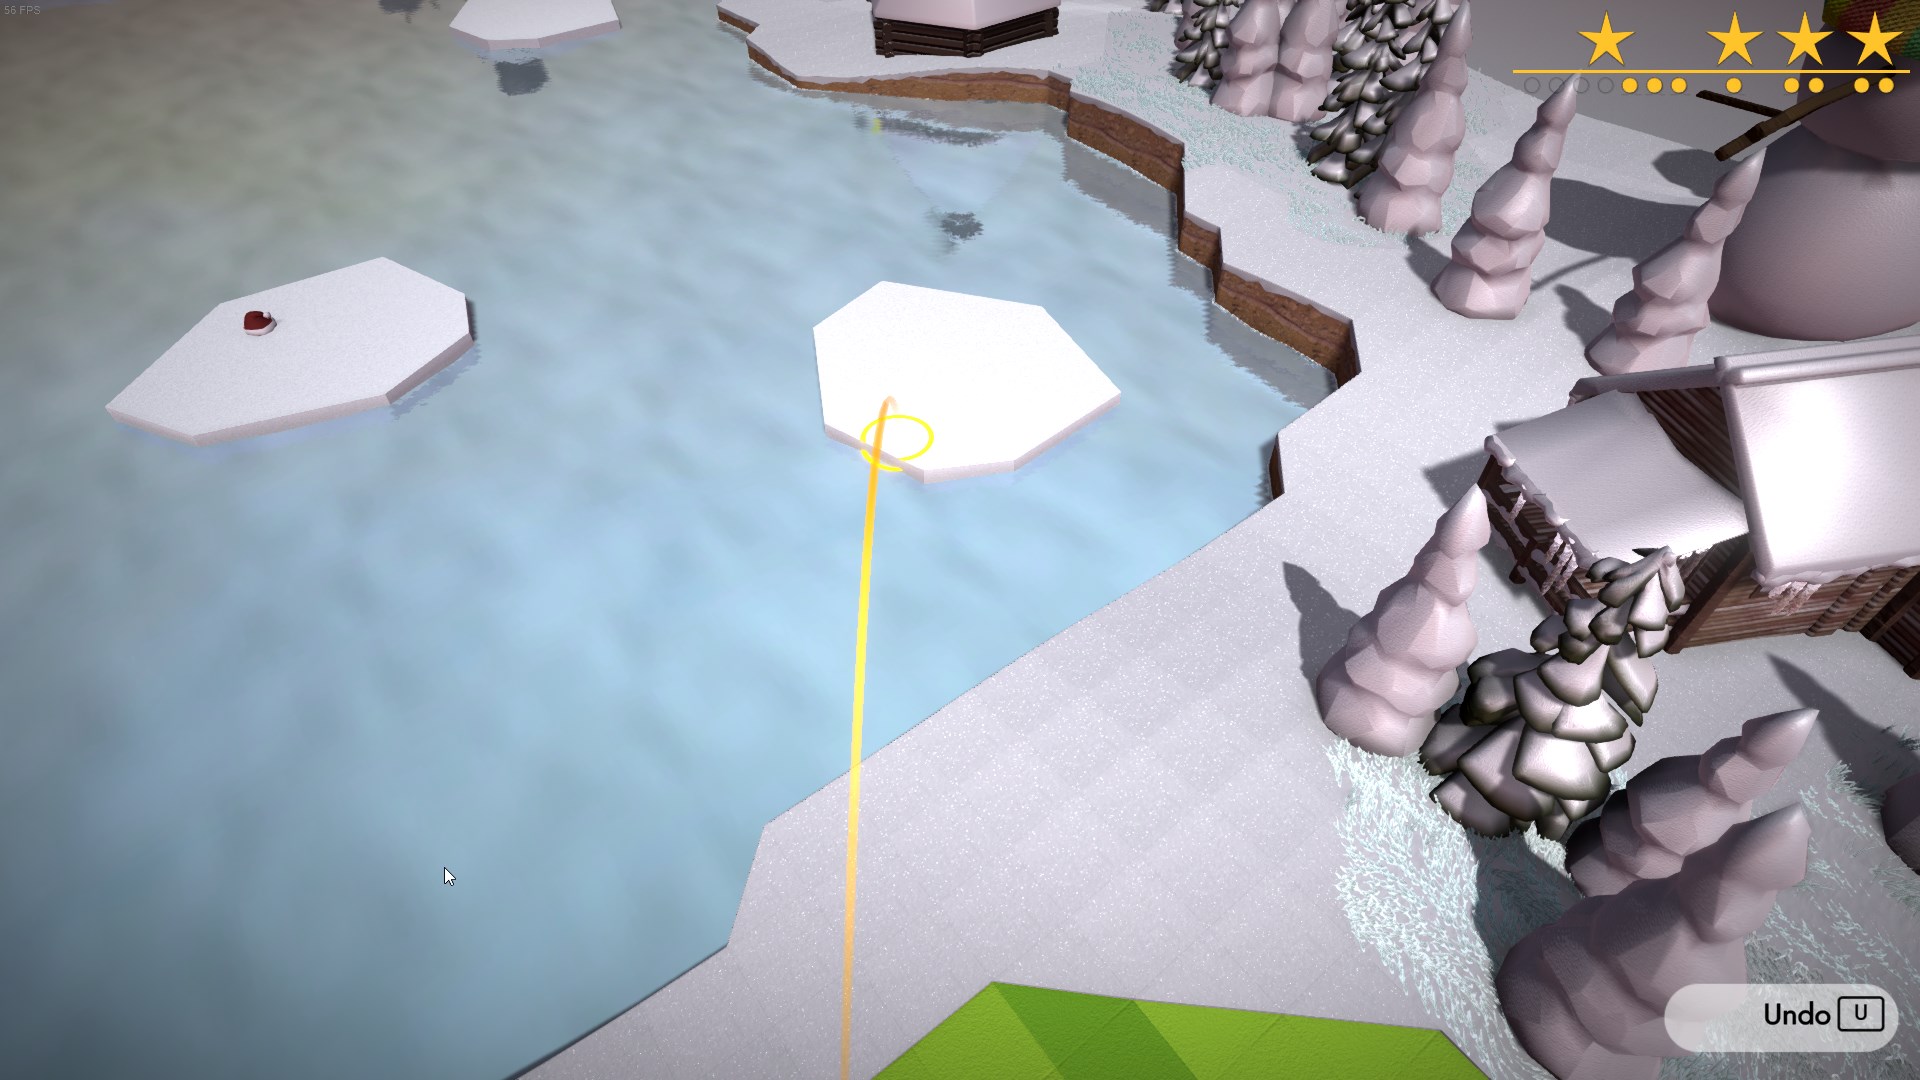
Don’t stabilize, aim left of the snowman’s hat and above its arm.
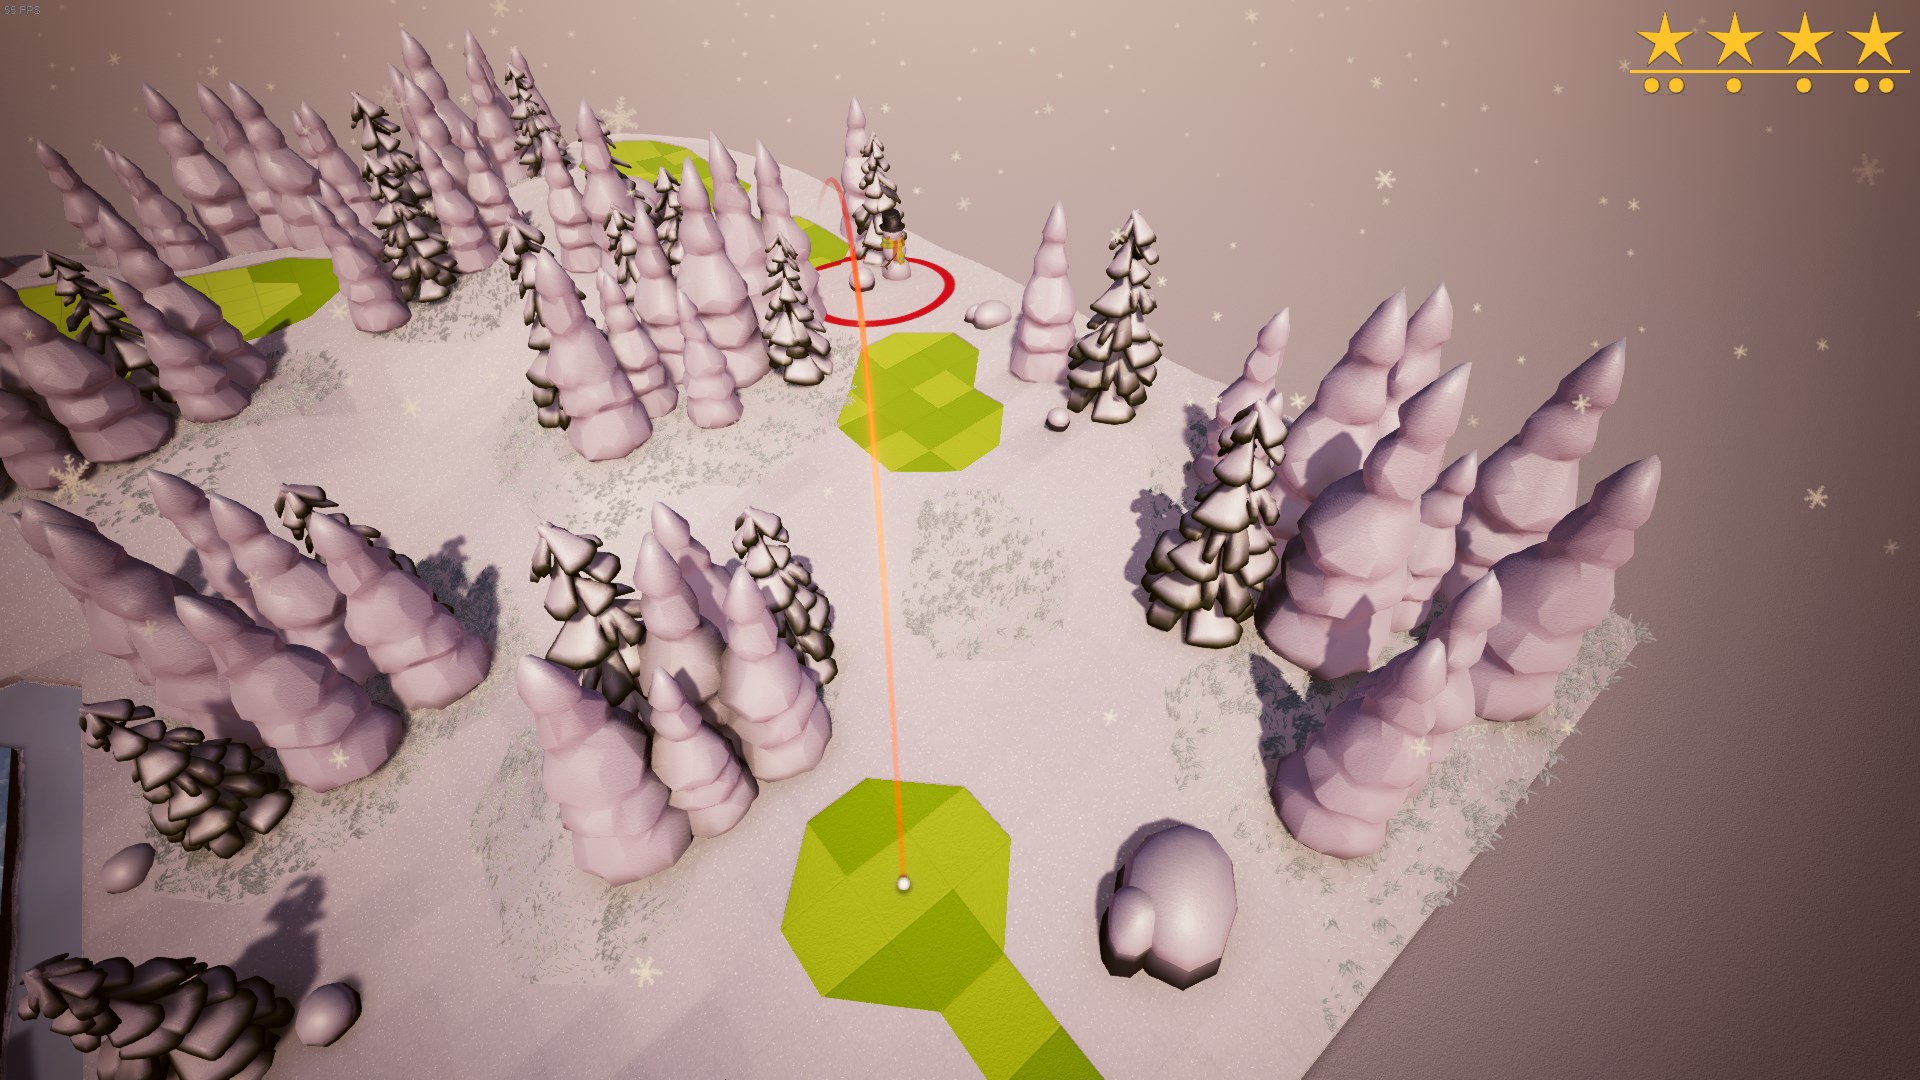
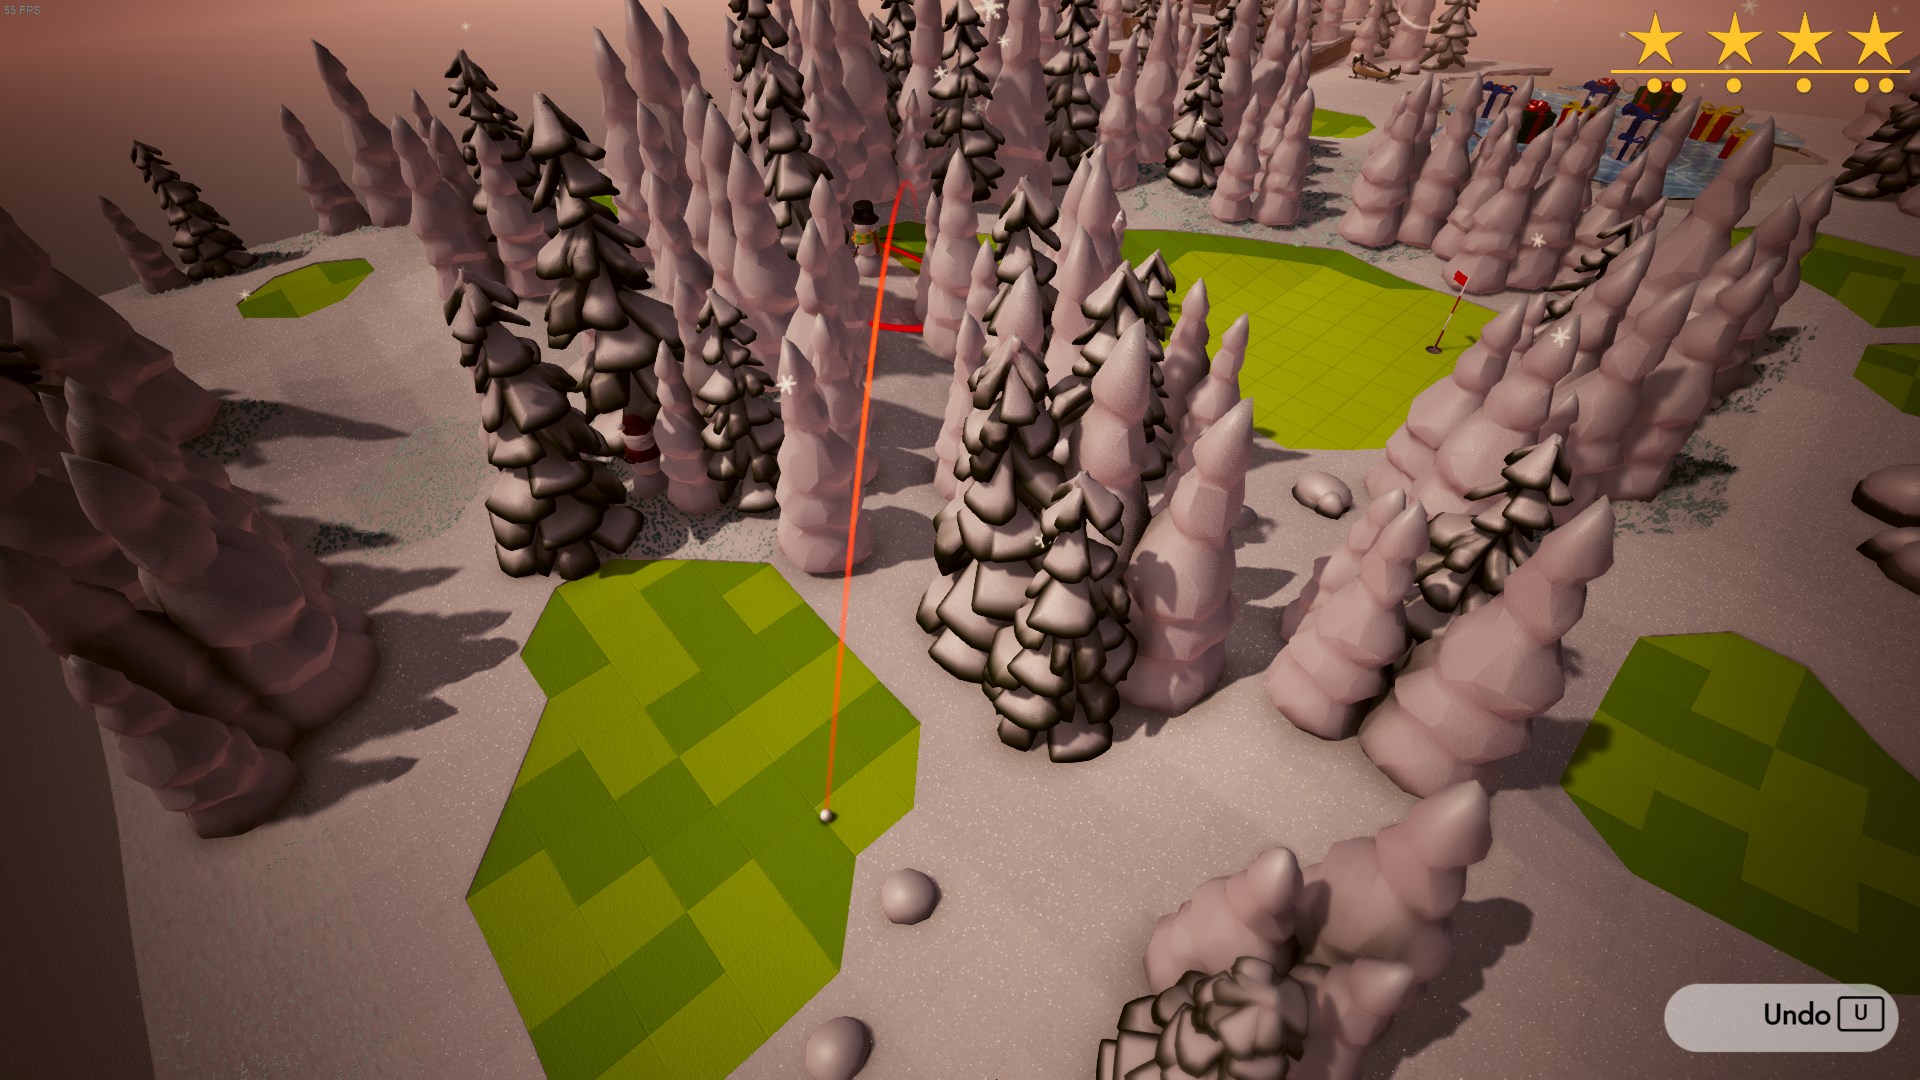
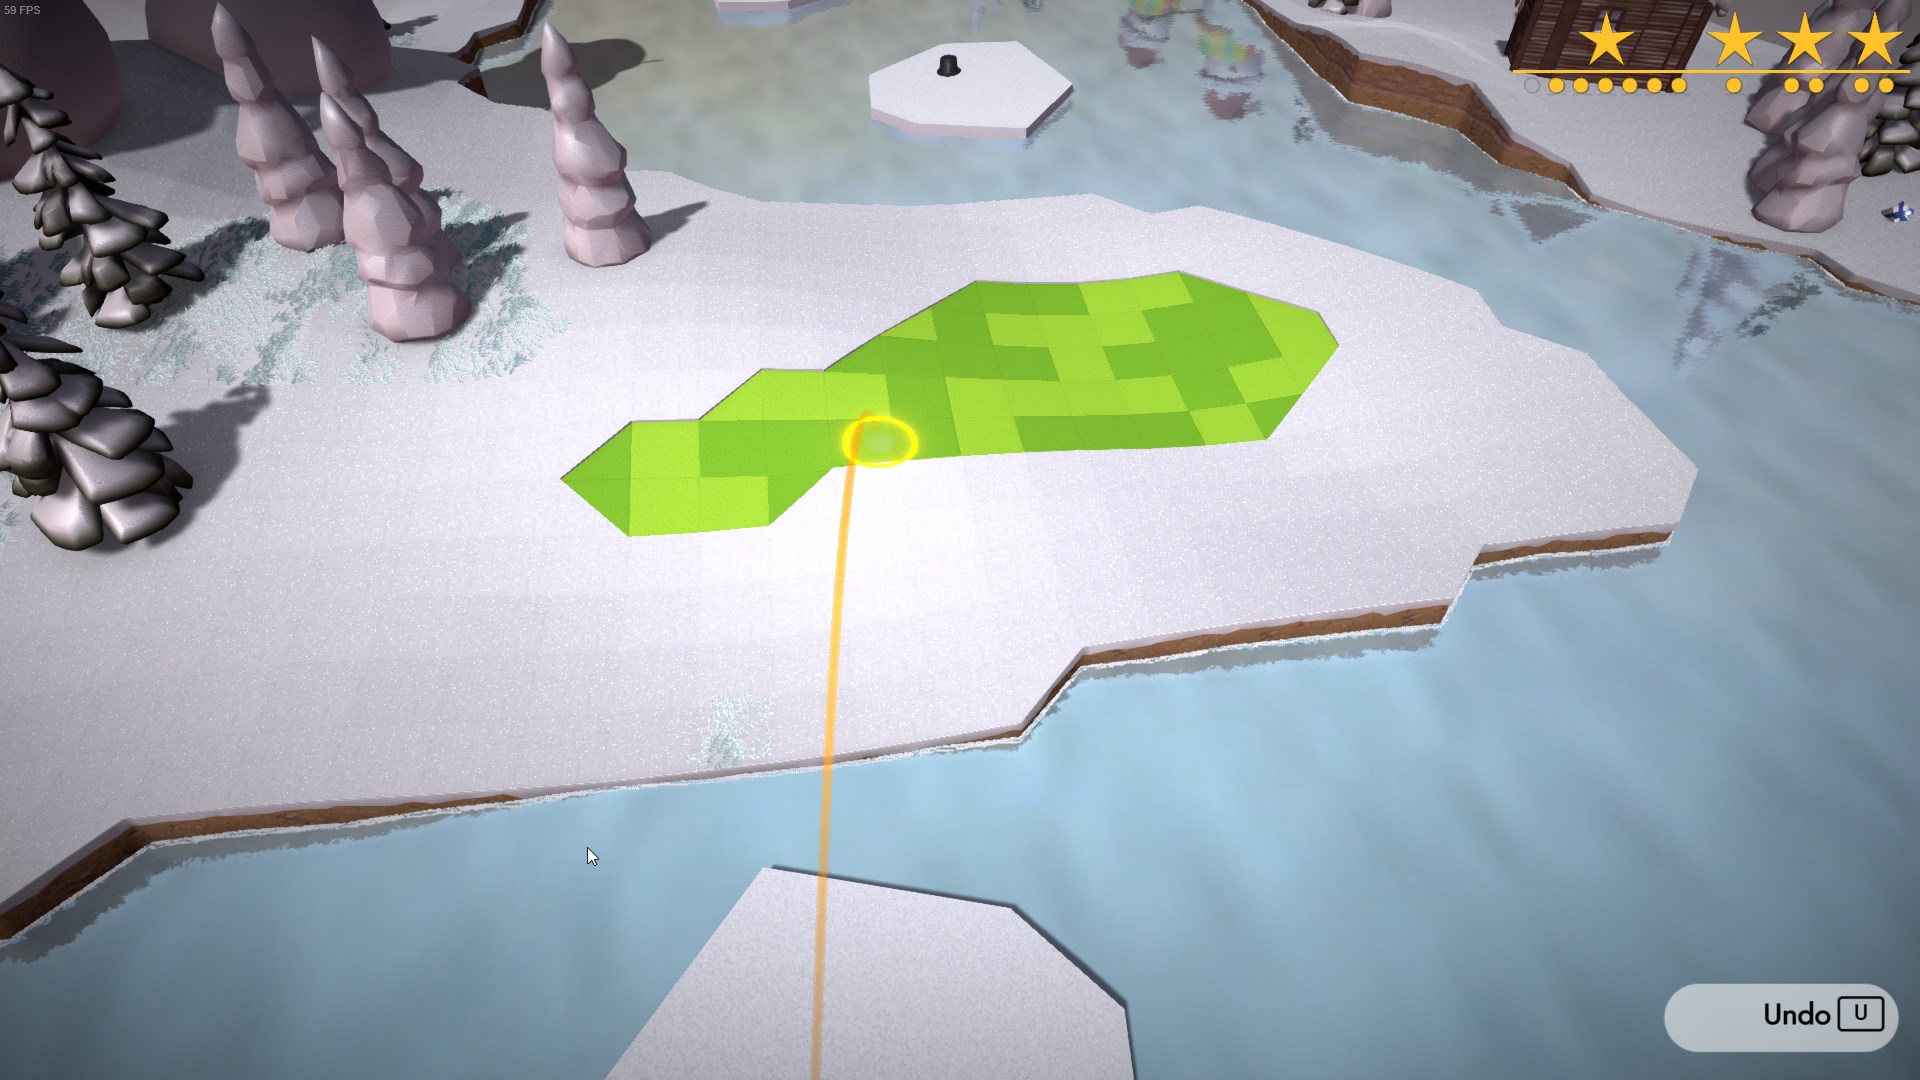
Don’t stabilize, aim back left.
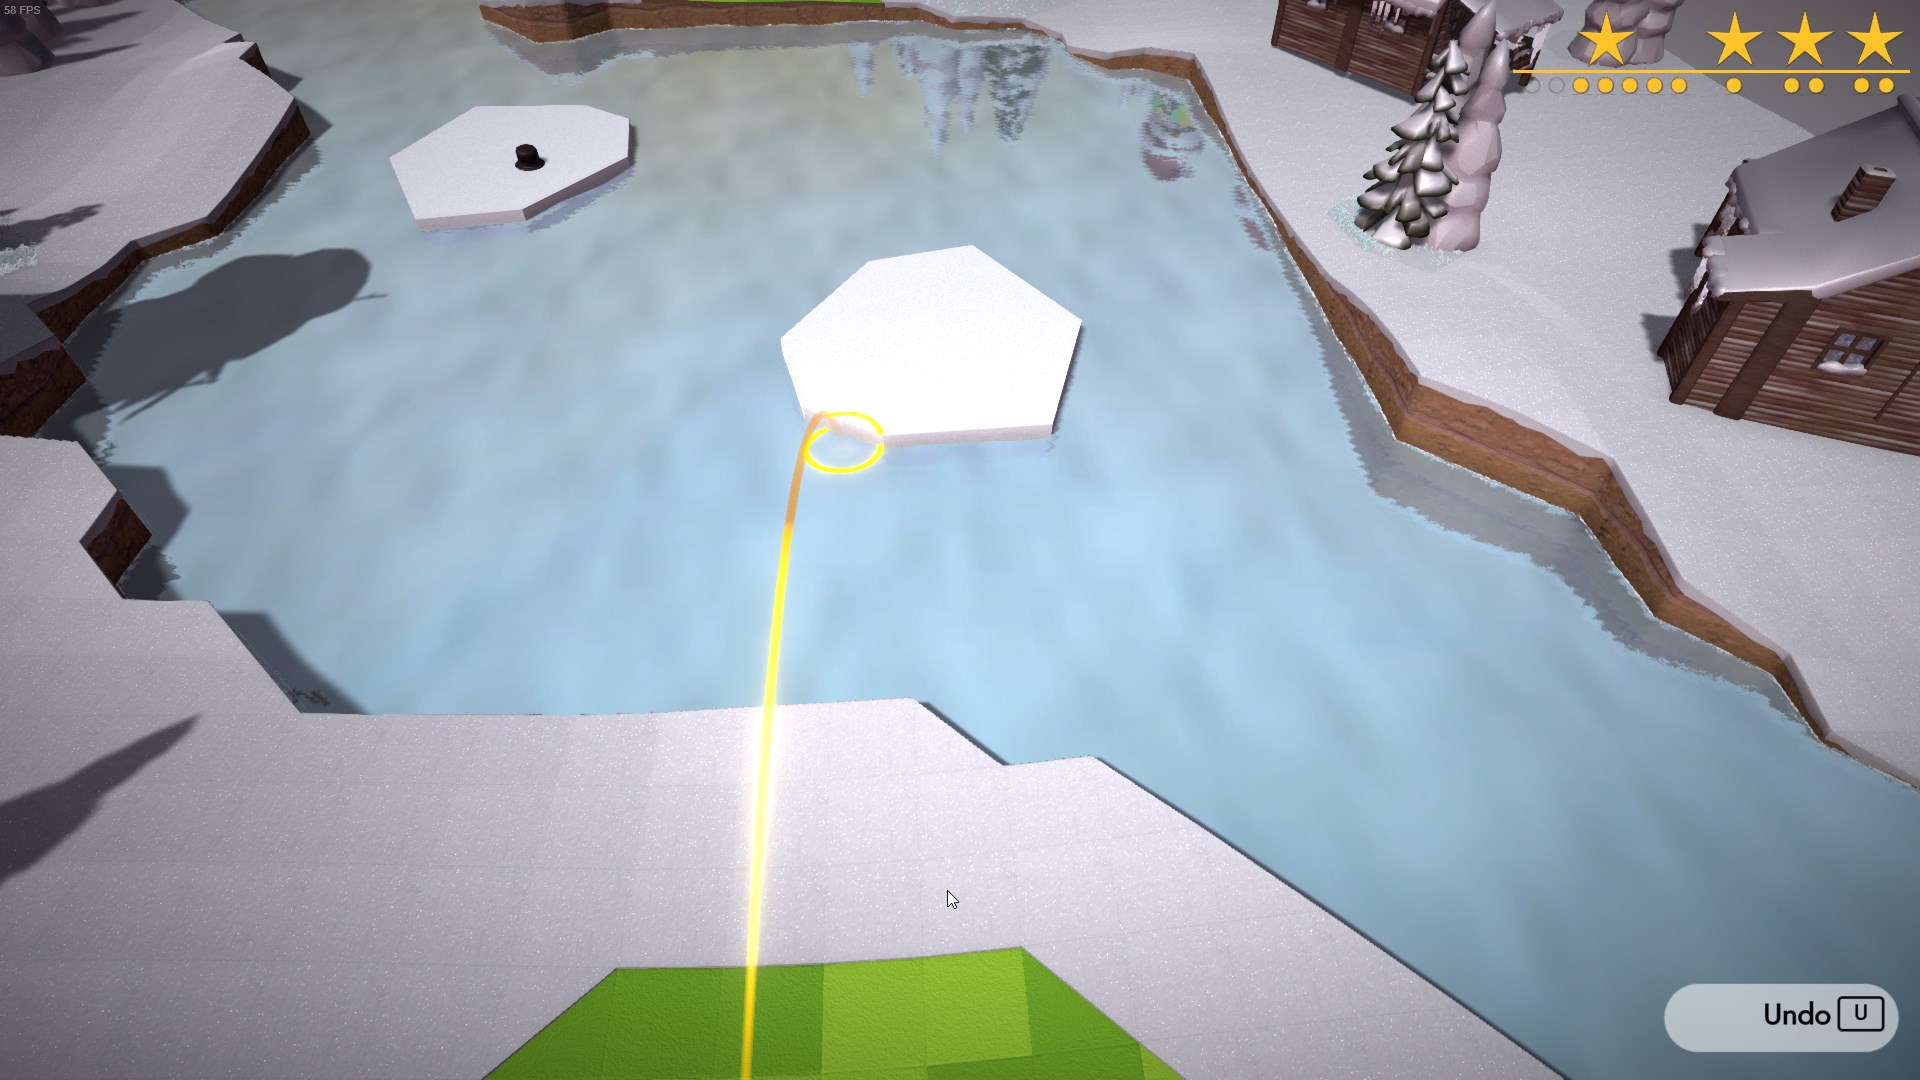
Don’t stabilize again, aim back right.
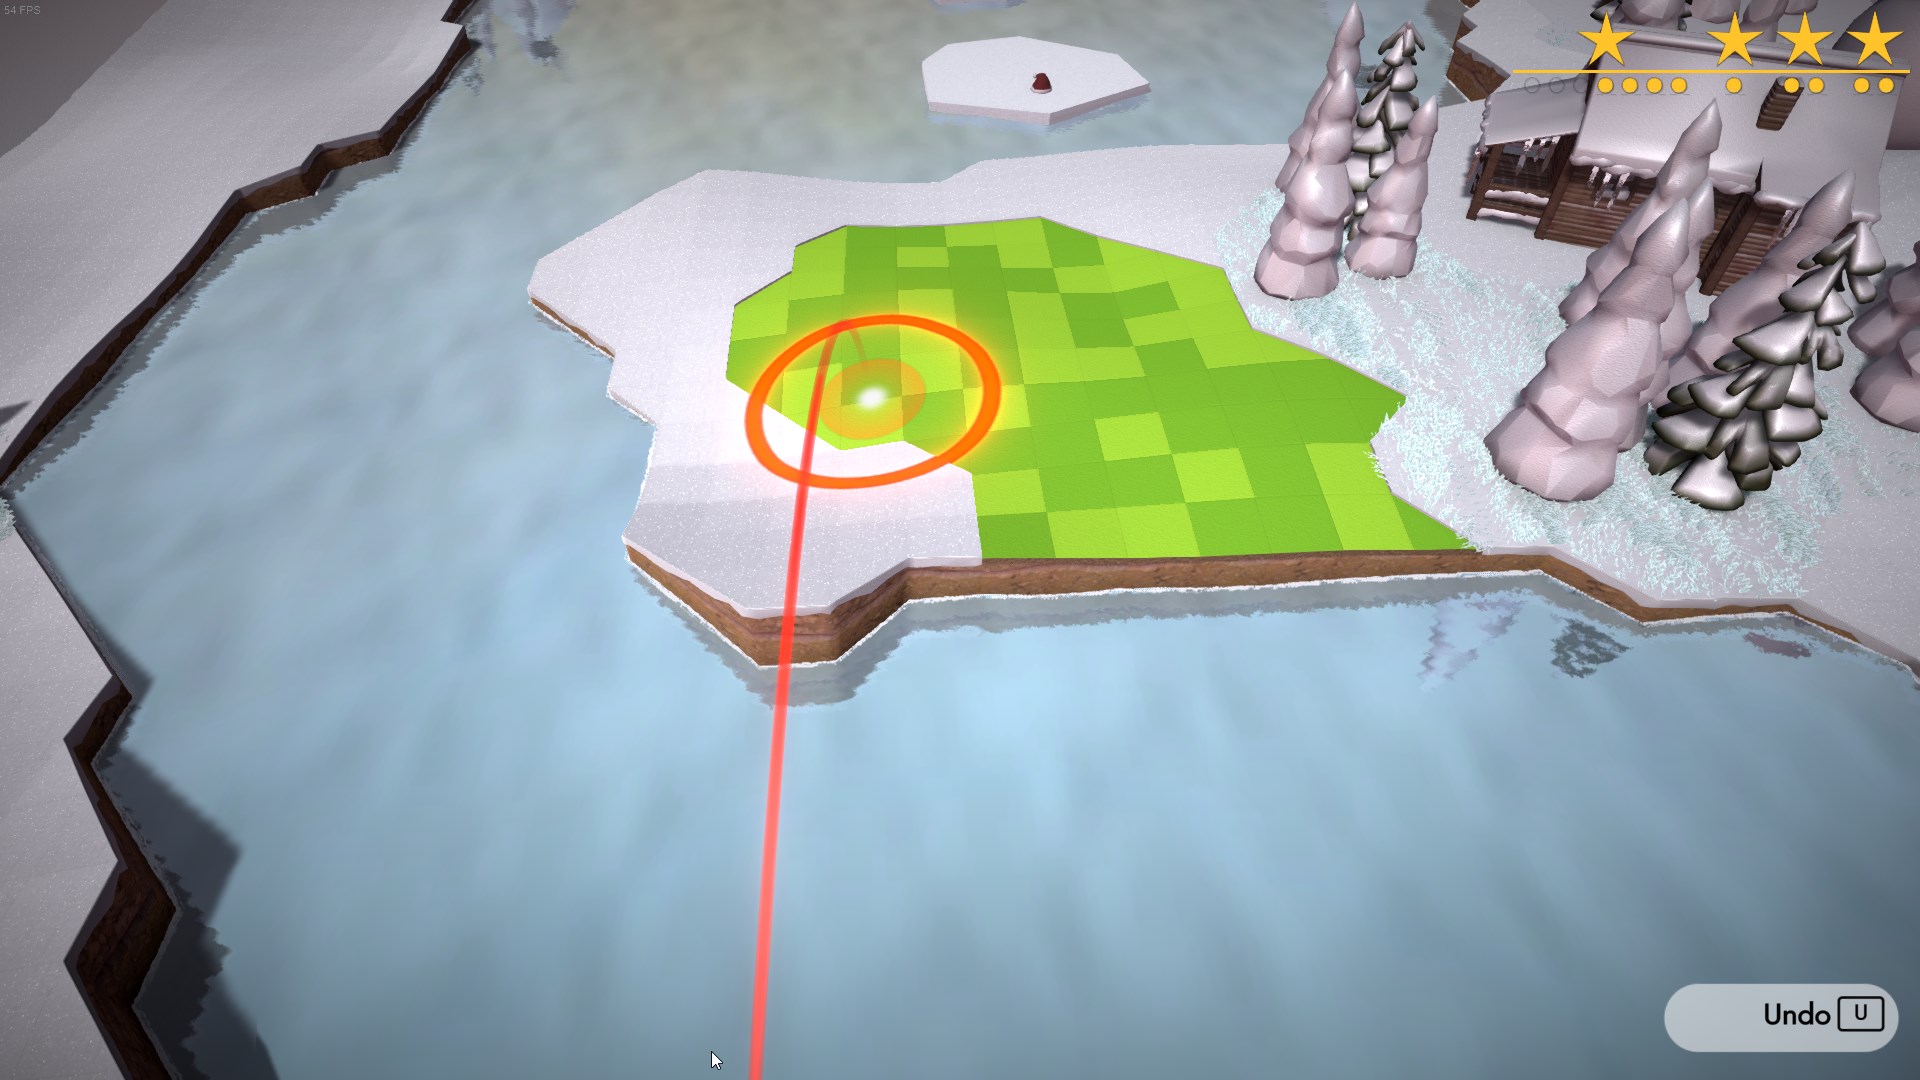
Don’t stabilize, aim to the right over the snowman’s arm.
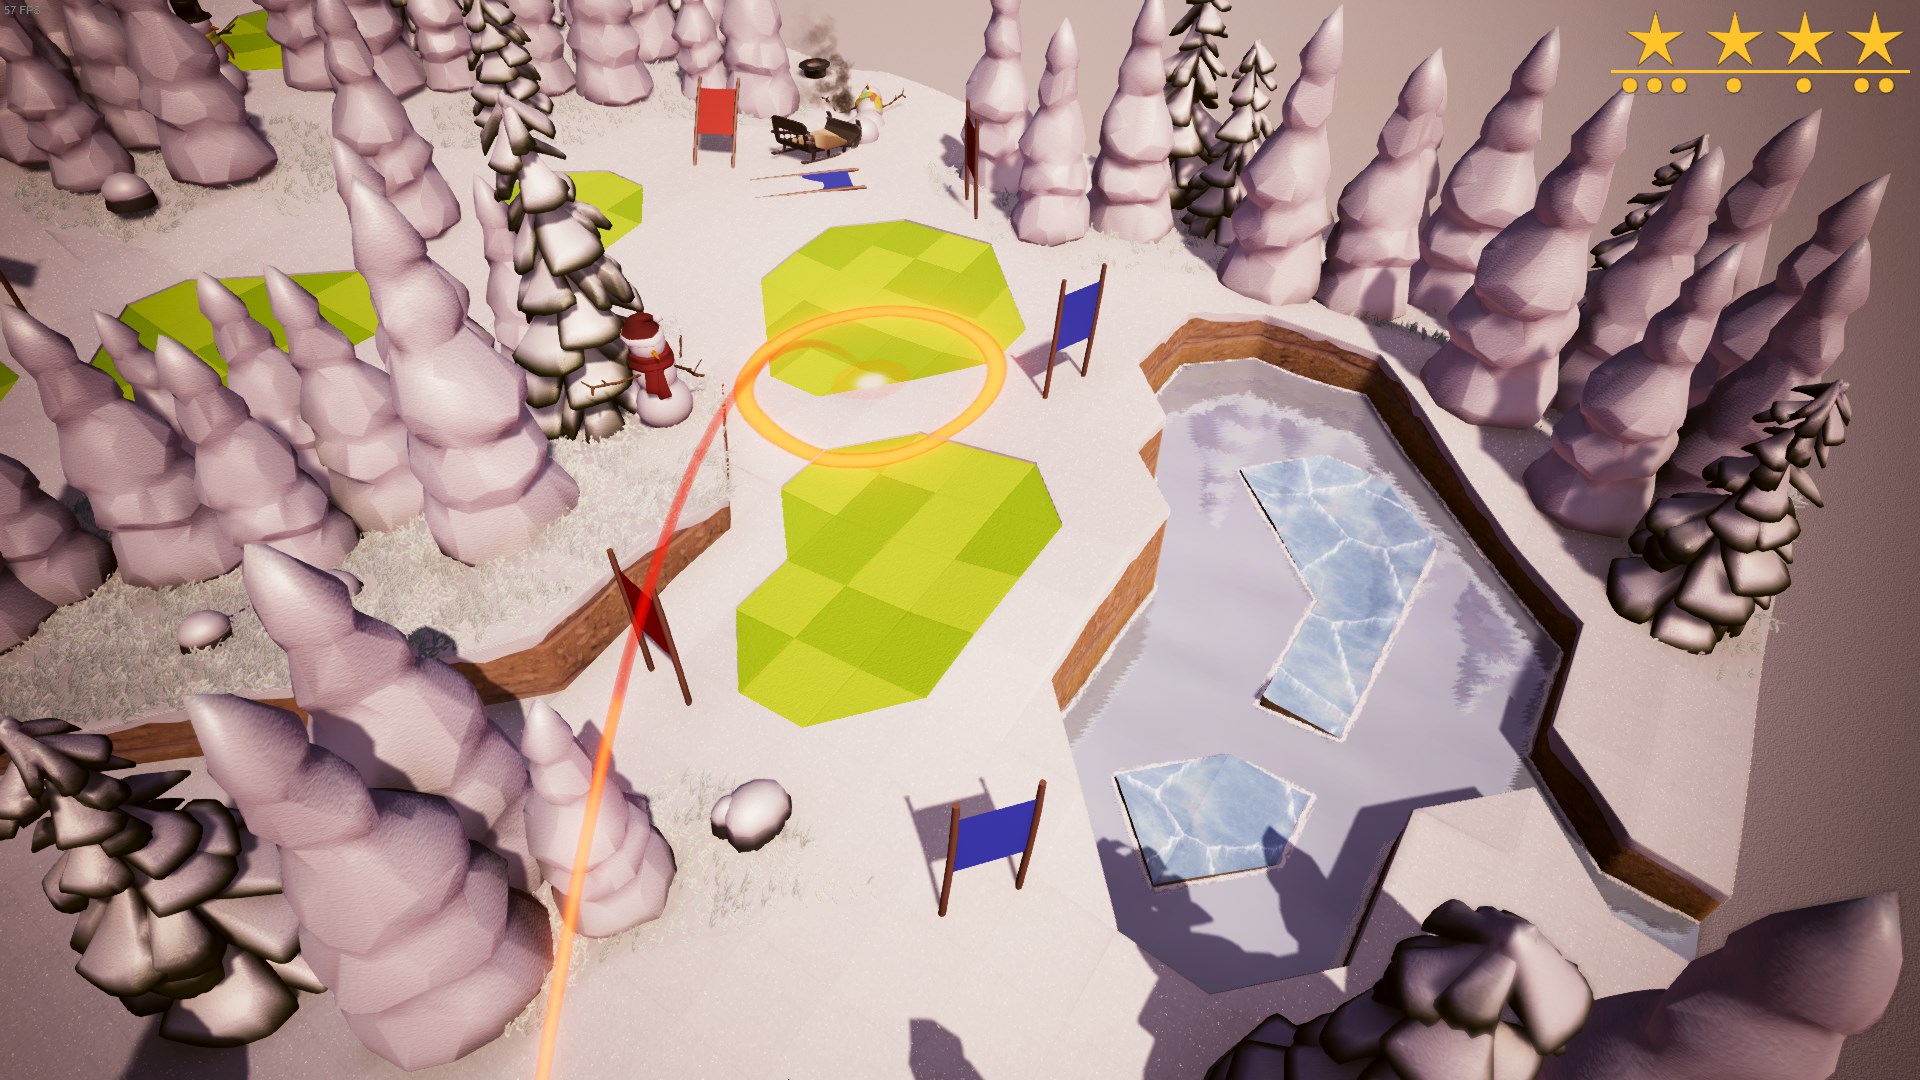
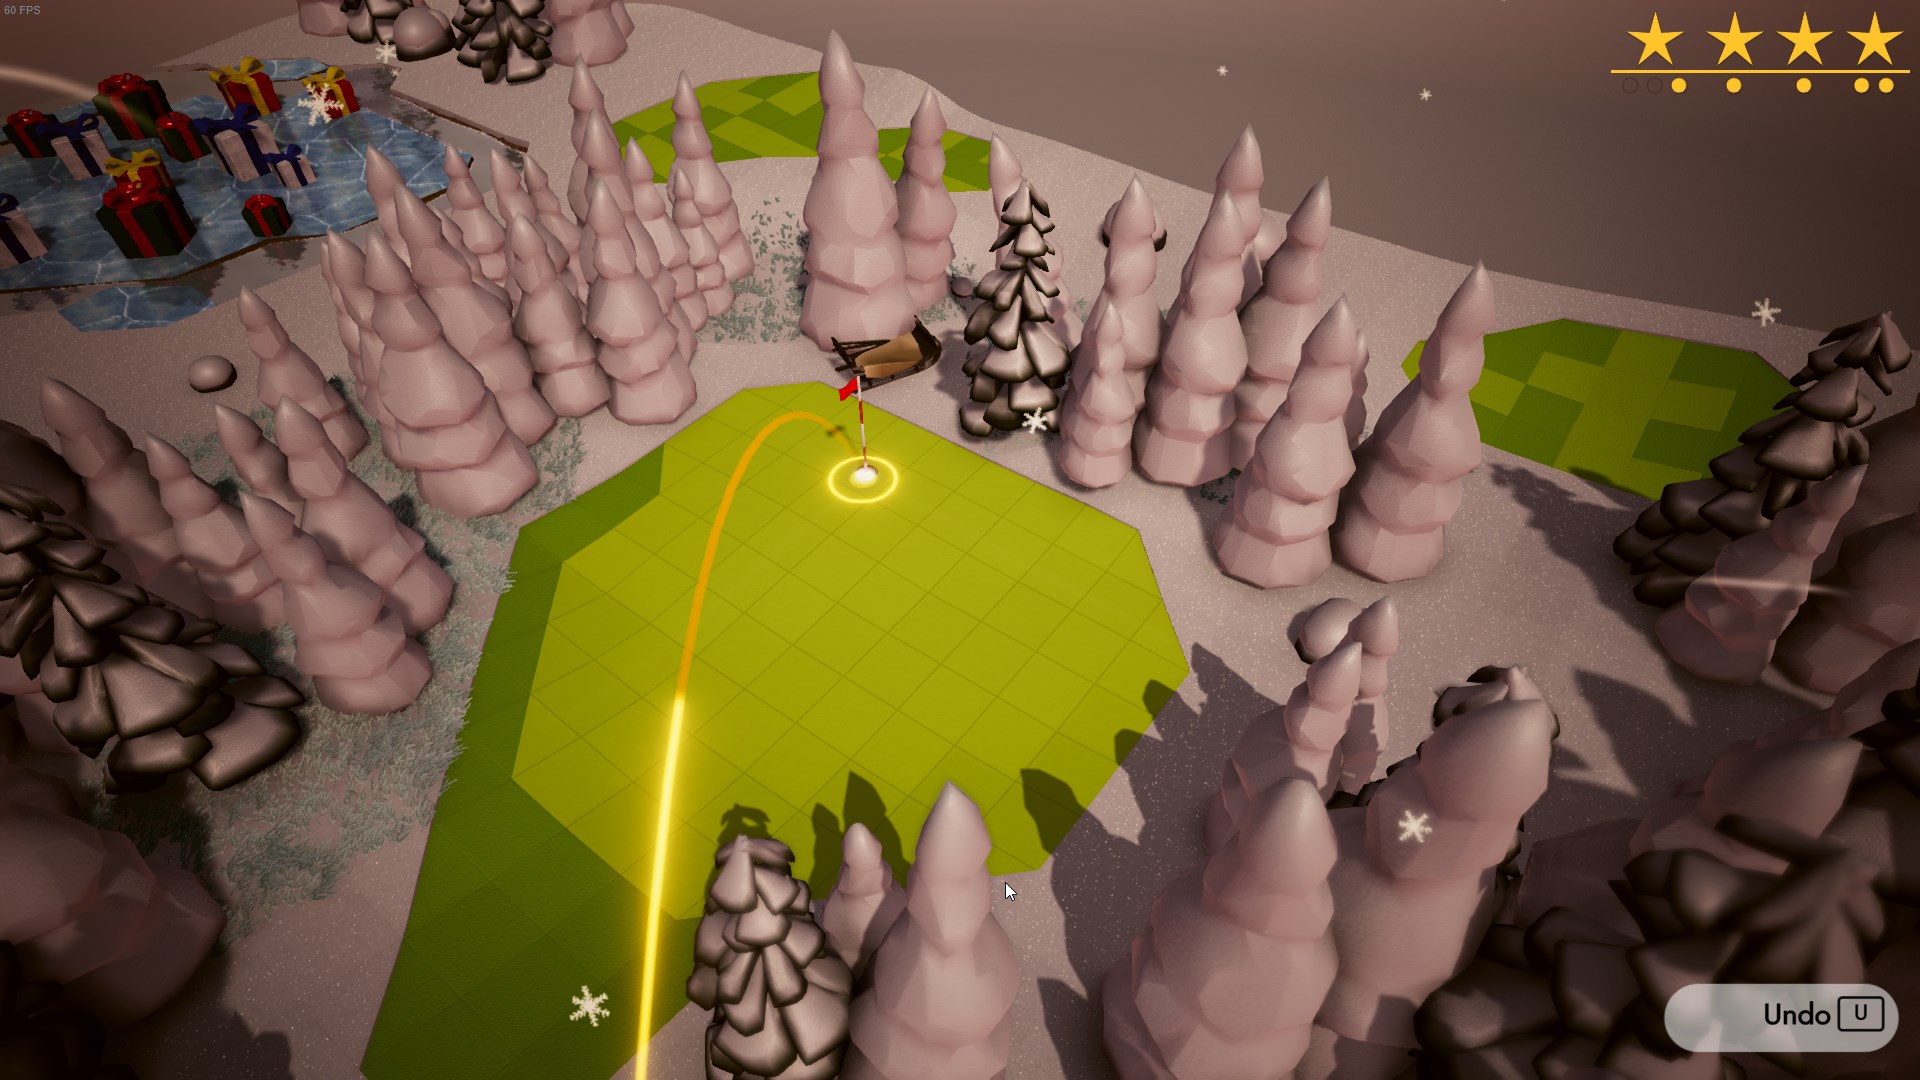
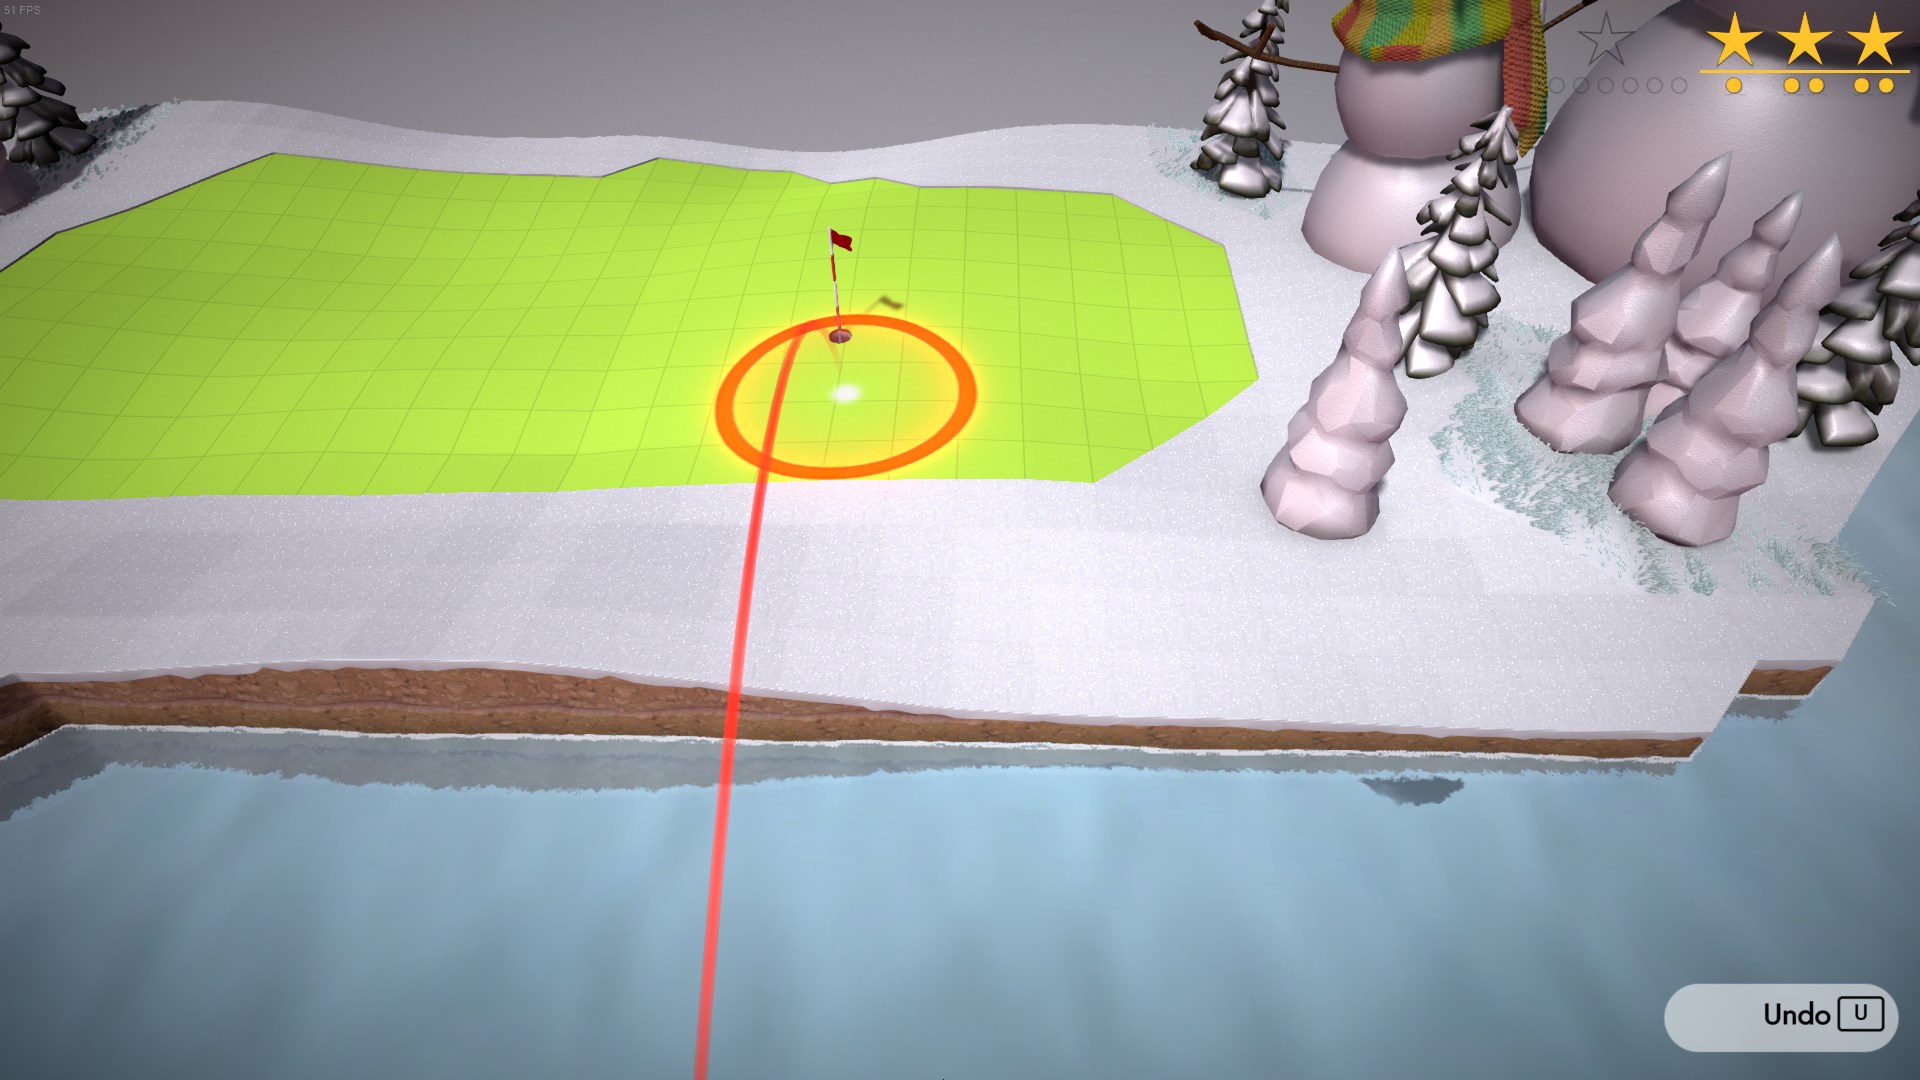
Aim directly at the flag. If you’re struggling, shoot just a bit later so the ball lands before the flag. The headwind will let it bounce into the hole.
You’ll end up in the snow, but that’s fine.
Don’t stabilize, you’ll land in the snow but it’s fine.
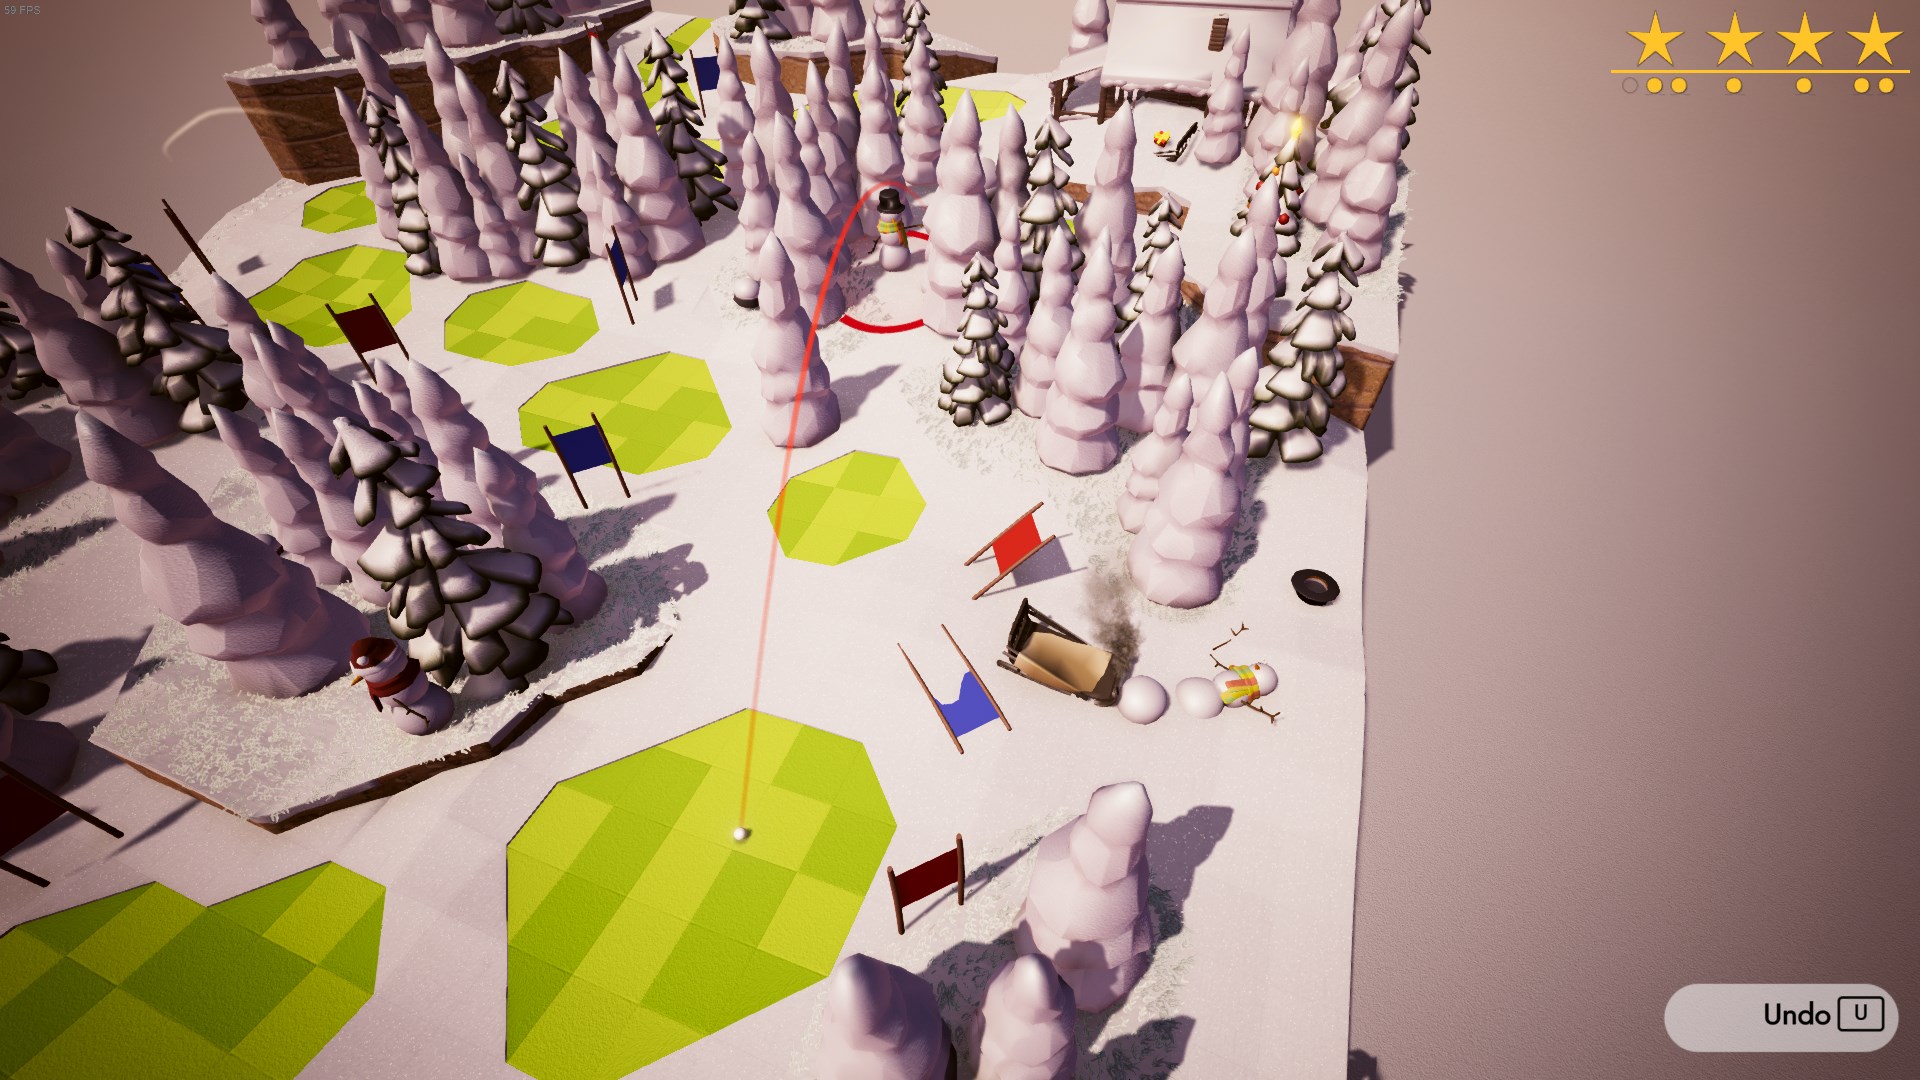
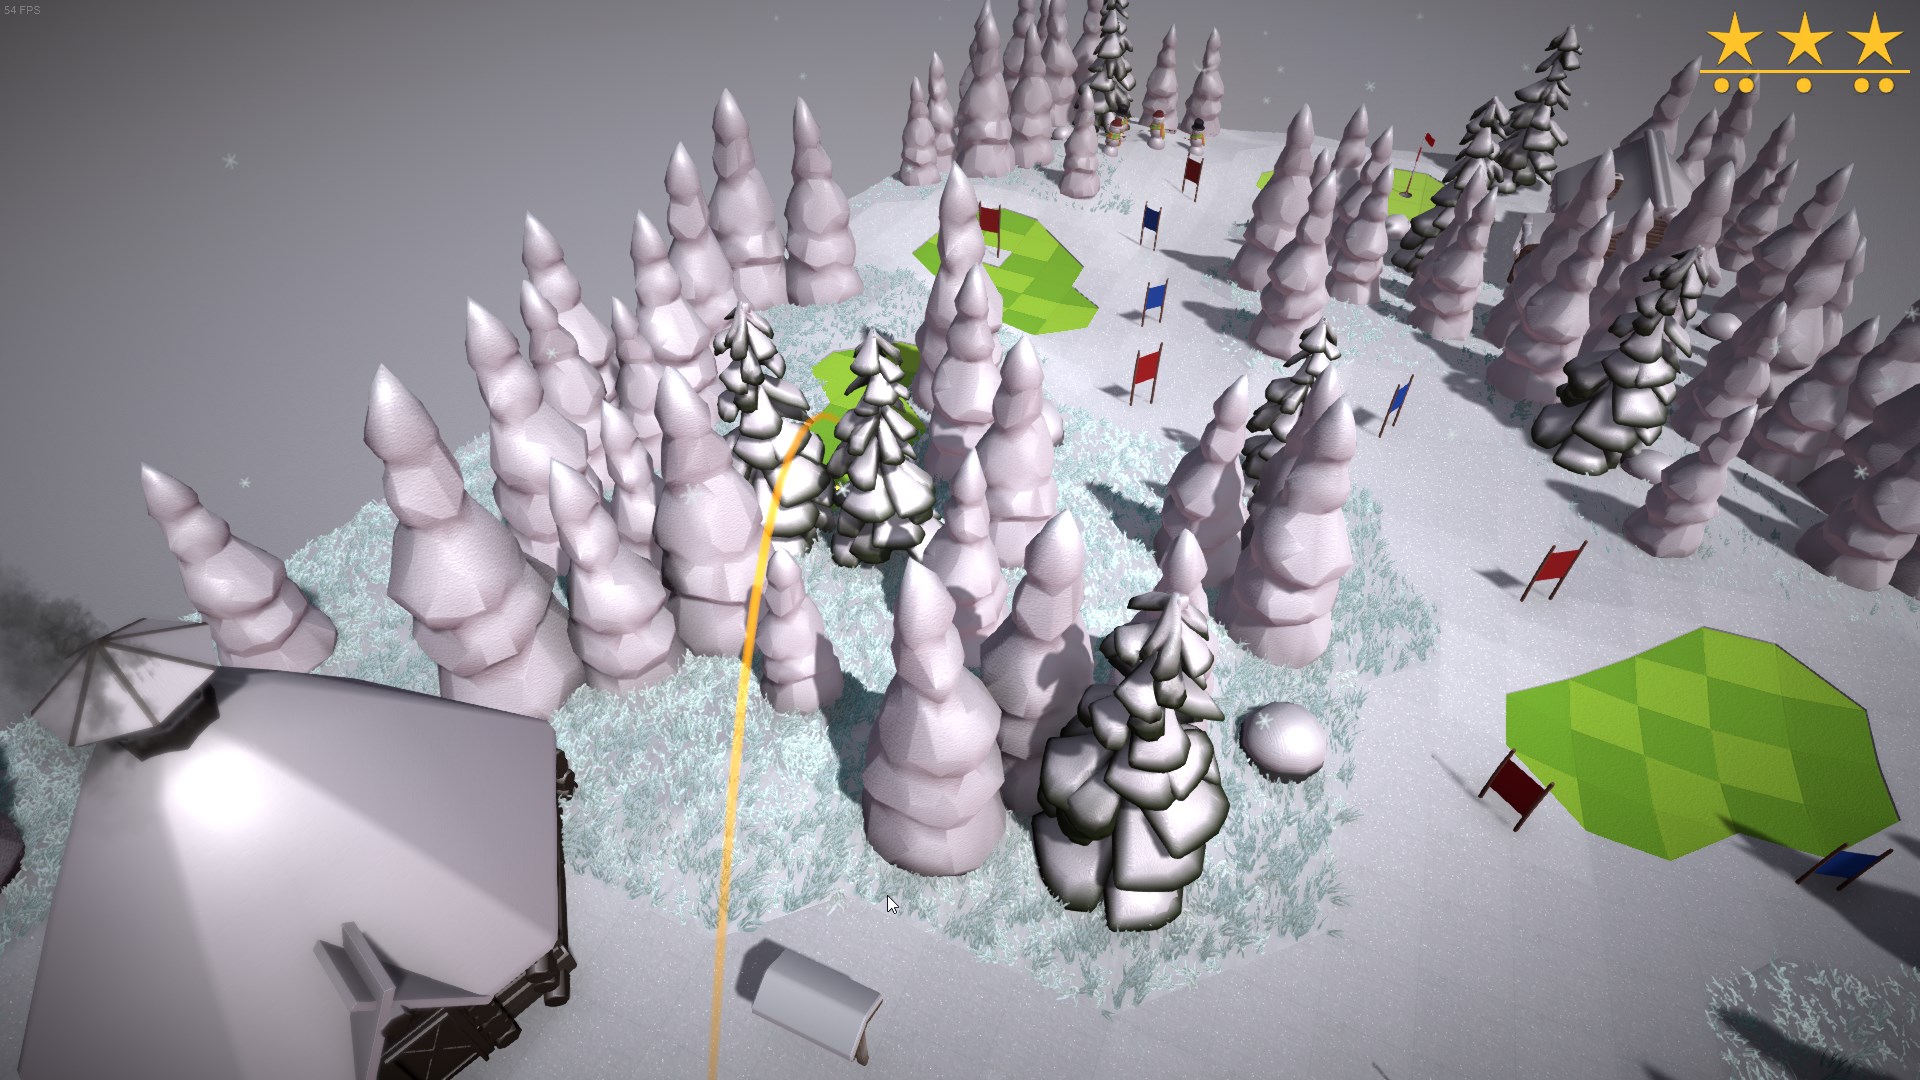
It’s important not to hit this one too hard, or you won’t be able to fit in between the trees on the next shot.
This shot is basically just random, just keep trying and eventually the ball will curve around and roll back into the hole.
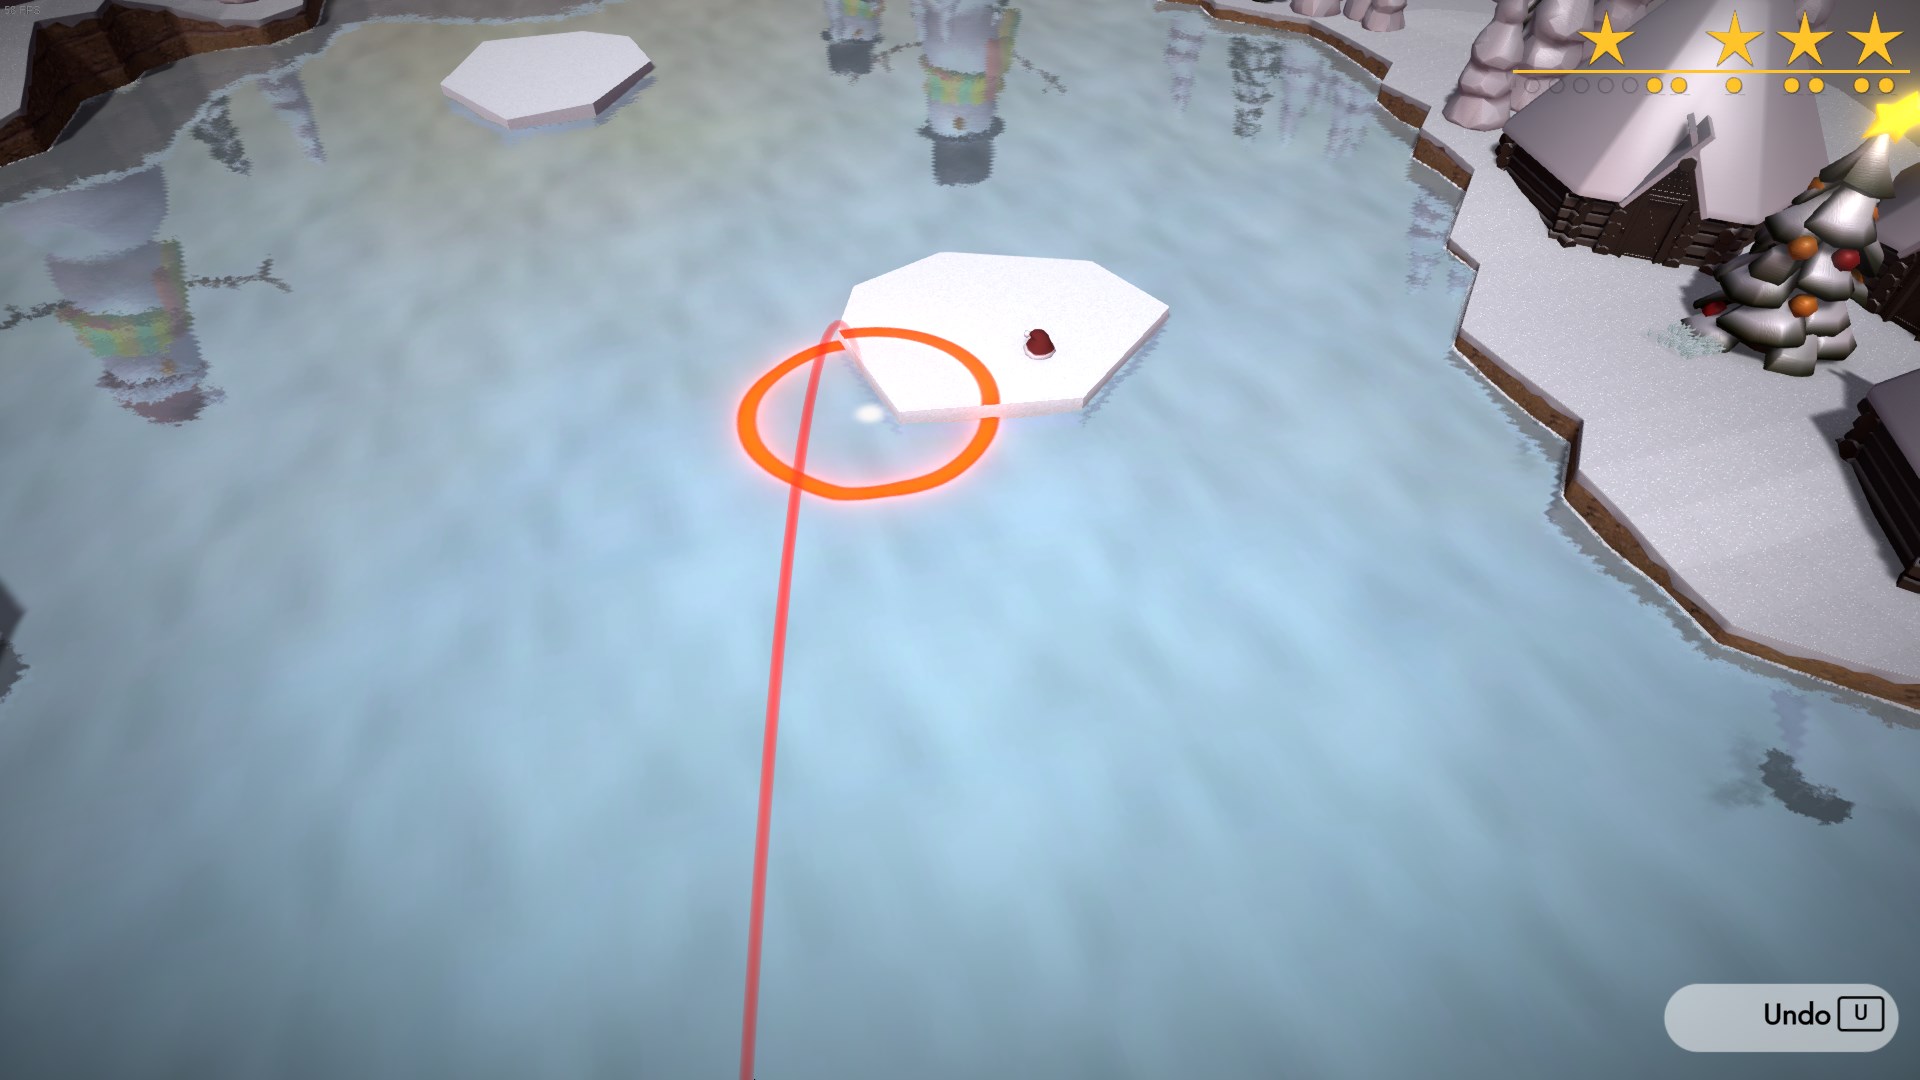
Aim for the very edge of the circle.
Easier than it looks, the slope combined with the wind easily curves the ball to the flag.

Don’t stabilize and aim at the back right.
Don’t stabilize. This one might take a couple of tries, it’s a little random.
Aim for the far right without stabilizing to get as much reach as you can, it will make the following shots easier.
If you did the previous shots correctly you can hit this dead-on while stabilizing, otherwise you might have to time it.
I can’t really make a guide for this level, nor does it really need one. The only difficult shot is the final one. Just time your shots and remember that your ball takes a moment to travel to its destination, so you should aim slightly ahead of where you want it to land.
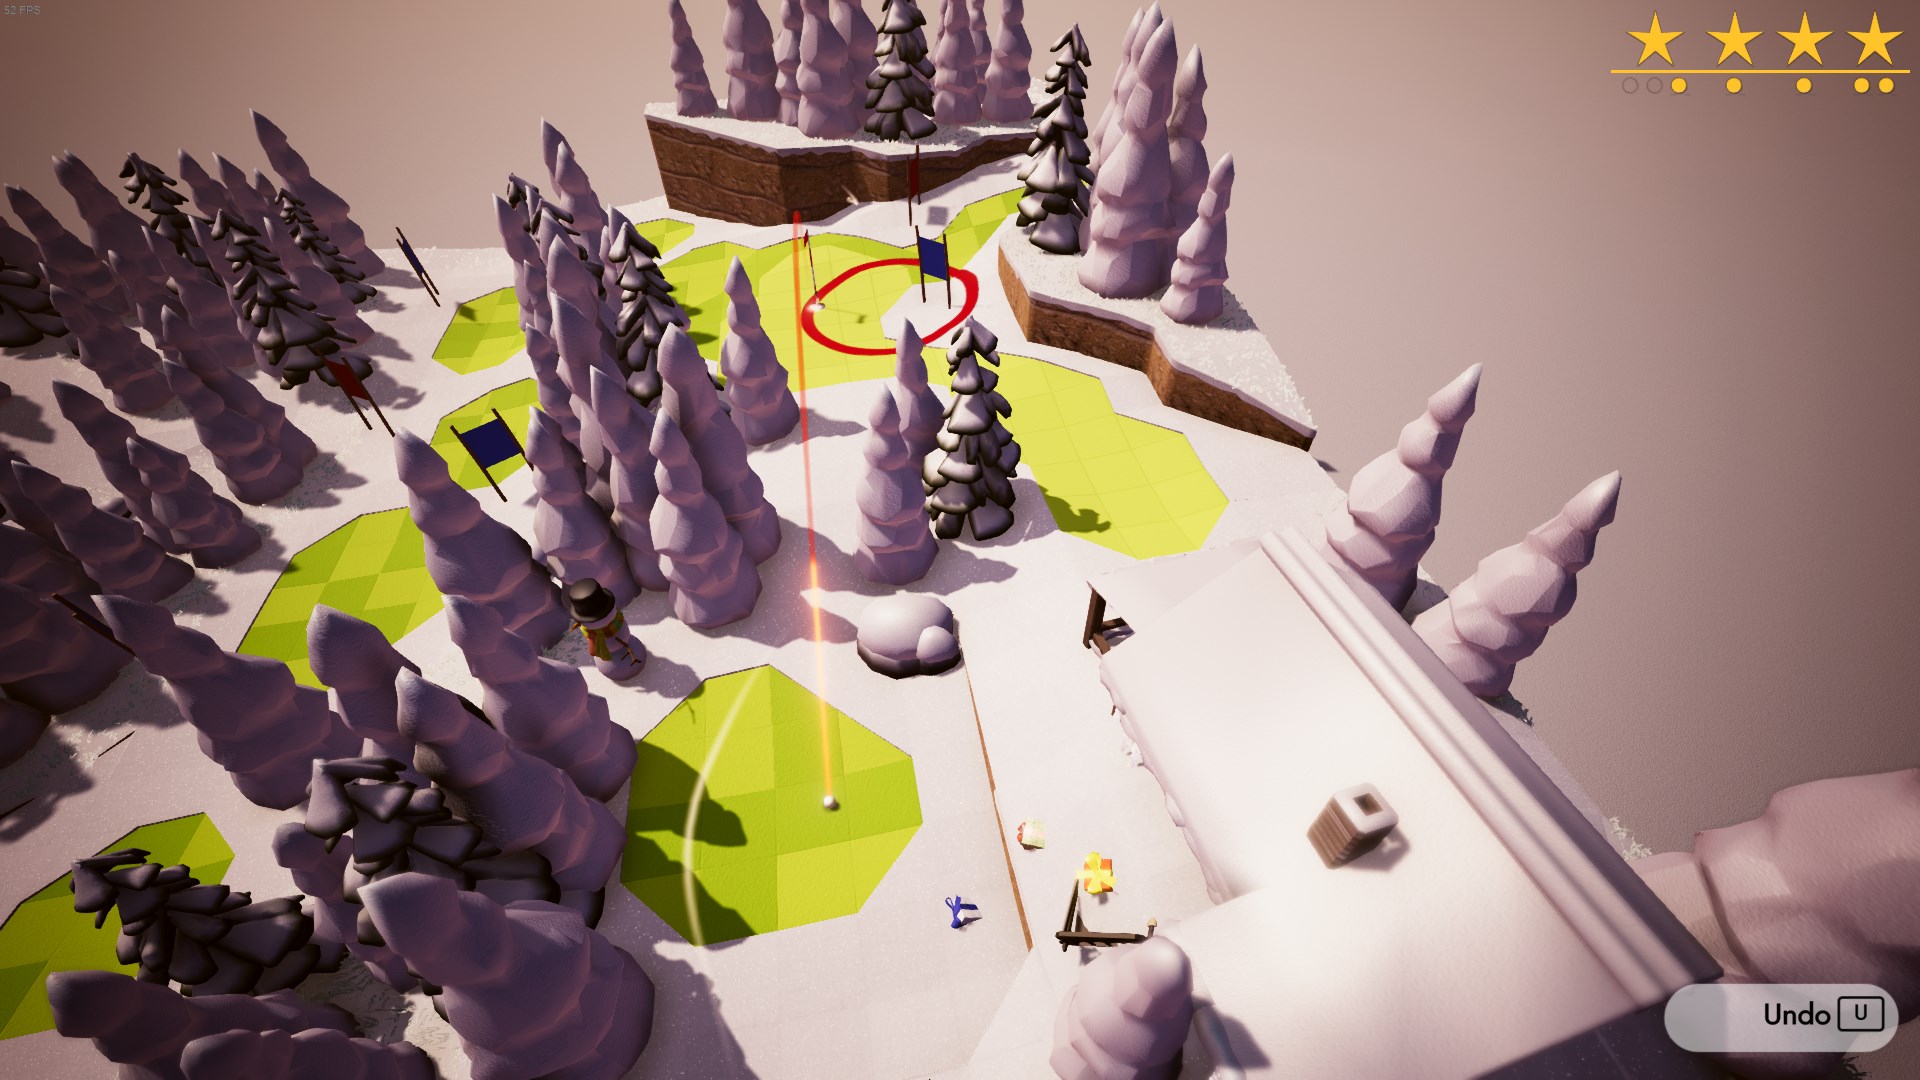
This shot is basically just trial and error depending on where exactly your ball is laying. If your aim is closer to the flag like in the picture try to aim directly at the flag; if it’s further away aim a little bit to the right so the ball bounces off the slope.
World 6 – Lone Tower Looming above the Cliffs
This is basically just try until you get it.
Aim at the back left, you need maximum reach to get over the hill.
Easiest to time the direct hit and sink it directly from here.
This level looks easy but the strong wind makes it really difficult. Let me know if you have an easier method, but I tried a bunch of stuff and this was the only way that even worked.
Aim back left, you’ll land in the rough but that’s fine.
The strong wind combined with the strength+sway penalty from shooting from the rough makes this shot nigh impossible to predict. Just keep trying and eventually you’ll get lucky.
Aim all the way behind this tower, the ball should just roll to a stop on the little patch of fairway. If it rolls into the dirt you’ll have to retry.
AIm at the back right.
Again aim back right. If you’re lucky the ball will curve directly into the hole, if not it should land on the green right next to the flag, making the putt completely trivial.
Aim as far back-right as possible.
Depending on the exact position of the ball, you may have to not-stabilize this shot for some extra range.

Don’t stabilize or you’ll bounce over the hole.
Not sure what this level is doing here, it’s trivially easy.
Aim as close as possible to the side of the stone arch and the ball should fly directly into the hole.
Aim back left.
Aim back right. The ball should come to a standstill on the flat clifftop.
From here it’s easiest to time a direct hit into the hole.
World 7 – Giants above the Desert Dunes
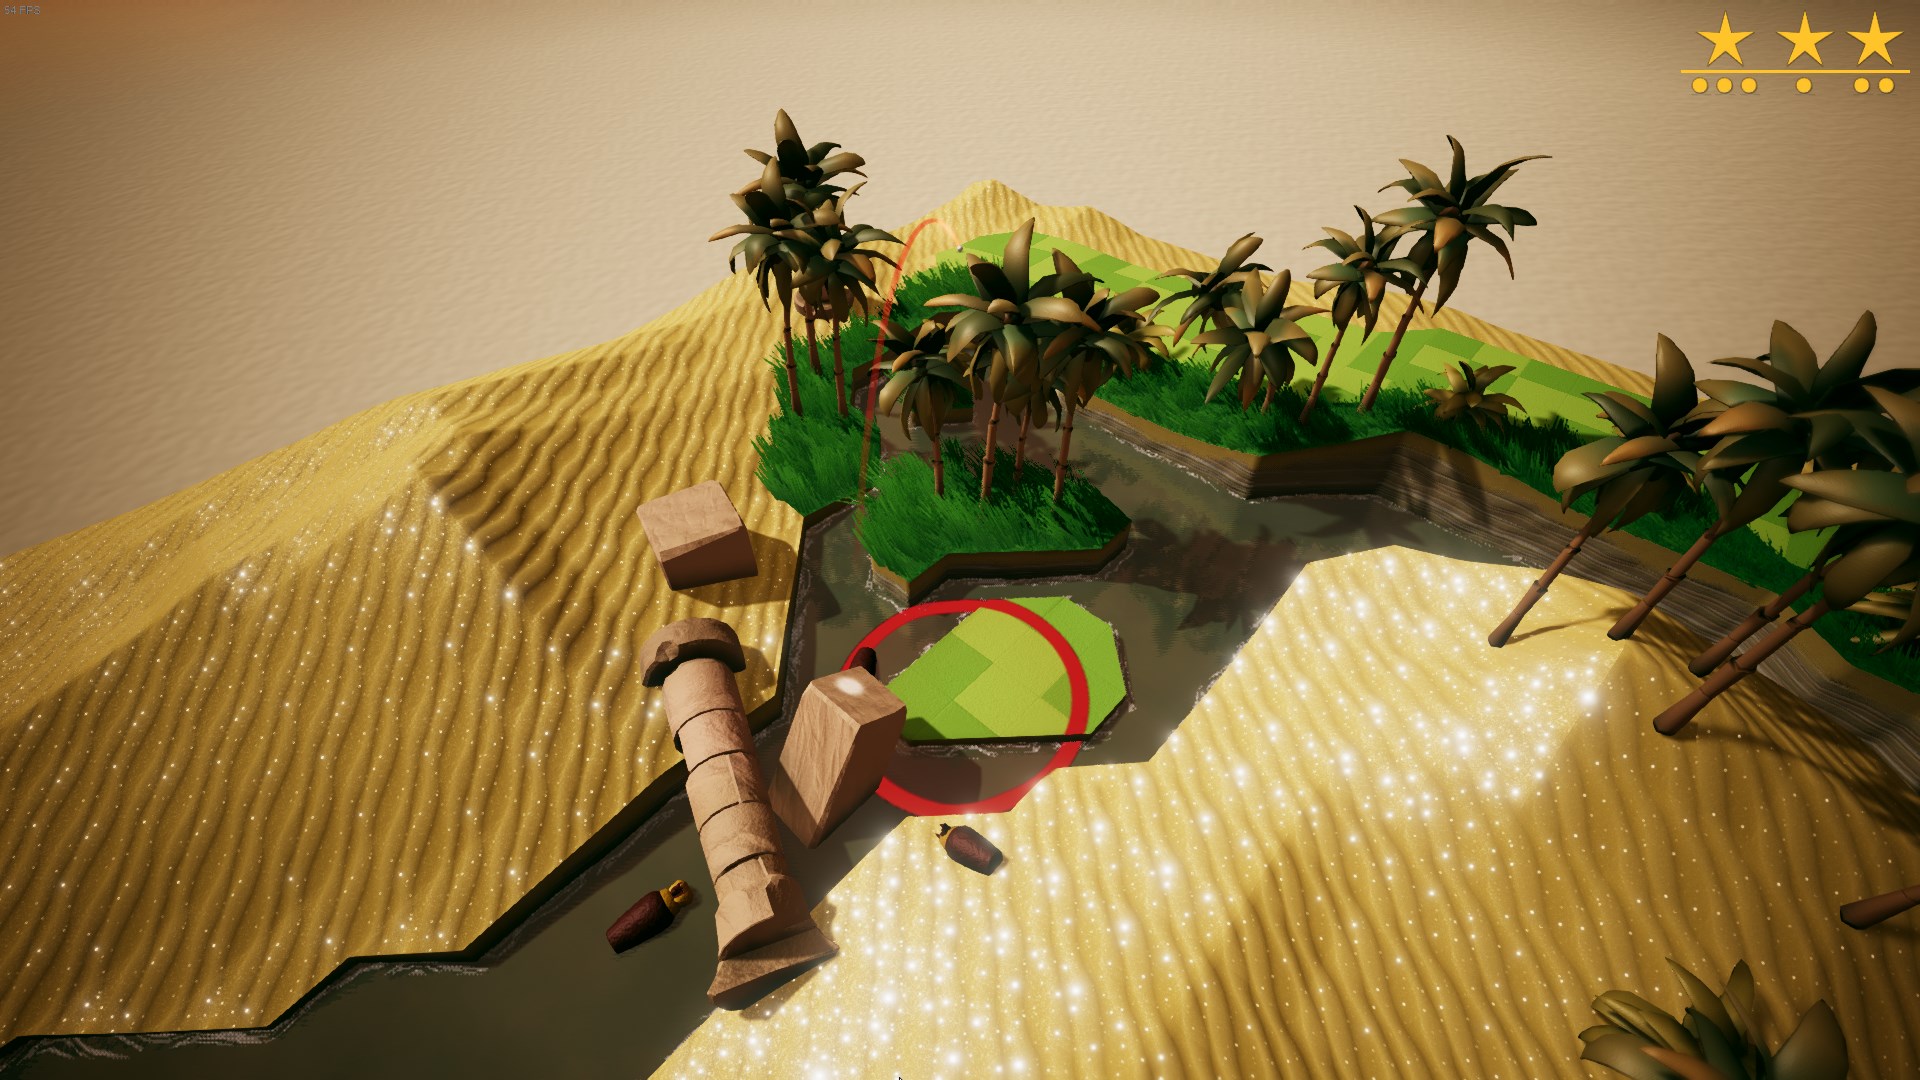
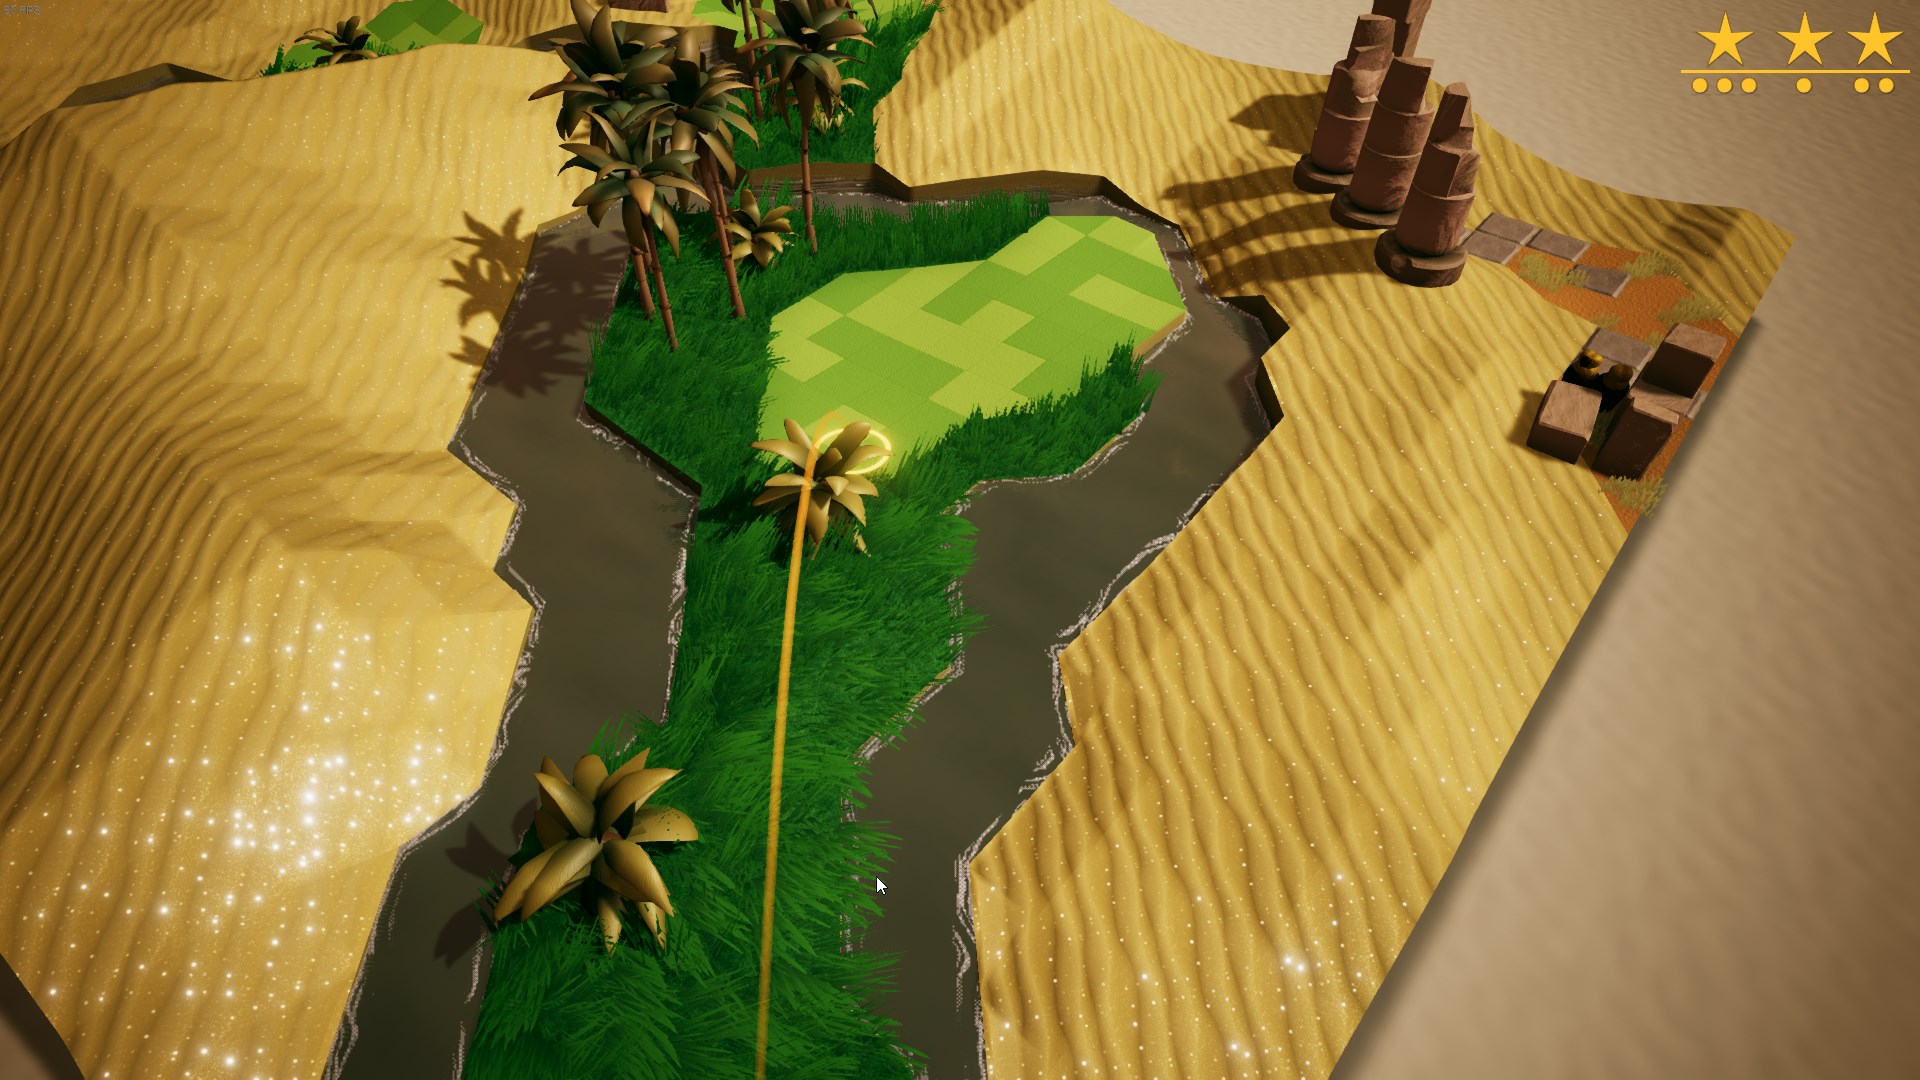
Aim for the stone pillar, the ball will bounce off it and roll onto the island.
Aim for the small island, the ball will bounce onto the bigger island.
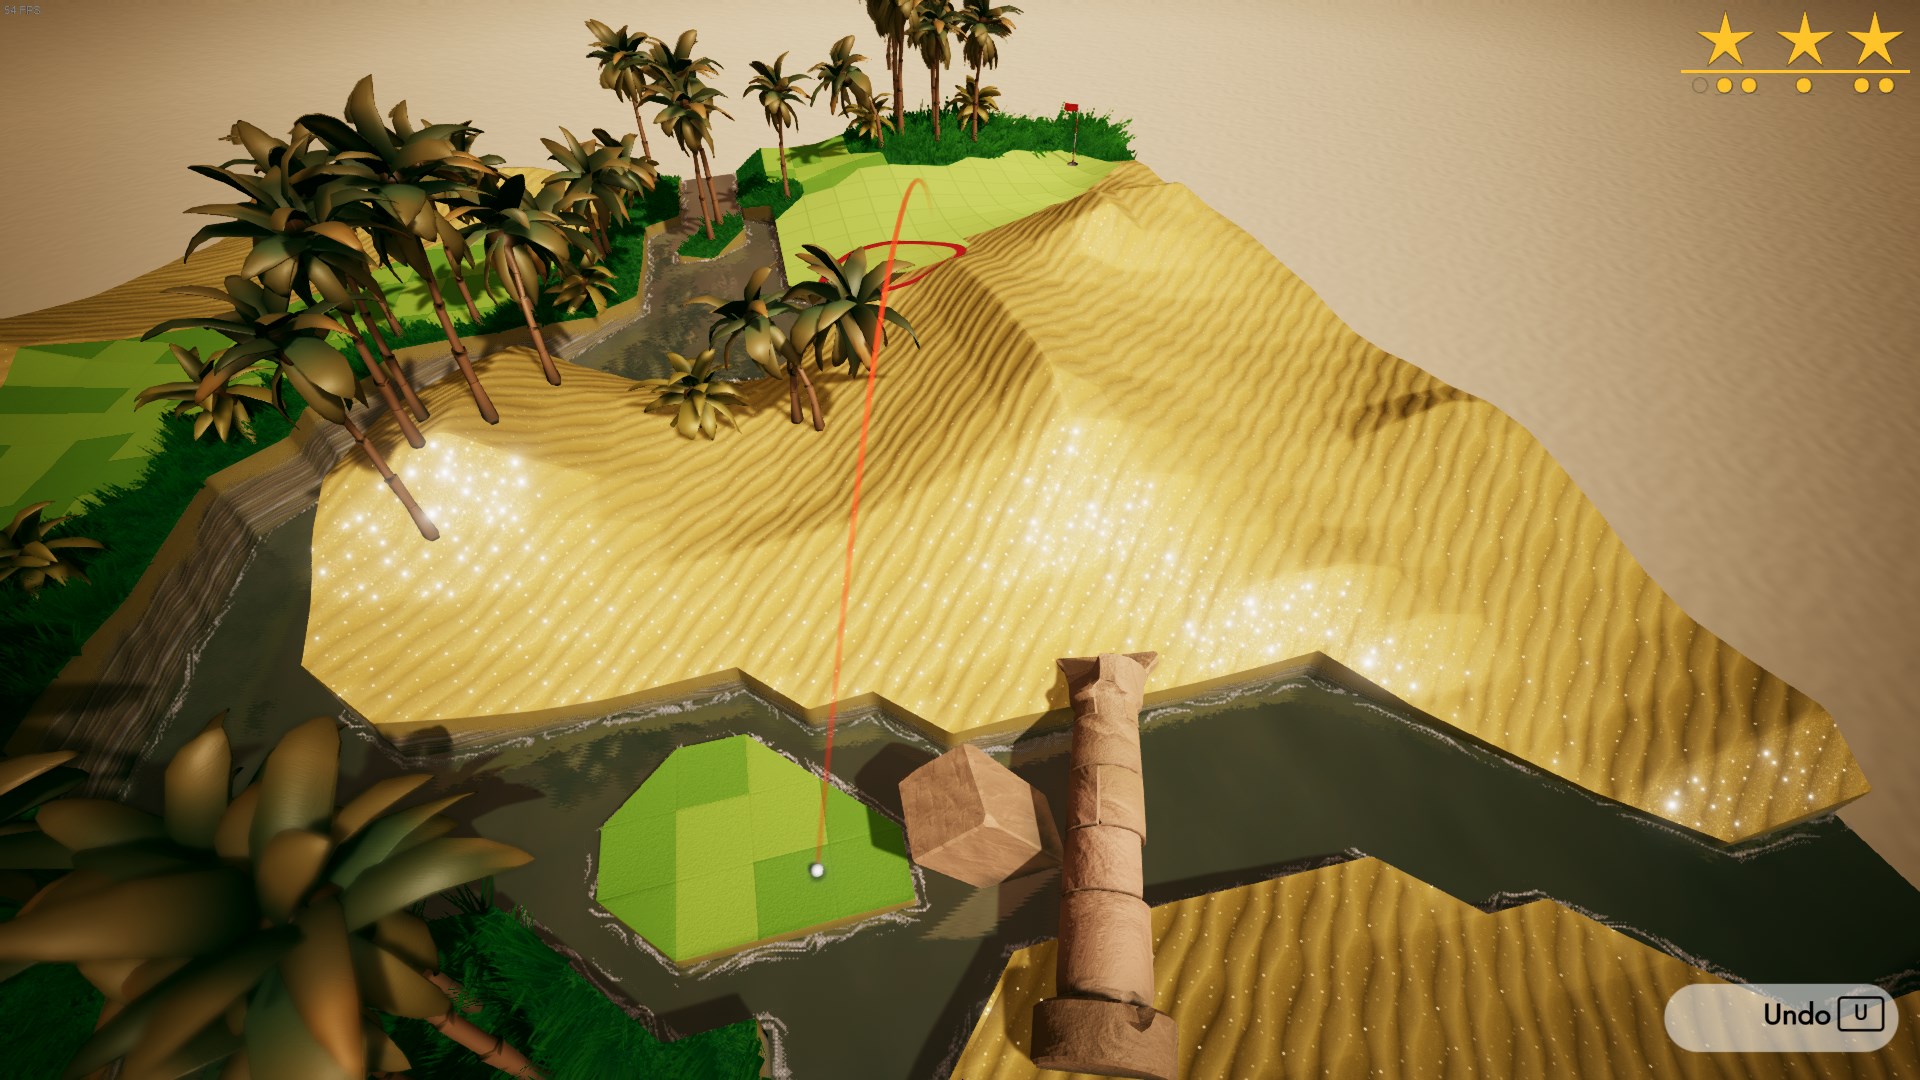
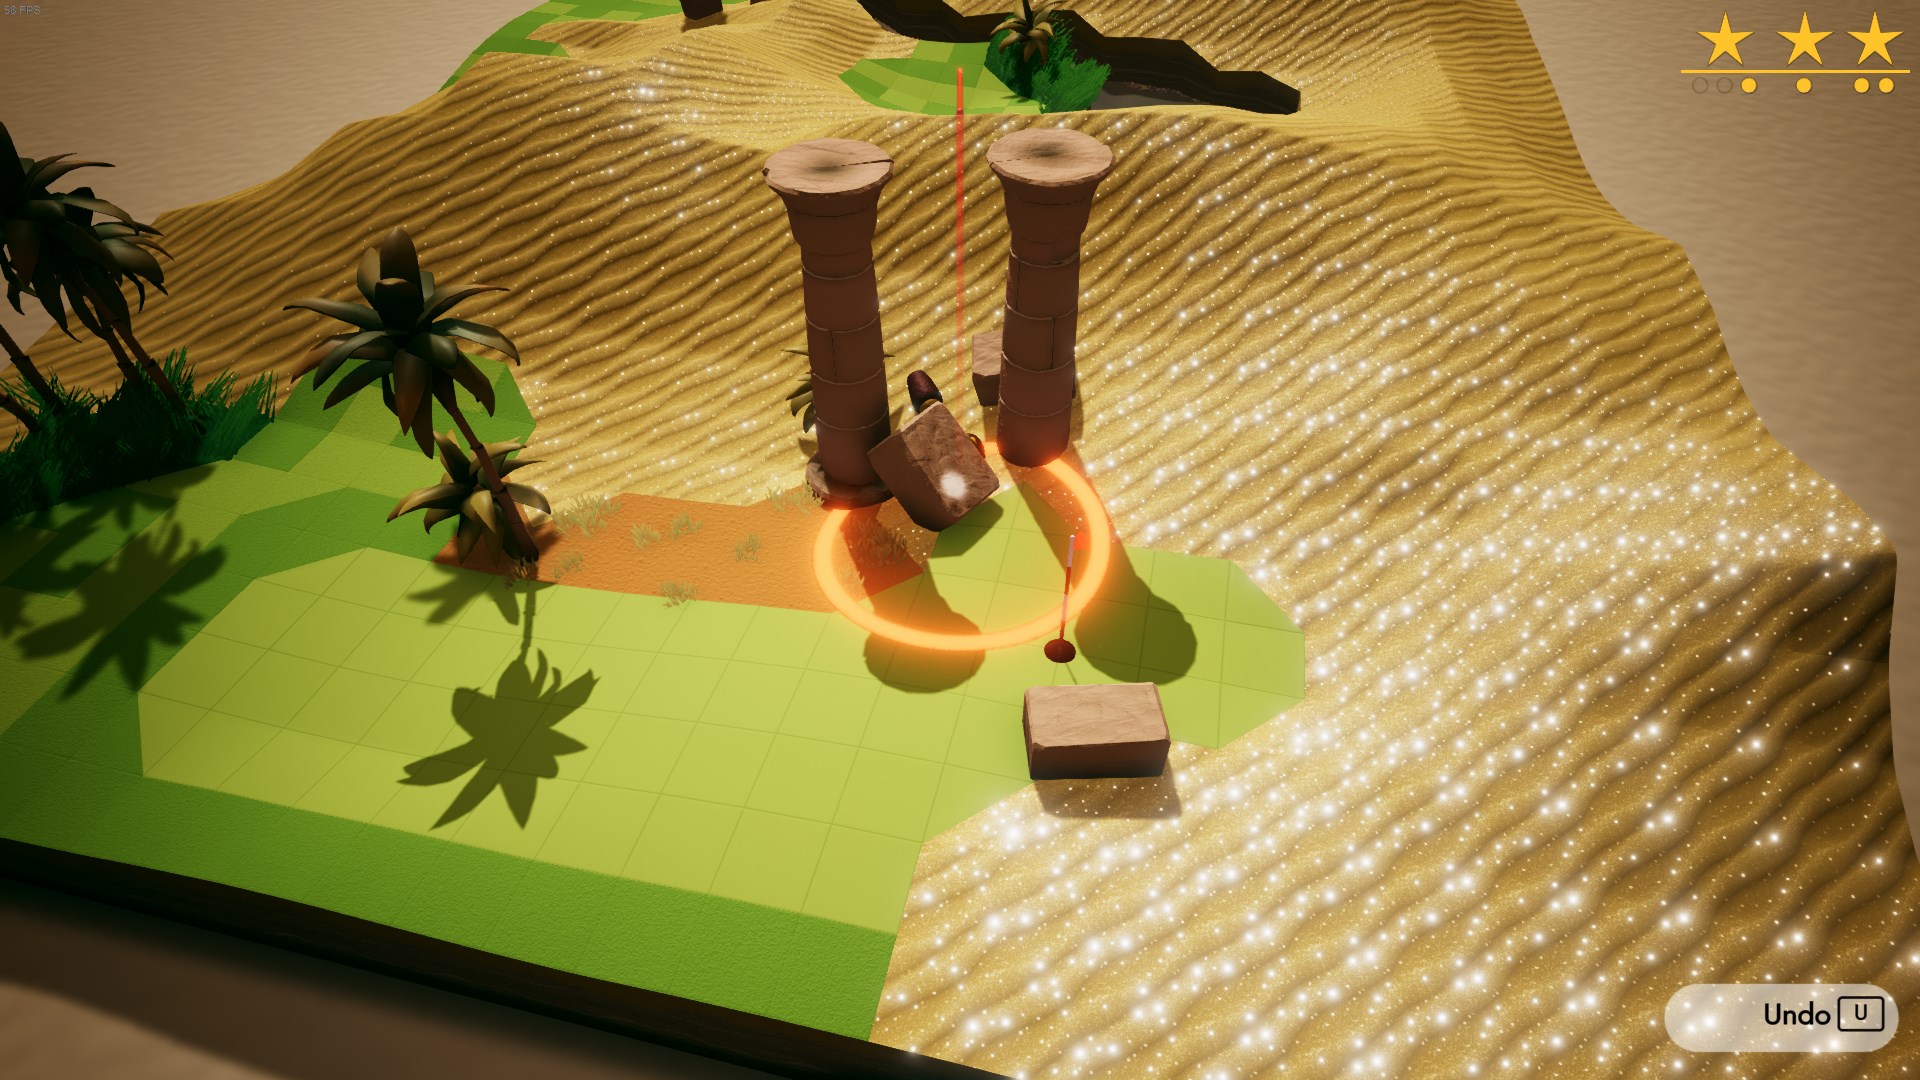
Aim far back left. Easier than it looks.
Aim towards the stone block so the ball will ricochet to the tiny piece of fairway.
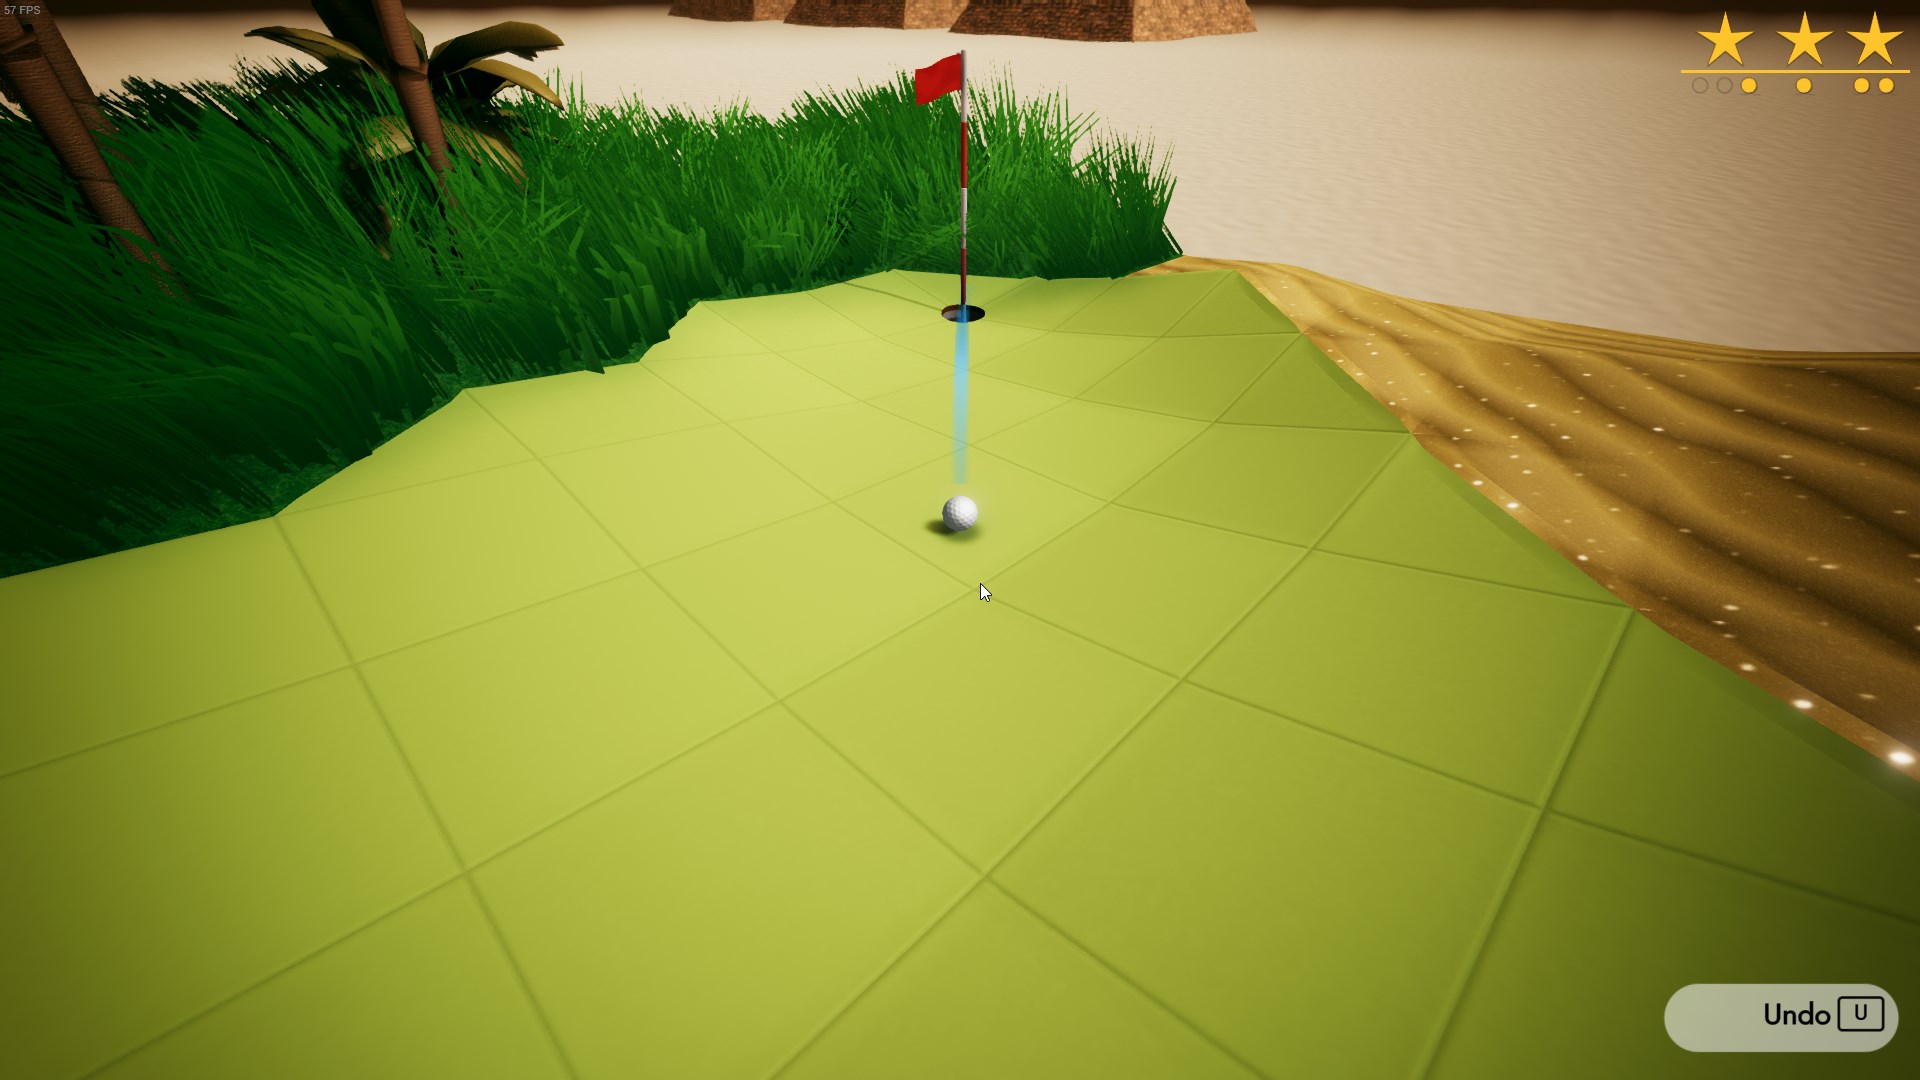
if you are lucky you can aim this directly and the ball will bounce straight into the hole, if it doesn’t work just aim with the edge of your circle and time it.
Aim far back right.
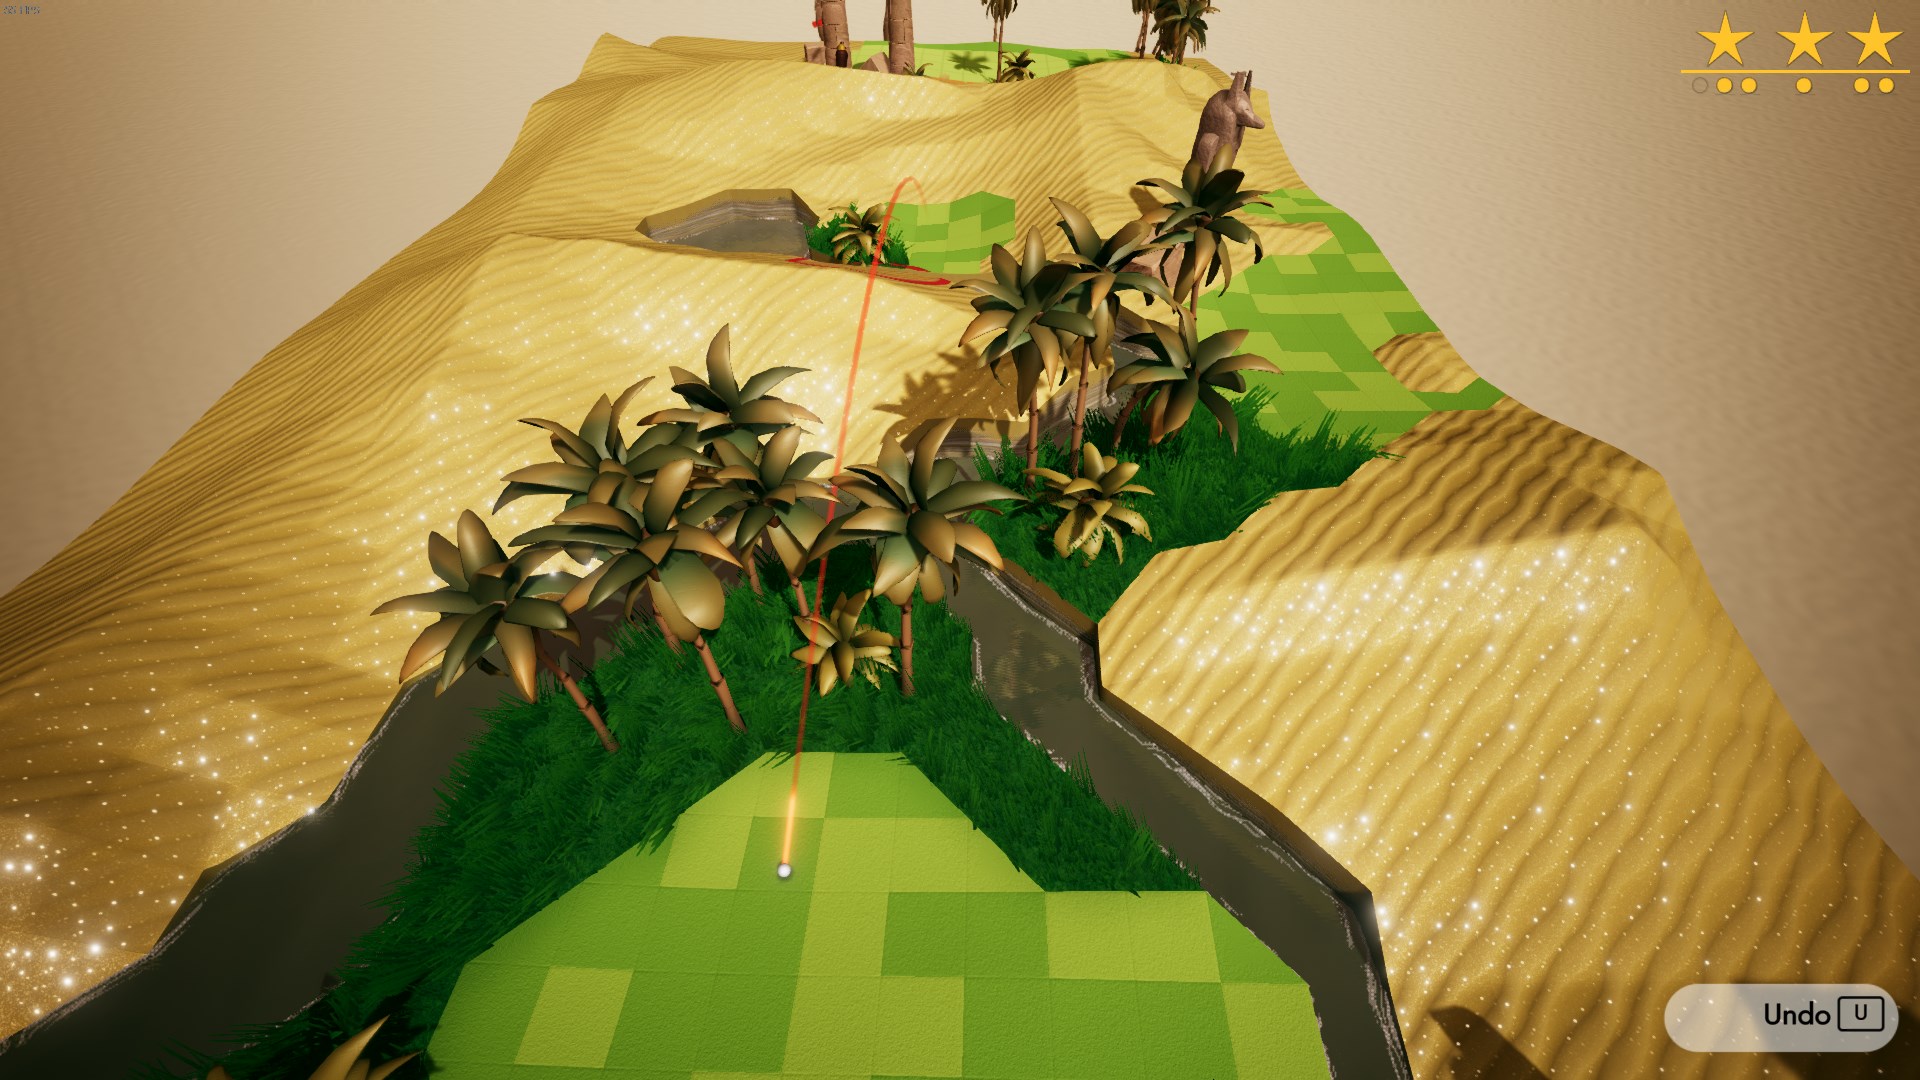
The ball should fit in between the trees and roll as for as possible down the slope.
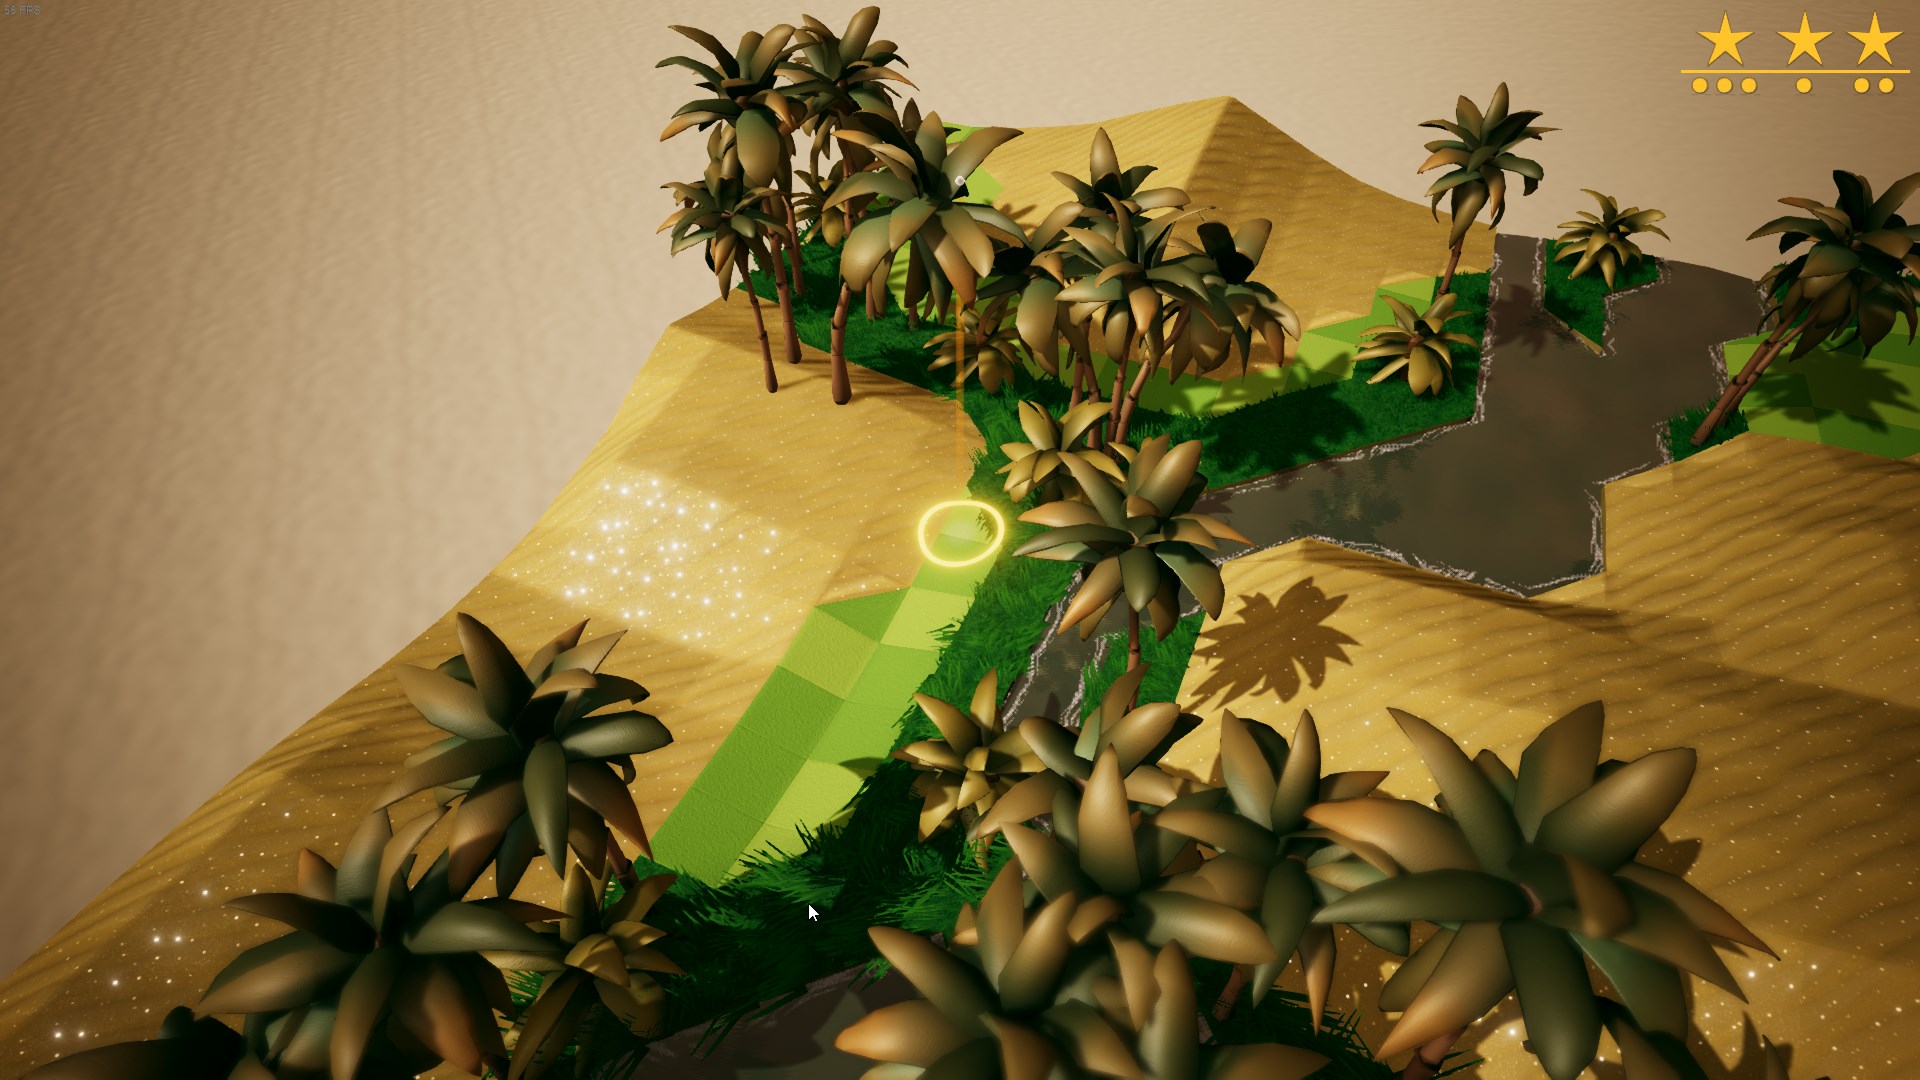
The ball needs to roll forwards pretty far in order to make the next shot.
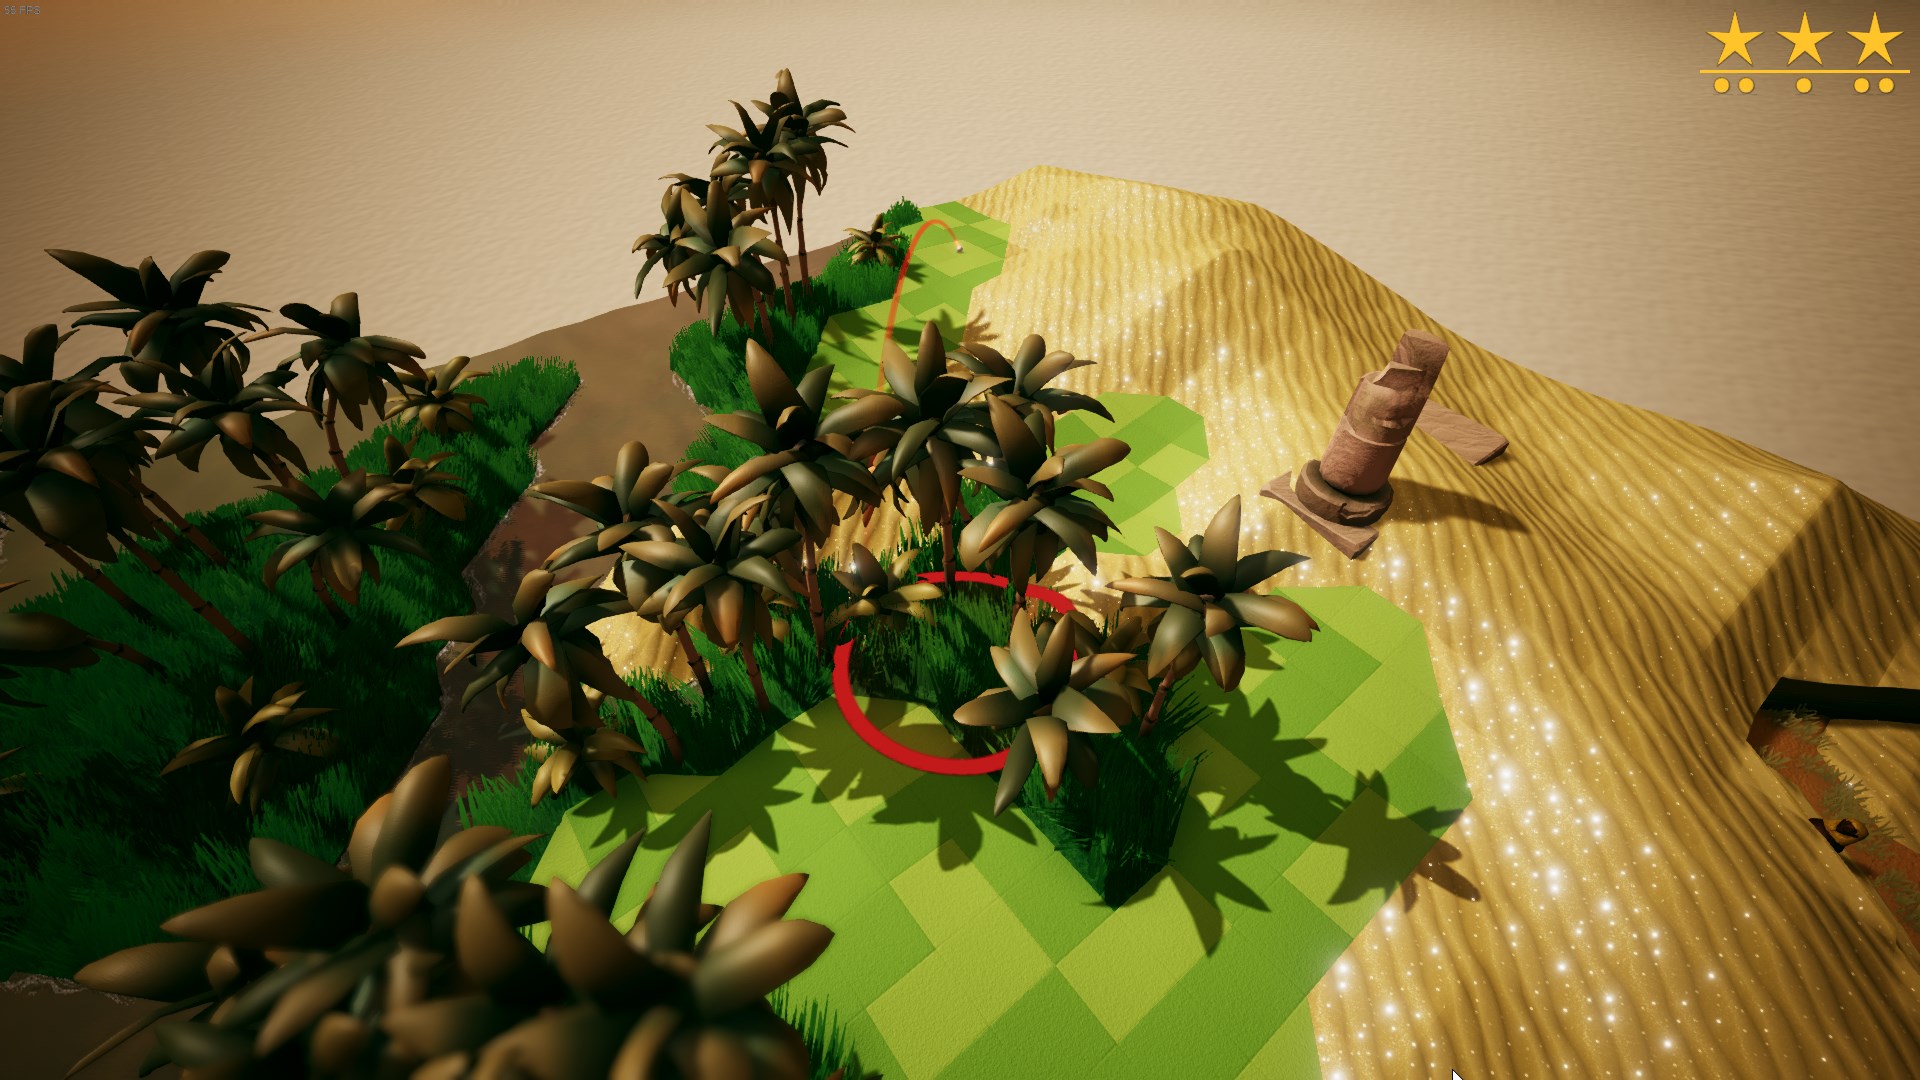
Aim very slightly to the right. You’re landing on a slope so it might take a couple of tries.
Don’t stabilize and aim at the very edge of the circle.
This level is relatively easy to do in only 3 shots. If you’re struggling, you have a spare shot to split any of the other shots in 2 to make it easier.
You’ll land on the stones but that’s fine.
The ball should just roll onto the fairway.
If you are having trouble with this shot, you can also try aiming behind the flag and letting the ball bounce back.
You should just land on the fairway.

You might land on the fairway or the stones after ricocheting off the statue, either is fine for the final shot.
This level is a little tricky, you really need to get the most range out of each shot or you won’t make it.
World 8 – Blue Dot on a Dark Firmament


Don’t stabilize.
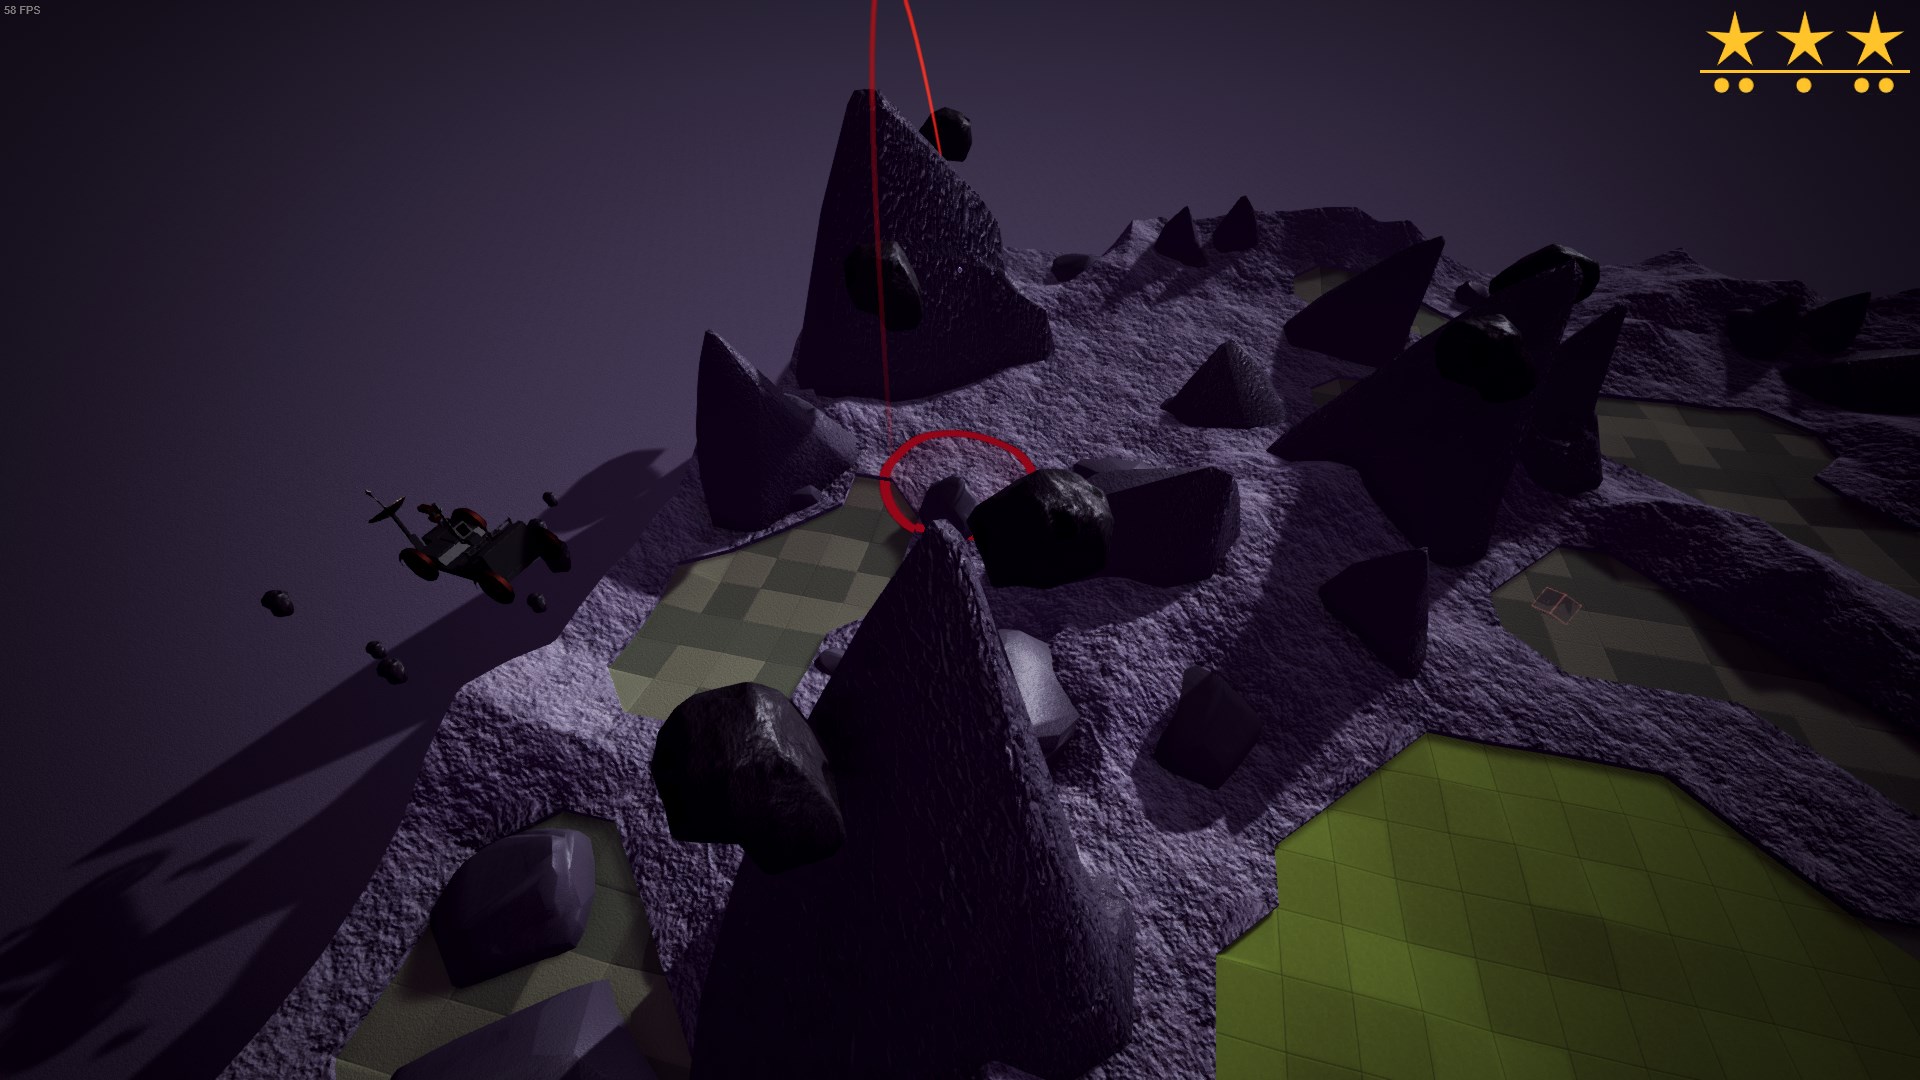
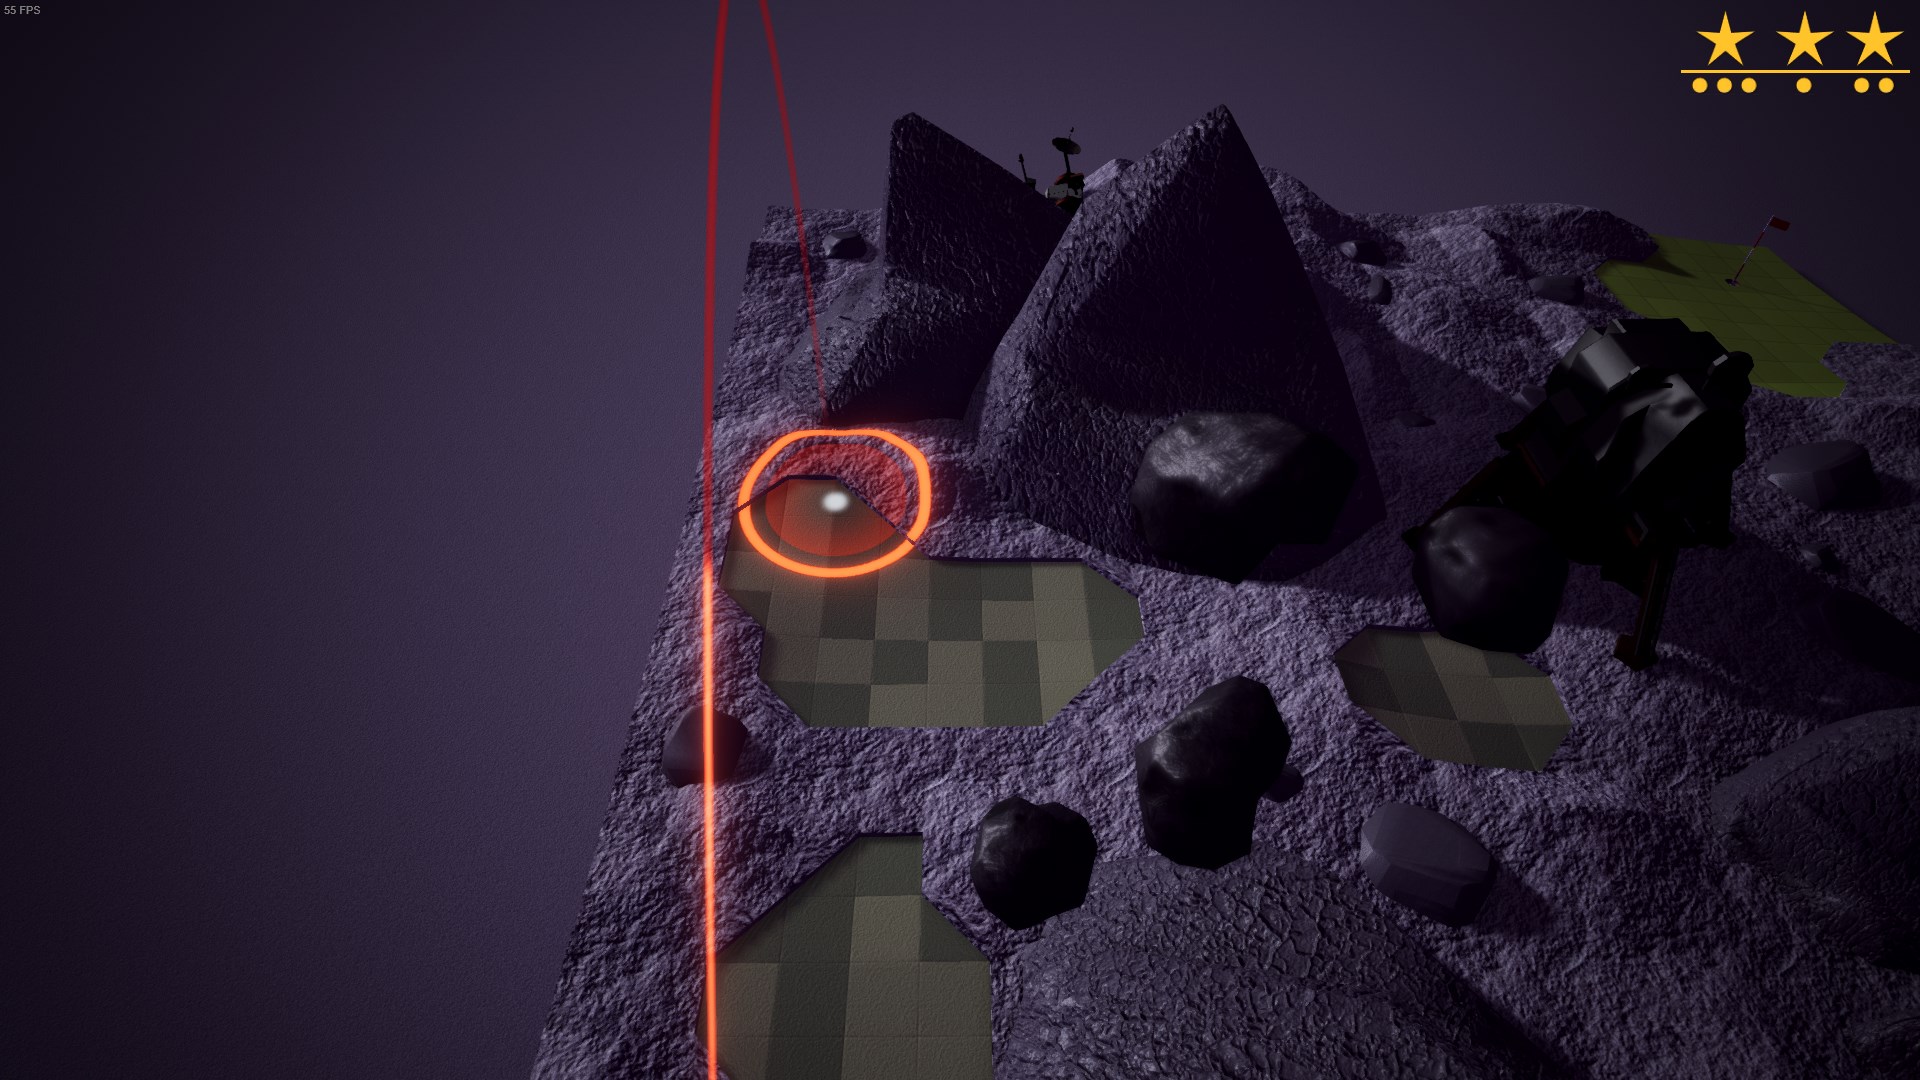
You might have to aim a little to the right, depending on where exactly the ball is positioned. You’ll also have to time your shot so you don’t hit the rotating asteroids.

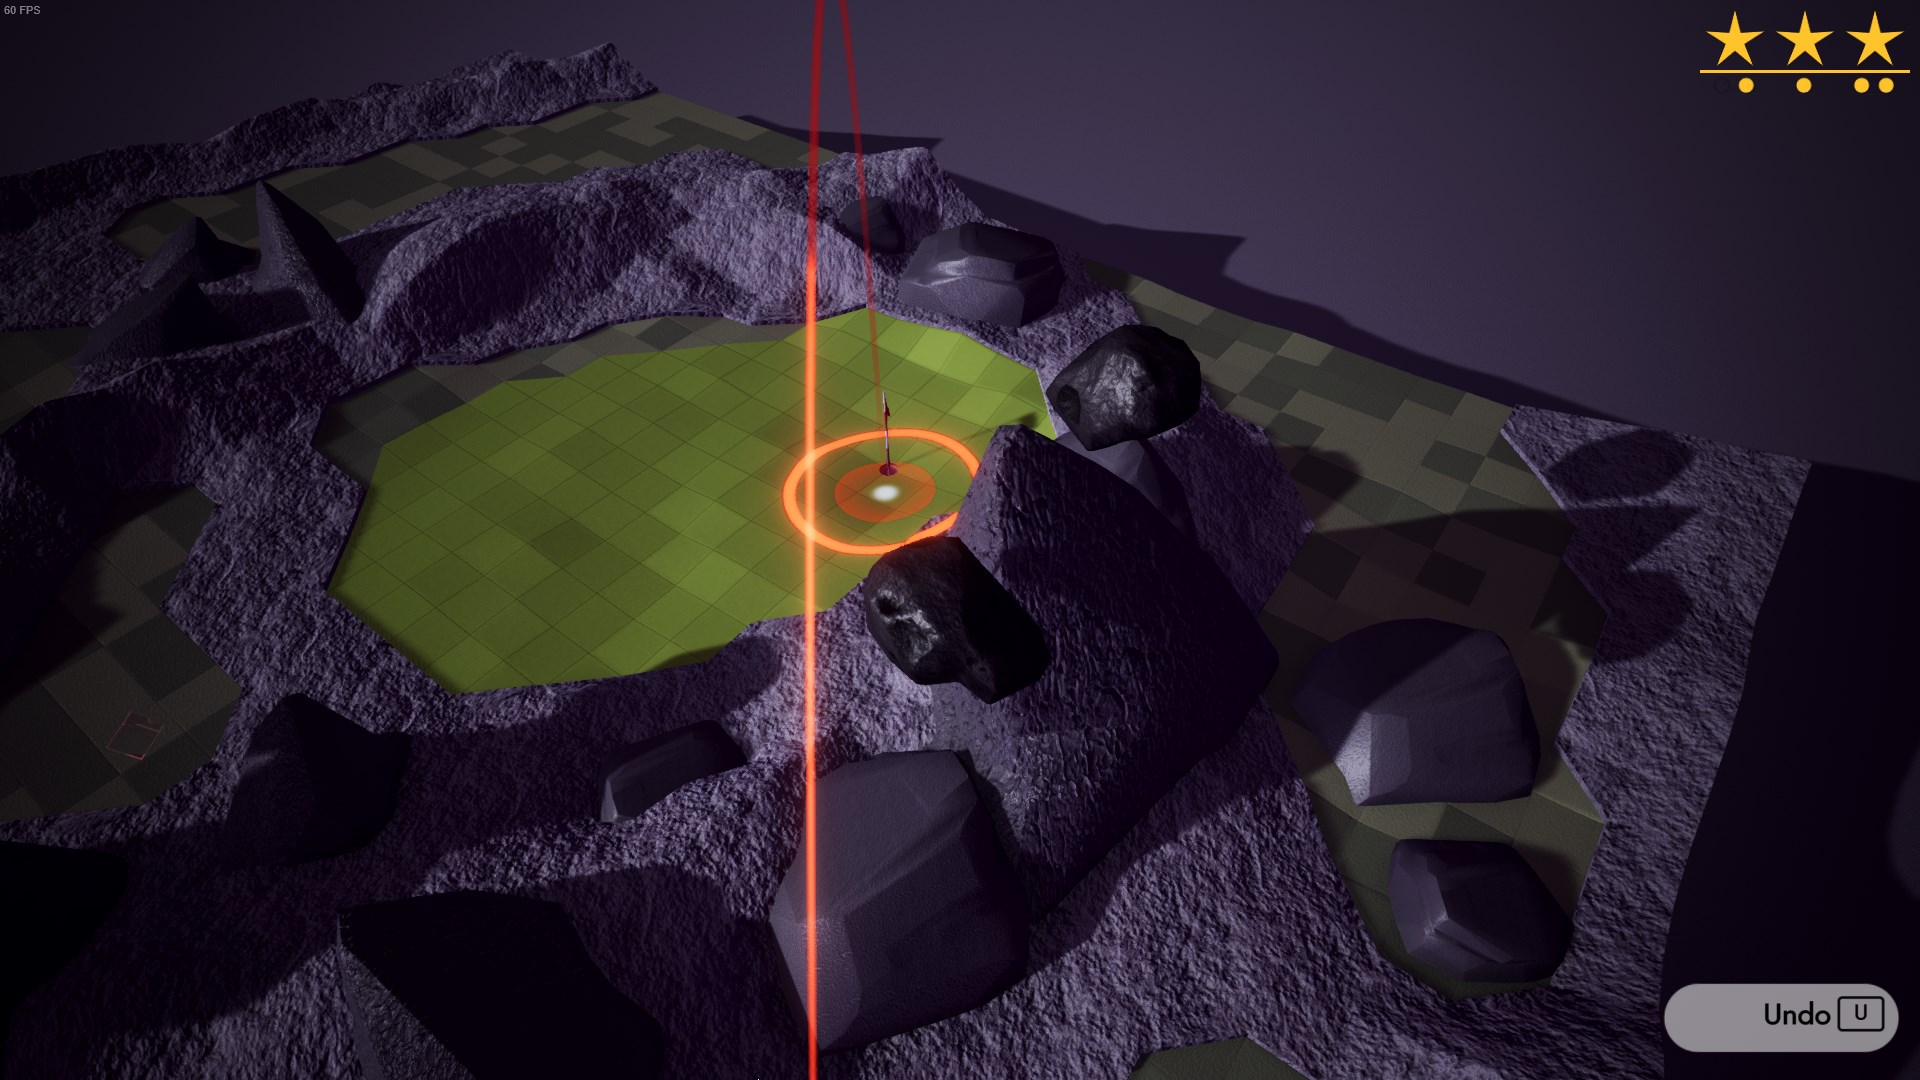
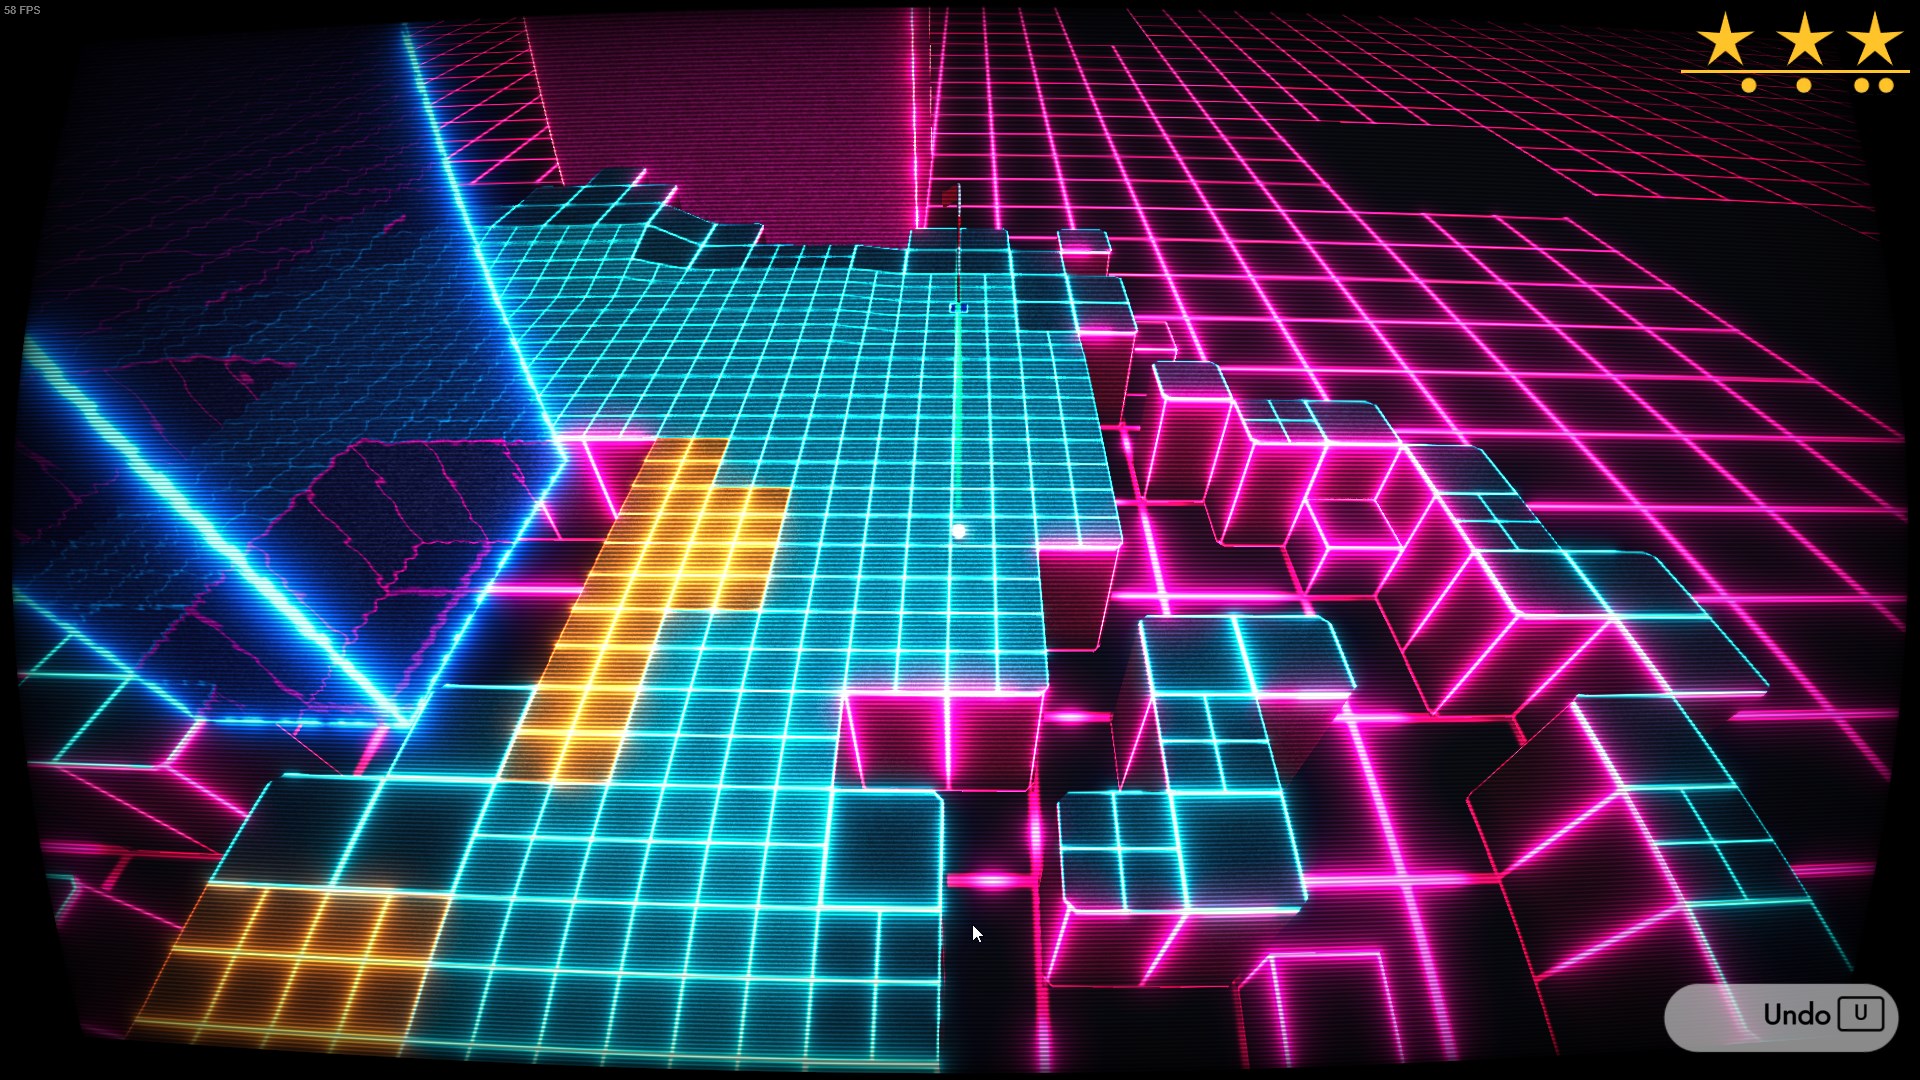
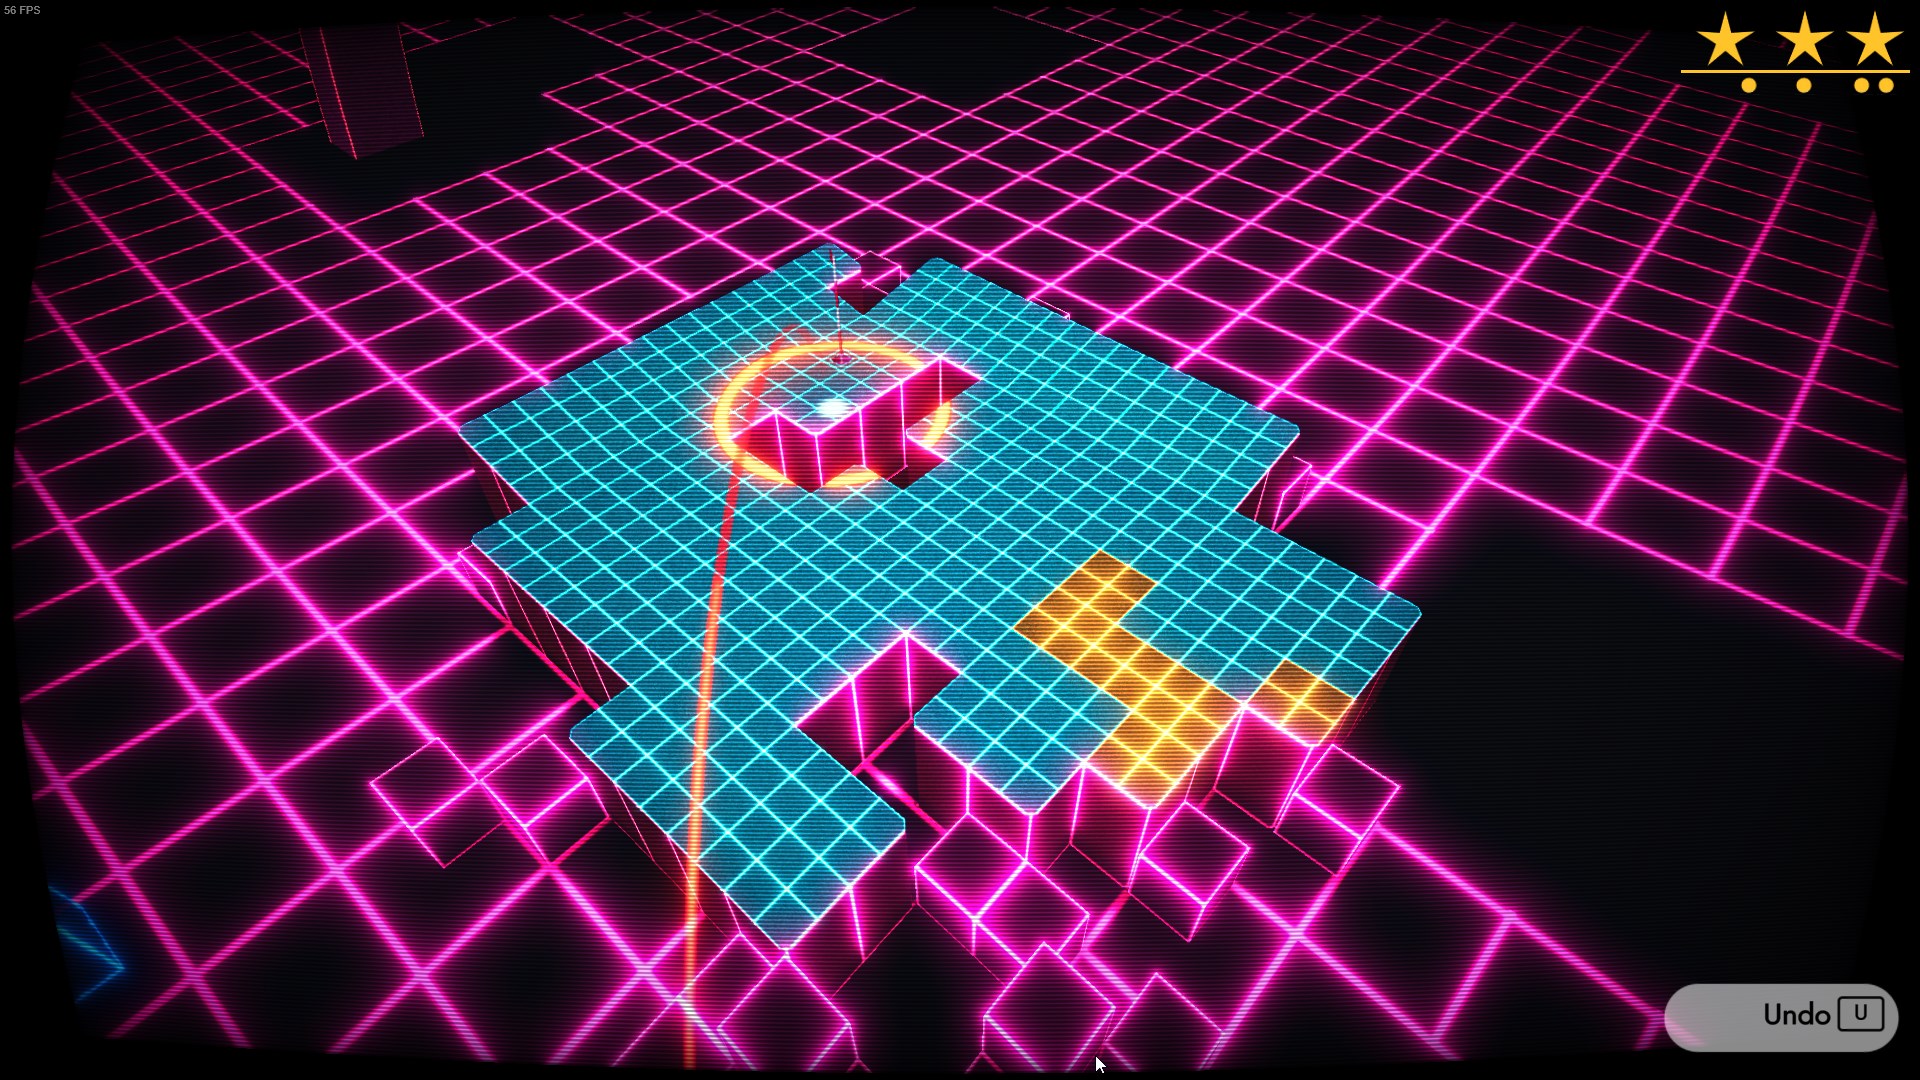
This putt is the hardest part. Try to aim so that the trajectory line ends right at the terrain seam that leads down to the flag.
Another level that’s doable in fewer shots than intended!
If you’re lucky, the ball will roll down the hill straight into the hole. If it doesn’t, the last shot should be trivially easy.
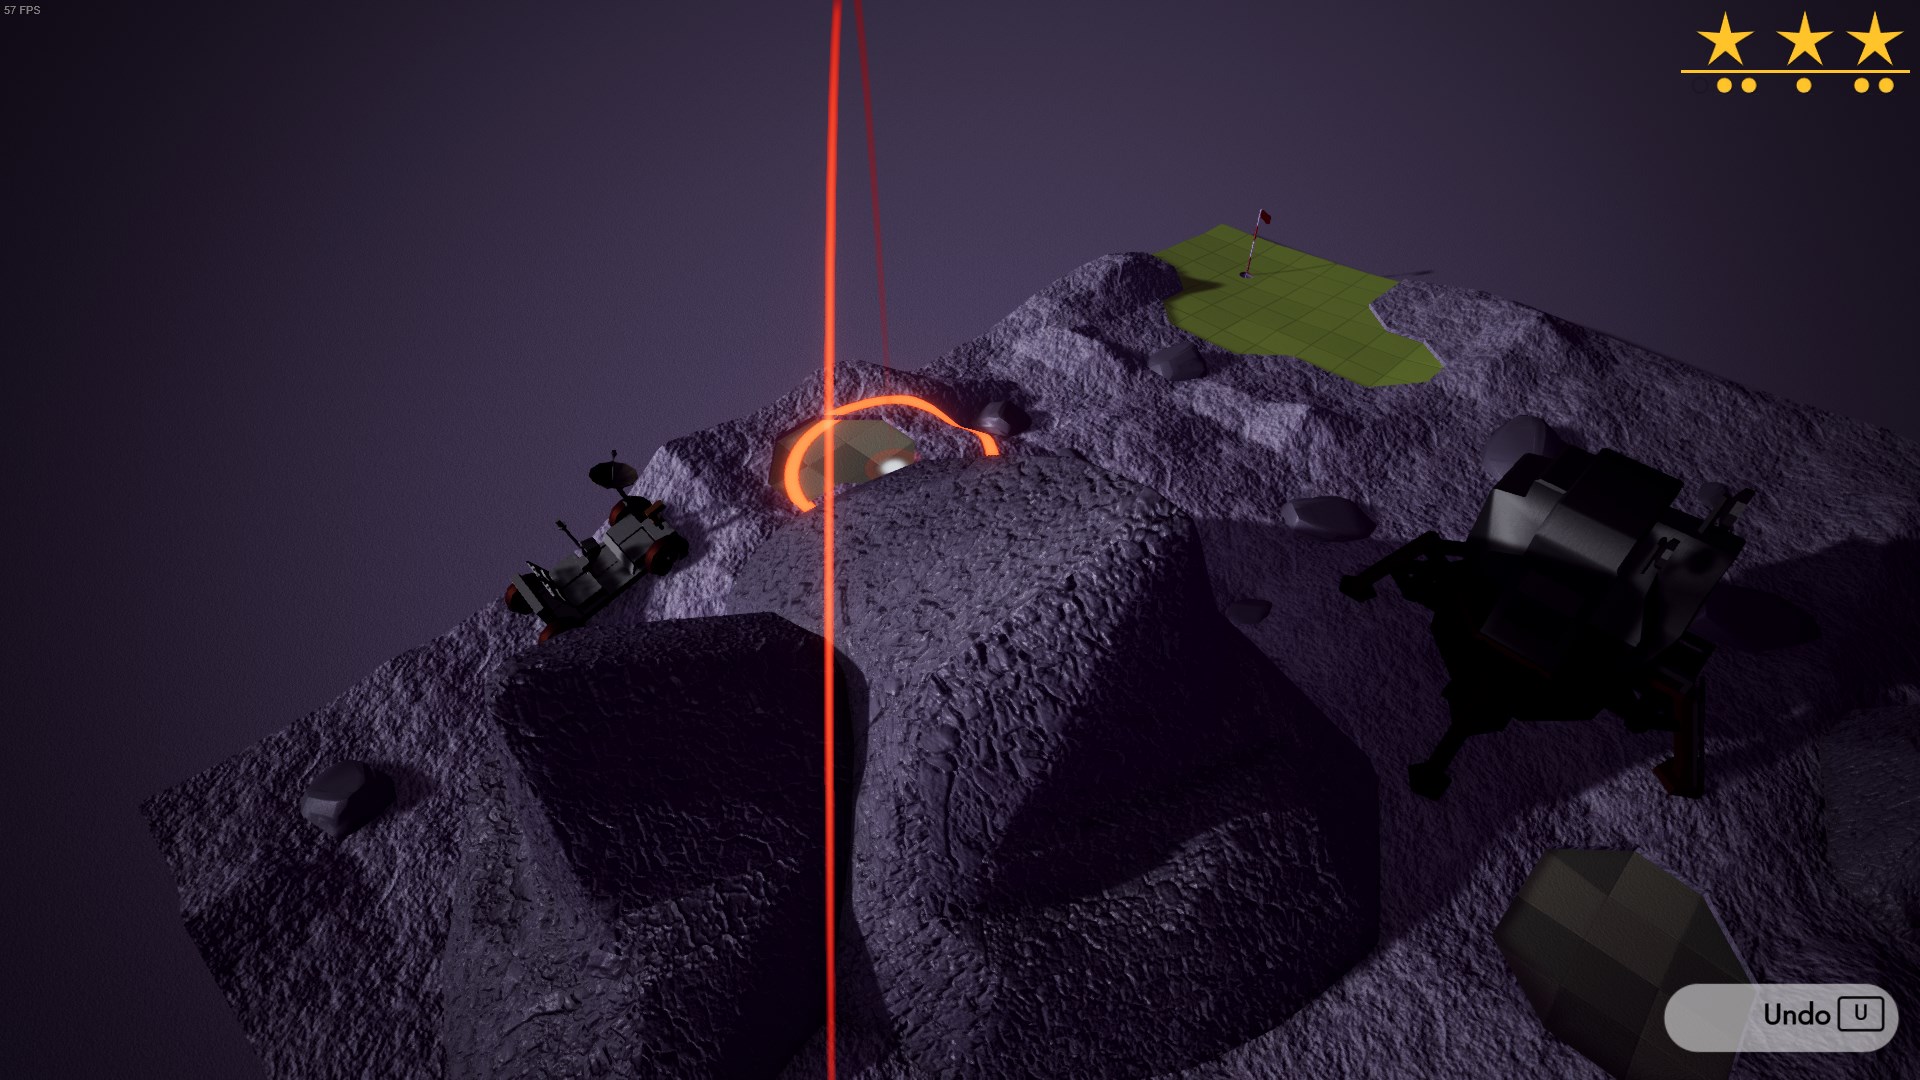

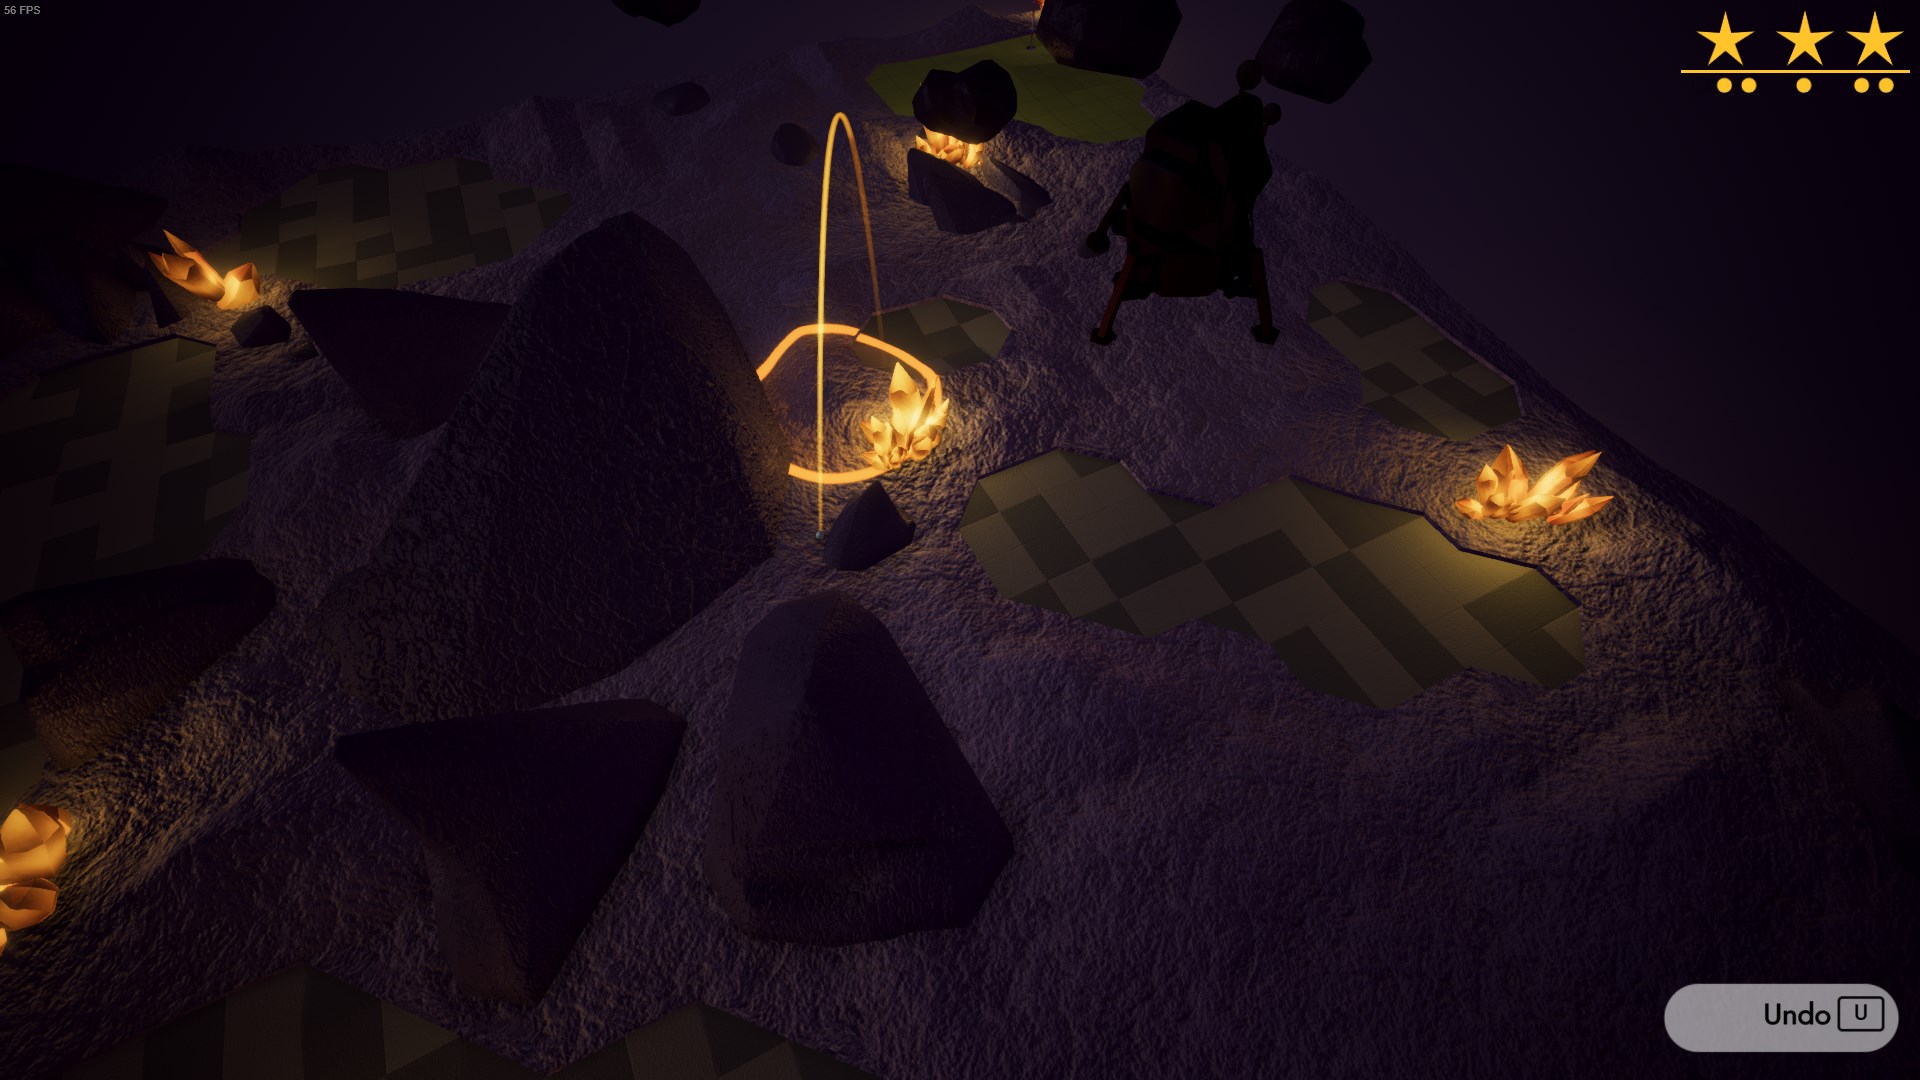
Obviously time it so you don’t hit the asteroids.
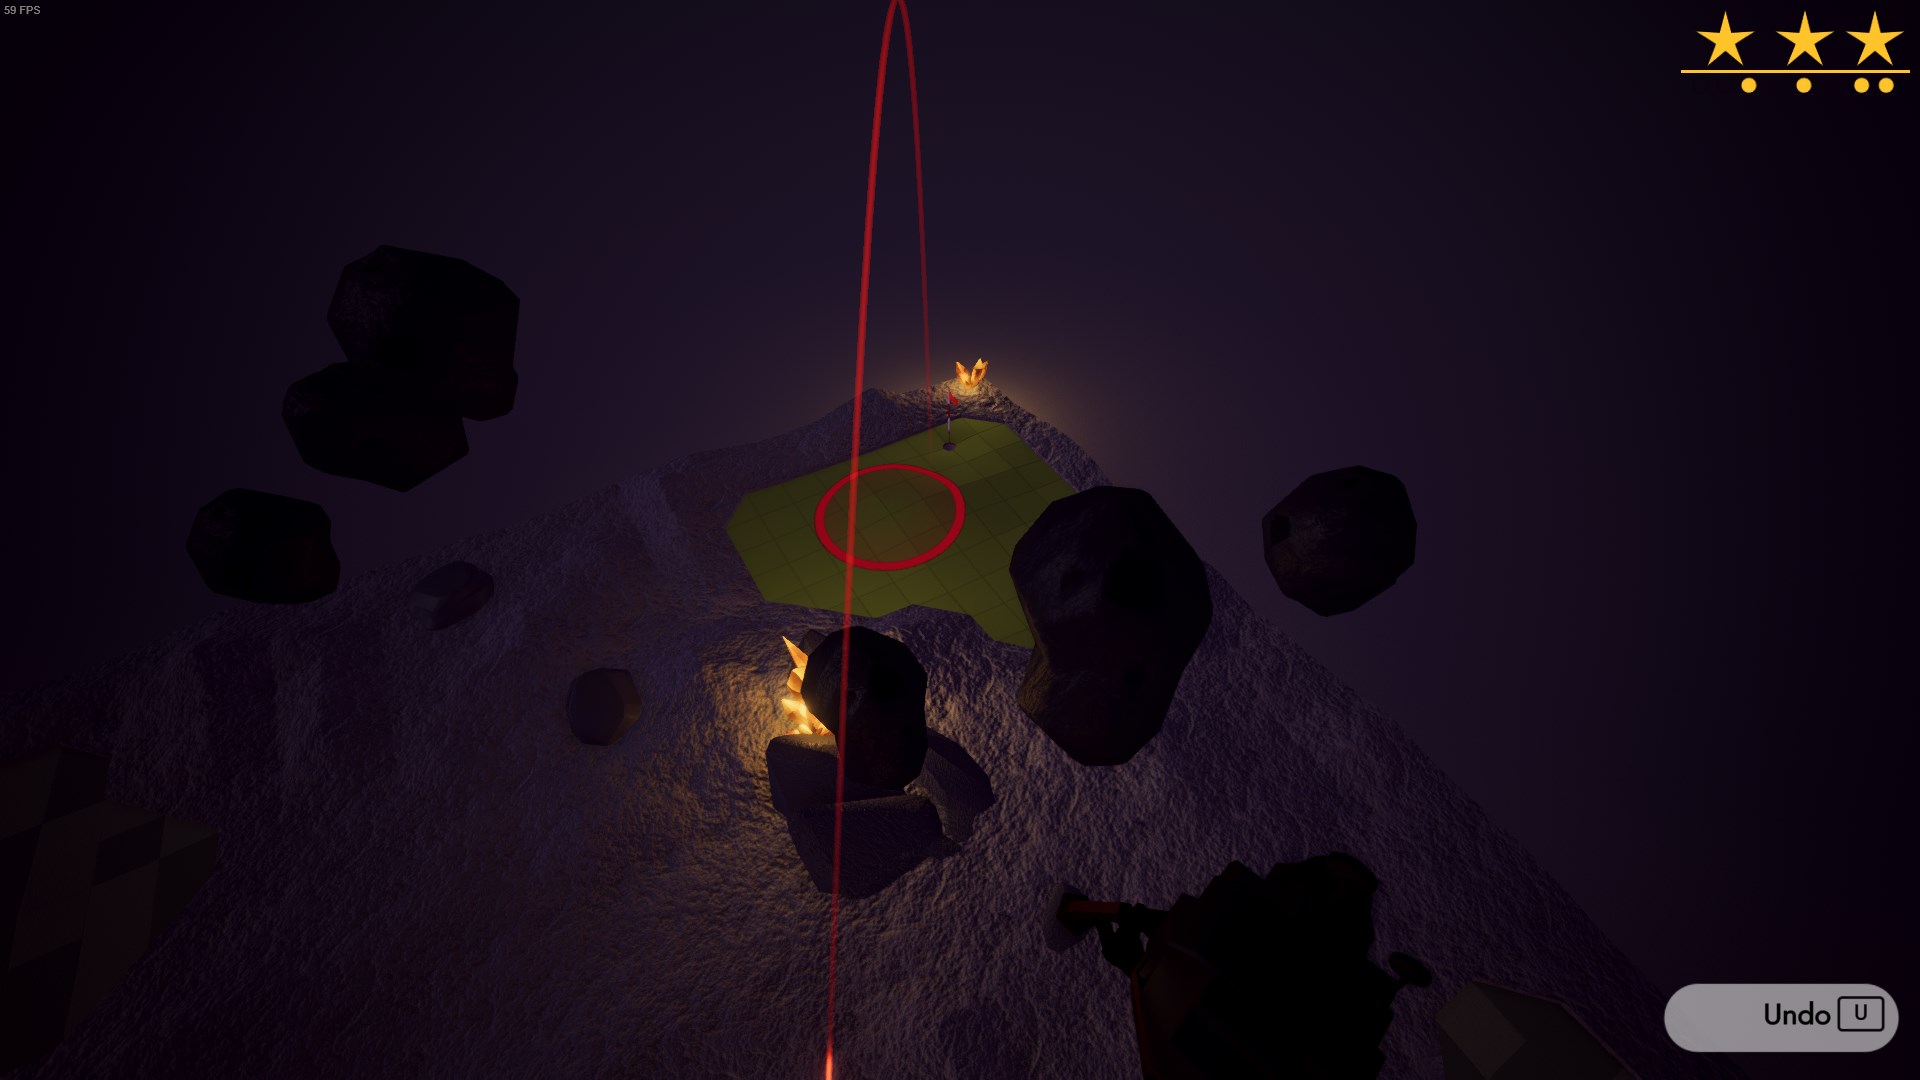
Align your shot directly with the flag, and release when the second largest asteroid is in front of your trajectory.
If at this point you need a guide for this level, you should probably play a different game…
This shot is deceptively difficult. If you stabilize the ball will hit the stone beam and not roll far enough. So you need to time for the sway to dip because below the beam, while also aiming slightly to the right.
There is a tiny patch of fairway to land on.
When this platform is going up, you will have a window to shoot directly onto the green. The final shot should be trivial. Maybe you can even skip it entirely if you get lucky.
World 9 – Golf in the Machine
Aim exactly in between the sand, fairway and cliff.
A little random, but it shouldn’t take too many tries to get the bounce right.
Don’t stabilize.
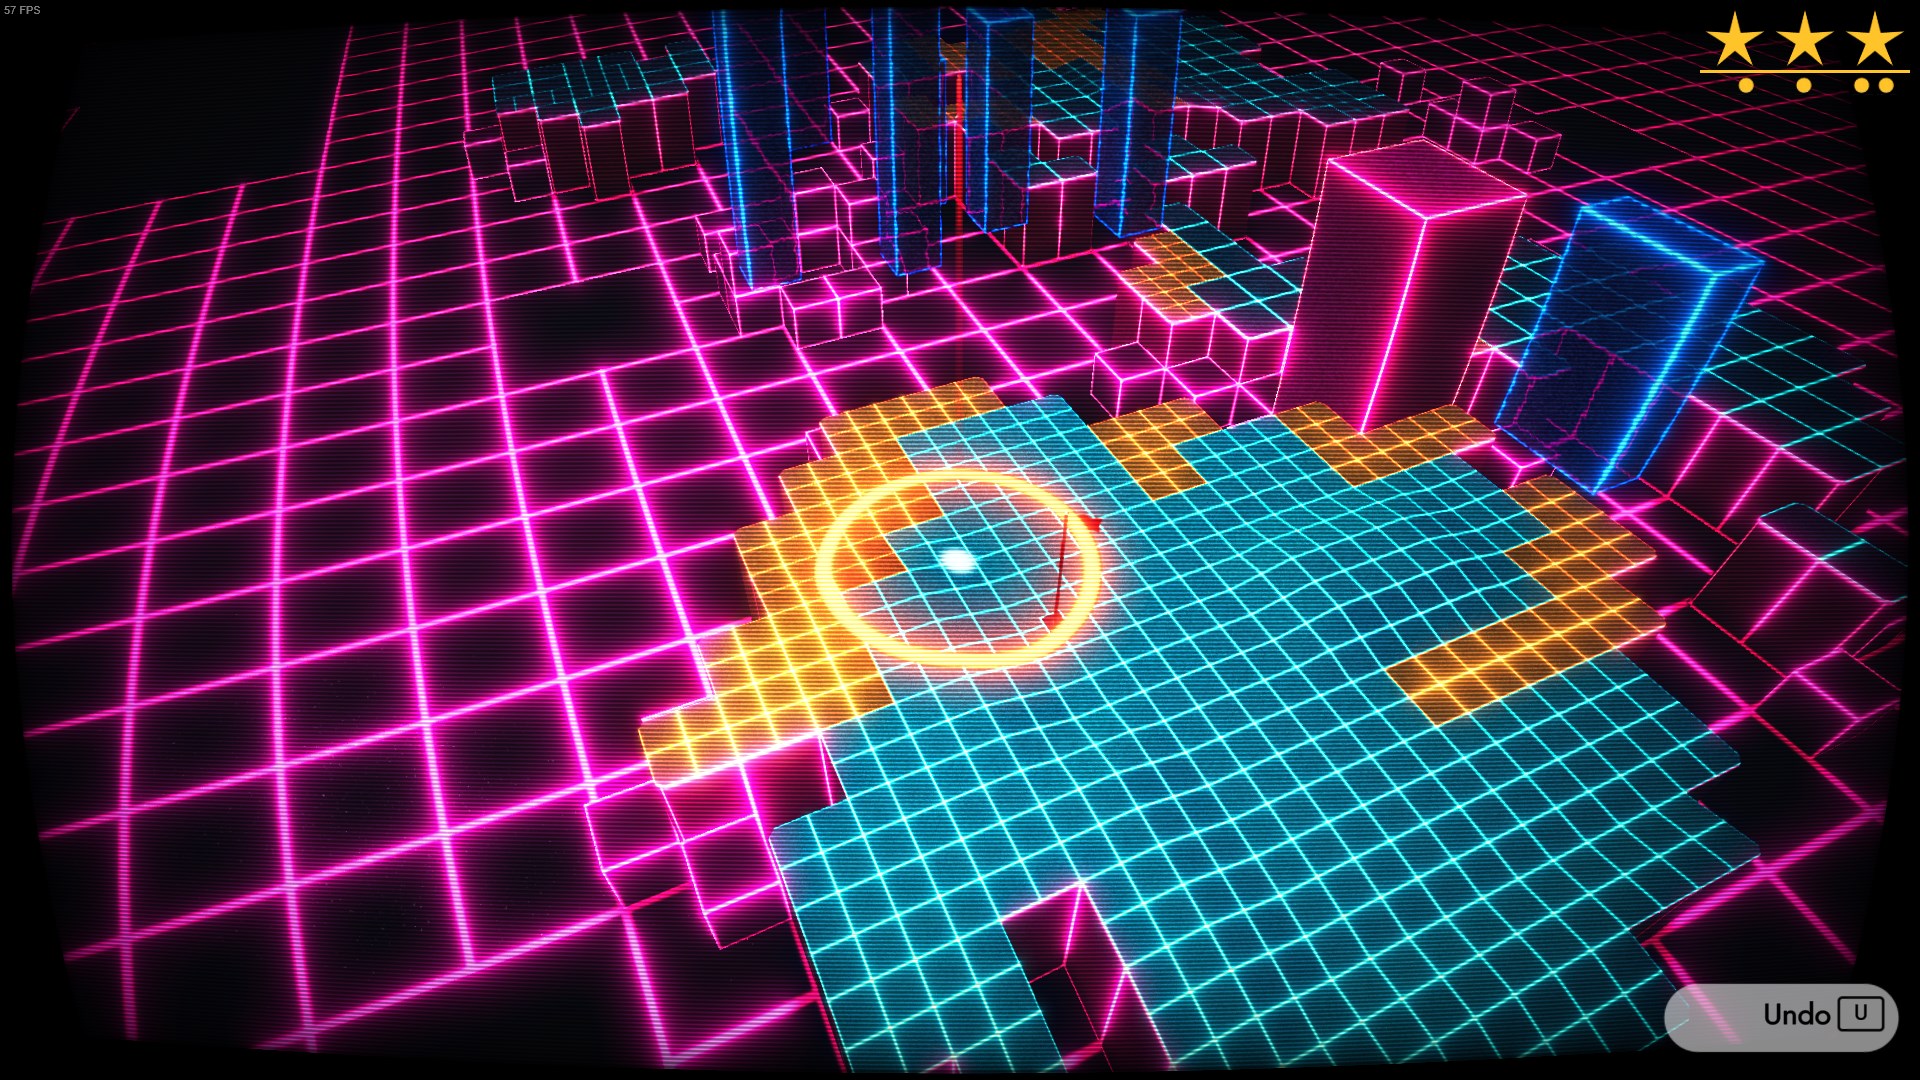
Don’t stabilize and aim directly at the rightmost terrain seam (between the 3rd and 4th tiles).
Try aiming for the little blue slope, with some luck the ball should curve into the hole.

You can just barely make it to here.
Depending on the exact position of your ball, you might have to try for a direct hit rather than a bounce.
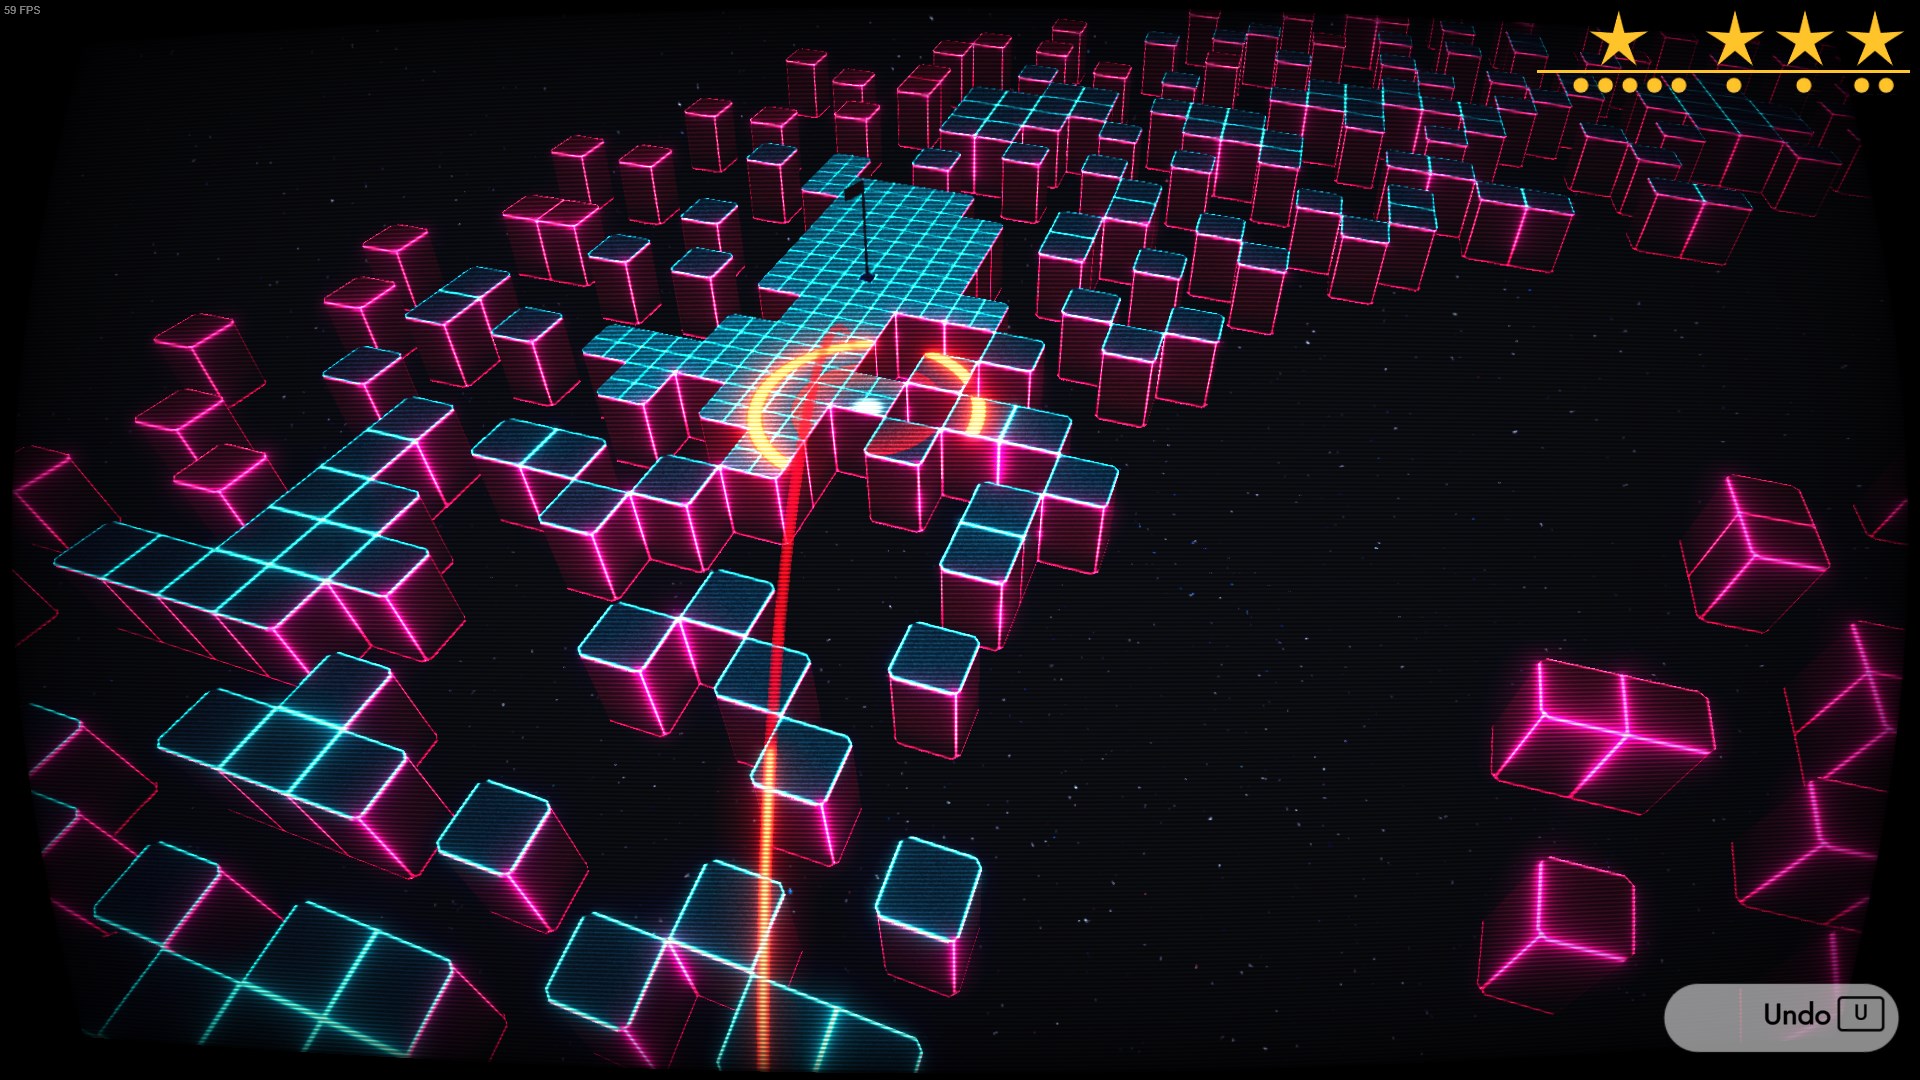
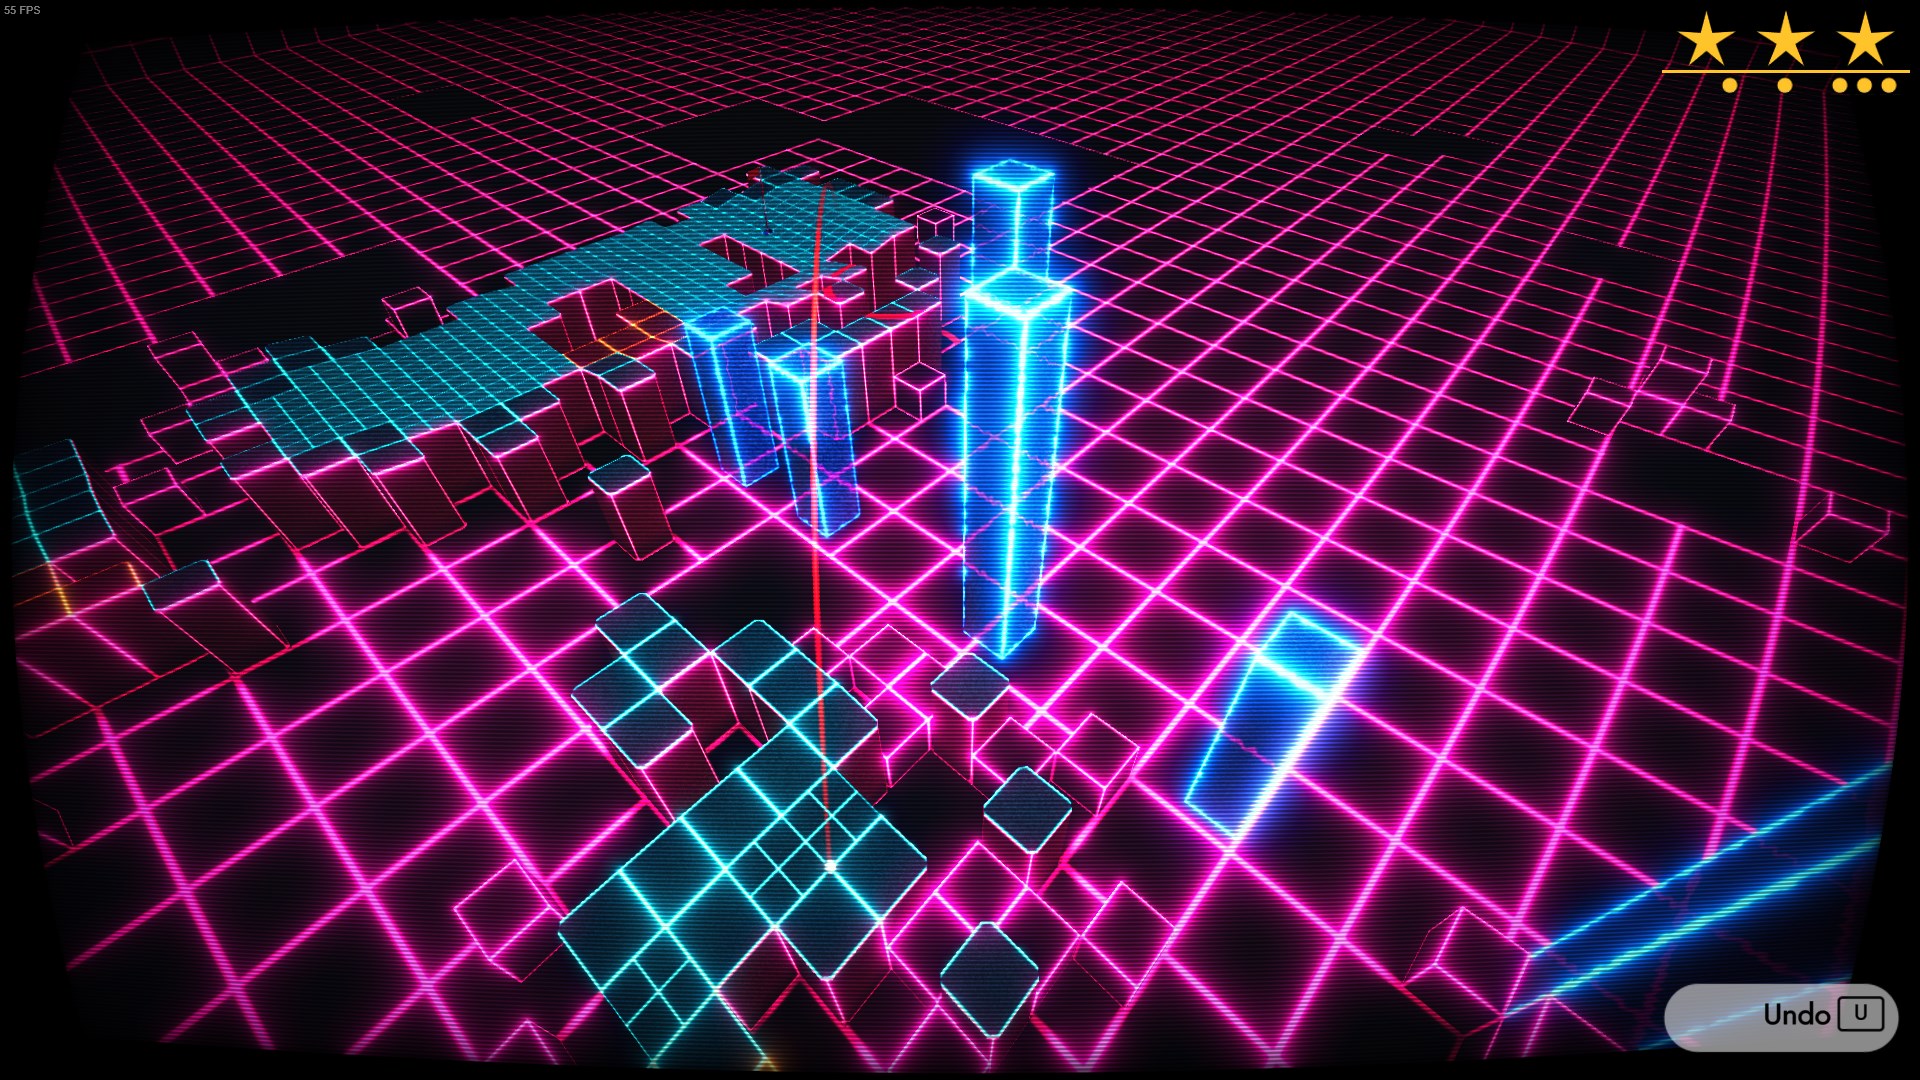
This shot is kind of difficult to time so you don’t hit any of the moving purple blocks.
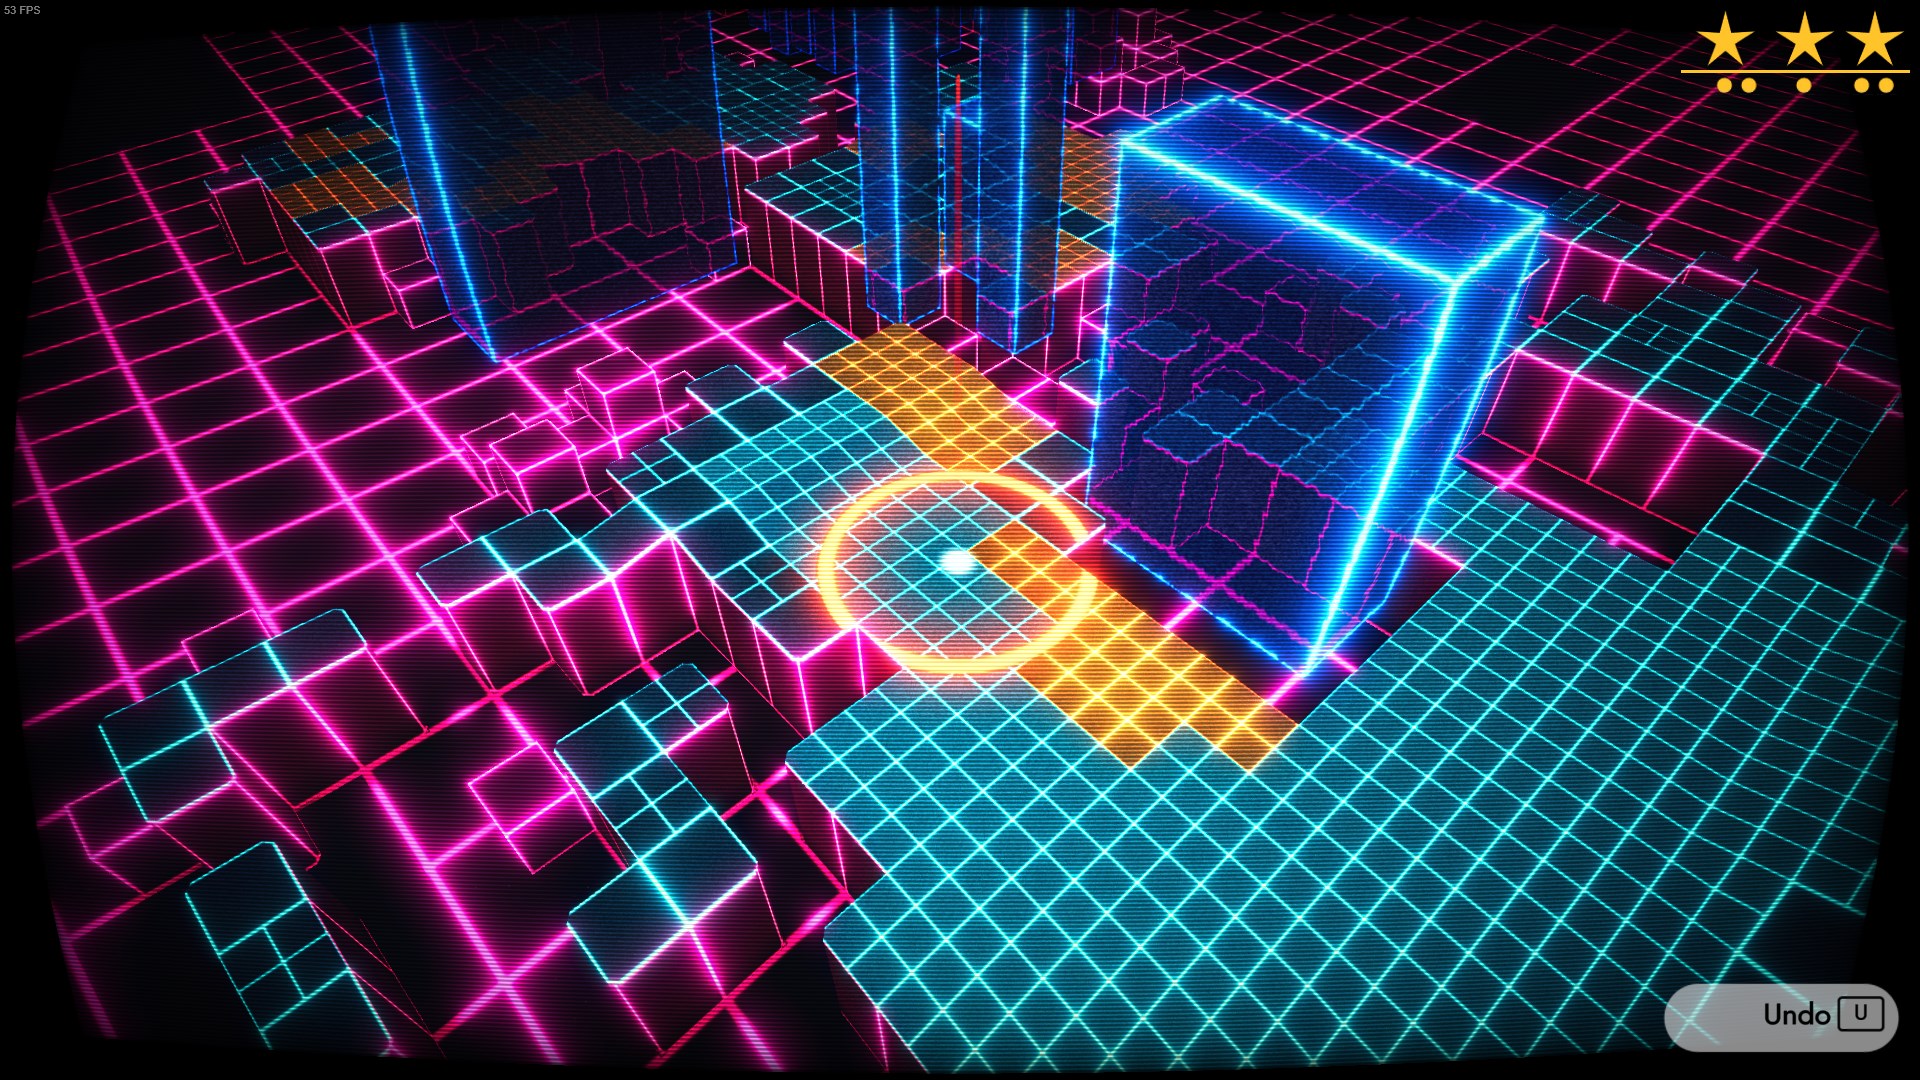
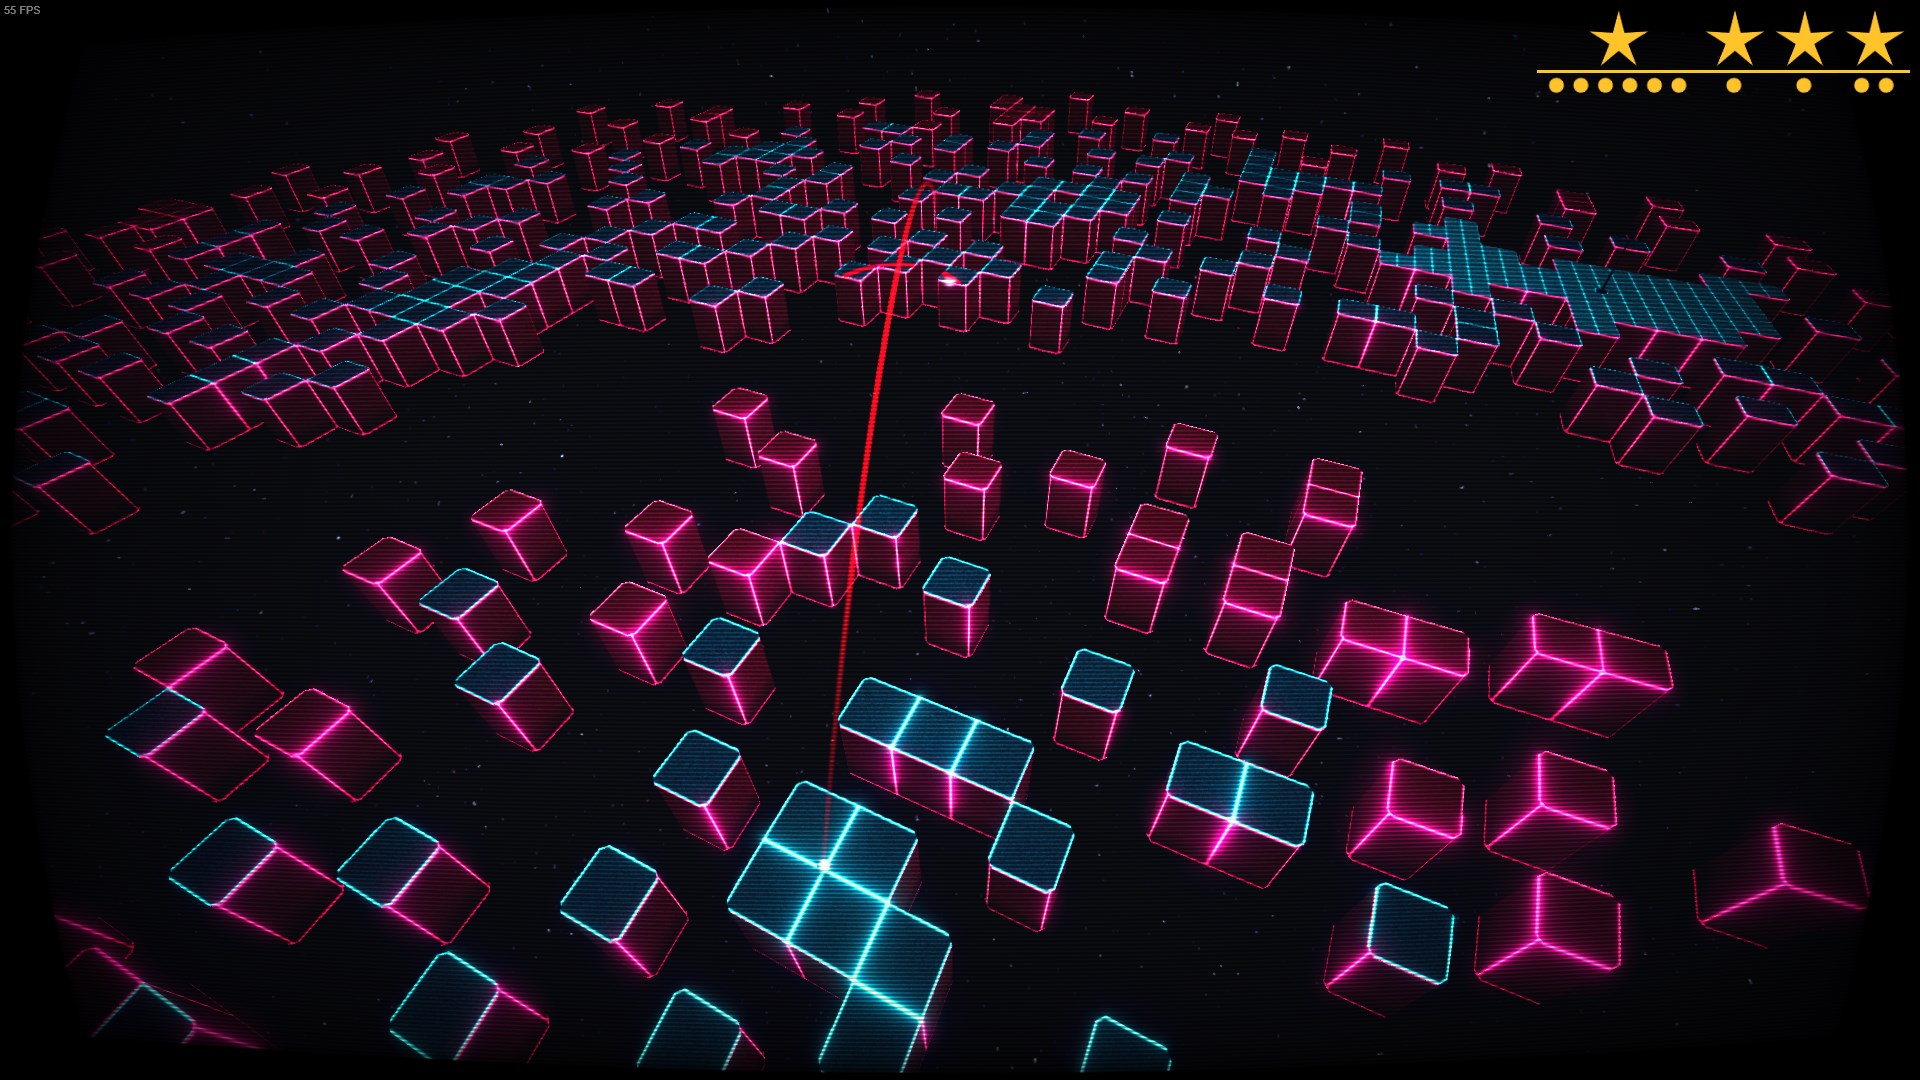
Try to aim so that your blue trajectory line ends exactly at the second cross to the right of the flag, like in the picture.
Aim for the back right, the ball should bounce over the gap. Might take a few tries.


Honestly, I have no idea what’s going on with this level. You can finish it with only 2 shots instead of the required 6, although granted it’s pretty difficult. I tried taking the regular route but even making every shot as tight as possible I came up short to reach the flag.
This shot is just trial and error, at some point you’ll land on the blue tile and then it’s a free shot to the flag.