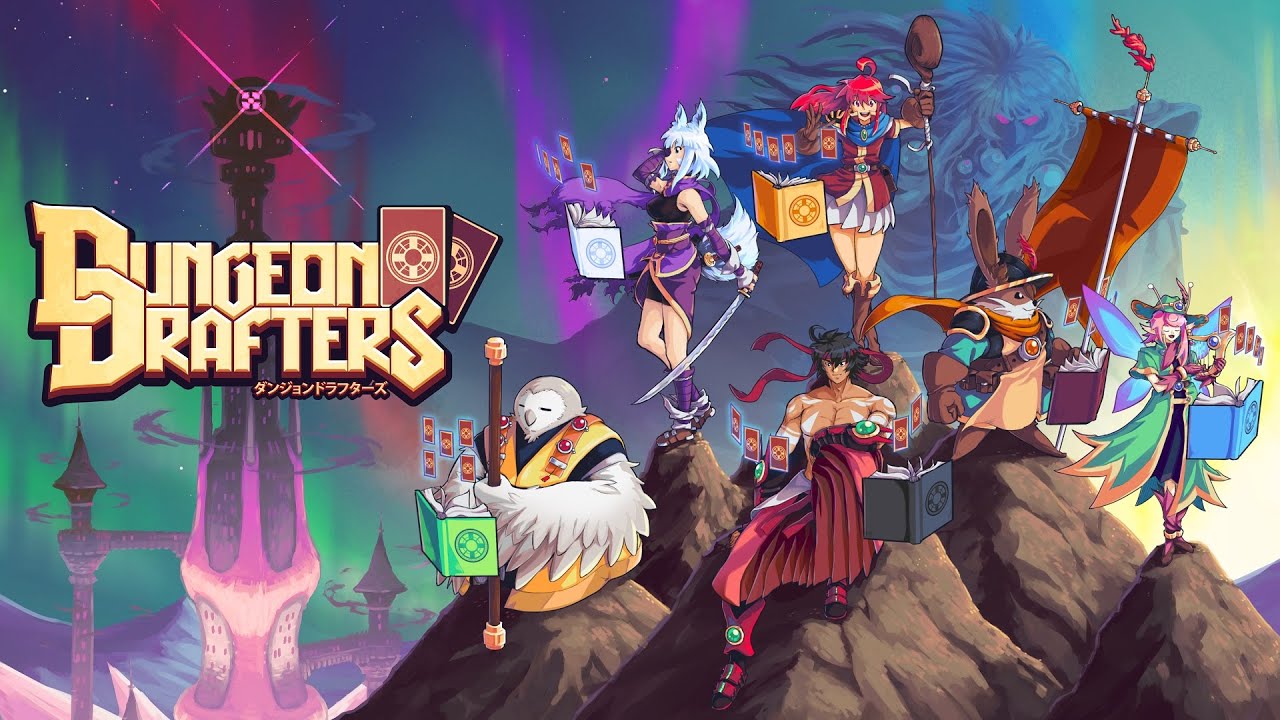
Many people have a range of questions, so I’ll do my best to provide answers. If you have any questions that are not covered in this guide, please leave them in the comments, and I’ll make an effort to address them as soon as possible.
Beginner’s FAQ
Have you been wondering which character to choose?
- Well, the answer is simple – go for the one whose appearance you find most appealing. Remember, all cards can be collected with any character, so your choice will not have a significant impact in the long run.
Did you lose all your money in the tutorial dungeon?
- Don’t worry, you’re not alone. It’s uncertain whether you can realistically win the tutorial boss fight, so it’s best not to rely on it. Fortunately, you can get 1000 shards for free by visiting the bank and speaking with the teller there. To find the bank, just head down the stairs and turn right after exiting the cave shrine.
Which area should you explore first?
- It’s recommended that you start with any of the five areas other than The Tower. Each of these areas has a relatively easy first floor that will give you an opportunity to become familiar with the dungeon, obtain some loot, and leave. The Tower, on the other hand, requires you to complete a 5-floor marathon (including a boss fight) before you can leave.
Are you experiencing issues entering a dungeon with the rabbit character?
- It’s likely that the rabbit character has an invalid starter deck, which may prevent you from entering a dungeon. However, this issue can be easily resolved by opening the deck editor (R), filling the empty rune slot at the top with a brown rune, and adding the other missing card from your encyclopedia.
Is it possible to change the name of my decks?
- Unfortunately, no. It is not possible to rename your decks in the game.
Is it advisable to purify my corrupted packs?
- In my personal opinion, I would suggest not doing so. Although the game does not clearly explain it, purifying your packs will also remove all your Stranger cards. While this may not be significant in the early stages of the game where you may not have any, it can be troublesome once you start collecting and caring for them. So, it’s better to avoid purifying your packs.
Puzzle Rooms
Rooms with additional interactive elements that require specific actions to unlock a path leading to special treasure rooms are called Puzzle Rooms. These rooms often contain beneficial shrines, shards, and packs.
The Puzzle Elements are:
Sacrifice Tiles
A grey/green tile on the floor with a knife image on it, all you have to do is make sure something dies while on top of that space. It can be an enemy, or one of your summons if you have any.
Floor Dominoes
One or more grey/green floor tiles with a number of circular pips on them. They want you to end your turn on them in ascending order, the turns don’t have to be consecutive but I’ve yet to confirm if this can be completed out of combat.
Vine Crystals
Exclusive to the west dungeon, these crystals need to be struck/activated on the same turn. Usually two of them, sometimes three. This one can be completed out of combat, the crystals count hitting 0 AP as your turn ending.
Crystal Pylon
Exclusive to the north dungeon, you need to protect the glowing blue pillar from the fireworks cannon that is pointed at it. If combat ends and the pillar is still alive, the puzzle is complete.
Key Goblin
Exclusive to the east dungeon, a yellow goblin holding a key. Just kill him to before he escapes and you’re golden.
Scared Bird
Exclusive to the south dungeon, this guy draws aggro from every enemy in the room and you’ve gotta stop them killing him.
Seed Pods
Exclusive to the central dungeon, these viney seed pod things fly away at the end of combat and you’ve gotta kill them before that happens.
Shrines
If you come across a shrine in the game, it is important to consider which shrine it is before activating it. This is because each shrine has a different effect, and some may not be beneficial to your current situation. It’s best to take a moment to assess your current needs and decide whether activating the shrine will be helpful or not.
Hearth Shrine
Statue of a bird, has a flame icon on the ground. Heals you to full, maybe save it for if you need it.
Tome Shrine
Statue has a book, ground icon is also a book. Puts all of the cards in your grave back into your deck so that you’re not in danger of running out.
Sword Shrine
Statue has a sword, ground icon is a swirl, there are frozen enemies nearby. This one is a combat challenge, once you activate it the enemies will come to life and the chests in the room become openable. Fight it if you’re up for the challenge. (The frozen enemies are technically props, so if you have a card like Polymorph you can eliminate them before activating the shrine)
Jar Shrine
Statue of a fairy, usually found in safe rooms. This one explains itself when prompted, but essentially you can give up half your shards to ensure that your card packs (and the other half of your shards) that you’ve already collected aren’t lost if you die.
Quill Shrine
Statue has a quill, quill icon on the ground, in the first room of a floor. This is a save statue, I recommend using them in case something buggy happens.
Rope Shrine
Statue has a rope, rope icon on the ground, found exclusively(?) in treasure rooms that have fishing spots. I don’t actually know what this one does. I assume it affects your fishing line in some way.


