This is meant to help anyone who is struggling with the permadeath mode by showing the best route to climb in order to maximize your effectiveness and safety.
Introduction
Climbing is the essence of what most rage games thrive on. Progress is slow, and even the smallest mistakes can take away hours of your time spent trying to get to that point. Peaks of Yore is notable in being a game about climbing without the same kind of crushing difficulty. The climbs are segmented, The falls are short, and ropes provide both a safety net for failure, as well as making the trip back to where you fell from much quicker.
The mode YFYD (You Fall You Die) Is a step into a world where the game didn’t deviate from the path. Fall from 6 meters or more, and all of your progress in the mode deletes itself. You do survive falling into water, but that is only a small reprieve on a handful of maps. The mode is optional, but many achievements are tied with it, making it mandatory for 100% on steam.
This guide is to help in getting said achievements, as well as general information that might be helpful for people wanting to do speedruns or know more about this game. It will not, however, be a good starting point for people wanting to do the Free Soloist mode. Free Soloist is a test of ones skill that bans almost all usable items from the game. Being that this guide primarily focuses on item collection, the amount of help it may give for that mode is slim at best.
With that being said, please enjoy.
Preparation
Before going into the mode itself, make sure to beat all of the intermediate times with your stopwatch. Doing so will unlock a pipe that passively increases your climb ability (The speed that you swing upward when holding the jump button) while equipped. This pipe is the only non-cosmetic item that you will start with in YFYD mode after it is unlocked.

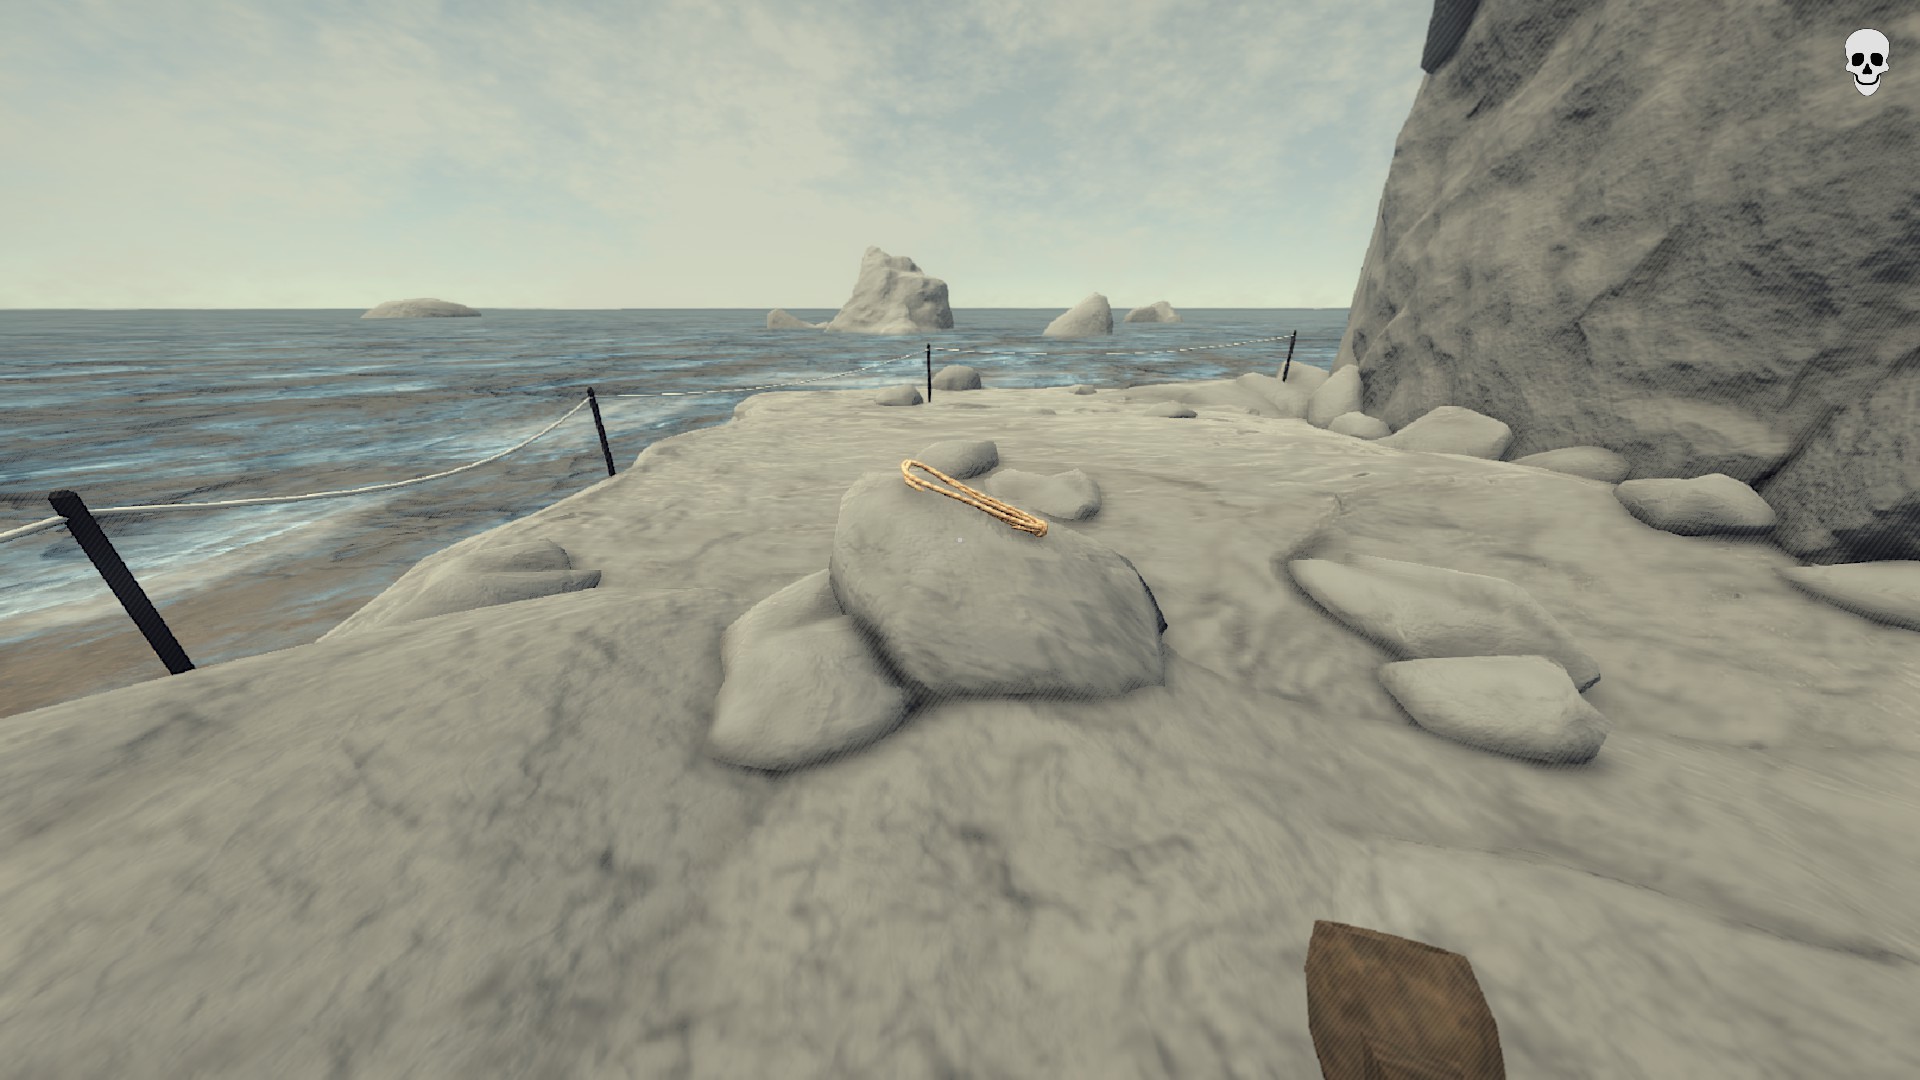
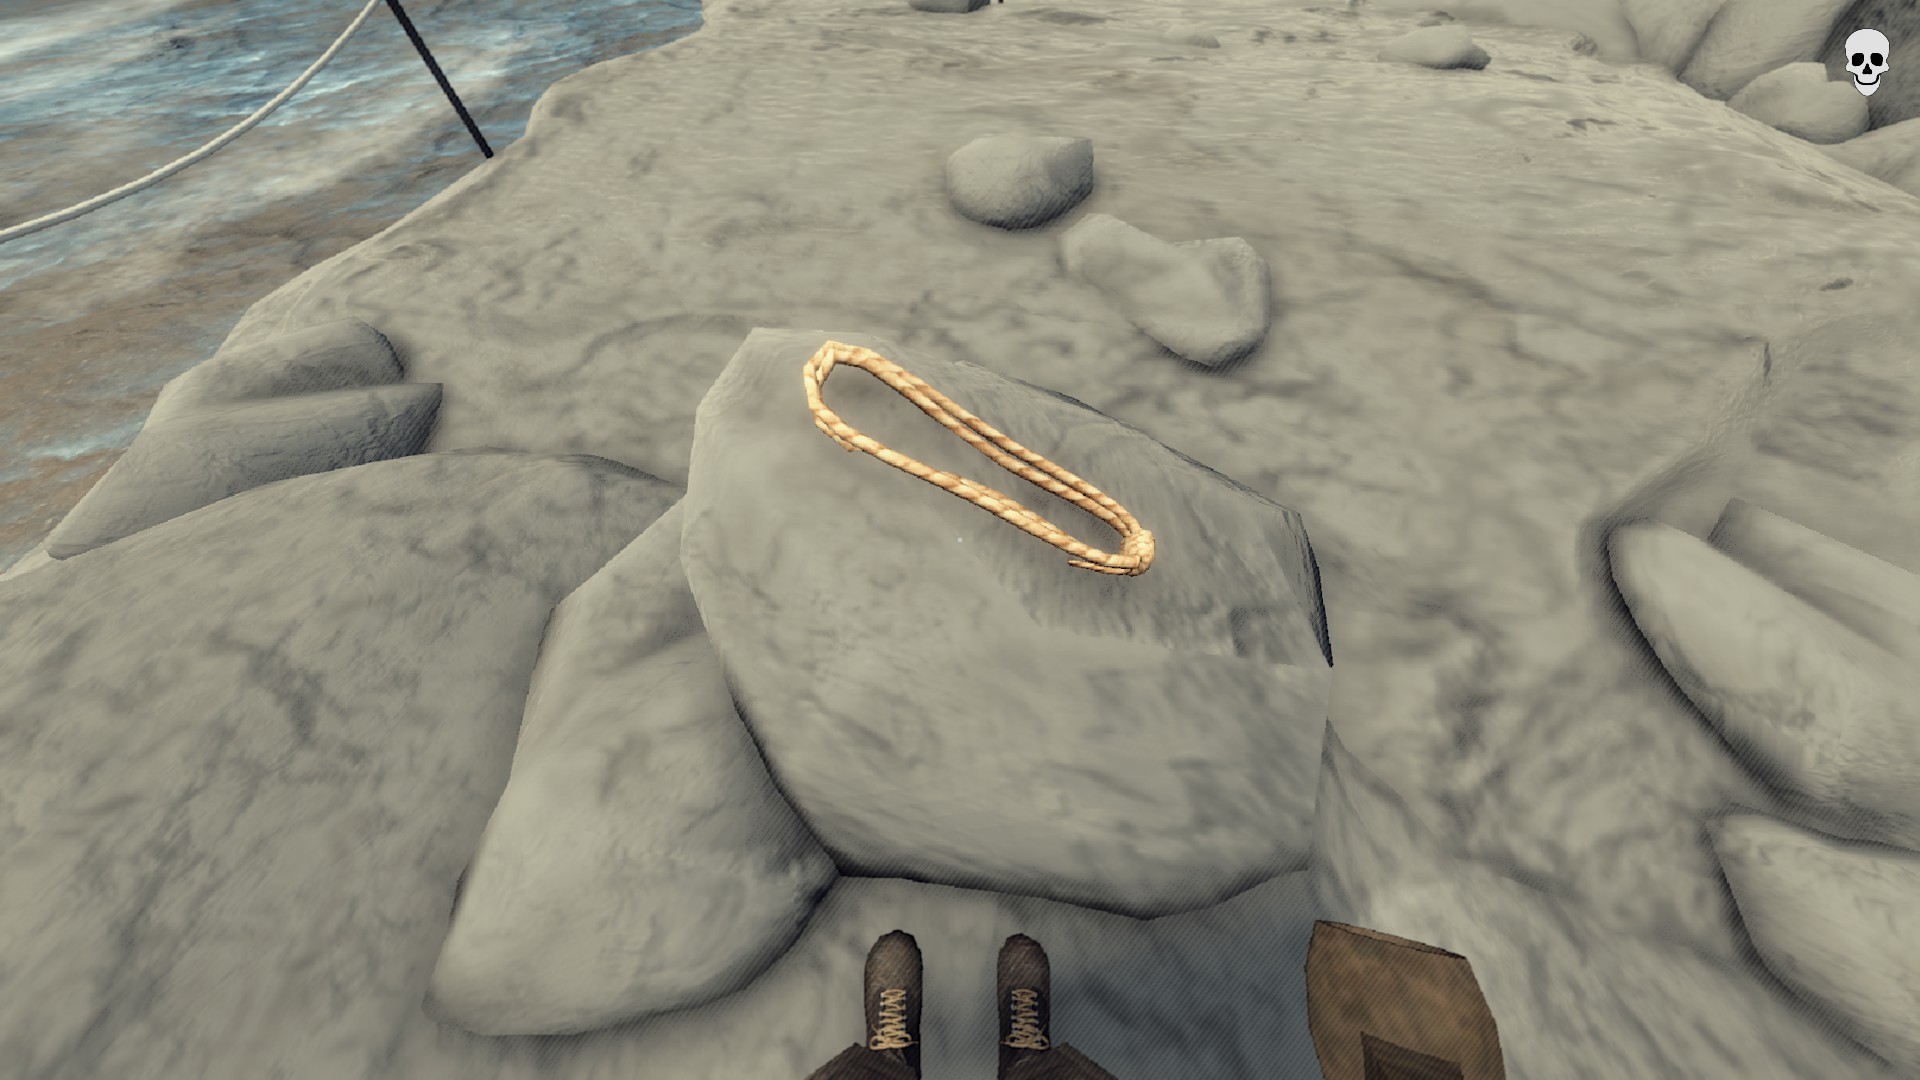
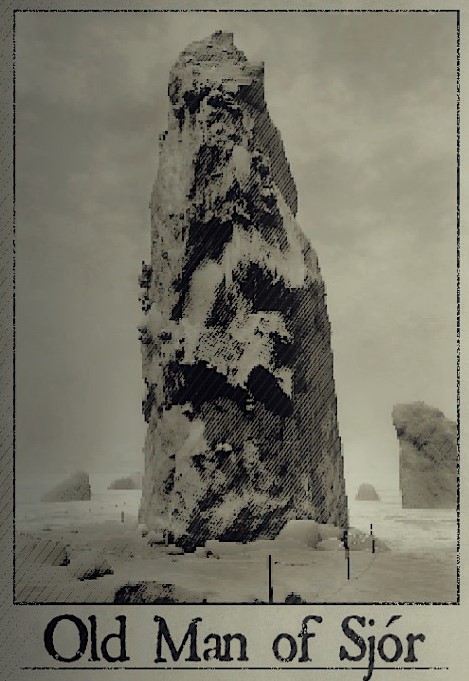
After that, you will want to visiting Old Man of Sjór for +2 ropes that are sitting on one of the rock close to where you first spawn in. You do not have to summit for the item to register. Instead, simply interact with your pack behind you to go back to your cabin.
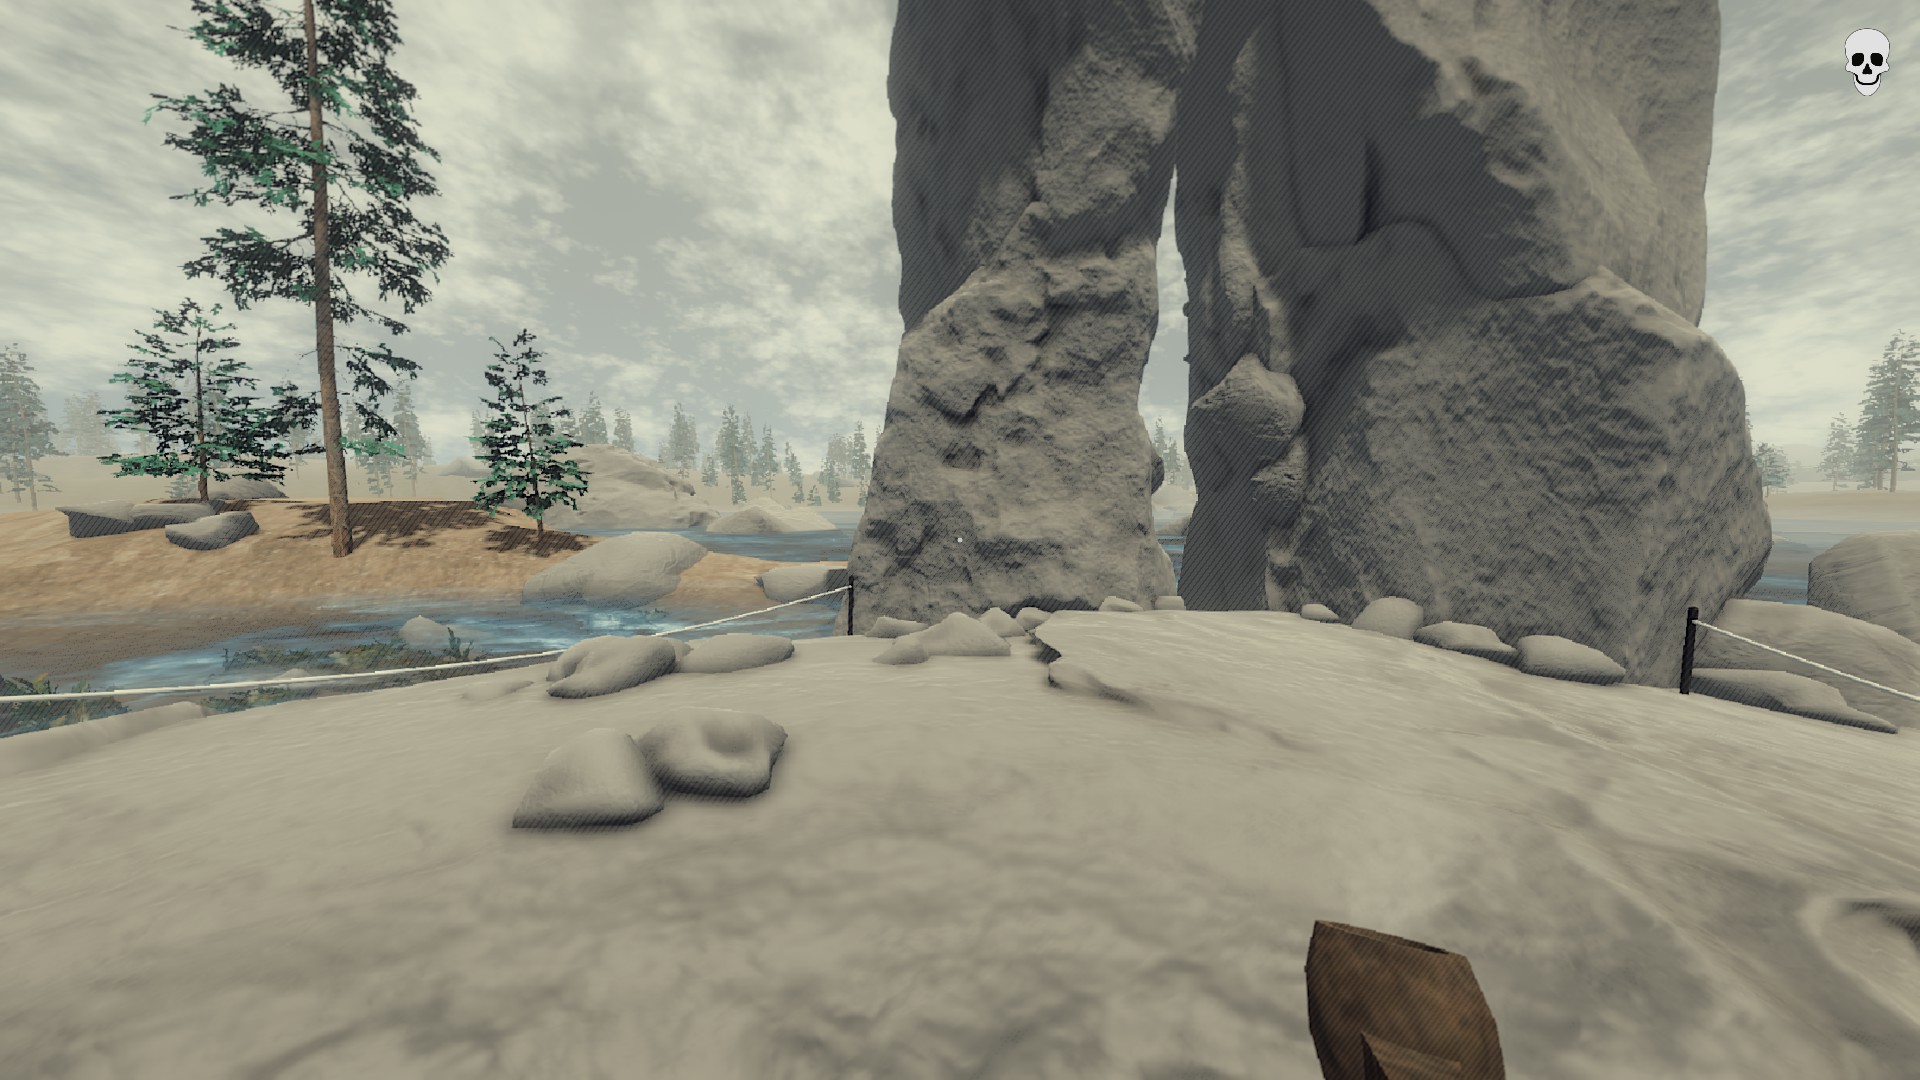
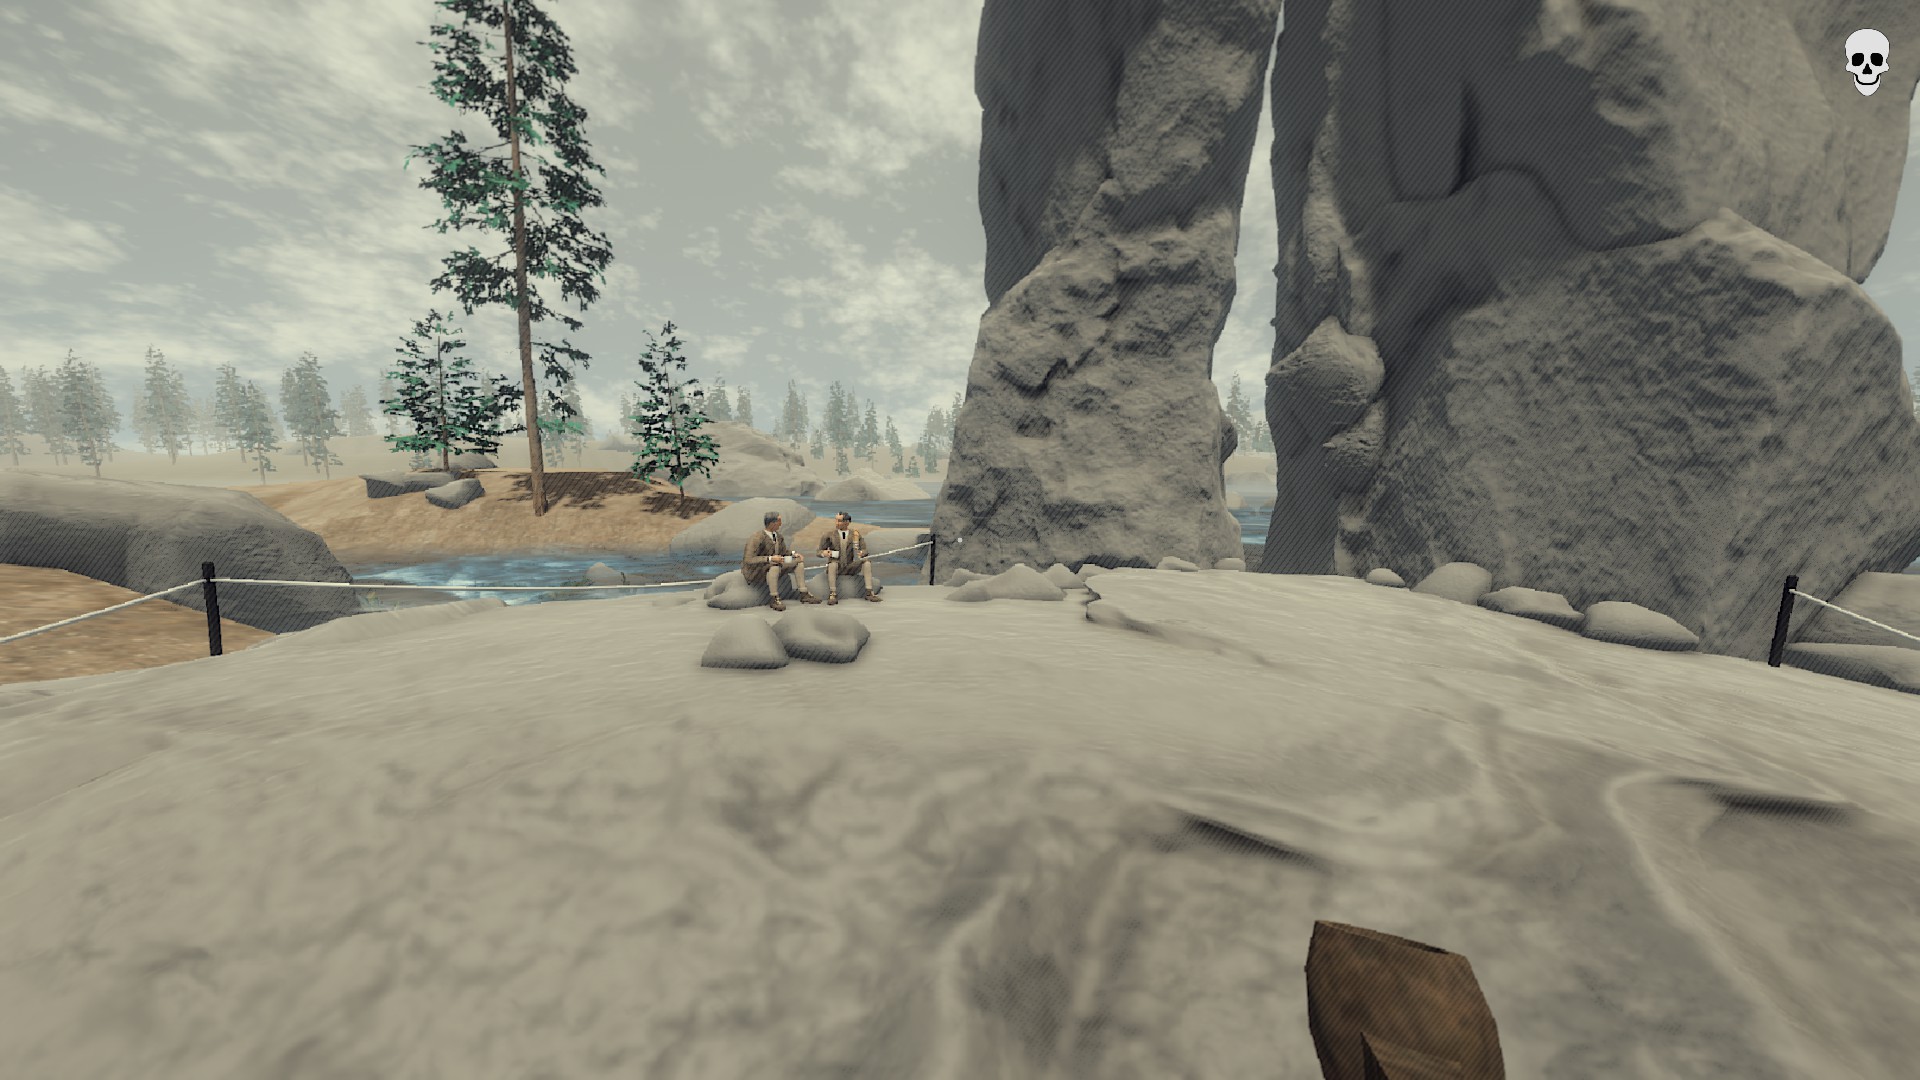
Technically, you can get free coffee at The Twins, but the brothers that give it to you don’t actually spawn until after you summit Grey Gully. The same goes for the +5 coffee at Walter’s Boulder, as you need to summit 15 fundamental climbs to unlock the intermediate catalog.
Before Grey Gully
After Grey Gully
When we plan the route, These are worth knowing about. For now, the ropes and pipe will work.
Planning A Route
Other then the milestones needed to unlock intermediate and advanced climbs, there is no set order that you have to follow through. Knowing this, The best order will depend on what you personally find challenging in any given climb, as well as what items are worth risking the run for.
The two most important Items for YFYD mode will be the ropes and photo pieces. Ropes are the games safety net, and you can never have too many. Collecting as many ropes as you can throughout the run will make harder climbs less risky. The photo pieces will increases the length of your ropes by two times after they are all collected, effectively multiplying the amount of distance that you can travel safely and halving the amount of ropes normally needed to summit without risk.
The next item that will help is crampons. These spikes can allow you to skip large sections of climbs, while also making some jumps much easier. It can also let you rest during any point of the climb by hooking into the wall by holding forward. Other then just giving a breather, it also regenerates grip strength no matter what you’re holding onto.
Coffee and chalk can be helpful in their respected situations. Coffee can let you skip large sections all at once, while chalk can allow you to set ropes while holding onto crimps. Though they are useful, There are only two collectibles for each. This means that they will not effect the routing very much, if at all.
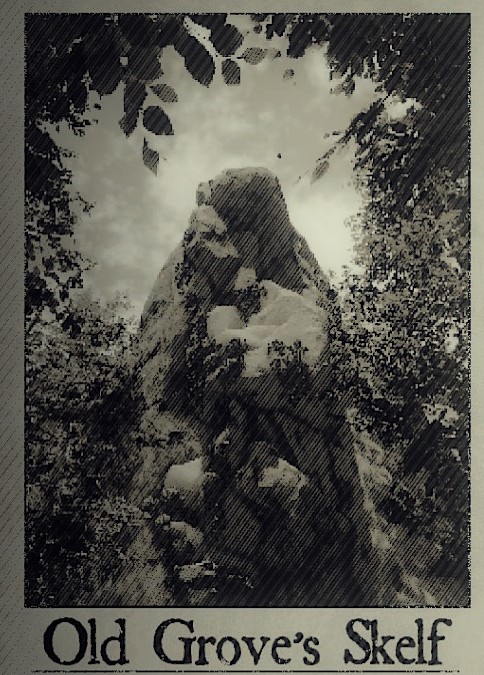
Knowing this, there are a few different ways that you can tackle the early game. Doing Old Grove’s Skelf first is recommended for the crampons, but the thorns and bird can take practices to work around. After that, any peak with ropes or water is a safe place to go. Whatever you choose to be your first four, know that you will not have the ability to set ropes while doing them, as the hammer is only given to you after you summit your forth peak.
After that, you will want to stick with climbs that have photo pieces or ropes on them. It is not recommended to do climbs that don’t have either of these items, as the main reward for getting all collectibles is only useful at the very end of the game. Easier climbs without items should only be considered
AfterYou have gotten as many ropes as you are comfortable getting. Doing all of the beginner climbs only to die halfway through a later one is time that could be saved by doing them last instead.
The route should come out to fifteen in total, as that is how many fundamental summits you need to unlock the intermediate category.
Lastly, The intermediate climbs should be done in their entirety as soon as they are unlocked, as their short length and small height means there is little to no risk in doing them. Remember that the height where falls start to become risky is over six meters, or about three of the average person stacked onto of each other. One one of the Bouldering courses go that high, and it’s at the very end of it’s climb.
If you summit all of them, you will unlock the chalk bag, the Advanced category, as well as two of each usable item.
My Personal Route
The order of fundamentals goes as follows:
6-point Crampons.
3 Ropes.
2 Ropes and Photo Piece. Over water.
2 Ropes and Photo Piece. Over water.
2 Ropes. Over water.
2 Ropes.
2 Ropes.
Over water.

Over water.
Low risk. (If you aren’t me.)
Low risk.
Low risk.
Low risk.
Low risk.
Low risk.

Photo Piece. Low risk.
Late Game
After finishing all of Bouldering, You should now be prepared to take on the advanced peaks. With twelve coffee, twelve chalk, and eighteen ropes, Most climbs should be easy enough as long as you don’t take unnecessary risks.
You could have technically gotten four more ropes by changing the routing a little, but the two peaks that have them are very inconsistent. All holds being slippery and falling rocks are both gimmicks that hold very little forgiveness, thus making the reward worst then the risk.
If you want a route, I recommend doing:
2 Ropes. Picture Piece.

2 Ropes. Picture Frame. Over water.
2 Ropes. Low risk.
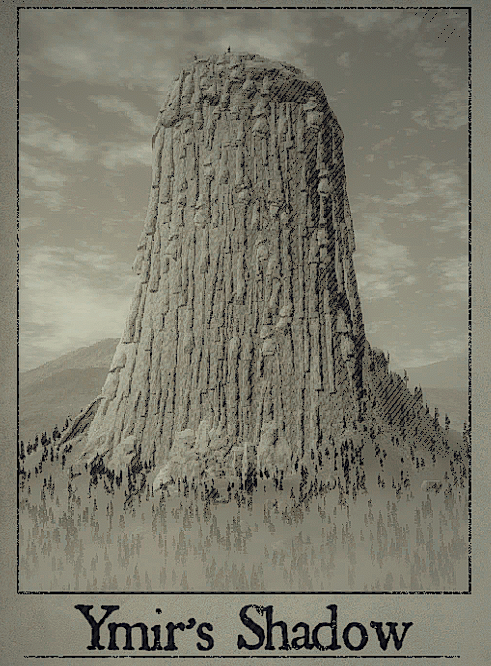
It might be a personal bias, but I do think that Ymir’s Shadow is one of the easiest climbs in the game. Most of it is flat strait-a-ways, and the challenging swings are few enough to never cut into your rope supply. Really quick with liberal uses of both coffee and 10-point Crampons.
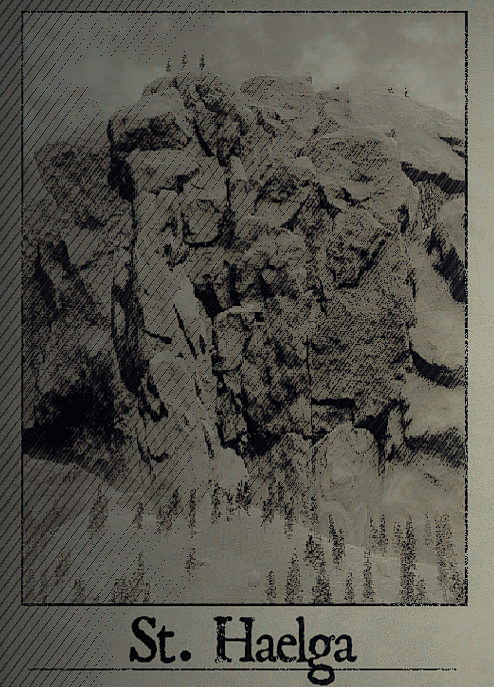
Doing both Great Goal and St. Haelga Will get you the full photo, which upgrades your ropes. With said ropes, it should now be more then possible to freely climb all of the other peaks in the game without ever not being connected to a rope. You never risk falling if you never detach, after all.
Completing the other two advanced peaks and the last five fundamental peaks will give four more of all usable items. Collecting all of the optional collectibles will also give unlimited coffee and chalk, with five rope as a bonus. More then enough for
both The Great Bulwark and The Solemn Tempest.
Conclusion
As long as you do everything you can to minimize risk and hone your own skill, then It shouldn’t be too much of a hassle to get those achievements.
Thank you for reading! I hope this helps you to better understand this game, as well as make that achievement showcase much prettier.
Oh, and try to use a mouse that doesn’t double click. Take it from me, it’s more work then it’s worth to randomly fall because the only hand holding onto something didn’t feel like staying there.