This comprehensive guide for Boneraiser Minions offers a plethora of valuable tips and strategies that are guaranteed to enhance your gameplay and help you triumph over the challenges presented in the game.
Tips for Starters
- It is crucial to play the game actively and unlock as many features as possible. Prioritize unlocking Heroic Metas as they are essential for prolonging your survival and defeating each form of Gigald. Be sure to quickly acquire the invincibility dash ability and avoid spending your money on Architecture too early in the game.
- Embrace the concept that more (stronger/blessed) enemies result in more bones, which in turn allows you to summon additional minions and relics, leading to longer runs and higher scores. Don’t hesitate to obtain the Wanted Poster relic or the relic that blesses enemies. The more bones you accumulate, the more powerful entities you can summon to excel in combat. Focus on selecting relics that amplify both your bone intake and that of your enemies, instead of opting for relics that inflict slow damage like “Rune Arc” or “Bustling Diaper.”
- Keep in mind that your minions, for the most part, cannot keep up with your speed. It is more effective to maneuver in small squares rather than attempting to kite across the entire map. Remember that this game is not like Vampire Survivors (unless you play as the Brainworm Brainiac). Strategies that work there may not be as effective here. Position yourself within a group of minions to ensure their protection, rather than being isolated and unable to eliminate or slow down incoming threats. A basic strategy involves purchasing two Well architects next to each other and moving between and around them. Additionally, make use of the invincibility granted by the Meta-unlocked dash ability (there is even a relic that reduces dash cooldown). Keep in mind that enemies can also get stuck on gravestones or architecture, and even a brief delay can mean the difference between life and death. I highly advise against using the charge-up dash, as it can quickly land you in trouble, and it won’t allow you to learn the boss’s behavior when it takes longer to defeat.
- Strike a balance between increasing your damage output and acquiring support items. If enemies are reaching you too quickly (and are not blessed), refrain from selecting Chesty Bro and focus on boosting your damage instead. If you are currently managing well, consider picking up berrybros. The same principle applies to relics. Do not overlook the Suffering Configuration relic, as although it may cause some initial harm when hit, the extra damage you inflict reduces the chances of taking additional damage. Moreover, you will soon come across the Ward Amulet relic.
- I highly recommend prioritizing the following Daemons: Auger Daemon (upgrade benevolent auger to level 3 and then use a hero soul) – this Daemon grants haste to both you and your minions, increasing movement and attack speed. Unholy Daemon (upgrade unholy monk to level 3 and then use a hero soul) – this Daemon summons other demons, reduces the damage you take by a certain percentage, and occasionally removes blessings from enemies (which can be quite advantageous). It can randomly summon any other daemon and frequently summons the powerful Diablos minions. Jinx Daemon (upgrade Jinx minion to level 3 and then use a hero soul) – this Daemon applies a large hex square debuff that enhances your minions’ damage, sometimes even allowing enemies to be defeated in a single hit. Tangler Daemon (creates a large slow field and summons hearts that can be walked over for healing). Prioritize these Daemons over others. I do not recommend converting any of these Daemons into a Diablos Minion, as the Unholy Daemon will summon them, and the support they provide is much more beneficial than the additional DPS another Daemon may offer, significantly improving your runs.
- Remember to enjoy your runs and have fun with the game. While Architecture can be helpful, it is not necessary to defeat Gigald for the first time.
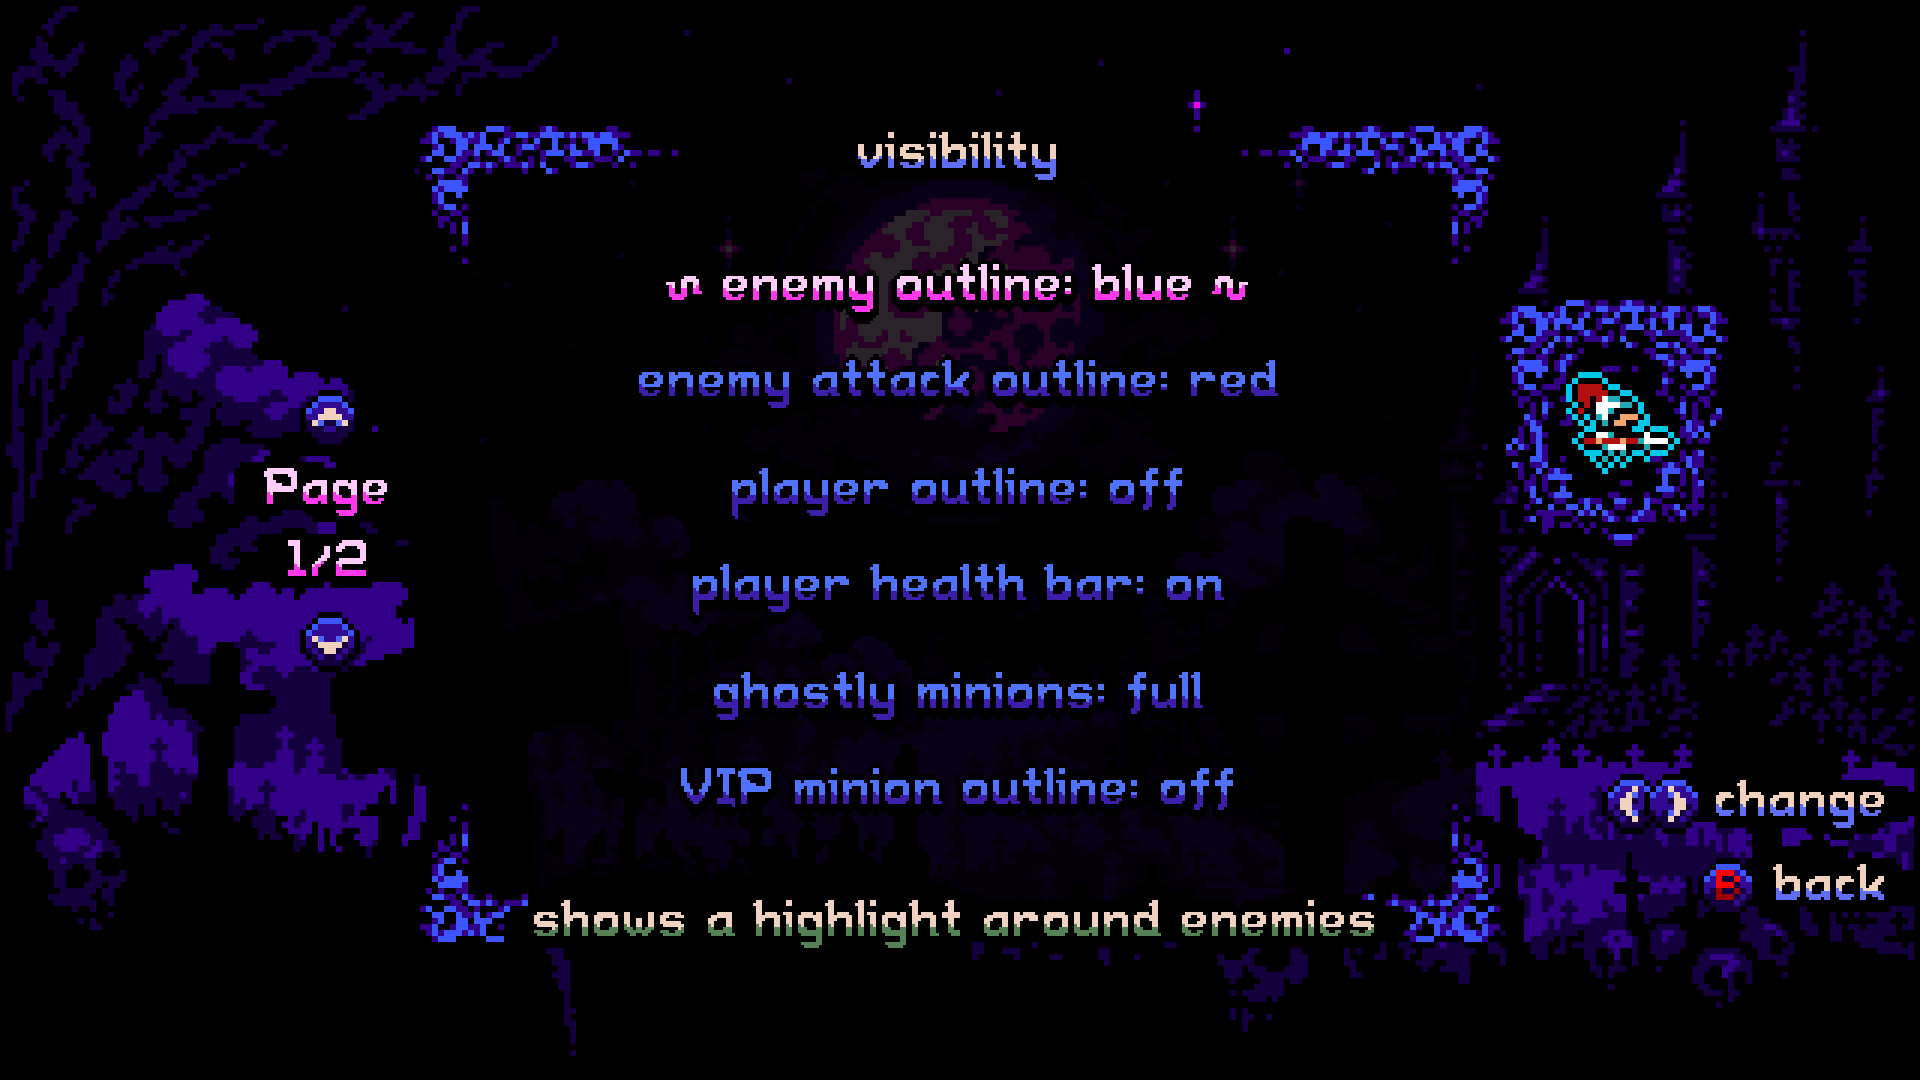
- Here are the settings I recommend to enhance visibility of attacks.
Advanced Tips
If you’re currently reading this, it’s assumed that you have unlocked everything and are quite familiar with the game mechanics.
In case you missed the beginner guide, here are some tips that may be presented in a different way:
- Utilize Giga Banish on relics like Bustling Diaper and Rune Arc to minimize their appearance in your rolls. This will increase the chances of obtaining more desirable relics such as Ward Amulet and Book of Grudges. Even if you end up with two less valuable relics from the Loot box, it’s still worth considering if there are no better options. When faced with a relic roll containing two good relics, I suggest prioritizing the one you don’t already possess. For example, if you have to choose between upgrading Scope Sight to level 2 or obtaining Broken Bones, I recommend going for Broken Bones (as the increased chances of summoning at level 3 are highly beneficial). However, feel free to make your own choices based on personal preference.
- Avoid filling your architecture slots entirely with memes like Exploding Pumpkins, Fire Lanterns, and the Curse architecture. Instead, consider including useful elements such as minion coffins, structures that boost your first summon, two adjacent wells, fruit plants that increase max HP and provide healing, the new blessing architecture/restless Monument, and rocks that increase max HP. Positioning yourself between your damaging architecture (e.g., a single Fire lamppost) and the wells will significantly ease your gameplay, especially if you move in a square pattern around them and rarely leave your minion wall.
- With the recent updates, I highly recommend incorporating more Giant Minions into your strategy, particularly the Daemon ones. They have become incredibly powerful now that they no longer restrict you from obtaining support Daemons, and they deal substantial damage. They are only surpassed by the level 3 bro minion and the level 3 Meldus minion. Aim to acquire the level 3 bro minion by the end of Gigald 2, or even earlier if possible. Avoid summoning meme minions like the joker minion and the Magick dude, as they are generally less effective.
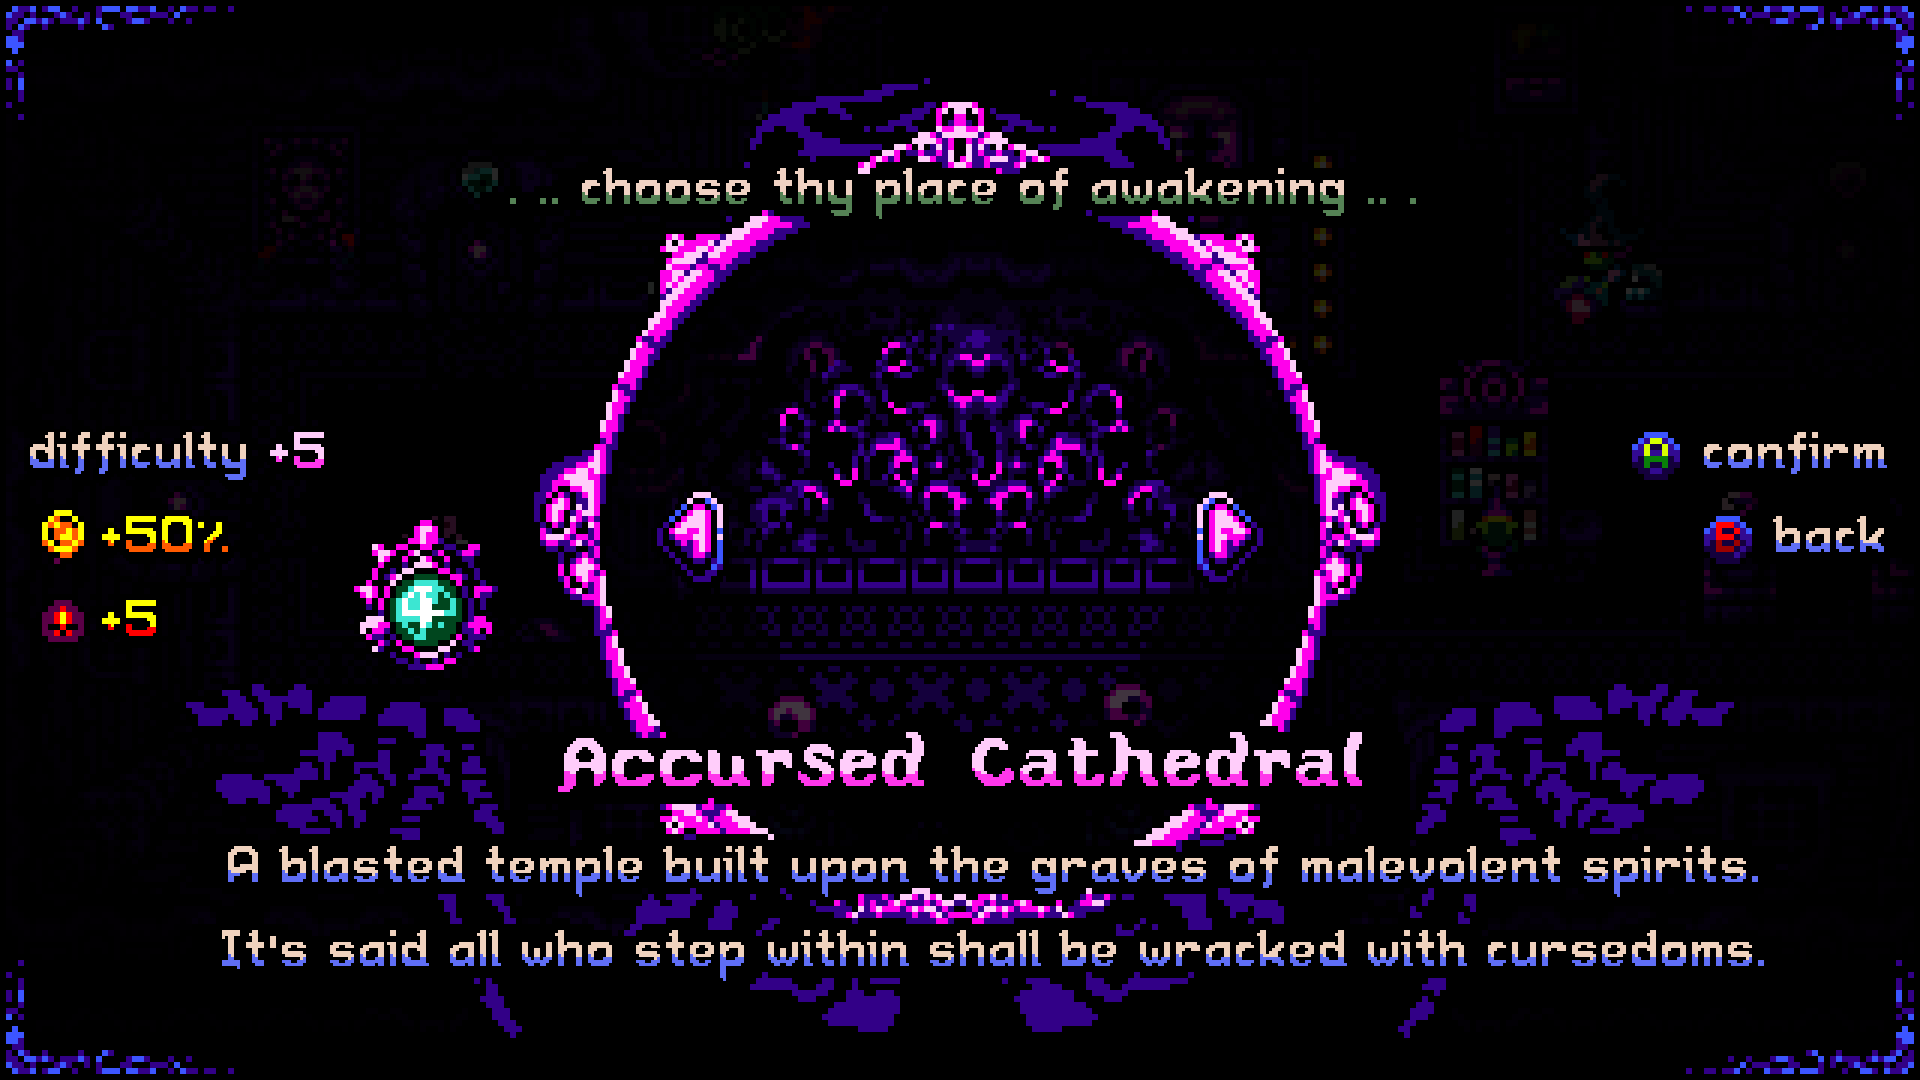
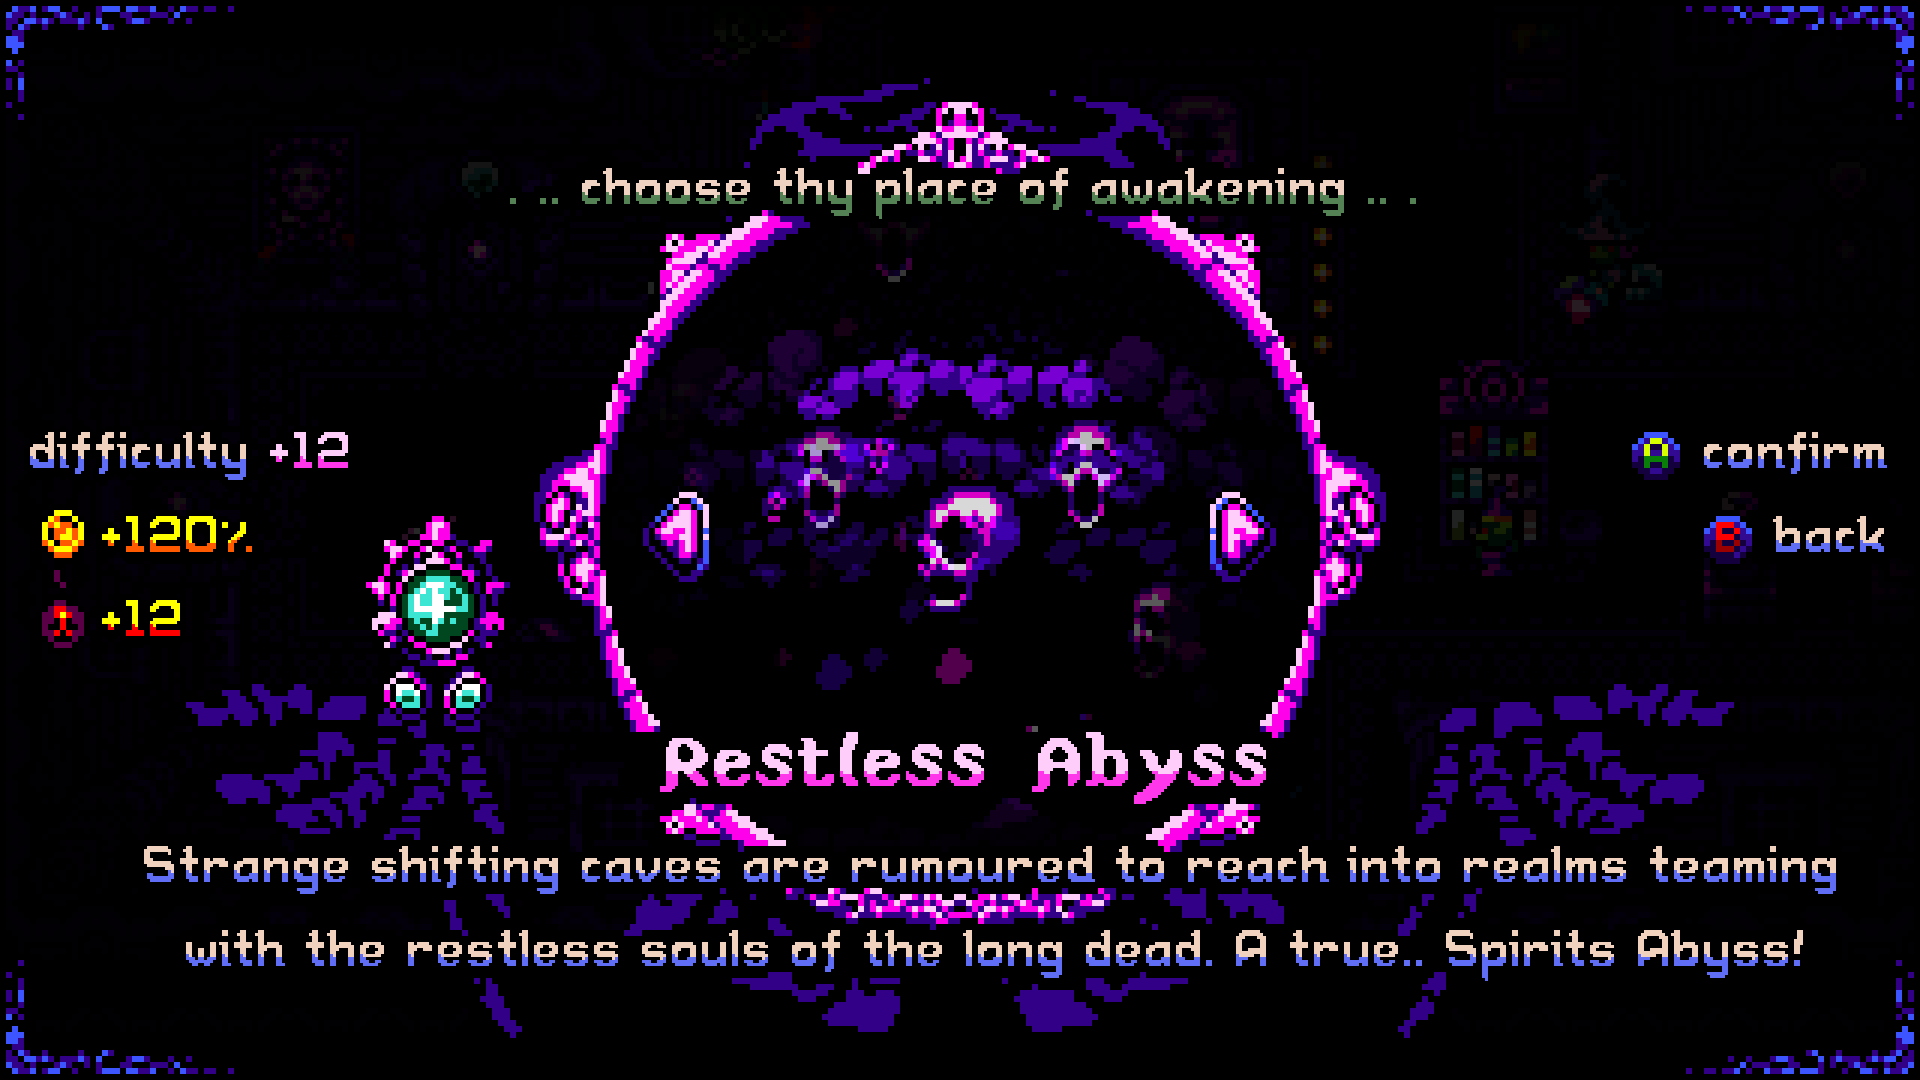
- The new Restless Abyss map can be quite enjoyable due to the strategic element of not constantly running around the entire map (except for pickups). This approach reduces the chances of being overwhelmed since enemies can only approach from three directions instead of four.
- As you progress through more loops of Gigald, he will unleash an increasing number of projectiles. If you find yourself unable to dodge a high-damage projectile, it’s advisable to take a hit from a lesser projectile to minimize the overall damage. This is particularly crucial during Gigald 3, where he launches blue, purple, and gold projectiles.
- When playing Castle Conquest, opt for routes that offer more bones or a percentage increase in score until you obtain the relic that grants bones from gems based on their score. This strategy makes Queen Gigald significantly easier.
- Each area displays varying quantities of “green gem” amulets, indicating the number of loops you have successfully completed. You can observe that I have attained the maximum number of amulets in some of the more challenging levels, thanks to my skill improvement.

This guide about Boneraiser Minions was written by
Neverlasting Fear.
You can visit the original publication from this link.
If you have any concerns about this guide, please don't hesitate to reach us here.