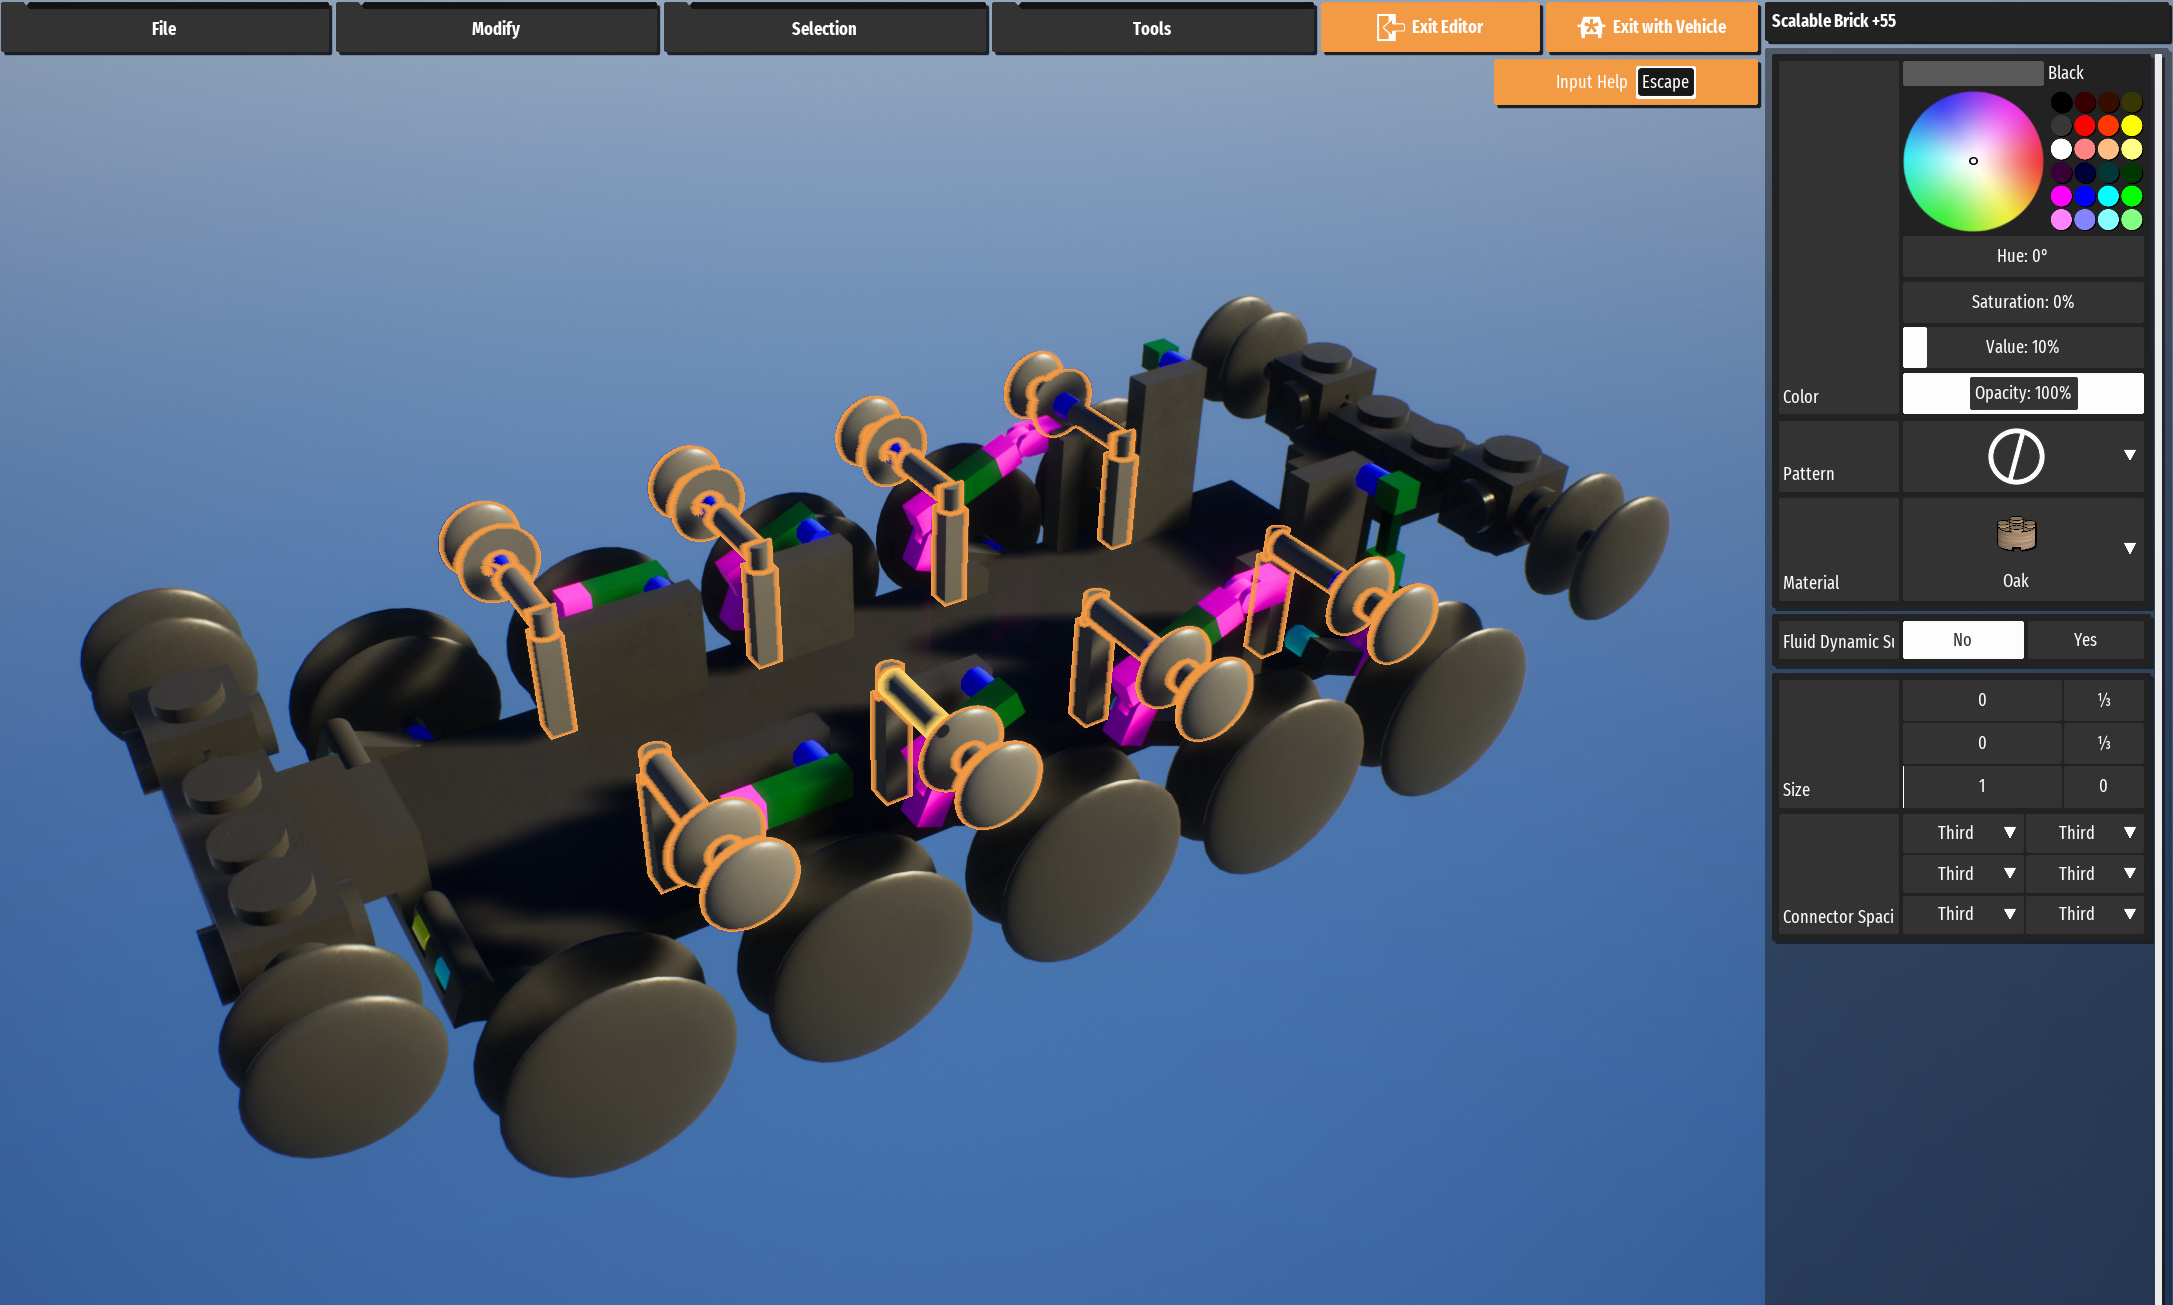
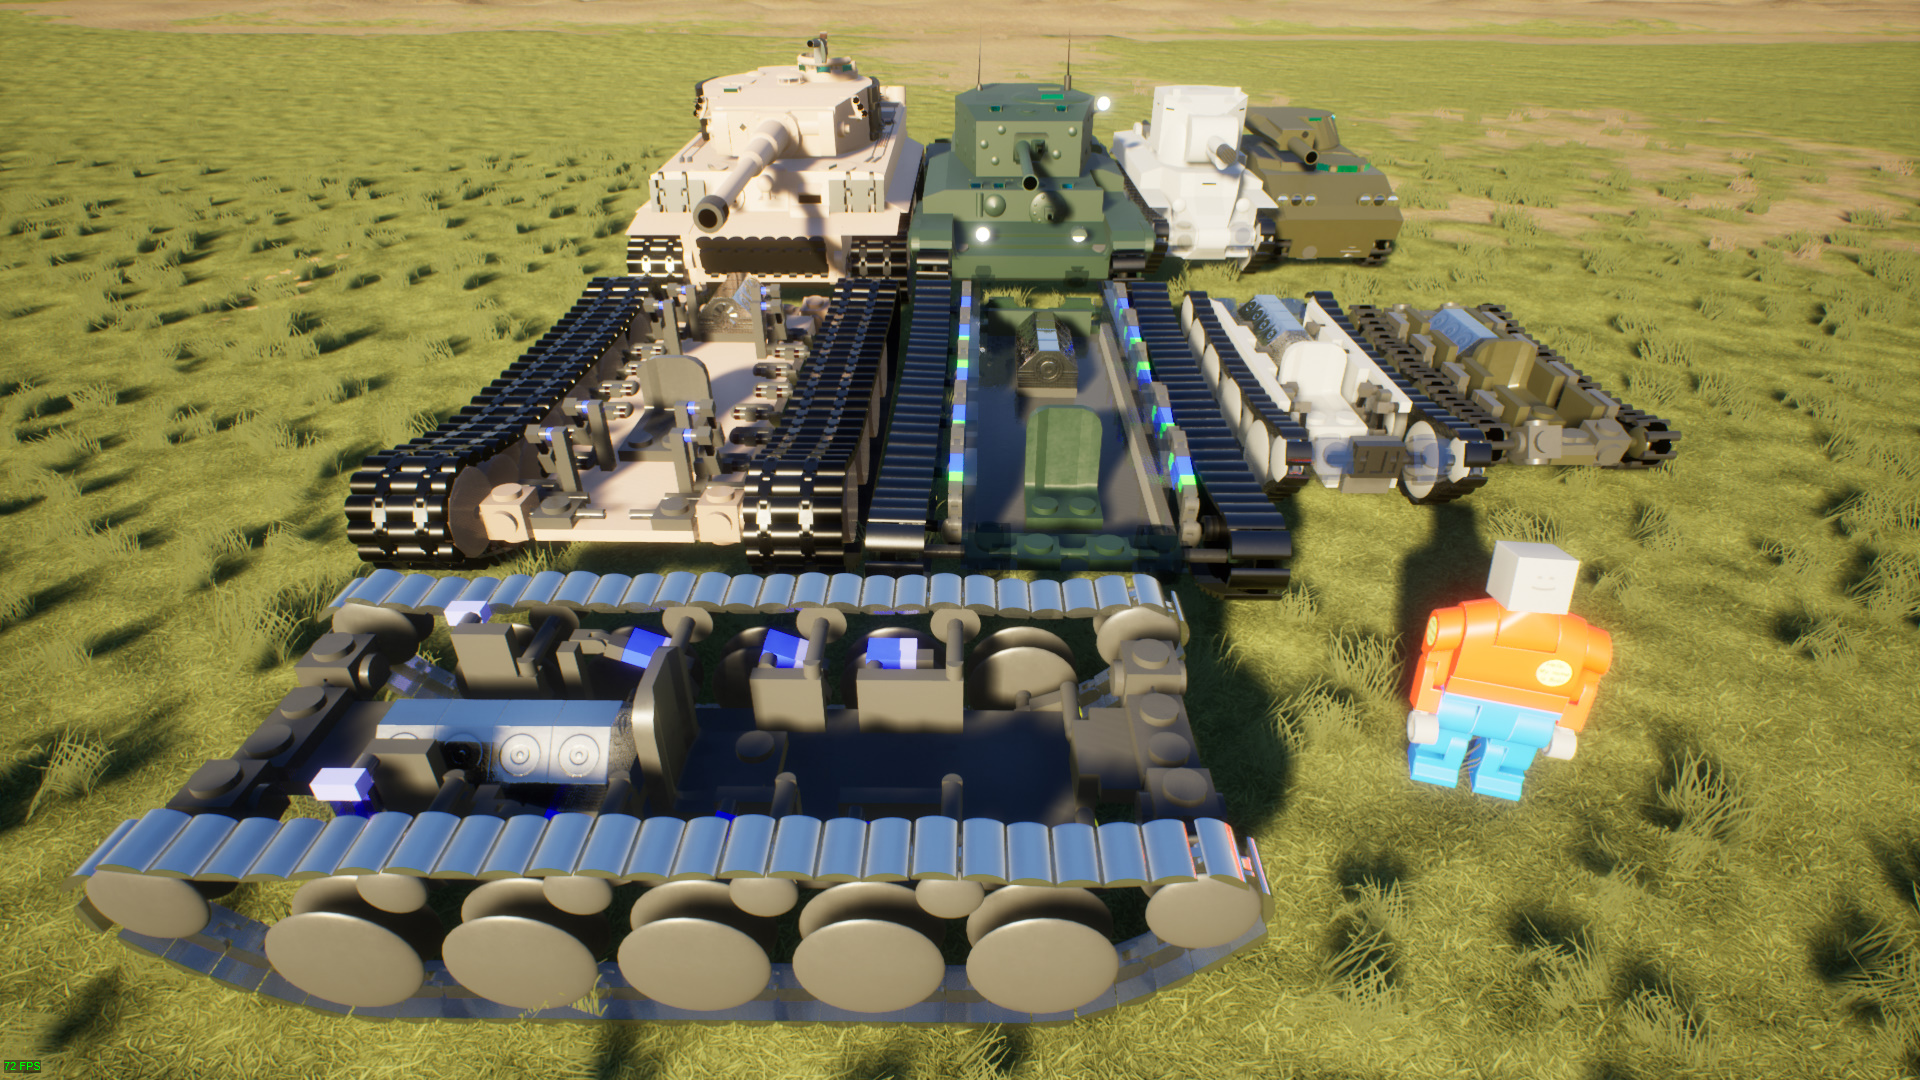
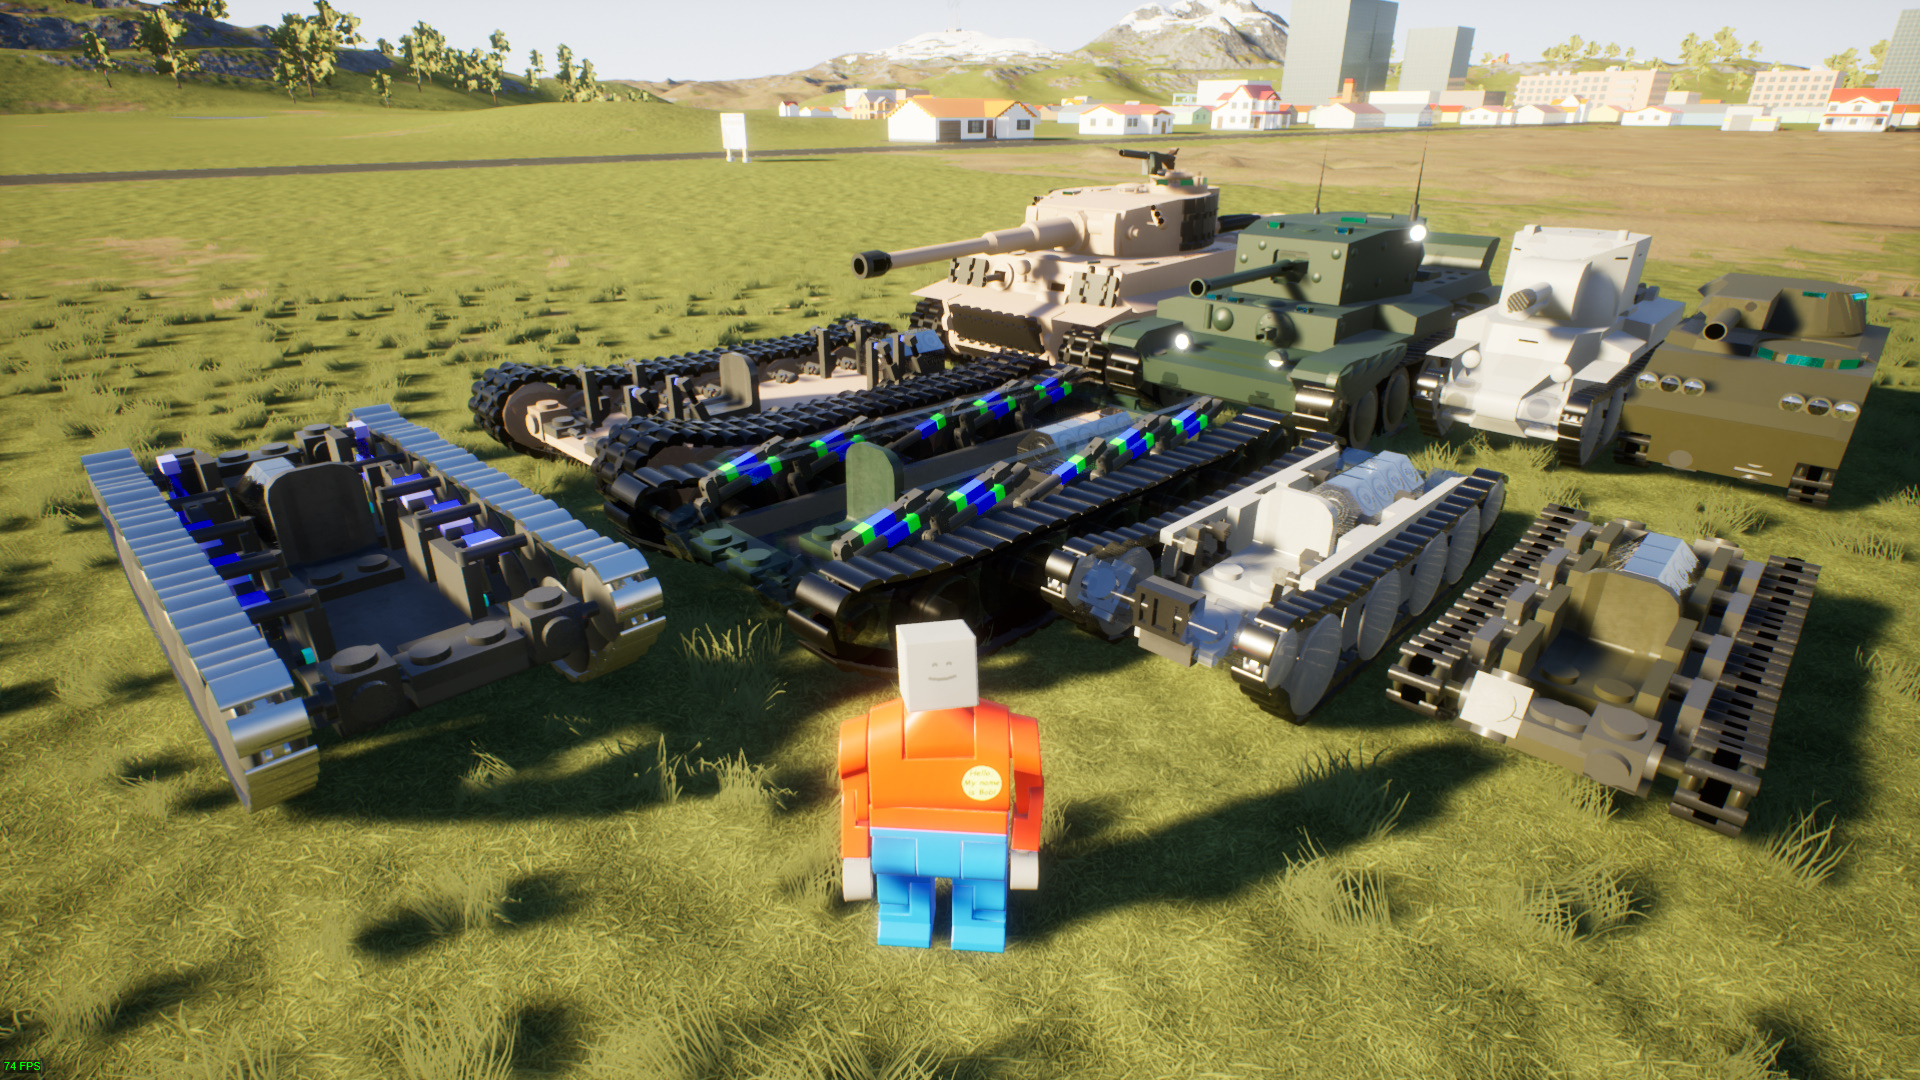
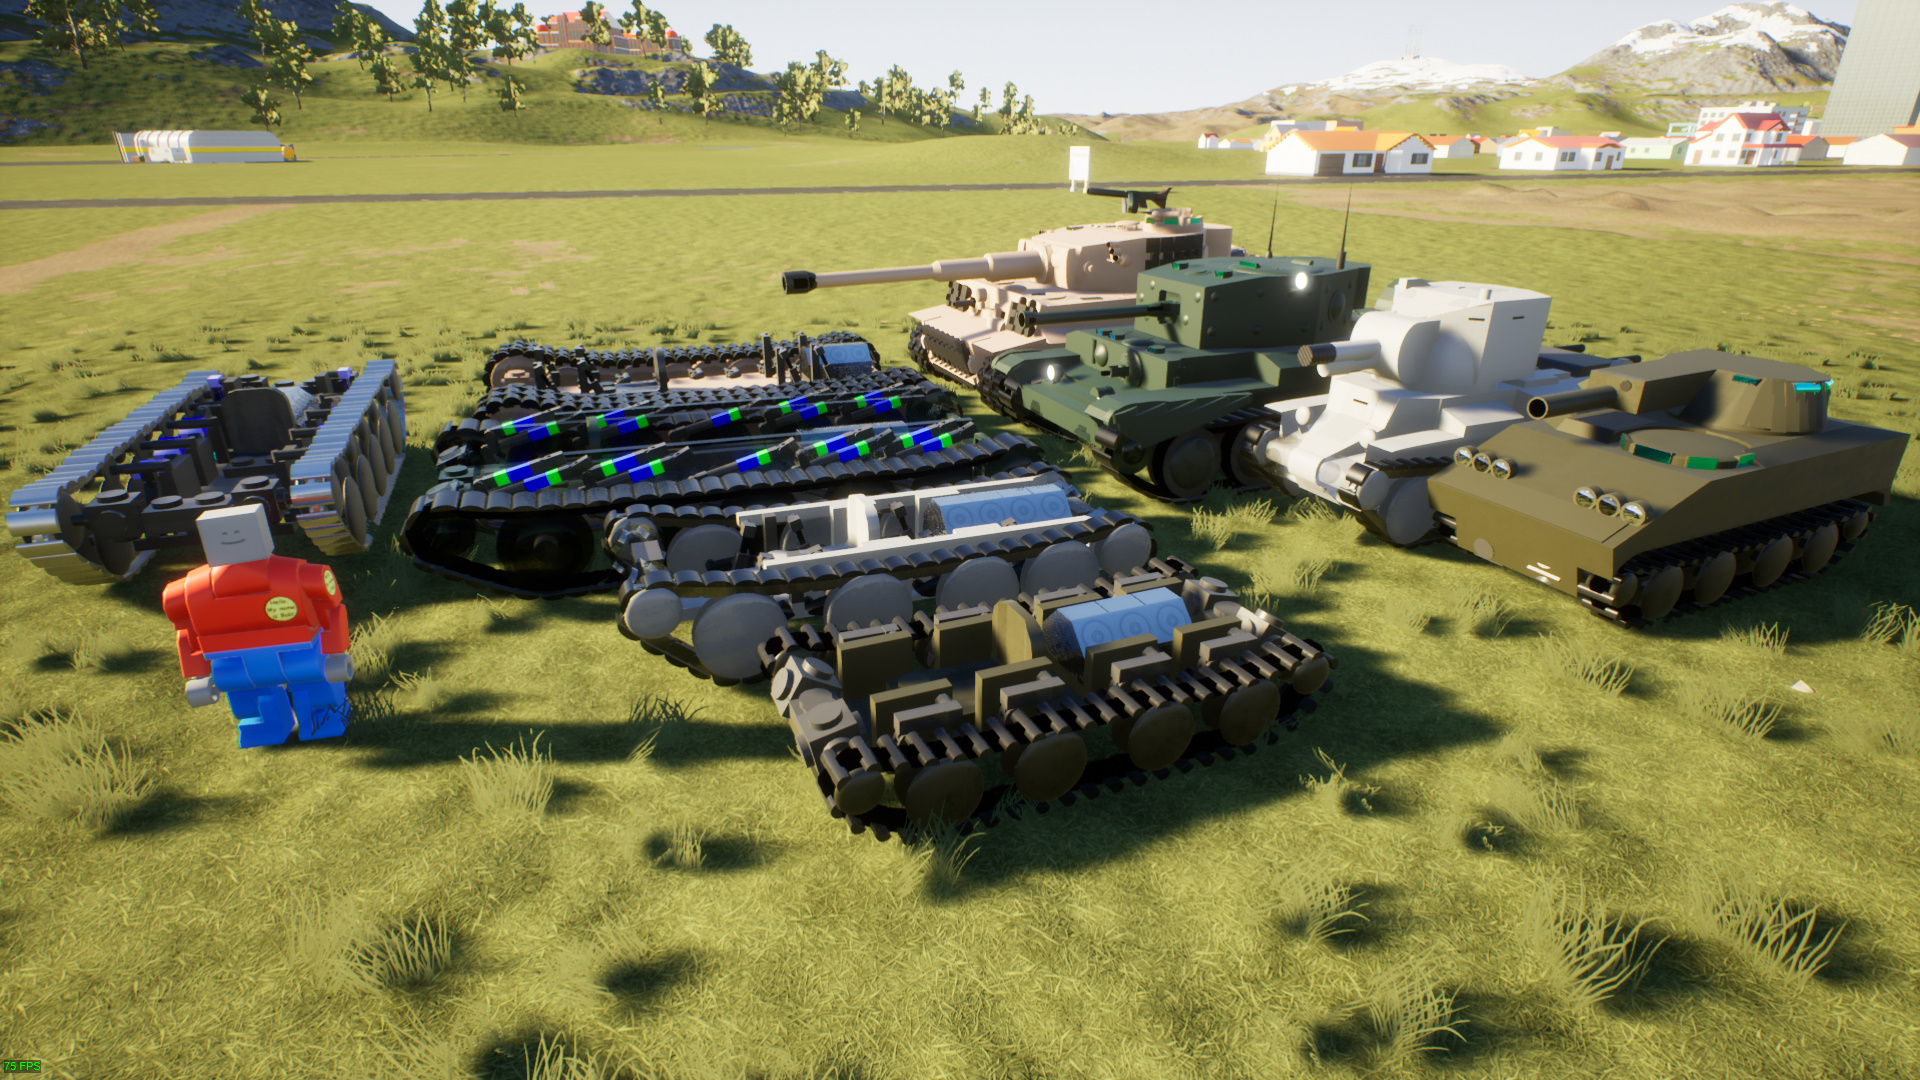
This guide will show you how to build all kinds of tank suspensions, tank tracks, and return rollers, and how to use them all together. It will show you the basics of how to build everything so that designing vehicles with functional tank tracks and suspension is easy.
Make sure your FPS is a minimum of 100. It is recommended to be at 150FPS or higher if you want a smooth experience.
If the track glitches off, just spam the reset button and it’ll fix it. These are brick rigs so glitches can and will happen.
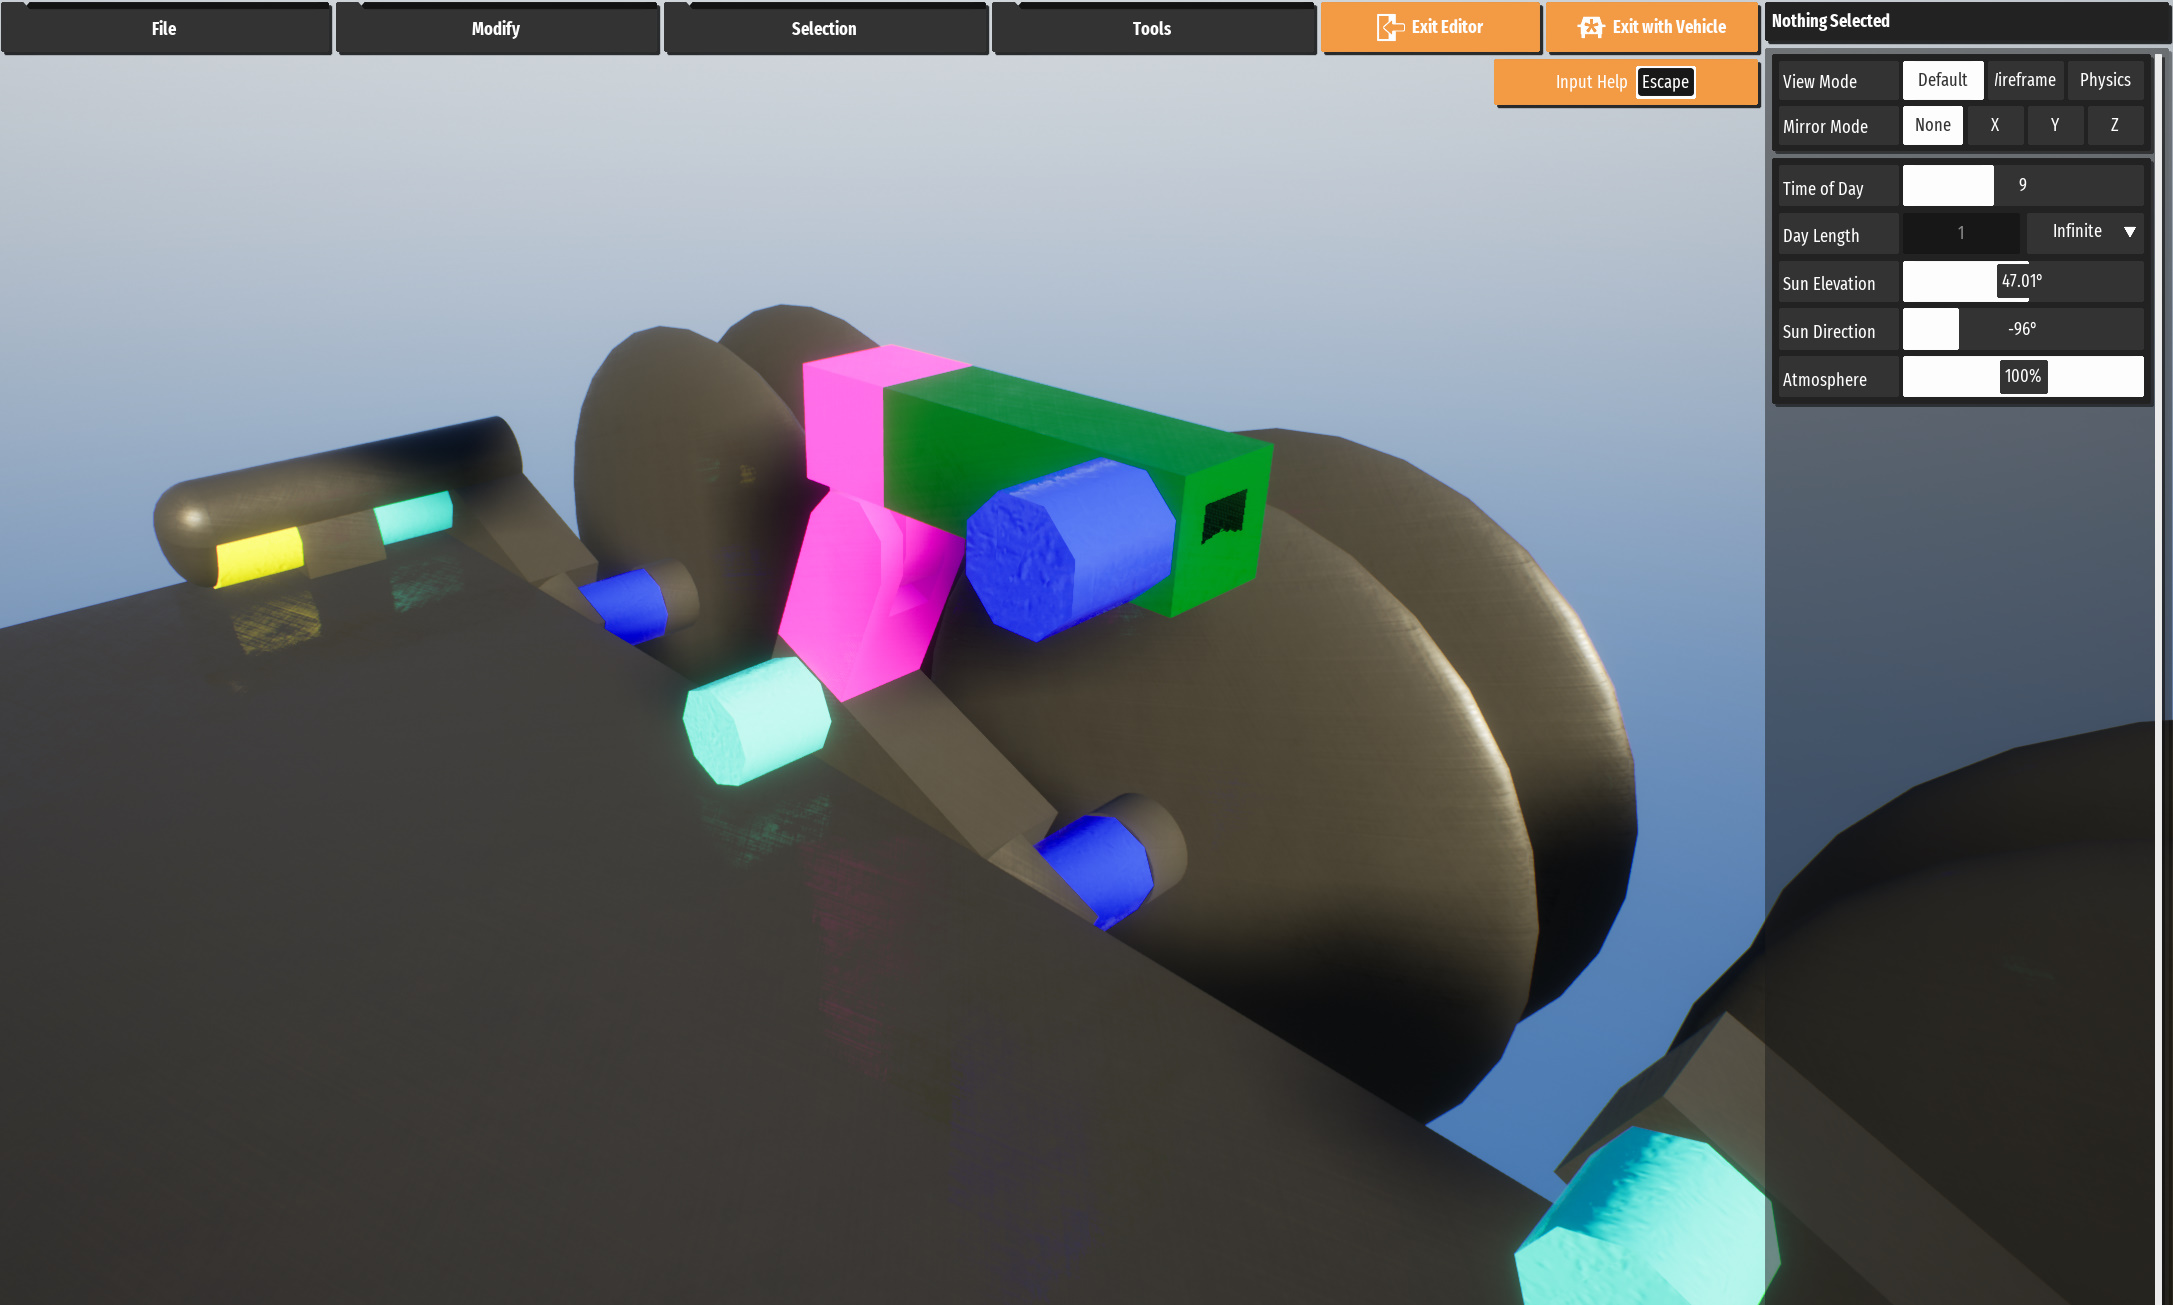
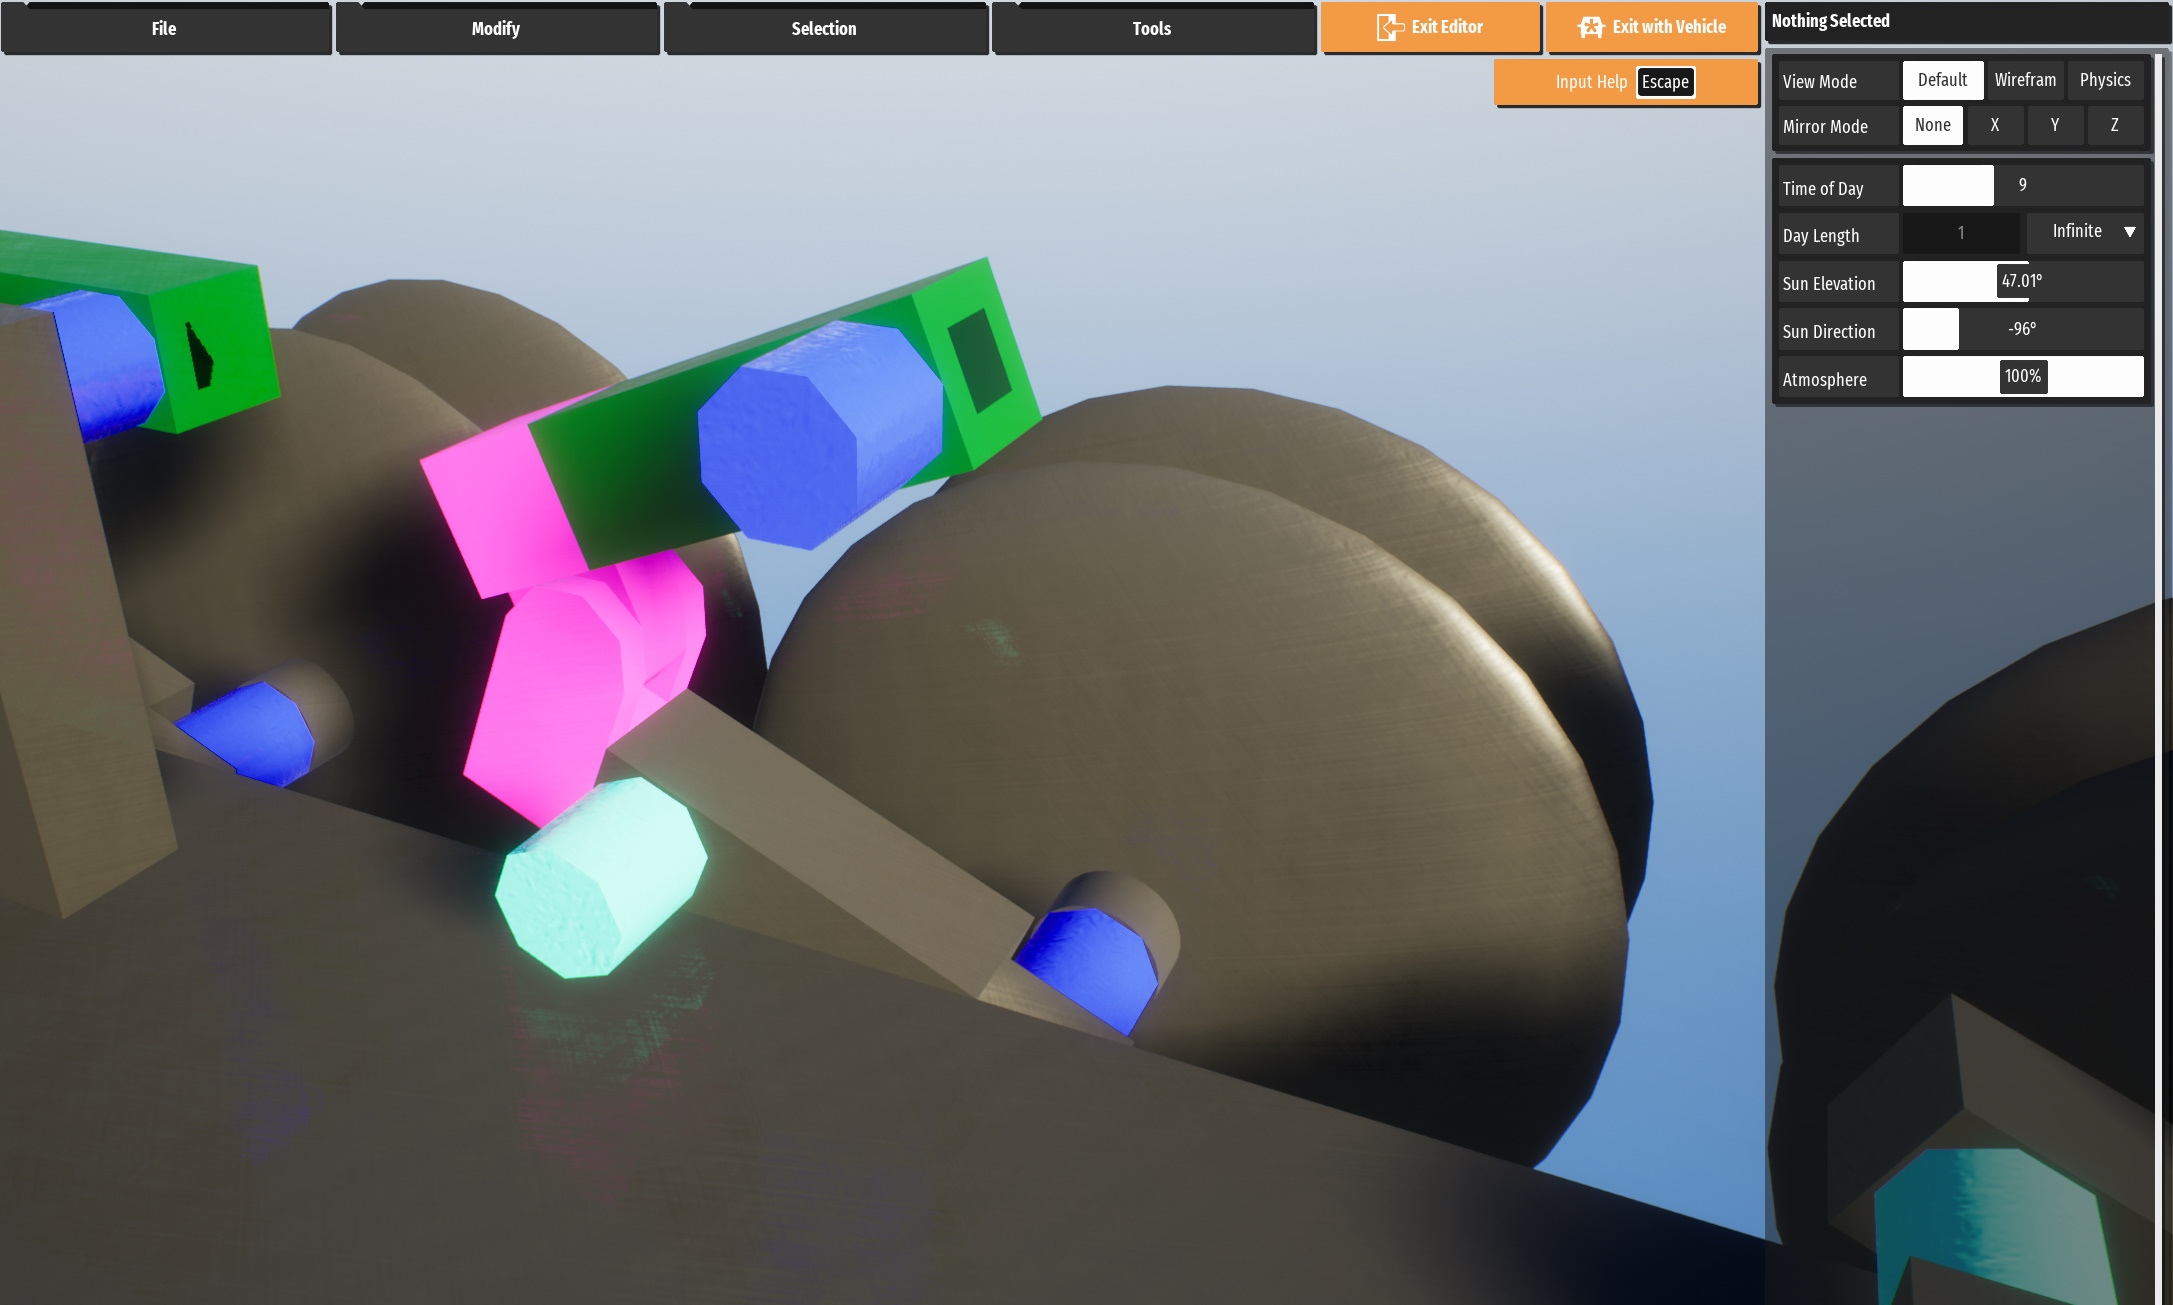
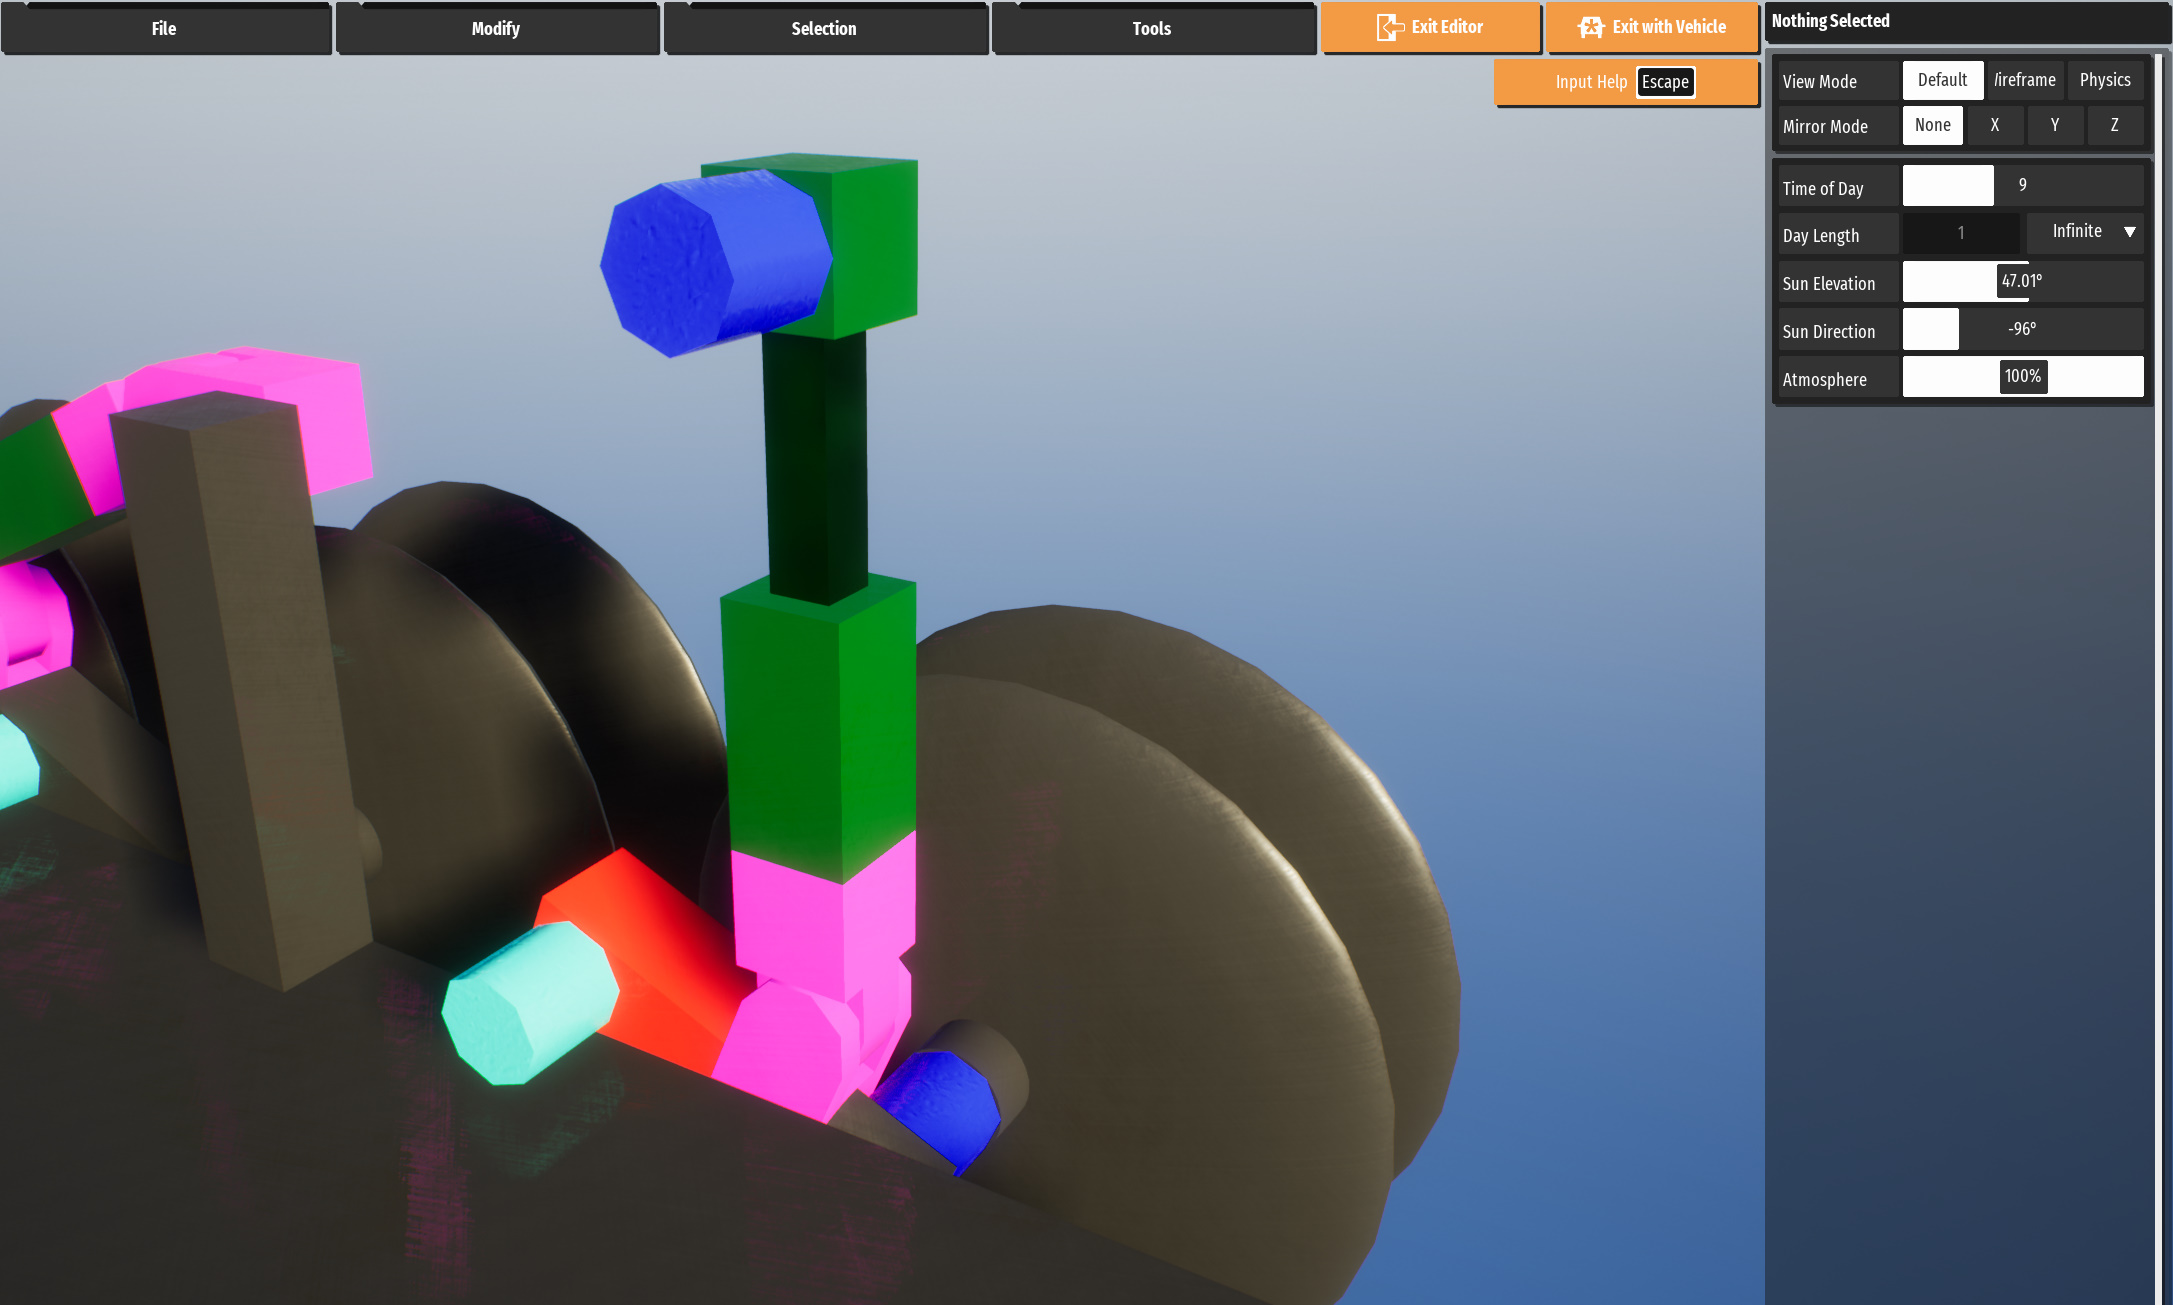
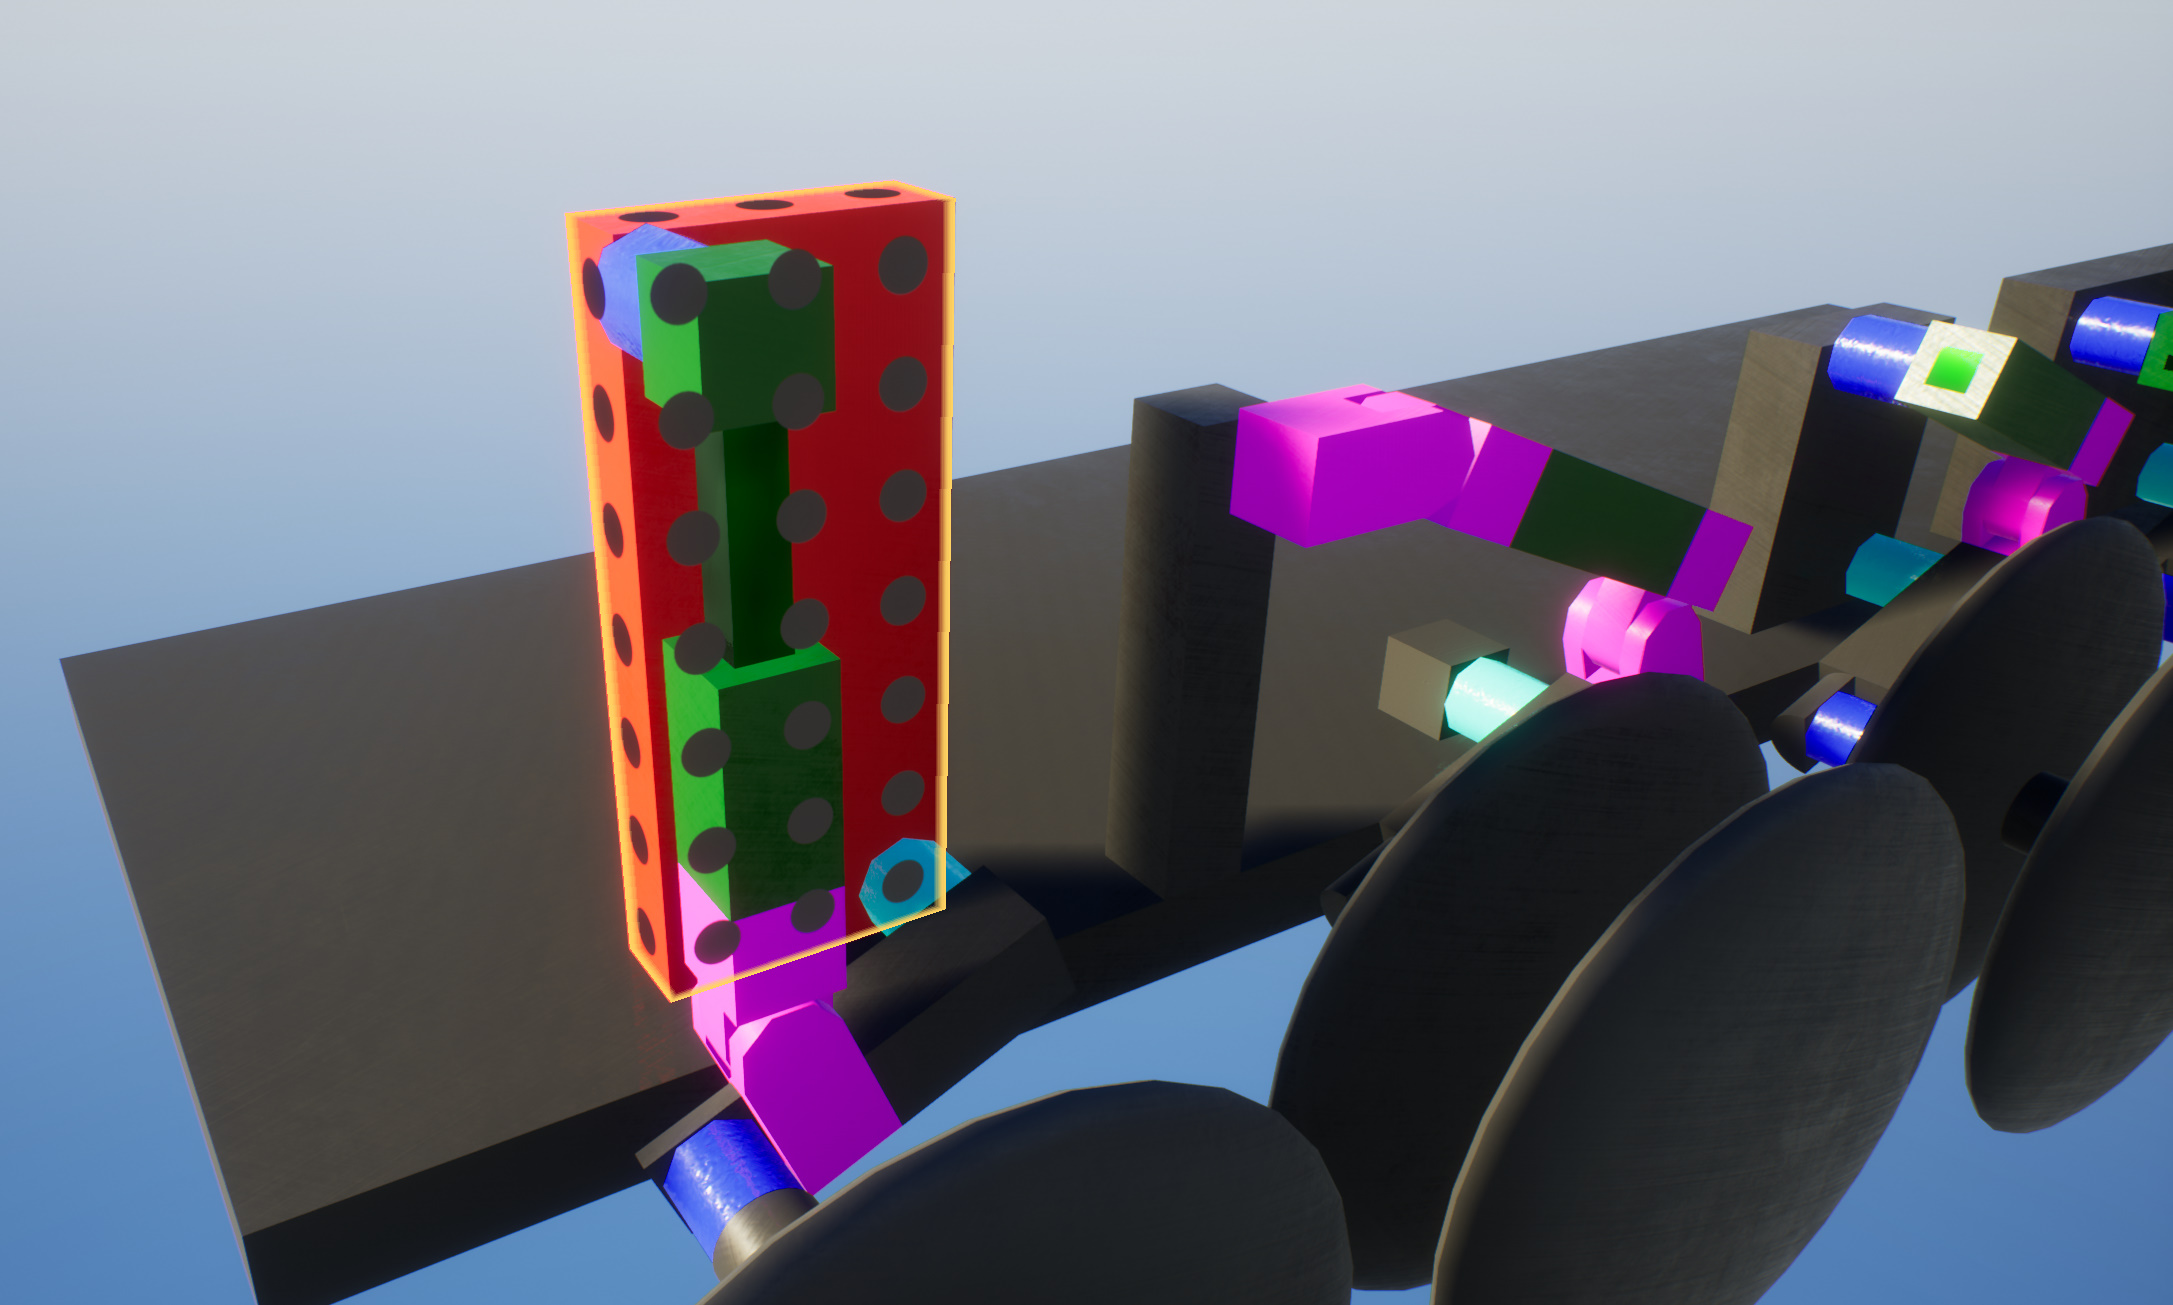
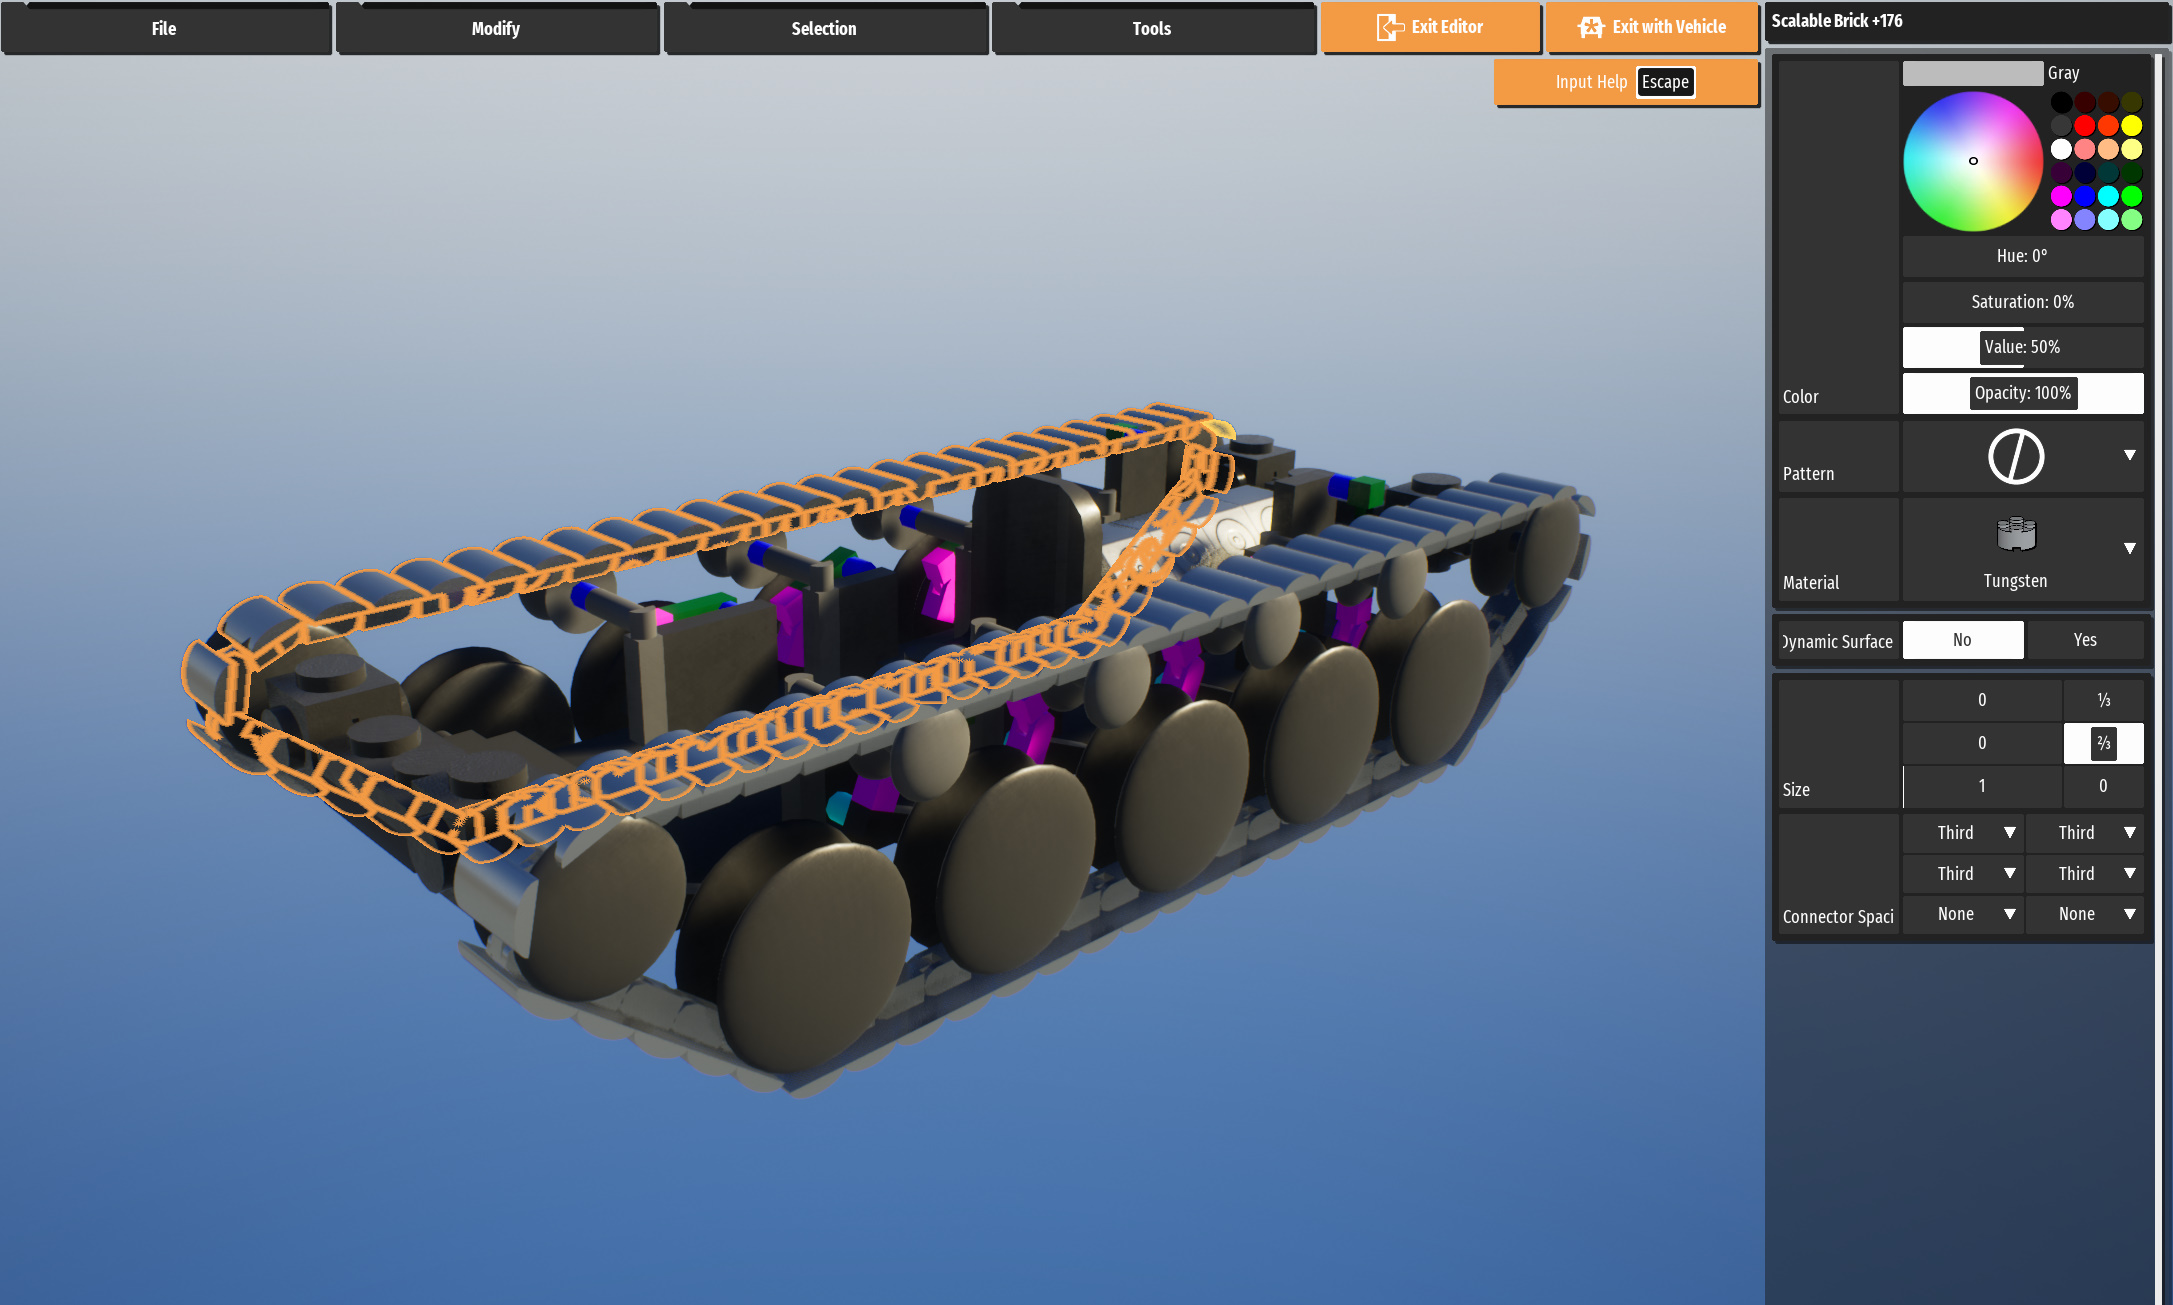
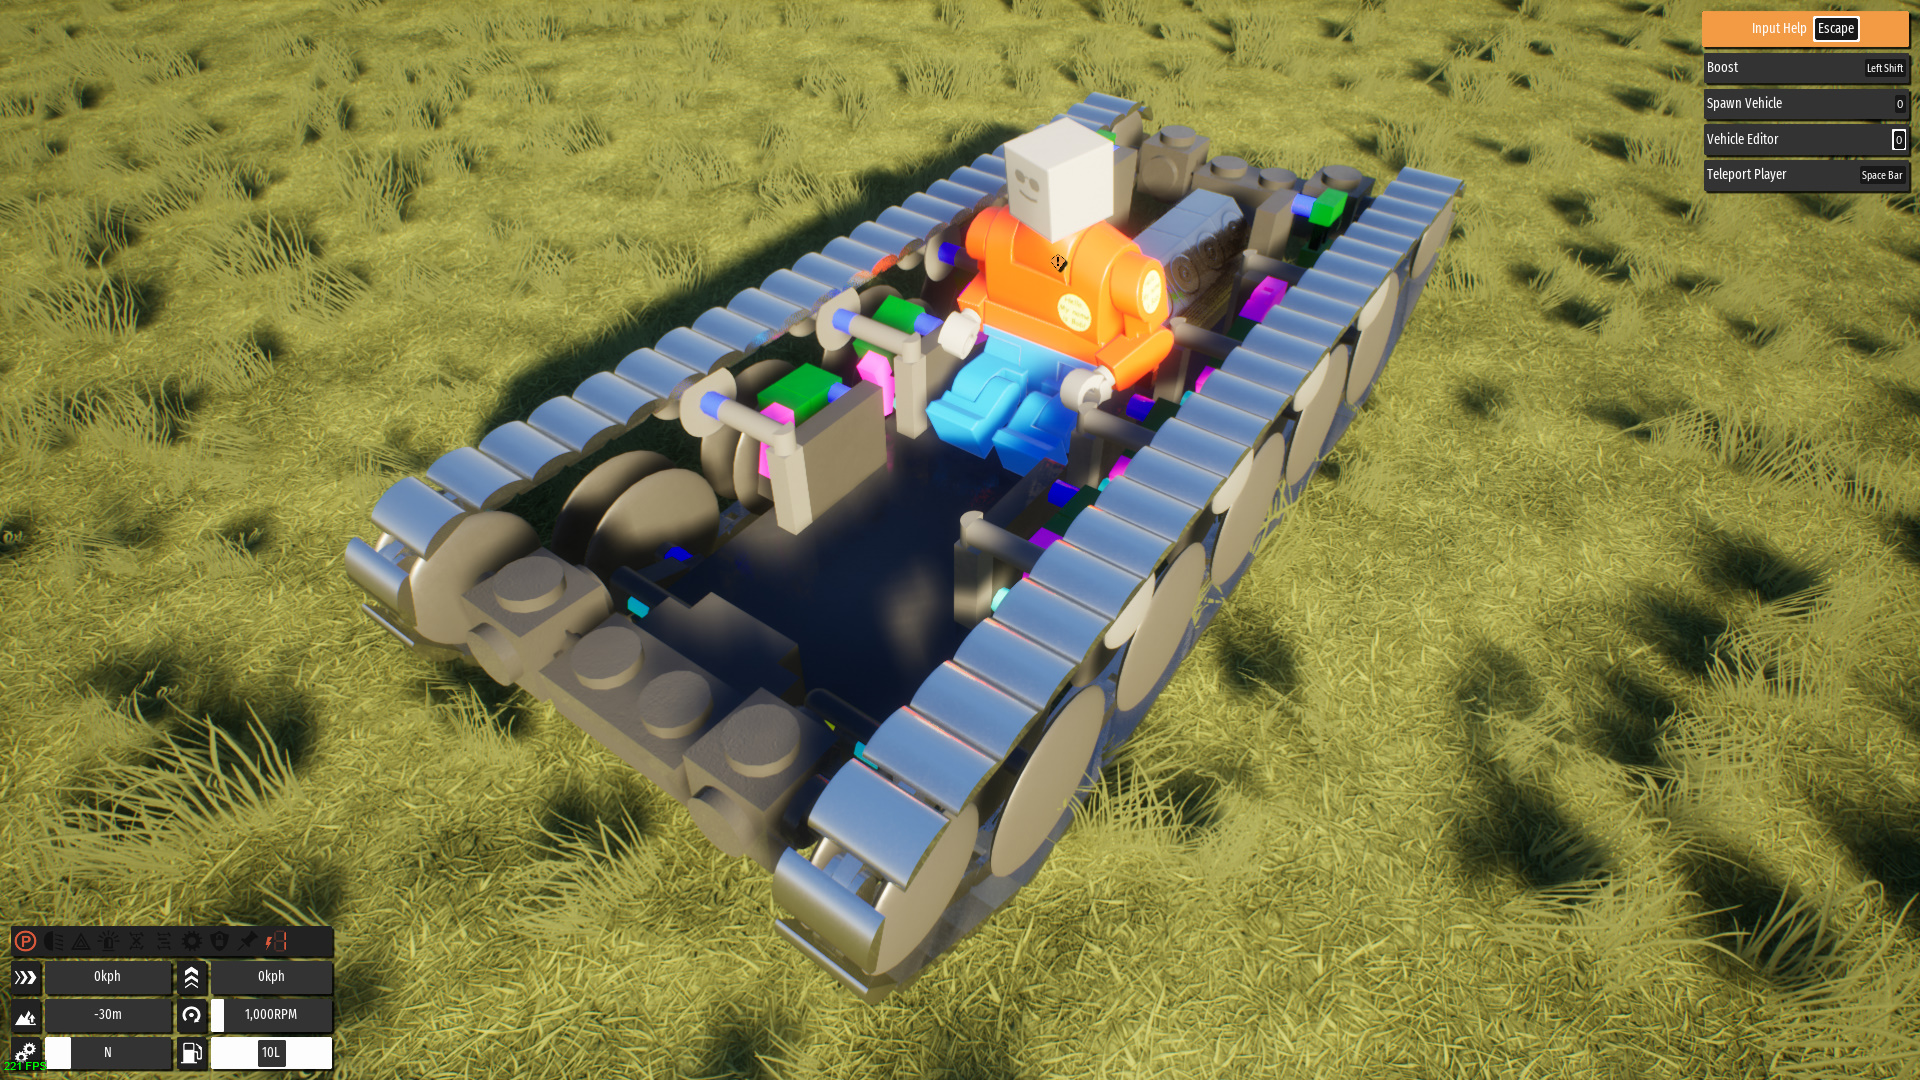
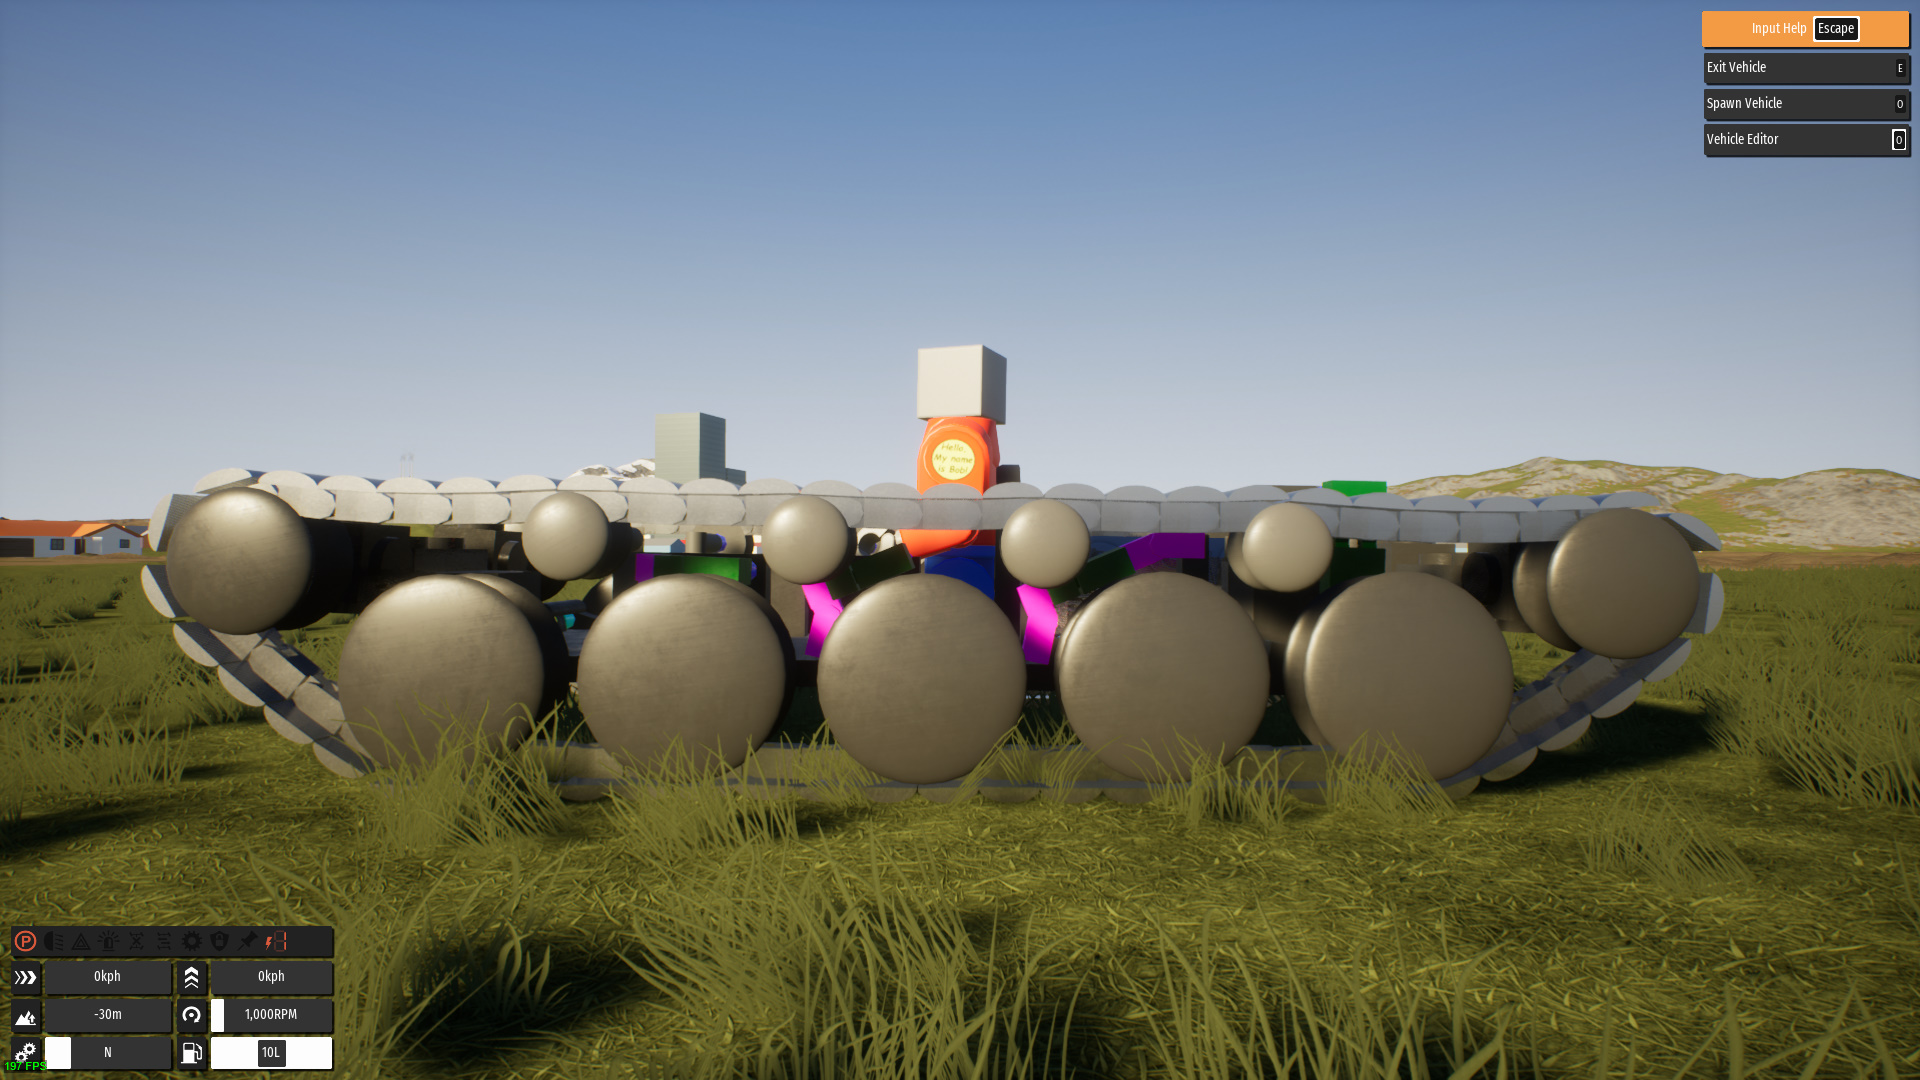
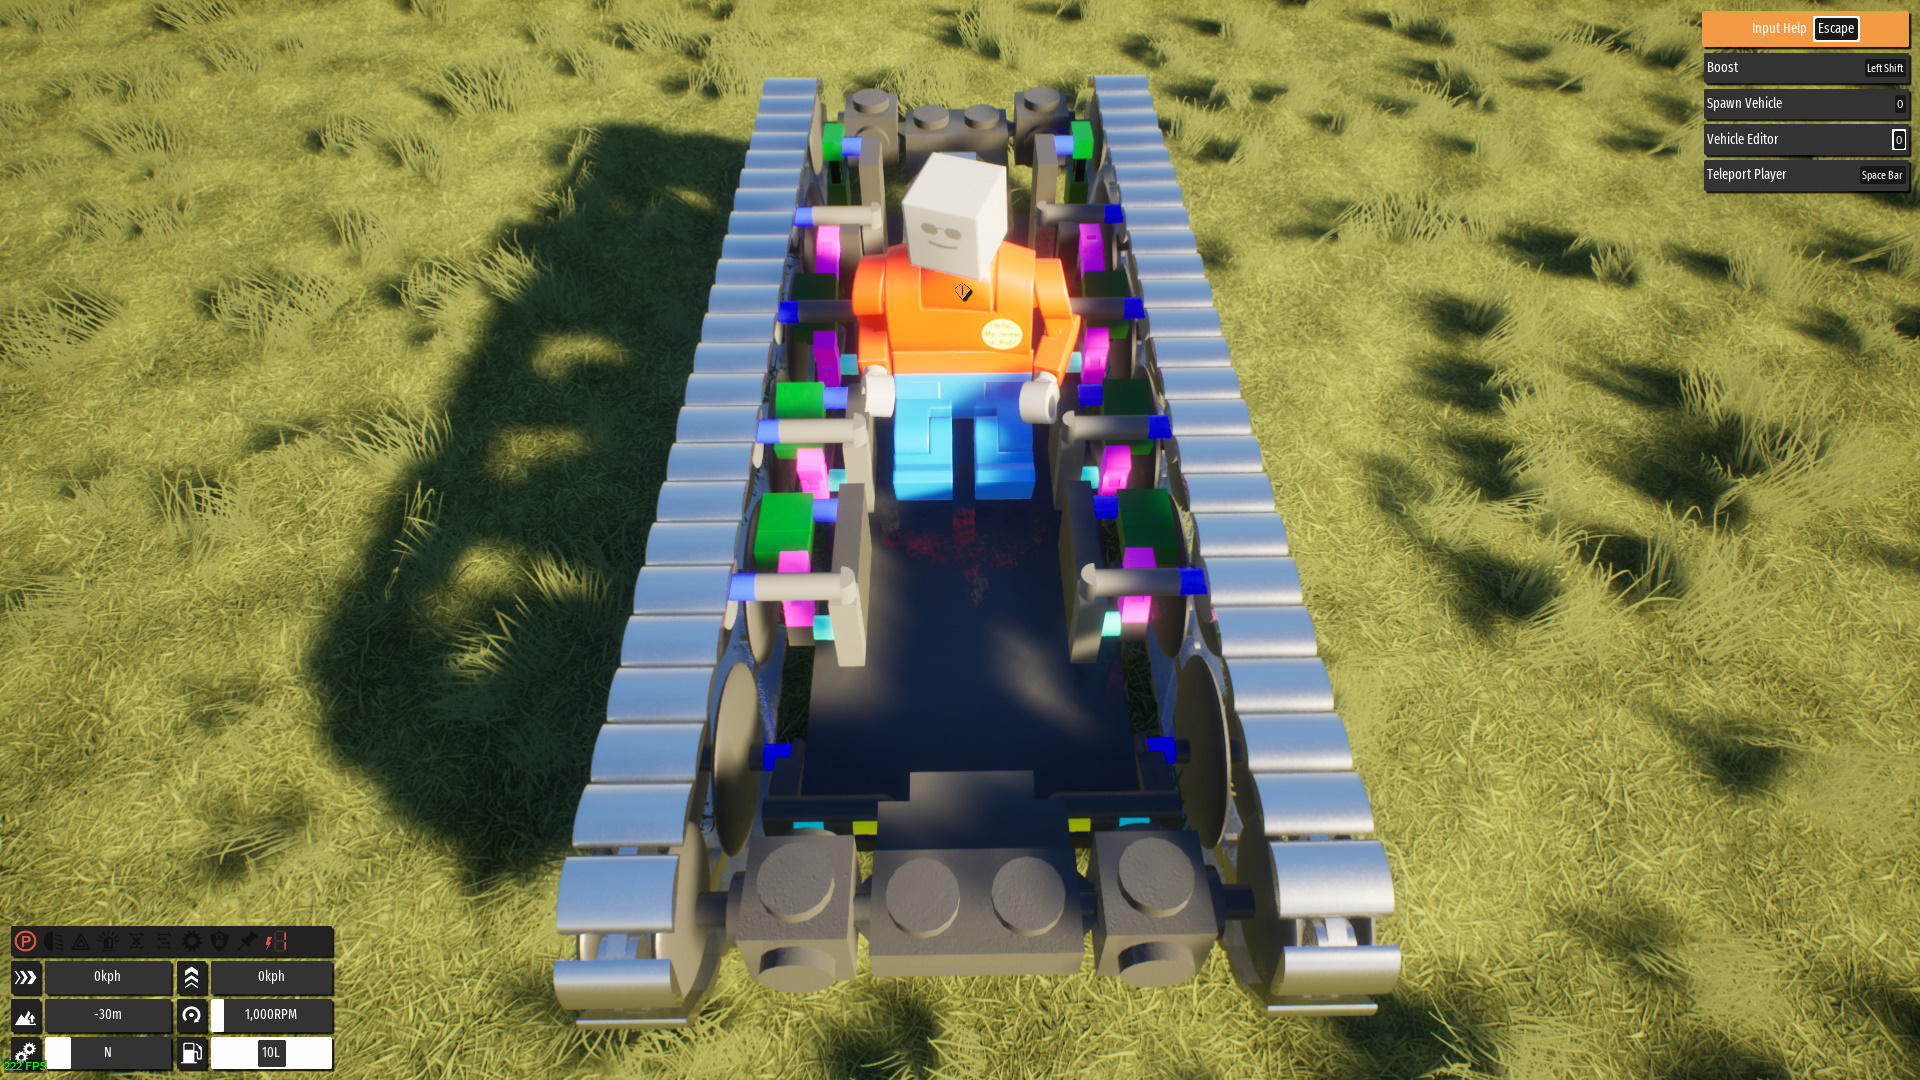
Here is the result for this project:
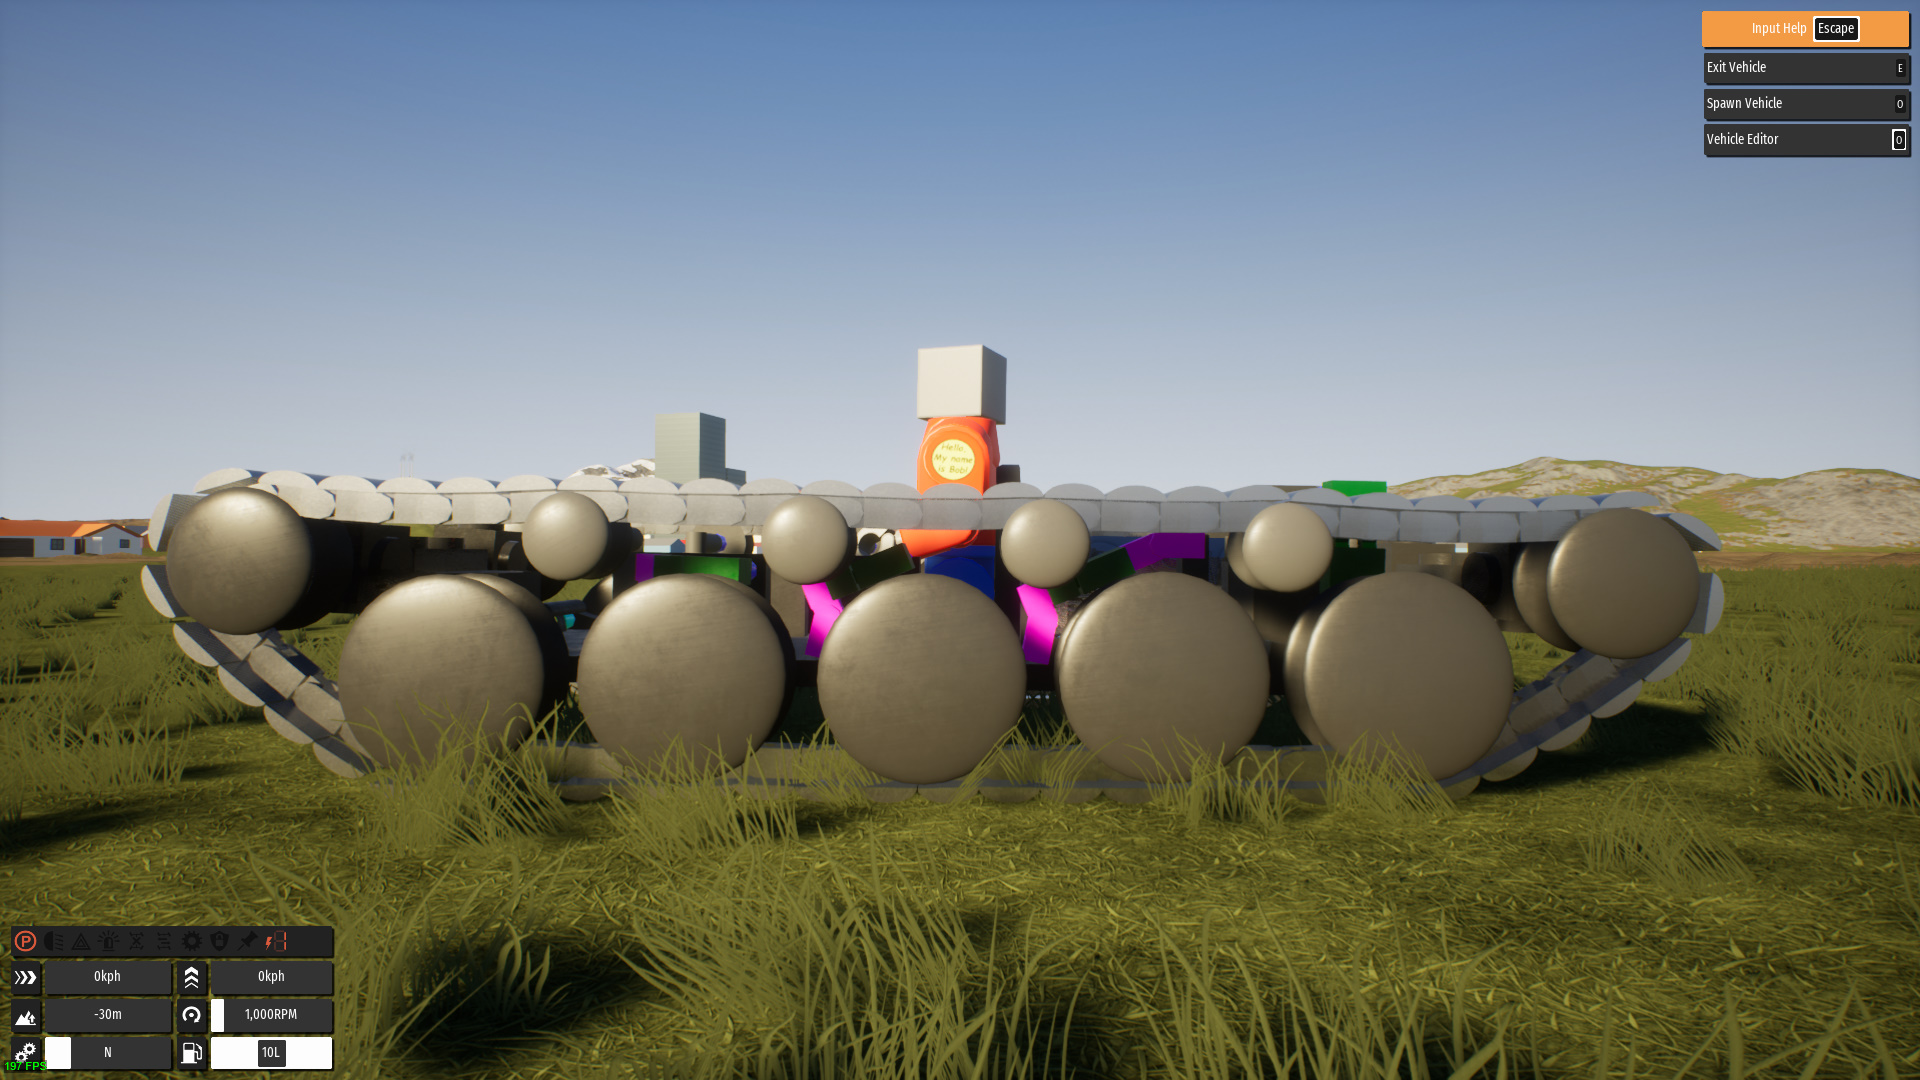
Color coding, reference settings, and some extra information.
While I have set the suspension rotated upwards at 22.5 degrees, it can be set at just about any degree such as 30 degrees. 22.5 is just the stock rotation.
Sometimes mirroring stuff can have issues such as mirroring a set of tracks can have missing bricks or rotated bricks for some odd reason. Make sure that you catch that.
Tank tracks are made of tungsten. All other actuators are made of steel. Tungsten also works. Everything else is made of aluminum. Steelworks too. As for when you’re building a body, a lighter material such as oak is best. A heavier body can lead to the tracks struggling and/or glitching.
Numbers and what they mean:
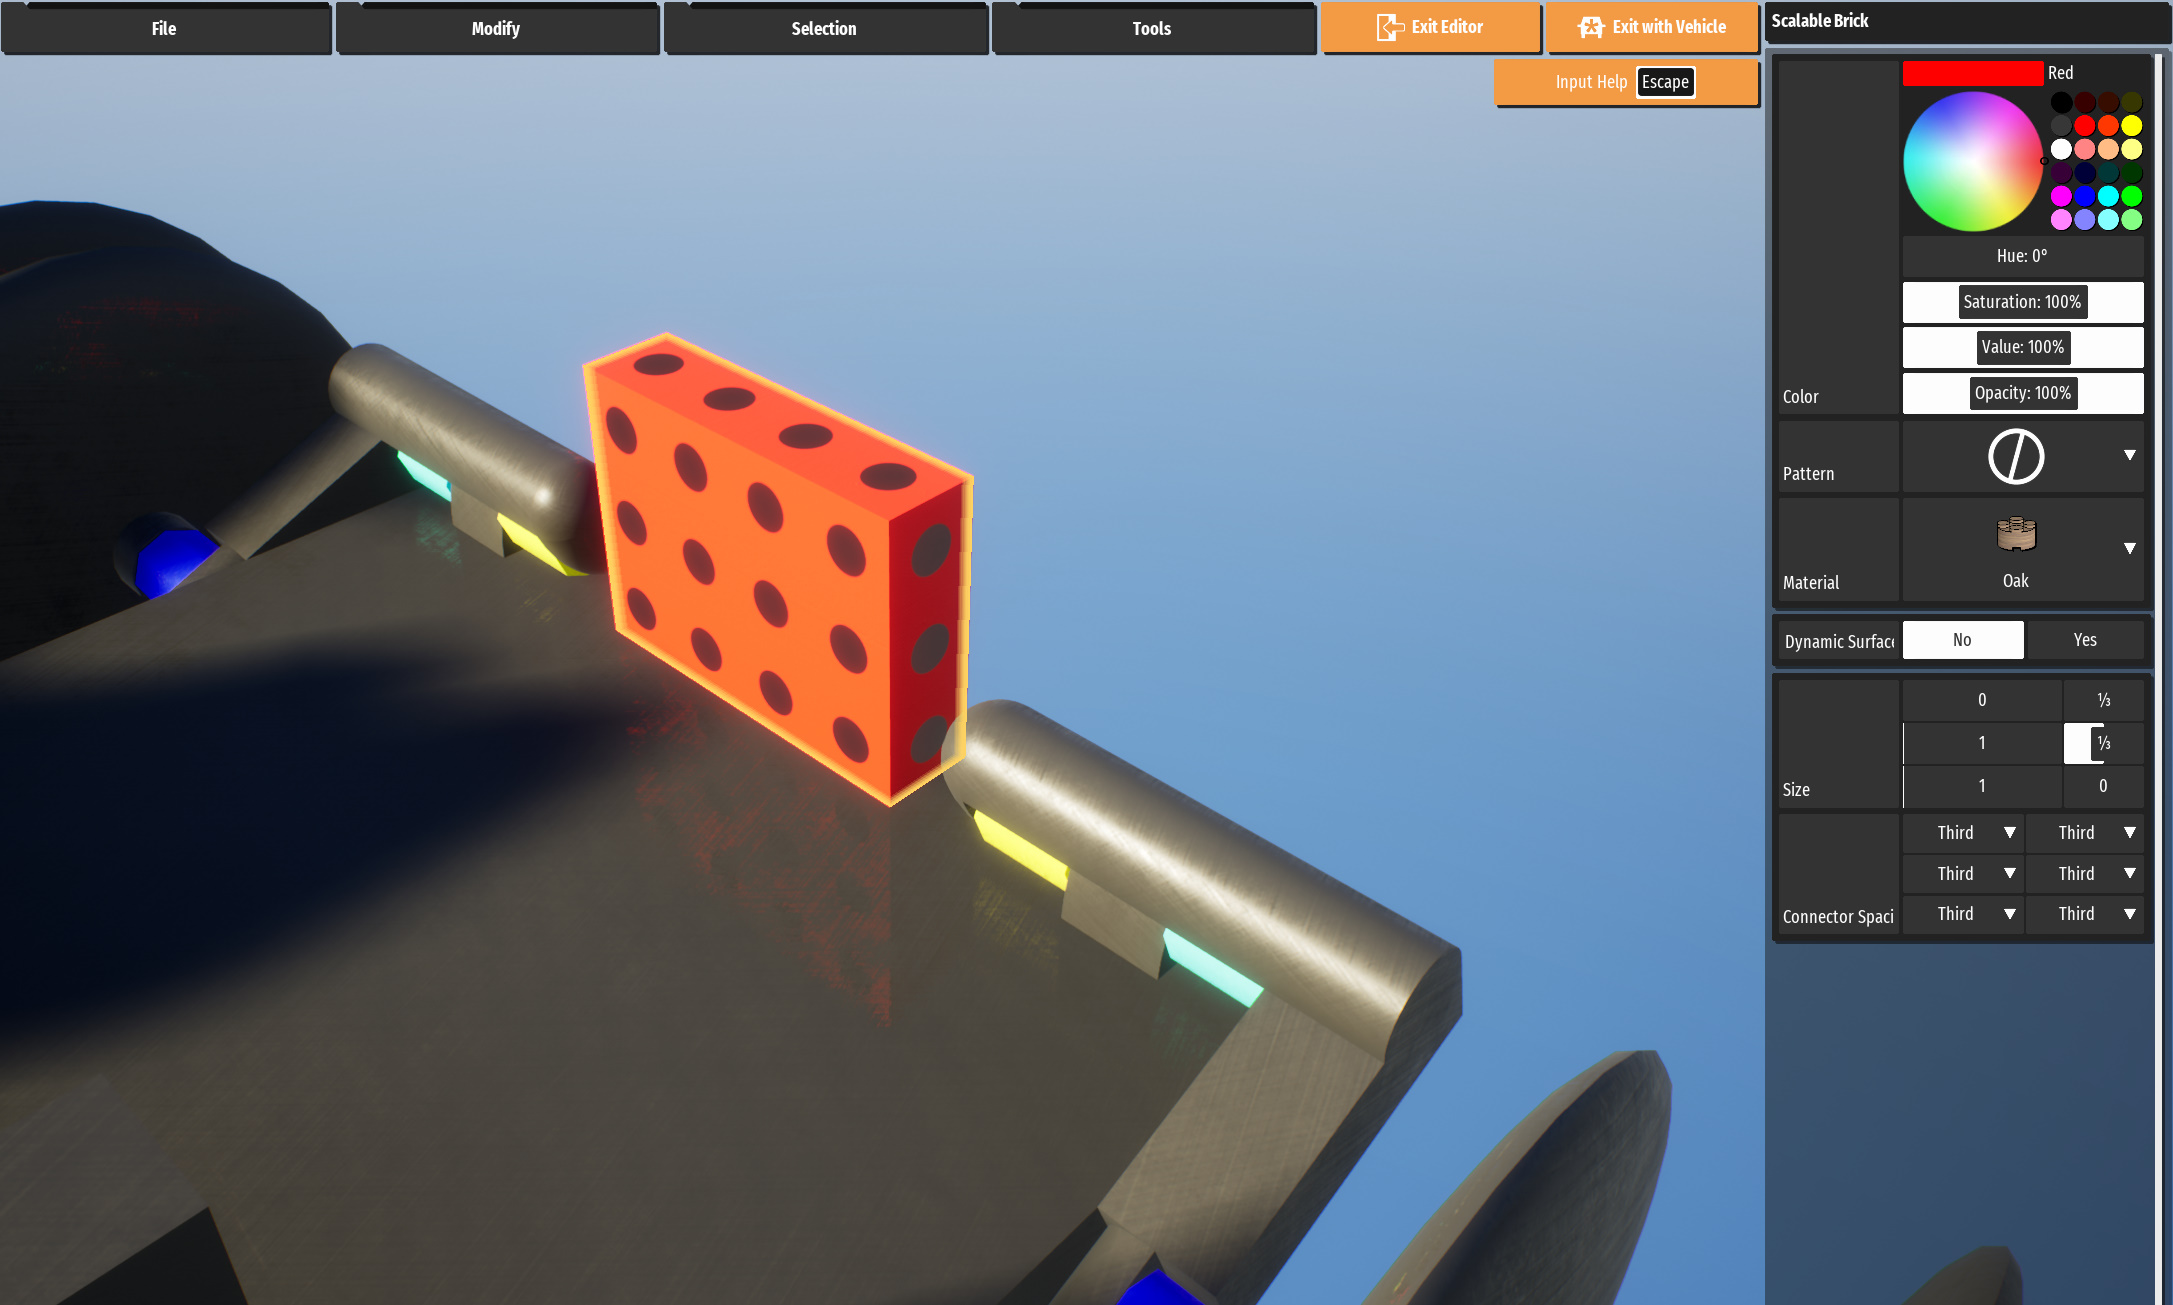
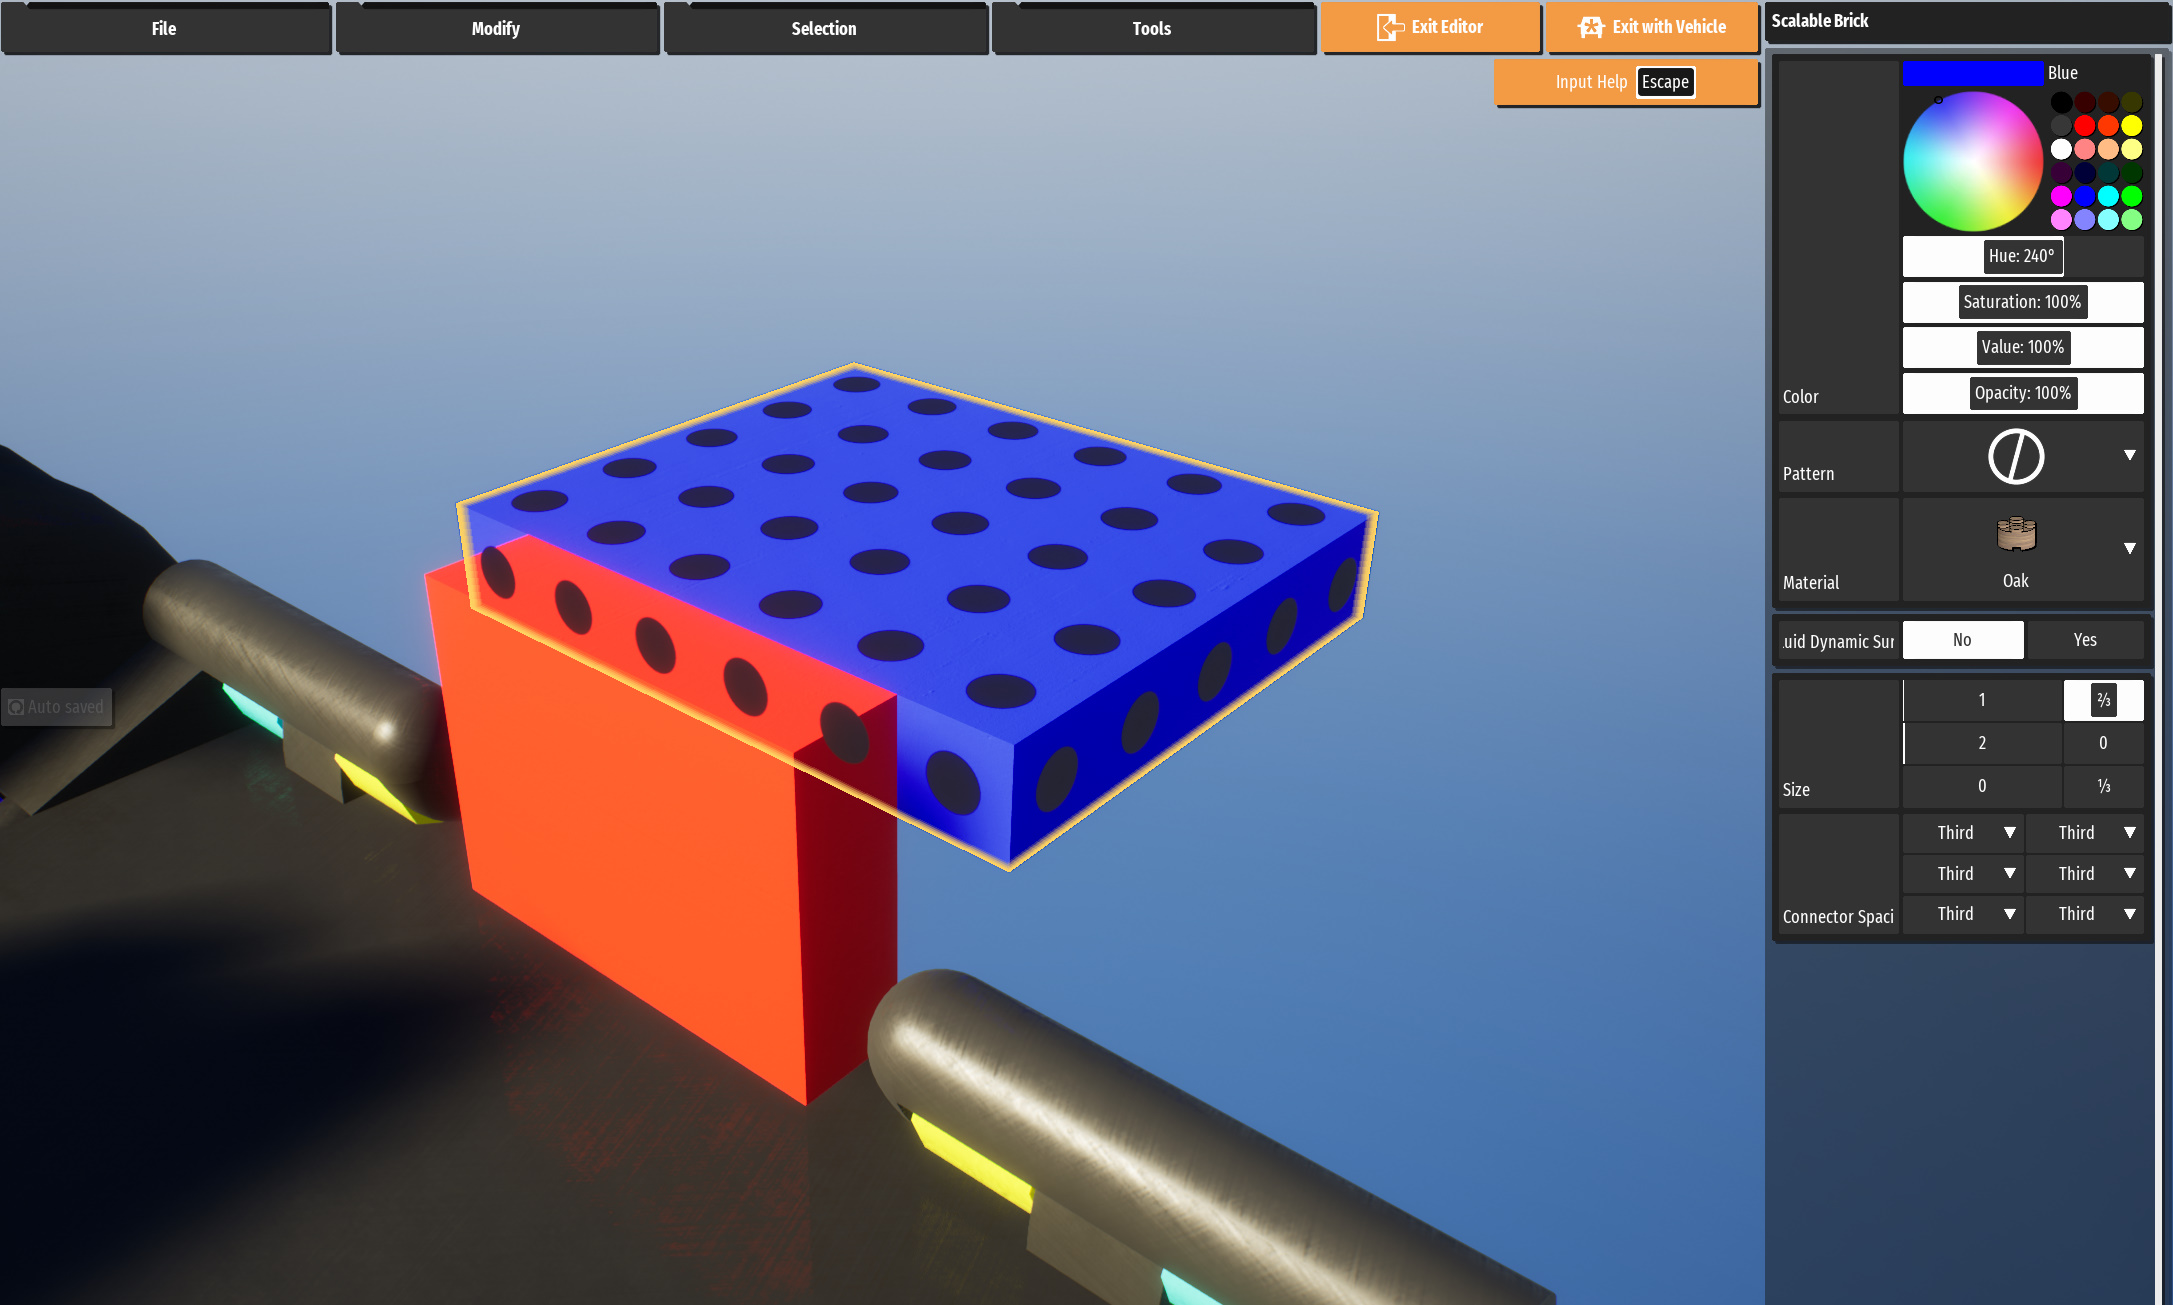
1s/1s/1s = 1/3 x 1/3 x 1/3
1s = 1/3
1 brick = 3 studs.
1s = 1 stud
4s = 4 studs = 1 1/3 bricks = 1.3 bricks
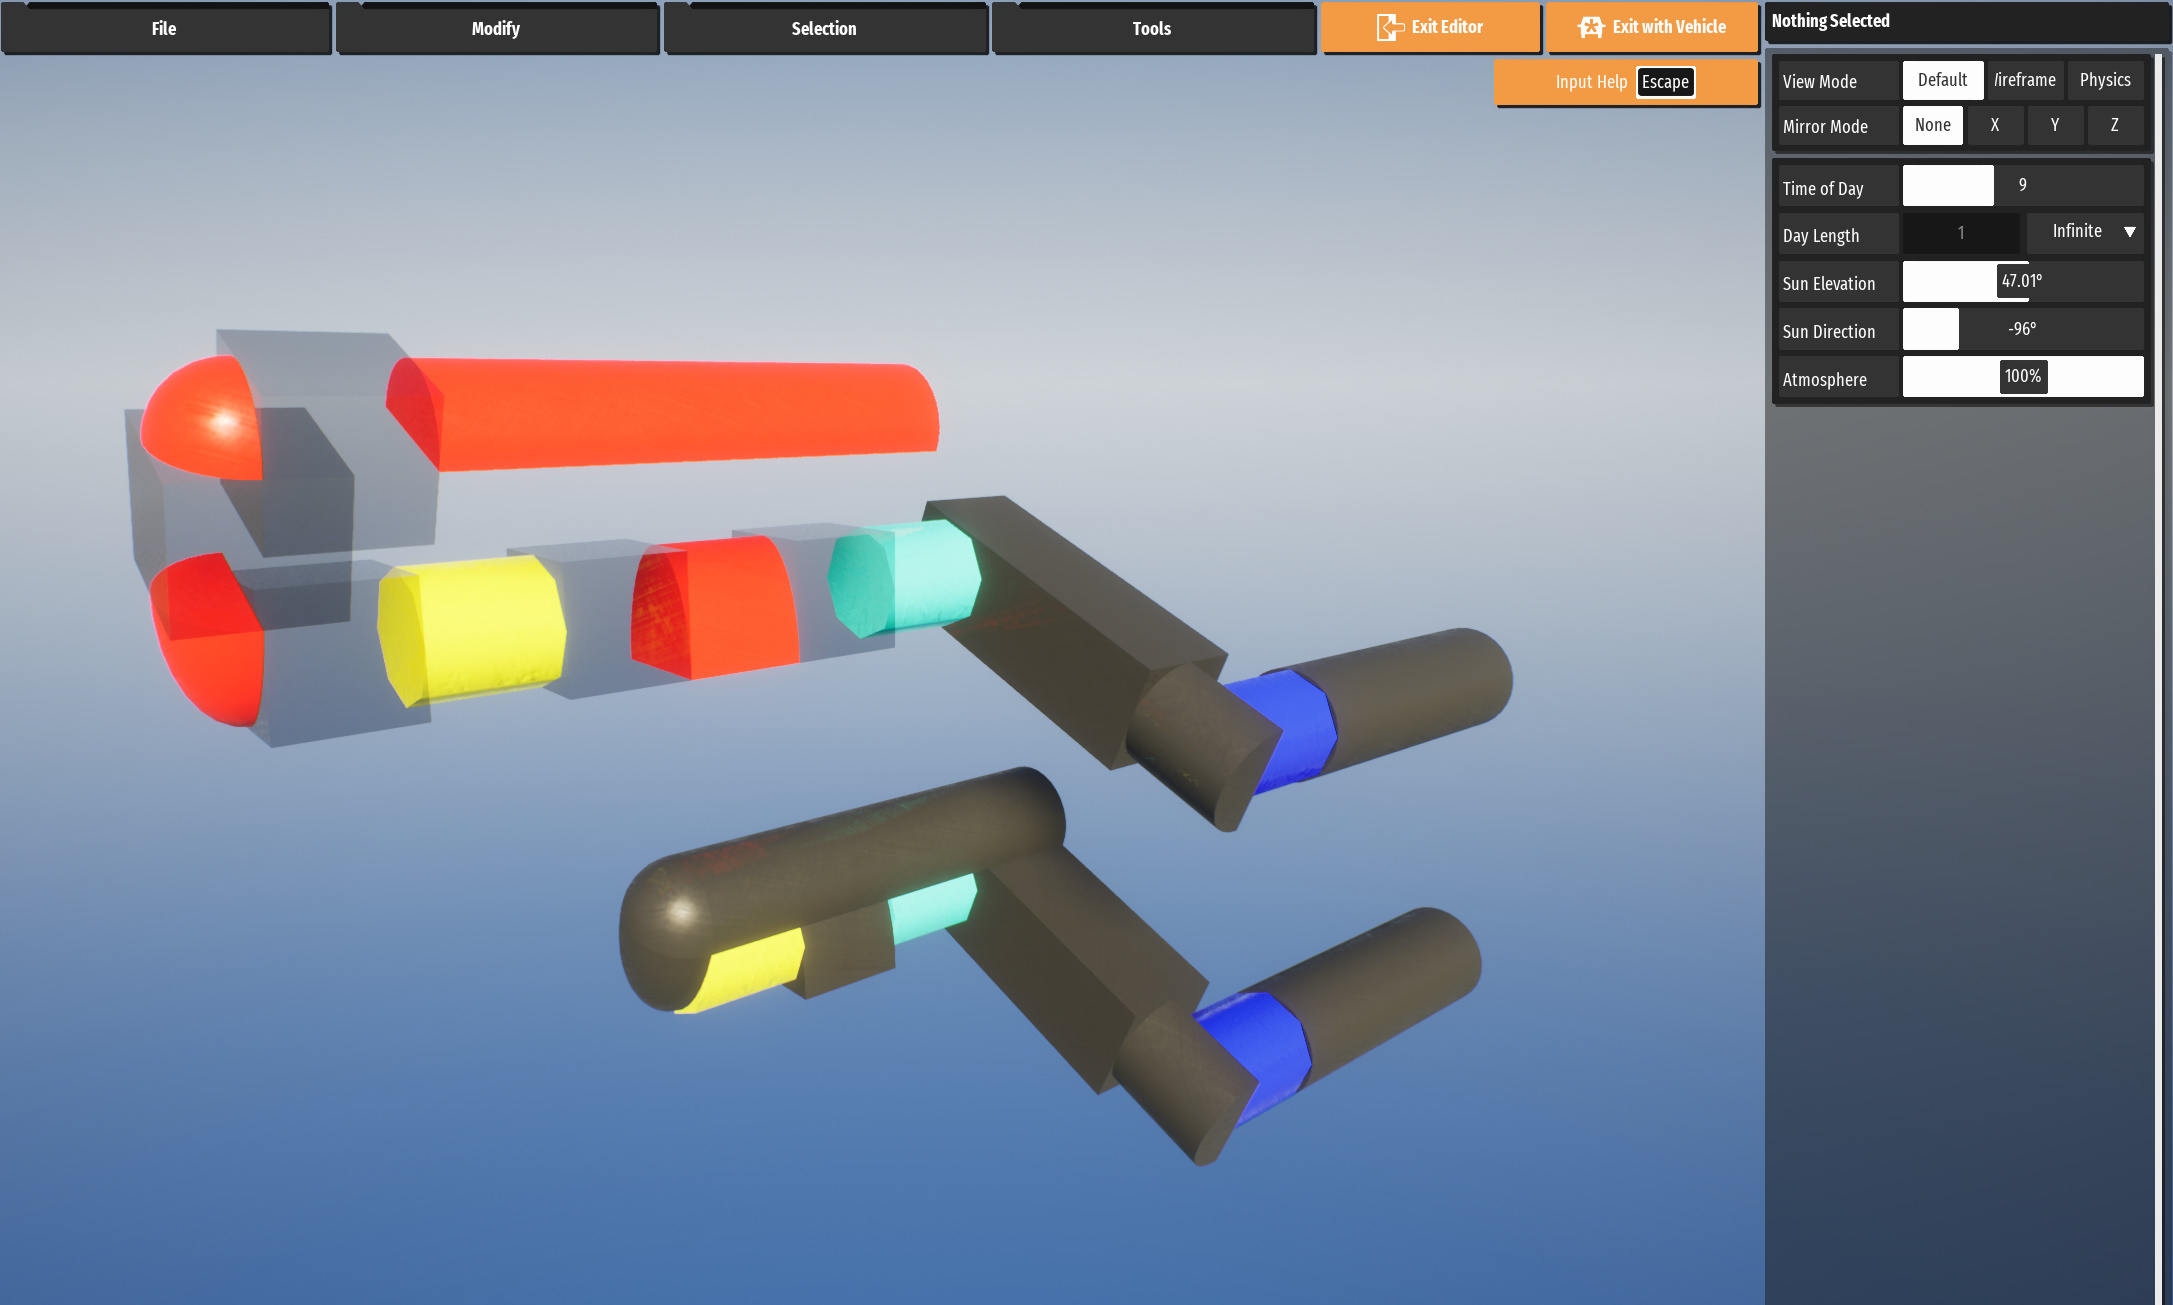
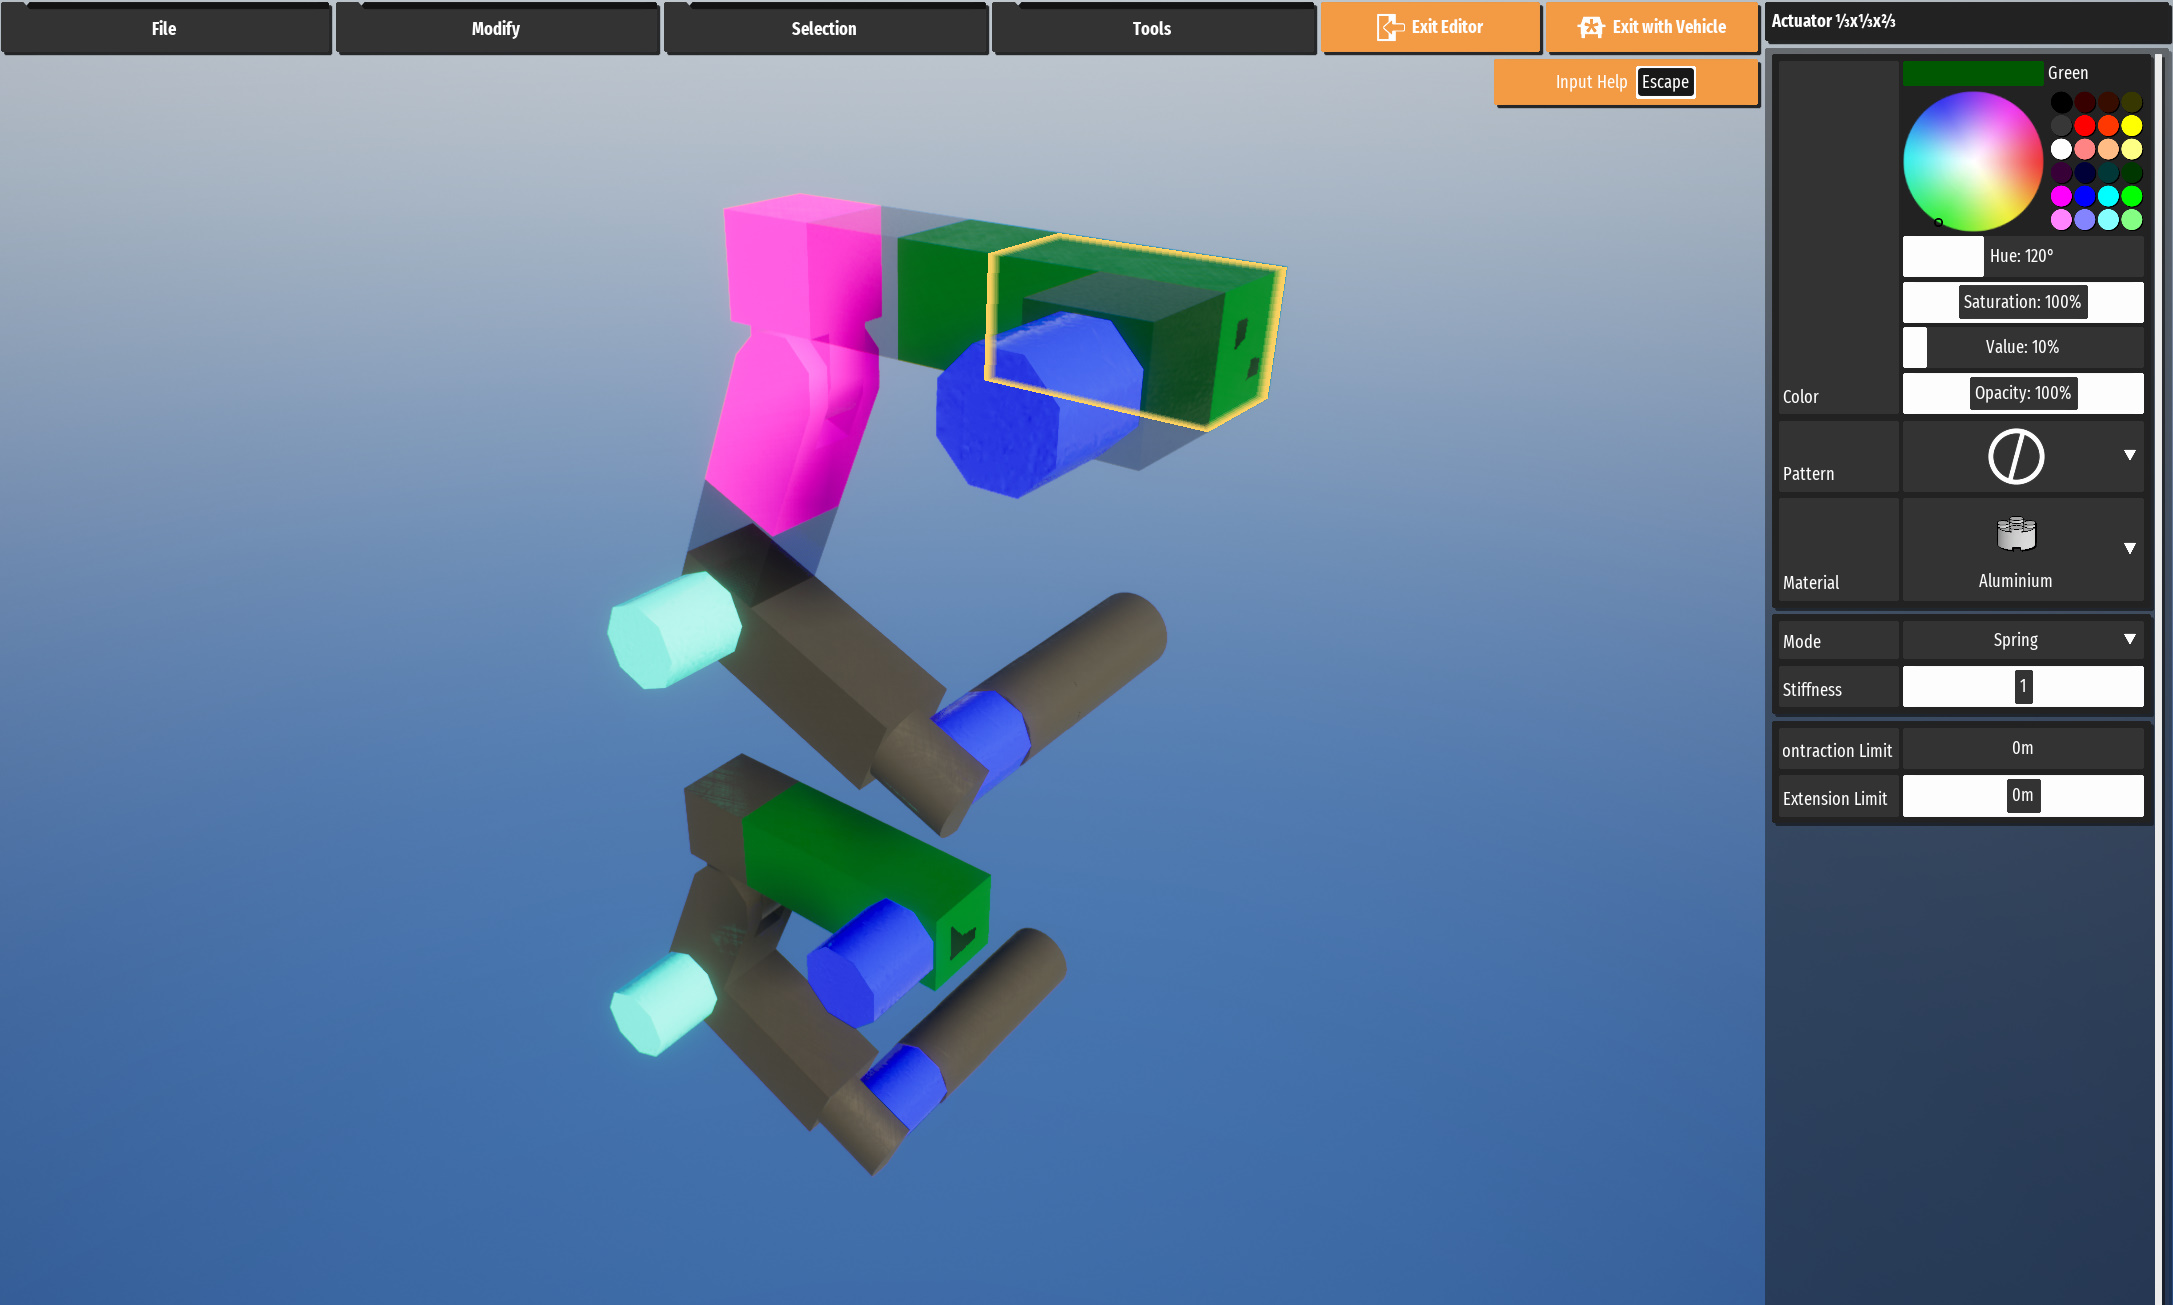
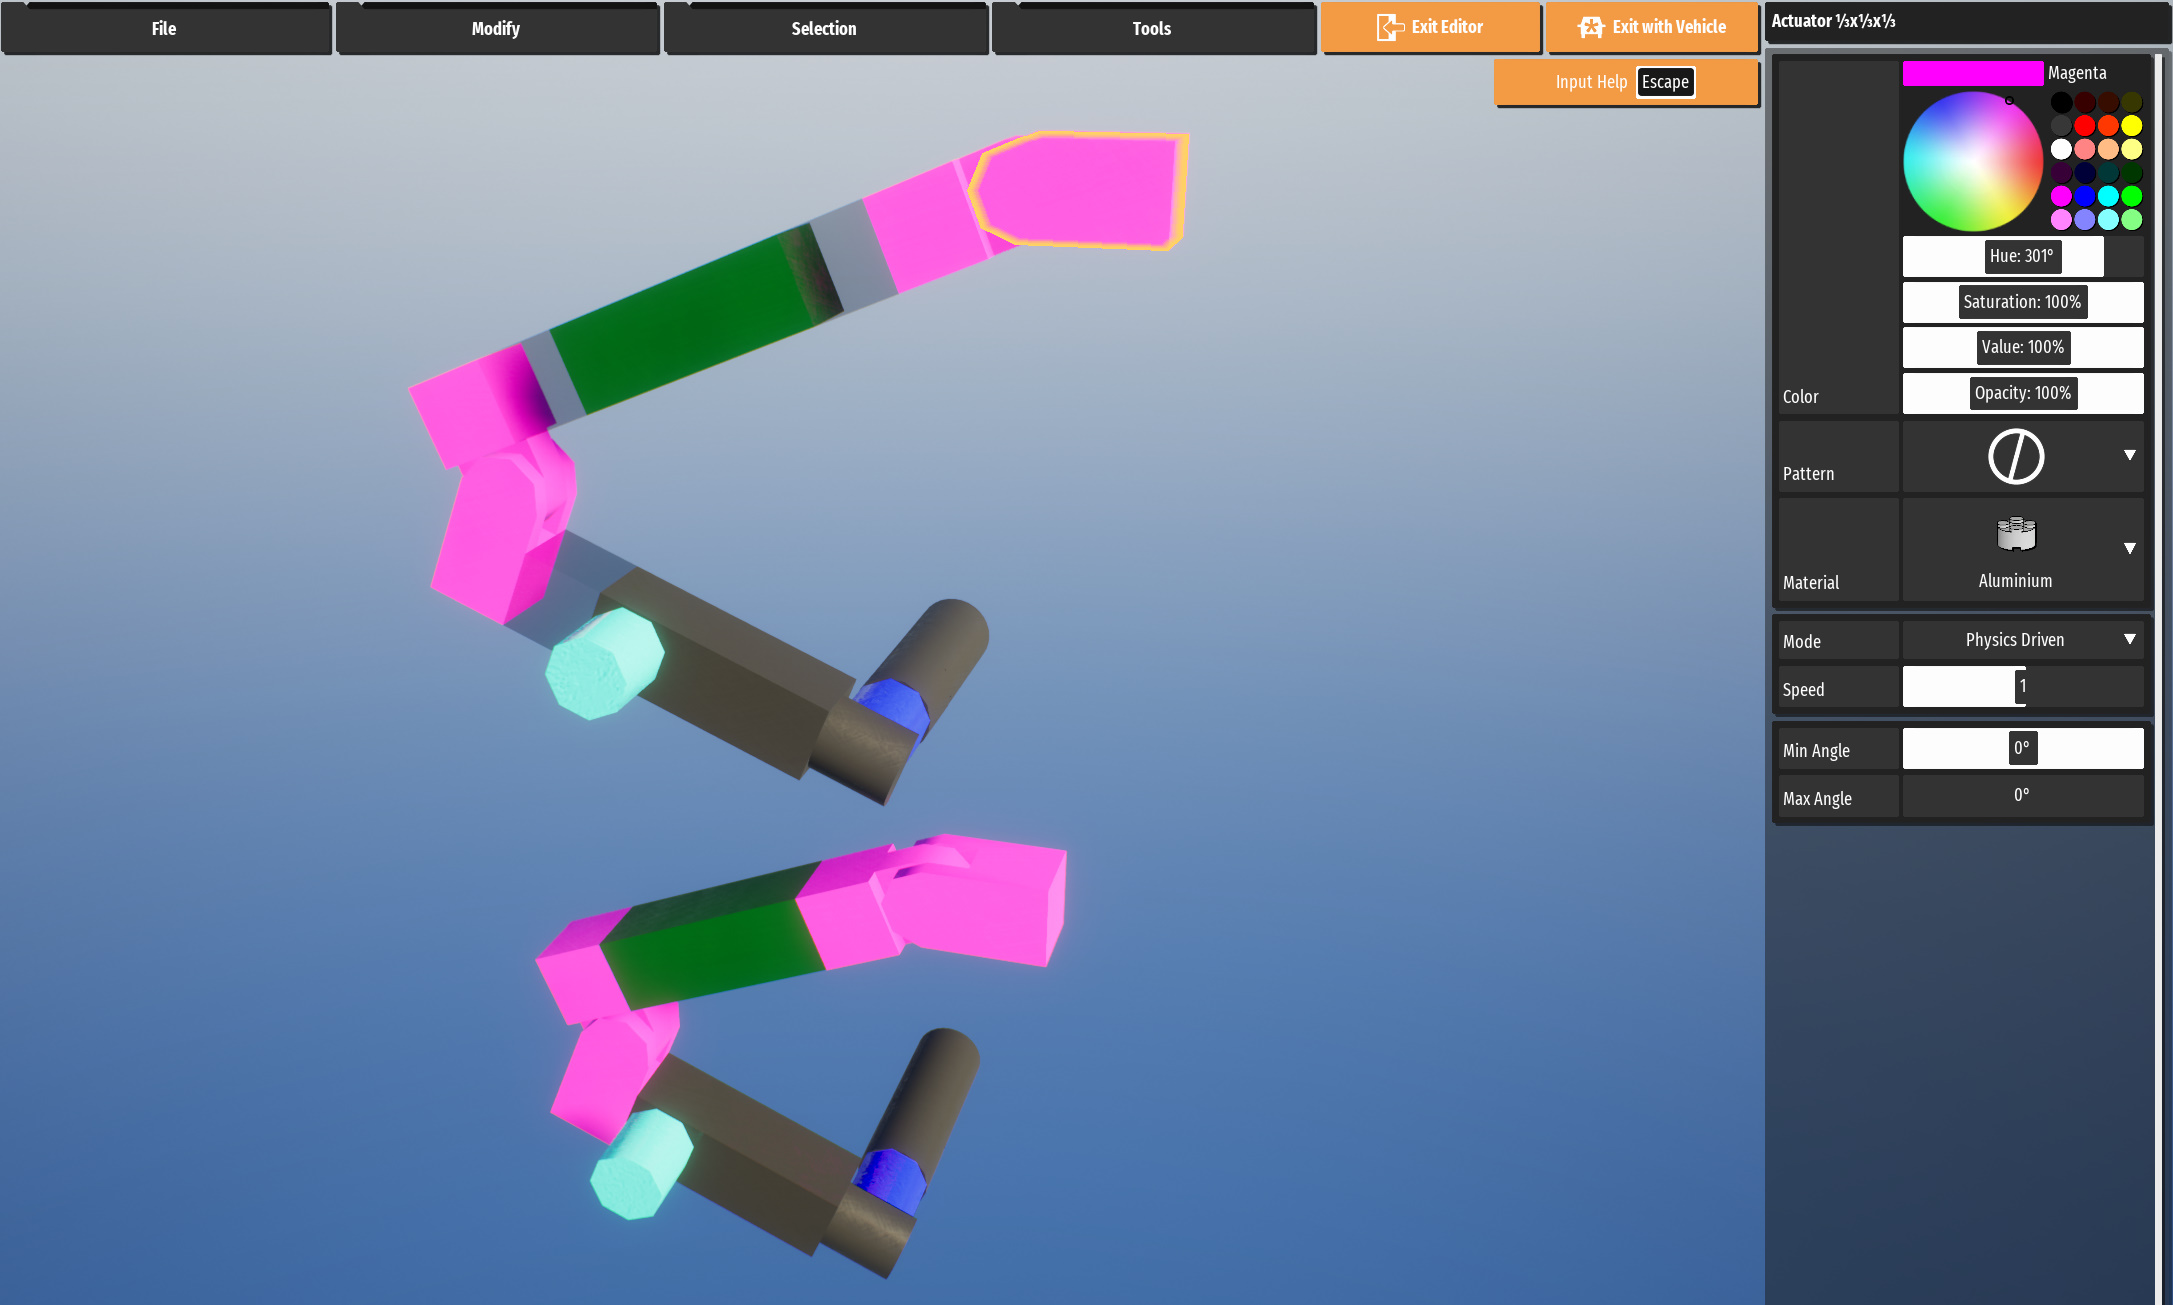
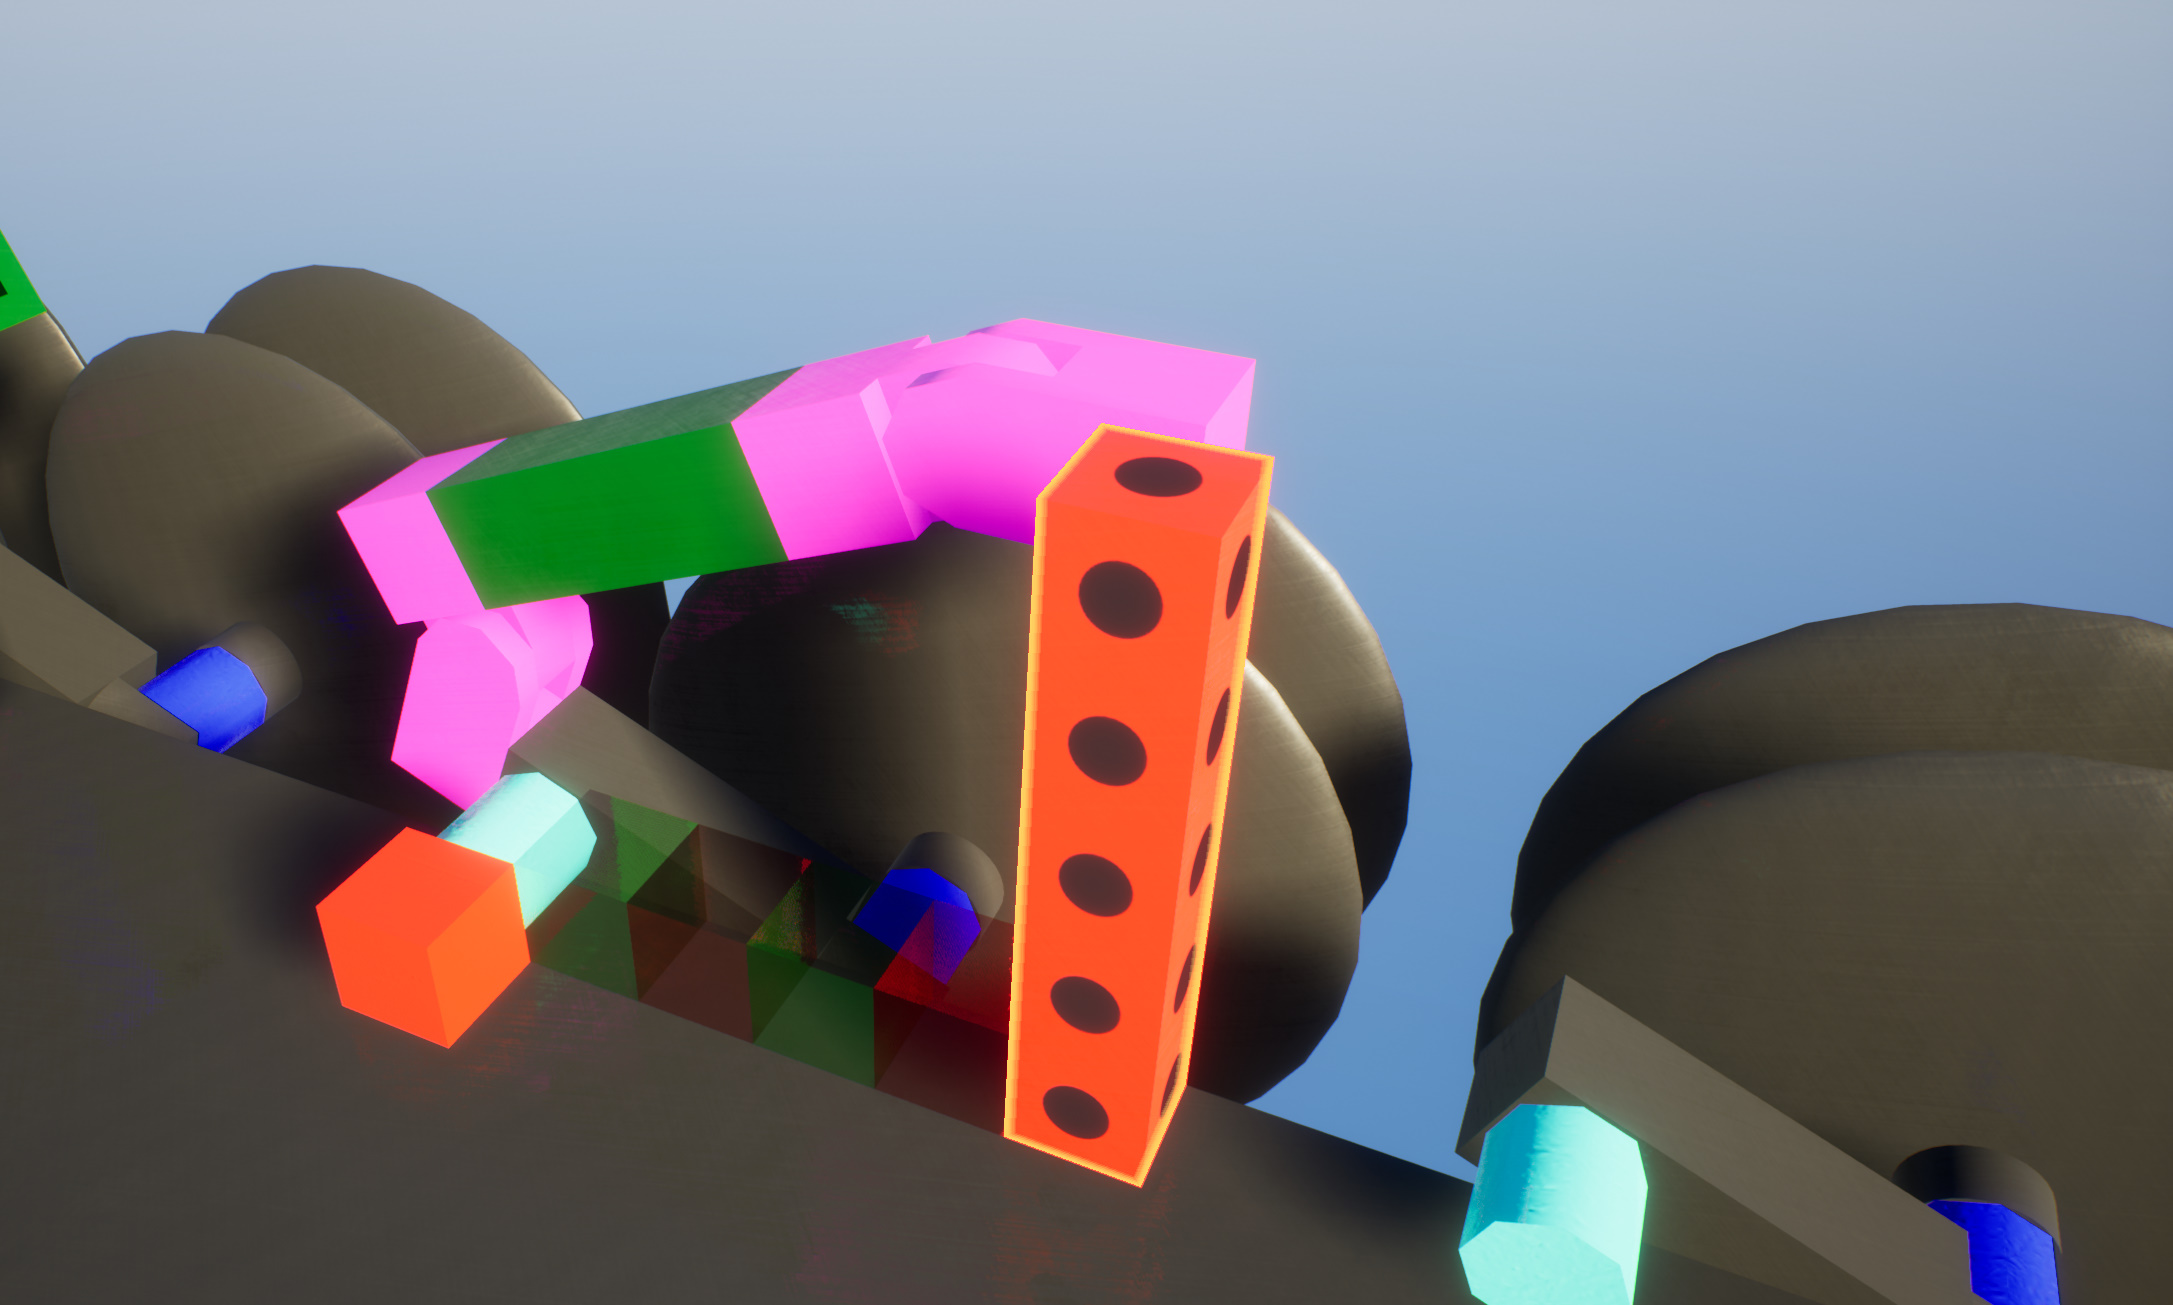
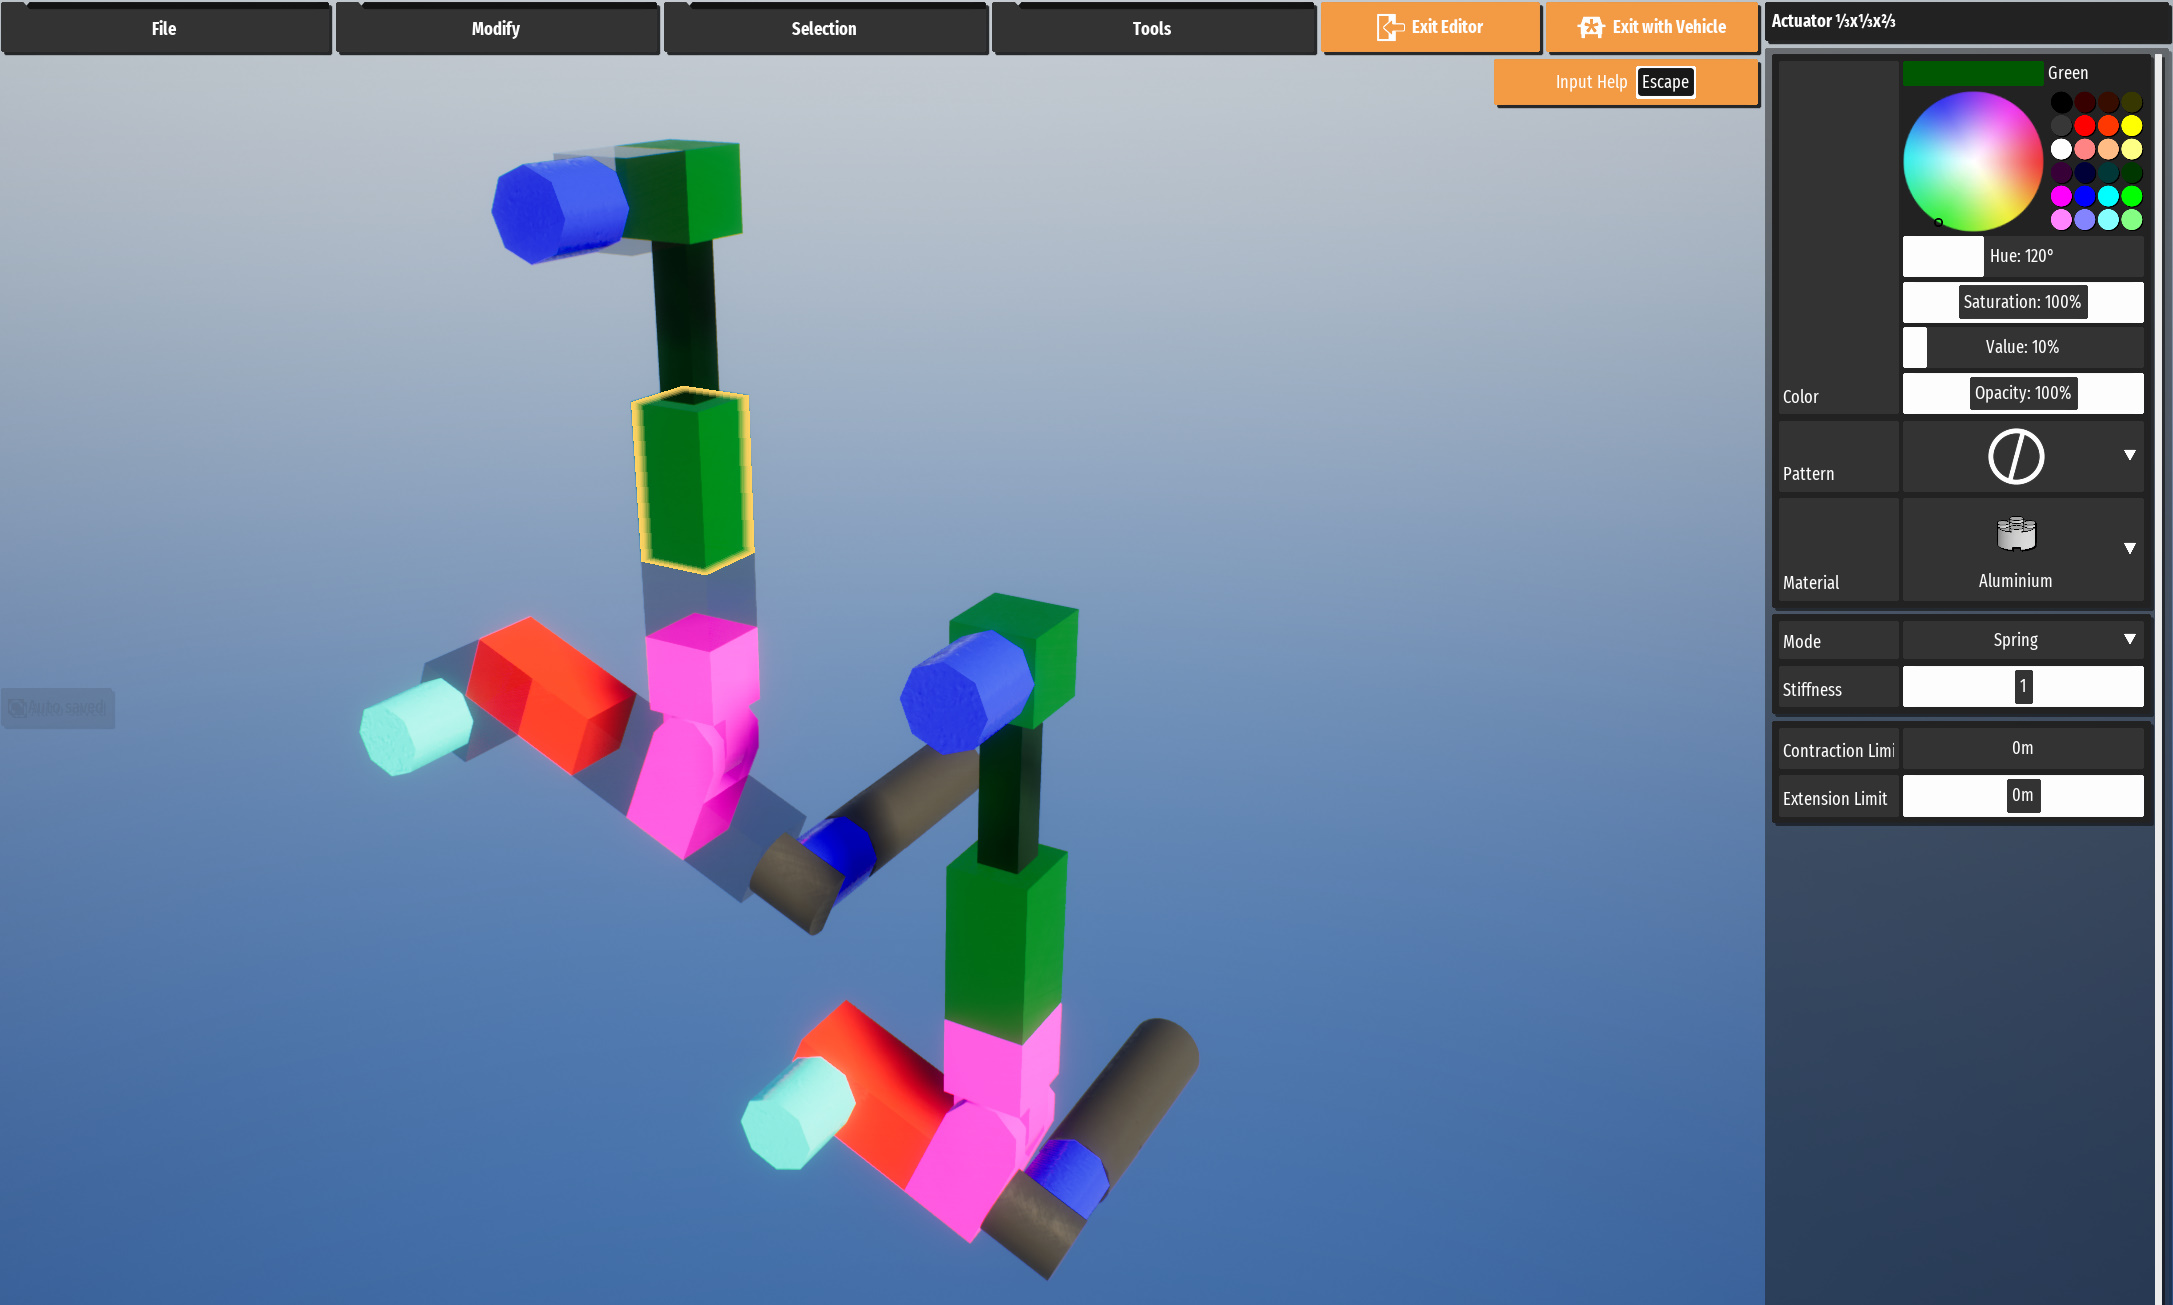
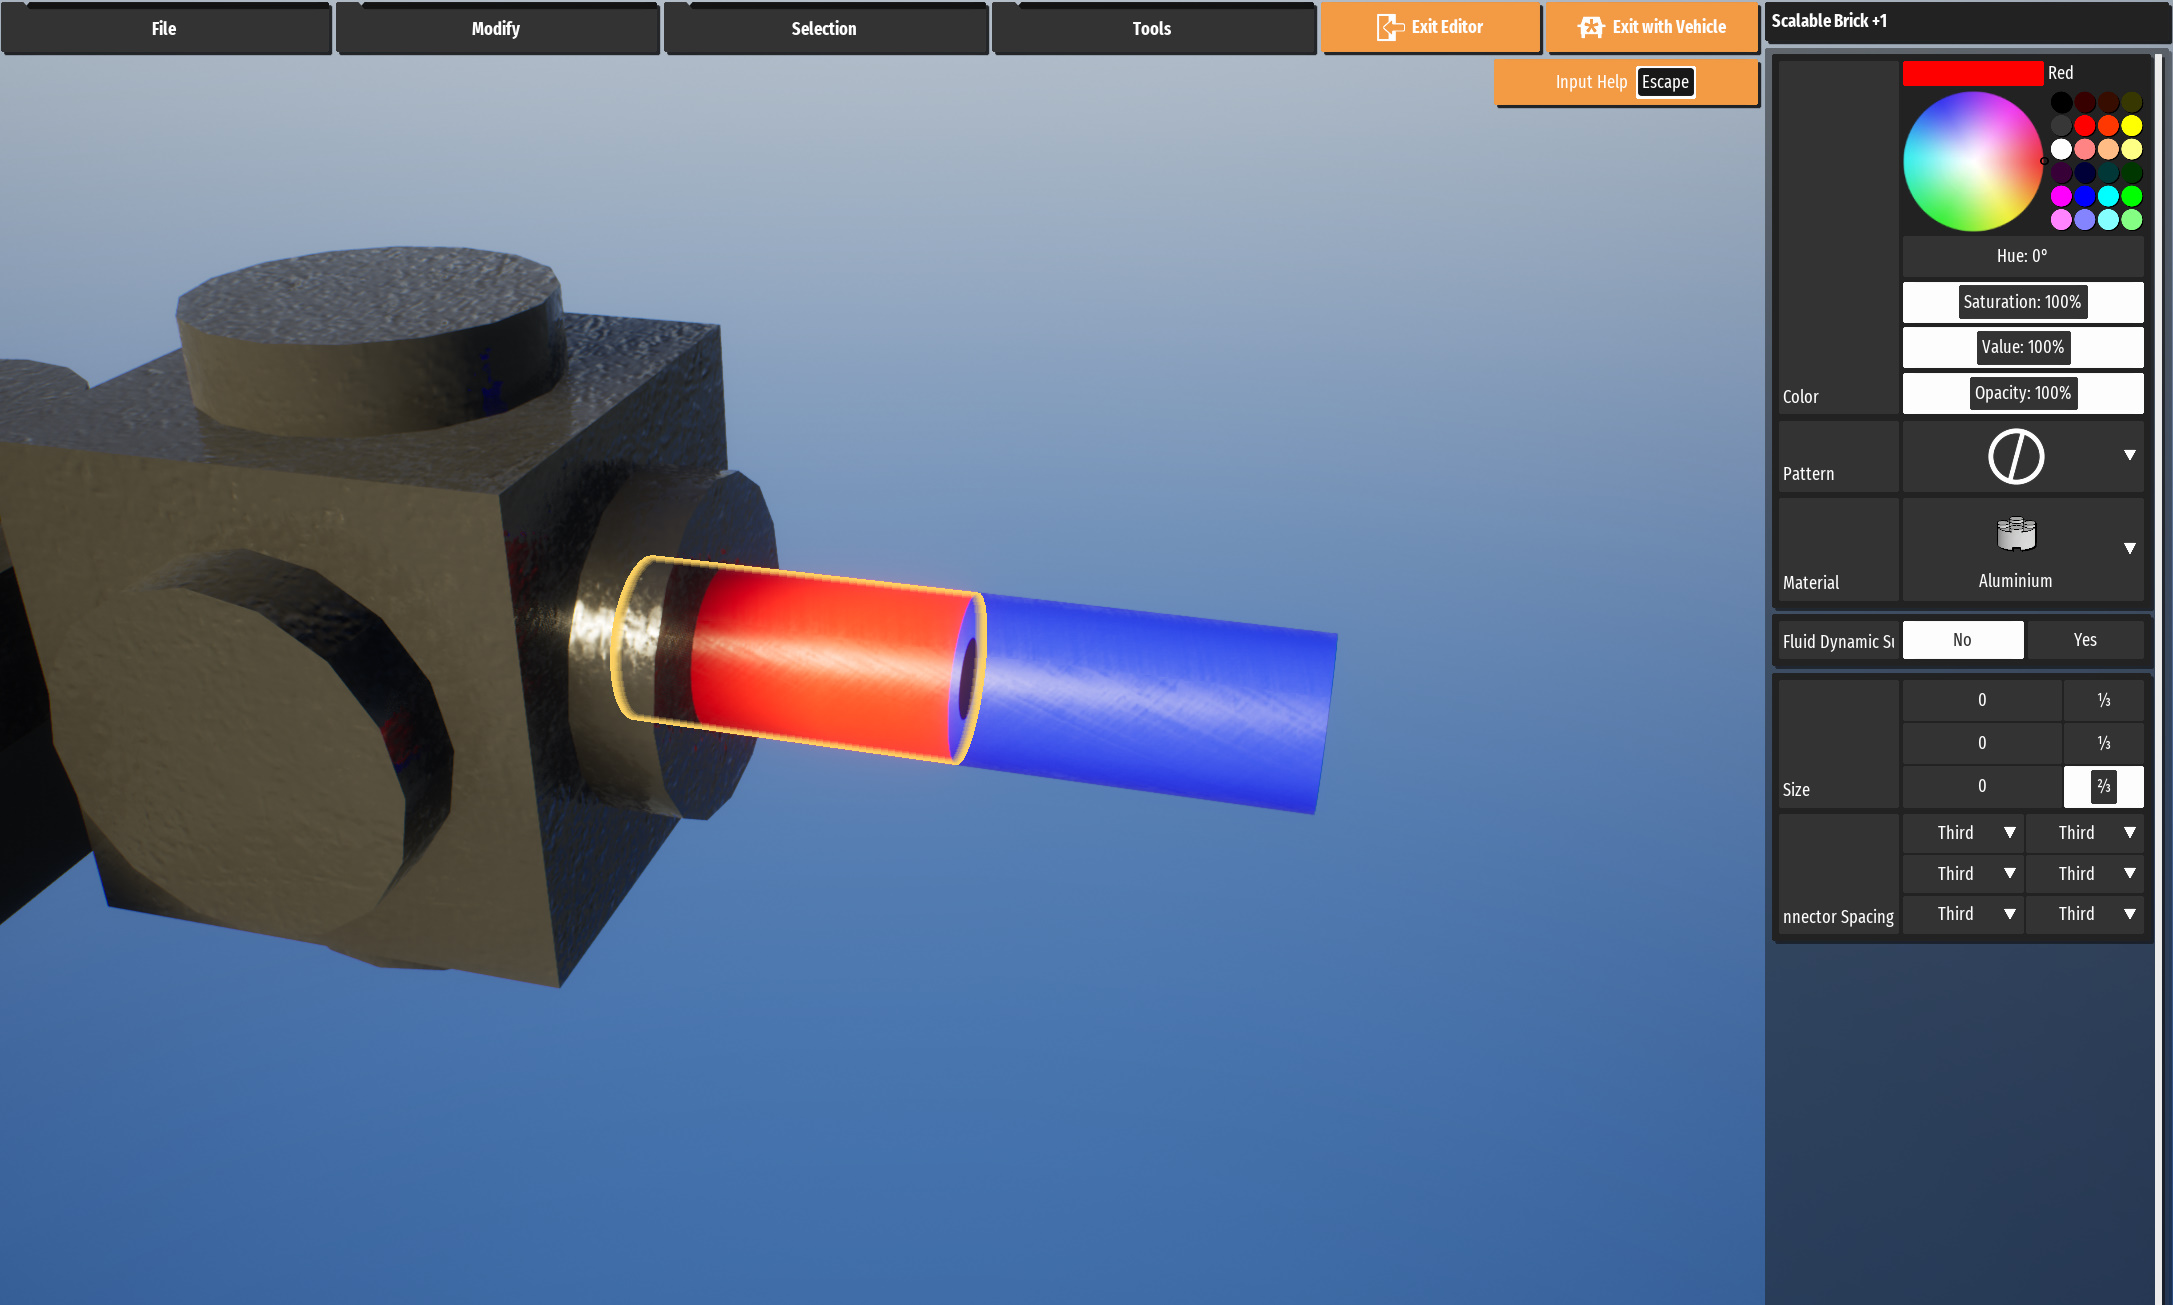
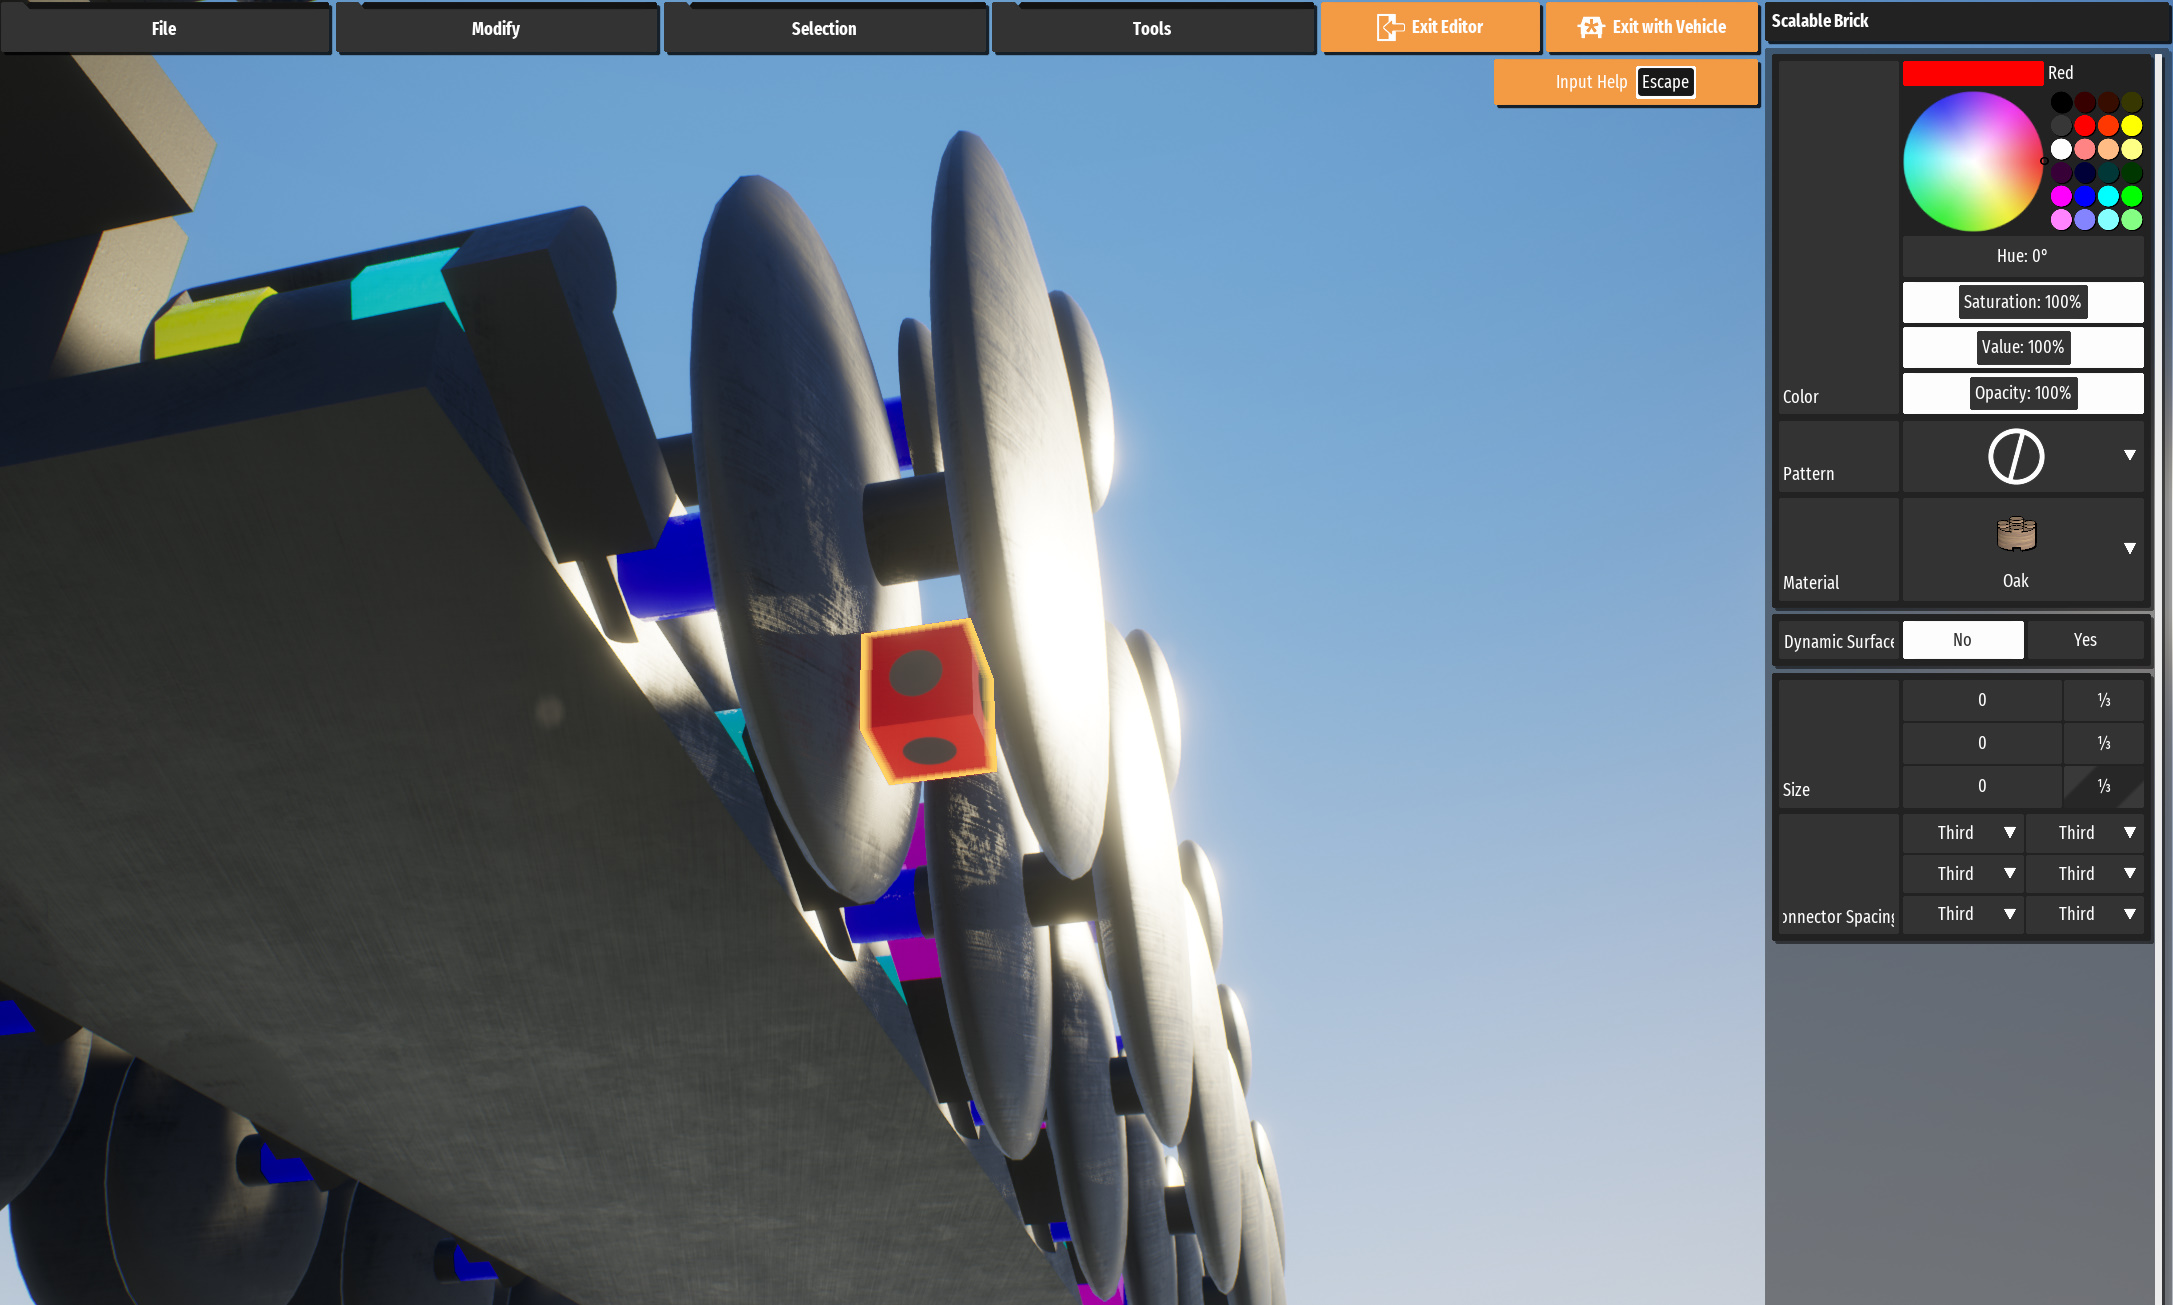
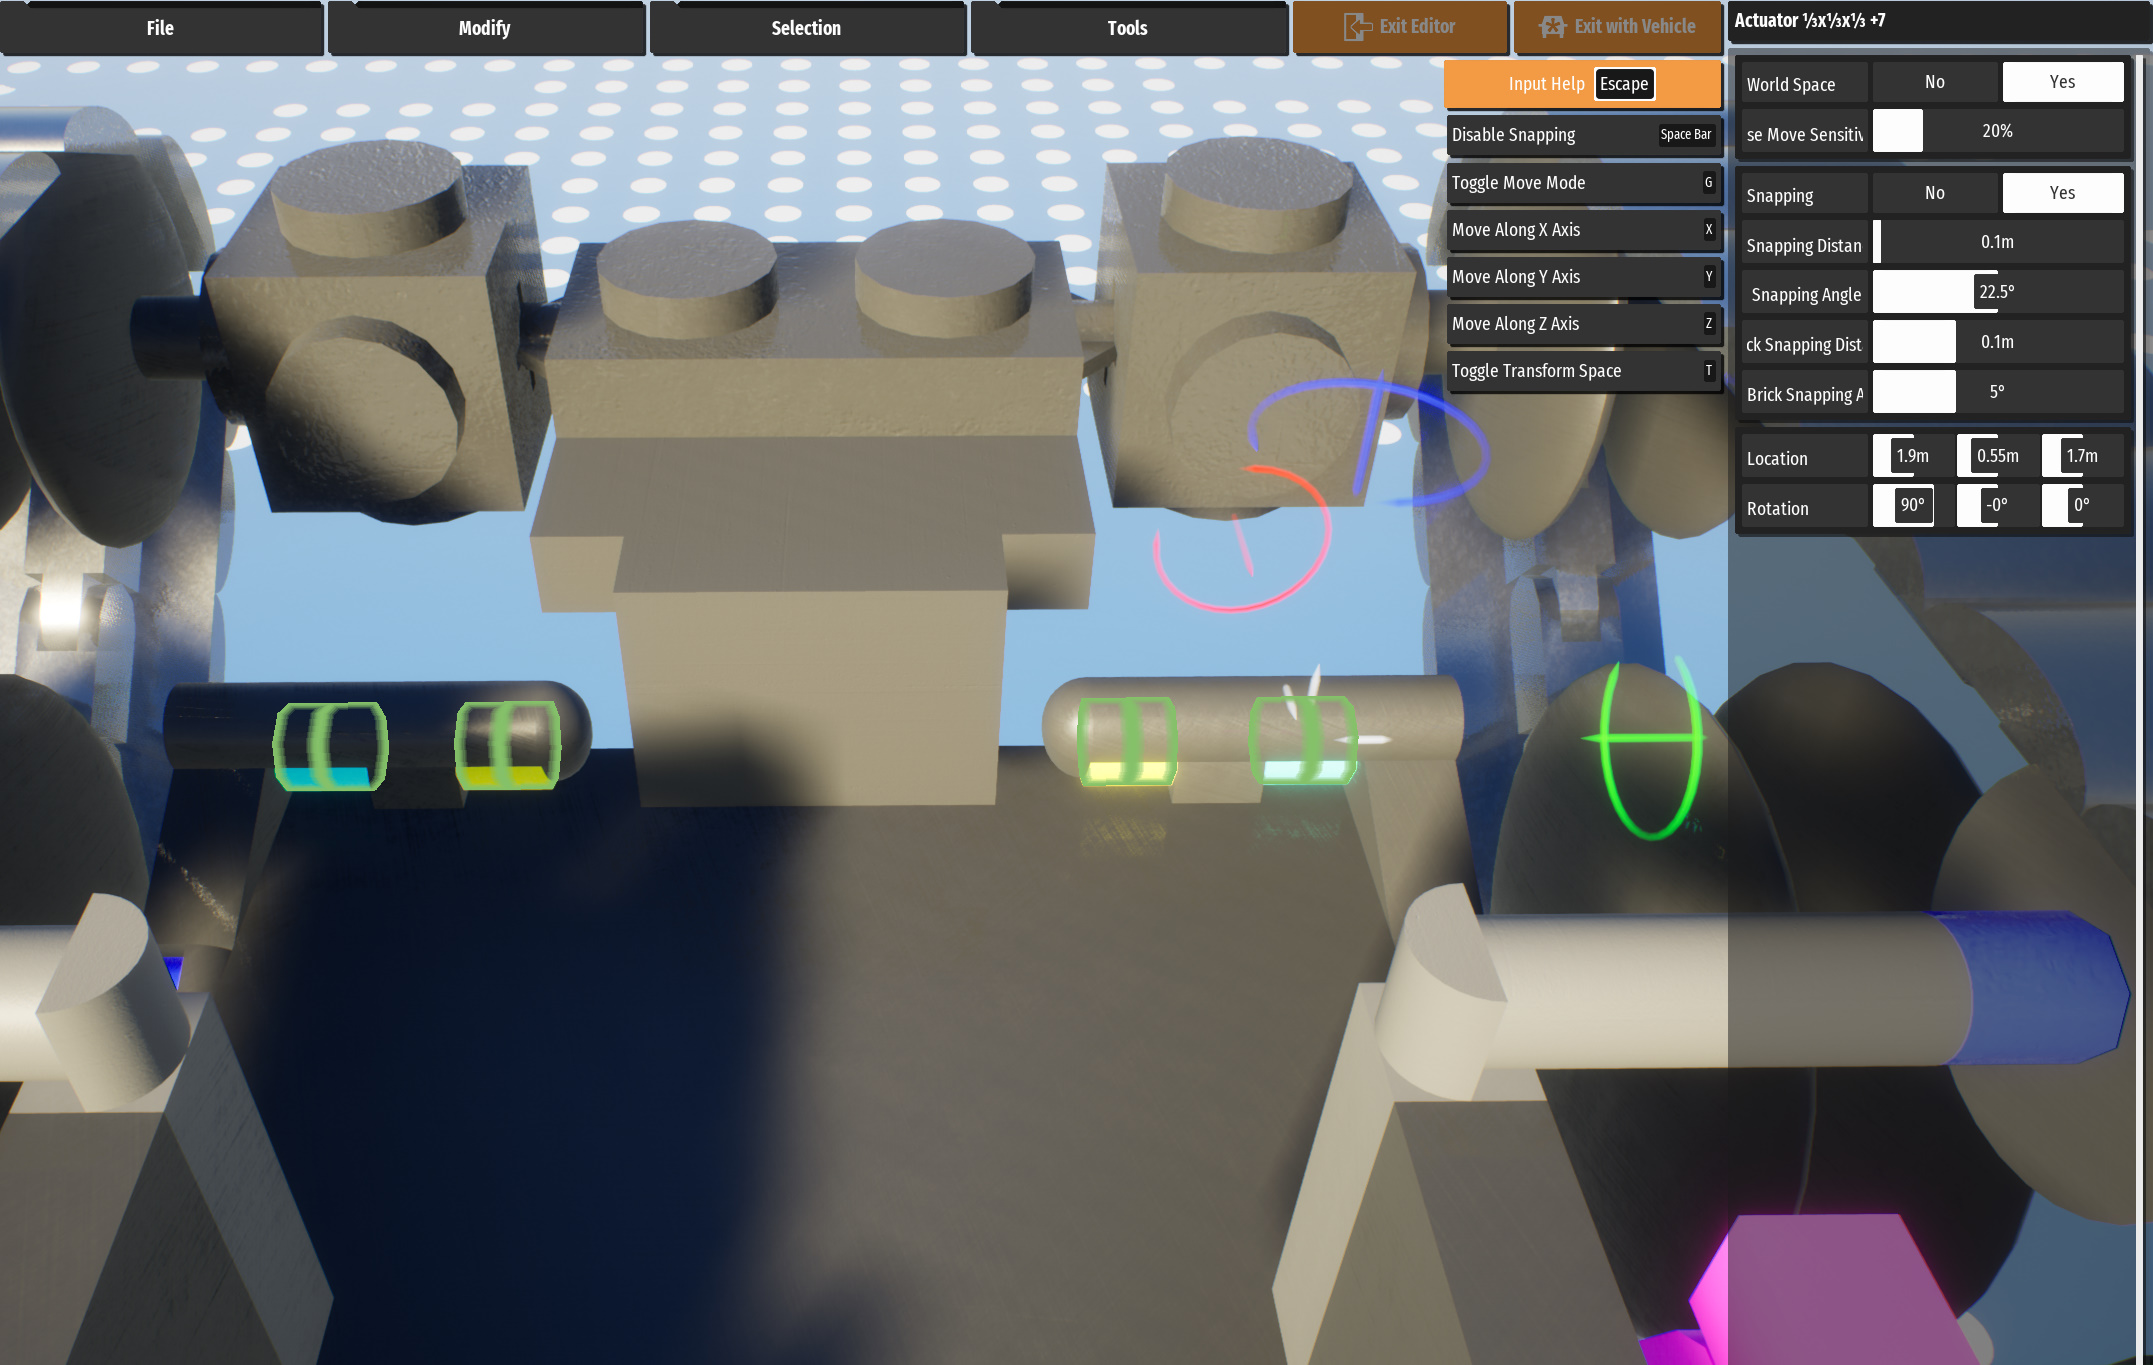
Colors of actuators for reference.
All actuators are the smallest-sized 1s actuators. Larger actuators do work, but they also take up too much space.
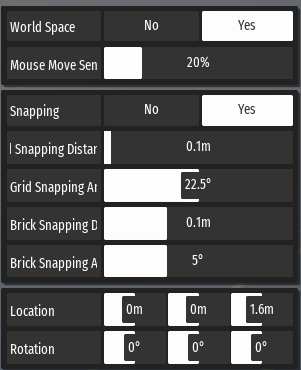
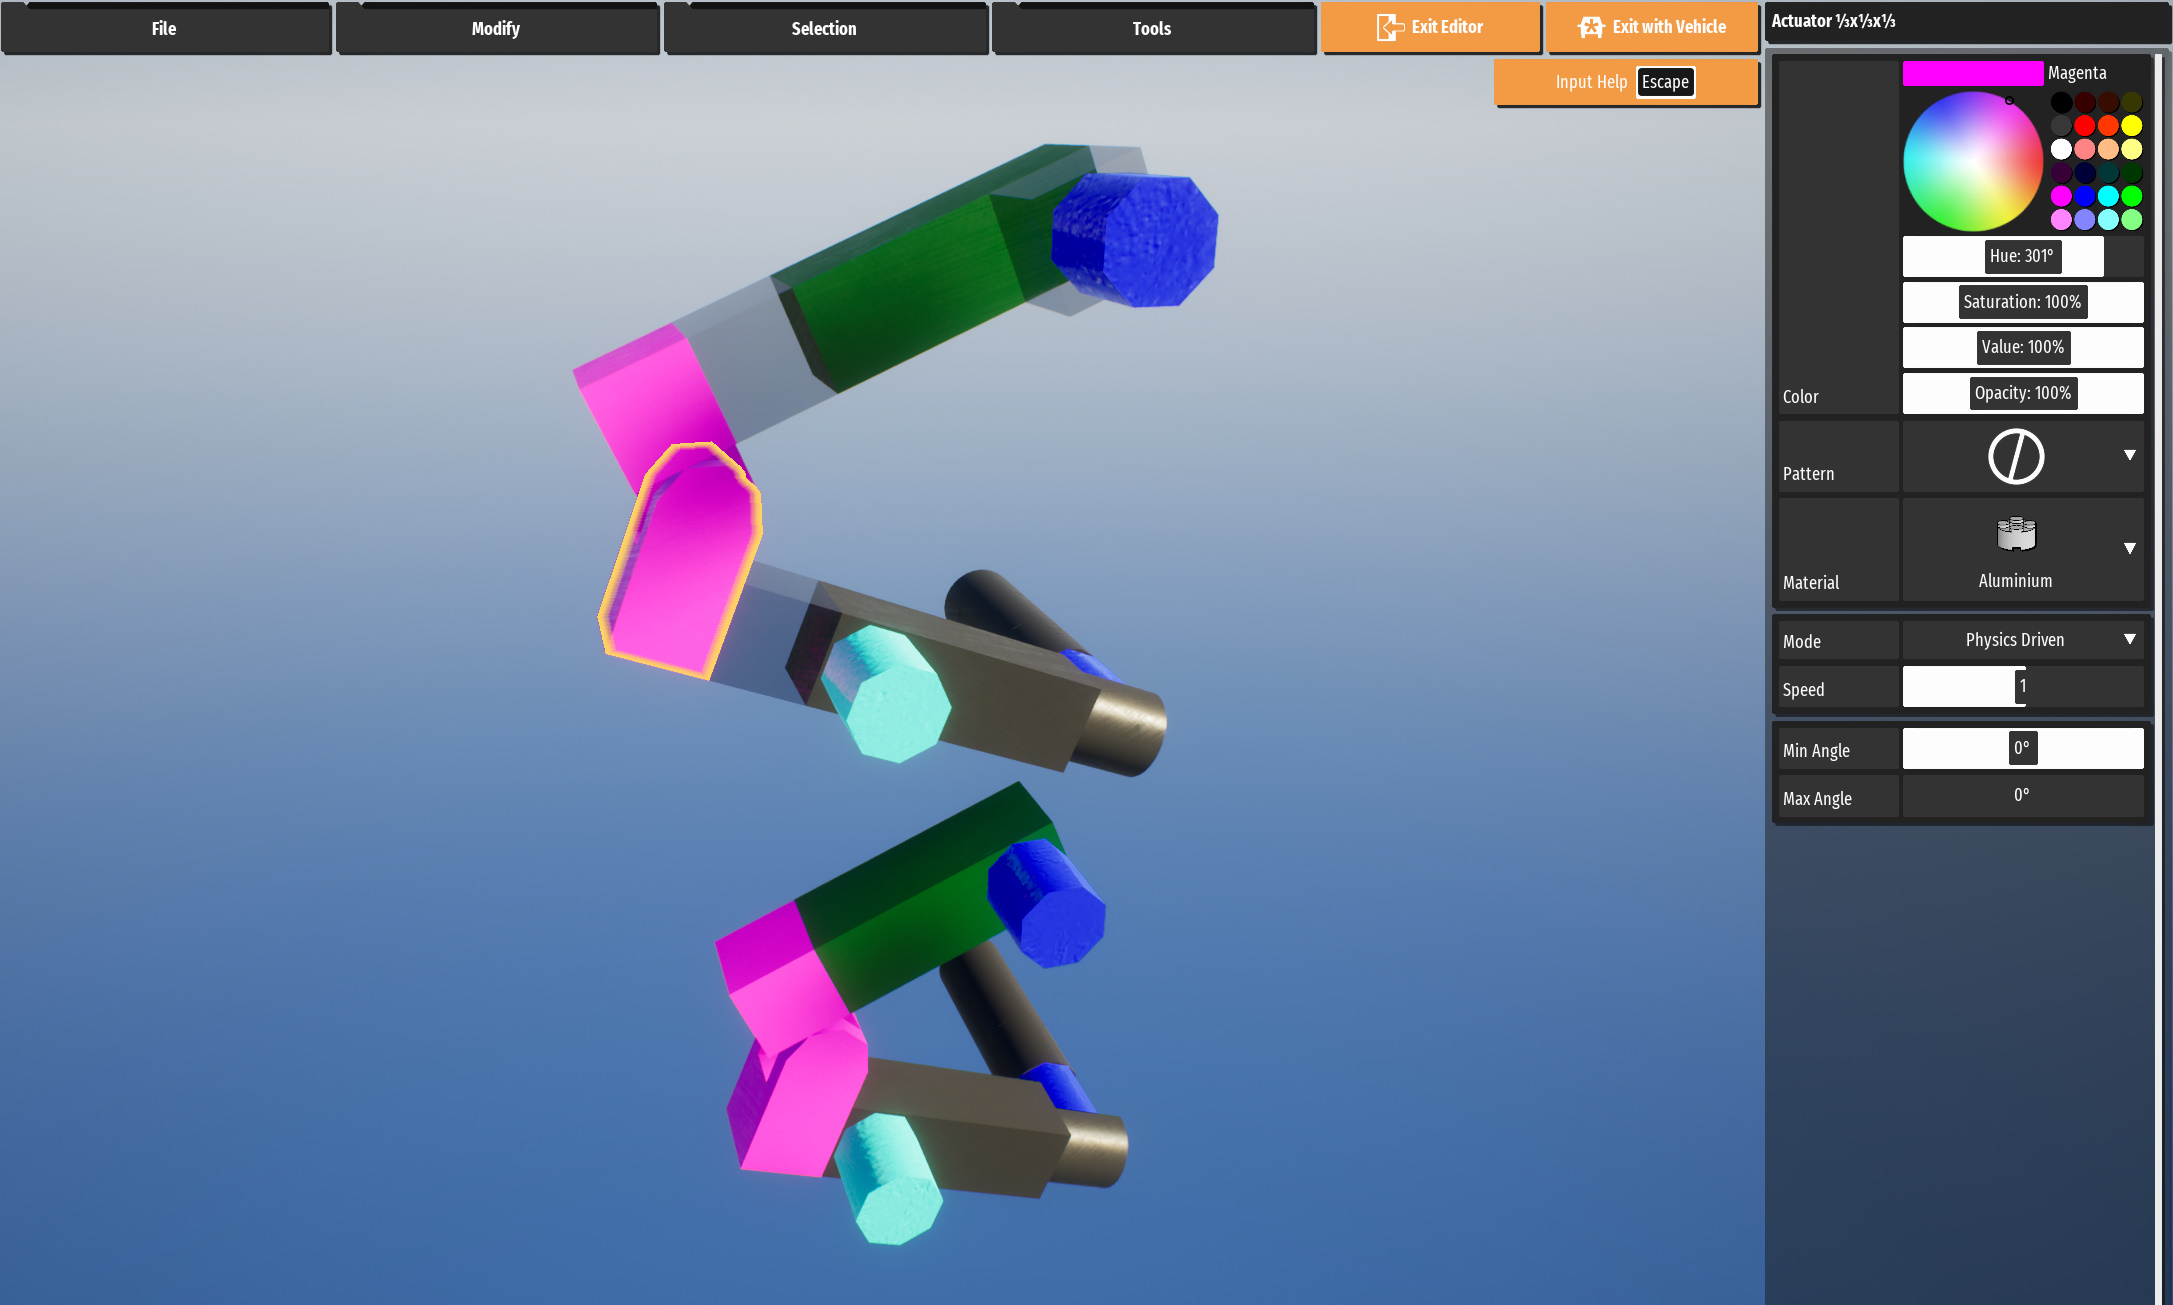
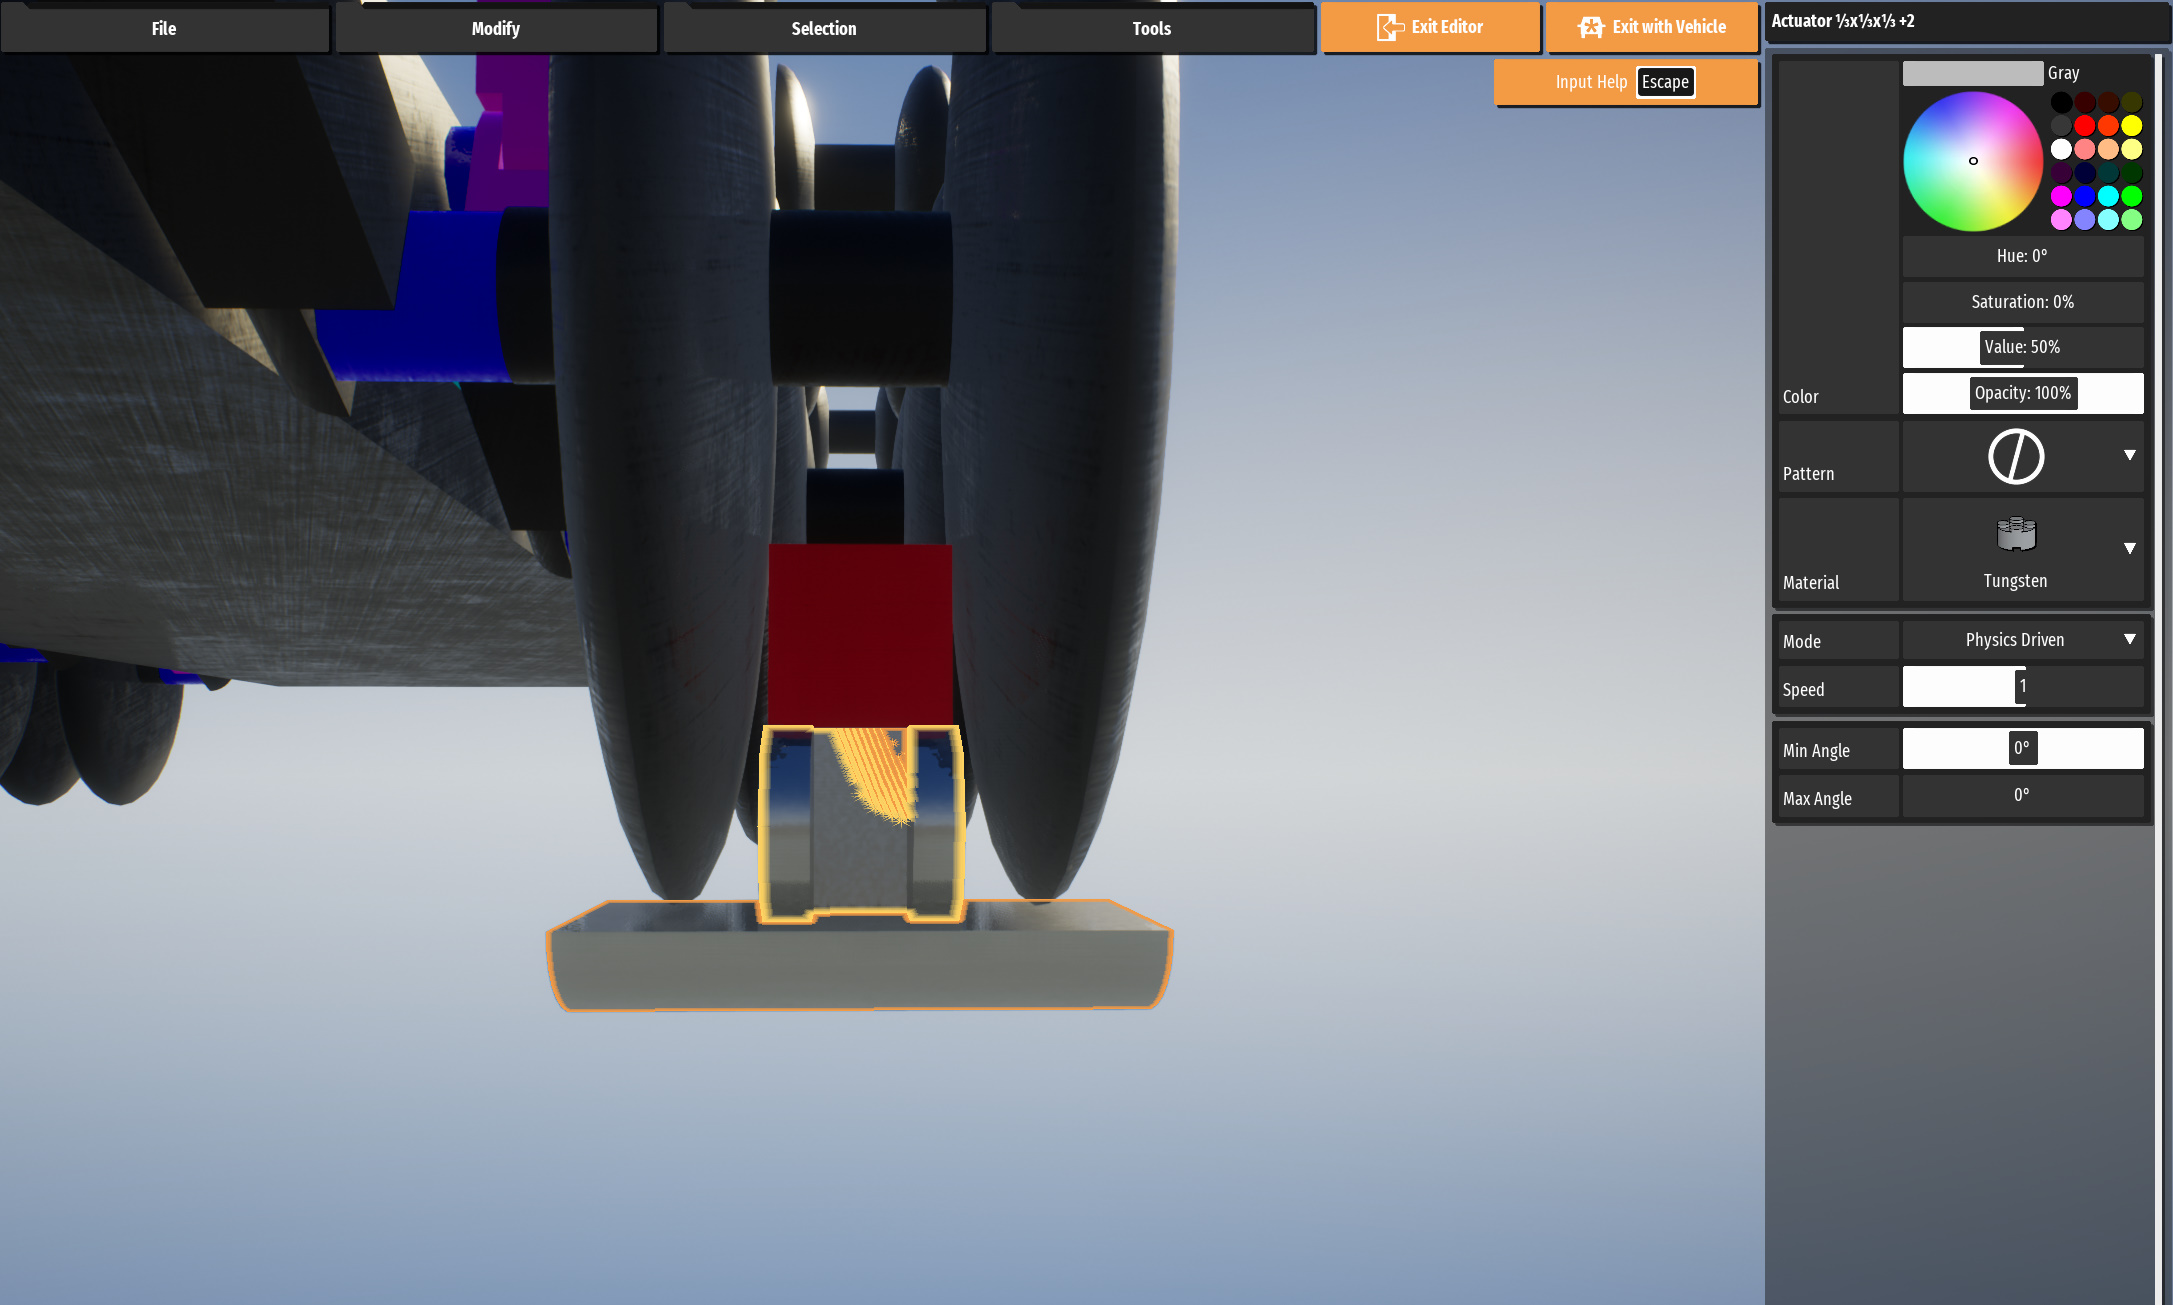
Settings for reference.
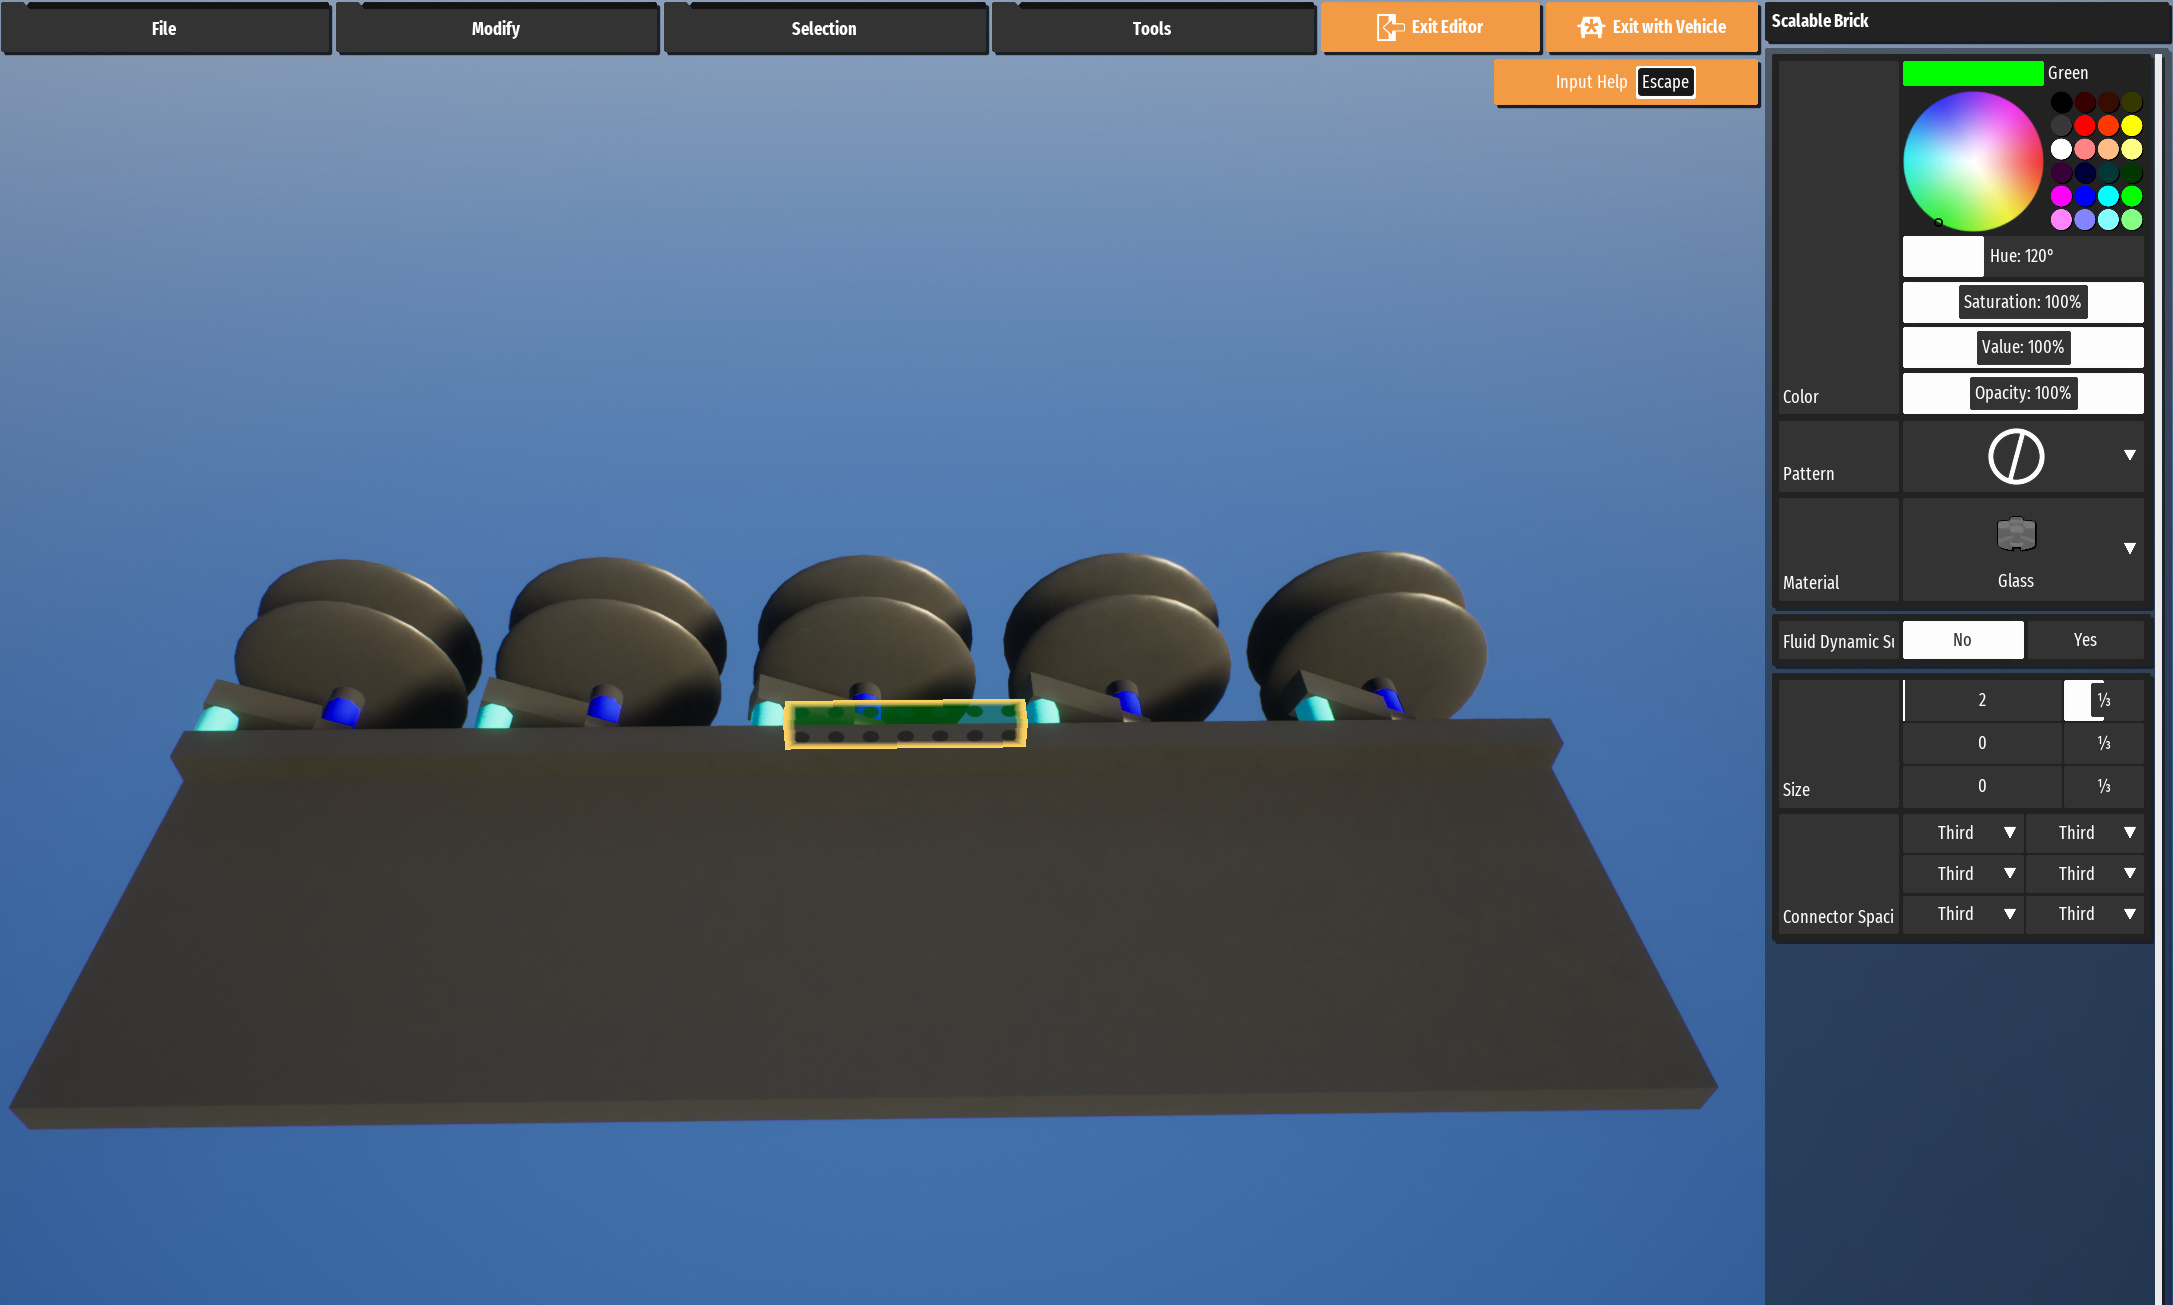
Building a simple base, suspension arms, and roadwheels.
Make sure the location of the brick is around 0,0,1so that mirroring all the parts such as tracks is easy to do.
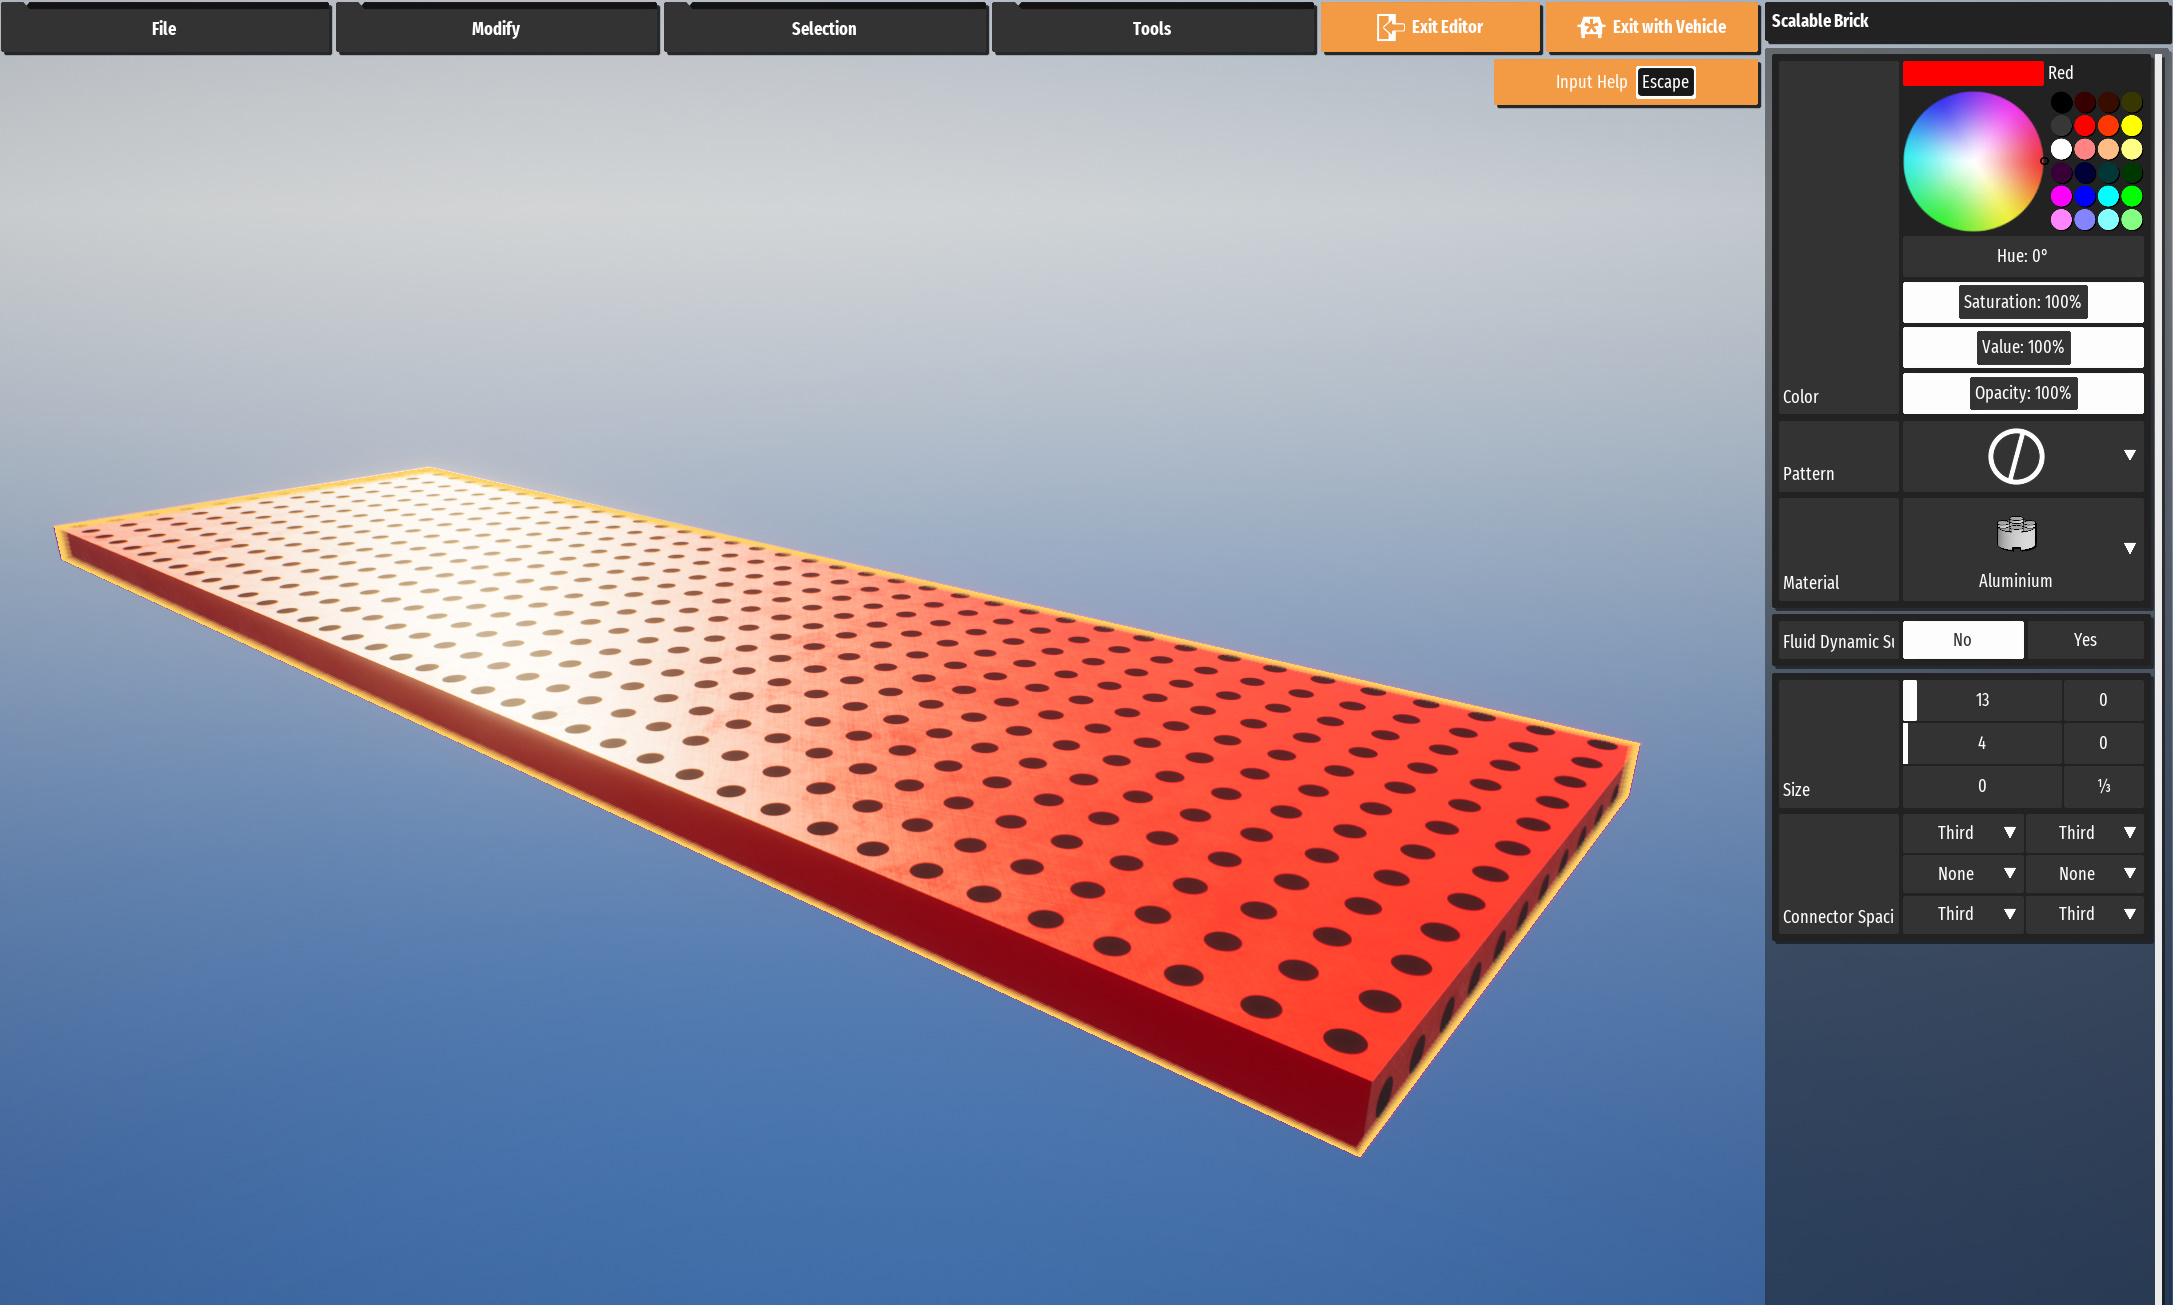
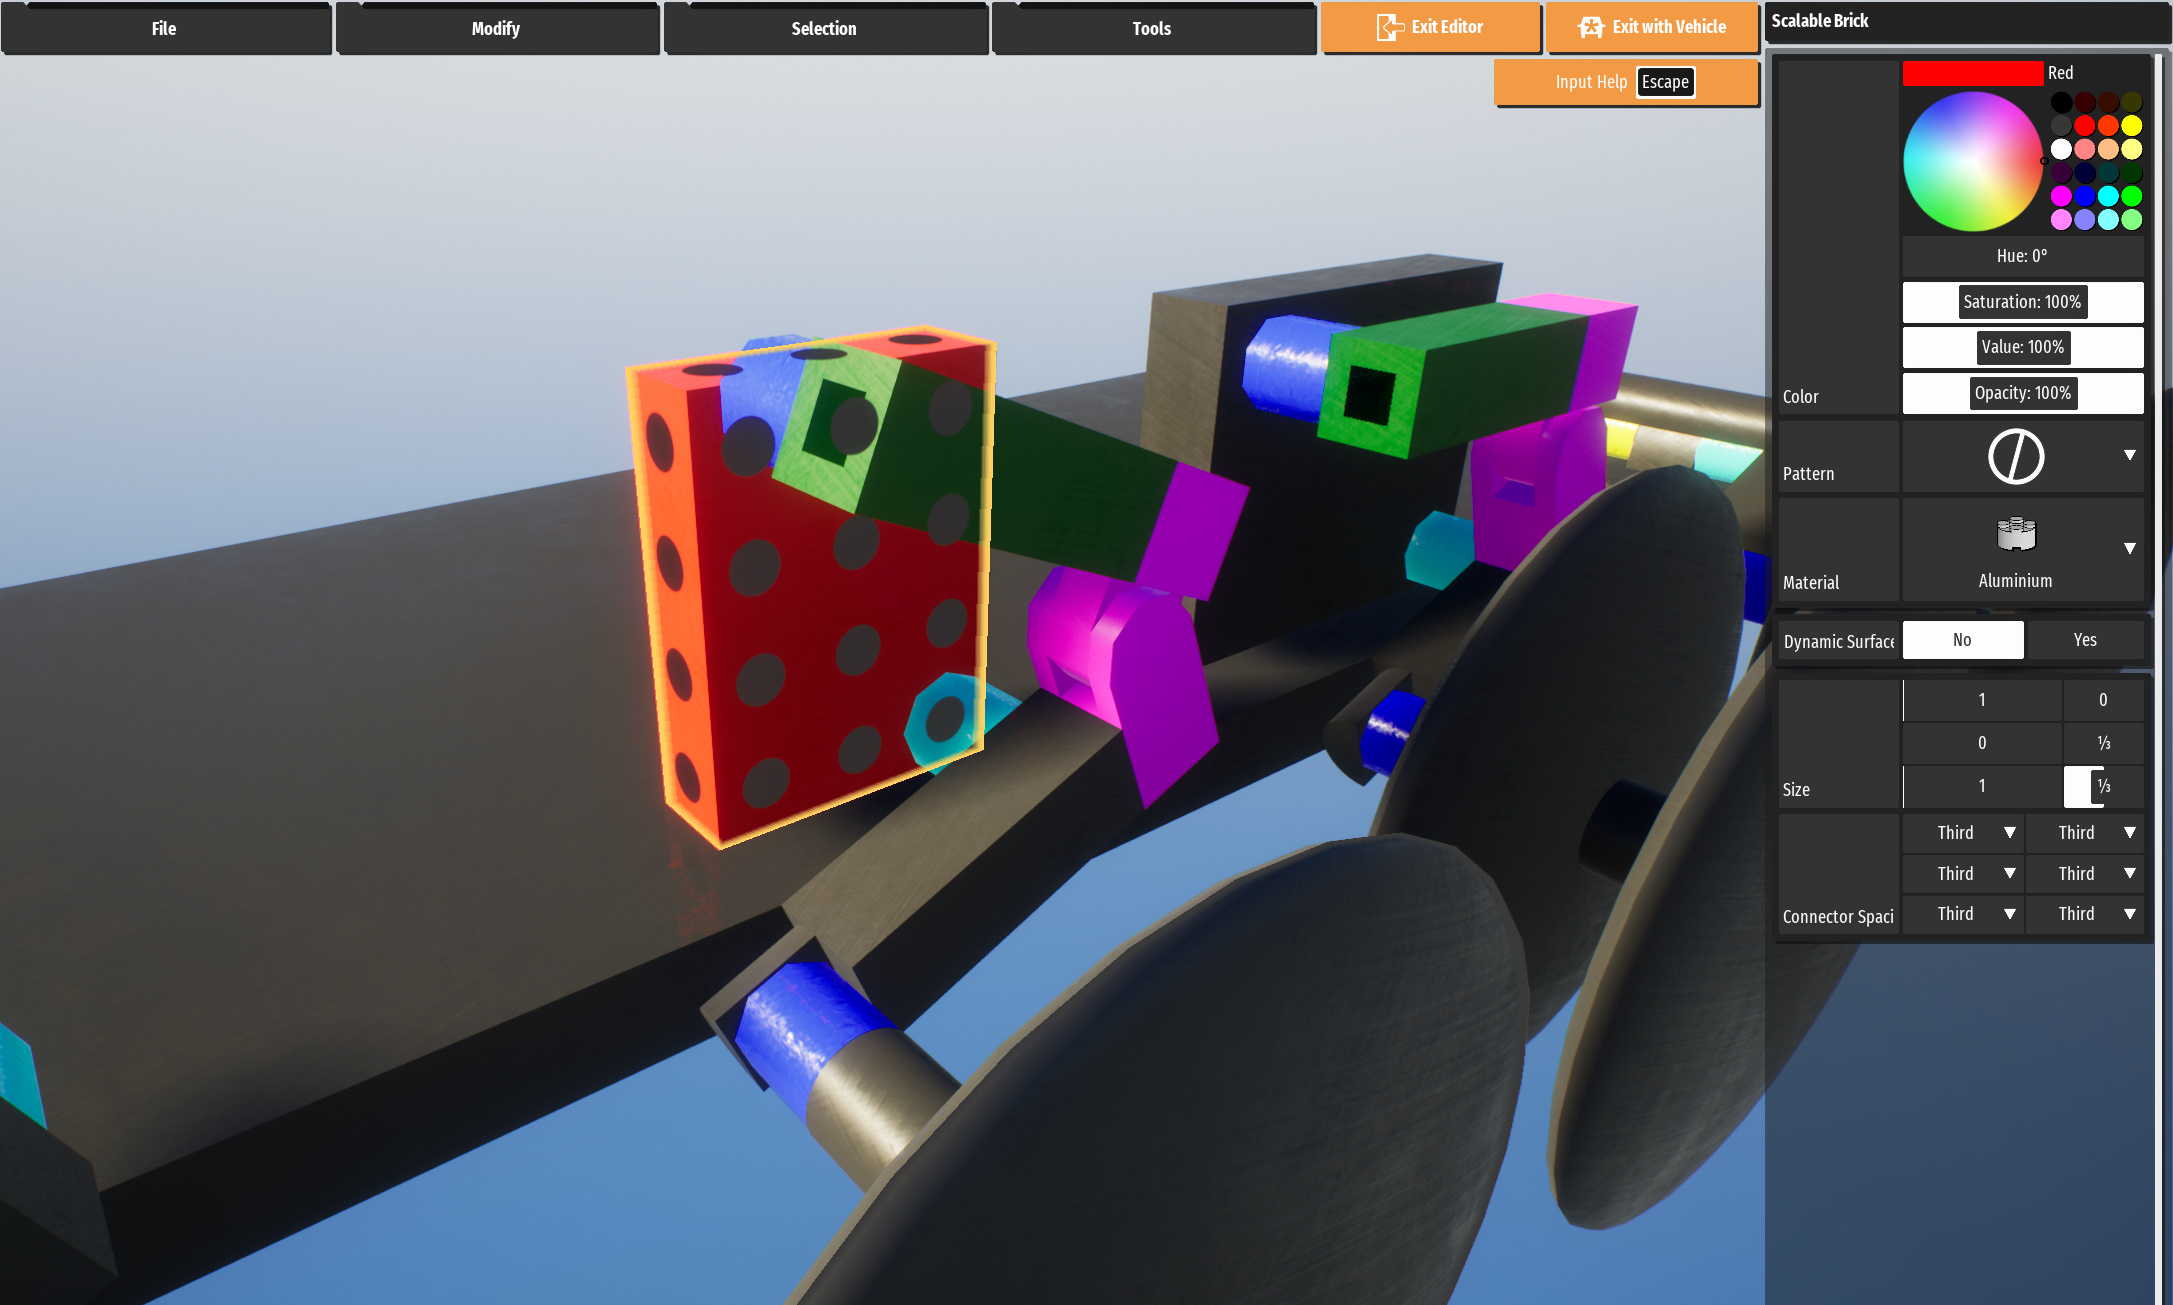
Start with a 13/4/1s brick. Make sure that the side connections are set to none to not interfere with the suspension arms.
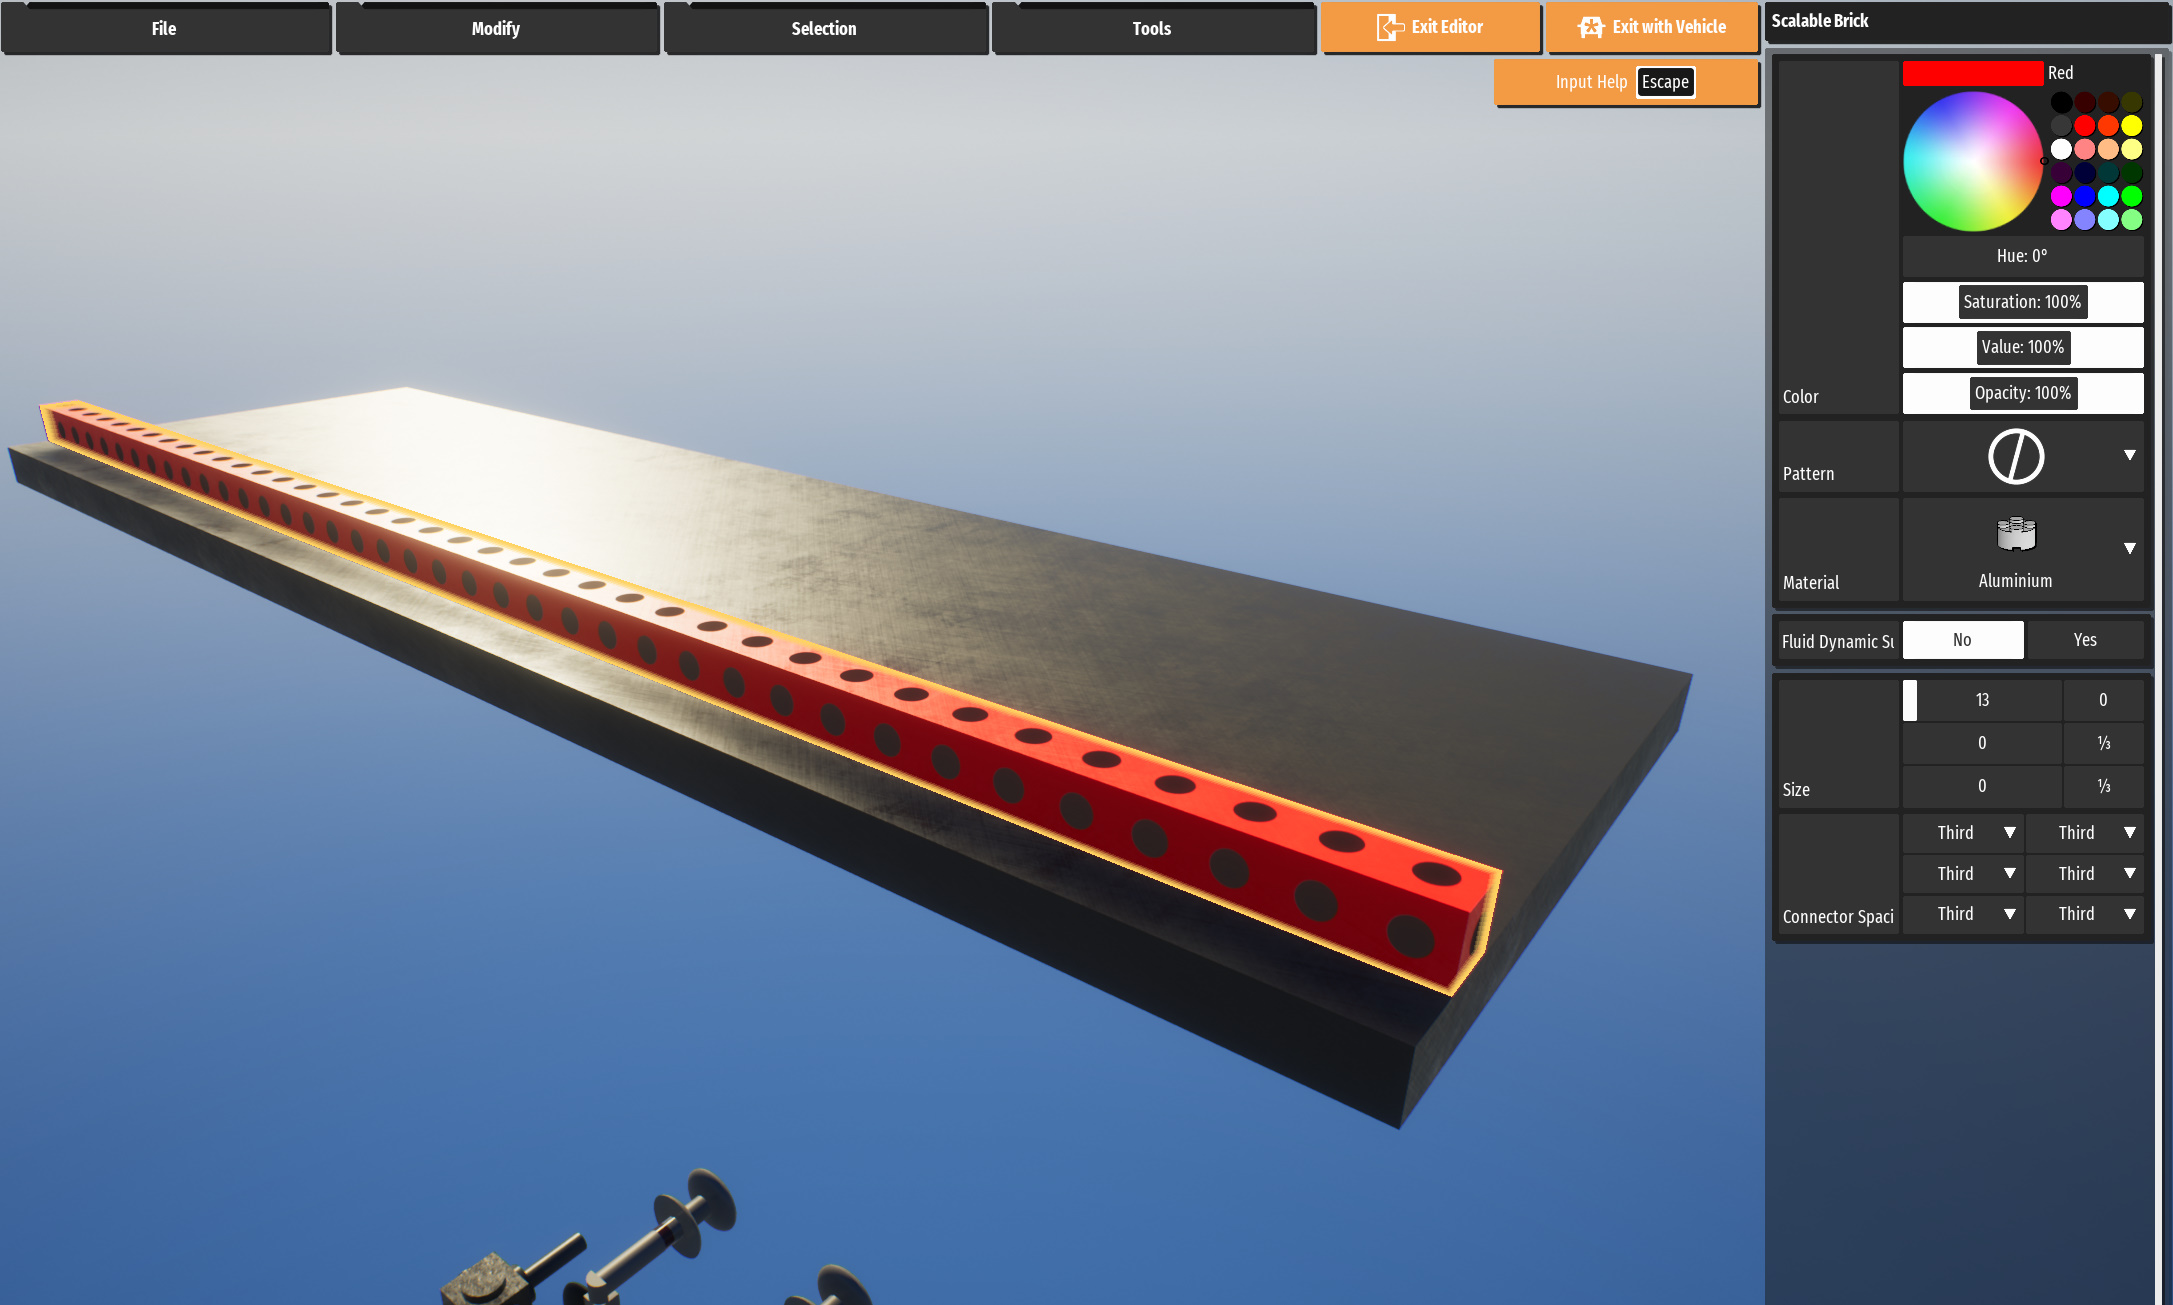
Now create a 13/1s/1s temporary brick to help space apart all the suspension arms.
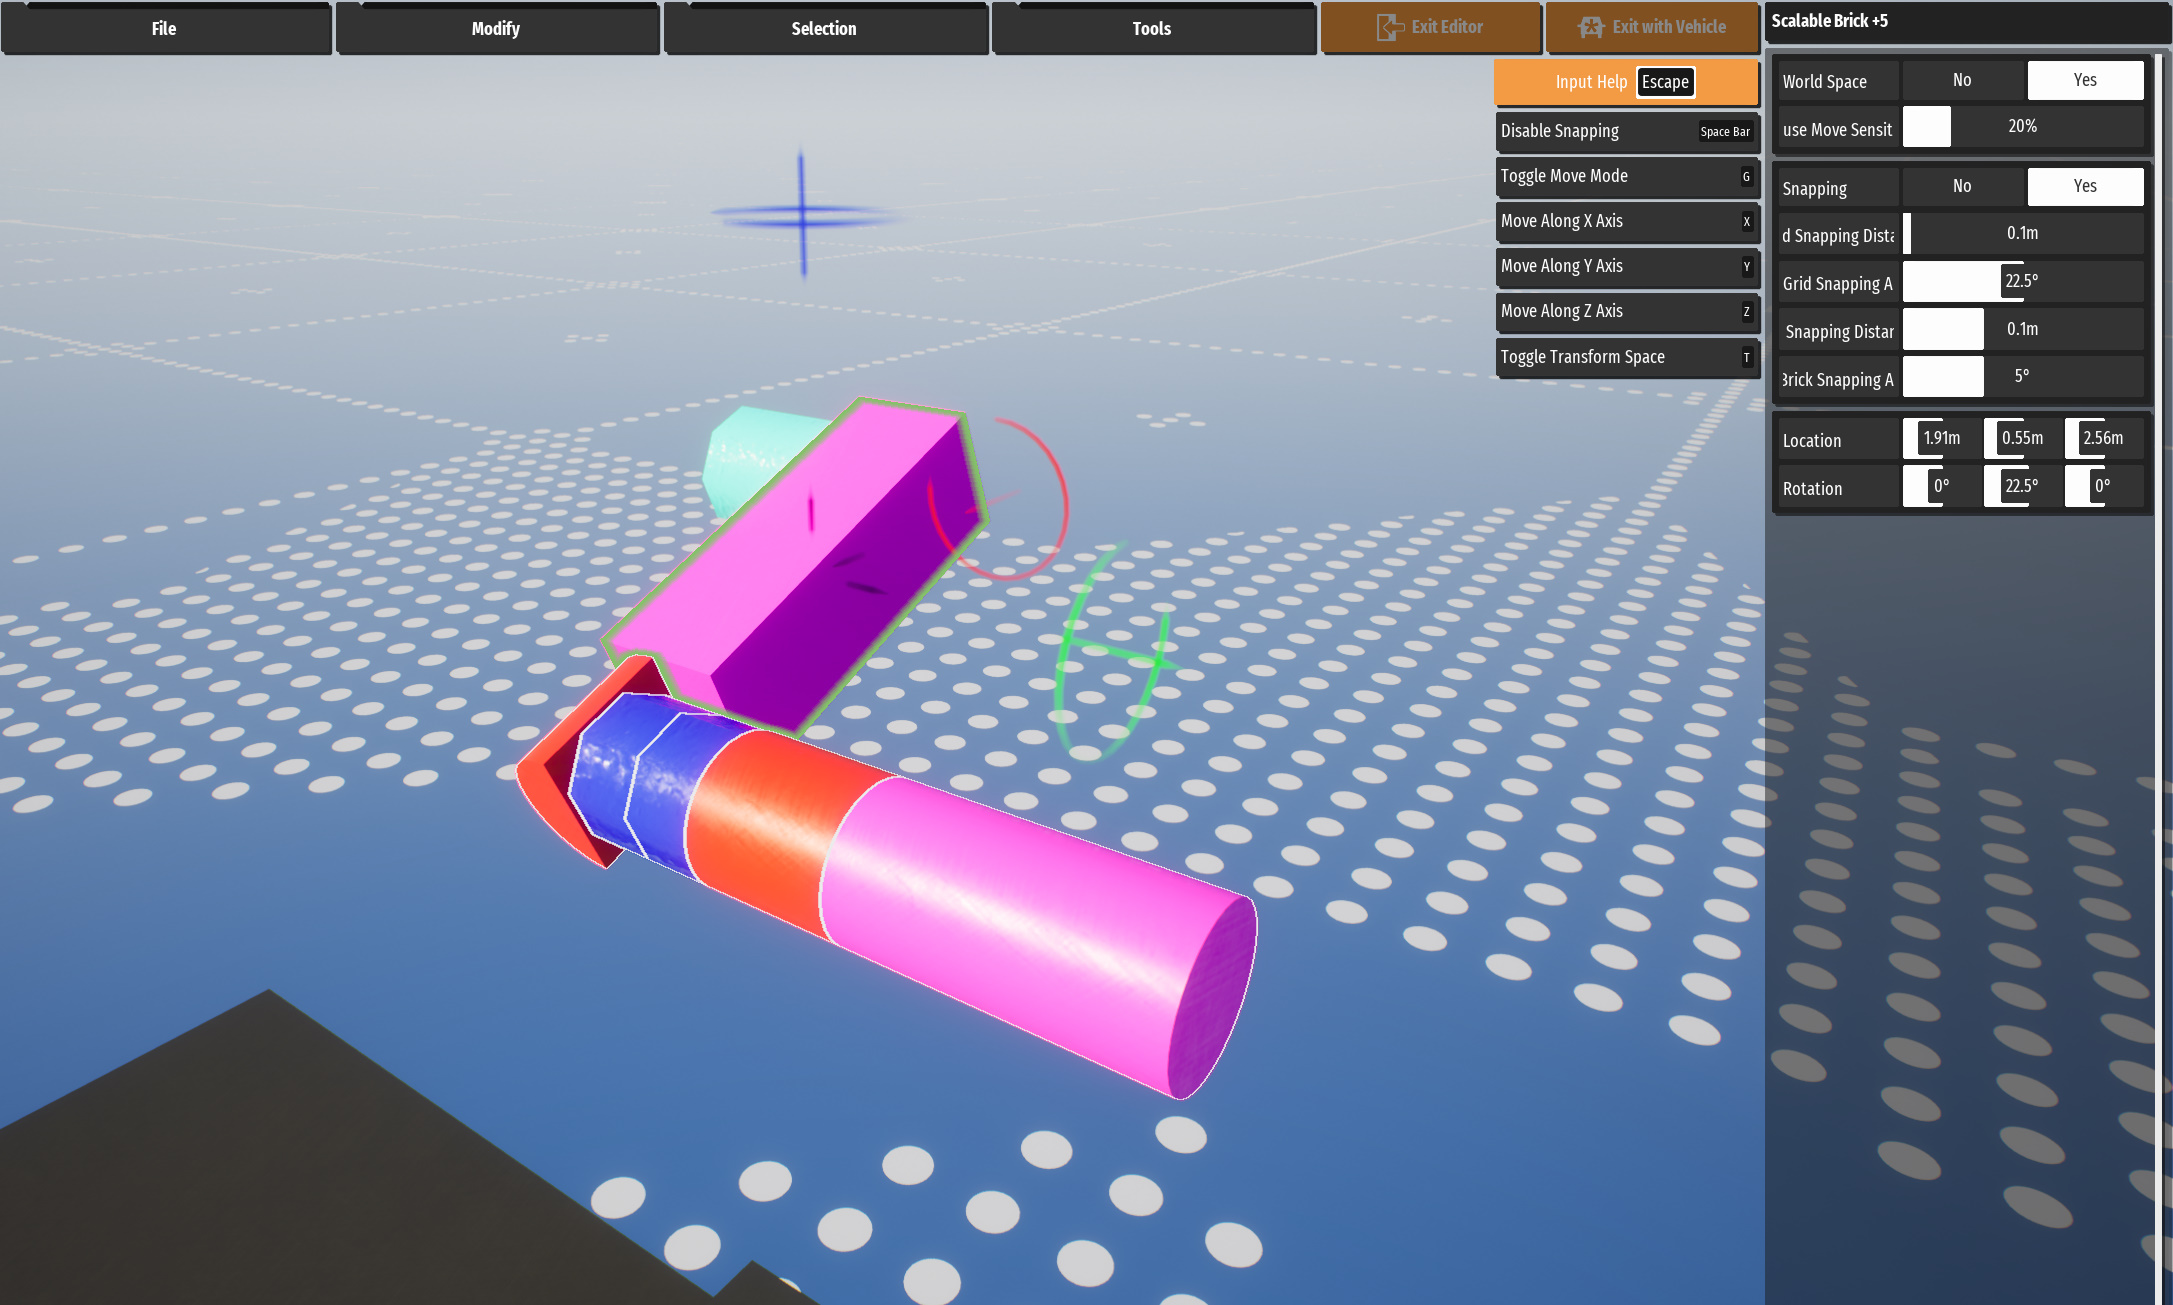
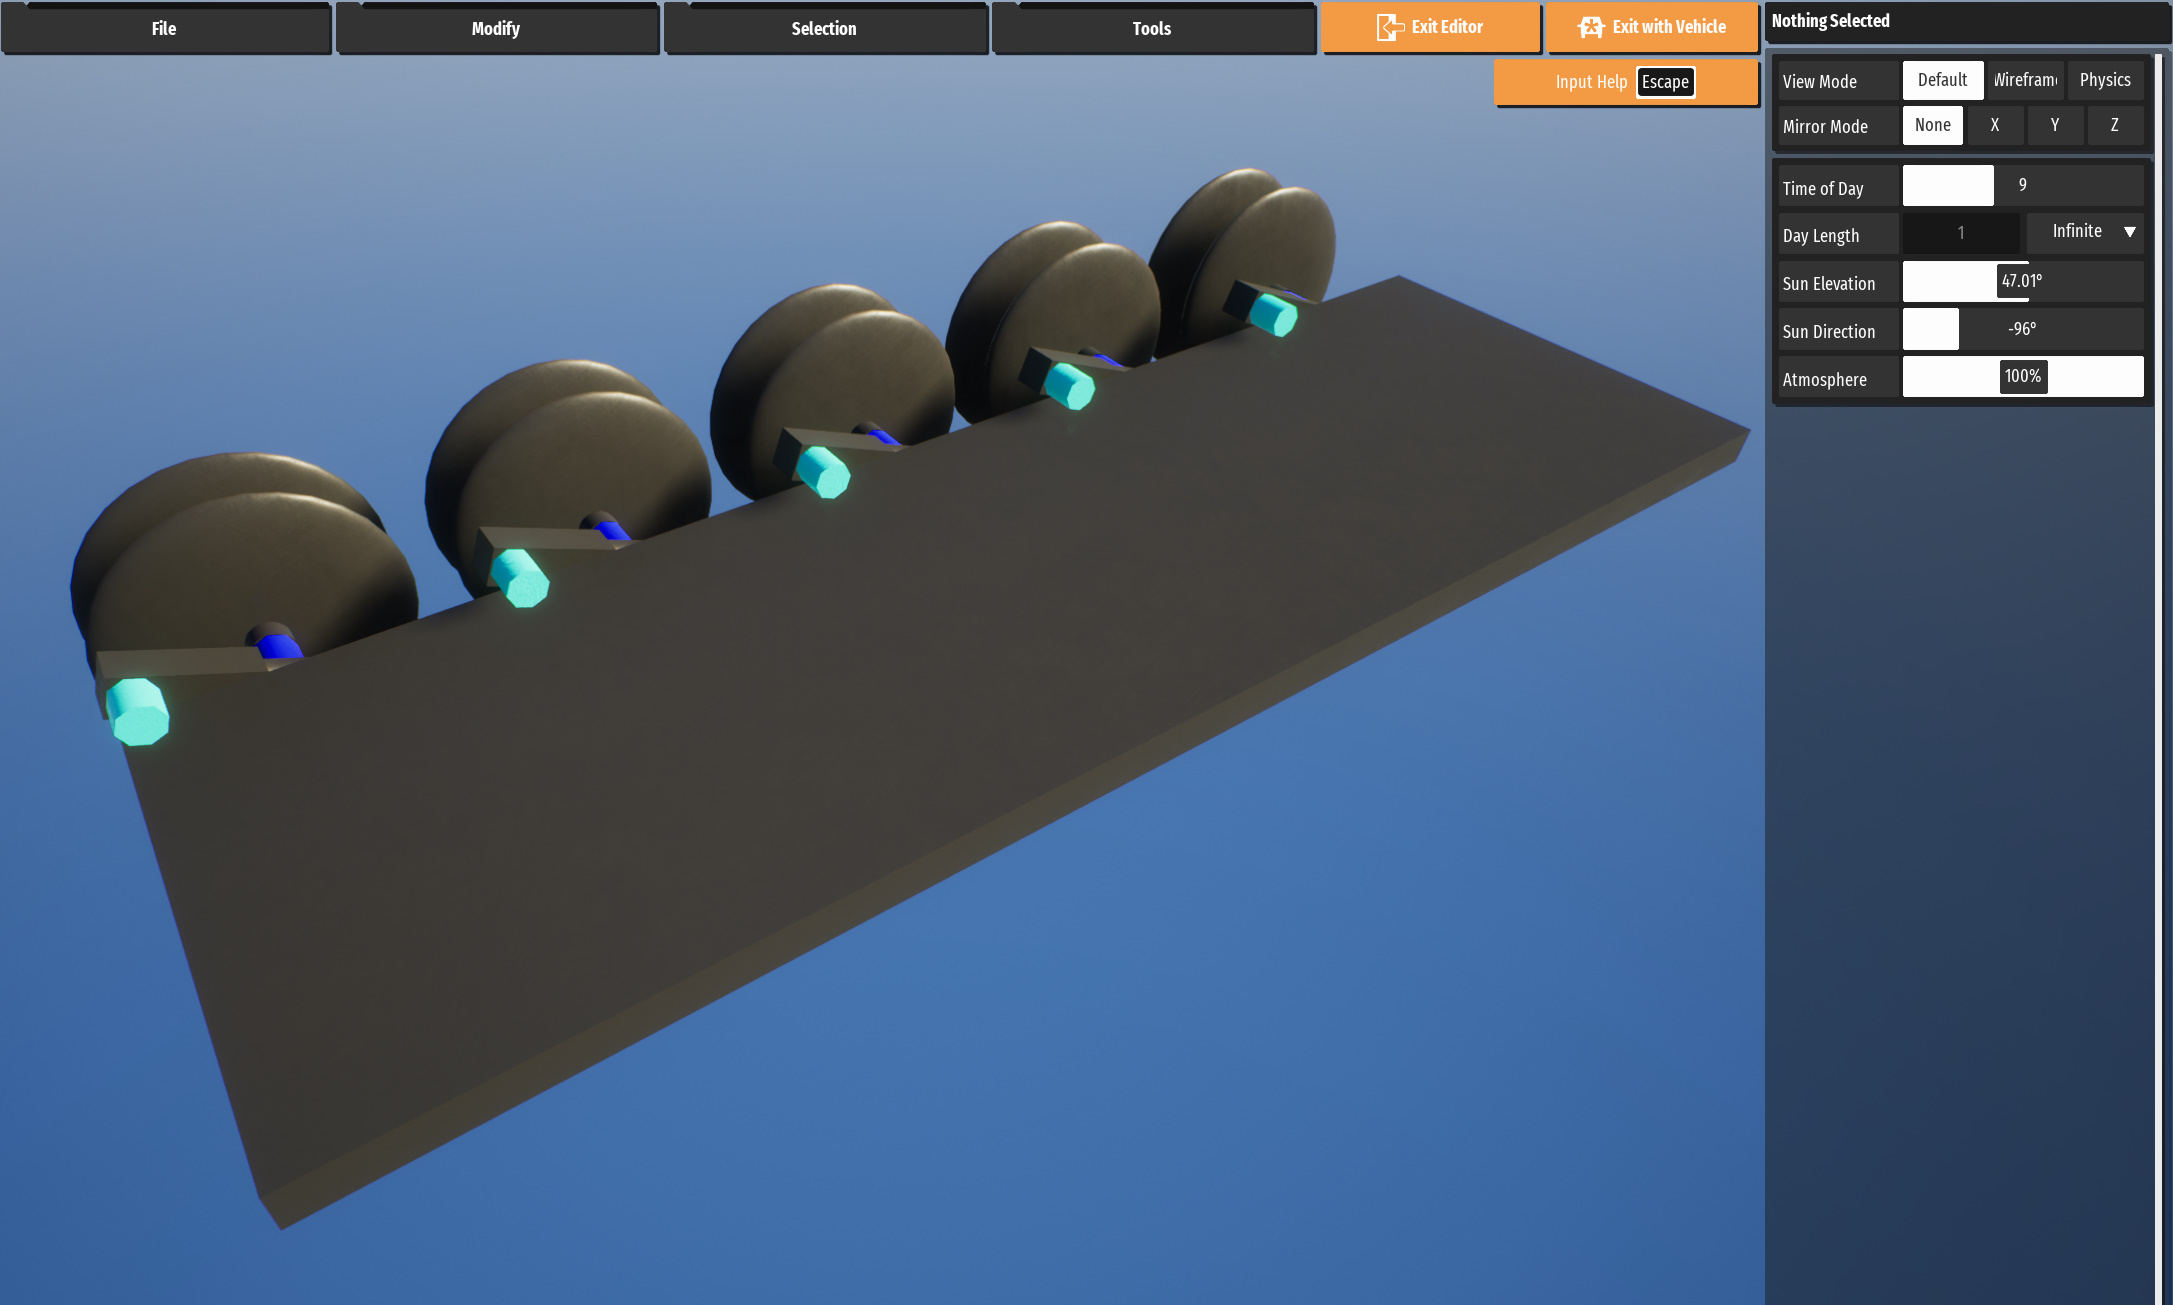
Now to make the suspension arm. Have the light blue (cyan) 1s rotational actuator be set at a stiffness of 1 and the min/max angle at -60/60 so the actuators have a smaller chance of glitching out when in use. Have the suspension arm be rotated at 22.5 degrees. It can be really whatever angle that you want whenever you build. The suspension arm is a 1/1s/1s brick plus a 1s/1s/1s half cylinder. The small half cylinder helps space out the wheels to match how much the powered axle is spaced out when added later.
Now put the angled suspension arm onto the 13/1s/1s brick.
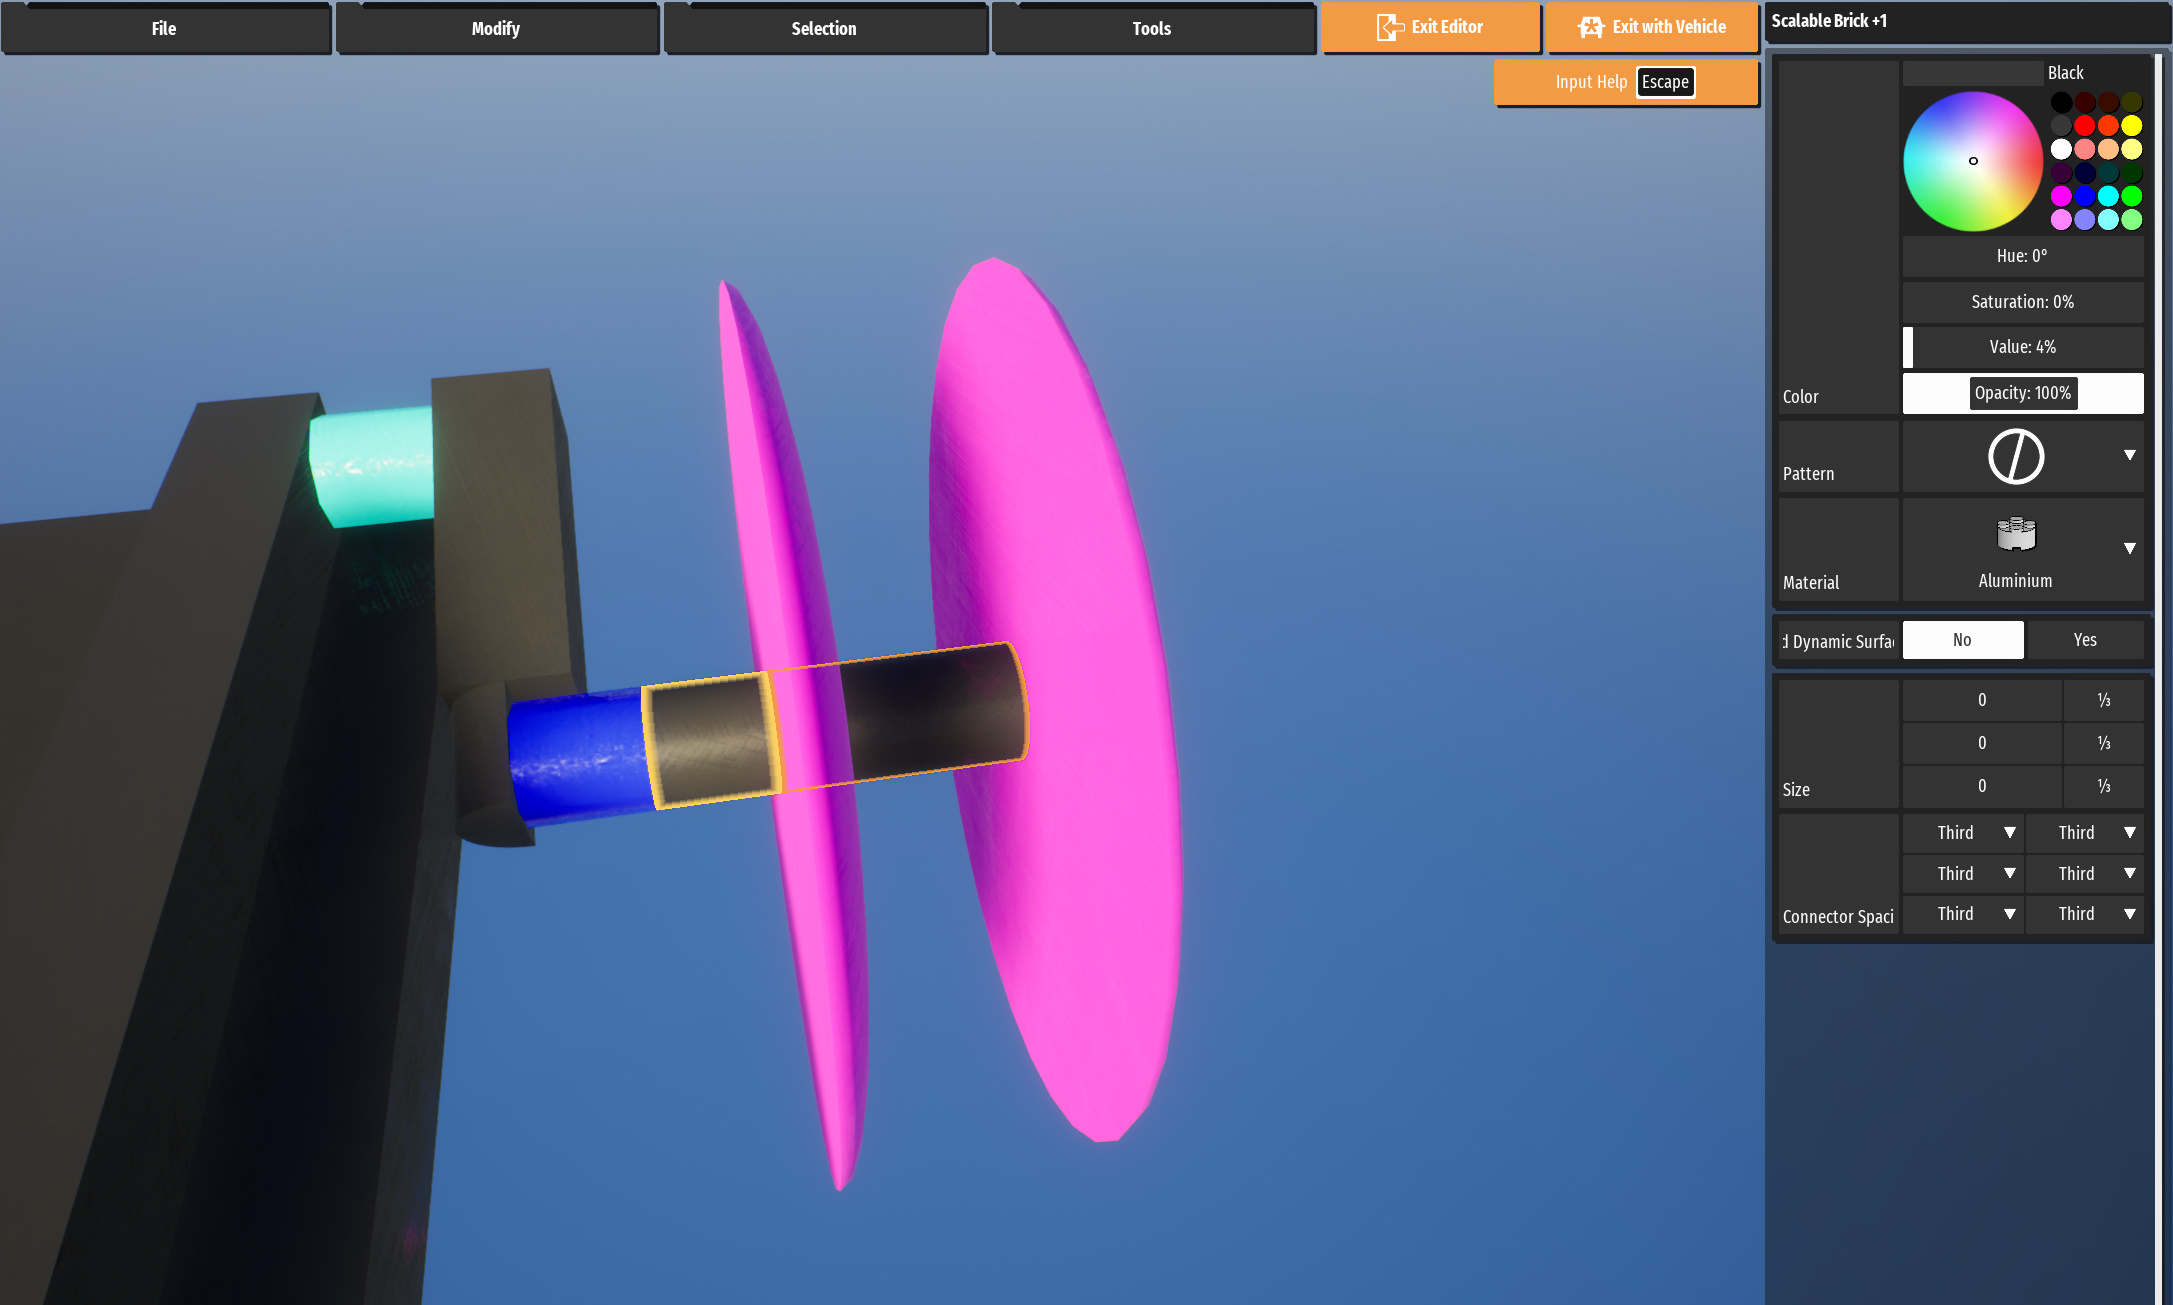
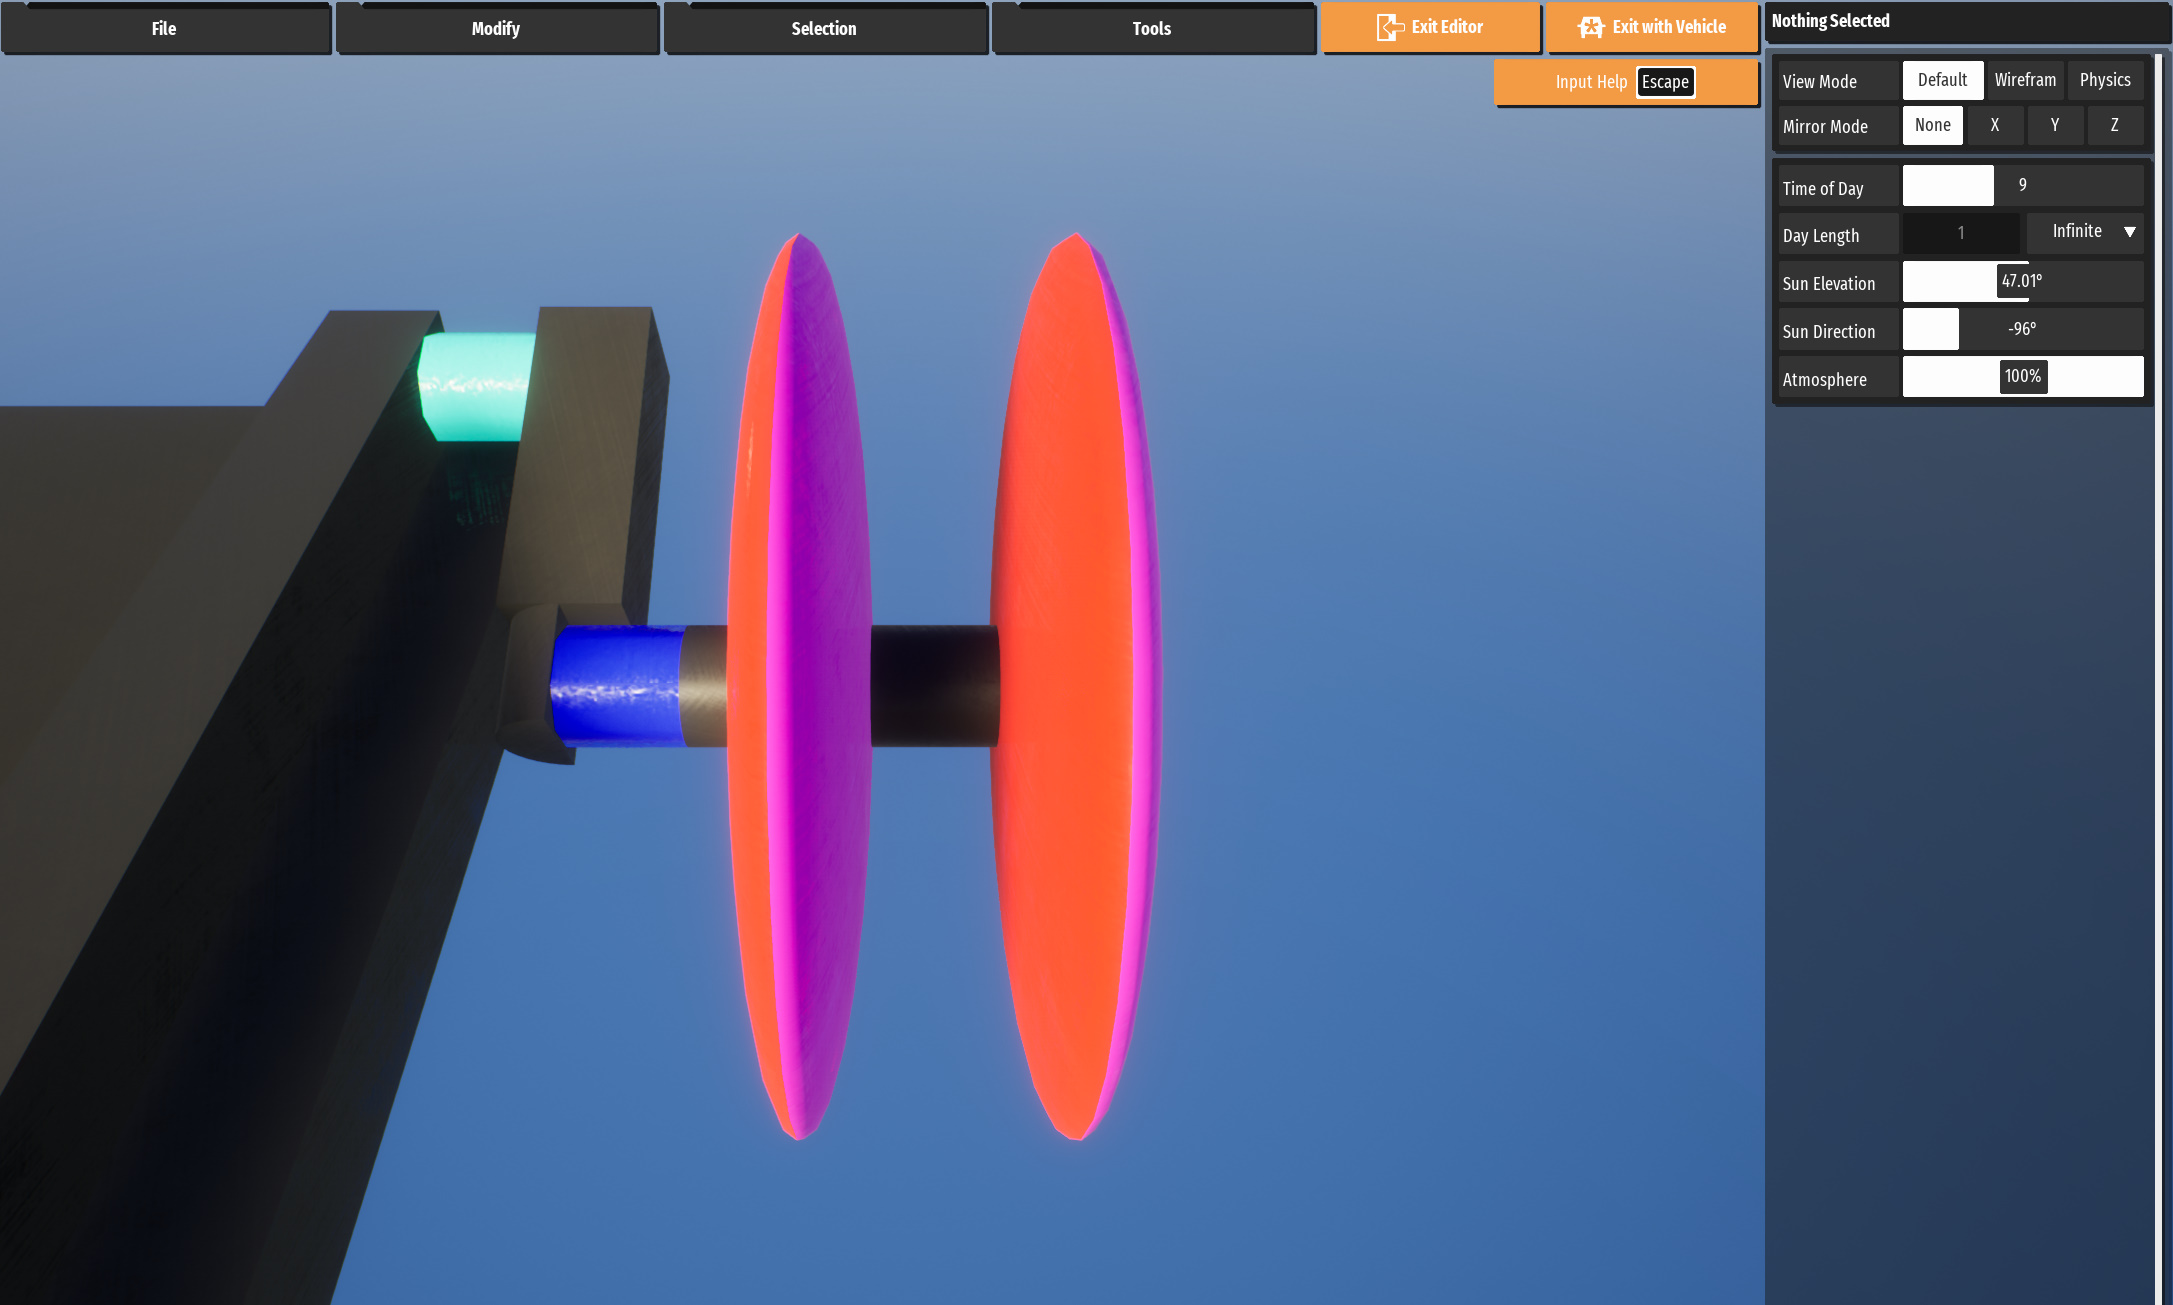
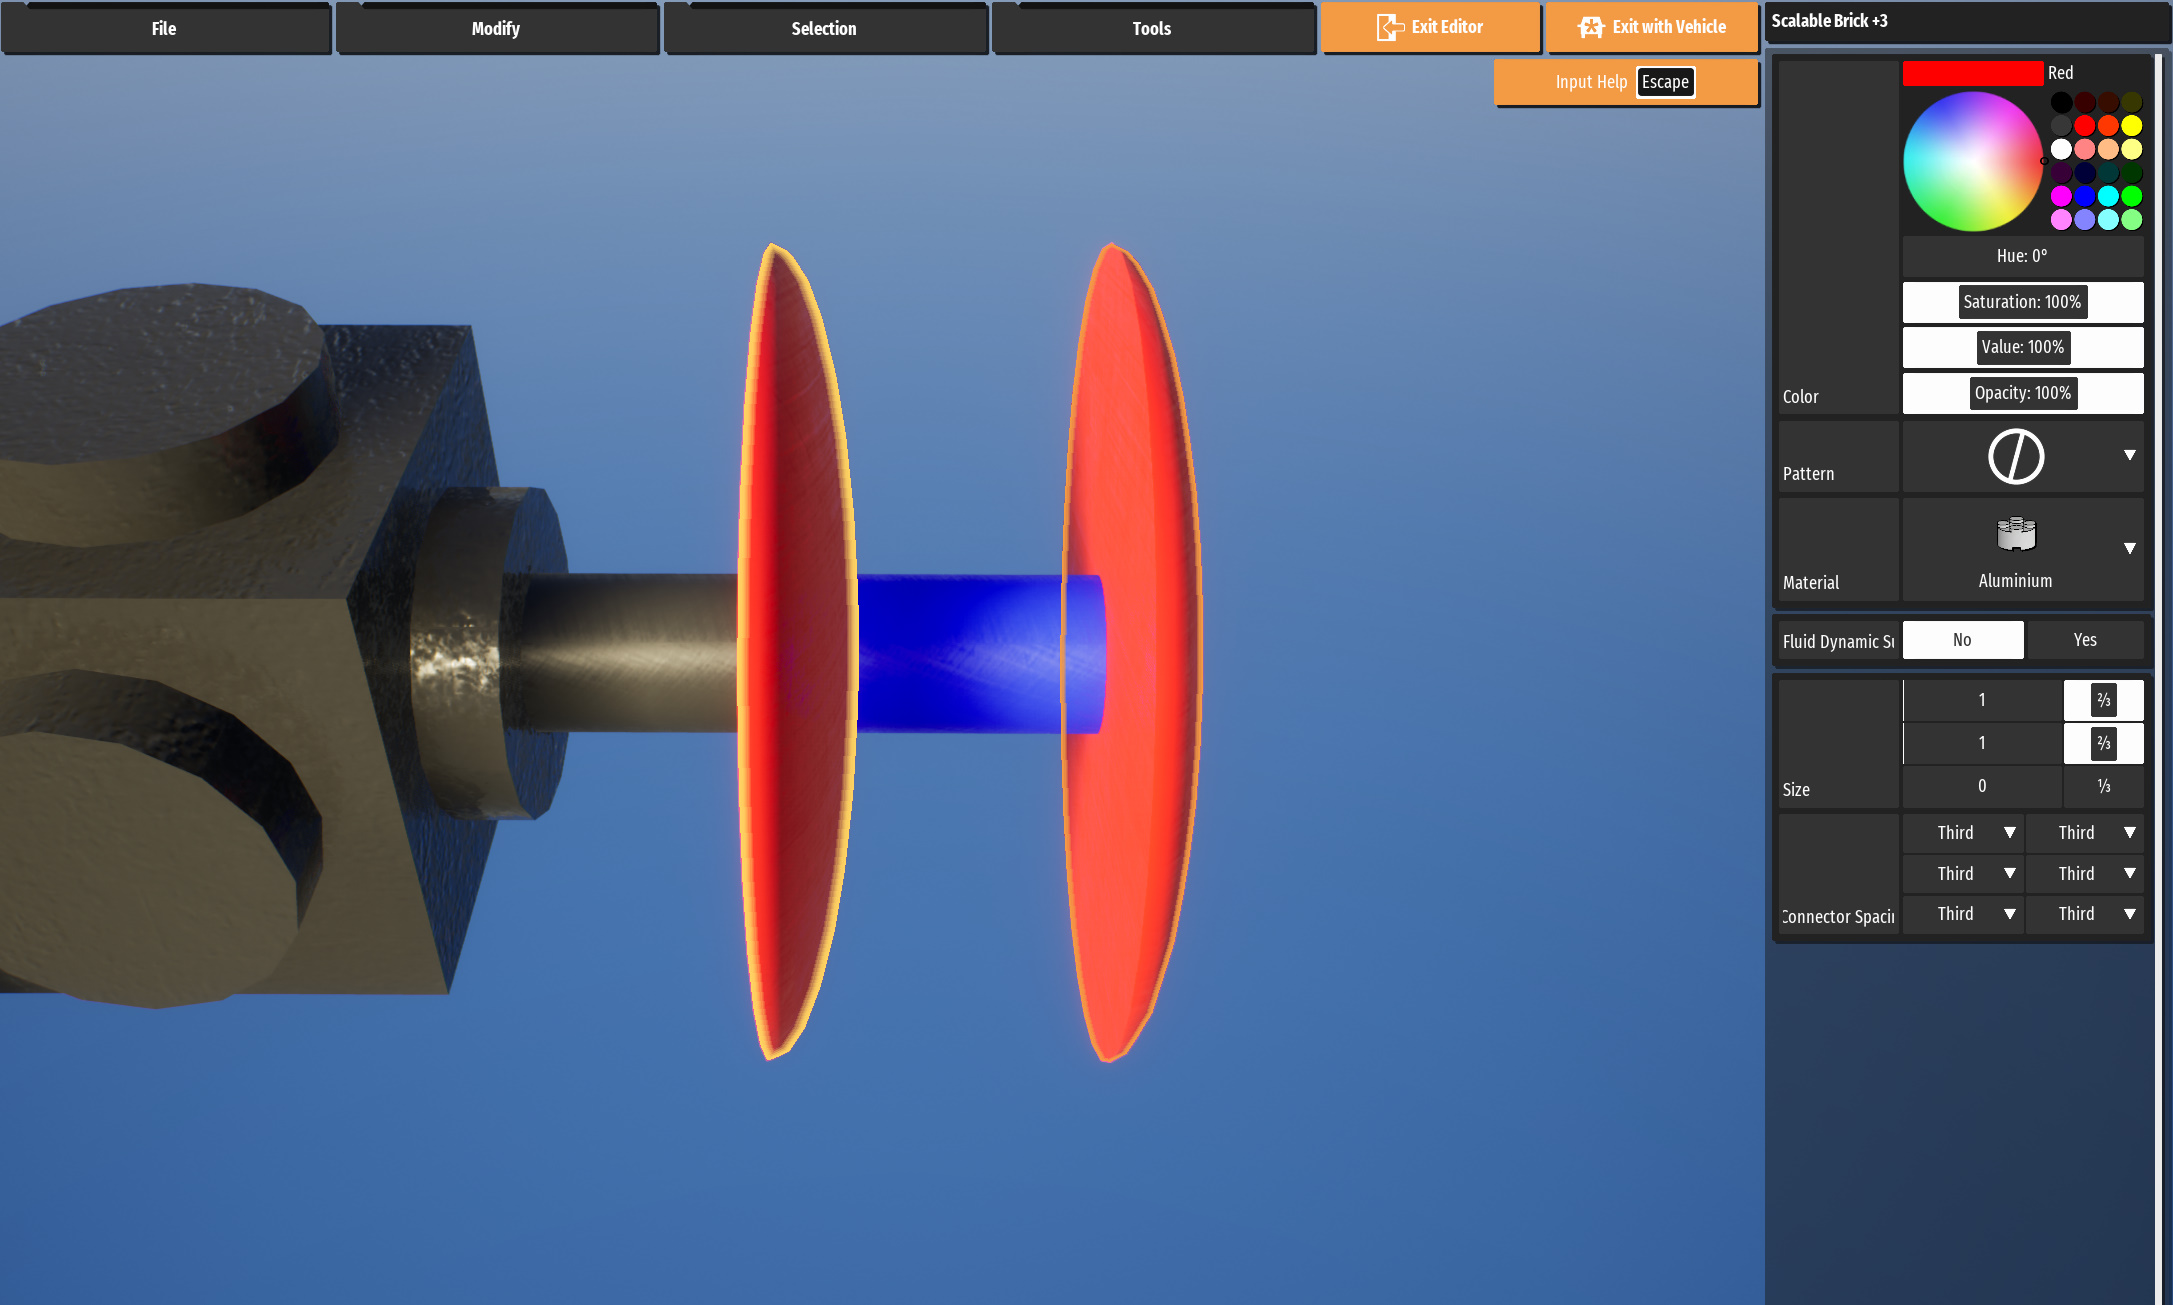
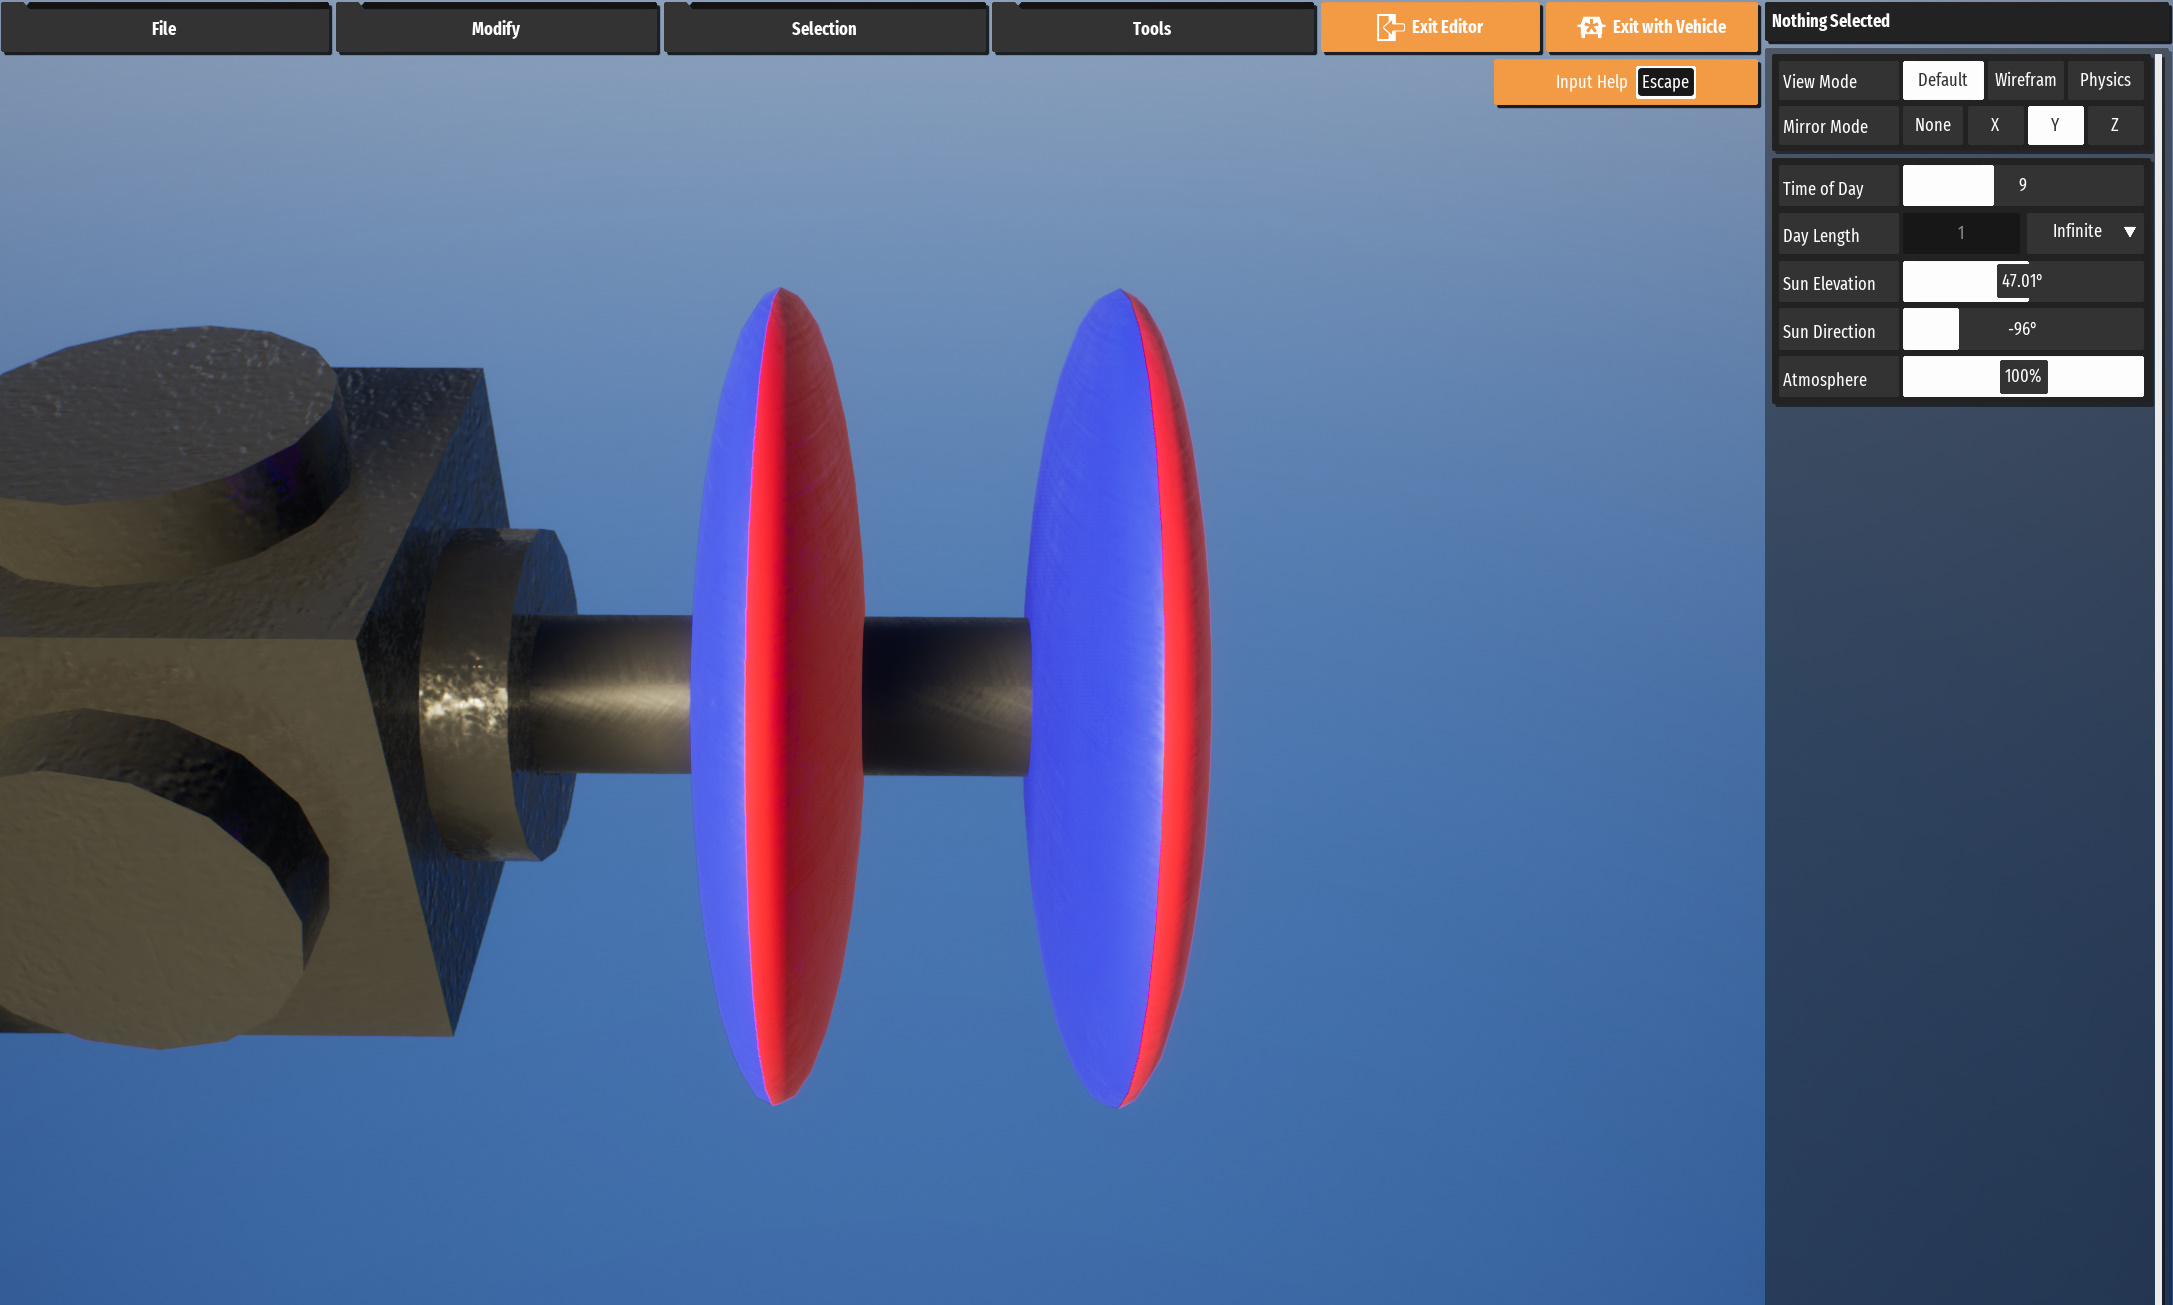
Now to add the roadwheels. Put them on the ends of the two cylinders at the very ends of the suspension arm. For some reason, half spheres are better and easier to use than cylinders.
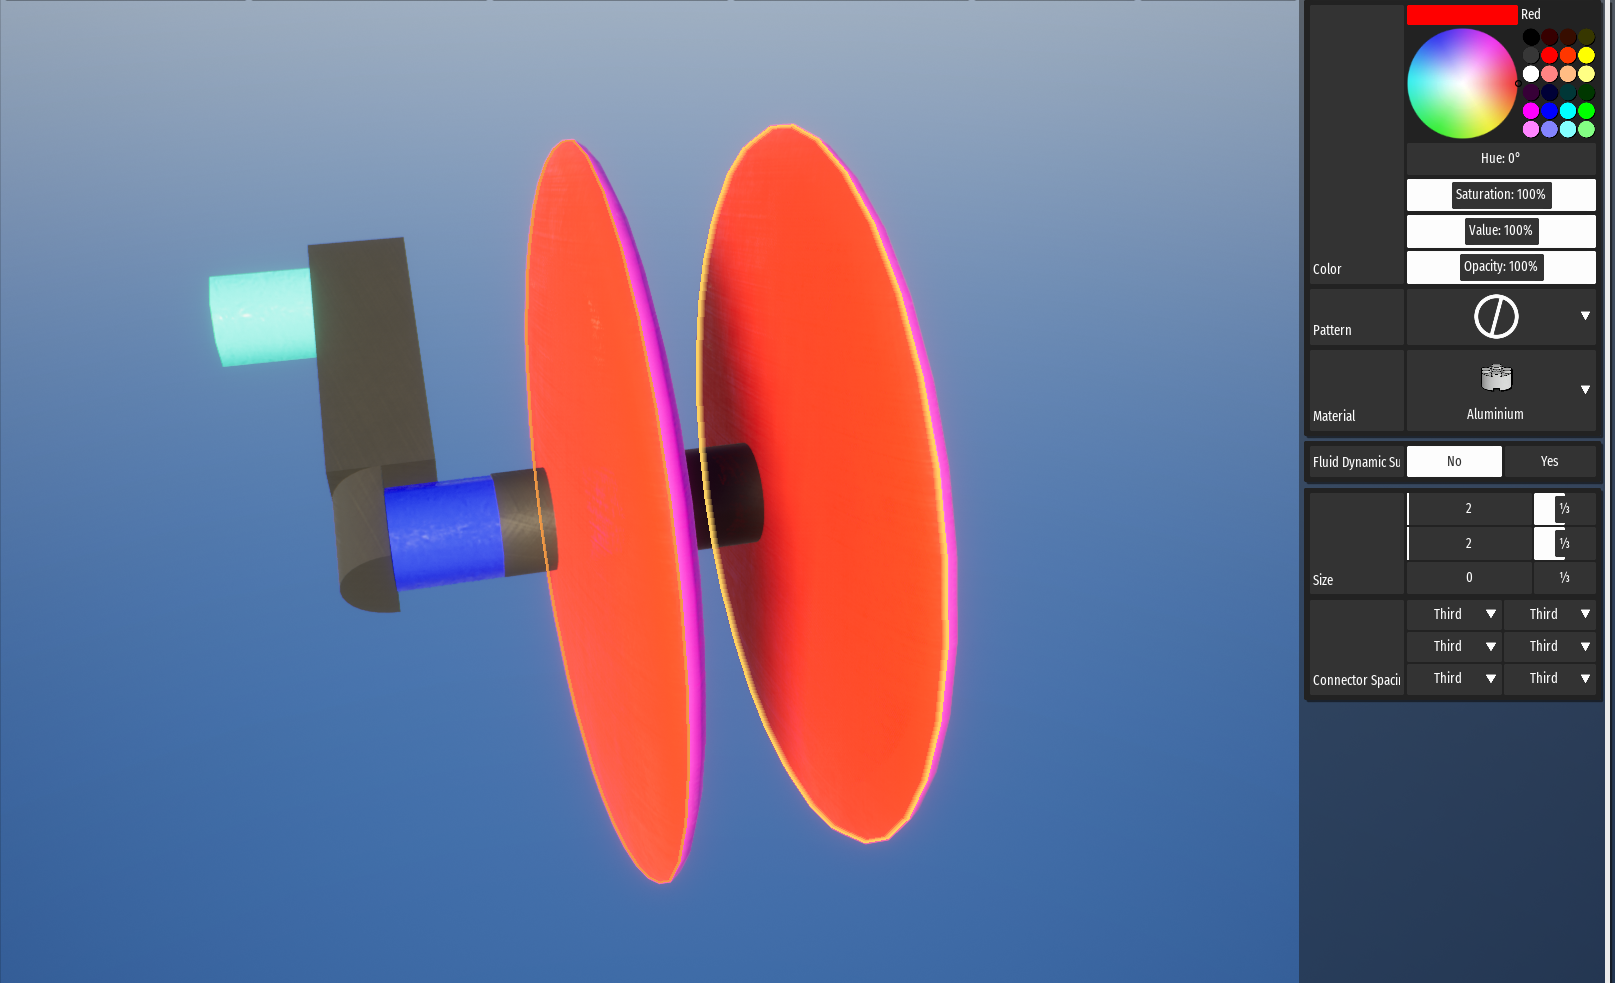
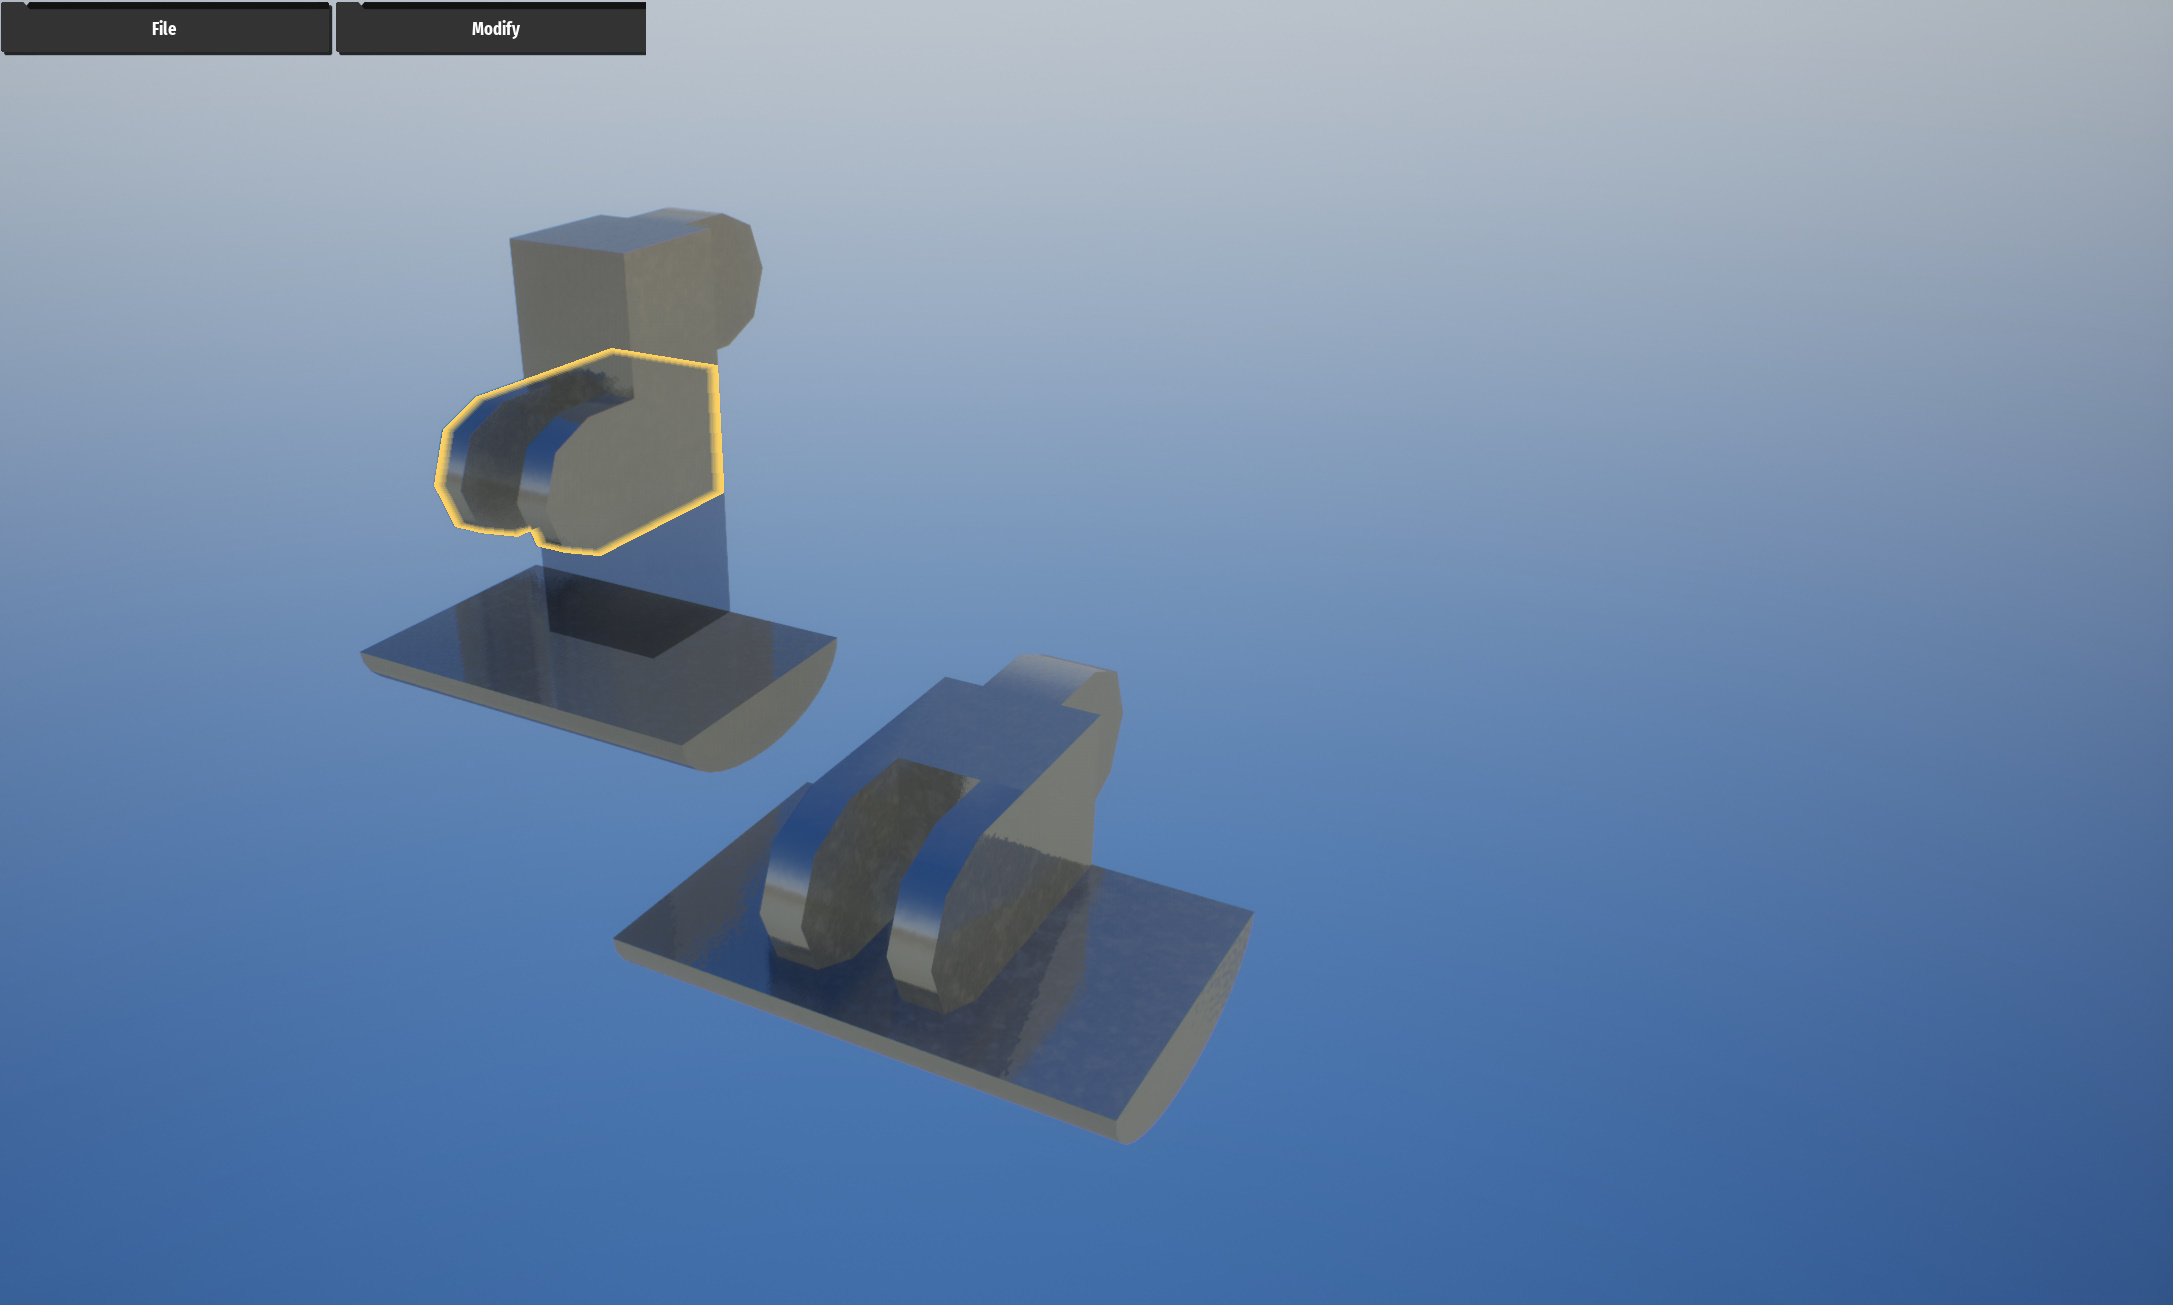
Now copy and flip the half cylinders. The half cylinders are 2 1s/ 2 1s/1s
Copy and paste the suspension arm + roadwheel. Make sure there is a 1s space between the roadwheels.
Remove the reference brick that was used to help space out the suspension arms + roadwheels.
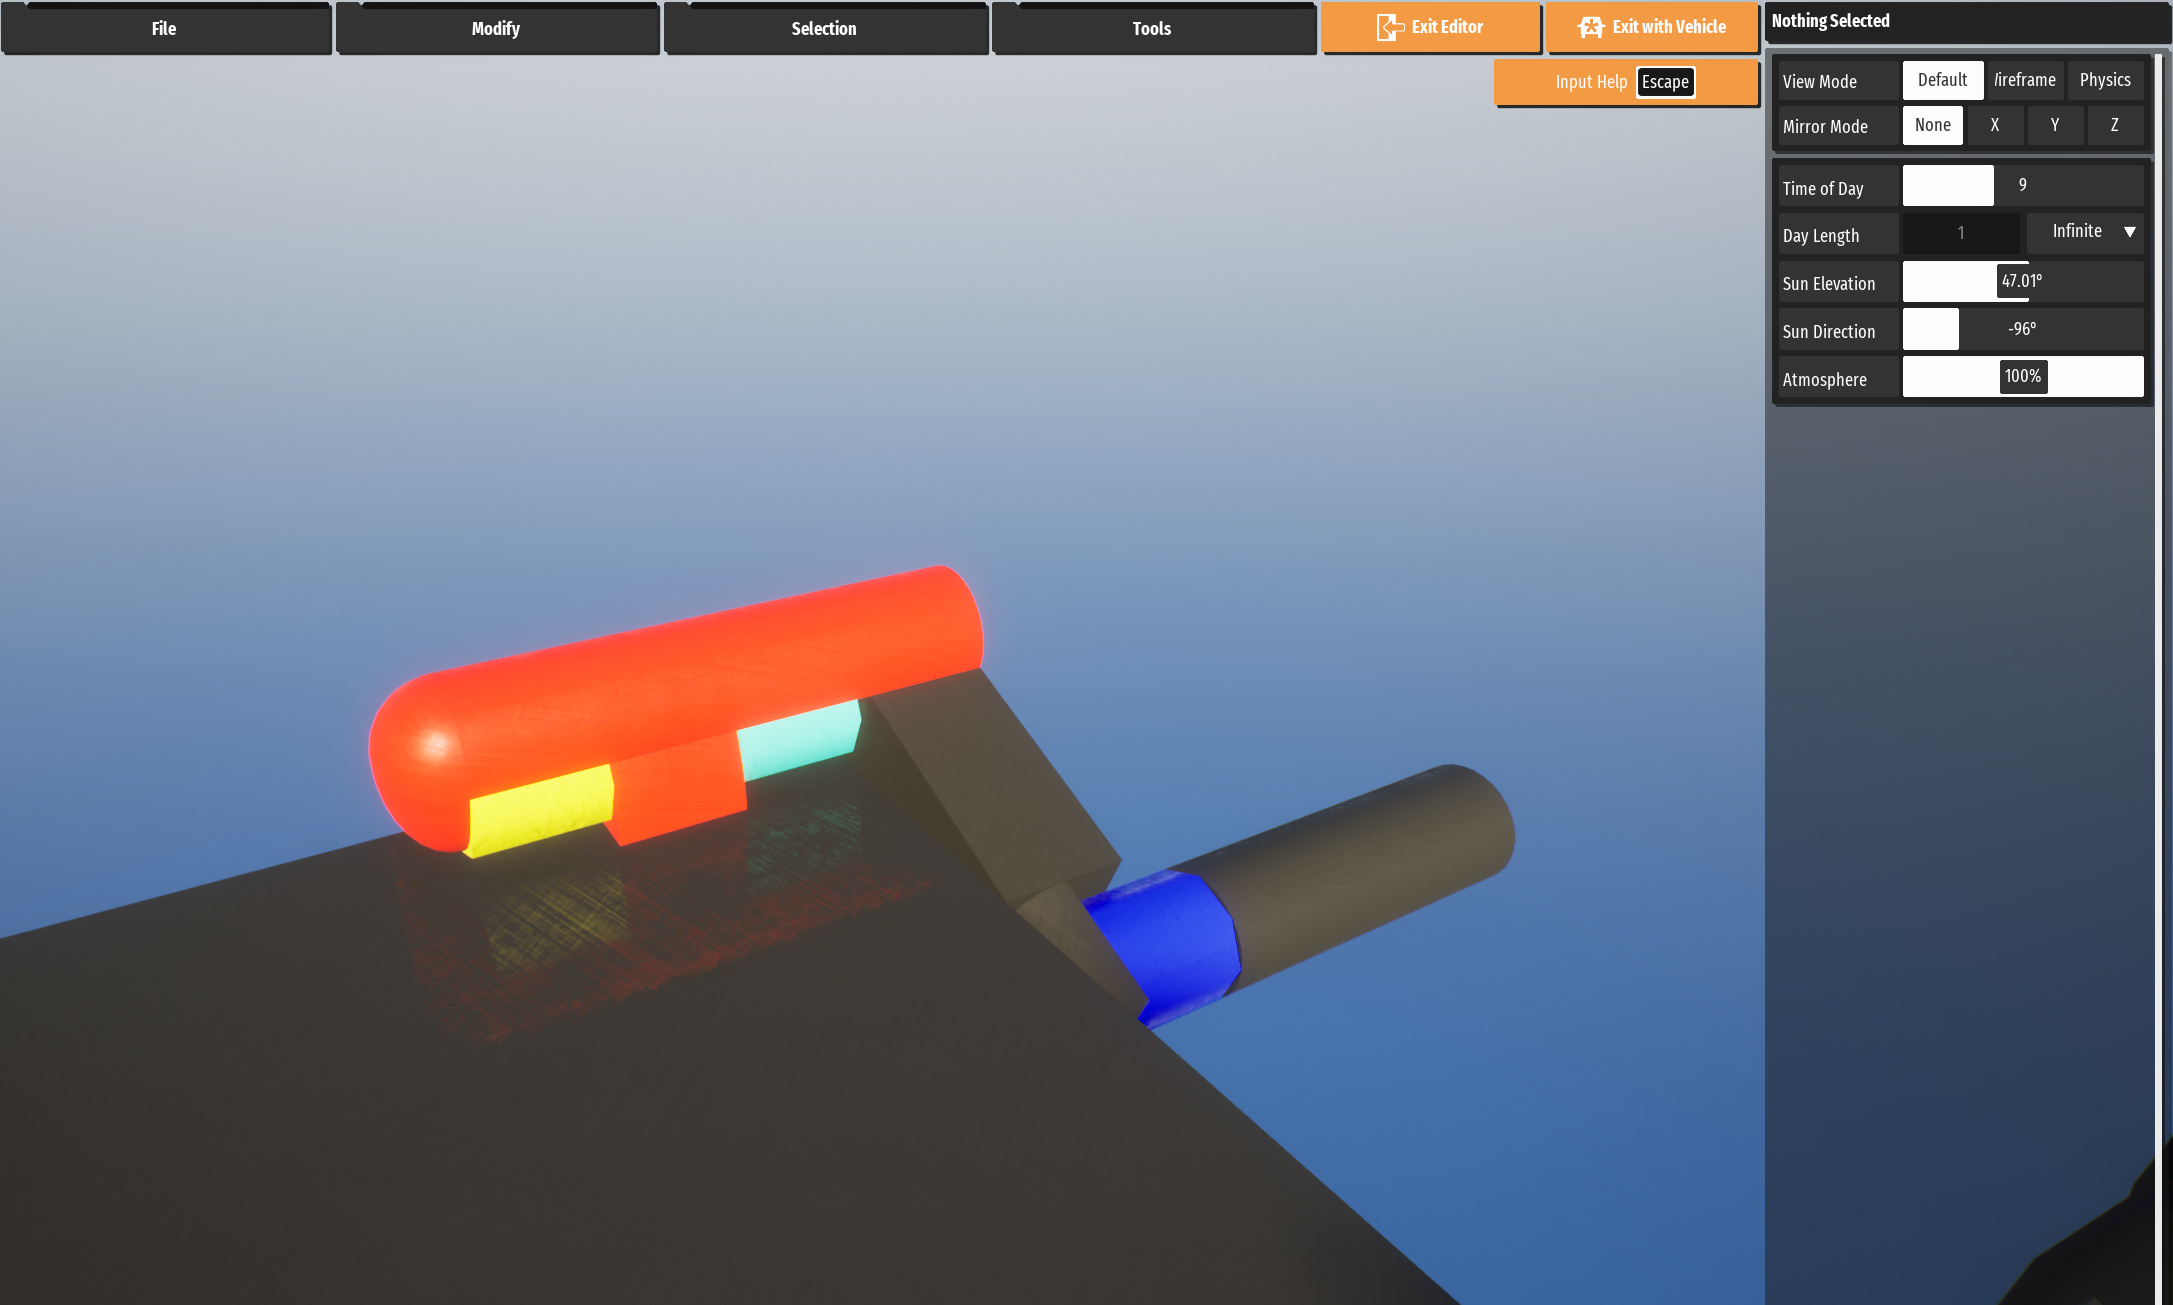
Torsion Bar suspension
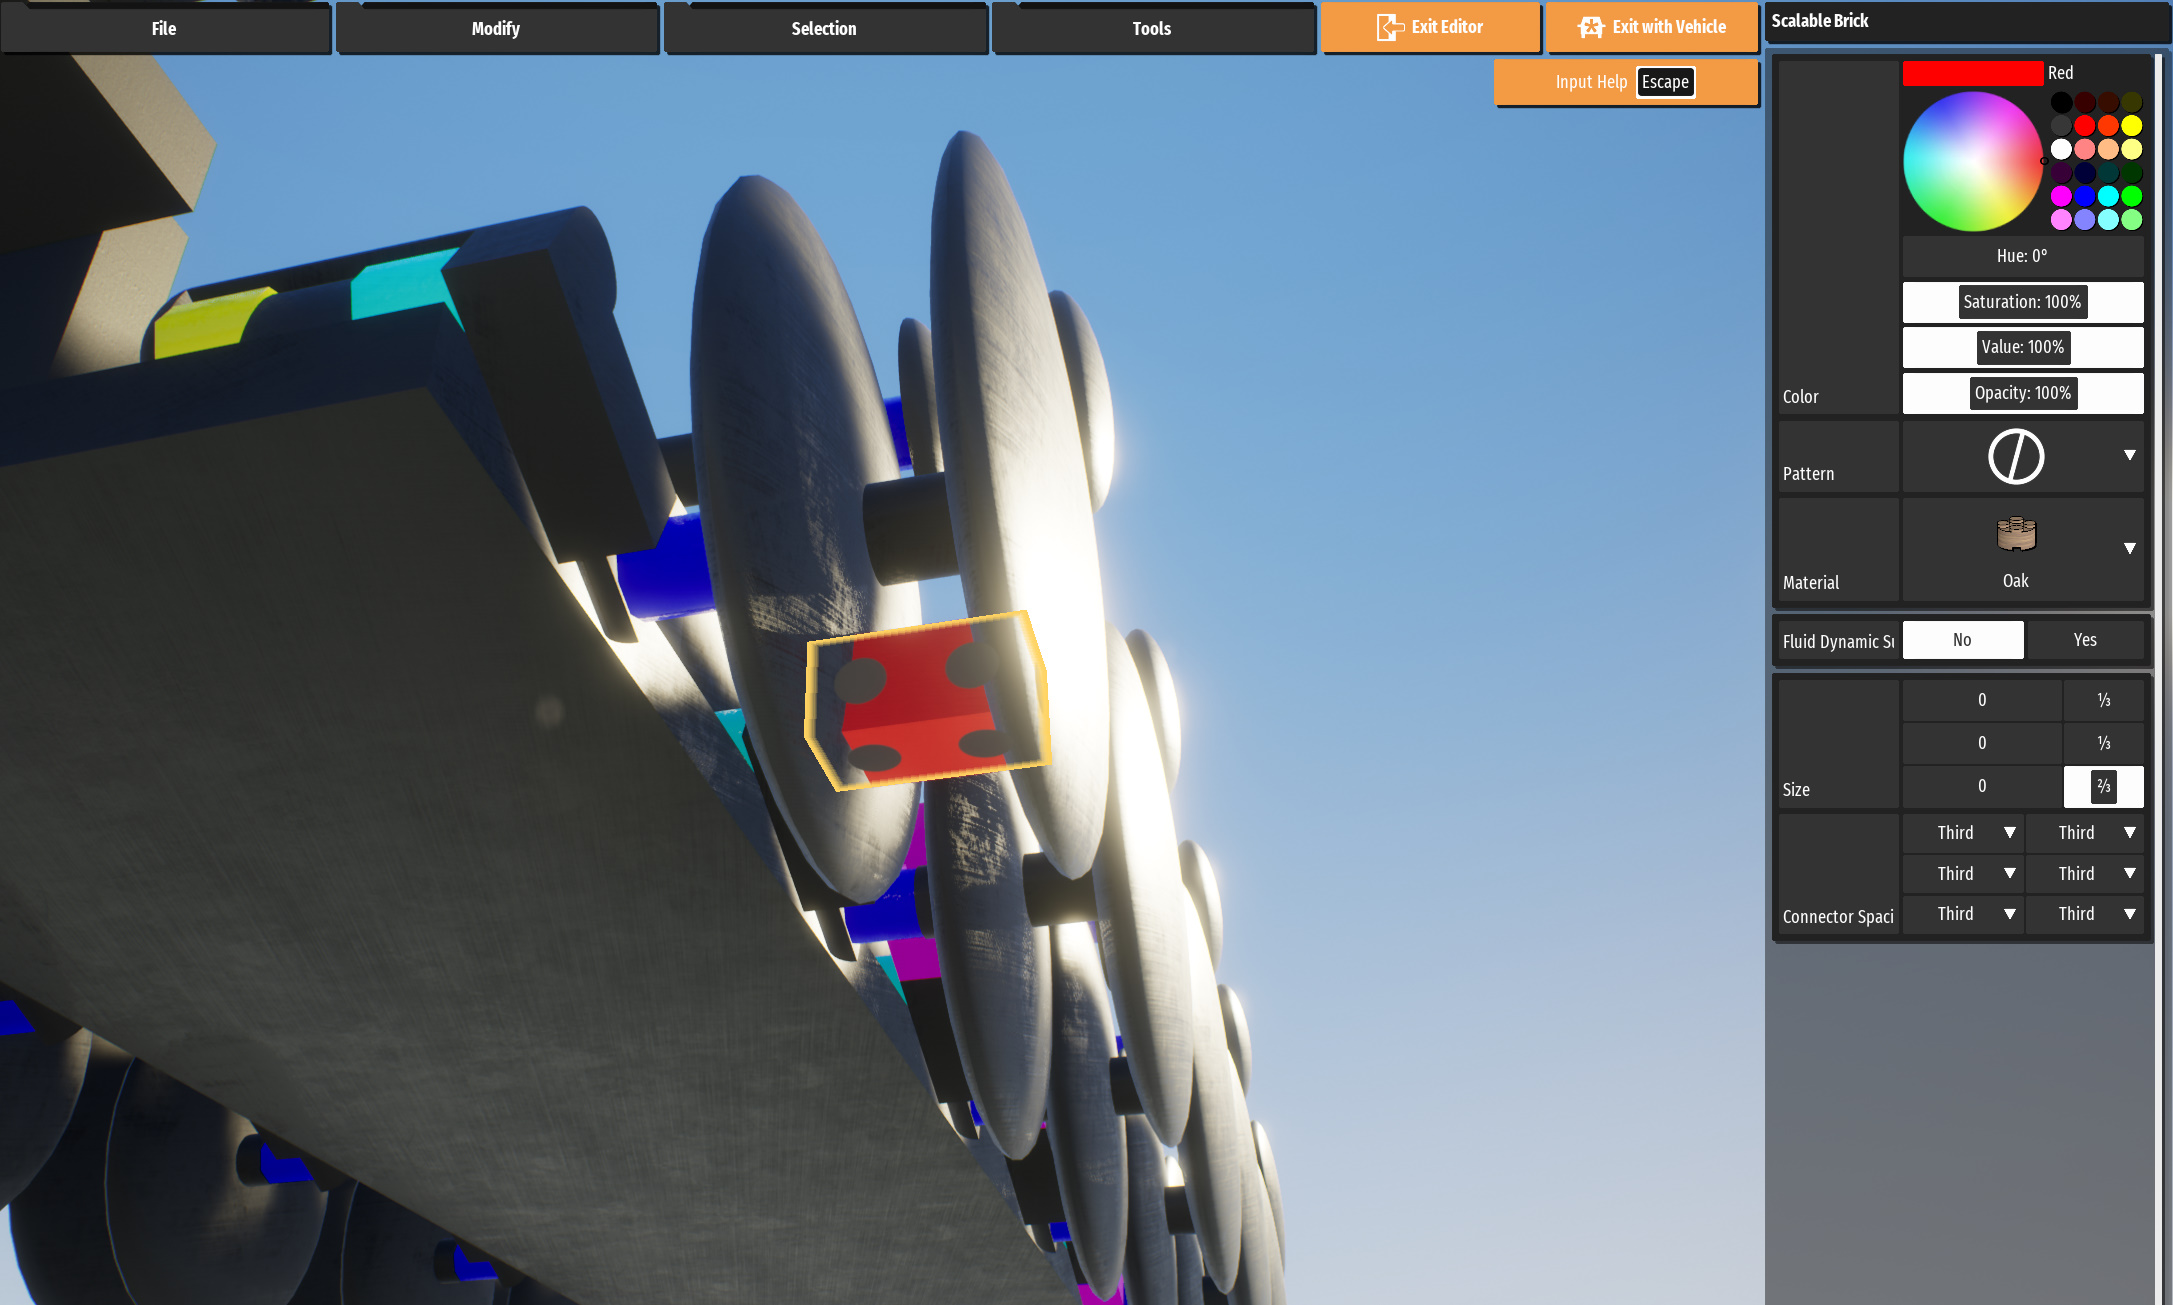
The red bricks on the sides are quarter spheres. The smaller one is 1s/1s/1s, the larger one is 2s/1s/1s. The long red brick is a 1s/1s/4s half cylinder. The yellow rotational actuator is just a copy of the light blue (cyan) rotational actuator.
Reverse Piston Suspension (Version 1)
Version 1 of the reverse piston suspension. Pretty small and compact.
Should be pretty straight forwards as to how the suspension is made. Just three actuators and the already built suspension arm.
Simply add the suspension onto the already built suspension arm.
Add the wall that the suspension attaches to. Have the wall be connected to the light blue (cyan) actuators so that it is properly connected to the ground and is easy to work with.
Reverse Piston Suspension (Version 2)
Pretty much the same thing as the Version 1. Just have the suspension rotated another 22.5 degrees compared to Version 1. If the suspension is flat like in Version 1, the suspension will interfere with the suspension arm.
As with Version 1, add the wall so that it connects with the suspension.
Reverse Piston (Version 3)
A somewhat more compact version due to it not using any rotational actuators excluding the one already attached to the suspension arm. It is slightly more complicated than the previous 2 versions, but not really. Like Version 2, also have the suspension be rotated 22.5 degrees upwards.
The wall is much smaller than the other two version due to the wall connecting to parts of the suspension. if you want a full wall, you will need another brick that doesn’t have and connections on the side of the suspension. Make sure to add a small brick to connect to the suspension arm’s light blue (cyan) rotational actuator.
Piston Suspension
Just your typical suspension. Pretty simple concept.
The suspension arm will have to be modified, though that is optional. Other than a little bit of clipping, it will work the same if you don’t modify the suspension arm.
Powered axles and finishing up the base.
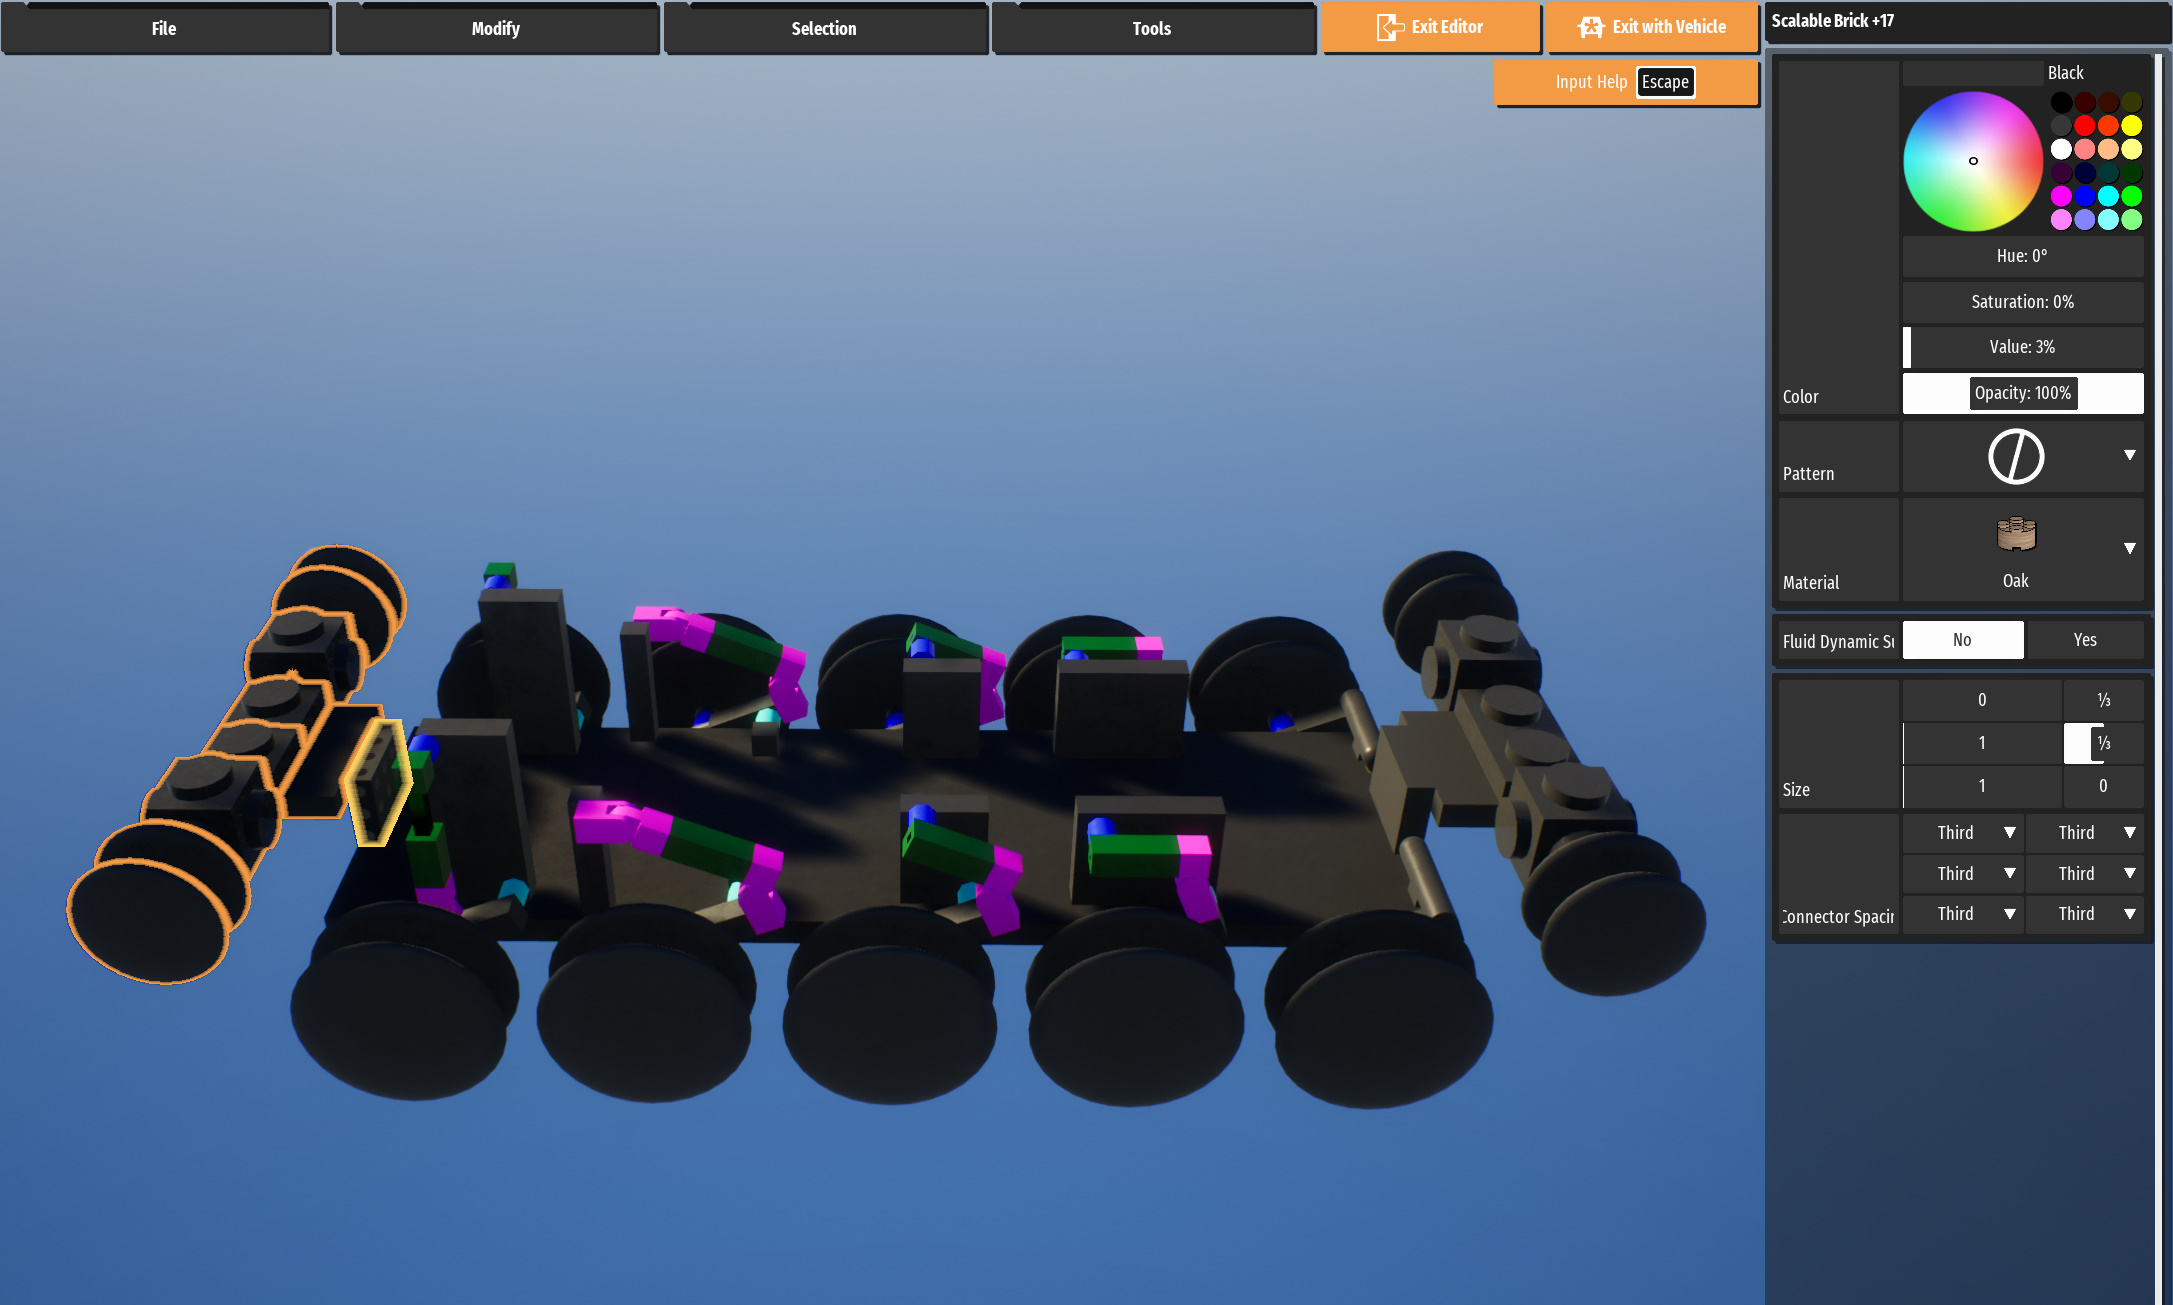
Pretty simple addition to the base. Design is up to you.
Make sure that you don’t touch the axles. Or at least make sure that there is no up and down movement from the axle’s built in suspension; in case an update makes the previous sentence invalid. This
cancause problems.
But of course, they can still be used as suspension by themselves instead of using actuator suspension. It would work with something like the British WW2 light tank Tetrarch.
Just two 1s/1s/2s bricks.
And just like how the roadwheels for the suspension are made, it is the same for the powered axles. They’re just a bit smaller. 5s/5s/1s.
Now just copy it for the back.
Adding the return rollers and the engine.
As seen with something like that Cromwell tank, it is not always required.
The return rollers have the same design as the roadwheels, just smaller.
After you build one, just copy it between each roadwheel.
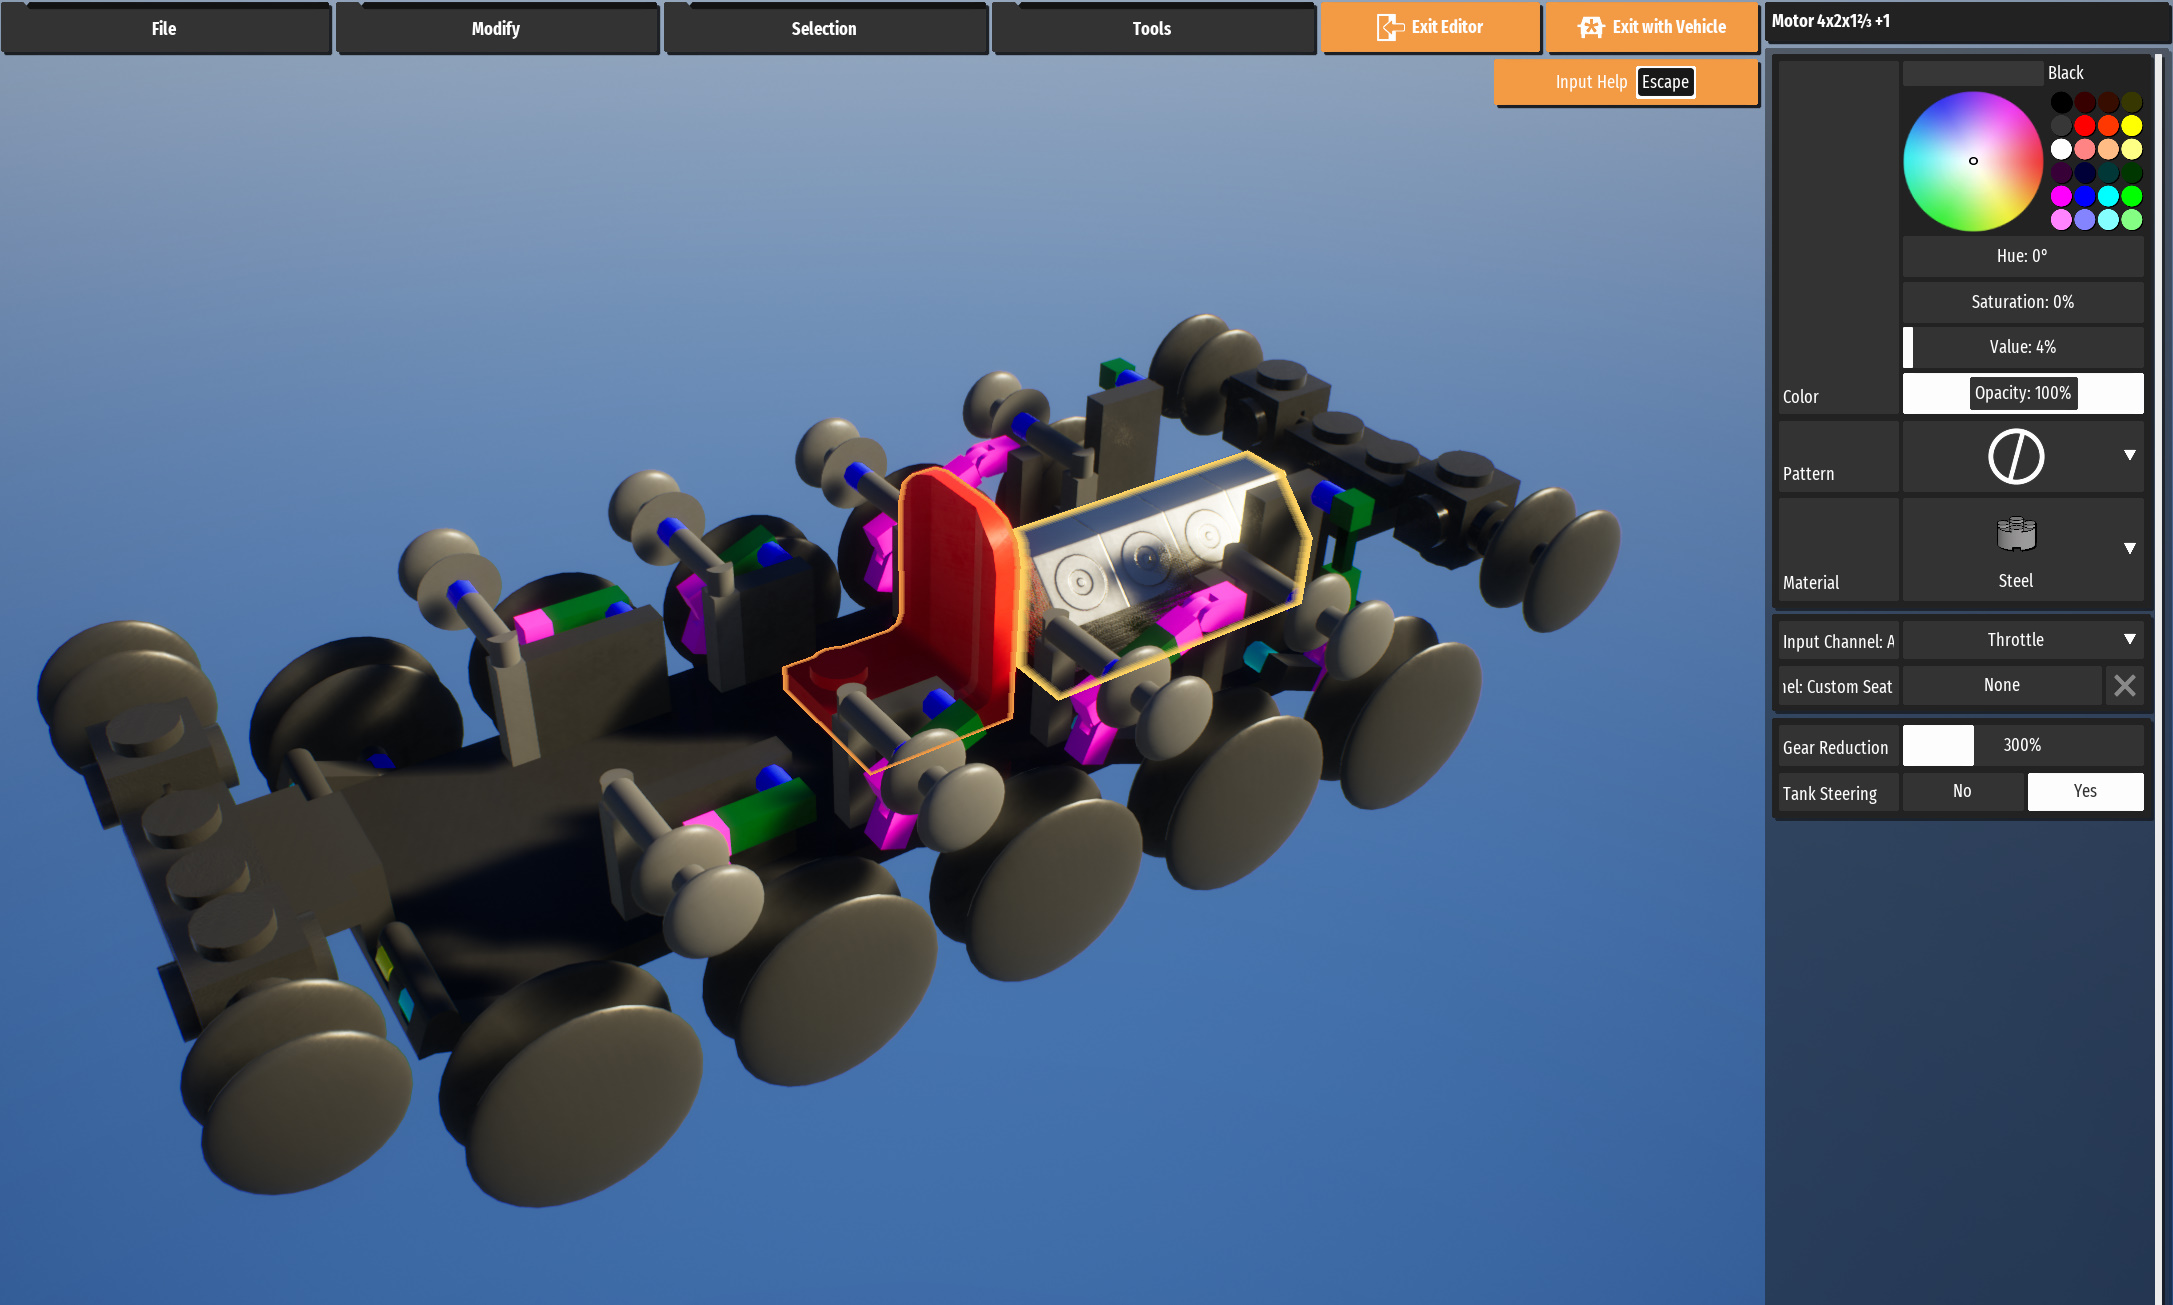
Now add the seat and engine. Set the engine to 300 gear ratio and tank steering. Of course it can be at any ratio. Just depends on the tank and what it’s capable of. Other engines also work. They will most likely also need some tuning.
Making the tank tracks.
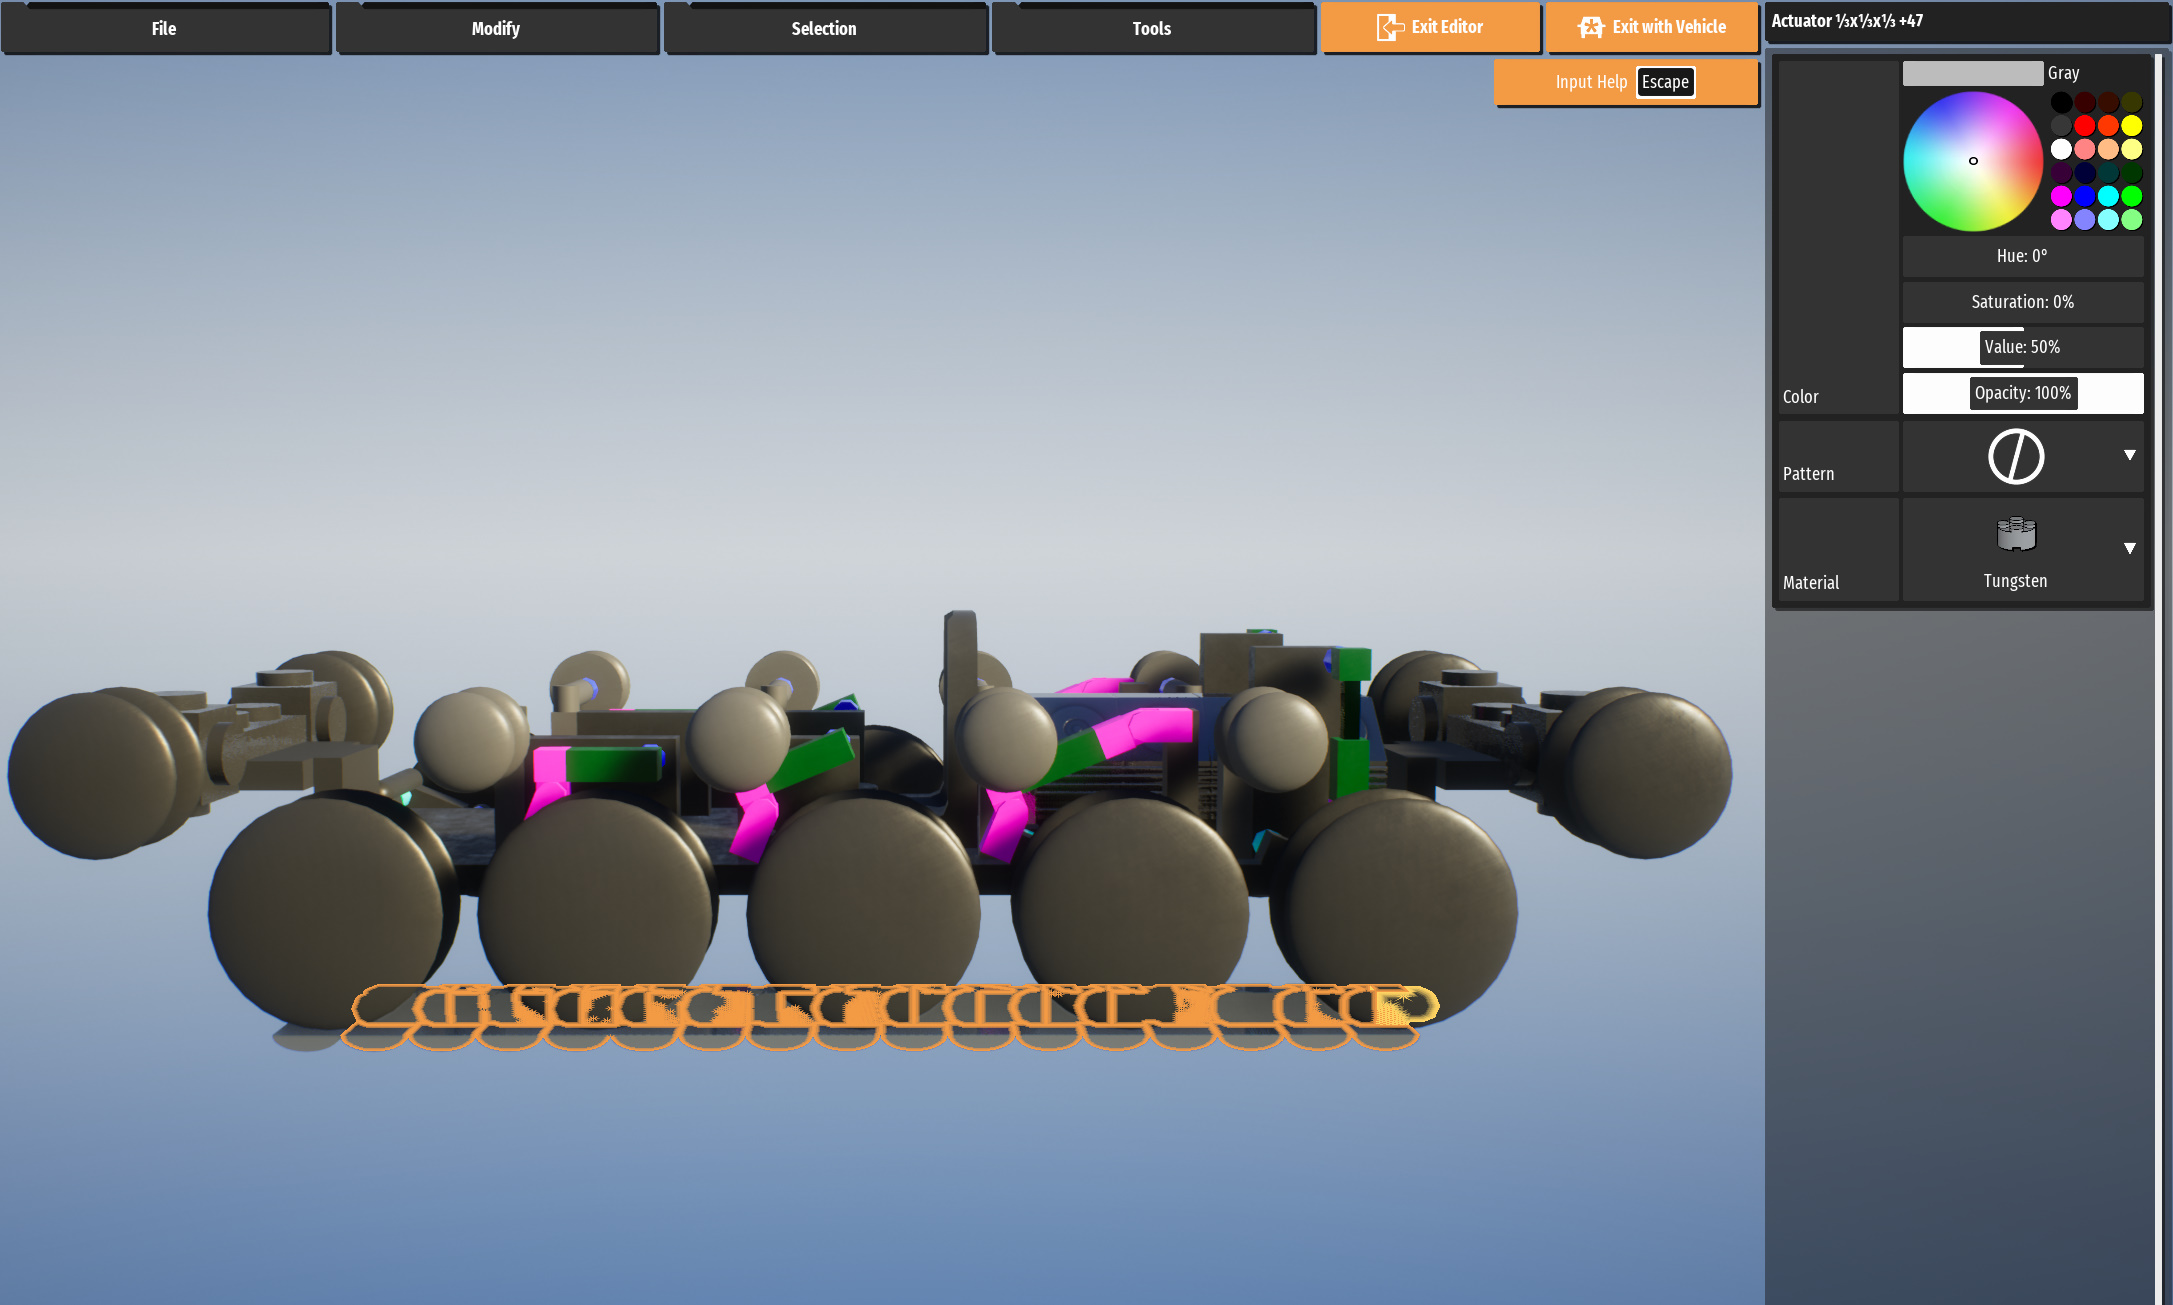
Making the tank tracks. Make sure that it’s made of tungsten and the actuators are set to physics driven.
While optional, this makes lining up the track under the roadwheels easier. Put a temporary 2s wide brick between the roadwheels.
Then, without moving it, shrink it to 1s wide.
Then add the already made tank track under it.
Remove the temporary brick.
Now copy a bunch of tracks until it reaches halfway under the last roadwheel.
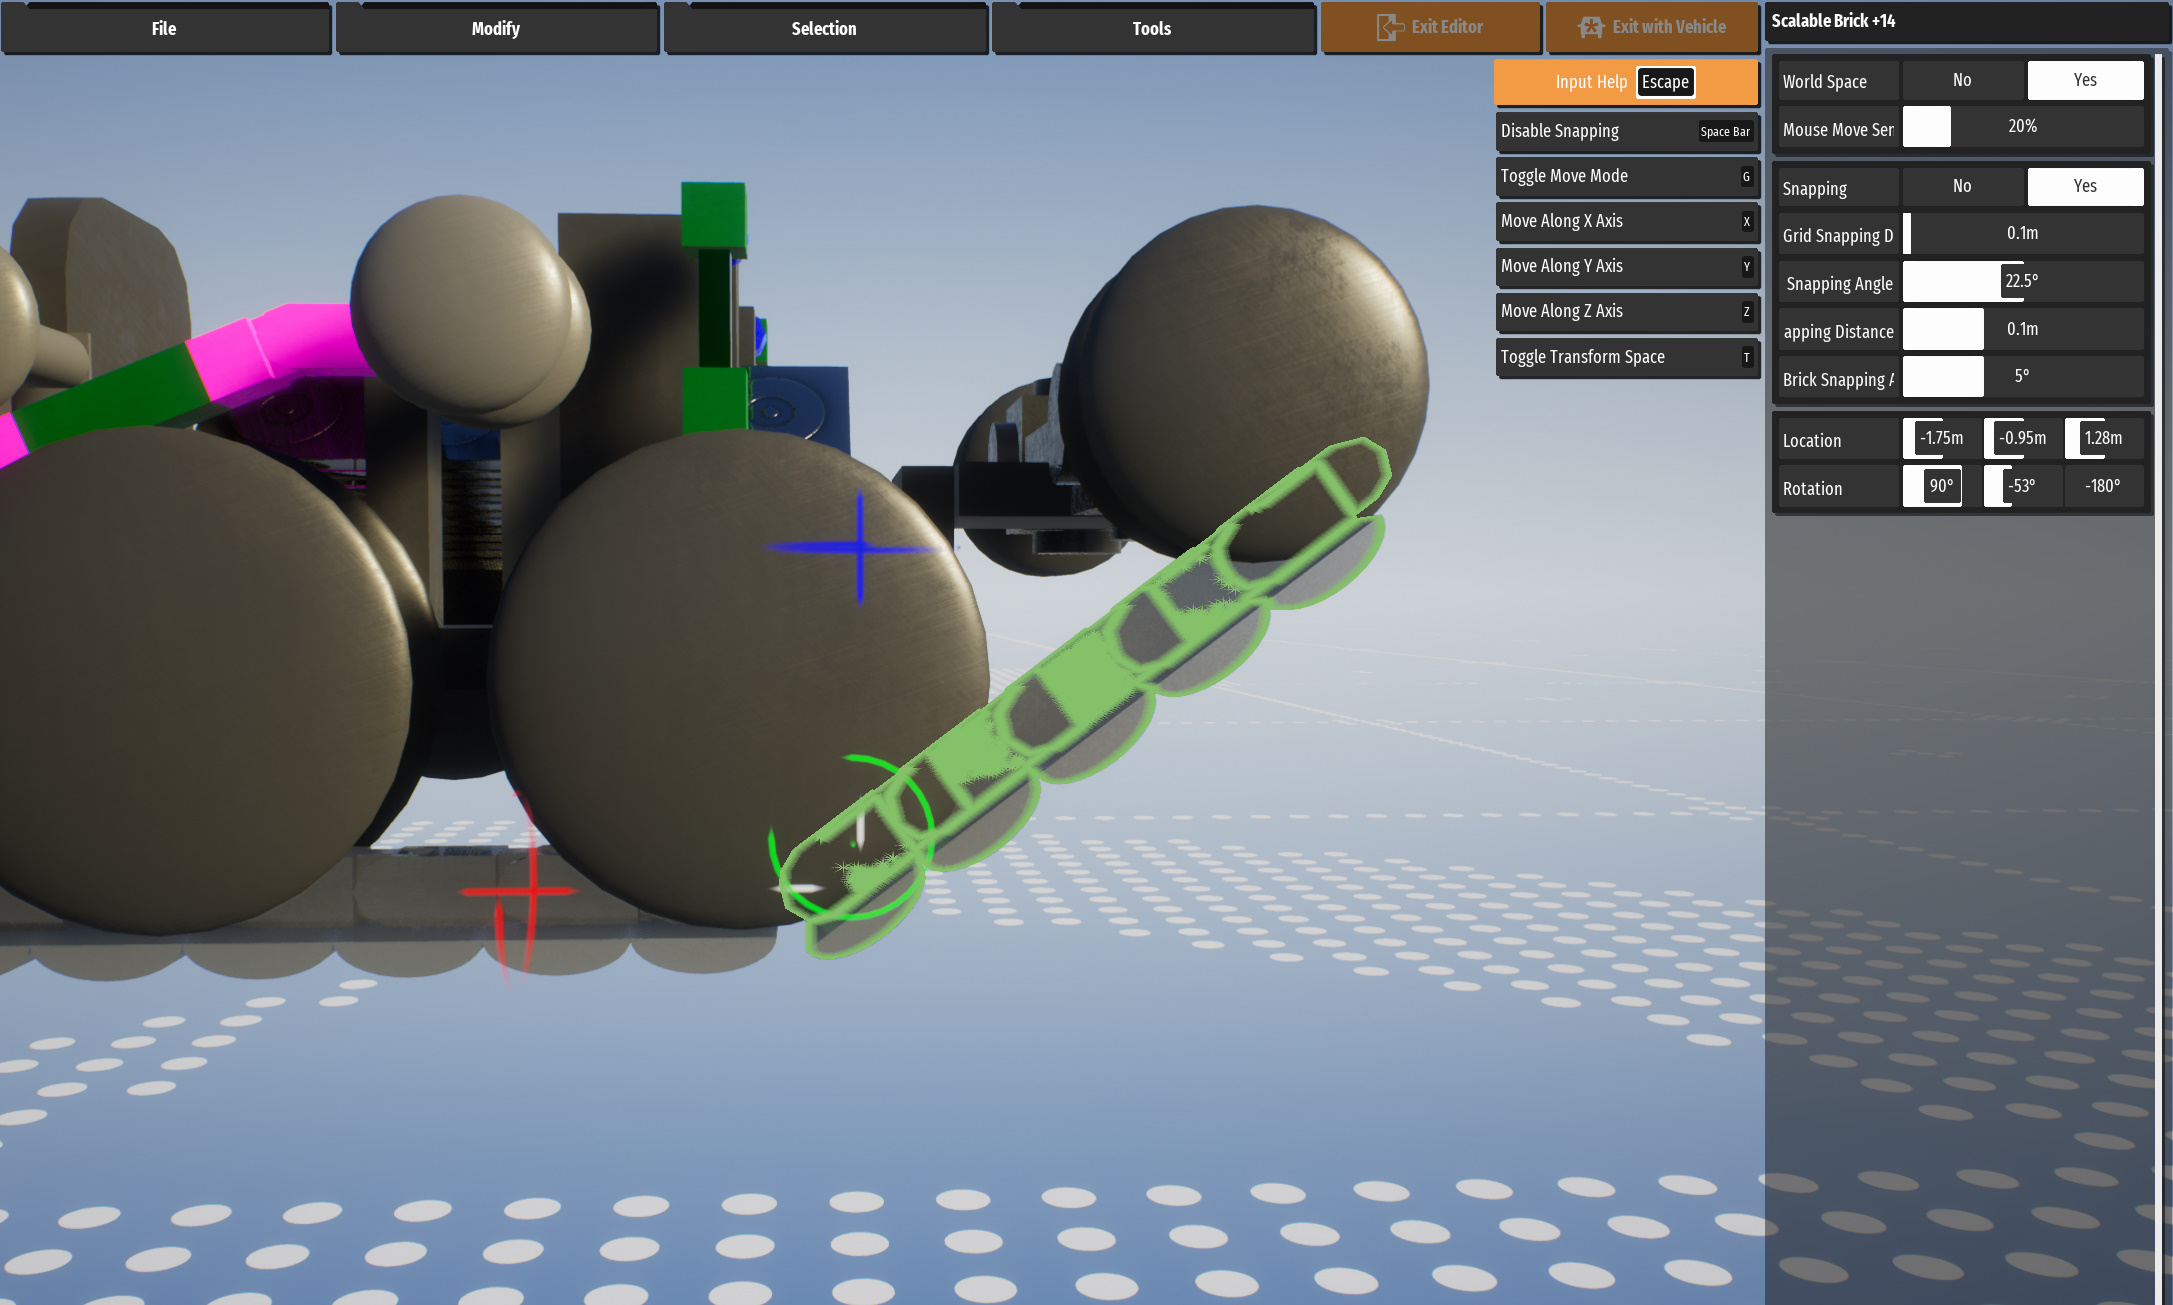
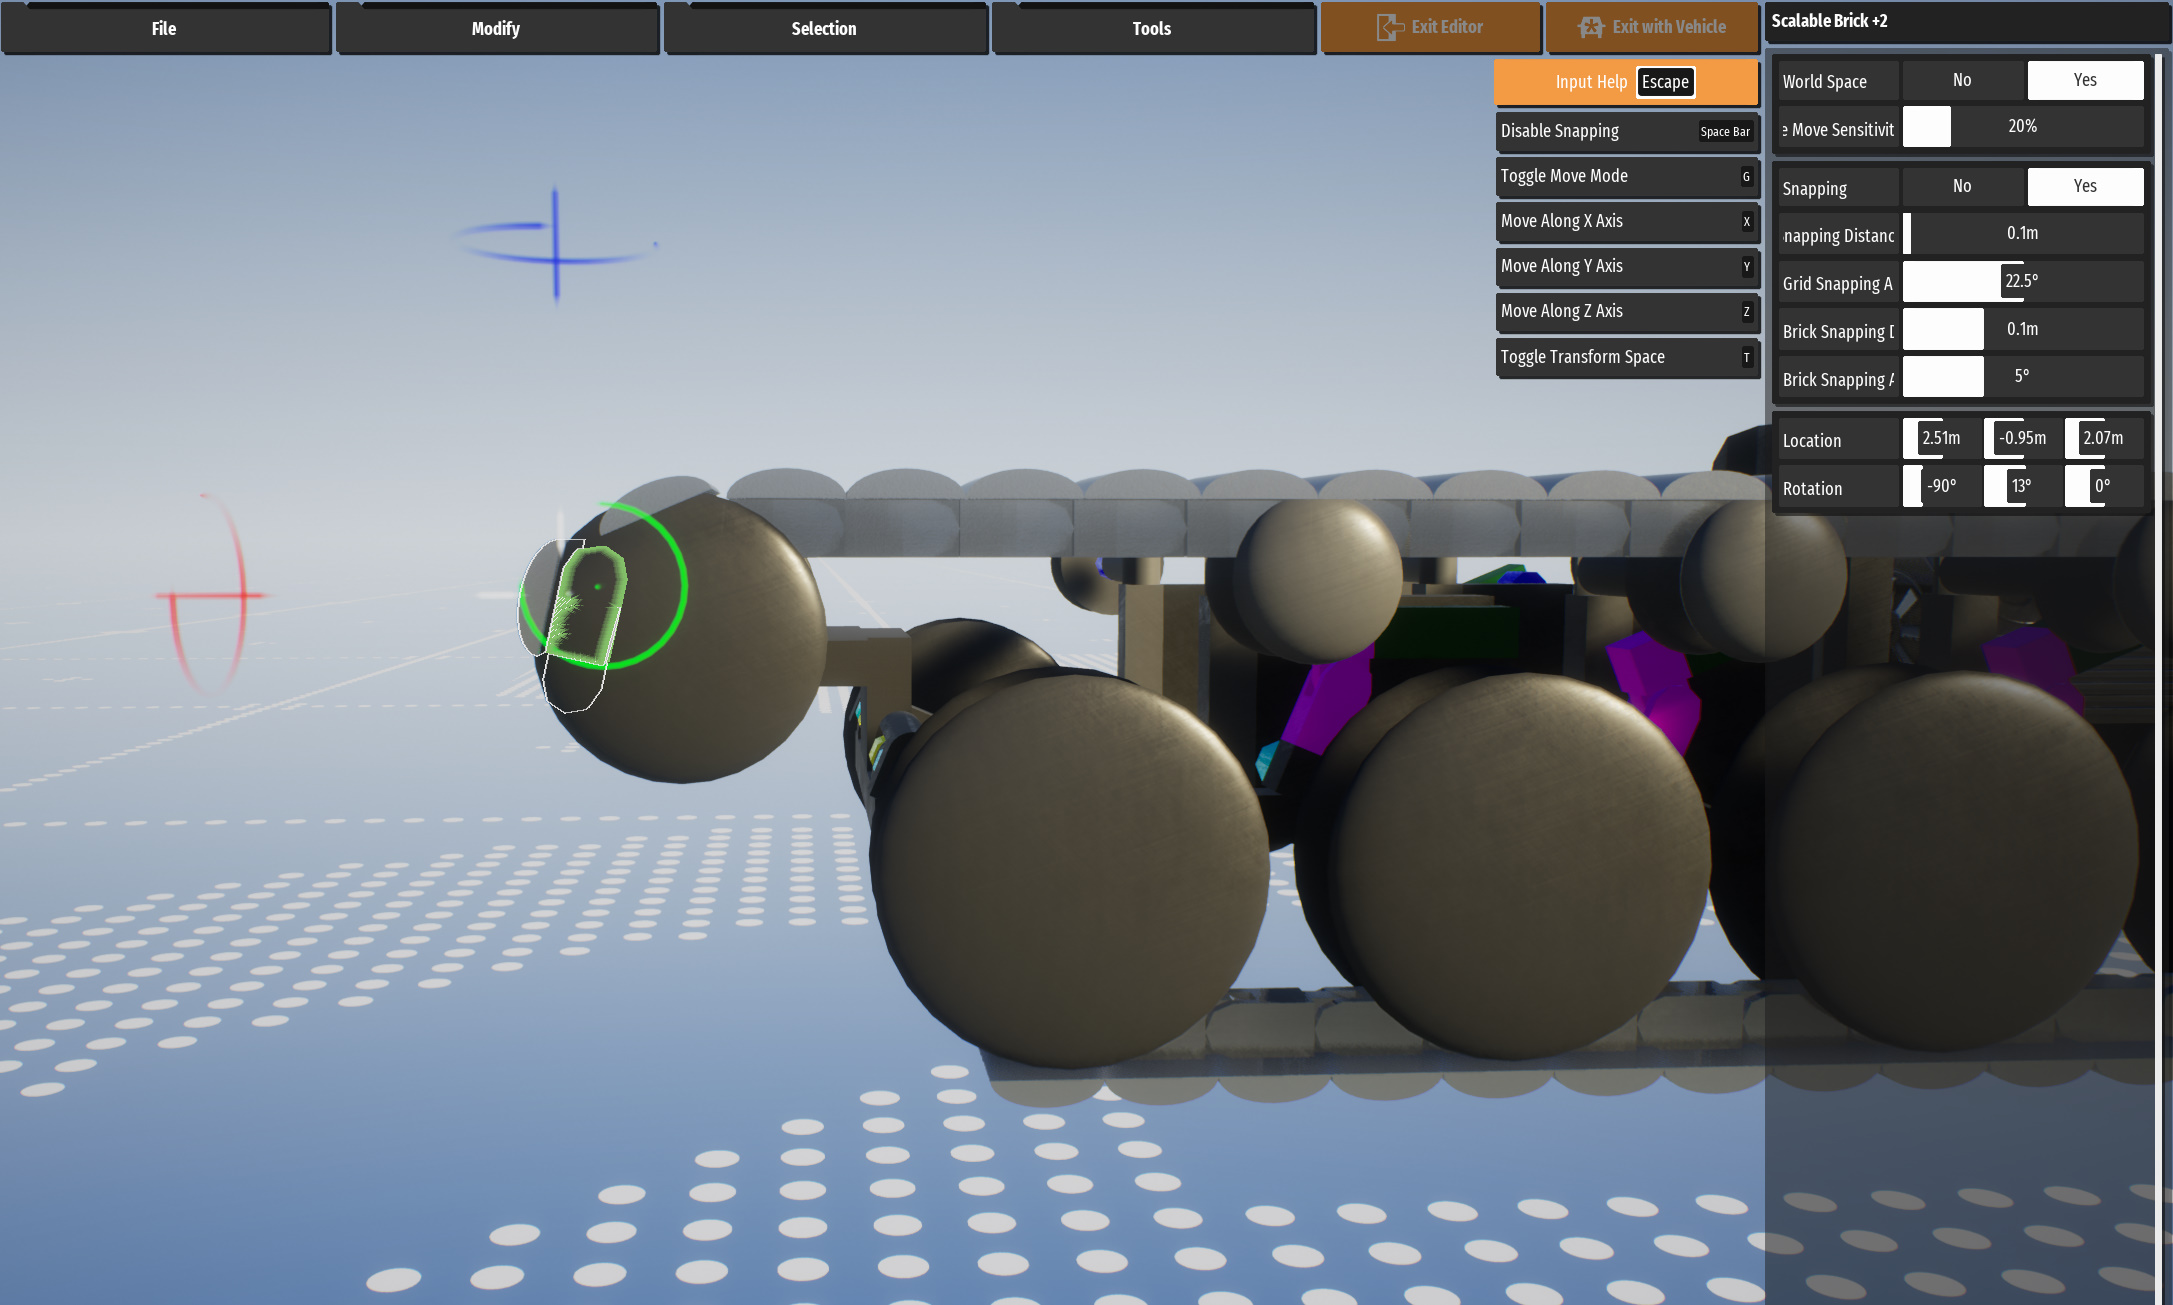
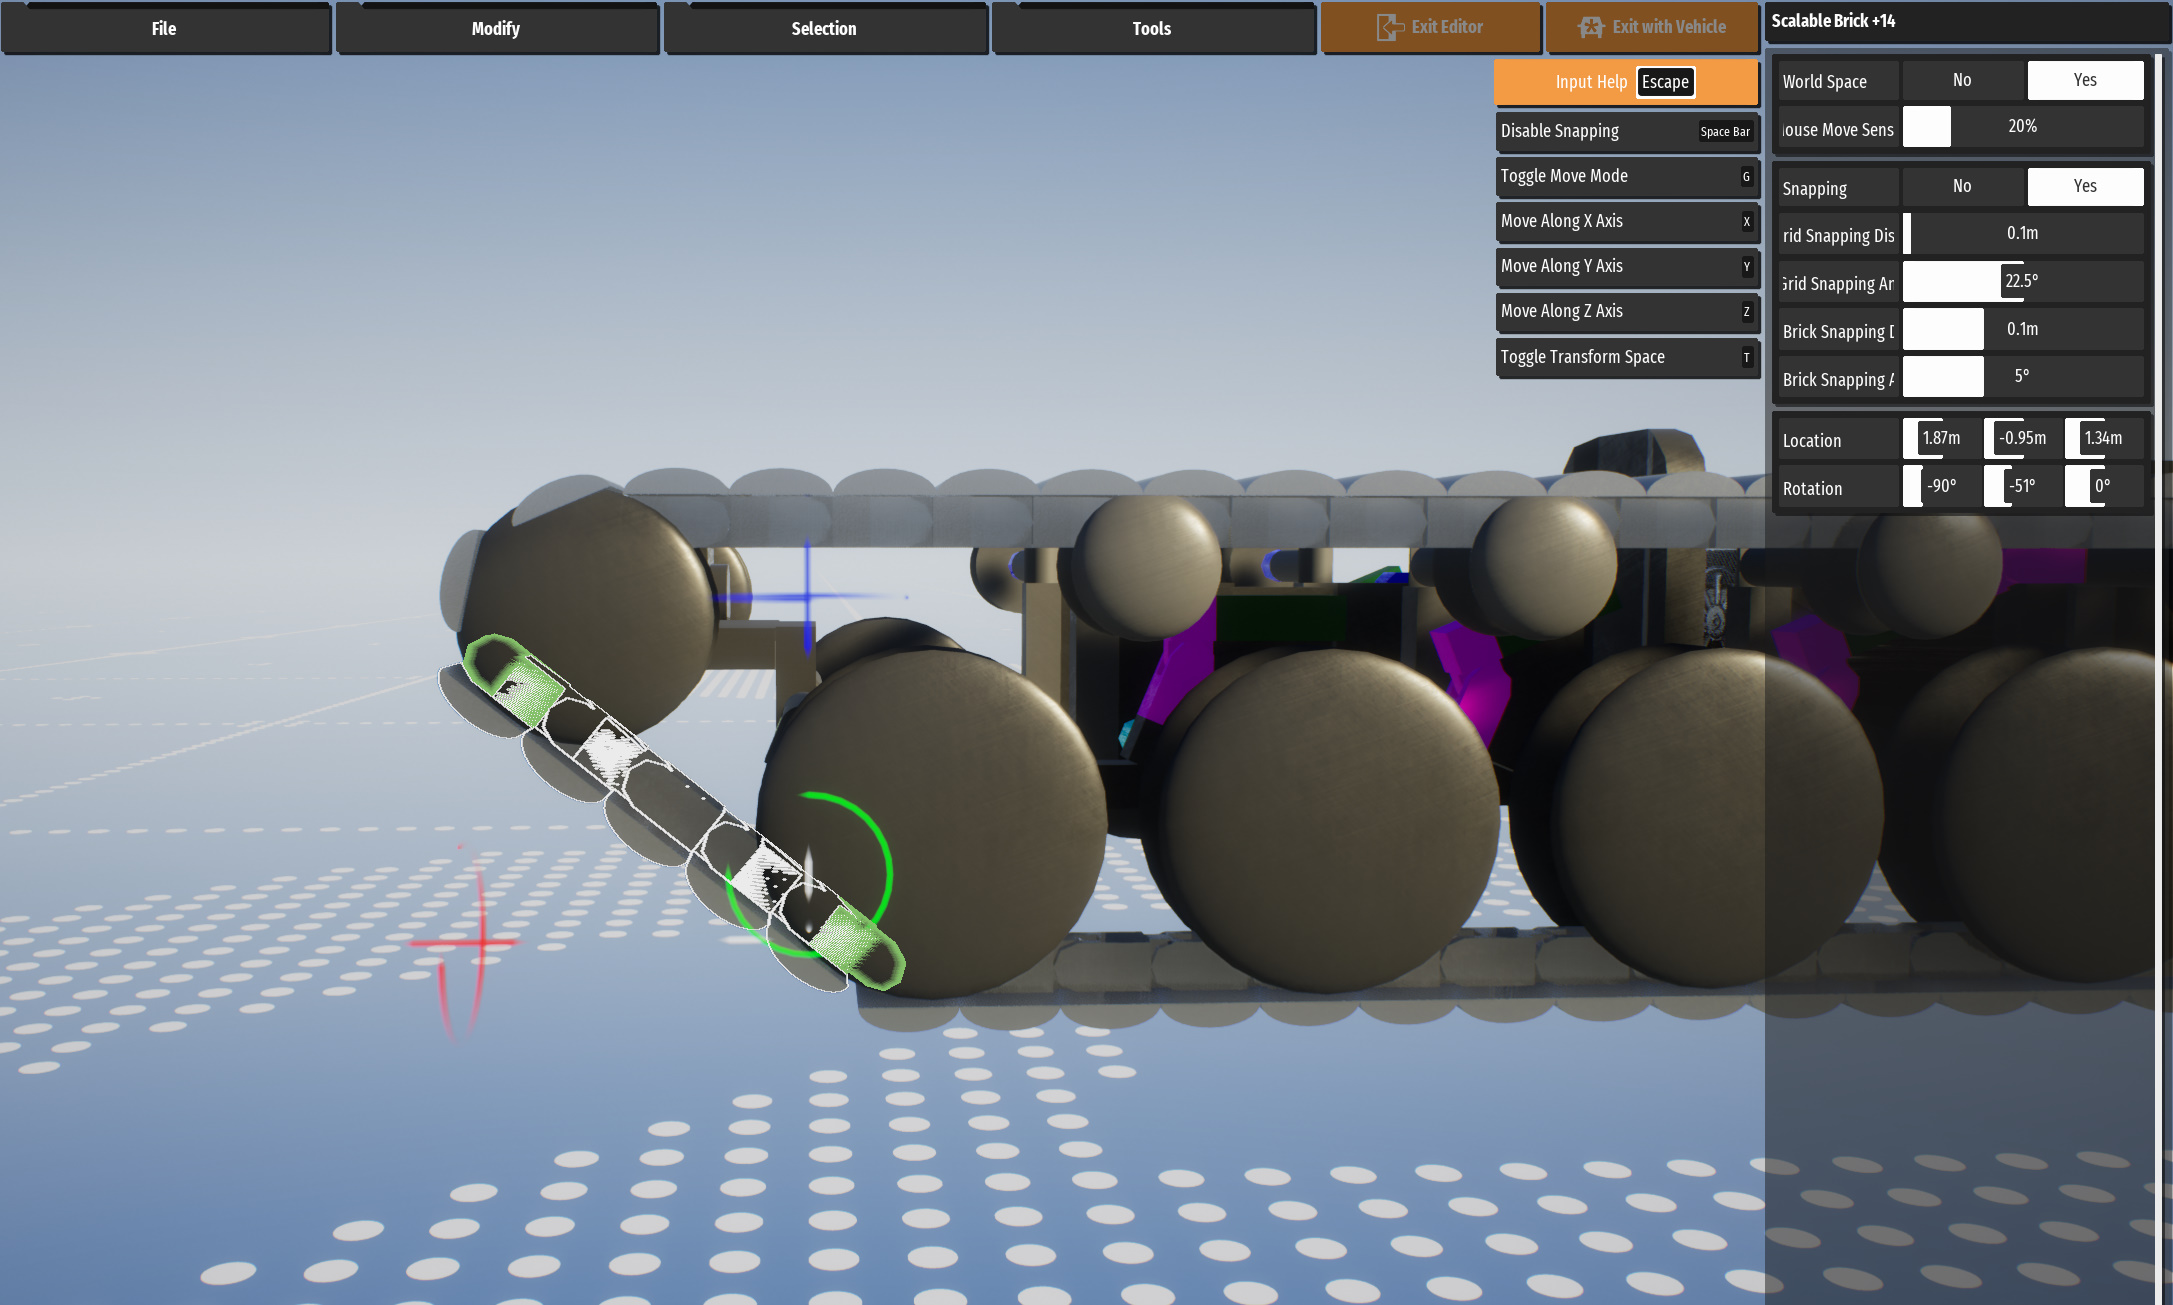
Now copy 5 tracks and rotate them it to -53 degrees. It is recommended that you hide all the wheels to make it easier to connect the tracks. Typically angling tracks to go around wheels is by turning of snapping and rotating it until it looks good. And yes that is what I did to get -53 degrees.
Copy one track and rotate it to -8 degrees.
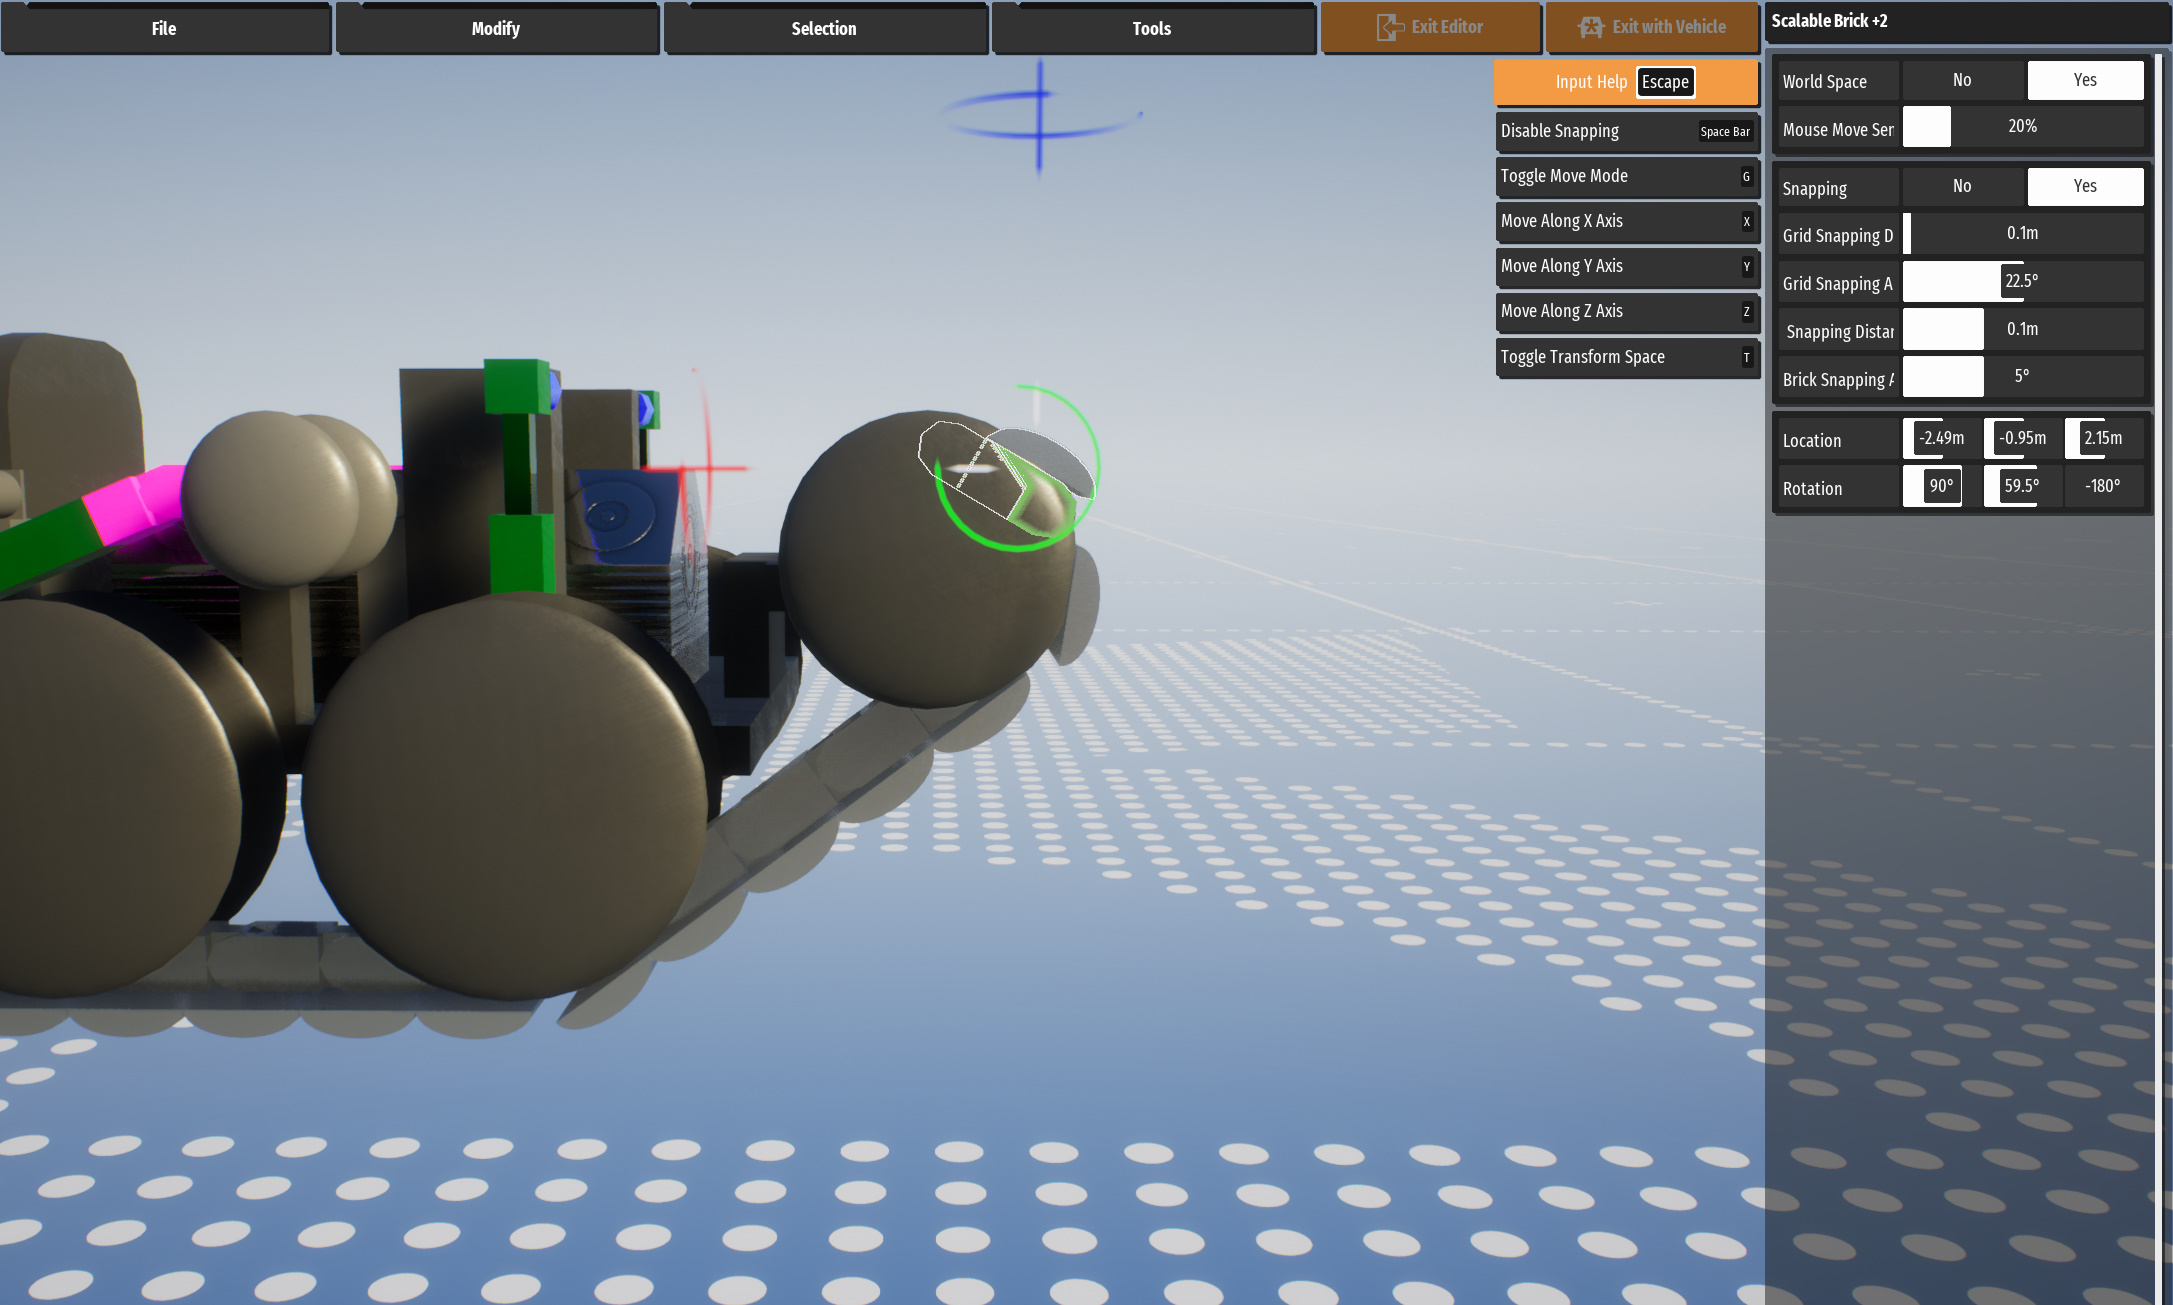
Copy one track and rotate it to 59.5 degrees.
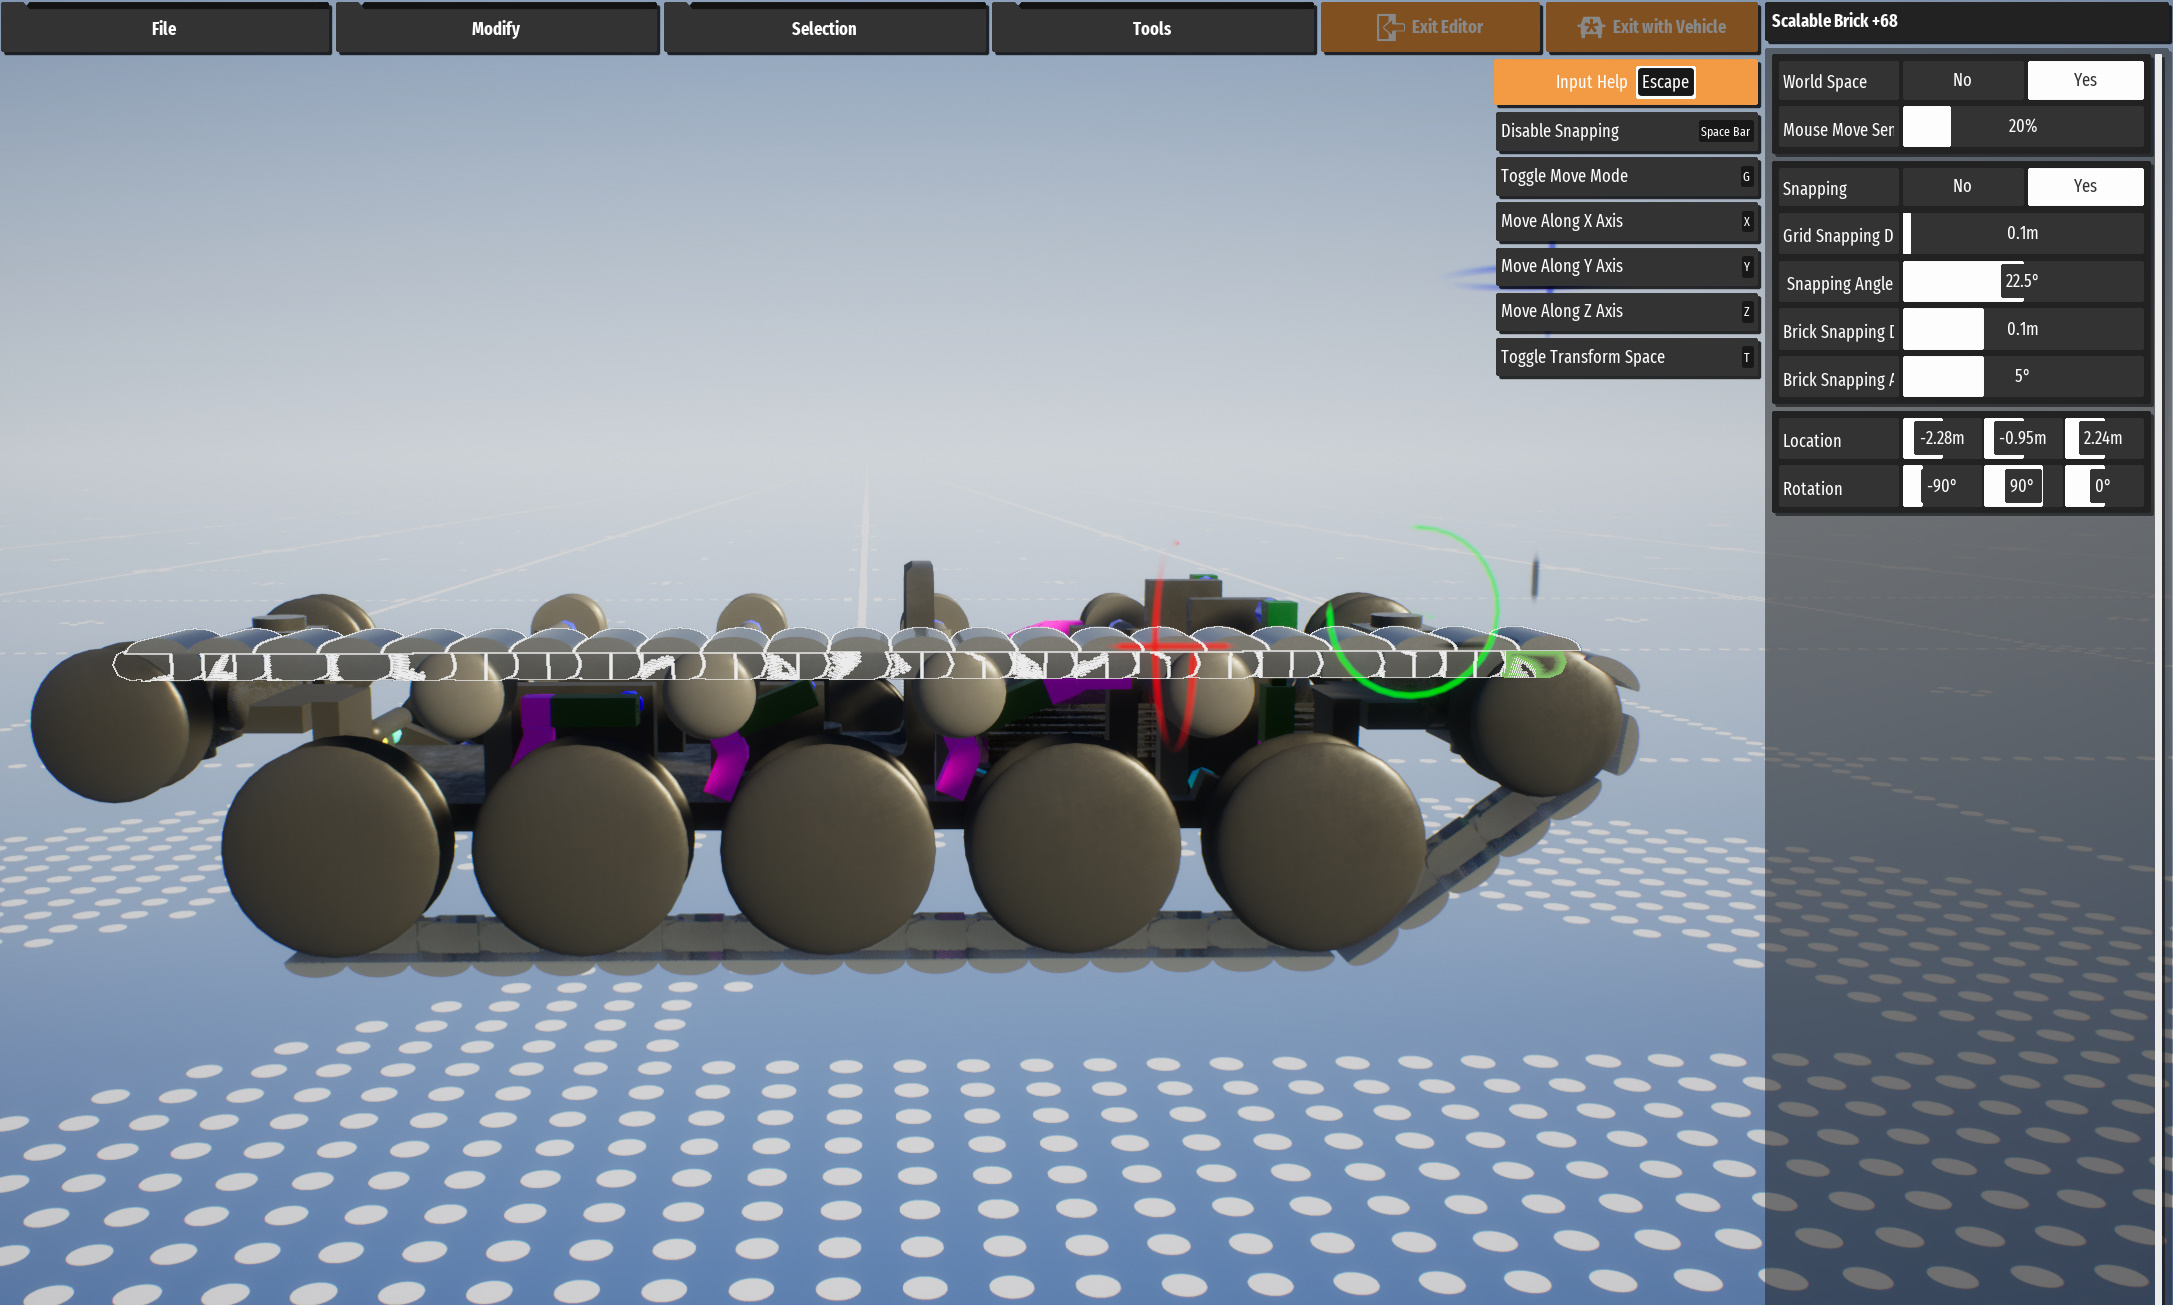
Now copy a bunch of tracks set at 90 degrees (or just flat upside down).
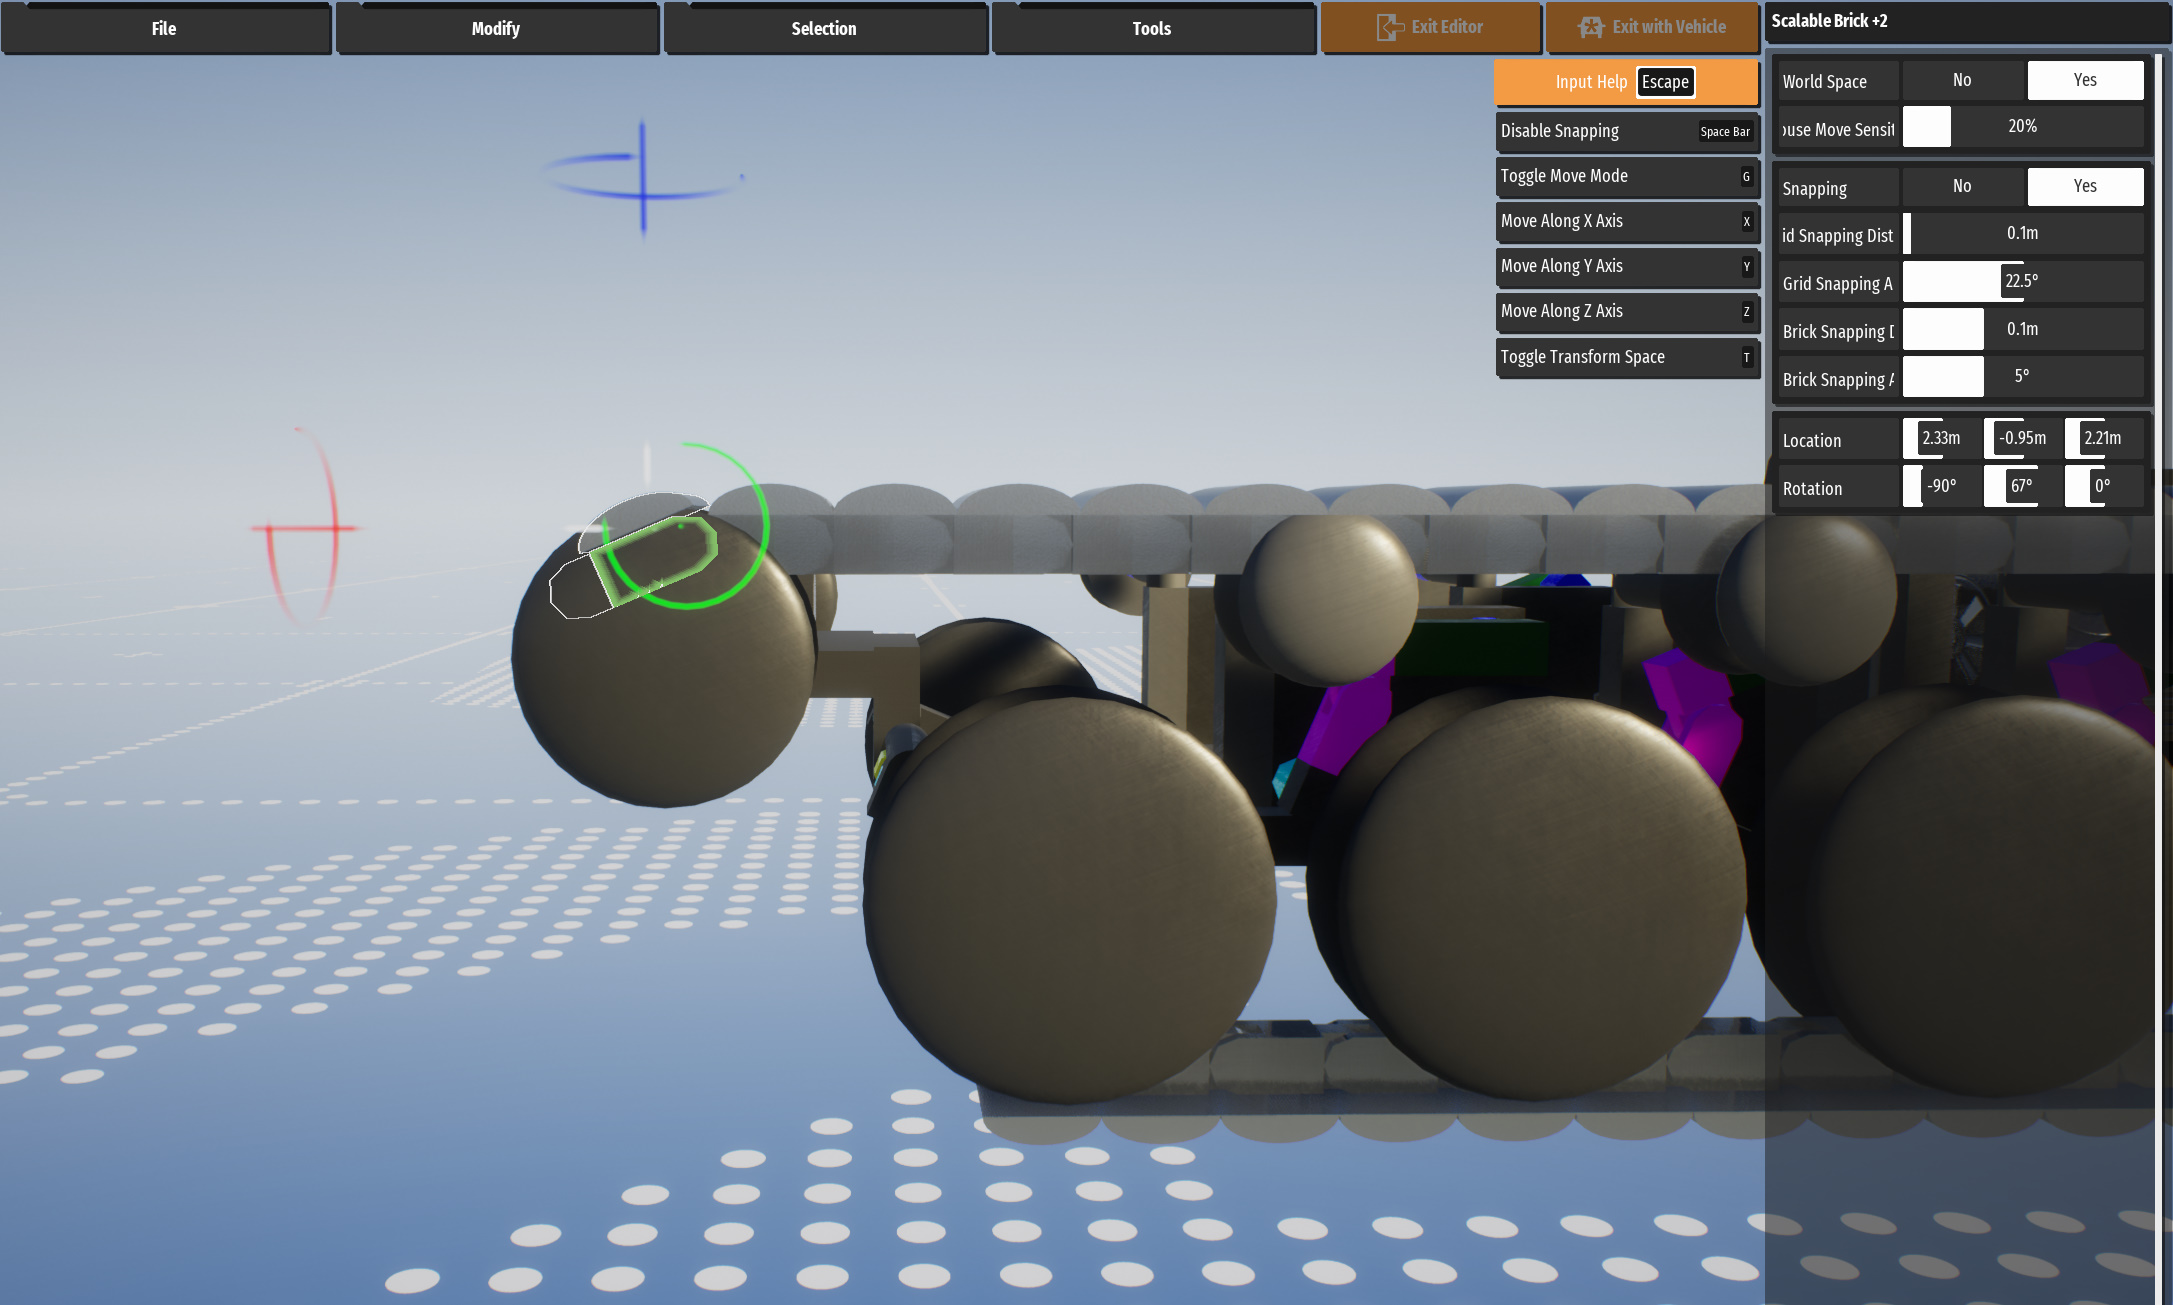
Copy one track and rotate it to 67 degrees.
Copy one track and rotate it to 13 degrees.
Copy 5 tracks and rotate it to -51 degrees.
Then copy all the tracks and put it on the other side.
And you’re done.
If you find that the suspension is too soft, simply just double up on the pistons. Or the rotational actuators for the torsion bar suspension.
And you’re finished!
