Some strategies I’ve picked up for building grids that are easy to work with and untangling the inevitable knots at the end of a run. This advice is helpful for making great levels in the editor, too!
Introduction
Can’t Live Without Electricity has a surprising and delightful depth to it. It’s easy to understand that you’ll have to tear up and rebuild your grid a few times on each map. But if you pay close attention, you can build your maps so that you’re less likely to need to rework them later and they’re easier to reorganize when you have to.
This guide goes over some observations I’ve made. I haven’t discussed this game much with others, so I’m sure that people smarter than me have better strategies. But this game deserves more guides and an active community, so I want to share what I’ve learned. I hope to see more discussions about CLWE strategy in the future!
Here are the main ideas behind the strategies in this guide.
- Houses will never spawn on obstacles. You can and should take advantage of this!
- Use hammers, bridges, and pipes intelligently. There are some surprising dynamics that fall out of their rules.
- Generators and jumpers can buy you time when you’re out of resources or want more information before digging into an especially tangled neighborhood.
- How quickly you connect to portals is a strategic decision, but one that can work out well in many different ways.
- In the early and mid game, you risk running out of resources. Make your picks each turn carefully. In the late game, you’ll have a generous surplus.
- When you inevitably find yourself tearing out and rebuilding parts of your map, there are quite a few subtle but powerful patterns you can look for.
- Undo and redo can take some of the load off of your brain.
The Golden Rule: Obstacles are Friends
You’re about to read the two most important rules in CLWE:
- Houses will only appear in spaces without obstacles.
- A level isn’t finished until all spaces without obstacles have houses.
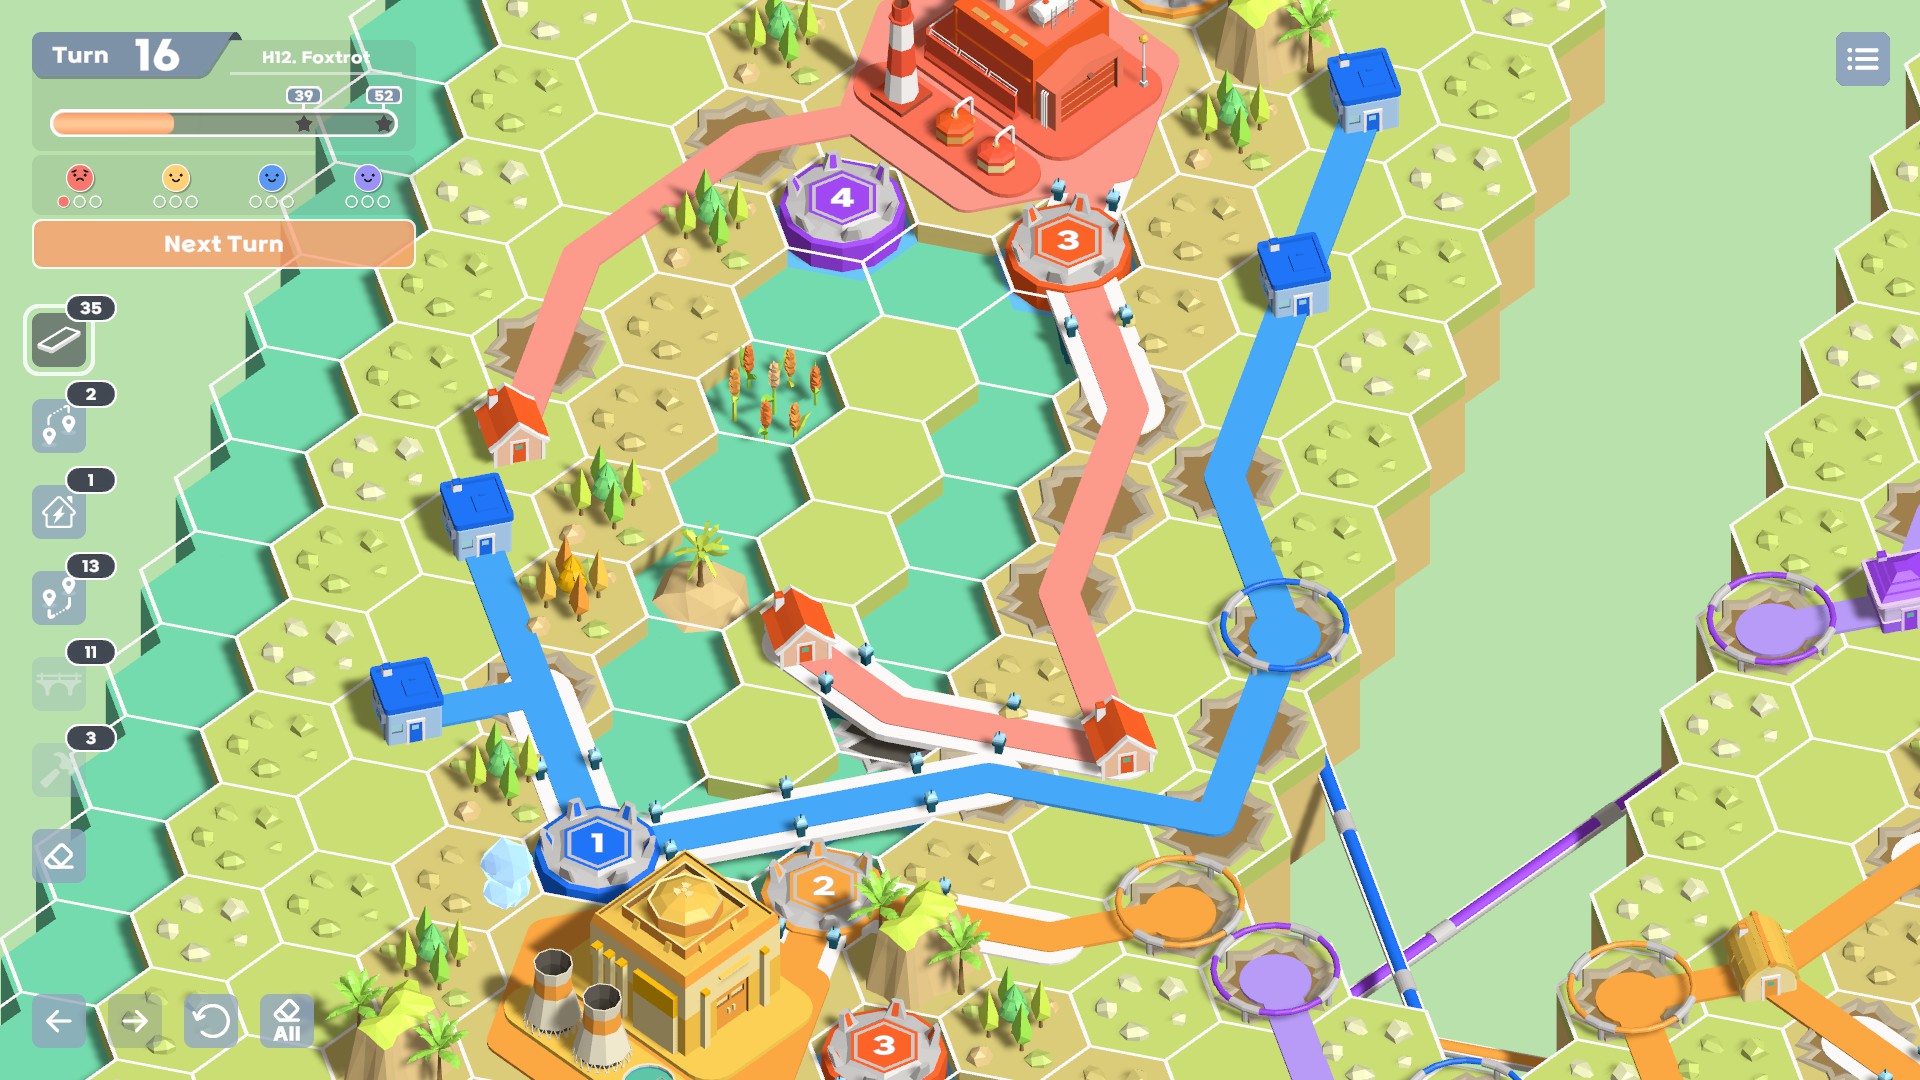
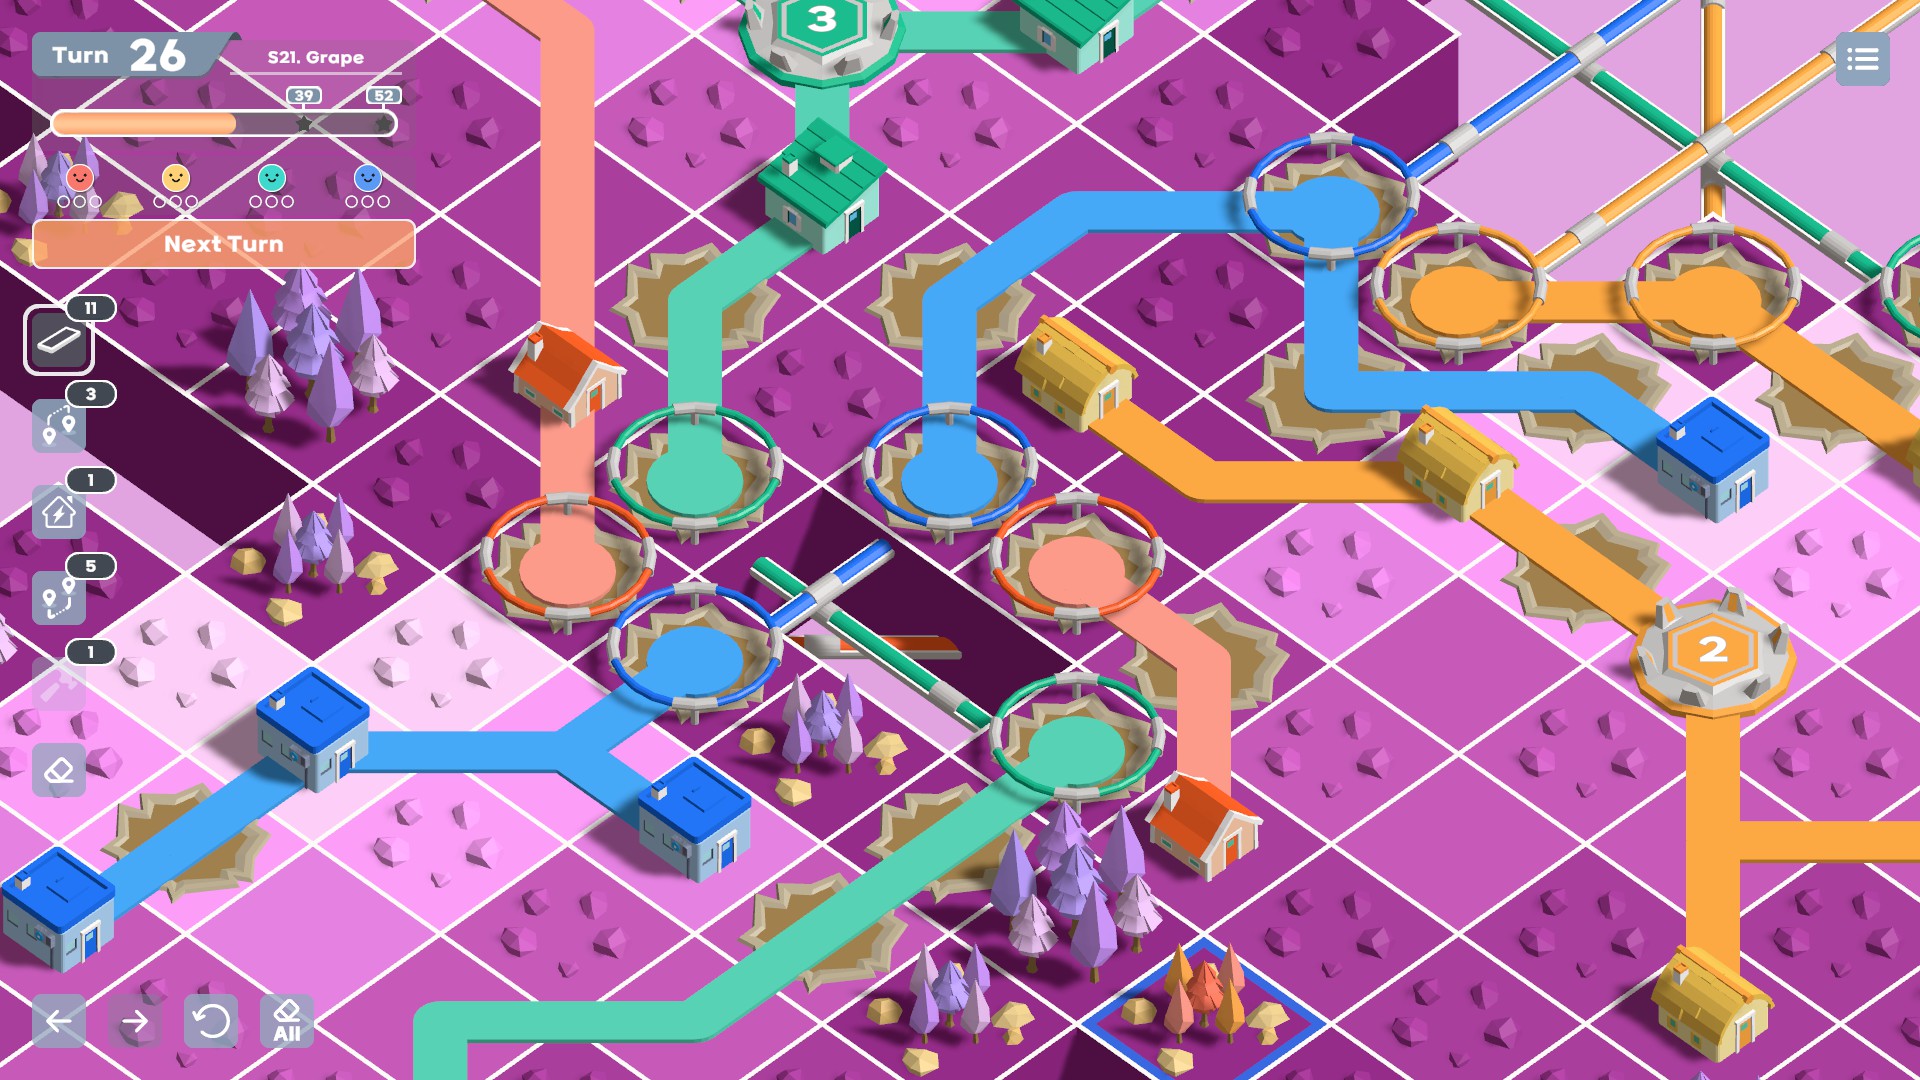
This gives you a lot of information! For example, look at this map, Square 5 Turtle:
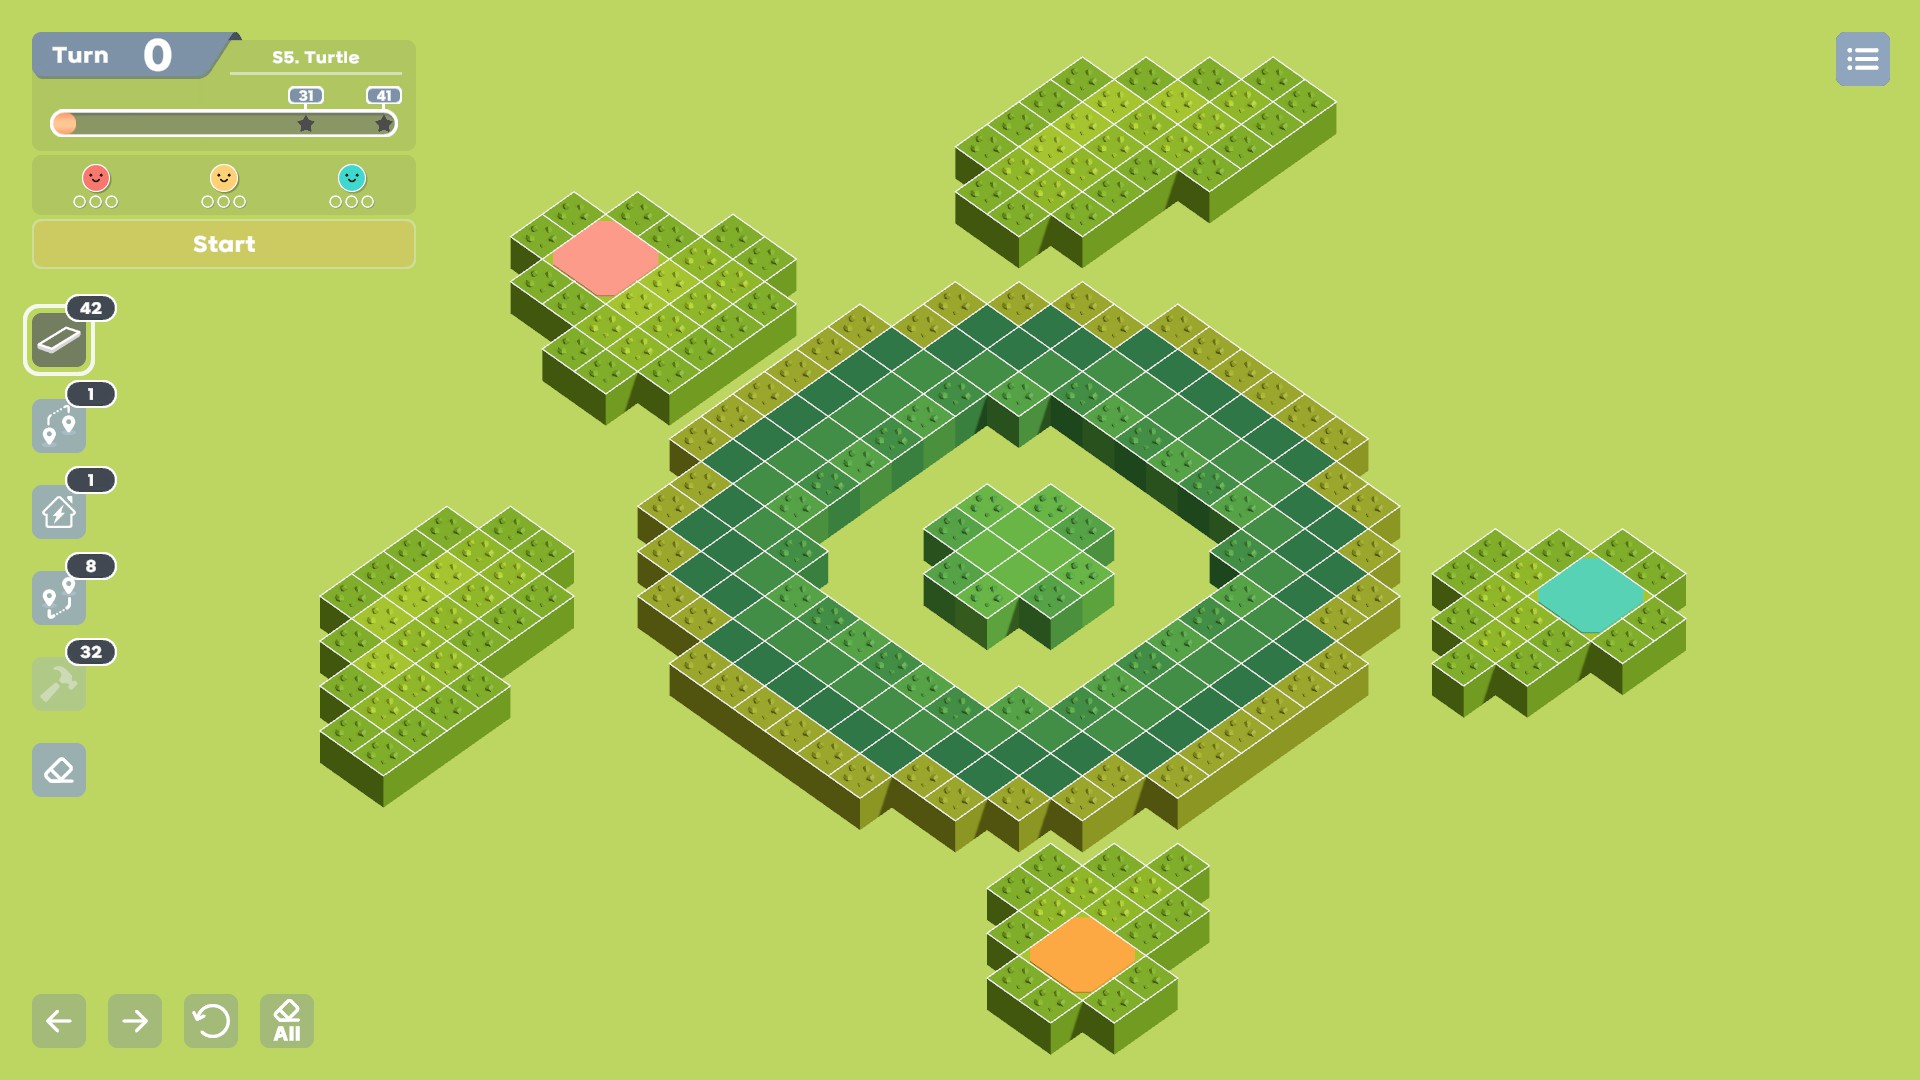
The fins and head of the turtle are all filled in with rocks. This means that houses will only appear in the inner island and around the main ring. In addition, the ring of empty spaces is two spaces thick throughout. This means that many houses are going to be tightly packed in with their neighbors. As a result, this early map gives you plenty of options for rerouting your grid outside of the houses. In exchange, it ups the ante from the very first levels by ensuring the spaces immediately around the houses are going to be tightly packed and strategically important.
Most canon maps, especially the square maps, look like this one, S10 Pumpkin:

The empty spaces are roughly arranged in a checkerboard pattern. This means that there are going to be plenty of empty spaces immediately surrounding each individual house, but the houses are evenly spread throughout the map. Later levels will up the ante with patterns like these, from S15 Monkey:
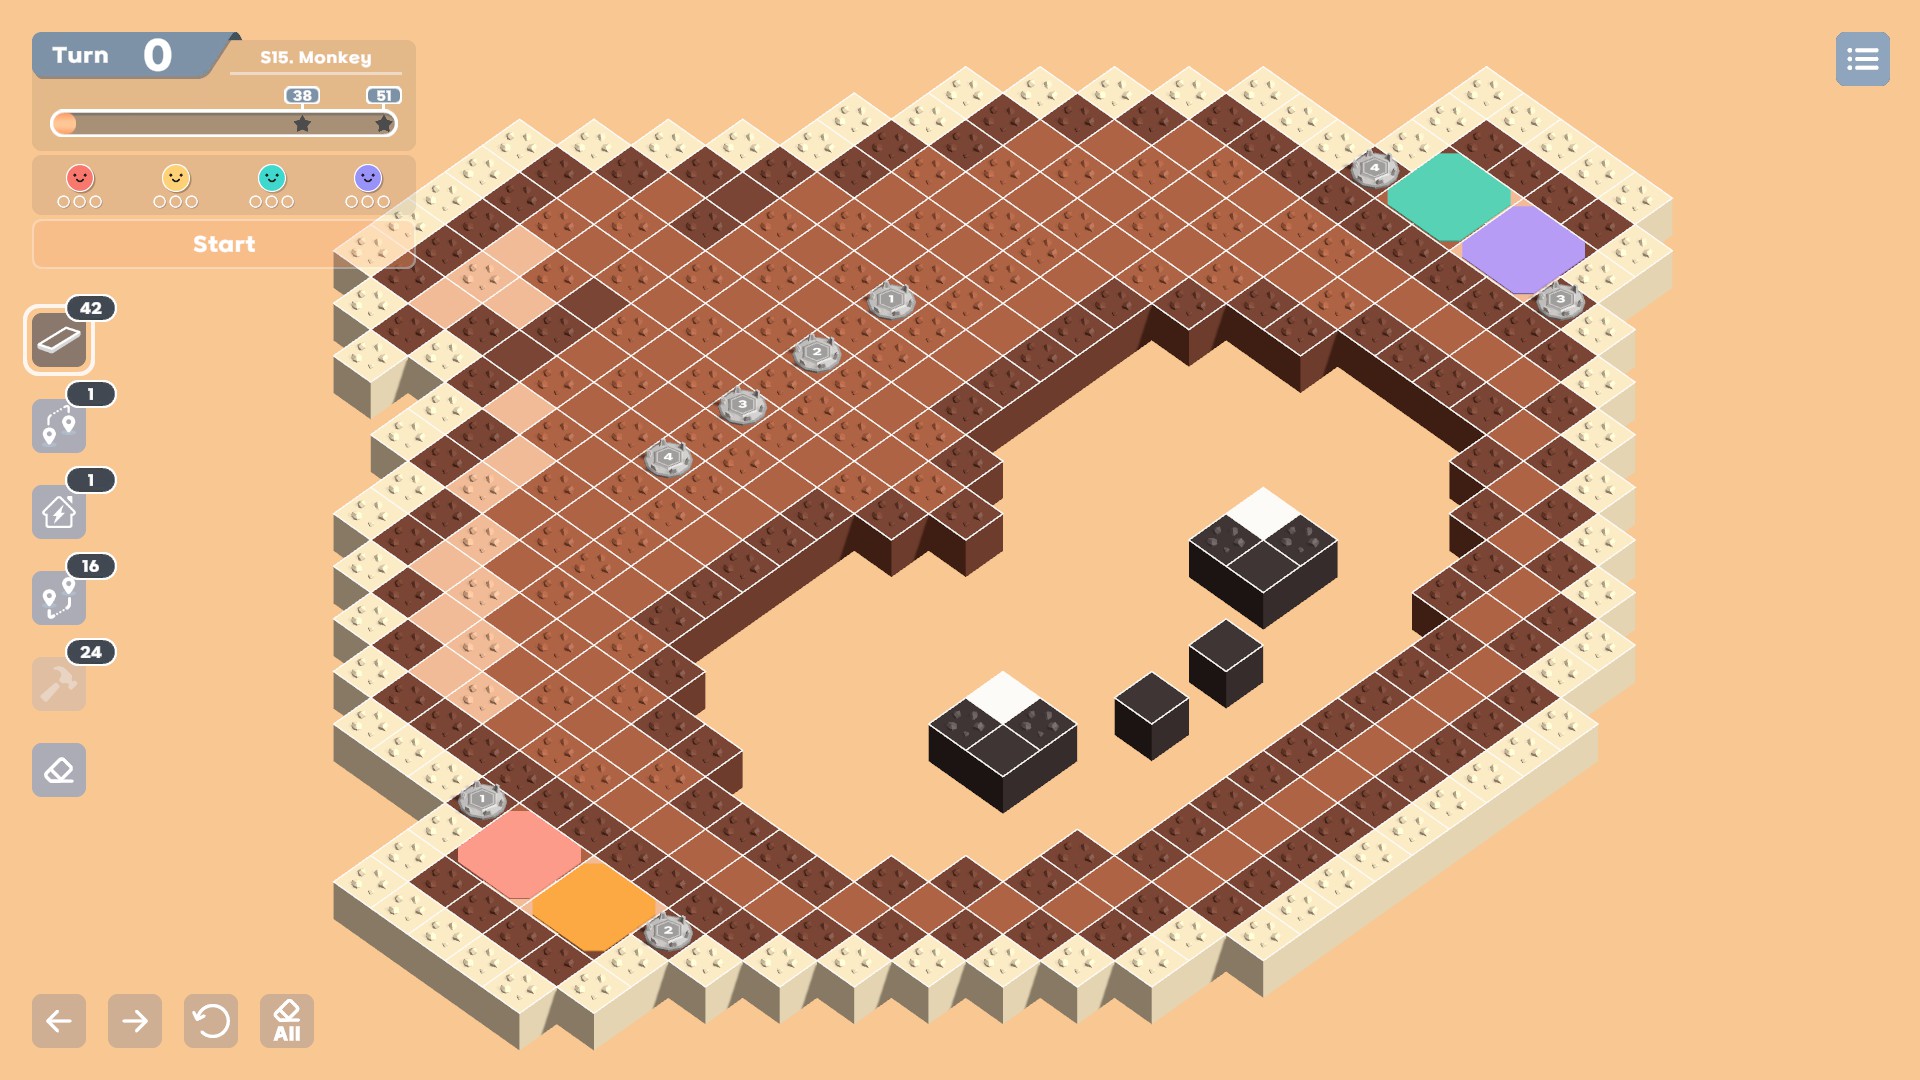
There’s an unbroken ring around the face. This means those houses are going to be more crowded, even though the map doesn’t have nice, wide-open spaces to work with like S5 Turtle.
When you keep this in mind, you’ll appreciate bridges, pipes, and especially hammers more. They don’t merely buy you the ability to build on obstacles. They also let you build on spaces that will never be hijacked by houses later!
Hammer Strats
Chokepoints
A chokepoint is a crucial wire which is forced to pass through an empty space because the spaces adjacent to it are used by other colors. These wires will be painful to deal with in the very likely event a house of the wrong color appears on one of them. Sometimes it’s worth preemptively reworking a neighborhood to alleviate pressure around a chokepoint or remove it altogether.
In the example below, the space connecting the two blue houses was a chokepoint. If a house that wasn’t red or blue appeared in that space, either the blue or red route would have to be significantly reworked to open space for it.
With a bit of work, which was much easier since there weren’t many houses at this point in the game, it was possible to open up the chokepoint to the rest of the map and make it accessible to any color:
In fact, in the game the example is from, I had a yellow house appear on the chokepoint space! Since I already had opened it up, it was much more straightforward to connect:
Isolated Paths
Take advantage of routes in uncrowded parts of your map. You can safely leave these alone if they pass through empty spaces but have plenty of obstacle spaces next to them. If a house appears on the route, you have plenty of options for rerouting, so there’s little risk in leaving it alone until later. And until the house appears, you won’t know which specific changes will be helpful, so there’s no point in trying to make them ahead of time.
In this example, the red path went through many empty spaces. But because it was in an uncrowded area, there were many easy options for routing around a purple house that appeared in its way.
Chokepoint Options
In some situations, you are forced to make a chokepoint but have options where to put it. Your best bet is to pick a path through obstacles. You may still be forced to reroute if an especially impolite late-game house screws things up, but you make that nightmare less likely.
In this example, green had a nasty chokepoint that was very likely to be cut off by a different color late game.
Reworking it was difficult. But with some effort, the chokepoint could be moved to a different green house to the left:
This new chokepoint avoided empty spaces, so it couldn’t have a wrong-color house appear on it. This made it dramatically less likely to be a trouble spot later on.
Hammer Early Game, Mid Game, and Late Game
When possible, deliberately building on spaces with obstacles gives you some insurance against the future. But it’s not always possible.
Early game, you’re not going to have the luxury of avoiding routing through empty spaces. Wires are always in short supply when the first couple dozen houses pop up all over the map, so you’re pressured into prioritizing them over hammers, and then hammers run out. But as you place your routes, you’ll notice several alternative routes that would use the same amount of wires and pass through obstacles. I find that simply making a mental note of these, even if I immediately forget afterwards, helps me think about keeping my grid a touch more flexible.
As you enter the mid game, you’ll have a healthy stash of wire and can start picking other tools more aggressively. At this time, you can start deliberately pathing through obstacles. Running low on hammers in the midgame will prevent you from taking advantage of the strategies above. Of course, running out of hammers altogether can stop you outright, and you’ll inevitably run low on something at some point. Just keep in mind that hammers have a surprising amount of strategic utility. If you have to choose between them and something else you need immediately, consider how flexible your land-based routes are as you decide, even if the other option is flashier.
In the endgame, you’ll hopefully have a surplus of all tool types. At this time, it’s worth your while to aggressively route through obstacles with hammers when possible so that the last few houses are much less likely to cause you grief.
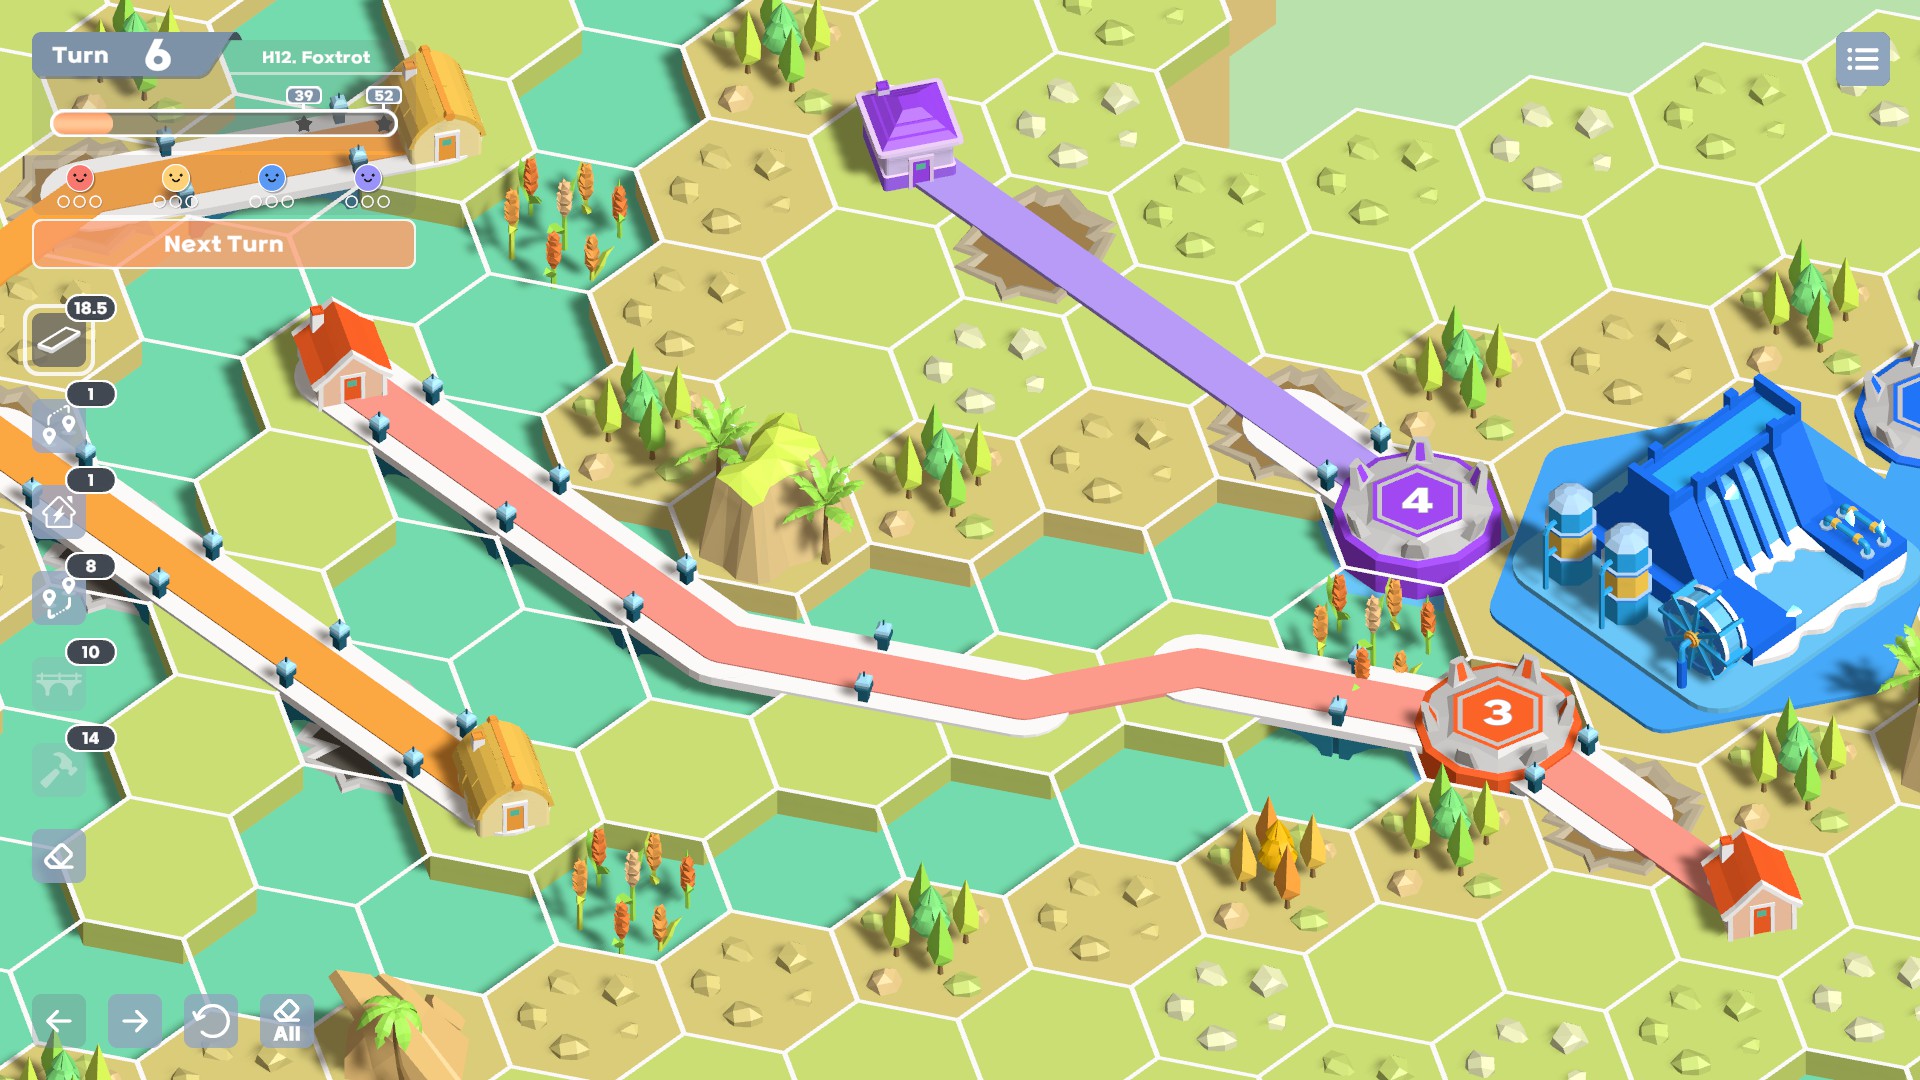
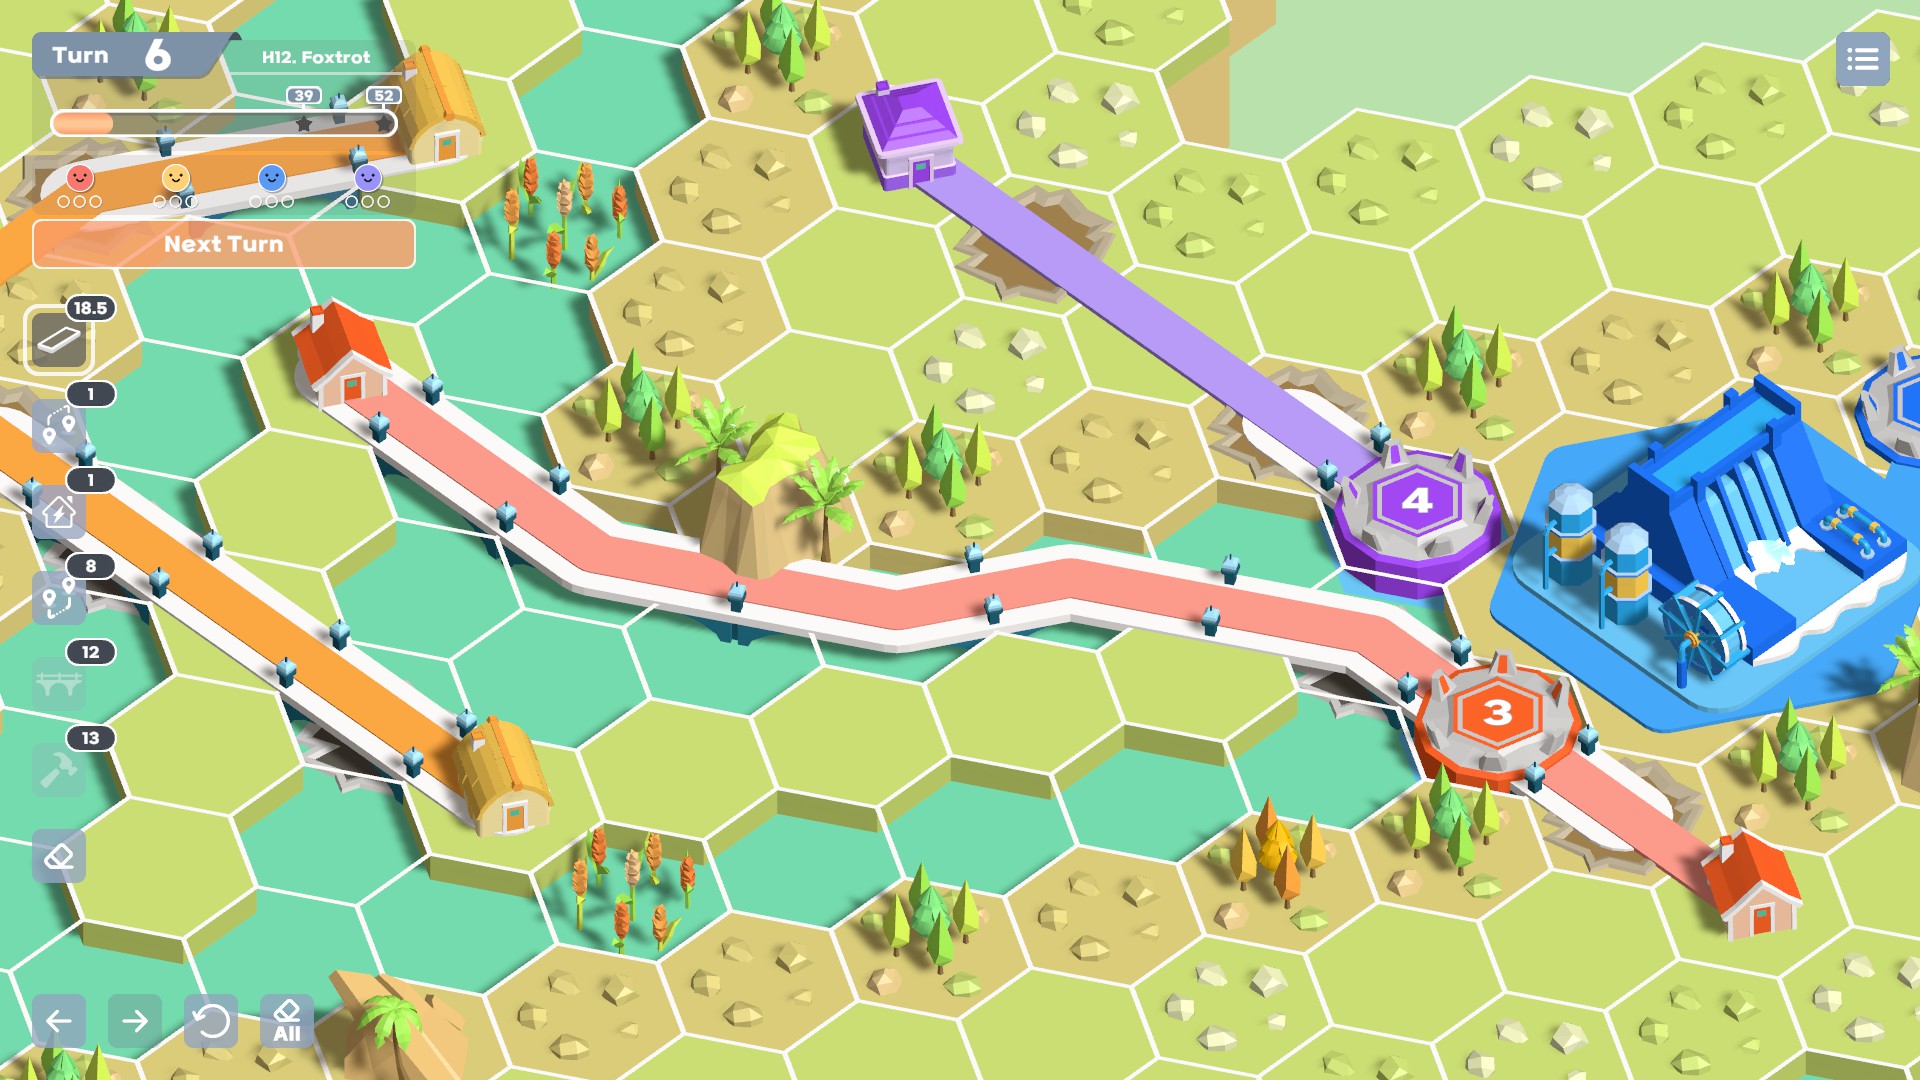
Bridge Strats
Bridges are like hammers except you have fewer of them and they’re consumed in weirder ways.
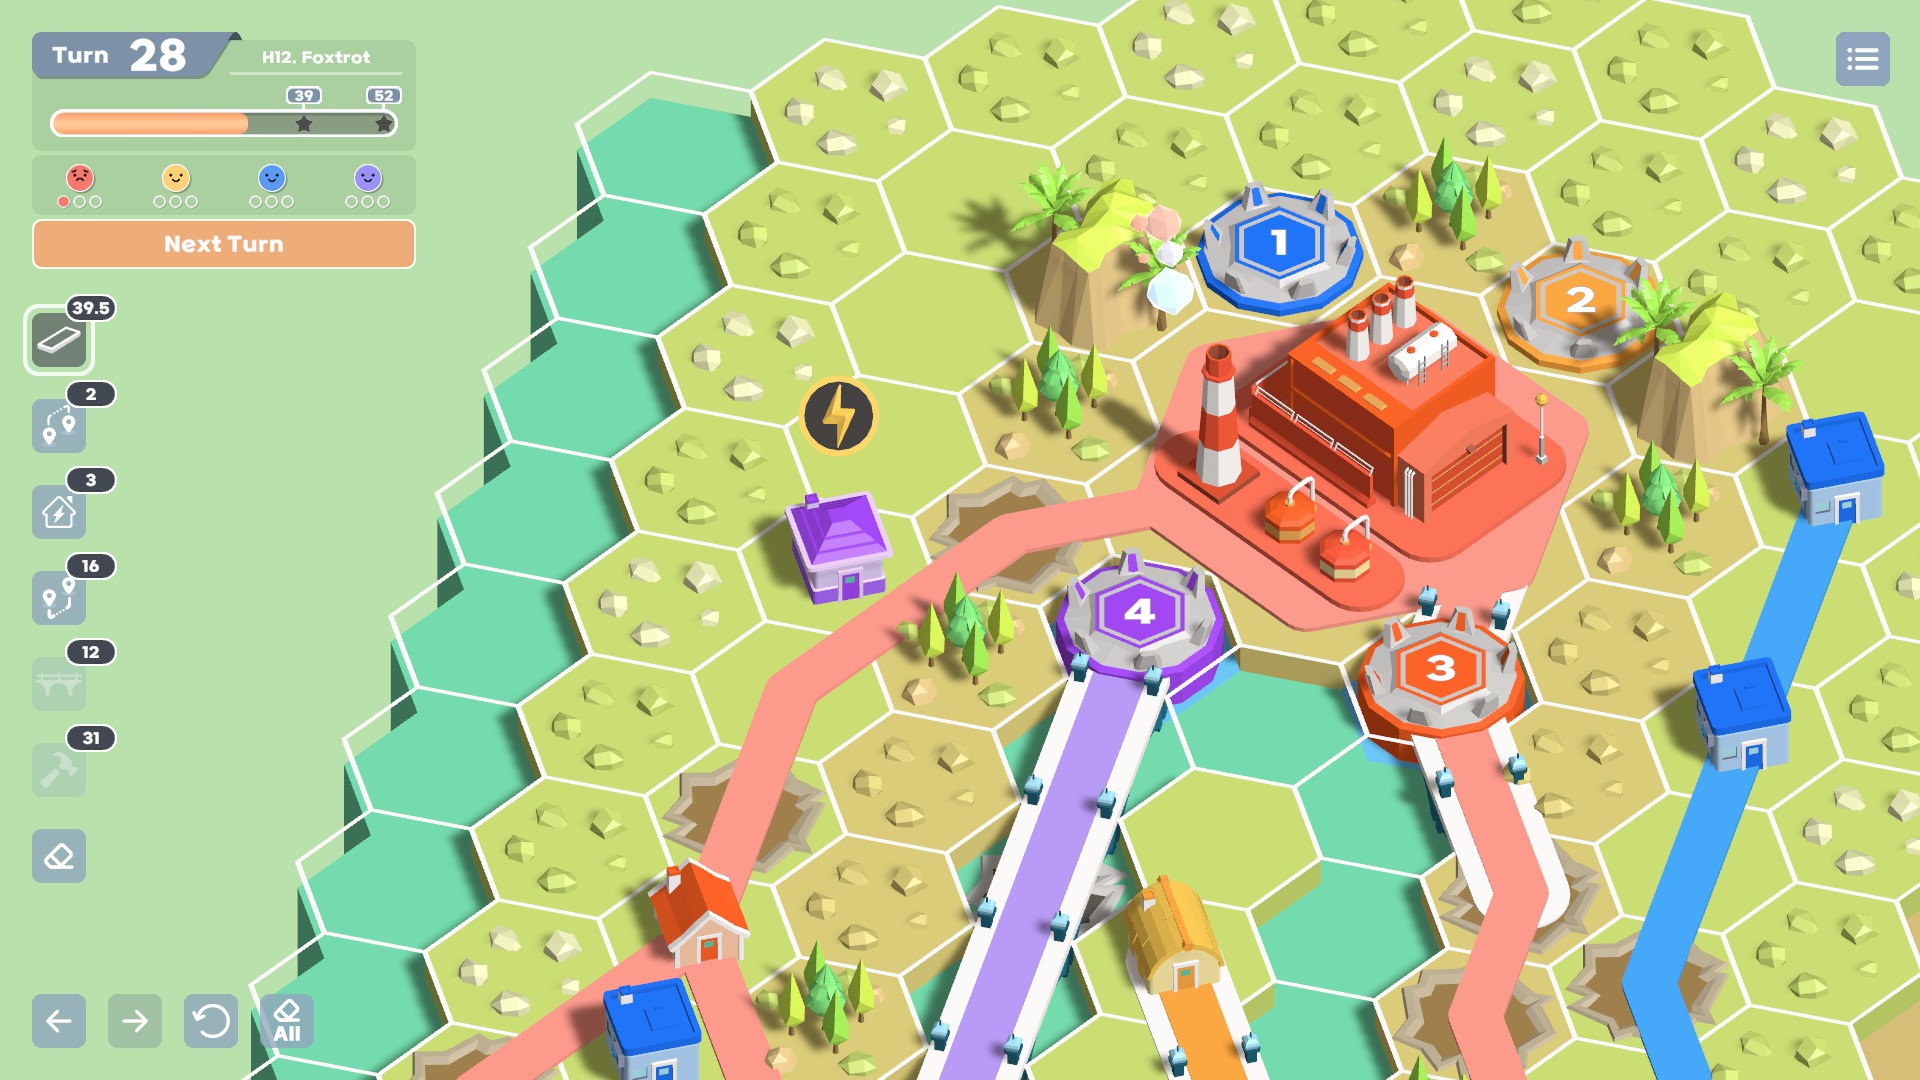
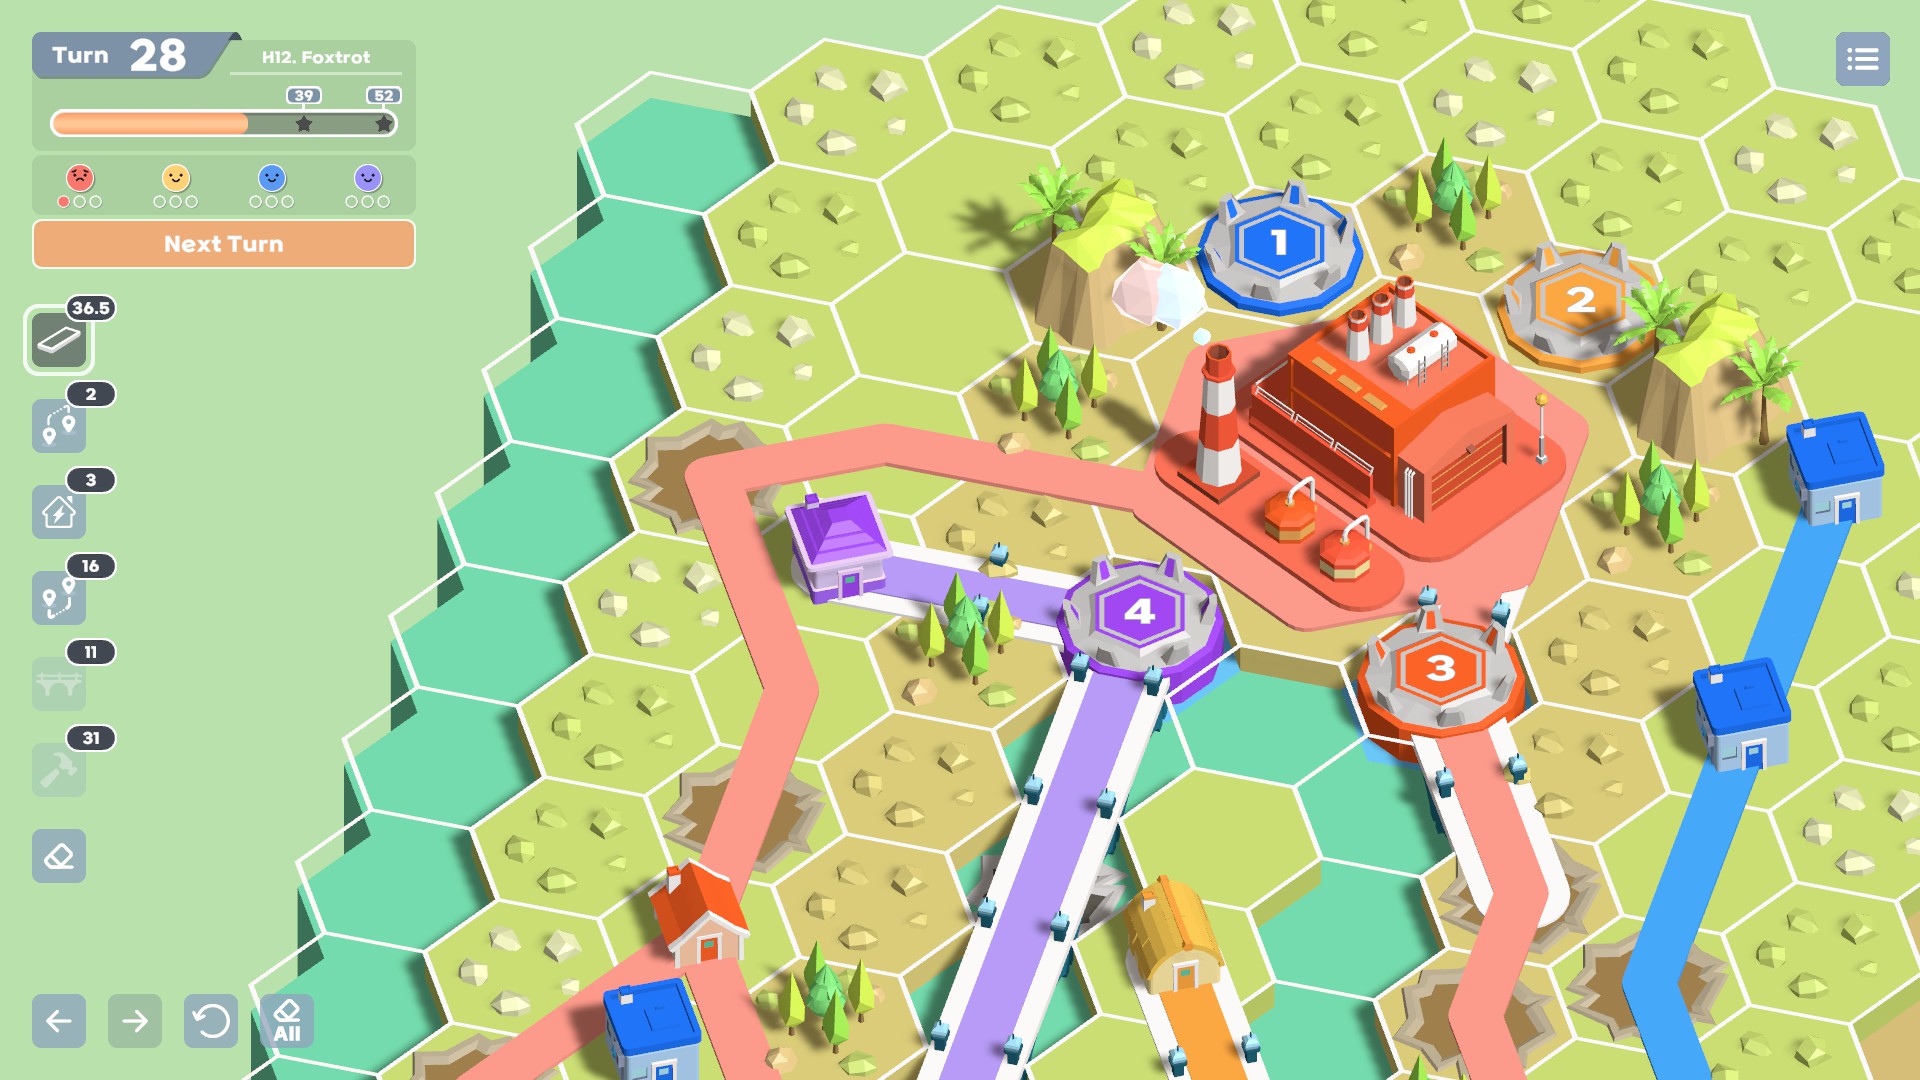
Most canon levels with bridges will have large continuous bodies of water. These are strategically useful! Unlike land obstacles, which are usually interleaved densely with empty spaces, bodies of water give you big chunks of map that will never have houses appear on them.
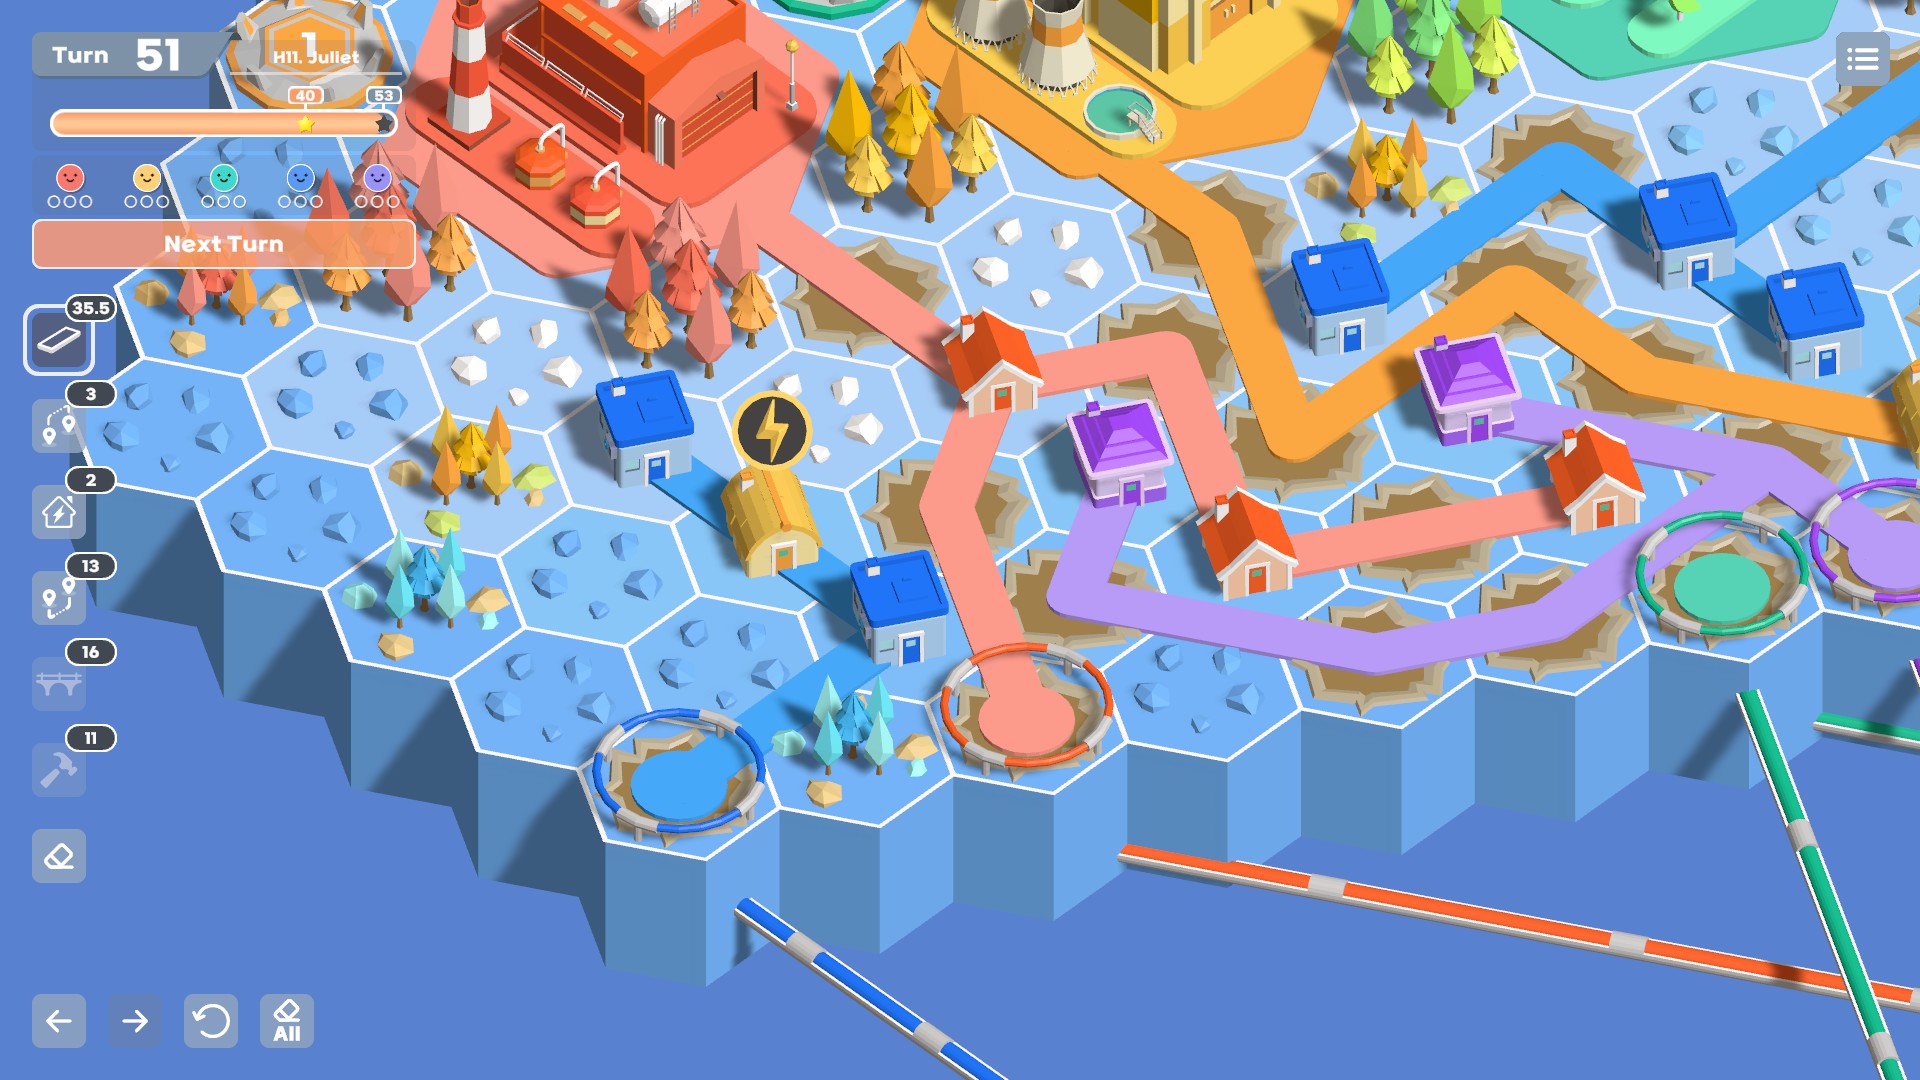
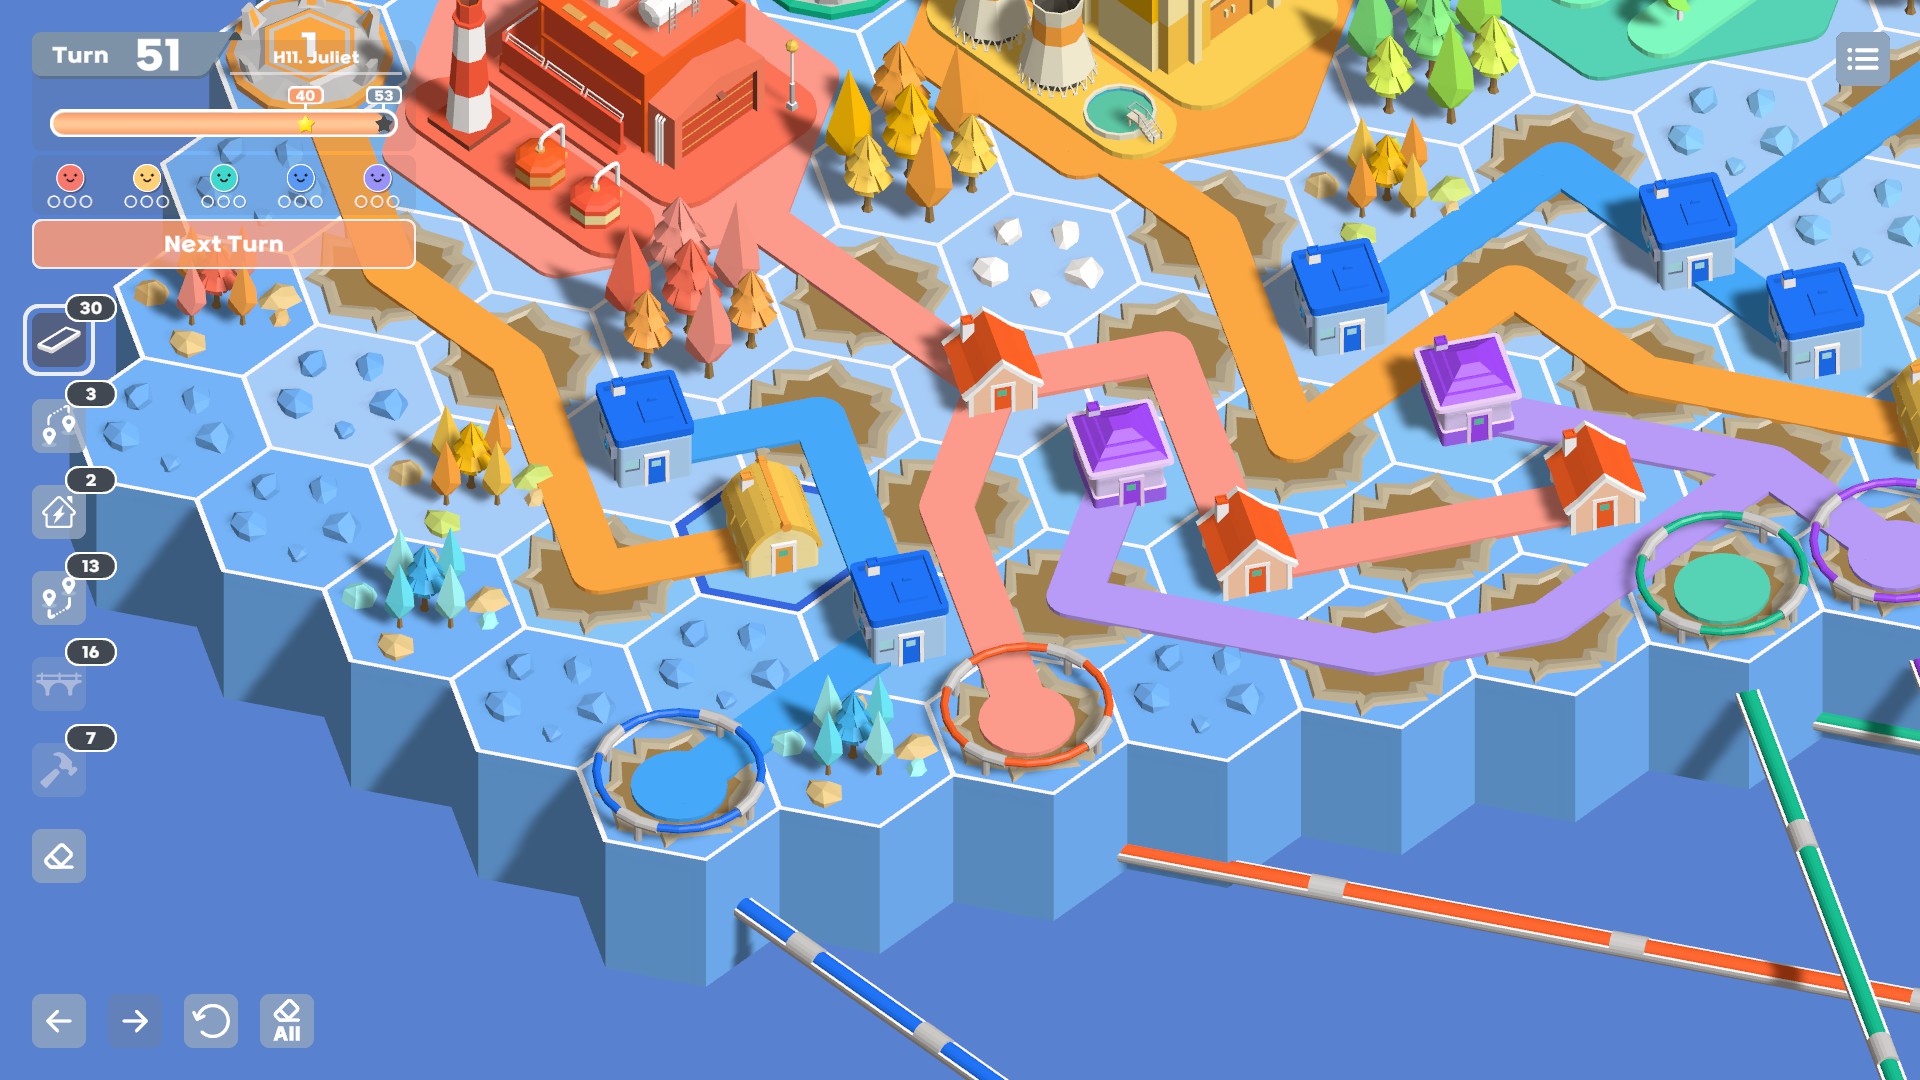
In the early and mid game, it’s usually best to get as many intersections of same-color wires to appear inside of bodies of water as you can. This lets you minimize the number of land-to-water connections you build, and those are the only points at which bridges are consumed. In the late game, you’ll hopefully have enough bridges that this won’t matter and you can build bridges wherever needed.
In this example, the screenshot to the right is a more efficient use of bridges.
If you’re forced to rework your map in the late game, there’s a good change you’ll find a foothold in areas with bridges. The limits placed on bridges force you to optimize for land-bridge connections instead of grid flexibility. So when connections are practically free, there will likely be a few tricks you can pull out.
The strategies for hammers also apply to water tiles.
You need significantly fewer bridges than hammers to complete most levels, and running low doesn’t put as much pressure on you to make poor strategic decisions. But of course, you don’t want to run out completely.
Some harder maps have obstacles on water that must be cleared with hammers. Any hammers you spend on them can’t be used more strategically on land, so build around them as much as possible until the late game.
Pipe Strats (Heck Yeah!)
Pipes are amazing. Pipes are broken. Pipes are better than Jumpers.
Pipes are important for two reasons. First, they can cover enormous distances while consuming only one resource. Second, and probably more importantly, they are the only way you can cross wires of different colors without losing a perfect score.
Look at how beautiful this is.
Consider this map, Hexagon 6 Yankee:
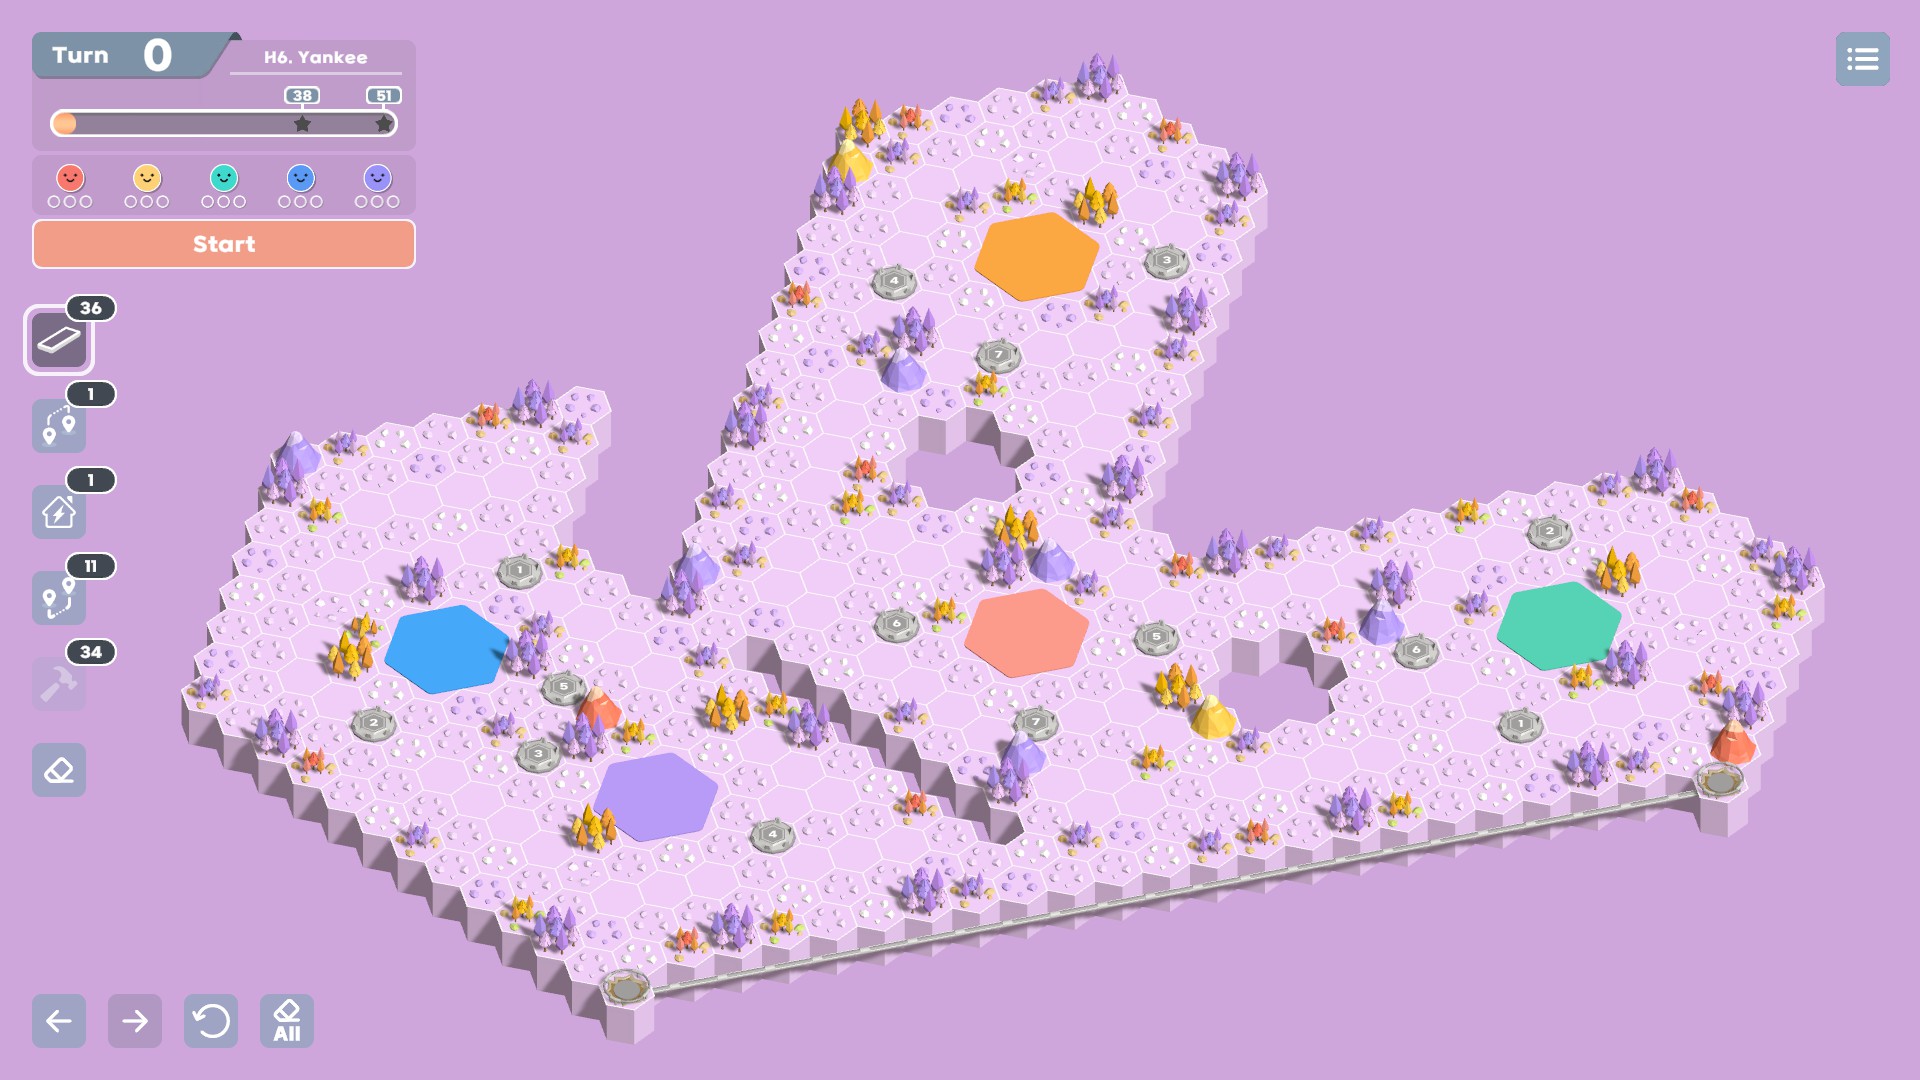
This map was cheekily designed so you can build the pipe at the bottom of the screenshot, connecting the two far sides of the map in a single pipe spend. Furthermore, there are pockets throughout the middle of the map where you can place pipes. These allow you to pass different colors between each other with surprising flexibility. As a result, the spaces immediately surrounding the holes become important chokepoints – but ones that let you avoid chokepoints anywhere else almost entirely.
There are a couple downsides to pipes that are worth considering. The most important one is that if you have to rework pipes in the late game, they are an absolute bear to read. I’m not afraid to admit I’ve given up and cleared maps or accepted one-star scores instead of trying to figure out how in the heck my map works.
This means that it’s important to build in a way that keeps your options for pipes flexible, and that leads to the other major downside. The spaces immediately adjacent to holes and chasms are extremely precious. Each time you use one for any reason, you have dramatically increased the probability that your pipes are going to need to be ripped out and reworked later.
As a result, the most important strategies with pipes are:
- Avoid using pipe spaces carelessly. It’s impossible to completely avoid doing so, but try not to place plain wires along holes. Also try to minimize using multiple pipes around the same hole to connect a single house.
- When you have the option to waste land space and resources to pipe directly into another pipe of a matching color, it’s most often the correct play. Land resources are significantly easier to rework late game.
Respect the power that pipes offer. Don’t shy away from using them confidently when they’re the right tool for the job. But know when they’re not, leave the spaces they need open, and make sure that you can rely on them all the way to the end of the map.
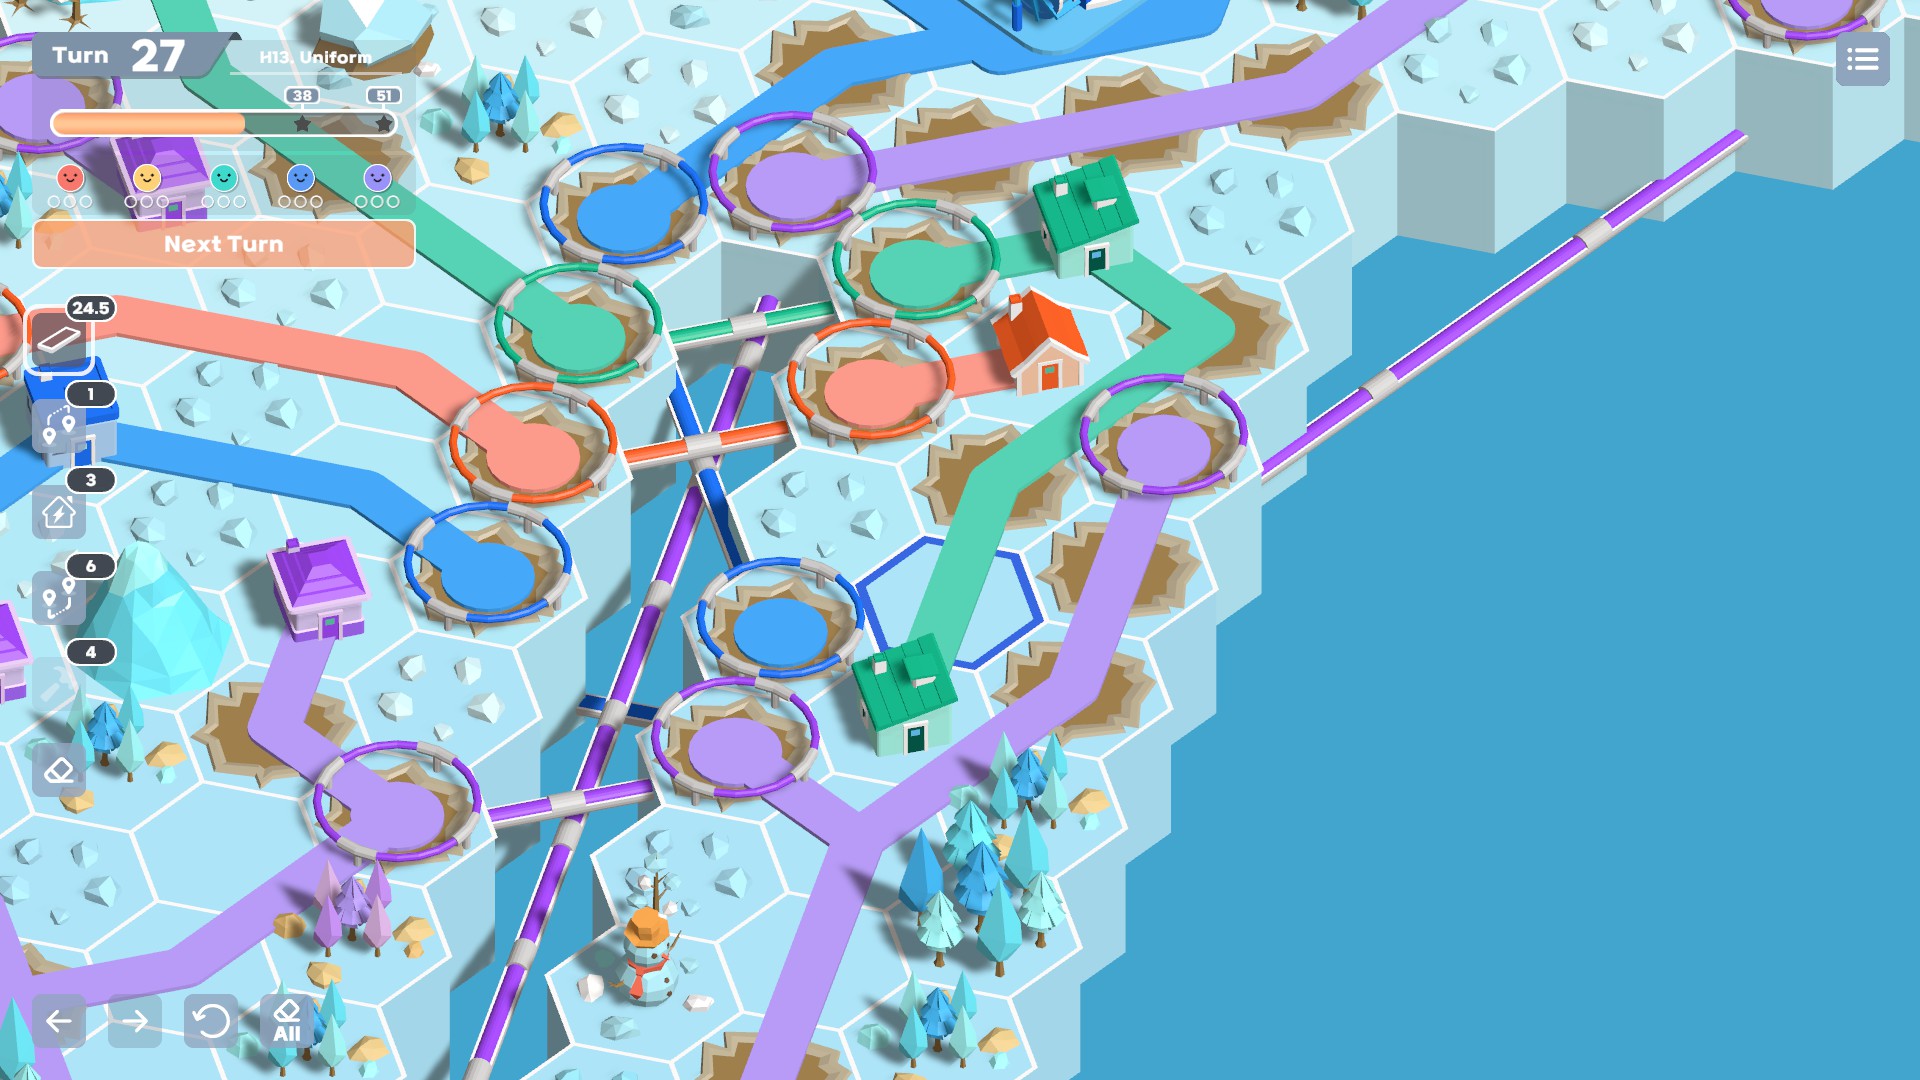
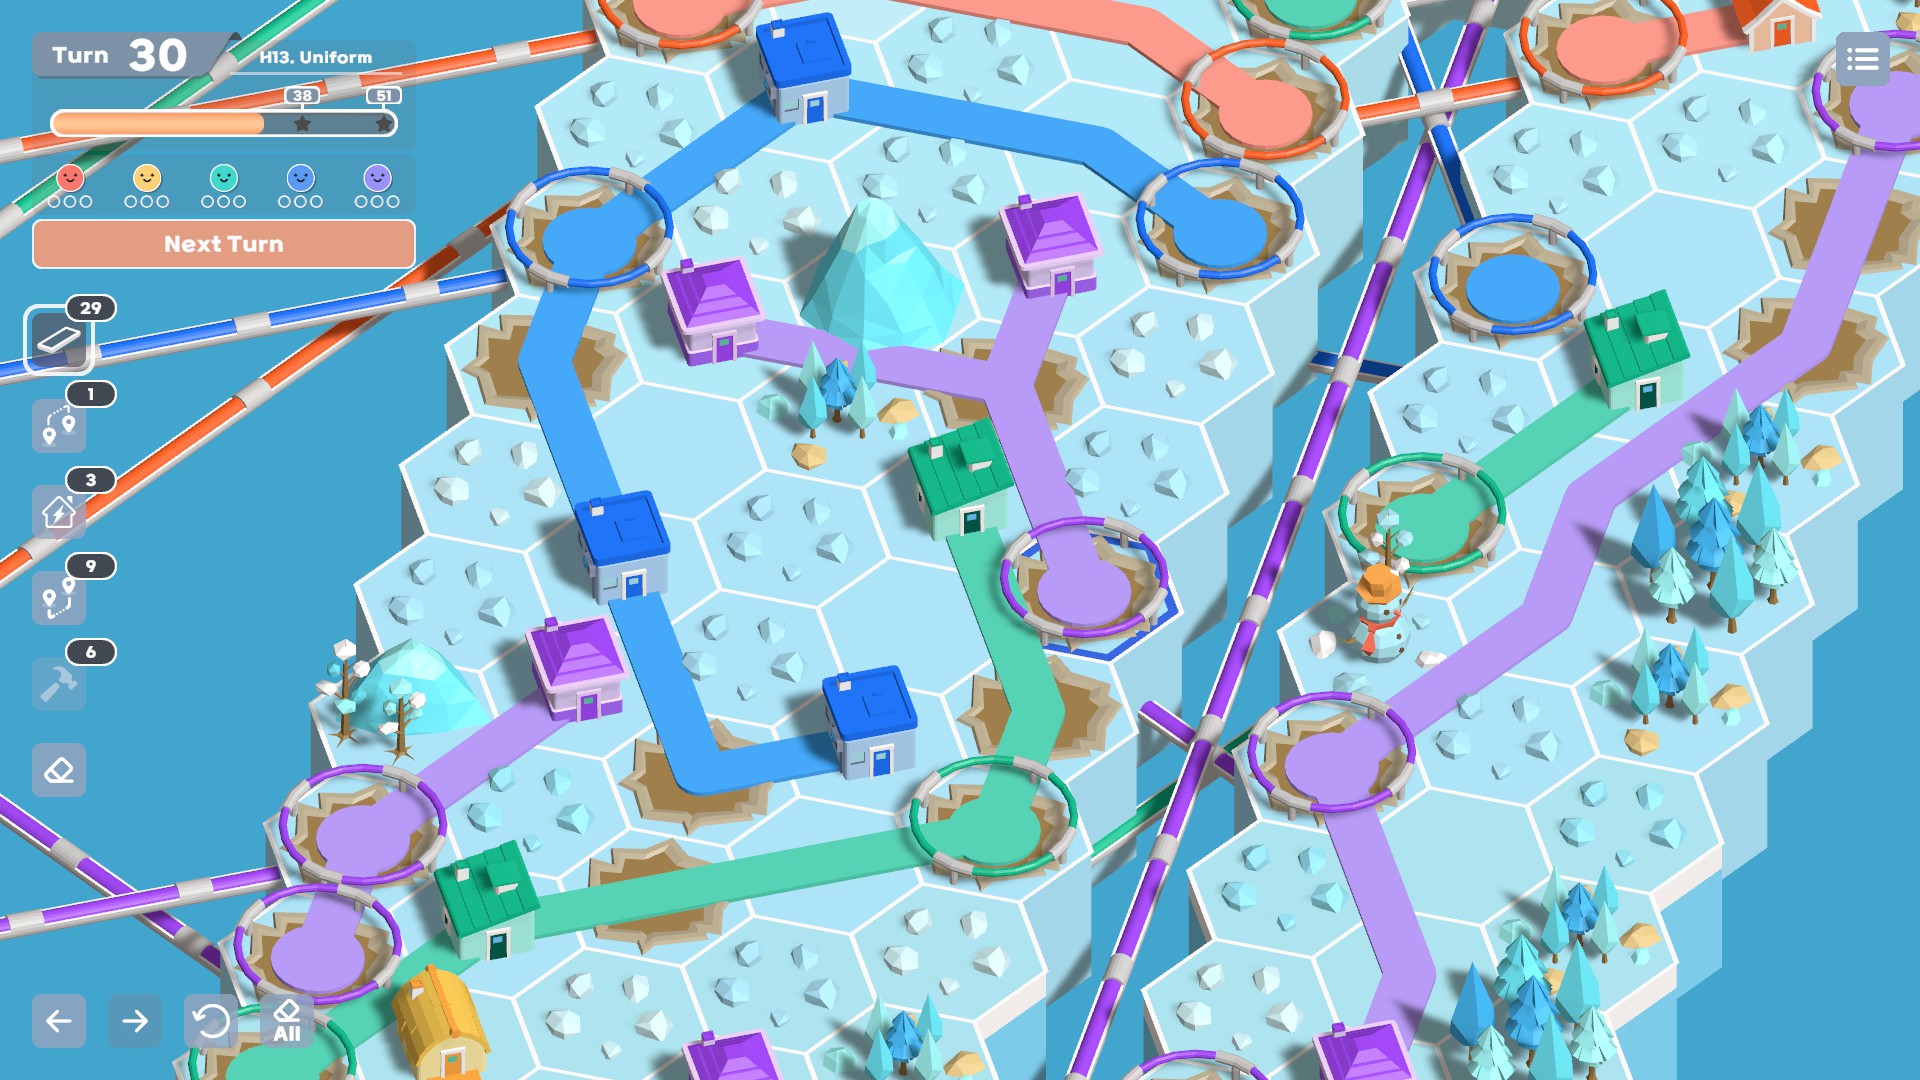
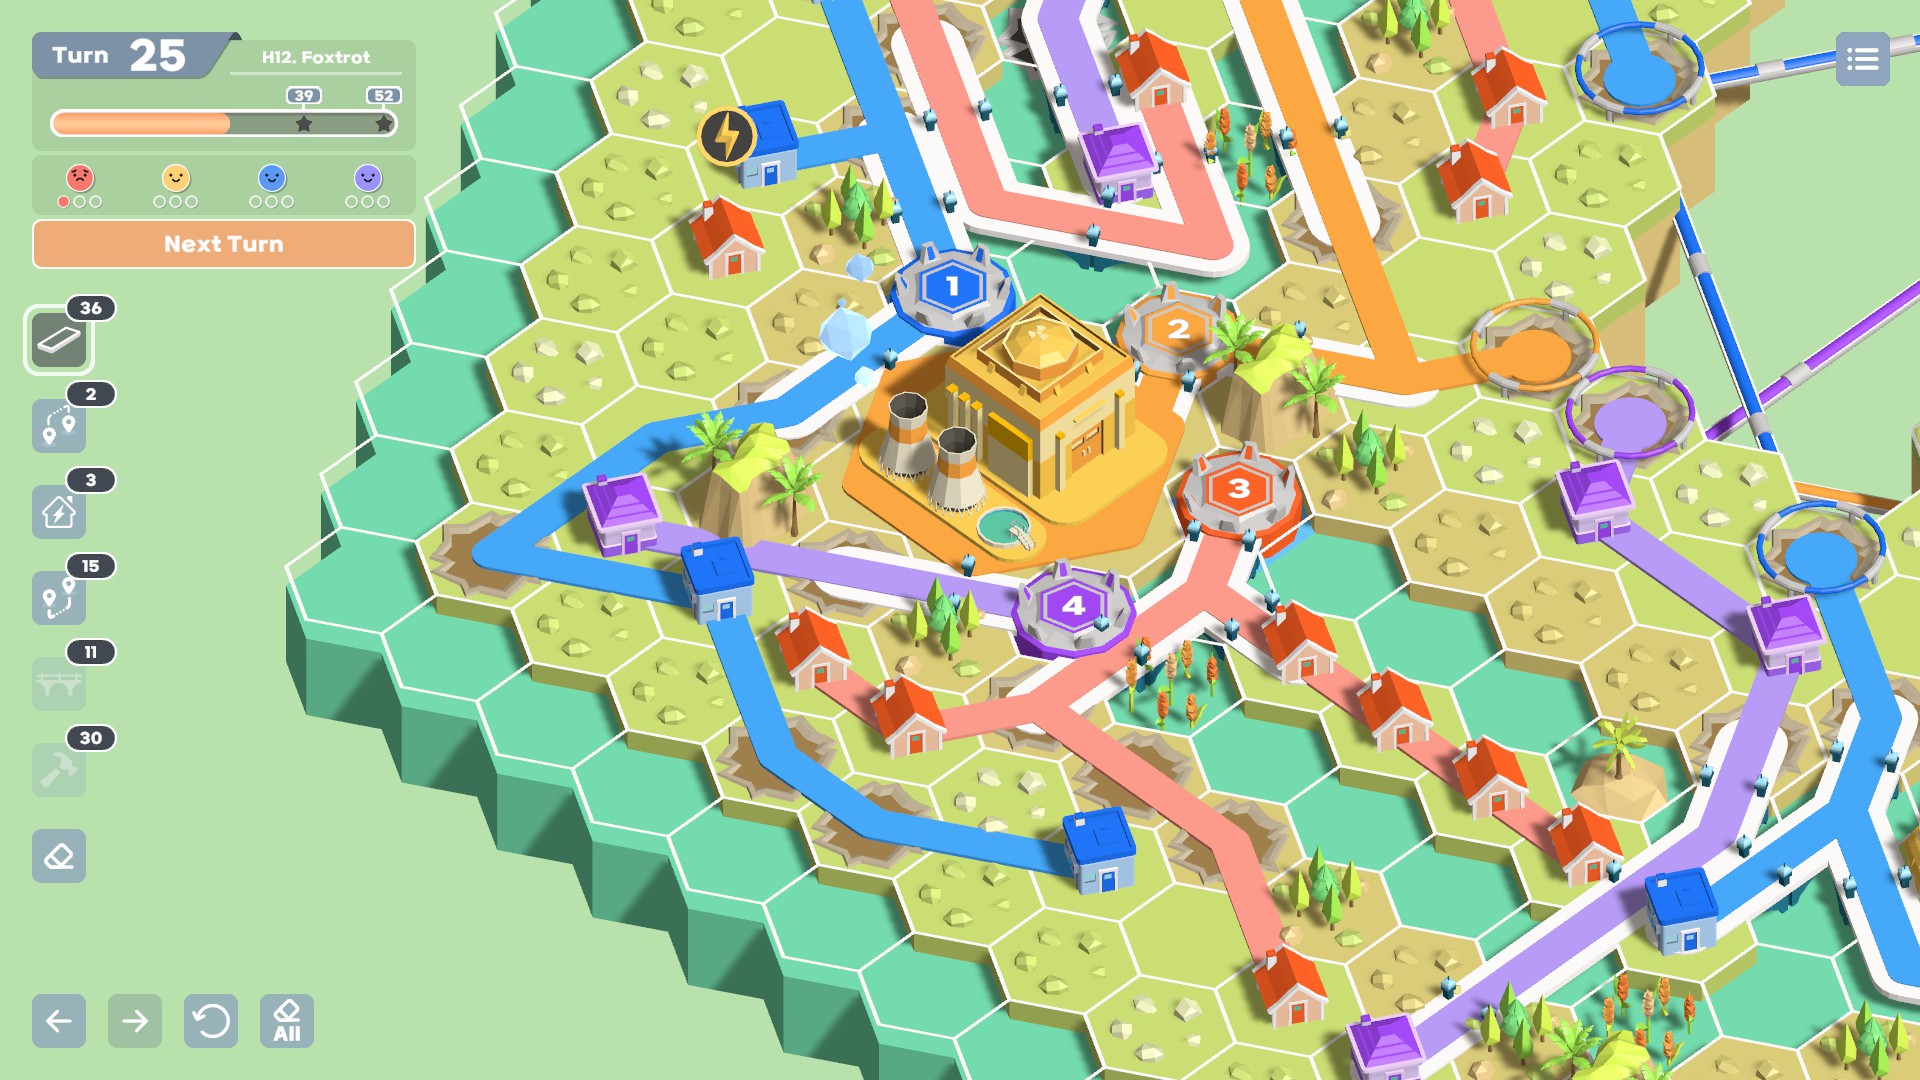
Portals
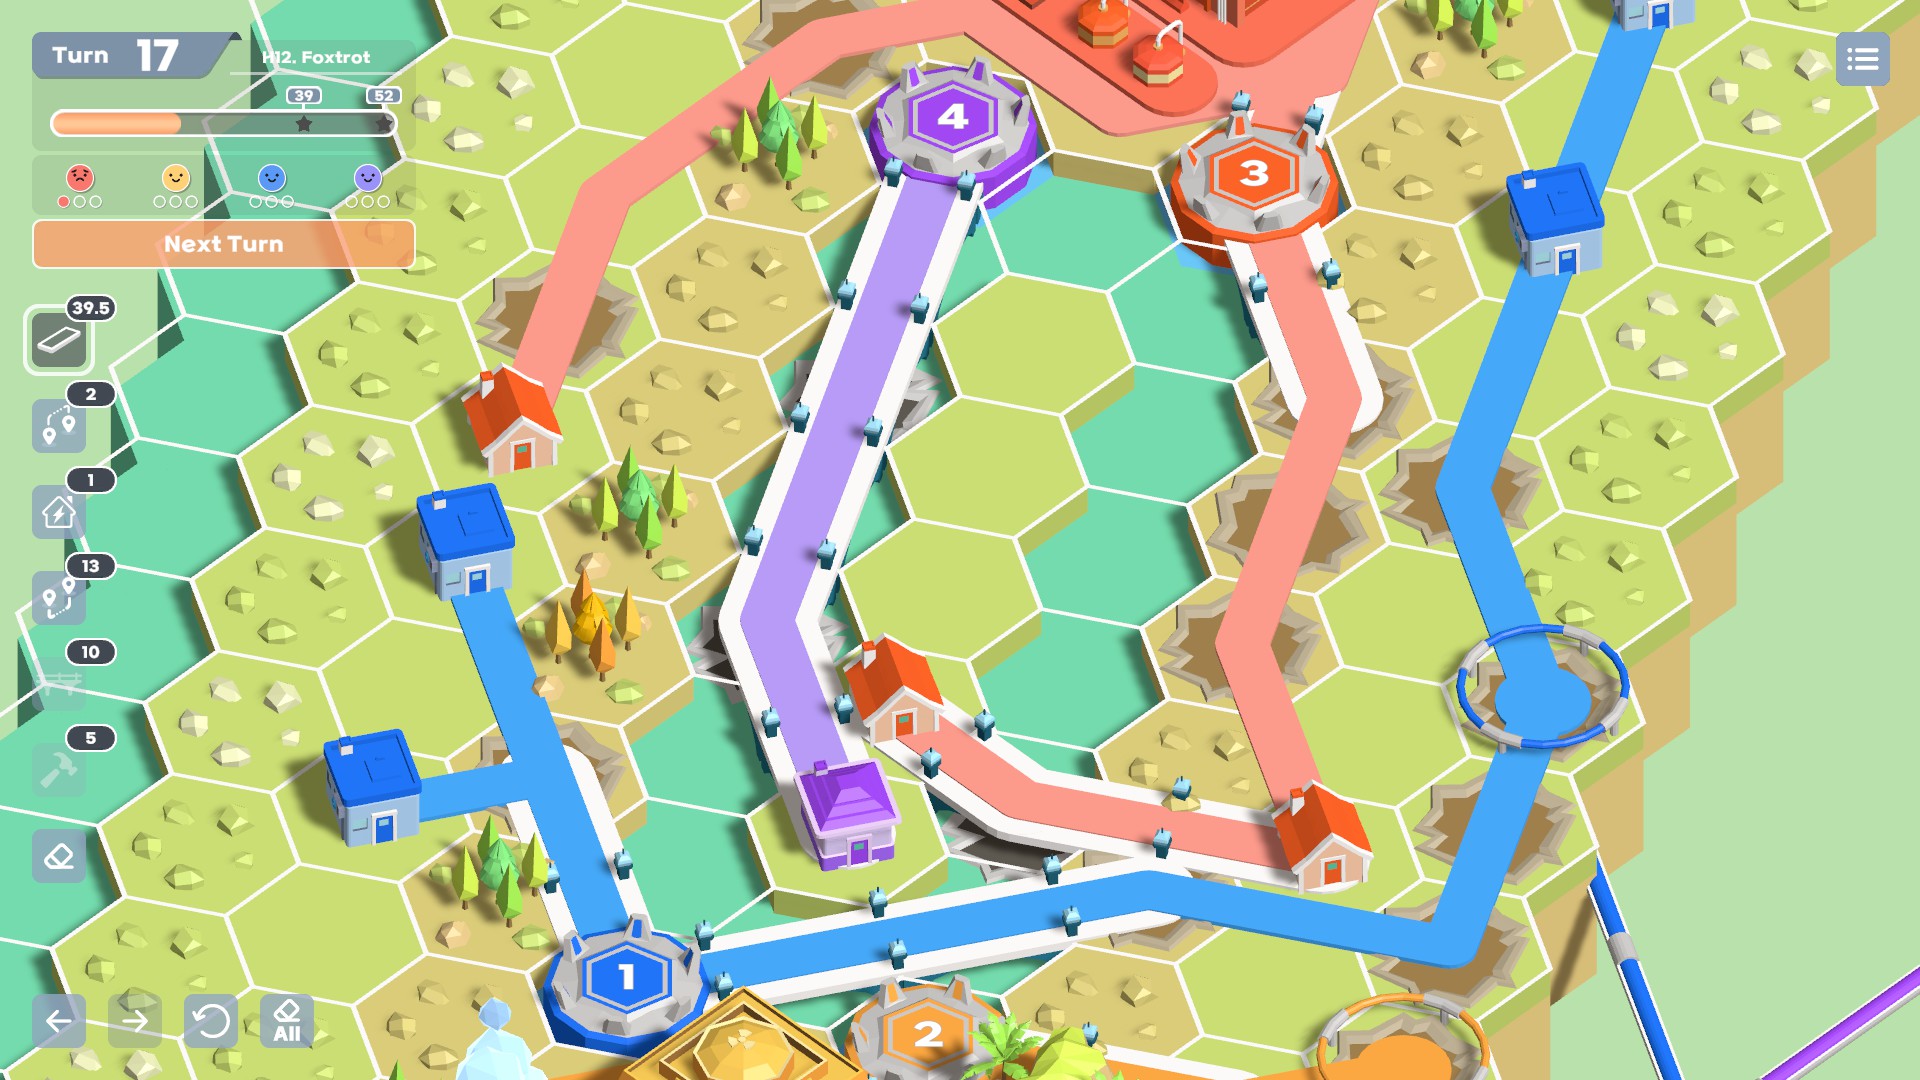
Be deliberate about when you connect to portals. Connecting to a portal earlier in a game means you can save more resources and spread out your neighborhoods more quickly, which can lead to a more flexible map later. Saving a portal as long as possible gives you a powerful option when the map becomes difficult to rework otherwise. It’s a tradeoff with no right or wrong answers, just a sense of what you want to prioritize and when.
I’m more likely to connect portals quickly if the map obviously has one portal close to each power plant, and I’m more likely to hold off on using portals if they’re very spread out or each power plant has multiple portal options. But again, there’s no clear right or wrong answer here. Sometimes it’s worth saving a portal immediately next to a power plant for a different color!
In the middle of messy late game reorganizations, I am consistently surprised by how often switching which color is using a portal is the right play. Don’t be afraid to do so.
Generators, Jumpers, and Skips
You can use generators and jumpers without losing a perfect score as long as you find a way to remove them all before the end of the last turn. Likewise, you can leave one or two houses of each color unpowered for a turn and still get three stars.
When you find yourself reaching for these tools, you’re best off using them to buy time when you’re out of resources. If you know how you’ll connect a house properly once you get the right tools, you have a very straightforward path to replacing the generator or jumper within a couple turns.
If you’re tempted to use a generator or a jumper to connect a house that’s in an awful position, it is usually best to suck it up and rework the neighborhood to find a connection anyway. As the map becomes more and more crowded, any generators or jumpers you use will become even more baked in and you’ll have to rip out and replace more when you try to get rid of them.
If a neighborhood is especially difficult to rework, though, sometimes it does pay off to leave a generator or jumper until another house forces the issue. This way, you’ll have more information about which connections are required to be placed so when you do go back to rework, you’re less likely to build a grid that gets turned over by another house a few turns later.
I usually feel out the difference between the two cases based on how difficult it is to find a connection for the isolated house. If I can’t find something in 10-20 minutes of work, then the neighborhood is already pretty baked in, so leaving a generator or jumper on the map is unlikely to lead me to build in a way that makes things even worse.
Picking Items Each Turn
In the early game, resources are very tight and you’re going to need a ton of wire. This gradually gets easier and easier into the late game, by which point you’ll likely have enough resources that you’ll never run out.
Early Game Picks
In the early game, houses can spawn anywhere on the map, but you won’t have established neighborhoods to connect back to. As a result, the first dozen or so turns require an enormous amount of wire.
Your best bet early game is to aggressively take wire. If you’re imminently about to run out of pipes, bridges, or hammers, you can prioritize them for a turn or two, but you cannot afford to be caught without enough wire when a house appears on the far side of the map.
Mid Game Picks
By the mid game, you’re going to have neighborhoods of each color spread out throughout the map. Some colors will lack a presence in some areas, but for the most part, you’ll be within spitting distance of a potential connection of each house spawn. However, each short new route you add still needs to be able to make it across obstacles, water, and holes.
As a result, in the mid game, it’s more important to pick hammers, bridges, and pipes. What I’ve found usually happens is that I’ll get low enough on one or two resources that running out becomes a serious concern, so I prioritize picking those in the next couple of turns. In that time, a different resource will run low, so I’ll shift my picks to that when I can afford to do so. There’s no getting off this train until the end-game, unfortunately.
If I’m offered a rare, I like to pick it if at all possible, even if I’m dangerously low on another resource. My thinking, which usually pays off, is that if I can get a generous stash of one resource in a single turn, then I can focus more aggressively on all other resources for quite a while. If you prefer to forgo rares to keep a balanced stash, though, you’re not wrong. Both strategies are viable.
Sometimes, you’ll run completely out of a resource in the mid game and your next several picks won’t offer it. You’ll have to be creative and make do. Oftentimes, you can look through your existing grid and find ways to de-optimize so you get a few more of what you need right now. It’s not at all wrong to do this. A big part of CLWE is prioritizing different aspects of your grid at different times! You’ll likely have to clean up your small messes later, but they’re very rarely awful enough to ruin a run. You can afford to leave them for quite a while until you get into the late game and have plenty of resources.
Sometimes you simply run out of the moves you need to make and are forced to lose a map. It’s a good thing this is only possible in the early and mid game! Take the L quickly, restart the map, and be grateful that it only took 10-15 minutes of your time.
Late Game Picks
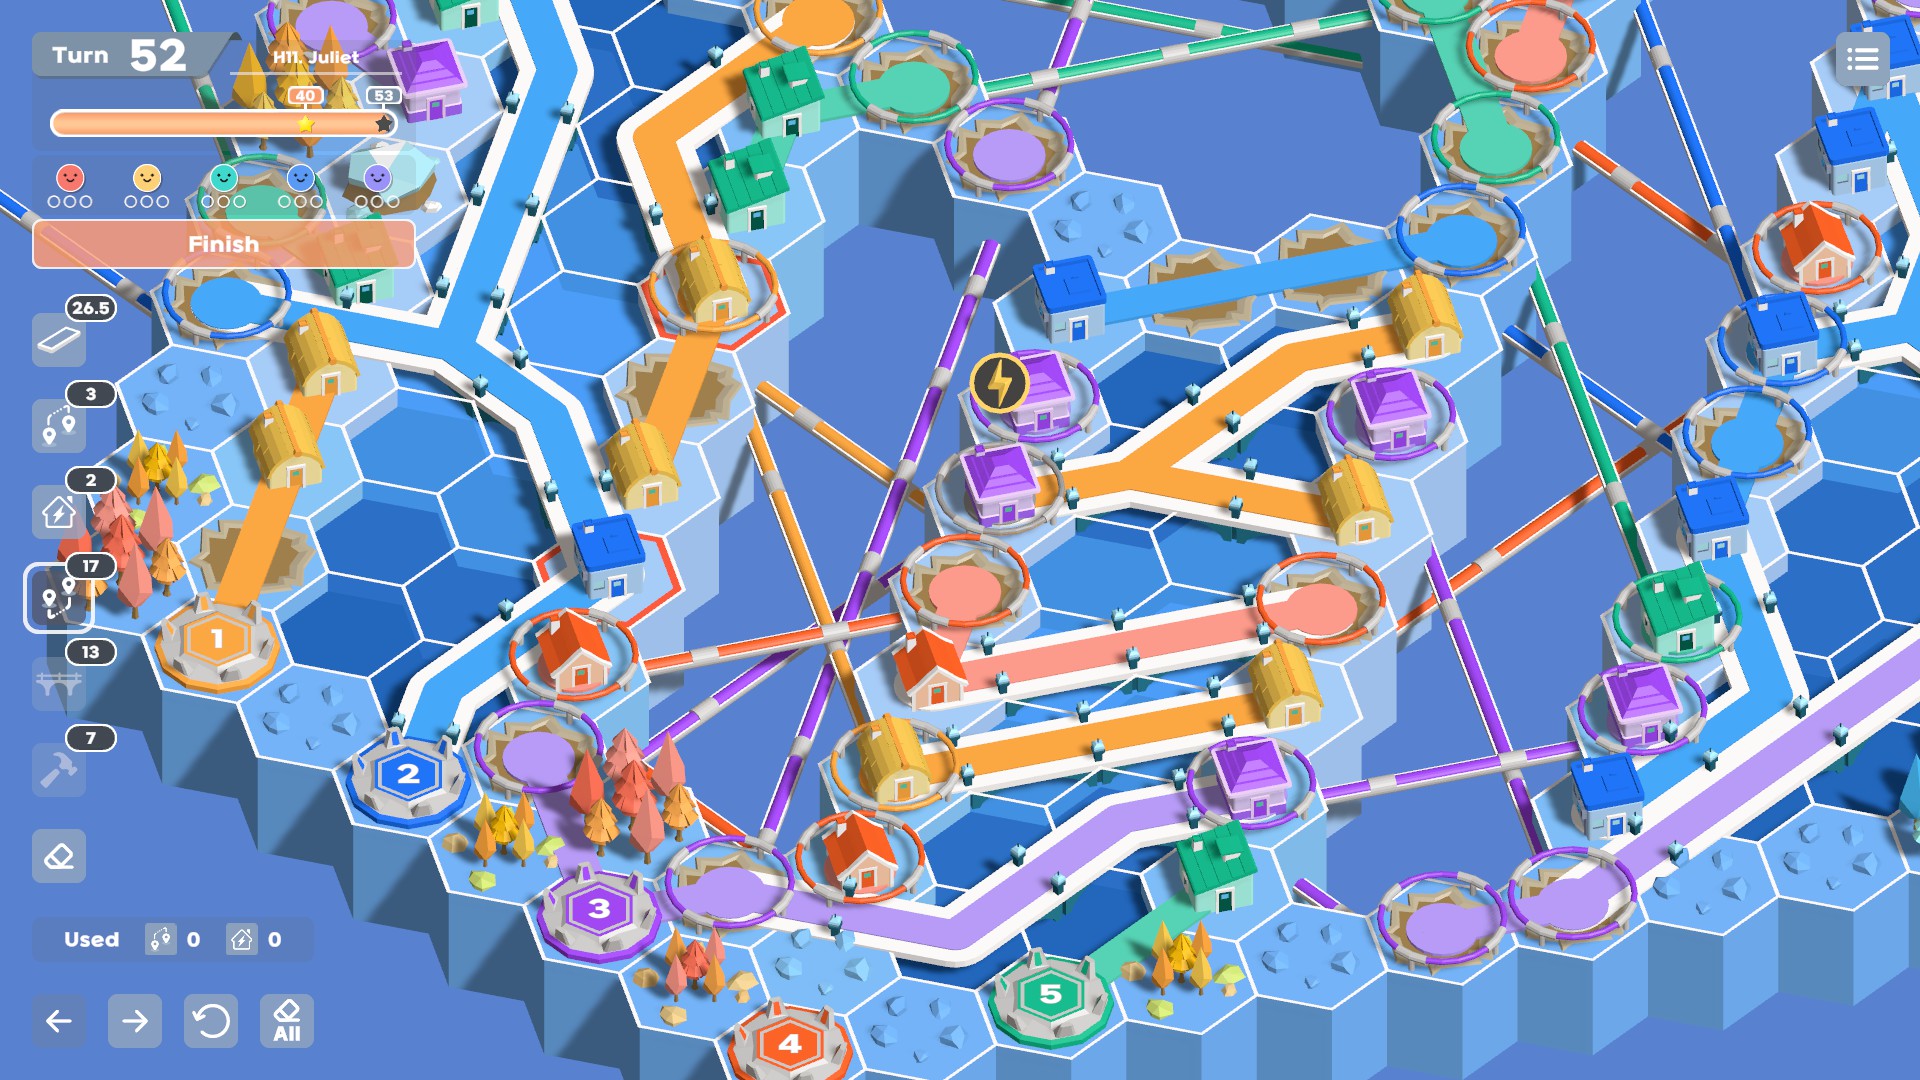
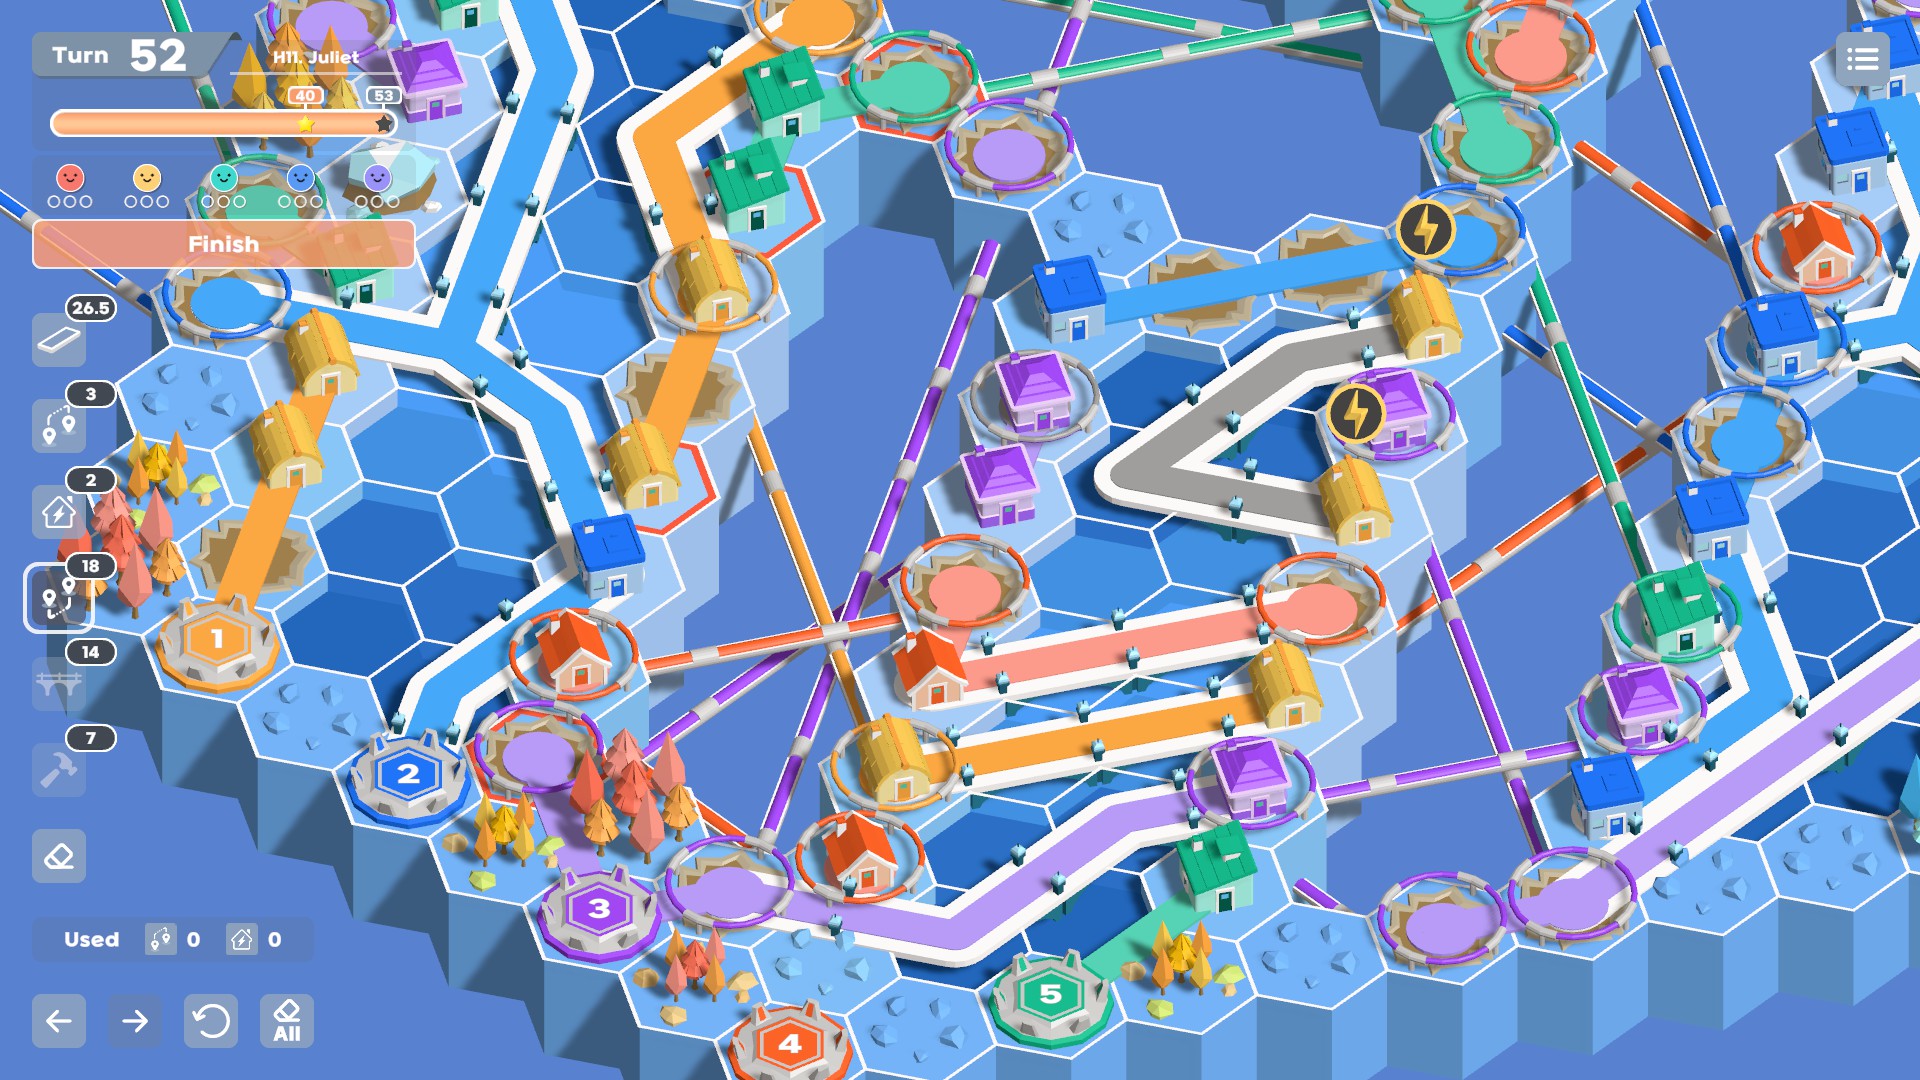
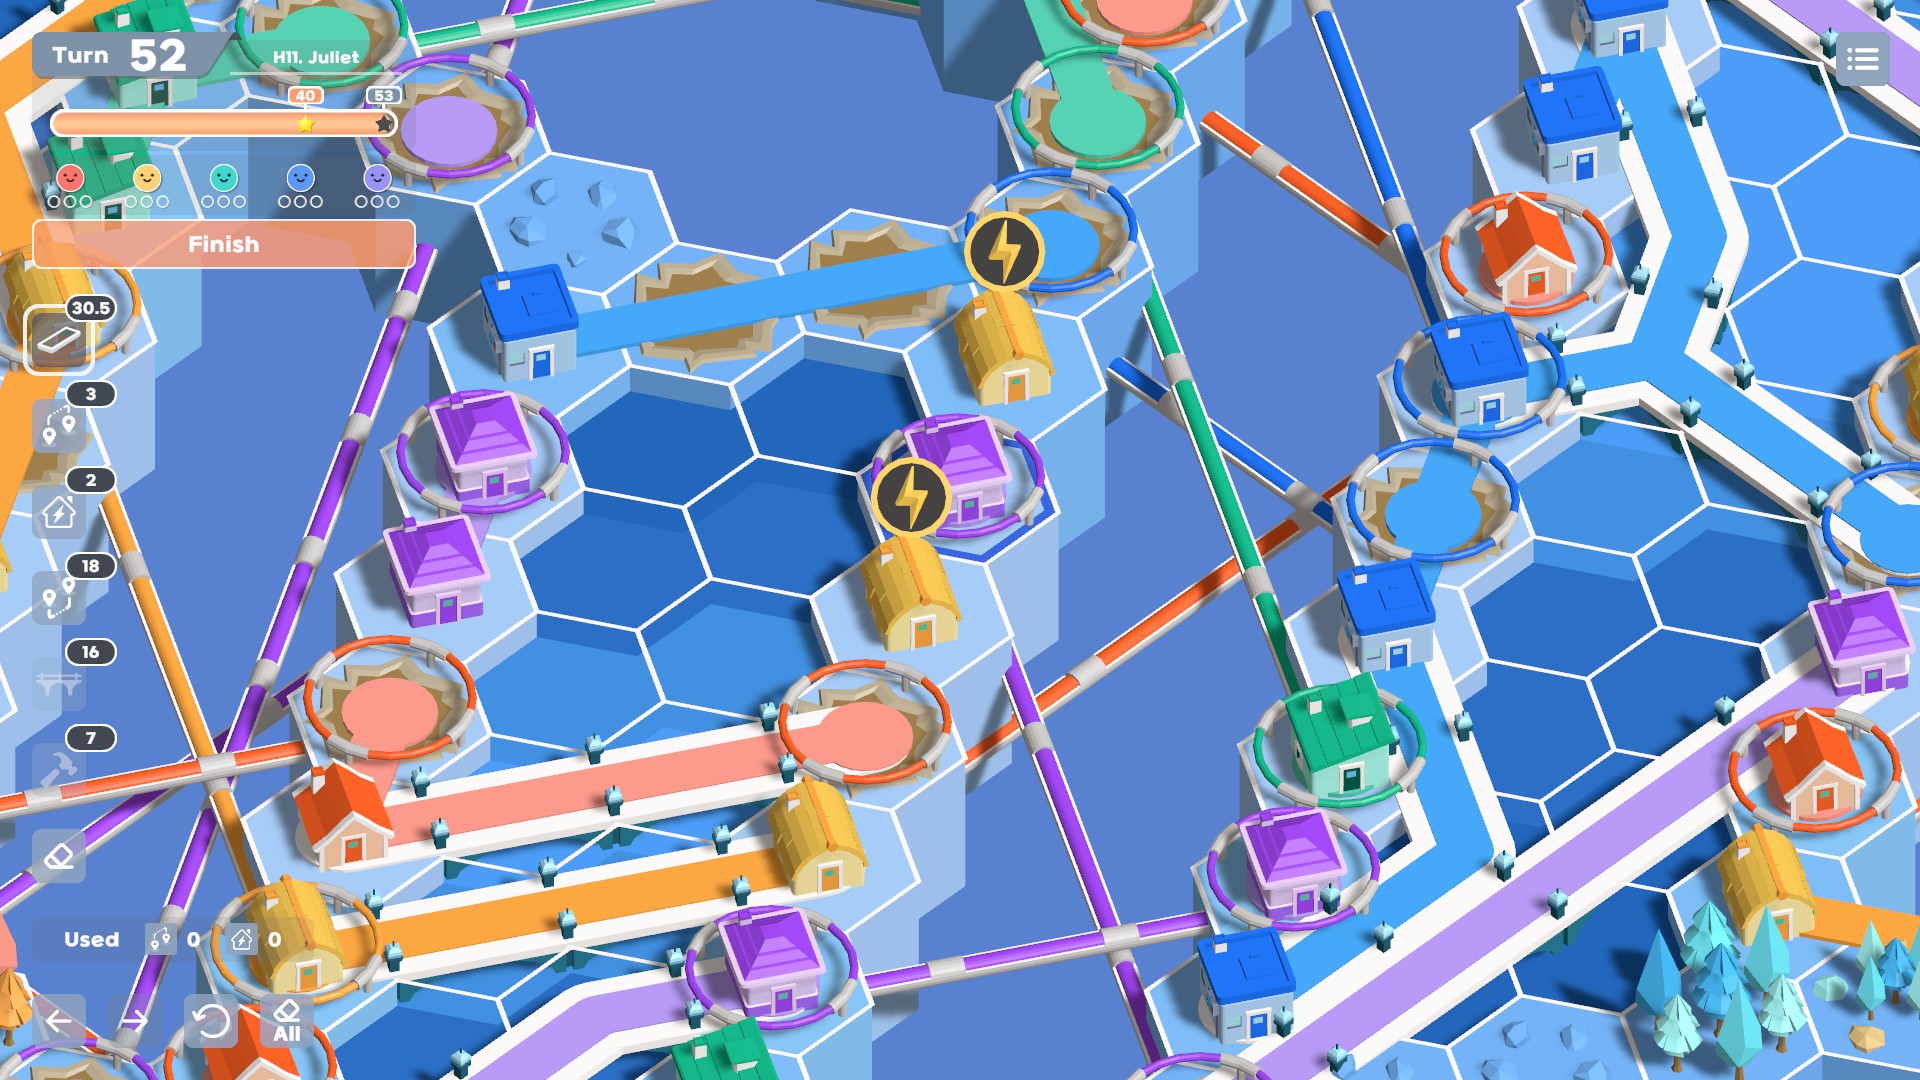
In the late game, houses spawn inside of dense neighborhoods, so you’re as likely to reorganize resources you’ve already spent as you are to need to spend new ones. You’ll quickly build up a backlog of all resource types, and making strategic picks no longer matters. Instead, the most precious and most limited resource late game is map space.
In the late game, you’re more likely to need to rework your neighborhood each turn, and each rework has the potential to be incredibly difficult. This is where you can find yourself spending half an hour to an hour on a single turn.
The next section has some strategies for dealing with the late game grind. For this one, once you get to the late game, items picks almost stop mattering altogether.
Reorganization Strats I
No matter how careful you are, you will inevitably be faced with a house that does not fit into your grid. Here are some strategies I’ve noticed for patterns to look out for and techniques to use that make it easier to deliberately explore your options for refactoring.
The Big One: Look for Other Colors’ Connections
This is the most important technique you can look out for when trying to connect a troublesome house. In fact, all of the other strategies in this section and the next are special cases.
When a house is isolated, your first instinct is likely to look for the closest wire of the same color. You’ll be tempted to take apart the wires in the way and connect directly, then figure out the newly unpowered houses next. This isn’t wrong per say, but it’s only half of the puzzle.
You need to be looking for ways you can connect the neighboring colors in new ways as well. In most cases, if you simply disconnect a wire, you’ll leave the downstream houses not only unpowered but also trapped by other colors. All this accomplishes is moving the problem elsewhere. You’re looking for the exceptions. You want to disconnect some houses, then have an alternative route on the other side of them.
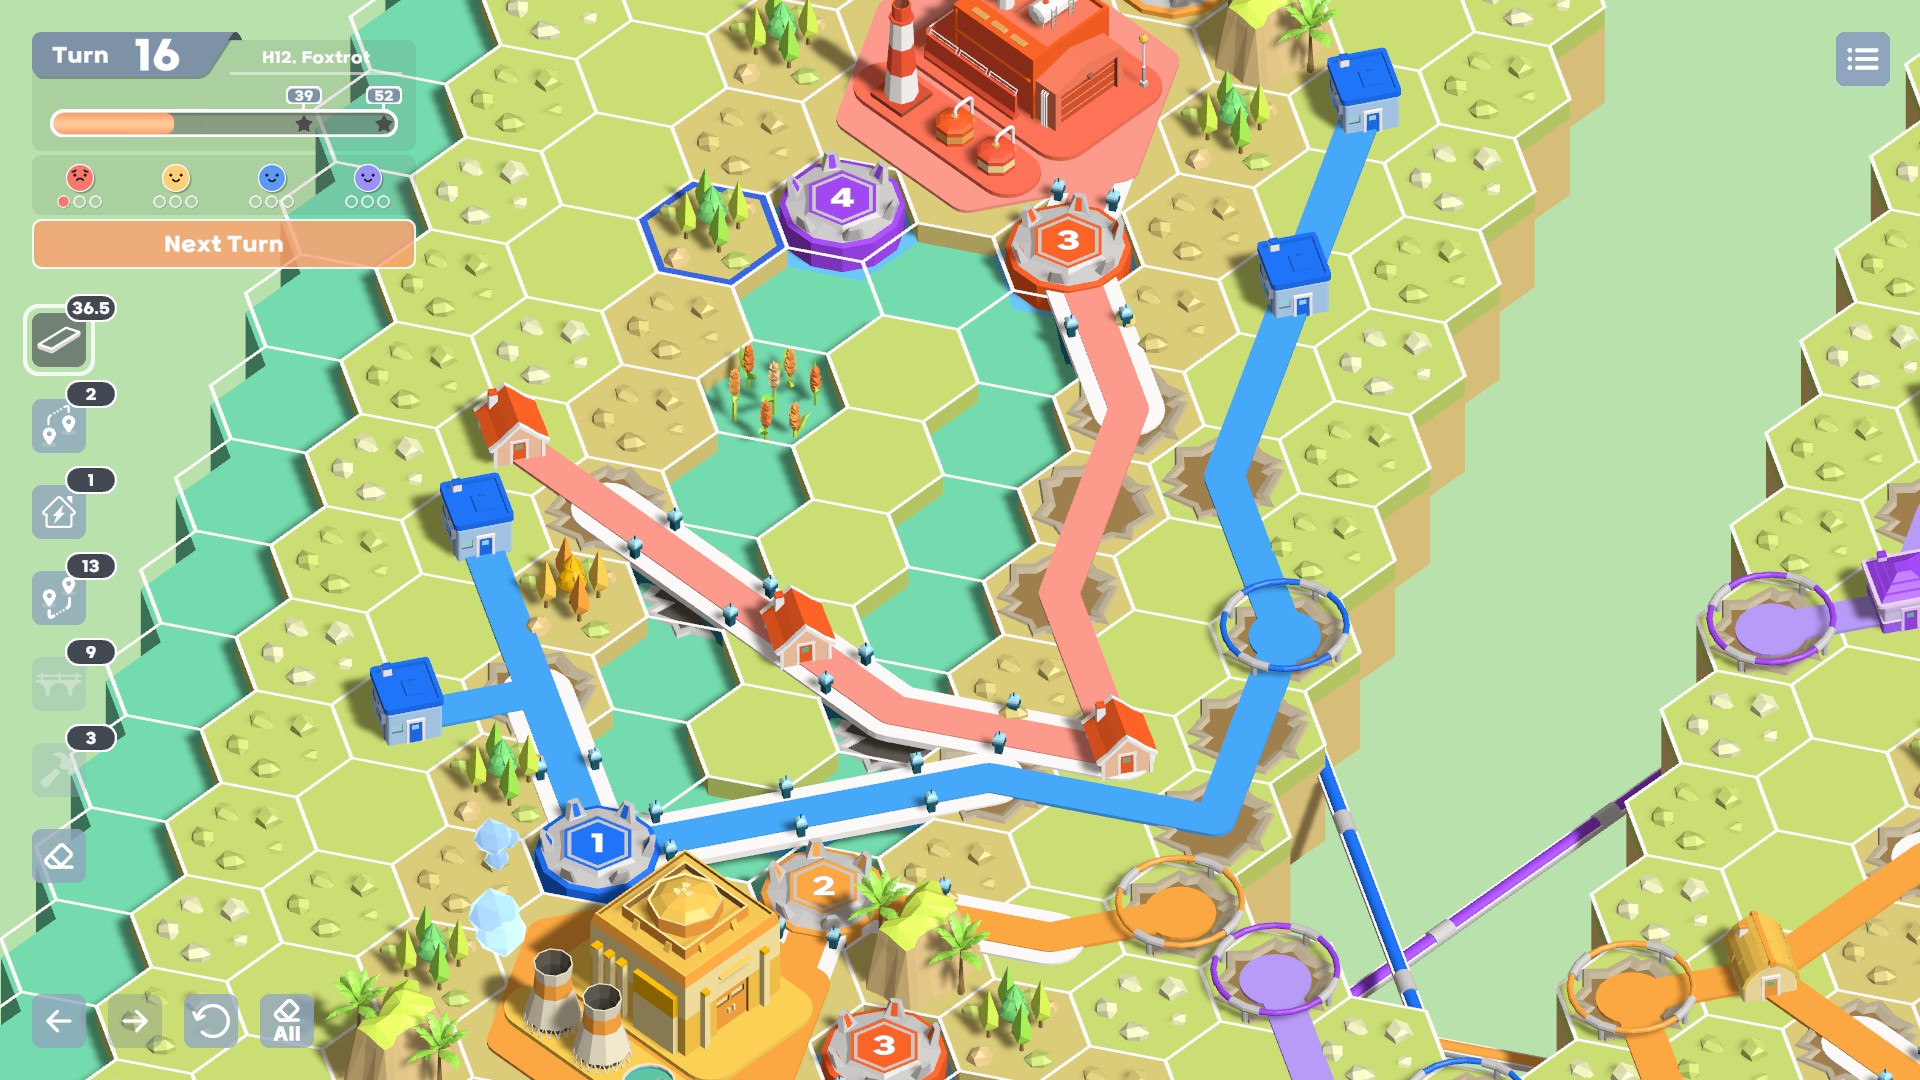
Here is an example. A pair of late-game purple houses have appeared directly on crucial yellow and blue junctions.

Yellow can be rerouted easily enough, but there are no obvious moves at that point.
Blue can disconnect to make room for a new purple wire. But this only moves the problem to the blue houses. There needs to be a better way out. Blue can connect to the path across the red wire, but then red will need to be connected.
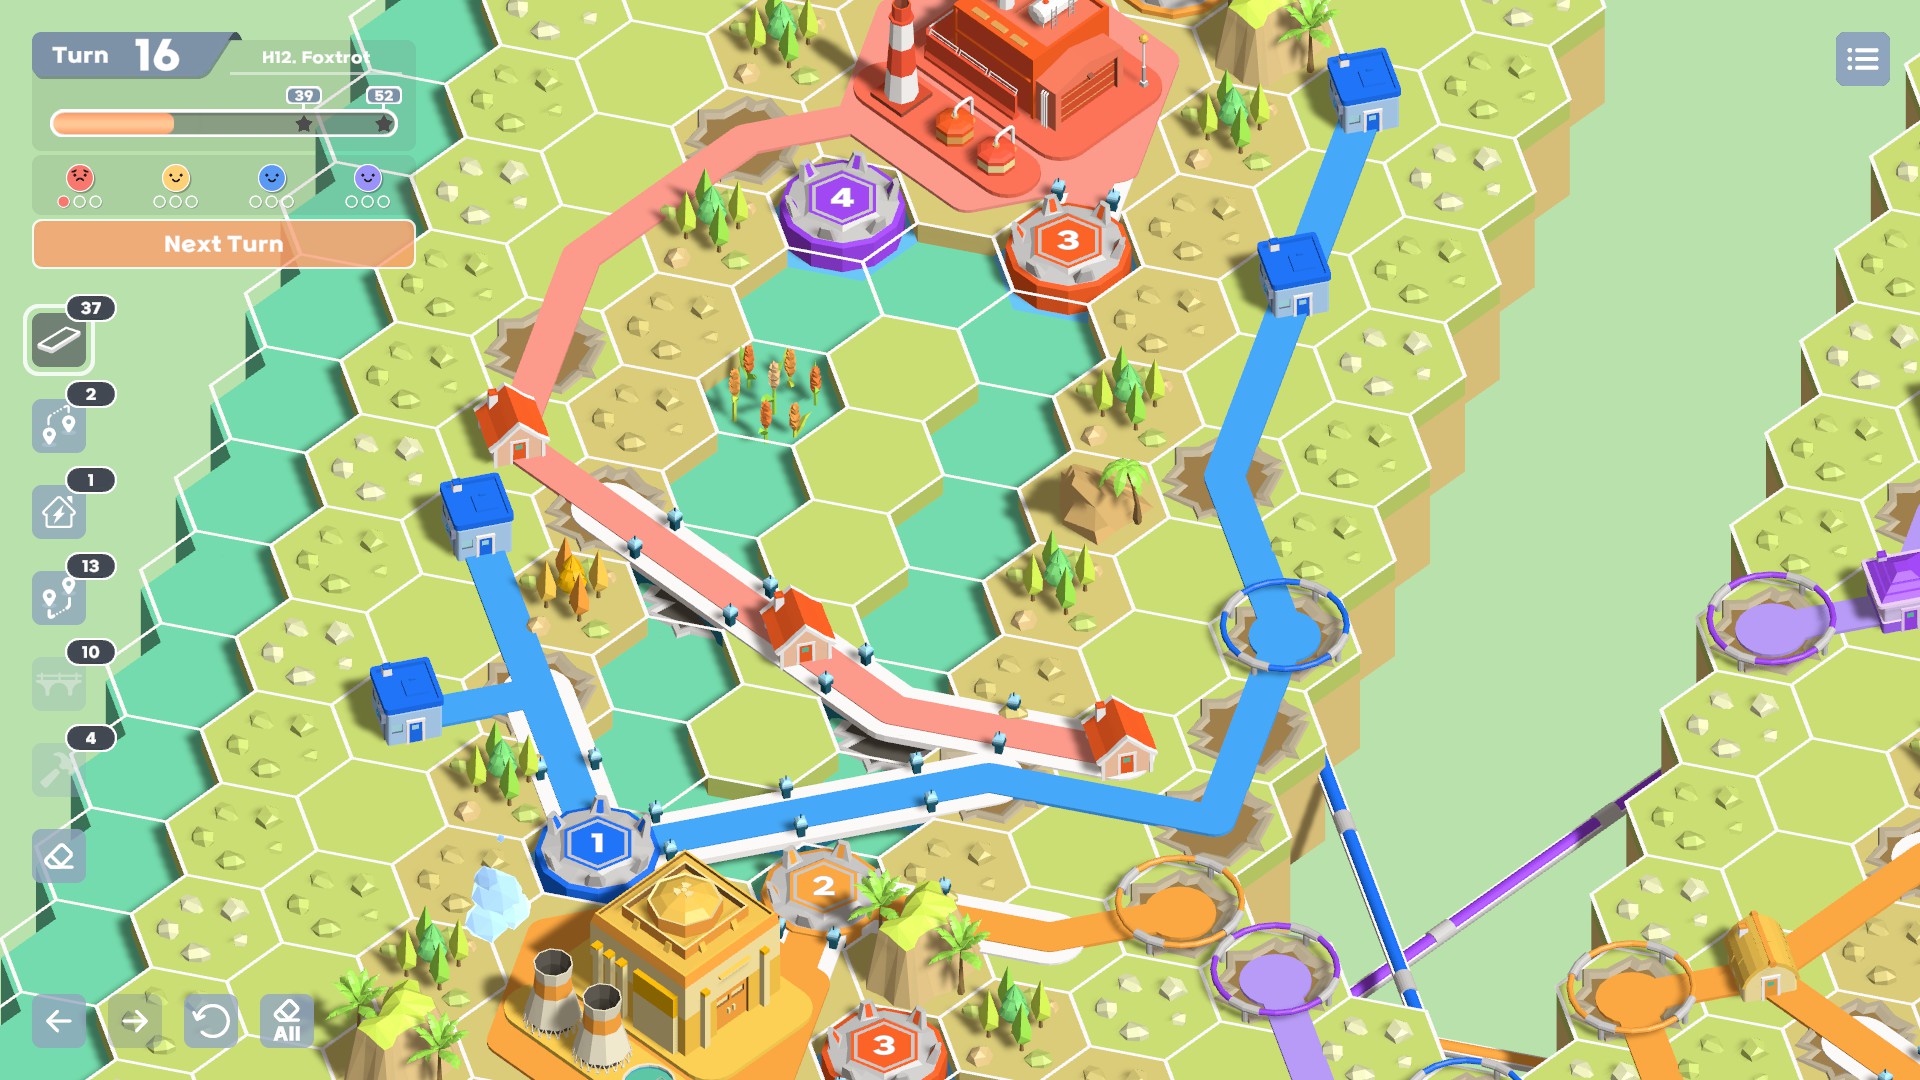
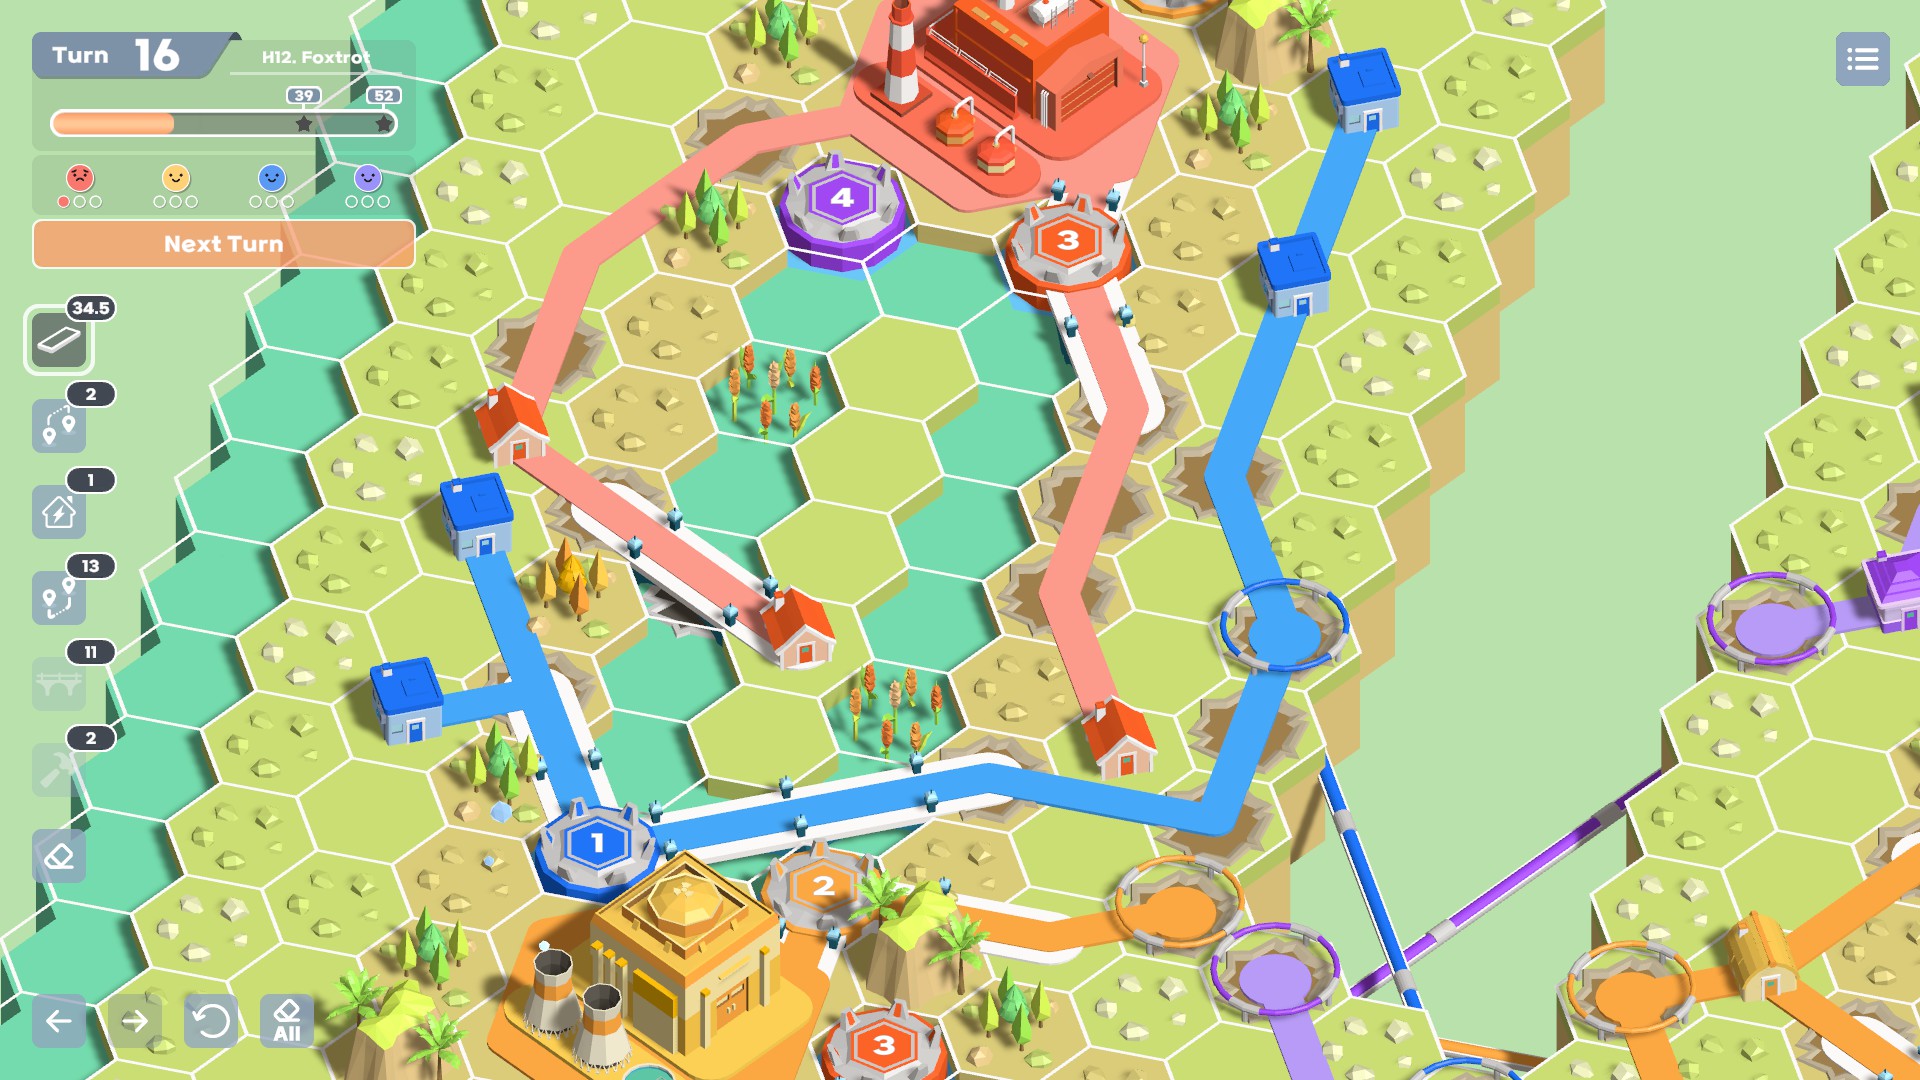
This is where we catch a break: red can be disconnected and then immediately reconnected with some clever pipes!
This reworking took some experimental moves to shift the problem from purple to blue to red before we found a way out. But once we got a bit more out into the open, we were able to find that red could connect all of its houses in multiple different ways. This gave us the flexibility to rework blue and close the gap for good.
If you’re really stuck, sometimes it’s helpful to forget about the houses you’re trying to connect for a little while and look for another color that you can reroute easily. Sometimes the options that opens up are exactly the foothold you need.
Making Space
If you see a route that you could make if you were allowed to cram multiple wires in the same space, it’s oftentimes worth taking a closer look. Occasionally, you can find a way to push existing routes to the side and make just enough room to squeeze by.
Here’s a simple example. An unhelpful yellow house has popped up on a blue wire. The surrounding space is crowded, but diagonal connections are a thing and blue can slip past yellow.
Go Around
Sometimes you can move the wires in your way to the opposite side of the house you’re trying to connect. Here is a tidy example where blue made room for purple. (I ultimately chose a different approach in this particular situation, which is why red is still disconnected. But you can also see how red could have been connected to the bottom right.)

Reorganization Strats II
Cycles and Near-Cycles
A cycle is when a branched path in a route connects back with itself. This creates multiple routes to the same house. Here is an example:

There’s no point in deliberately creating cycles since they take up more space and provide no benefit. But when you’re reworking an area, keep an eye out if there are any routes that can be turned into cycles with a little bit of effort. If you can spot such a loop, you have the freedom to open up any single connection you want along it. This gives you an incredible amount of flexibility when considering your options for other colors nearby.
In the example above, the cycle could appear in any of the following configurations, providing different ways to access the pocket inside:
This flexibility came in handy when a purple house later appeared on the inner island:
Once in a while, you’ll discover that you accidentally created a cycle. This is a free gift from the game to you. Take advantage of it to reconfigure whatever it is that forced you to look closely at your grid.
Pipe Reorganization
You’ll rarely be lucky enough to finish a map without having to rework some pipes. When this happens, it’s best to start from the houses that have the fewest options to connect. See where you can pipe them, even if they mean ripping out pipes that other colors rely on. After that, you’ll need to reconnect any neighborhoods you isolated. But because you took care of the most difficult houses first, the ones you have to address next are quite likely to have some surprising options. The way pipes are difficult to read can come back around as a surprising advantage at this point, as there may be easy pipe connections to piece everything back together that you would have never noticed until you looked for them.
In this example, a particularly unfortunate purple house appeared directly on an important yellow pipe connection:
There’s no way to avoid removing the yellow pipe, so we bite the bullet and take it out first. There is only one pipe that can connect the purple houses, so we’ll start with that. In this case, it’s already present on the map, so we don’t build a new pipe. But as we keep refactoring, we know that we can’t move the purples around, at least not without tearing up the entire neighborhood.
The yellow houses need to be connected next, so we’ll turn our attention to them. There’s no way to connect them within the island, so we may as well remove those wires. Unfortunately, there aren’t any viable options for pipes to the right, either.
If we can’t go to the left or the right, then up and down are our only options. Down doesn’t look promising, but going up, we can look for pipe connections. And indeed, we find one! Like the purple houses previously, we’ve eliminated all other options for yellow, so we’ll take the connection and build around it in the next step.
Now we have a disconnected blue house. Luckily, it has an easy pipe connection, and we’re finished.
In theory, we could have started by looking for how to move an existing connection and rewiring blue to see which options it would open up. But since we had so many forced moves with purple and yellow, it would have been difficult to be certain we could have worked backwards from a different connection first. By making the forced moves as quickly as possible, we eventually found ourselves in a position where we had more options, and from there it was much more comfortable finding an existing connection to move. These kinds of forced moves most often happen when reorganizing pipes.
Dense tangles of pipes sometimes contain hard-to-see cycles. Every once in a while, you’ll remove what appears to be a crucial pipe, but the houses on both sides remain connected. Great!
Stay Calm and Keep Moving Electrons
Don’t Plan Ahead Too Much
You can plan your maps to a degree. But it’s impossible to make a grid that can’t possibly be turned upside-down by an unlucky house. The best you can do is minimize the chances and hope for the best.
If you hyper-meticulously look over your map for all possible patterns, you will inevitably find that it’s impossible to completely set up your grid so you can always connect an empty space to any color. If you see an especially bad anti-pattern, it’s worth cleaning up. But you’ll have to let some of the minor kinks in your grid go and hope they don’t bite you.
Sometimes you get away with it! The game always has a chance of spawning a house of the desired color on or near a crucial pathway. And every game has a hefty handful of these happy coincidences. You can’t predict where they’ll be ahead of time, but you can take full advantage when they happen.
When it goes Wrong, Embrace the Pain
That said, dear reader, you are playing a puzzle game. When you have a house or two show up in the worst possible spaces and you have to rework your entire map, it’s a grueling mental game – but isn’t that why you’re playing Can’t Live Without Electricity in the first place? There’s no doubt that it’s frustrating when the last turn takes an entire hour on an otherwise perfect map. But it’s a good kind of frustration. It’s a gauntlet, a challenge to prove yourself.
Find the fun in turning your whole map upside-down. The feeling when you’ve untangled an especially unyielding Gordian knot is similar to the feeling of overcoming a kaizo level.
This, right here, is the reason why CLWE is worth playing:
Tips for the Undo/Redo Buttons
I have found that I usually regret clearing the entire map deep into the final turns of a map. It leads to spending a good quarter to half an hour building a new grid, only to find that the same houses that bothered me at the start are still in very awkward positions. I have better luck with erasing all of the connections in the nearby quarter or so of the map. This means I don’t have to take time reworking what already is holding just fine, but I still have the flexibility to totally rework a particularly thorny house.
I haven’t tried experimenting with clearing the map in the mid game, but I have seen other players recommend it. It gives a chance to rework some of the compromises you had to make in the early game while preserving resources was the tightest restriction.
If you get deep into moving things around and realize it’s just not going to work, the Undo All button is fantastic. It gives you the safety to experiment as much as you want in a particular direction and then come back to the initial problem instead of being stuck with an even worse mess.
If you save and quit a level, it will remember the last configuration you had it in when you return – but your undo history will be blown away. If you can, avoid leaving a map in the middle of an experiment. Either complete the current turn and then stop, or undo all so you have a sane point to resume from.
Impossible Maps can Happen, but they Won’t
The game doesn’t check that it’s possible to solve the map when it adds new houses. As far as I can tell, it simply picks two random empty spaces and two random colors, and bam, there you go. As a result, it is theoretically possible to get a configuration that is impossible to solve, even with limitless resources.
But this is never going to happen to you. The way the canon maps are designed, each individual house has so many openings to the rest of the map that the probability you get an impossible configuration is astronomically low. Lottery-ticket low. Dream luck low.
If you are picking away at a canon map for an hour and it seems impossible, don’t blame the game. It almost certainly isn’t actually unsolvable, it’s only very difficult. You don’t have to solve it to prove anything, but you need to acknowledge that you’re the one who can’t complete it.
What can happen, and what happens fairly frequently, is that houses are so spread-out early and mid game that you end up in an impossible configuration with the limited resources you’ve collected. This is a fault with the game, unfortunately. But the early and mid game tend to go quickly, so you’ll find out if you’re in such a situation after only 5 to 15 minutes. Restart the map and try again! Sometimes you could have made it if you had made better item picks, but if you’re stuck, you need to start over either way, so it’s a wash.
The fact that impossible house spawns are theoretically possible is more important if you create or play custom levels. I’ve found that levels usually jump from almost certainly beatable to almost certainly impossible very quickly. If you playtest a level couple times and you can’t see how players would be stuck in an unwinnable situation, you’re probably good to publish it. And if you find a blatantly impossible arrangement in a custom level, it’s probably always going to fall apart on you and you can blame the creator.
Know When to Throw in the Towel
If you’ve been working on a map for so long that it’s no longer enjoyable, there’s no shame in giving up and taking one or two stars. There’s no shame in losing outright!
You get better at this game by playing lots of maps, not by getting blocked on one map forever. And if you decide to come back for perfect scores later, you might get a more amenable arrangement of houses the second or third try.
Level Design
If you create a map, keep all of the strategies and game mechanics discussed here in mind. They’ll let you create maps with unique strategic focuses.
For the love of all that is powered by electrons, don’t make a map that doesn’t have land obstacles! Land obstacles are first and foremost your tool to control where houses can appear, not traps you place to make the map more difficult. If you don’t place enough land obstacles, your map is very likely to generate impossible setups where a house is completely surrounded by other houses of different colors.
If you allow bridges but not pipes, then holes and chasms are impassible obstacles. If you allow pipes but not bridges, water is impassible. If you allow both, then chasms that don’t face anything for pipes to connect to are impassible.
You can place hammer obstacles in water, which is especially cruel and I wholeheartedly endorse it. It’s a great way to add fair difficulty to a map.
When you make a map with pipes, pay attention to how the geometry of the map allows or prevents different connections. Your map’s most strategically important spaces are mostly likely to be spaces that allow for lots of pipe connections (making the map easier) and houses that appear in places that have few or no viable pipe connections (making the map harder).
The best way to figure out how many resources to give each round is by playing your map several times and adjusting each time. It’s a slog, but if you don’t like your map enough to play it multiple times, you can’t expect anyone else will enjoy it more. The best balance, and the only balance that’s possible to consistently achieve, is the one discussed earlier. Wires are scarce early-game, everything else is scarce mid-game, and players will have a surplus late-game. You can tighten this for a harder map, but too far and you make it likely that players will have unwinnable house spawns.
Bear in mind that the game does not check that house spawns are possible to solve when it picks them. It’s nigh-impossible to create a level that will never be impossible to solve as a result, but you can avoid setups that obviously have a chance of going wrong. For example, avoid 3×3 squares of empty spaces so that you don’t risk the middle house being unconnectable to its neighbors. Playtesting your level a few times will also give you a good sense – if your level is likely to be impossible, it’ll happen to you in just one or two attempts.
You can create land tiles, water tiles, and rock piles with custom colors, which is fantastic for aesthetics! Scroll all the way through the parts list to the right and click on the plus icon to create new tiles with new colors.