This guide will be showing you the complete achievements walkthrough for Dawn of Fear. Note that this guide contains spoilers of the game. Continue reading at your own risk.
Dawn of Fear Achievements Walkthrough Guide
After arriving at the house, enter the double doors on your right (across from where the man is sitting in a chair) to find yourself in a dining area. Note (1/13) – Checkmate Note is on the windowsill next to the piano and cabinet.

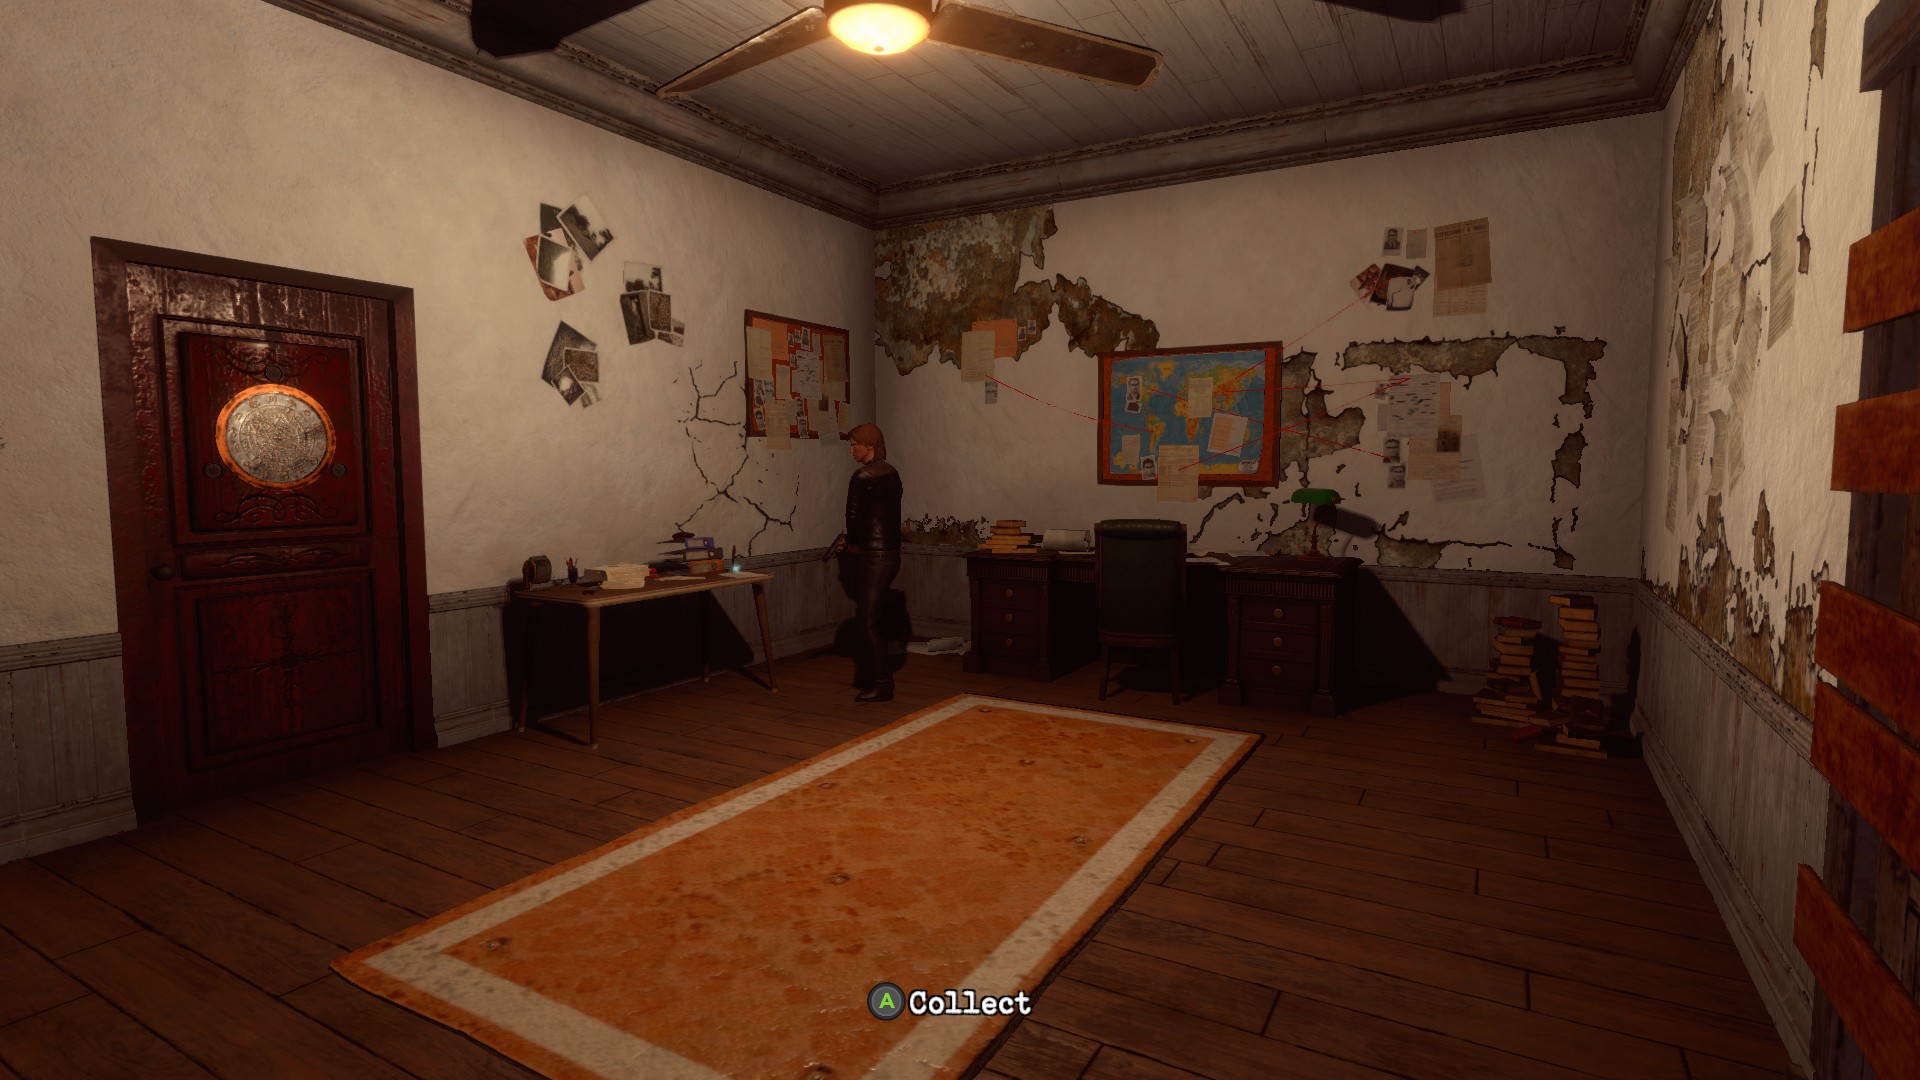
In the same room, head to the far side and collect the Gold King off the table. Return to where the old man was sitting. To his side is an illuminated table you can slot the King into. You’ll need to use it from your inventory while standing near the table.
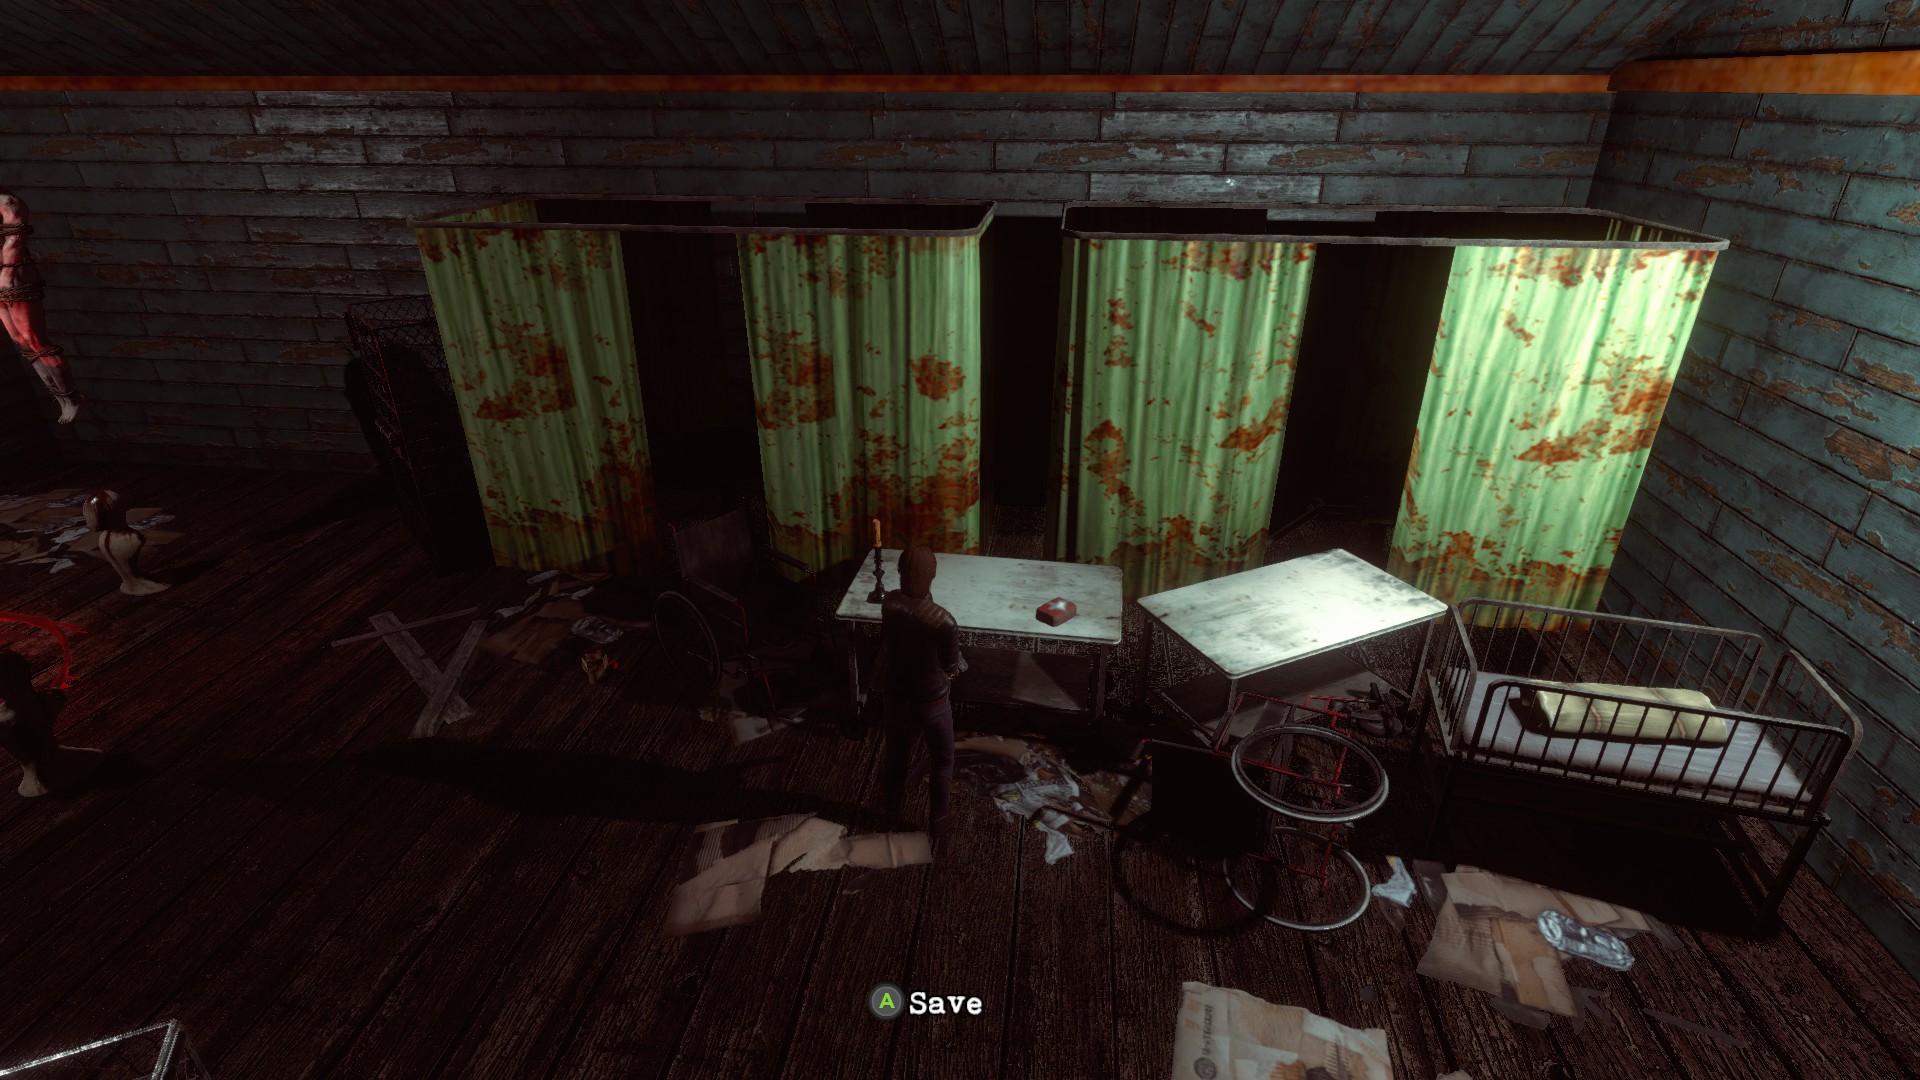
You can also save in this room by using the unlit candle on the far side.
Pass through an archway in the main hall and enter the 2nd door on your right (the one that isn’t locked) to find yourself in a bathroom. Medkit (1/14) is on a counter near the tub.

Pass through the door next to the Medkit and hook a right around a corner. Unlock the door for the smallest shortcut.
Head back into the previous hallway, pass the blue marked door, and enter the 2nd door you come across. Note (2/13) – Suicide Note will be in the room. Be quick as there’s also a zombie in here! Keep this room in mind, we’ll need to come back later.
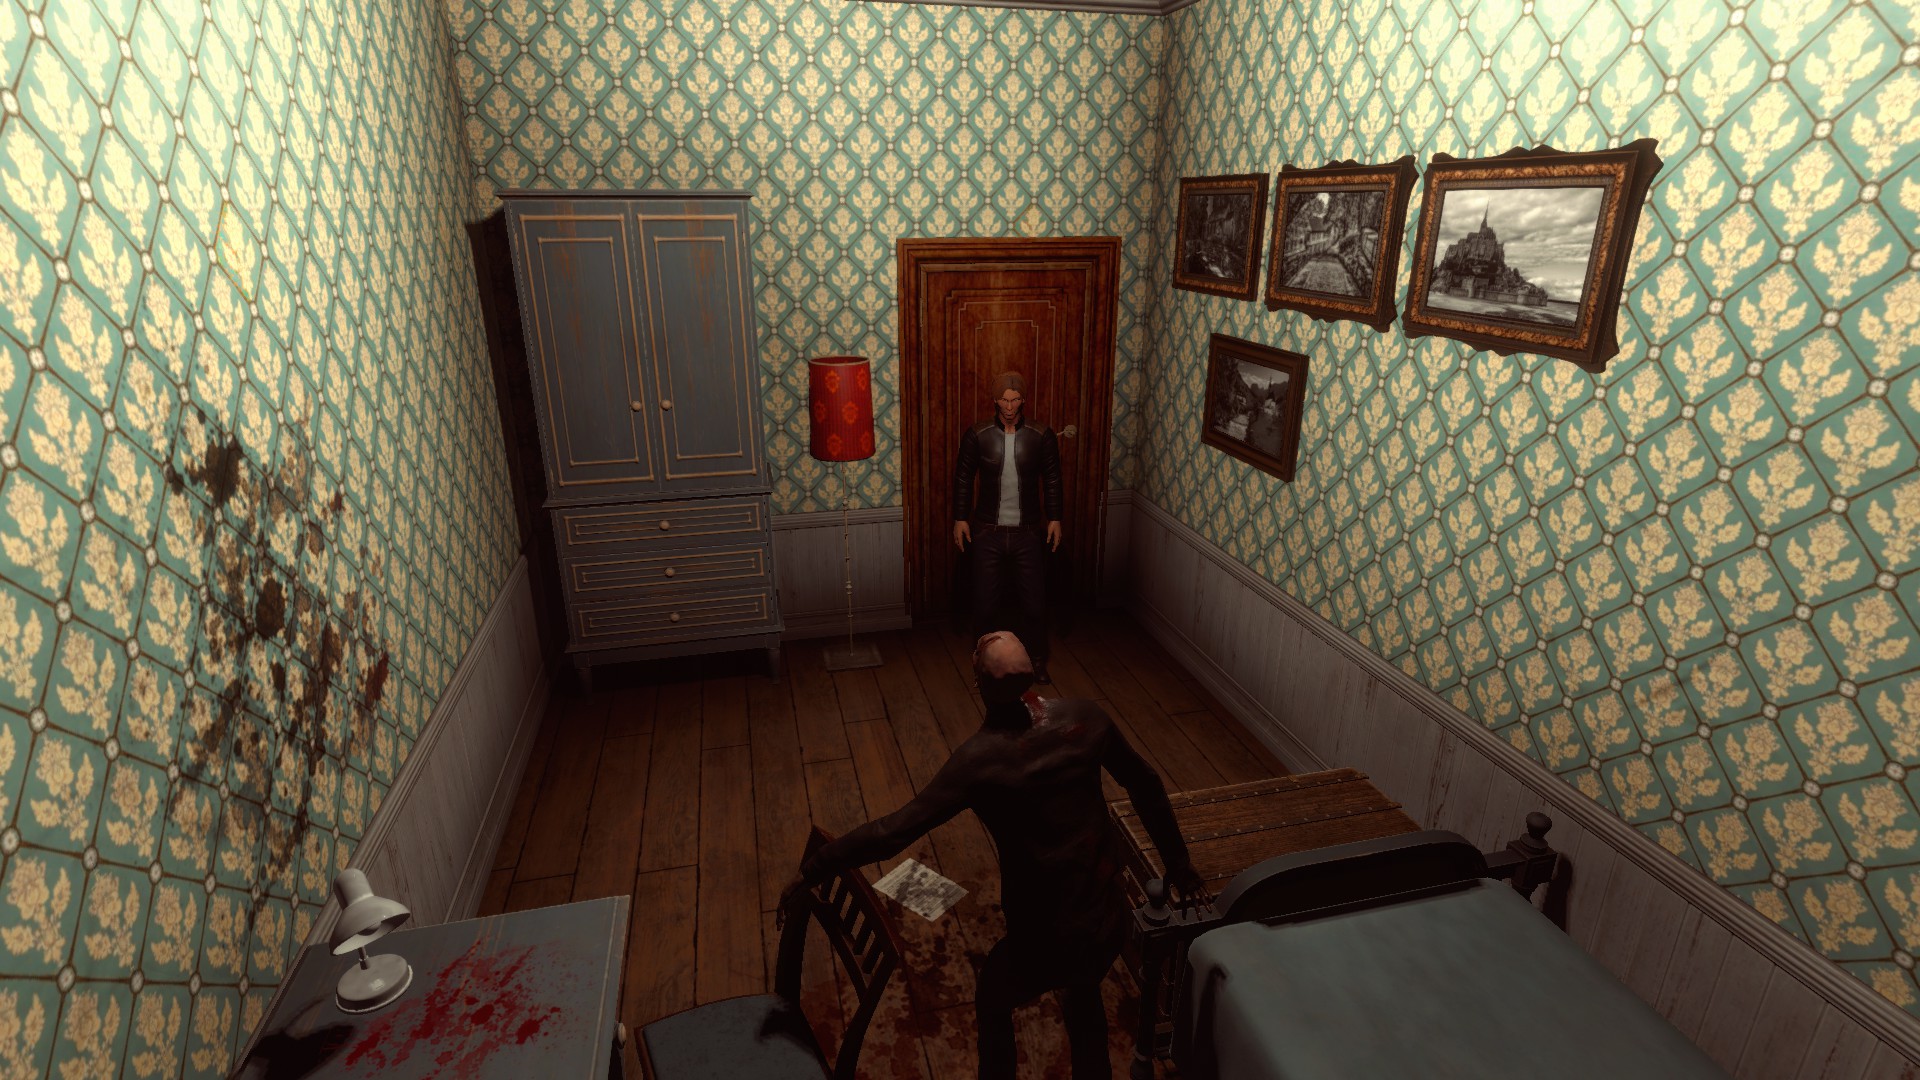
Exit the room and hook an immediate right to find Note (3/13) – Jack’s Letter sitting on a box.
There’s also a save candle next to the note.
Head back to the front door of the house, where we started this adventure, to find Weapon (1/4) – Pistol next to the corpse.
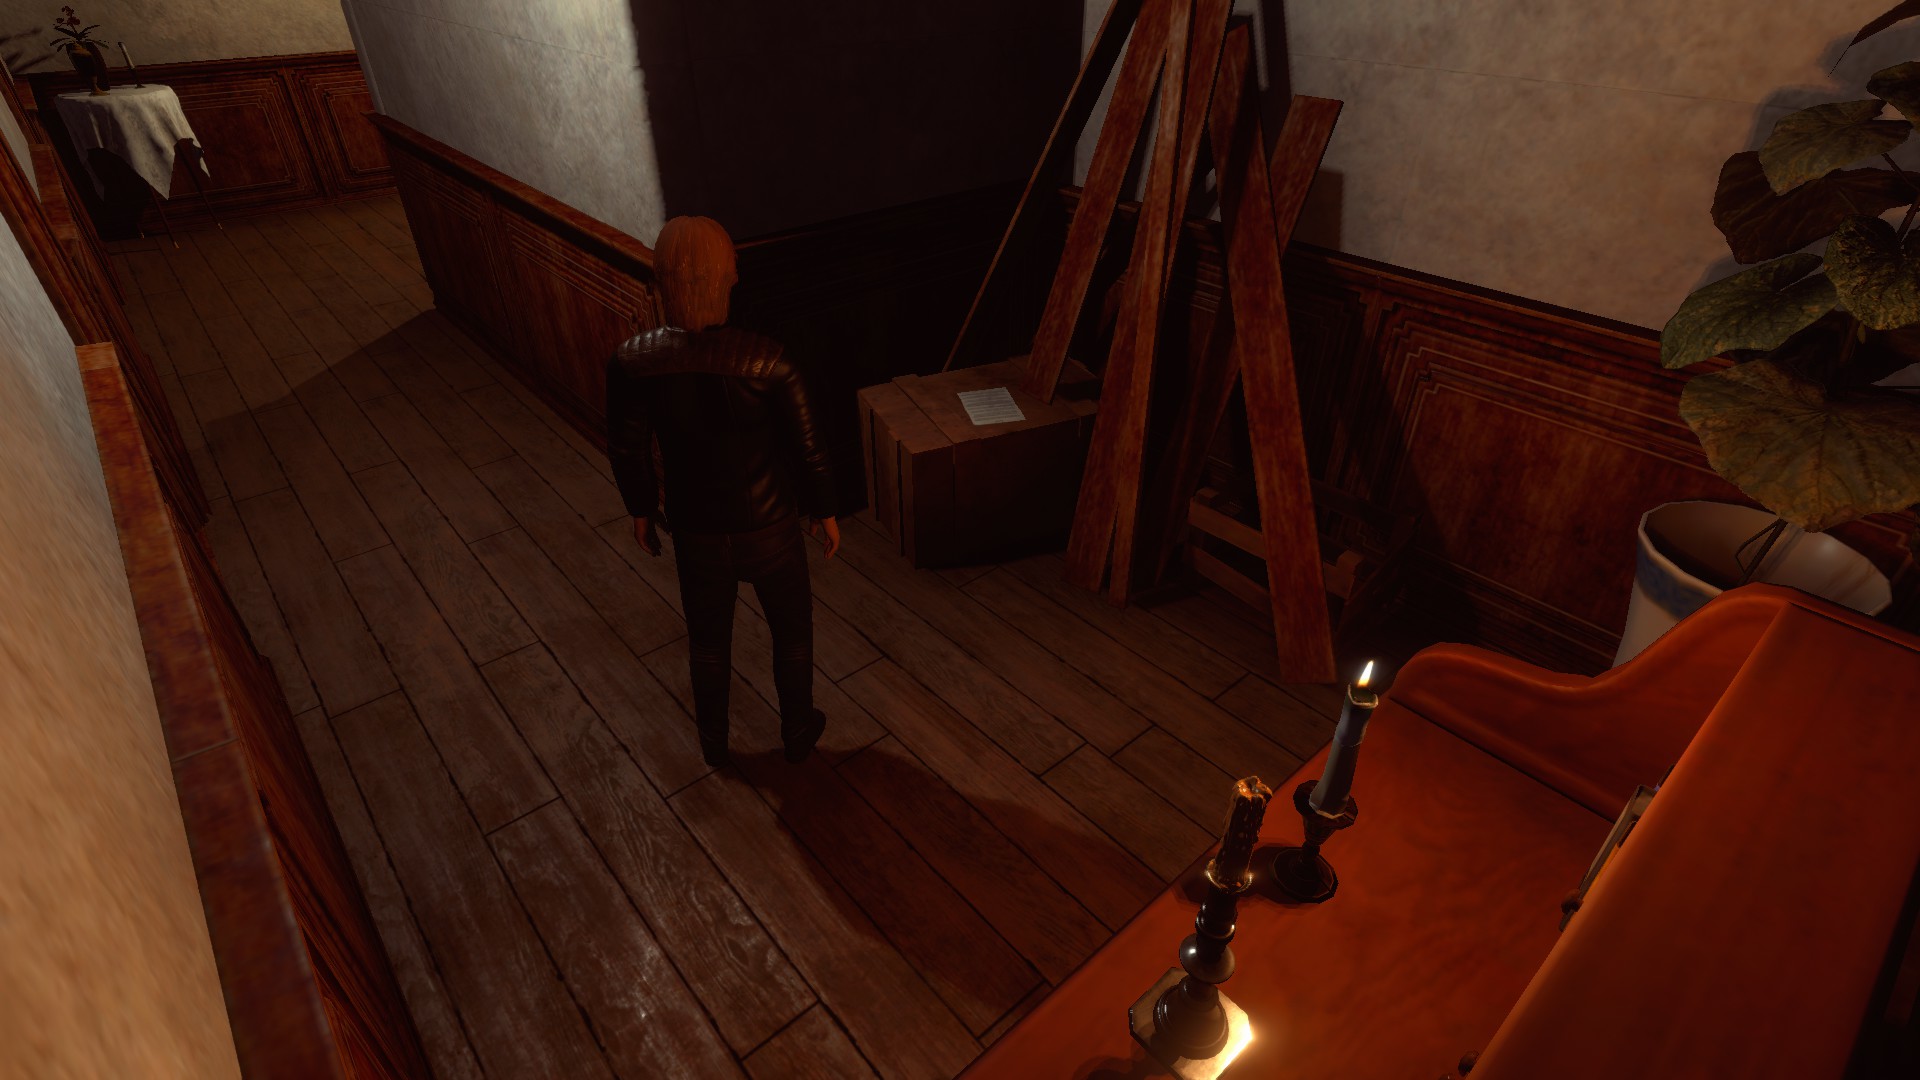
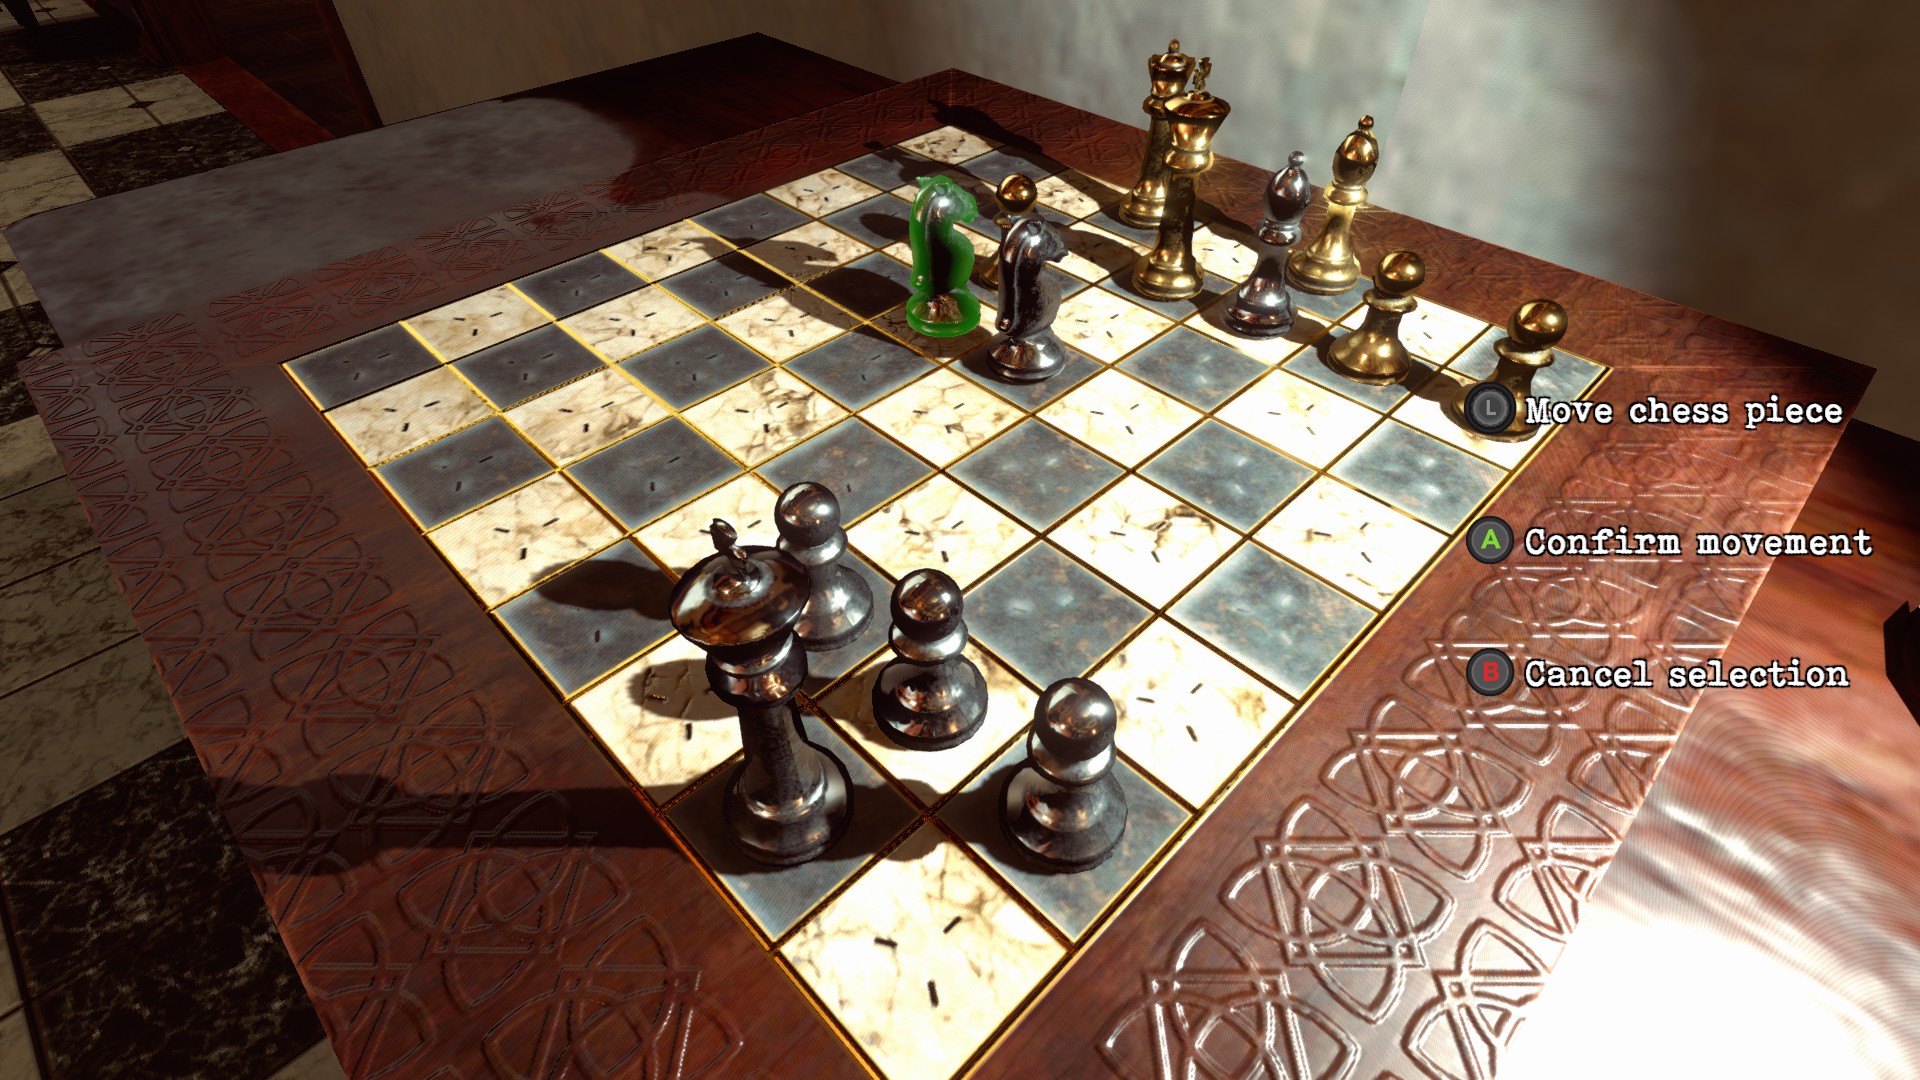
Remember the room we found our first zombie in? Head back and ♥♥♥♥ him up, then grab the Silver King and Pistol Ammo off the table.
Slot the piece into the chess table then interact with it. Choose the left Knight (the one highlighted blue in the picture below) and move it to the right to complete Puzzle (1/7).
Enter the library to your left and go into the door we just unlocked. In the next room will be Key 1 sitting on the far table.
To its left is Note (4/13) – Jessica’s Diary P.1 on another table.
If you head back into the kitchen, there will now be a zombie in there. Feel free to either kill her now or later.
Head back under the archway in the main hall and hook a left this time. Go up the stairs. At the top, hook another left and you’ll spot Medkit (2/14) under a drawer.
Head around the corner to immediately spot Note (5/13) – Letter Fragment.
Head into the door behind the previous note and unlock it with Key 1. Go inside to find 3 zombies. I recommend saving the ammo and coming back in a moment with the knife. Instead, kite around them until you can safely reach the balcony. Climb up and run over to the corpse. Afterwards, drop off the far side. Get ready to kill a creepy enemy sprinting towards you!
After dispatching the creature, grab Weapon (2/4) – Knife from the bust near where we dropped in. Also collect Key 2 further down the hall.
Locate the door tucked in a little cubby about halfway through the hall and enter it to. Move up and collect the Pistol Ammo off the floor in front of a locked door.
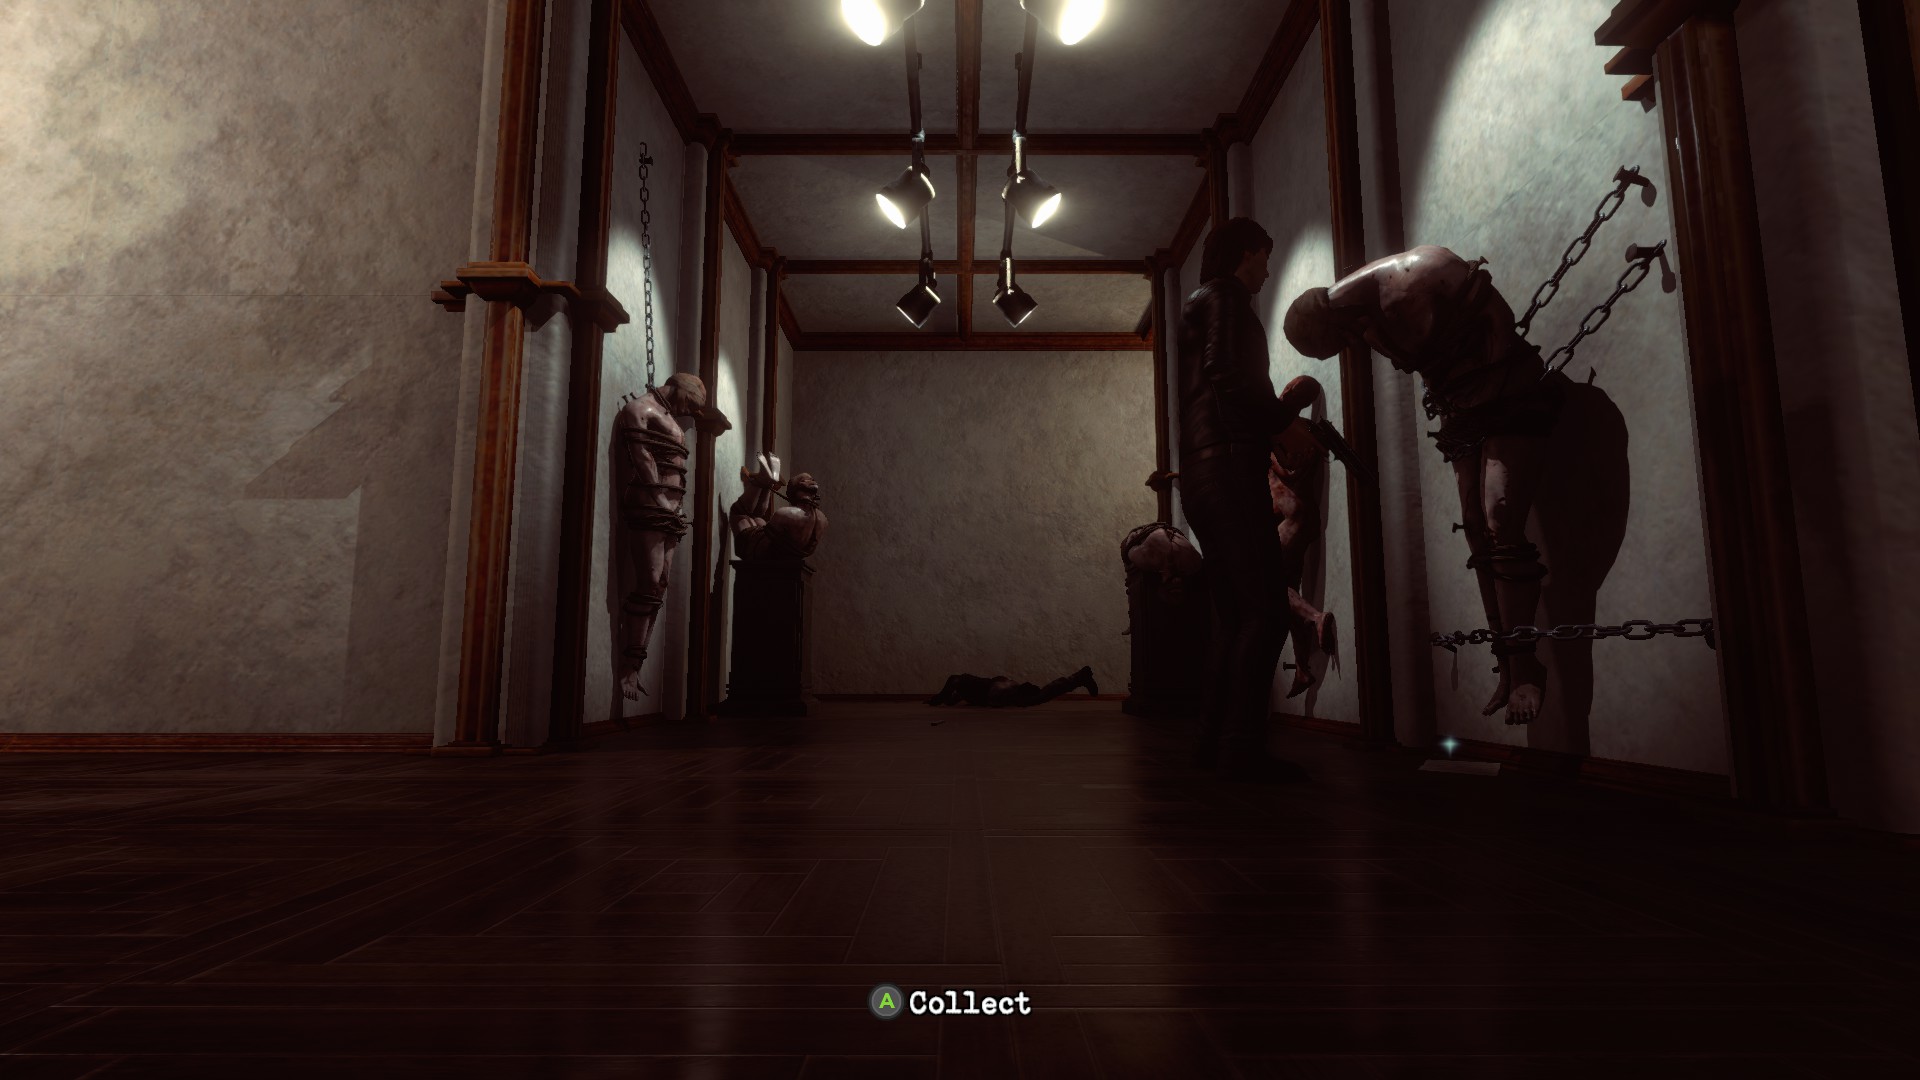
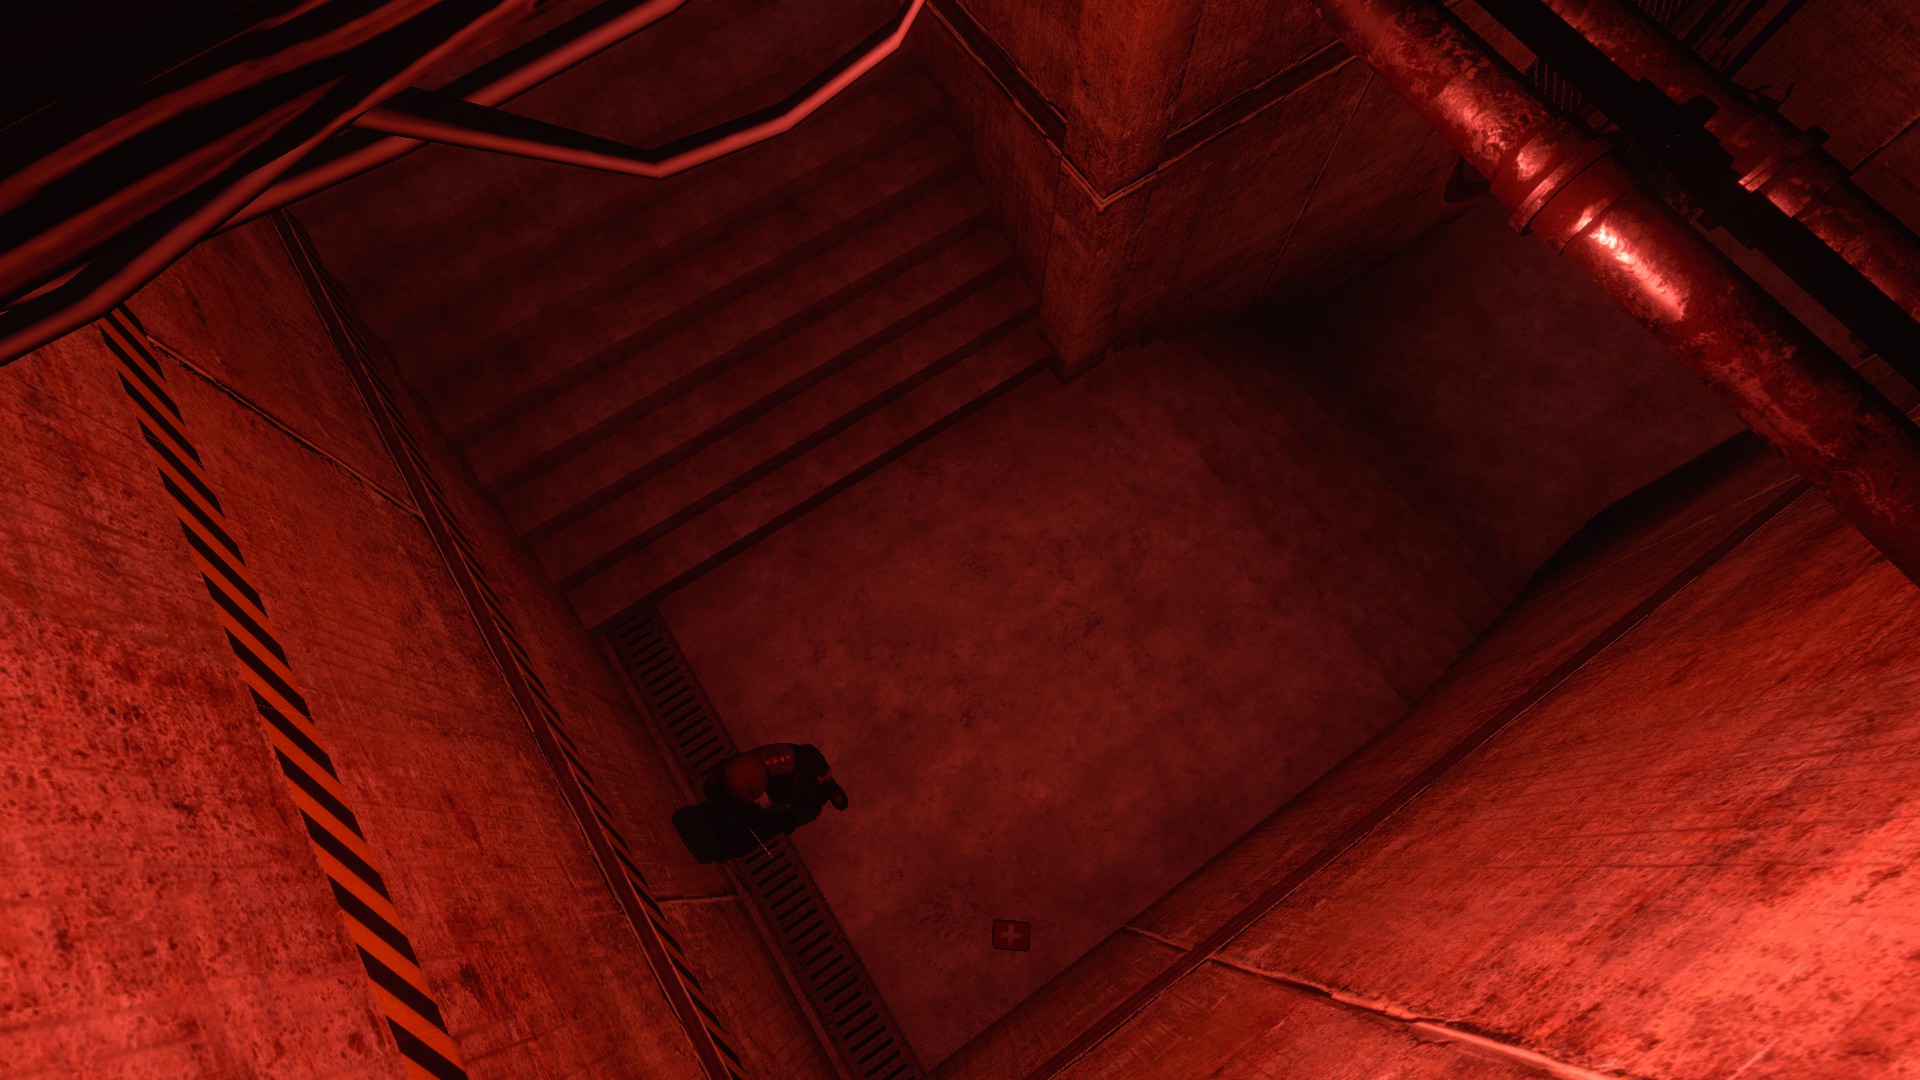
Around the corner are a few zombies you can safely take out now, as well as Note (6/13) – Prisoner’s Note near a chained corpse.
Across from the note is an elevator and a supply closet. Grab the Machine Piece from the closet.
Around the hall will be 2 more zombies (4 total for this hallway) and a door you can unlock to find yourself back where we found note 5.
Go back downstairs and through the small shortcut. In front of you will be a blue door we can now unlock with a zombie on the other side.
Go down the hall and enter the first room you spot. Inside, you’ll immediately notice Medkit (3/14). In order to grab it, you’ll need to loop around to the other side of the room.

Afterwards, interact with the yellow machine and set dials 2, 3, 5 and 6 to the right to complete Puzzle (2/7).
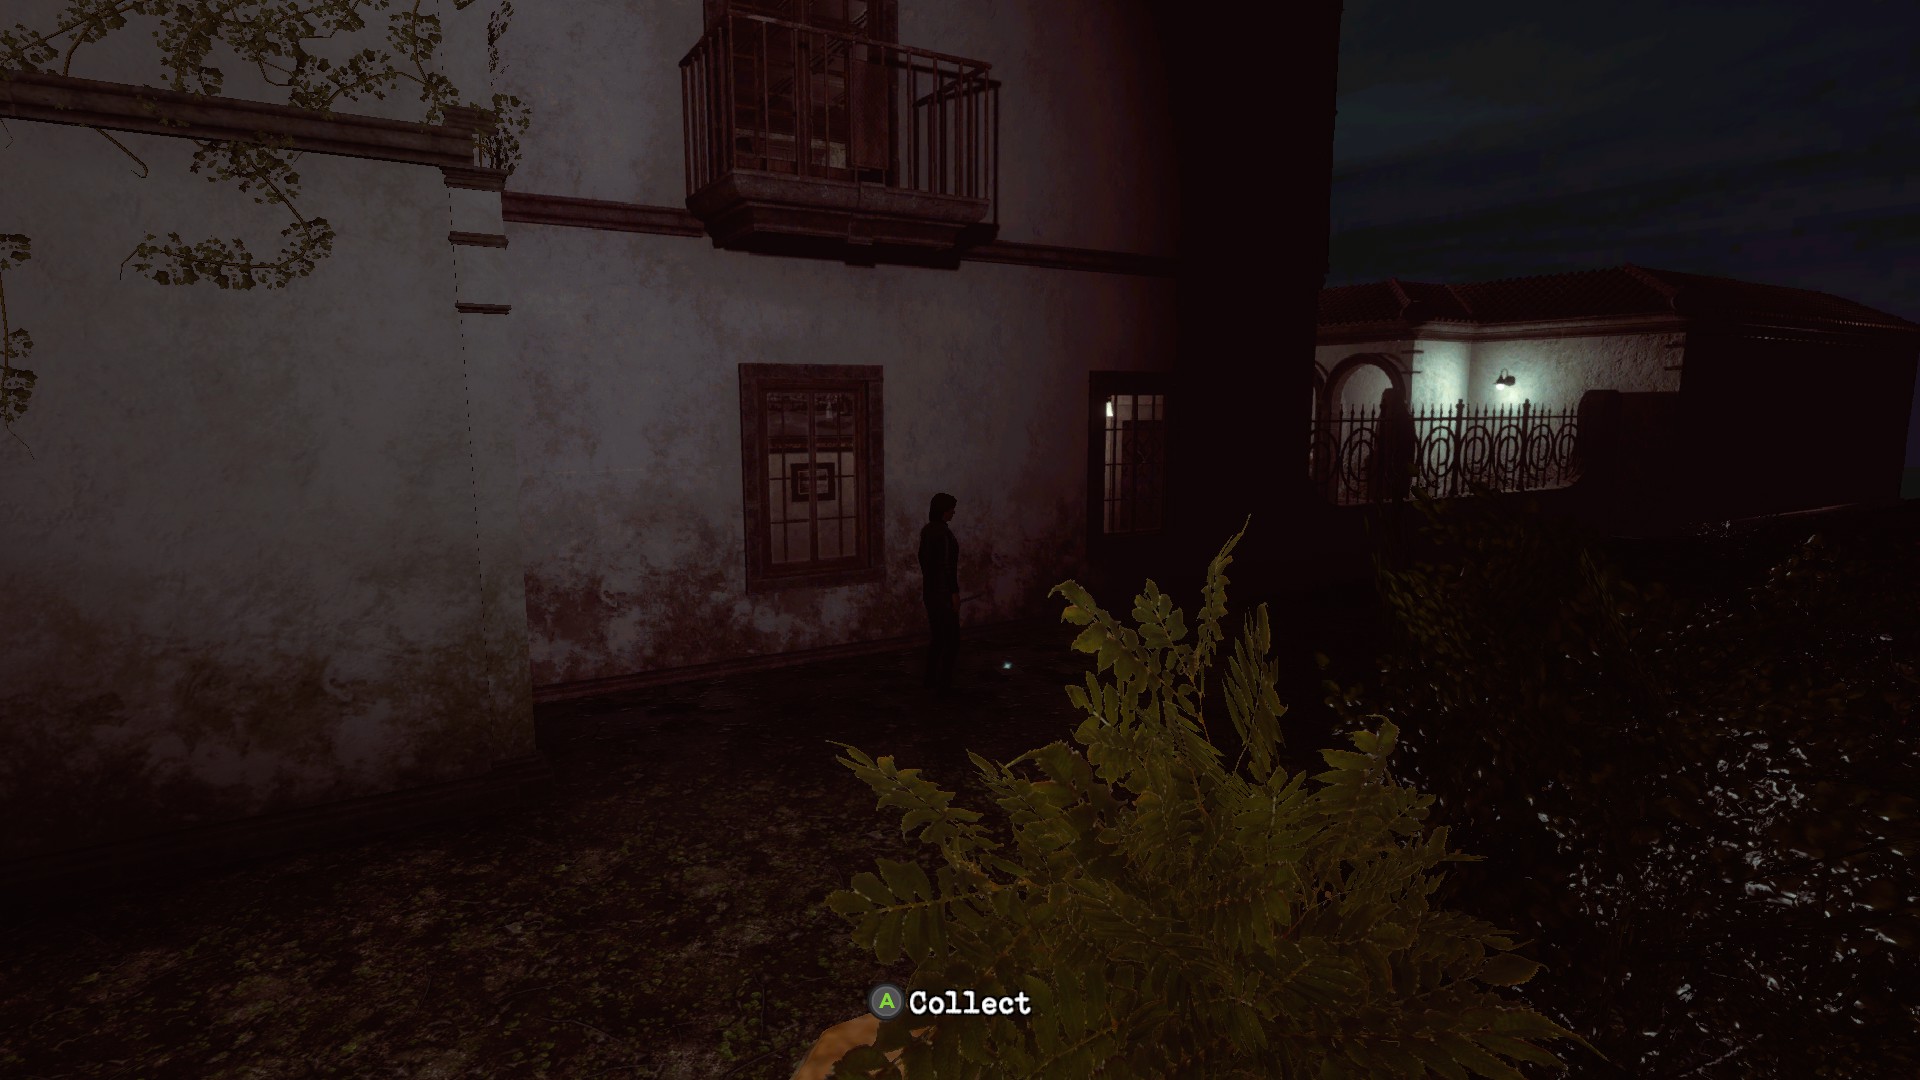
Go back to the front door of the house and enter the single door across from the library. At the end is another blue door that will take you outside. Either kill the 2 zombies out here now, or kite them around and kill them later. On the far side of the fountain is a statue containing a Fist Holding a Key as well as Pistol Ammo on the bench to it’s side.
Head back to the room where we completed puzzle 2 and go to where you grabbed the Medkit. on the left wall is a machine we can use to cut the stone and free Key 3.
Go back outside and use Key 3 to open the door out there. In the next room will be 2 zombies.
To the left side of the room in a pile of garbage will be Pistol Ammo and Note (7/13) – Note on the Corpses.

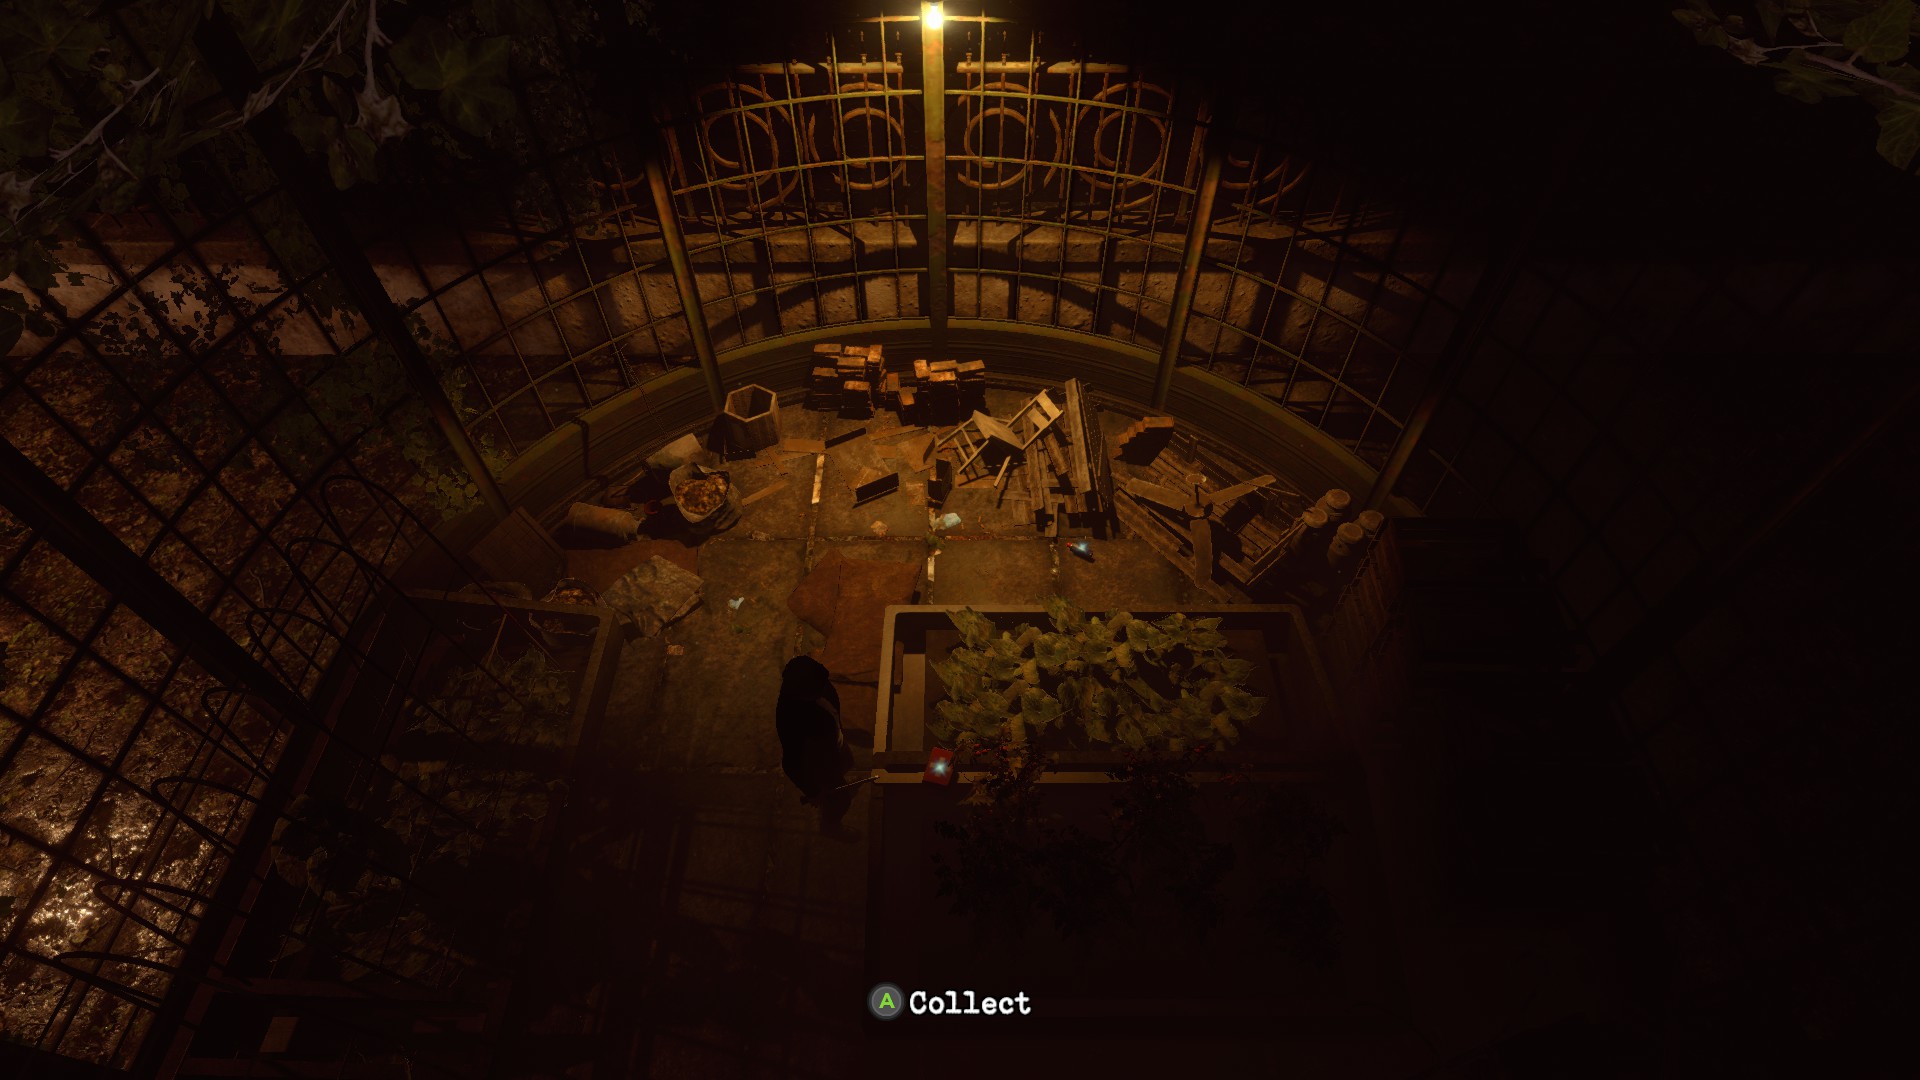
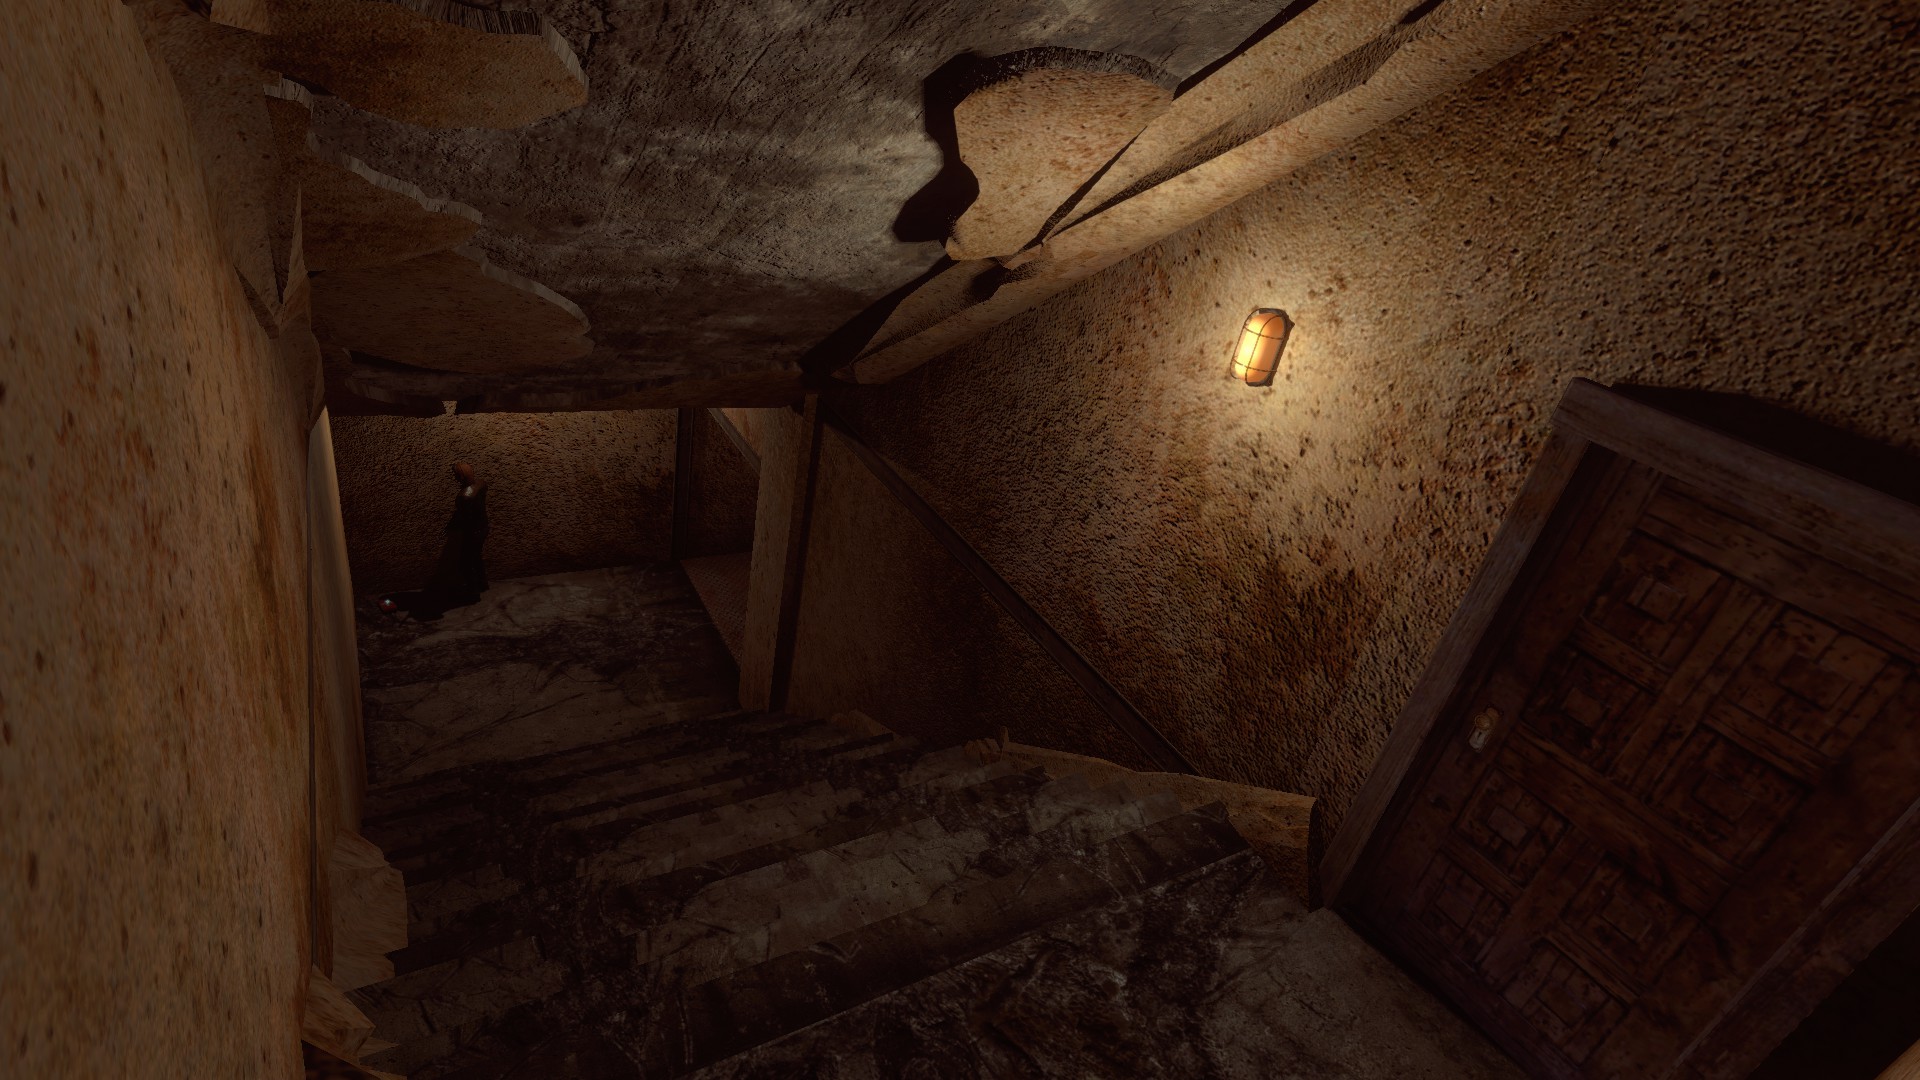
Before you enter the Greenhouse, go back to the door of this room and look directly across from it to find a large closet with another Machine Piece in it, then locate a hidden hallway around the corner. Go down the stairs to locate Medkit (4/14) on a well.

Now go back upstairs and enter the Greenhouse door. Go a few feet into the room on your left to find 2 zombies. It’s easy to pull them out one at a time to easily deal with them.
After killing or avoiding them, go down into the far side of that room to find Medkit (5/14) and Solvent.
Leave the room and cut across to the other side to find a lone zombie in front of a door.
Deal with the zombie and go through the door. Make your way back to the hidden library room and use the Solvent on the blue splotch on the wall. Use the code you uncover to unlock the wall safe to your side and complete Puzzle (3/7).
Now make your way all the way back to the Greenhouse room with the well. Use the explosives on the wall at the bottom of the stairs to open it up, freeing a zombie in the process.
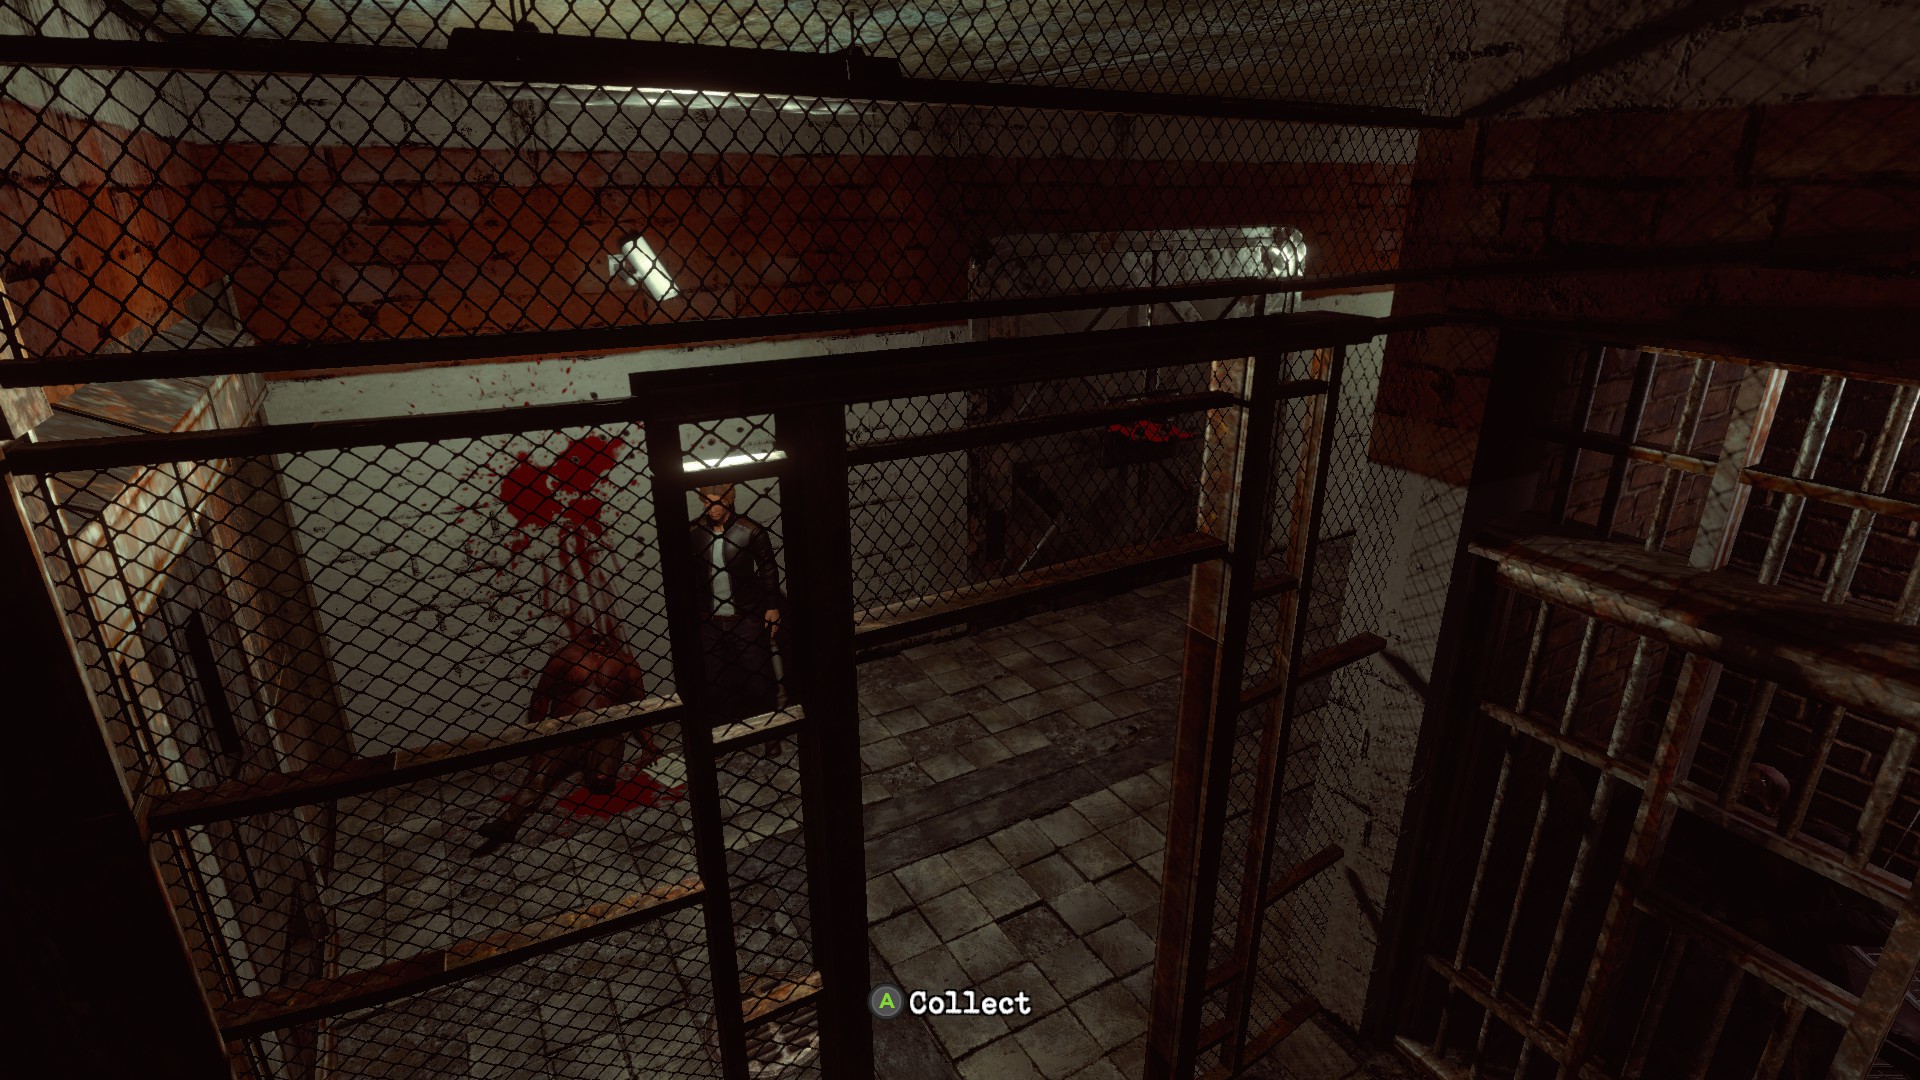
Head into the cell hall and go down to your left to find 2 more zombies. Even further down will be 2 more zombies for a total of 5 in this hall.
Just past the gate at the end is Note (8/13) – Note About Marta.
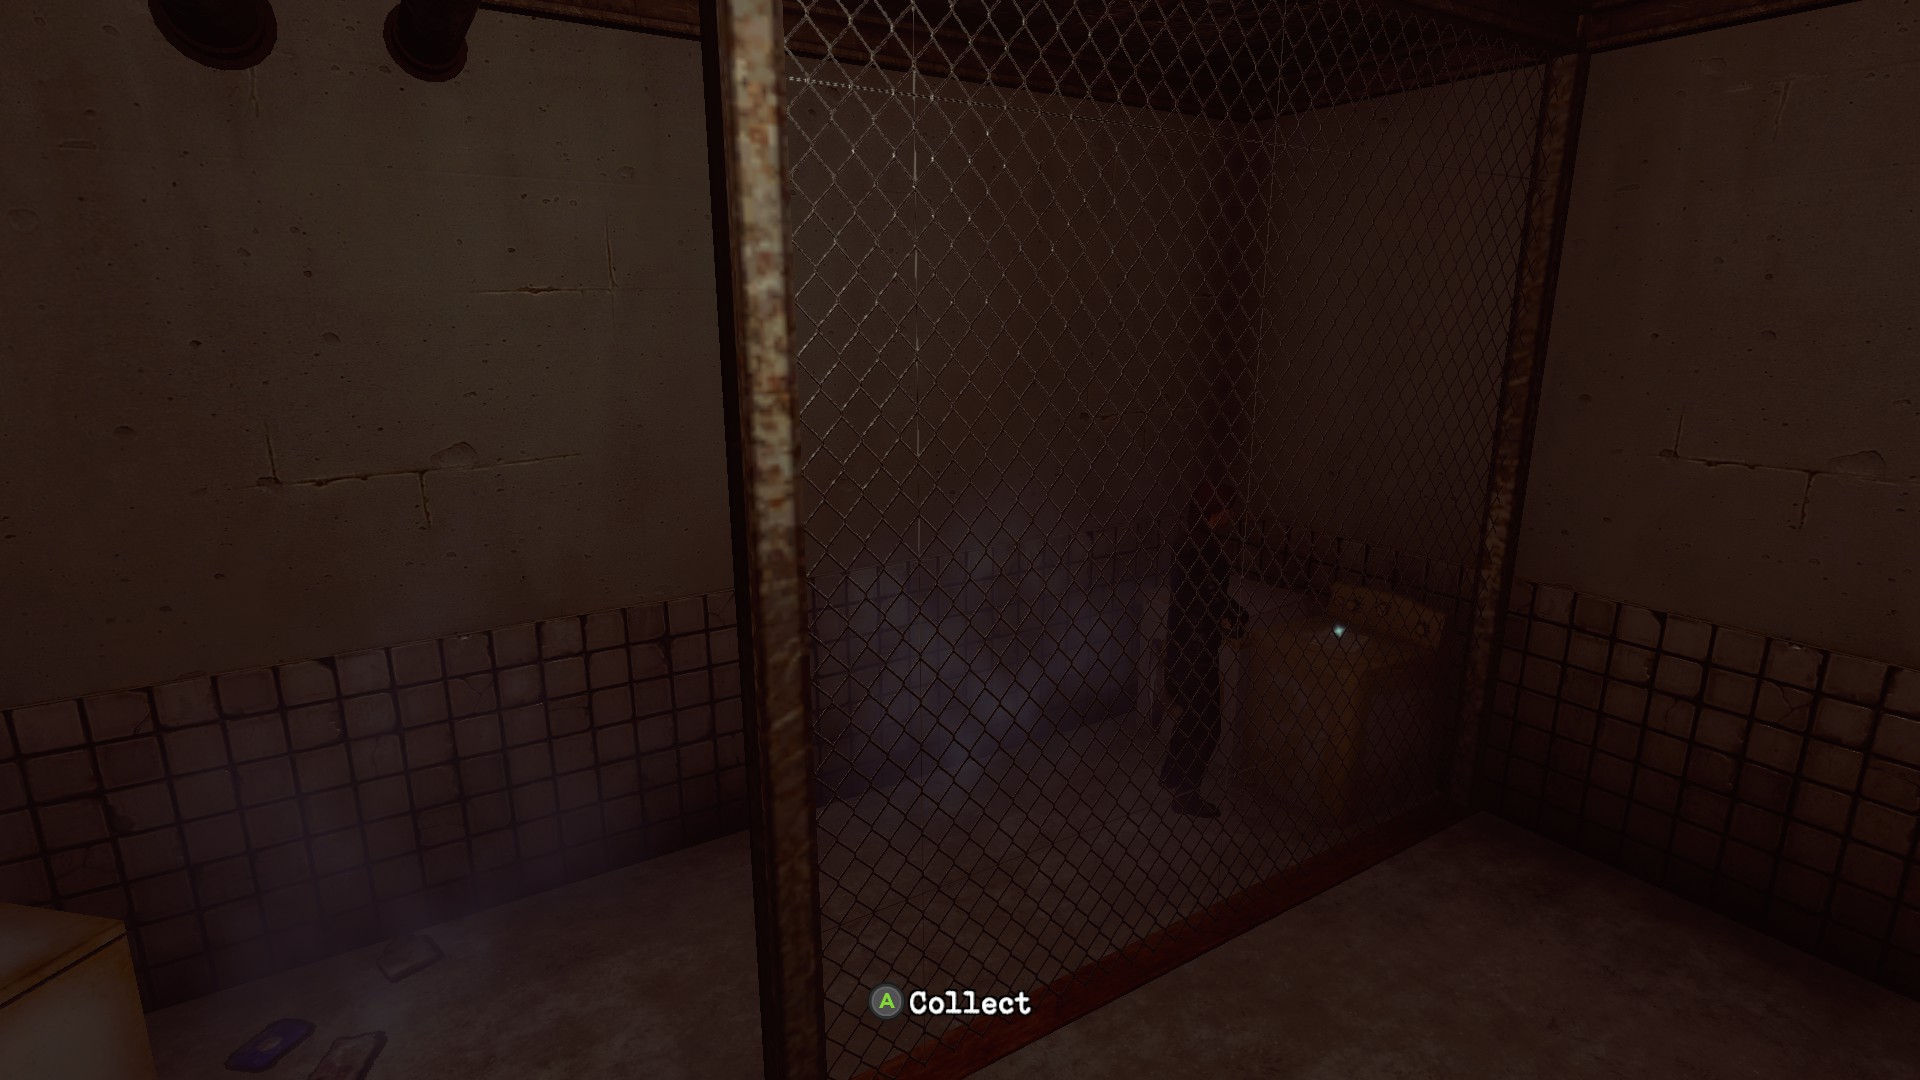
Continue beyond the note to find an open cell with the last Machine Piece laying in the sink.
Just beyond this room is another zombie, a cell with a save candle, and 2 Pistol Ammo clips in the cell below the candles.
Across from the ammo is another open cell with Medkit (6/14) inside.
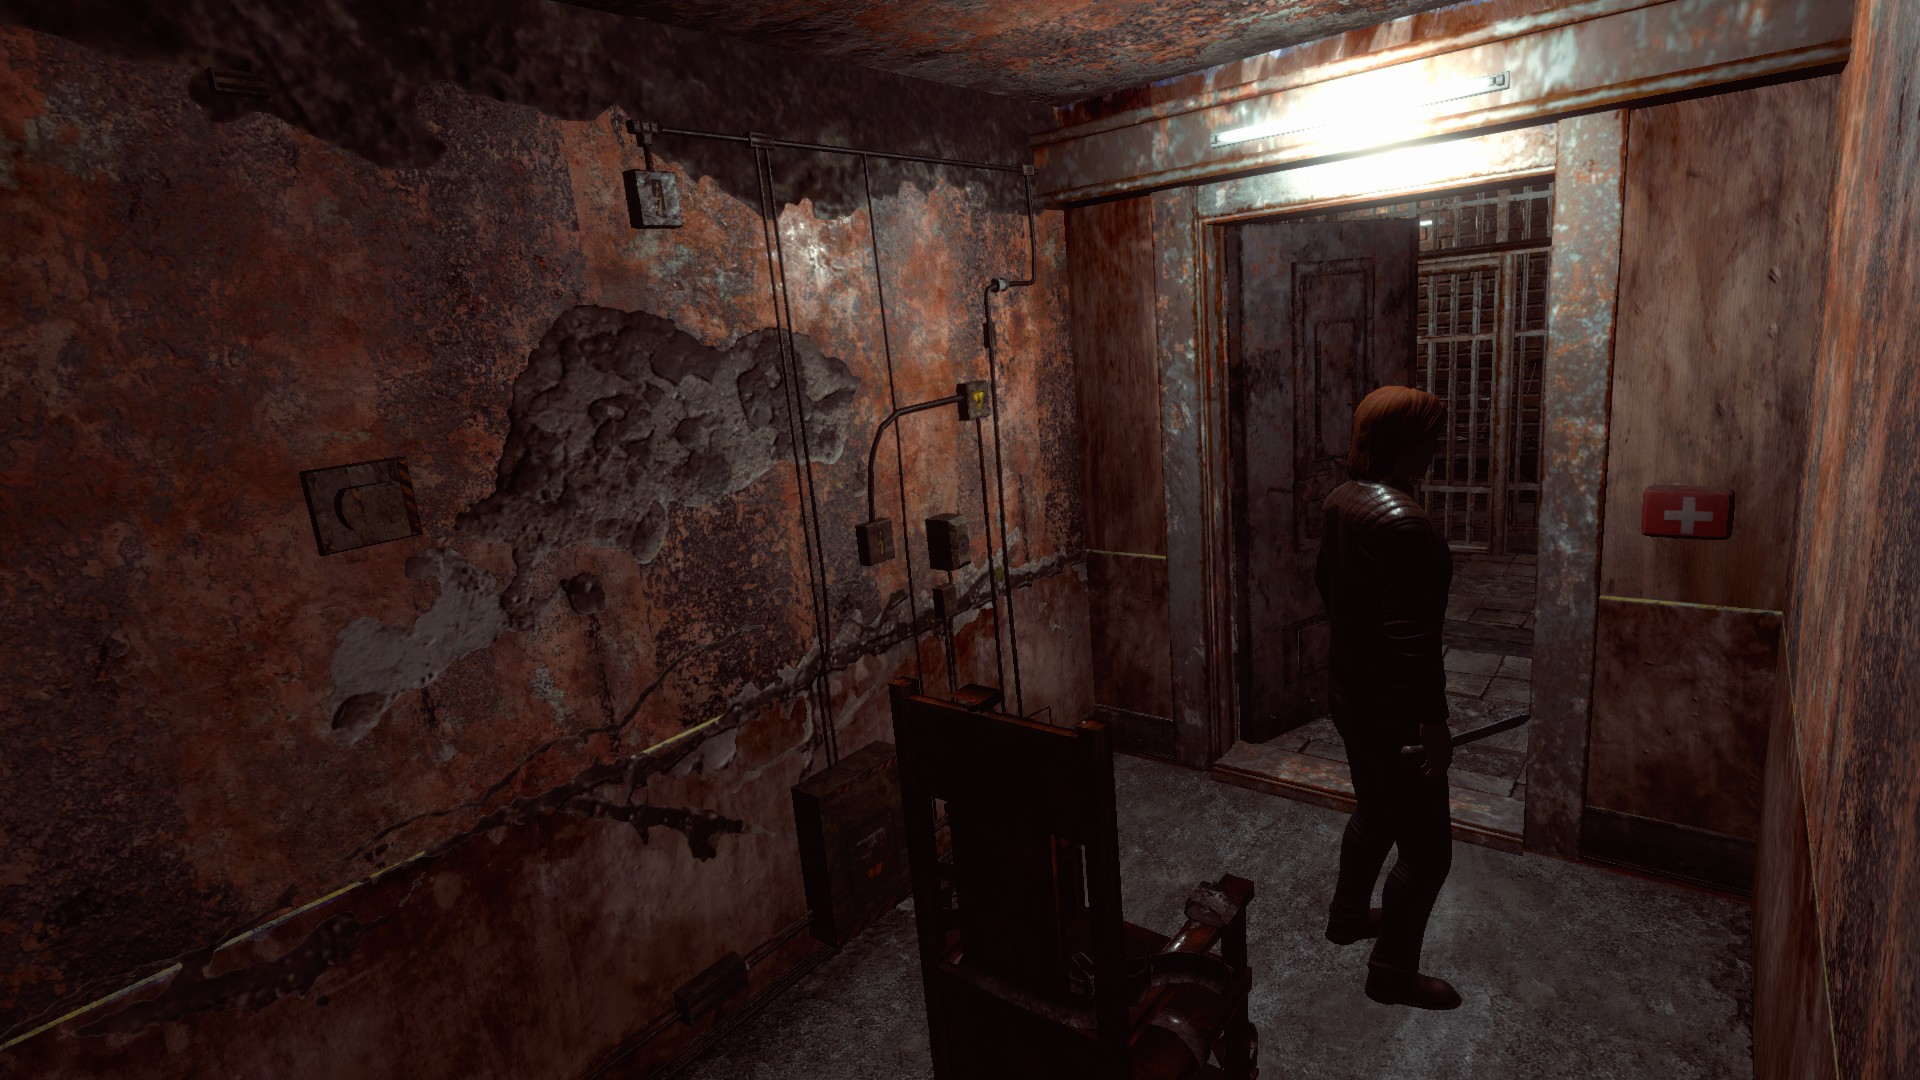
Now head back up to where we collected the last note and you’ll spot a door with a red handle along the way. Enter it to find another Pistol Ammo on the floor beyond it, as well as Medkit (7/14) a little further down the stairs.
Continue down the stairs for a cutscene. Afterwards, grab Weapon (3/4) – Shotgun off the corpse.
Enter the next room and prepare for our first boss, The Gardener. Make your way down the long path and take note of exactly where a control panel and cargo container are. As soon as you trigger the boss, slowly kite him in front of the cargo container’s path (I say slowly, because he has a far range vomit attack that is very hard to dodge). Once he’s set up, bait an attack and put 3 pistol bullets into him to stun lock him. Activate the cargo container, then immediately put 3 more shots into him. Repeat this process until you hit him with the container 3 times.

Bad weed
Defeat the gardener
After killing The Gardener, head to the other side of his arena and collect the Shotgun Ammo, then enter the door near the control panel.
Near where you entered is another control panel to lower the container so you can climb up. At the top, enter the elevator. I recommend going to the main level instead of riding the elevator all the way up, as it’s a little easier to position yourself for the new enemies.
Once back in the main hall, head upstairs again and a cutscene will play releasing 3 zombies into the hall.
Once they’re dealt with, head back into the hall where we got the first Machine Piece from the supply closet to find 4 creatures have spawned in.
Now go back and enter the newly opened door the 3 zombies burst out of/ Go upstairs one floor to find 3 more zombies. After dealing with them, go out the window and loop around to a balcony with Pistol Ammo.
There’s nothing else to do up here for the time being, so head back to the hidden library room and slot all 3 Machine Pieces into the door and interact with it for Puzzle (4/7). Hit bottom left 2 times, bottom right 4 times, and finally top 4 times.
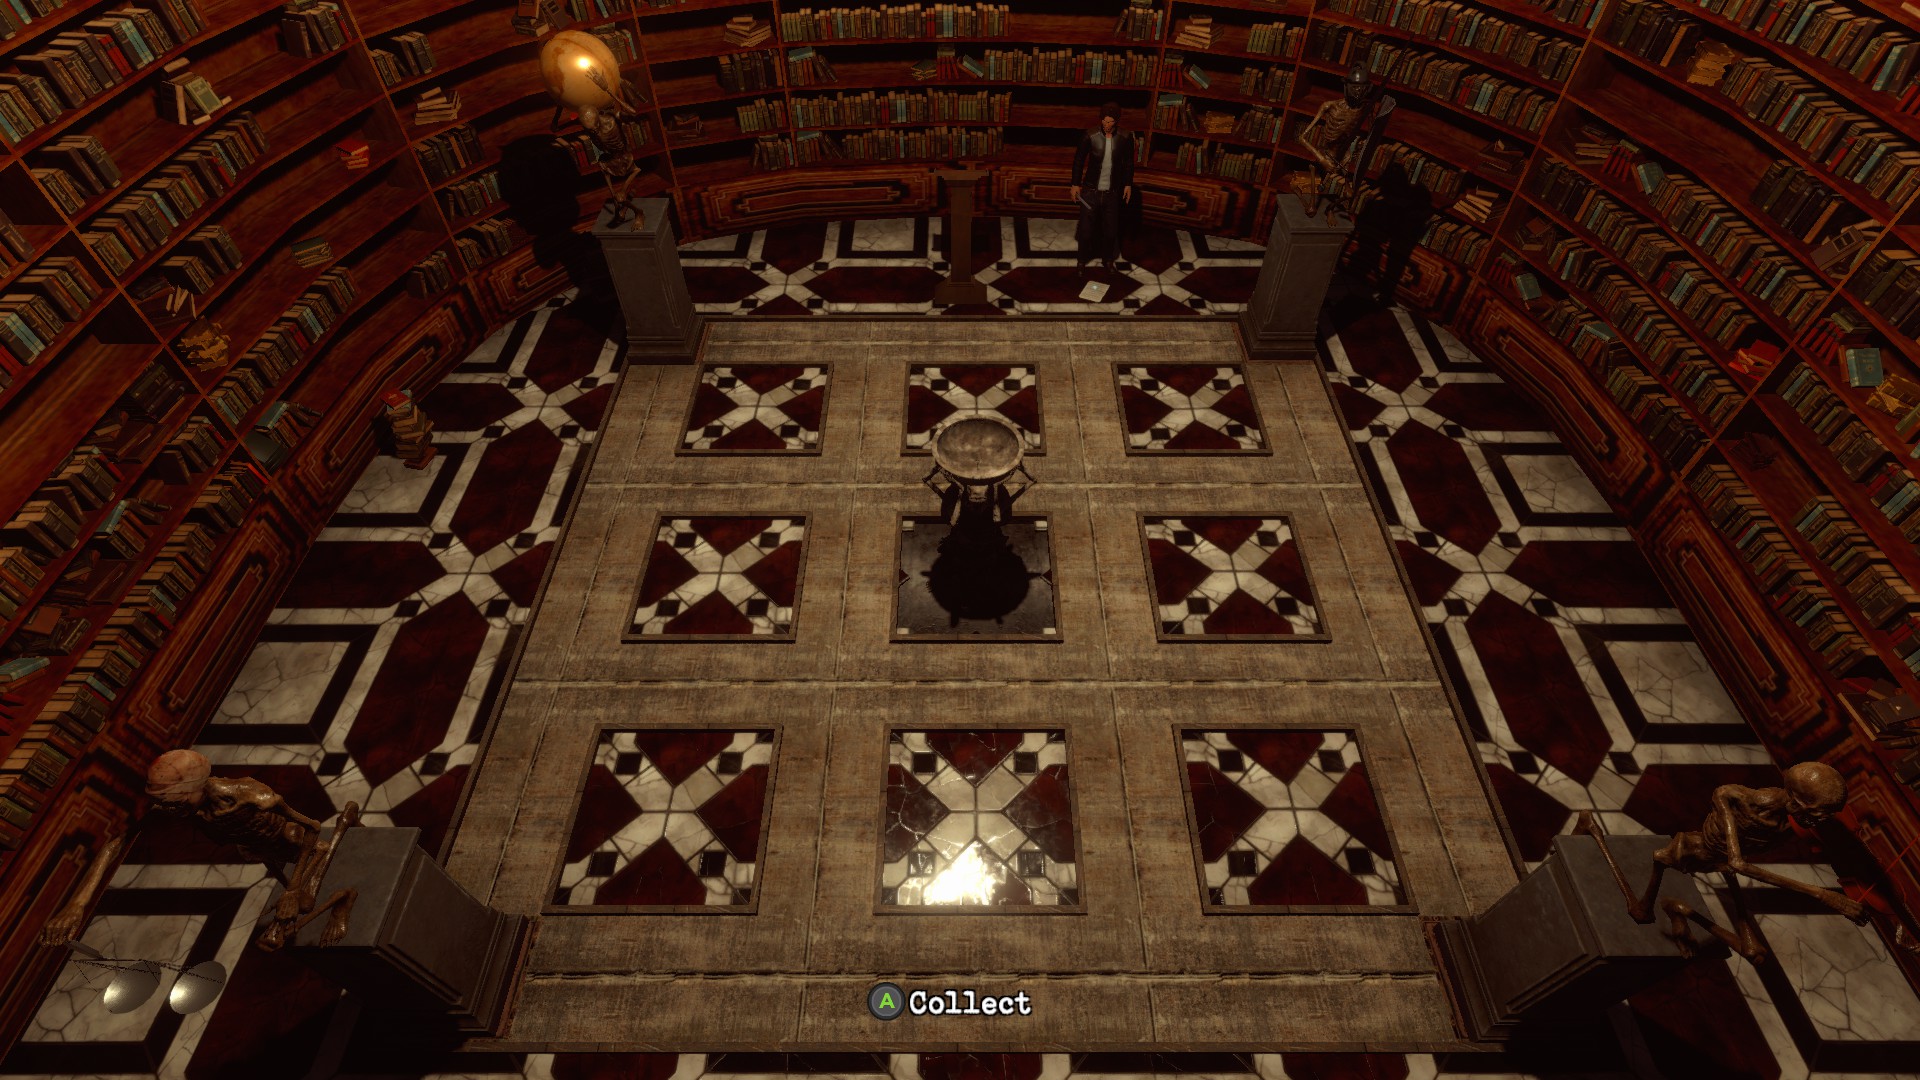
Enter the doorway and head into the large room to discover Puzzle (5/7). The solution for this one is very easy. interact with the podium at the top of the room, then slide the globe top-left, the soldier top-right, the violin bottom-right, and the scale bottom-left.
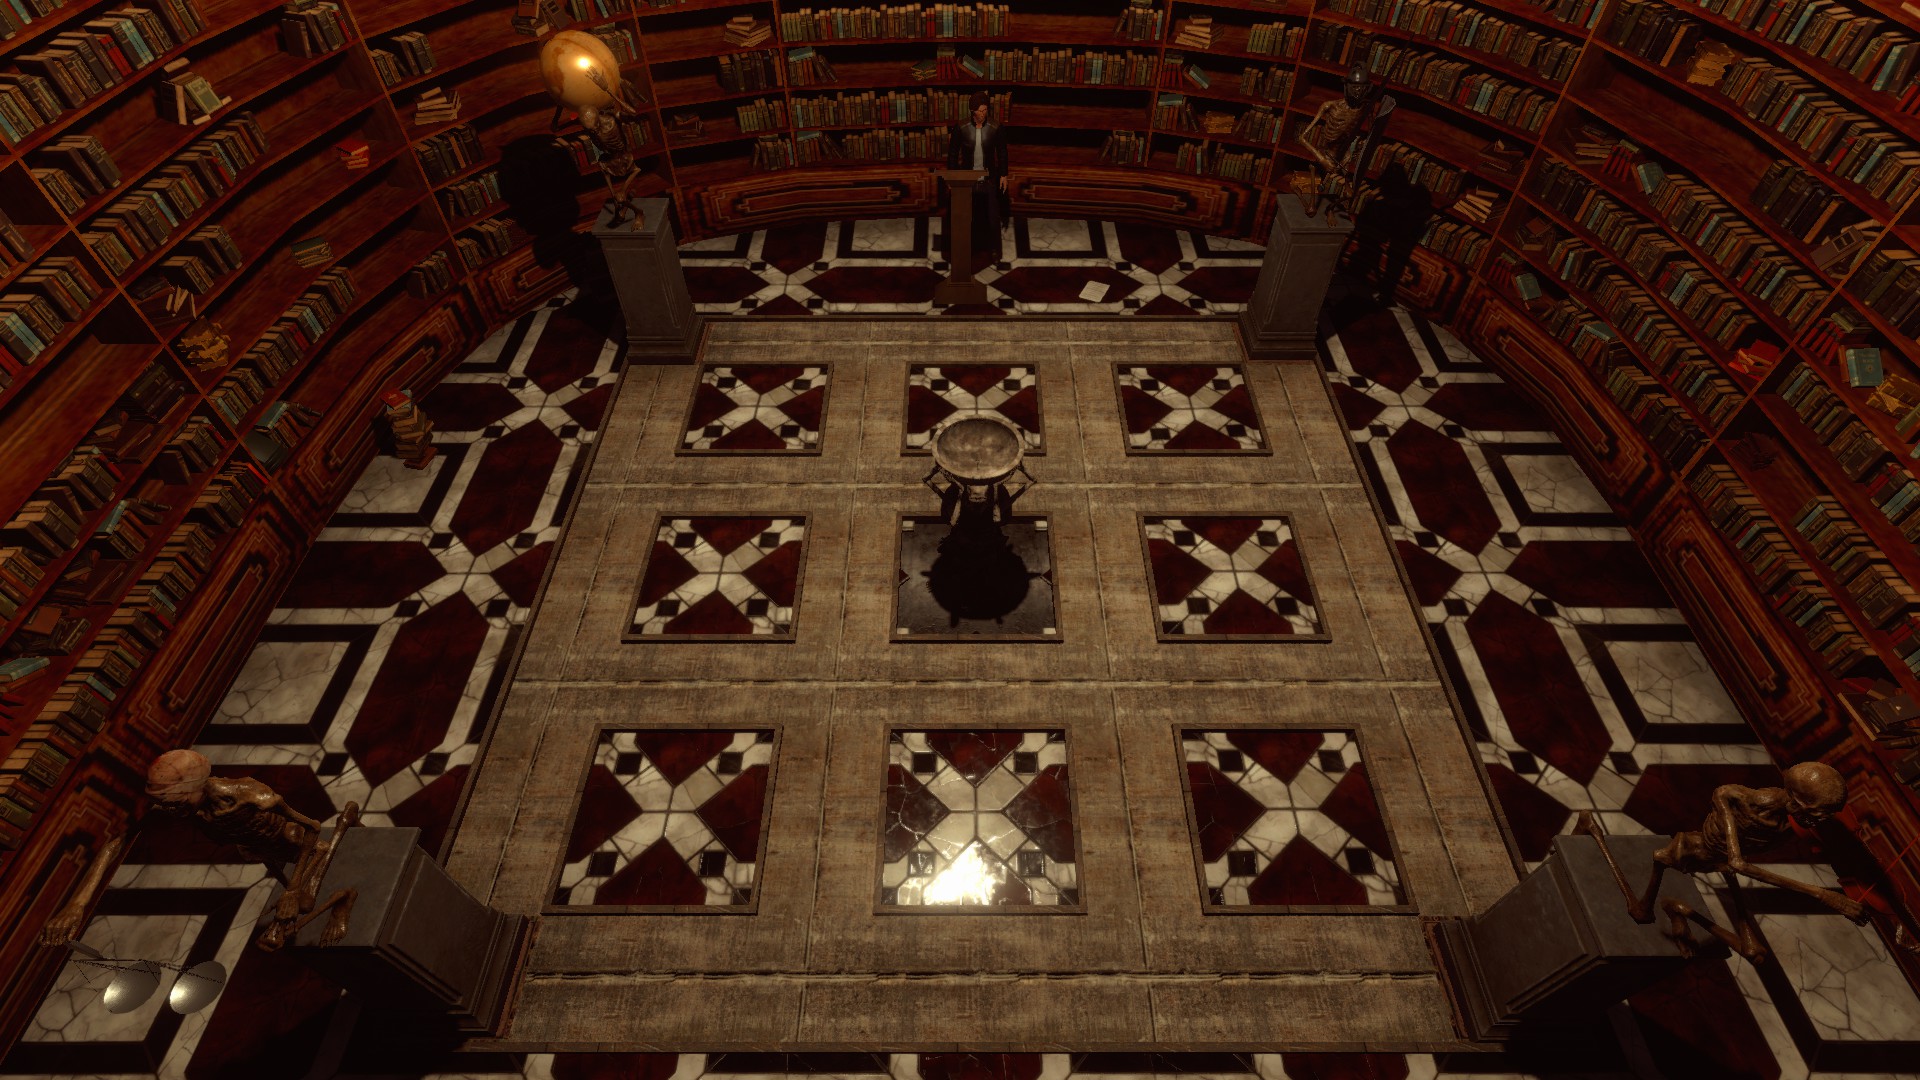
After completing the puzzle, grab Note (9/13) – Fingerprint Reader off the floor near the podium, as well as Key 4 from the center of the room.
Leave this area and open the single door across from the library to spot a newly spawned zombie, then head out to where the fountain is for another creature.
After dealing with them, make your way back to the hallway that led to our first zombie encounter of the game for another creature.
Now by this point you might have noticed our friend who was pinned to the door is missing. We’re not going to follow his trail just yet. instead, go upstairs and open the locked door on the left side of the hall to find yourself in a tiny room with a zombie. Kill it, then grab the Bolt Cutter, Note (10/13) – Jessica’s Diary P.2 from under a lopsided shelf, and Medkit (8/14) from a cabinet in the back of the room.


Remember that chained door upstairs? Head back and use the Bolt Cutter to open it. Inside you’ll find some Pistol Ammo, Medkit (9/14) as well as a corpse you can use the cutters on to get a Severed Finger.
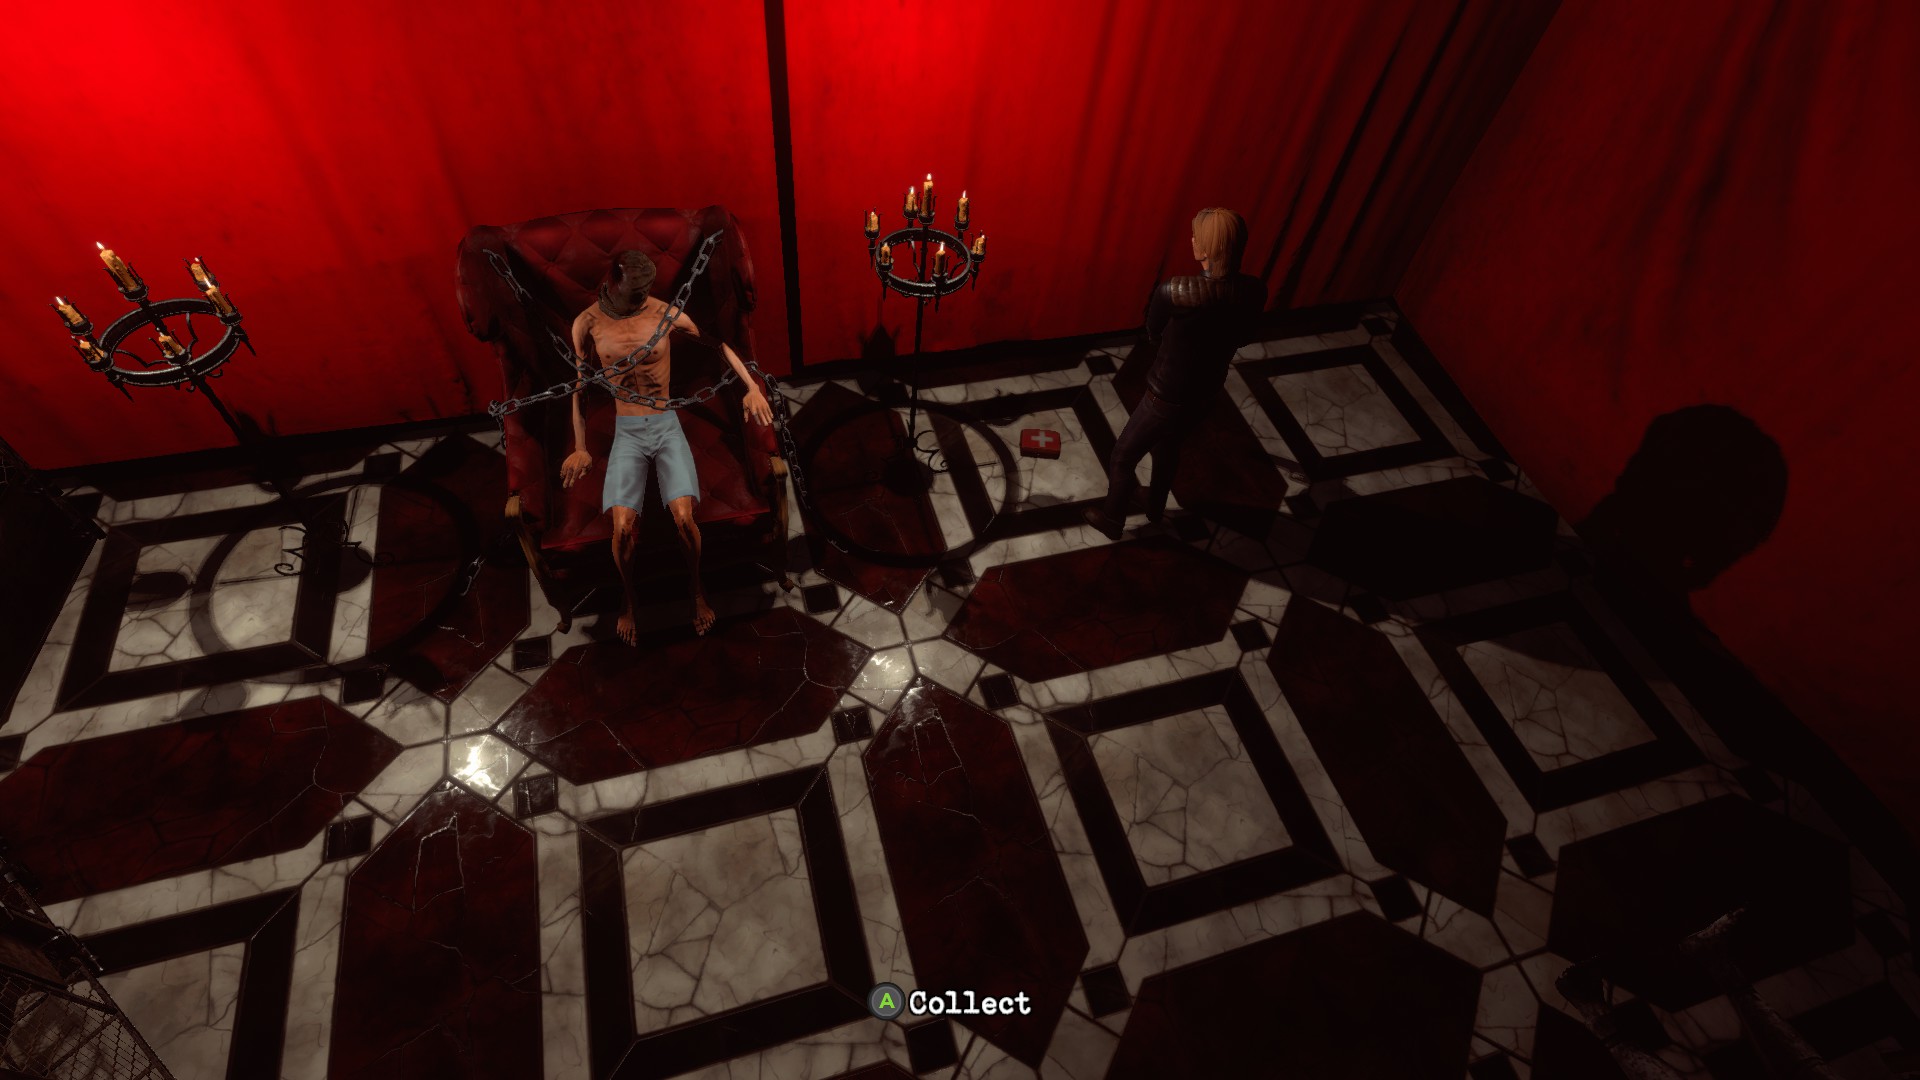
Head back inside and use the finger on the door at the top of the stairs. Inside you’ll immediately spot Medkit (10/14) and some Shotgun Shells.
Go to the other side of the room and grab the Heart off from the ritual circle. A hatch will open under you giving way to a ladder. Now’s the time to make any preparations you may need as that hatch leads to the next boss.
Once you’re ready, climb down the Metal Gear Solid ladder. The objective of this boss is to stun her on top of the center plate in the room and use one of the two valves to burn her. You can’t use the same valve twice in a row, so you’ll need to rotate between them. Burn her 3 times to kill her.

The hand that rocks the craddle
Defeat the housekeeper
After defeating the Housekeeper, Medkit (11/14) will be right next to you. Also grab the Valve, as well as the Pistol Ammo behind the pipes ahead.

A handful of large creatures are now active in the mansion. There’s a super easy trick to kill them. Equip your shotgun, fire one round into them, then immediately bring up your journal. The rechamber animation will still play out while you’re in it, so wait for it to complete, then pop out for another shot. Shoot them a total of 3 times to kill them.
One can be found in the room that leads to the balcony, and another can be found in the long hallway with the elevator.
After killing the one at the elevator, go to the bricked up wall in this hallway and unlock the door to the left of the wall. In this new room is Key 6. Wow!
Head down to the front door and go through it. Outside will be 3 zombies for you to deal with, as well as Key 5.
Once all that is settled, head to the right side and grab Note (11/13) – Note of Hope.
It’s finally time to head into the basement from the main hall.
Head down and unlock the first door you come across. On the other side will be a small creature. Take it out, then locate the Shotgun Ammo near some colorful crates in the same room.
Go into the back area to find Note (12/13) – Note in the Kitchen on a washing machine.
Look for the silver door near where you killed the creature and go through to find a lone zombie on the other side as well as a spot on the pipes we can slot the Valve into.
Next to the pipes will also be Medkit (12/14).

It’s finally time to follow our friends blood trail. Go back to the main hall and go through the door he went through. Follow the linear hall out into a back garden and be prepared for the large creature out there! Once it’s dealt with, head down and grab the Feather. There’s also 2 Pistol Ammo clips out here.
Once back inside, a zombie will burst through a previously locked door. Handle it and then head inside for a cute easter egg + some Shotgun Shells.
Head back to the ground floor elevator and take it all the way back to The Gardener’s arena. In the middle will be a large creature + 3 zombies on the long pathway above.
Head back into the cells to locate 2 small creatures and 2 zombies.
Once all of that is clear, go back to the long path in the Gardener’s arena and enter the lone door on it. Once inside, place both the Heart and the Feather on the scale to open a door.
Medkit (13/14) will be on the floor just ahead.
Go through the door and prepare for another large creature. You can unlock the nearby double doors and go into them, then back into that room to juggle his animation and cut past him if you need to. Head down the hallway and enter the next door.
Now in the morgue, run forward and around a corpse on the floor. You should immediately spot some Pistol Ammo twinkling in a corner.
Keep note of the 4 bodies in this room for the very obvious reasons. Call the elevator and all 4 of them will start to rise. It’s actually pretty easy to kite them around the tables and take them out.
Once you’re ready, hop in the elevator and take it to the top floor. There will be 2 small creatures as you hop out.
You can also unlock the door to the left of the elevator for a shortcut.
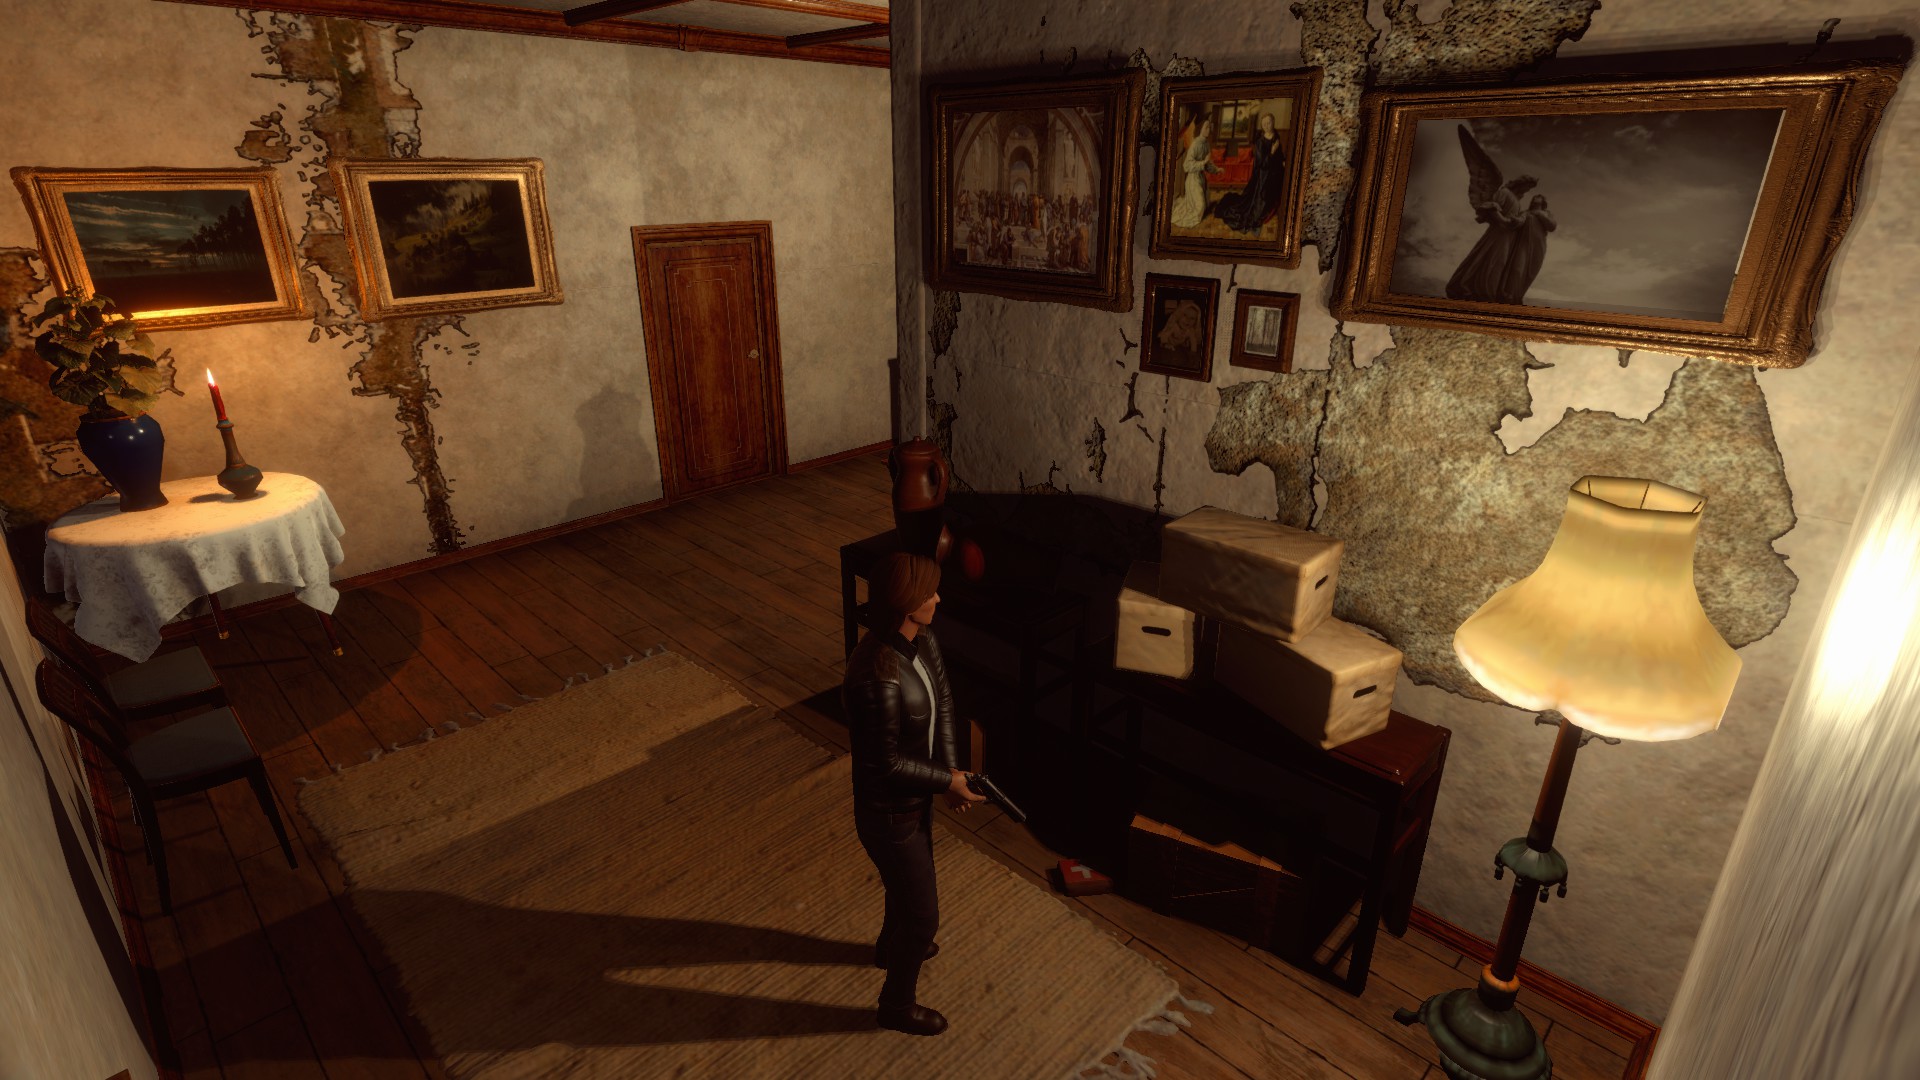
Loop around the corner and hug the wall to find some sneaky Pistol Ammo hiding near a wall, then grab the Painting nearby.
Go back to the room that contained the first zombie of the game and you should spot an area to slot the painting. Rearrange them according to the picture below to complete Puzzle (6/7) as well as unlock a chest containing Weapon (4/4) – Magnum!

Gunsmith
Find all weapons
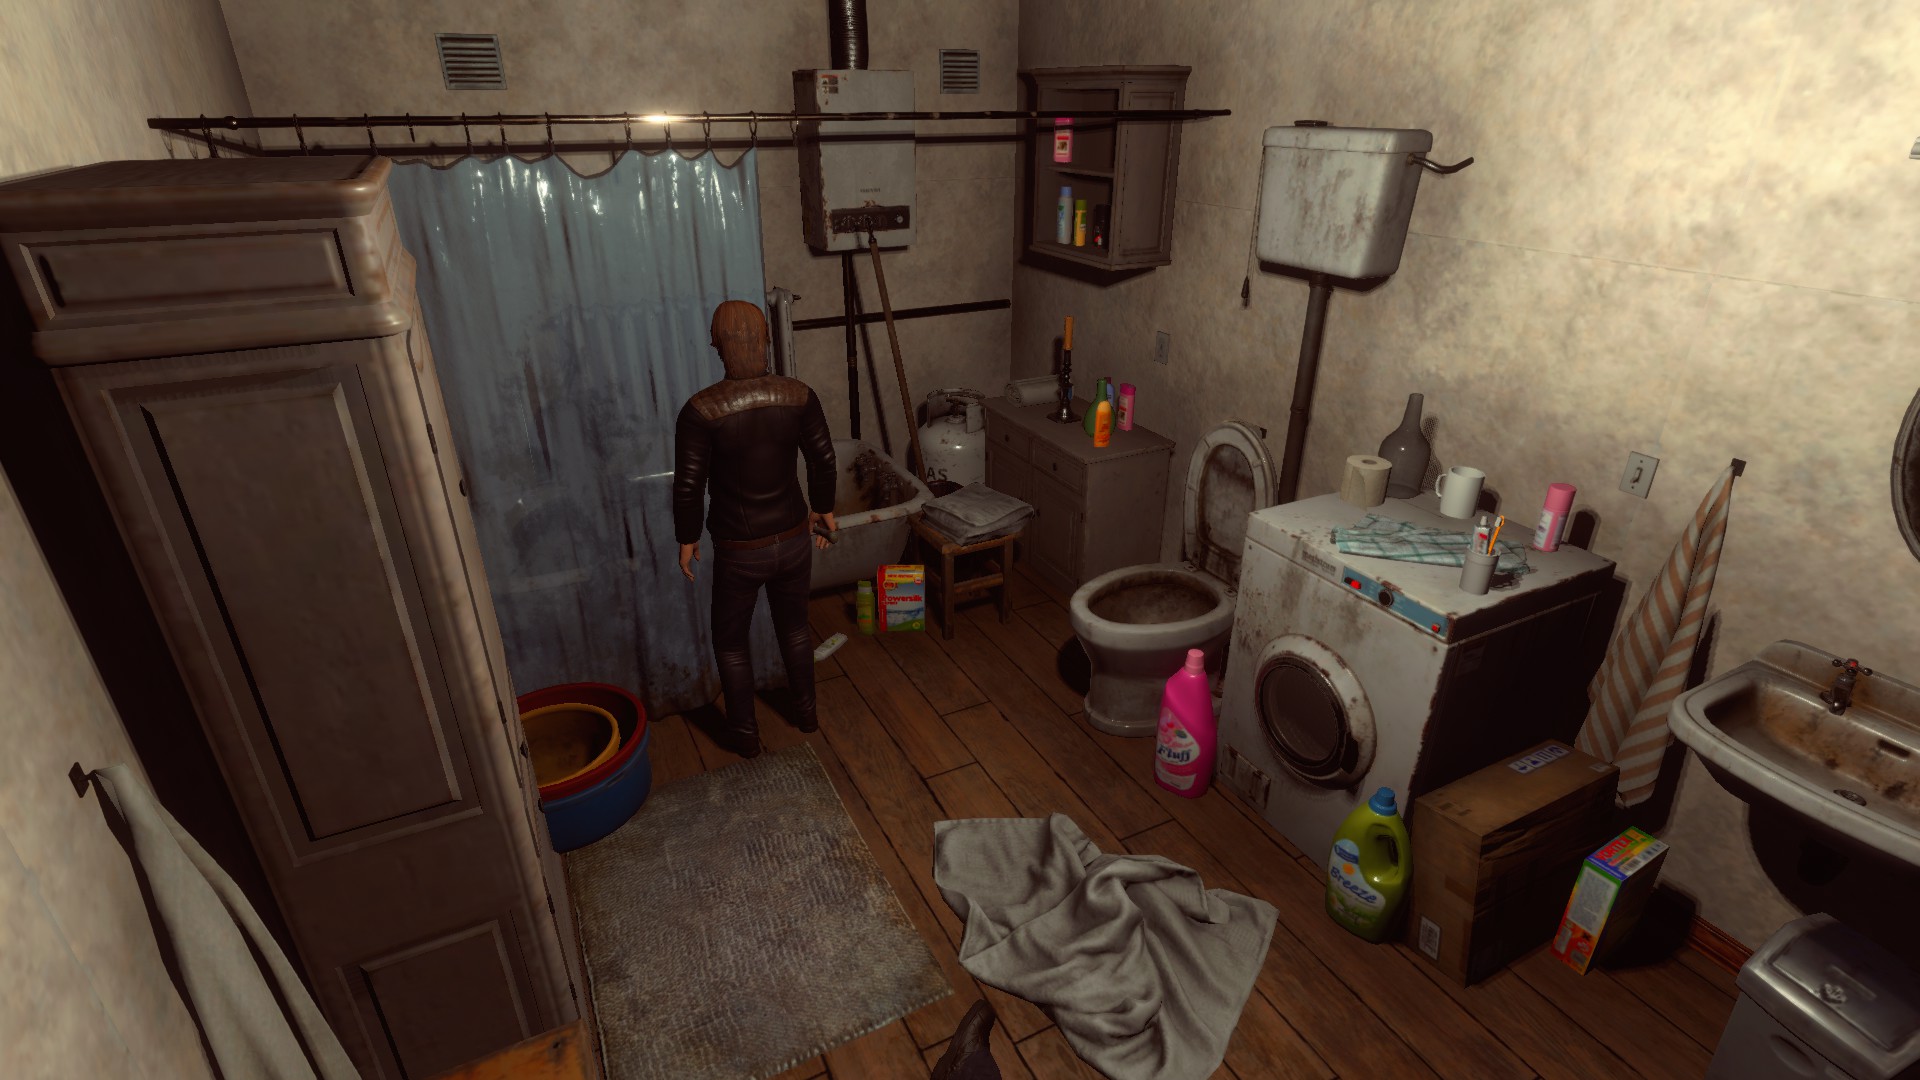
Go back to the couch that had the Painting on it and drop into the hole. Once down, go into the door to your immediate left and kill the final zombie inside. There will also be Pistol Ammo above the toilet, and Medkit (14/14).

Avenger
Kill all enemies

Pharmacist
Find all the first aid kits
Continue down the hall to arrive at a bar. Behind the counter will be Shotgun Shells, as well as Note (13/13) – Alchemy Document.


Bookworm
Find all the notes
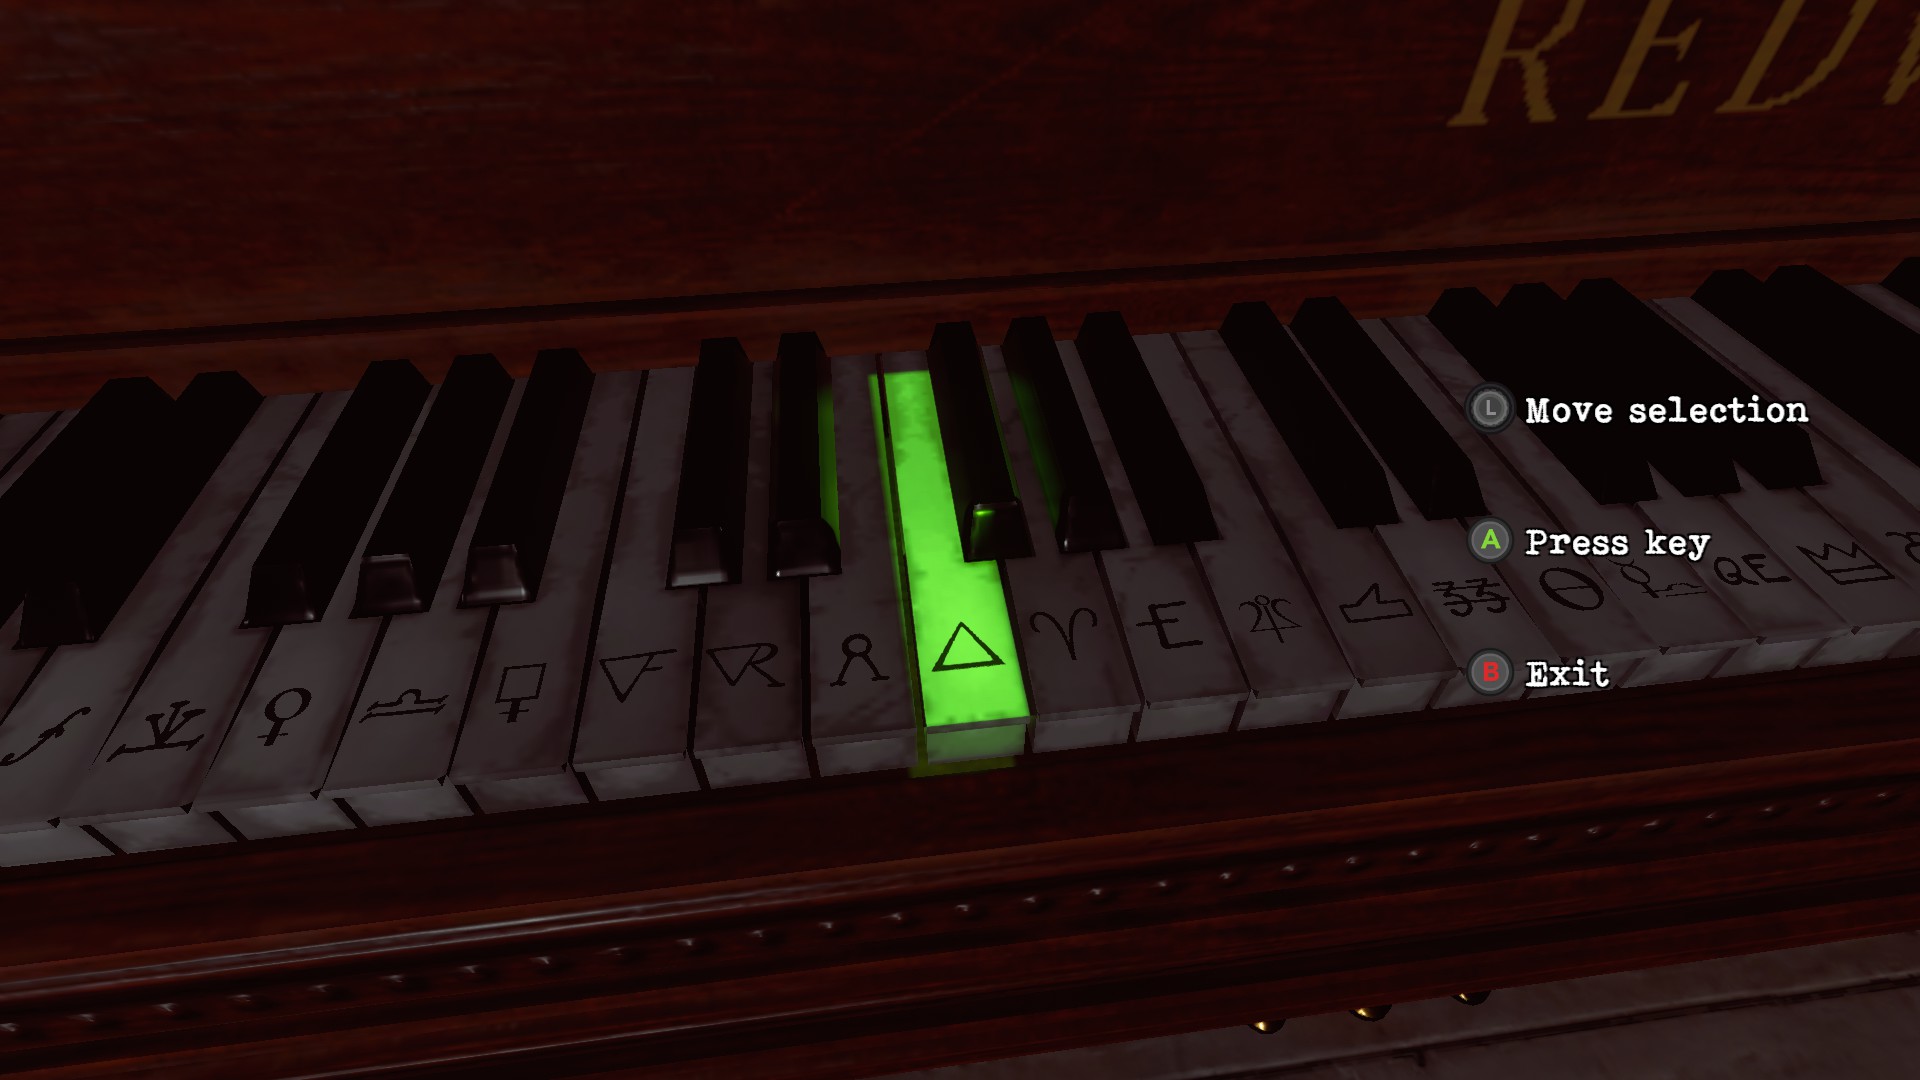
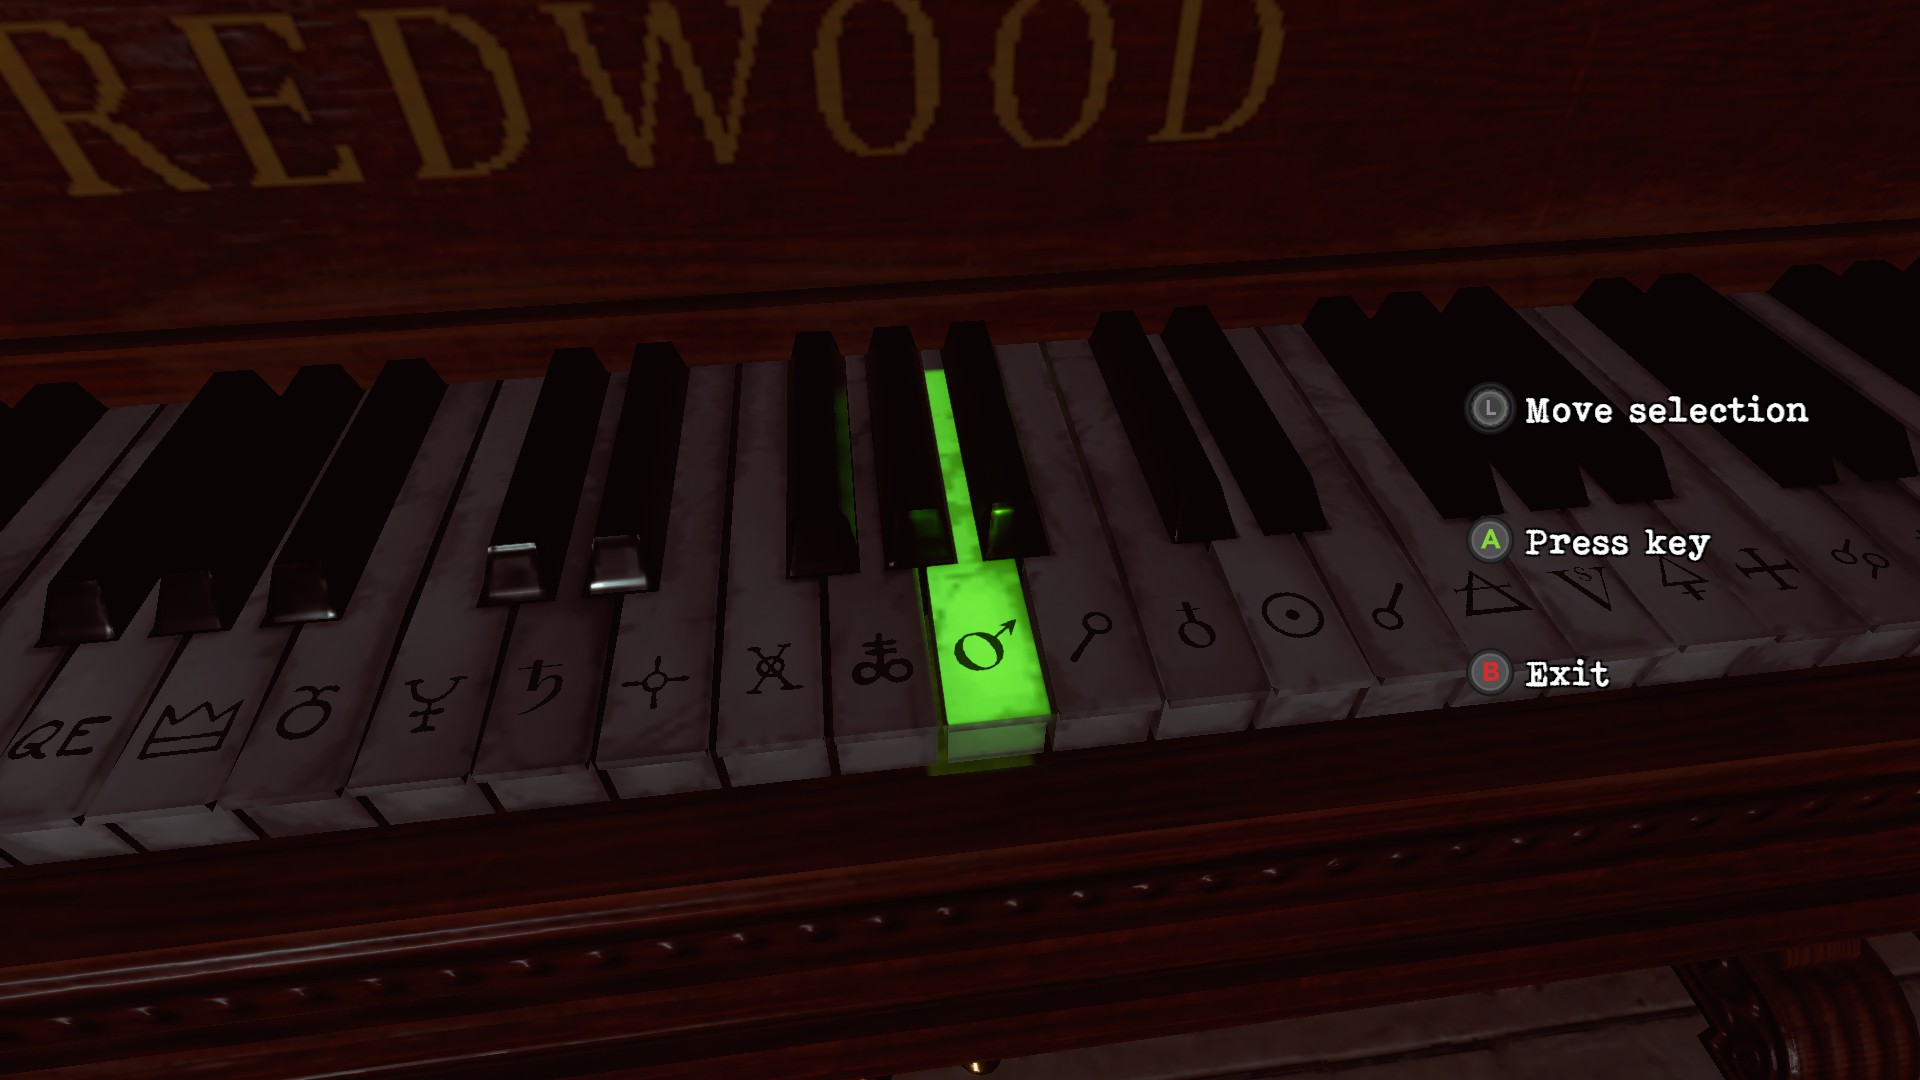
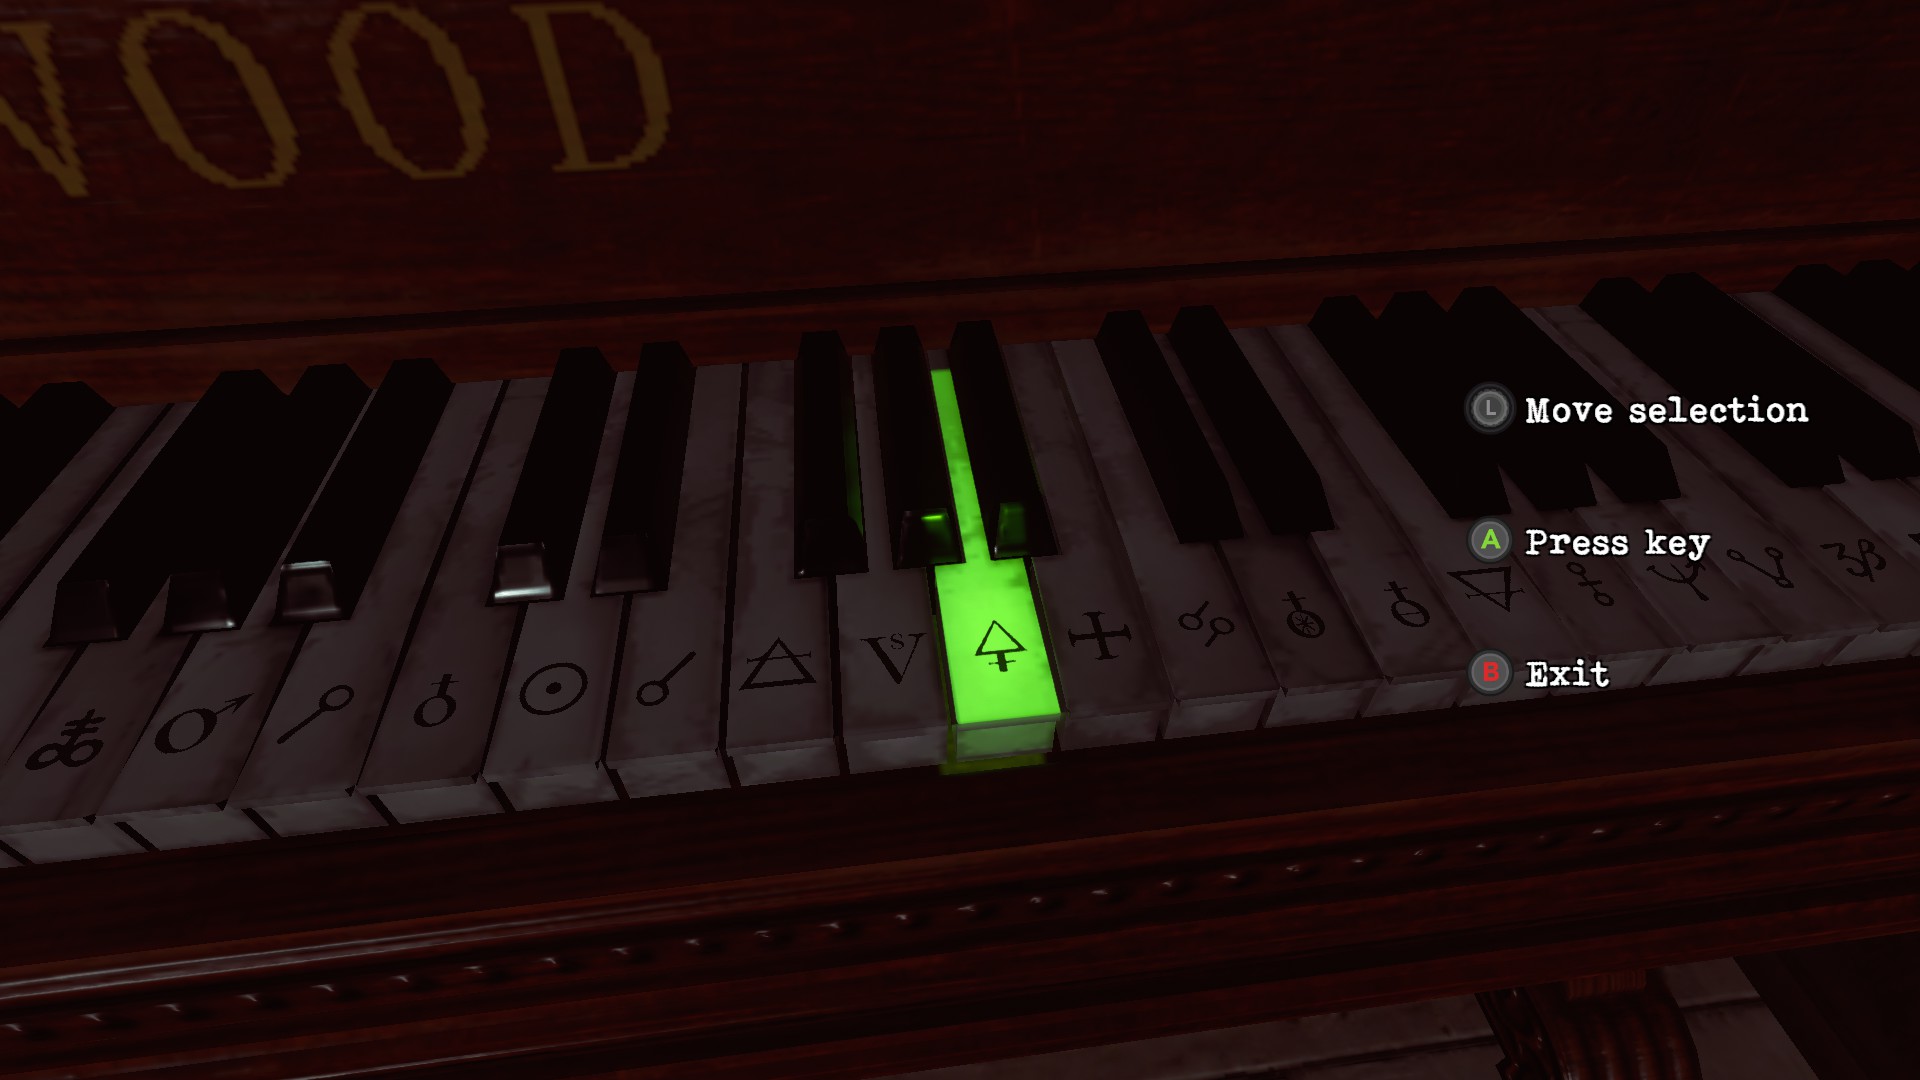
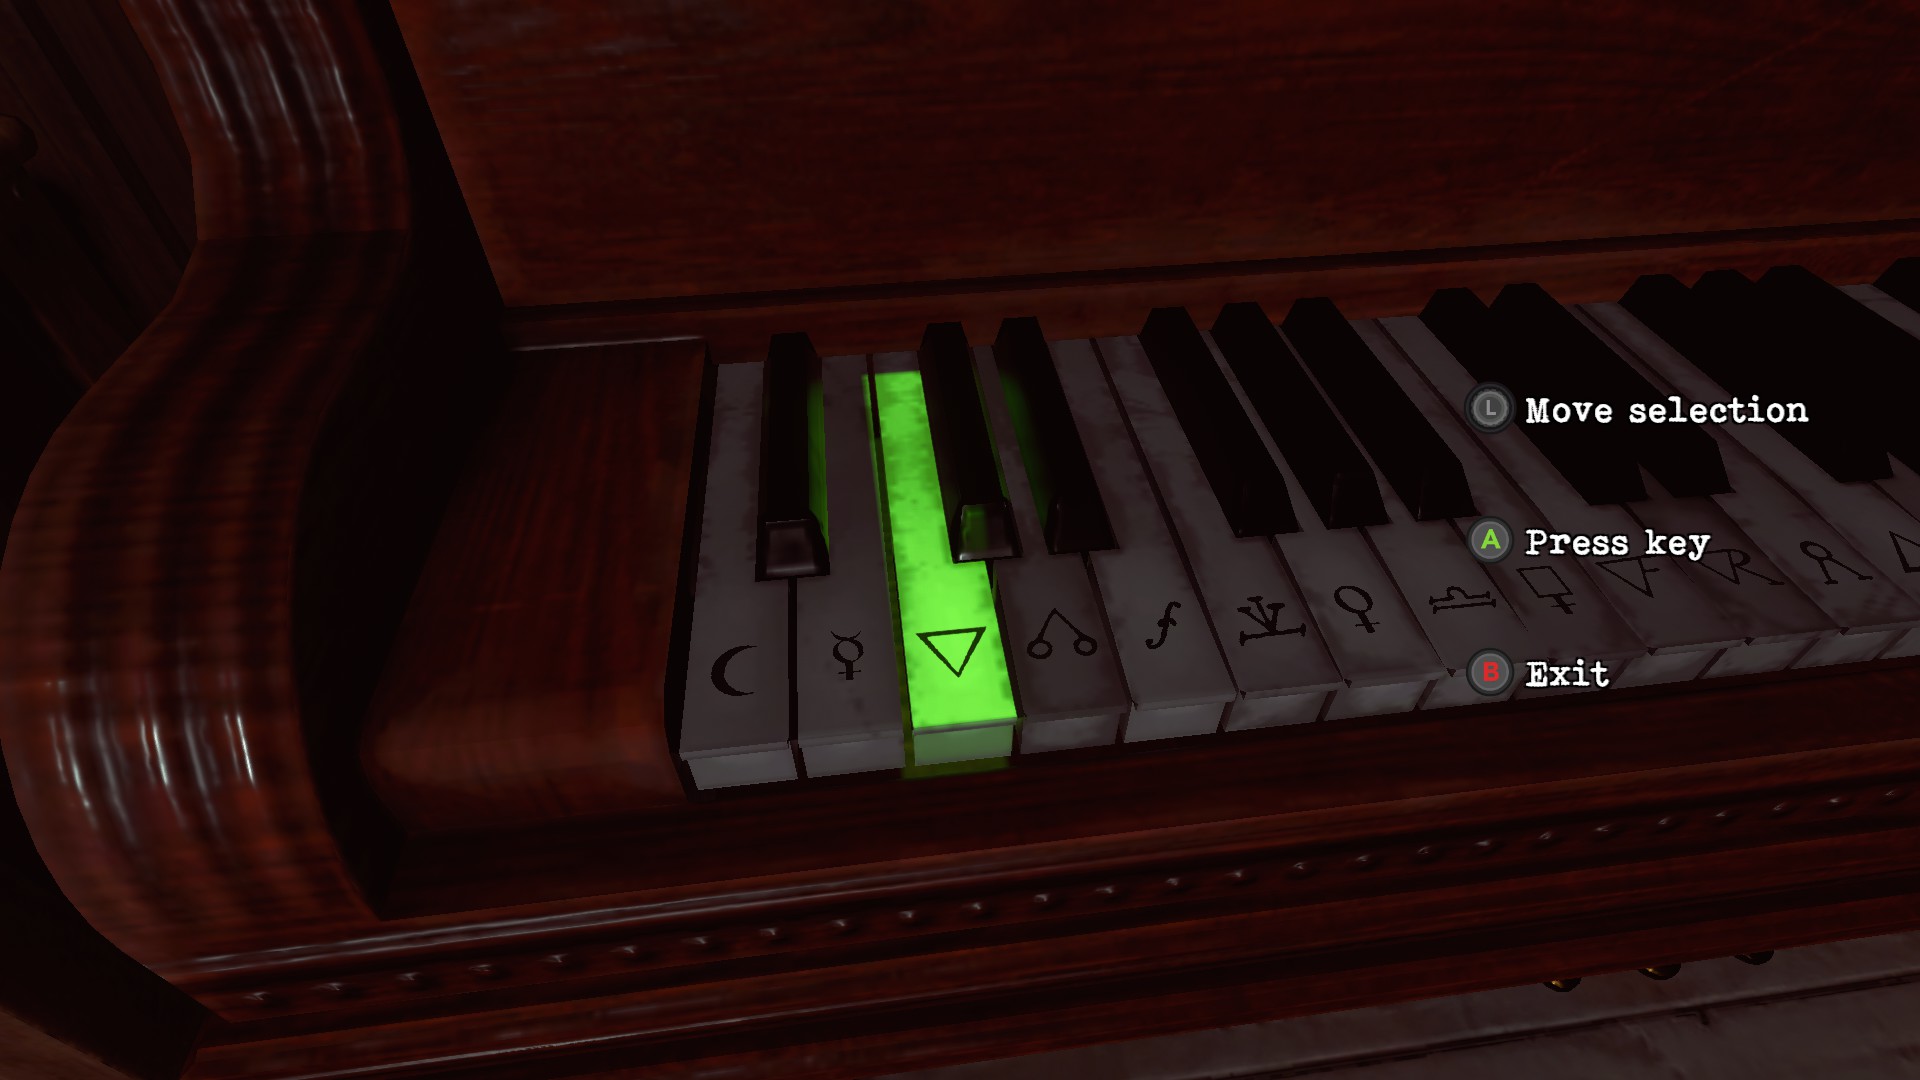
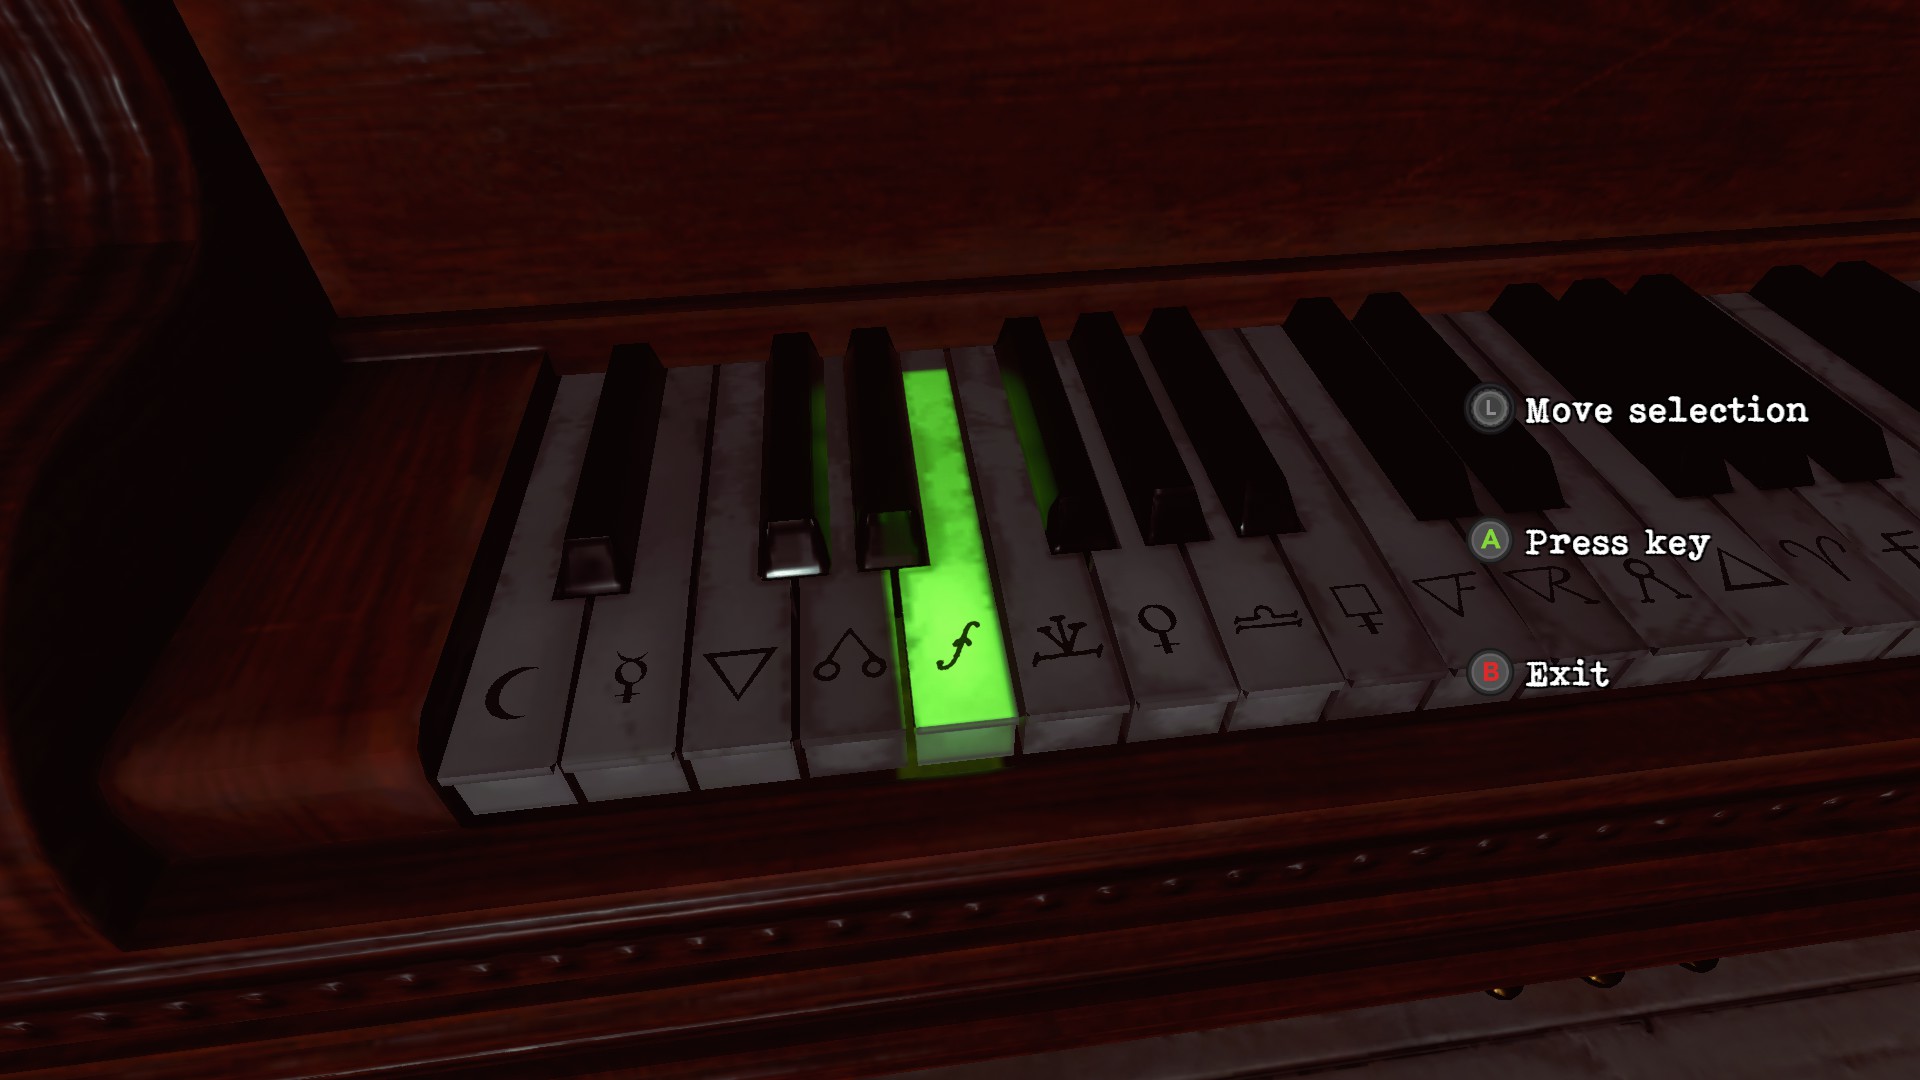
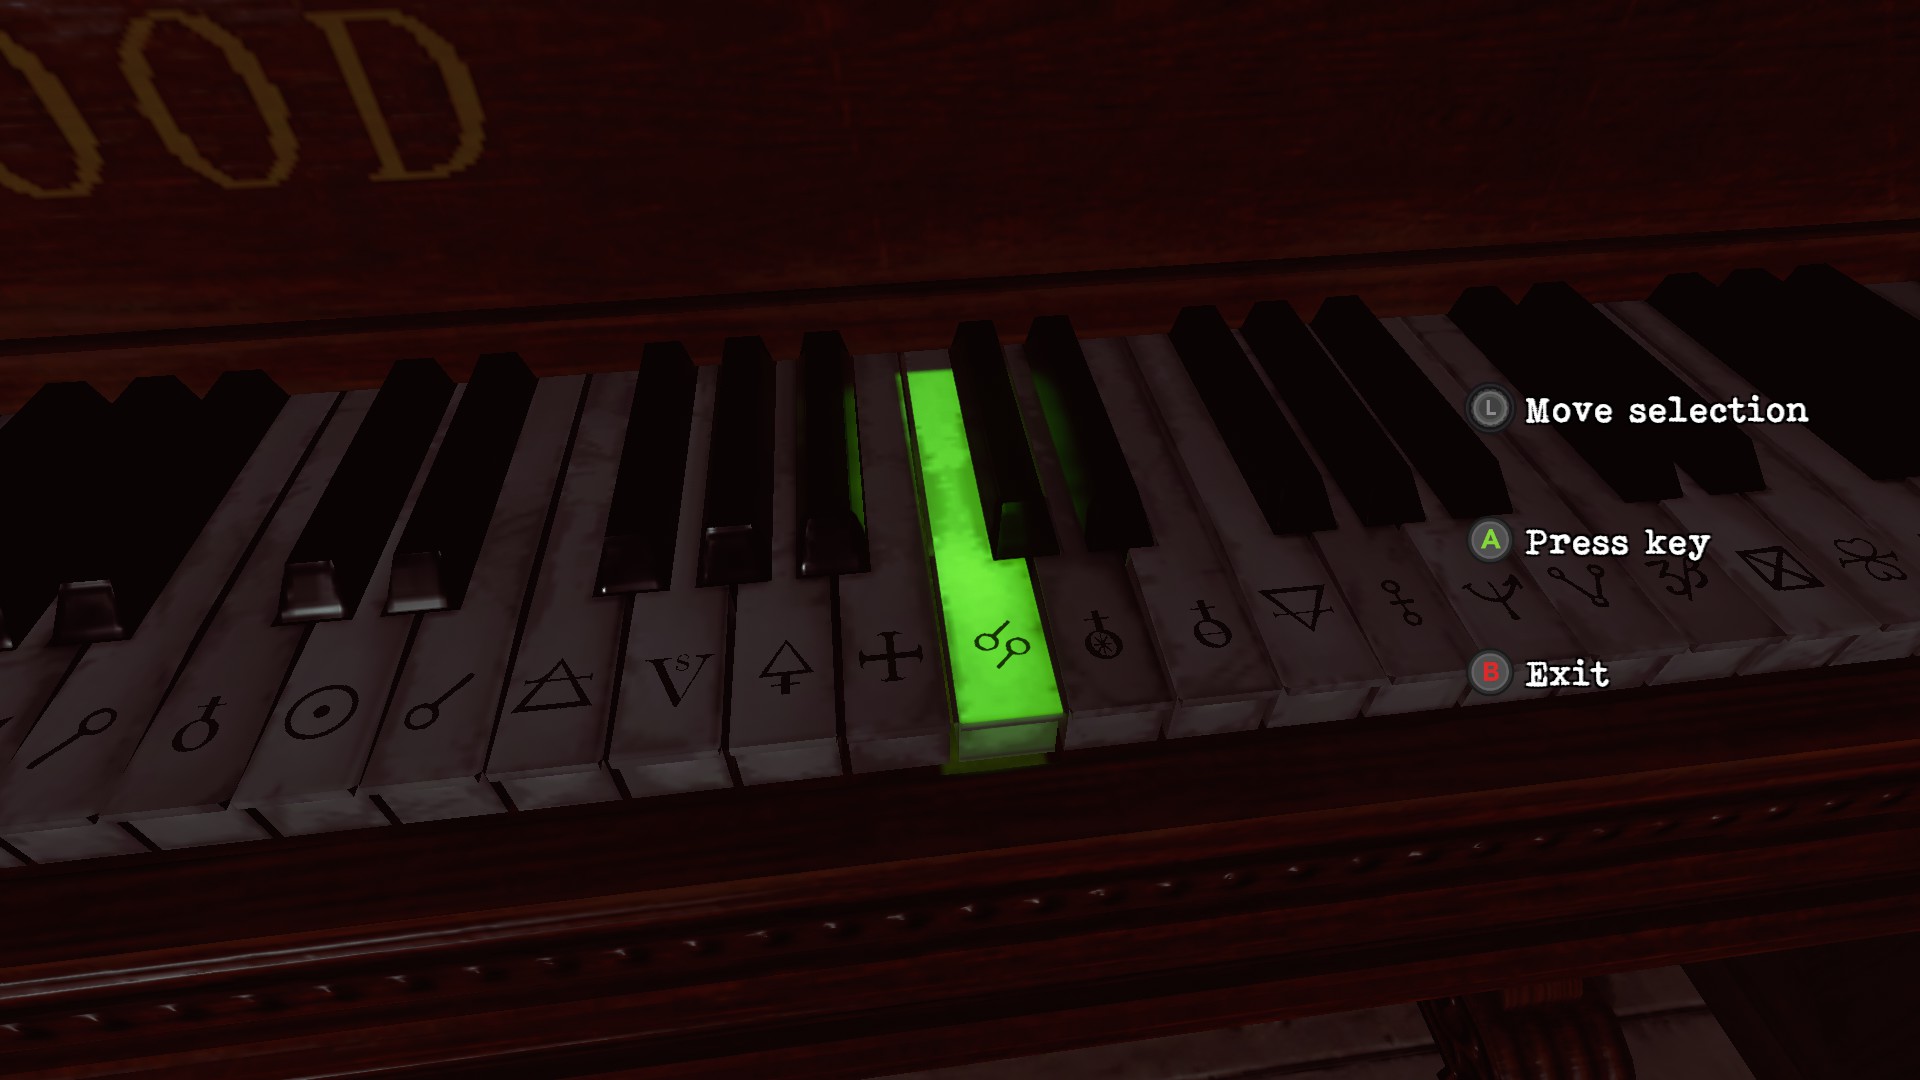
Interact with the nearby piano and press the keys in the following order:


Smarty
Solve all the puzzles
Make a final save here as the path ahead leads to the final boss. We’re also going to reload it for another achievement. Hopefully up to this point you’ve healed 3 times or less, so push forward for now.
Follow the long, linear path until you reach a giant door that begins to open. To the left side of the screen near the pillars is Magnum Ammo.

Ready for combat
Find all the ammunition
Equip the magnum and head through the door. The final boss is…well, just spam 9 shots of the magnum into her and it’s over. Don’t move, don’t run, just start blasting.

Rest in peace
Defeat the stepmother

Your first time
Complete the game

Tough guy
Complete the game using less than four first aid kits
Finally, reload that last save and pop as many Medkits as you can. If you’re not able to use 8 or more, go into the final boss and take some intentional damage. After popping 8+, kill her.

Hypochondriac
Complete the game using at least eight first aid kits