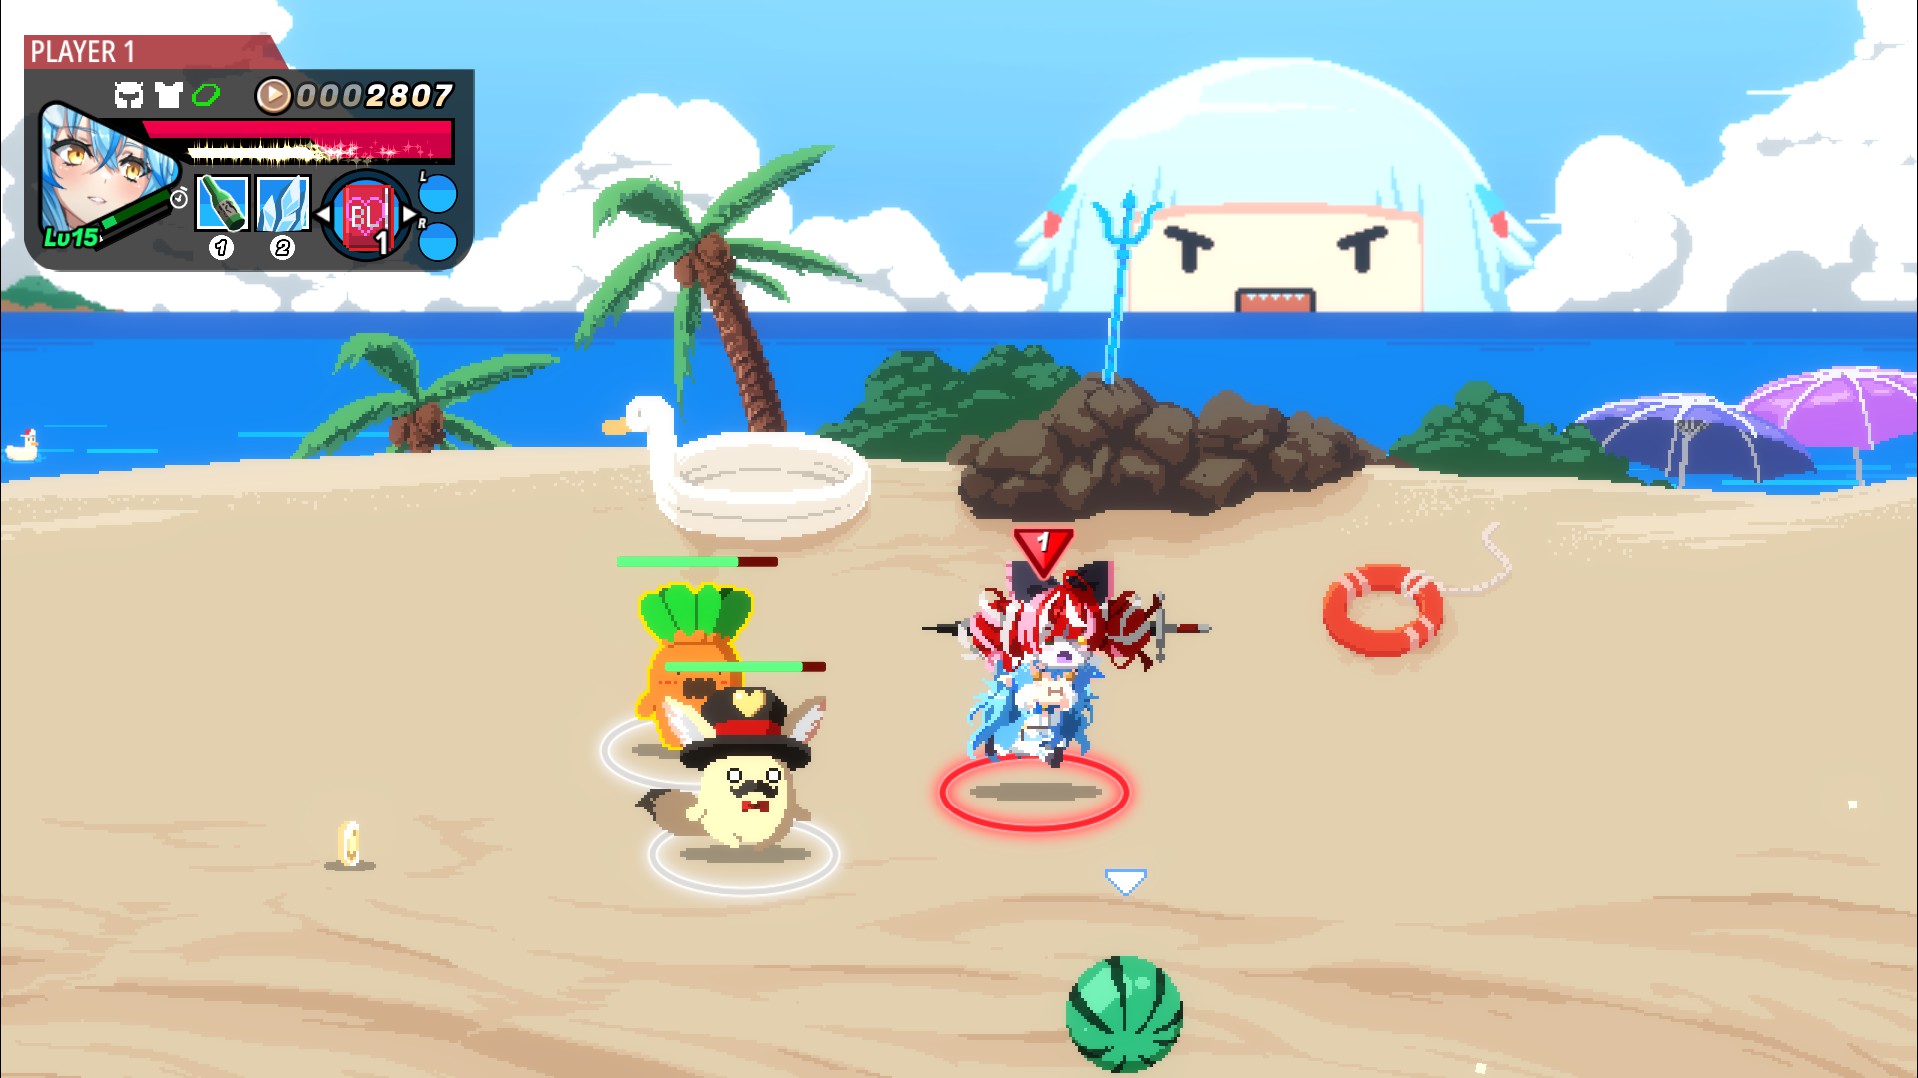
Holo x Break is both a Beat’em up and a Roguelike, so might get some players by surprise due its (AT FIRST) high difficulty. Here I’ll cramp various tips and overall advice to have a solid run.
What Is This About
Holo x Break is actually a very short game, both in Normal and Hard. However, some players might find difficulties with some basics, which builds to aim for, and dealing with the bosses. After a few runs however, is very easy to figure out what route to take and the enemy patterns.
Quick Disclaimers
Need to clarify the Elefauna in the room:
– THIS IS NOT A “WHICH IS THE BEST CHARACTER” GUIDE. I only play with the oshis from the two gens featured in the game: Lamy from Nepolabo/Holofive, and Laplus from Holo X. If you want a quick rundown of the two, Lamy nerfs enemies and freezes them for easy kills but needs some timing for her skills, while Laplus is a powerful zoner which needs some distance to wipe out enemies. I might mention Nene in a few points since she’s a healer and is a strong pick for that trait alone.
– I MIGHT NOT COVER ONLINE MODE WHEN IT DROPS. My internet has some hiccups every now and then, and depending of the game’s netcode might not be the best experience to update this guide with in the future. I’ll still mention a few things that might become key when playing along other players.
General Tips
– The overall best stats will often be Attack, Criticals, and HP. Attack and Crits ovbiously will kill enemies faster and thus make it rarer to be overwhelmed by enemies. HP is mostly for survival, but the more you get the more hits you can take so given in Hard Mode you have no continues is nonetheless helpful.
– Use offensive items and keep healing items. Offensive items are plentiful, even during bosses which now and then an enemy will show up and drop one. Don’t hesitate to use them if really needed, as saving them for bosses might not be that helpful if you end dead anyways. I’ll mention how to deal with bosses later on, so don’t worry much. But if you wanna keep a weapon arround, baseballs tend to be an overall helpful option to keep close to you.
– You have a dodge. Use it all times. Dodging is obviously your savior to avoid damage, crowds of enemies, and some big boss attacks. You can try to avoid at the right timing to gain some extra likes, as well some equipment will give it additional effects. Dodging can also be used as your run button, letting you gather items faster, approach your teammates and allies, or simply run through the stages faster.
– Only spend money on equipment. Items are plentiful during a run, and you’ll often pile way too many to keep collecting offensive items and heals. The money you are spending on Nodoka’s items could be used towards equipment, either buy new ones or upgrades. Otherwise you can get some Emotes instead.
– Enhance once, Upgrade often. Enhancing is very RNG reliant, specially for the max enhancement being 12% success. So you might be better burning money on emotes instead of trying to go for the final enhancement (Unless you want the achievement). Focus on upgrades instead, specially if your equipment already has ATK or CRIT to let you clear areas faster.
– Time when you activate your Power and 2nd Ability. Due being charged attacks, don’t be a fool and use it in the middle of a crowd of enemies or a boss attack. Your allies can tank hits so can become a shield while you charge, otherwise wait to have a bit of distance (Usually when enemies spawn). You can also prepare them after knocking down enemies and bosses, letting you go for a big hit right away. Lamy for example has a chance to freeze enemies with these attacks, so the moment they stand up they can be frozen to go for the kill.
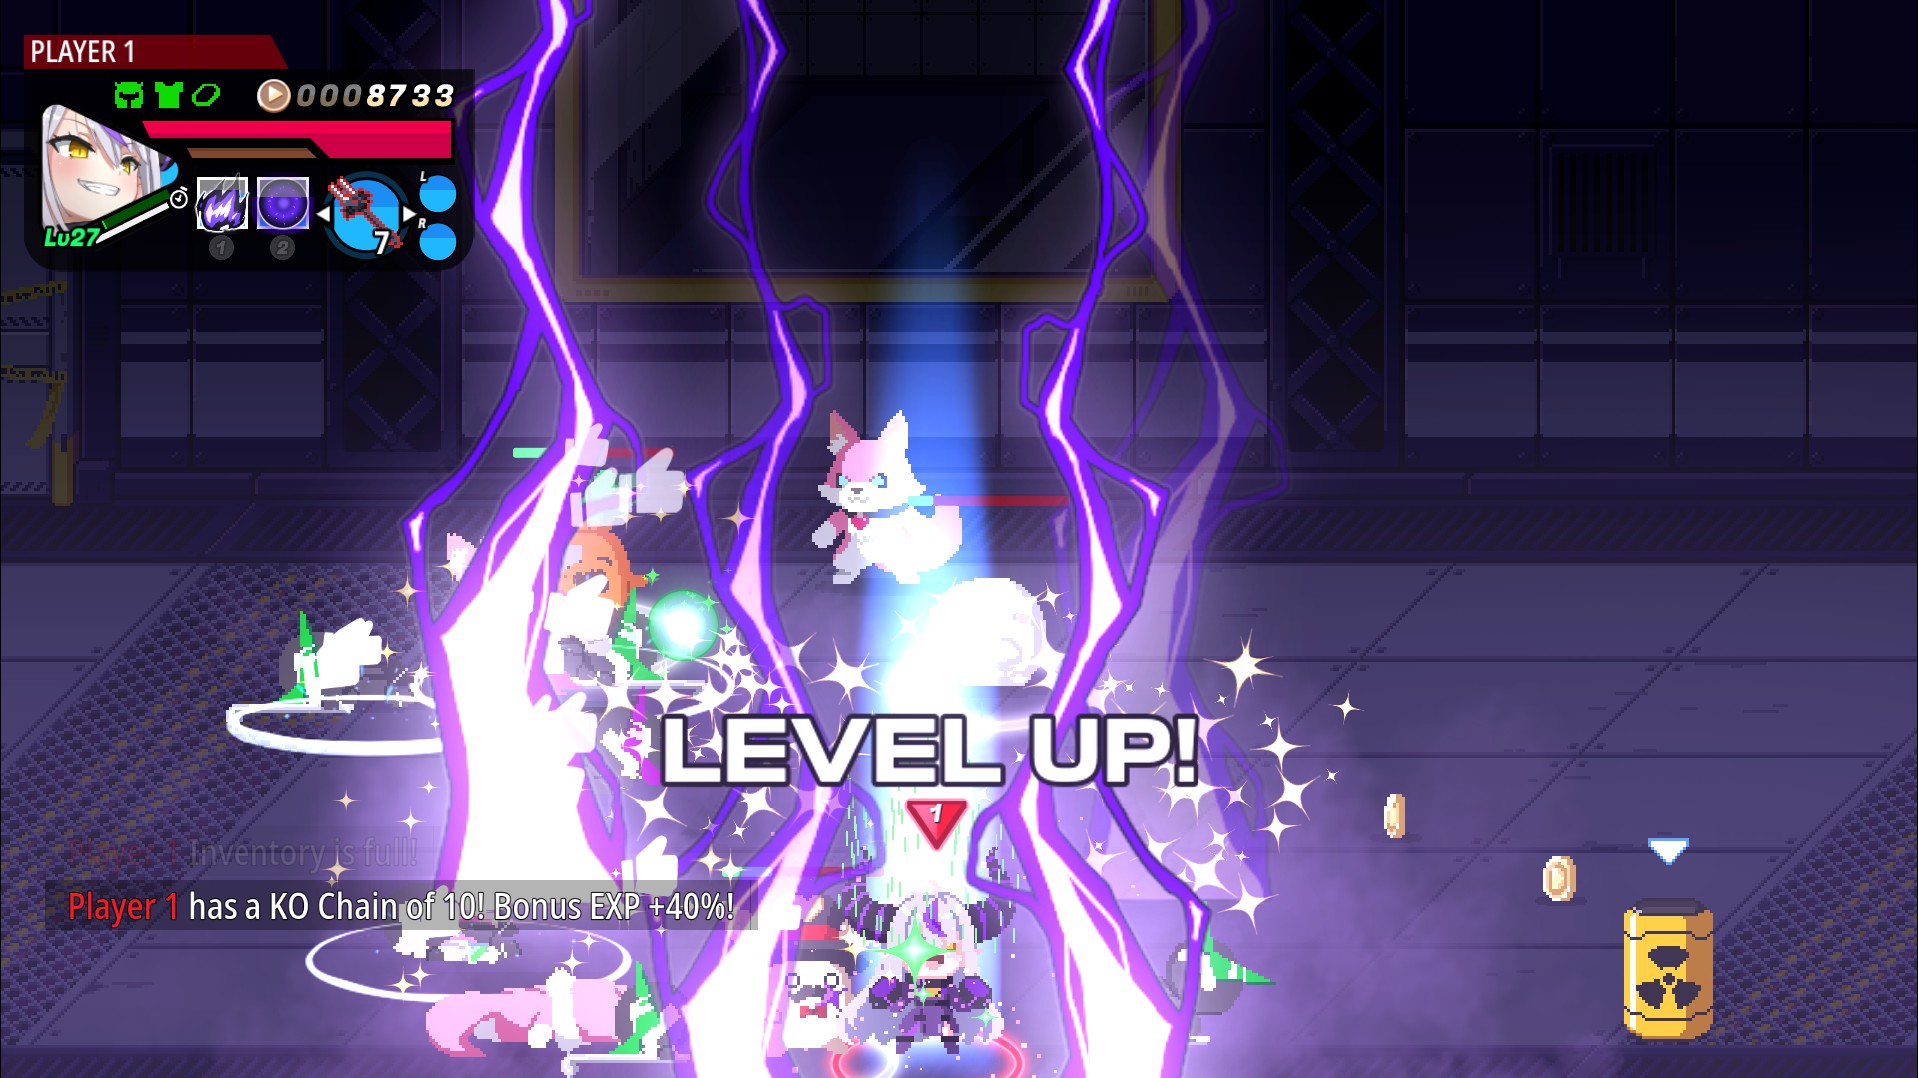
– Don’t hesitate to use your 3rd Ability. The 3rd Ability will often lead to a total wipe of all enemies on screen, as well giving you invencibility for the duration of the attack. Not only that, but using it against big numbers of enemies can increase your combo number and thus EXP obtained, making it an easy method to level up.
– Superchat item can save your allies. This is an obvious tip, but there’s a few of points to mention:
1) If your inventory is full and you find Superchats, drop any item, pick the Superchats, and use them.
2) One Superchat can heal several allies at once. So try to pile them up and get better results from each Superchat.
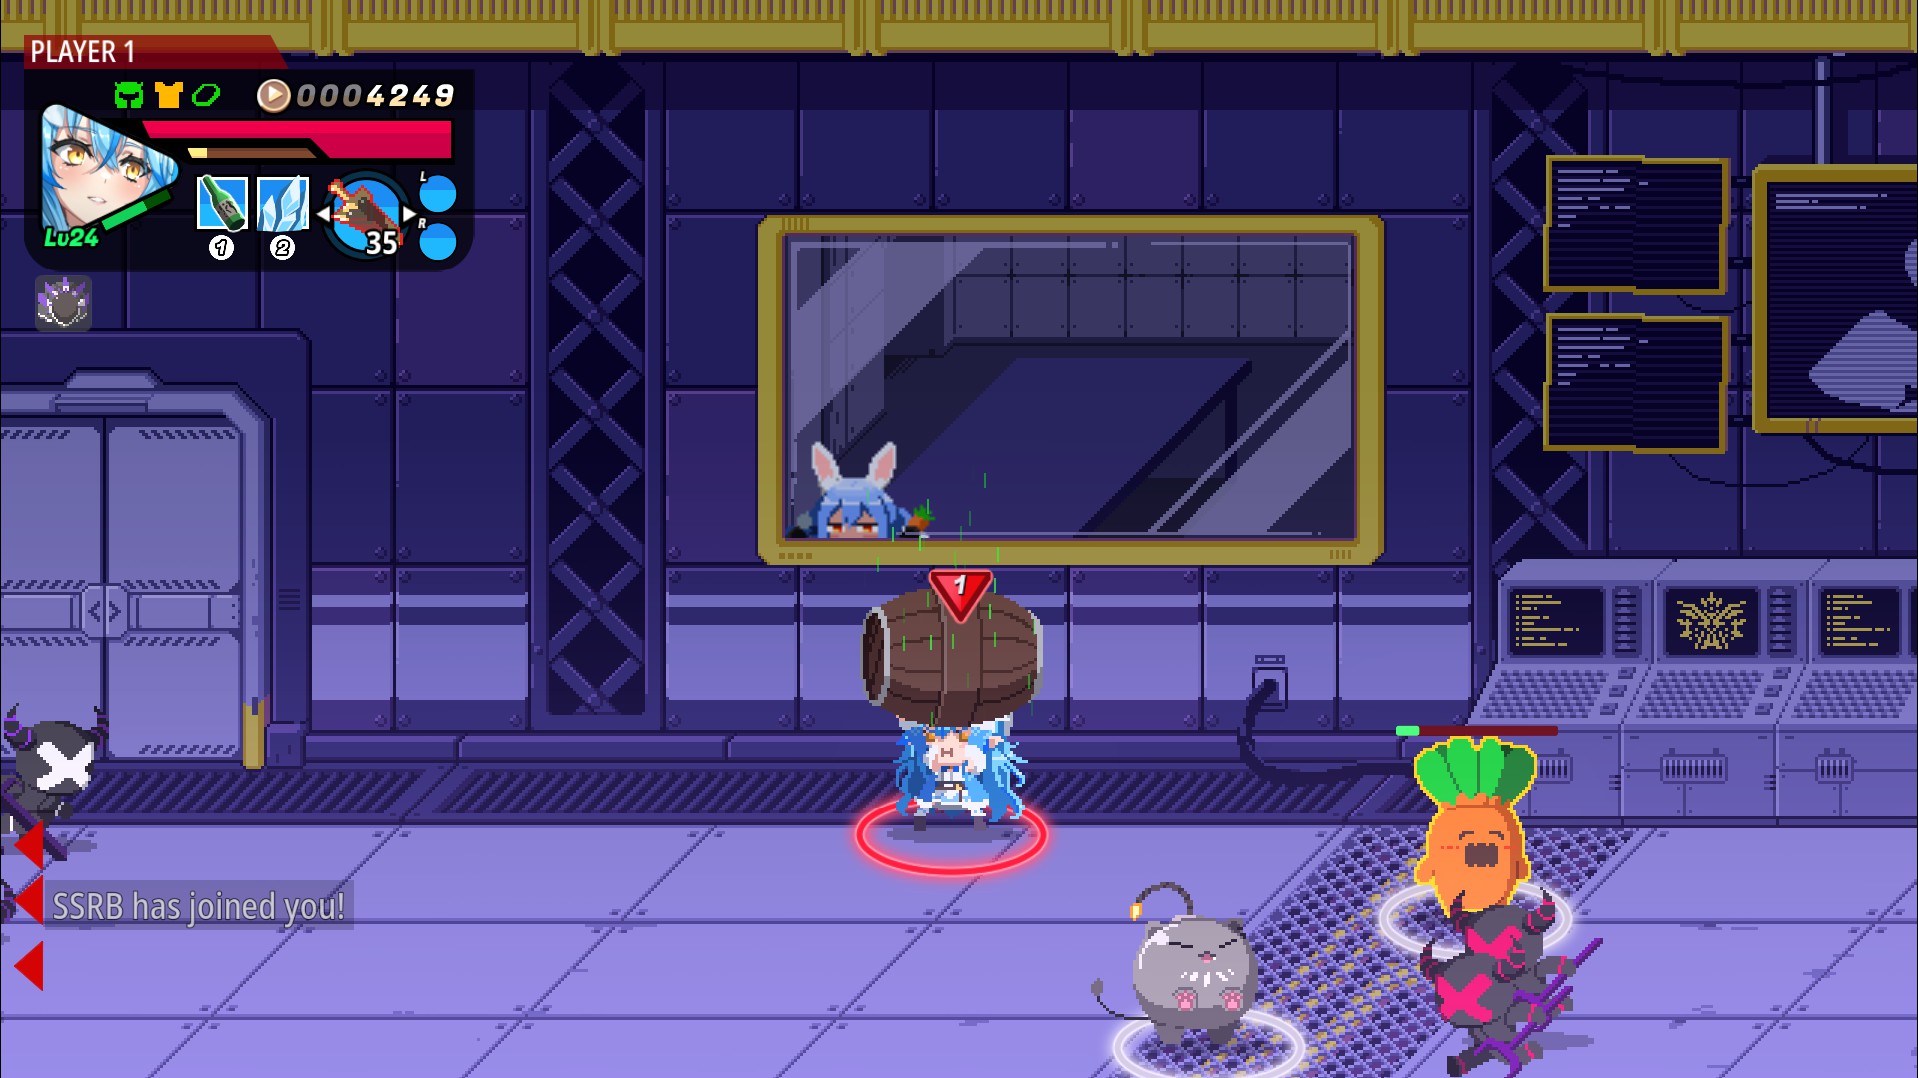
3) Yukimin should be the priority to heal, as they are healers themselves. During fights, Yukimin will spawn green orbs quite often, letting you keep healing yourself during the struggles.
– Barrels contain coins. If you find a barrel, use it until it breaks for big cash. However, depending of your character or the situation (e.g. Low health), might not be worth the risk, since the only way to break objects is by hitting enemies with them. Is still a solid method to gather more money to spend on equipment, so try to not hesitate.
– Some coins and items will spawn in the next section. Don’t worry if you miss a coin or two, specially at the end of a section. As soon you go to the next one, those leftovers will spawn right in front of you. So if you’re going for a quick playthrough, don’t worry much about some pennies.
Equipment
Being a Roguelike means finding the perfect build is up to RNG, as even if you find the best one the stats they grant can be the best or worst. I’ll separate this in two sections: My prefered equipment, and alternative equipment.
Prefered Equipment
– Happi Coat gives you overall autoheal, making things a bit less stresful when managing healing items. You can also try to stall some enemies or bosses to gain some health back, or take a small break when opening loot boxes to gain HP back.
– Boxing Gloves is a high attack boost to your normals and power attack. Mostly for the former, as depending of your character the latter will be rarely used. Pretty much lets you kill things faster.
– Nurse Horn much like in Holocure, is a strong healing item which triggers for each critical. If you keep dealing damage this pretty much keeps you healthy for most of the run. Some attacks with multihits will practically put you at full health even in the worst situations.
Alternative Equipment
– Kimono heals you each time you use an Ability. Is the Plan B if you don’t get Happi Coat during a run, as if you can use it with small cooldowns and/or abilities with long duration it can give strong heals during battle.
– Cat Pin and Dog Pin reduces the cooldown of your first and second Abilities respectively. The former is the preferable, but depending of your character the former can also be quite good.
– Gaki Raincoat let’s you tank projectiles, which often become a major annoyance against some enemies constantly stunlocking you while taking chip damage.
– The Secret Society Helmet taunts enemies to attack you while giving a defensive boost. This can be mostly helpful to keep your allies safe from being mobbed, while in online play might be useful as a tank role.
– Captain’s Hat turns any healing source into a party heal. Although small, if you have Happi Coat it can keep allies and players alive more than you think.
– Time Ring shortens the charge time of both Power and the 2nd Ability. This can become quite useful if you wanna try to spam your Power, as well have your second ability ready to go whenever is truly needed.
– School Uniform grants several buffs if you keep your health high. If used with healing abilities and equipment, it becomes into a very powerful option as long you don’t become reckless.
– Golden Apple Grants a strong healing along faster reviving. This makes any healing source enough to keep you alive for long, while the revive will be mainly helpful in tough situations during online play.
– Reaper’s Cloak allows your dodge to deal damage. Although small, is nonetheless another tool to keep defeating enemies while you play evasive.
– Nephilim Wings on the other hand makes your dodge and invincibility be longer. This can be quite useful for players that struggle with timed dodges, specially some bosses’ attacks.
– High-Spec Glasses keeps rising your Crits by 2% as long you don’t get knocked down (Up to 20% increase). Despite the demerit, unless you become greedy is quite easy to keep the buff active. And if you get knocked down no big deal, as only takes ten seconds to be at its max stats again.
– Earphones gives you a chance to avoid an attack and cause knockback. Personally I don’t like RNG based equipment, but this is one of those that is worth the coin flip to save you from incoming danger.
Enemies and Bosses
Enemies
This section will be a quick one, as most enemies are either melee, projectile spam, or have super armor. However, I wanna mention two specific enemies that can become a problem if not handled properly.
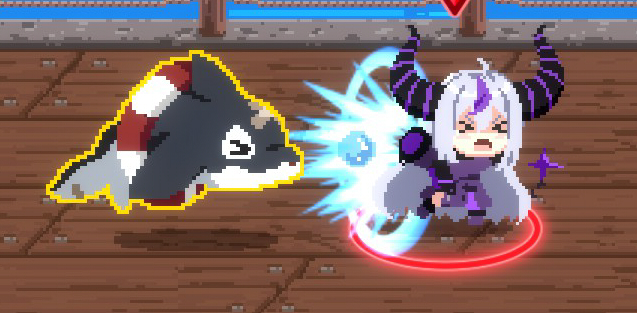
Shiikuin (Or simply Chloe Orca) Is the most annoying of the Holo X midbosses. Either throws bubbles that covers a big chunk of the screen, or go full speed to ram you. Both attacks have super armor, and will often happen when knocked down. Make it a priority to defeat it even if there’s other midbosses.

The Holo X mages can become the run killer if not dealt quickly. There’s fire and ice mages, but the latter is the biggest threat. They can freeze you AND even freezelock you if not avoided quickly. That means becoming a sitting shuba to take tons of damage.
Bosses
Here they come, the Holo X gang about to ruin your playthrough. Specially since depending of some of their attacks, relying on your third Ability can become useless due invincibility or simply tanking away all the damage.
However, they are quite simpler to deal with than you might think given some aspects all of them share.
1) Their attacks are EXTREMELY TELEGRAPHED. You get a pair of seconds to prepare for most of their attacks, and otherwise will be wide open to take some damage. Just be aware that they can still poke some damage every now and then.
2) They will always attack AFTER BEING KNOCKED DOWN. This is the biggest weakness of these bosses, as will often be attack until they fall, avoid their attack, and go in again for more damage. Play safe, let them attack, and go all out during those openings.
3) They STILL TAKE DAMAGE ON SUPER ARMOR. Not much, but is worth pointing out for some strats. Some bosses will be open while doing certain attacks, so you can approach them through a safe area, or use items like the baseball to deal some chip damage. Excluding their ultimate move, most of these moves have a way to go through in one way or another.
Now let’s go through the bosses themselves:
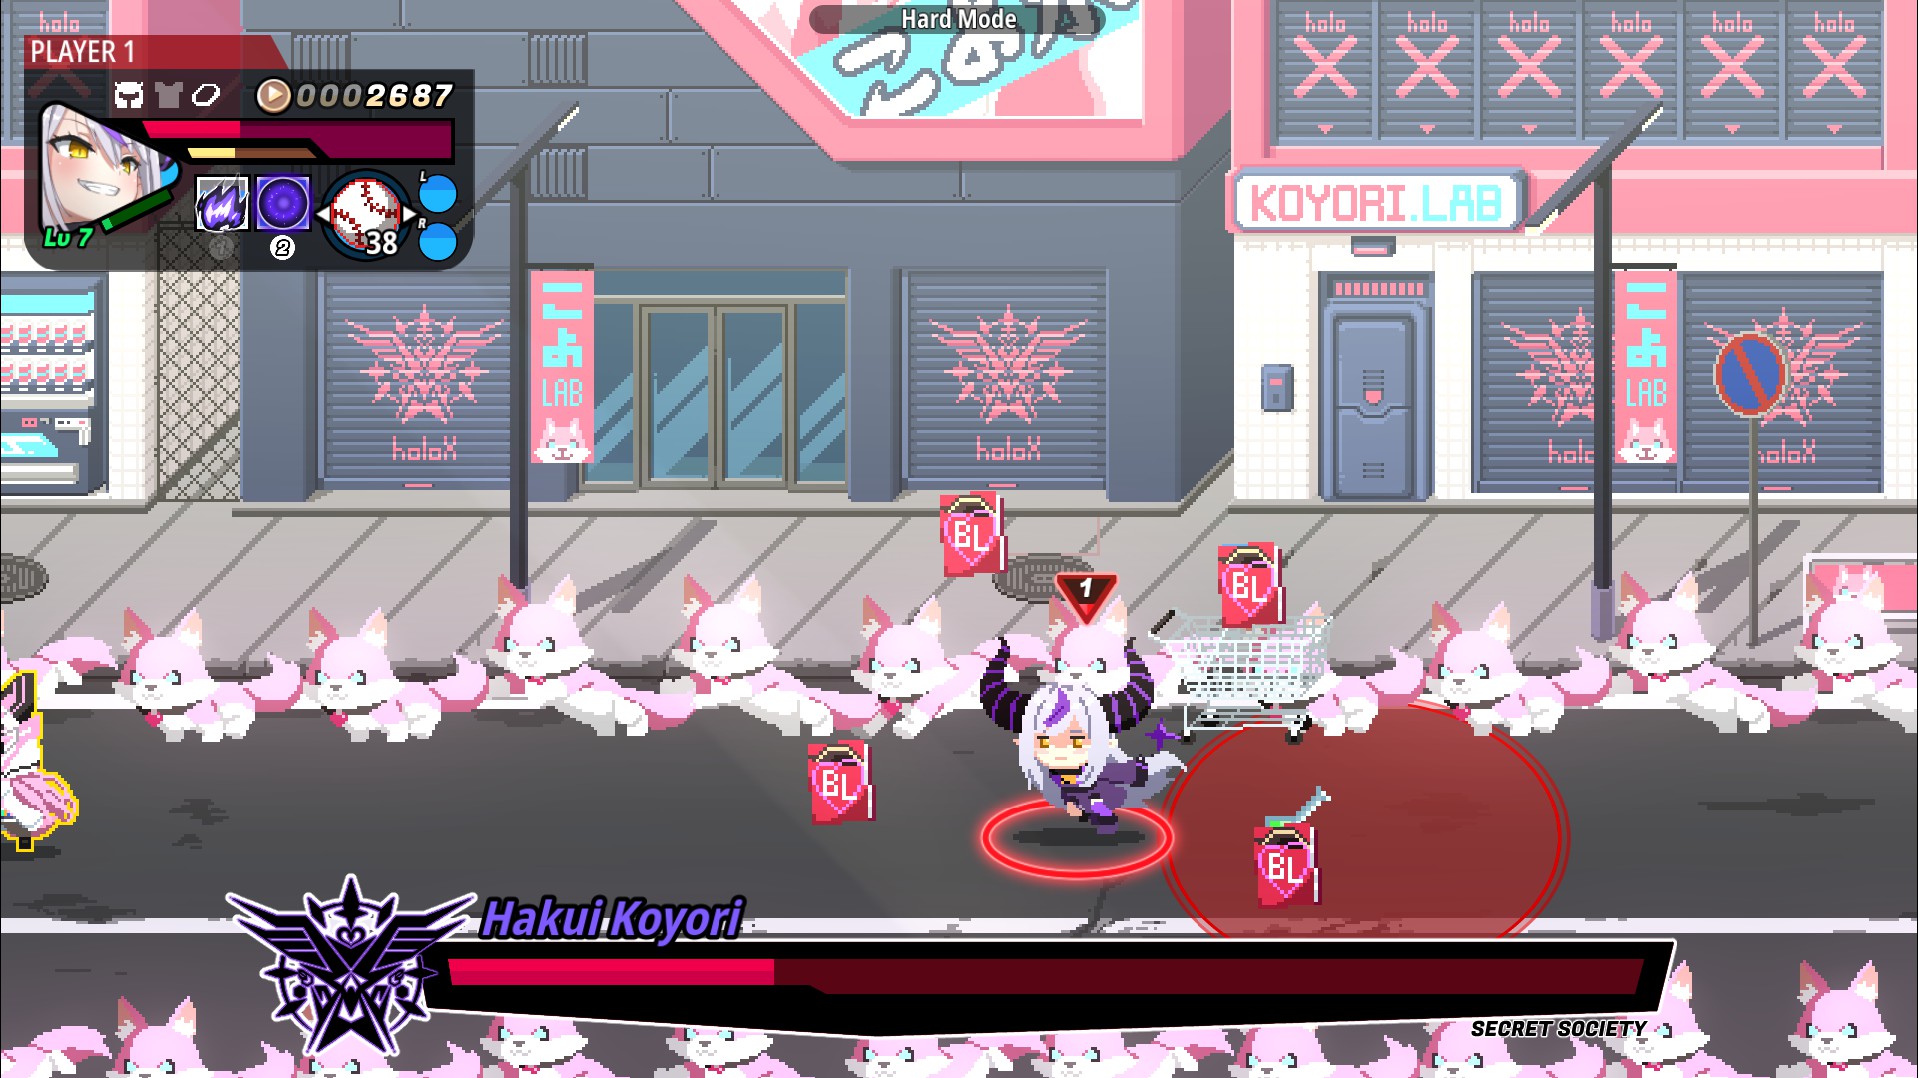
Hakui Koyori is without a doubt the hardest boss in the game, mostly because you don’t have any decent upgrades or gear when you encounter her. Her syringes is the biggest threat if you don’t see it coming, as everything else is quite easy to predict and avoid. However, some enemies as well the toxic potions she throws can become major distractions while she goes all Sans Undertale with her most recurring attack.
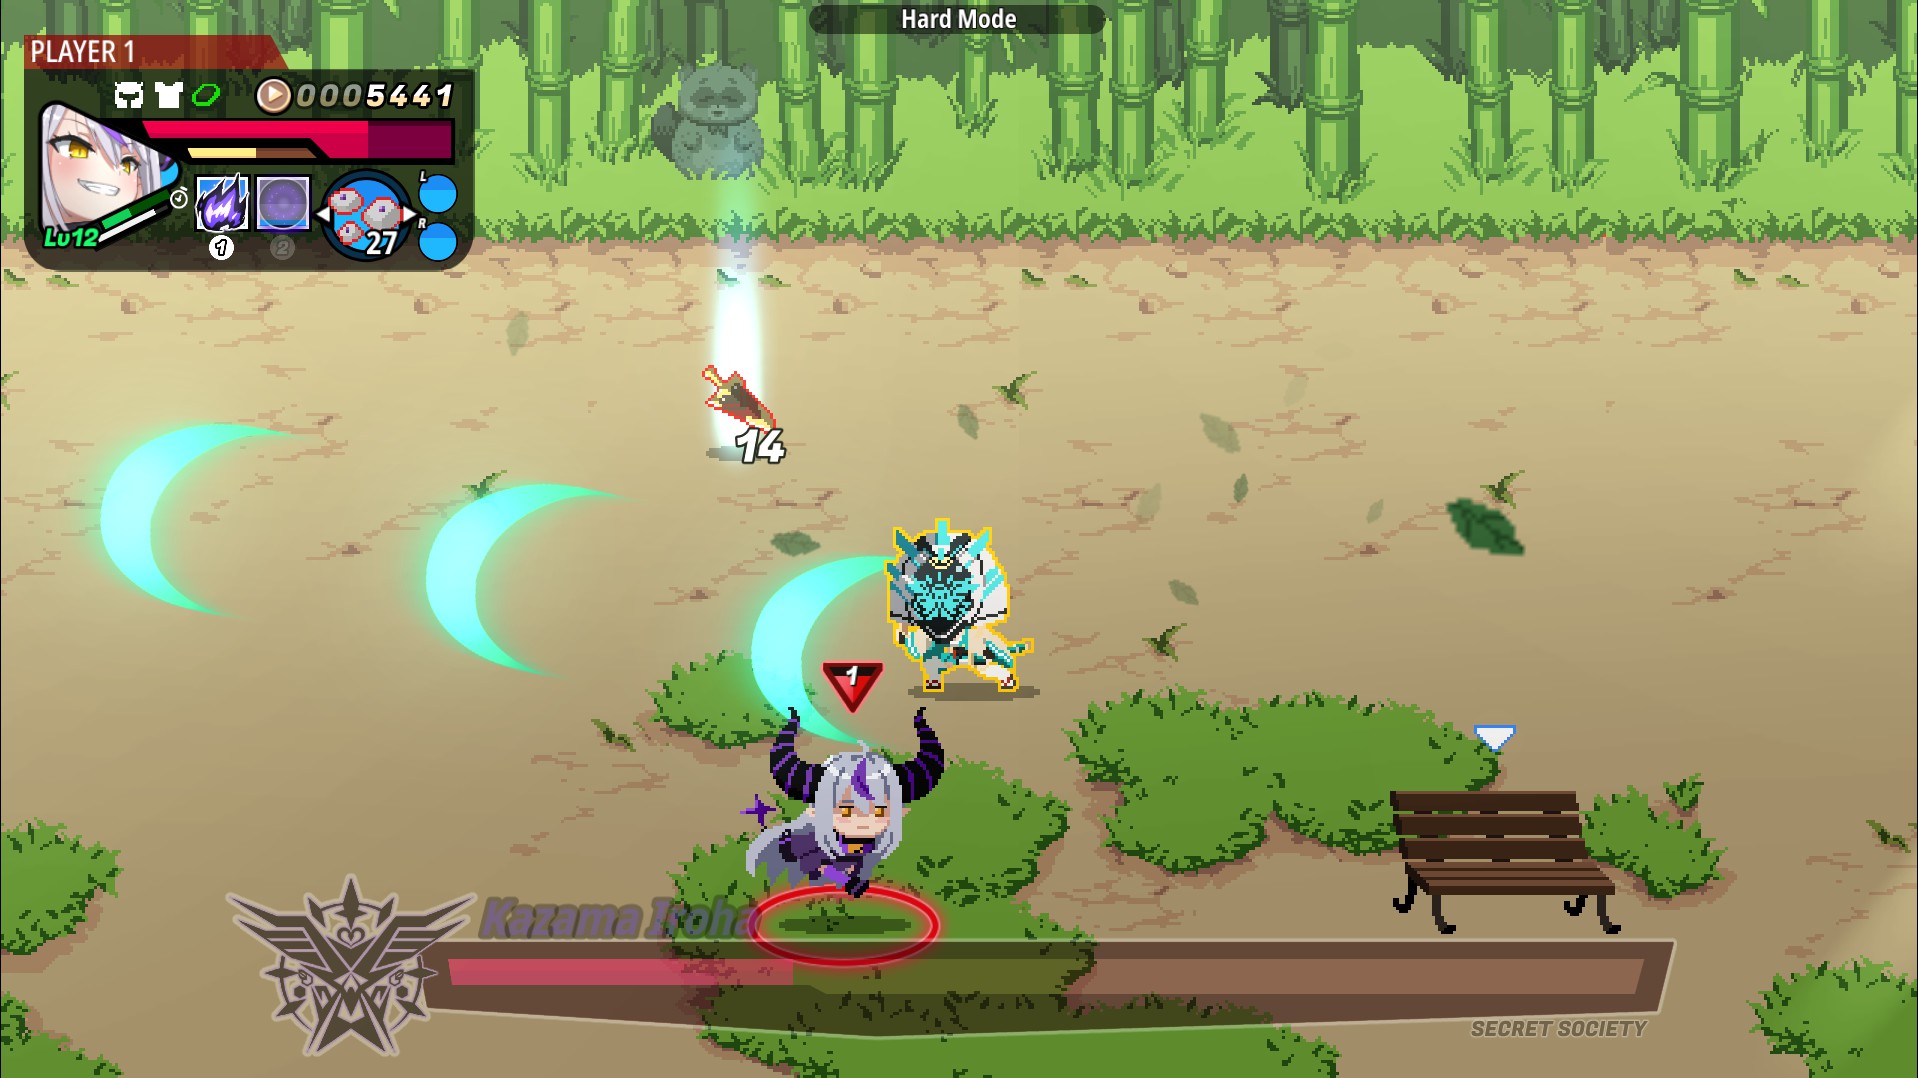
Kazama Iroha can be a bit stressful since she moves all over the place, but is actually the easiest to cheat out. Most of her attacks follow a straight line, therefore leaving her open to be attacked if avoided. There’s a dangerous move where she stands stills while aims, so once you hear a DING evade and go towards her to attack her while still doing that move. Her ultimate can be a bit tricky at first, but the timing is quick to figure out.
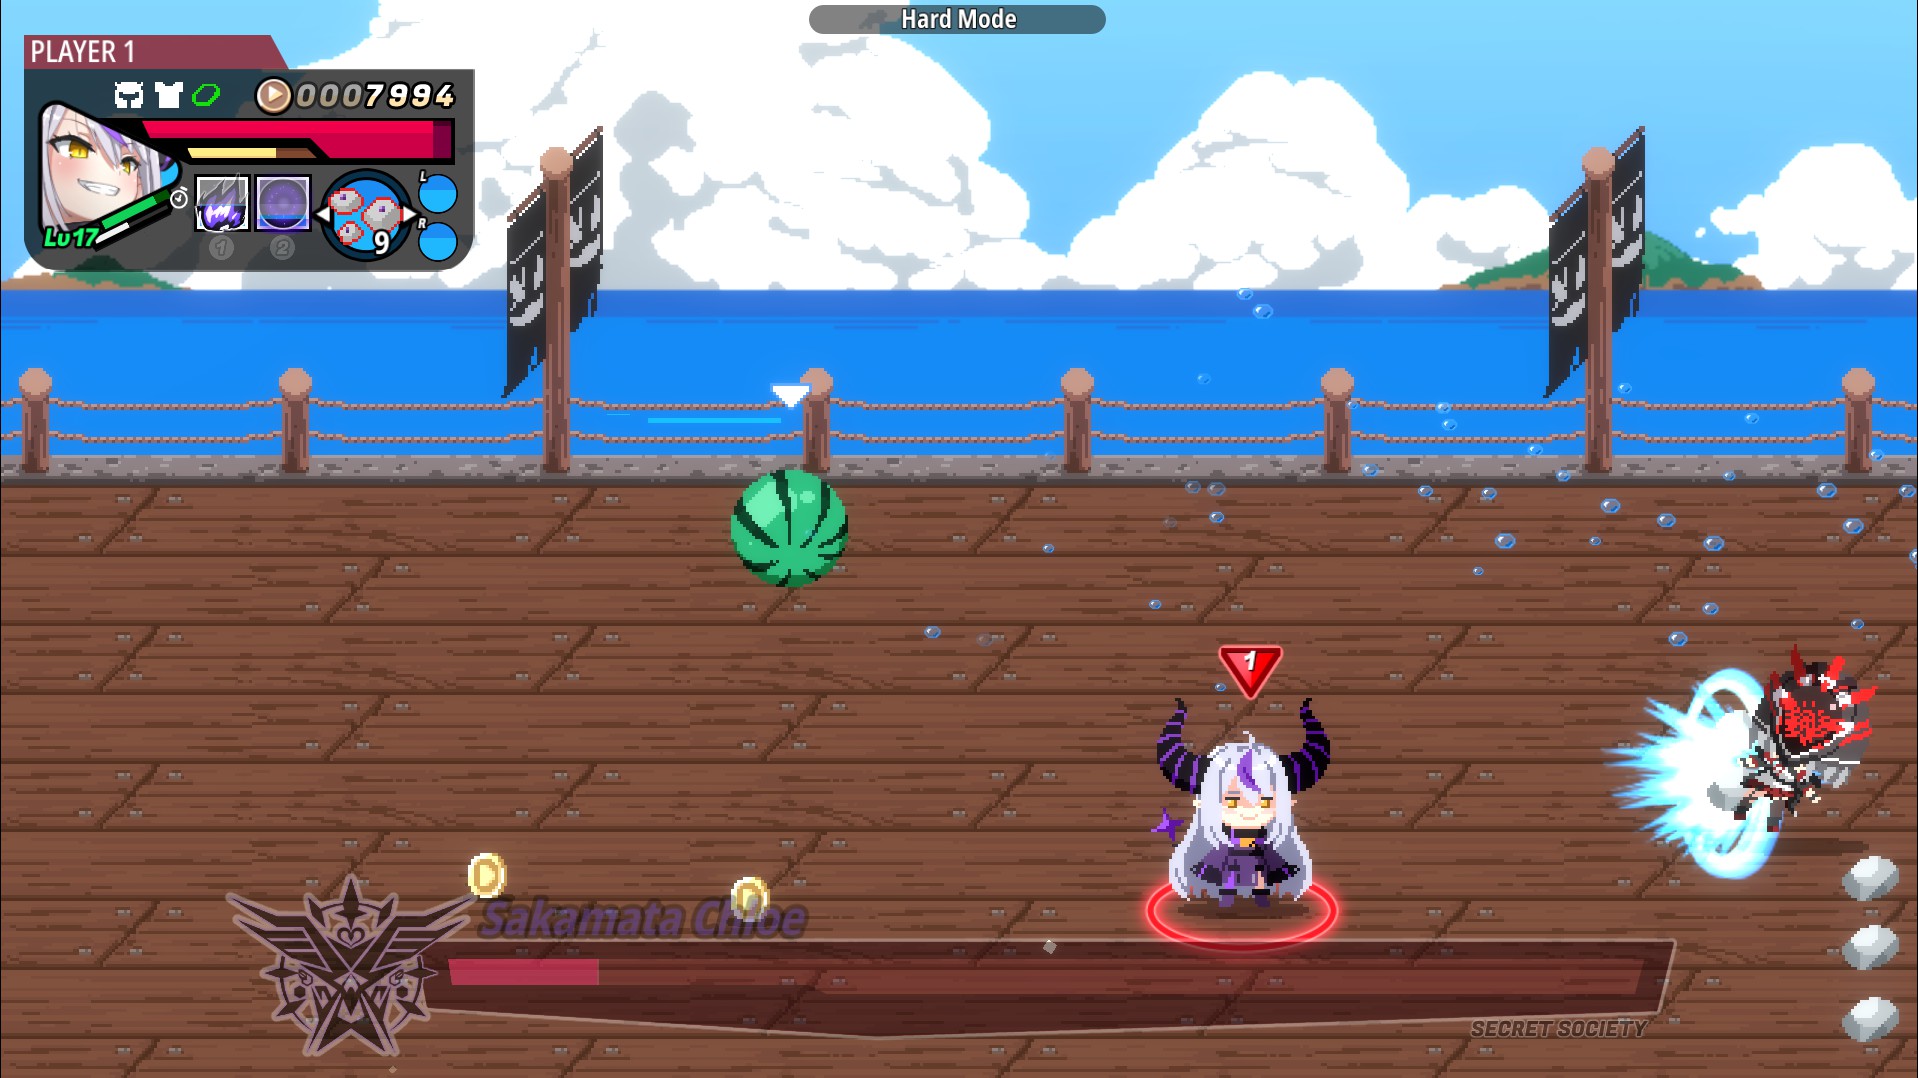
Sakamata Chloe is a tricky one, since has a wide variety of attacks including those from her orca friend. However, the one you’ll mostly worry for is when she runs through the area scrubbing the floor, as goes super fast and might hit you now and then. Her ultimate’s main problem is being distracted by an enemy or two that might spawn.
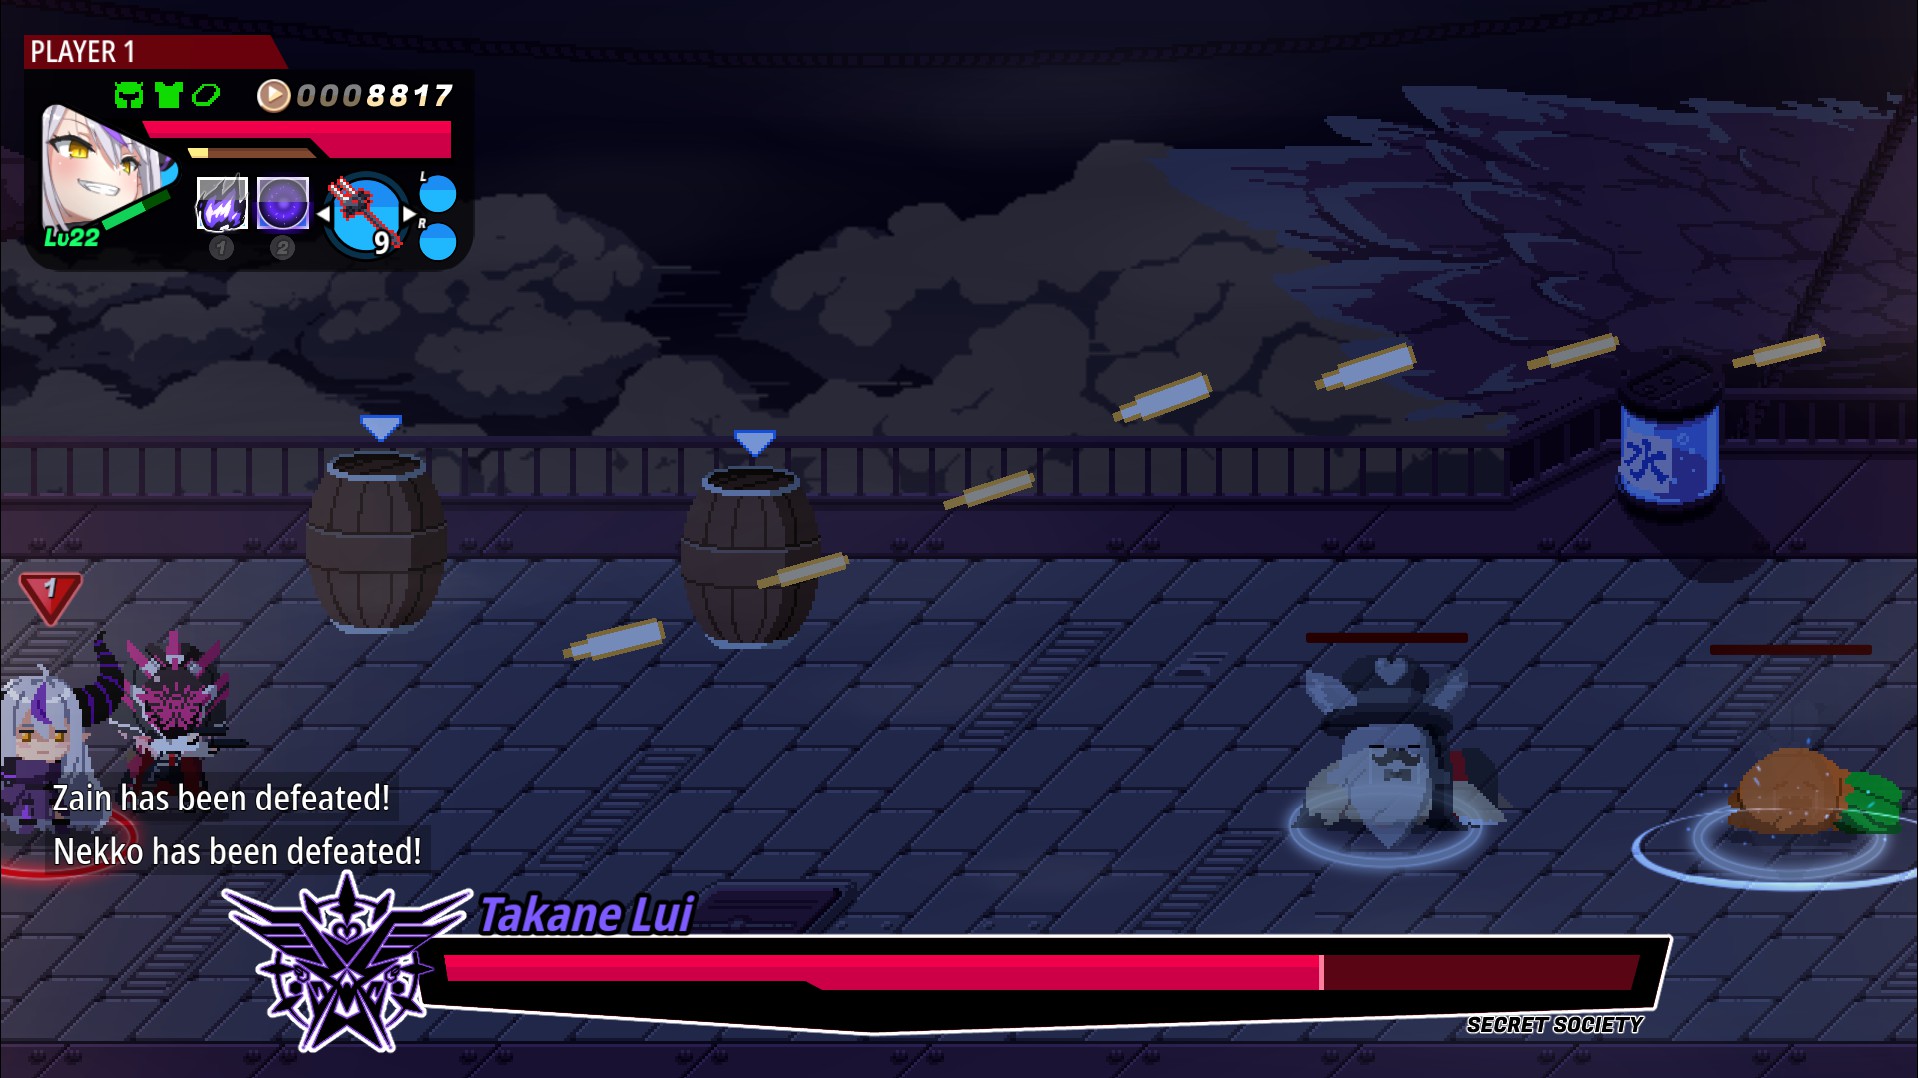
Takane Lui can be very scary since she will start shooting out of nowhere, stunlocking you in place. This can be quite troublesome given the stage keeps spawning tornadoes. However, once you have her figured out the tornadoes are the only issue, as she’s very easy to see through. Lui’s most common attack is going to each side of the stage to shoot you, but with the right location and some dodges you can get behind her and get some free hits safely. Her ultimate is nothing out of the ordinary, but given tornadoes will appear twice as hard can become a bit tricky.
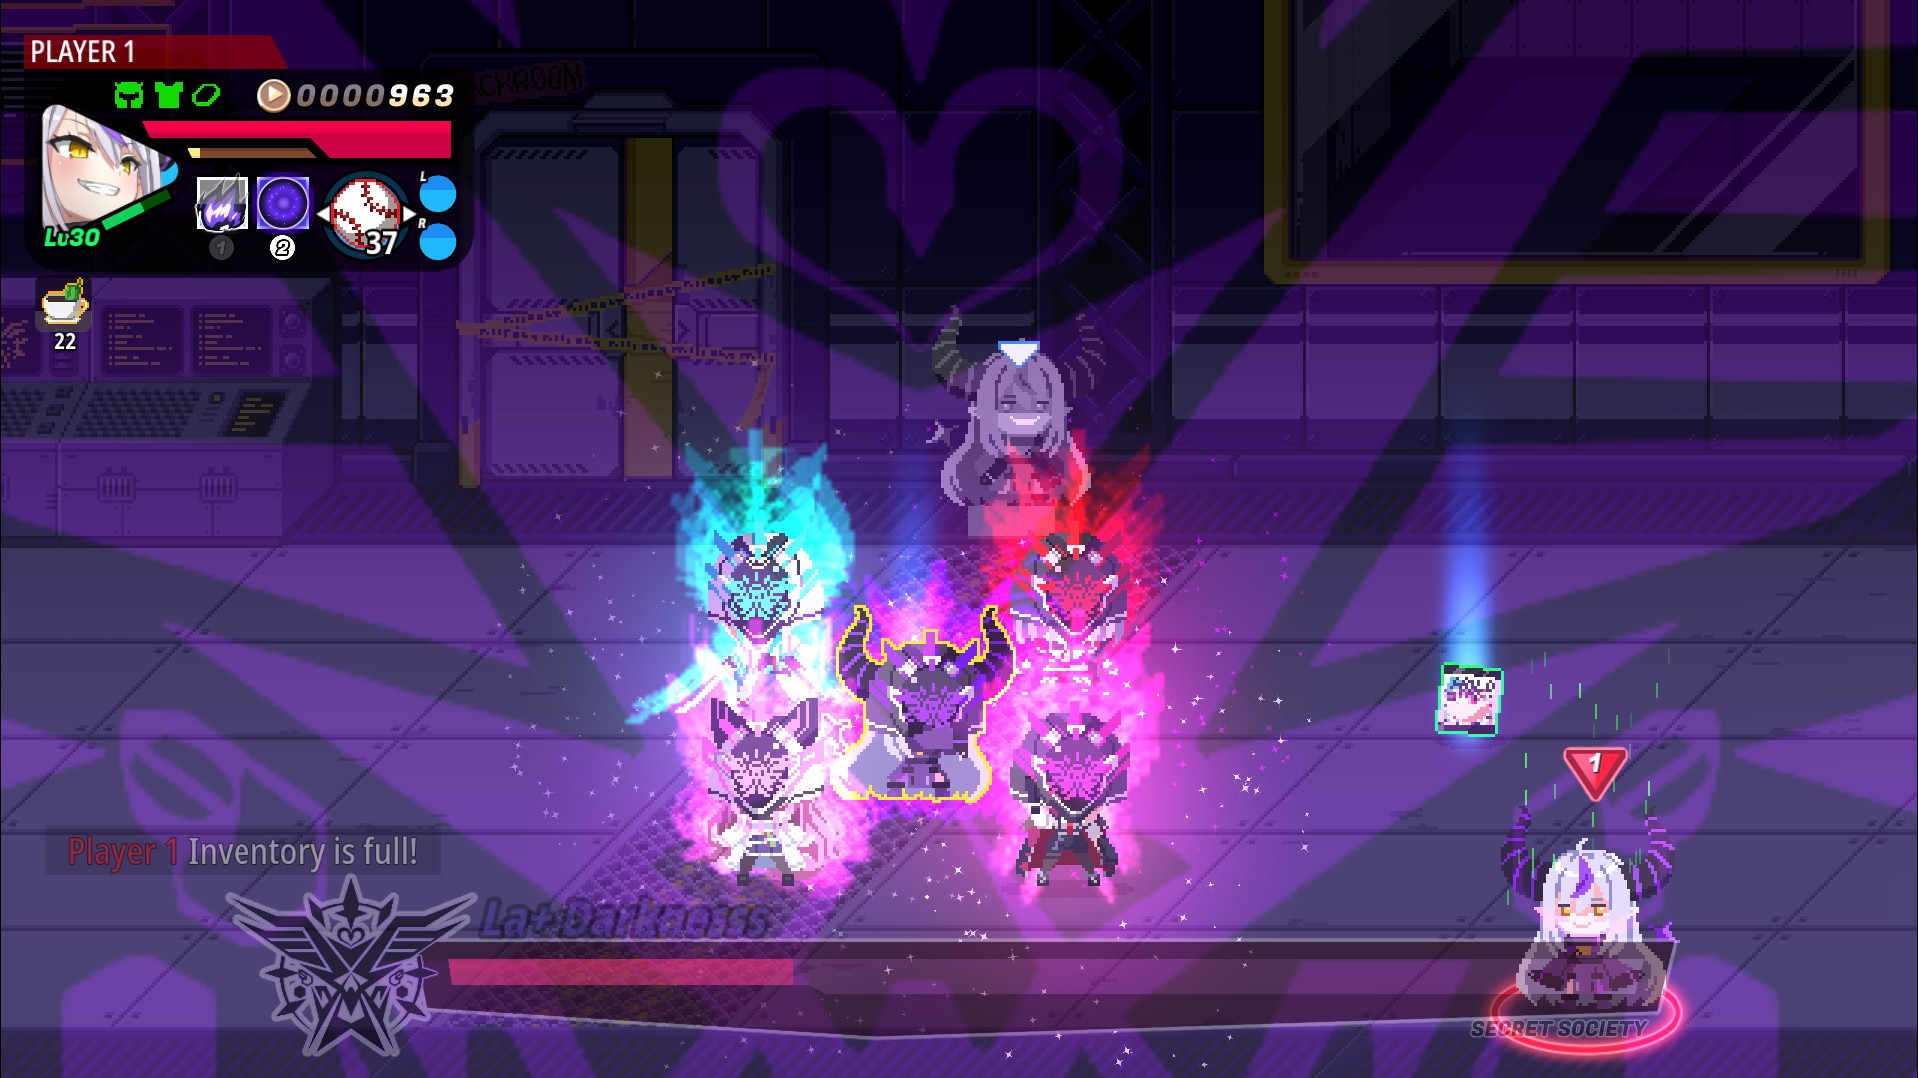
La+ Darknesss might be the final boss, but the biggest challenge about her is that keeps distance away from you as keeps shooting projectiles. Some items can cheat some damage into her, although dodging towards her might be enough to close distance. One troublesome attack is when she spawns orbs as a barrier and decides to walk towards you, but you can either dodge inside her barrier to attack her, or use baseballs to knock her back. Her ultimate is Holo X doing their most recurring attacks (Koyori’s Sans Undertale, Lui’s side to side shooting, etc) one after another so you know how to deal with them (They don’t take damage, however). This ultimate ends with an attack covering the whole stage except a few gaps, nothing hard except when a random enemy might approach you, hit you once, and put you on range of her final attack.
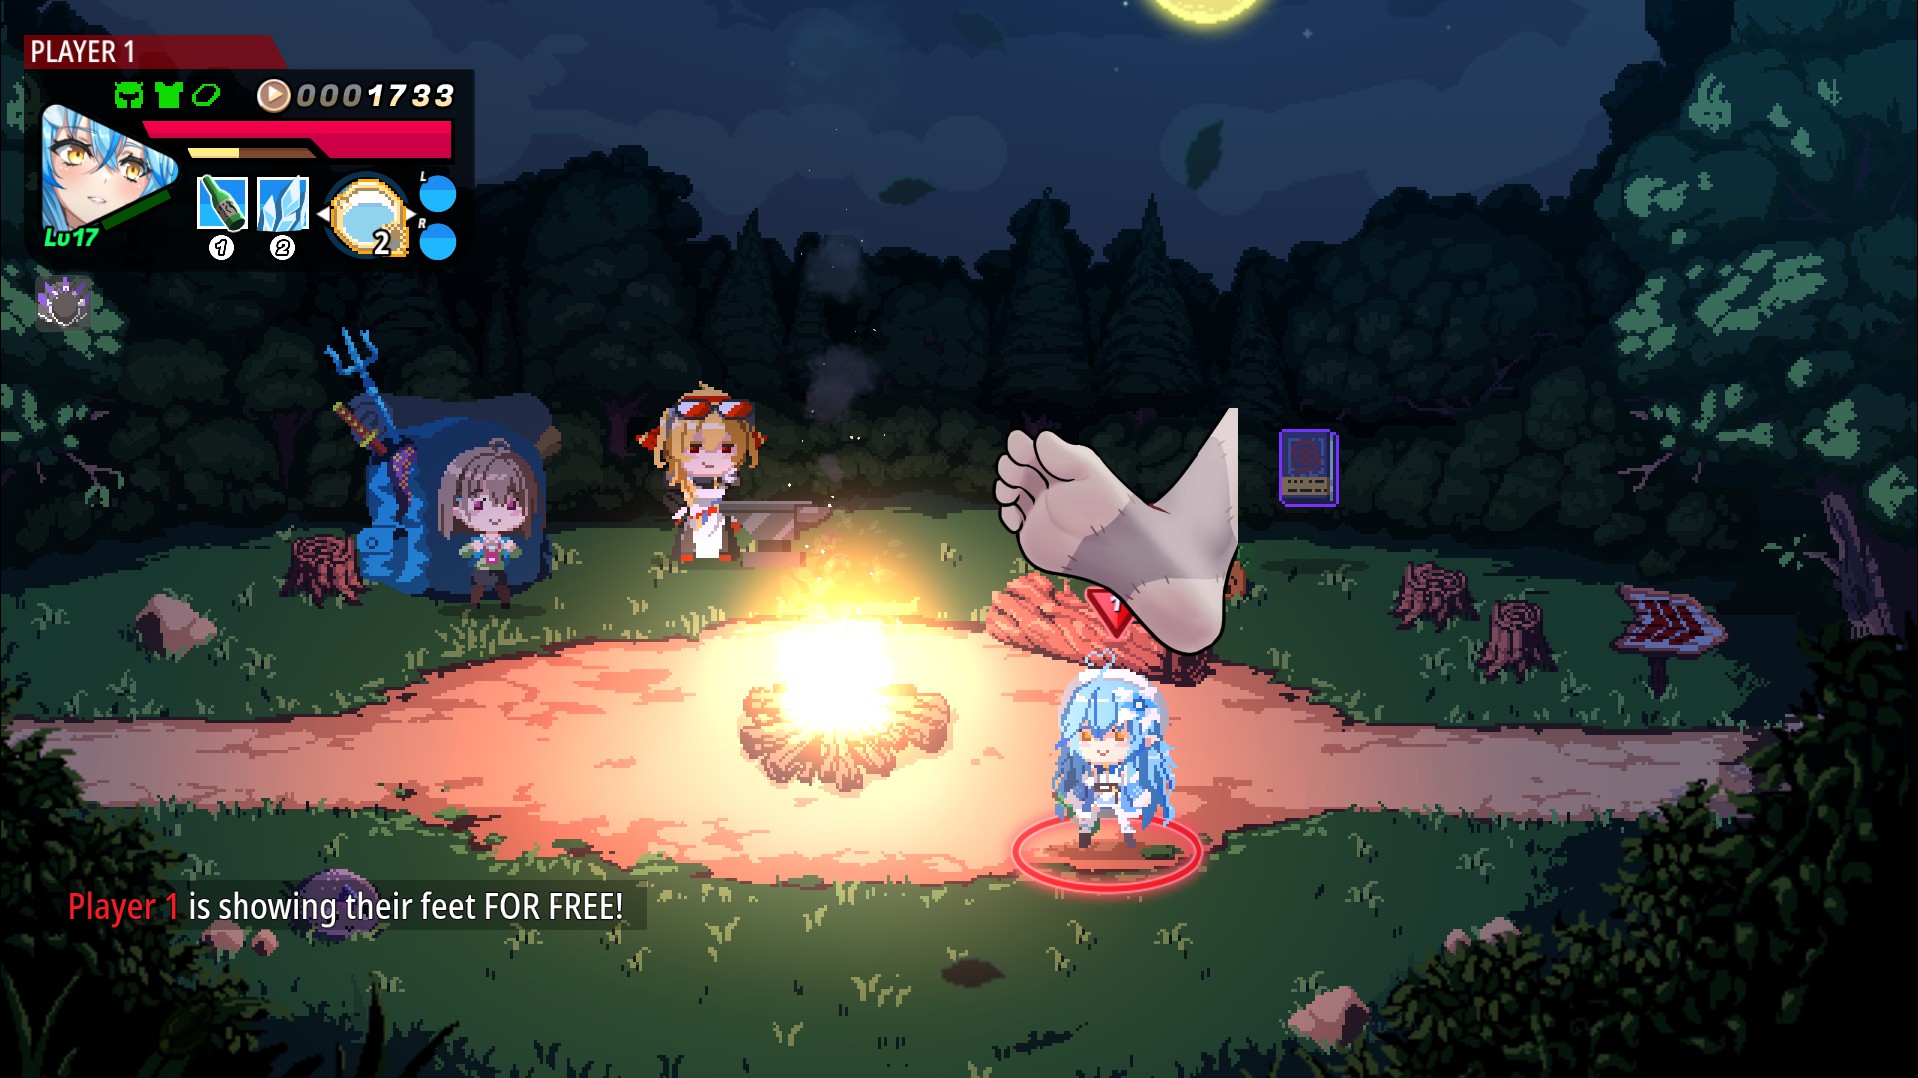
Epilogue (And the feet unlock)
Holo x Break continues my fascination for Hololive fan games, and making me work simple guides for mostly for the average players. Once Online and other updates come I’ll try to add more to it, but for now this is plenty enough for this wonderful experience.
Oh yeah. The feet.
On stage 3 you’ll see Ollie’s head that can be used as a weapon. DON’T. Clear the area first, then get the head and move to the next section.
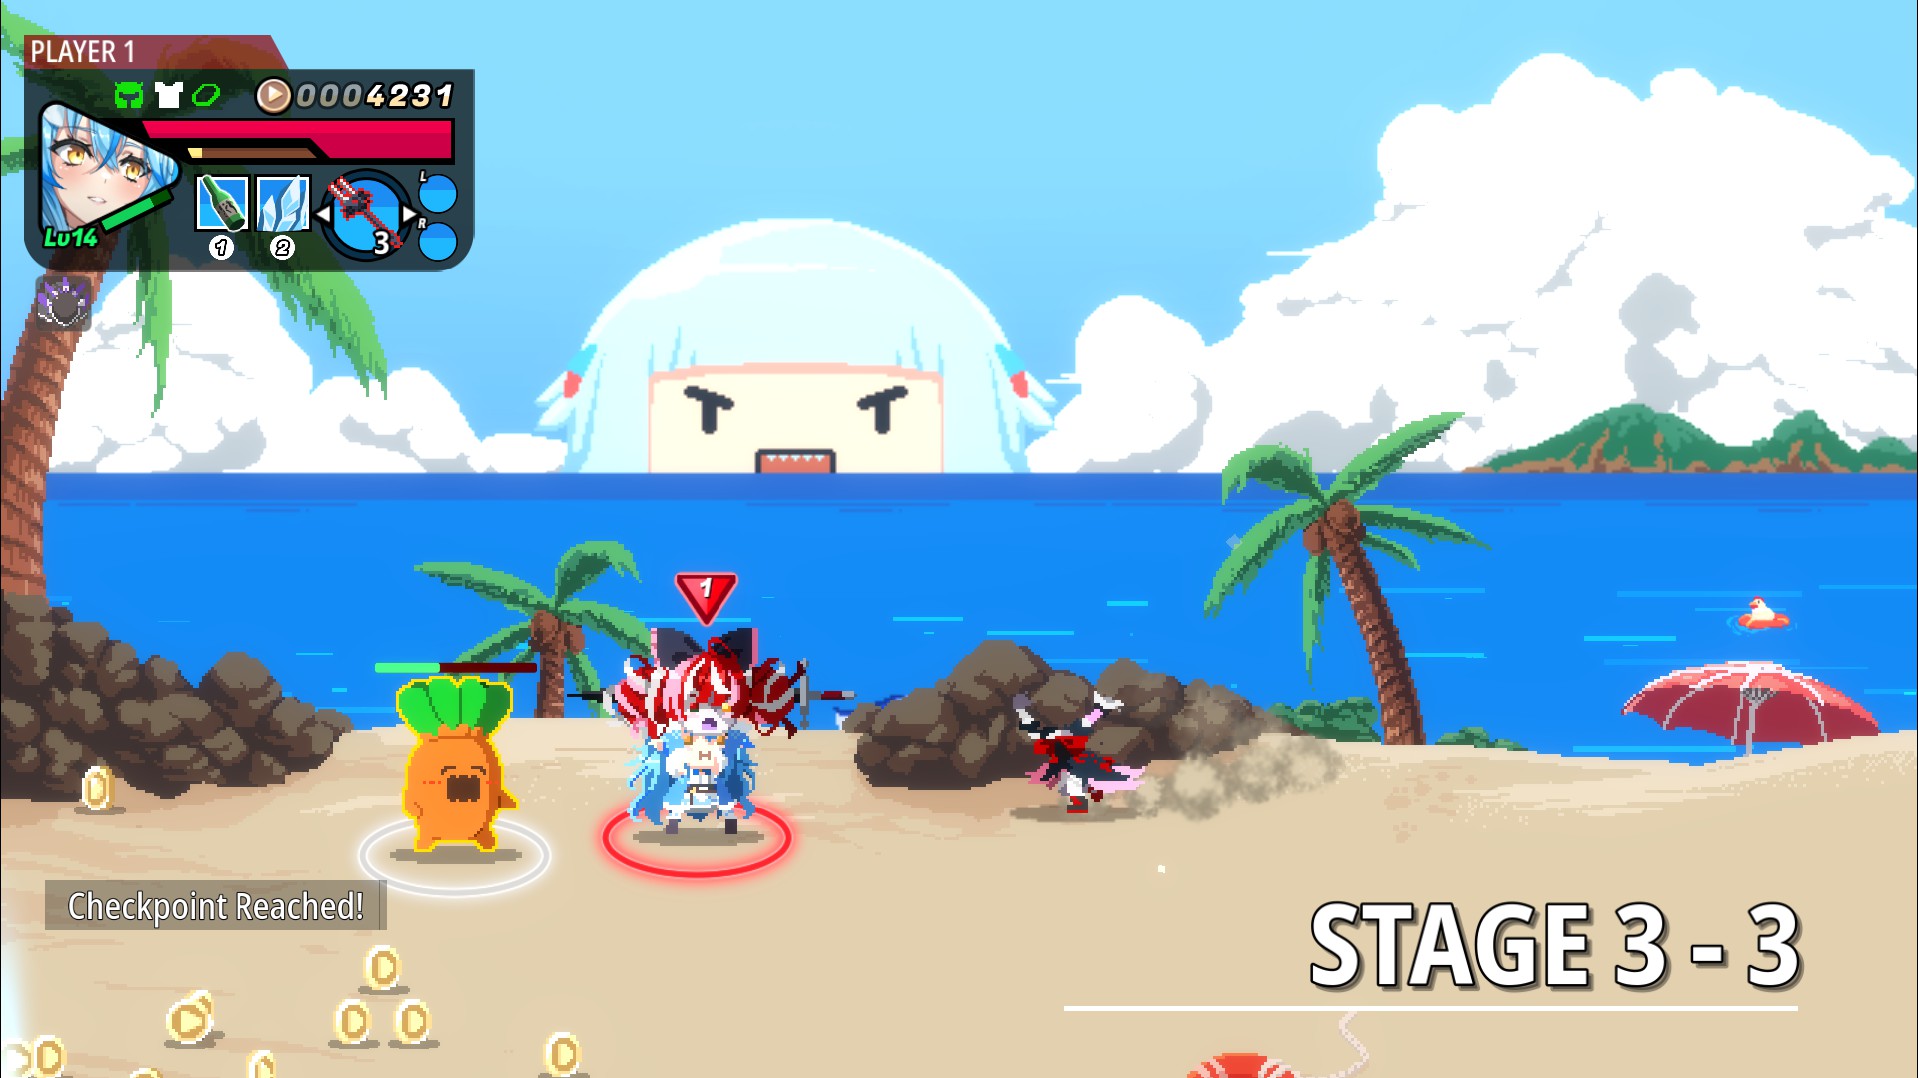
Right away you’ll see Ollie’s body running arround. Throw the head towards her and fix her up, granting you the ability to spam feet.