This is a guide on how to defeat the Hollow Knight boss Nightmare King Grimm, with an explanation of my methods and the behavior of the boss itself (to the best of my ability). Here, I’ll explain to you the different attacks of the boss, how to avoid those attacks, find openings in them in which to attack Nightmare King Grimm, and any windows in which you may be able to heal yourself if necessary. I’ll also be explaining my strategy and setup for fighting Nightmare King Grimm, and explaining my reasoning behind this setup to the best of my ability. I should note that I’m not all that familiar with other existing strategies/setup or if my strategy/setup is one other people already use, so there maybe better strategies and setups out there or there may be people out there who may be able to utilize my strategy and setup better than I can. I’m open to feedback on this setup and the quality of the guide as a whole, and please if you have any questions about the guide or its contents please don’t hesitate to ask I’ll be glad to help. Also I took my own screenshots for this while fighting the boss myself and the screenshot had a delay for some reason so I apologize if some of them aren’t the best screenshots.
Nightmare King Grimm Attack Patterns
There are 6 attacks you will encounter when fighting Nightmare King Grimm, all of them (except for the flame pillar attack) obviously primarily tending to be more fast paced versions of regular Grimm’s attacks that are more difficult to dodge, some because of the speed increase, and others because of the attack itself being more difficult to dodge.
For the sake of preventing this guide from being twice as long as it needs to be and because chances are everyone trying to fight this boss has already fought regular Grimm, I won’t be comparing anything Nightmare King Grimm does to the regular Grimm fight. I will however, note for your convenience here only once that unlike in the regular Grimm fight, all of Nightmare King Grimm’s attacks deal 2 masks of damage.
Also note that the names I’ve given these attacks are just what I call them, and I don’t really know if it’s the same as whatever official names they may have. If you’re unsure of what attack I’m referring to by what I call it, please refer to the image references given for each attack.
For sake of convenience, I’ll also be just referring to Nightmare King Grimm as Grimm, since we aren’t talking about regular Grimm in this guide anyways.
Dash Attack
The dash attack starts with Grimm at the top of the screen floating in the air. He will then quickly dash down at the ground (often towards you or in your general direction), and then quickly dash directly forward towards you directly, stopping immediately if he reaches the edge of the arena. Both dashes during this attack will leave behind a trail of flames that can and will hurt you if you touch them. After the end of the second dash, Grimm will quickly teleport away.
Uppercut Jump Attack
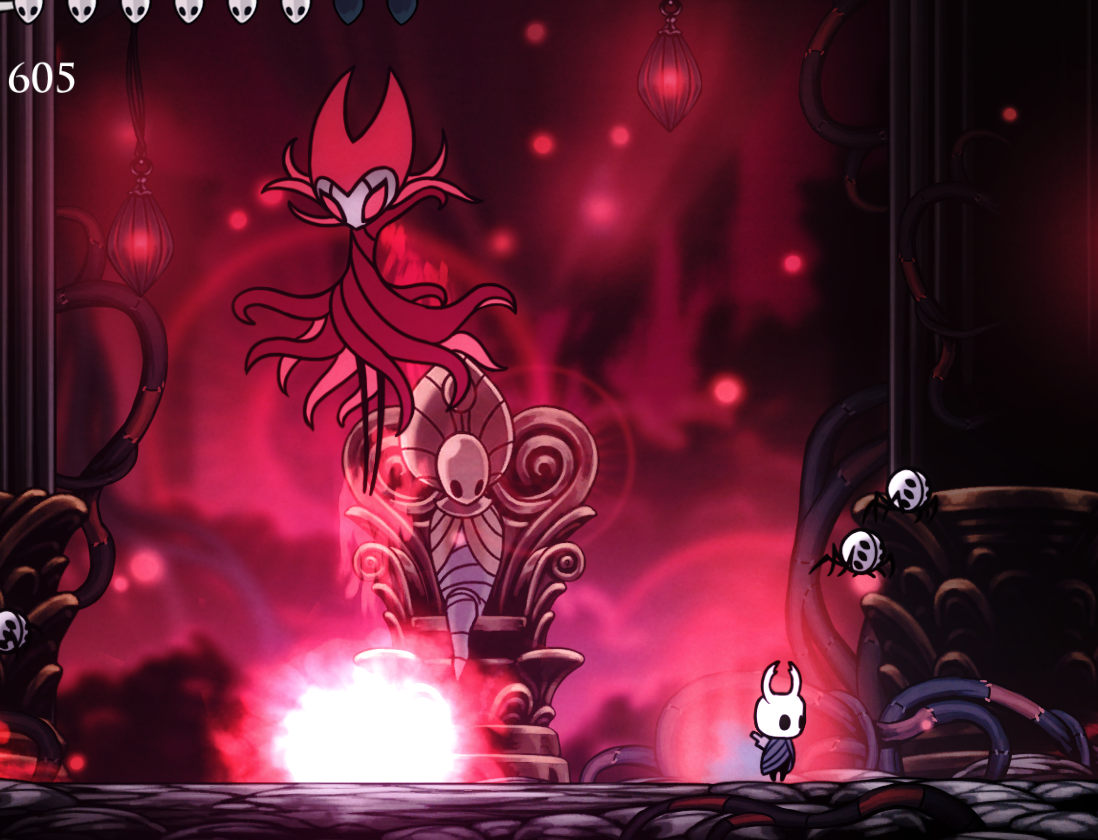
This attack starts with Grimm teleporting onto the ground, generally somewhat close two you, and will then almost immediately after swipe at you with his hand, moving right at you, but not nearly as far as the dash attack, and generally won’t reach you unless you were already very close to him. Then he’ll swing his arm forward and upwards as he very quickly jumps up to the top of the screen, moving slightly forward as he does so. as his hand starts to go off the screen, he’ll begin to teleport away, scattering roughly 6 large balls of flame across the arena, each one always landing at specific distances from where Grimm was when he teleported.
Ranged Projectile Attack
This attack starts with Grimm teleporting onto the floor, often a large distance away from you, although not always, and then extend an arm outwards, holding his cape. He will then immediately consecutively fire out 4 fast moving projectiles in the following pattern: the 1st and 3rd projectiles are in the air, and the 2nd and 4th projectiles are close to the ground. he will then teleport away roughly 1-3 seconds after all 4 projectiles are launched.
Spikes Attack
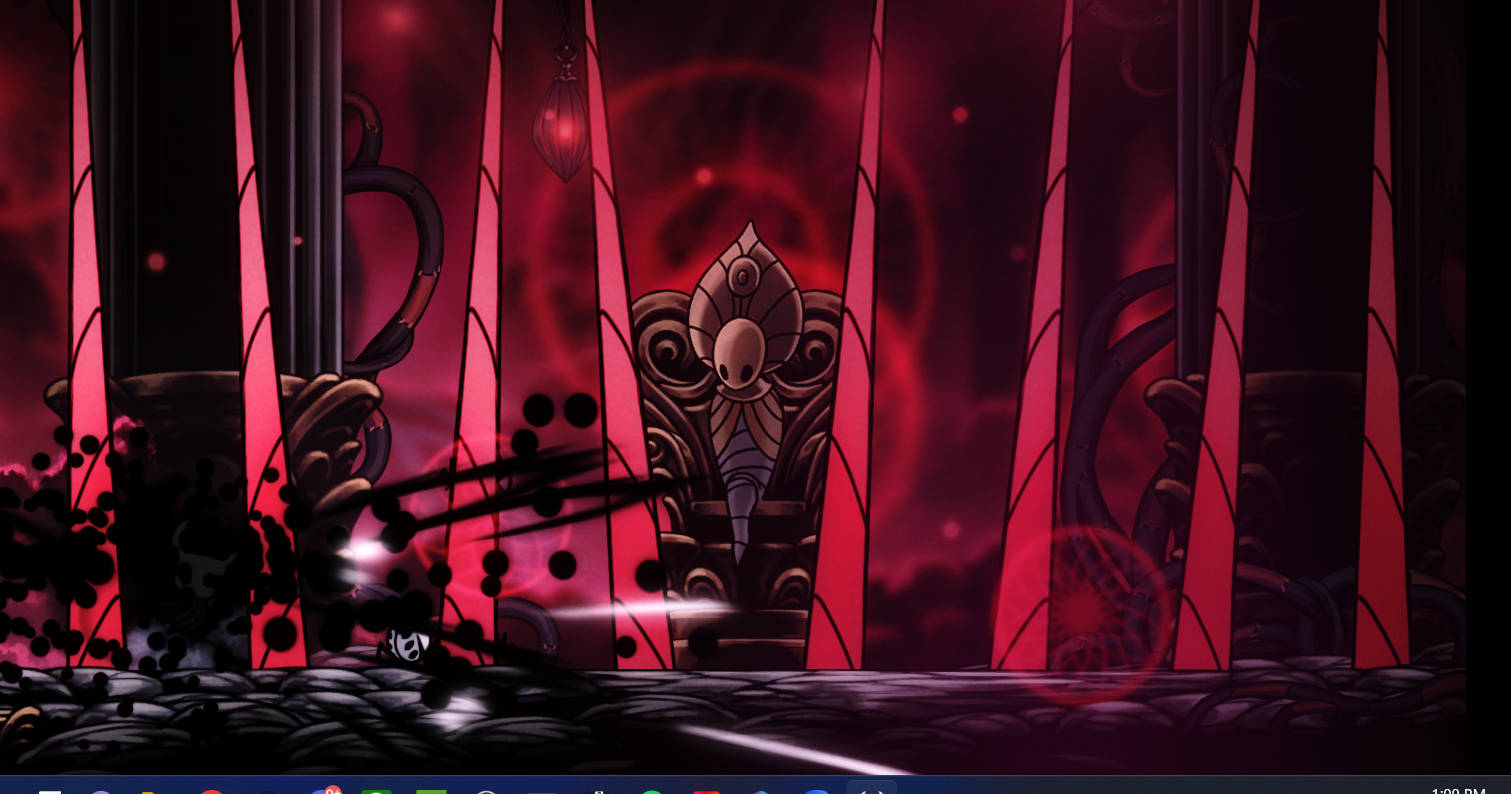
This attack starts with spikes that will start to form from the ground, and then quickly shoot up to the top of the screen. the spikes will only hurt you once they shoot up the top of the screen, and everything before it are just indicators to give you time to prepare for the attack. Grimm will not be on screen at any point during this attack, and this is the only attack in which this is the case.
Flame Pillar Attack
Likewise with the start of the dash attack, Grimm will start this one by teleporting to an area on the screen in the air, although for this attack, Grimm himself doesn’t move, and just stays there floating in the air. Instead, over the course of this attack, 4 flame pillars will start erupting out of the ground one after another right where you are standing, quickly erupting to briefly create a flame pillar that goes all the way from the bottom of the screen to the top of the screen, and then reduces to a scorched area on the ground that can still hurt you. Grimm teleports away shortly after the 4th pillar erupts.
Pufferfish Attack
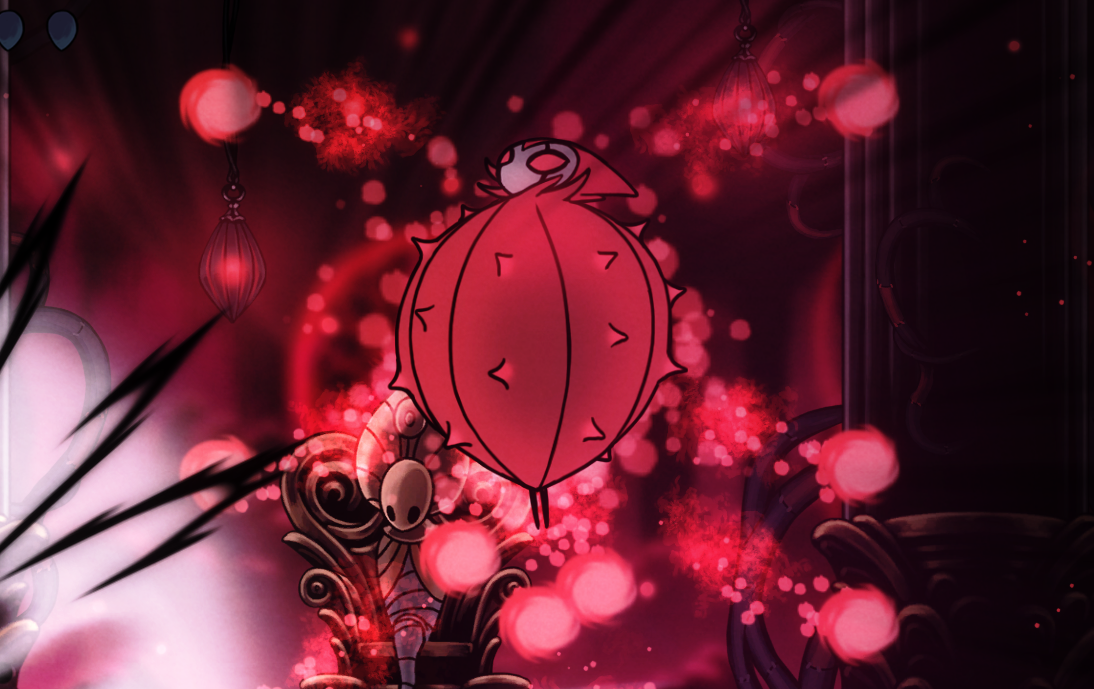
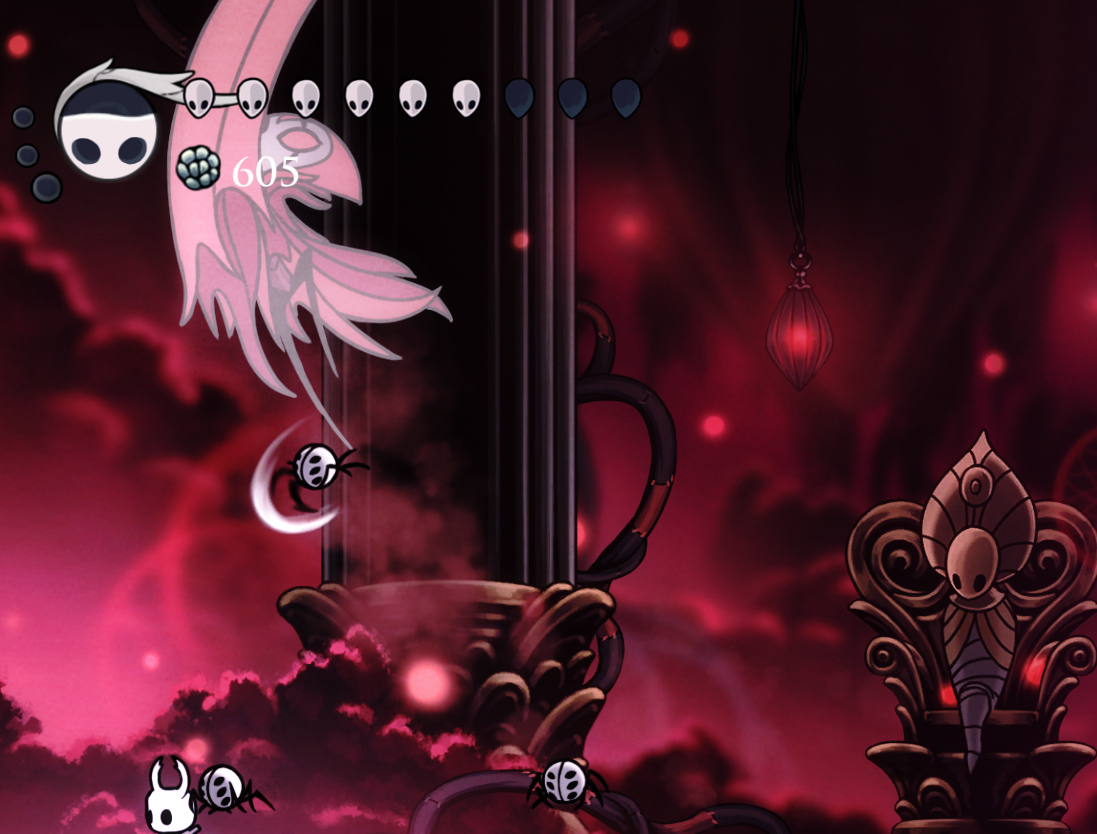
This attack starts with Grimm teleporting to the center of the arena in the air, and then quickly takes the form of a prickly circle that seems to be similar in appearance to that of a pufferfish. It will be immune to all nail attacks while in this state, but can still be attacked with magic attacks, although that may be a bit of a risky move if you’re not careful. It will shoot out flames in seemingly all directions that will tend to have some kind of pattern as they go farther to either the right or left sides of the screen. These flames move quickly and are a decent test of your ability to quickly jump and do short hops to avoid the flames traveling across the screen. Grimm teleports away after the attack ends, and does this attack only when reaching 75% health, 50% health, and 25% health, making it a good marker for how much progress you’ve made in the boss fight so far.
Charm Setup
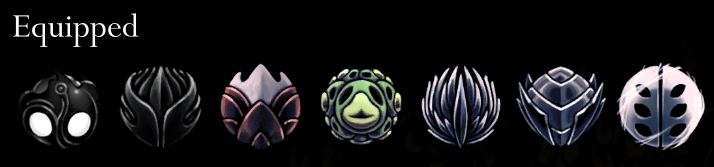
The image above shows the charm setup that I used to fight Nightmare King Grimm (it’s worth noting that this is the same setup that I use for just about every fight, with the exception of the Uumuu fight, in which I swap the weaversong charm out with the grimmchild charm, due to many past incidents of the weavers summoned by the weaversong charm getting me killed in the Uumuu fight). I’ll explain why I use this setup here in this section, with the exception of the void heart charm for obvious reasons that you’re likely already aware of if you’re at the point in game progression where you’re fighting Nightmare King Grimm.
Sharp Shadow Charm: I use this charm for extra damage if I end up needing to dash through Nightmare King Grimm, however, I mainly use it for the extra 40% dash length increase that comes with the shadow dash (the regular dash length is unaffected) because there’s often situations in which the extra length of the dash can help you more effectively put more or close the distance between you and Nightmare King Grimm.
Nailmaster’s Glory: I use this charm because of the drastically increased speed of charging the nail arts that it grants to the user, since I primarily attack using the nail arts.
Grubsong: While it does give you soul when you take damage, I mainly use it for the synergy it has with the Weaversong charm, which allows the weavers summoned by the weaversong charm to gather soul from dealing damage to enemies.
Quick Slash Charm: In cases where using the nail arts isn’t preferable or there isn’t enough time to charge a nail art attack, the quick slash charm allows you to land a lot of hits very quickly.
Longnail Charm: the extended range of the nail from this charm will allow you to more easily attack Nightmare King Grimm at a safer distance.
Weaversong Charm: The weavers summoned by this charm deal extra damage for you and, thanks to the synergy with the grubsong charm, can also gather soul for you.
Strategy to Fight Nightmare King Grimm
Before I start this section, I should note that my strategy assumes that you always have a nail art attack charged and ready to go at any given time, except for during the pufferfish form attack. I often start charging the next nail arts attack immediately after the first one, unless attempting to heal or during the pufferfish form attack.
Dash Attack: I generally jump over the first dash, and then either dash away through the flame trail with shadow dash to get away, or I’ll use a great slash on Grimm from right above him, just high enough to avoid the flame trail (yes, the great slash does have some vertical range, more than you’d probably think it would have).
Uppercut Jump Attack: If he’s far enough away, I hit Grimm with a great slash right before he jumps upward. If he’s too close to me for that to be a safe option, then I’ll dash through him and just avoid the attack.
Spikes Attack: This one’s simple, just move away from the spikes. There’s not really anything else you can even do during this attack anyways unless you want to try to heal or something like that.
Flame Pillar Attack: I move as little distance as possible to avoid the flame pillars as they show up, getting closer to Grimm with each one. After the last one appears, I’ll hit him with a great slash.
Pufferfish Attack: I just avoid the flames and focus on nothing else most of the time because I feel like trying to attack him during this attack is just a bit too much of a risky move.
Ranged Projectile Attack: I walk towards Grimm as the attack starts. I jump over the second projectile, and then, while I’m still in the air, dash over the 4th projectile and then I immediately hit Grimm with a charged great slash or dash slash and then afterwards I hit him with the normal nail attacks until he teleports away.
Overall, my strategy is to be careful and to use the great slash nail art whenever I see an opening to do so.
Potential Openings to Heal During the Fight
Although difficult in most cases, and some even more difficult to pull off without the quick heal charm, there are opportunities for you to heal in this boss fight.
The main ones are:
1. you should be able to heal about 3 times consecutively when you stagger or stun (given how it functions with Nightmare King Grimm, I’m not sure if either of those two terms work here but it’s close enough) Nightmare King Grimm, if you choose to not attack him during this time and only dedicate it to healing yourself. this is the best time to heal as this is the only point in which there isn’t any risk in attempting to heal yourself.
2. during the spikes attack, you should be able to heal yourself once (possibly more but I doubt it) if you already happen to be standing out of harm’s way when the attack starts.
3. during the uppercut jump attack, you may be able to heal yourself once or twice if you happen to already be standing out of the path of the descending flames when Nightmare King Grimm starts jumping upwards. This however, is a very risky one to do and to a degree requires prior practice and skill in avoiding that attack.
4. you may be able to pull one off immediately as the 4th flame pillar erupts in a short window of time. This is likely the shortest window of time you may get for healing and and is the most dangerous and risky one to attempt, so much so that it may not be possible without the quick heal charm (I haven’t tested this one, however, so feel free to test it for yourself and let me know).
In case a visual is more helpful than a written explanation of my strategy, here’s a video of me fighting Nightmare King Grimm on radiant difficulty: