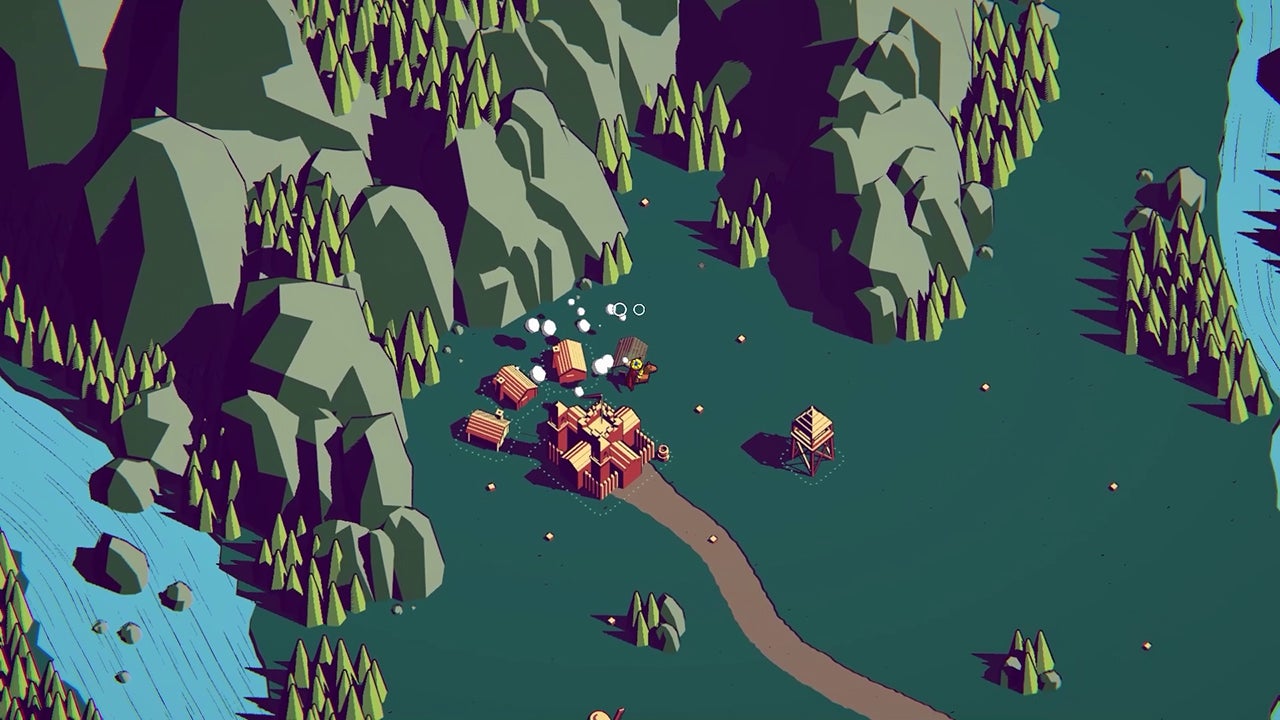
An easy way to complete quests C and D on Frostsee. Fearlessly charge into your enemies to secure early economy and snowball from there.
Introduction
Quest C makes the fast units, which typically go after your economy (flying dudes) and castle (rolling dudes), even faster. Paired with the destruction mutator, this makes losing buildings likely and costly. To counteract that, we will use the King and soldiers to tank. For this challenge, we are required to use the spear, which is the tankiest of weapons due to the healing active attack. This makes our job easier. I tested the build 4 times and it was super easy each time.
Using this build, we can also take opportunity and grab another mutator to bring our score above 12500 required for quest D.
Results:
This is the score I got in the test run with 3 mutators.
- Base Score: 7288
- Gold Bonus: 510
- Mutator Bonus: 5677
- Full Score: 13475
Weapon
- Spear – we’re forced to use this but it’s secretly awesome
Perks
- Royal Mint (Start with +1 gold, Castle generates 1-3 gold) – a decent economical perk. It allows us to buy a harbor and a house on day 1.
- Heavy Armor (350% more life, horse moves 20% slower) – we will use our King to tank enemies.
- War Horse (Horse moves 20% faster, trample enemies for base 2.5 damage) – and this to actually deal damage. The spear has very low DPS.
Mutators
- Challenge the Falcon God (75% faster enemies)
- Challenge the God of Destruction (Buildings heal for 25% max health and destroyed buildings take 1 day to fix)
- (optional) Challenge the Wasp God (First 3 waves have +100% monsters that spawn 25% faster) – you can skip this if you already completed quest D (12500 score). It makes the first 3 waves a little harder, you need to kite and let buildings tank when you’re on cooldown. The rest is the same.
Using the King to tank may seem scary but don’t worry, this build can take a beating and heal if needed. Early soloing will allow us to build strong defenses later on so we’re prepared for the boss fight.
Build Order
Whenever there is a House on the building list, it means that you should either build or upgrade a house. Doesn’t really matter because we will be protecting all areas of the map.
Day 1
- Castle
- Harbor (north)
- House
No towers or units, you just charge at the enemies and kill them. Run in circles to deal trampling damage and you’ll be fine.
Day 2
- House x3
Still no support, just do the same thing as with soldiers. Press space to kill faster.
Day 3
- House x5
Same as before, just kill them.
Day 4
- Castle upgrade (Magic Armor)
- Harbor x2
Still no support but you’re much stronger because of damage reflect. It’s the same as day 2 except you do it 3 times. Make sure you protect your harbor!
Day 5
- Archery Range (Hunters)
- Harbor upgrade (north)
- House x3
We use hunters because they’re good against animals. Fire archers could work but I’m worried they will suck against fast enemies. Make hunters hold ground near the entrance and focus on the battering ram. Use your special on it. Hunters can handle the infantry. Make sure you’re running circles through the ram and activate the special because it will focus on your upgraded harbor.
Day 6
- Harbor upgrade x2 (this will also help your harbor to survive)
- House x8
Anchor the hunters on the right harbor. Yes, we’re still working with only 4 hunters. A single volley from the hunters is enough to kill a flying dude. As I said before, we’re building a strong economy with this strategy. After this day, you should see a nice 47 gold in your coffer.
Day 7
- Castle upgrade (Royal Mastery) – you are now a god walking amongst mere mortals.
- Archery Range (Hunters)
- Tower (near the western entrance)
- Tower x2 (near the ridge that protects the western harbor)
- House x7
Leash 4 hunters near the western entrance and other 4 hunters in the corner near the harbor. Do engage in combat, you’re very strong now. After you’re done with the western wave, grab the hunters near that gate and go southwest to intercept the other wave.
Day 8
- Gold mine
- Wall (north-east)
- Tower x4 (near the north-eastern wall)
- Barracks (Spearmen) x2
- The little fort in the south (a wall, 4 towers)
- House x6
Make two groups of 4 hunters and 4 spearmen each and post them near entrances. Help the northern group.
Day 9
- House (this completes our economy)
- Tower x6 (all towers should be level 1)
- Archery range upgrade x2
- Archery Range upgrade x2 – for a total of 24 hunters
- Blacksmith (ranged attack)
Place 6 hunters near the western harbor, 6 hunters near western entrance, and 12 hunters near the eastern harbor. Make sure they hold ground. All your buildings are safe, you can just chill.
Day 10
- Barracks upgrade x2
- Barracks upgrade x2
- Wall (southwest)
- Tower upgrade x4 (3 towers in the southern fort and one near the southwestern entrance.
- Wall upgrade (southern fort)
Take all your army and place it near the entrance, then rip and tear until it’s done. You need to fight but it should be super easy.
Day 11
- Tower upgrade x6 (all towers on the eastern part of the map should be level 2)
- Tower upgrade x4 (somewhere on the western side, doesn’t matter which ones)
- Wall (northwest)
- Wall upgrade (all)
Take one team of hunters and have them guard the eastern harbor (hold ground, they need to stay there). Take all remaining army to the southern entrance (no hold ground) and help them. Don’t worry if some escape, your hunters and towers will take care of them.
Day 12
- Tower upgrade x3 (all towers should now be level 2)
- Tower upgrade (hot oil) x4:
– just south from the eastern wall, near the lake,
– near the northern harbor, to the west
– just north of the western harbor
– outside the western wall
Now, for the preparations:
- A team of 6 hunters + 6 spearmen hold ground near the eastern harbor.
- A team of 6 hunters + 6 spearmen don’t hold ground near the south-eastern entrance.
- A team of 12 hunters + 12 spearmen don’t hold ground near the south-western entrance.
Your towers will take care of the 30 infantrymen from the west. Focus on the army with battering rams. They’re the greatest danger to your buildings, which you will need for the boss fight.
Day 13
- Tower upgrade (ballista) x4:
- at the eastern wall, near the lake
- in the corner near the western harbor
- 2 in the southern fort, nearest to the lake
- Tower upgrade (hot oil) x2:
- at the eastern wall
- near the castle
Now, this will take some micro but not too much. What you want to do is divide your forces into 2 groups of 12 hunters and 12 spearmen each. Place them on hold ground near the spots where the boss pukes monsters. They will help kill it faster. This means that you will have to move each group twice: after the boss moves closer to the walls and after it starts puking inside your walls. It’s not a big deal if you miss the first attack inside the walls, you should still be fine. For the western side, I place the army inside the harbor wall so they’re closer to the next spot that gets attacked.
After the boss leaves a spot, try to clean up bigger groups of enemies. Don’t worry about stragglers, leave them to towers and soldiers. Remember that they only move fast, they don’t have bonus attack or defense.
If you can, attack the boss yourself. If you time your special right, you will have full health so you can sprint to the next fight. If you miss the specials, it’s still not a big deal. If you miss some soldiers when moving, it’s no big deal. Remember that your king is strong and can kill a swarm of enemies in seconds. Just don’t panic, you did a good job building up your base and army, you got this.
Boss Phases:
- 1st: bottom right of lake
- 2nd: bottom left of lake
- 3rd: bottom right of lake
- 4th: bottom left of lake
- 5th: top right of lake
- 6th: top left of lake
- 7th: top of the lake (enemies will enter your base)
- 8th: top right of lake
- 9th: top left of lake
- 10th: top of the lake (enemies will enter your base)


