Nervous about the ogre confrontation in Act 1 in honor mode? Well, here is the route I used to take them out without a single initiative roll being made. Please note that this could be patched in the future or it may simply not align with your method of play. Either way, stay on your toes, and good luck on the quest for gold dice!
Phase 1 – volunteer for tribute
This strategy requires 3 different characters, but the forth can be used for simplicity and also speed. Now, these ogres happen to enter a cutscene the moment you happen to get close, so decide your roles in advance. You may also trade out the 3rd role listed below with more barrels in phase 2. Please note that roles 1,2, and 3 (if being used) must be different characters. Dialogue stats etc do not matter in this strategy. Granted some steps are a bit overkill, as you could parse it down, but this is honor mode and if the slimmed down version doesn’t work, there is no redo.
ROLES:
1) cutscene initiator
2) digger (yes, you read that correctly) Whoever has the highest survival check, if they are not needed for the glyph role
3) glyph of warding caster
4) camp squatter to send barrels to other character
ITEMS NEEDED:
I did this with 2 firewine barrels, 1 oil barrel, and 1 cast of glyph of warding, fire. You may change it up with more barrels (instead of the glyph), placing bombs, and other modifications.
Phase 2 – what a nice place you have here
1) Teleport the group to the blighted village and then ungroup.
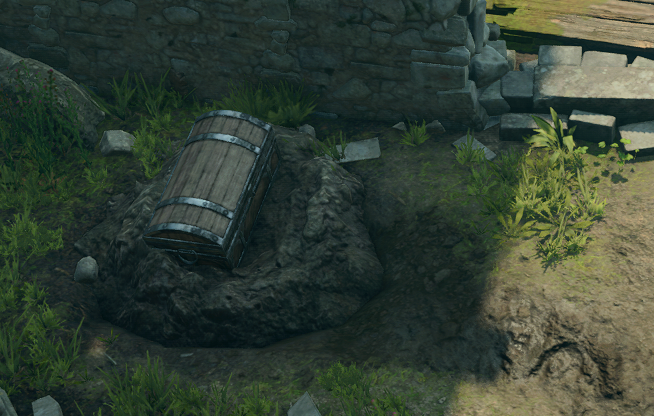
2) Send the camp squatter to camp and move them near the chest.
3) Send in the bait, I mean cutscene initiator.
Now, I know what some may be thinking. Won’t this put them in the blast radius? Are they being sacrificed? Initially, that was my plan, but thanks to the digger, that should only occur if they patch this interaction in a specific way. See, conflicting cutscenes have the newest one take control and that is what we will be using to our advantage.
4) Have the digger walk right into the middle of the ogres, (they are already in a cutscene) and send any barrels you want to them for placement.
5) Once the barrels are placed, send that character through the hole in the western wall of the building.
Phase 3 – diggy diggy hole
The digger, if moved close enough, should spot the lovely chest that needs to be dug up. Simply comply and then try to open the red, ogre owned chest.
This will trigger a new cutscene, warning you to not touch things that don’t belong to you. It will also end the first cutscene, allowing that character to flee to safety. Once you select “leave” dialogue option, you now have the digger free from a cutscene also. They too, can flee to safety. May not be a bad idea to hide them at a safe distance, crouched in case things go sideways.
Phase 4 – hotfoot on the dancefloor
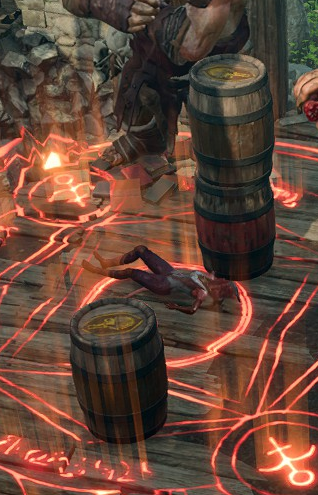
Once the first two people are safely away, send in the third, and final toon to cast glyph. ensure all three ogres are indicated to be standing on the glyph. Once cast, this will trigger a cutscene, telling you to cast no more magic or things will go badly. Agree, click leave, and vacate the area.
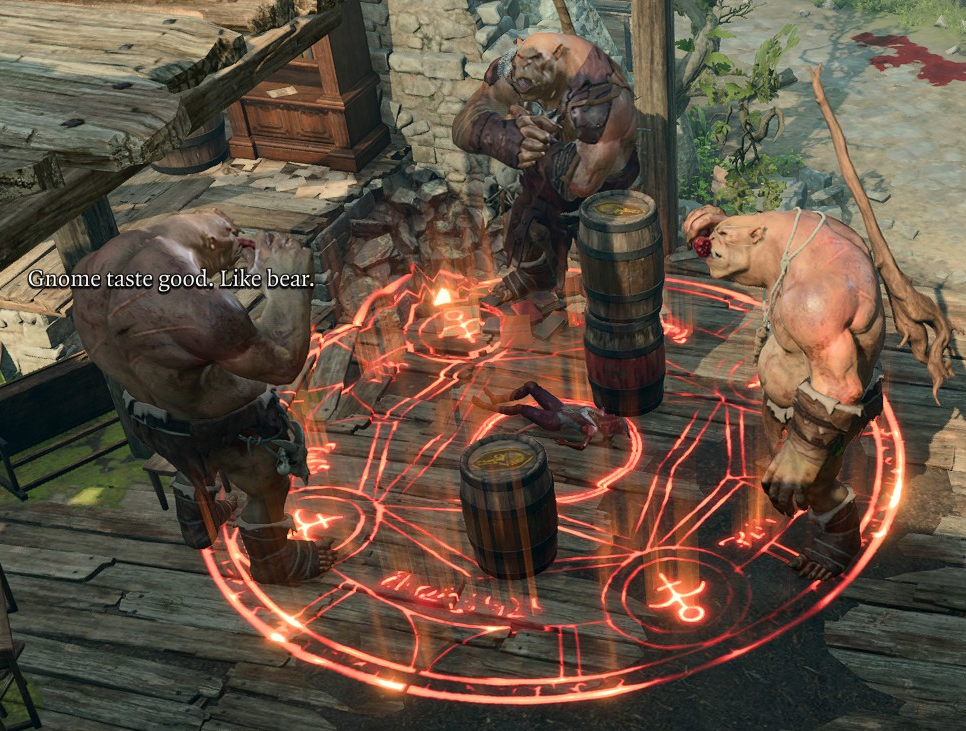
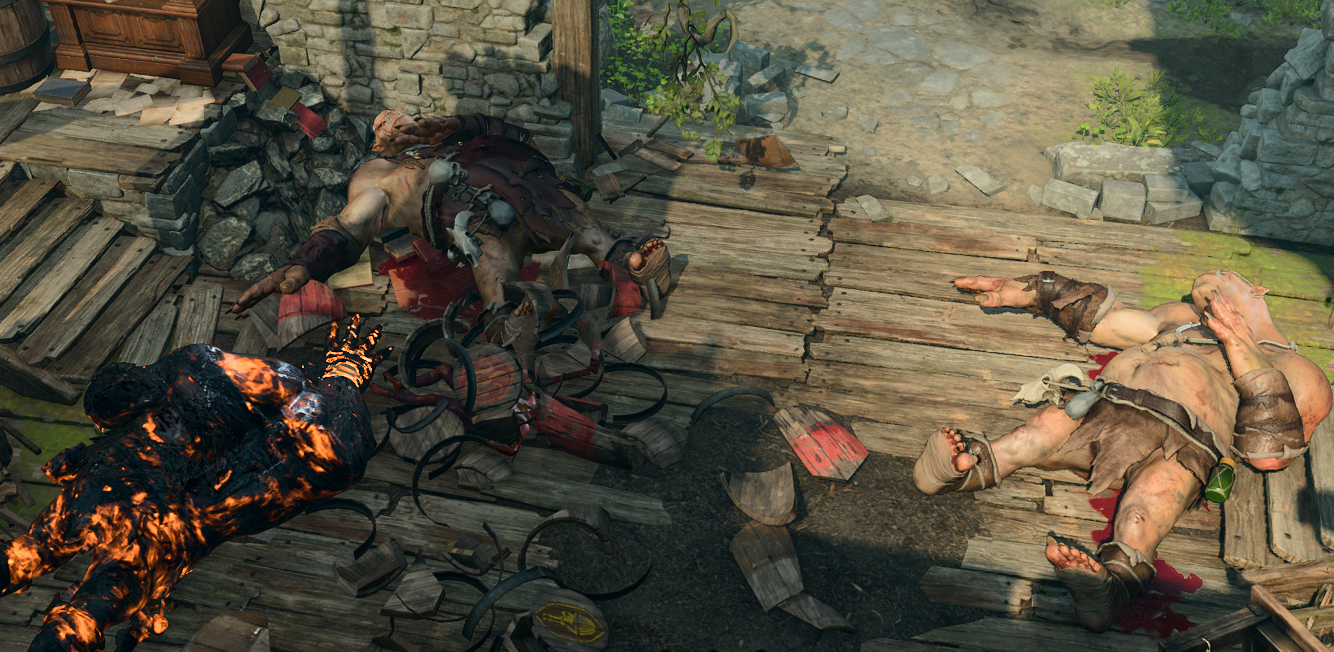
Once you have done all this, you only have to use any fire spell at the barrels, and this will trigger all you have placed there. The ogres will suddenly become foes for some odd reason, triggering the glyph. Then, as you wave farewell to their ashen bodies…you may let the fire die down, and collect your spoils.