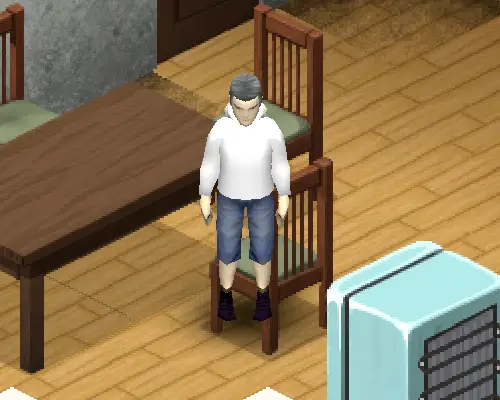
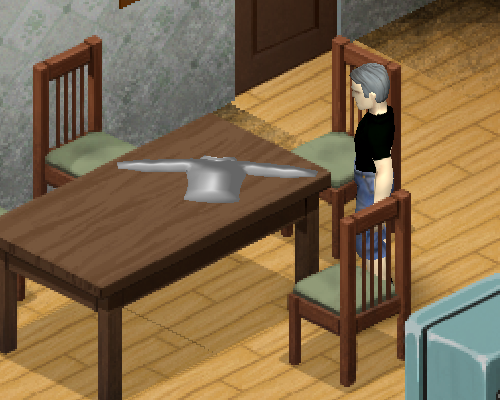
This guide will provide all the necessary to create a clothing mod for Project Zomboid.
Requirements
- Blender (v2.92+ recommended)
- Male model
- Female model
- Clothing Assets
- Mod used in this guide
Blender
Assuming you are a newbie and not have experience with blender, a short description will be given of what is and how to use it, otherwise skip to #Modeling.
Blender is a free and open-source 3D computer graphics software toolset, in which we will can create our beautiful and cool models for Project Zomboid, but before to start, we need to know some aspects that are really necessary to understand what we are doing.
I know, you don’t want to waste time on this, you want to create great things now! but believe me… “If be stuck you don’t want, read the manual you must.”
These are essential knowledge to start creating models, you can read the manual as much as you want and improve your modeling technique.
For this guide, we will use a Male model and will create a Jacket model.
Modeling
Open blender and import the FBX file Male_Body_10_redo.fbx.
I recommend change FOV so that the mesh does not disappear when it is very close.
(Press N → View → Clip Start to 0.001 m)
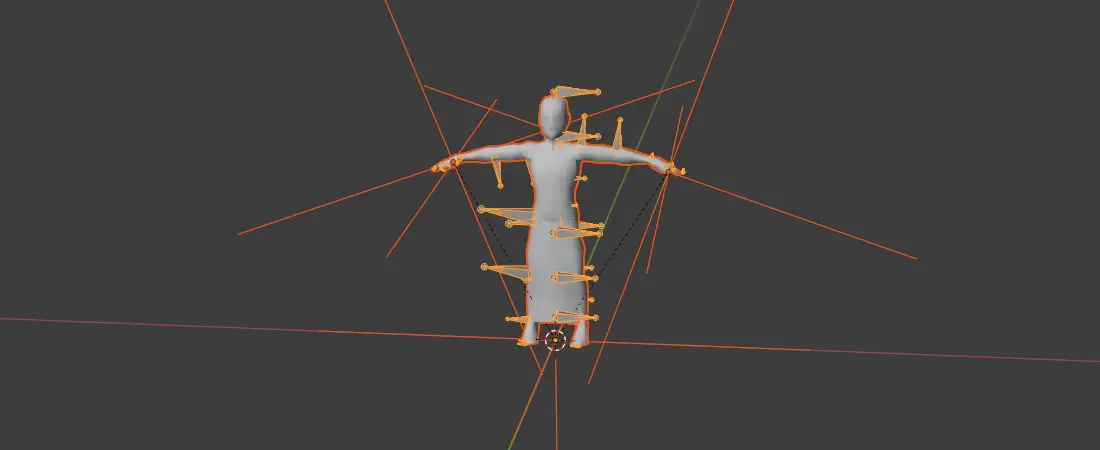
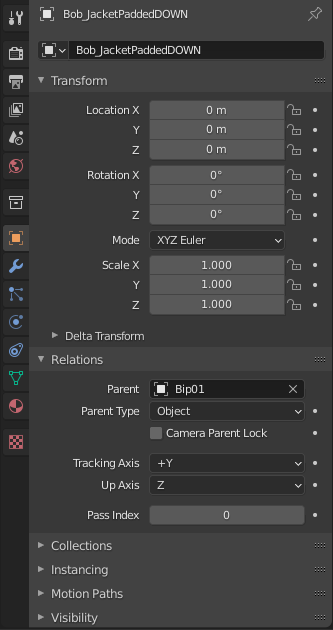
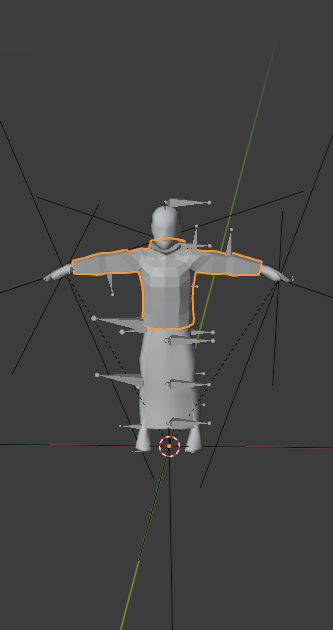
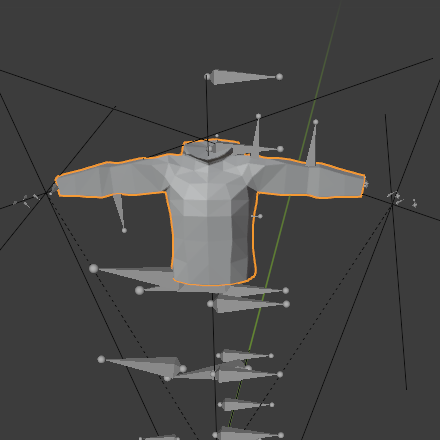
Import Bob_JacketPaddedDOWN.fbx from Clothing Assets and vincule the model to bip01 armature.
(Bob_JacketPaddedDOWN → Object Properties → Relations → Parent: Bip01)
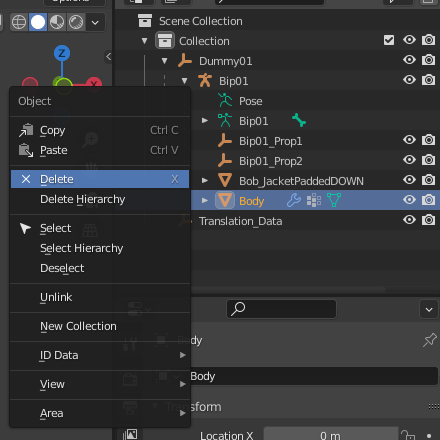
Now you can remove Body model, since it was only a reference of where the clothes you will create will be located.
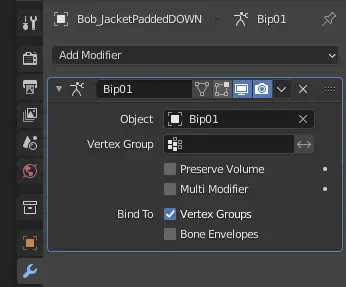
Finally add the Bip01 armature to the model.
(Bob_JacketPaddedDOWN → Modifier Properties → Armature → Object: Bip01)
In this moment, your clothing is ready to be sent to the game, you can make any modification you wish to the model, but before that, there are some fundamental concepts that you must learn if you want your clothes to have no imperfections,
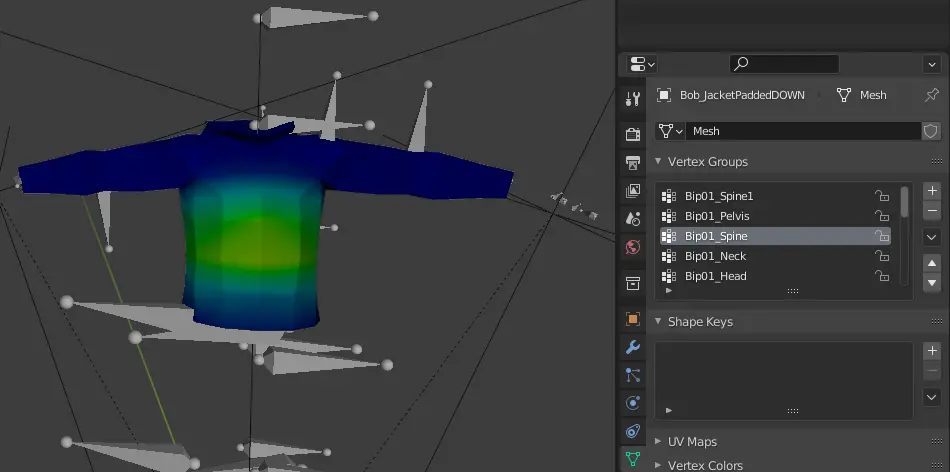
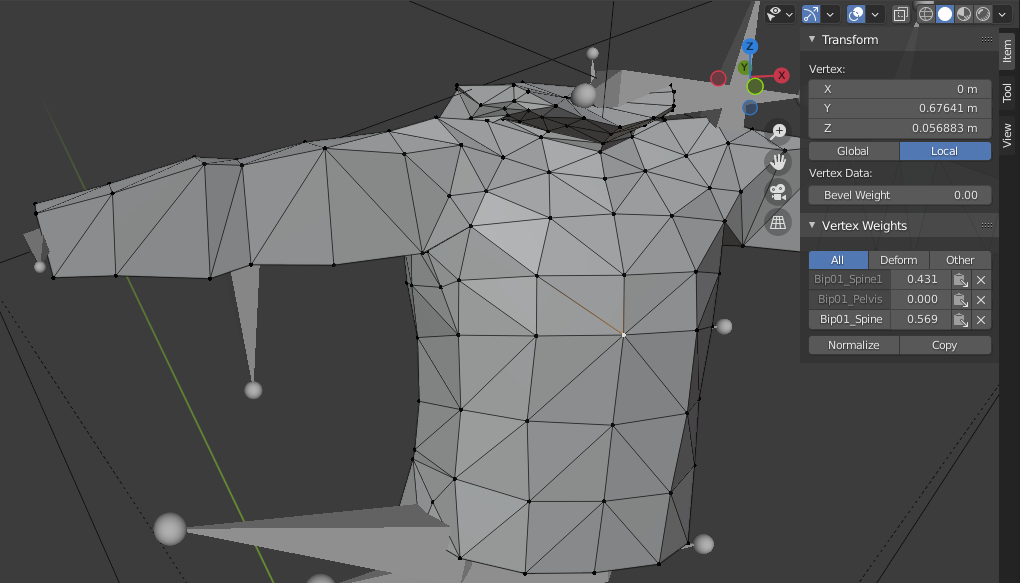
Vertex Weight
It is the tools that makes your clothes can be deform and animated together with the player.
One of the ways is through the Weight Paint, I personally don’t recommend it because the geometry of the Project Zomboid models is very reduced.
(Objects Mode → Weight Paint)
The other way is through the Vertex Weight, it must be done manually which makes it very tedious, but it is the safest way.
(Objects Mode → Edit Mode → Select Vertex → Press N → Item → Vertex Weight)
Clearly, with this model it will not be necessary to set the weight, since they are already by default, but if you want to add new vertices or create a model from scratch, remember to add them.
UV Mapping
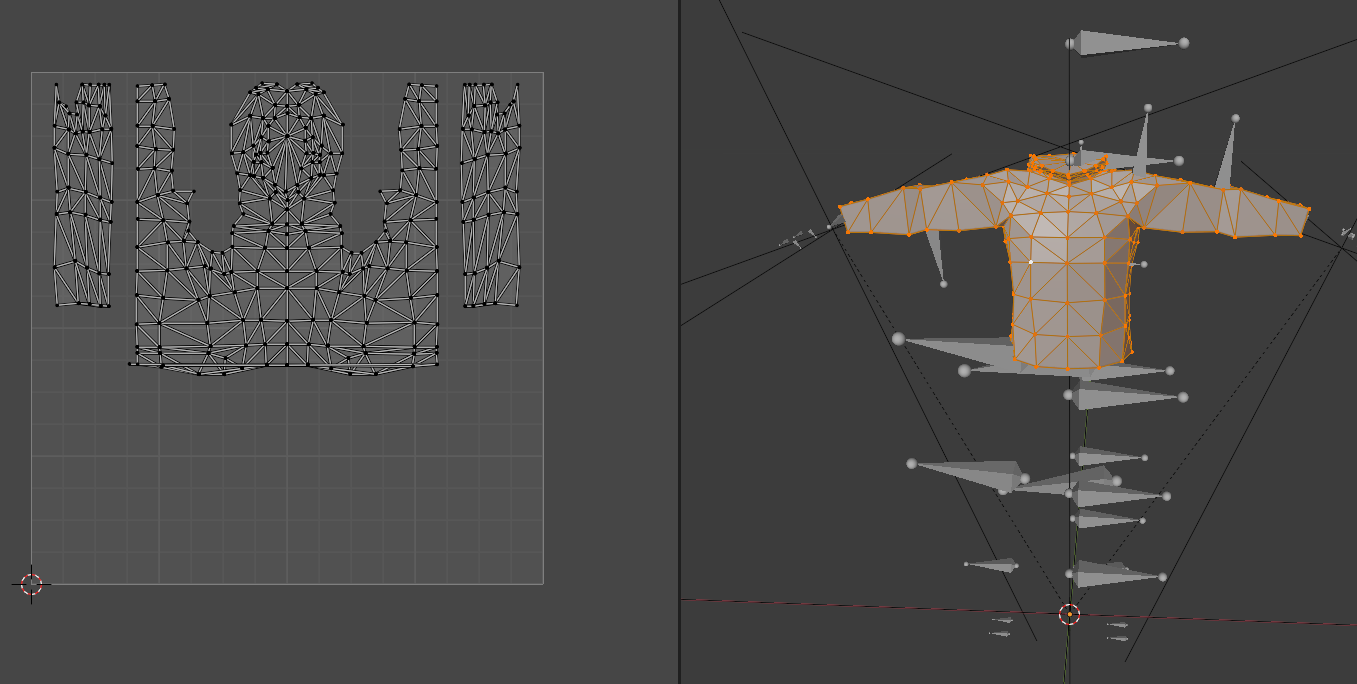
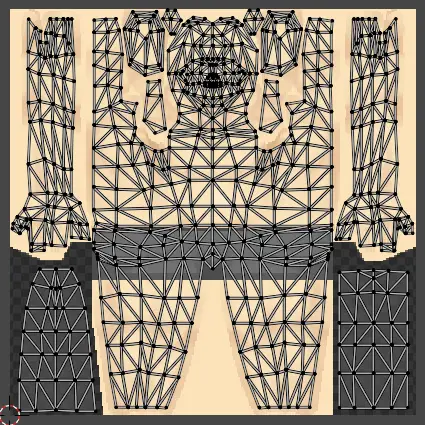
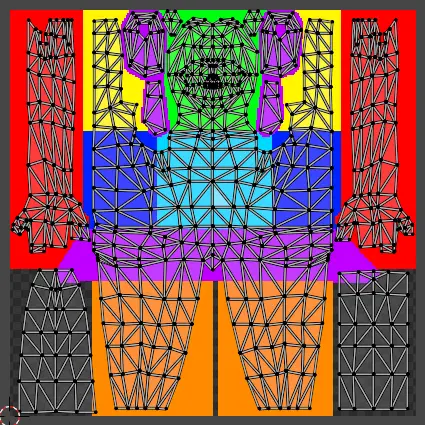
You must follow certain patterns of the mask if you want your model to contain blood, dirt or holes. You will be able to see all the nodes on UV map if you select all the vertices of your model.
(Select Bob_JacketPaddedDOWN → Press TAB → Press A )
On the left the UV map with the texture of the male model and on the right the representative mask that you should try to follow when creating clothes.
Remember this is a model we got from the game, the vertex weight and UV mapping are already defined, when you create your model, you will have to set them yourself, but that sounds like a lot of work doesn’t it? I recommend you choose a model in Clothing Assets and use it as a base for your own creations.
Clothing
Now you need to create the mod folder where your recently created clothes will be. Create a folder in C:\Users\***\Zomboid\Workshop, the structure of your mod should look something like this.
Workshop
└───SteamGuideClothing
    ├───preview.png
    └───Contents
        ├───mods
        └───SteamGuideClothing
            ├───mod.info
            ├───poster.png
            └───media
                ├───clothing
                │   └───clothingItems
                ├───models_X
                ├───scripts
                └───textures
Once you are in the “media” folder, create fileGuidTable.xml, in this file is where the routing of the clothes created will be registered.
<?xml version="1.0" encoding="utf-8"?>
<fileGuidTable>
<files>
<path>media/clothing/clothingItems/Jacket_SteamGuide.xml</path>
<guid>babfa388-ef98-455b-bbbd-79753ea8ea36</guid>
</files>
</fileGuidTable>
You can generate a GUID in guidgenerator.
Create the file Jacket_SteamGuide.xml in the path previously set in fileGuidTable.xml. Here you will set the path for the respective male and female models, their textures and other features.
<?xml version="1.0" encoding="utf-8"?>
<clothingItem>
<m_MaleModel>Skinned\Clothes\MyFirstJacket</m_MaleModel>
<m_FemaleModel>Skinned\Clothes\MyFirstJacket</m_FemaleModel>
<m_GUID>6323458d-94a0-4526-9147-7c3cc24b4704</m_GUID>
<m_Static>false</m_Static>
<m_AllowRandomHue>false</m_AllowRandomHue>
<m_AllowRandomTint>false</m_AllowRandomTint>
<m_AttachBone></m_AttachBone>
<m_Masks>13</m_Masks>
<m_Masks>14</m_Masks>
<m_Masks>3</m_Masks>
<m_Masks>5</m_Masks>
<textureChoices>Clothes\Jacketpadded\WhiteTexture</textureChoices>
</clothingItem>
To determine the properties of your clothing, you can use clothing already existing in the game files as references, for this guide I just did copy and paste from Jacket_PaddedDOWN.xml and change some things.
You just need create the usable item that will allow us to use the clothes that we have created, Create the file SteamGuide_clothingItems.txt in path ..\media\scripts\clothing
module Base
{
item Jacket_SteamGuide
{
Type = Clothing,
DisplayName = My First Jacket,
ClothingItem = Jacket_SteamGuide,
BodyLocation = Jacket,
Icon = SteamGuideJacket,
BloodLocation = Jacket,
RunSpeedModifier = 0.89,
CombatSpeedModifier = 0.96,
BiteDefense = 10,
ScratchDefense = 20,
NeckProtectionModifier = 0.5,
Insulation = 1.0,
WindResistance = 1.0,
WaterResistance = 0.60,
Weight = 3,
WorldStaticModel = JacketSteamGuide_Ground,
}
}
You must be especially careful with some variables like “Type” that defines the item as a clothing item, “ClothingItem” that link the item with your clothing xml file or “WorldStaticModel” that is the 3D model on ground. There are more additional variables for your item, but this is only a basic guide to creating clothes, you will must to research it on your own.
Finally you just have to put the model in ..\media\models_X\Skinned\Clothes and the texture in ..\media\textures\Clothes\Jacketpadded, The resolution of the texture must be 256×256 pixels. (The paths could vary, it all depends on what you are going to put in ClothingItem xml files)
World Items
You have several ways to do this, but today I will show you the fastest and most efficient way to create the model when it is on the ground.
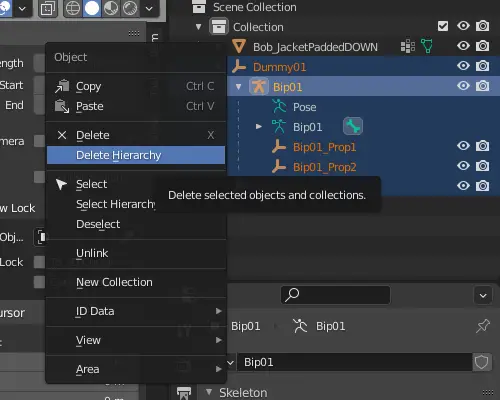
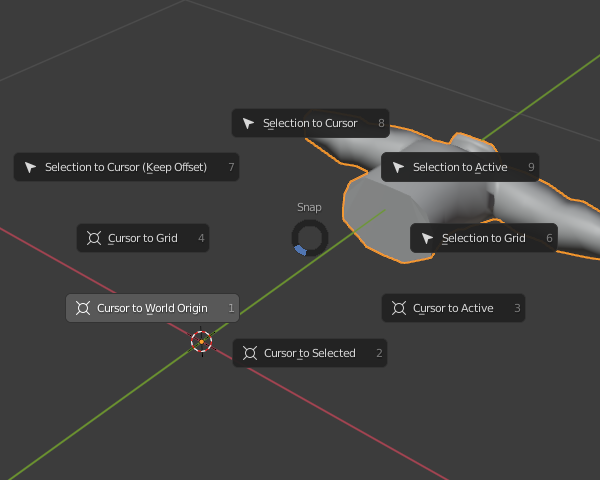
Make a copy of your blender file and open it, select the model and put it outside the Dummy01 object and delete Dummy01 together with Translation_Data. Also sets cursor to world origin.
(Interaction Mode → Object Mode → Press Shift + S → Cursor to World Origin)
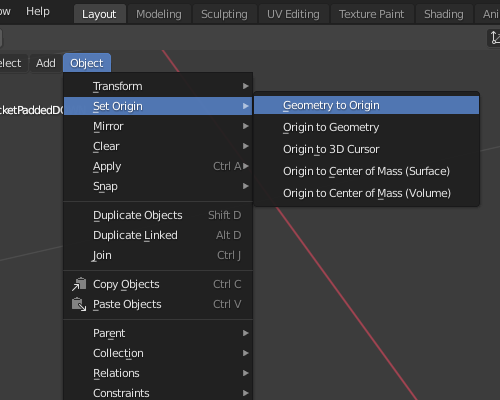
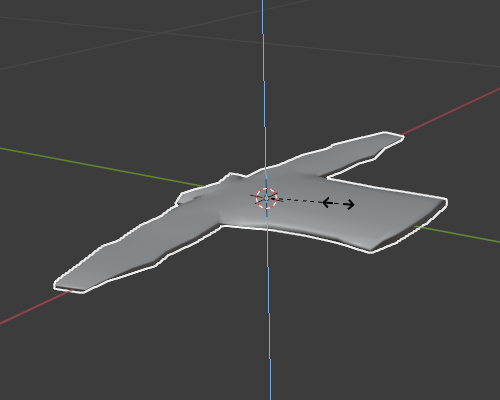
Select the model and centralize it with respect to the world origin, later make it the closest thing to a rag. (If for some reason the model is too big within the game, reduce it in Blender)
(Bob_JacketPaddedDOWN → Press S → Press Z)
The model is ready, put it on ..\media\models_X\WorldItems\Clothing and create the file SteamGuide_modelsItems.txt in ..\media\scripts
module Base
{
model JacketSteamGuide_Ground
{
mesh = WorldItems/Clothing/MyFirstJacket_Ground,
scale = 1
}
}
Testing
Open Project Zomboid, create a new game and activate your mod. Use debug mode to spawn your item an test it.
