
Perfecting the Iron Throne encounter doesn’t require a whole lot of preparation, a whole lot of skill, or a lot of luck. You just need a good plan. NOTE: SPOILERS FOR ACT III.
Who and What to Bring
Here’s what you’ll need.
Party:
- La’zel
- Shadowheart
- Astarion
- A Wizard (in my guide I use my player character)
- You want one of your characters to know mage hand – ideally two.
- Give your Wizard a scroll of dimension door – ideally two.
- Give your Wizard a Potion of Supreme Healing.
- Get Misty Step for everyone that you can.
- Give everyone except Shadowheart a scroll of haste.
Before you Enter
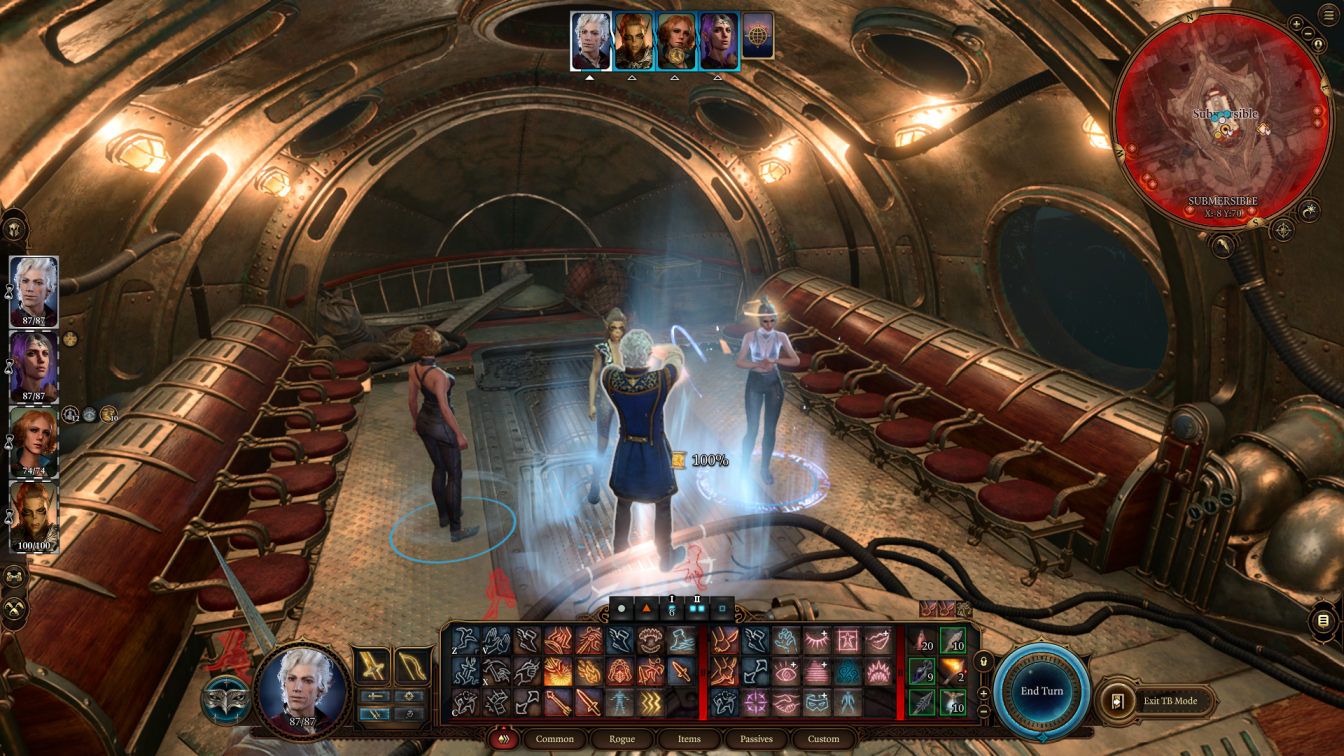
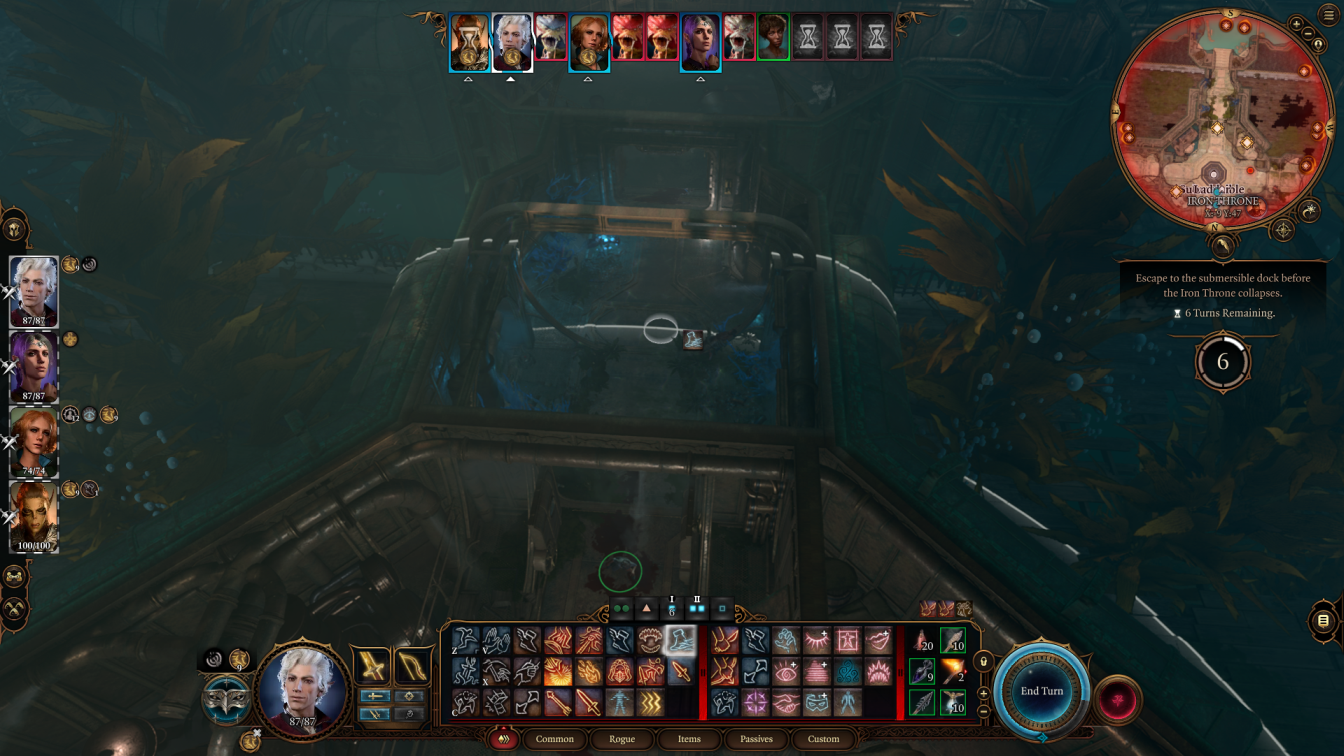
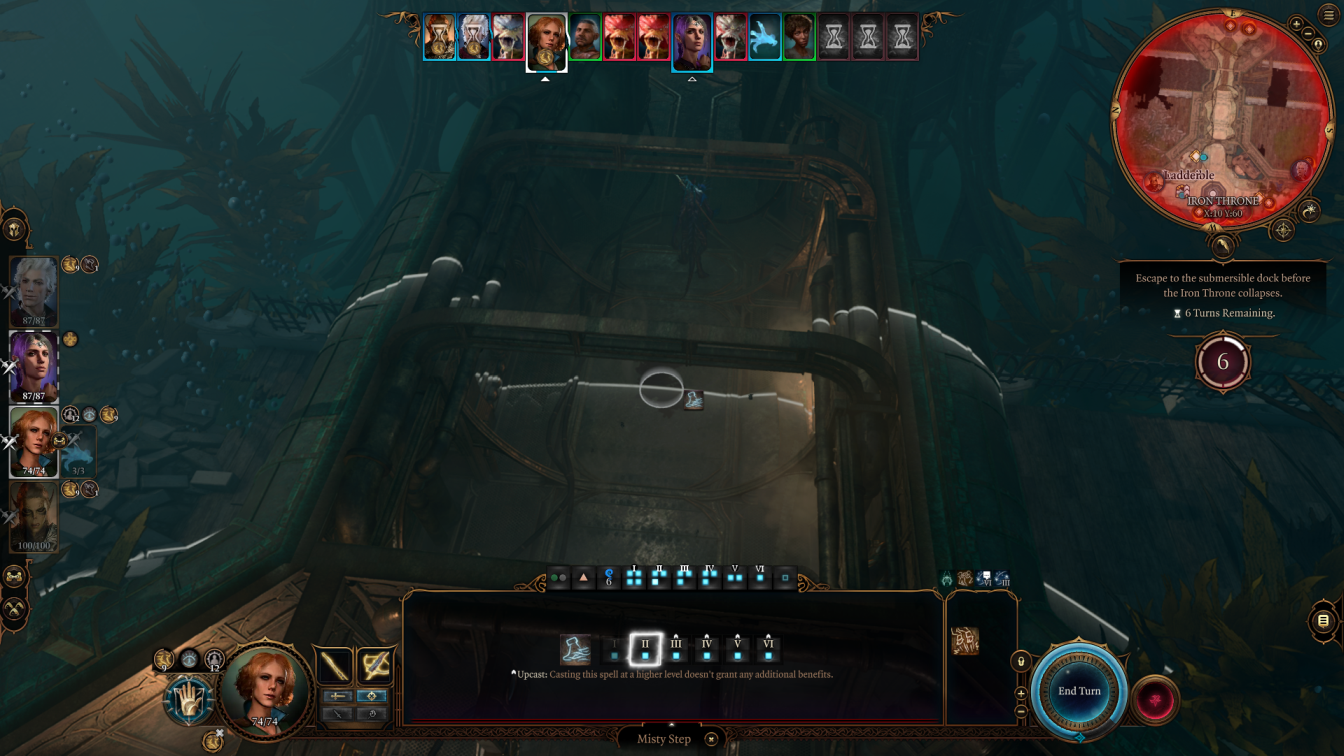
After the arrival cutscene, and the cutscene and dialog with Gortash, you’ll be in the Submersible, and not yet in combat.
This is where you should buff your party.
First, switch to turn-based mode, so you don’t run down the clock on any buffs while you’re getting them ready.
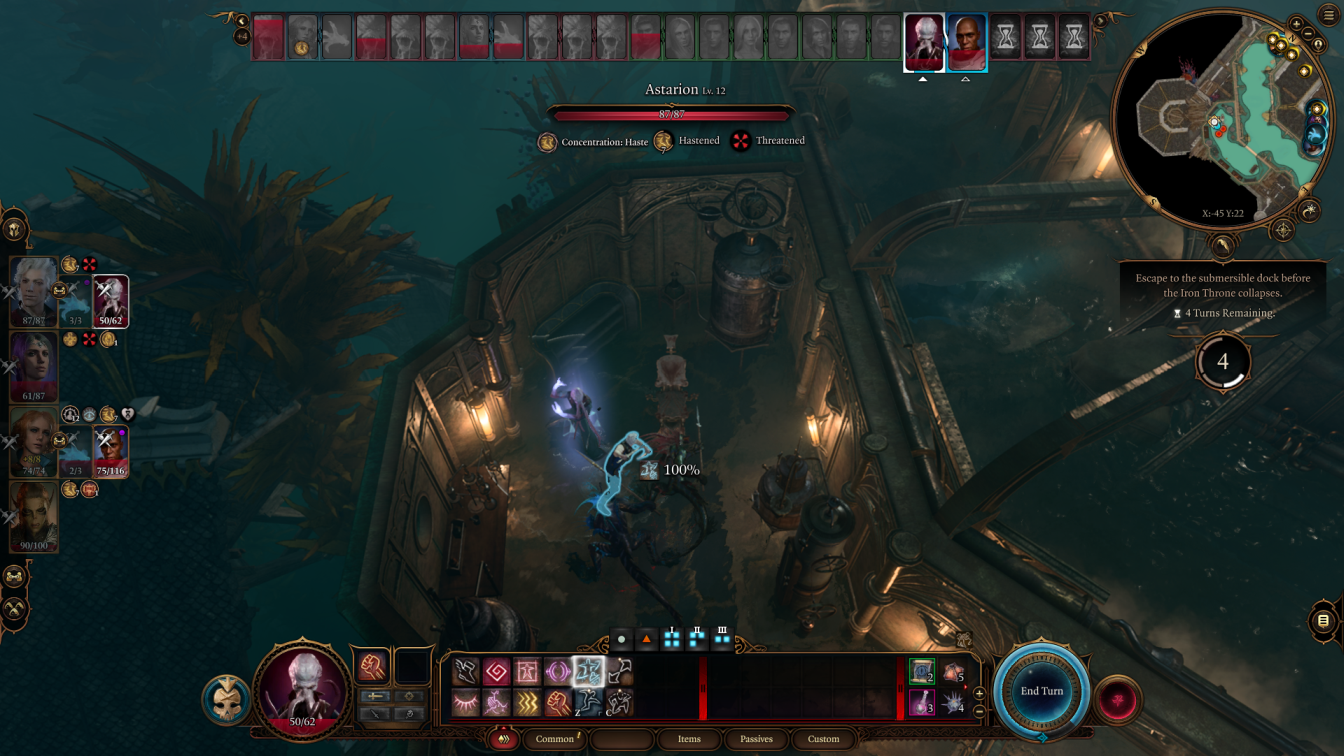
Get Lae’zel, Astarion, and your Wizard all to cast a scroll of haste on themselves.
Then send any character down the hatch and we can begin.
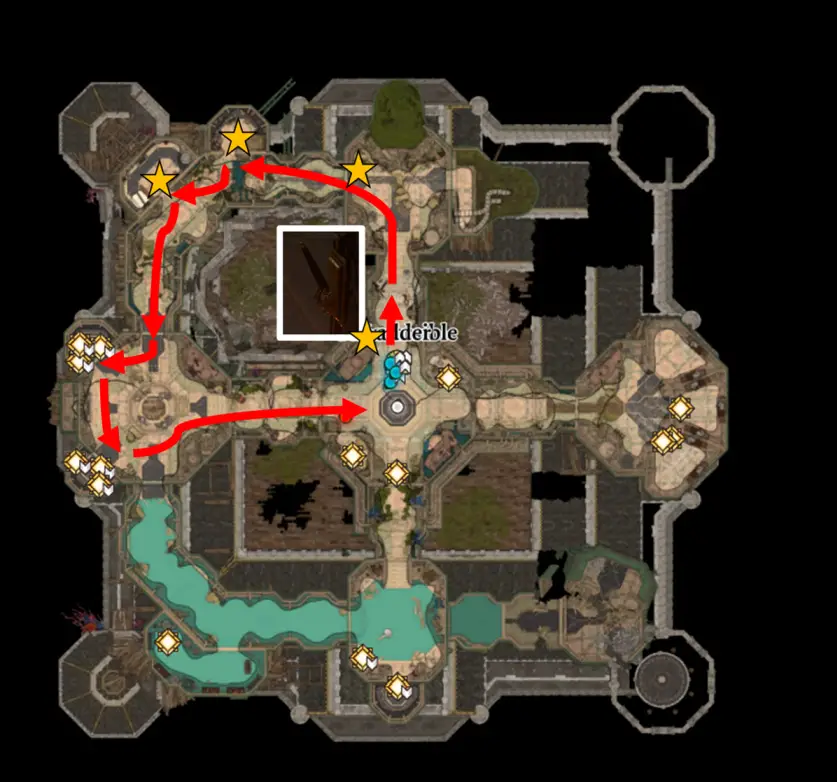
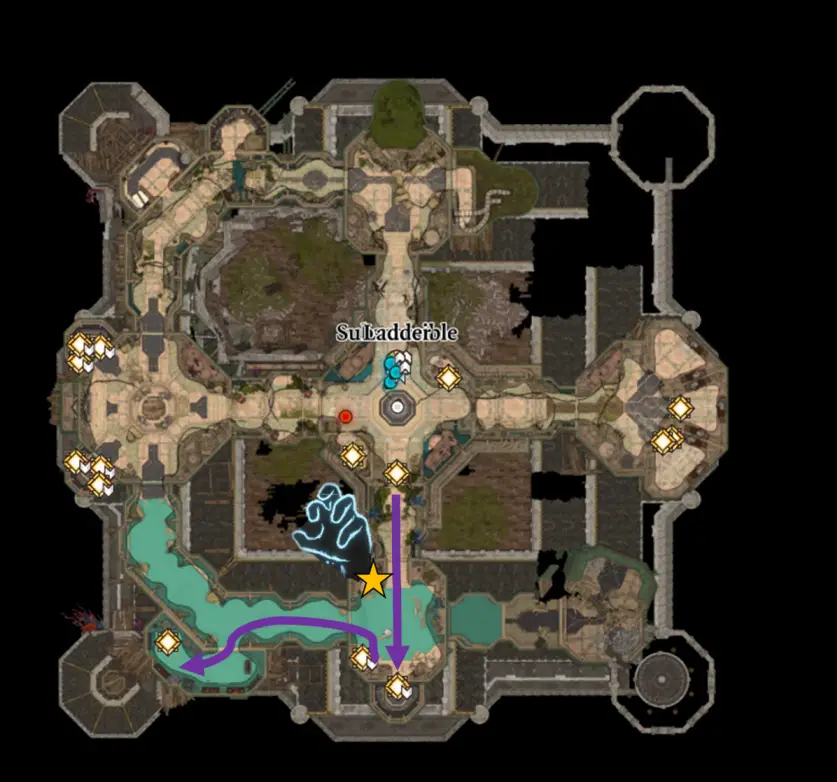
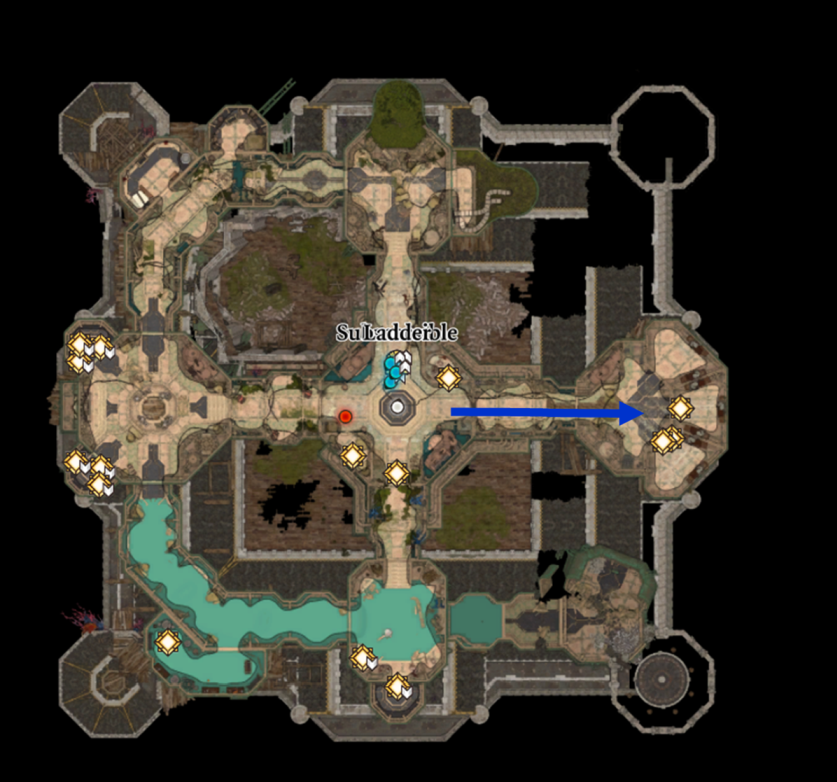
Overview
So, we’ll have four characters to control. One will stay mostly in the middle, the other three will run in different directions – but they’ll all be back safe – I promise.
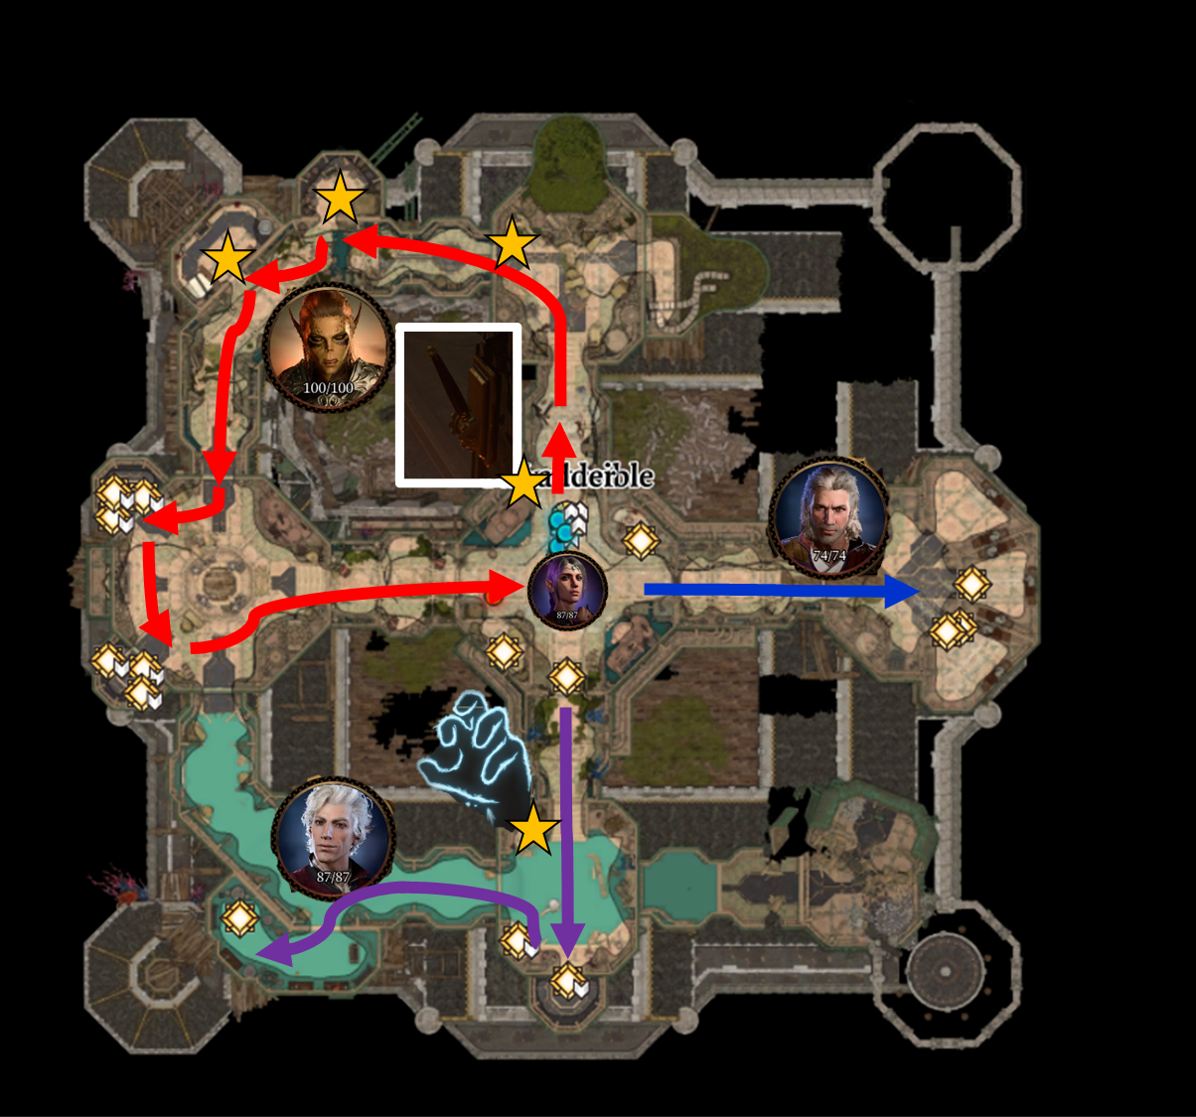
Lae’zel will be running to the North of the Map, as fast as she can, locking a door behind her as she goes. She’ll then head to the West, grabbing loot as she goes. She’ll free prisoners in the west, kill a couple of monsters, and then get back to the centre around turn 4 and do some more killing.
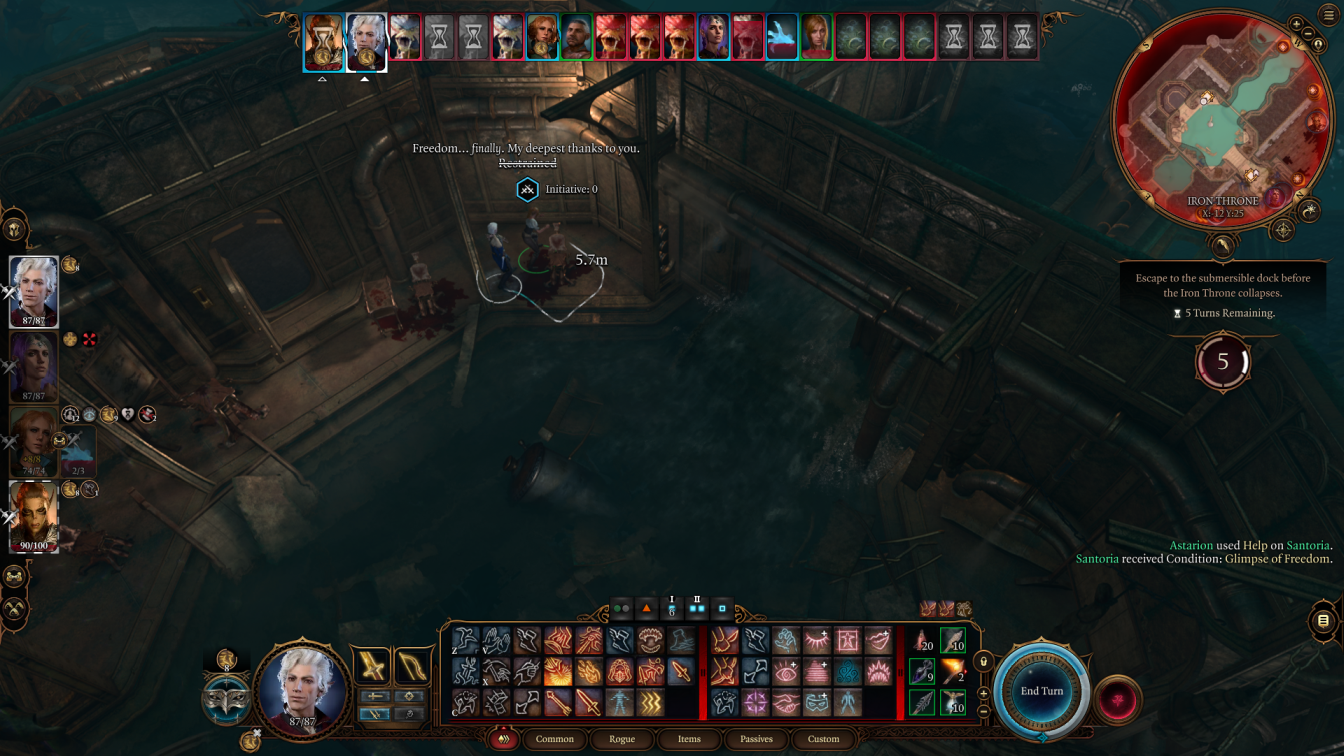
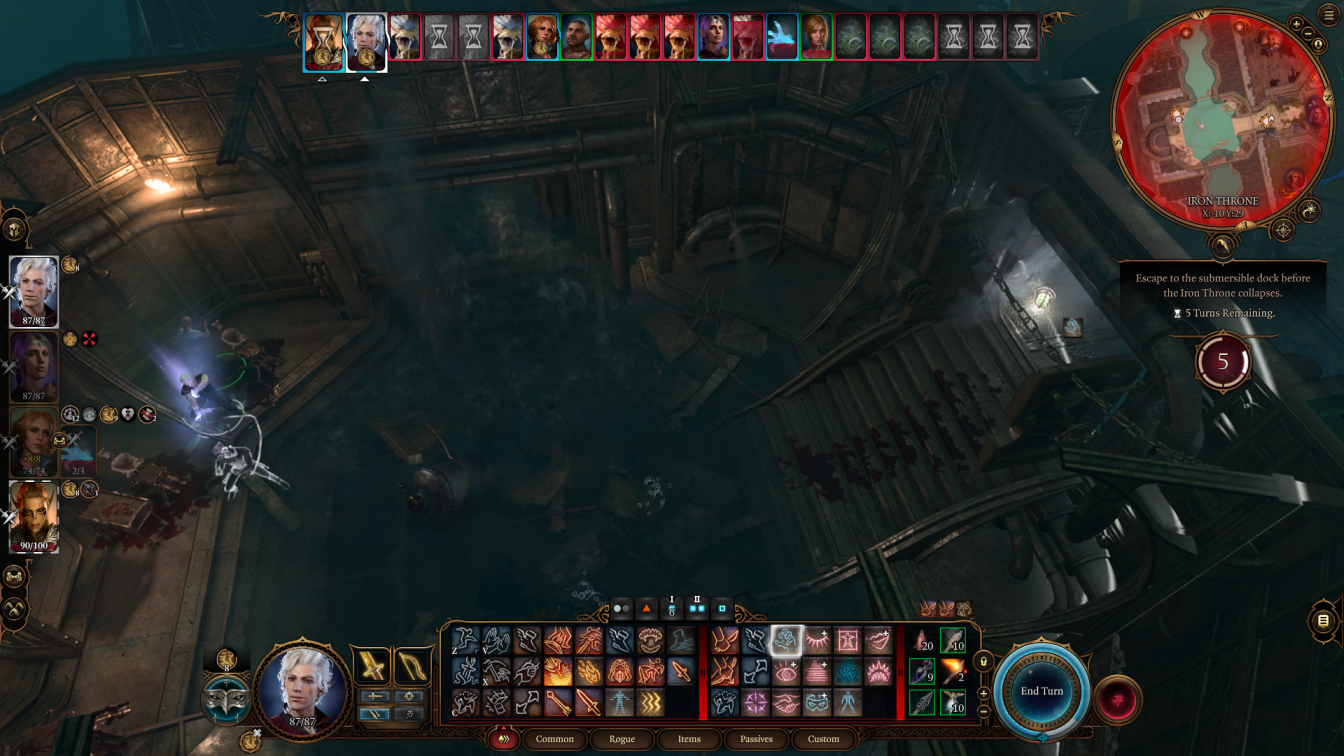
Astarion will be heading South, also as fast as he can, freeing a couple of prisoners, casting mage hand, then heading West, freeing Omeluum (if he’s alive), and grabbing some loot. His mage hand will be locking a door behind the prisoners when they get out of their room.
Shadowheart will be staying roughly in the middle of the map, killing a couple of monsters, and maybe going East a little to help if she’s needed.
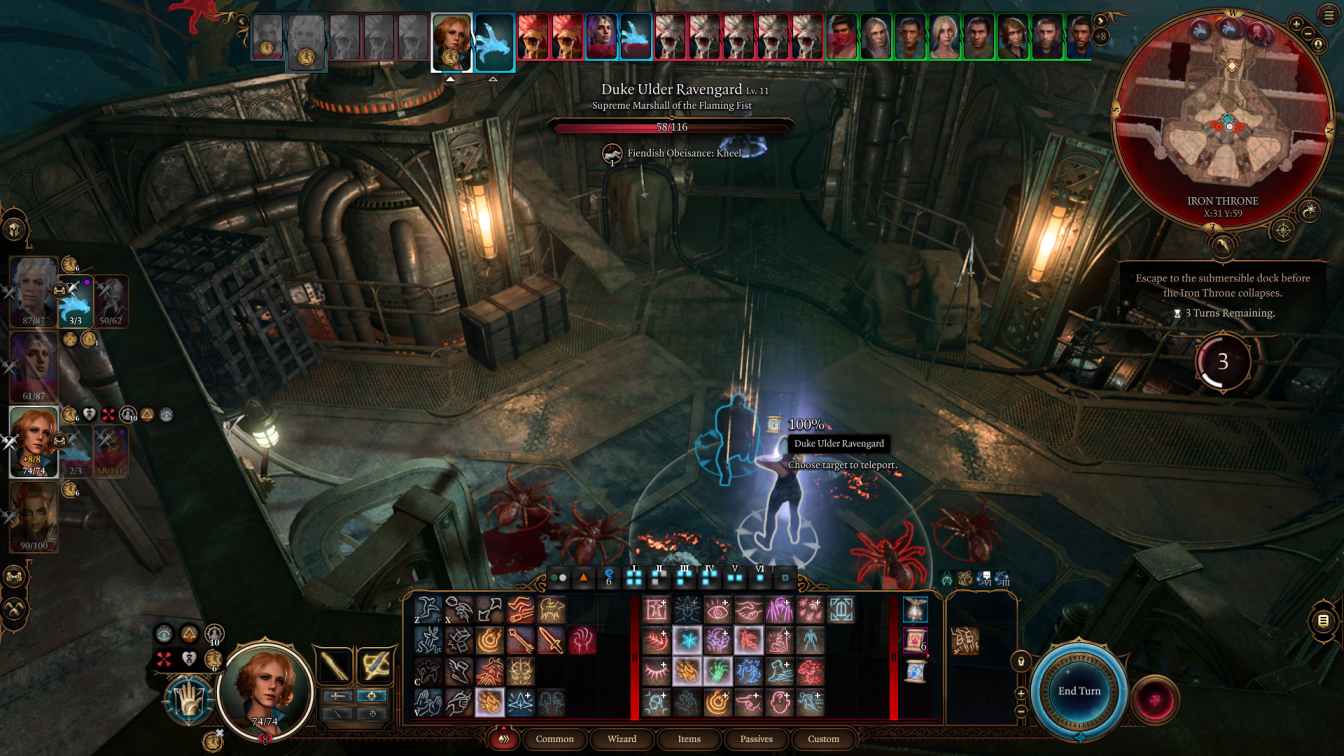
Your Wizard will be going East. They’ll kill a couple of monsters – or at least damage them, free some prisoners and the duke, heal the duke a little with a potion, and they’ll use a scroll of dimension door to help the duke get out quicker. They can cast mage hand to help get doors open, but it’s not essential.
All your characters except for Shadowheart should have haste. They’ll be very quick – but if they lose their concentration, they’ll be fatigued and miss a turn. So for at least the first two rounds we’ll be a little cautious about that. It’ll also mean we don’t want those characters casting spells that require concentration – it’ll cause the ‘new’ spell to fail and the character to go fatigued.
Turn 1
Lae’zel
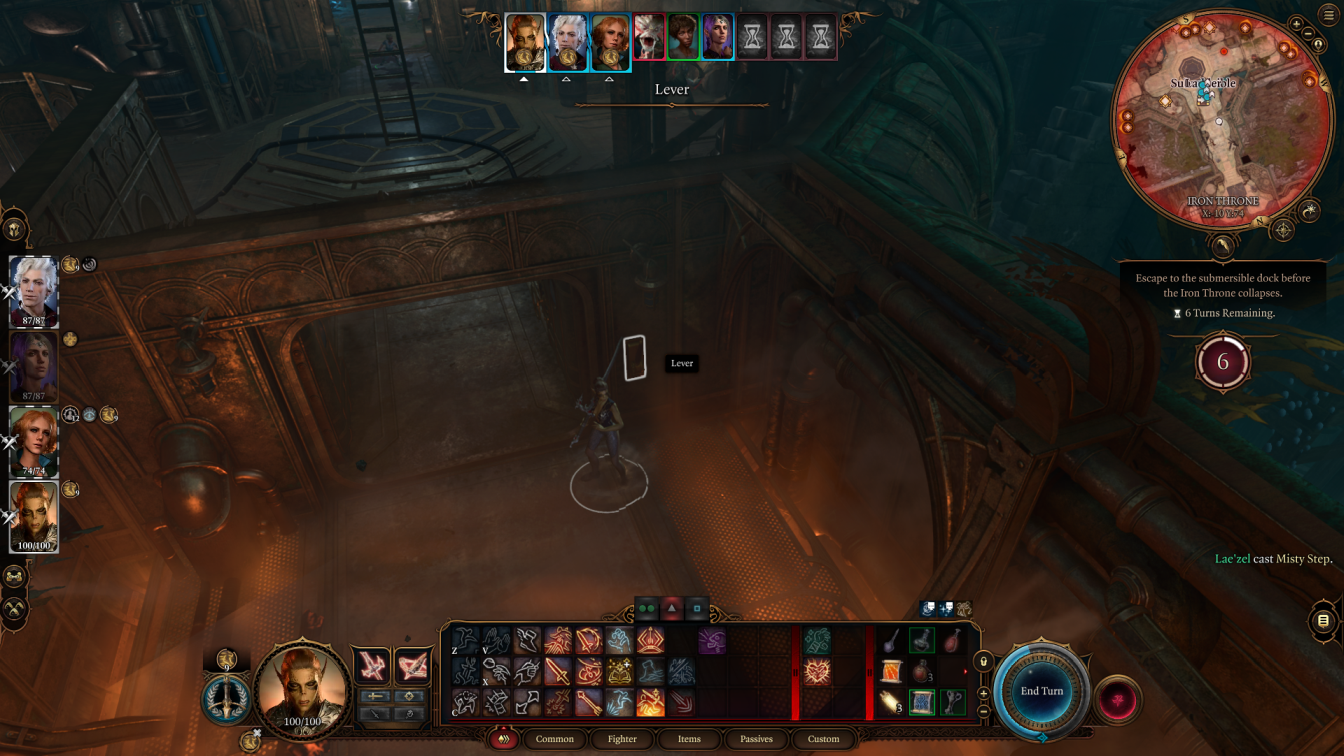
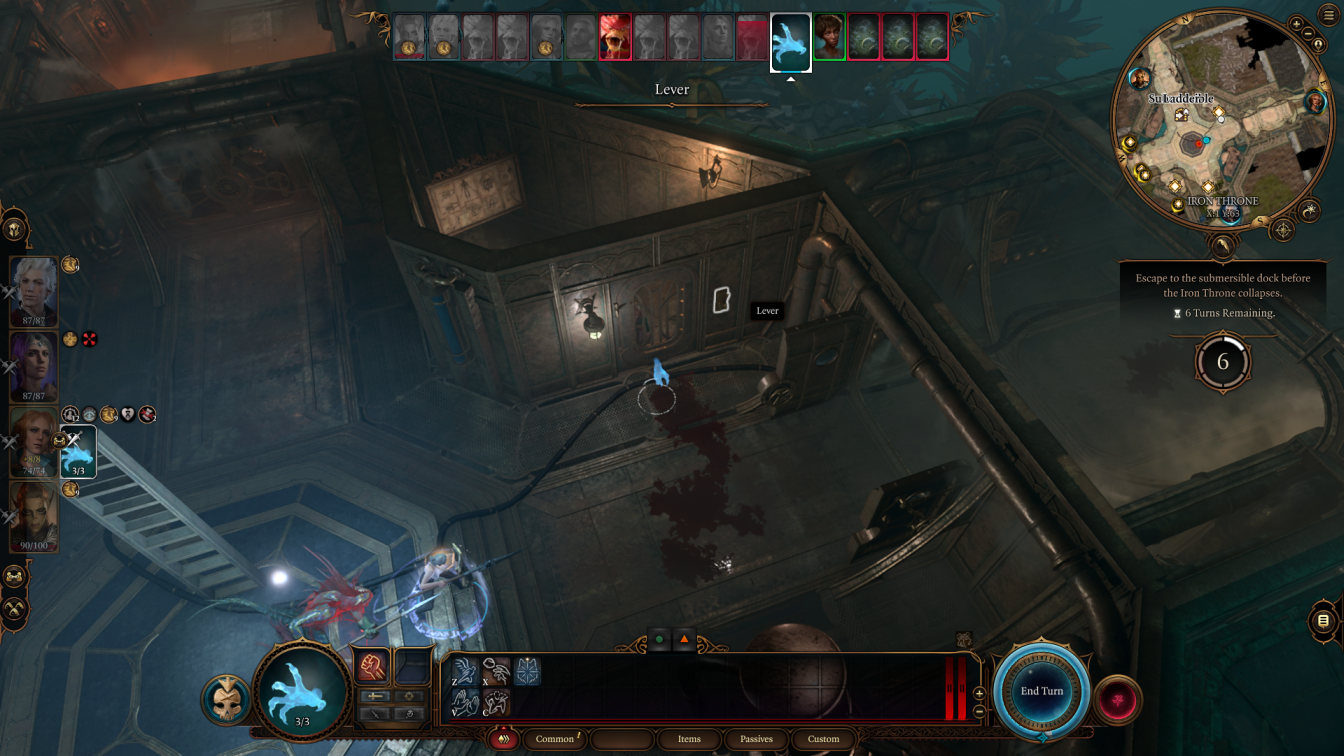
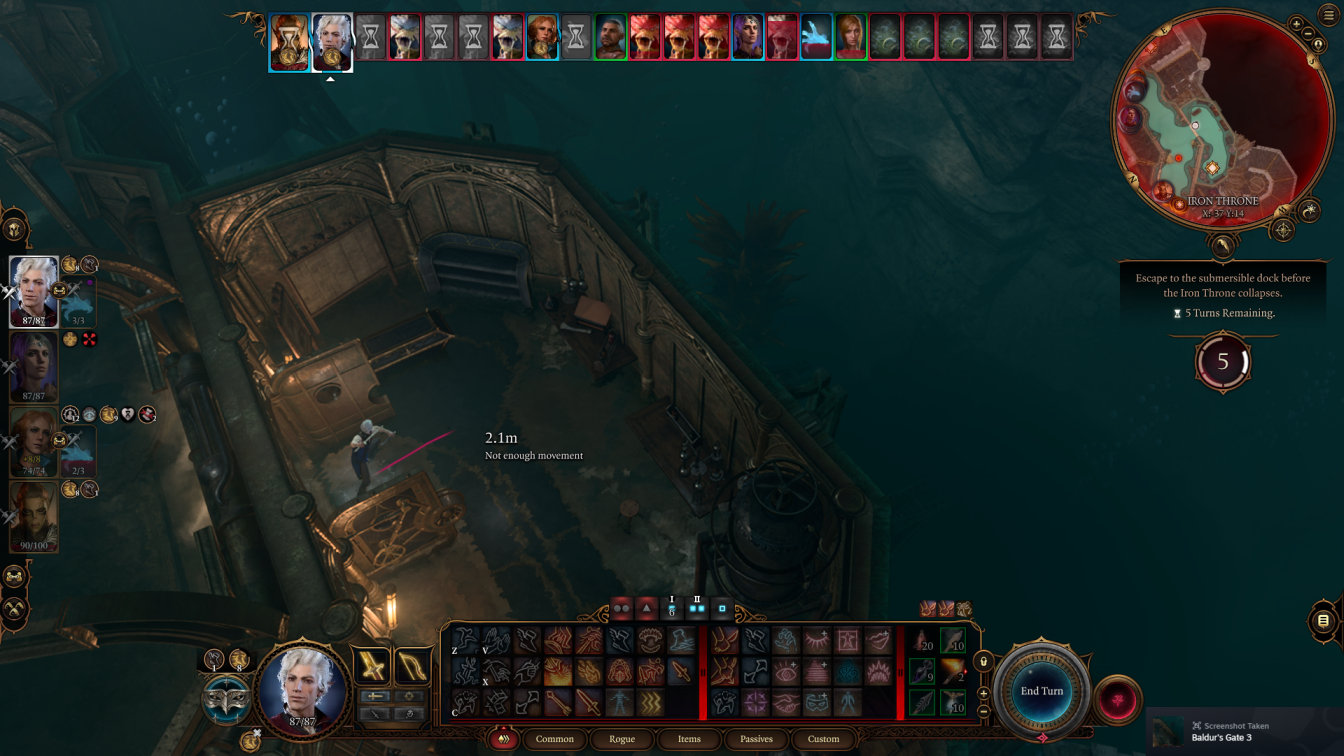
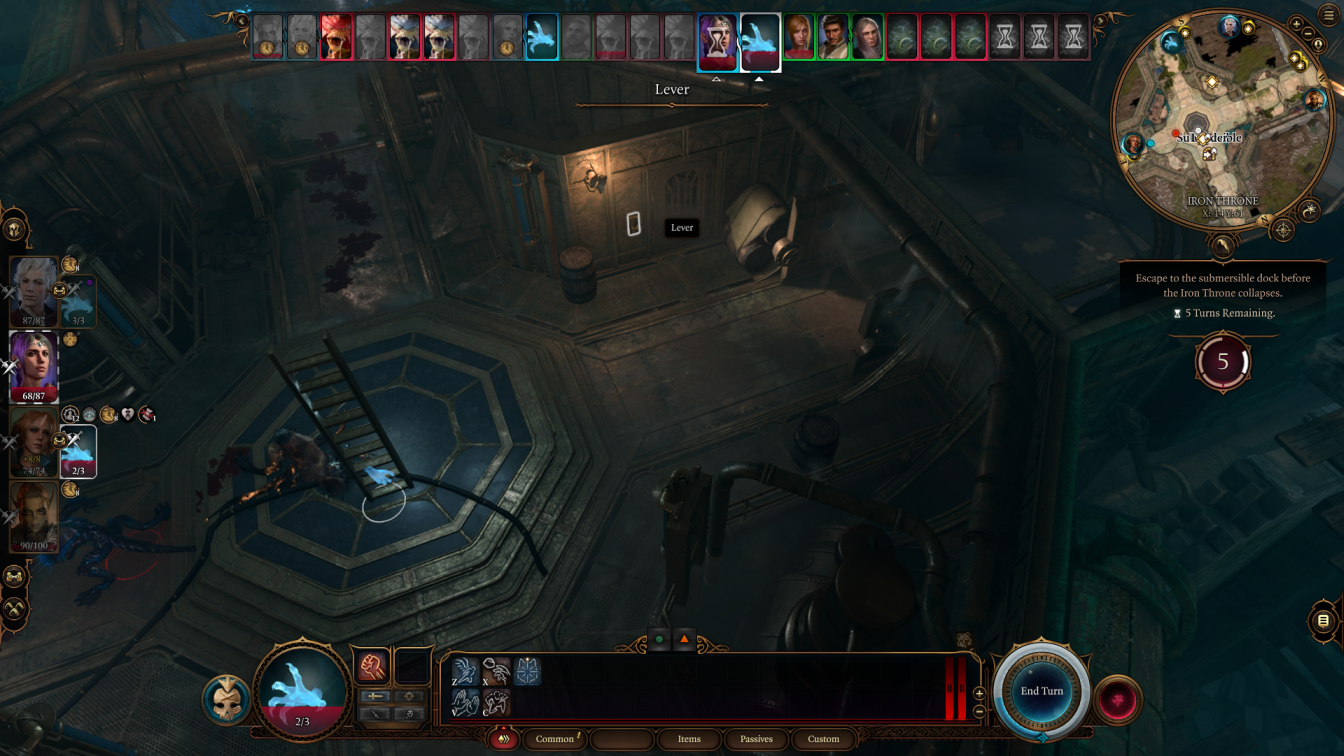
First up is Lae’zel. Send her down the ladder.
Then, use Misty Step to send her North just past the first door.
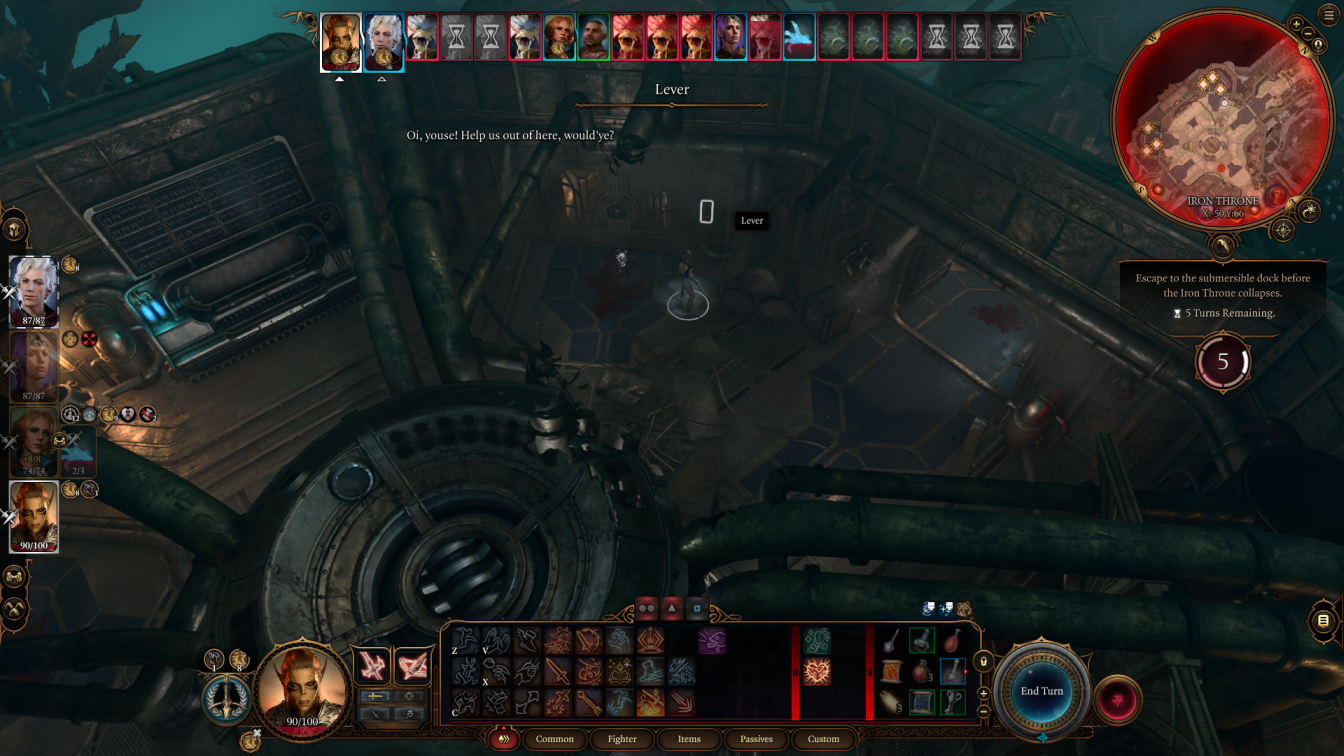
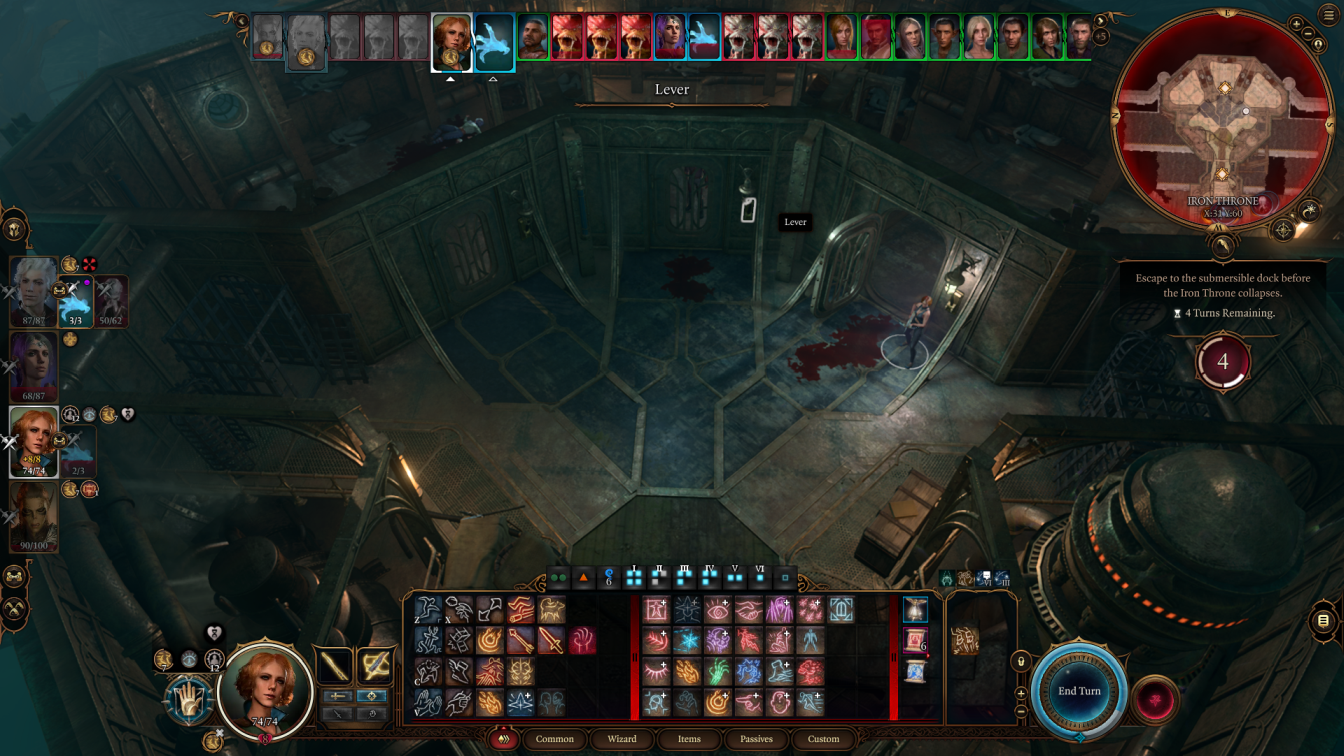
Use the lever to close the door behind her. Don’t worry – she’ll be fine!
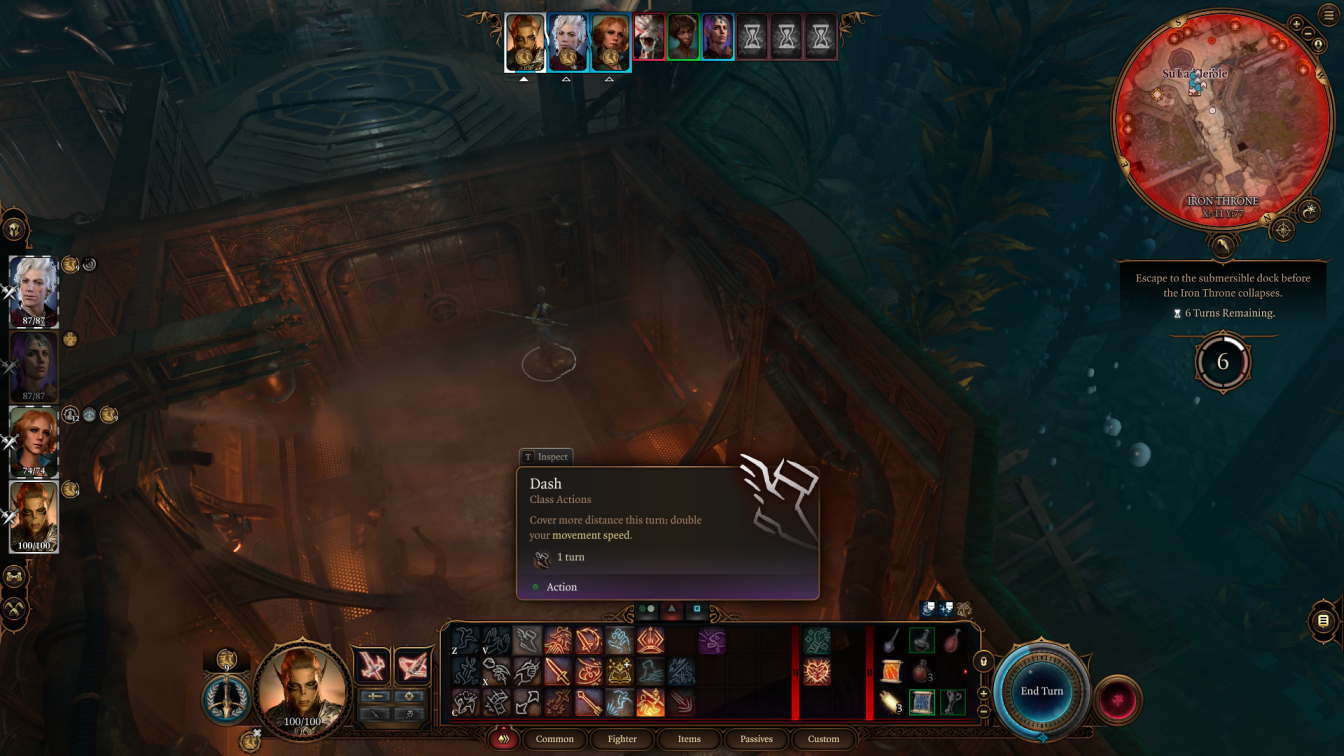
Run North, looting the corpse, and then head West. Using dash, you should be able to get to the lever opening the door to the room with the chest, though maybe not inside it. That’s Lae’zel done.
Astarion
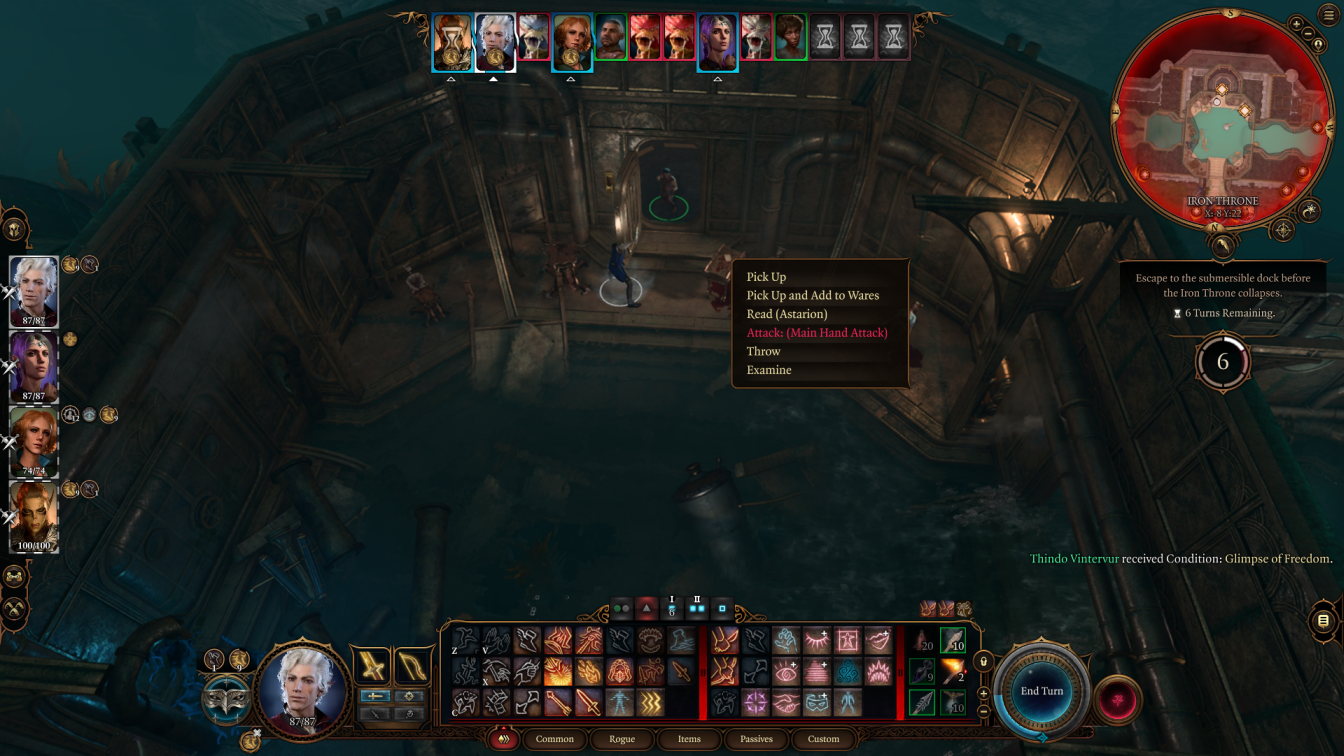
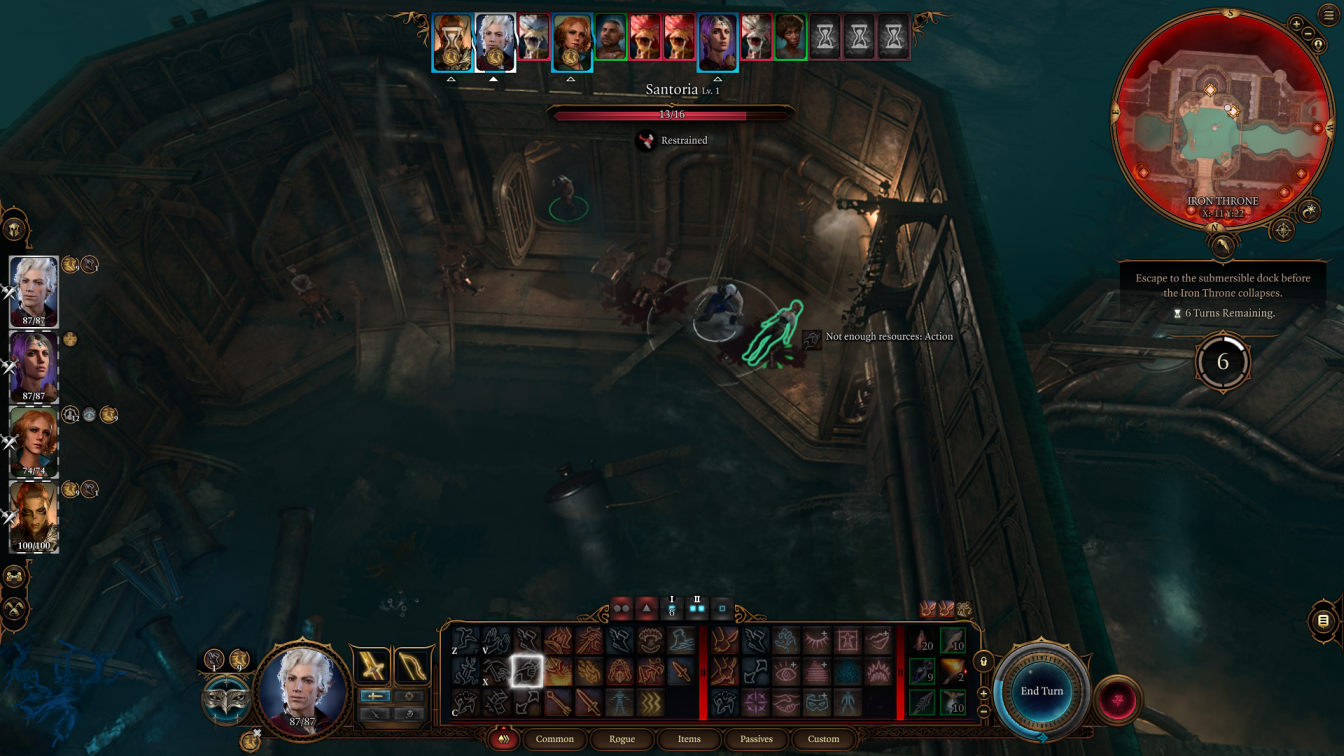
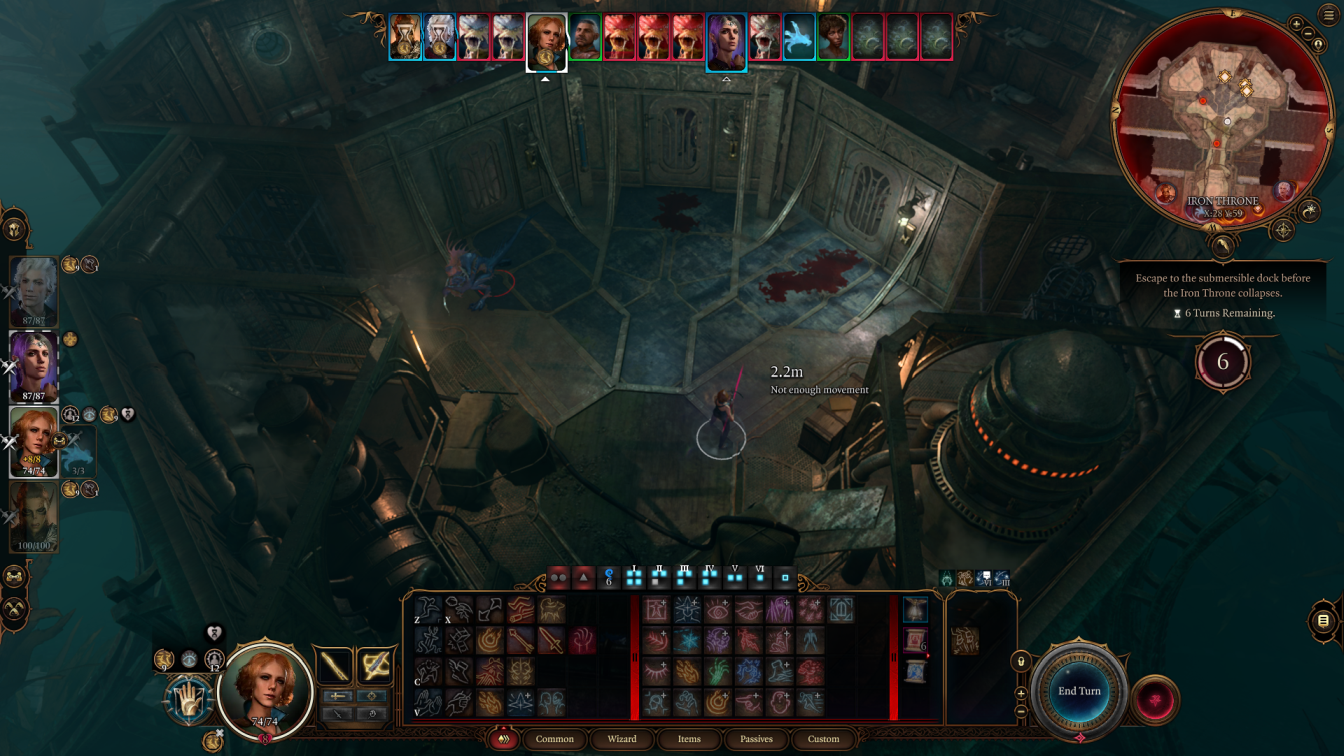
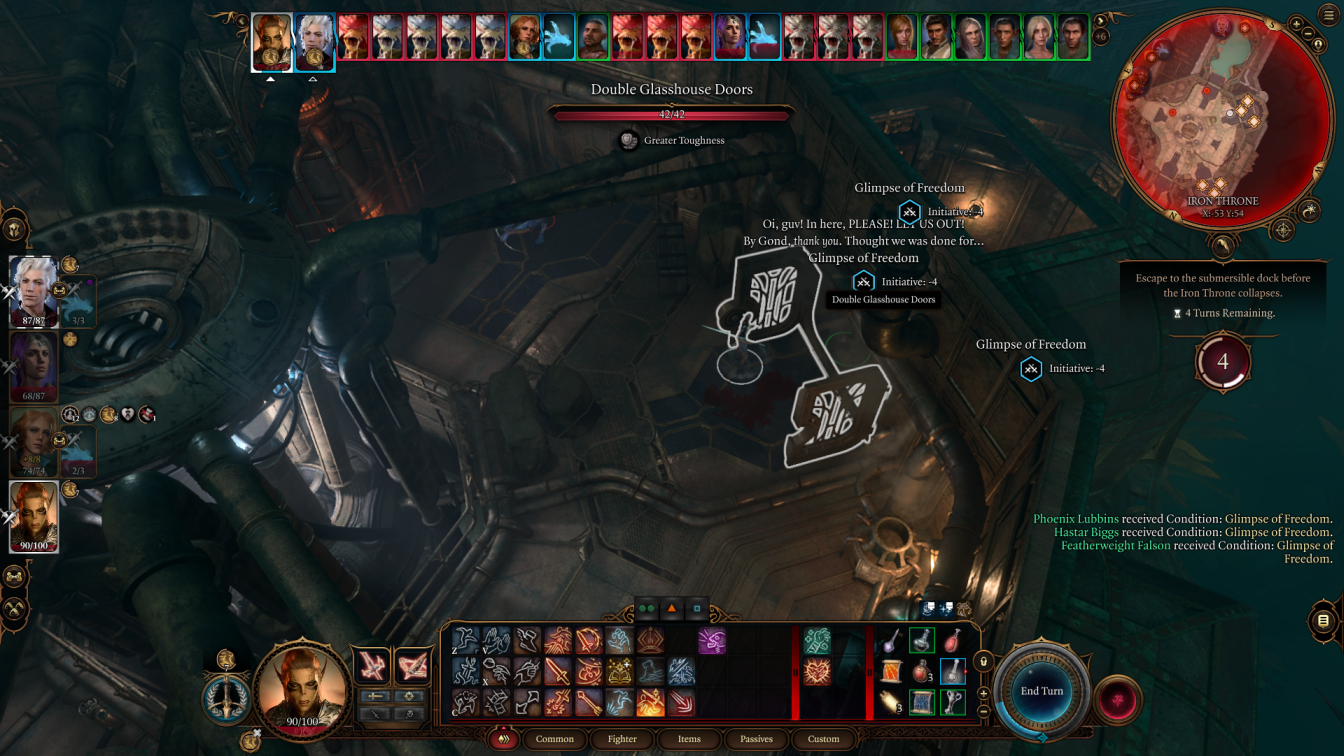
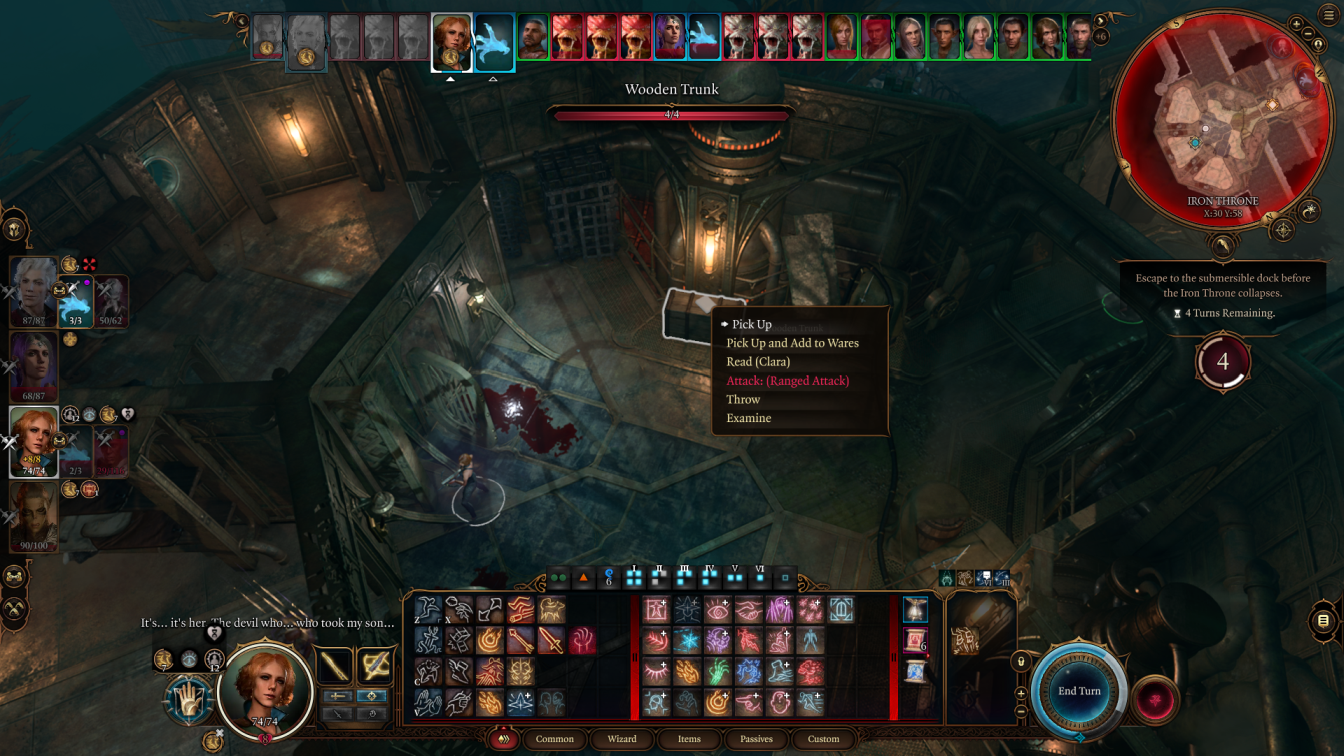
Next up is Astarion. Send him down the ladder. Use Misty Step to send him as far South as you can, and then dash, and you should be able to get him to open the cell. You may also be able to get him close enough to use ‘help’ to free the restrained prisoner – if you don’t stop to loot the book. If you can free the second prisoner, go ahead, if not, loot the book and end the turn.
Wizard
Next up is your Wizard – Gale, or in my case, the player character.
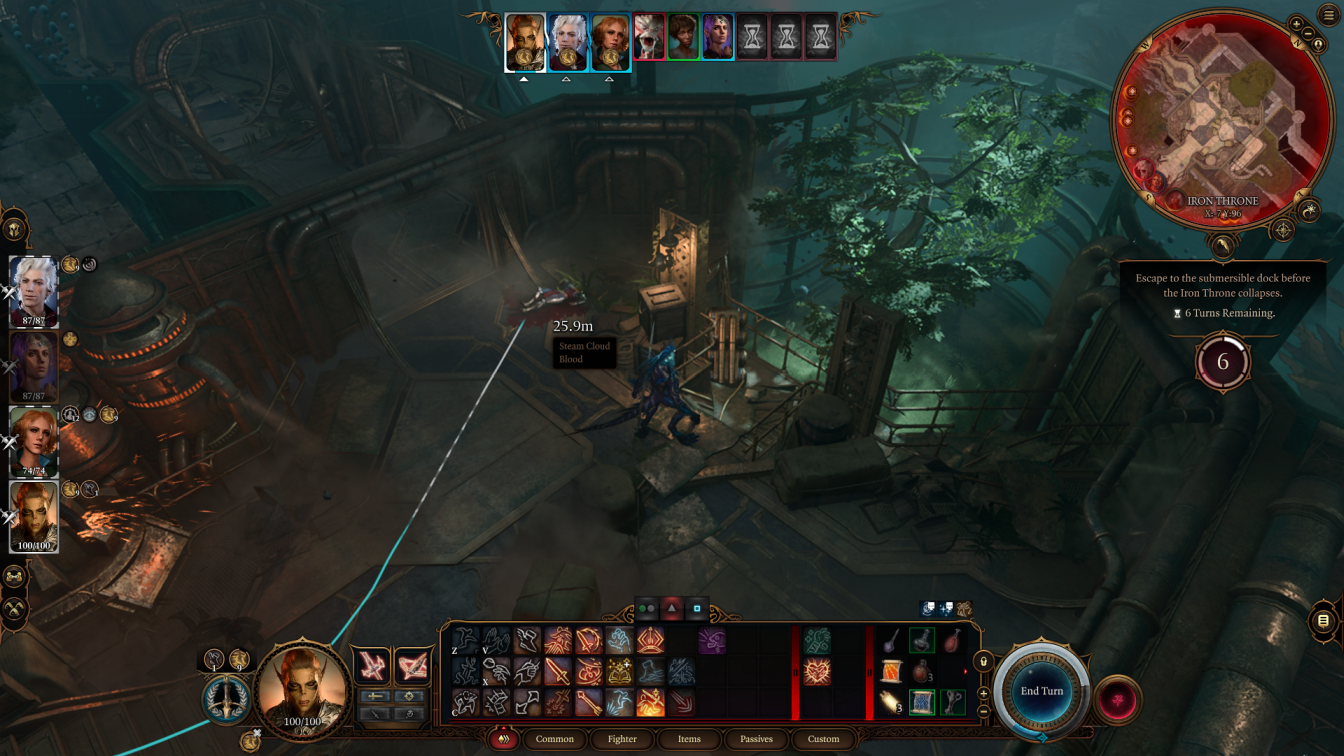
Send them down the ladder and cast mage hand near one of the central cells – which ever one is furtherest from any monsters. Use Misty Step to go East, and if you can, use shocking grasp on a monster. Move a little further into the room, and end your turn.


Shadowheart
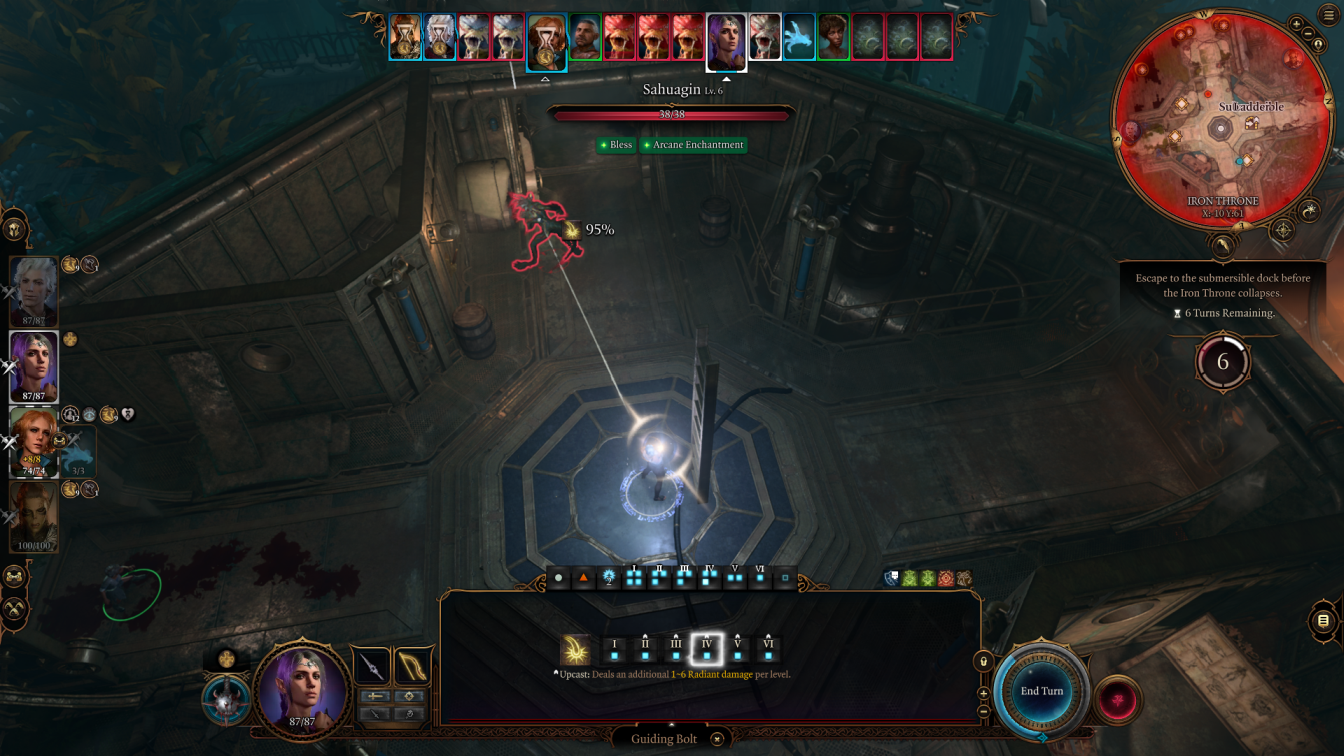
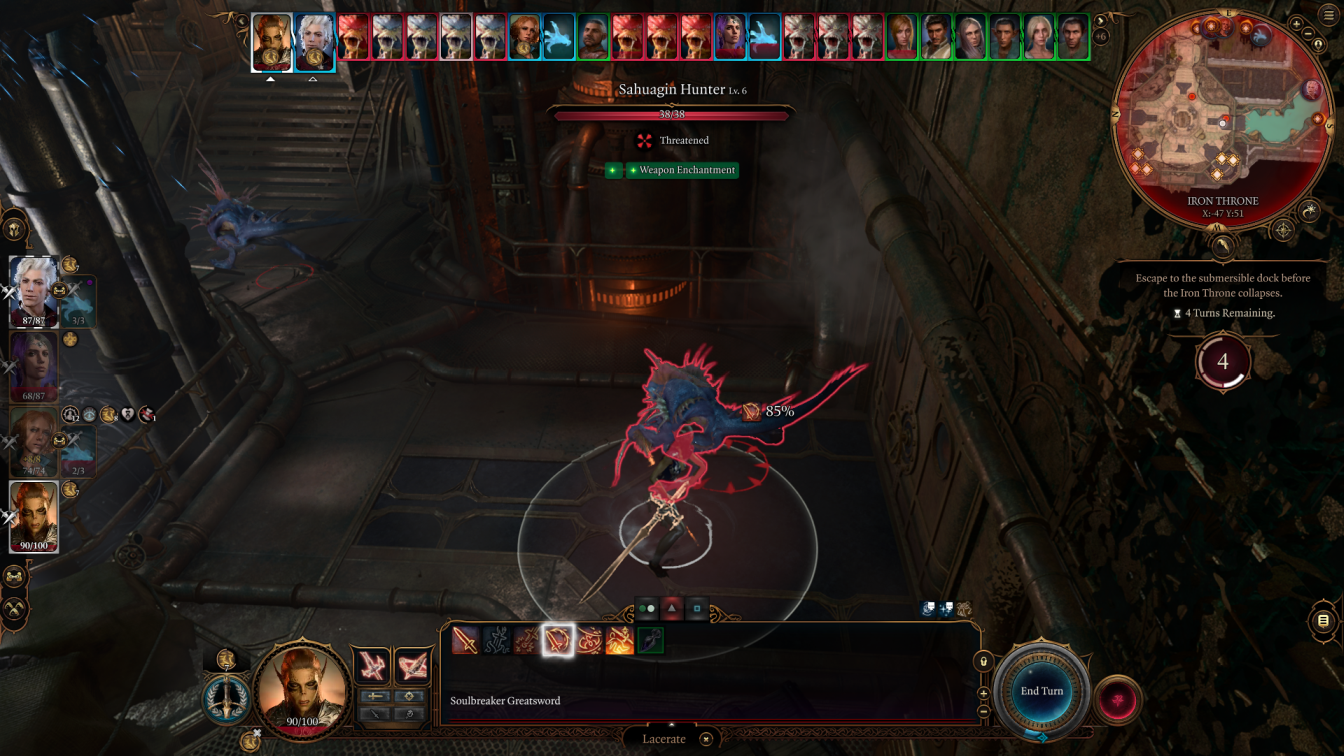
Lucky last is Shadowheart. Send her down the ladder.
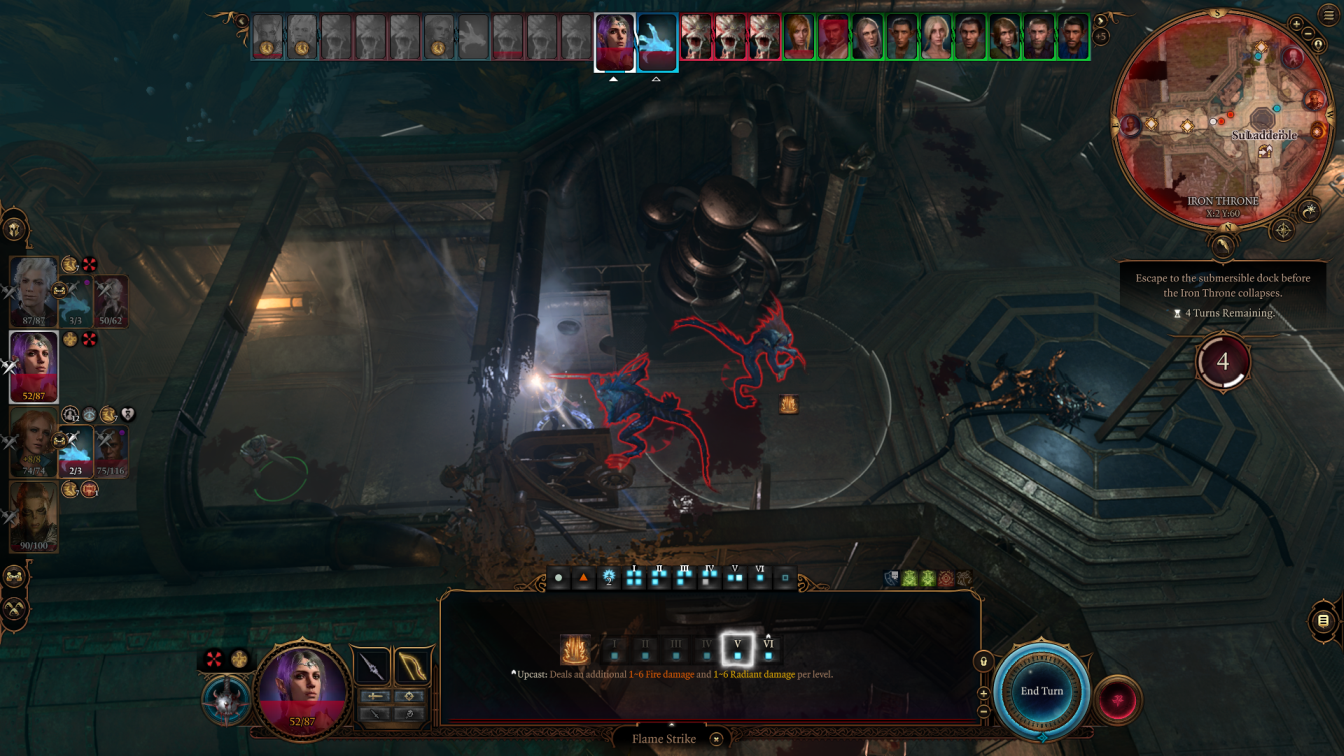
Use Guiding Bolt on the monster nearby – up-cast it and you should do a fair bit of damage.
Then head a little East.

Mage Hand
Let’s not forget our Mage Hand. Use it to open one of the middle cells and then move it towards the other one.
That’s the end of turn 1 – well, for our party at least.
Turn 2
Turn 2 Begins!
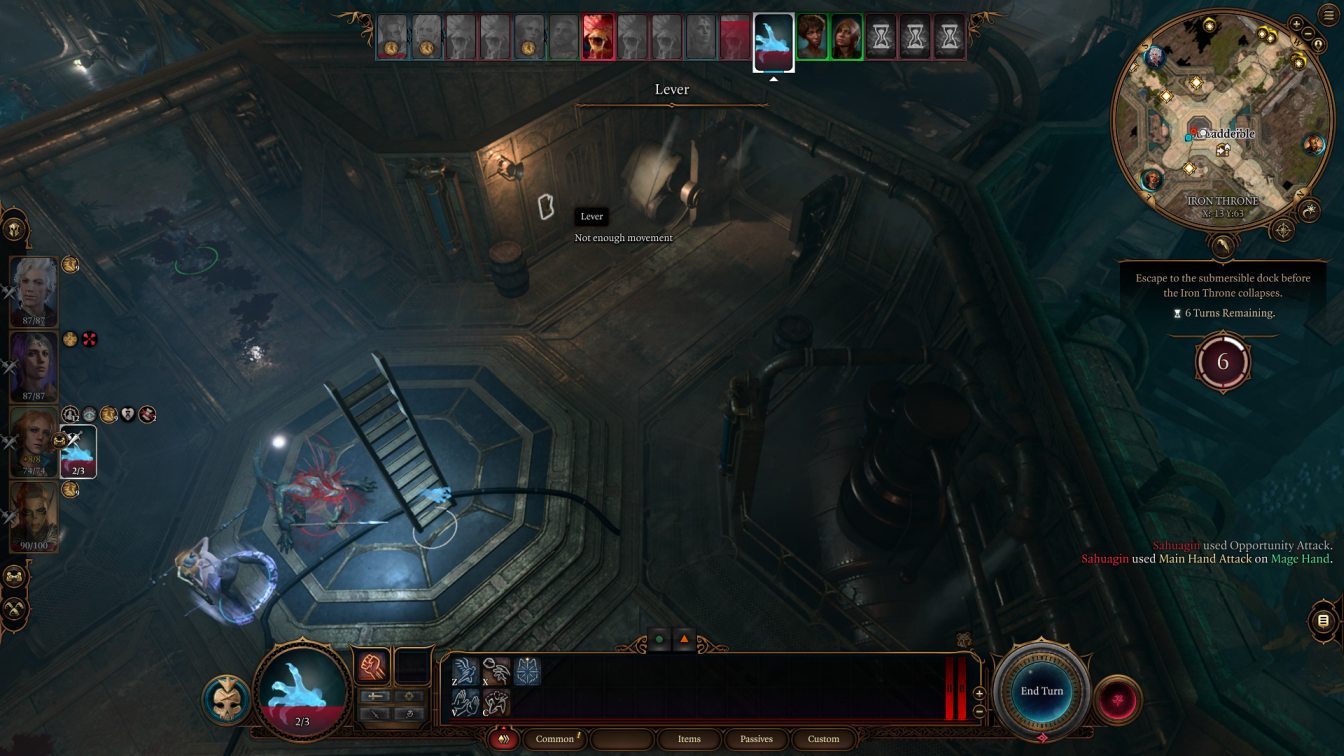
Lae’zel
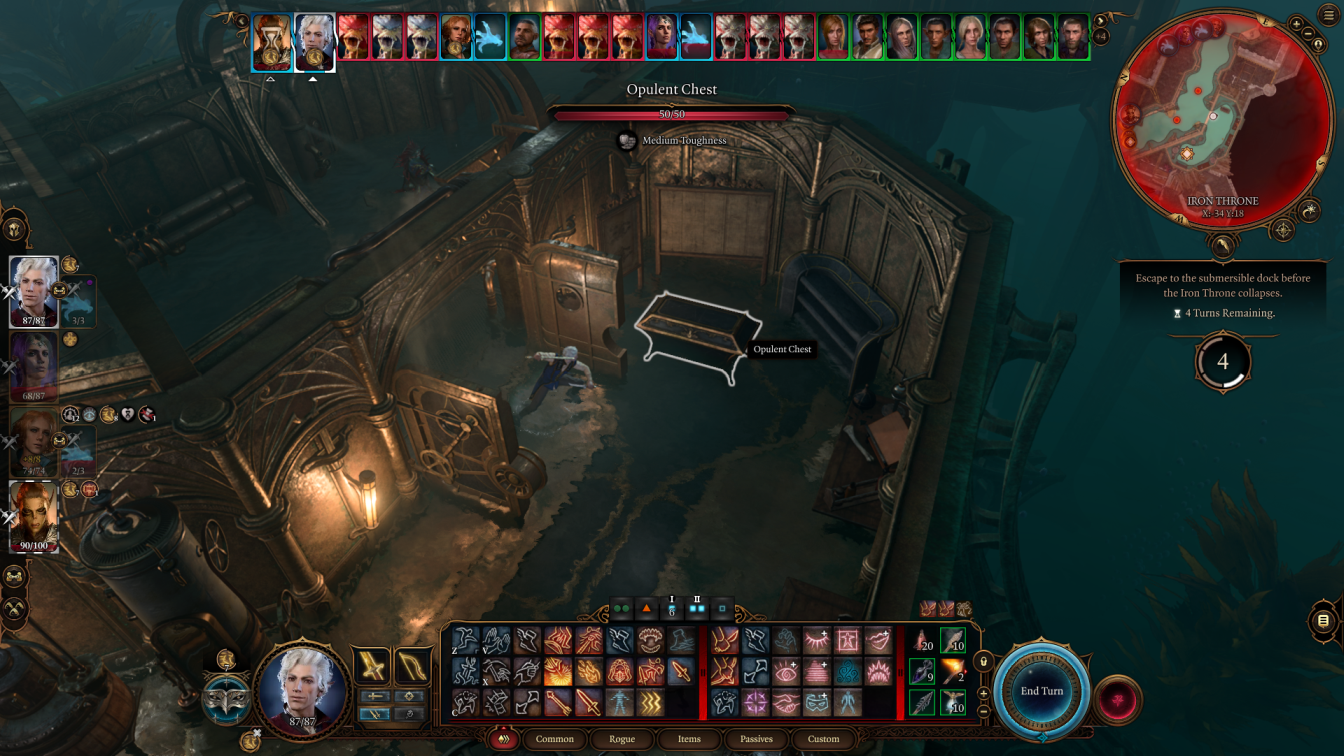
Get Lae’zel to make a small jump to get into the room with the chest. Loot it.
Run to the next room and loot the chest, the note on the floor, and then the wardrobe on the way out.
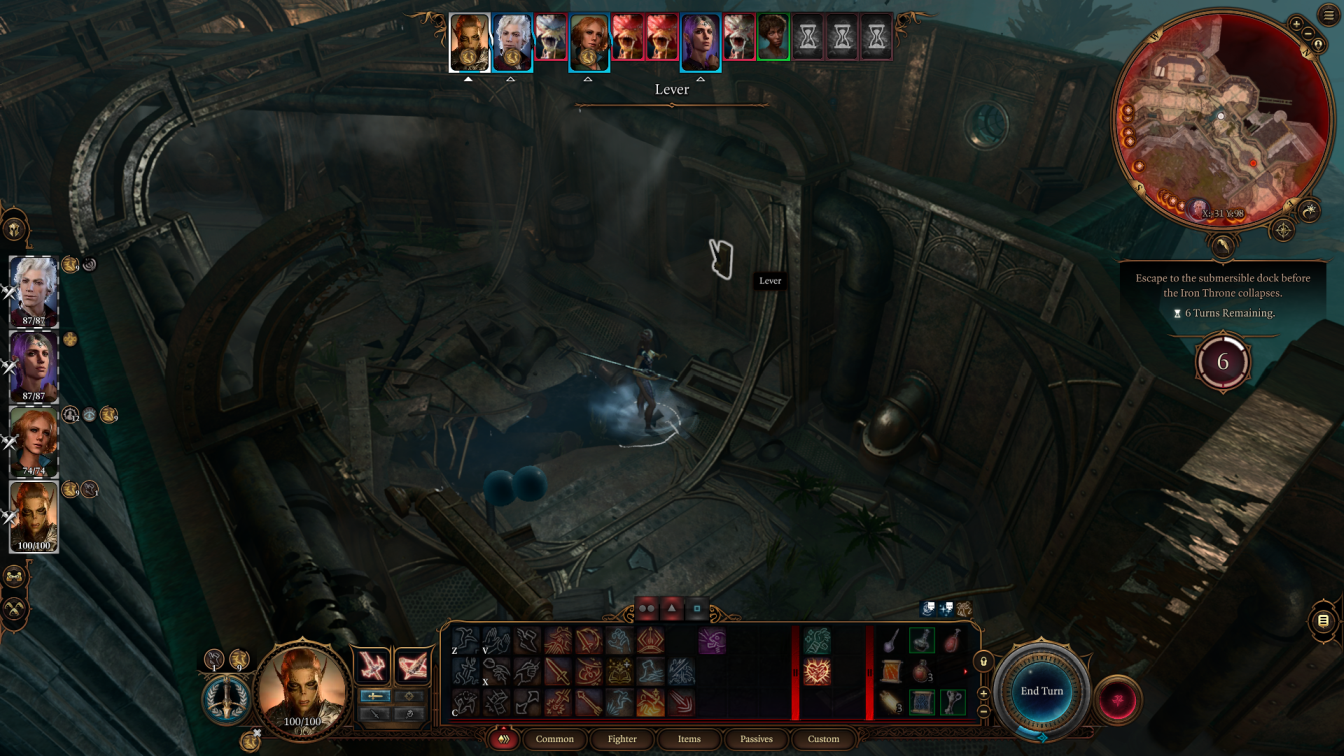
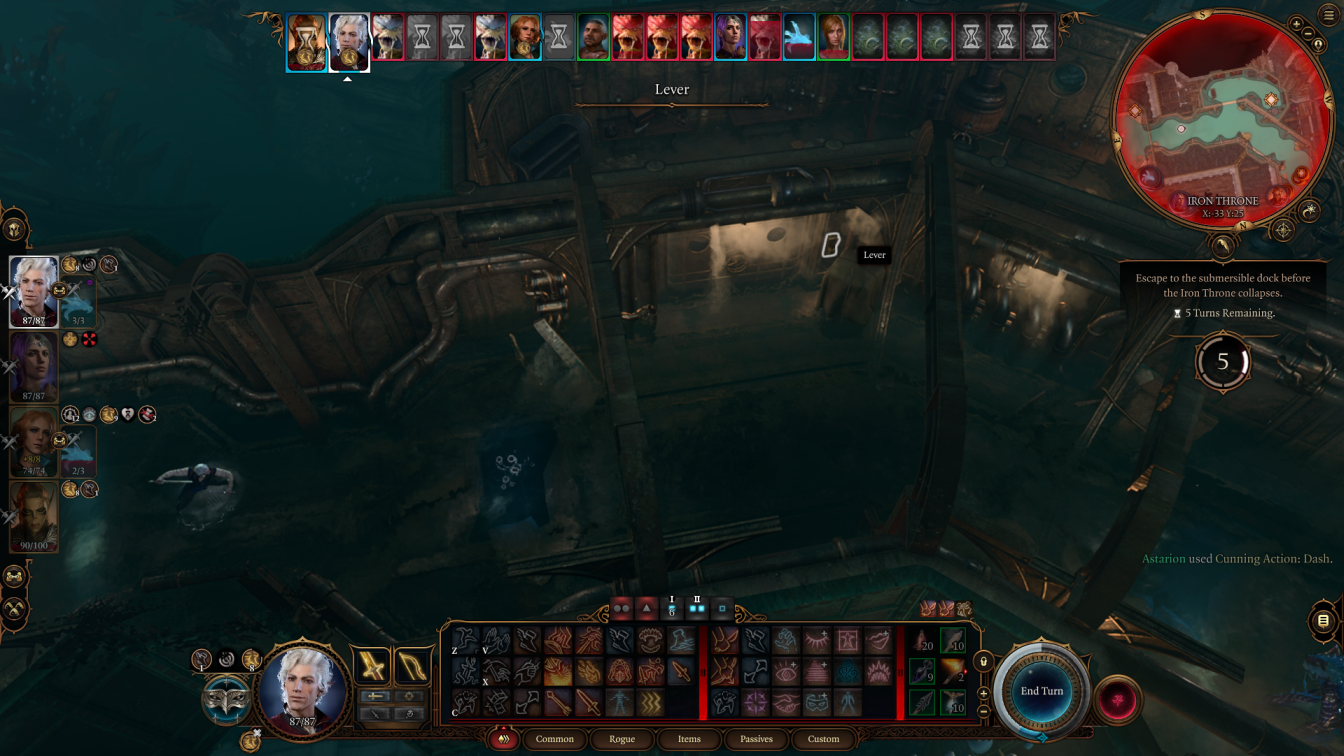
Then keep running to the West – you should be able to use the lever and get a little bit into the Western room. You’ll need to use dash.
Astarion
Astarion is next up. Rescue the restrained prisoner, then cast mage hand just beyond the door you entered from. Then, run West towards Omeluum’s room, opening the lever on the outside. Get into the room – you may get close enough to loot the chest.
Wizard
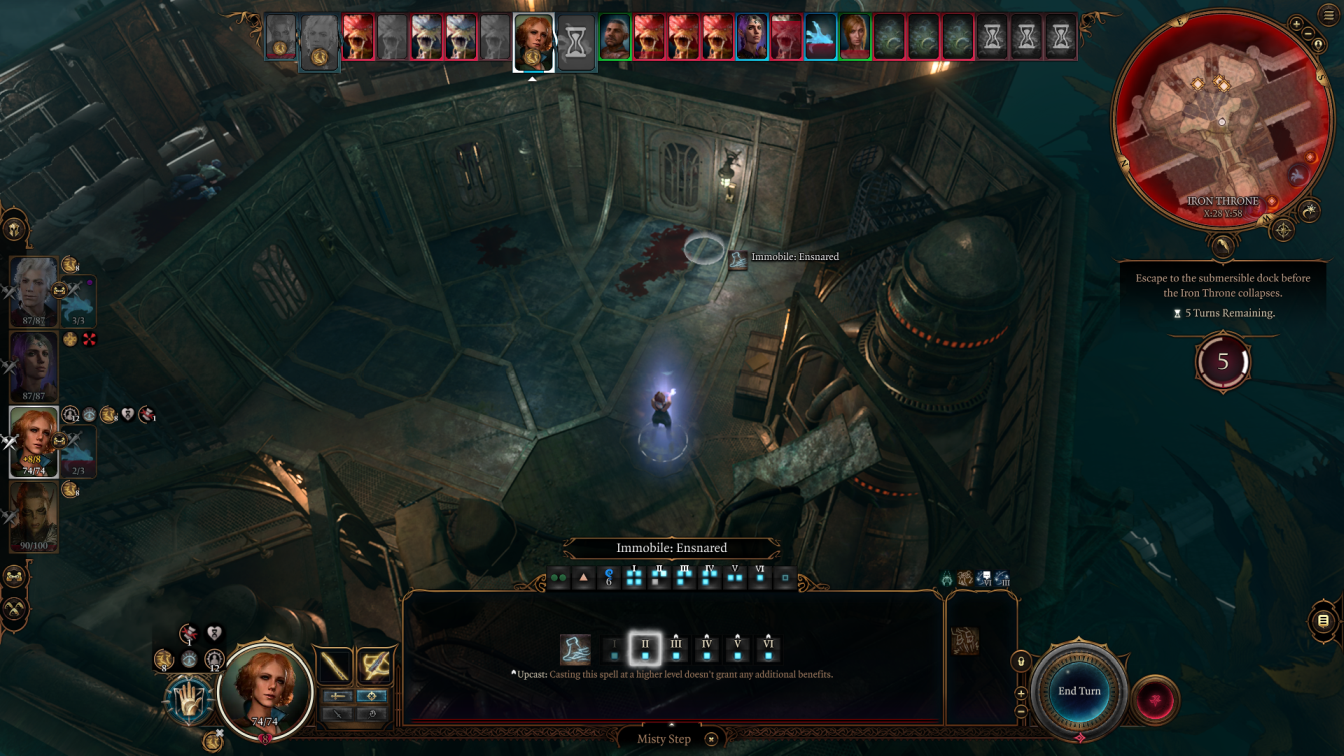
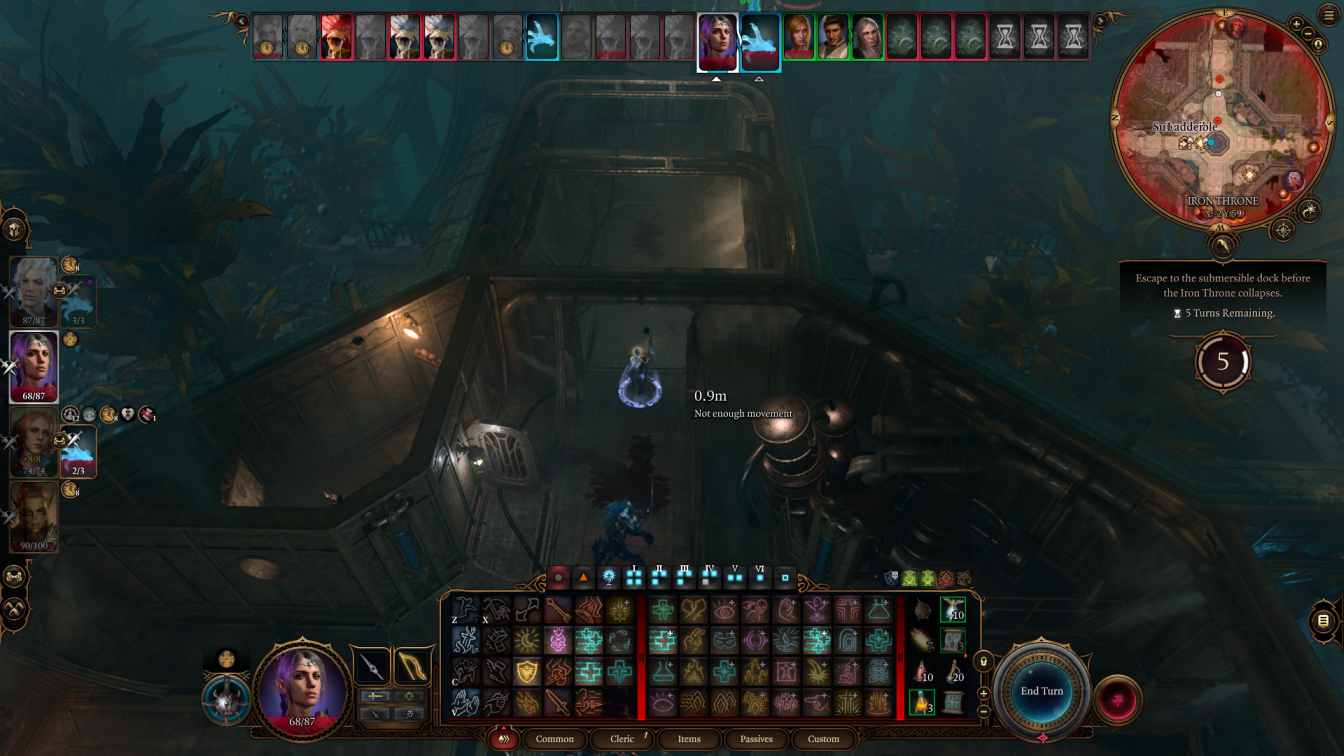
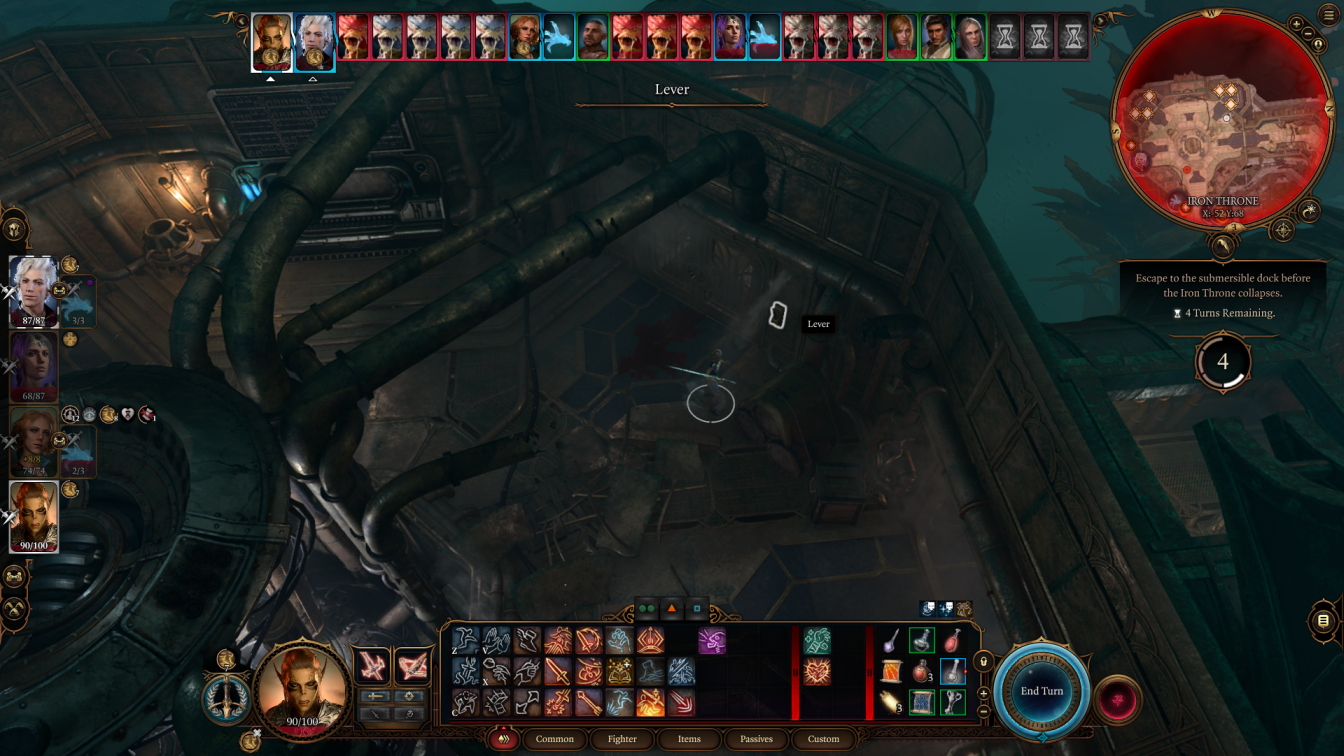
Next up is the Wizard. Mine got ensnared, so I used Misty Step to get to the lever to let out the prisoners. That was about all I could do. If any monsters are in range, take a pot shot, but in my case they had run towards the middle of the map.
Shadowheart
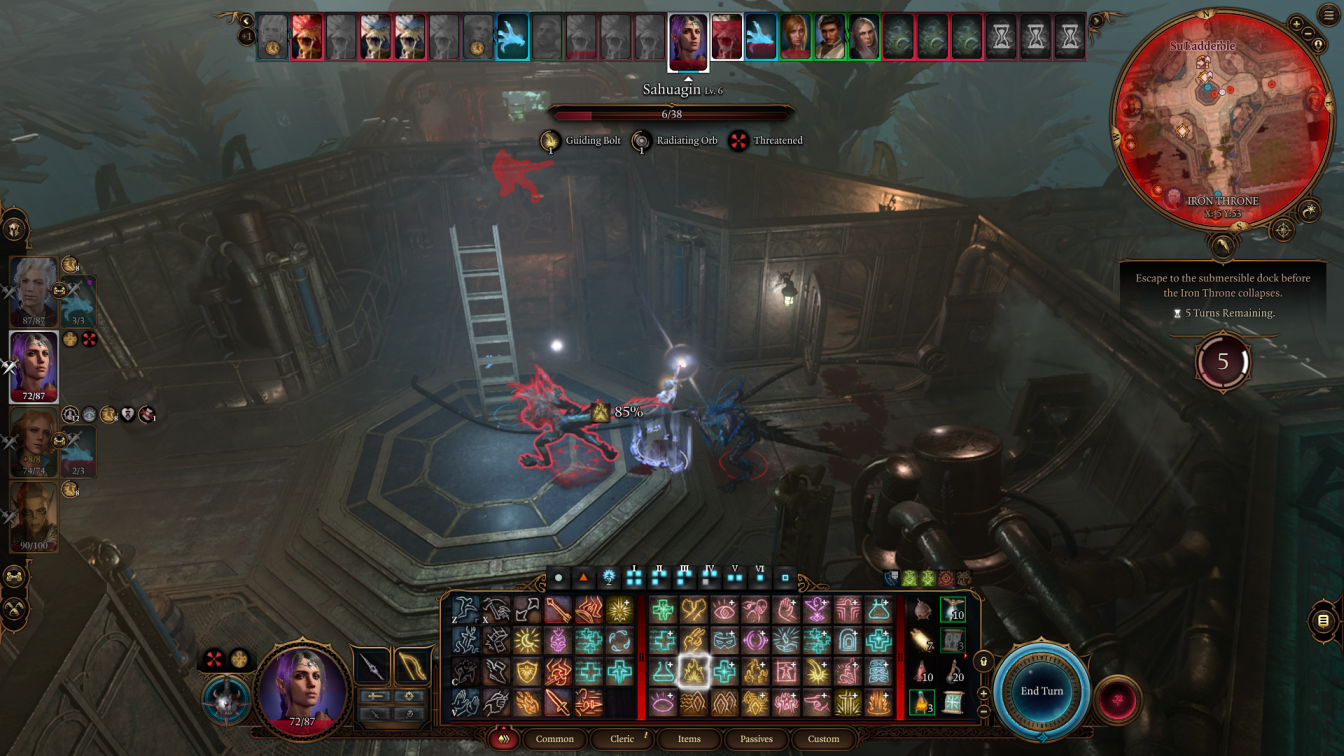
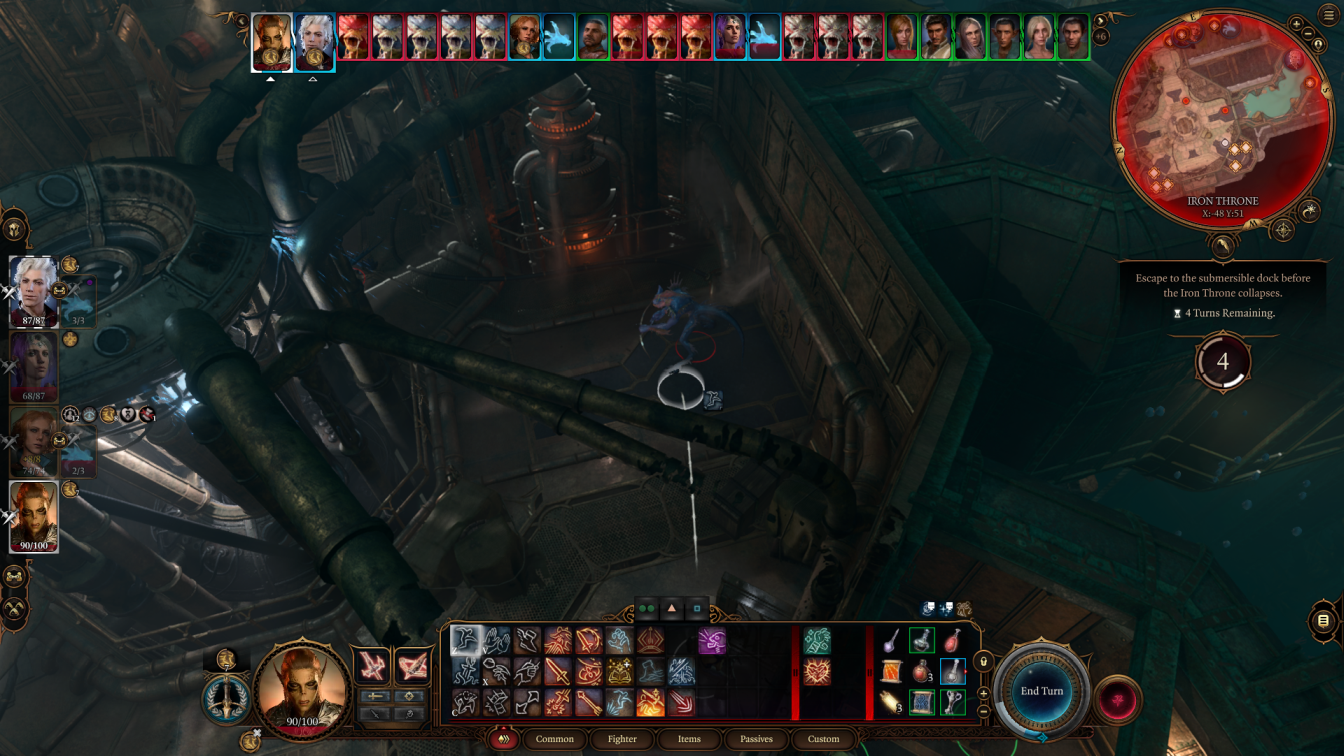
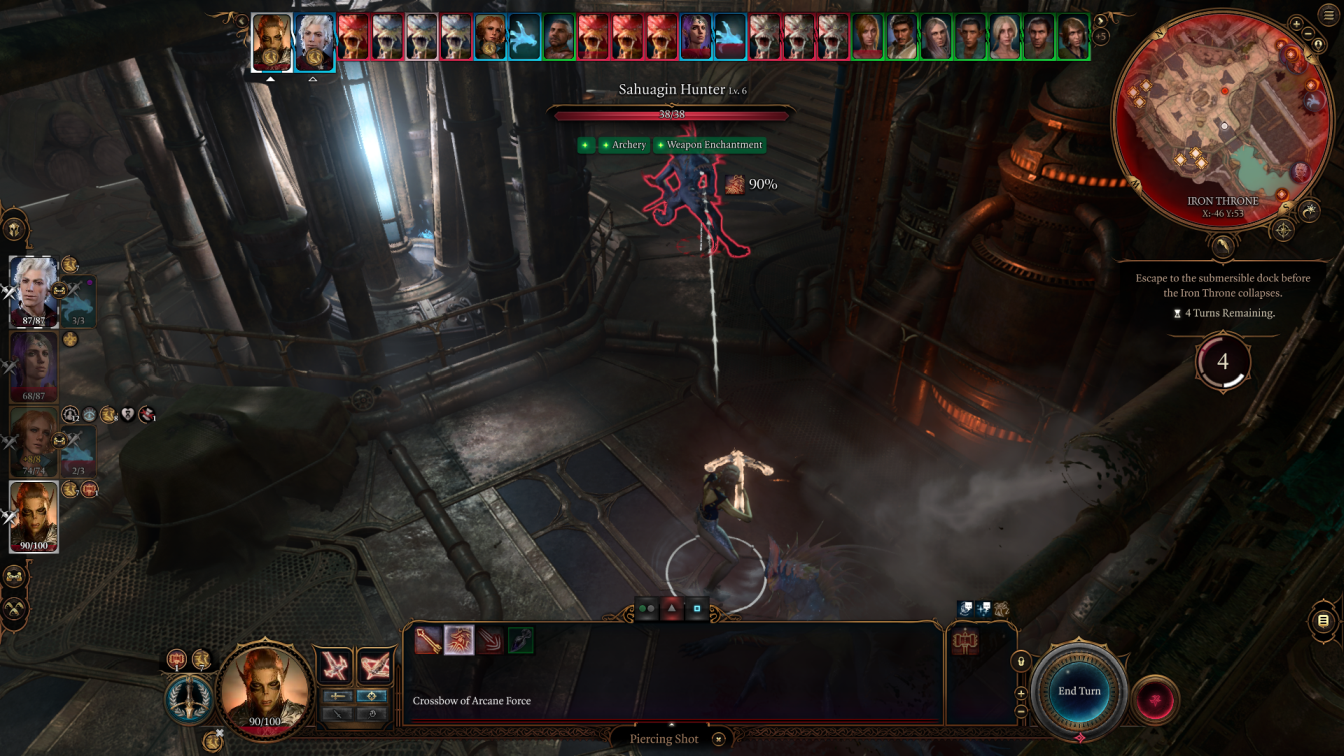
Next up is Shadowheart. There’s probably two monsters in the middle area now. Don’t worry, they can’t hurt you much – but we don’t want them to kill any prisoners. Use Sacred Flame to finish off the monster you damaged last round, then move a little East to where your Wizard and the duke are.
Mage Hand
Lucky last is our mage hand in the middle. Open the other central cell if it’s safe to do so – you don’t want to be letting a monster in!
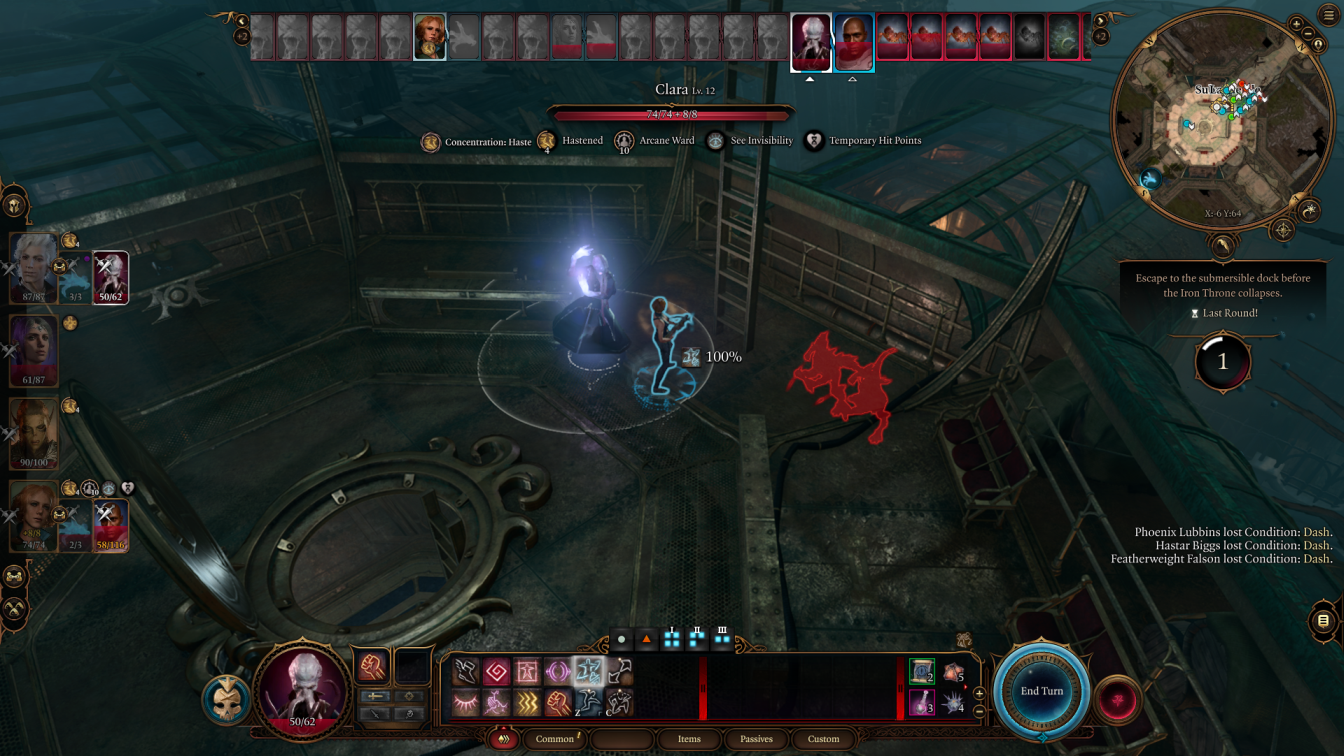
Turn 3
Now it’ll all start to come together!
Lae’zel
Use Lae’zel to open the first prisoner cell, and then the second.
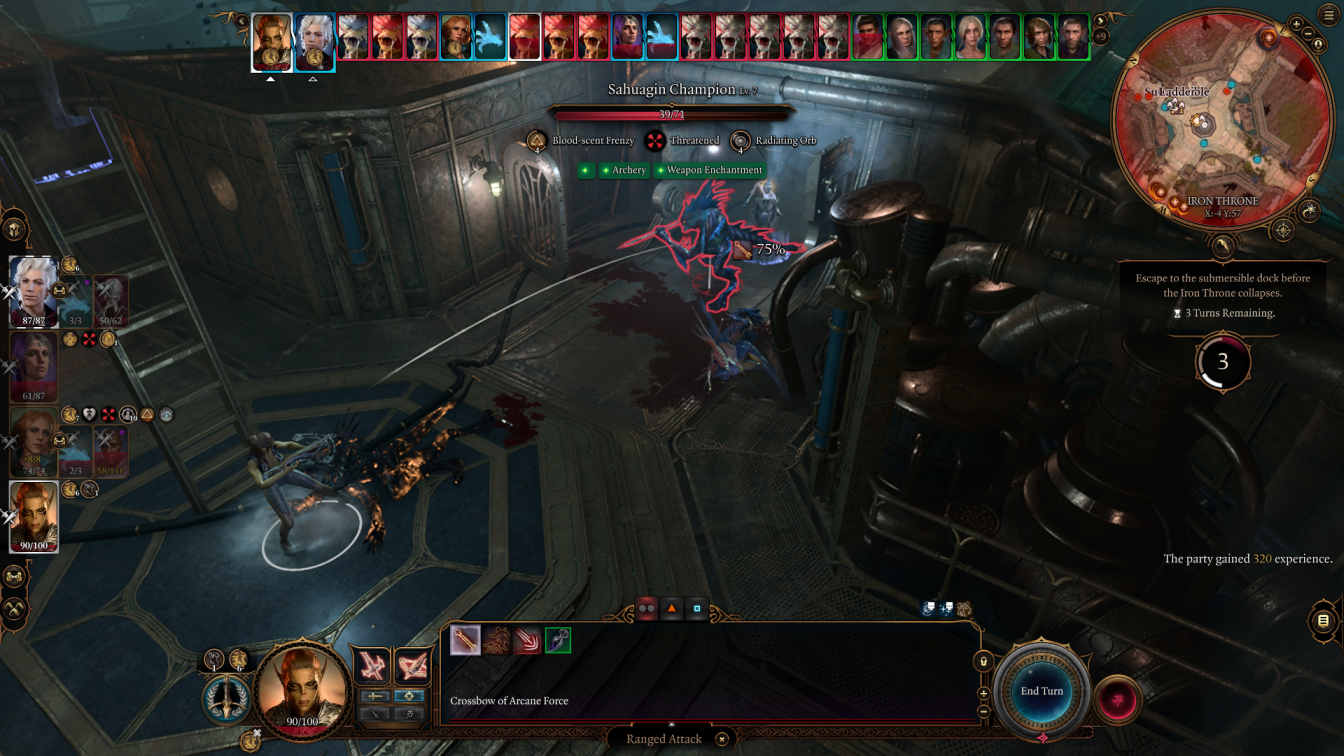
You should be able to jump from there to melee range of the closest monster, and take them out without difficulty. Loot them.
Then use your ranged attacks and action surge to take out the second one, and your turn is done.
Astarion
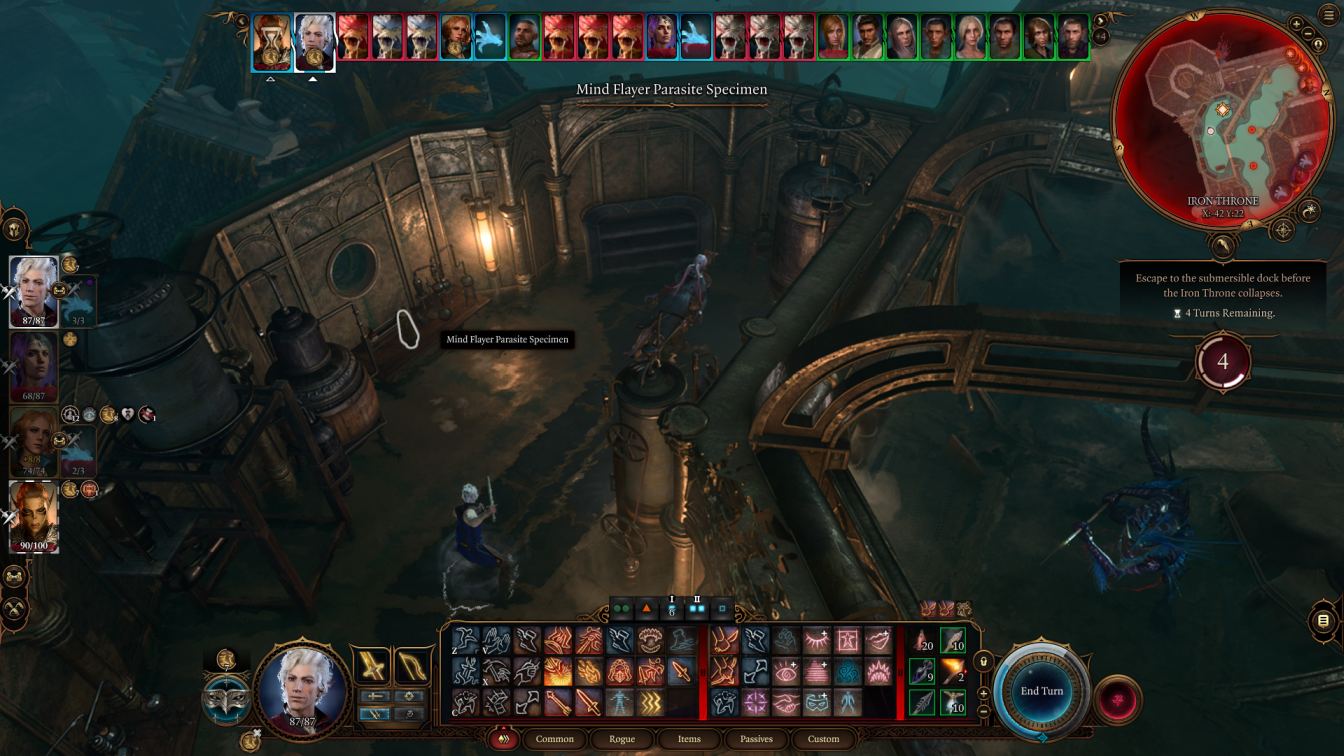
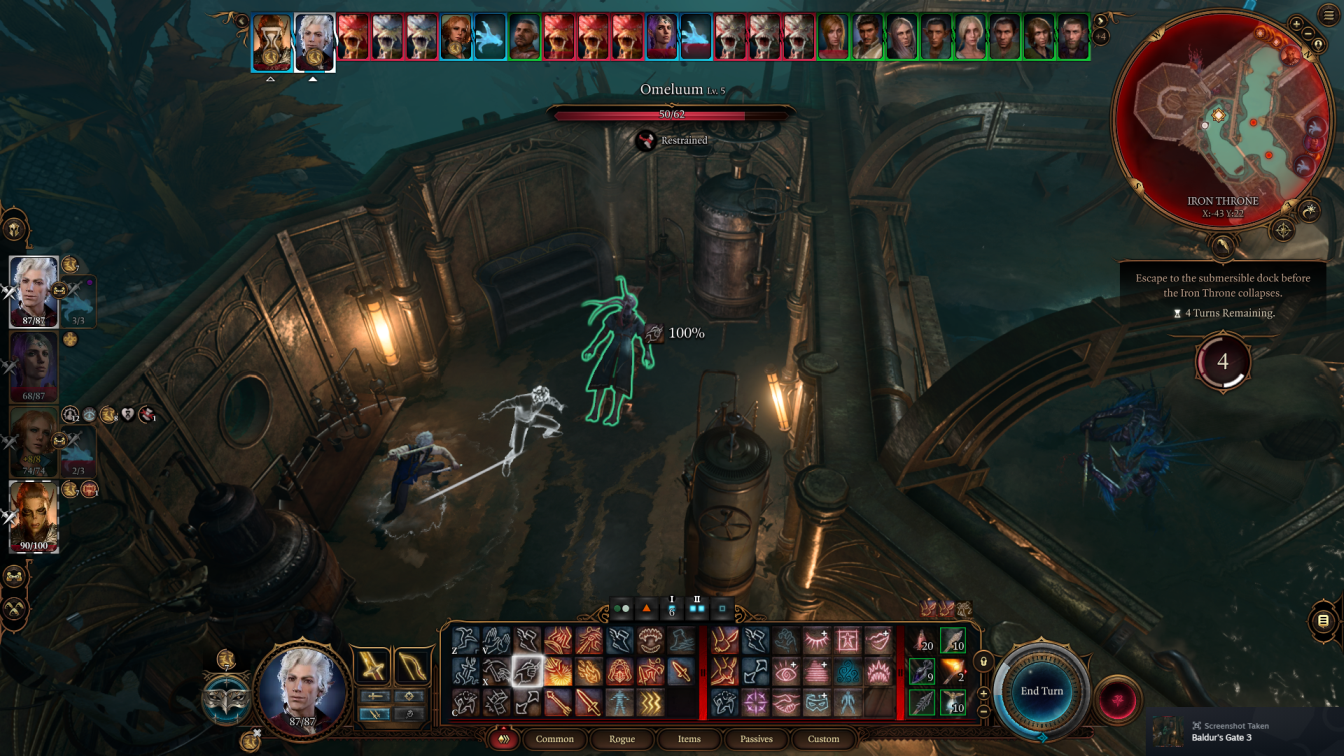
Astarion should now be in Omeluum’s room. Loot the chest, then grab the specimen, and free Omeluum. Easy.
Wizard
Next up is your Wizard. Open the Duke’s cell, then grab the note and loot the chest.
Then, take a Superior Healing potion and throw it at the Duke. Position yourself in roughly the middle of the room, and end your turn.

Mage Hand
Now, the Mage Hand that Astarion cast will come in very handy!
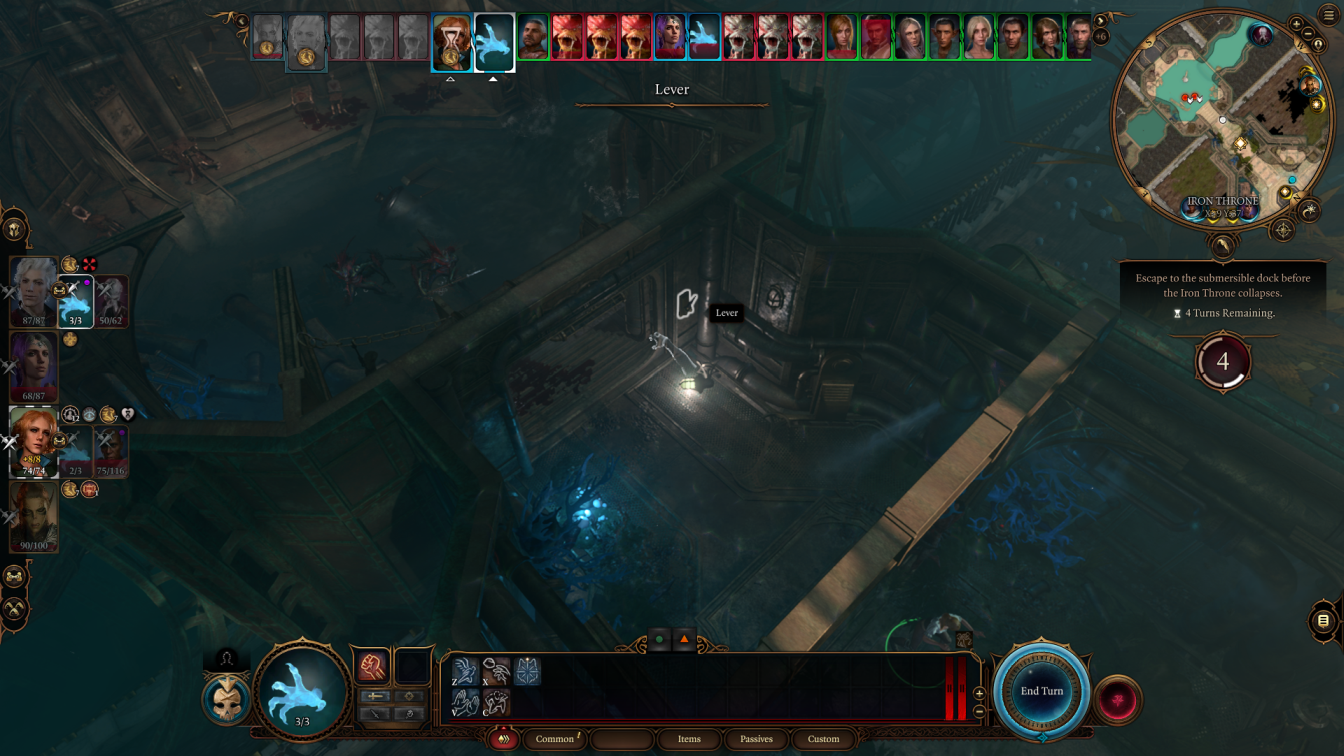
The prisoners Astarion rescued should now be out of the room. Use the Mage Hand to pull the lever, closing the door, trapping a couple of monsters inside – and preventing more from getting to the central area in later turns.
You’re done with this Mage Hand now, but you can send it back to the cental area just in case.
Shadowheart
Shadowheart is up. If you’re lucky, two of the monsters will be clustered near each other and you can do a lot of damage with a flame strike. If not, just do the best you can. If any prisoners have been hurt, use mass healing ward.
Omeluum
Omeluum is now free. Use his teleport spell to send him and Astarion back to the submarine.
Duke
The Duke is now able to leave his cell, and should have fairly good health. Send him out. Don’t worry about the monsters, he should be fine.
Turn 4
Now things are pretty easy.
Lae’zel
Run Lae’zel into the middle of the map and kill off any monsters still alive.
Astarion
Have a seat in the submarine and relax.

Wizard
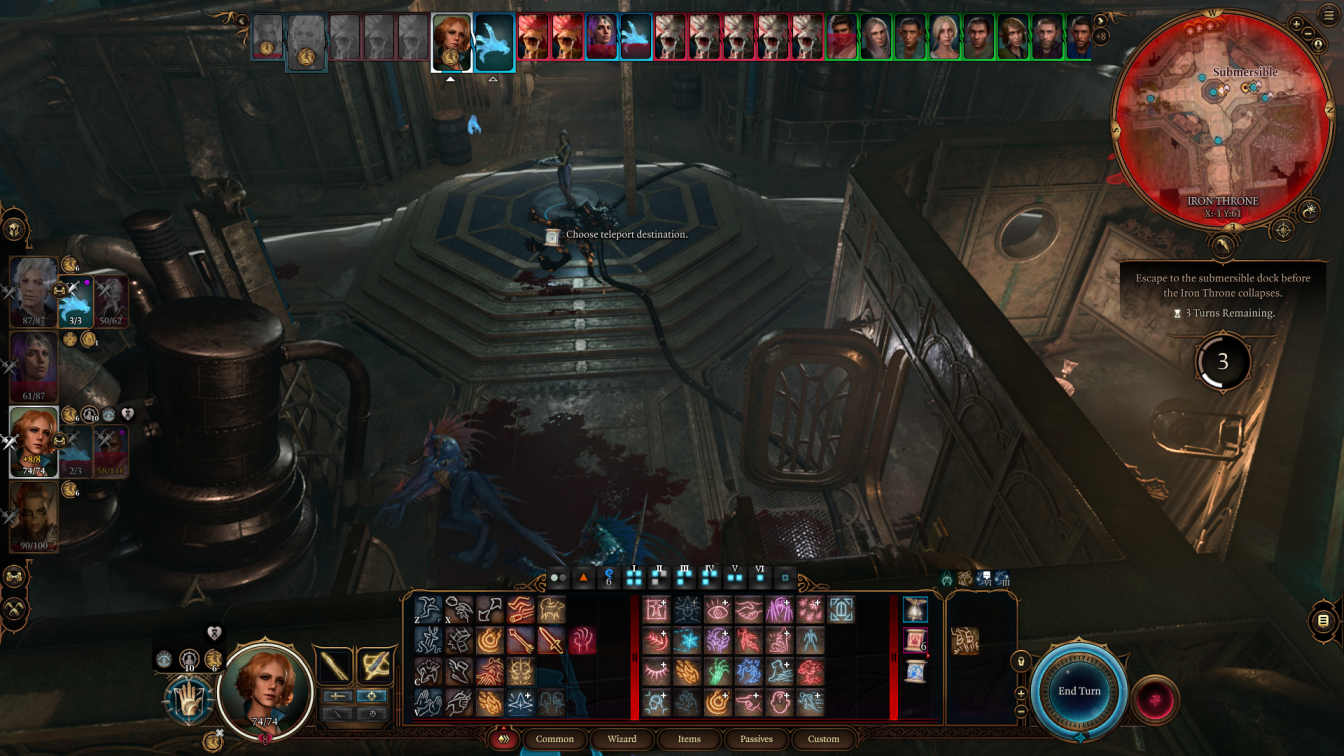
Use a scroll of dimension door to teleport yourself and the Duke out of the room.
Pull the lever, trapping the exploding spiders behind you.
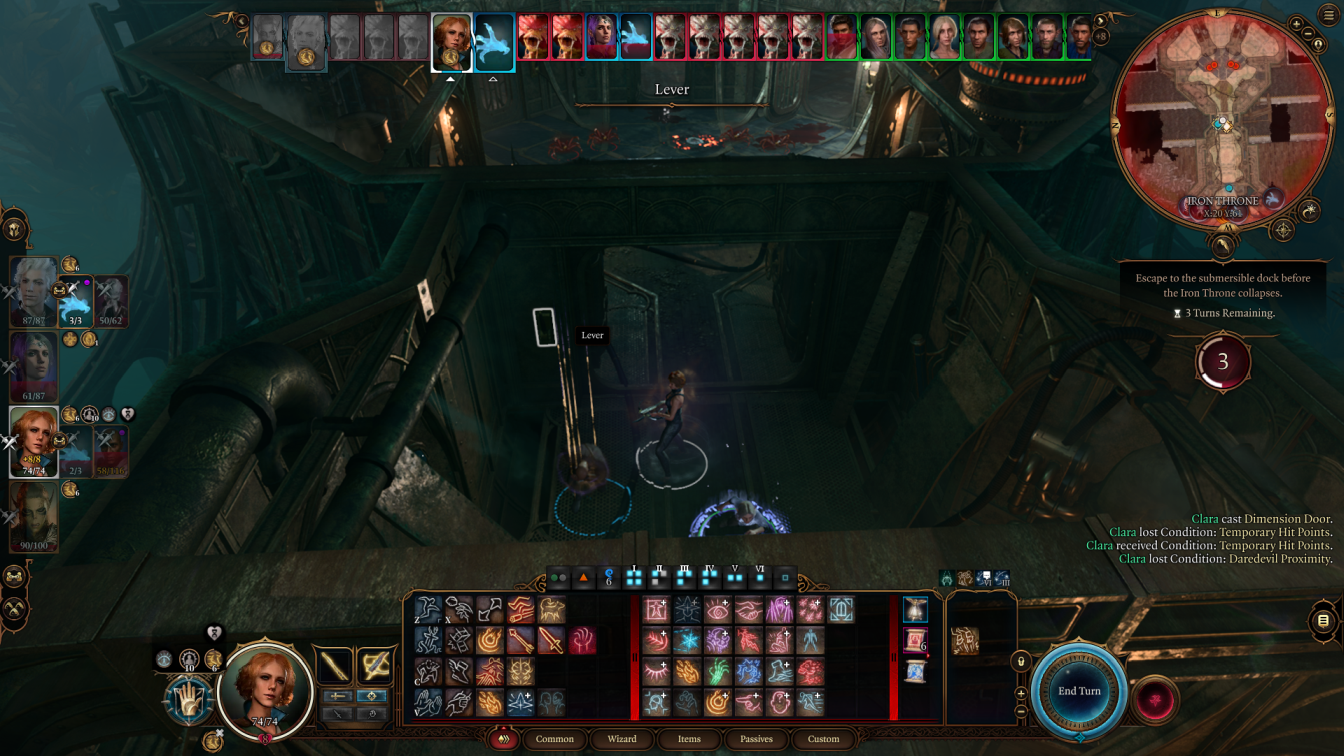
If you’d like you can use a second scroll of dimension door and move the Duke further along.
Don’t use arcane gate. It requires concentration, which will break your concentration for haste, and trigger fatigued.
Shadowheart
Shadowheart can go relax in the submarine now too.
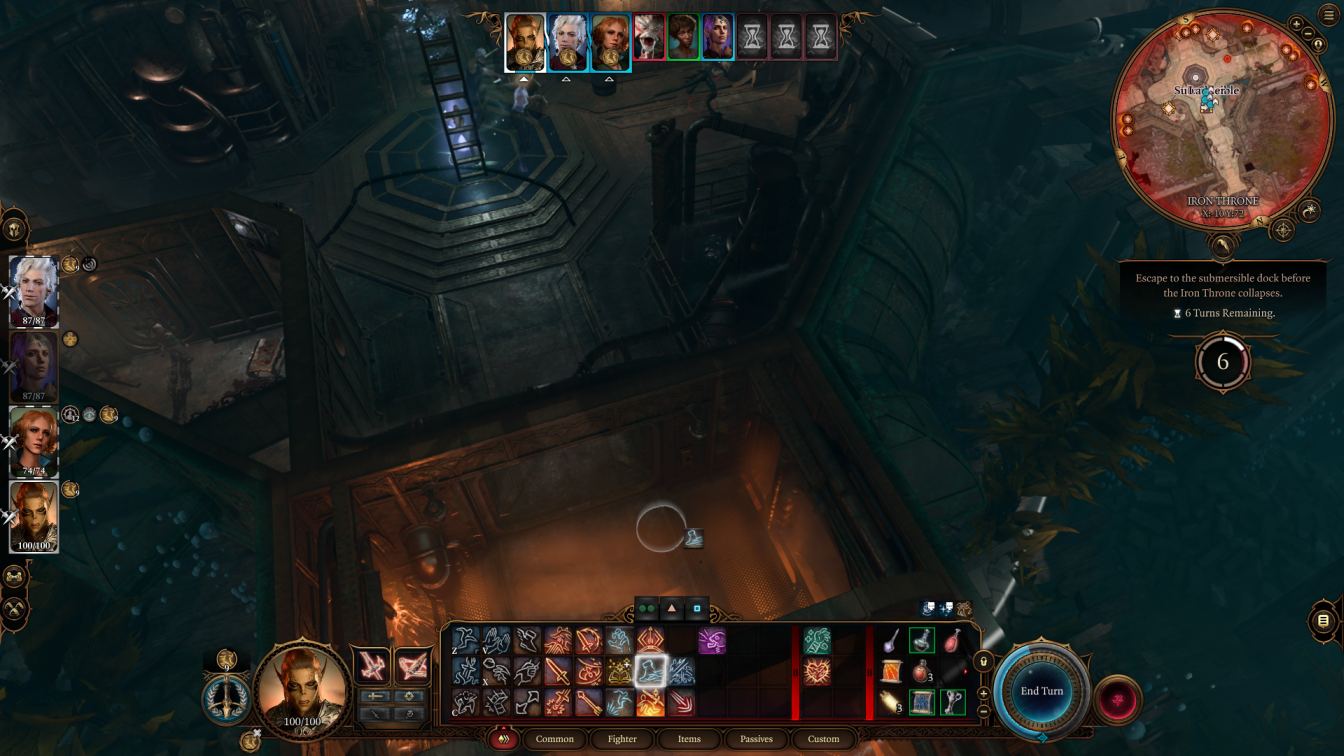
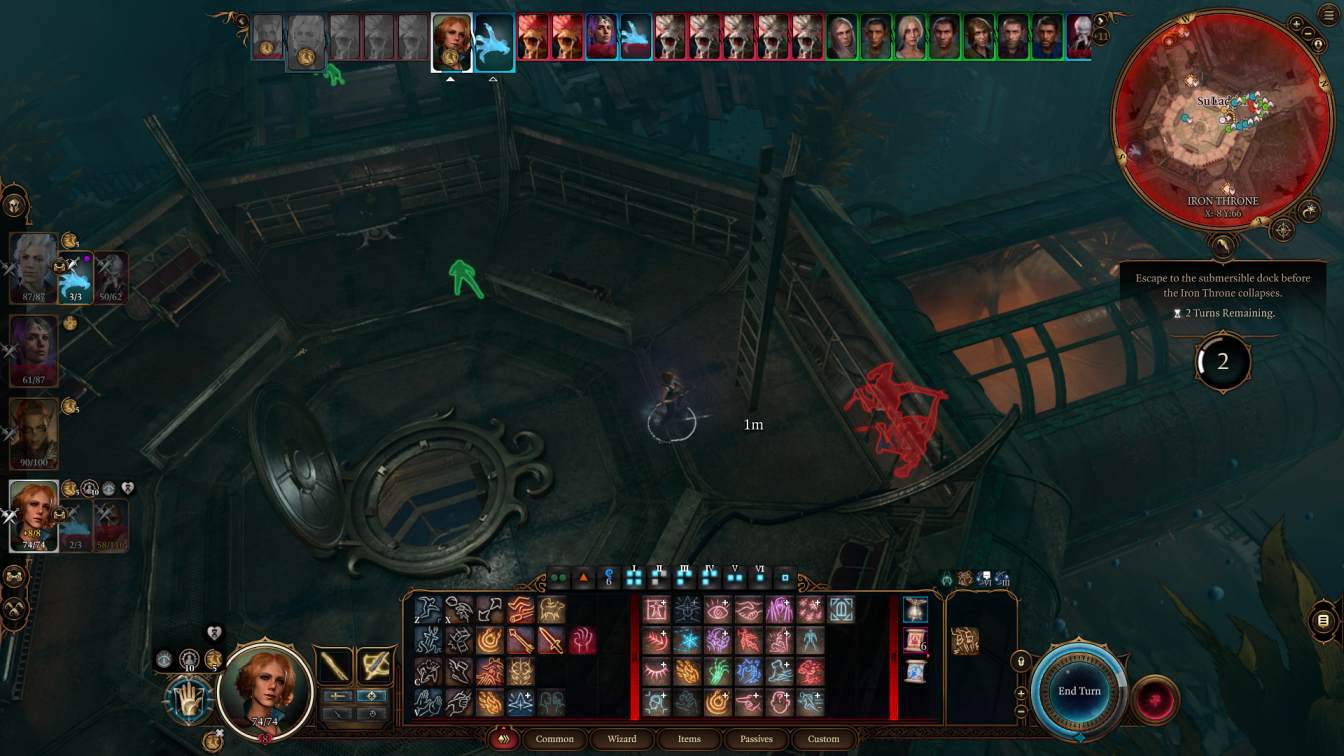
Turn 5 and 6
Almost done.
Lae’zel
Send Lae’zel up the first ladder, and then loot the book and infernal iron. Then send her into the submarine.

Wizard
You can send the wizard to help the last prisoners get in, or just wait. They should get there in time.
Don’t send them into the submarine – as your last party member, it’ll trigger the evacuation.
Instead, wait by the ladder to the submarine.
Omeluum
Send Omeluum outside the submarine, next to your Wizard. Because his turn order is last, we’ll use him to give the prisoners enough time.
Turn 6
Once all the prisoners are in, use Omeluum’s teleport skill to send him and your Wizard inside the submarine. Job done, with barely a scratch on your party. Nice work!
Escape!