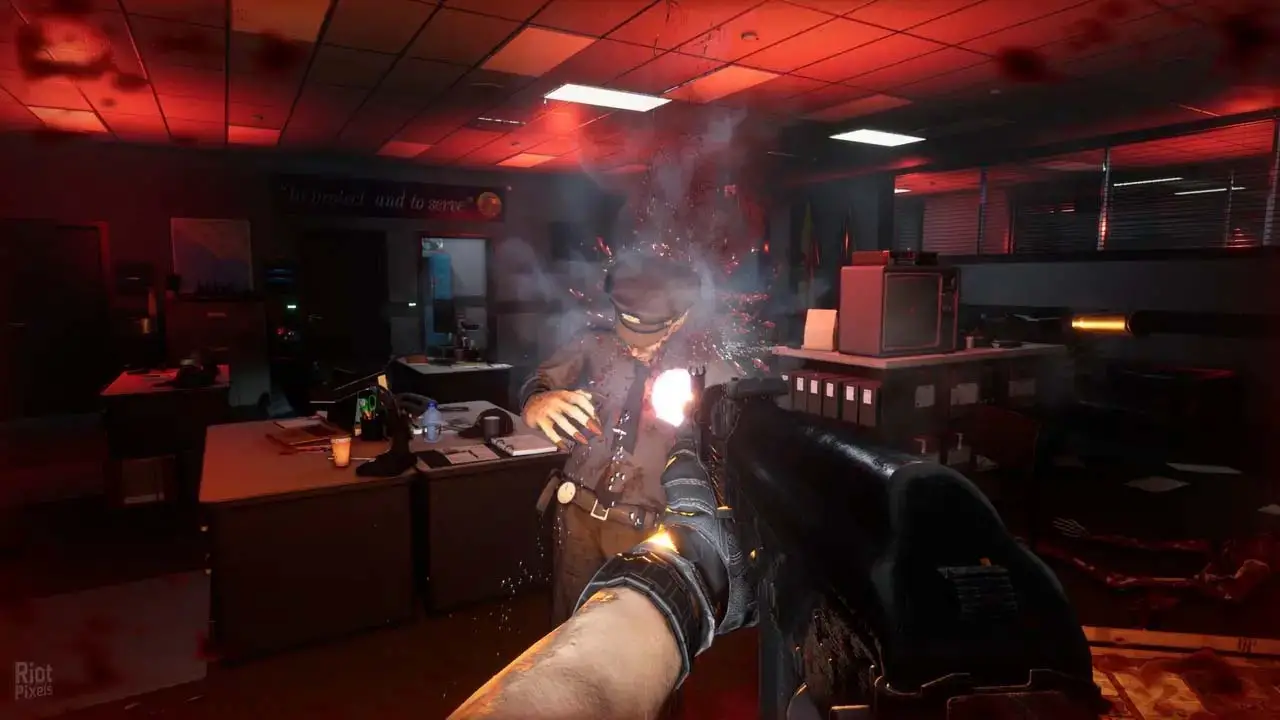
To customize and modify the field of view (FOV) in The Outlast Trials, follow these steps:
- Press the Windows key + R on your keyboard to open the Run dialog box.
- Type “%localappdata%” (without quotes) and hit Enter. This will take you to the AppData\Local folder.
- Navigate to the following directory: AppData\Local\OPP\Saved\Config\WindowsClient.
- Look for the game’s INI file within this directory.
- In the INI file, locate the section [/script/opp.rbsettings_gameplay].
- Within that section, you will find two FOV settings: DefaultFOV and AimingFOV.
- The DefaultFOV represents the standard field of view, typically set at 90. Adjust this value to your preferred FOV.
- Similarly, the AimingFOV controls the field of view when aiming in the game. Modify this value accordingly as well.
Remember to save the changes made to the INI file before exiting. Launch The Outlast Trials to see the updated FOV settings take effect.
Note: Replace “xxx” in the guide with your desired FOV values. Experiment with different values to find the FOV that suits your preferences best.
This guide about The Outlast Trials was written by
Karma.
You can visit the original publication from this link.
If you have any concerns about this guide, please don't hesitate to reach us here.


