As I realized there is no max level in this game, I wondered: How can I speed run through maps and get the best XP possible? How can I get stronger, even when the attributes are maxed?
Well, i figured something out. Let’s make a guide of it!
Introduction and Basic Concepts
How to Fast Level
First of all, this is a tutorial/guide on how to fast level when you have already level 50/60+. Before that, your focus should be in completing all campaigns for all achievments and some levels.
Some basic concepts to be aligned:
1. Every time you level up you get a single point to spend on any attribute of your choice, to a maximum of 99.
2. You can add and remove points from attributes anytime, in any map/scenario in the campaigns (don’t know how the multiplayer will be in that matter)
3. The “Difficulty Tier” is a key configuration to obtain the best effort/reward compensation and directly affects monsters strengh, health, damage, xp, amount of gold dropped, etc. It maybe also affects min level/level of dropped items, not sure on that yet.
4. XP is given anytime you kill a mob, but there’s some caveats in that:
– Let’s say you kill a mob wich gives you 100 xp and you needed 50xp to level up. You will level up but the remaining 50xp will not be added to the progression of the next level.
– If you kill 2 or more mobs at once and you level up from one of them, the xp of the other mobs will not be added to the progression of the next level, meaning you killed the other mobs for 0 xp.
– Those caveats are meaningfull as I write this guide (2023/09/13), but it may be fixed in the future (if considered as bugs by the developer).
Setup
To best this guide, you should have, at least, level 50/60 and unlocked Canyon campaign.
I will make a guide in the future about attributes and points distribution, but for now, lets focus on:
HEALTH: 5/99
ARMOR: 0/99
LIFE REGEN: 20/99
MOV. SPEED: 0/99
CRIT. DAMAGE: 5/99
CRIT. CHANCE: 10/99
ATK. SPEED: REMAINING/99
CAST SPEED: 0/99
Until level 200 or so, you will keep HEALTH with 5~10 points and distribute the remaining points into crit chance till it gets 50/99 (will crit almost all the time) and focus on crit dmg and attack speed.
Crit Damage and Attack Speed are absolutelly the best stats for mobbing and reducing time to kill a group of mobs.
You want to kill a single mob per time, but when you hit fast and you deal more damage with higher critical damage attributes, you will speed run the map in no time.
After that, I recomend putting some points in life regen and mov speed so you can walk faster between groups of enemies and regain health faster.
You can adapt this build as you wish, this is just a beginner build to set things up. You can spend more points in life regen or health to adapt to you playstyle if you are taking too much damage from the mobs and waiting too long to raid another group.
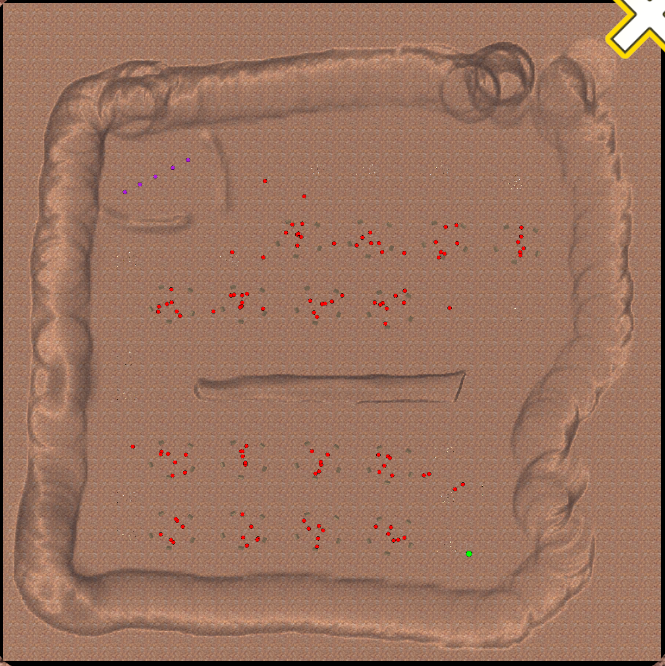
You will rush only in map Canyon because it’s mob density is big and the map is simple enough to maximize the travel time between spawns and health regen.
Basically, till level 100 more or less, you want to increase the DT just a few dozen more than your own level.
After that, you should focus on maximizing the DT to a level wich you are capable of leveling up with only one monster without getting too much damaged in the process. At level 500, as I am right now, writing this guide, I do runs with 1500~1700 DT without any problems/waste of time.
How to earn and spend your gold
Basically, you want to avoid gambler and thief early on. They sell items with highers costs and those items will be soon replaced, so it’s a waste of money buying from them.
Every 20 levels or so you want to change your equipment in the regular npcs – Weaponeer and Armourer.
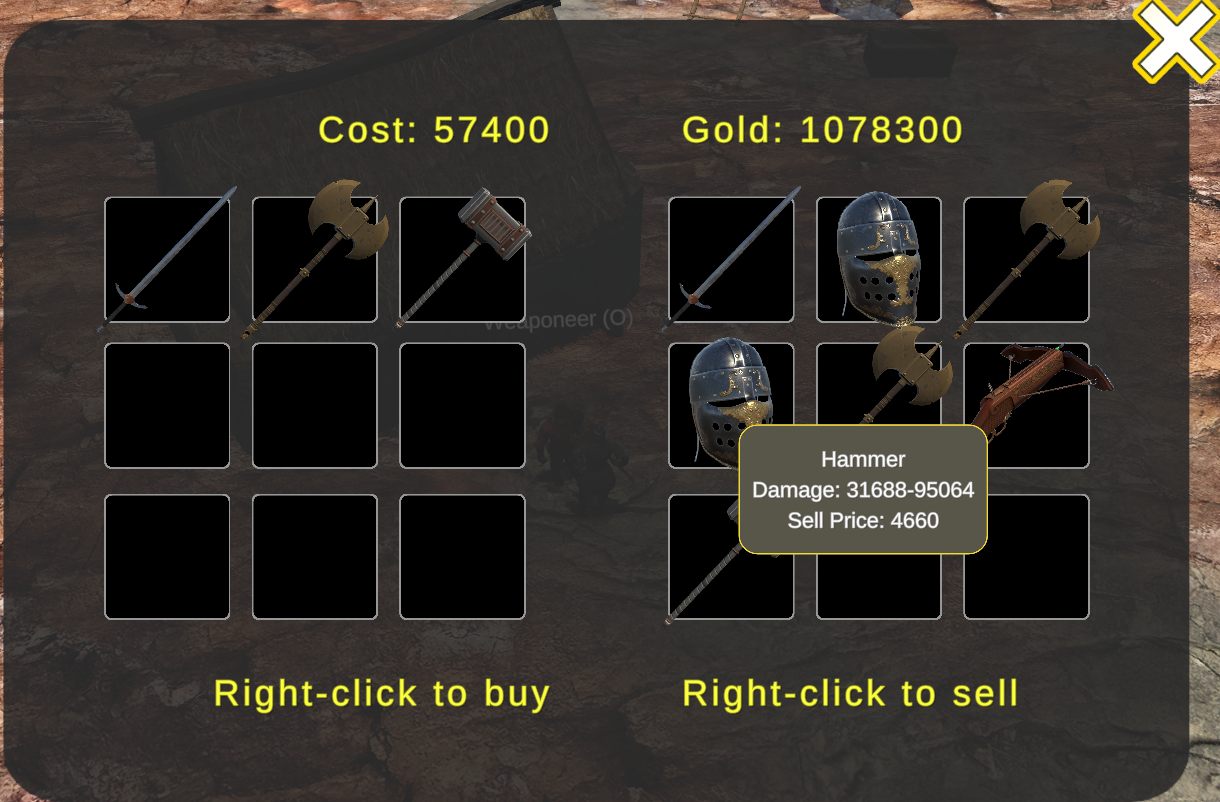
If you don’t have enough money to buy a complete new set, focus on your weapon and at least one piece of armor.
Remember that the price scales with your level, so each level increases the cost of a equipment by 100 gold.
Every Difficulty Tier affects the gold dropped from structures (chests and walls) and mobs. This can be represented by the formula:
DT * 10
DT = Difficulty Tier
This is very important to keep up with equipment upgrades, as most of your money income will be from gold dropped instead of selling items.
Pick up every item dropped to sell. If your bag is full, simply press A, sell all the items and go back, the item dropped will be there. The selling value is given by the formula:
10 * item level
so, a level 1 item will sell for 10 gold as a level 300 item will sell for 3000 gold.
The runs
Reach the nearest group and press T to transform yourself. This will increase your mov speed and damage by a lot, making the runs safer and faster. If you are taking too much damage, use your shield (X).
Wait for the cooldowns and health regen if the fights are draining too much of your HP and move to the next group.
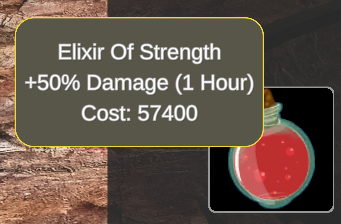
Making use of strengh elixirs from the Alchemist NPC helps here too.
Remember: You should increase the DT just the right amount to kill a mob and receive a full level from it. It is bad and not optmized if the DT level is too low and you need to kill multiple mobs for one level or if the DT is too much higher than your character can handle the mobs in a efficiently way.
When you start to get less than one full level per mob, it is time to reset the run and adjust the DT again.
Conclusion
Using this strategy, I’ve levelled up from 60 to 574 (current level of my character when writting this guide) in 1h30min, more or less. I think there is still room to improve this so called “best way to level up”, but the basics is here.