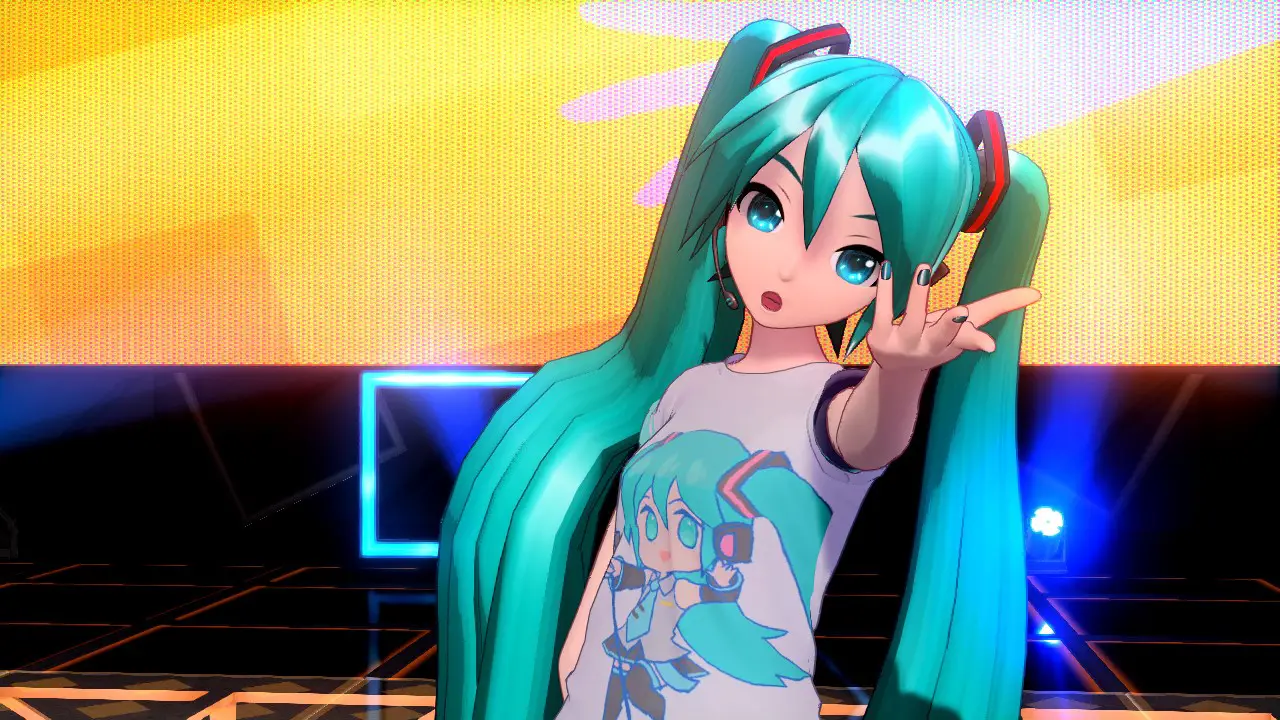
In this tutorial, we’ll be showing you how to record a Project Diva gameplay with sound. For those who don’t know, Project Diva is a famous game franchise created by Sega. It’s a rhythm game in which players need to press buttons in time with the music. The game has been around for many years and has spawned numerous sequels.
What You Will Need
In order to record a Project Diva gameplay, you will need the following:
- A capture card: This will allow you to record the gameplay footage from your console onto your computer. There are many different types and brands of capture cards available, so do some research to find one that suits your needs.
- A microphone: You will need a microphone in order to record your voice commentary over the gameplay footage. Again, there are many different types and brands of microphones available, so do some research to find one that suits your needs.
- Video editing software: This will allow you to edit the gameplay footage and add your voice commentary. Once again, there are many different types and brands of video editing software available, so do some research to find one that suits your needs.
- A recording device: This could be a digital recorder, a cassette recorder, or even just a good old-fashioned tape recorder. This will be used to record your voice commentary before you add it to the gameplay footage in the video editing software.
- A quiet place to record: You will need a place to record where there is minimal background noise. This is important so that your voice commentary is clear and easy to hear.
With all of these things, you should be all set to record your Project Diva gameplay!
Connect Your Device
Hey there! In this blog, we’ll be discussing the steps needed to connect your device to a Project Diva game in order to record gameplay with sound. This is a quick and easy process that only requires a few steps!
- First, you’ll need to connect your device to the game console using an HDMI cable. If you’re using an Xbox One, you’ll need to use the HDMI-IN port on the back of the console. For a PlayStation 4, you’ll need to use the HDMI port on the front of the console.
- Once your device is connected to the game console, you’ll need to enable the HDMI passthrough feature. On an Xbox One, you’ll need to go to Settings > Display & sound > Video output and enable the HDMI passthrough option. For a PlayStation 4, you’ll need to go to Settings > Sound and screen > Output video and enable the HDMI passthrough option.
- Finally, you’ll need to launch the Project Diva game on your game console and begin playing. Your device will now be recording the gameplay with sound!
That’s all there is to it! By following these simple steps, you’ll be able to connect your device to a Project Diva game and record gameplay with sound.
Set Up Your Software
Recording a Project Diva gameplay with sound is not as difficult as it may seem. In fact, it’s actually quite easy once you know what you’re doing. Here’s a quick guide on how to get started.
- Download and install OBS Studio.
- Run OBS Studio and create a new scene.
- Add a game capture source and select your Project Diva game from the list.
- Set the audio output to your microphone so that your voice will be recorded along with the gameplay.
- Start recording and have fun!
Record Your Gameplay
Are you a fan of the Project Diva game? Do you want to share your gameplay with others, but don’t know how to go about recording it? Well, never fear! In this blog, we’ll show you how to record your gameplay in just a few easy steps.
First, you’ll need to download and install a video recording program. We recommend OBS Studio, as it’s free and easy to use. Once you’ve installed OBS Studio, launch the program and create a new scene. Next, you’ll need to add a video source. To do this, click the + icon in the Sources section and select Video Capture Device. Select your webcam from the Device drop-down menu and click OK.
Now that you’ve added your video source, it’s time to add your gameplay footage. To do this, click the + icon in the Sources section again and select Game Capture. Select the window you want to capture from the Window drop-down menu and click OK. Once you’ve added your video and gameplay sources, you’re ready to start recording! To do this, click the Start Recording button in the OBS Studio interface.
When you’re finished recording, click the Stop Recording button. Your recorded footage will now be saved to your chosen output directory.
Now that you know how to record a Project Diva gameplay with sound, you can start sharing your videos with the world! This is a great way to show off your skills, and it can also help you connect with other players. If you’re looking for more ways to improve your gameplay, be sure to check out our other blog posts. Thanks for reading!