Before you read this guide, I strongly recommend trying to figure out puzzles for yourself. Most puzzles are trying to teach you something about the way the mechanics of the game interact together. The most rewarding way to play this game is to find a solution on your own. If you get stuck, take a break. Come back later with a fresh mind. If you really really cannot figure it out then this guide will get you unstuck.
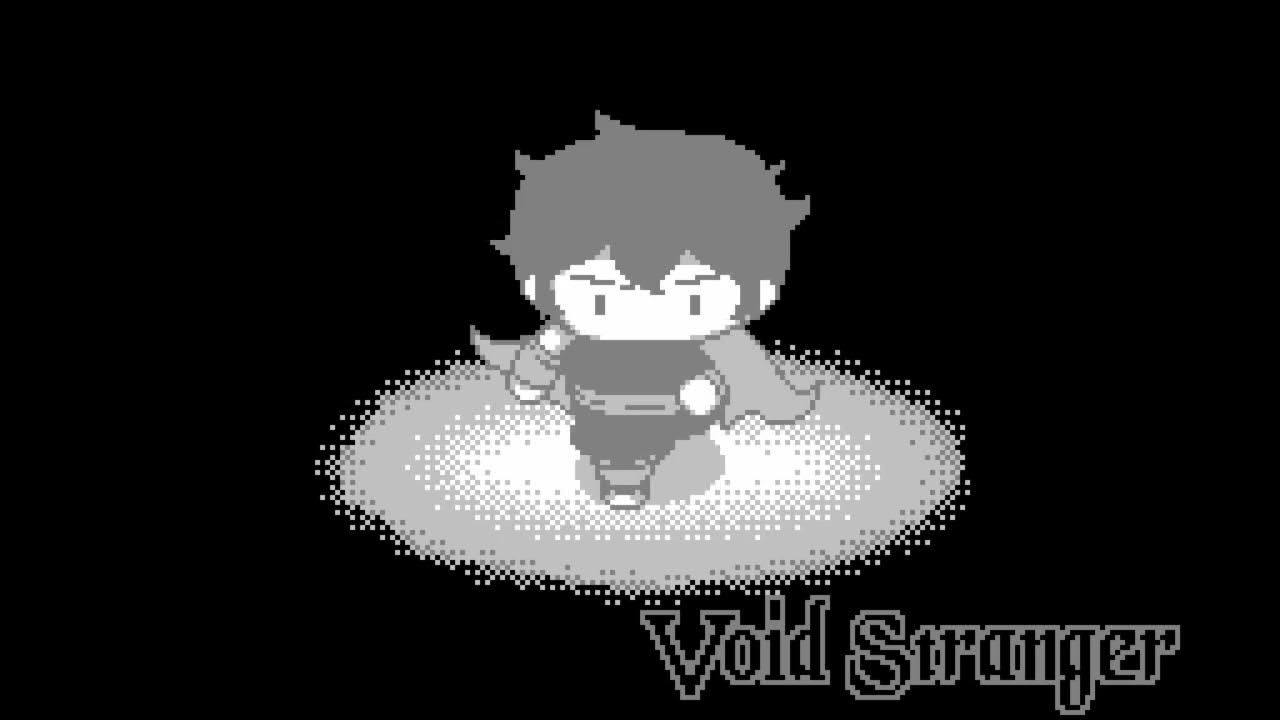
This guide only has DIS puzzles. If you don’t know what DIS is, turn around now. These solutions are by no means the most optimal ones. I’m sure some of them have unnecessary steps to them. I’m just looking to help people who are stuck. These take much longer to make than just posting a playthrough video on youtube so I will not do the entire game like this but maybe I’ll come back to make solutions to the ones giving people the most trouble. Maybe. Don’t count on it. I don’t got infinite free time.
DIS
These are not official room titles. I’m making these up.
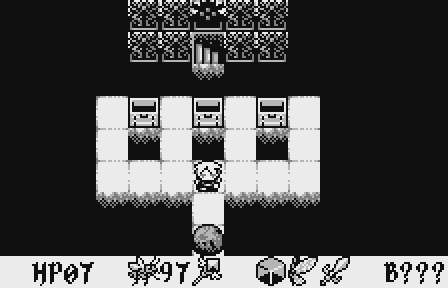
00 – Traitor execution

Note: Kill the monsters in the order stated by the rock to remove the statues: Leech, lazy eye then maggot. Ignore the bull. Do not forget to remove the dark statue or you will be sent back to B001.
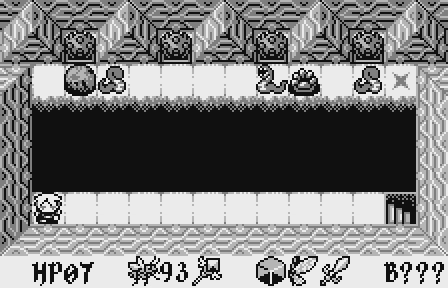
01 – Burden Offering
Note: Simply place your three burdens in the empty tiles below the chests. Obviously the main purpose of this puzzle if to make sure you have all the items required to proceed but there’s a more subtle lesson here to note: your burdens do not need to be in the UI at the bottom to work. They just need to be visible anywhere on the screen. This will be important later. Also do not forget to move the dark statue or you will be sent back to B001.
02 – Snake Statue tutorial

03 – Path of the Snake

04 – Stealth Mission
Note: Player movement and enemy movement technically happen at different times even though most of the time it seems to be simultaneous. Those statues will petrify you the instant you step into them regardless of the movement other enemies would make after you. Therefore you cannot just move at the same pace as a single enemy to remain protected. You have to make sure the vision of the statue is already blocked when you step on the tile and your cover will not move out of the way once your movement is done.
05 – Surveillance Camera

06 – Color every box

Note: Don’t forget that glass breaks after you step away from it. The tile in front on the exit needs to be already empty before you break your last tile otherwise you’ll get stuck there.
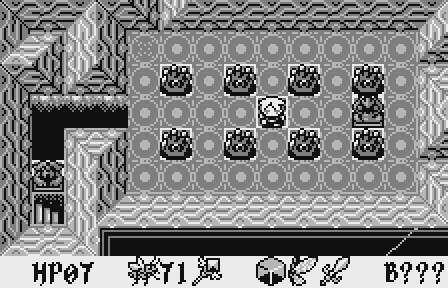
07 – Stealth exterminator

Note: The order is important here. Be careful to not lock yourself from the exit by the sight of a statue. The bottom left monster must be slain last.
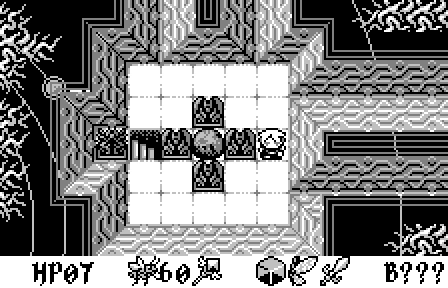
08 – Lazily crumbling
Note: All the lazy eyes must be dropped but also you need to grab exactly 1 dotted tile, 1 white tile and 2 more dotted tile in that order so that they can be placed in the reverse order in the exit corridor.
09 – Disabling the cameras

10 – Aerobatic maneuver

Note: The trick with this one is the very subtle way UI tiles interact with your abilities. If your wings tile is not visible on the floor you cannot jump from a solid tile to a pit. HOWEVER if you are already flying you can absolutely grab the wings tile without falling. Doing so will not remove your wings until you move.
11 – Lazy Statue tutorial

Note: A few puzzles like to set up these statues in way that will lock you into an unwinnable situation if you push them wrong so always double check what you’re doing before pushing them.
12 – The impossible puzzle

Note: Yeah I don’t really know what to tell you. This one feels like a prank from the developer. I guess the idea is probably that you’ll get frustrated, take a break, come back, and maybe notice the statue moved?
13 – Laser security system

14 – Four person door switch

Note: The trick here is that you can navigate around that first statue without moving it with some tricky tile movements, then use it to hold a switch.
15 – Shadow tile reminder

16 – A game of twister

Note: A way to think about this one is you have 7 switches and there are 10 statues you could potentially push on switches. So you can knock the 3 most inconvenient ones into pits.
17 – Disarmed

Note: The initial setup of this puzzle is essentially designed to force you to remove your sword. Therefore you must kill the monsters in the room using the statue above you.
18 – Deadly Hopscotch

19 – Traitor Extermination

Note: The leeches are the biggest problem here as they will self destruct if you leave them alone for too long.
20 – The Loop

21 – The Password
Note: Nothing to solve here other than take a screenshot for reference later
22 – Electric door switch

23 – Timed door hack

Note: Don’t forget you can move the exit.
24 – Lockpicking

25 – The Password Entry

26 – Optional Puzzle

Note: Obviously you can just walk straight to the exit but the real puzzle is how to get that crystal and being able to talk to that rock. I won’t spoil what it says, it’ll blow your mind.
27 – The Lore Test
The initial order of the statues is randomized so an animation would be pointless. As the rock explains it, each statue represents a Void Lord and they must be pushed in the order or their lairs in the tower. Hopefully you’ve been paying attention.
The order is:
- Add
- Eus
- Bee
- Mon
- Tan
- Gor
- Lev
- Cif