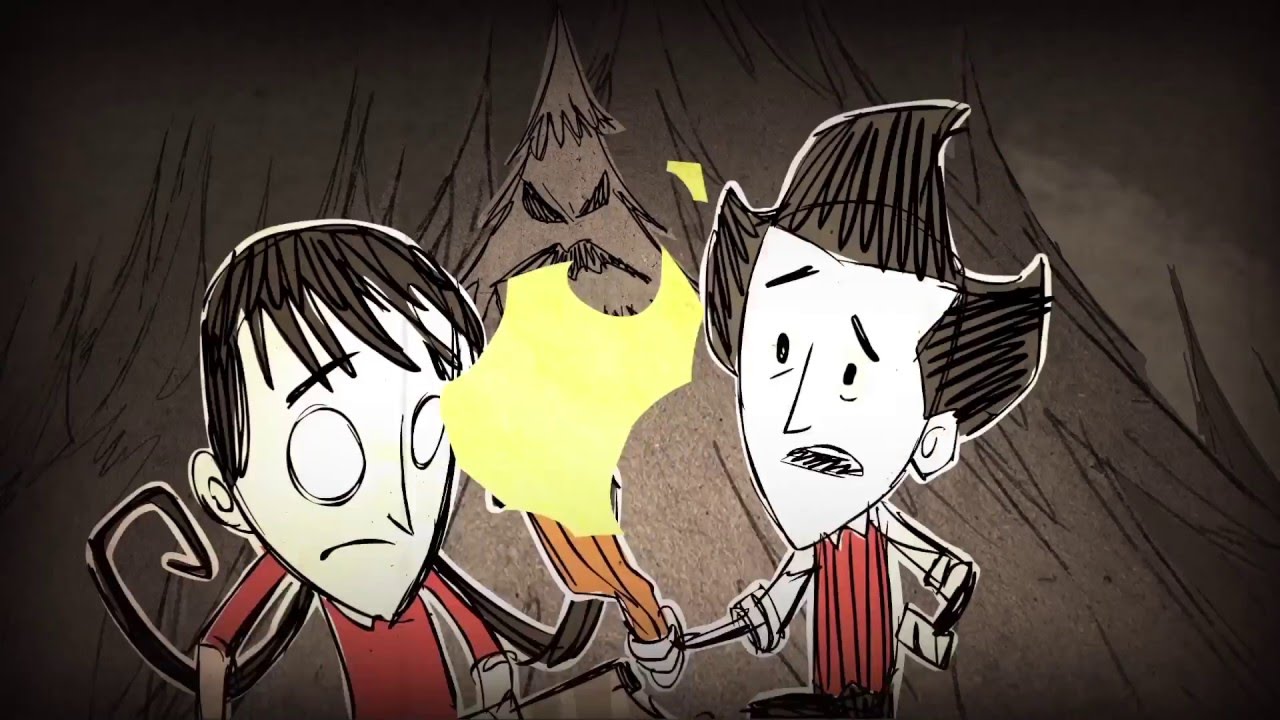
In this discussion, I will share my experience and strategies for surviving the initial 20 days in the game Don’t Starve Together. Additionally, I will provide some helpful tips to enhance your survival skills in the game.
Which Character Do I Pick?
In Don’t Starve Together, as of May 2023, there is a roster of 18 unique characters available to play. If you’re a new player, you might find yourself overwhelmed by the choices. This guide aims to assist you in selecting a character by recommending the following options:
- Wilson, the Gentleman Scientist: Wilson is a well-rounded character with no significant drawbacks. He gains sanity from crafting new items and possesses the ability to grow a long beard. Please note that I have not personally utilized the Insight system associated with Wilson.
- WX-78, the Soulless Automaton: This character is appealing due to its upgrade potential. All of WX-78’s stats increase significantly with the acquisition of circuits. However, it’s crucial to avoid contact with water at all costs.
- Wickerbottom, the Librarian: Wickerbottom’s books are incredibly powerful and easy to acquire. She also boasts a high sanity level of 250. It’s worth mentioning that Wickerbottom’s downside is her reduced hunger restoration from consuming stale and spoiled foods.
- Maxwell, the Puppet Master: Although Maxwell has low health, his high sanity allows him to summon shadow creatures that prove useful for various tasks. Keep in mind that acquiring nightmare fuel is necessary to utilize this ability.
- Wurt, the Half-Pint: Wurt’s stats can reach impressive levels if the Merm King is alive, and spawning him isn’t too challenging with the right item collection techniques. Wurt also has the advantage of only experiencing a moderate increase in Wetness when falling into the sea, without losing any items. However, certain sanity effects of hats are reversed for her, and she faces hostility from pigs, which can pose challenges for players residing in Pig Villages.
- Webber, the Indigestible: Webber’s primary strength lies in his ability to assemble large groups of spider armies, which can effectively eliminate nearby enemies. Similar to Wurt, Webber faces hostility from pigmen unless provoked. However, spiders are naturally friendly towards him unless attacked first.
- Winona, the Handywoman: Winona’s crafting speed is twice as fast as other survivors, although it comes with a slight hunger cost. Personally, I enjoy playing as Winona because the only downside is slower building when hunger is low, along with the advantages of catapults and spotlights.
- Walter, the Fearless: Walter excels in evading slower enemies by utilizing a slingshot and gold pellets. As long as you avoid taking damage, you should be safe while playing as Walter.
I hope these insights help you make a decision and enjoy your time playing Don’t Starve Together!
Your First Day, And What You Should Do
By the conclusion of the first day, it is advisable to have accomplished the following milestones in your survival journey:
- Establish a campfire.
- Construct a science machine.
- Acquire a few boards, along with the possibility of obtaining cut stone.
- Familiarize yourself with the locations where rocks can be found.
Let’s begin the process.
Upon entering your world, swiftly explore your surroundings to gather an ample amount of saplings, grass, and flint. Aim to collect:
- 15 twigs
- 15 grass
- 7 flint
Don’t fret if you can’t immediately locate all of these items as soon as the world generates. Failing to find them won’t result in immediate demise.
Utilize the twigs and flint you have acquired to craft a pickaxe and an axe (or consider crafting two axes for added security). Chop down a few trees to obtain a minimum of 10 wood. Should any of your tools break, simply switch to an alternative one or craft replacements.
Once you have secured at least 10 wood, set out to find a rock with visible streaks of gold. Mining this rock will yield a piece of gold (and occasionally two pieces) in addition to extra flint. Nitre will not be obtained from these rocks, but that is not a concern at this stage.
Strive to collect 20 rocks and 5 pieces of gold. However, it is perfectly acceptable if you are unable to acquire all of these resources by the end of the day. Aim to gather at least 16 rocks and 1 piece of gold.
Start making your way back to the Florid Postern. If you haven’t done so already, gather some food, but refrain from consuming it just yet. Most food items should be cooked before consumption, as this will replenish more hunger. Here are the hunger restoration values for certain foods you may encounter on Day 1, along with the additional hunger restored when cooked:
- Berries: 9 hunger when raw, 13 hunger when cooked.
- Carrots: 12 hunger when raw, 12 hunger when cooked. It is recommended not to cook carrots, as doing so will accelerate their spoilage.
- Juicy Berries: 12 hunger when raw, 18 hunger when cooked. It is highly recommended to eat these immediately after cooking, as juicy berries spoil within just 2 days.
- Morsel: 12 hunger when raw, but causes a decrease of 10 sanity. When cooked, it restores 12 hunger, increases health by 1, and does not affect sanity. It is advisable to cook morsels, as they spoil at a slower rate when cooked.
Upon reaching the Florid Postern, commence the construction of your campfire and science machine. It is worth noting that you have the freedom to build these structures elsewhere if you have concerns about the actions of other players.
During nighttime, cook the food you have acquired and consume it to restore your hunger. If possible, utilize any surplus rocks to create cut stone, transform extra grass into rope, and convert excess wood into boards.
Congratulations! You have successfully survived Day 1. However, this is just the beginning. For further guidance, please refer to the subsequent sections.
Alchemy and Spiders
Congratulations on surviving the first day! Brace yourself, as the challenges ahead will only become more difficult. Hooray!
As Day Two begins, it is recommended to craft a spear and a log suit to assist in dealing with spiders at a Spider Den. You will need the following items:
- 3 ropes
- 1 flint
- 8 logs
- 2 twigs
If you happen to be playing as characters such as Wigfrid, Wendy, Walter, Webber, or Maxwell, you can skip this step, as these characters have their own efficient methods of handling spiders.
Make your way to a biome abundant with trees, which usually contain spider dens and occasionally pig houses.
You might wonder, “Why are we fighting spiders so early?” The reason is that spider dens undergo upgrades. When a den upgrades, it starts spawning warrior spiders, which are more formidable versions of regular spiders and pose a greater challenge to defeat.
Step on the webbed ground near a spider den and eliminate the spiders that emerge. An effective approach is to continuously attack them, as spiders are unable to retaliate while being attacked.
Once all the spiders are vanquished, you have two options:
- Leave the den as it is and return the next day for more spiders to spawn.
- Destroy the den to acquire additional cobwebs.
If you’re fortunate and have a favorable world seed, this process shouldn’t take too long, allowing you to dedicate the rest of the day to gathering resources and further enhancing your base.
Hurray! You’ve made it to Day 3! Without delay, set out to collect the necessary items to craft an Alchemy Engine:
- 16 logs
- 4 gold nuggets
- 4 cut stone
Craft 4 boards at your science machine, and transform the gold nuggets and cut stone into electrical doodads. Then, proceed to the science filter and create the Alchemy Engine.
Well done! You have successfully completed this segment of the guide!
Fun Things To Do Whilst You Wait
During the span of days 3 to 8, here are some enjoyable activities to keep you entertained while you wait! (Hey, that rhymed!)
This section will consist of a fun little list:
- Craft a Think Tank and focus on improving your boat!
- Construct Lightning Rods to safeguard your base from fire caused by lightning.
- Engage in friendly PvP with your fellow survivors.
- Indulge in controlled pyromania! Just remember, avoid setting your base on fire.
- Try eating a mandrake! Better yet, eat two mandrakes! Experience the consequences firsthand and learn why consuming random food in the wild is not recommended!
- Fortify your base by building walls to keep those pesky mobs at bay.
- Work on constructing an Ice Box to extend the shelf life of your food.
- Ignite a flare for some atmospheric lighting.
- Embark on an exploration adventure in your world, ensuring your safety along the way.
- Dedicate time to building a crock pot for more advanced cooking options.
- Begin gathering materials for the Prestihatitator, a magical crafting station.
Enjoy these activities and make the most of your time during this phase!
Hounds Inbound
Great job on lasting this long! Brace yourself, as your base is about to be besieged by a new creature called the Hound!
Hounds resemble dogs, but they are larger and will immediately engage in attacking you upon sight. Not to worry though, as they have relatively low health.
Encountering Red, Blue, or Horror Hounds on Day 8 is unlikely, but if it happens, don’t fret. Simply equip a Log Suit and a Spear, and engage in combat with them, just as you did with the spiders back on Day 2.
You’ll be alerted to the approaching hounds when you hear distant noises and your character mentions something like, “Do I hear dogs?”
Once you hear these cues, it’s advisable to retreat from your base. While it’s unclear if hounds can destroy walls and items, it’s better to err on the side of caution.
If you find yourself in the wilderness without defensive equipment, seek out a herd of Beefalo as quickly as possible. They are formidable creatures and can dispatch hounds with just a few, if not a single, powerful blow. However, be cautious during Beefalo mating season, as their aggression may pose a risk.
In case you sustain injuries during the hound encounter, you can utilize Spider Glands, Healing Salves, or other healing items to restore your health to optimal levels.
Hounds will continue to periodically attack as long as the world persists. As the world ages, hound attacks will occur less frequently but in larger numbers. When they do strike, their approach will be swifter.
Now you possess the knowledge to survive hound attacks, and you’re already halfway to winter! Well done!
Winter is Coming
Welcome to Day 10, the halfway point to winter! Time flies, and winter will arrive sooner than you expect. Here are a few essential steps to take before the frost sets in.
First, ensure you have an ample food supply and store it in your Ice Box, if available. It’s wise to have a backup food source in case of emergencies or low hunger levels.
Next, make your way to the nearby Beefalo herd and gather as much manure as possible. Although it may seem insignificant now, trust me, it will prove beneficial.
Craft a Garden Digamajig and a Shovel. Take a few seeds and plant them in the newly created garden. Use the shovel to dig up any Garden Detritus you come across. With time, the plants will flourish.
Dig up a variety of Berry Bushes, Saplings, and Grass, and transplant them near your base.
You may notice that the plants you just placed appear withered. They require fertilizer, and that’s where the collected manure comes into play. Use the manure as fertilizer for your plants.
Remember the Beefalo herd I’ve mentioned repeatedly? Although you may have grown fond of those creatures, it’s time to make a sacrifice. Kill one or more Beefalo or find a way to get them killed. Continue until you obtain a Horn. Combine the Wool collected from the Beefalo with the Horn to create a Beefalo Hat. However, refrain from wearing it for now to preserve its durability. It will prove useful once winter arrives.
Around Day 15, be prepared to confront any approaching hounds. If you encounter difficulties in sacrificing Beefalo for their horns, try luring the hounds towards the herd. Alternatively, utilize the Eye of Terror to both eliminate the Beefalo and obtain valuable loot for later use.
Begin working on your Thermal Stone. Craft a pickaxe and acquire 10 rocks from the rock biome you may have encountered. Return to the Science Machine and craft the Thermal Stone. However, keep in mind that it needs to be heated before it becomes functional. Place it near a fire or heat source to warm it up. The Thermal Stone will keep you warm during winter and cool during summer. Additionally, it can serve as a weak light source during the nighttime.
Congratulations! You have completed the guide and are now prepared for winter, having successfully survived your first 20 days! Of course, The Constant is fraught with numerous other dangers.
Enjoy the challenges of survival in this untamed world we call home. Stay resilient and embrace the adventure!


