A (mostly) concise guide for getting all 32 photos for the “A Different Kind of Album” achievement. UNMARKED SPOILERS AHEAD, YOU HAVE BEEN WARNED.
Foreword: Explanation of Affinity
Affinity is a core factor behind most unlockables in the game. Affinity is awarded in the form of “points” for a specific character when certain dialogue choices are selected, indicated by a sound cue and a spinning card on the top left of the screen (though sometimes the card is thrown for separate tracked values). Generally, affinity is awarded at the rate of one point per positive decision.
Affinity cannot be lost by “bad” choices. Some choices give points to multiple characters.
Raw affinity values are not given by the game (outside of decrypting your save file), and instead, Affinity is divided into tiers, which are indicated by which orbit a character’s icon is in. The “tiers” for affinity are, on the chart in the pause menu:
- Not on the chart: 0
- First ring: 1-4 (Tier 1)
- Second ring: 5-10 (Tier 2)
- Third ring: 11-15 (Tier 3)
- Fourth ring: 16+ (Tier 4)
Many unlocks require some threshold of affinity to be reached for them to be unlocked. A select few unlocks require substantial amounts of affinity with a character, far surpassing the normal bands.
Additionally, Fang has a hidden self-affinity value, which is relevant for at least one photo. It is not shown anywhere, but will also generally trigger the sound cue and spinning card graphic when it changes.
ALL PHOTOS
This page is sorted on a per-photo basis, with additional navs for each episode that a photo is unlocked in.
Marked in spoilers are the internal names that the game uses for the photos, which a few may find useful for applications not within the purview of this guide.
DISCLAIMER: Photo conditions given here may not be 100% accurate, due to a lack of in-depth testing (or sufficient datamining to find them directly) in order to prescribe them beyond a shadow of a doubt. All the same, the instructions here should be sufficient guidelines for unlocking them. For photos whose conditions I feel warrant some speculation, a separate spoiler section will be provided.
EPISODE ONE
Trish EP1 Photo
Some things never change.
Internal names: 104B / TrishWalk This photo is unlocked by completing Trish’s first bonus content scene in Episode One. This scene can be accessed by selecting “If Trish is there, it’ll be a good time.” when Reed and Trish invite Fang to play L&L, following the band meeting in the music room.
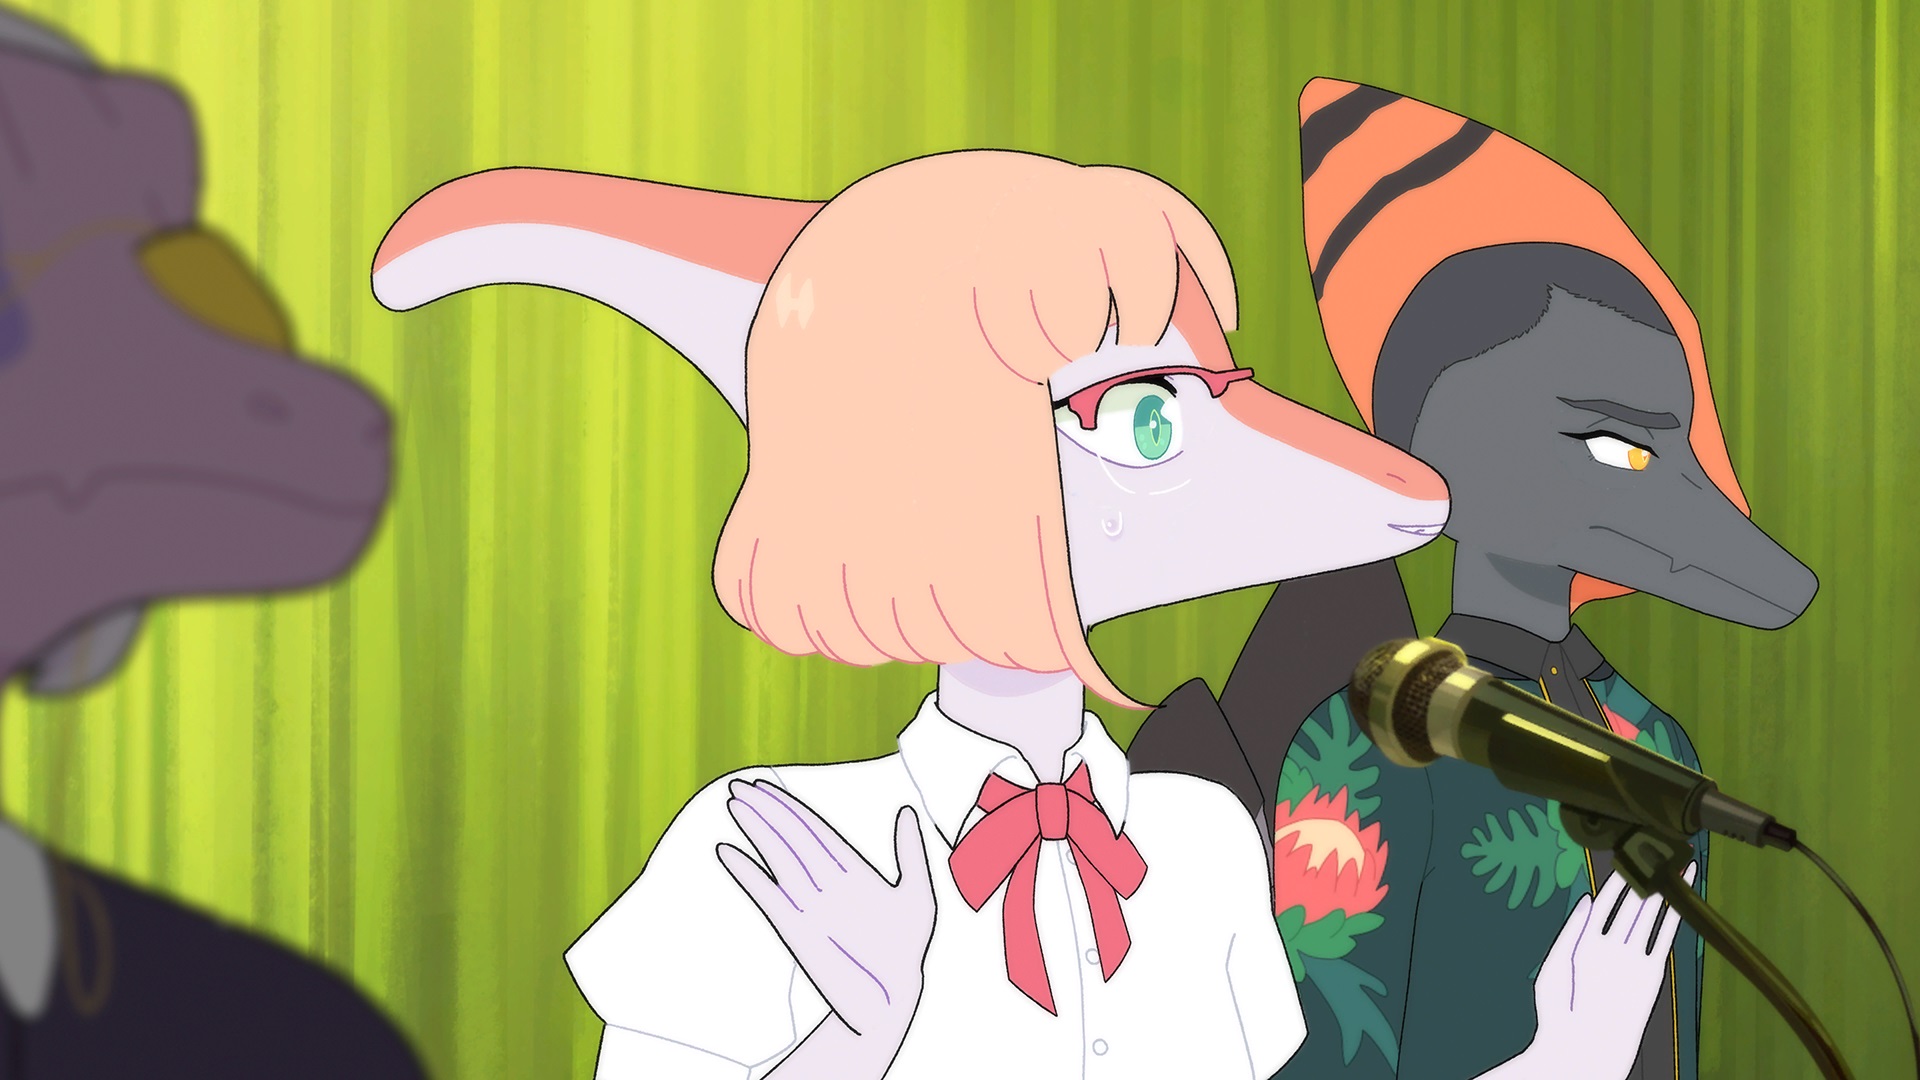
Fang Piano EP1 Photo
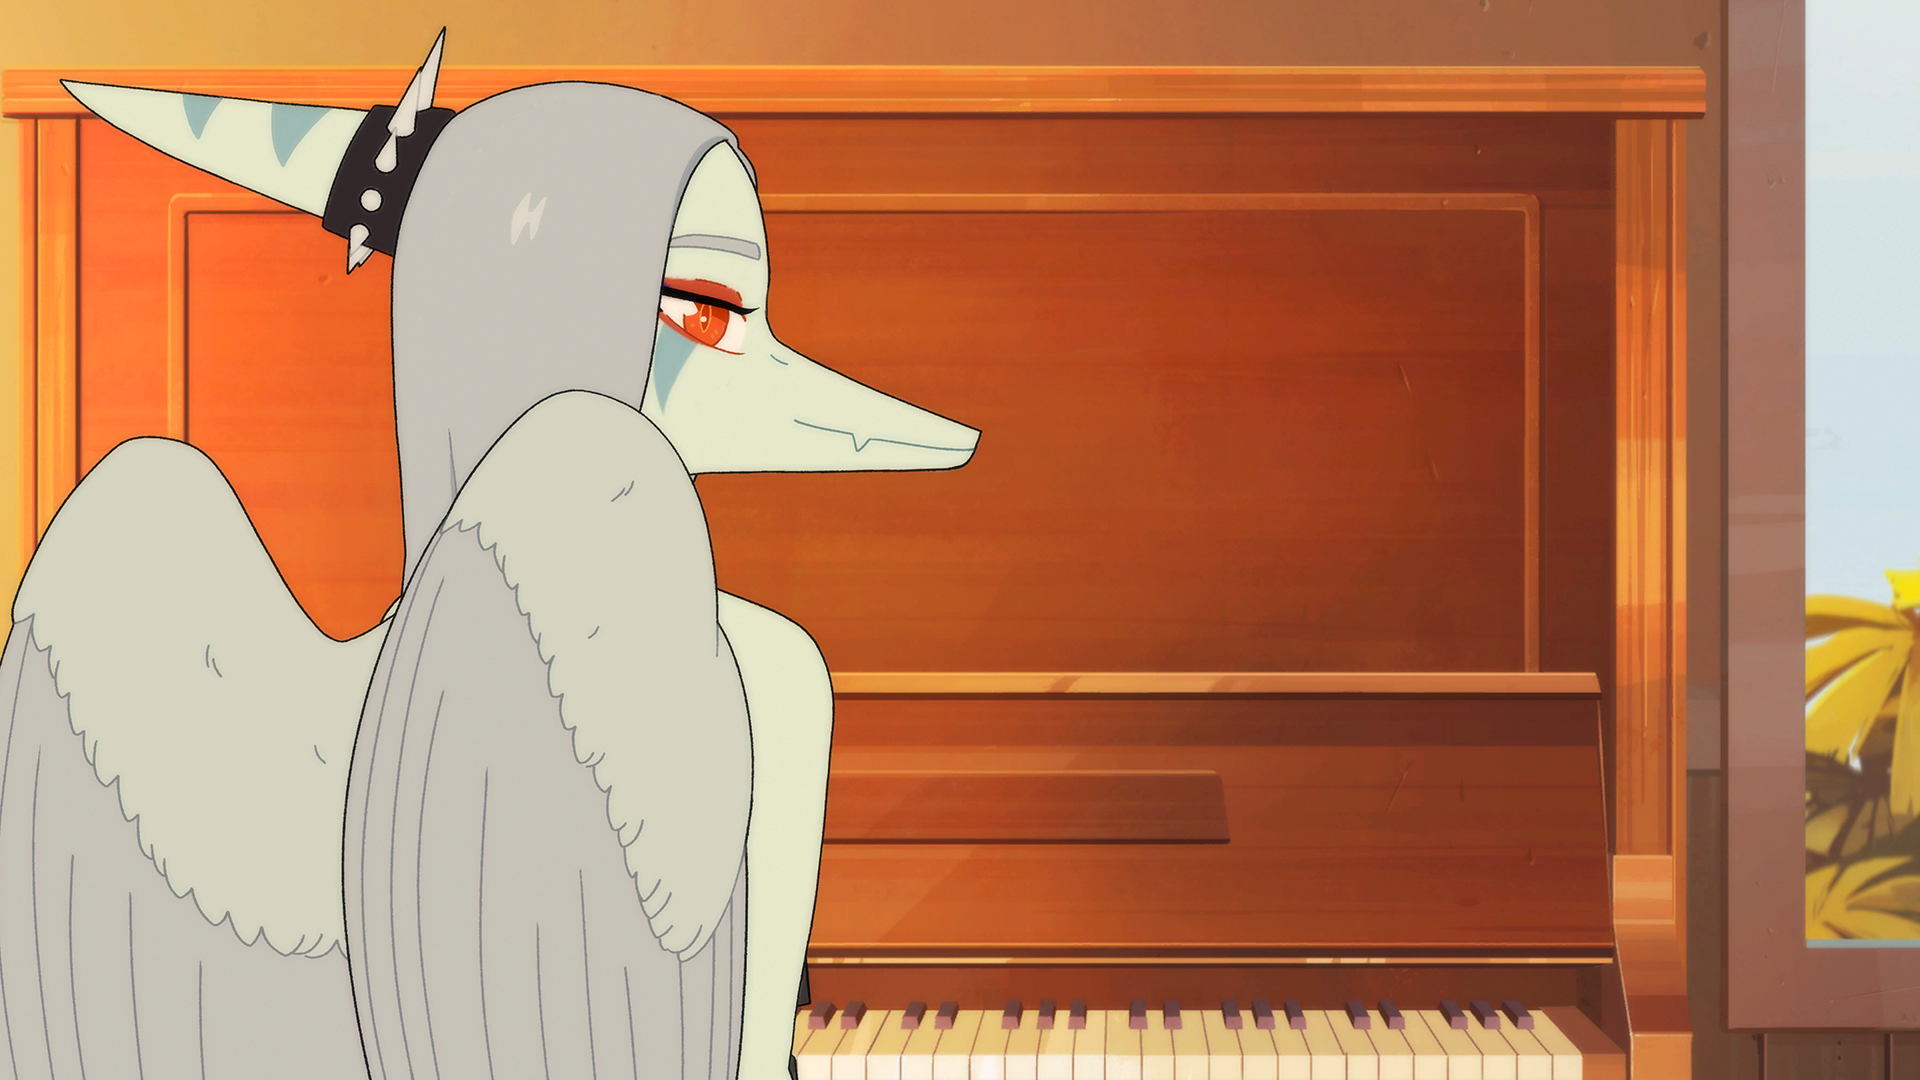
Not a bad pic actually. Very singer-songwriter.
Internal names: 106A / FangPianoThis photo is unlocked by getting a good performance on the piano performance for Naser and Naomi in Episode One. You do not need to 100% the song, and you can miss a few notes and still be fine.
You do not need to let Naser send the video to mom and dad to get this photo.
Naomi will react differently following the rhythm game section depending on your performance. If she says “Wow. That doesn’t sound like something you wrote.” after finishing the rhythm game section, then you will have met the conditions for the photo, and it will unlock upon completion of the scene.
“Generous Timings” can be turned on in the Accessibility options to reduce the difficulty of the rhythm game section.
EPISODE TWO
Reed Rooftop EP2 Photo
Reed gets it.
Internal names: 204A / ReedRoofThis photo is unlocked by having Reed at 5 points of affinity or higher at the end of the rooftop conversation between him and Fang in Episode Two.
This condition can be checked in-game by seeing if he is in the second orbital ring on the Affinity chart towards the end of the scene.
Naser EP2 Photo
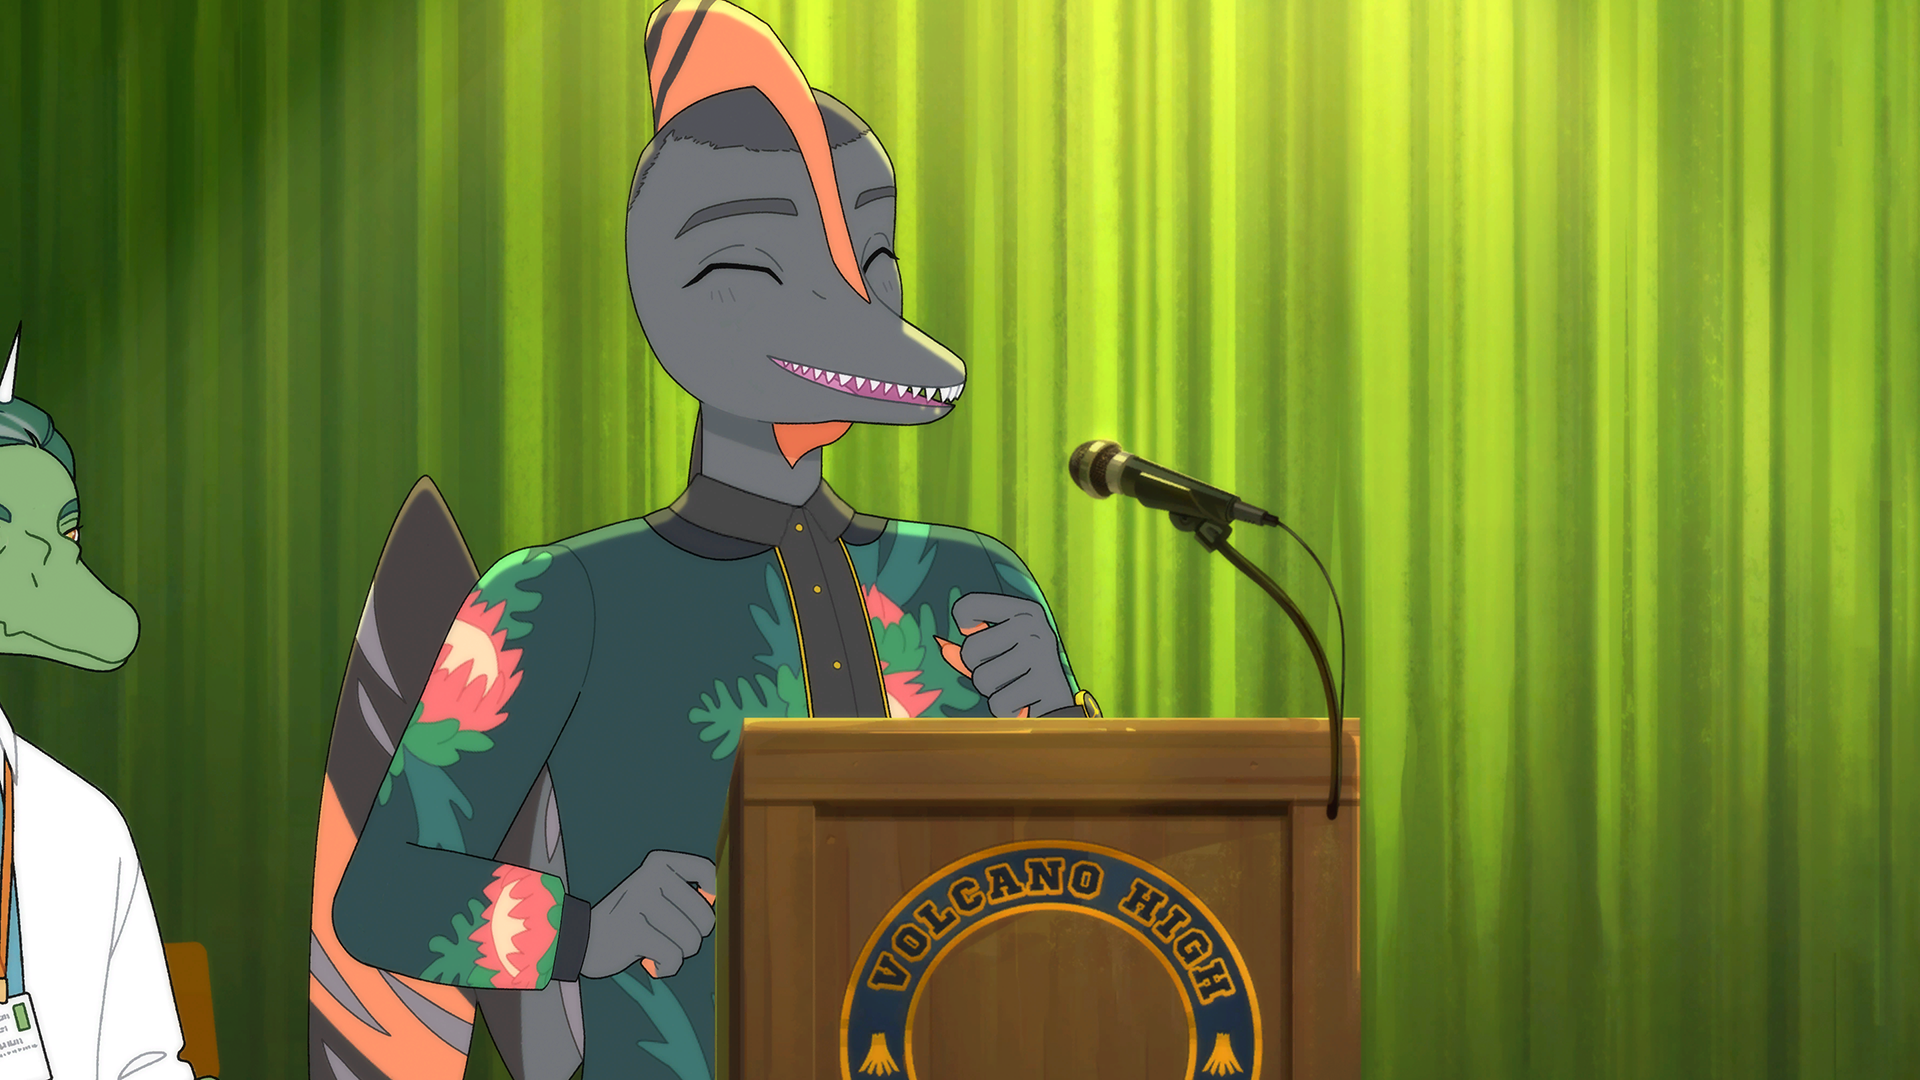
He’s a goofball but he’s a goofball with stage presence.
Internal names: 205A / NaserStageThis photo is unlocked by choosing to help Naser with his speech on the car drive to school in Episode Two, then selecting “He did okay!” after he finishes.
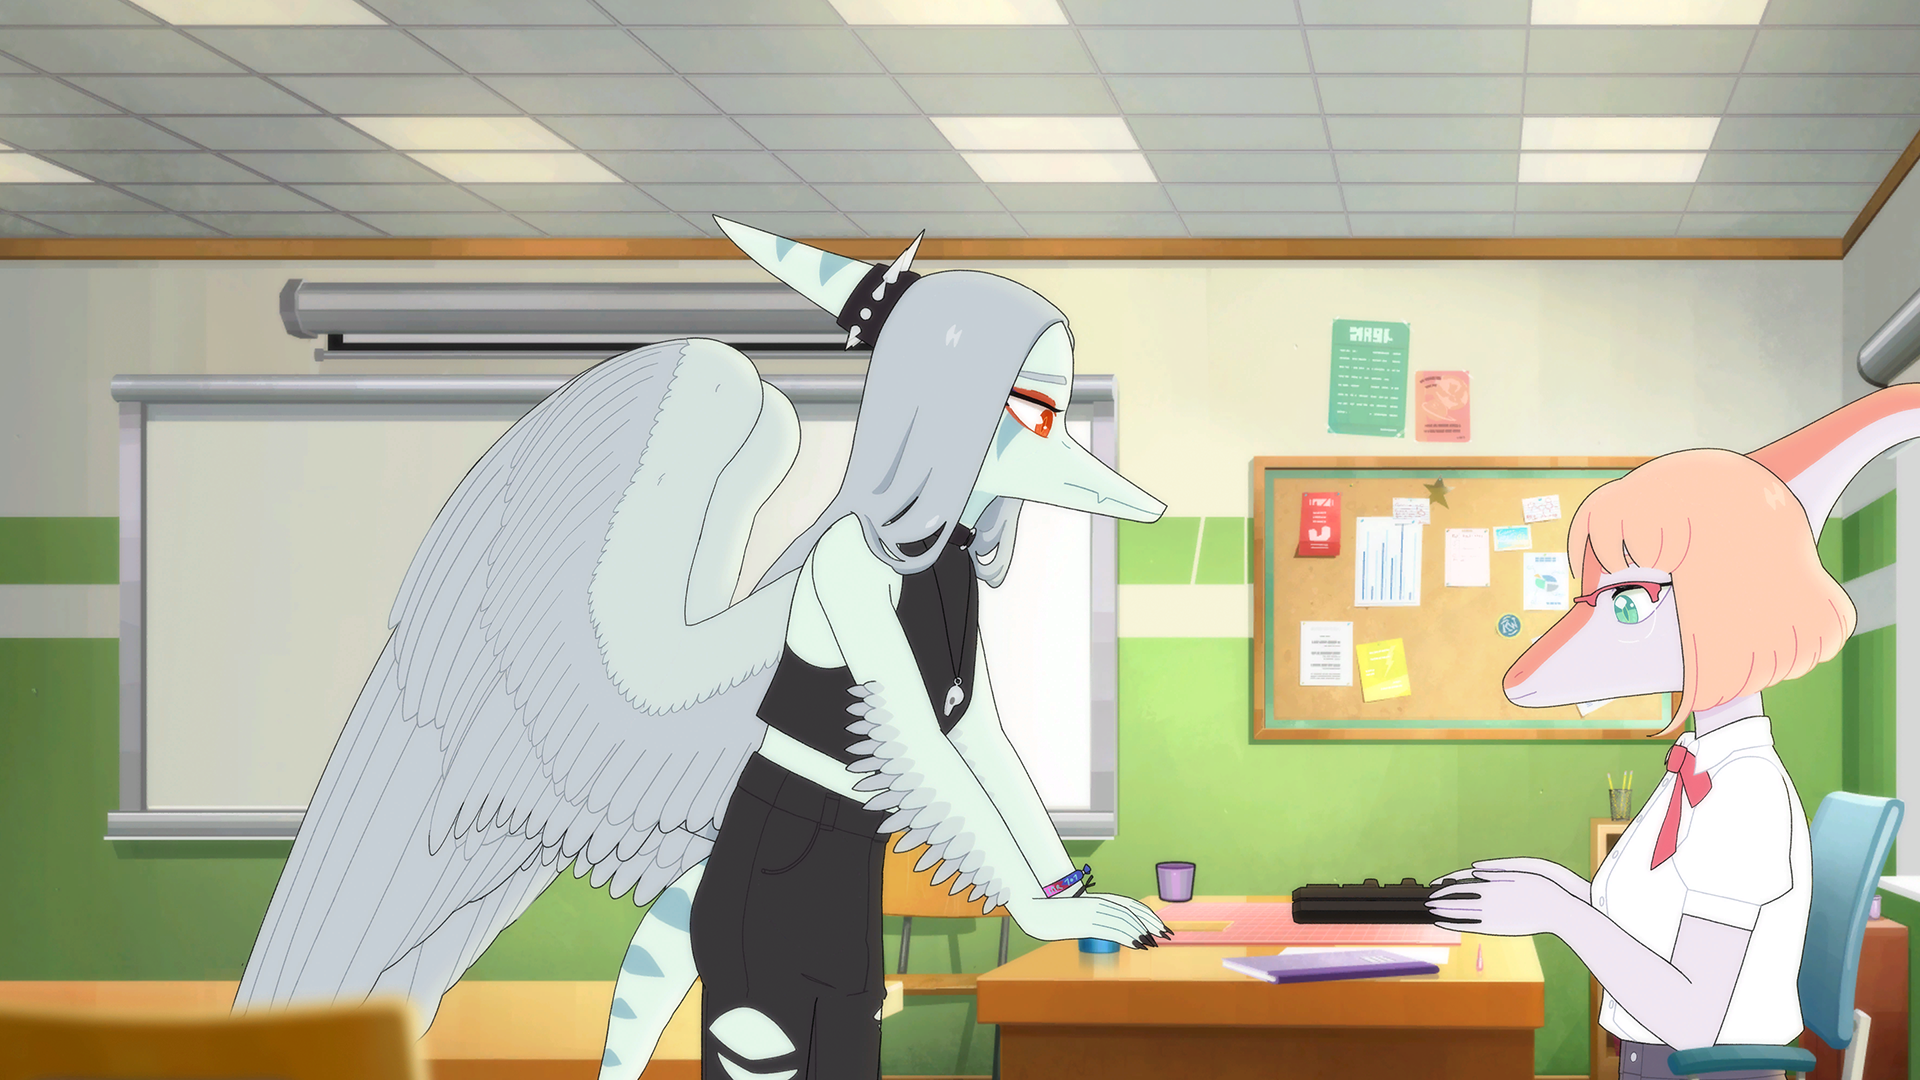
Rosa EP2 Photo
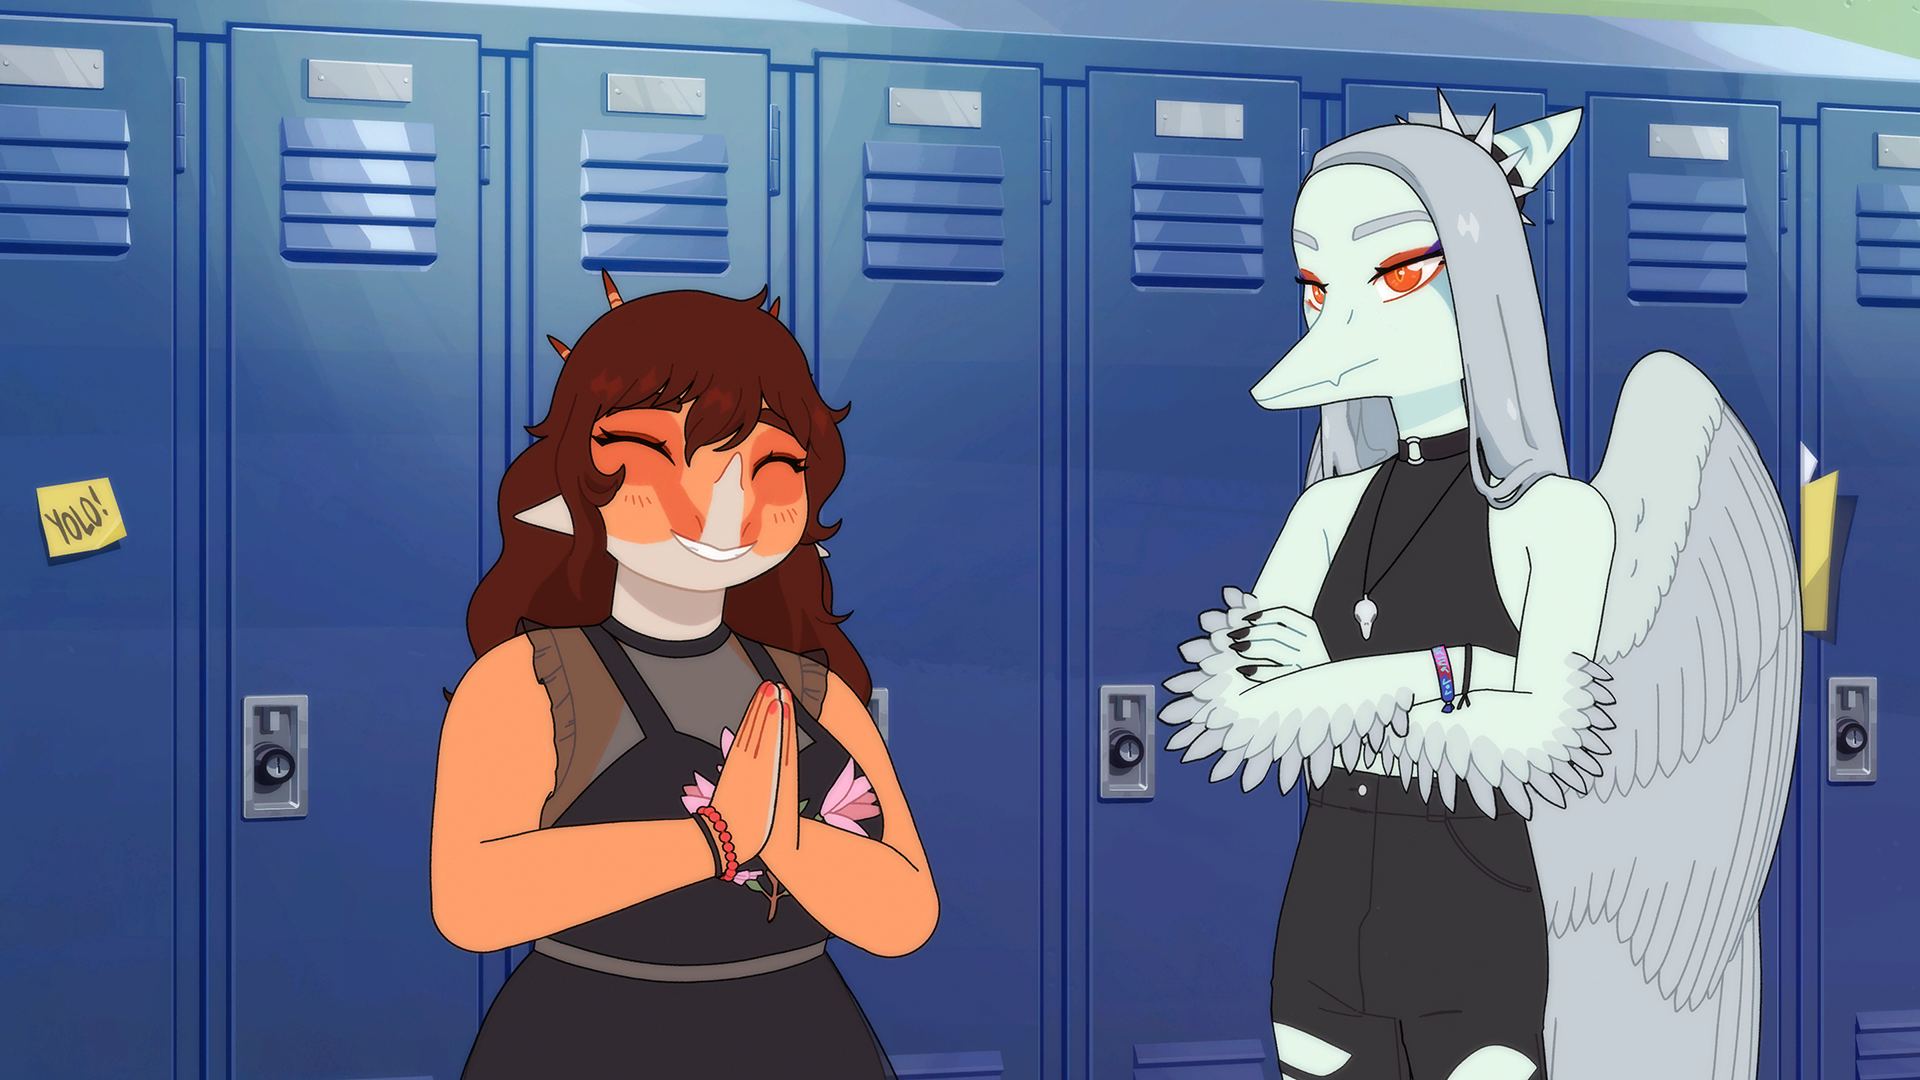
Locker buddies….?
Internal names: 206A / RosaWedgeThis photo is unlocked by completing Rosa’s extra content scene in Episode Two. This scene is accessed by choosing to sit with Trish and Rosa during the assembly.
Naomi EP2 Photo
Naomi really knows her stuff.
Internal names: 213A / NaomiMidiThis photo is unlocked by selecting “I can’t believe I said that to Naomi” when Naomi is fixing the MIDI controller in Episode Two.
EPISODE THREE
Stella EP3 Photo
Finding order in chaos.
Internal names: 304A / StellaWedgeThis photo is unlocked by completing Stella’s extra content scene in Episode Three. This scene is accessed by choosing “Is this the right path?” after she and Sage leave after the tarot card drawing.
Trish and Mango EP3 Photo
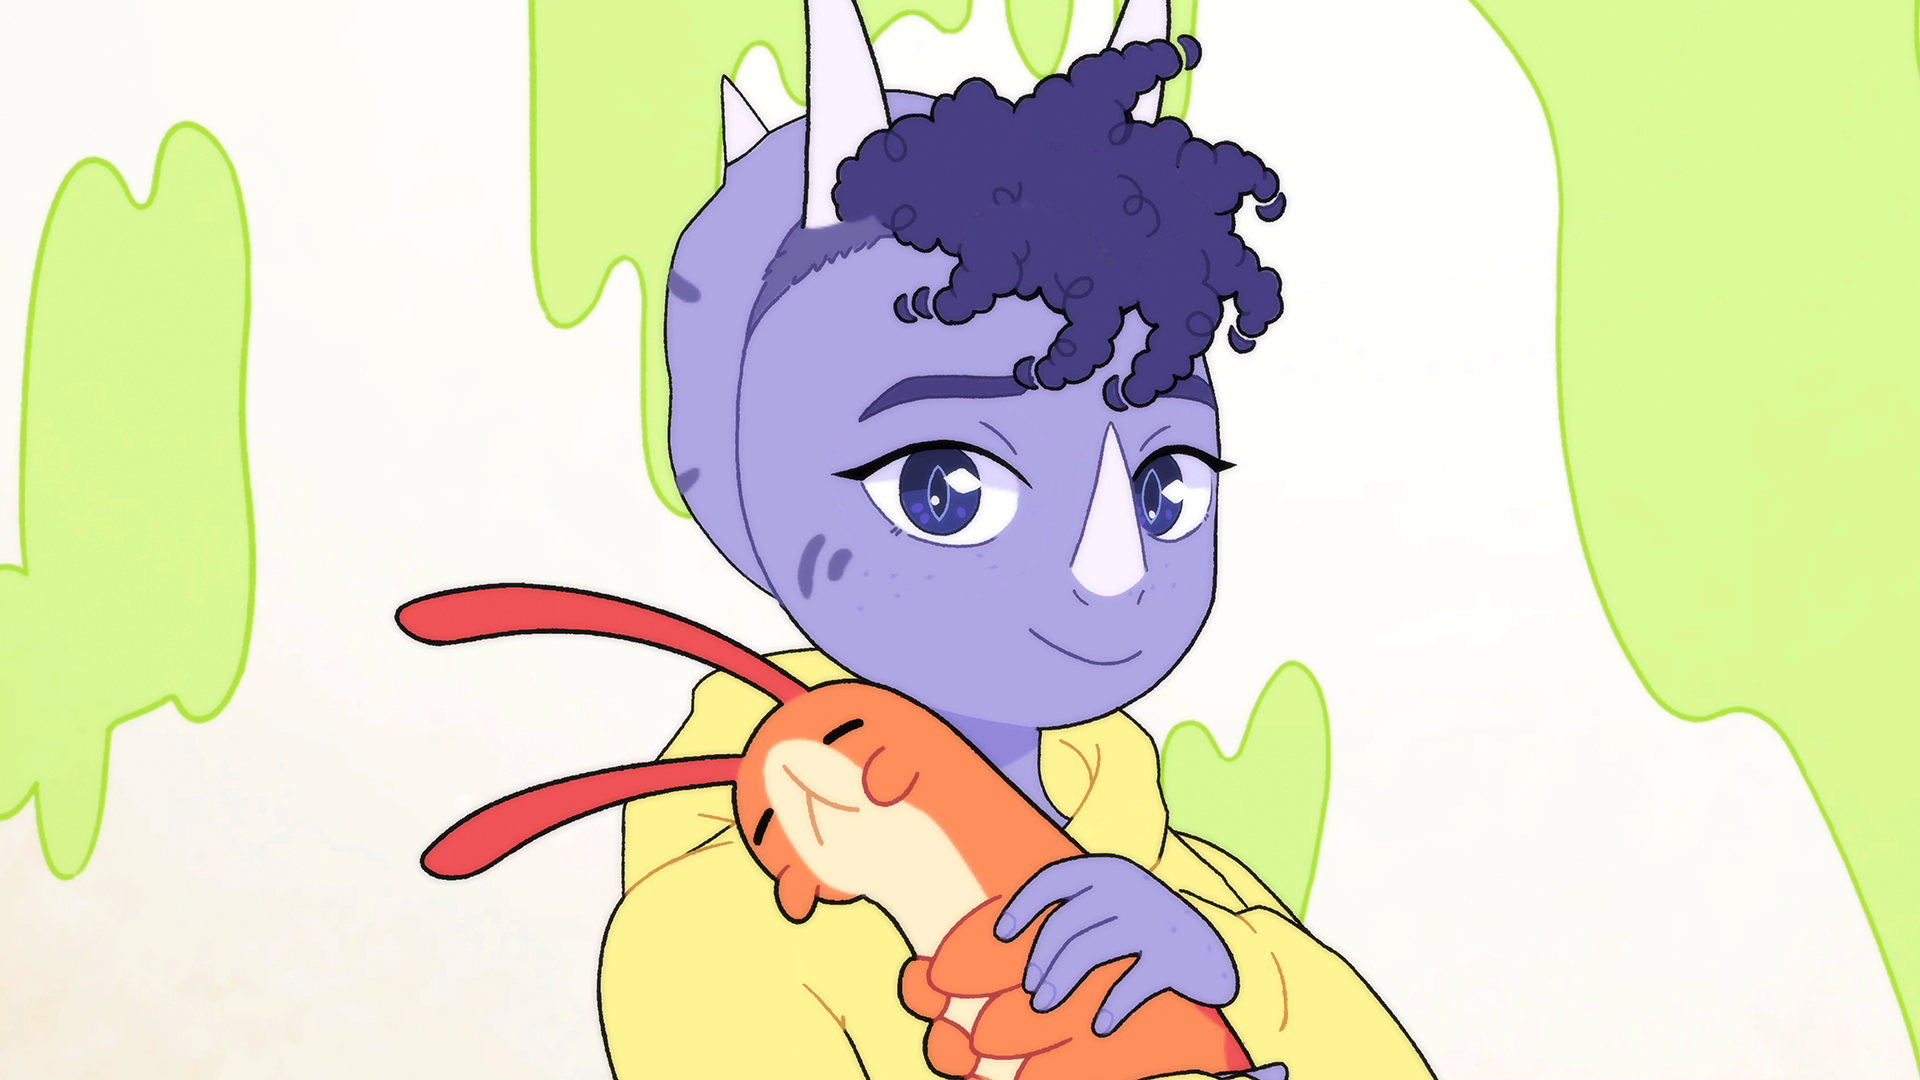
I don’t get it, but whatever makes her happy…
Internal names: 306A / TrishMangoThis photo is unlocked by successfully completing the Mango quick-time event without Fang getting slimed in Episode Three. This is also the unlock condition for the “Wild Worm Chase” achievement.
Reed L&L EP3 Photo
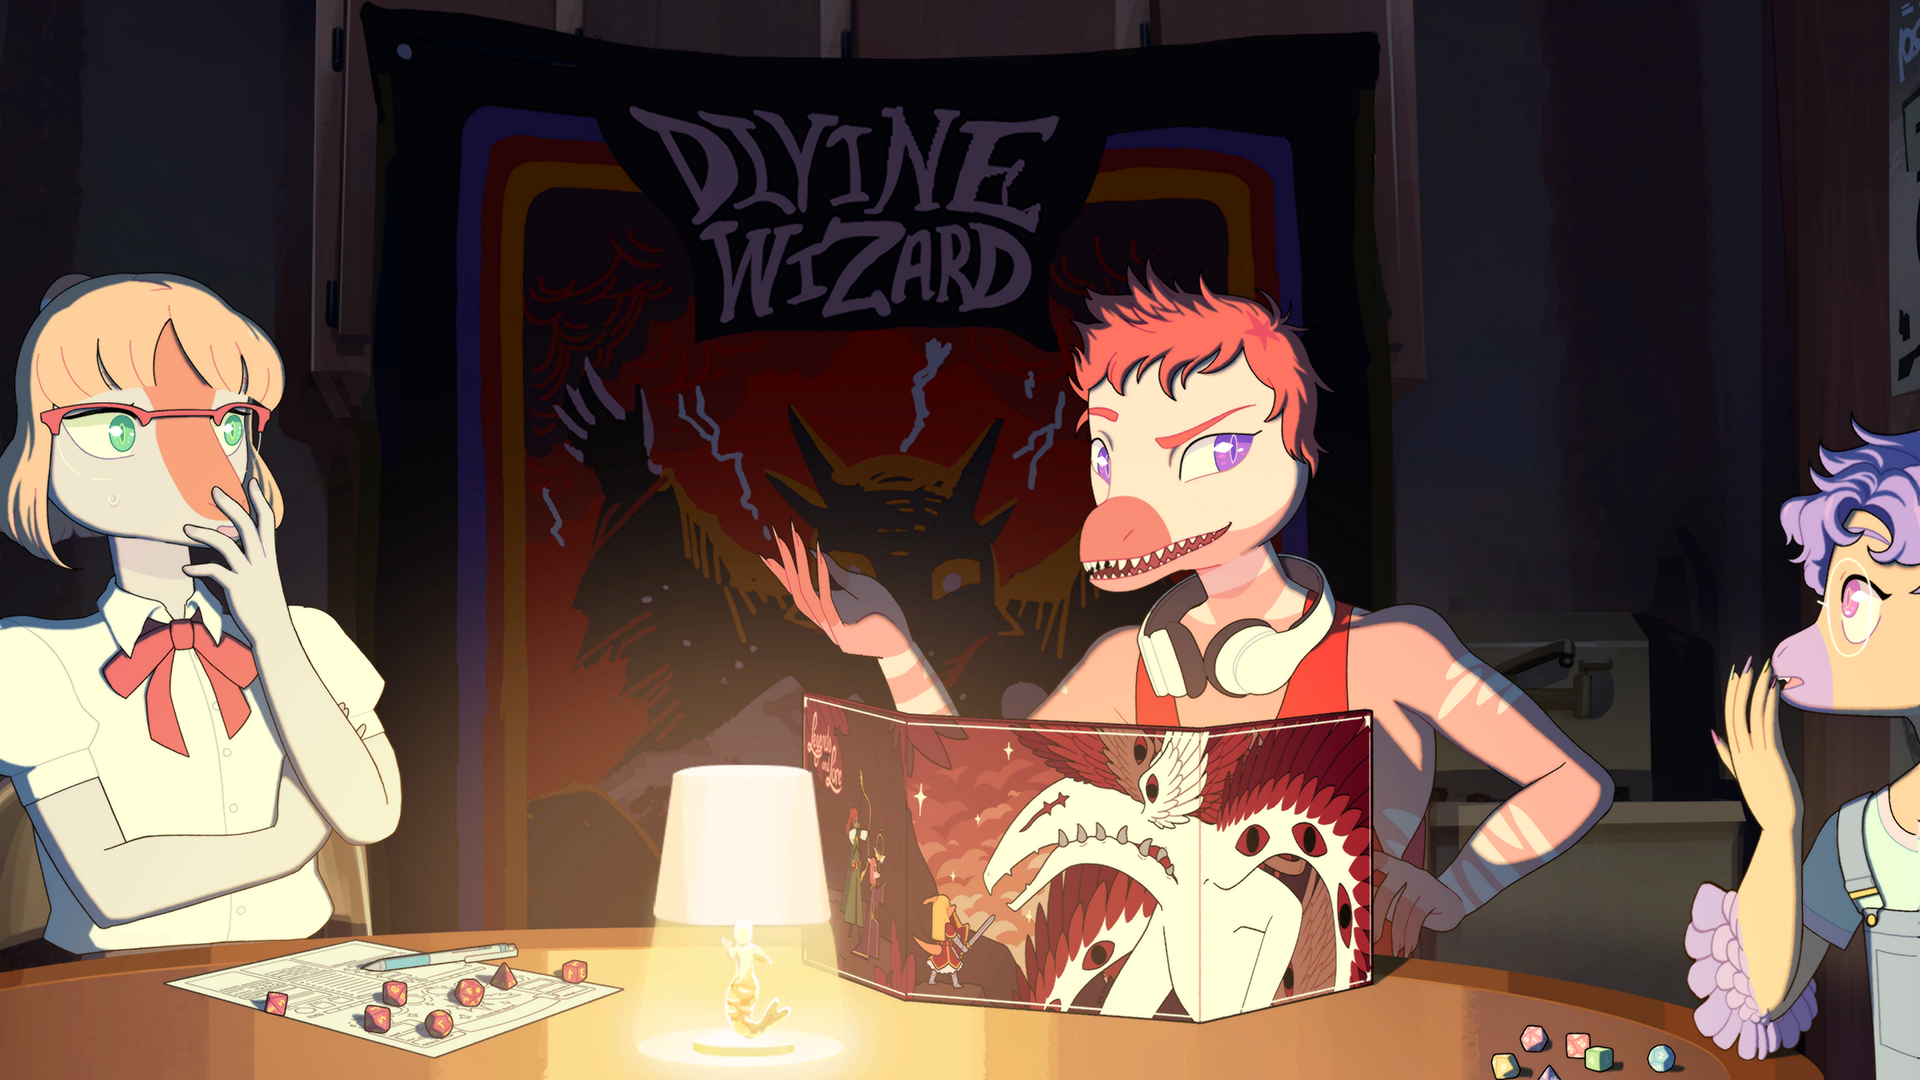
He’s such a dork. It’s cool to see him in his element.
Internal names: 310A / ReedDMThis photo is unlocked by selecting “You made it fun.” or “I can tell this is important to you.” after the end of the first L&L session in Episode Three.
EPISODE FOUR
Naomi On Stage EP4 Photo
I really hope she’s not the ones writing these skits. For her sake.
Internal names: 401A / NaomiStageThis photo will be unlocked by having Naomi at 5 affinity or higher at the beginning of the college applications presentation scene at the very start of Episode Four.
This can be confirmed in-game by checking to see if Naomi’s icon is in or within the second ring of the Affinity chart in the pause menu.
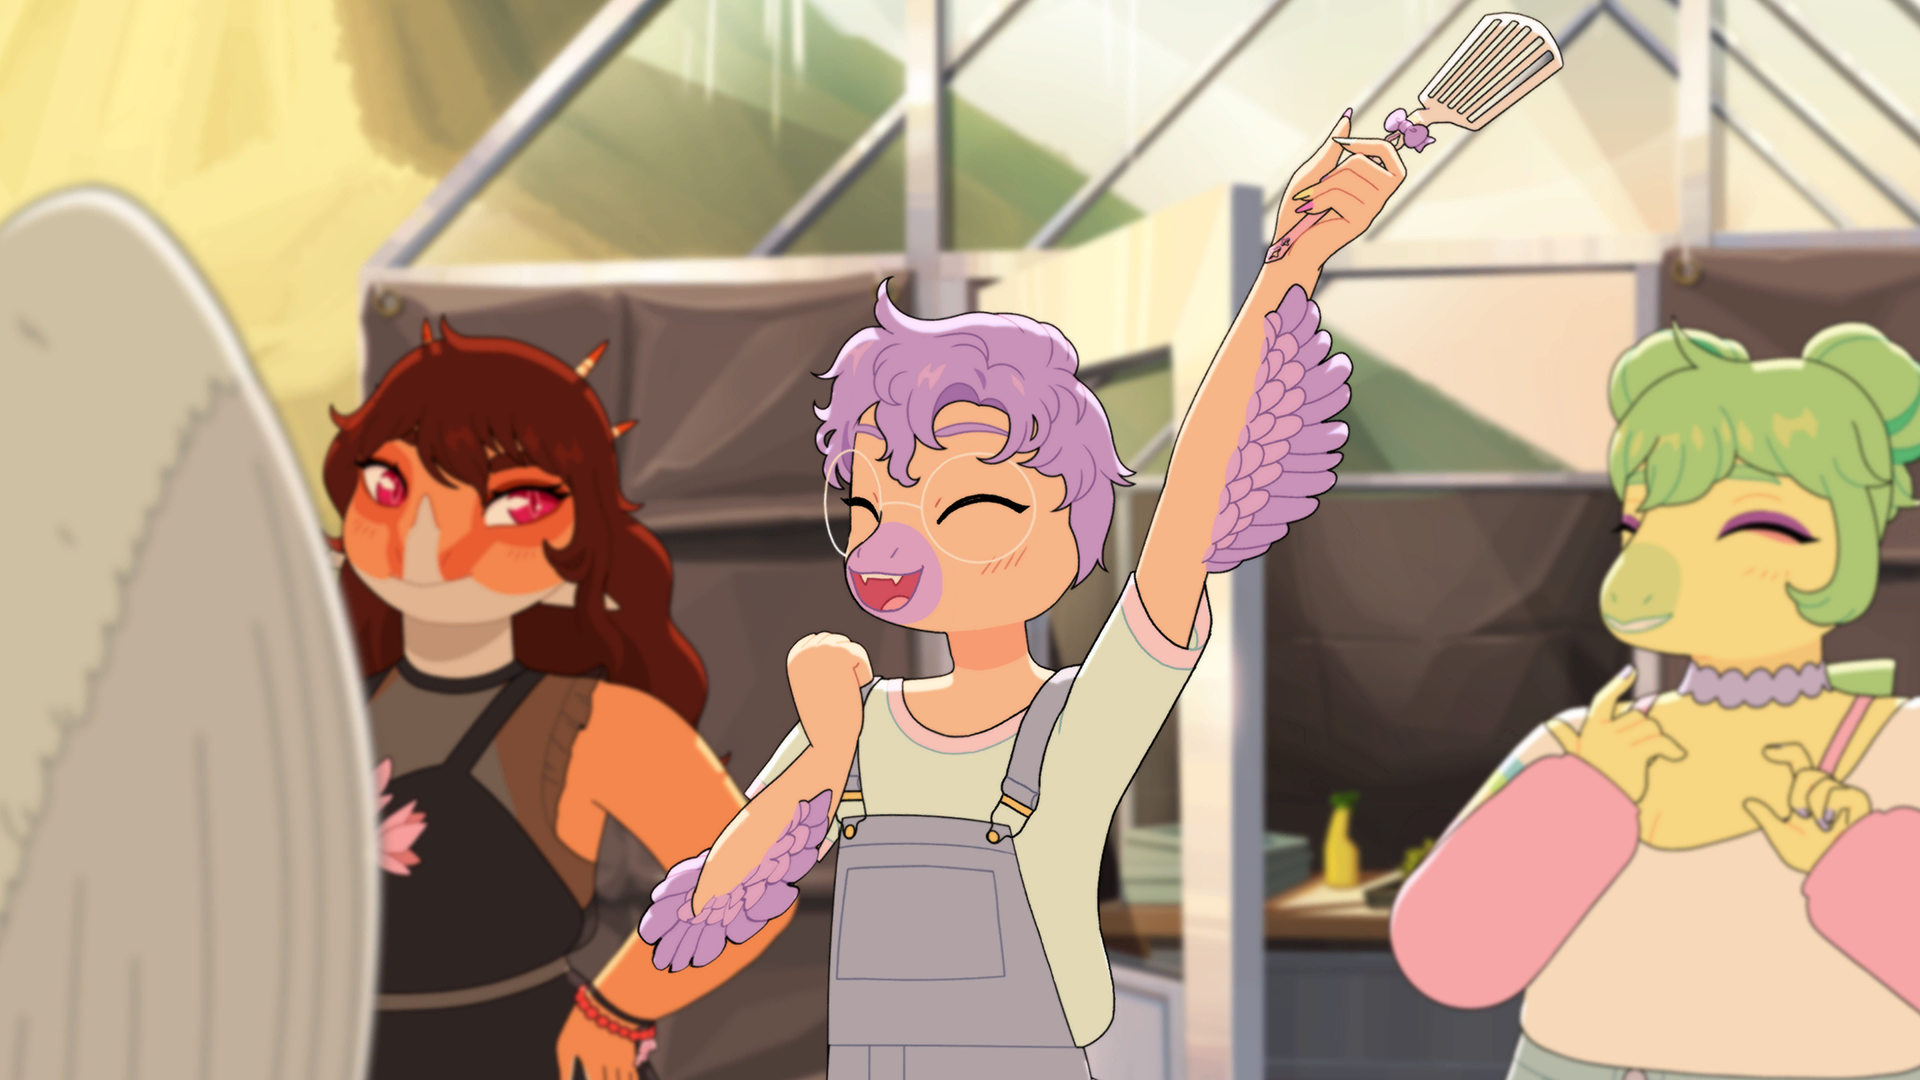
Sage and Fang EP4 Photo
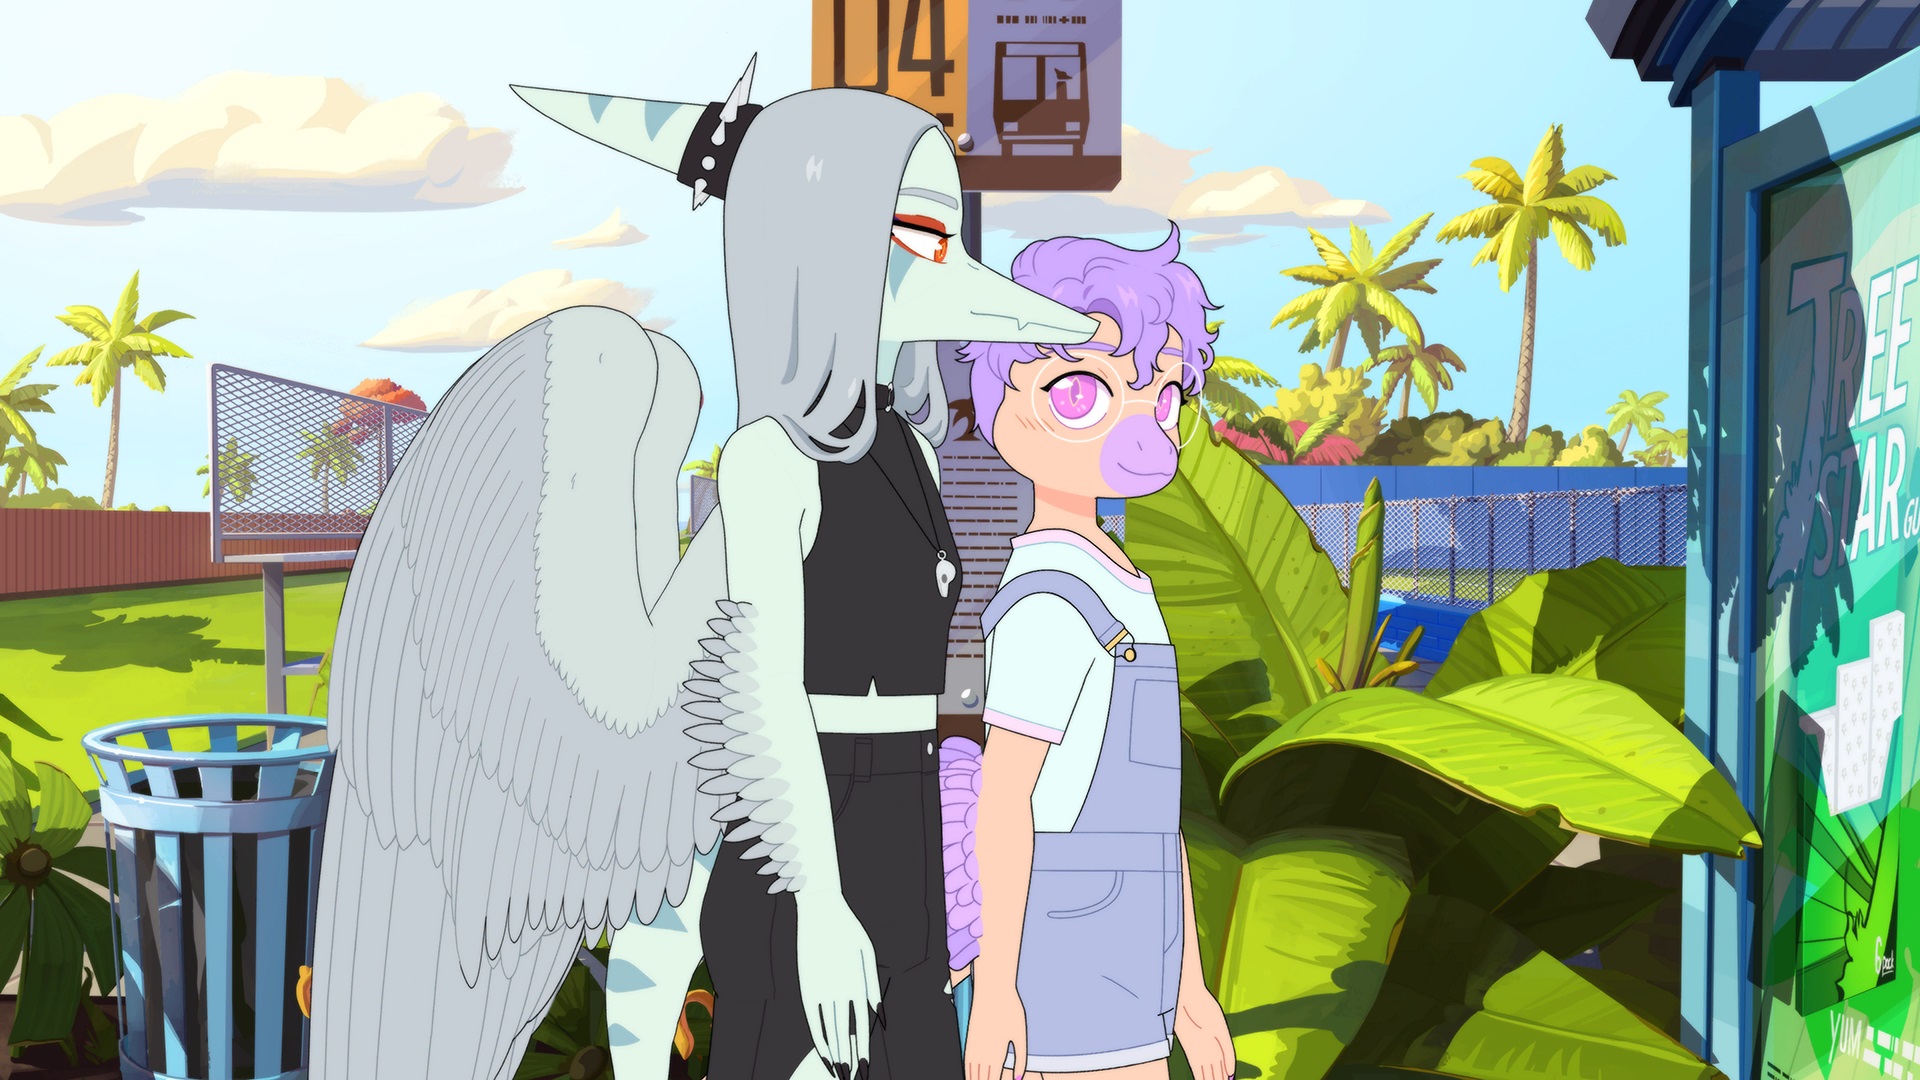
We don’t owe them normal.
Internal names: 402A / SageWedgeThis photo is unlocked by completing Sage’s bonus content scene in Episode Four. This scene can be accessed by selecting “Totally.” when Sage posits that he’ll try and make a career out of cooking when the group talks about their future plans in the preceding scene in the field.
Rosa EP4 Photo
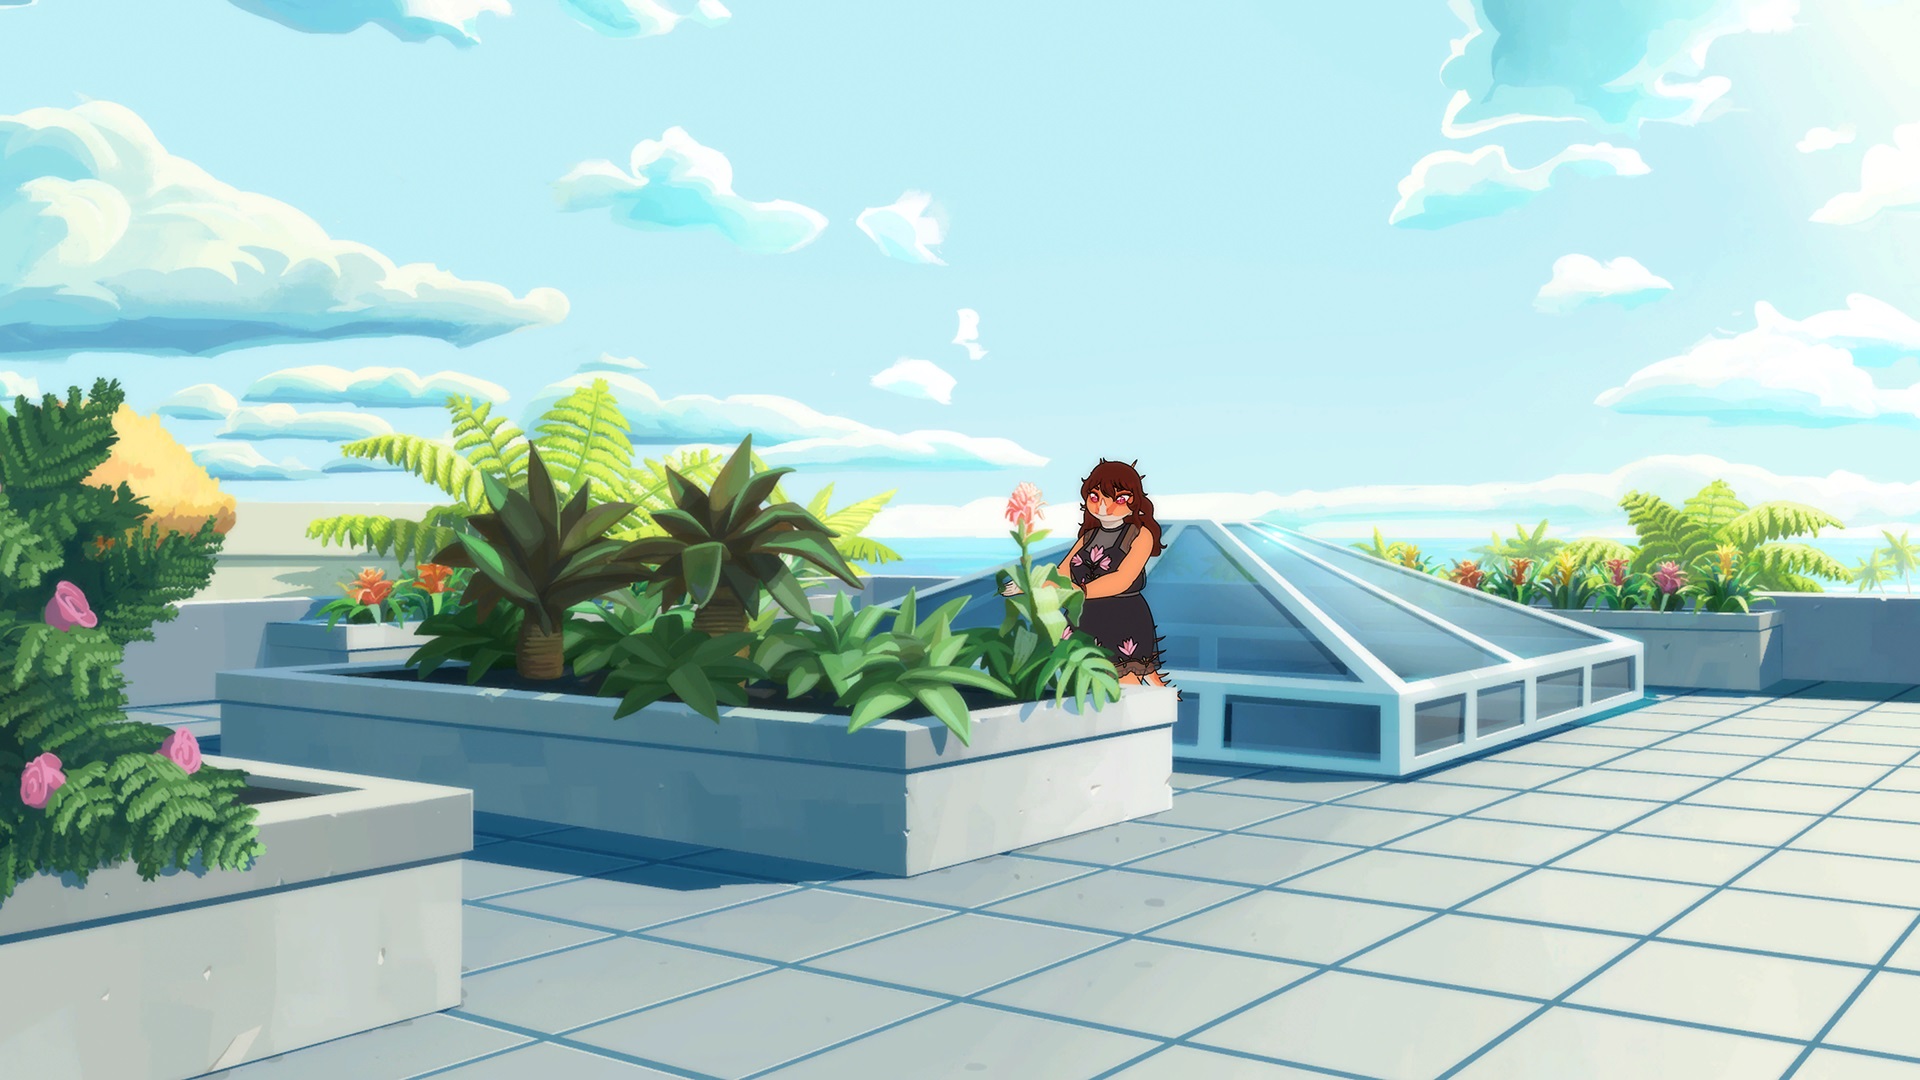
She’s pretty cool, actually.
Internal names: 406A / RosaRoofThis photo is unlocked by selecting one of the two compliment options towards the end of the rooftop scene with Rosa, either “…impressive.” or “…beautiful.” The options themselves all visually appear as “It’s…”, and need to be hovered over and then unselected to be fully revealed.
EPISODE FIVE
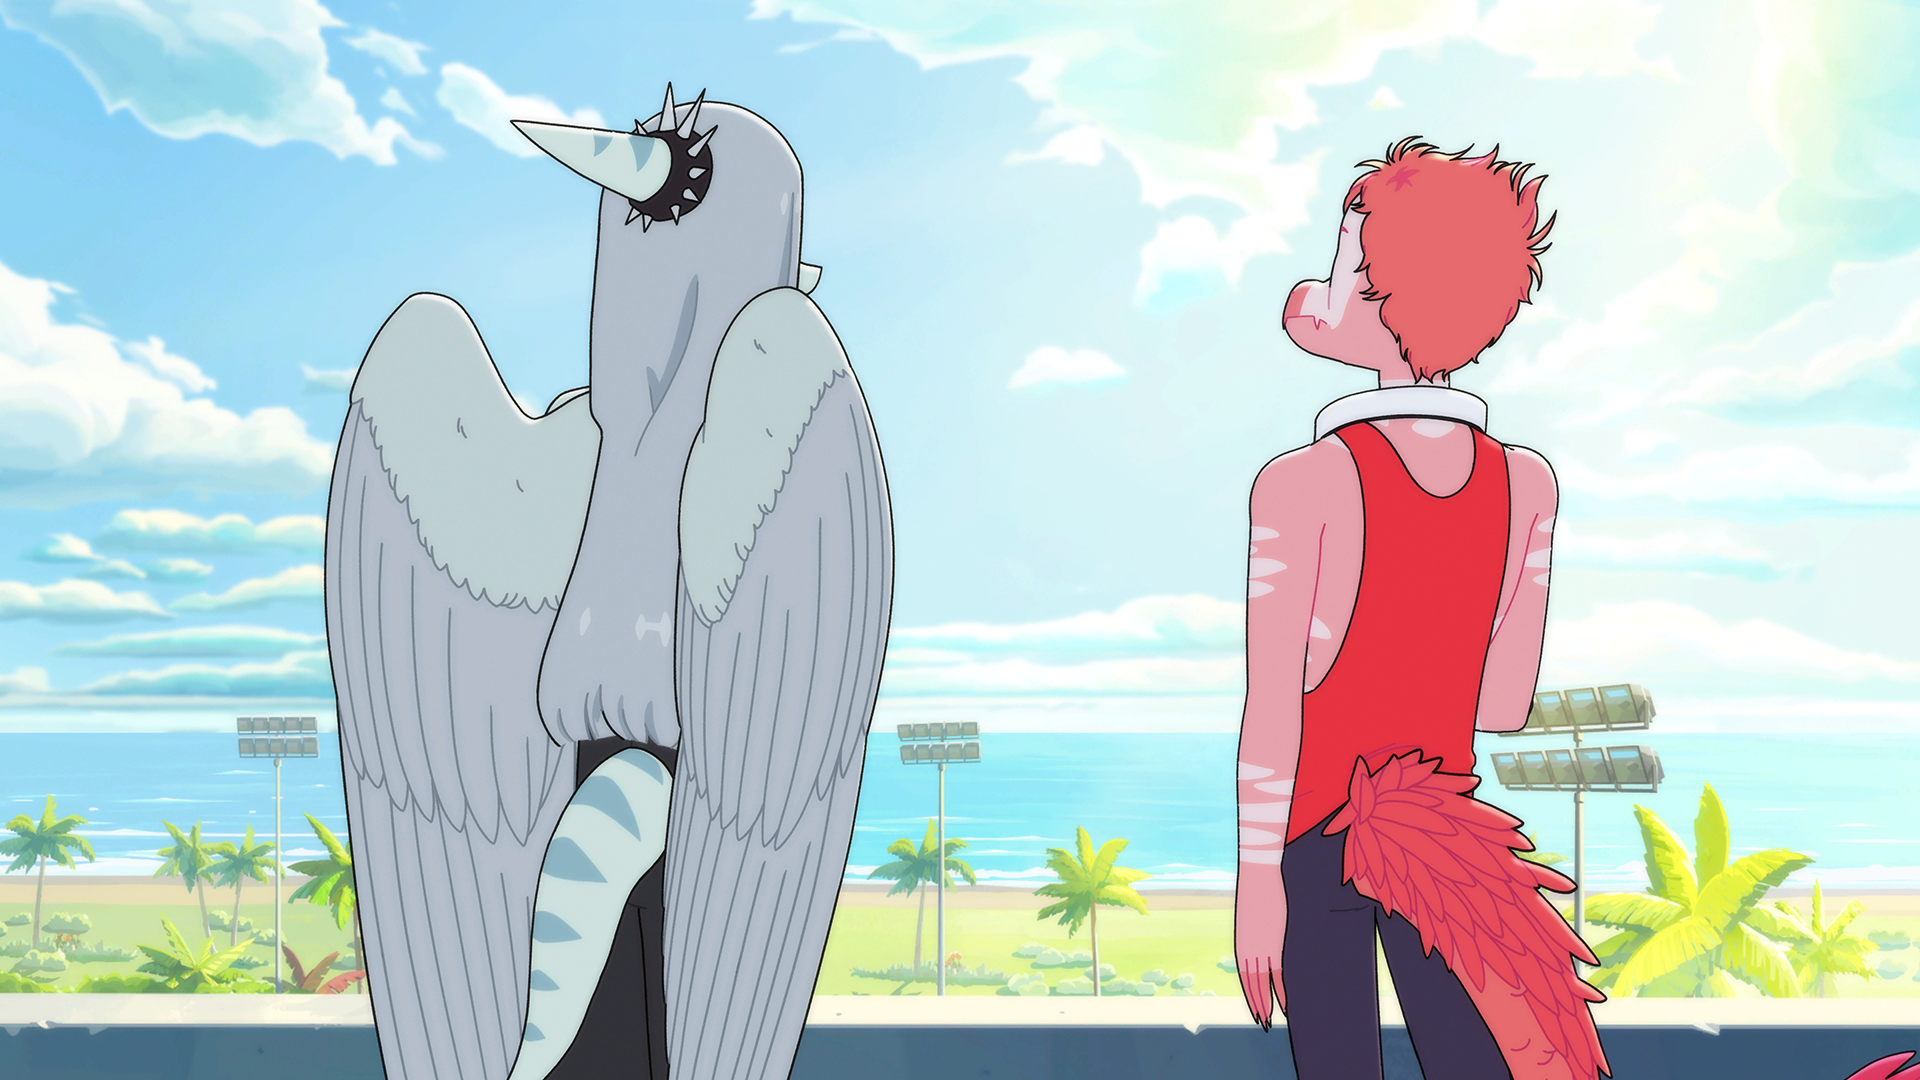
Naser EP5 Photo

I don’t need to power pose when I know he’s got my back.
Internal names: 507A / NaserWedgeThis photo is unlocked by completing Naser’s extra content scene in Episode Five. This scene can be accessed by selecting “Sorry about the other day.” after finishing the power pose minigame.
Fang Solo EP5 Photo
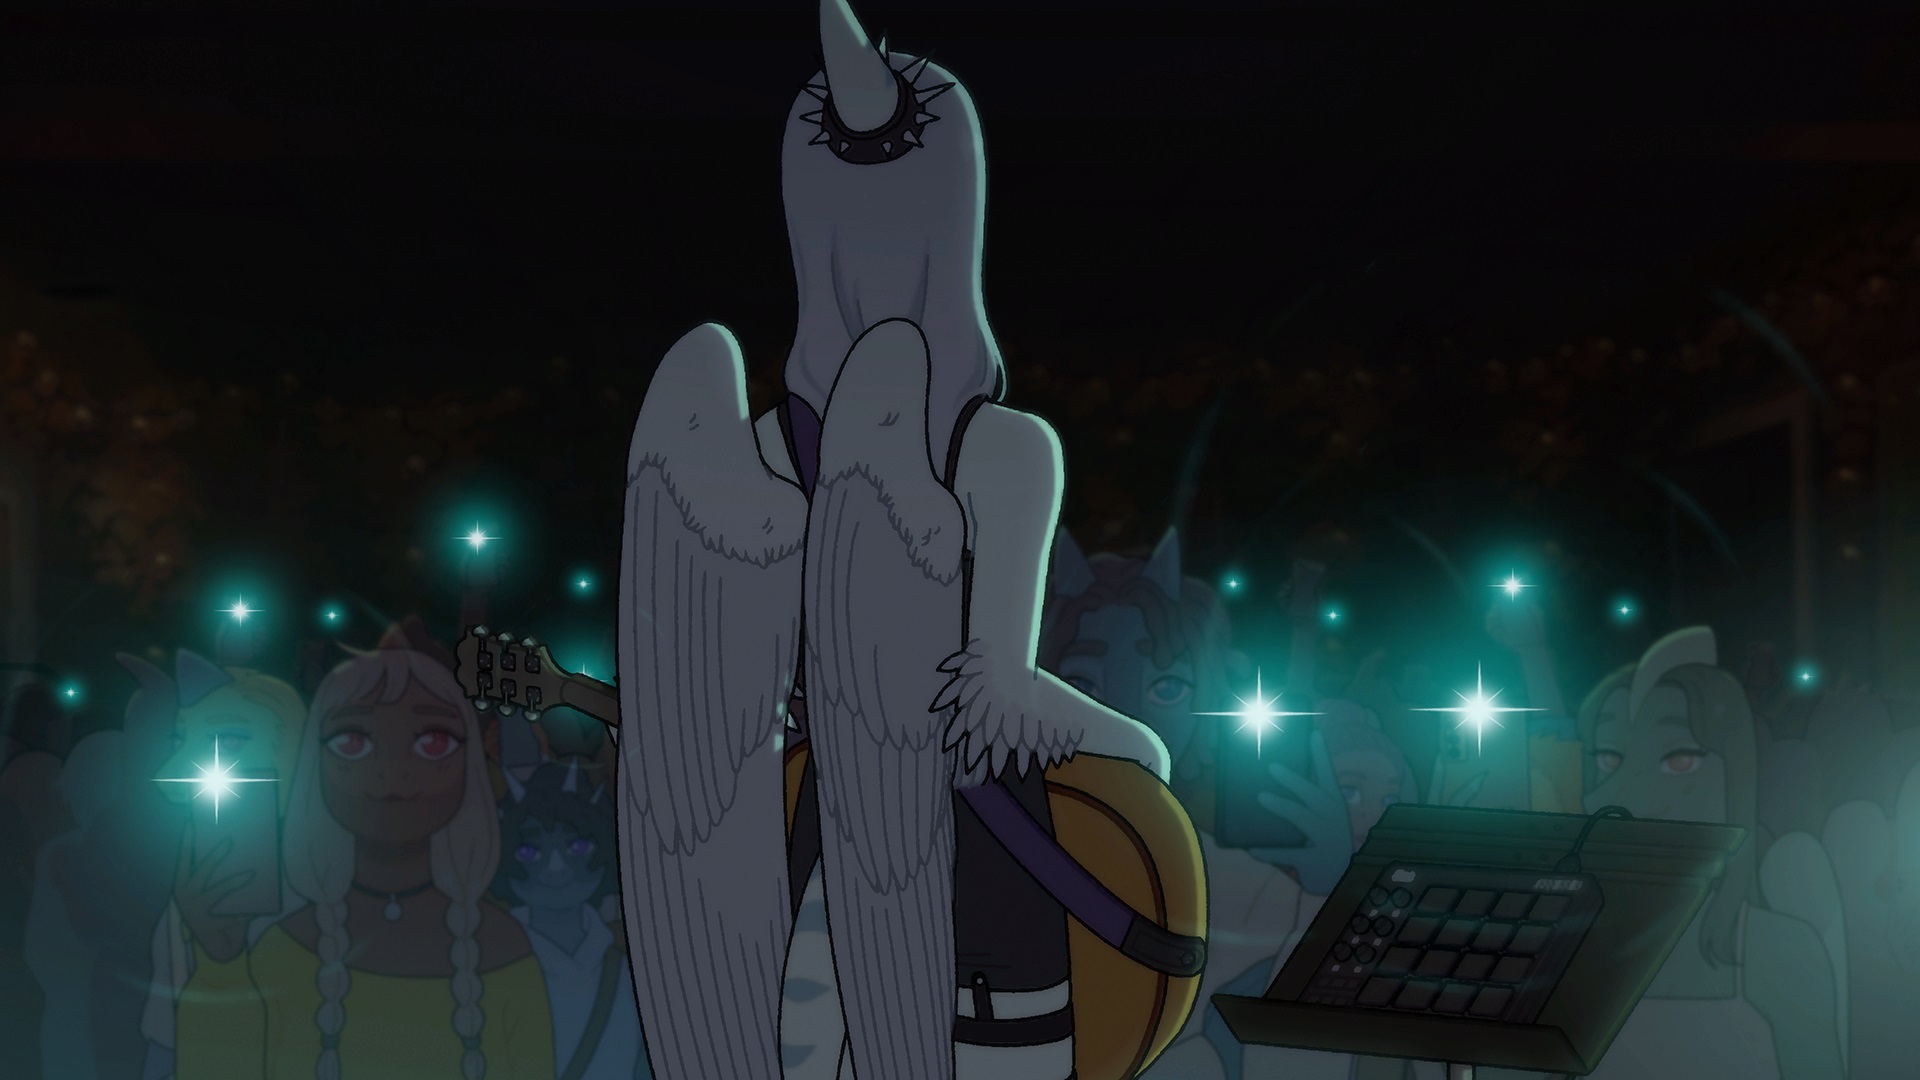
I can’t believe this actually happened.
Internal names: 508A / FangSoloThis photo can be unlocked by selecting “I can do this.” before Fang goes on-stage to do their solo performance. On top of this, a decent level of self-affinity (see the foreword as to what this is) is required to meet the conditions for this photo.*
As self-affinity is hidden, it cannot be reliably tracked (short of decrypting your save file and viewing the value directly), and will have to be inferred based on your prior decision-making; generally, self-affinity is raised by having Fang be self-confident, though not necessarily mean. A couple of examples for self-affinity increases include: selecting “Puke Factory” as the song to be reworked in Episode Two will give a point; and choosing “We got this.” when texting the demo to LJ in Episode One.
*
I am not confident as to the exact value of what self-affinity needs to be. The one playthrough that I got it on had Fang’s self-affinity at 10. Your mileage may vary.
Trish BoTB EP5 Photo
Couldn’t have done it without her.
Internal names: 508B / TrishBotbThis photo is unlocked by having Trish at 16 affinity or higher by the conclusion of the main band performance during Battle of the Bands in Episode Five. This can be confirmed in-game by seeing if she is on the innermost orbit of the affinity chart in the pause menu.
Reed BoTB EP5 Photo
Can always count on Reed to keep us steady.
Internal names: 508C / ReedBotbThis photo is unlocked by having Reed at 16 affinity or higher by the conclusion of the main band performance during Battle of the Bands in Episode Five. This can be confirmed in-game by seeing if he is on the innermost orbit of the affinity chart in the pause menu.
Naomi Reveal EP5 Photo
…It was always her.
Internal name: 510A / PrettyHeroAs a prerequisite to getting this photo, Naomi must be at 16 affinity* or higher prior to the Pretty Hero reveal in Episode Five. This can be confirmed in-game by checking to see if she is in the innermost orbit of the affinity chart.
After the Battle of the Bands performance in Episode Five, choose to meet Pretty Hero right away. Then, at the end of the conversation with Naomi, select “I’m not ready.”*
*
NOTE: While this is a reliable guide, I’m not super confident that these are the exact requirements, per se. Specifically, the game tracks a value called “prettyheroPoints”; I speculate that the “true” condition is reaching a breakpoint sum between Pretty Hero affinity and Naomi affinity. Further testing is warranted.
EPISODE SIX
Fey and Keph EP6 Photo
Keph’s redemption arc!
Internal names: 604A / NaserLNLThis photo is unlocked by having Naser’s affinity 16 points or higher by the third and final L&L session in Episode Six.
This can be checked in-game by seeing if Naser is in the closest ring of the affinity chart prior to starting the scene.
As a last resort, you are able to raise Naser’s affinity by one point before the photo condition is checked by selecting “Glad you made it.” when he makes his reveal, which, depending on your prior choices, may be enough to reach the threshold.
EPISODE SEVEN
Rosa Bonfire EP7 Photo
I’m glad we met.
Internal names: 703A / RosaFire This photo is unlocked by completing Rosa’s bonfire scene in Episode Seven. This scene can be accessed by getting her to 10 affinity or above. If you have her within the third orbit on the affinity chart, then you are guaranteed to be able to access this scene.
This threshold is much higher compared to the other two “outer orbit” characters of Stella and Sage, and thus more focus on her affinity is required in comparison to those two. The best way to raise Rosa’s affinity is to be welcoming and accommodating to her in earlier episodes, as well as interacting with Maia a lot in L&L, especially by approving of her infatuation with Keph.
Only one of Rosa’s, Sage’s, and Stella’s bonfire scenes, and their accompanying photos, can be obtained in a single playthrough, even if you meet the conditions to select all of them.
Stella Bonfire EP7 Photo
The strength to carry on.
Internal names: 705A / StellaFireThis photo is unlocked by completing Stella’s bonfire scene in Episode Seven. This scene can be accessed by having her at 5 affinity or higher. If you have her within the second orbit of the affinity chart, then you are guaranteed access to this scene.
Only one of Rosa’s, Sage’s, and Stella’s bonfire scenes, and their accompanying photos, can be obtained in a single playthrough, even if you meet the conditions to select all of them.
Sage Bonfire EP7 Photo
Nothing you love is a waste.
Internal names: 706A / SageFire This photo is unlocked by completing Sage’s bonfire scene in Episode Seven. This scene can be accessed by having him at 5 affinity or higher. If you have him within the second orbit of the affinity chart, then you are guaranteed access to this scene.
Only one of Rosa’s, Sage’s, and Stella’s bonfire scenes, and their accompanying photos, can be obtained in a single playthrough, even if you meet the conditions to select all of them.
Naser Bonfire EP7 Photo
Love you, lil bro.
Internal names: 708A / NaserBeachThis photo is unlocked by completing Naser’s bonfire scene in Episode Seven. This scene can be accessed by having him at 16 points of affinity or higher. As long as Naser is within the closest orbit on the affinity chart, then access to his scene is guaranteed.
Only one of Reed’s and Naser’s bonfire scenes, and their accompanying photos, can be obtained in a single playthrough, even if you meet the conditions to select both of them.
Reed Bonfire EP7 Photo
Connective tissue.
Internal names: 709A / ReedBeach This photo is unlocked by completing Reed’s bonfire scene in Episode Seven. His scene requires 18 affinity in order to be available. This threshold is decently into the final tier, and as such, there isn’t a reliable indicator in the affinity chart that it has been reached.
The safest way to unlock this is by trying to raise Reed’s affinity wherever possible. For pointers: show interest in playing L&L, and have Fang open up emotionally when Reed tries to be consoling and supportive.
Only one of Reed’s and Naser’s bonfire scenes, and their accompanying photos, can be obtained in a single playthrough, even if you meet the conditions to select both of them.
Trish Bonfire EP7 Photo
To the future we wanted. To the future we have.
Internal names: 712A / TrishBonfireThis photo can be unlocked by completing Trish’s bonfire scene in Episode Seven with her at
30 points of affinity or higher. This photo is awarded during the yearbook burning scene.
This is an extremely high level of affinity, and will require you to select basically every option that could raise affinity with her. For pointers: be understanding and sympathetic towards her desires to want to move away from the band; be nice to Rosa; and interact with Olly a lot in the L&L sessions, such as by choosing decisions that she favors during them.*
Although a truly arduous task with
a lotof potential fail points—missing just one affinity option may lock you out of the photo, and you won’t be able to tell until it’s too late—meeting the conditions for this photo will allow you to unlock two more photos further down the line, as well as the final scene required for the “Worms Forever” achievement.
*
On the technical side, the save file holds a variable called “trishPercent”, which may be the true controller for if this photo, as well as the preceding episode eight scene with Trish, fires or not. This variable probably looks at affinity, and then checks to see if you took any of the “mean” options for her that would otherwise not affect affinity. Further studying is required, studying that I don’t know enough about datamining to do.
Naomi Bonfire EP7 Photo
She’s the bravest out of all of us.
Internal names: 712B / NaomiBonfire This photo is unlocked by completing Naomi’s bonfire scene in Episode Seven with her at 25 points of affinity* or higher. This photo is awarded during the yearbook burning scene.
You do not have to romance Naomi (or not romanceNaomi) to get this photo.
This is a very high value, and will require you to more or less take every option that could raise affinity with her during a playthrough. Outside of being nice to her, interacting with Linnea a lot during L&L is also beneficial, such as by choosing decisions that she favors during them.
On the technical side, the save file holds a variable called “naomiPercent”, which may be the true controller for if this photo fires or not. This variable probably looks at affinity, and then checks to see if you took any of the “mean” options for her that would otherwise not affect affinity. Further studying is required, studying that I don’t know enough about datamining to do.
EPISODE EIGHT
Naomi Romance EP8 Photo
To as many of these nights as we can get.
Internal names: 806A / NaomiDateDuring Naomi’s bonfire scene in Episode Seven, select “More than friends” to romance her. Then, in Episode Eight, accept her offer for a date, then complete the date scene. This will also unlock the “Love Story” achievement.
Old Group EP8 Photo
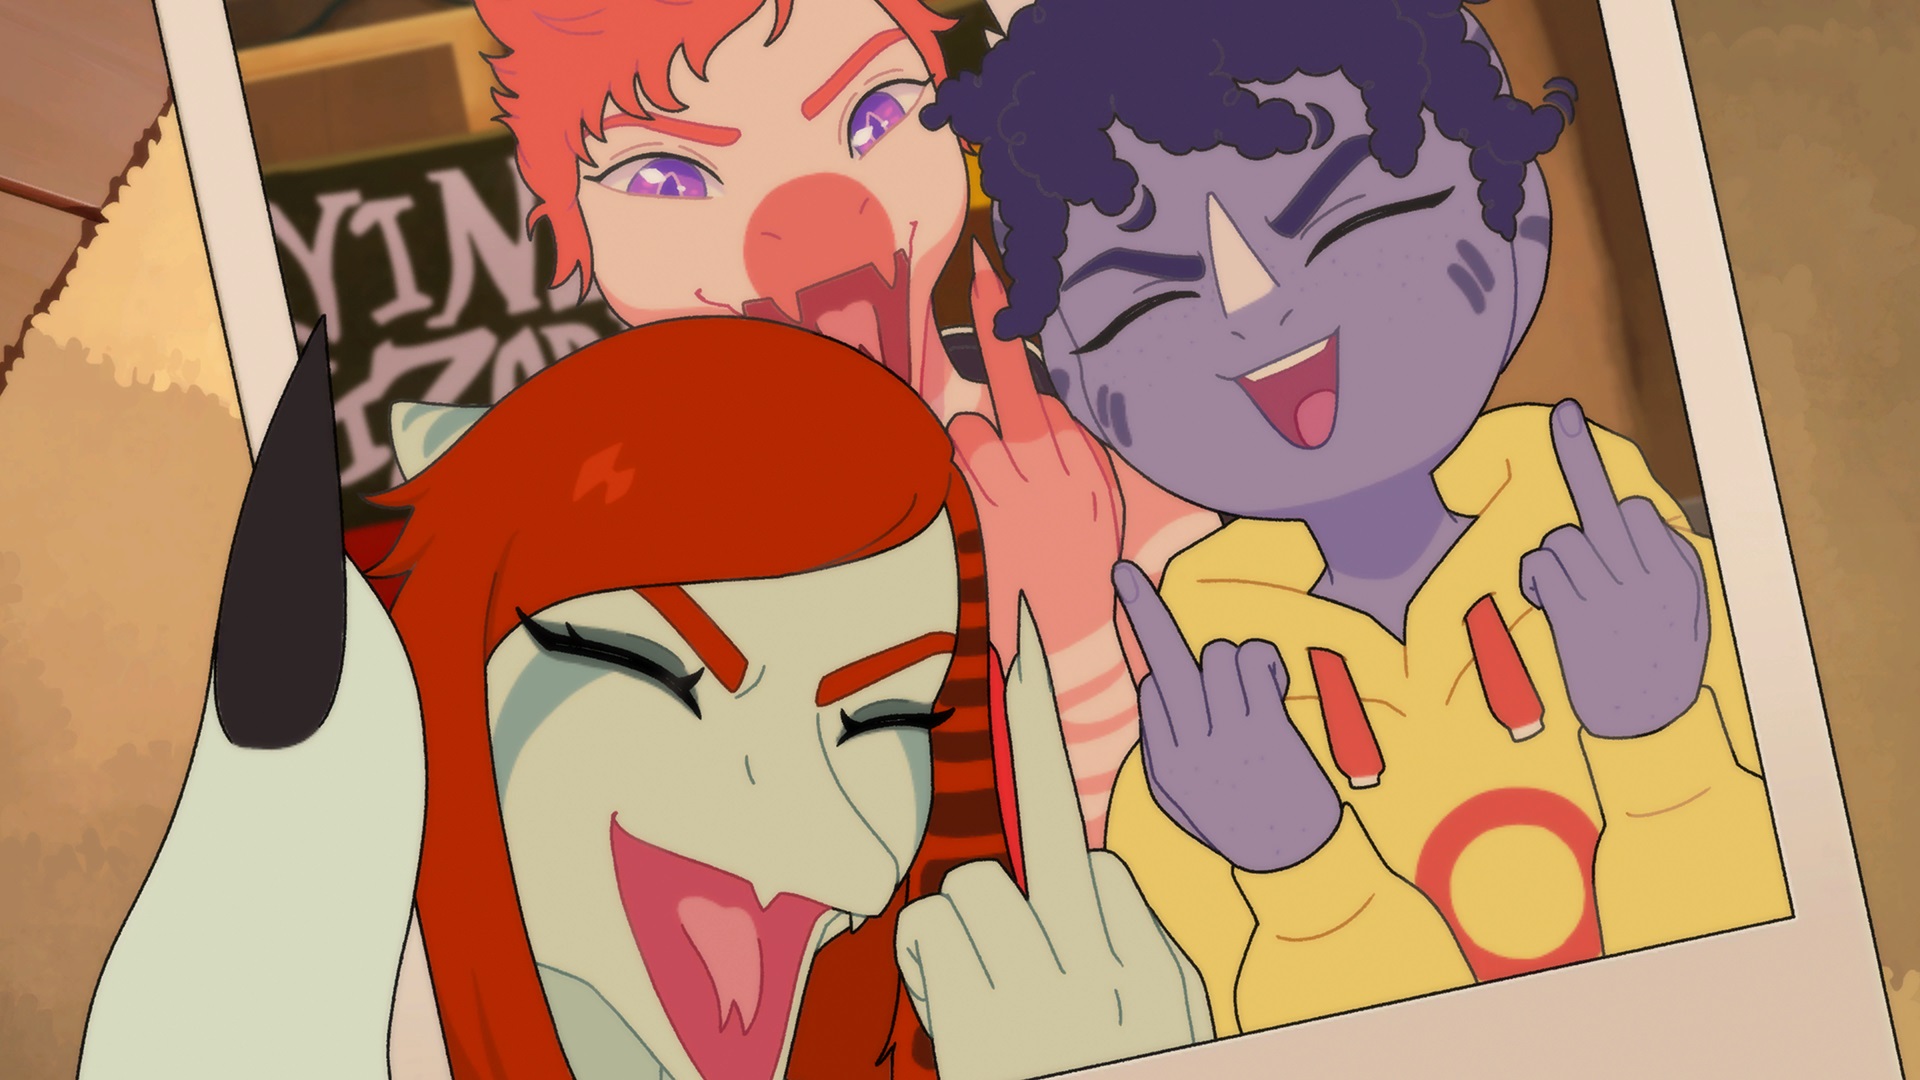
Best friends forever.
Internal names: 810A / YoungSelfieThis photo is unlocked while completing the extra content scene with Trish in Episode Eight. Said scene can be accessed by having 30 points of affinity with her.
If you have unlocked Trish’s bonfire photo in your current playthrough, then you have already met the prerequisites to gain access to this scene, as well as this photo. Be understanding and sympathetic towards her desires to want to move away from the band, and interact with Olly a lot in the L&L sessions, such as by choosing decisions that she favors during them.
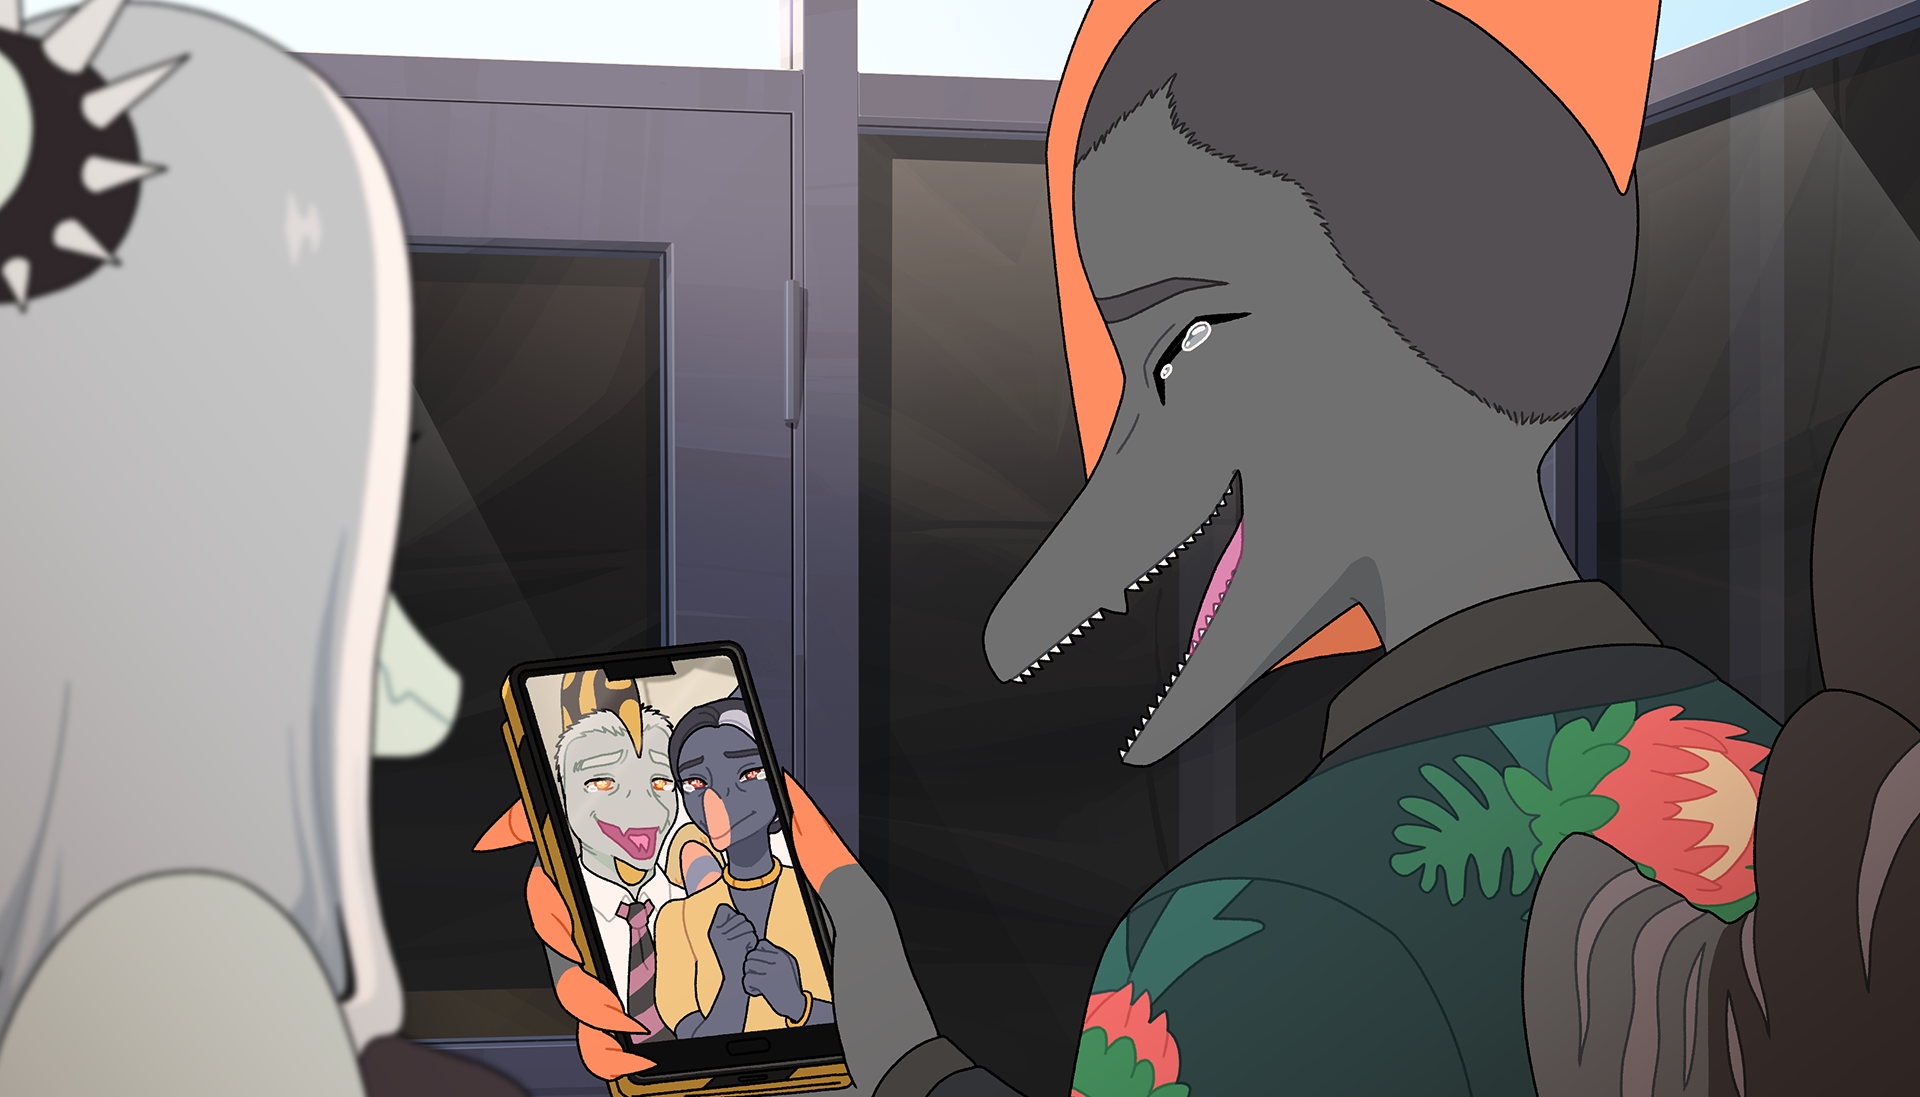
BFFs EP8 Photo

Best friends til the end.
Internal names: 810B / NowSelfieThis photo is unlocked while completing the extra content scene with Trish in Episode Eight. Said scene can be accessed by having 30 points of affinity with her.
If you have unlocked Trish’s bonfire photo in your current playthrough, then you have already met the prerequisites to gain access to this scene, as well as this photo. Be understanding and sympathetic towards her desires to want to move away from the band, and interact with Olly a lot in the L&L sessions, such as by choosing decisions that she favors during them.
Reed Affinity EP8 Photo
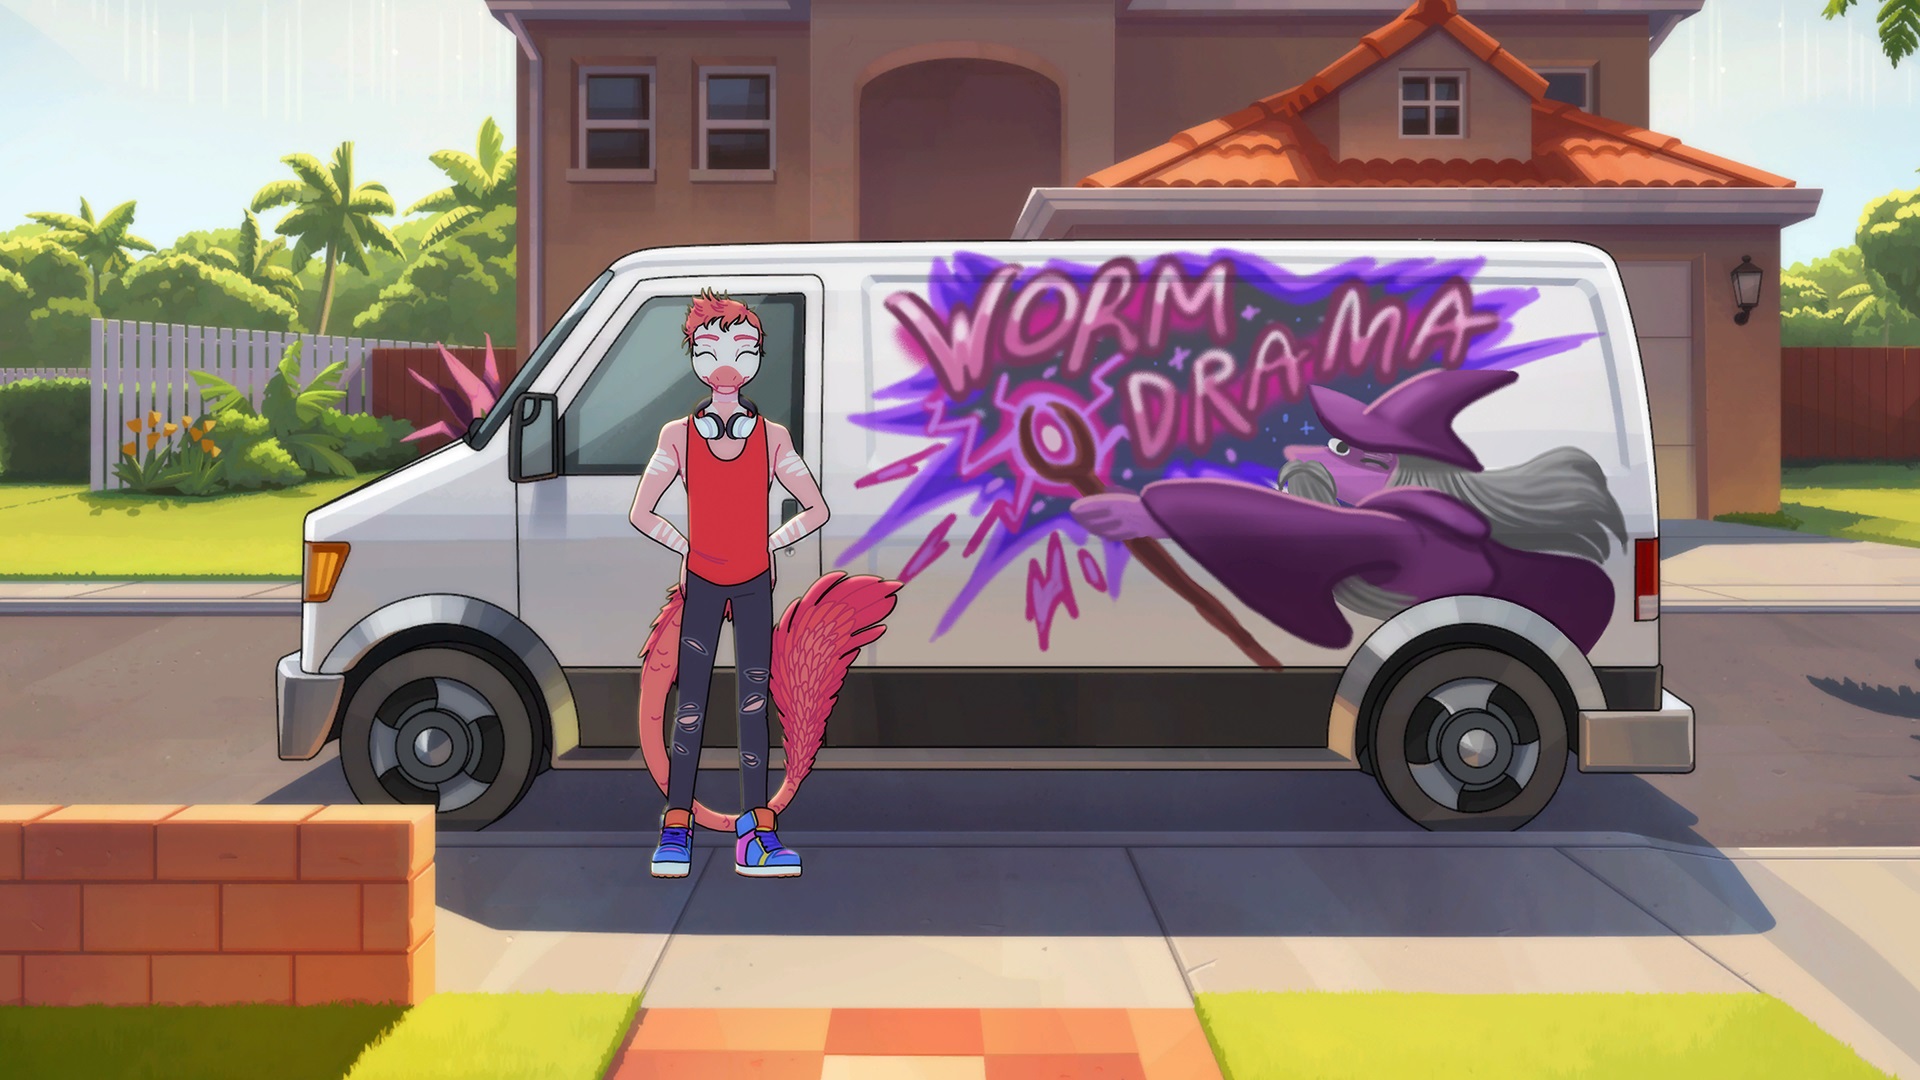
There are no words.
Internal names: 812A / ReedVanThis photo is unlocking by having Reed at or above 25 points of affinity by the time he shows up with the van to bring Fang to CalderaFest in Episode Eight.
This is an extremely high level of affinity, essentially requiring you to dedicate most of your playthrough to raising your affinity with him. For pointers: show interest in playing L&L, and have Fang open up emotionally when Reed tries to be consoling and supportive.
On the technical side, the save file holds a variable called “reedPercent”, which may be the true controller for if this photo fires or not. This variable probably looks at affinity, and then checks to see if you took any of the “mean” options for him that would otherwise not affect affinity. Further studying is required, studying that I don’t know enough about datamining to do.
Naser Affinity EP8 Photo
Together at the end.
Internal names: 814A / NaserTabletThis photo is unlocked by having Naser at or above 20 affinity* by the CalderaFest pre-show in Episode Eight.
This is decently within the fourth and final affinity tier, and thus is not available to be clearly seen in-game.
Generally, this will require you to be nice to Naser at every opportunity you can. To be extra safe, having positive interactions with Keph in the Episode Six session of L&L can help buffer your affinity with him if you’re worried it’s too low.
On the technical side, the save file holds a variable called “naserPercent”, which may be the true controller for if this photo fires or not. This variable probably looks at affinity, and then checks to see if you took any of the “mean” options for him that would otherwise not affect affinity. Further studying is required, studying that I don’t know enough about datamining to do.
Sage Affinity EP8 Photo
Sage… and Spatcho.
Internal names: 814B / SageSpatchoThis photo is unlocked by having Sage at or above 10 affinity by the CalderaFest pre-show in Episode Eight. This entails taking just about every affinity-raising option with Sage across an entire playthrough.
If you manage to get Sage within the second-closest orbit on the affinity chart, then you are guaranteed to get this photo.
Stella Affinity EP8 Photo
Thanks for everything, Stel.
Internal names: 814C / StellaCardThis photo is unlocked by having Stella at or above 9 affinity by the CalderaFest pre-show in Episode Eight. This entails taking every affinity-raising option with Stella across a playthrough.
Specifically, you must be receptive to her compliments in Episode One, as well as selecting every “shaking square option” associated with tarot, the big one being selecting “Whatever happens, happens” before playing Battle of the Bands.
If you (somehow) manage to get Stella within the second-closest orbit on the affinity chart, then you are guaranteed to get this photo.