The newly implemented Spin Dash adds a lot to the game, but you have to work for it first.
How to Unlock the Spin Dash
I’m sure the most pressing question you have is, “How do I get the Spin Dash?”
The answer is: You need to get an S rank on ALL the brand new “Action Chain Challenges” that are on each of the islands, except for Rhea. These were added in the Birthday Bash Update in June 2023. Maybe you just needed to know that and can leave now, or you’re having trouble with the challenges and want some advice. Either way, the following sections will go over the basics of the challenge and provide advice on how to get a high score.

Chain Challenge Basics
So, this is how the Action Chain Challenge works (from hereon out, I’ll just call them Chain Challenges):
Chain Challenges will have their own nodes on the islands that look similar to the map puzzles but with a clock icon instead of a question mark. To begin the challenge, perform a Cyloop around the green aura.

A bunch of bright yellow orbs will spawn, and after a brief countdown, you’re left to your own devices to get the highest score possible in a limited amount of time.
- Performing a variety of actions will earn you points (specified in the next section) and will raise the multiplier.
- The yellow orbs that spawn when the challenge begins are for the explicit purpose of raising the multiplier; they do not give you points.
- The multiplier starts at x1 and can go up to x256, obviously earning you more points. If you don’t perform any actions for some time to keep the meter up, the multiplier will reset back to x1.
- The timer (both the clock and multiplier gauge) will only freeze if the cutscene plays introducing a miniboss (Asura, Squid, Ninja, etc.).
- Your final rank is determined solely by your score, NOT your combo variety. Keeping this in mind is important so you don’t need to force yourself to change up your tactics.
- Getting damaged by enemies or spikes does NOT break the multiplier, so you only have to worry about time.
- You automatically fail the challenge if you die or fall into a pit.
All Applicable Actions + Point Value Basics
These are all the things you can do that earn you points and keep the multiplier from depleting.
There are a couple of things about these to keep in mind:
- Very important: Once you’ve used an object in the challenge, that specific individual object will no longer give you points. For example, if you bounce off a spring, that single spring you just bounced off of won’t give points if you use it again. However, other springs you haven’t used will still give points.
- Points don’t diminish in value no matter how many times you repeat the same action. You also can’t lose any points you have already earned whatsoever.
- Points you earn from Sonic’s offensive moves like combo attacks and Cyloop will only apply if you damage an enemy with them.
- Speaking of combat, I’m not entirely sure if points earned from Sonic’s combat moves are based on actual damage dealt or if the moves themselves have fixed values. From my testing, I feel confident in assuming it’s based on damage dealt to the enemy. Therefore, the points you earn will vary depending on Sonic’s ATK stat. Because of this, I won’t be covering points earned from combat moves. The only fixed values that I will be showing related to this are using a Homing Attack on an enemy and defeating an enemy.
Now, I’ll show all the point values.
Disclaimer: The point values will be when the multiplier is at x256. I’ll explain it in depth later, but focus solely on raising it to x256 before you do anything else.
Actions in order of point value:
- Boosting – 256 (Maintaining a constant boost will give a never-ending supply of this many times per second)
- Running along a climbable wall – 512 (Same rules as boosting)
- Collecting 1 Ring – 768 (Rings earned from Cyloop and taking damage doesn’t count)
- Floating from a Fan – 1,536 (Constant rate)
- Riding a Zip Line – 2,560 (Constant rate)
- Breaking a Box/Ring Container – 3,840
- Destroying Environmental Debirs – 3,840 (These are things like the tower of rocks you can knock over in Kronos and Ouranos)
- Performing a trick mid-air – 5,120 per trick
- Bouncing off a “Classic” Spring – 12,800 (The flat short circled ones)
- Bouncing off a “Modern” Spring – 15,360 (The more detailed spherical ones)
- Homing Attack on enemy – 15,360
- Popping a Balloon – 15,360
- Performing a Wall Jump – 17,920 (2D Sections only)
- Bouncing off a Wide Spring – 20,480
- Using a Dash Panel – 20,480 (Applies to both the ones on the ground and on Grind Rails)
- Jumping off a Ramp – 20,480
- Jumping through a Hoop Ring/Trick Ring – 25,600
- Swinging off a Horizontal Bar – 25,600
- Shooting out of an Accelerator – 25,600
- Grabbing a Pulley – 30,720
- Defeating a normal enemy – 51,200
- Defeating a miniboss – 256,000
Strategy
Before I get into the nitty-gritty, one more thing I wanted to mention just in case.
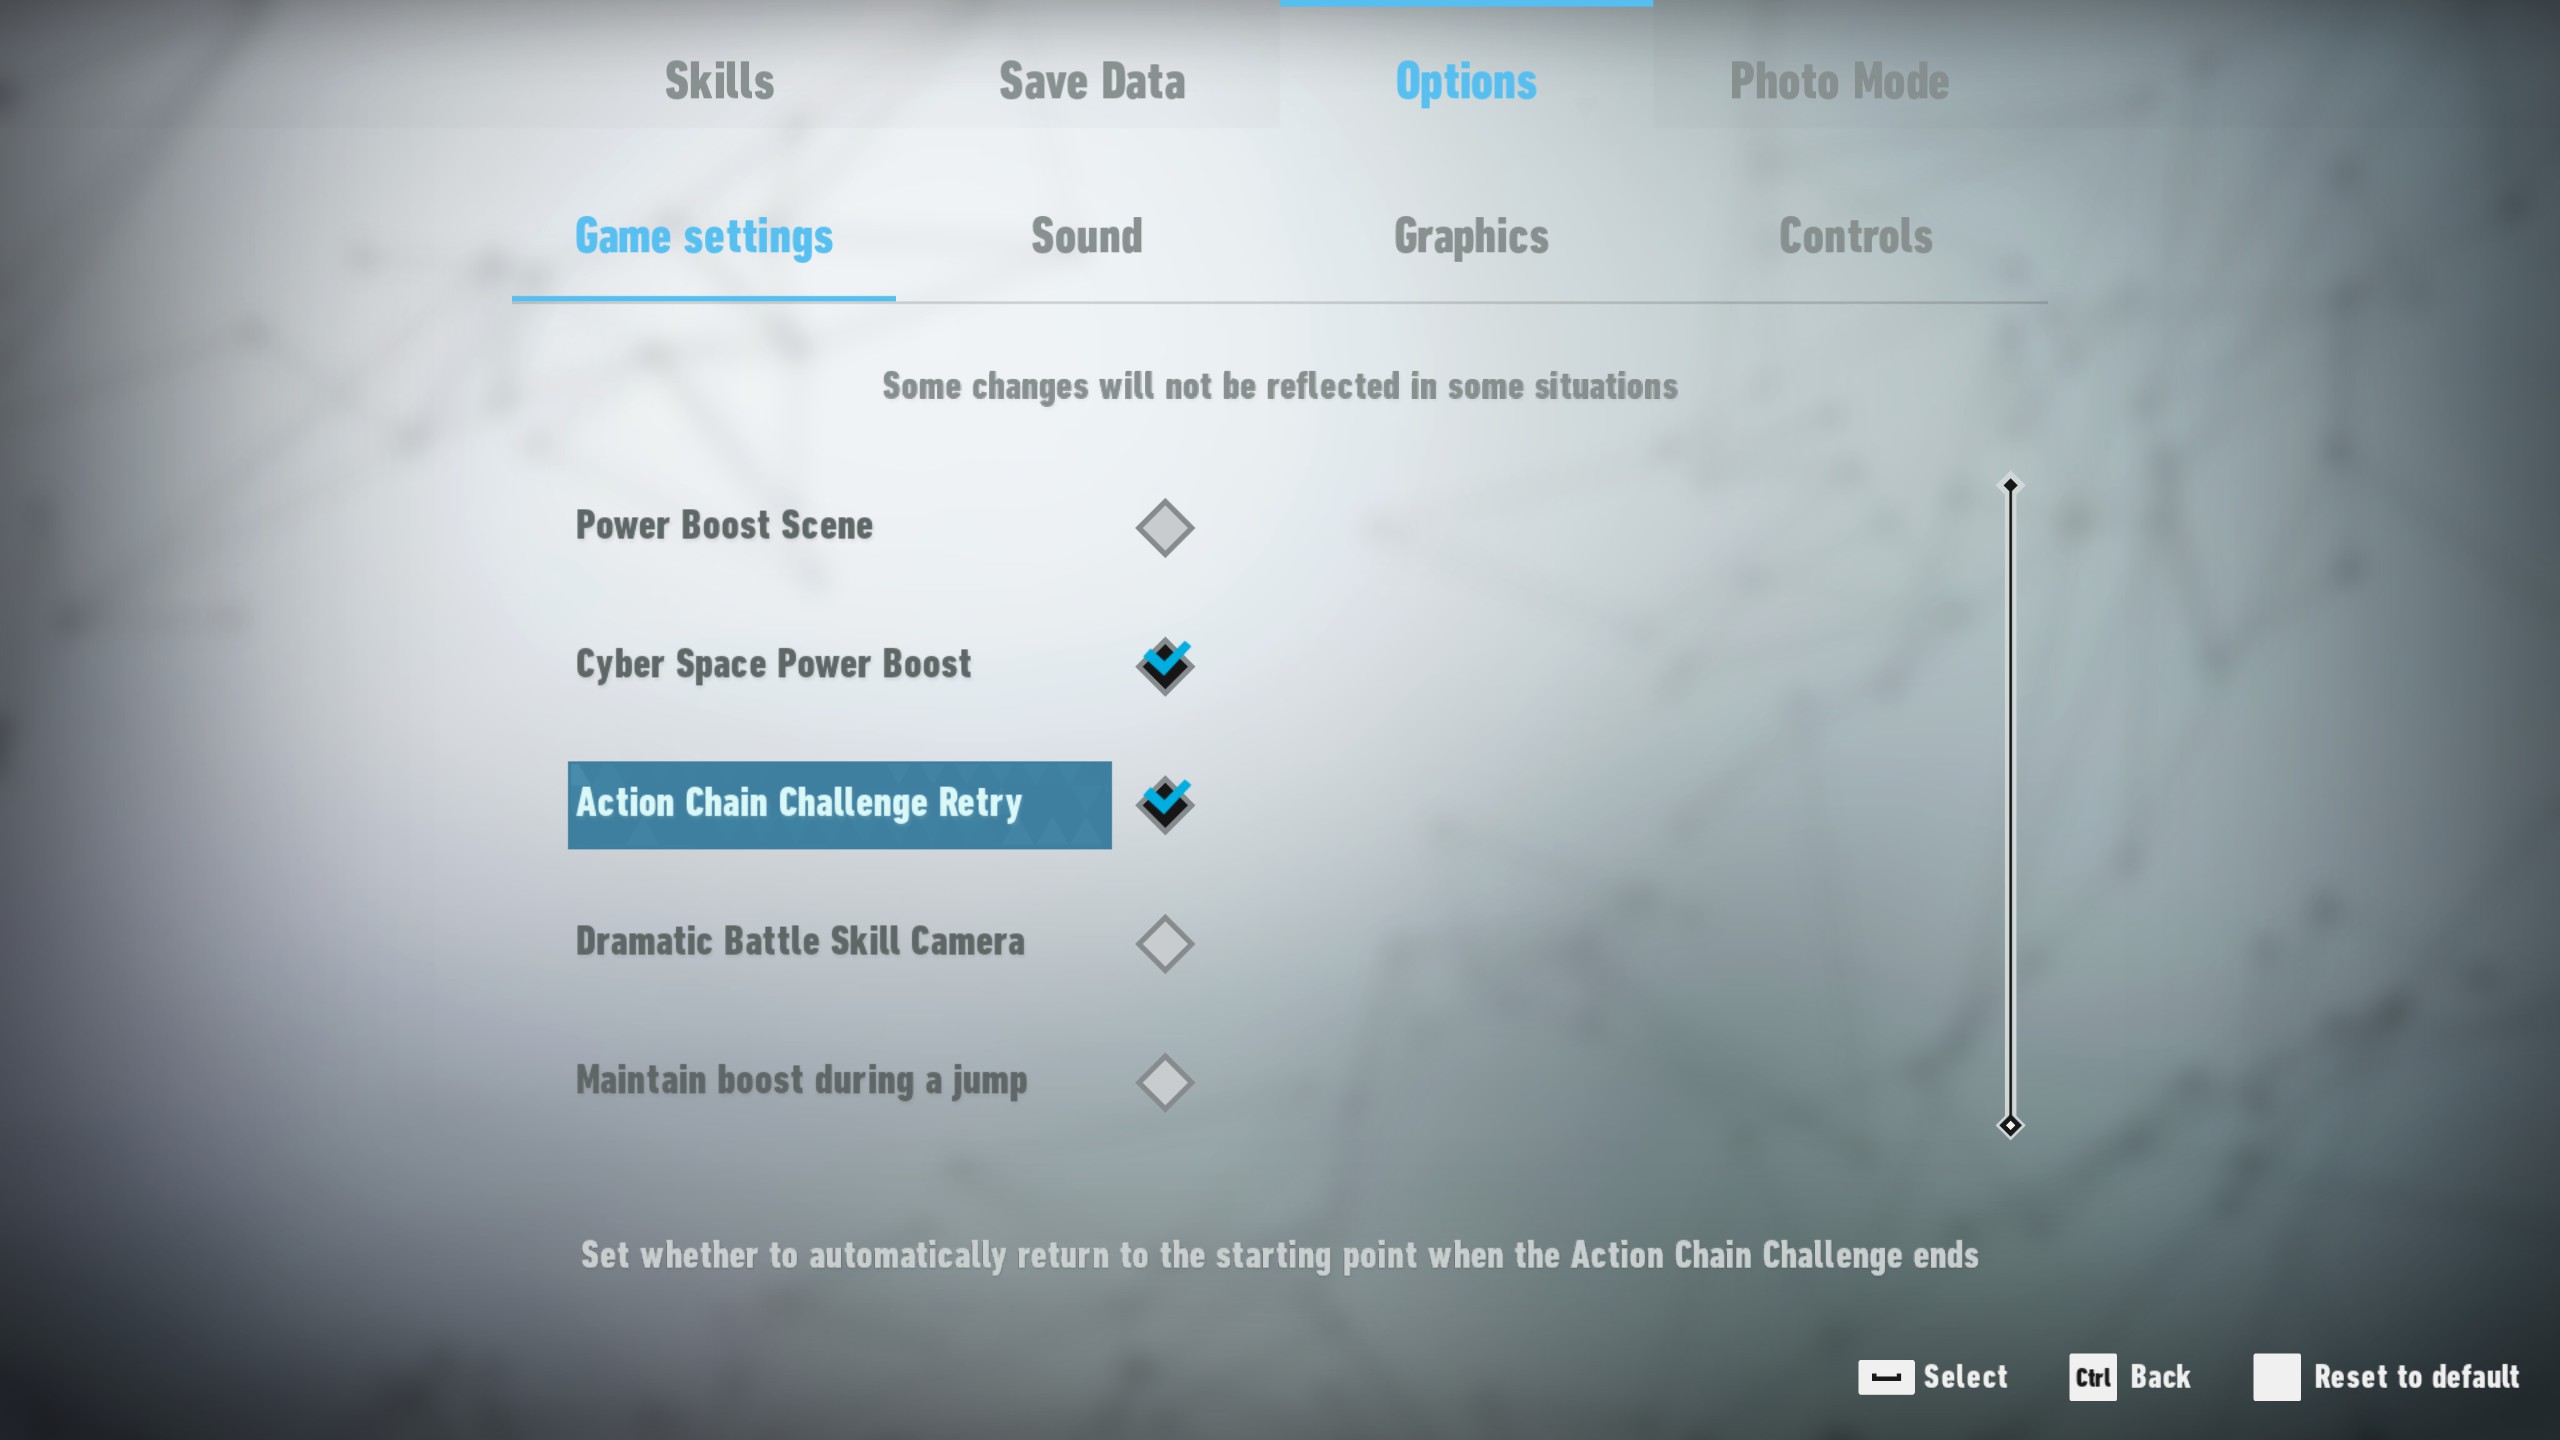
I’m pretty sure this is on by default, but make sure the option “Action Chain Challenge Retry” is on. This will send you back to the node when time is up, so you can quickly retry again if you need to. You can also pause the game during the challenge to retry or quit early. Enemies killed and rings collected will also be reset using both methods, so that is very welcome.
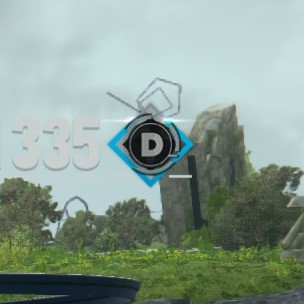
Also, during the challenge, you can see how close you are to the next rank by the blue outline on the rank letter. You can use this to figure out what you should do when the challenge is almost over and you haven’t reached S yet. Maybe you can cheese it from boosting/tricking a bit more, kill an enemy, or quickly find another object.
- This is just my personal recommendation, but if you think you can handle it, I strongly encourage you to turn down the “Jumping Deceleration” slider in the options menu to 0 or at least less than 25. What this slider does is determine how much momentum Sonic will lose when jumping in the air. If the slider is at 0, then Sonic keeps all his momentum in the air and continues to rocket forward; you can think of it like how the boost works in Generations or Unleashed.
That being said, you may not be comfortable with being able to control that kind of speed, so it all depends on how fast you think you can go without losing control. A bit of practice never hurts, and stomping to stop on a dime is your best friend. Cranking Sonic’s top speed and turning speed to be as fast as possible helps a lot too.
- As I was saying earlier, you want to raise the multiplier to x256 first before you interact with anything. The yellow orbs will very quickly raise it to the max, and it should only take you 5-15 seconds at most to max out the gauge. Get this out of the way now so you can not worry about it for the rest of the challenge and get the most points you can out of any obstacles.
Also, some orbs do actually point you towards the beginning of a mini-course if you can’t find one. Others are just randomly placed in a line or circle, though.
- So as you can tell, a lot of the actions that earn you points are from interacting with the various little objects around the island. Because of this, the most efficient strategy I’ve found is to try and go through as many mini-obstacle courses as possible. The number of interactables will vary wildly, but most of them will at least have a healthy amount of springs and/or Hoop Rings. They may not seem like much, but they really do add up over time, and you’ll have enough points before you know it. If you can, try to eyeball the courses that appear to have a lot of springs or whatever else, but you should be able to smoothly transition from one to another.
If this makes it easier, the vast majority of mini-courses start with using a spring, dash panel, or Pulley, so keep an eye out for those.
- If you love abusing the physics, then it’s not the worst idea to find a piece of geometry that will launch Sonic into the stratosphere because that means you can do potentially dozens of tricks at once. They actually give a pretty good amount of points when stacked together and are an excellent supplement when going in between courses. Try to bounce off the springs and hoop rings that let you do tricks whenever possible.
- Now combat… CAN be a viable strategy too, but it depends on the area and enemy. Some enemies take far too long to bother with, and this will also depend on the damage you can deal because of Sonic’s ATK.
If you ask me, only go out of your way to kill enemies if they can be killed very quickly (such as most enemies on Kronos) or if it’s a whole group of enemies you can take out somewhat fast. Enemy defeats do give a pretty decent amount of points, but you need to be fast to have it be worthwhile.
And the minibosses? Unless they’re the Tower-type or Ninja-type enemies such as Silver Hammer or Kunoichi, don’t bother. Those two types can be taken out fairly quickly if you abuse Sonic Slash and hard-hitting combo moves. If you do go for a miniboss, do them either first or last.
- To avoid sounding too obvious, you can always level up Sonic’s max speed and ATK if you haven’t already maxed them out to give you an edge. That, and making sure you can use the Power Boost at all times. If you max out the game’s Ring cap (999), you will always have the Power Boost regardless of how many rings you got.