Achievements unlock when you beat the puzzles, so you only really need to look out for clues. Some do become missable though if you progress their part too much.
1st floor
Open the letter, then pick up the camera
Take photo of fireplace, portrait and animal heads
Collect the dolphin under the carpet
Collect the eye from pillow
Zoom into the chest of draws for a puzzle piece
If you press the symbols on the draws you will unlock the top draw
Take a photo and pick up the handle
Take a photo of the middle draw
We can now move to the right
Take photo of picture, crack and clock
The N represents what order to push the clock tabs
Take photo of this clue
Now head right for the final place
Take photo of bottom cupboard, the draw of the cupboard, statue in top cupboard, sink and code by sink
Pick up the puzzle piece and look in the drain
Collect the seagull in the light
Collect hat and dolphin from statue
Use your handle on the cupboard draw for turtle and eye
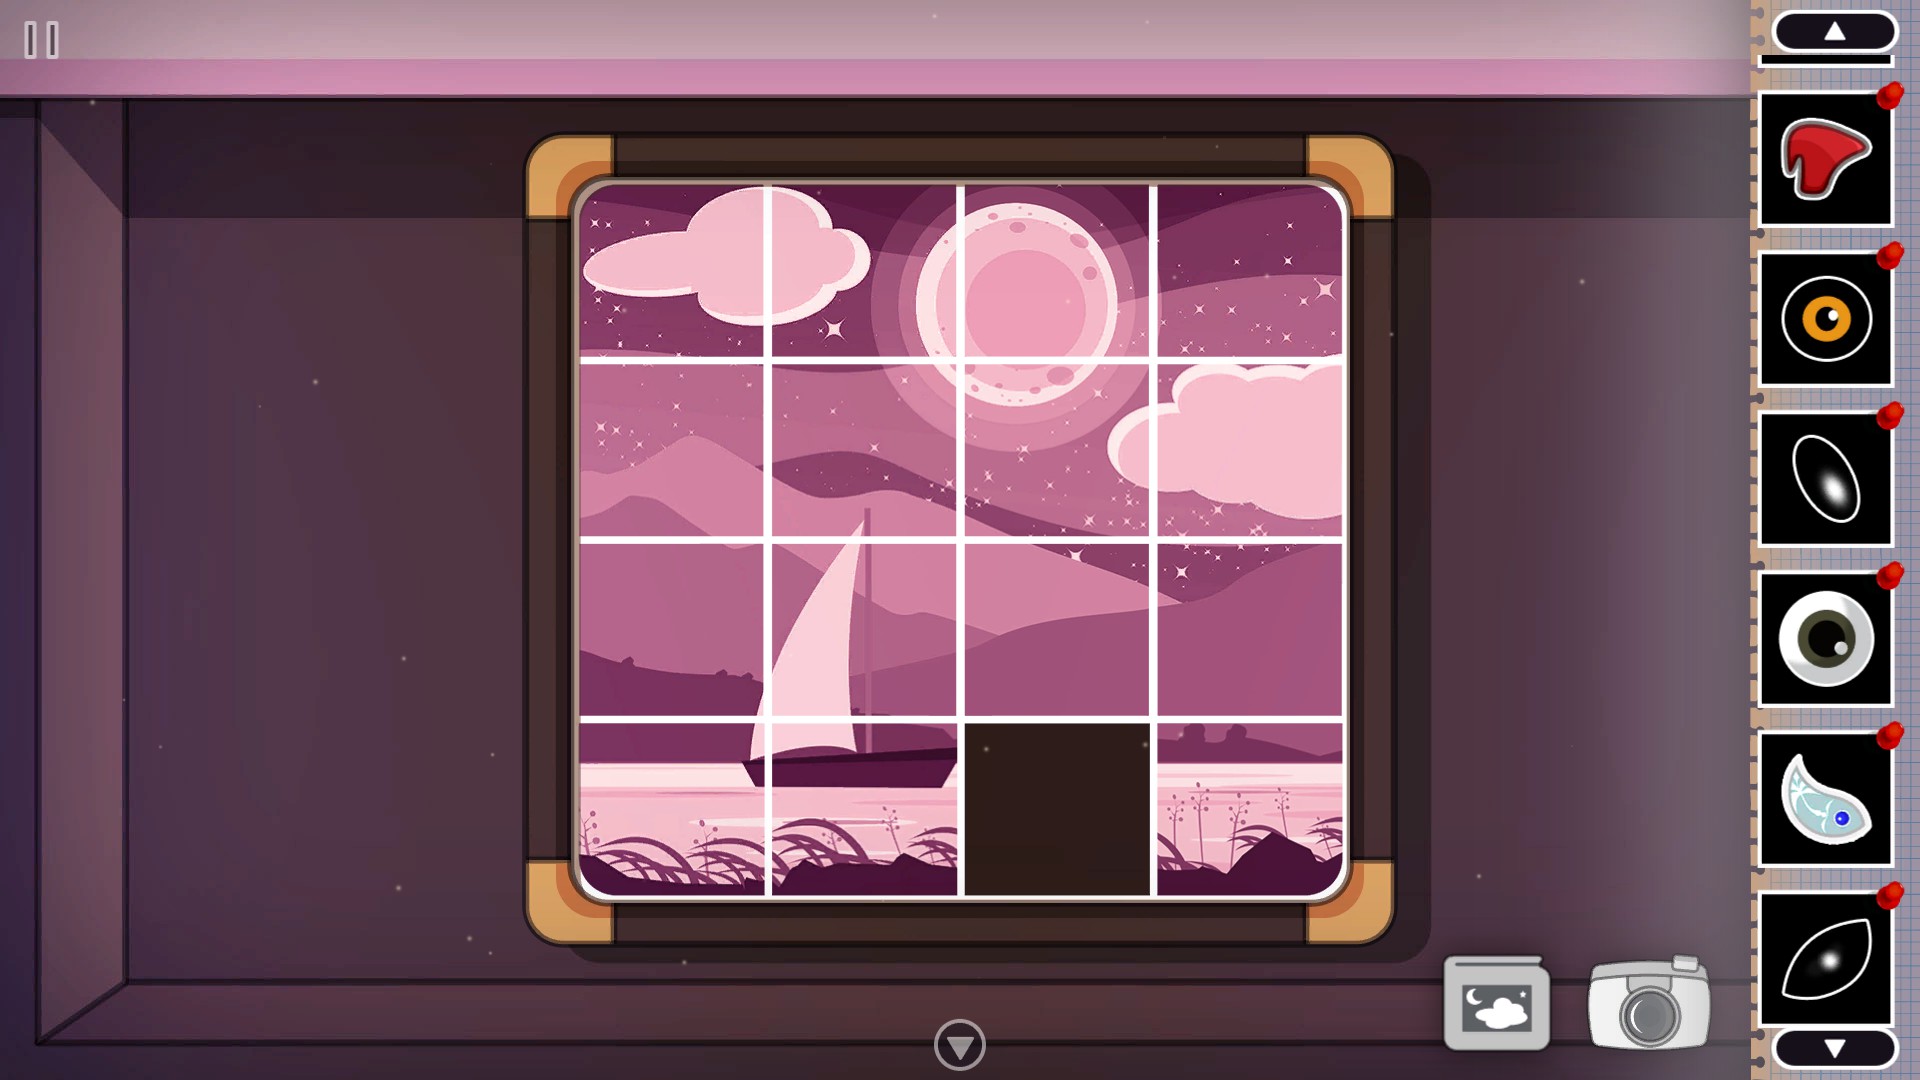
Now we have our 1st major puzzle with the tiles. You just need to find the pairs but they are random
You can pick up another dolphin and eye for your prize
We need to go back to the draws as when we leave we will receive the key for the bottom
Take the moon and pliers
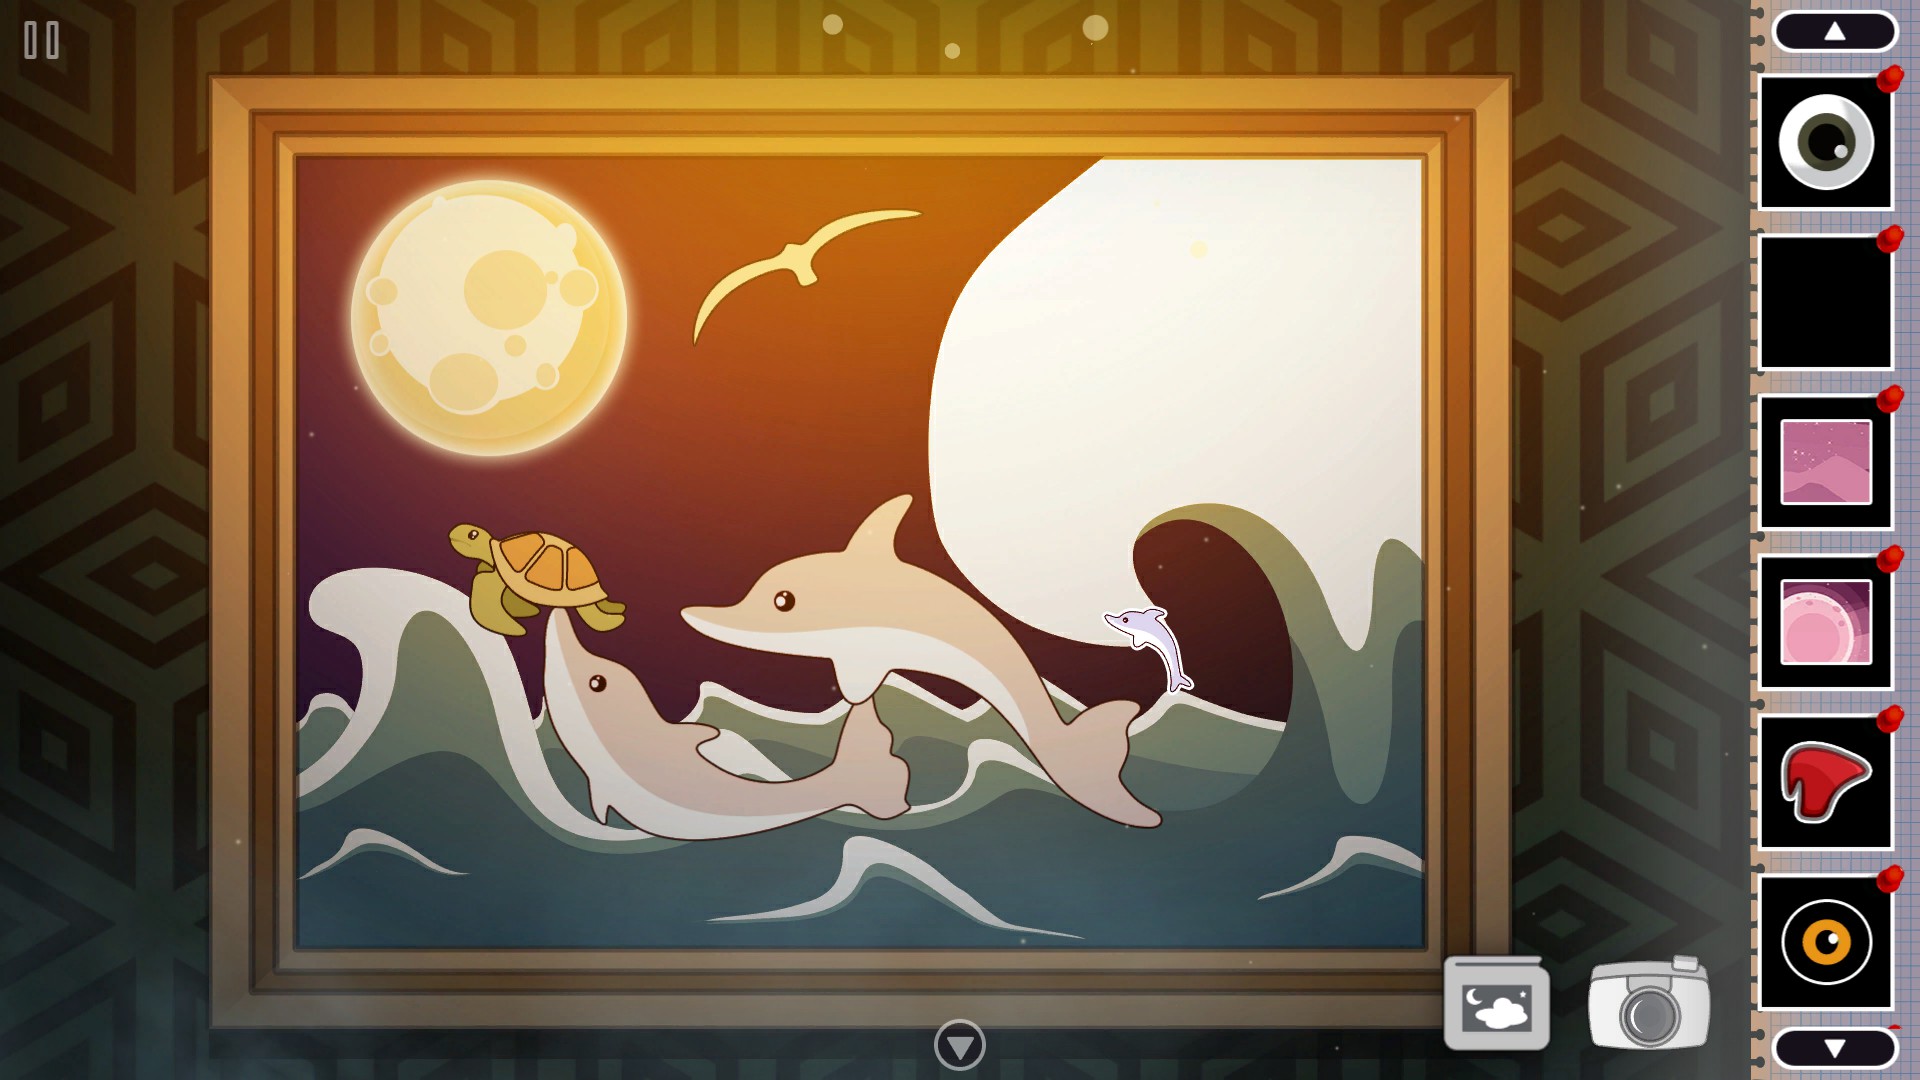
Now we can fix up the picture in the hallway, using dolphins, turtle, moon and seagull
Take the puzzle piece, eye and yang piece
We will also receive the final puzzle piece
Now head back to the chest of draws and complete the sliding puzzle
Take the door knob and eye
Head to the kitchen, using the door knob for another eye
At the sink use the pliers for the final eye
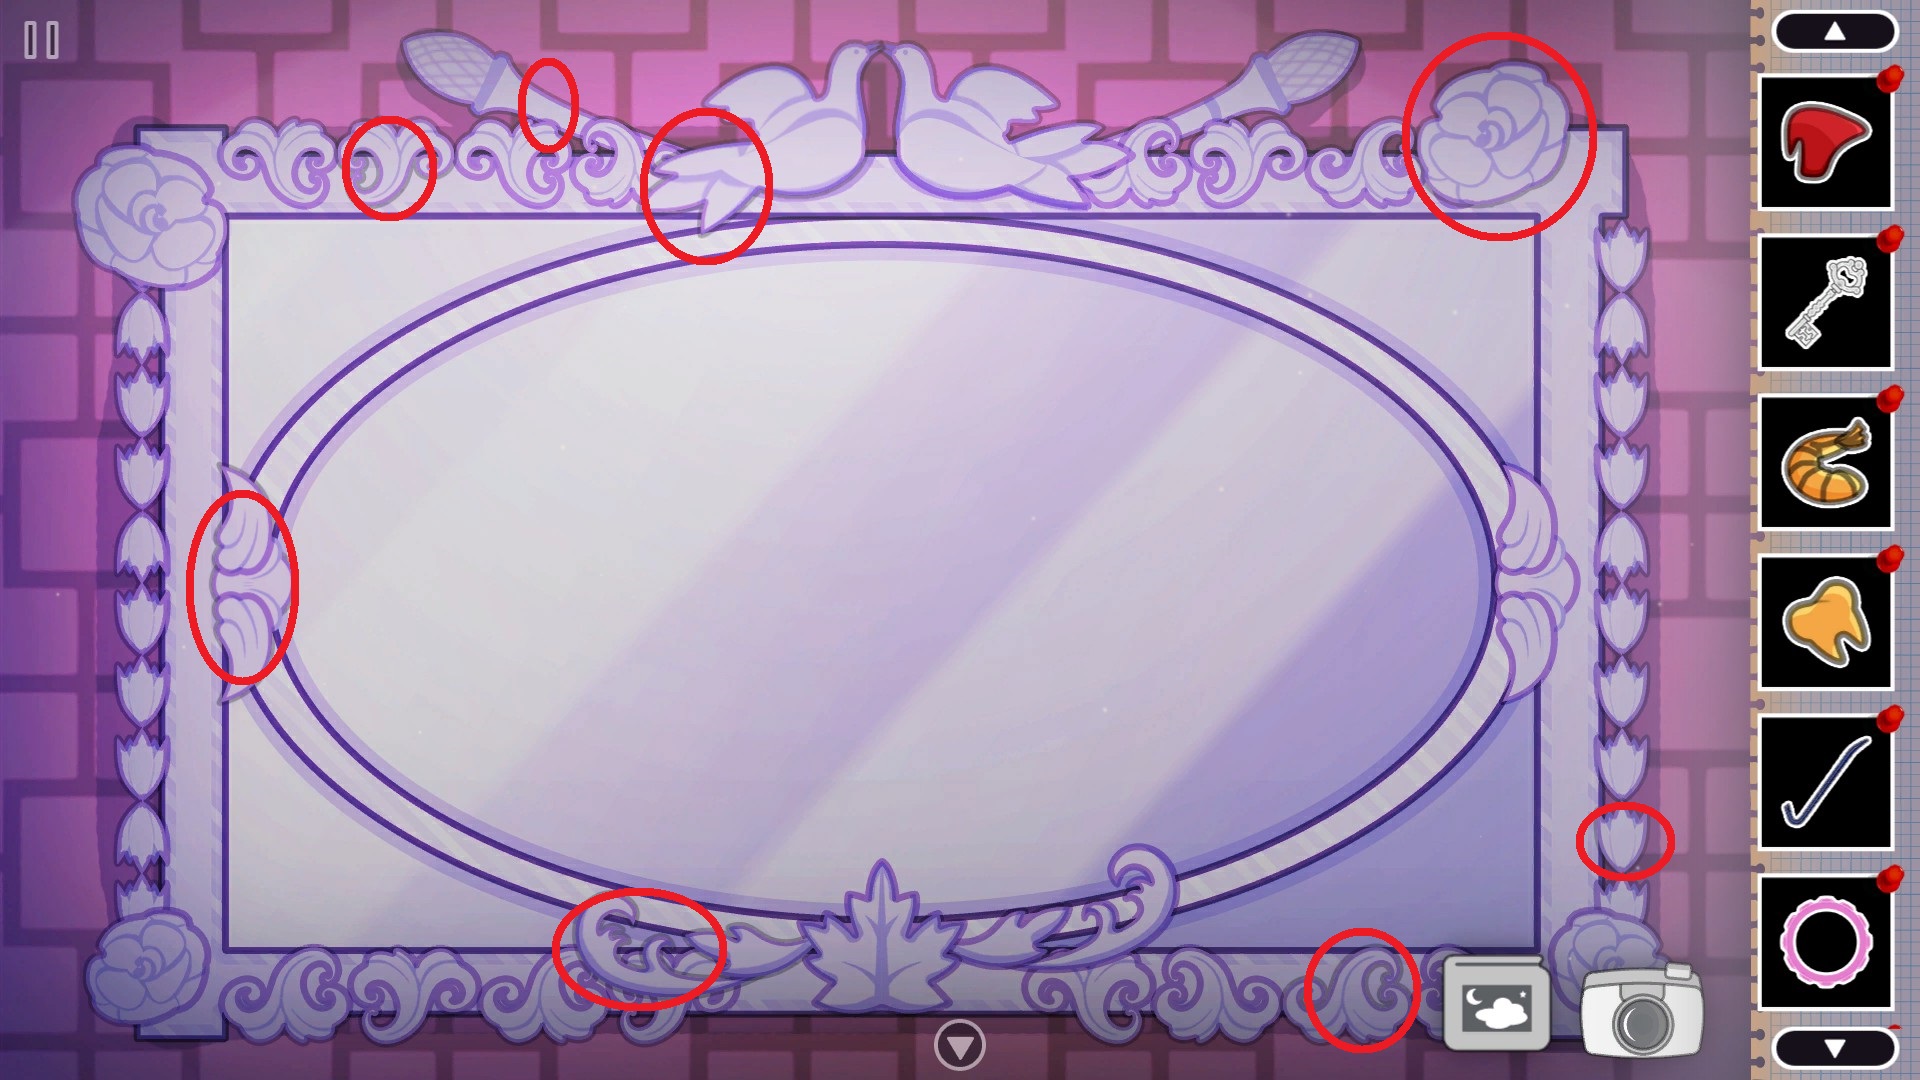
Fix up the animal heads for the yin piece
Use these on the top draw for a silver key
We can now go upstairs
2nd Floor
Take the note from window and take a photo
Collect the prawn from behind the vase
Try to enter the gold door
Head right and through the left door
Take a photo of the knight, shield and mirror
Open the draw and click on the gun. Take the photo of flag
Pick up mouse under knight
Pick up gold tooth from pillow
Head into the door for the bathroom
Take photo of lockpad and use the code from clock 5218
Take the match and crowbar
Take the hammer as well from the sink
Now head into the right door
Take photo of plant, mouse hole and stamp ink on table
Interact with the plant
Use mouse in hole for a stamp piece
At the table, take the gold stamp piece
Use match on match box and pick it up
You can open the wardrobe for a castle and candle by the safe puzzle
Head into the door for the bathroom
Look in the mirror and match all the pieces together
With the mirror back to normal you can open the cupboard below.
Take a photo of the box and take the lion
When you leave the room you will gain a shovel
Of course go back and use it on the plant for a gold bottle
Go back downstairs and open the crack with our crowbar
Pick up the red gem and spade
With the spade go back to wardrobe puzzle
Take a photo of the code, then pick up the blue gem and mustache
Back to the knight room, use the match and candle on the mirrors candlestick
Now use the 2 gems and pair up the knives to get the gold knife
Open the handle up and take a photo of the clue
Back in Millie’s bathroom we can insert this knife into the box
Take the gold key and get a doorknob when backing out
Locked Room
All the way back into the kitchen, we can use our doorknob
Take the sun piece and jug, filling it up in the sink
With the water put out the fire place and go up
Before going up again take a photo
Look into the telescope and photo the flag
Inspect the pictures for a puzzle and claim the goblet
Looking at the bookcase we can get a horse
Click the green book, take a photo and place your sun piece for a bandanna
Move the chair to plug in the computer
Inspect it taking a photo
We need to use a password to enter the game, we have found all the clues in our photos 97583
Complete the word search and take a photo
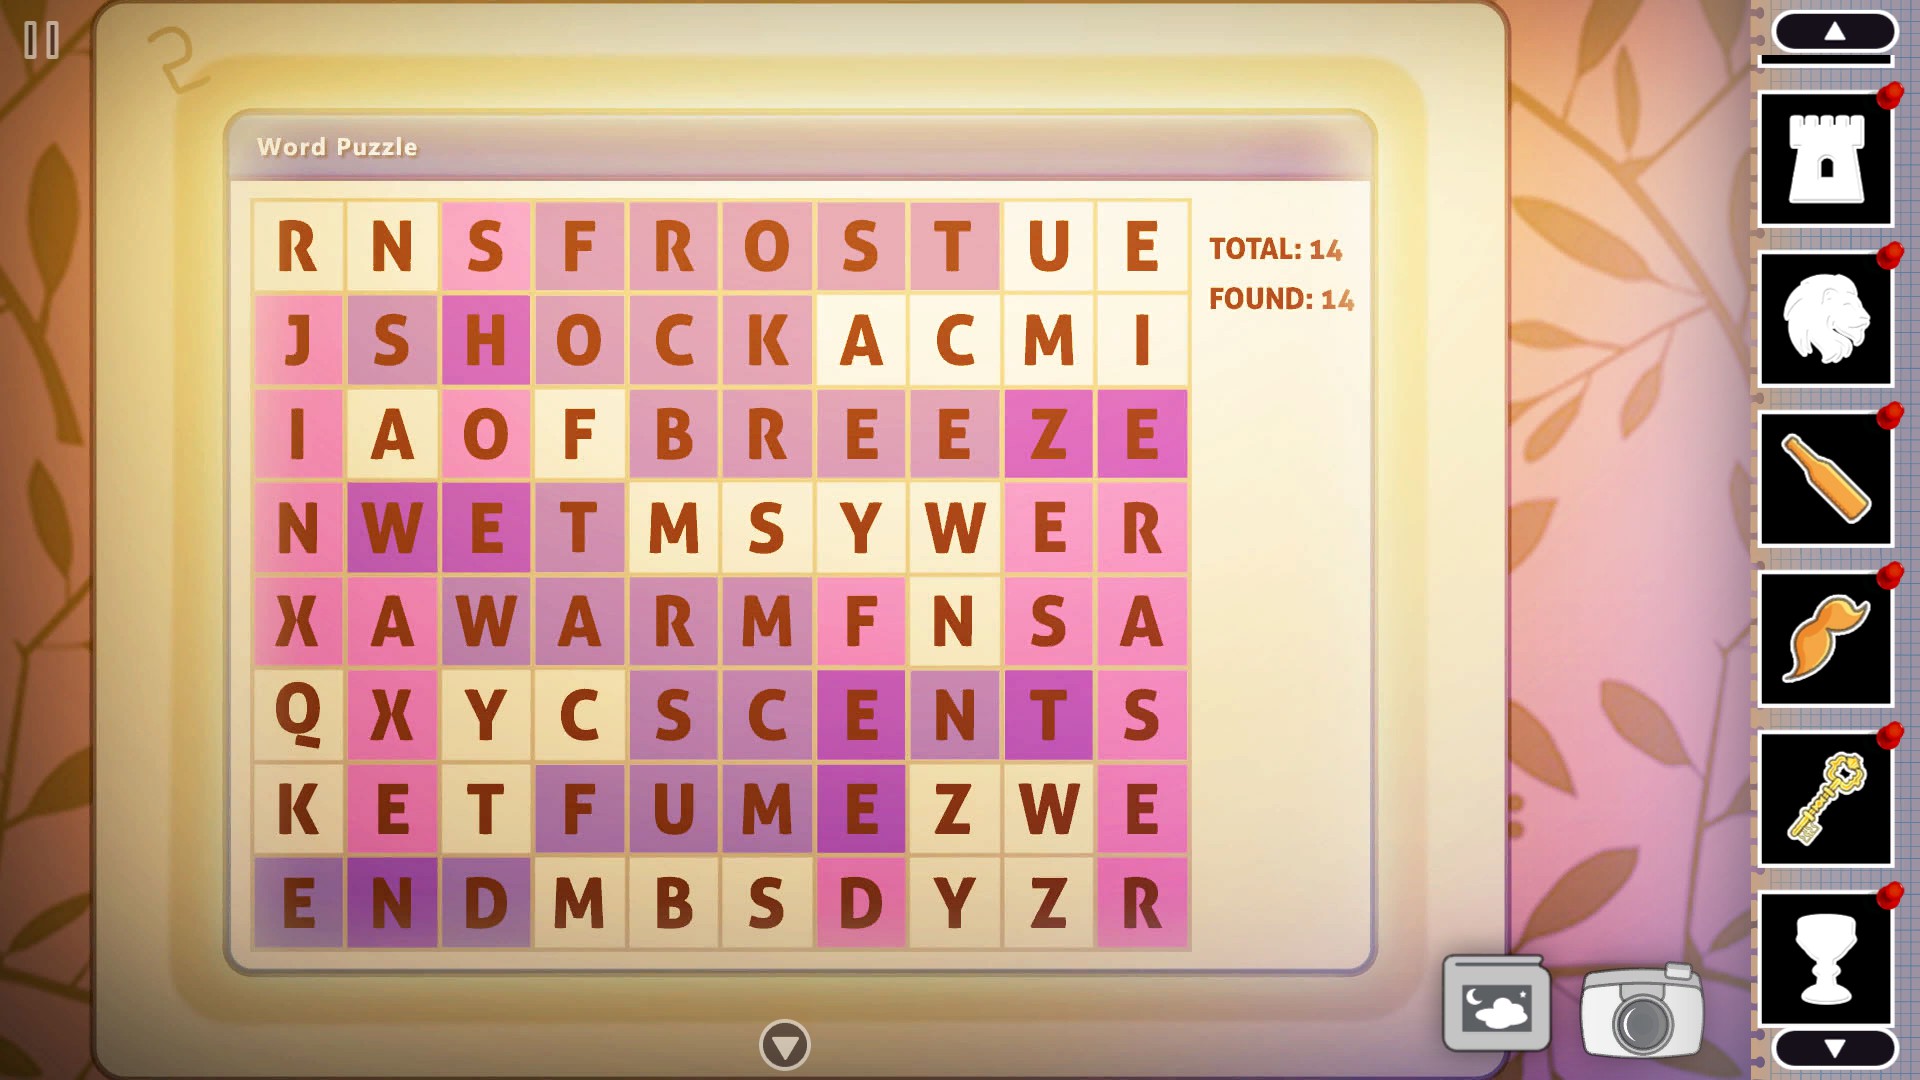
Move the rug out of the way for another puzzle. Using the word search we just did you need to press the symbols that match. lightning, skull, fire, snowflake, leaf, cloud, water, wind
We can’t solve the stuff below so back to the knight, place all the icons on the shield according to the flags.
Take the leaf and chisel
Head back to the kitchen for our chef puzzle
He uses the prawn, bottle, tooth, bandanna and mustache. You will get back a leaf
Now back up the chimney, using the hammer and chisel for a triangle
One last time back to Millies room for the stamp.
Just use the remaining items that aren’t the keys and leafs
Place the letter in the mail box for our final leaf
We can finally go down the room we ignored before.
Now we got an annoying bit as the boxes struggle with the leaves.
The biggest one goes in the middle easily enough but the others don’t. The one pointing up has to go to the right side while the one pointing down is on the left. You just need to find the sweet point which seems to be slightly above the place and with the areas below I managed to get it with 1 try instead of the 20 minutes my 1st time around