Your go-to guide for getting all the achievements in Sprout Valley! Also includes some tips for starting out.
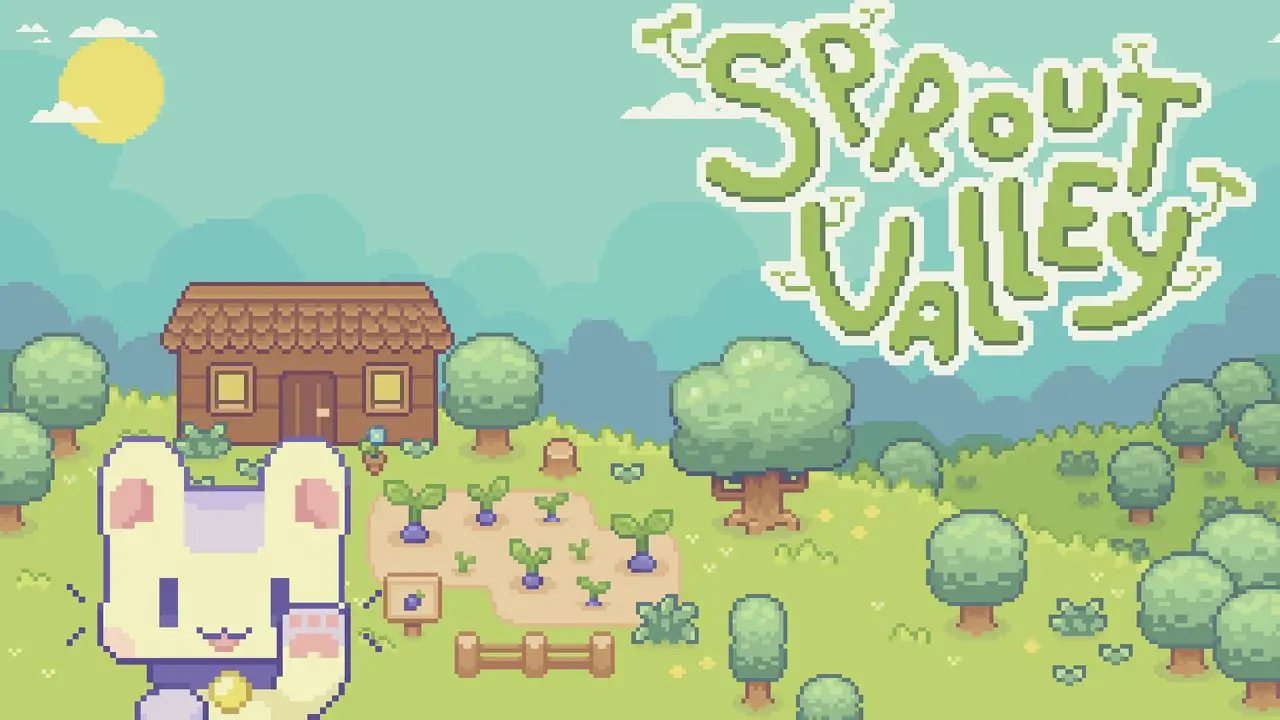
About Sprout Valley
Sprout Valley is an addicting cozy farming sim. The gameplay loop is quite simple, but it genuinely held my interest to the end. Some of the achievements are quite grindy, and you are likely going to need to play for a while even after completing the main story. Just keep in mind there aren’t any real fail states, so just take it easy and play at your own pace, your own way.
Tips For Starting Out
Use Keyboard and Mouse
While you might see “cozy farming sim” and imagine a nice laid back controller experience, that isn’t quite the case. Controller is playable, as I used it for about 90% of my achievement hunting, but there are quite a lot of advantages to using keyboard and mouse.
Advantages for using a keyboard and mouse include, but aren’t limited to:
- Inventory management becomes way more…manageable.
- You get way more range with your fishing rod when using a mouse.
- You can undo purchases in the ledger.
- You don’t get frozen when your first inventory slot is empty when giving a gift to Luna.
- You don’t have to experience the unbearable hoe/watering can special ability glitch where it just won’t aim where you want it to.
I won’t harp on, but I highly recommend using a KB+M. Sorry Switch users.
Get a Good Home Island
When you start the game, you will be asked to pick an island out of an assortment of premade islands, or you could opt for a random seed (you can preview the general shape of the random island before locking in.) You need to make sure you have a decent amount of room to farm, and take into account where your house and well will be, as they will also block your way. Honestly, the “Standard World” island is quite nice, it has a nice large relatively squared off piece of land, and the house is tucked away to the side. Of course it is your playthrough, so pick whichever island you see fit, just be warned that you can not change your island after you pick it.
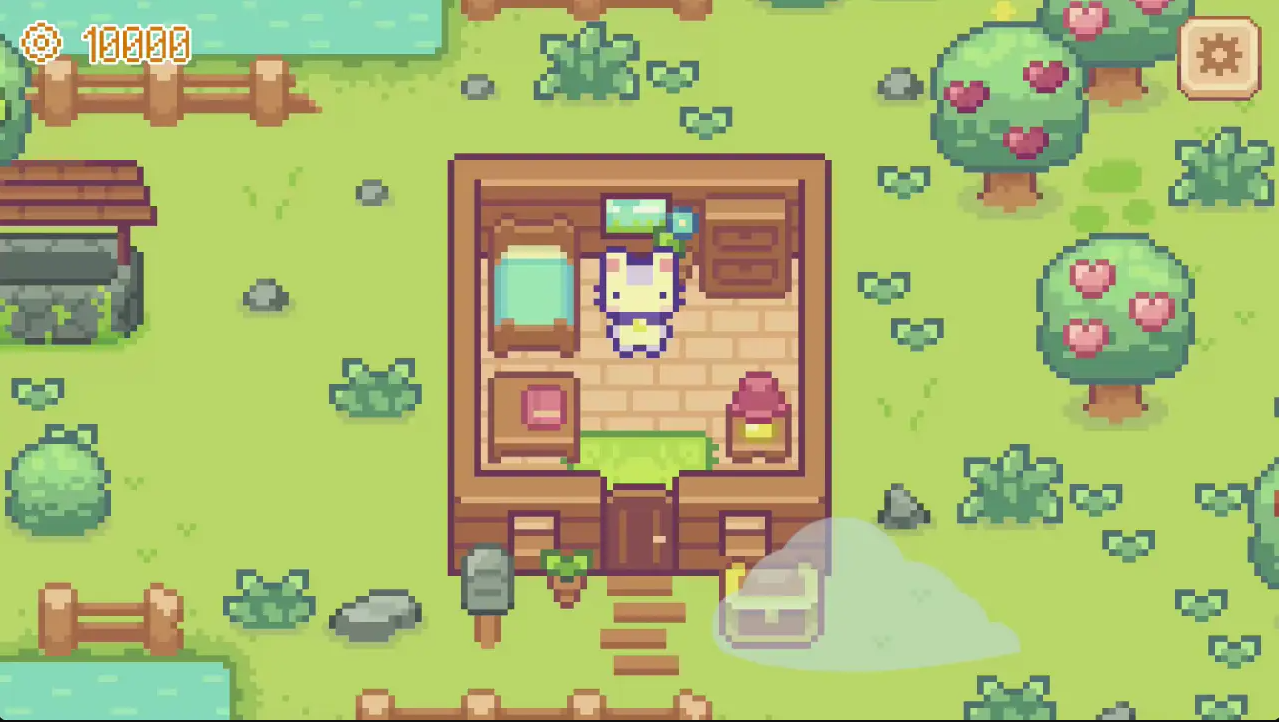
Don’t Upgrade Your House
This one is more of a personal preference, but I highly recommend not upgrading your house if you are strictly going for achievements. Not only is it quite costly, but every upgrade makes your house take up more of your island’s limited space. This means less room for farming, cooking, and if your house is close to the shore, fishing. It isn’t the worst thing in the world, and you can always spend money to revert your house to a smaller version, so if you want to live out your interior decorator dreams, feel free!
Use the In-Game Statistics
Sprout Valley features in-game achievements that mirror the Steam ones. You also have access to various stats in the pause menu, which will help you keep track of almost all of the achievements in this game. If you ever want to see how close you are to an achievement, just press pause! This also pauses the in-game timer, by the way.
Cook, Cook, Cook!
This might be the most important tip. In this game, you can cook virtually any food using a Brick Oven. Cooking is very simple, put one food in, get one cooked food out after a few seconds. No recipes, no hassle. Cooked food offers significantly more stamina when consumed, and greatly increases the price, sometimes up to 10x the price of the original food. Fruits from trees and bushes, fish, mushrooms, and crops can all be cooked. If you find Brick Ovens in a store, buy them out if you have the coin. Otherwise you will have to learn the crafting recipe through an early level up. Don’t bother with other forms of food processing like the Juicer or Fish Drying Racks, they just don’t measure up at all.
Achievements Guide
Now we get into the proper achievement guide. Since most of the achievements are pretty self explanatory, most of this guide will be tips for efficiency or tricks I figured out while 100%ing the game for myself. Achievements that are simply different tiers of the same activity will be grouped together since the advice will be the same across all of them.
- Entrepreneur – Sell Items 3 Times
- Merchant – Sell Items 20 Times
- Shopkeeper – Sell Items 100 Times

These are pretty straight-forward. One thing you should note is that this achievement doesn’t track how many items you sell, but rather how many days you sell items. This means you could sell 100 carrot soups one day, sell one stone the next, and they would count towards the achievement the same. You should get this just by going for other achievements. If you do need to sell things quick you could do it like this:
- Wake up.
- Buy a single cheap seed from the ledger.
- Go to sleep.
- Repeat.
Since ordered items go into the mailbox, it will be automatically sold if you don’t pick it up by the time you go to sleep. Therefore for a minimal price you can quickly gain these achievements if you need that extra push.
- Apprentice – Craft 10 Items
- Master – Craft 200 Items
- Architect – Craft 500 Items

This will probably be one of the first achievement sets you will finish. You will undoubtedly get this simply by playing. If you do need help however, just follow the wood crafting pipeline and you will be getting these achievements in no time, and level up crafting like crazy in the process. The crafting pipeline is:
- Cut down trees.
- Craft Logs into Wood.
- Craft Wood into Planks.
- Craft Planks into Sticks.
I would recommend keeping the sticks for the basement project, but you could sell them or use them for furniture crafting as well. You will also get a ton of Magic Dust while doing this.
- Farmer – Harvest 10 Crops
- Agriculturist – Harvest 100 Crops
- Laborer – Harvest 1000 Crops
Crops are a bit odd in this game. You actually make the same amount of money cooking the cheapest crop, carrots, as you do the most expensive (that I’ve found), melons. I don’t believe there is much benefit at all to grow the more expensive seeds, unfortunately. The only exception is Starfruit, but that only appears after you have beaten the game. Make sure when you do get to Starfruits, remember to continue making seeds with the basement machine to keep up with your harvests. Each Starfruit gives 2-3 Starfruit Seeds.
Clear your whole island of bushes, trees, and rocks. You can find them in far more quantity on the islands you can sail to. I pretty much only had 8-9 Brick Ovens and my big farm. I personally recommend planting Lettuce as your main crop until you beat the game. You can cook them into Sandwiches that sell for 160 coins, and Luna seems to like them more than other gifts. They are also one of the cheapest crops. Keep in mind you will eventually need:
- 60 Wheat
- 30 Pumpkins
- 60 Parsnips
- 30 Red Flowers
- 80 Eggplants
- 80 Corn
for the basement project, so try to gather those whenever you feel like it.
Also, make sure to max out Luna’s heart meter as soon as possible. It isn’t really explained in the game, but she helps you out more around the farm the more hearts you have with her. At max hearts, she will grow 3 crops on your farm instantly every day. This works amazingly with Starfruits.
Sprinklers are an amazing tool for keeping your farm semi-automated. I recommend making lines of basic sprinklers for your early game farm, as soon as you can afford it. I personally skipped the second tier of sprinklers and went straight for the 3rd tier, the Magic Sprinklers. They are cheap enough and you should only need about 4 of them max for a nice sized farm. Don’t be afraid to spam sleep to make your crops grow as fast as possible, you won’t miss anything.
- Fish Fan – Catch 10 Fish
- Fisherman – Catch 100 Fish
- Angler – Catch 1000 Fish

This one is a bit rough. Fishing is a pretty slow affair with the impatient early pulls, sprinting laps around your island, and waiting for Nico to stop gawking at his newly caught plastic bags. It isn’t unlikely for this to be your last achievement. There aren’t too many tips here, but learning the mechanics of fishing goes a long way. Only fish during a rain or lightning storm, it simply isn’t worth running around during sunny days. Keep checking the calendar, sleeping until it starts raining.
Fish spawn up to 2-3 tiles from shore. This means any shore, including the tiny specks of land that are disconnected from your island. It would be in your best interest to build bridges to those pieces of land during this grind. From my experiments, I believe only 3 fish can exist at a time on your island. If a fish spawns near one of those specks, that takes up a slot until it eventually despawns. Being able to check over there will save a lot of time in the long run. Just a weird note, sometimes bridges won’t allow you to place them. From my experience, just sleep through a day or two and it should work. No idea why it happens.
Another little note that won’t really help you, but will at least keep your spirits up — trash counts as a caught fish for the purposes of the achievement. Thanks pollution!
- Miner – Mine 15 Rocks
- Dredger – Mine 200 Rocks
- Excavator – Mine 400 Rocks

Now this one might seem rather grindy at first glance, as there are far less rocks to mine in comparison to trees. Luckily I figured out a little trick that makes these achievements a piece of cake. While traveling to other islands, you have more than likely noticed the small pebbles dotted around the island. They come in several shapes, they are extremely plentiful, but they have one small issue — they don’t count towards your achievement since they pop up off the ground when you try to mine them. I found that if you use the “Special” button while the pickaxe is selected, you can actually mine these pebbles and have them count towards your total rocks mined!
Unfortunately I was already 3/4th of the way done before I figured it out, but this is definitely the fastest way. I was getting 35-40 rocks per island. I could see a possibility of getting this entire achievement in 2 in-game days if you had the food to keep your stamina topped off. Take advantage of this so you won’t have to worry about mining rocks, since the big rocks are incredibly time consuming. Also if anyone can test whether or not mining this way gives experience, that would be great!
- Woodchopper – Cut Down 15 Trees
- Lumberer – Cut Down 200 Trees
- Lumberjack – Cut Down 400 Trees
This one is pretty much what it says on the tin. Since cooking fruit is a great way to make early-mid game coin, it makes a lot of sense to just go to islands, deforest them, and repeat. While 400 trees might seem a bit time consuming at first, just know that as you level, the amount of chops it takes to cut down a tree drops dramatically. By the end of the game you will be chopping a tree down in two strikes. Use the fruit for cooking to sell for money, and use the Logs for the Wood crafting pipeline detailed above. This one isn’t so bad because it actually makes you a lot of money.
- Traveler – Travel 3 Times
- Seeker – Travel 15 Times
- Pilgrim – Travel 100 Times

This one is simple. Funnily enough, “Pilgrim” was my final achievement. Not because of difficulty, but simply because there isn’t really any reason to travel to islands 100 times in a single playthrough. I played for 30 hours and I still had to travel an extra 20-30 times just to get the achievement at the end of my time 100%ing. Every time you travel to an island, it takes 1 Travel Supplies. They cost 250 coin in the shop, so getting this achievement only costs 25,000 coins. Chump change by the end of the game. it only takes 5-10 seconds to travel and get back, so this is an absolute cake walk.
- Money Talks! – Earn 10,000 Coins
- Wealthy – Earn 100,000 Coins
- Magnate – Earn 1,000,000 Coins

Whoo boy. This is the big one. Luckily I once again have a trick, but it really only works later in the game when you already have some coin stacked up. So I will give some simple guides for different parts of the game.
Early Game (Pre Brick Oven)
The early game is a bit slow. You will pretty much be relying on your crops (I still recommend Lettuce, at least until you max out Luna’s hearts) and random crafted products. I made a day of deforesting an island by eating the fruit as I got it. This gave me a ton of wood that I eventually crafted into fences and sold, making a decent profit. As I said at the beginning of the guide, I really do not recommend upgrading your house. The cash is much better spent looking for Brick Ovens in stores, or buying backpack upgrades later on. Anyways, pretty much sell anything you can craft.
Mid Game (Cooking Time!)
Once you get 4-8 (or more) Brick Ovens, you can stop worrying about those, and start cooking everything you can get your hands on. My strategy was to fish during rainy days, and cook those fish to keep my stamina up while deforesting islands. Then I could keep the fruit to cook and sell. The max stack in this game is 1000 I believe, so you can do a few islands at a time without worry before dedicating a day to cooking all the fruit. You will be making tens of thousands before you know it.
Late/Post Game (Who Needs Profit?)
Now here is where it gets interesting. If you have beaten the game at this point, transition your farm to Starfruits by using the machine in the basement. A Starfruit makes 2-3 Starfruit Seeds. A cooked Starfruit sells for 800 gold. That stacks up quick. Now you might have noticed that the achievement doesn’t ask you to have all 1,000,000 coins at once, and it is actually only tracking how much you get over the course of your playthrough by selling stuff in the mailbox. This leads to a nice loophole that essentially allows you to duplicate your coins, if only for the statistics for the achievement.
See, you can buy a high cost seed, say the Melon Seed for 120 coins, and sell it back to the mailbox for 96 coins, meaning it sells for 80% of what you bought it for. This means that if you have 100,000 coin, spend it all on Melon Seeds, and then sell the Melon Seeds back, in the eyes of the achievement, you just gained another 80,000 gold. Then you can do it again for an extra 66,000 gold, and so on. As long as you do this every so often while harvesting and cooking your Starfruit, you can get this achievement in no time at all.
An even better way to get more bang for your buck is to hoard money and wait for a sale, indicated by the little leafy sprout on the calendar. From my experiences that gives you a discount ranging from 5% to 20%, meaning you could possibly break even and double your cash in a good sale.
This achievement is probably the most difficult one as it requires aspects from all the different mechanics in the game in order to earn money expeditiously.
- Fisherfolk – Catch 10 Different Kinds

You just have to catch 10 different kinds of fish. I don’t know if trash items count towards this, but you should get this achievement pretty early on anyways, and there is absolutely no way you won’t have this by the time you catch 1000 fish for the achievement. Happy fishing!
- Lost – Call Rescue Service 10 Times

You can call the rescue service by clicking on the cogwheel in the pause menu, and clicking on “Call for Rescue.” It costs 500 gold each time, and drops you off at the boat. This means this achievement is essentially “Spend 5000 Coins.” In my 30 hour playthrough, I only used this feature once when I mined a bridge I was standing on and got locked in the ocean, otherwise I just spammed calling it at the end of the game. Easy achievement.