
A remade version of my old guide to help you find all 60 Scrapbook Items in Slender: The Arrival’s new anniversary update!
Spoiler Warning
This guide contains numerous spoilers for Slender: The Arrival. If this is your first time playing the game and/or you wish to complete a blind playthrough, stop reading now and return once you’ve beaten the game if you need help finding anything.
Prologue
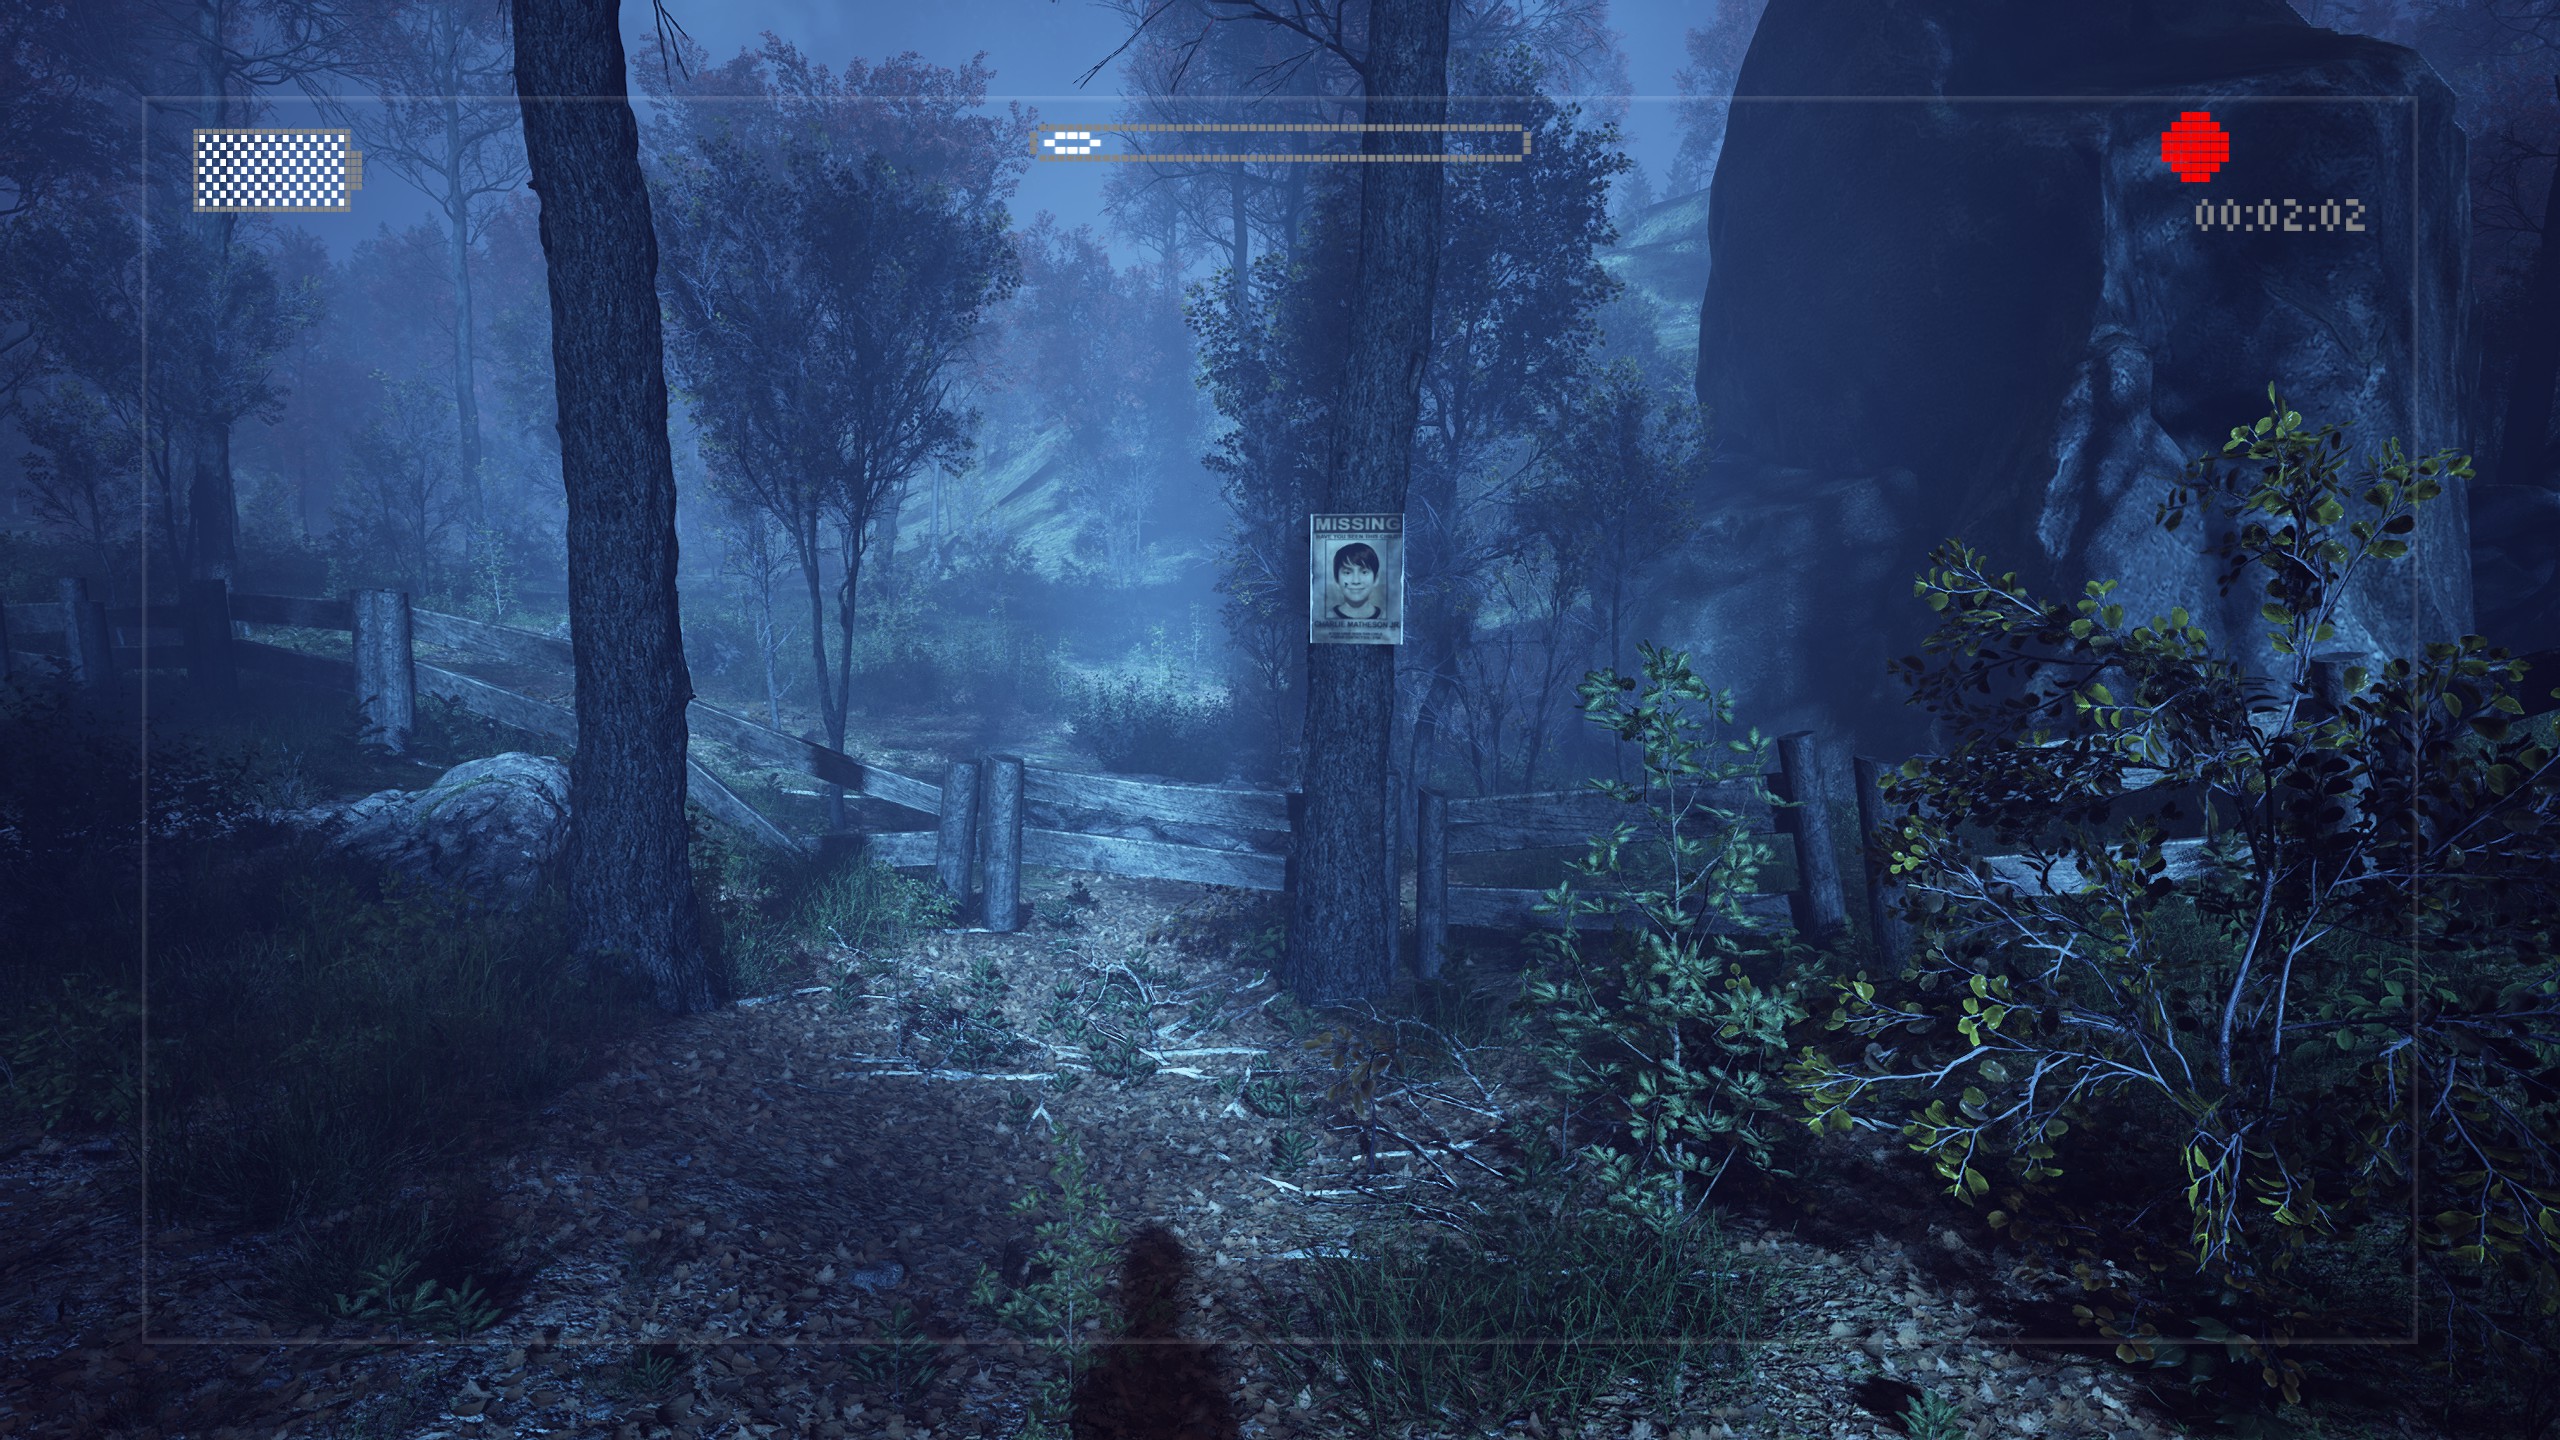
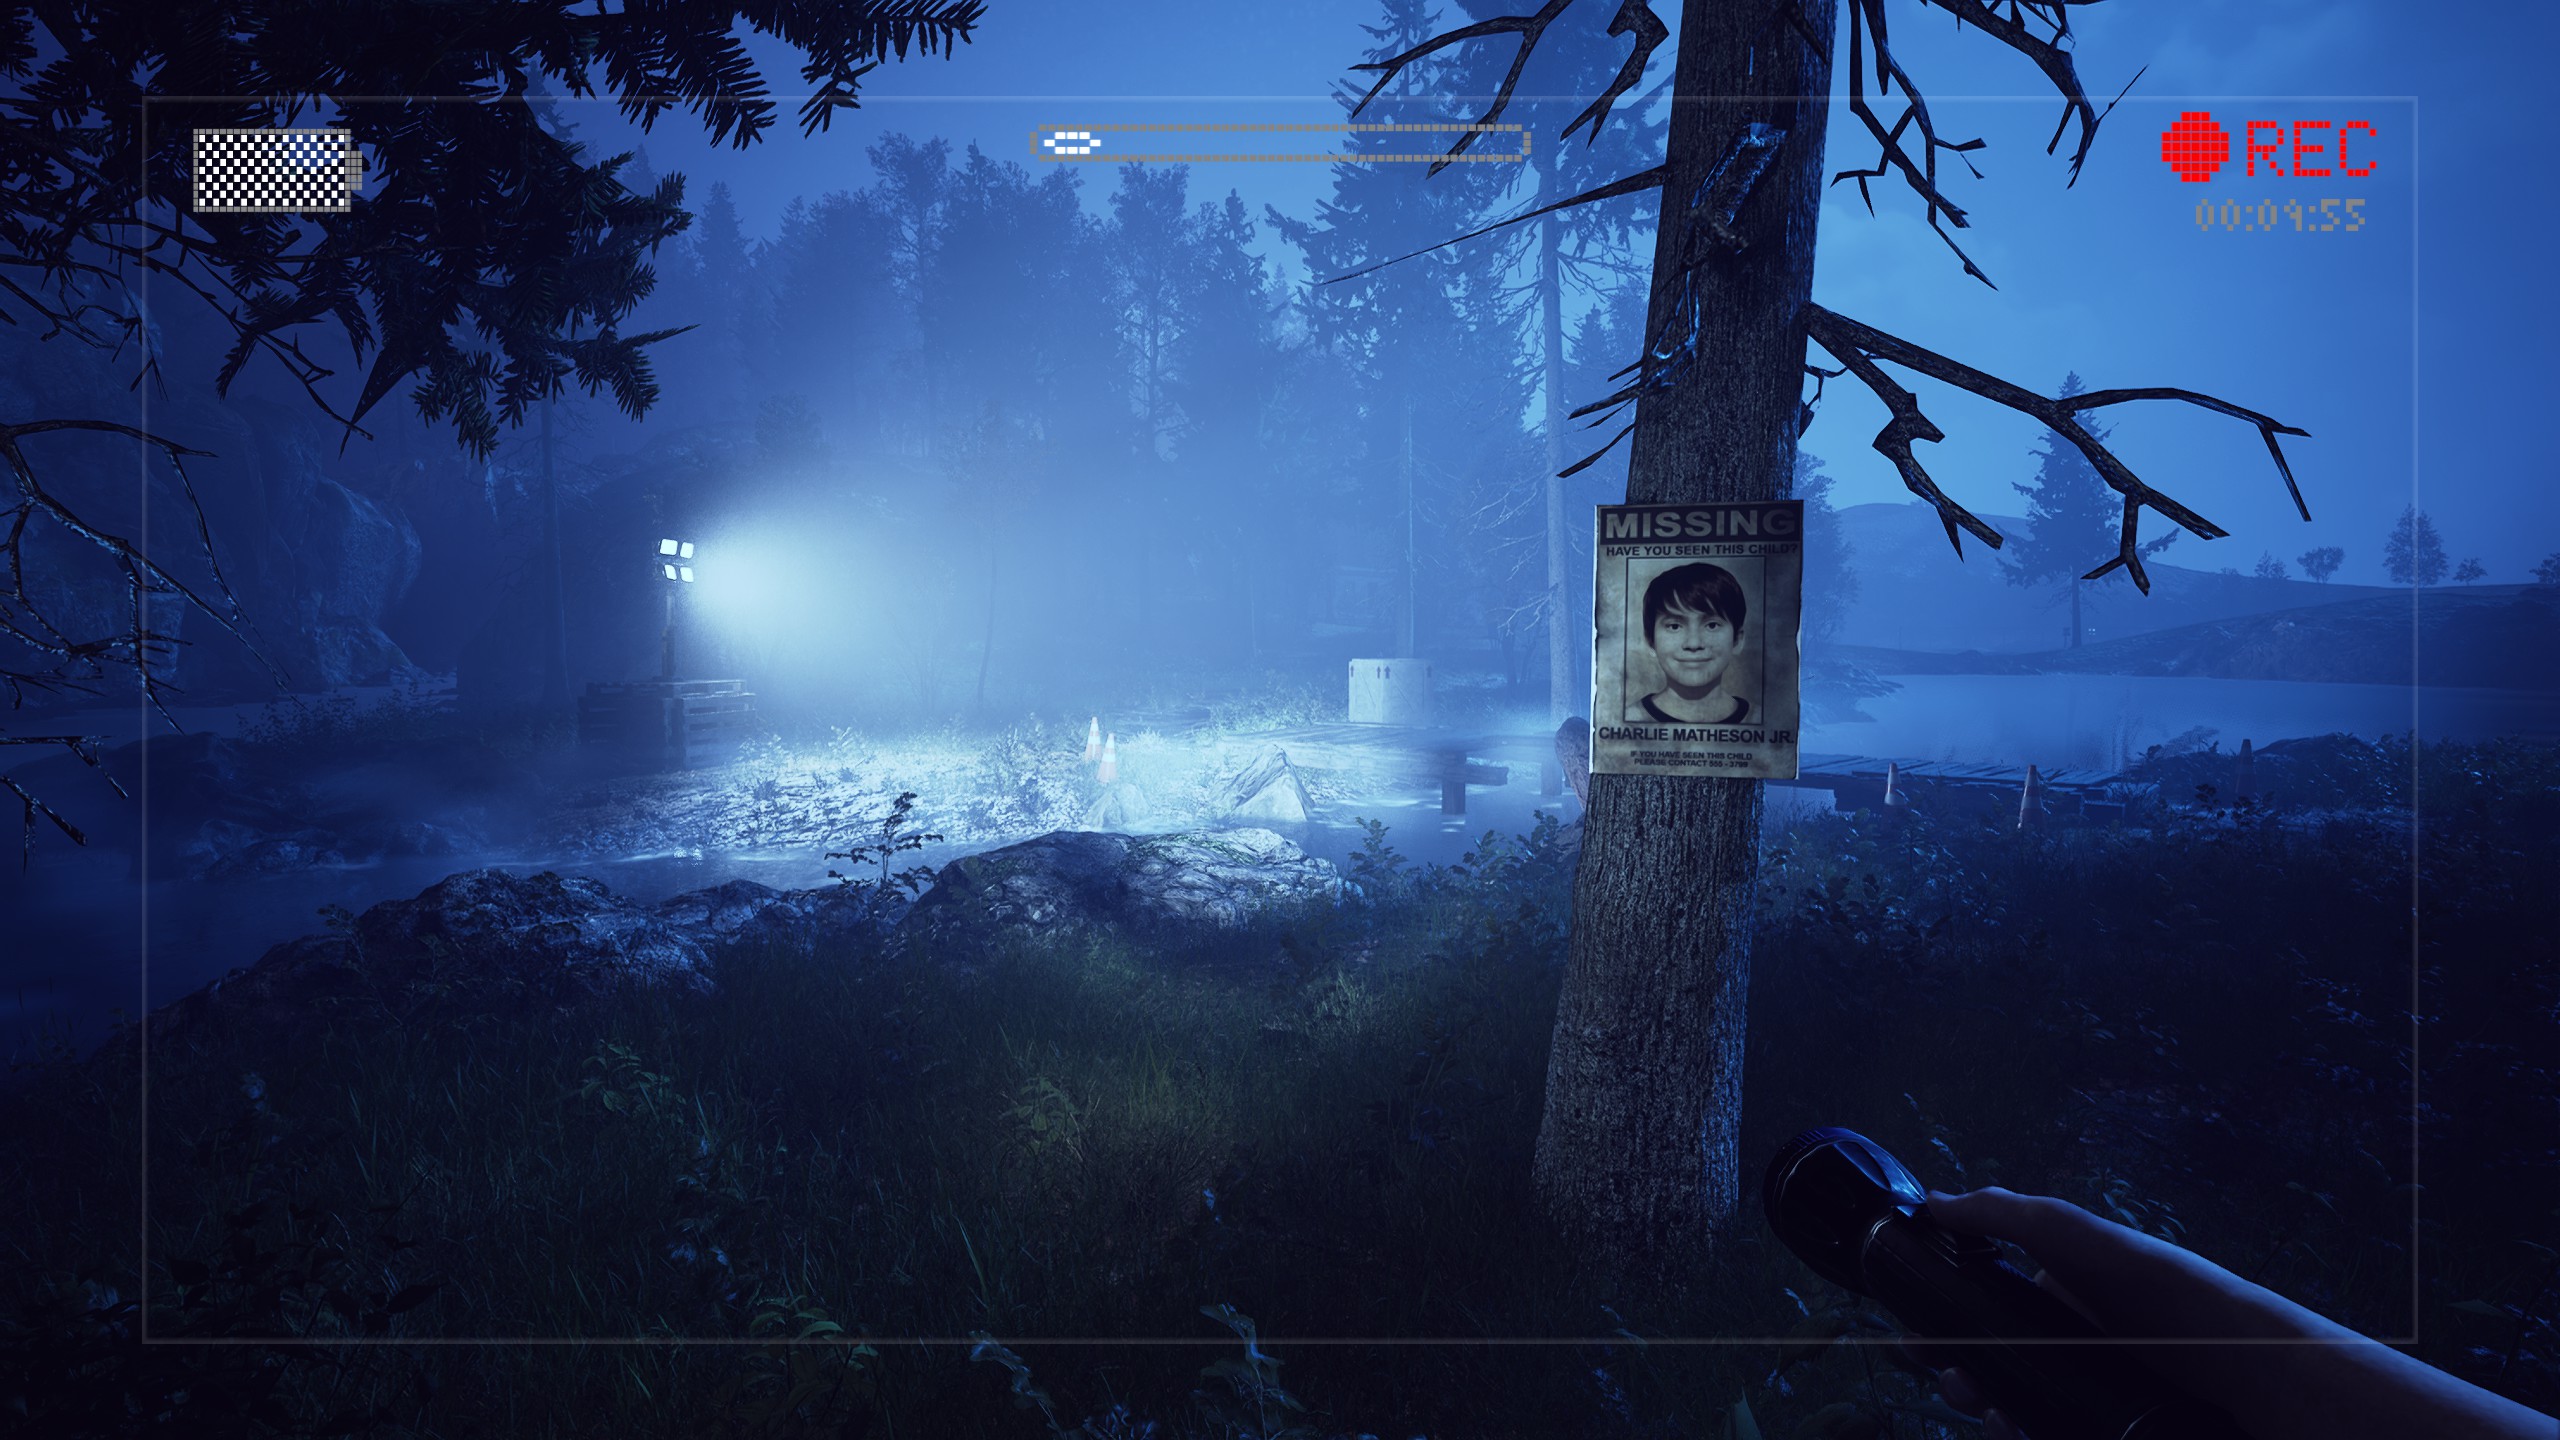
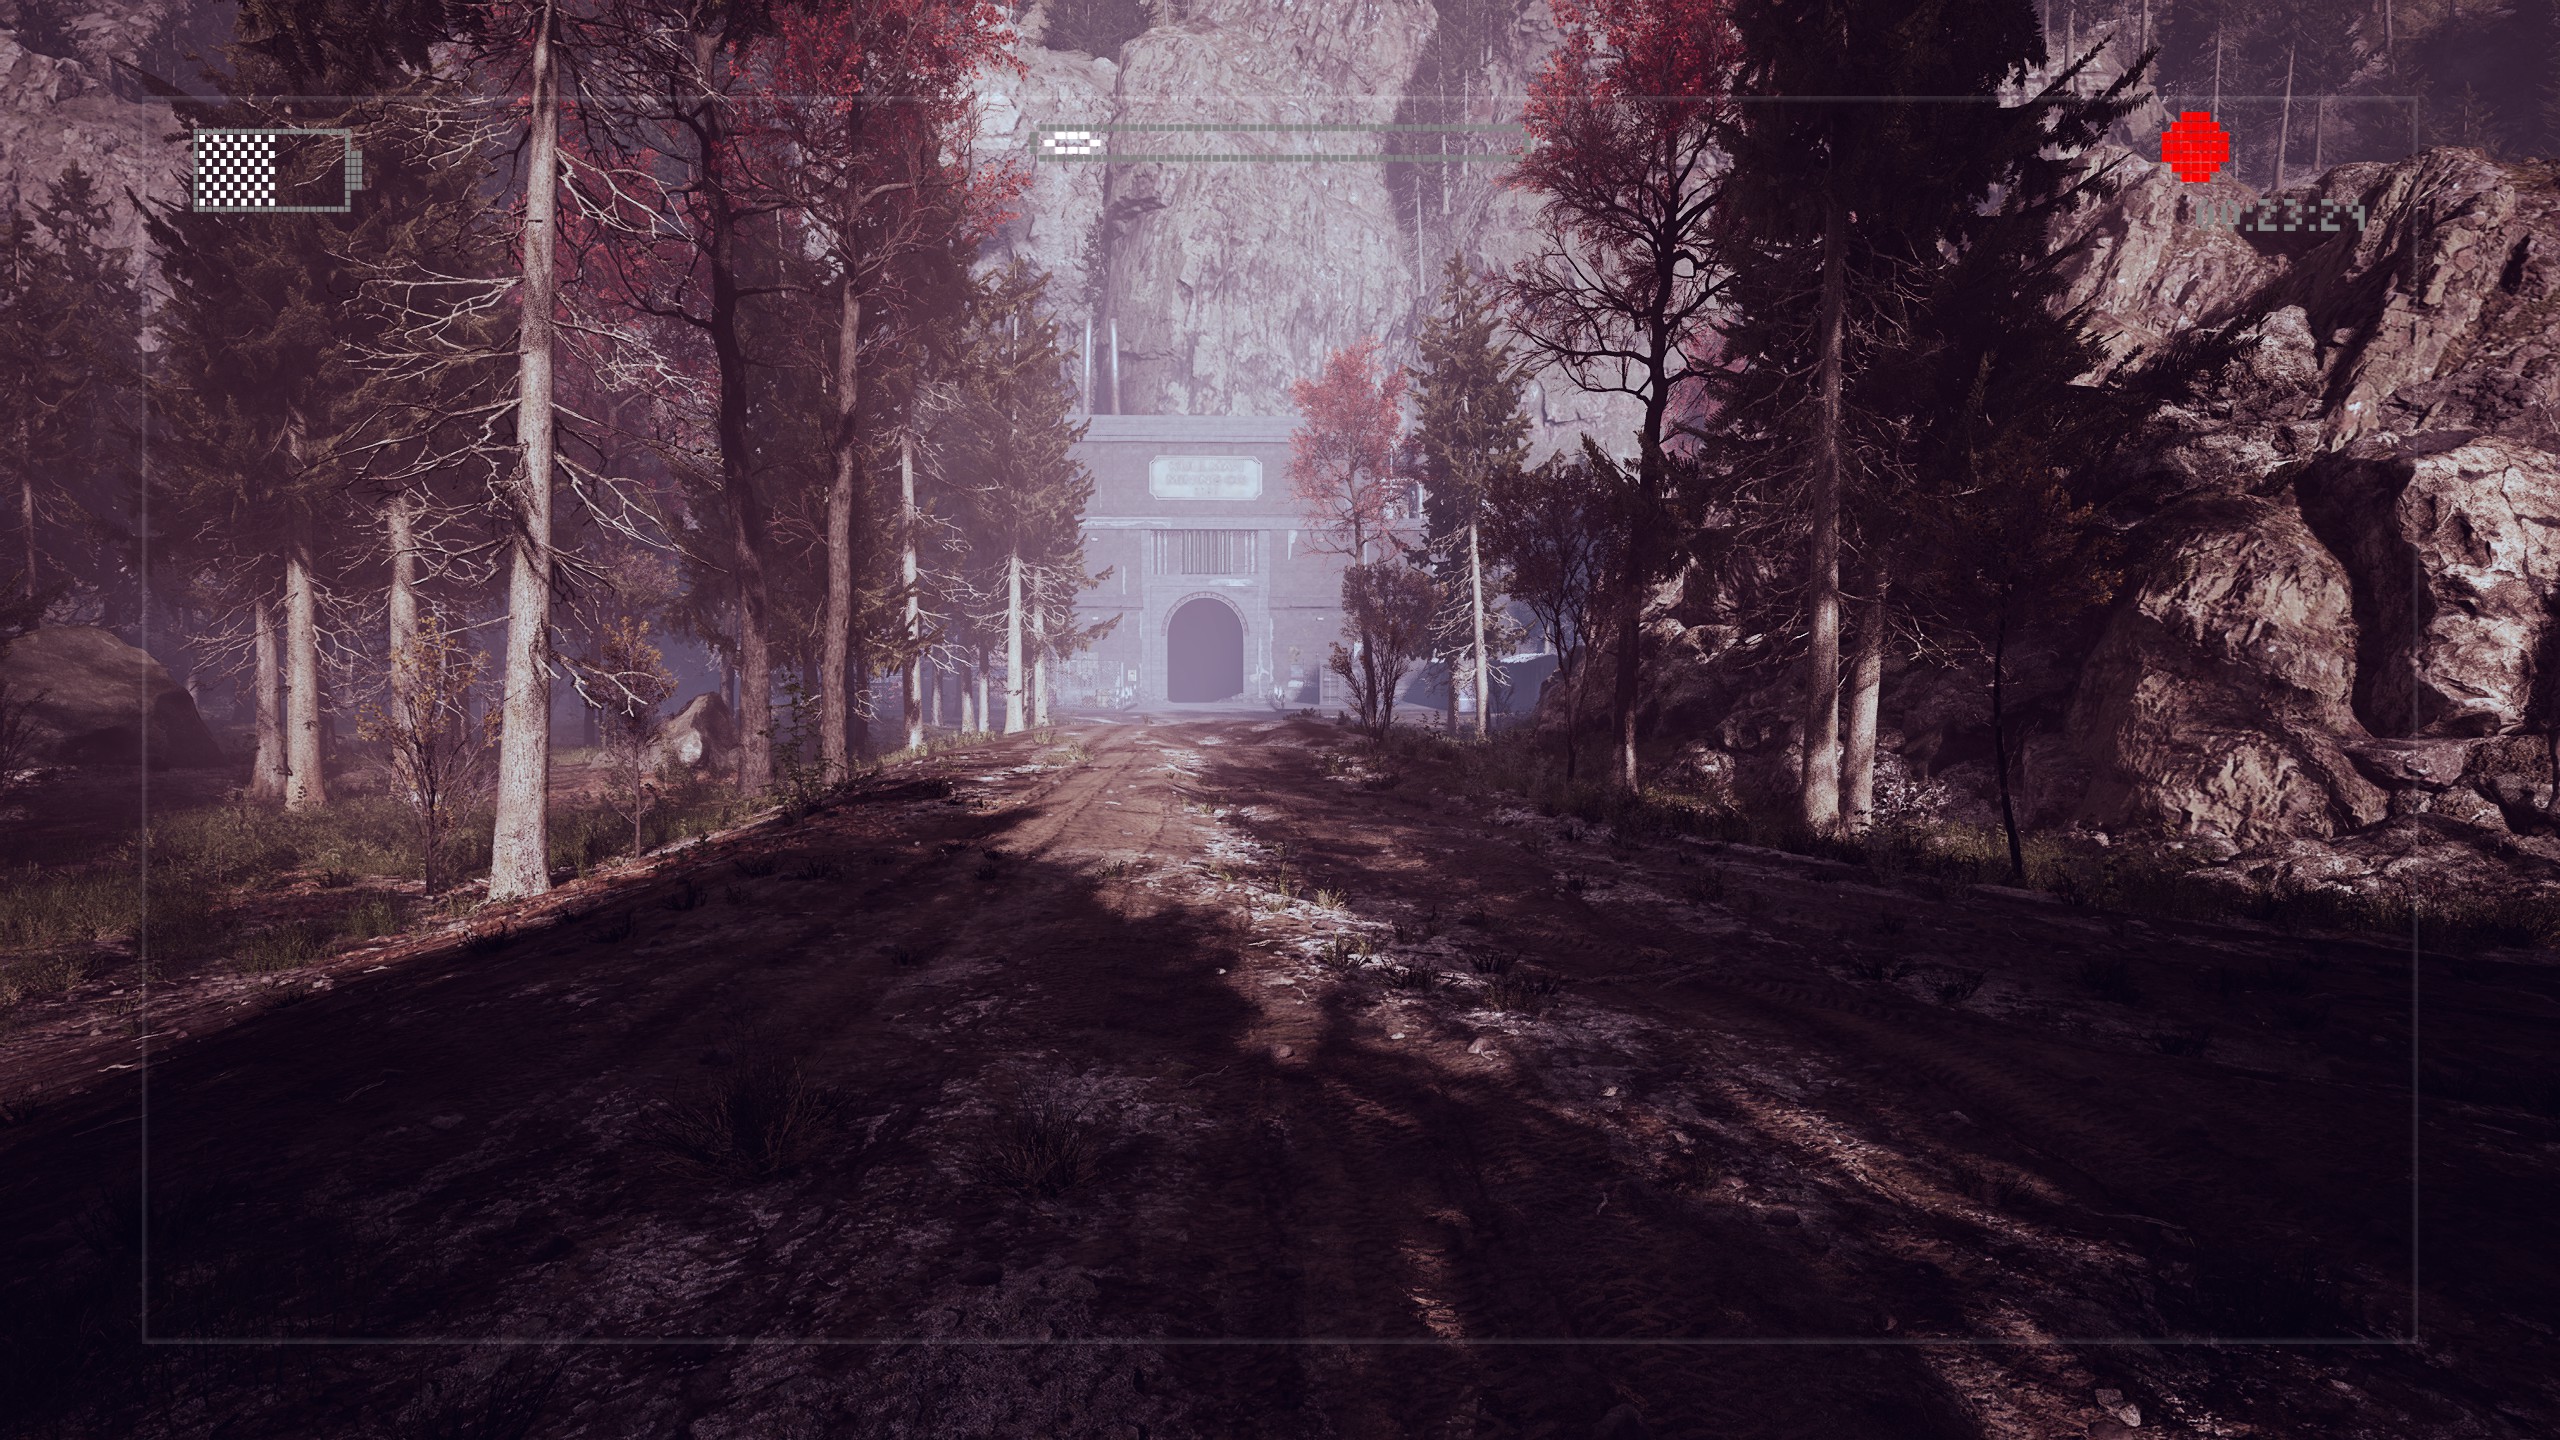
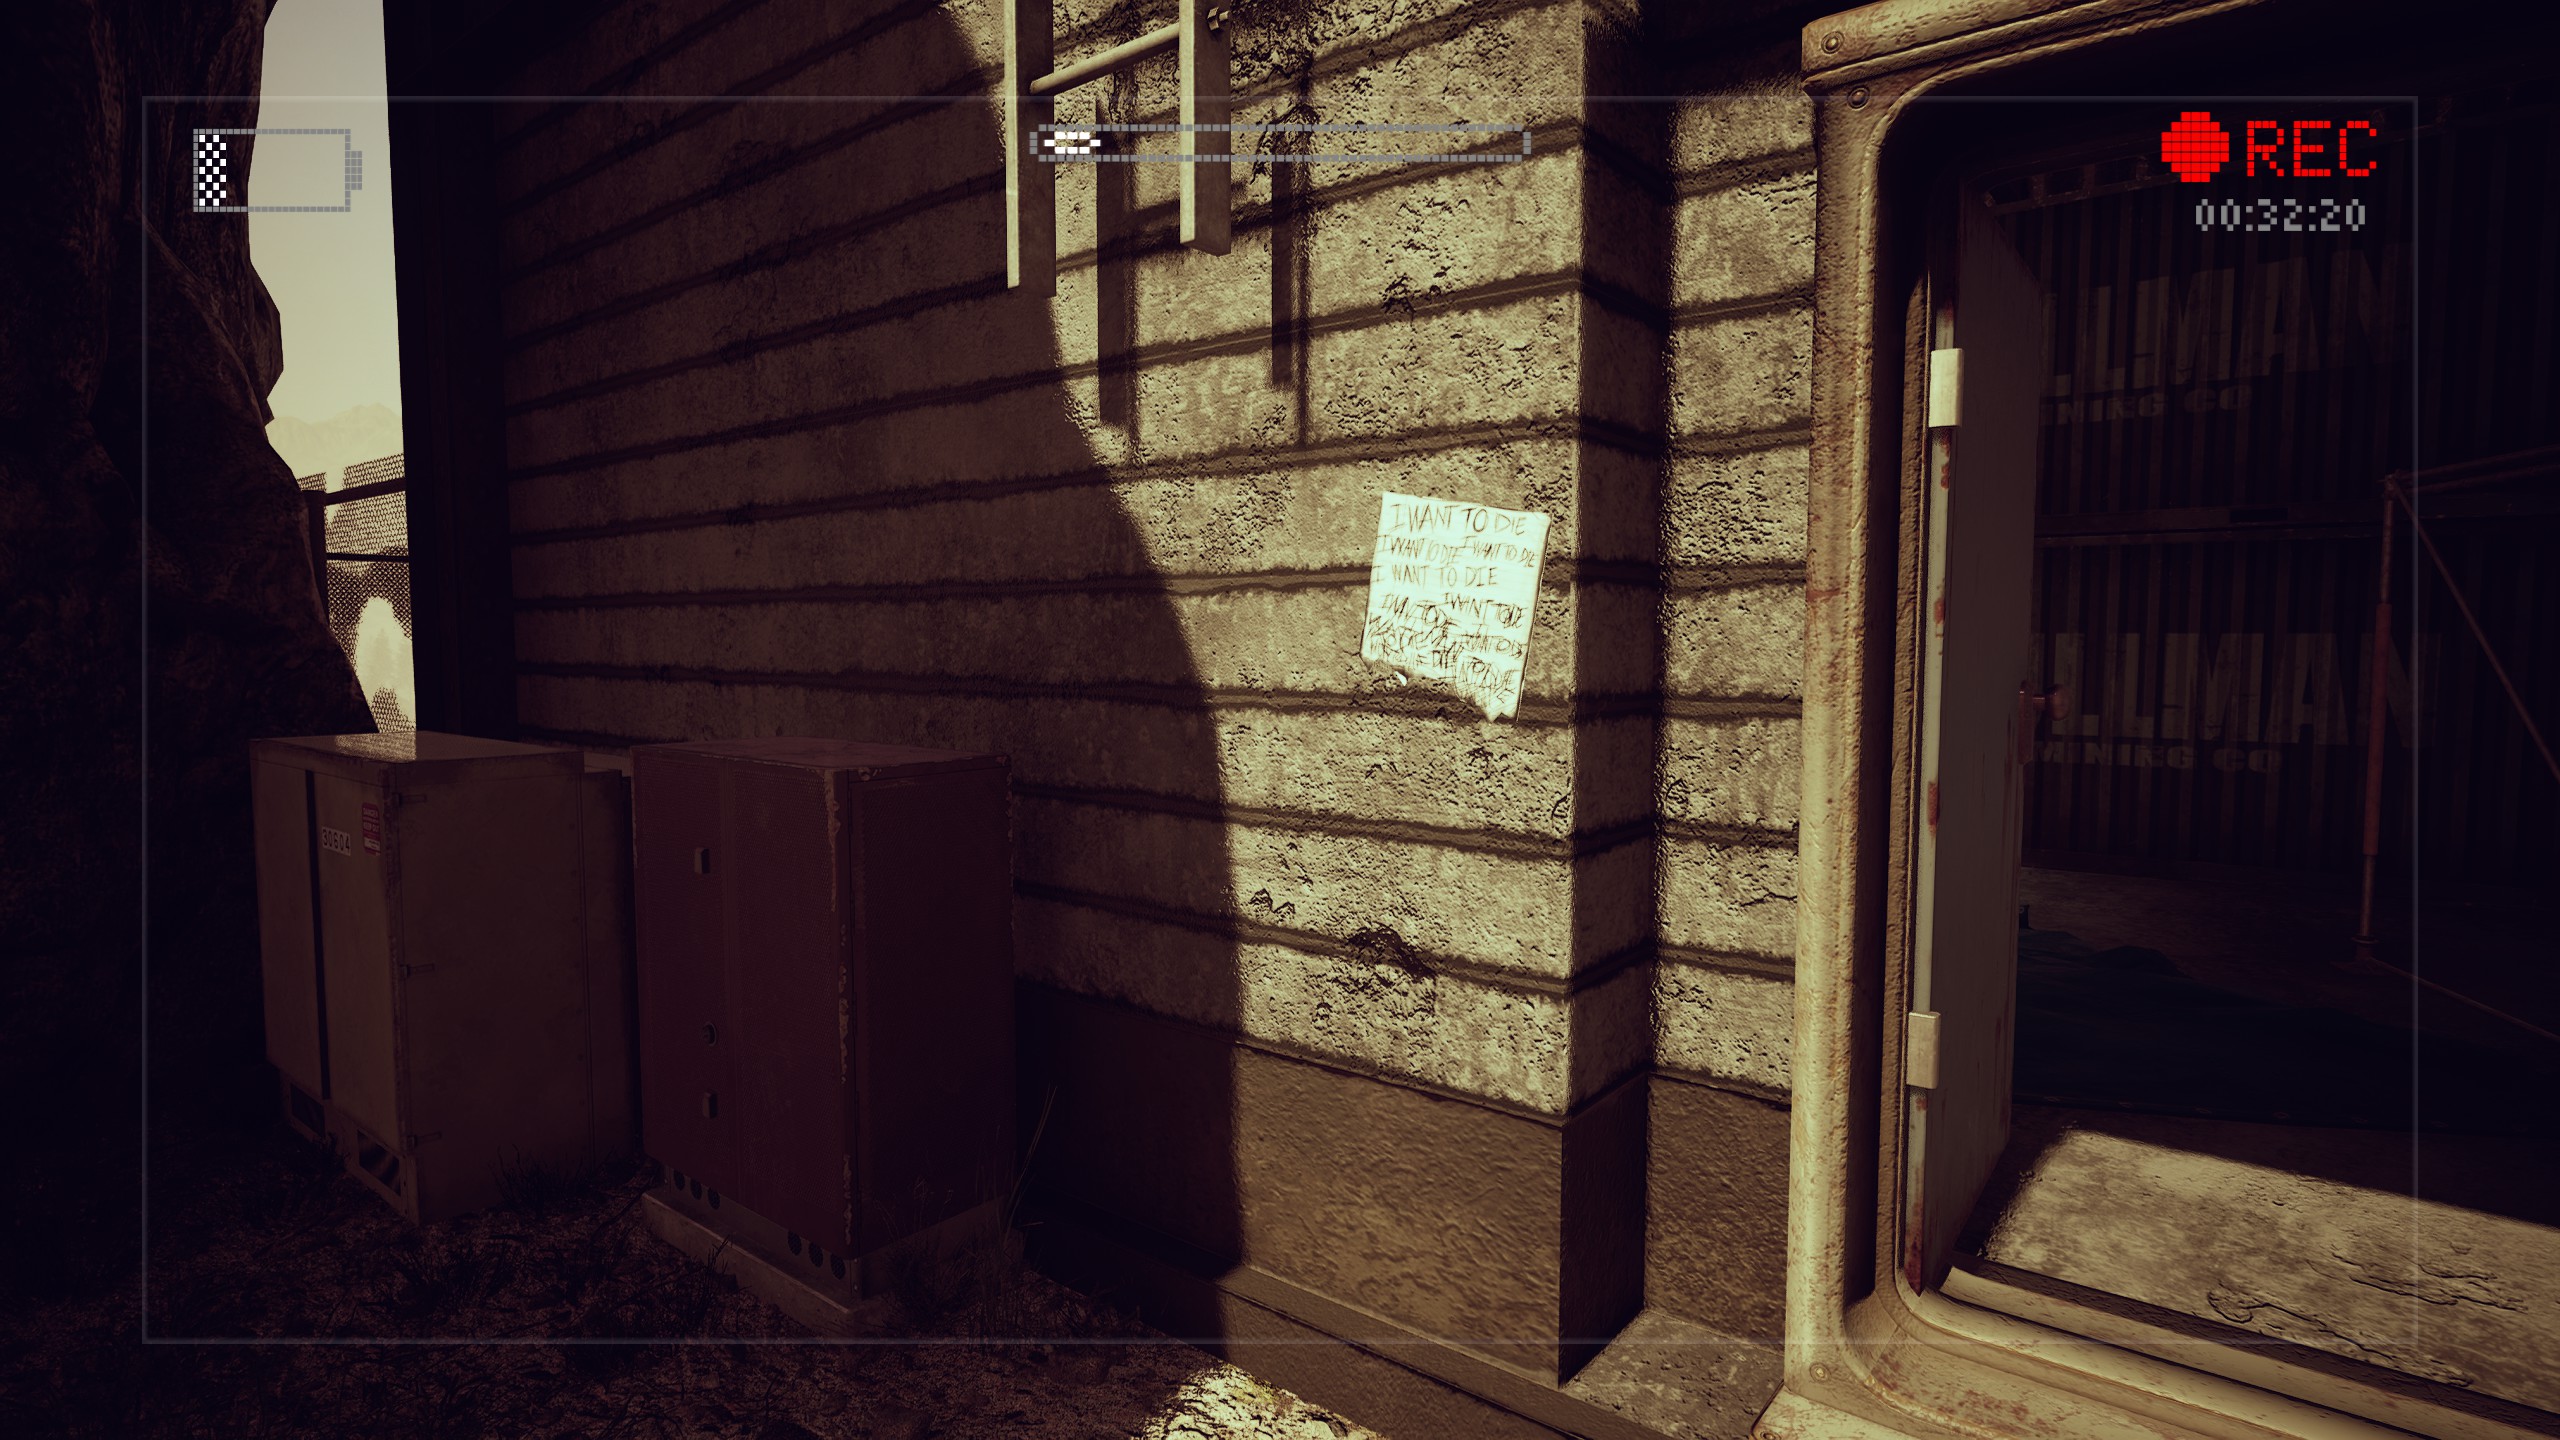
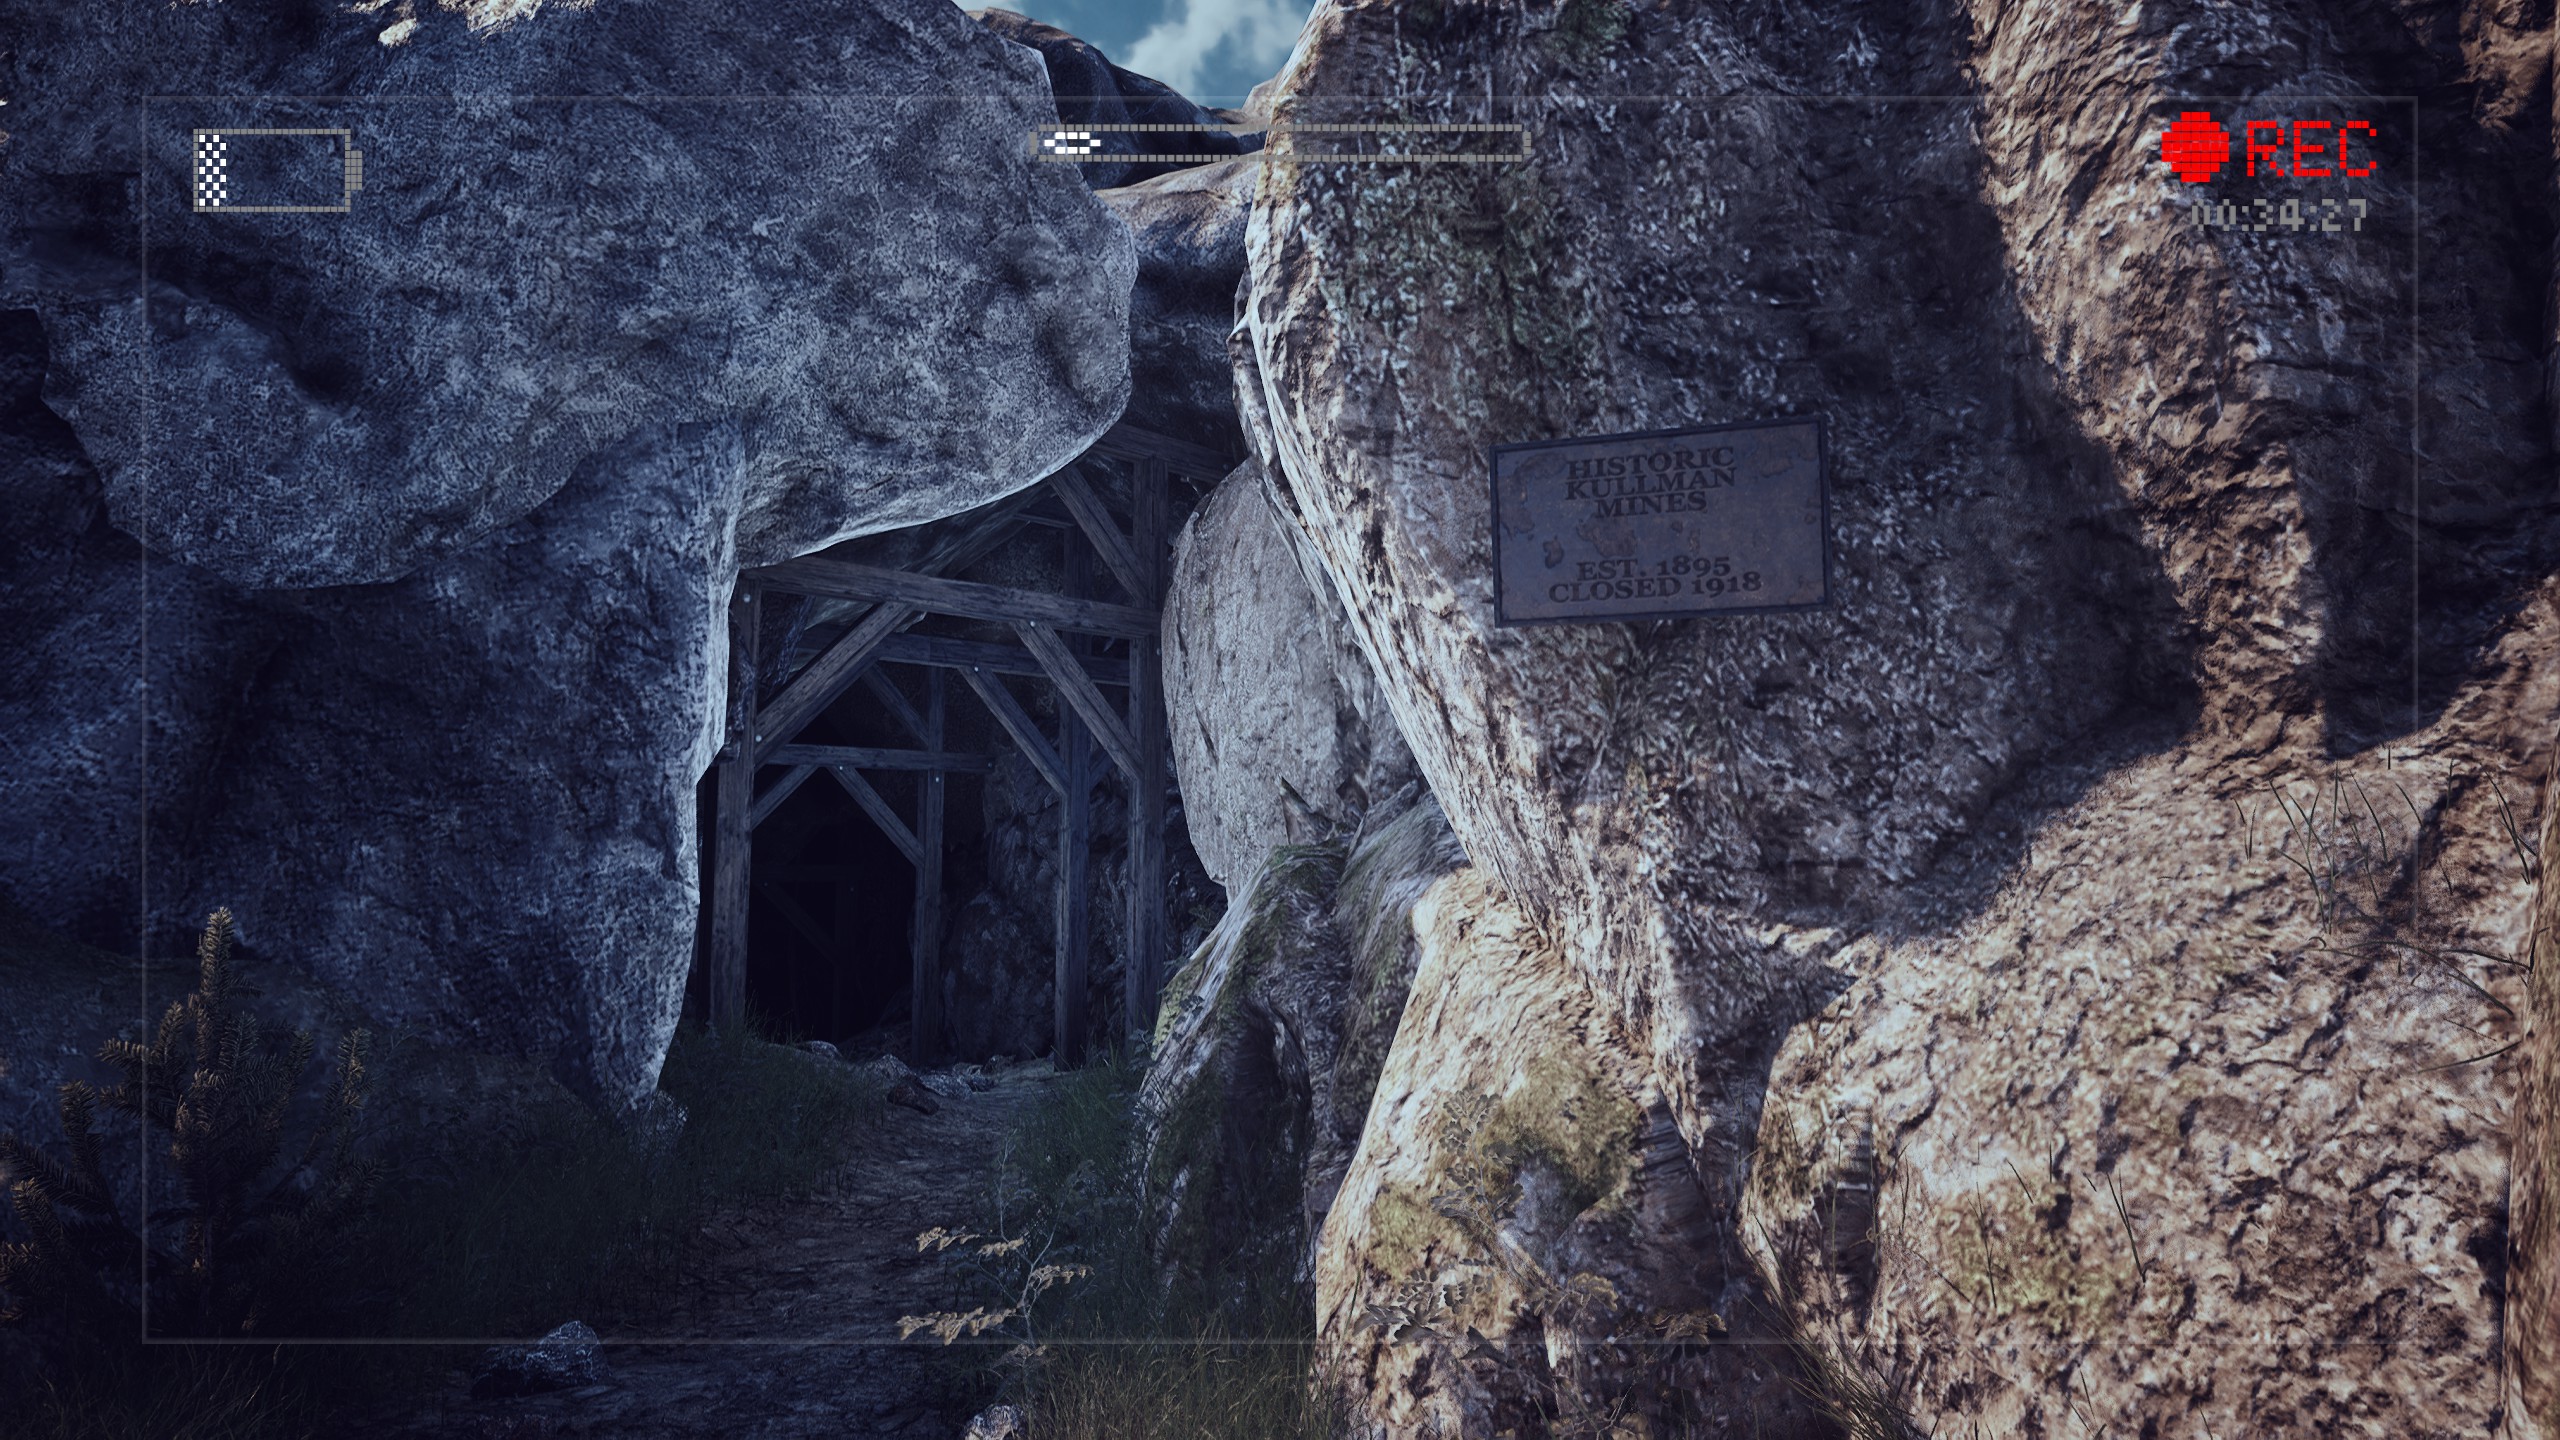
Item #1 is unique in that it can be found in three different places throughout the game, but you only need to pick it up once for it to count toward your total. Two of the three posters are found in the Prologue chapter: The first one is stuck to a tree just in front of Kate’s house, and the second can be found on a different tree on the road to Oakside Park. Both are pretty hard to miss. The third poster is located in the
Into the Abysschapter, and can be found at the Kullman Mine’s entrance.
Prologue Posters
Into the Abyss Poster
Item #2 can be found on a shelf to the left immediately after entering Kate’s house.
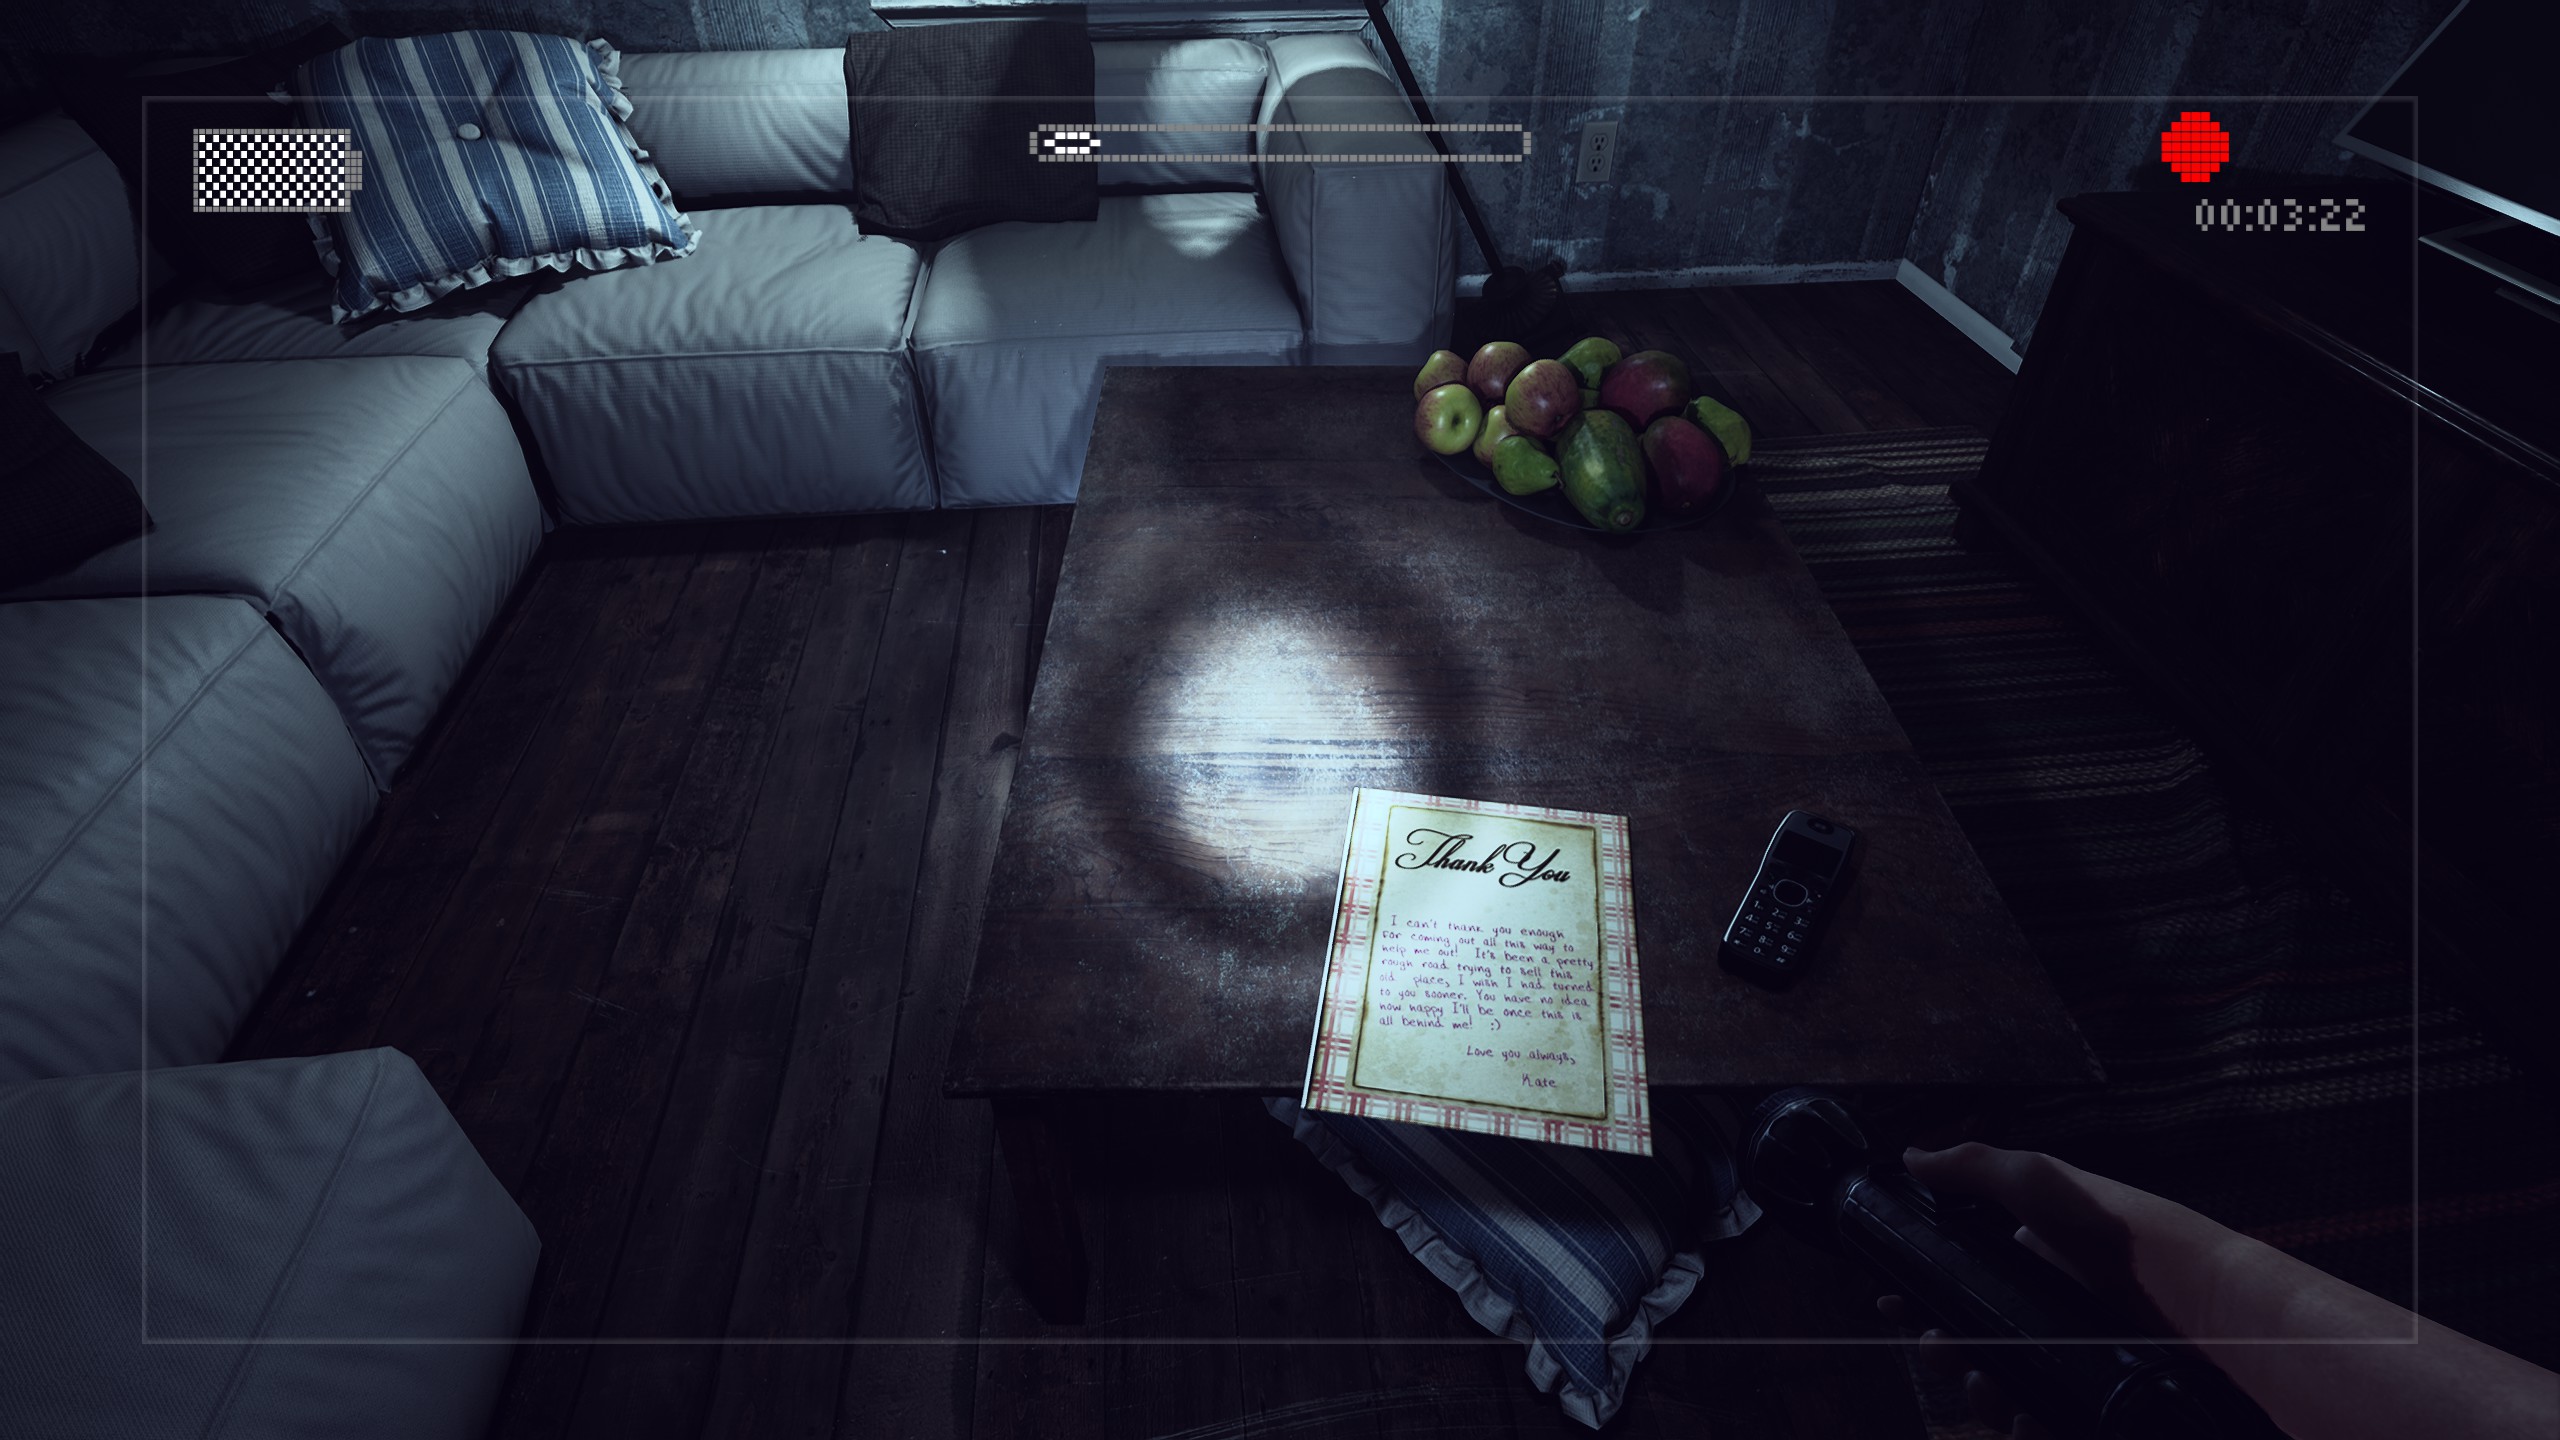
Item #3 is located on a coffee table in the living room to the left of the staircase.
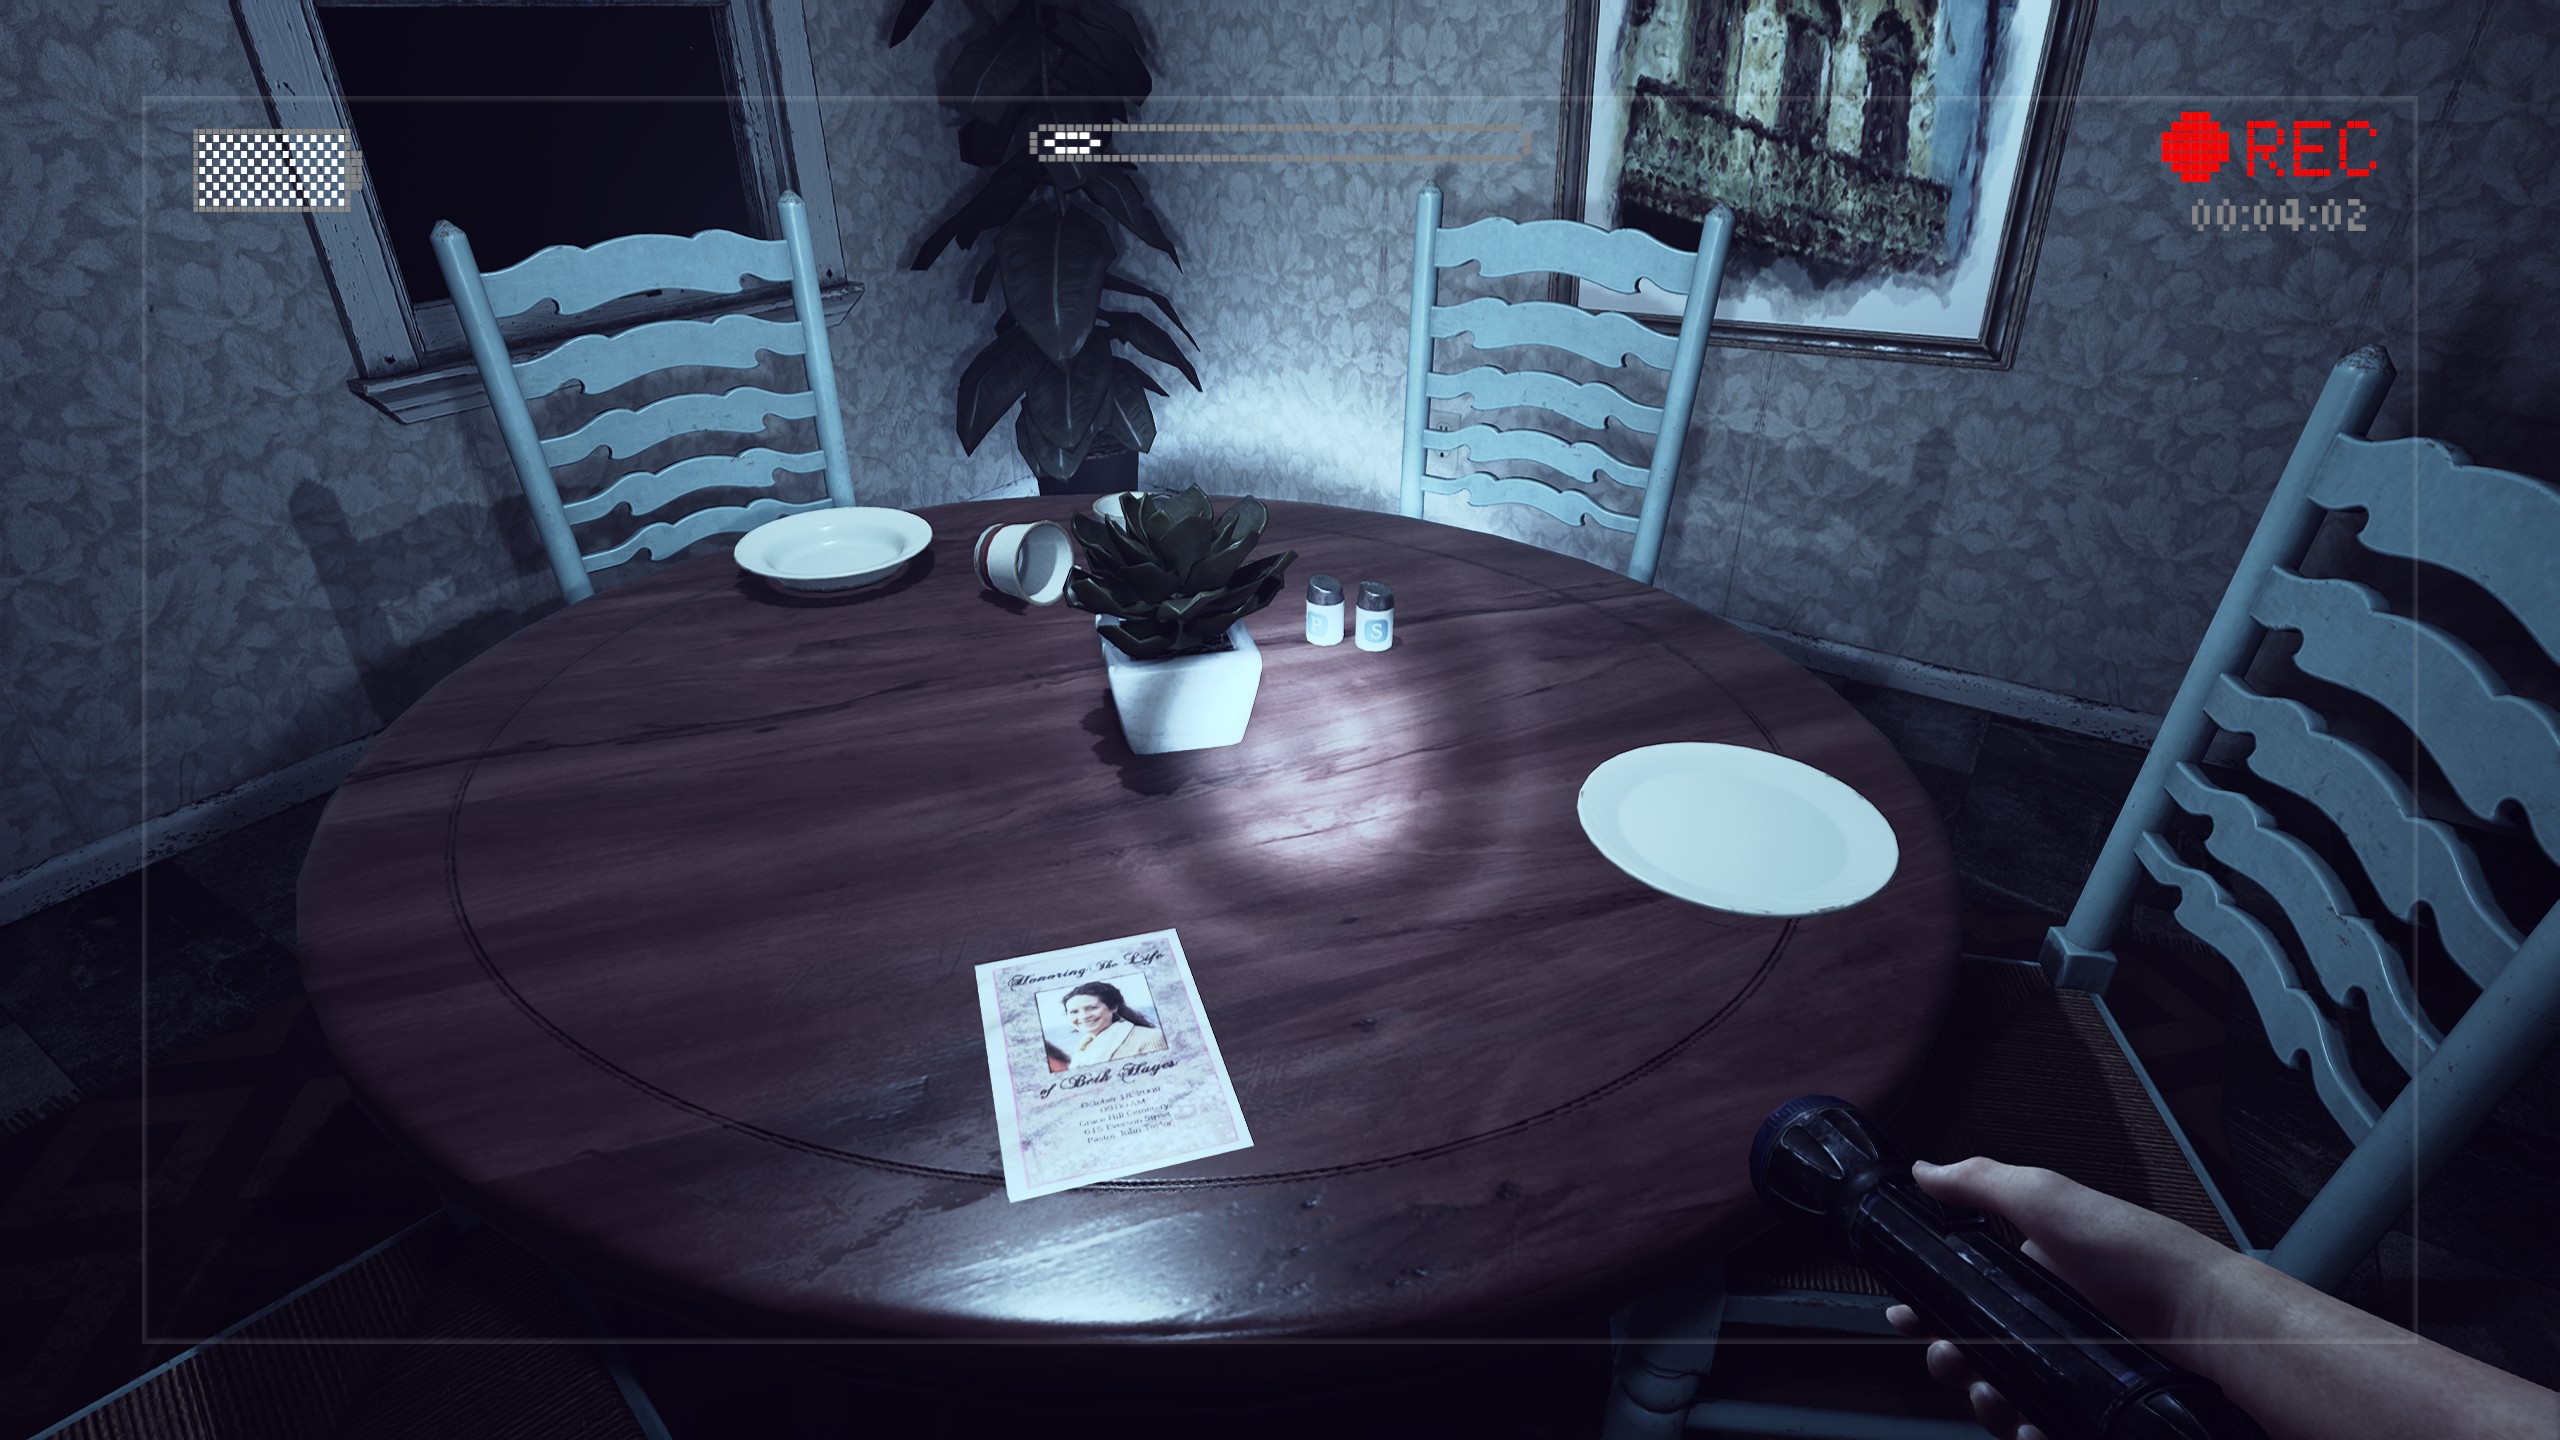
Item #4 can be found on the table in the kitchen, and
Item #5 on the refrigerator beside it.

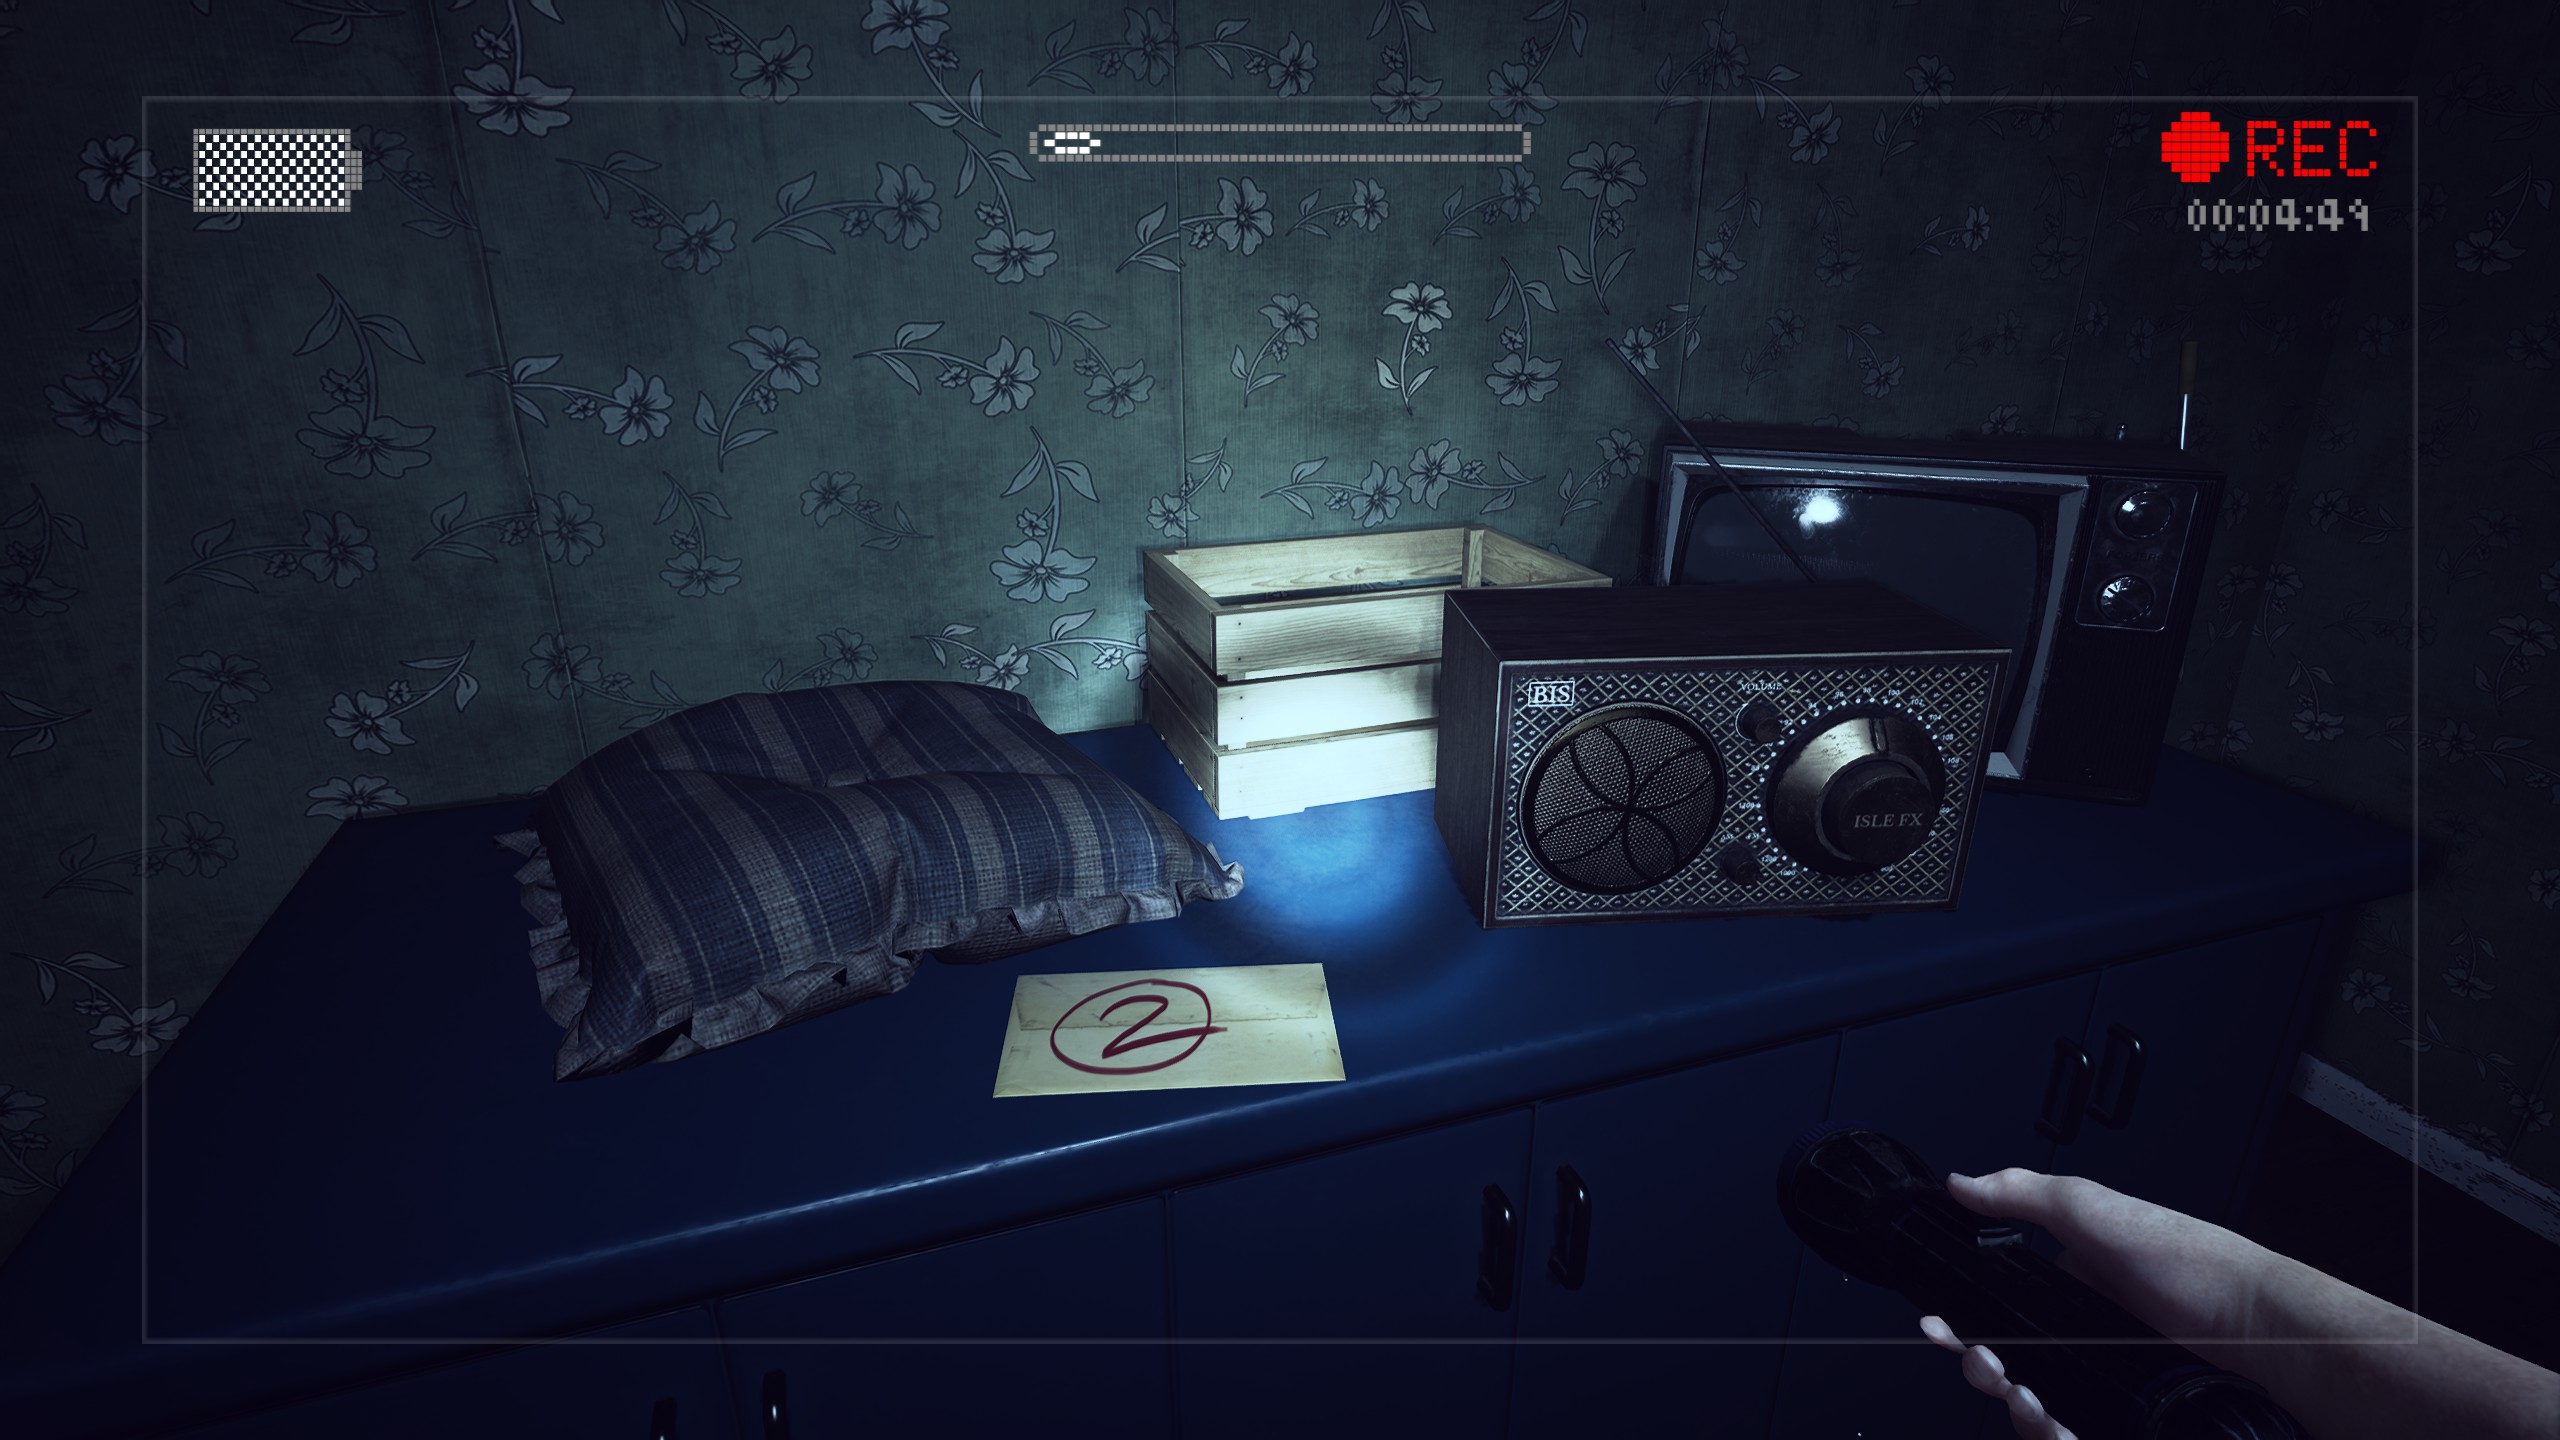
Item #6 can be found next to a radio in the room across the hall from the garage.
Item #7 is found crumpled up behind the trashcan in Kate’s bedroom. Look closely, this one blends into its surroundings so it’s easy to miss.

Item #8 is located on the playset in Kate’s backyard.
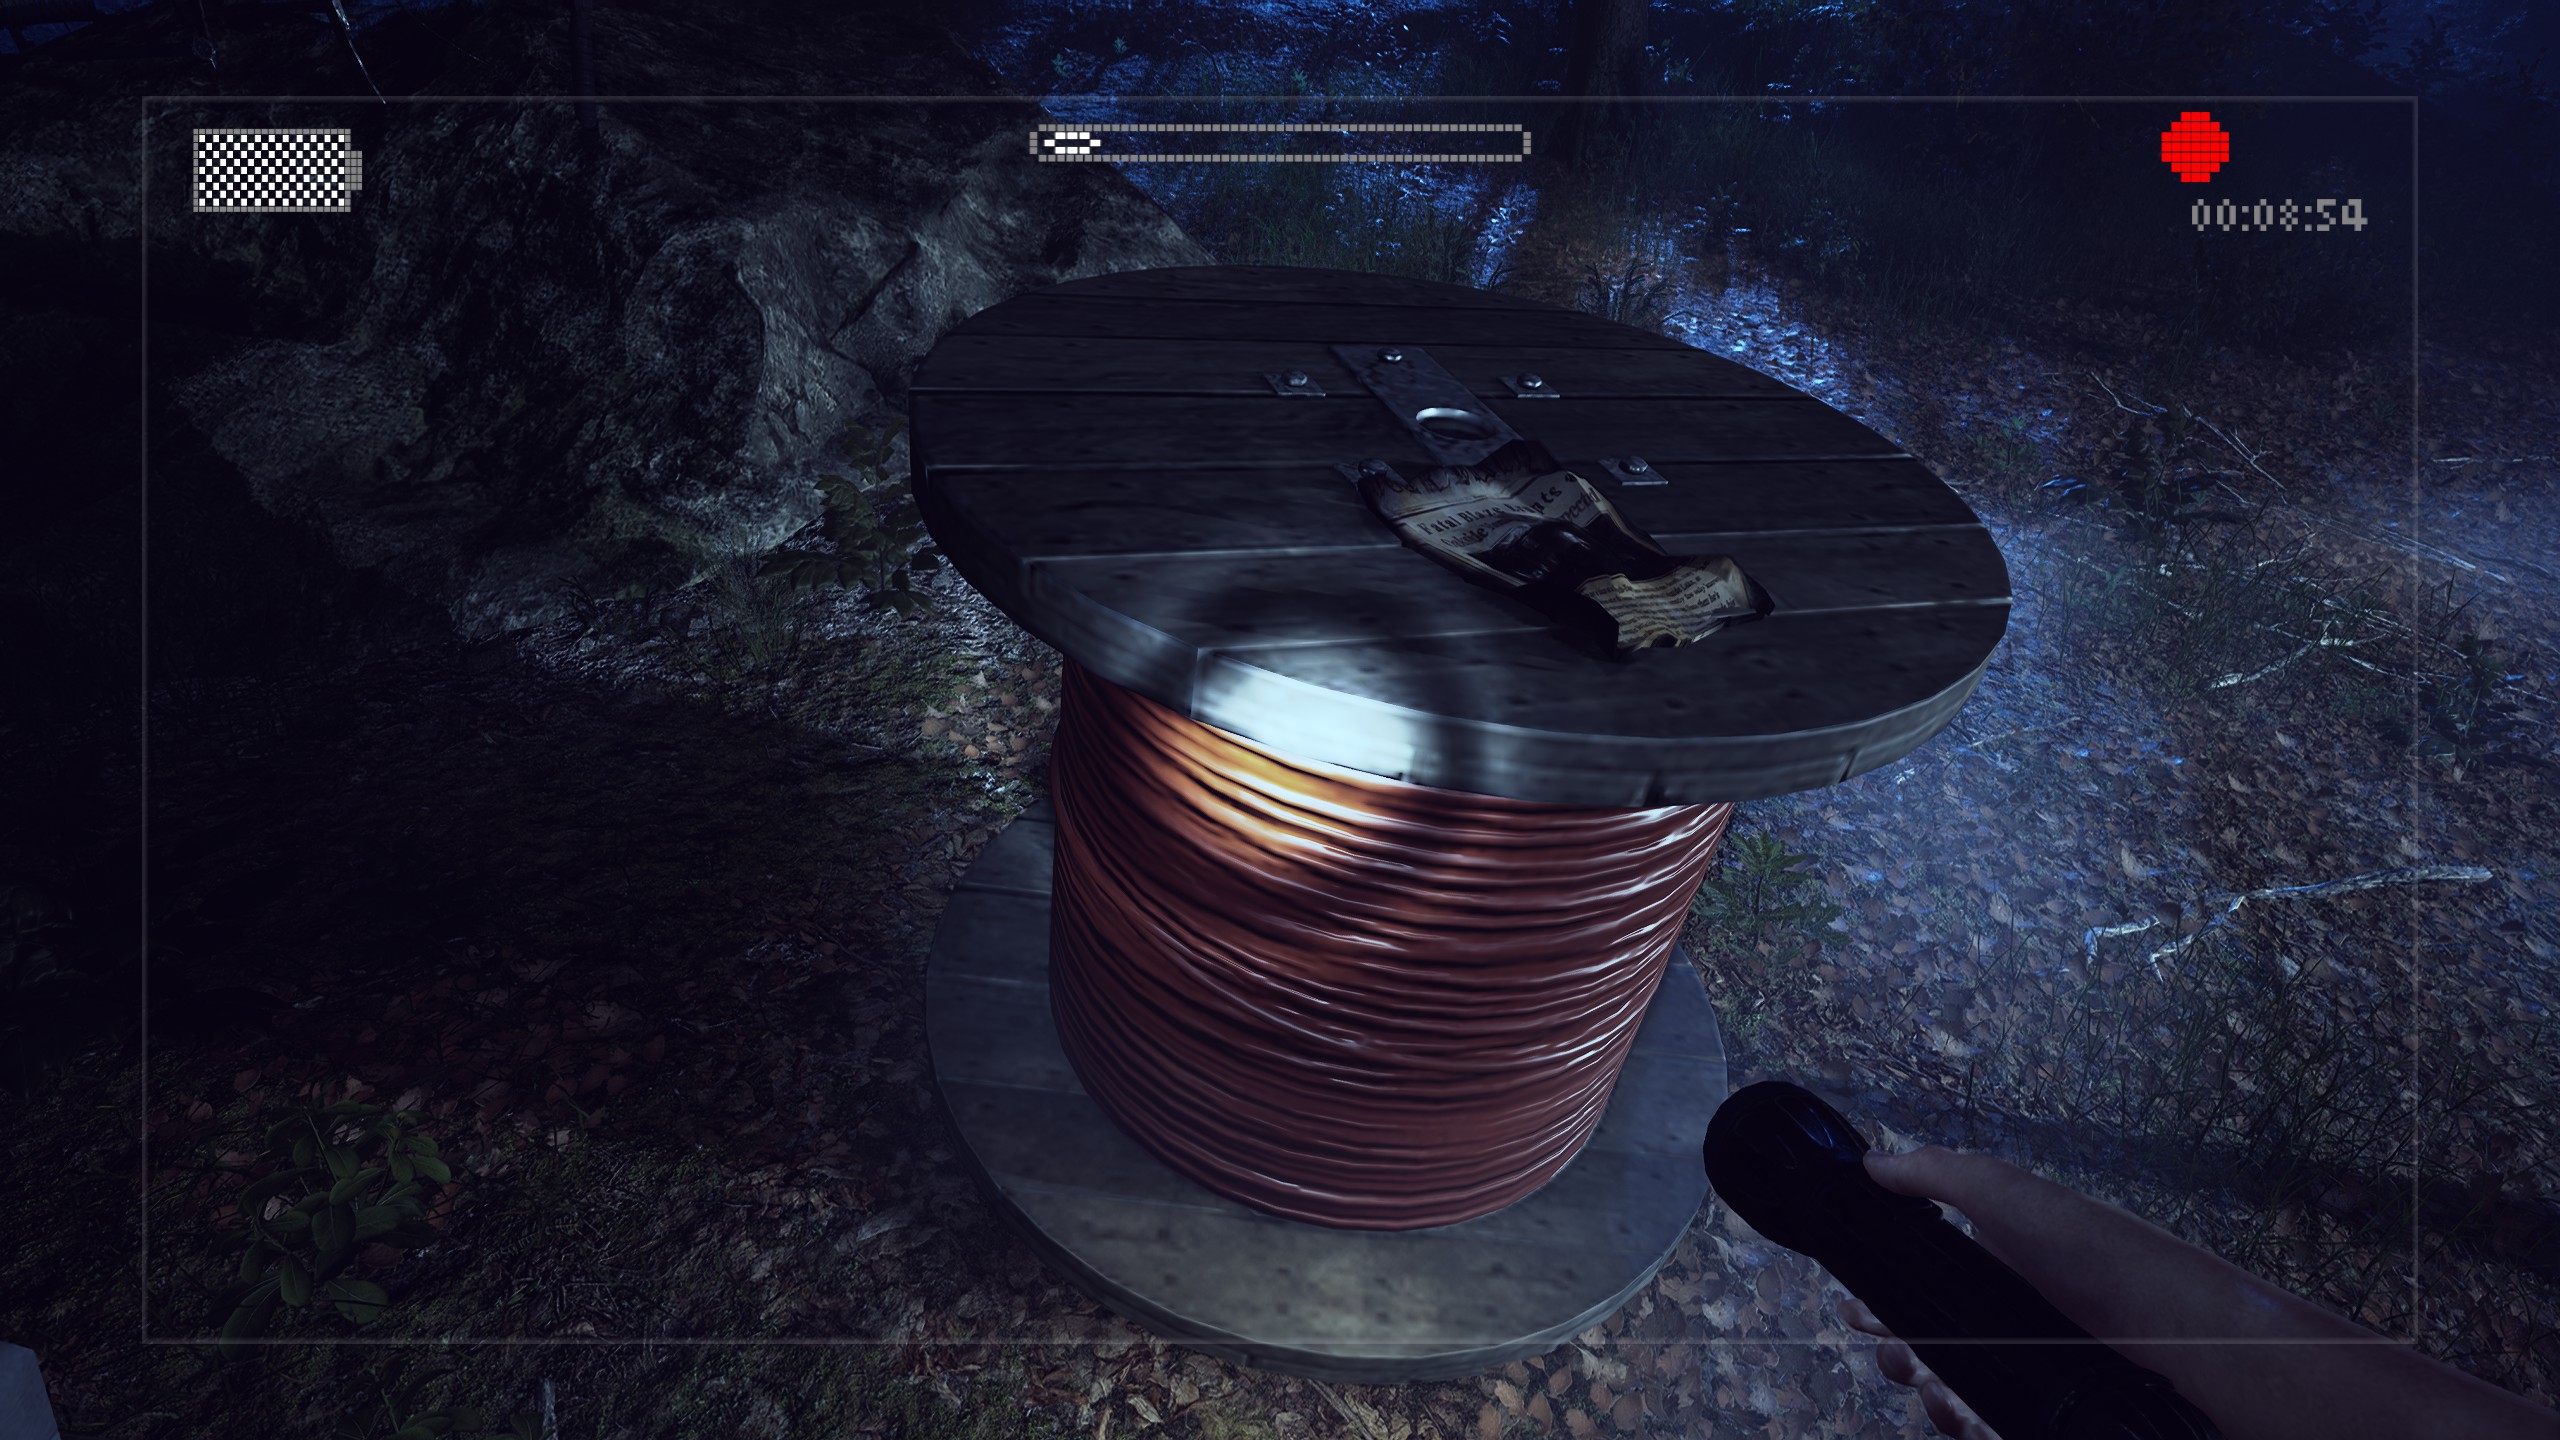
Item #9 can be found on a cable spool near the first set of work lights on the road to Oakside Park.
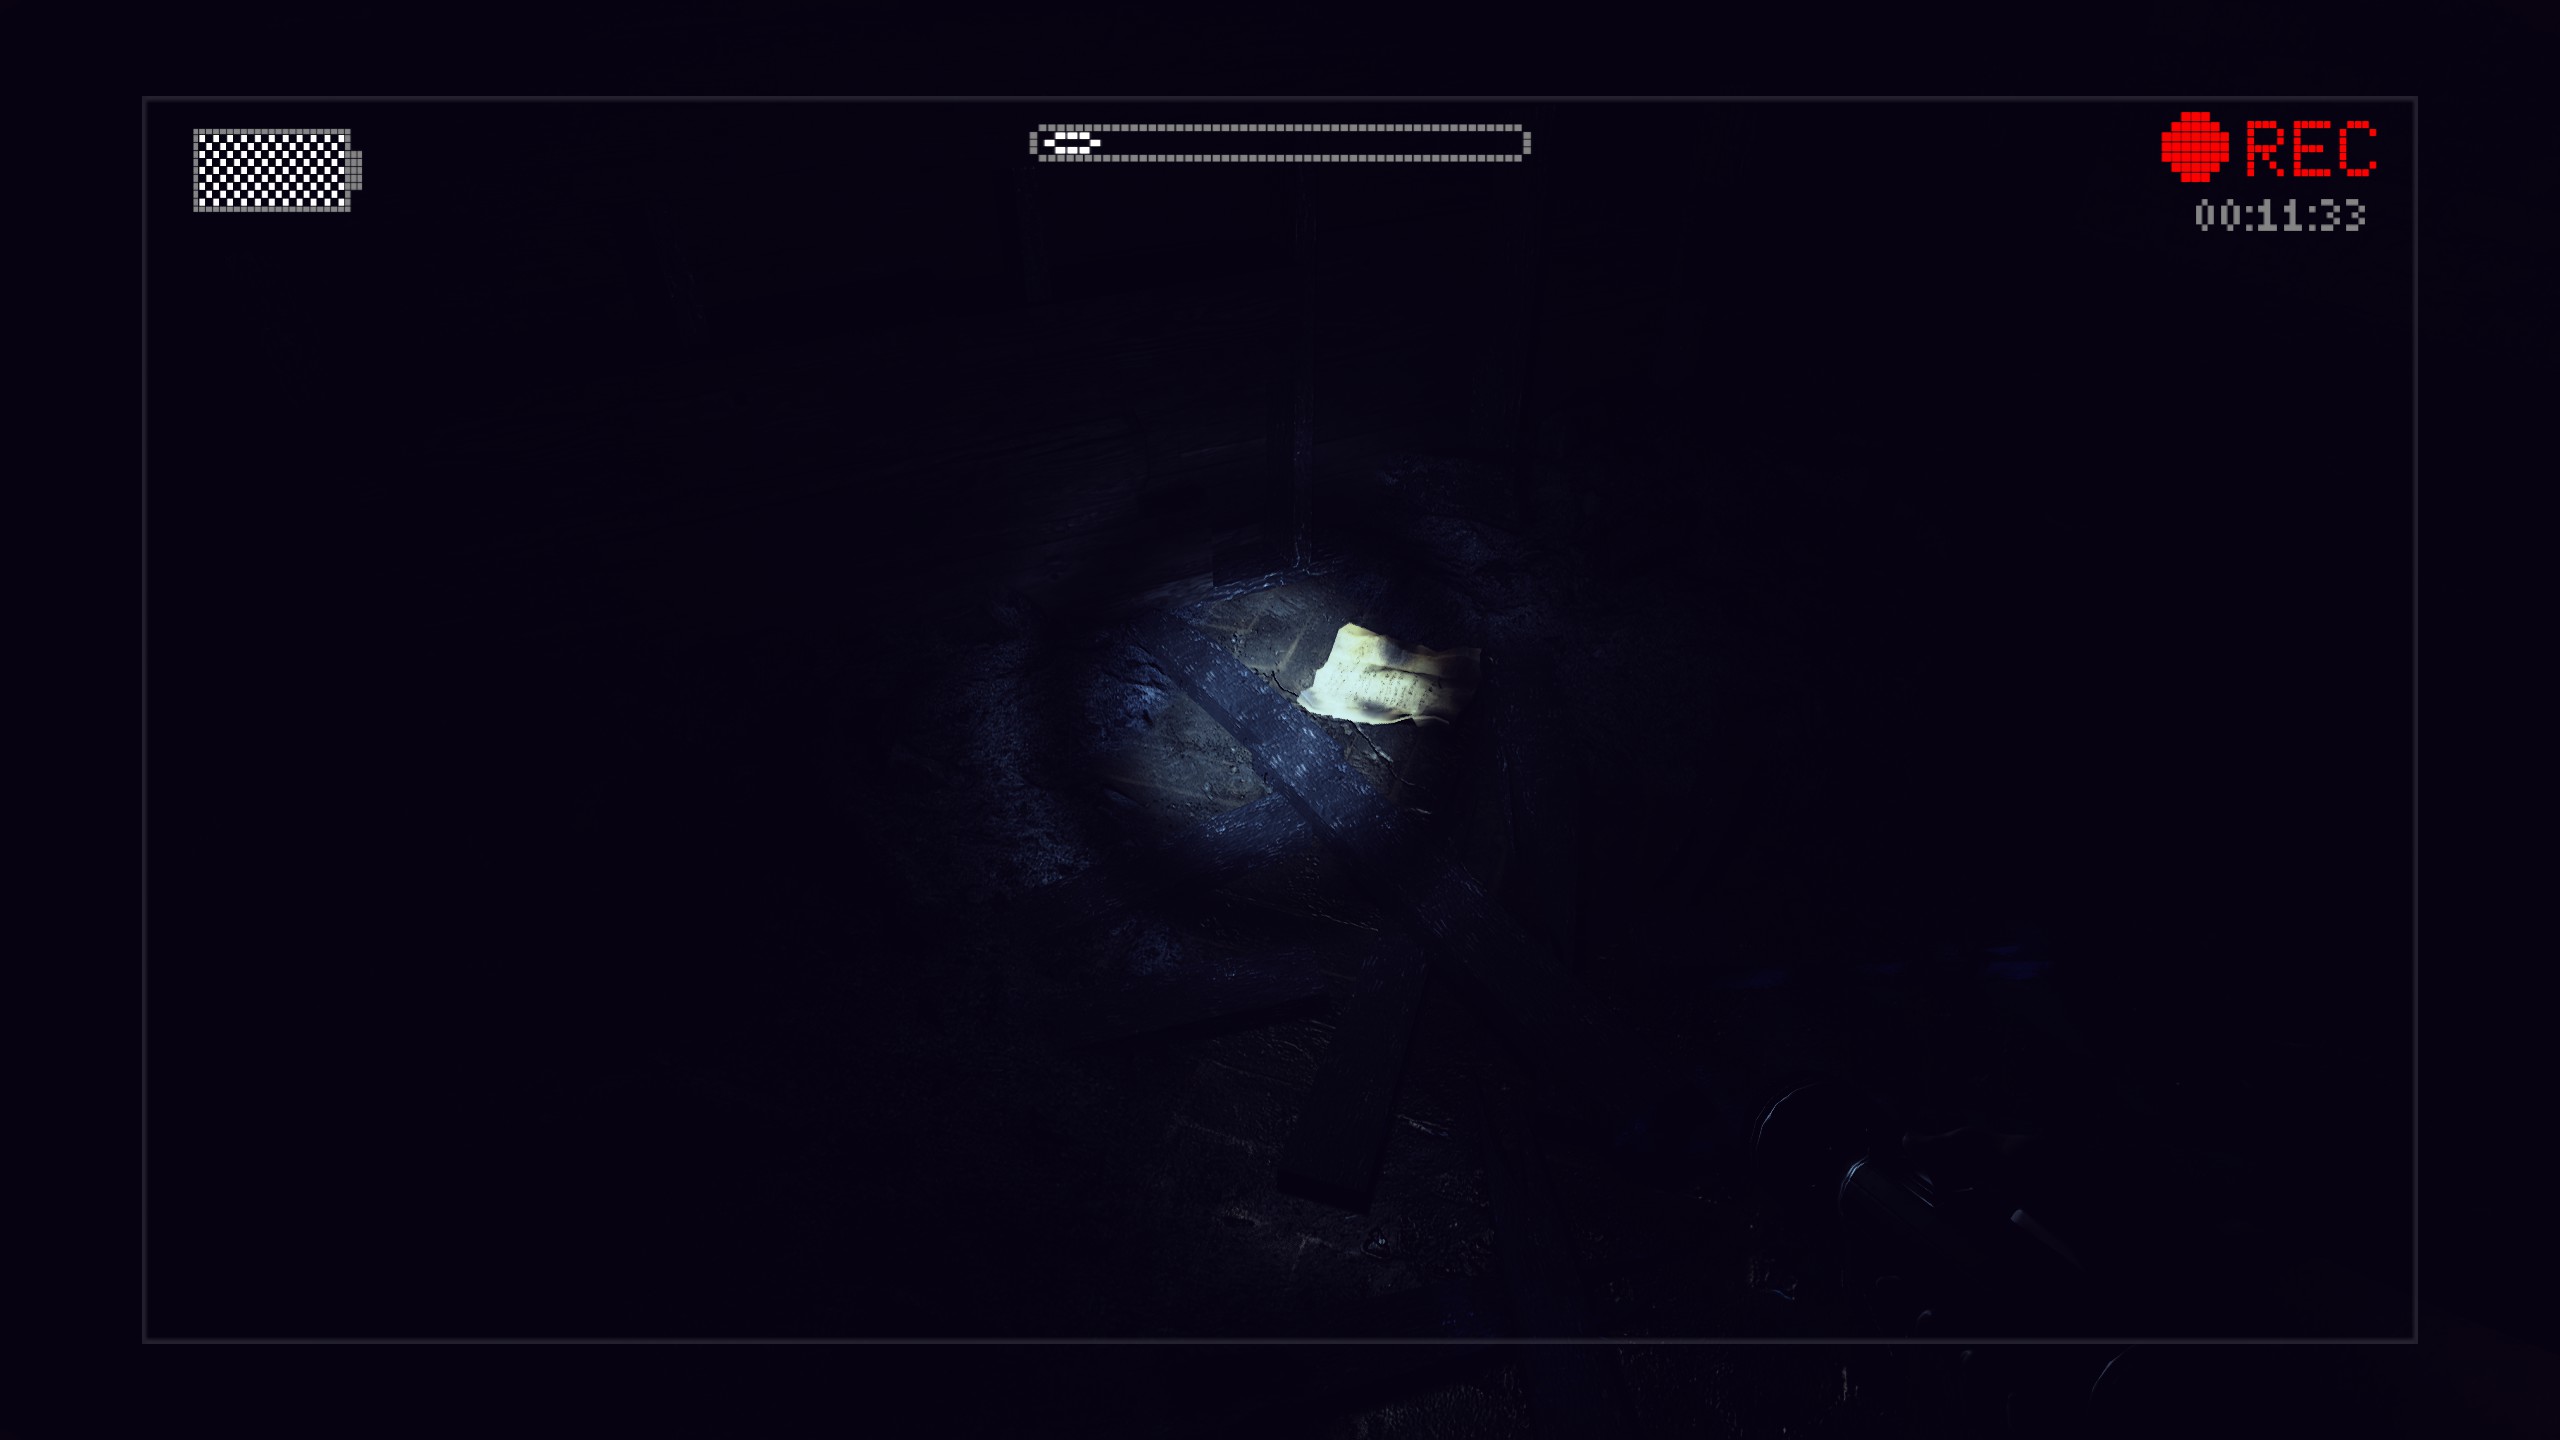
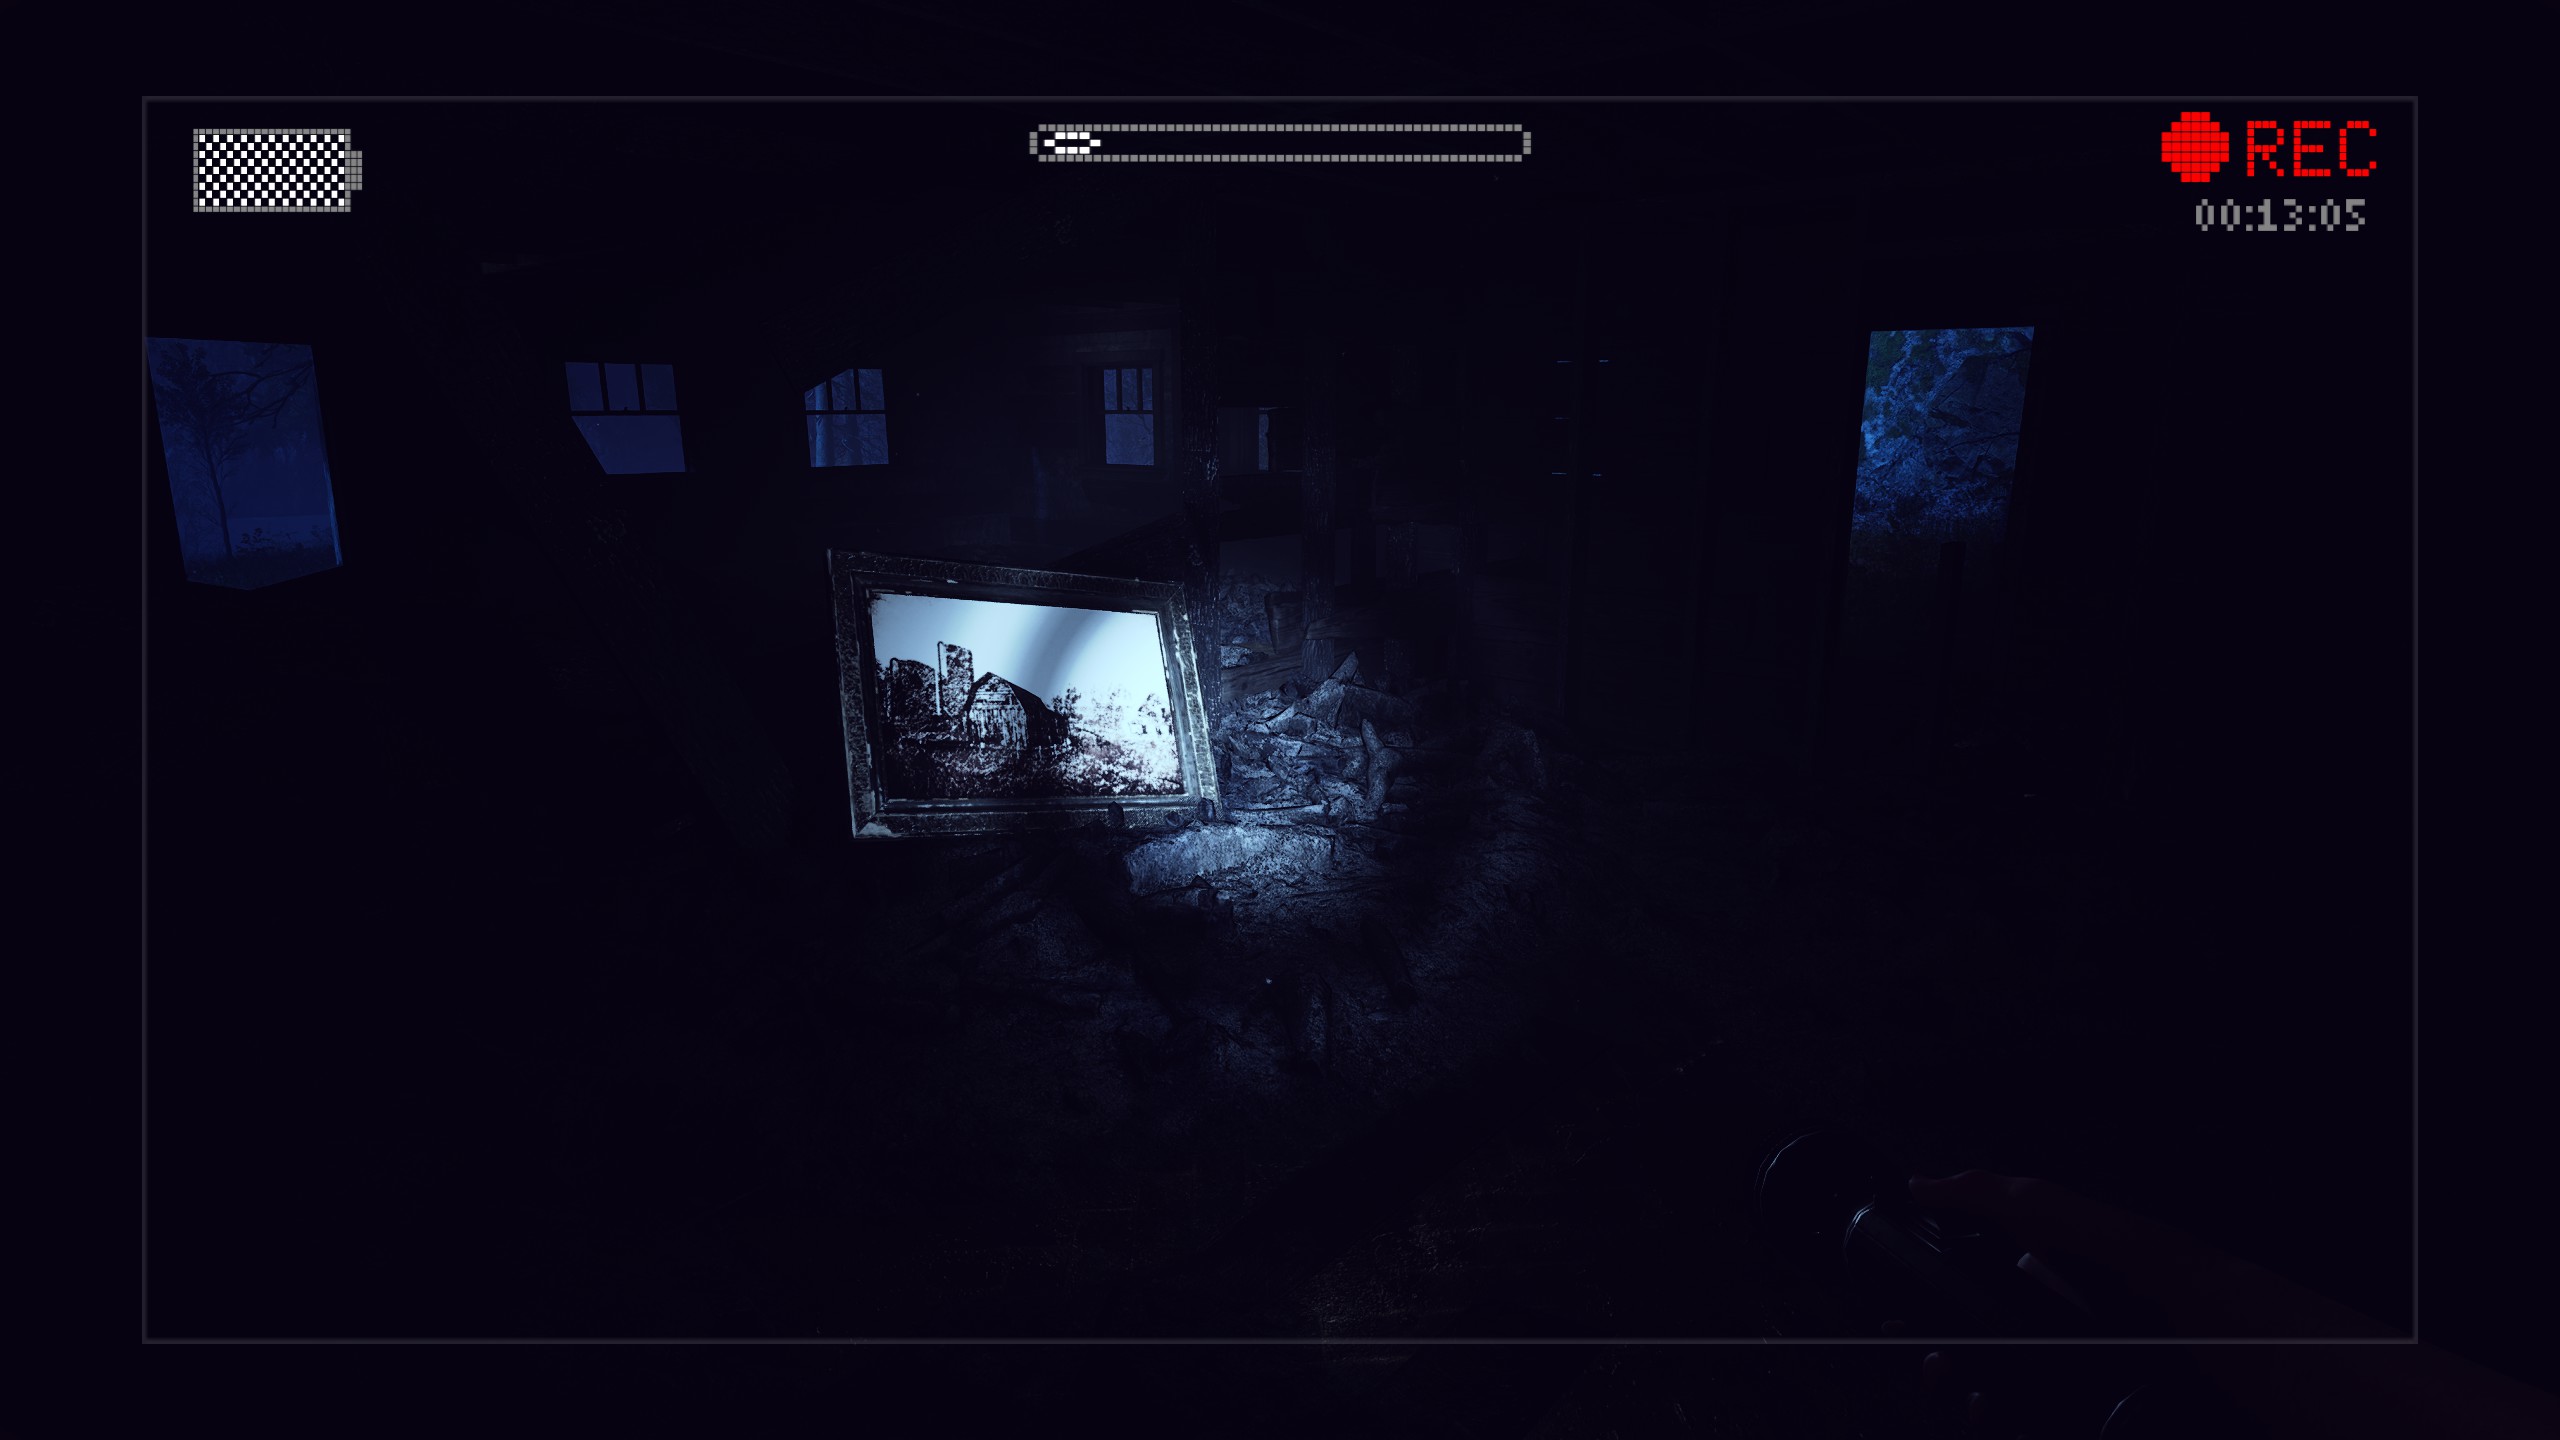
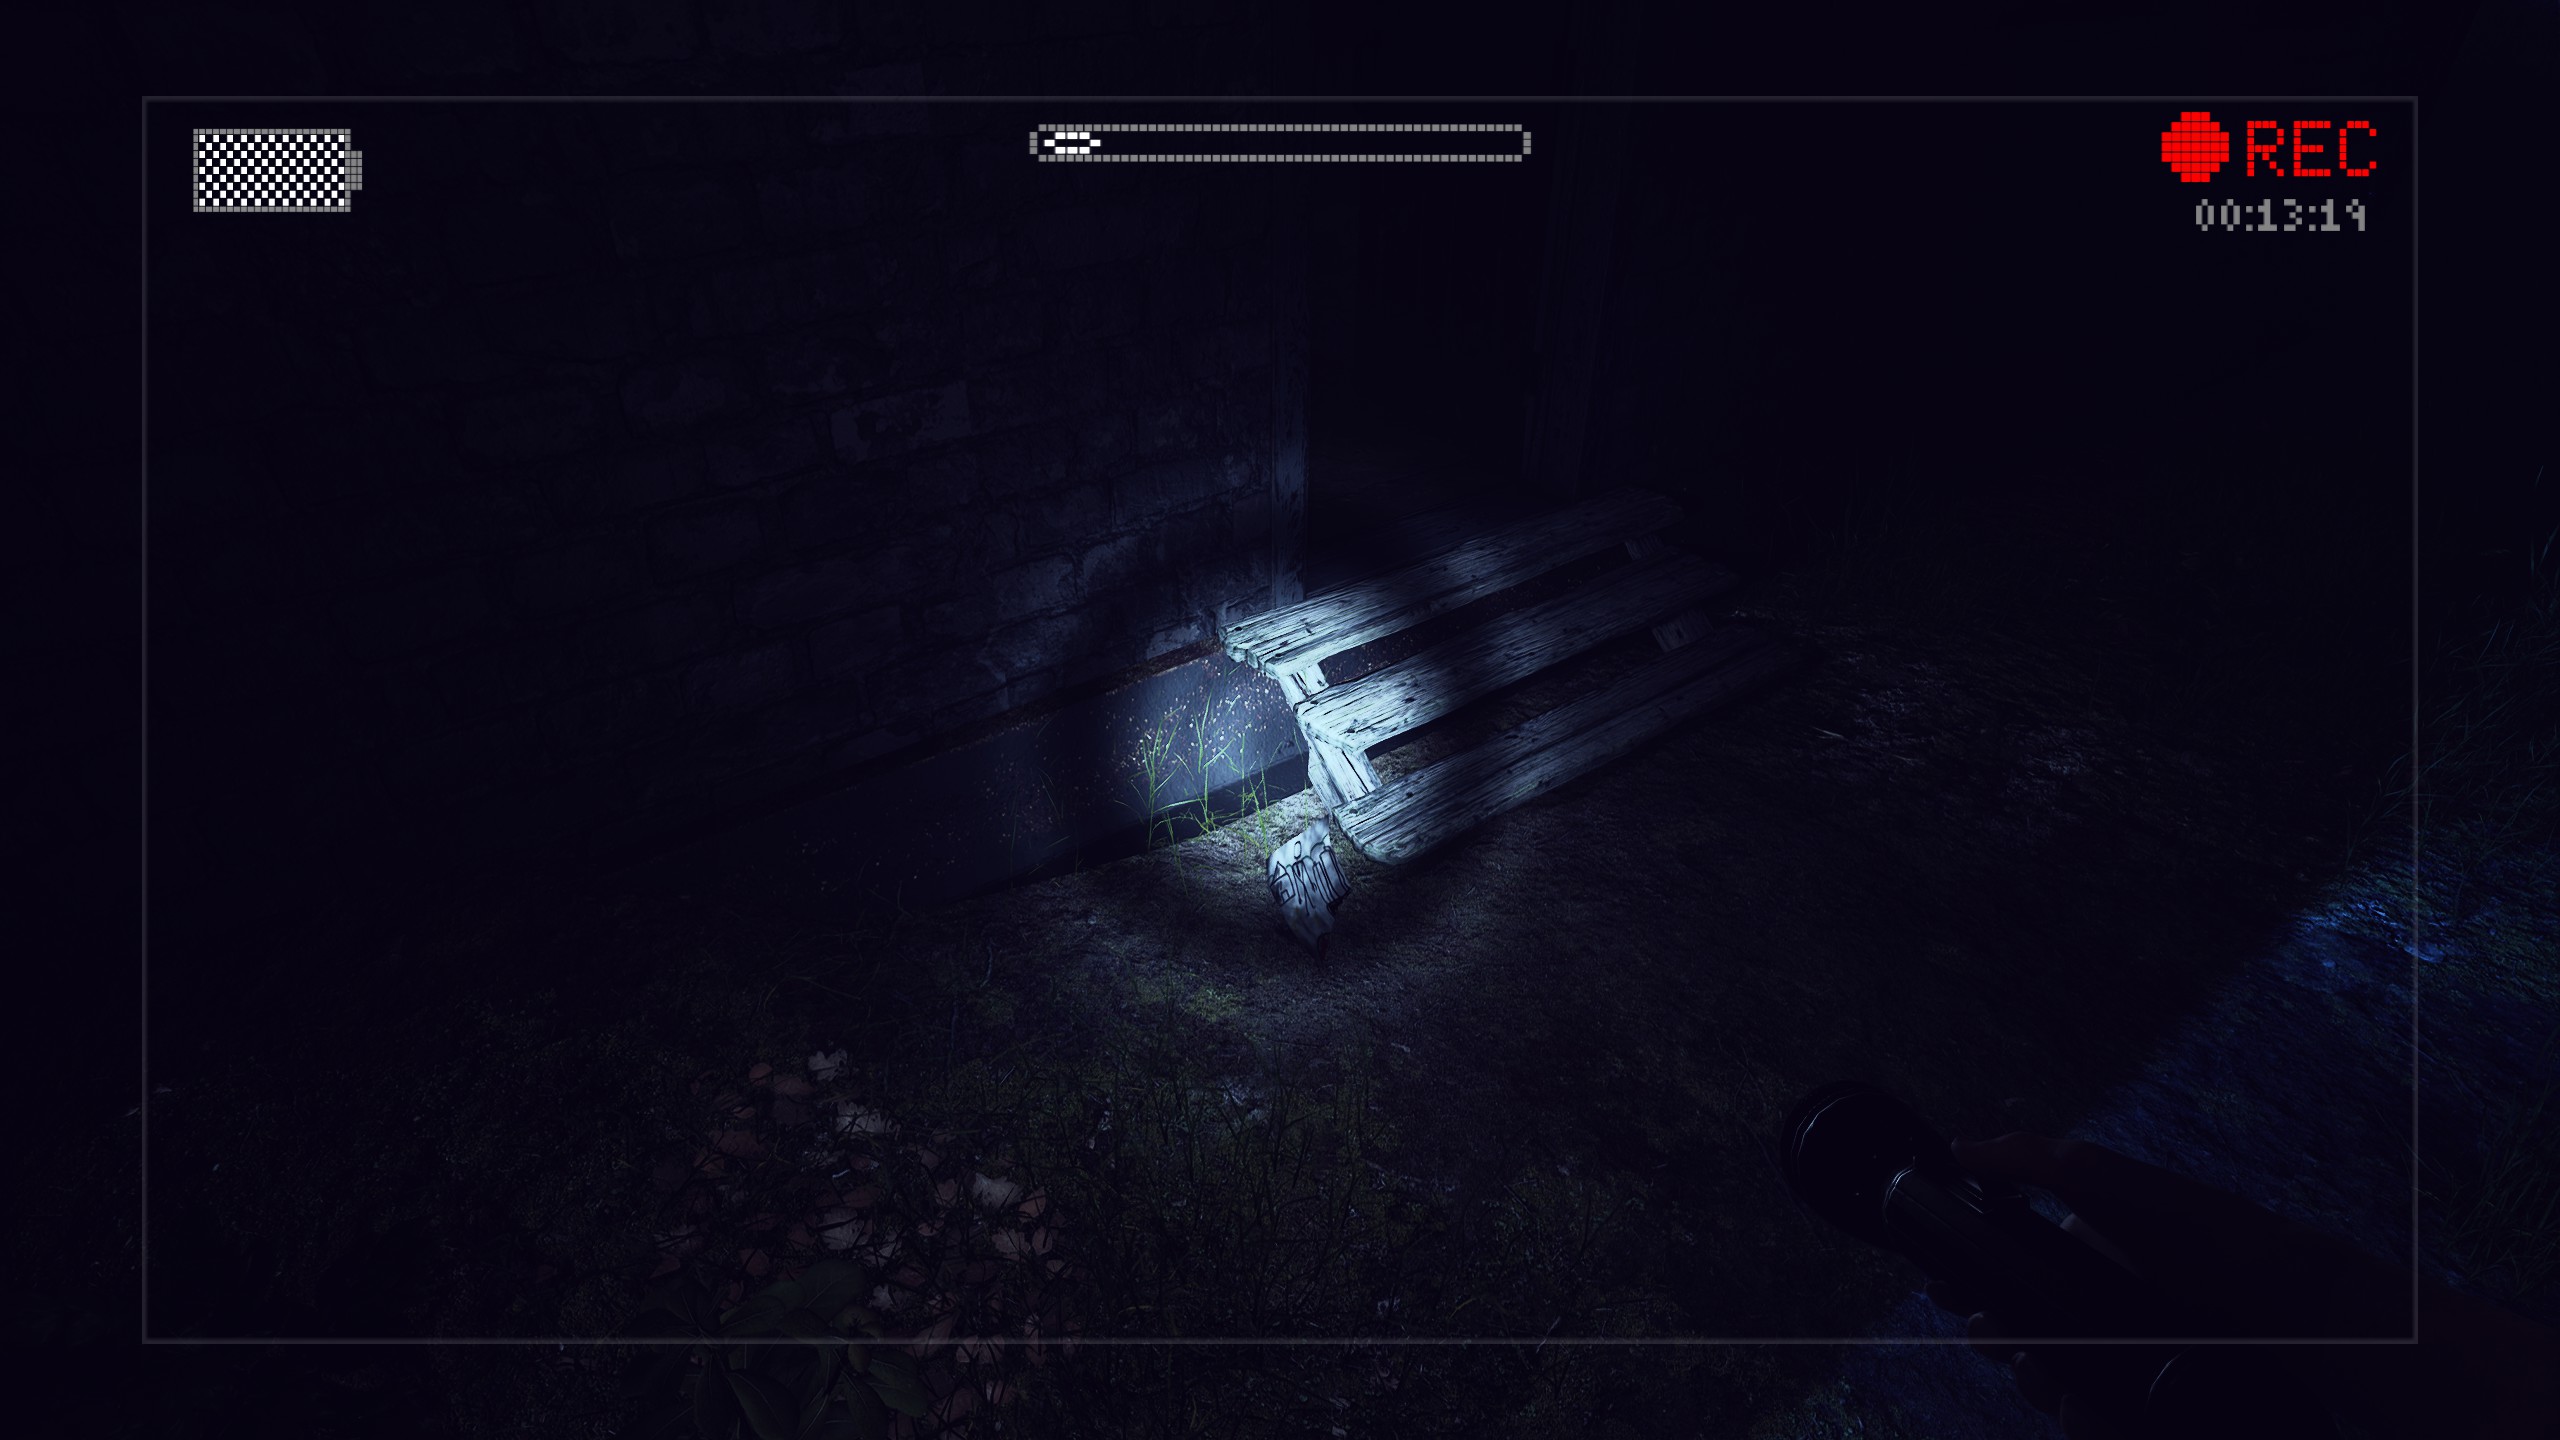
Items #10, #11, and #12 are all located in the old Matheson house near the end of the chapter. The scorched note and framed picture can easily be discovered by looking around inside of the ruins, and Charlie’s drawing can be found half-buried in some dirt behind the house.
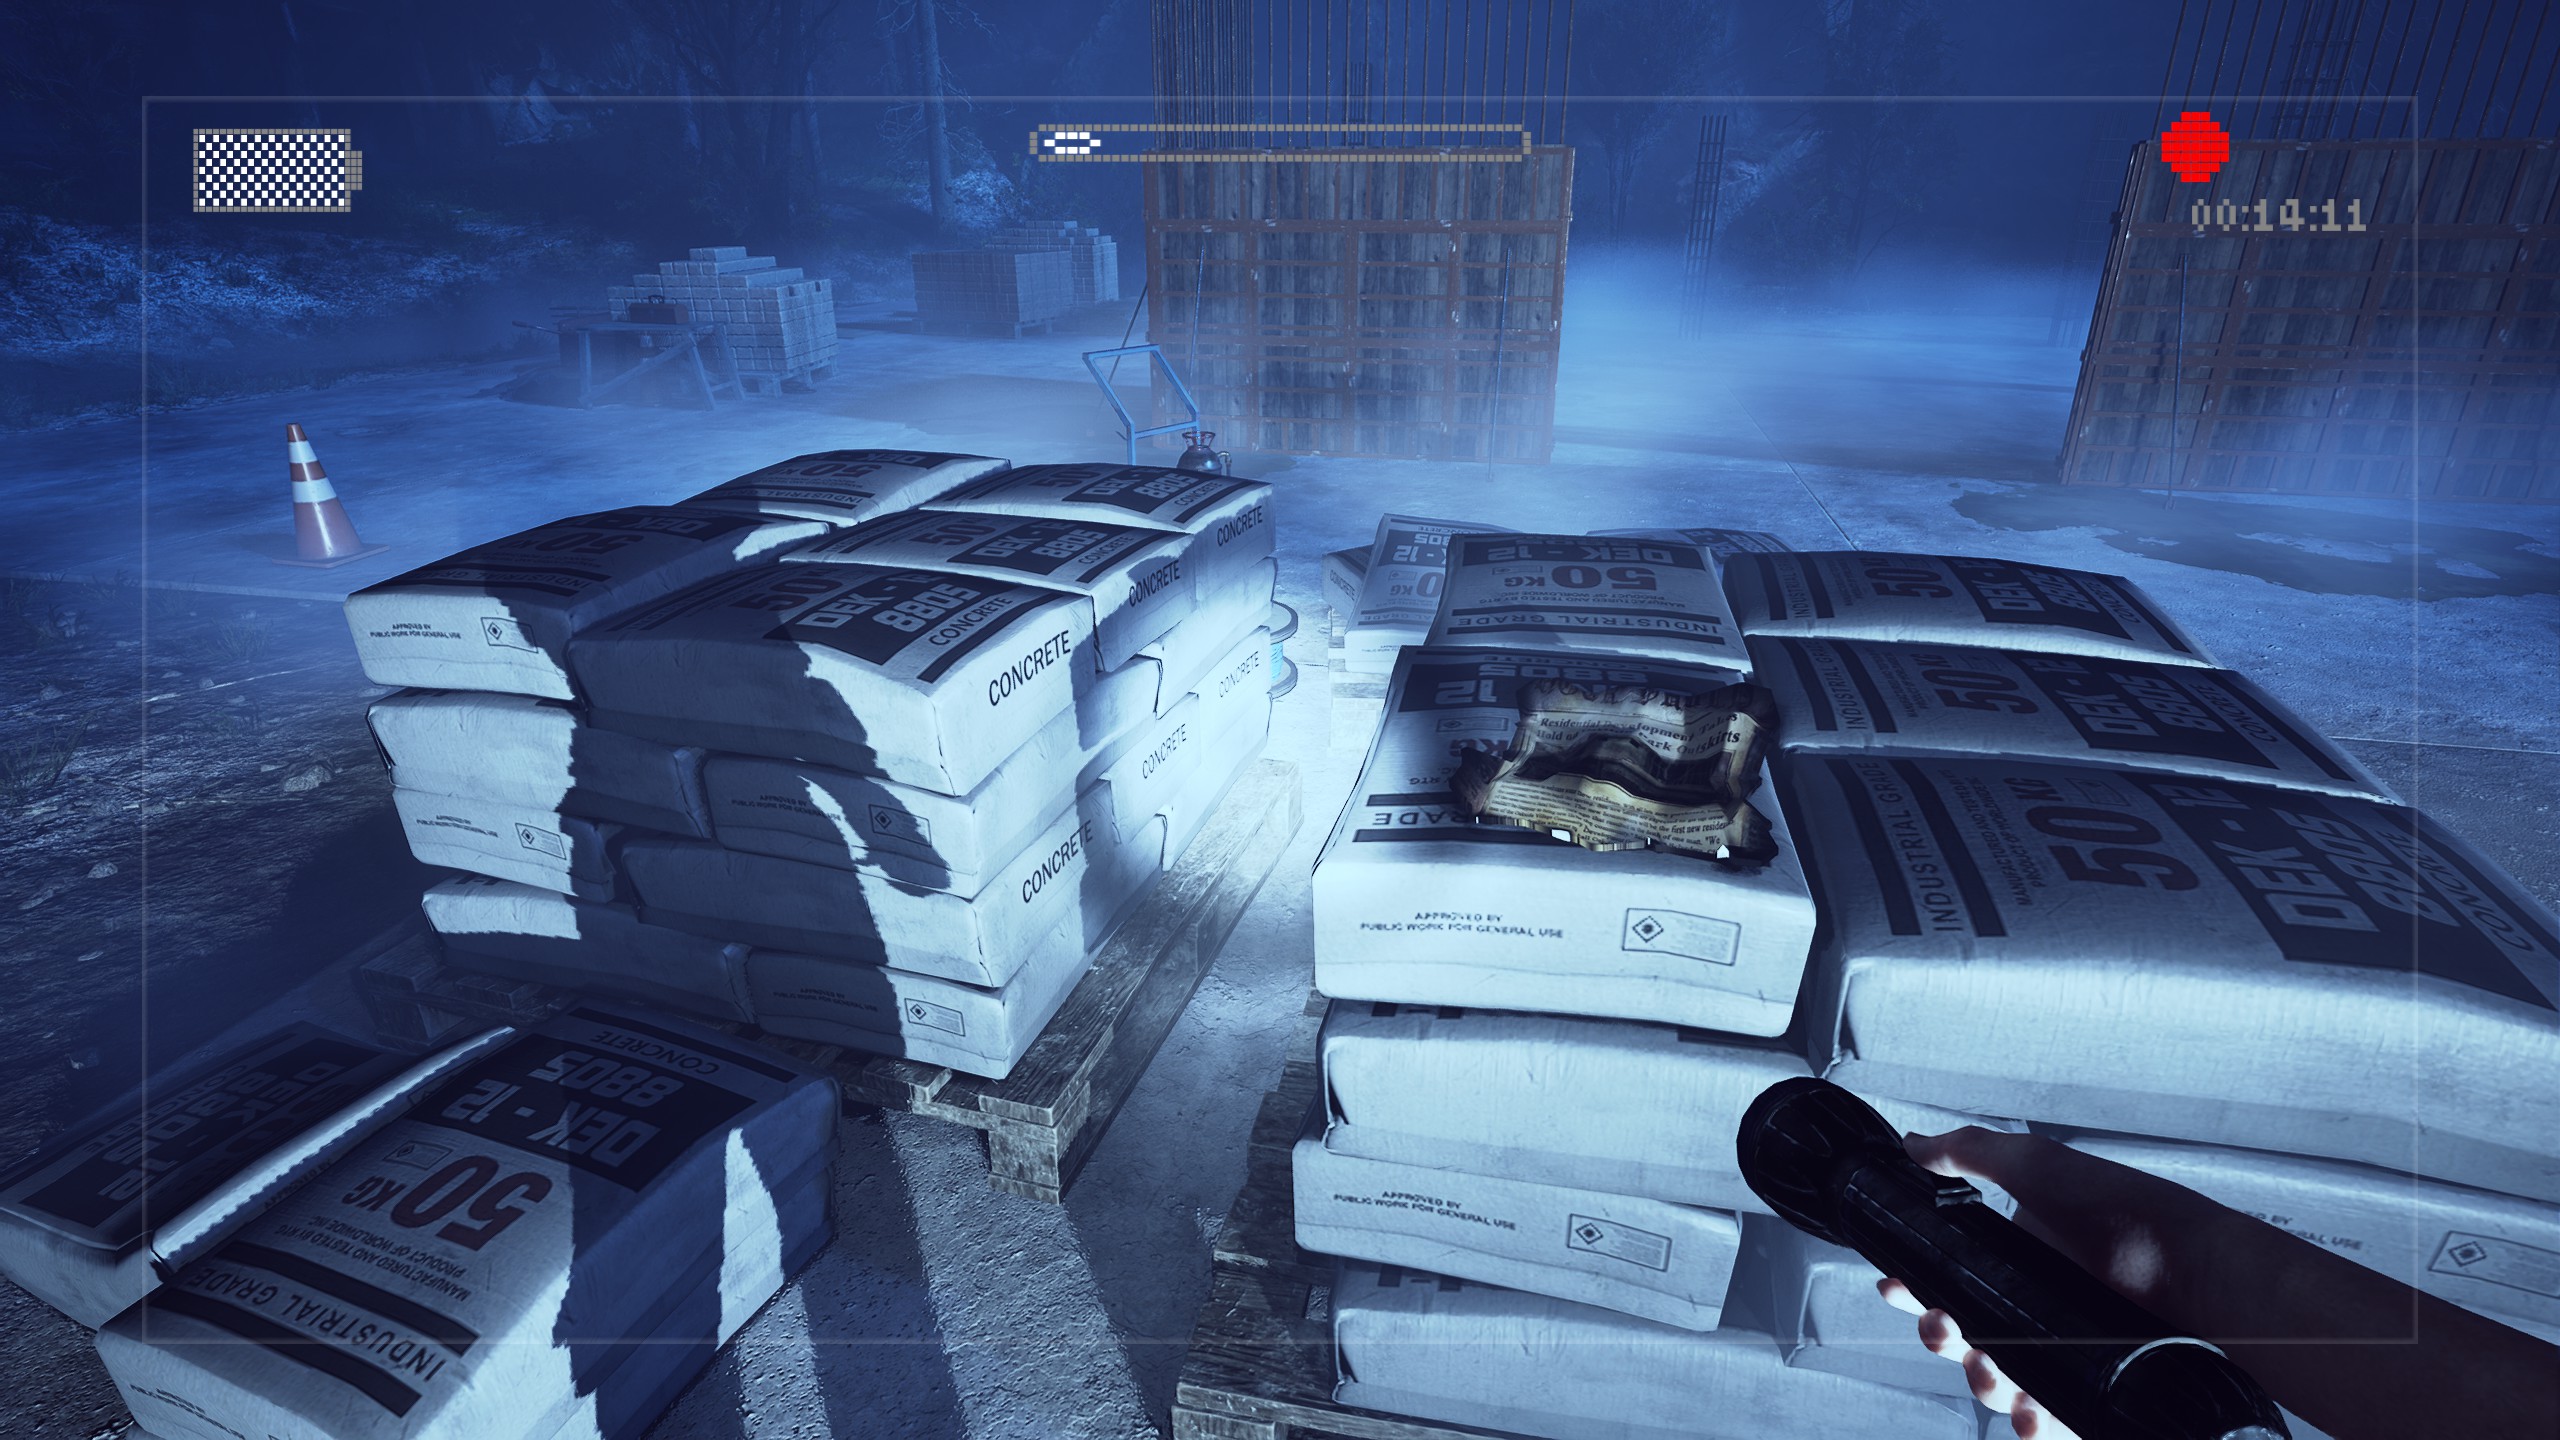
Item #13 is found at the construction site near the burned house. Search the materials on the left to find it.
Item #14 is impossible to miss, as collecting it is the only way to progress to the next level.
The Eight Pages
Items #15, #16, and #17 can all be found at the first building you see as you make your way into Oakside Park.
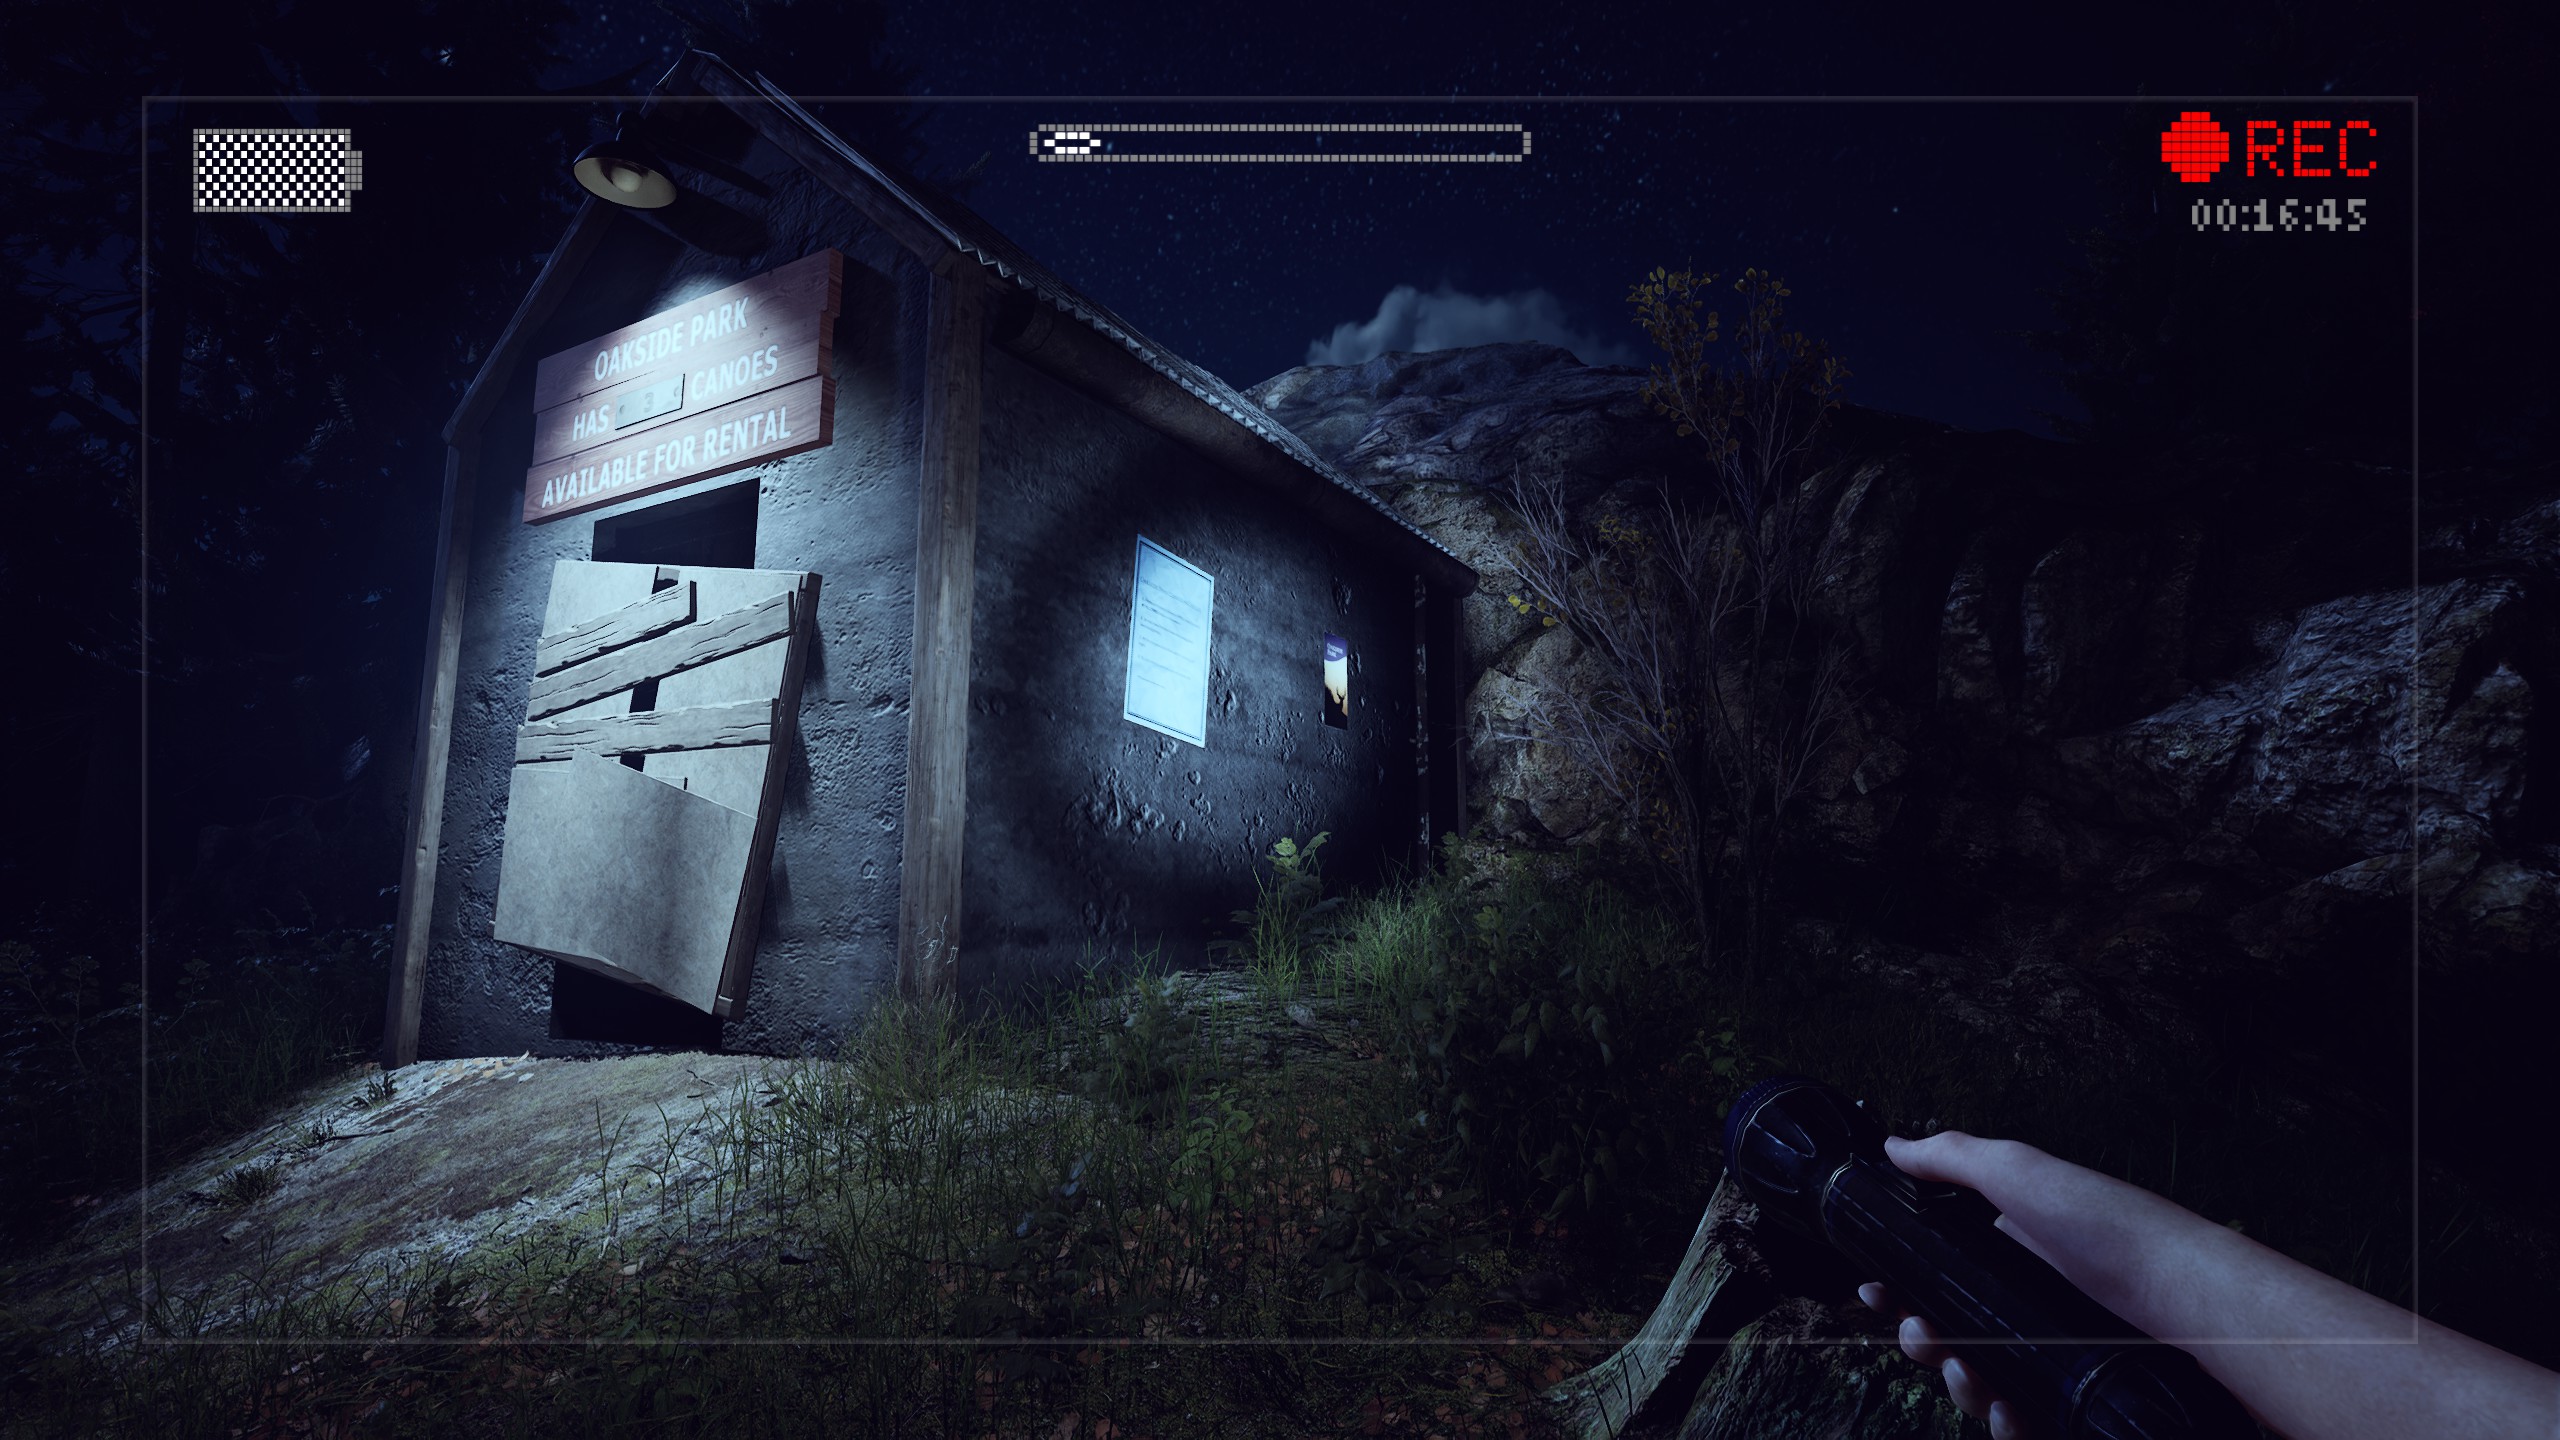
Keep in mind that the starting point for this level is randomized, so you’ll begin in one of four different areas every time you play it. No matter which location you end up at, the collectibles will always be in close proximity to each other.
Into The Abyss
Much like the last level, this one has multiple starting points that are randomized with each playthrough. To keep things simple, let’s start by heading to the dirt road at the center of the map, facing the Kullman Mine.
Turn left and walk straight ahead past the abandoned shack and slightly to the right, making your way toward the rock formation pictured below.
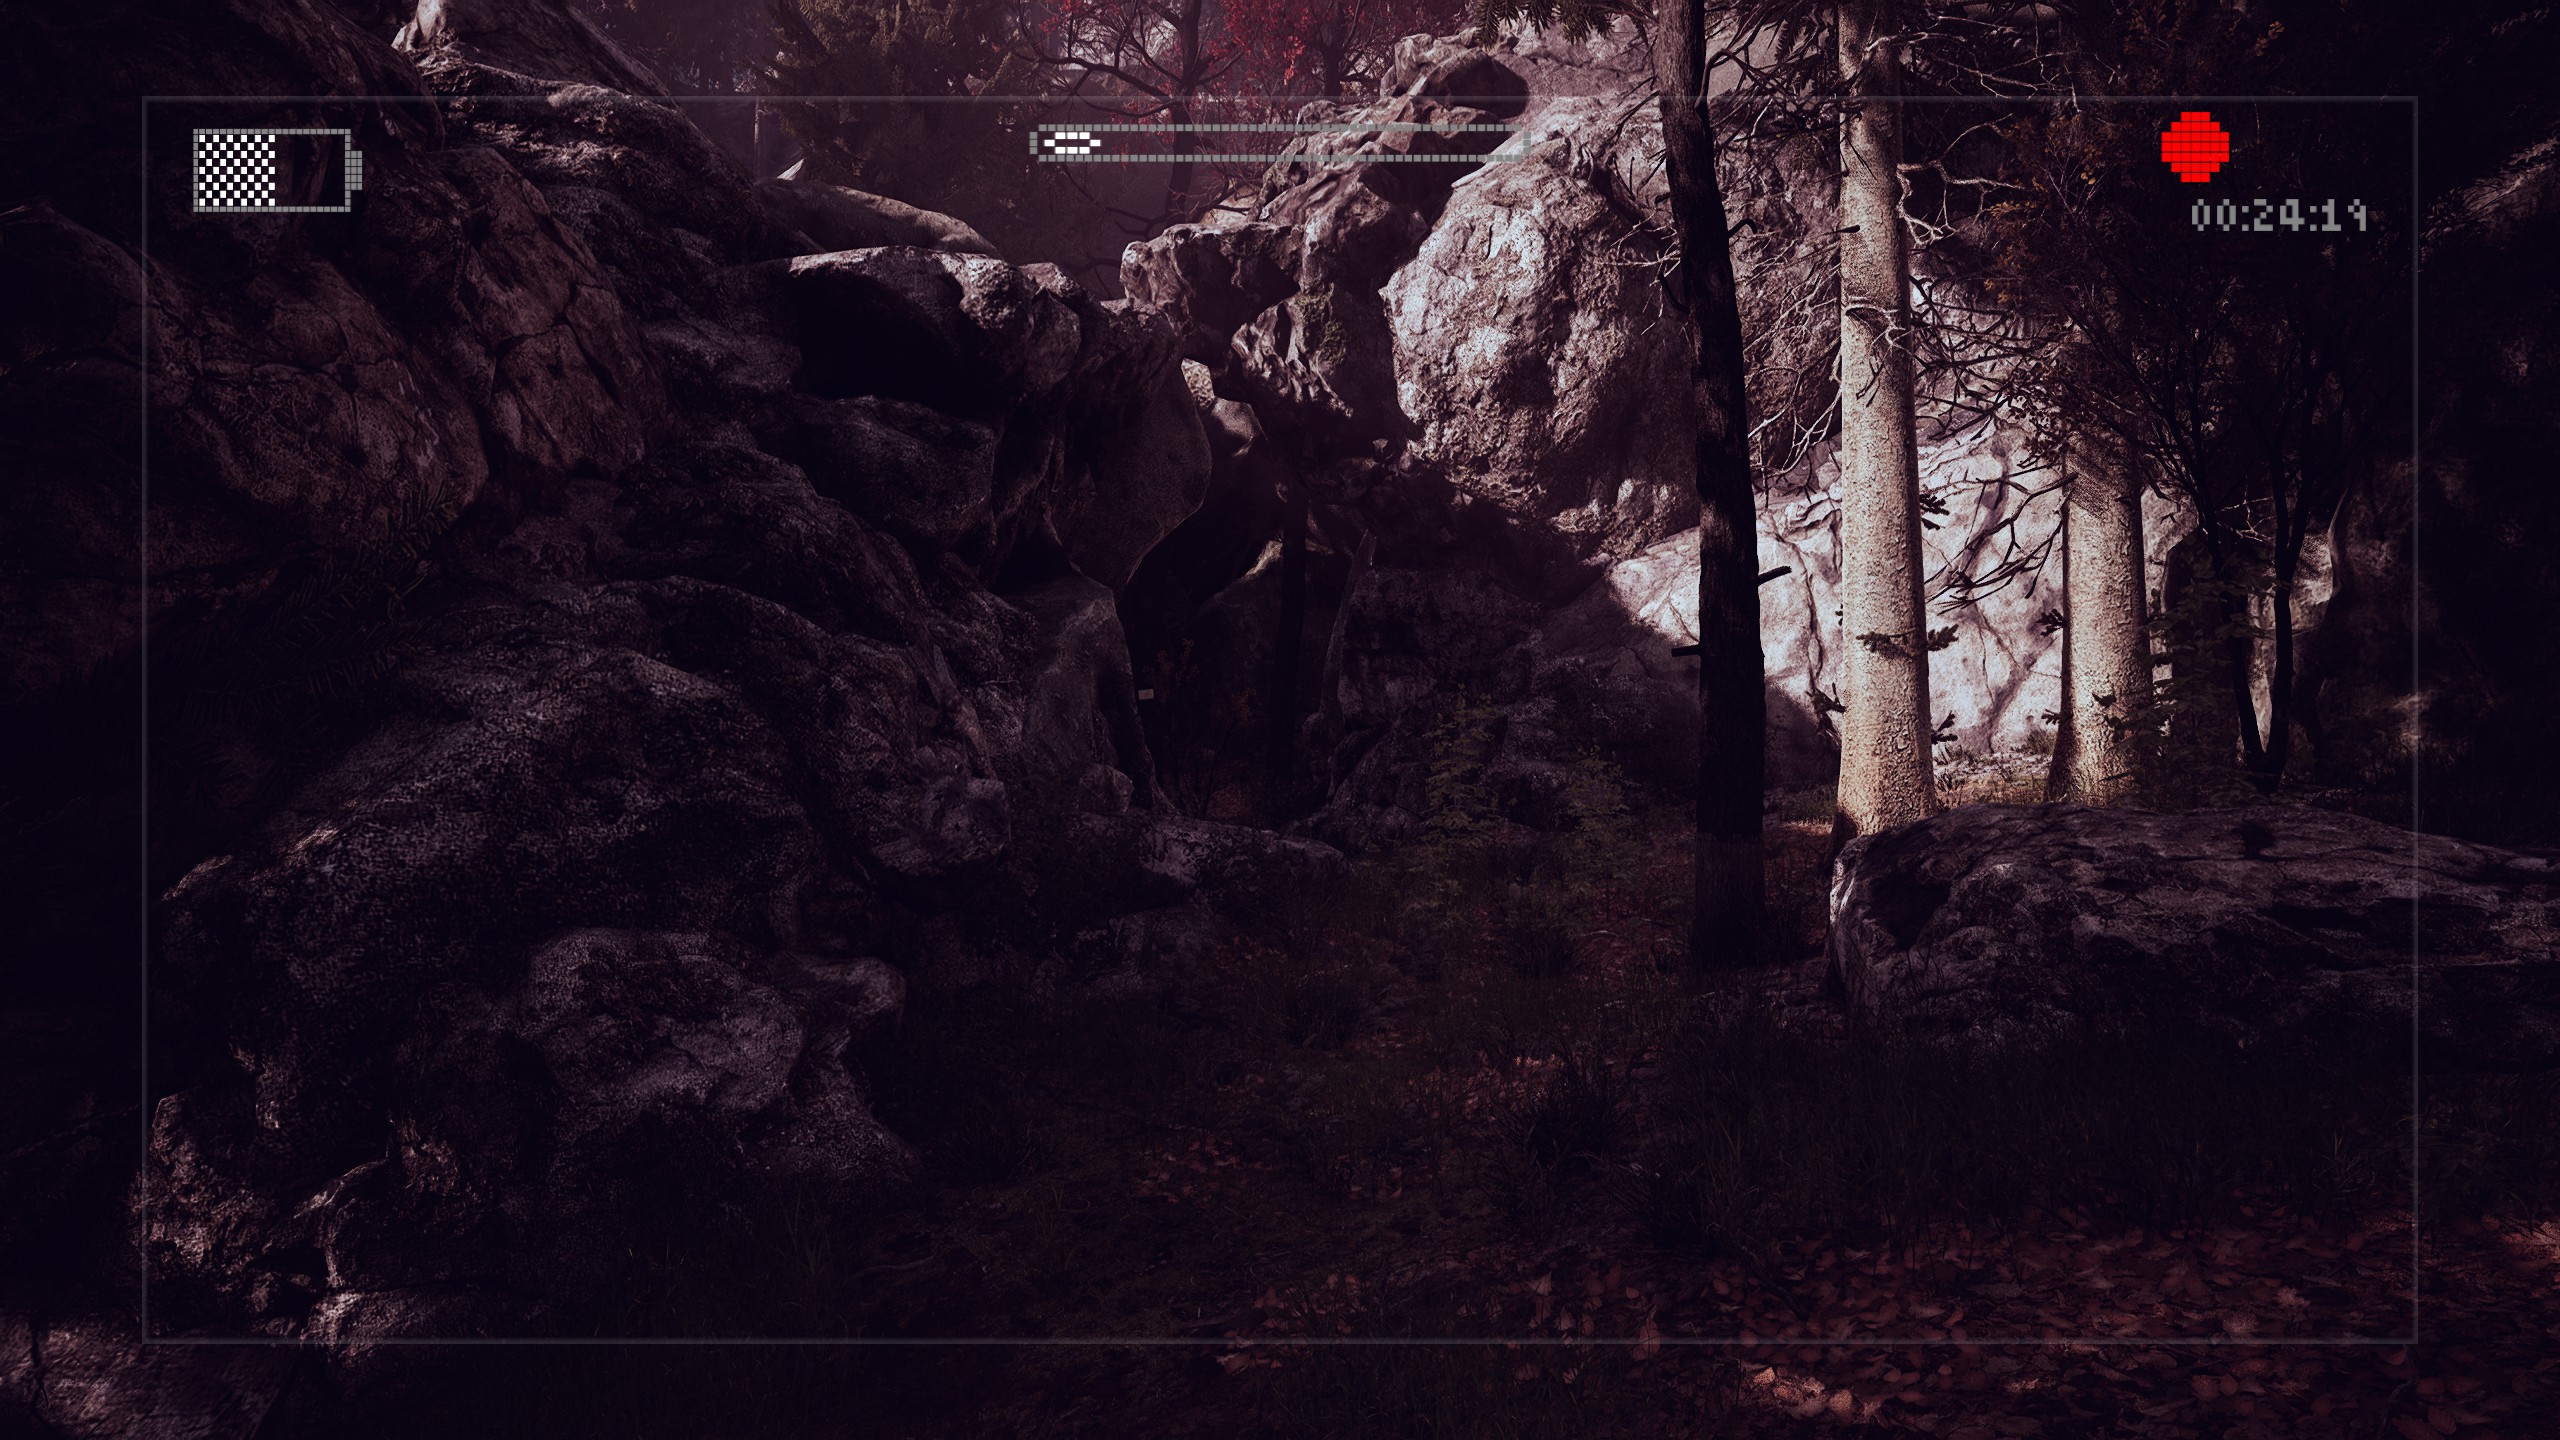
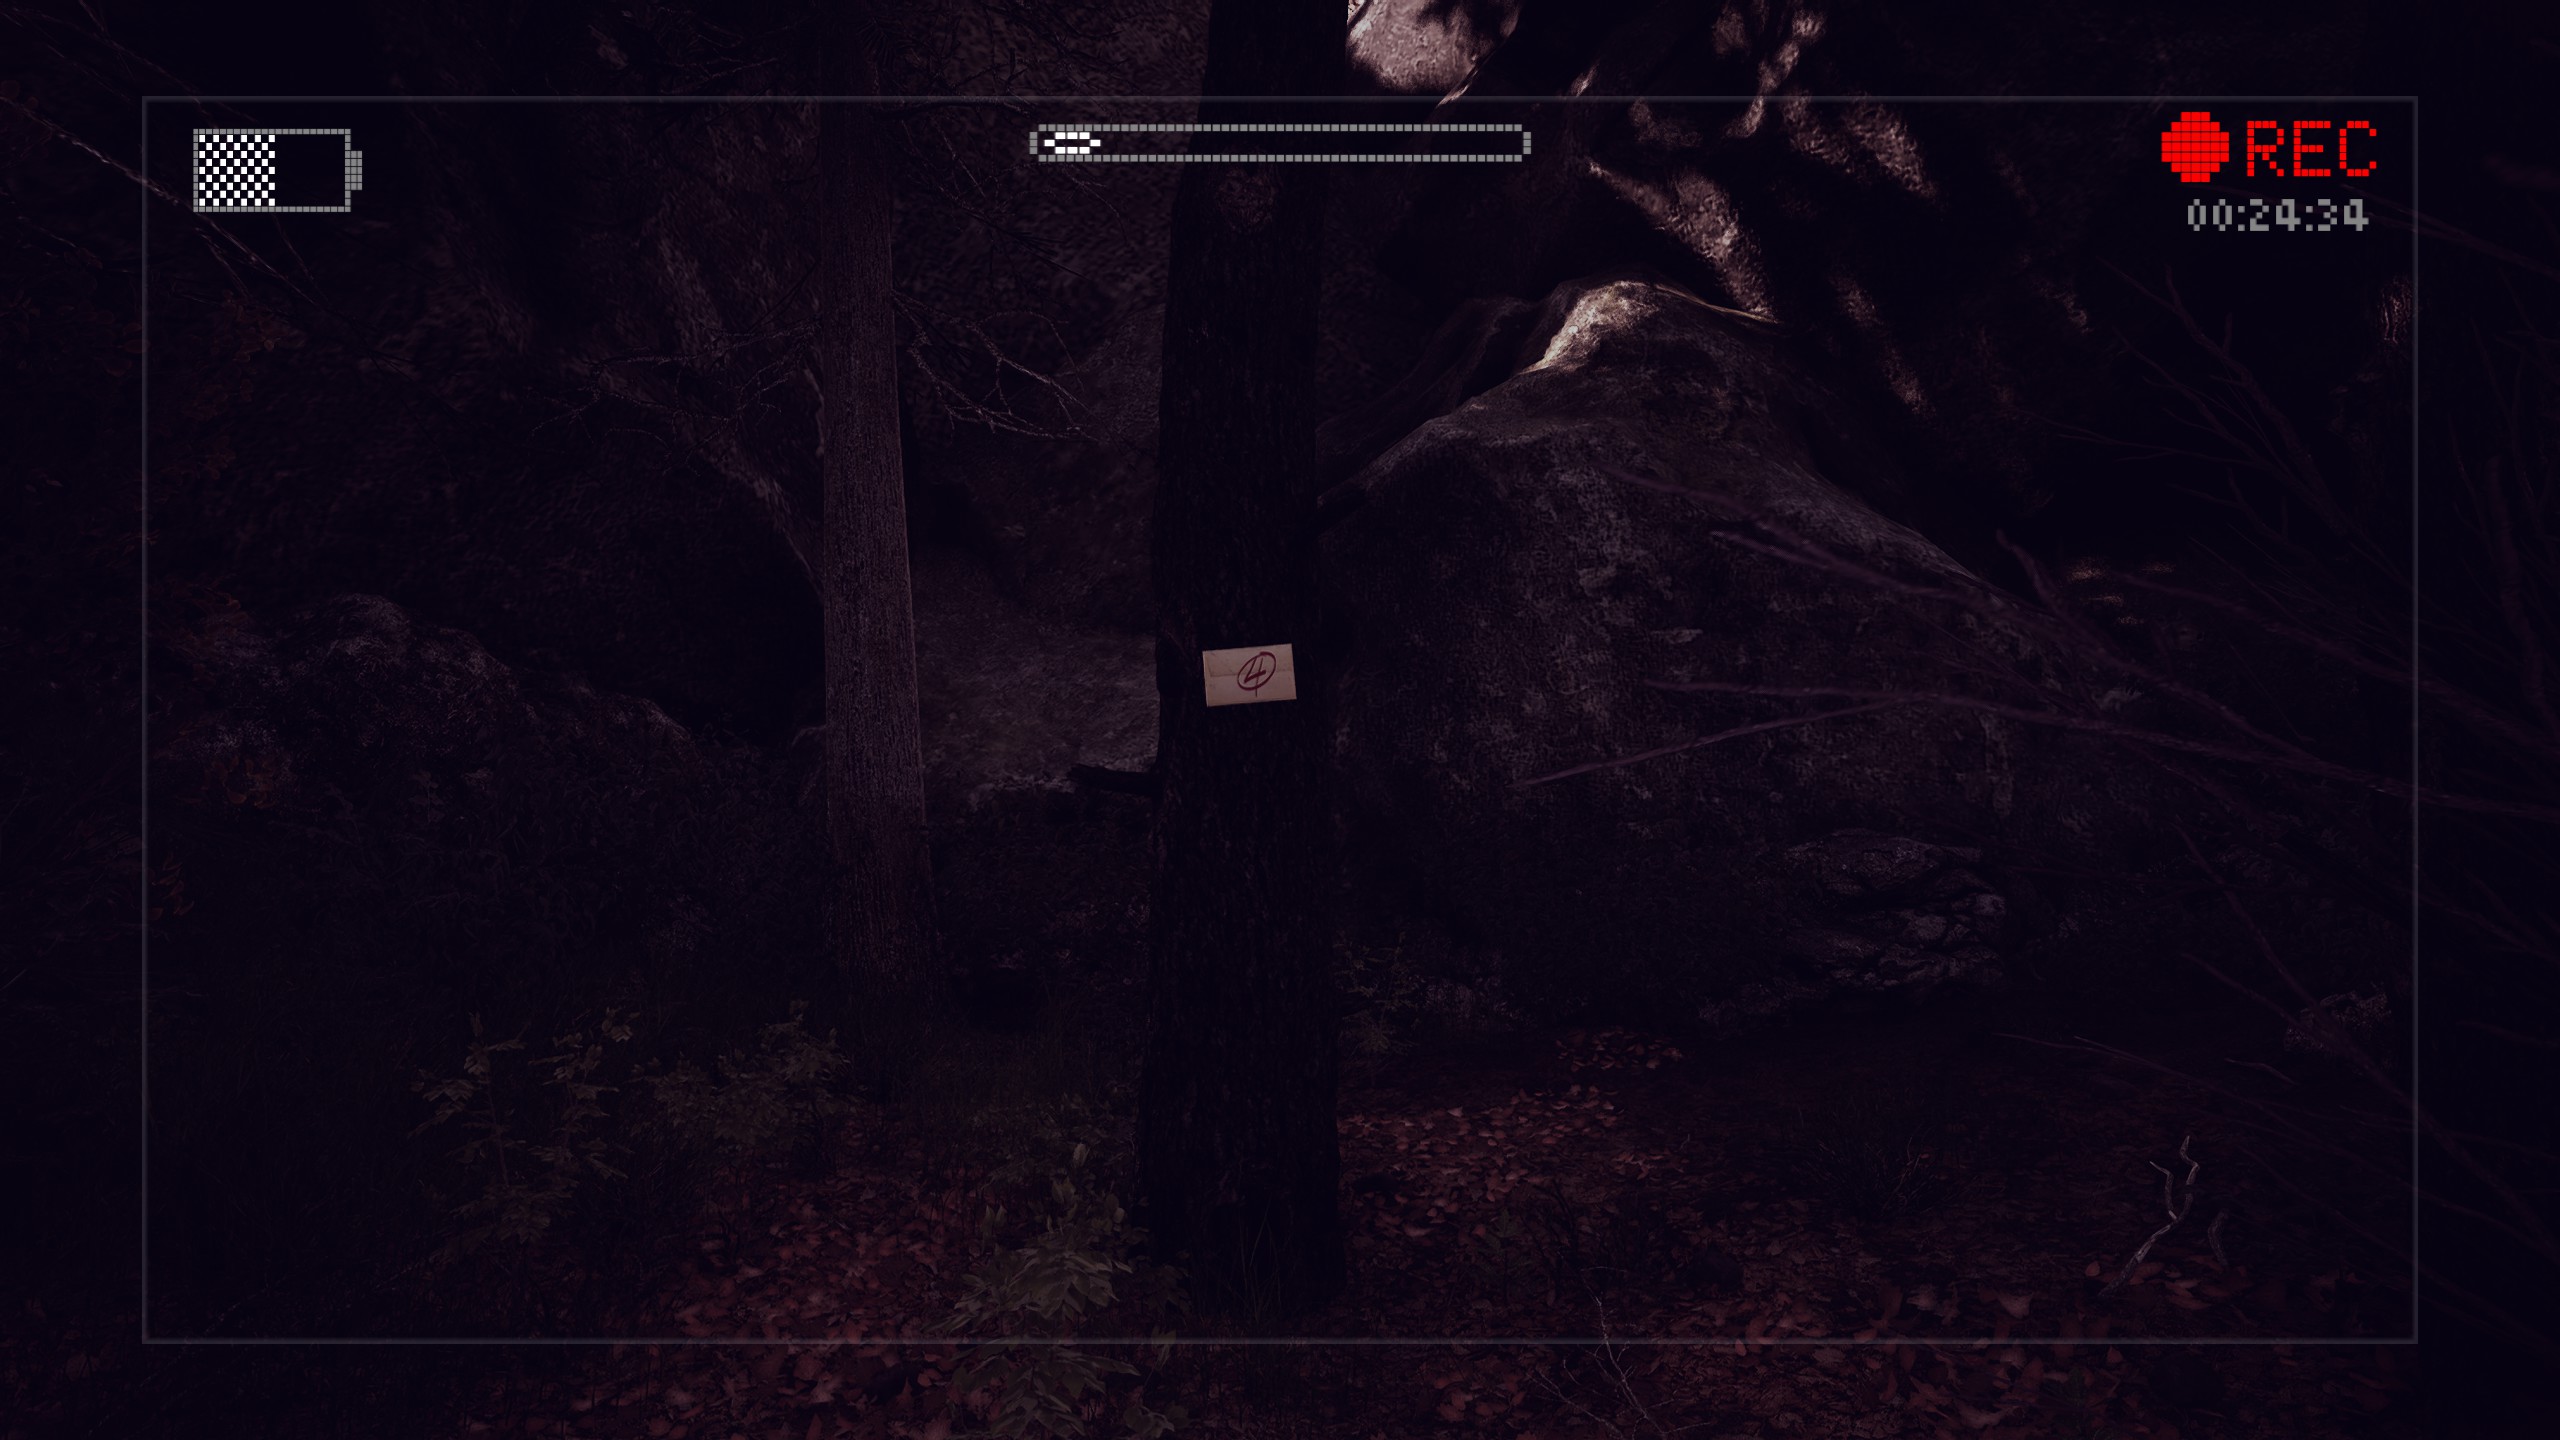
Pass through the opening to find
Item #18 stuck to a tree.
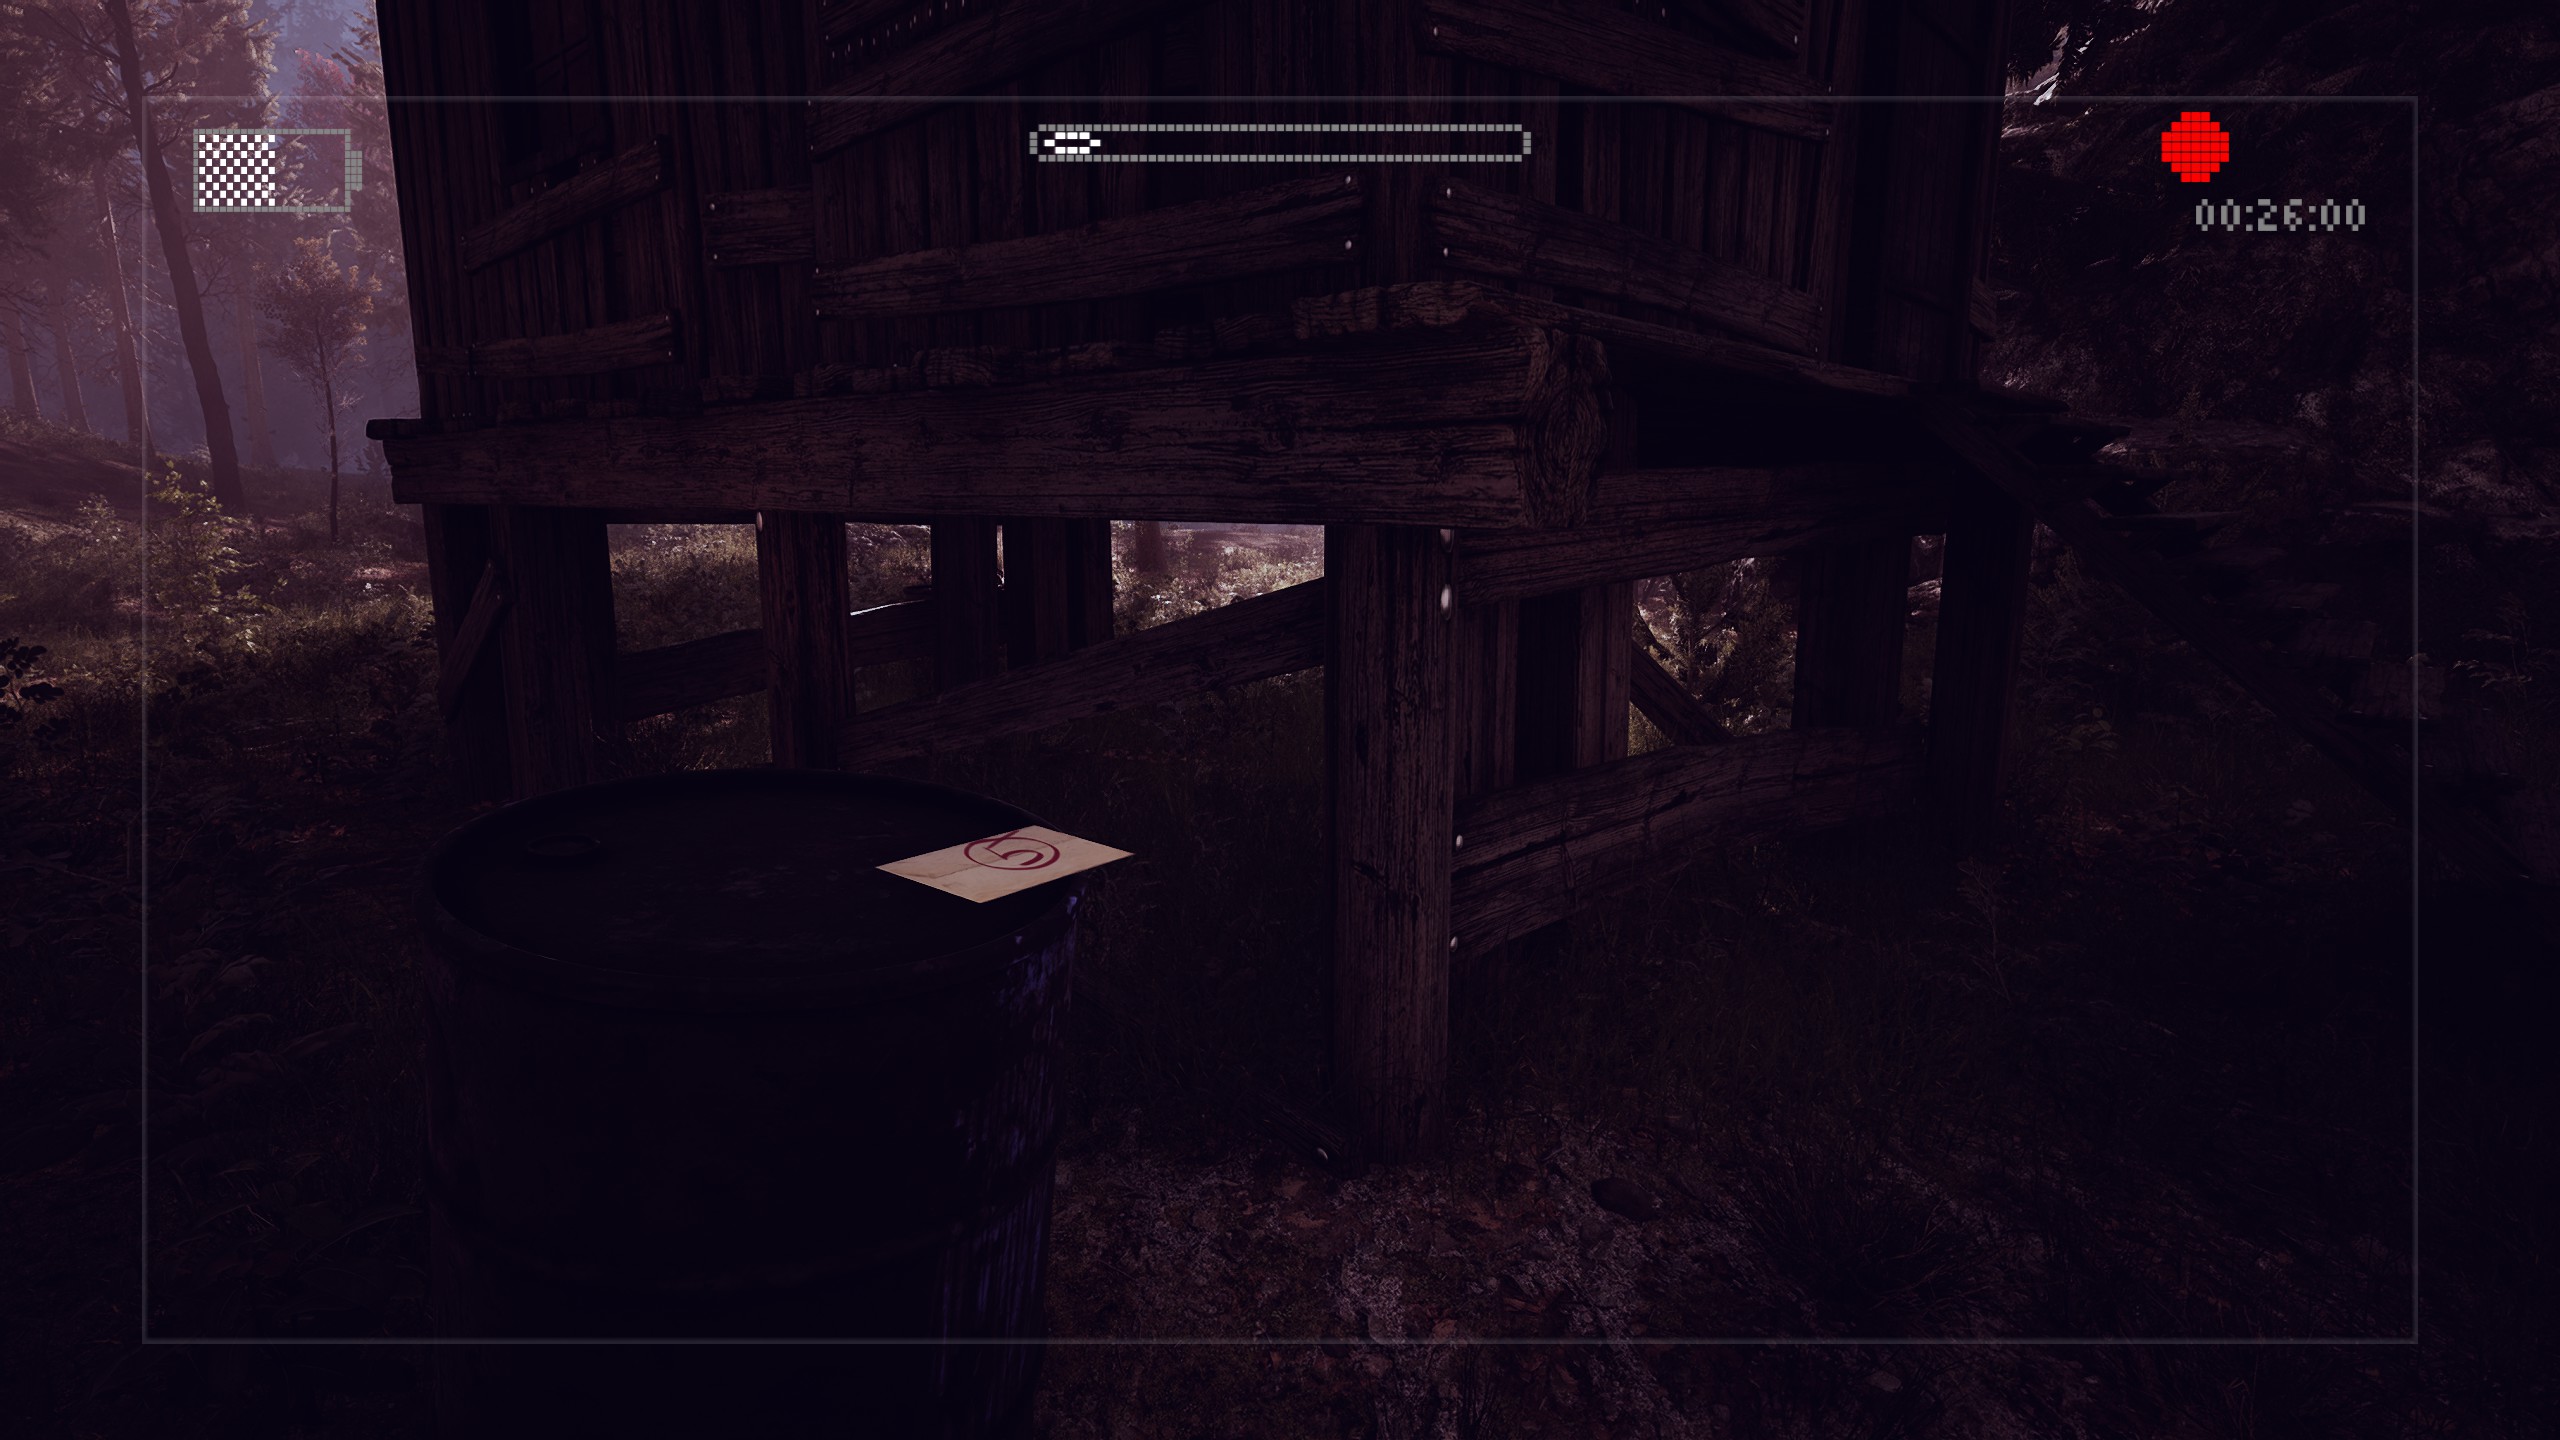
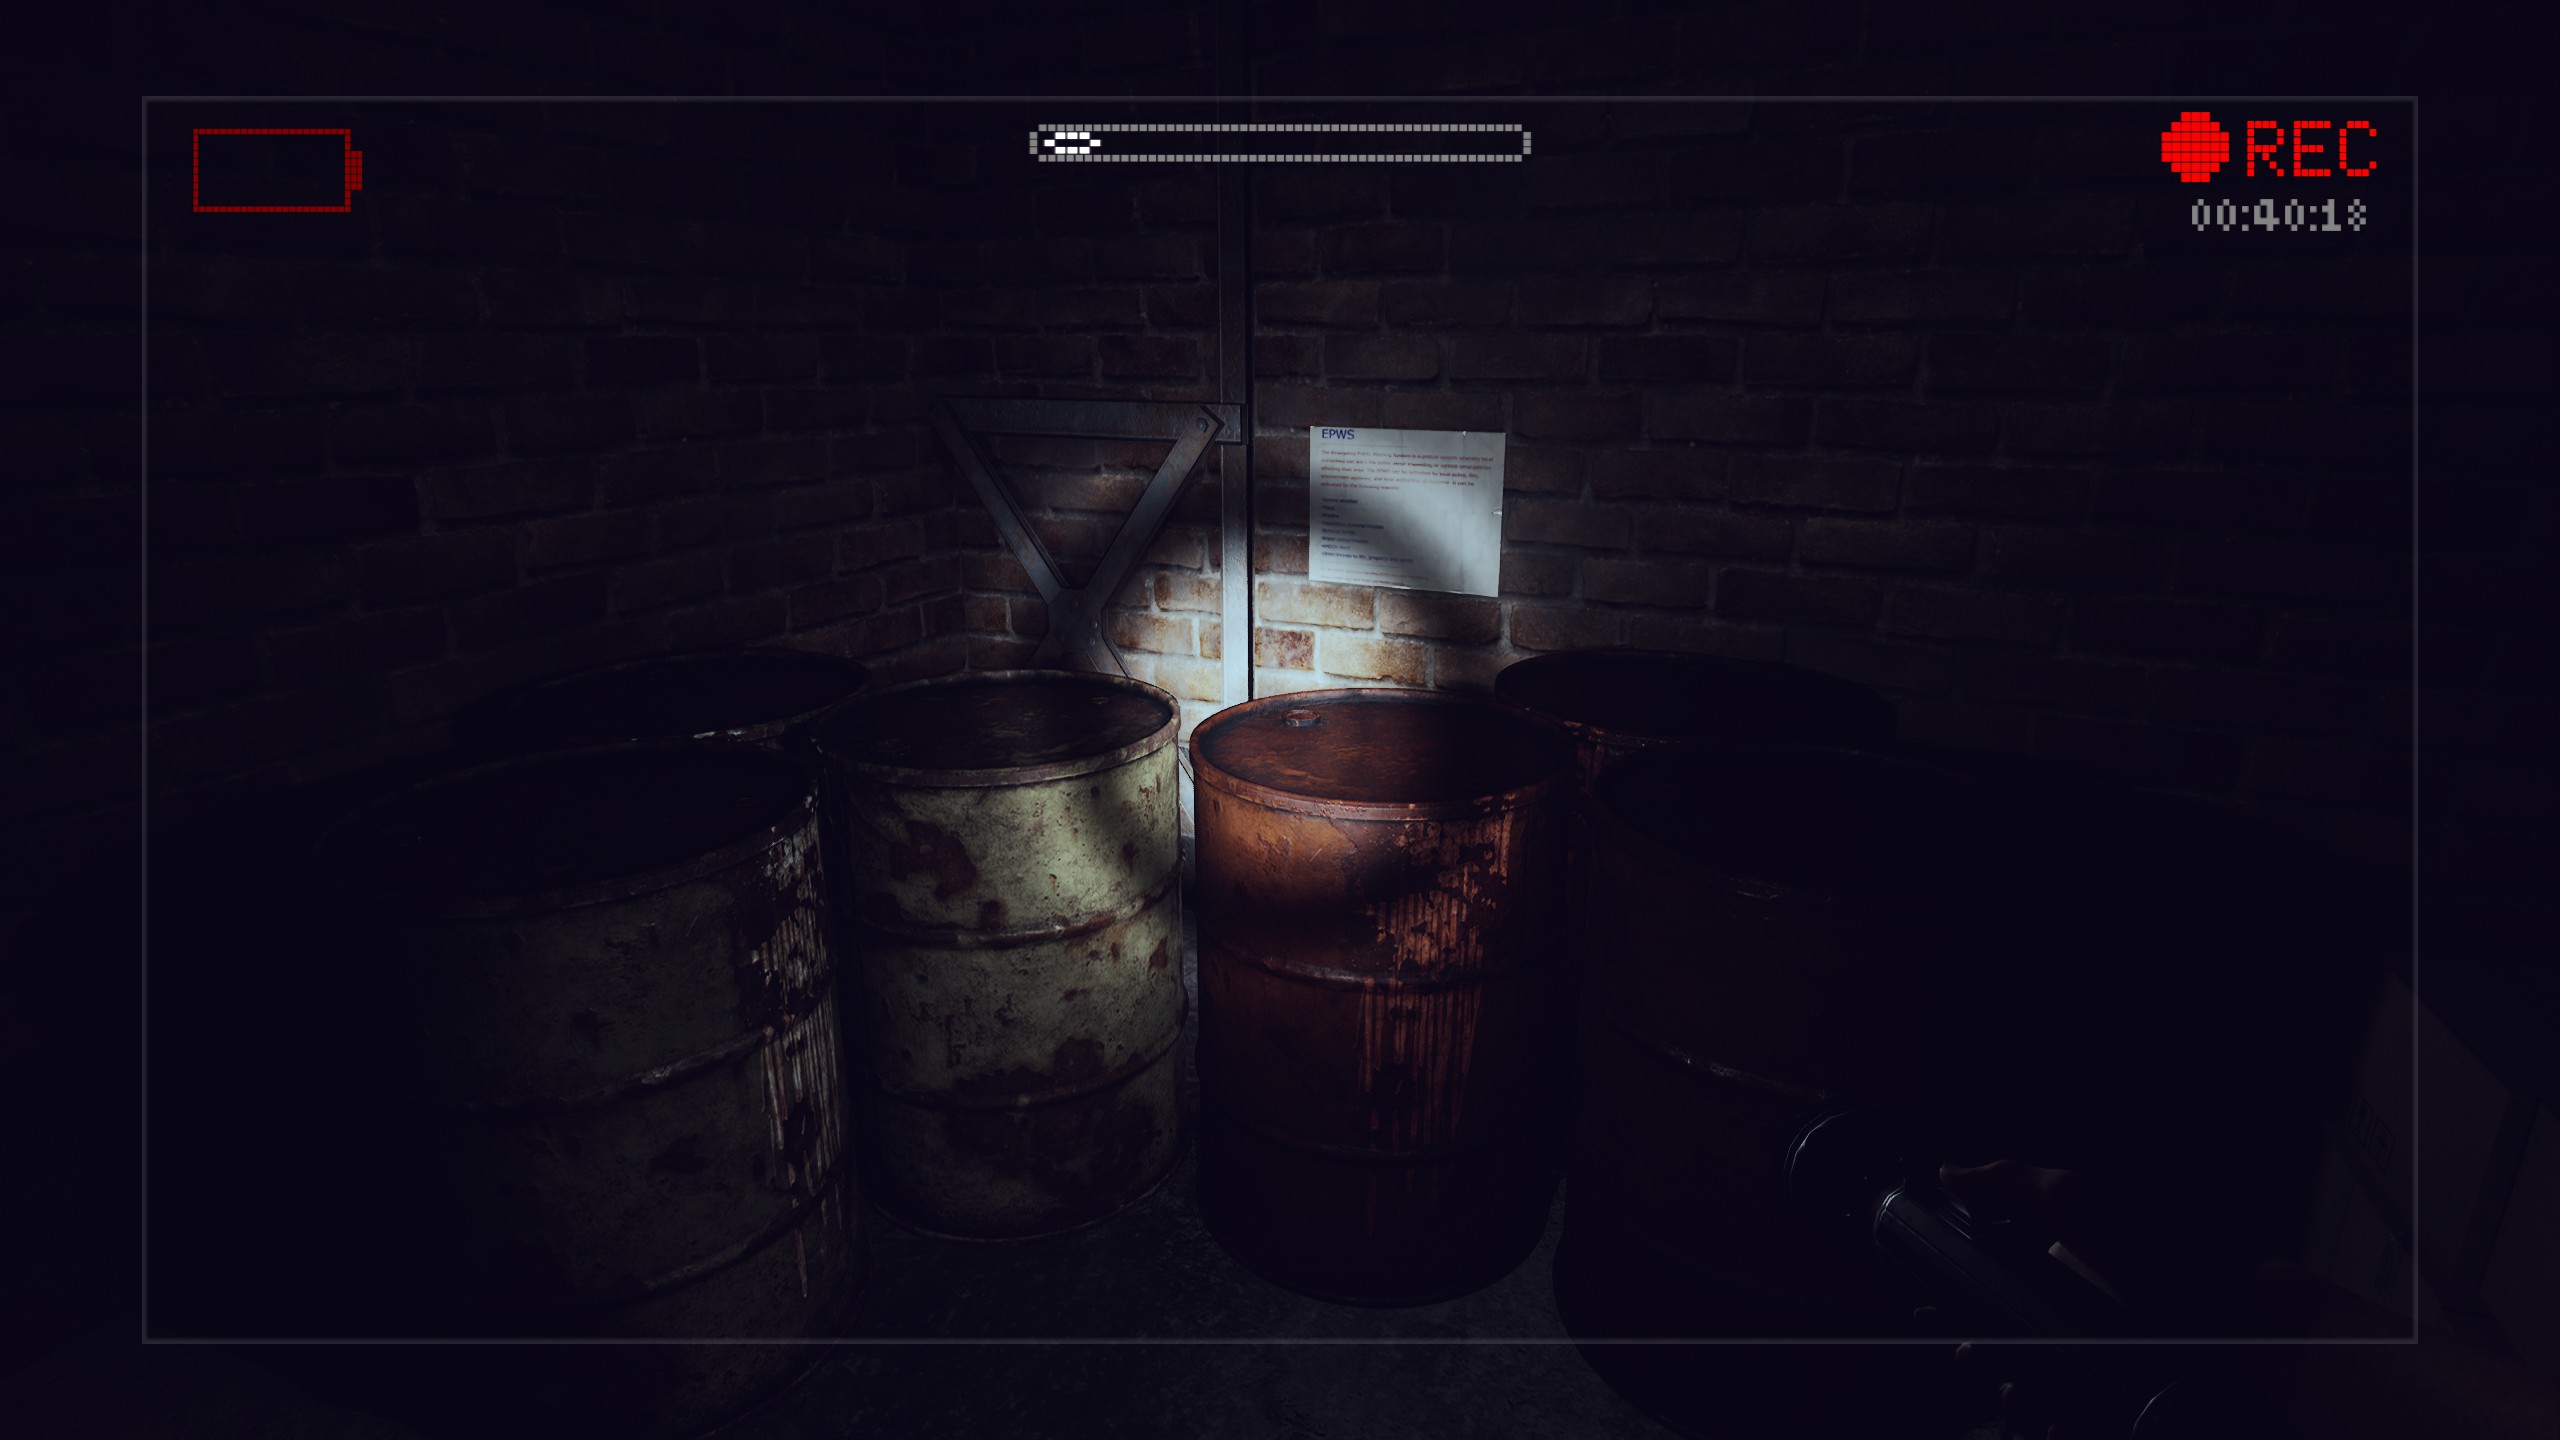
Back at our established starting point on the road, turn right and you should be able to see another abandoned structure. Make your way over to it to find
Item #19 sitting on top of one of the barrels beside the building.
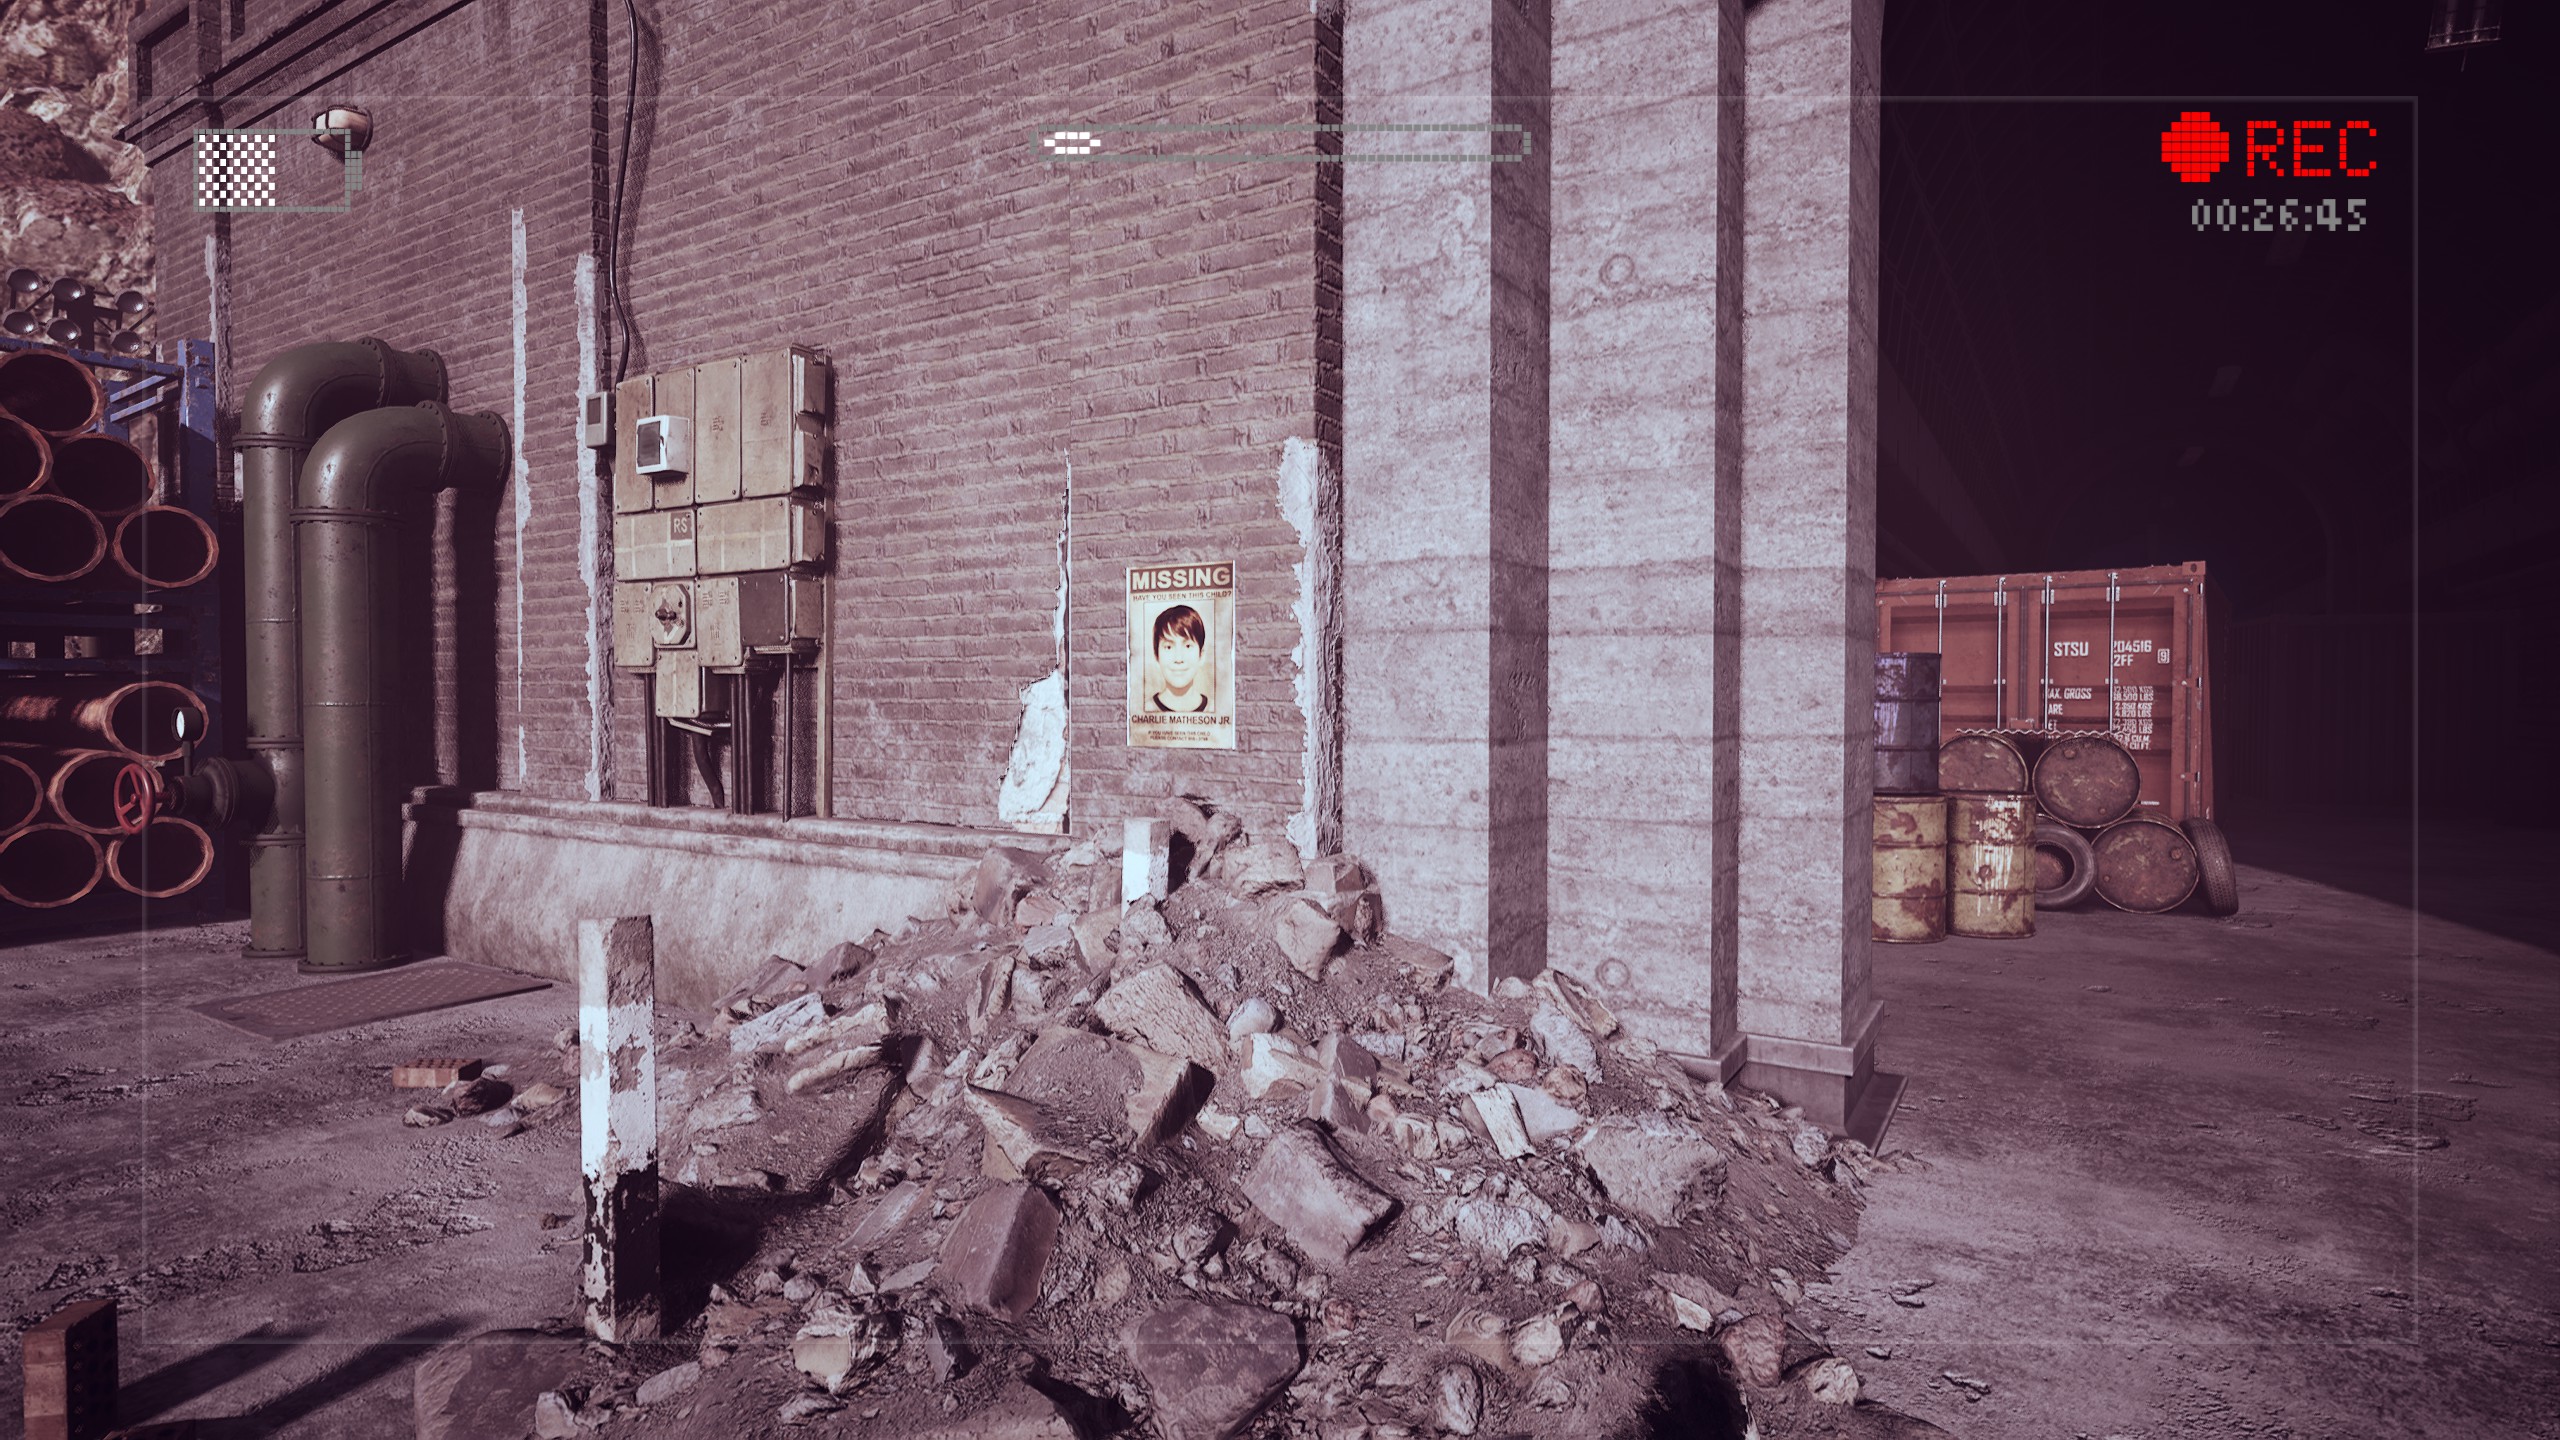
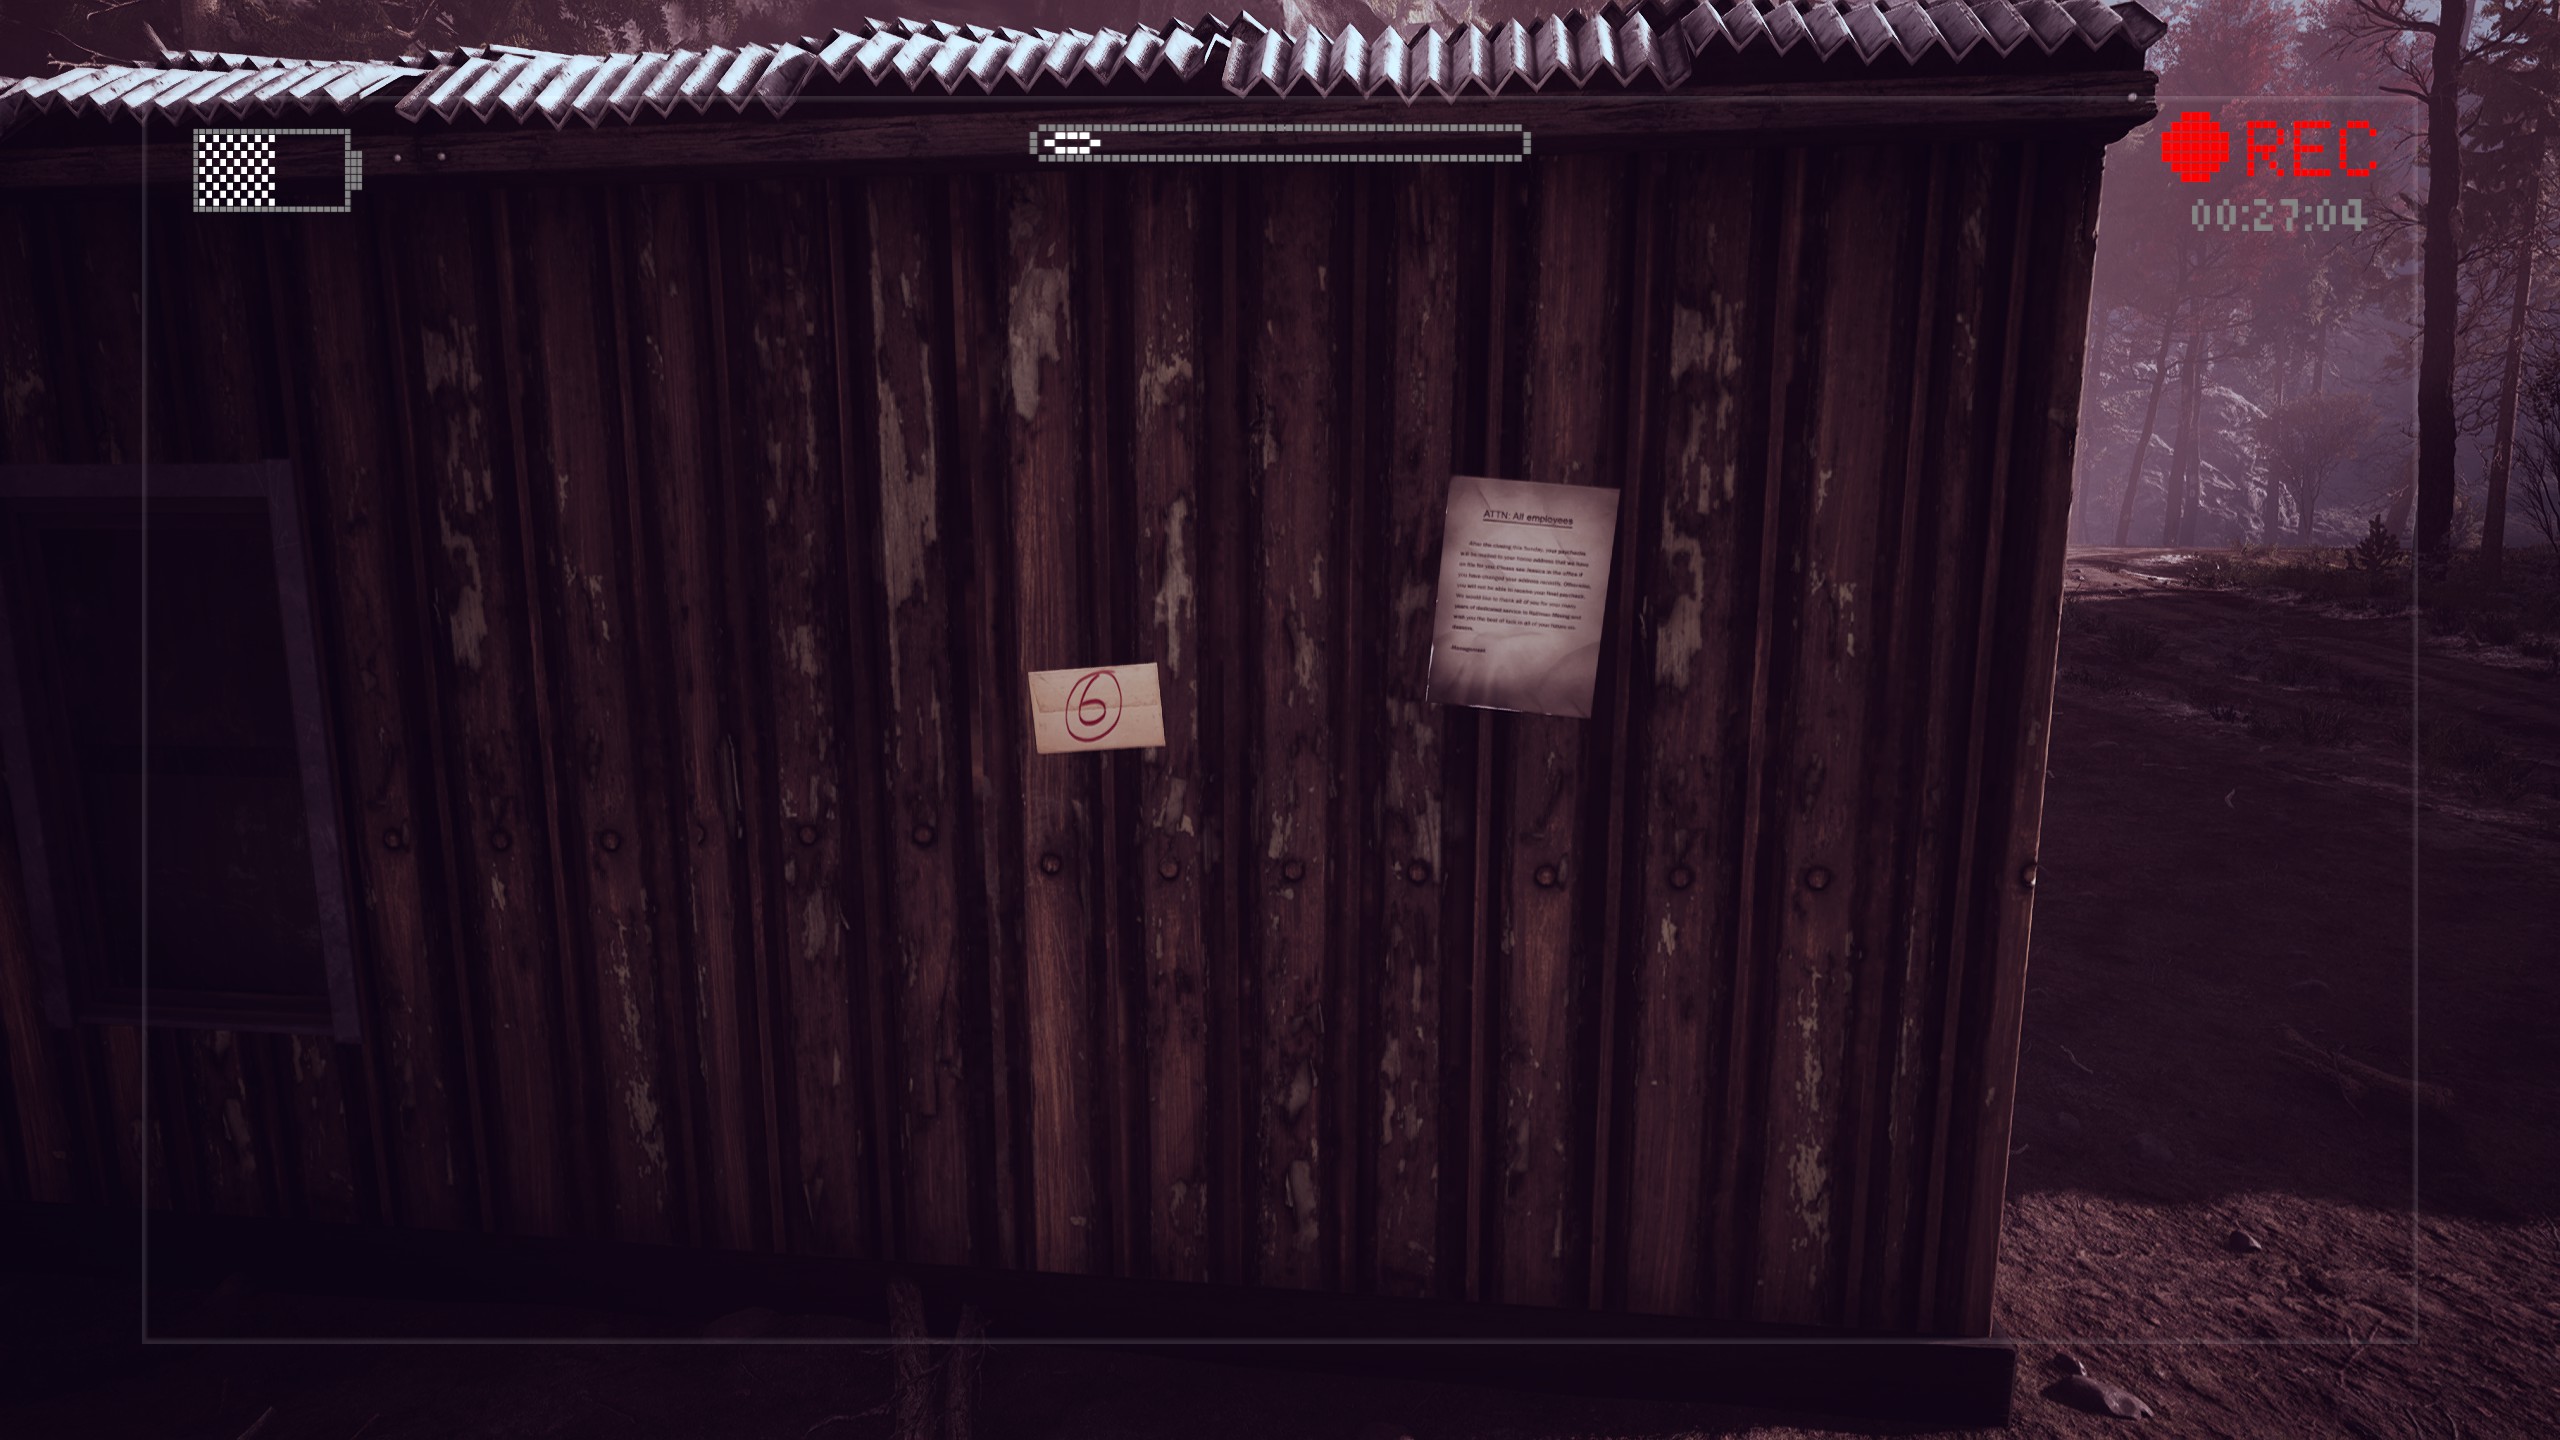
It’s finally time to approach that dark, ominous tunnel up ahead. Make your way to the entrance of the Kullman Mine and look to the right to find
Item #20 and
Item #21 stuck to the side of a small building.
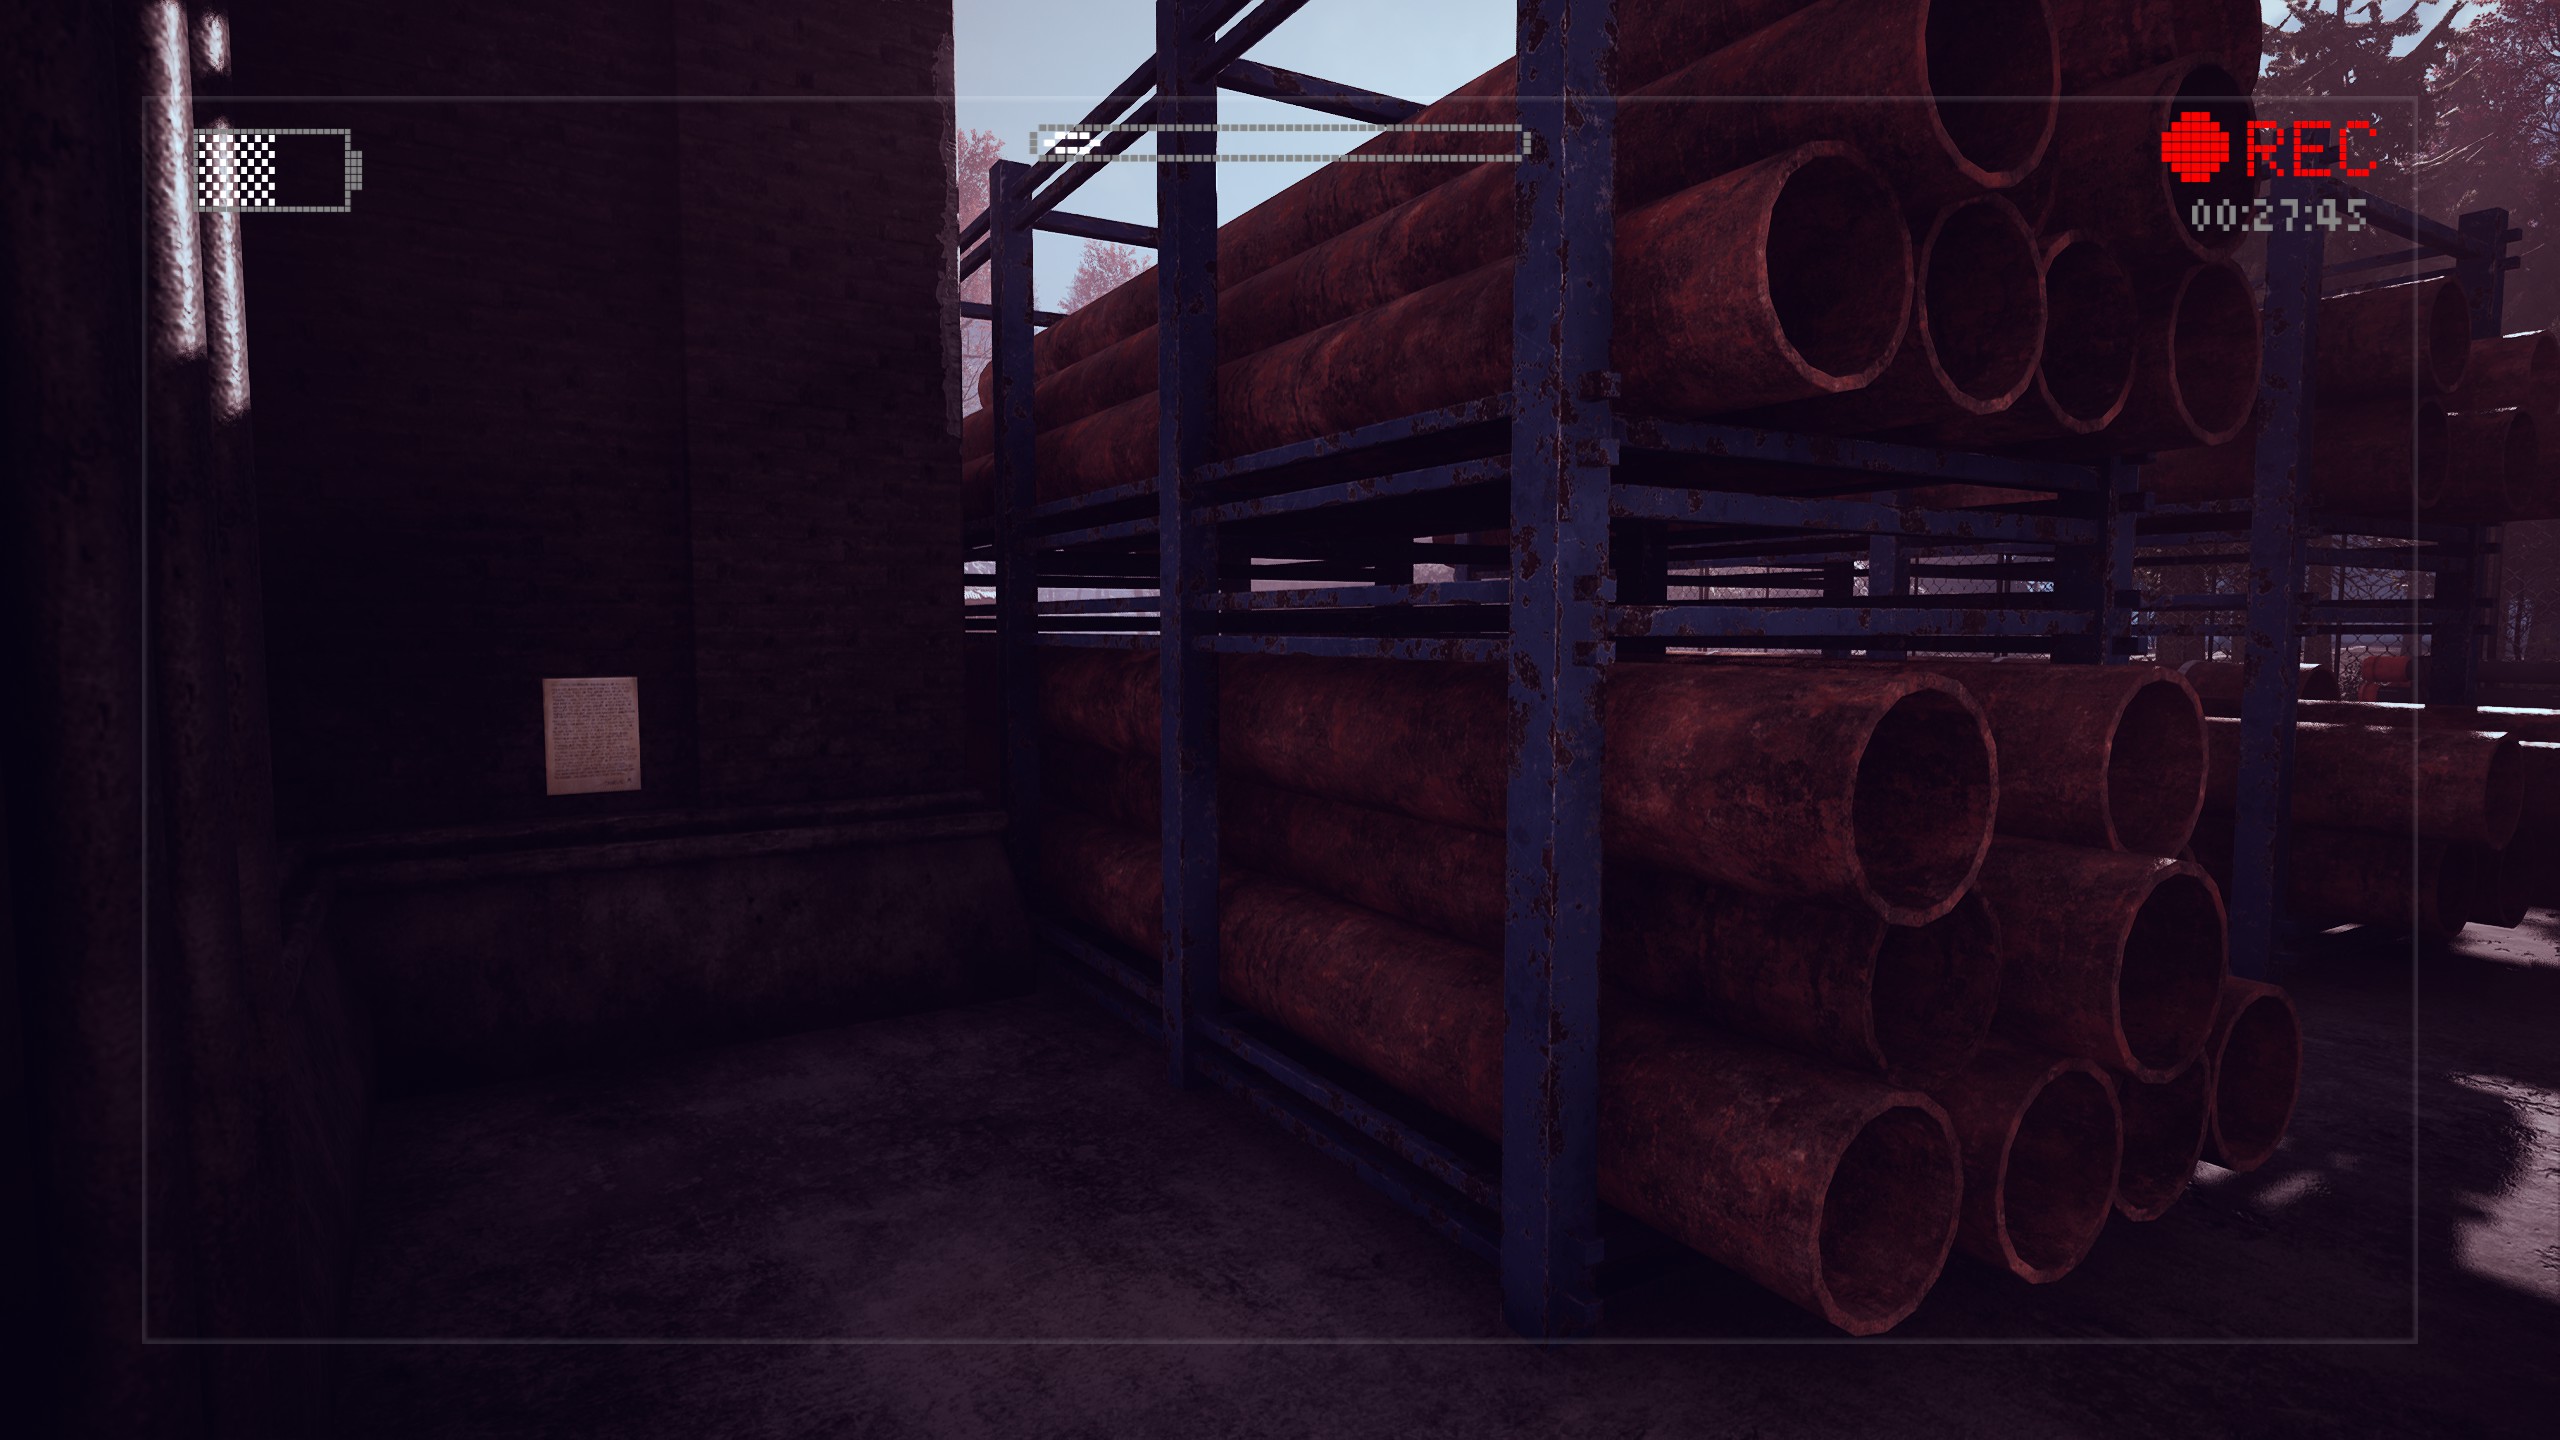
Item #22 was easy to miss in the old version of the game and it’s even easier to miss now. Check behind the pipes to the left of the mine’s entrance to find it.
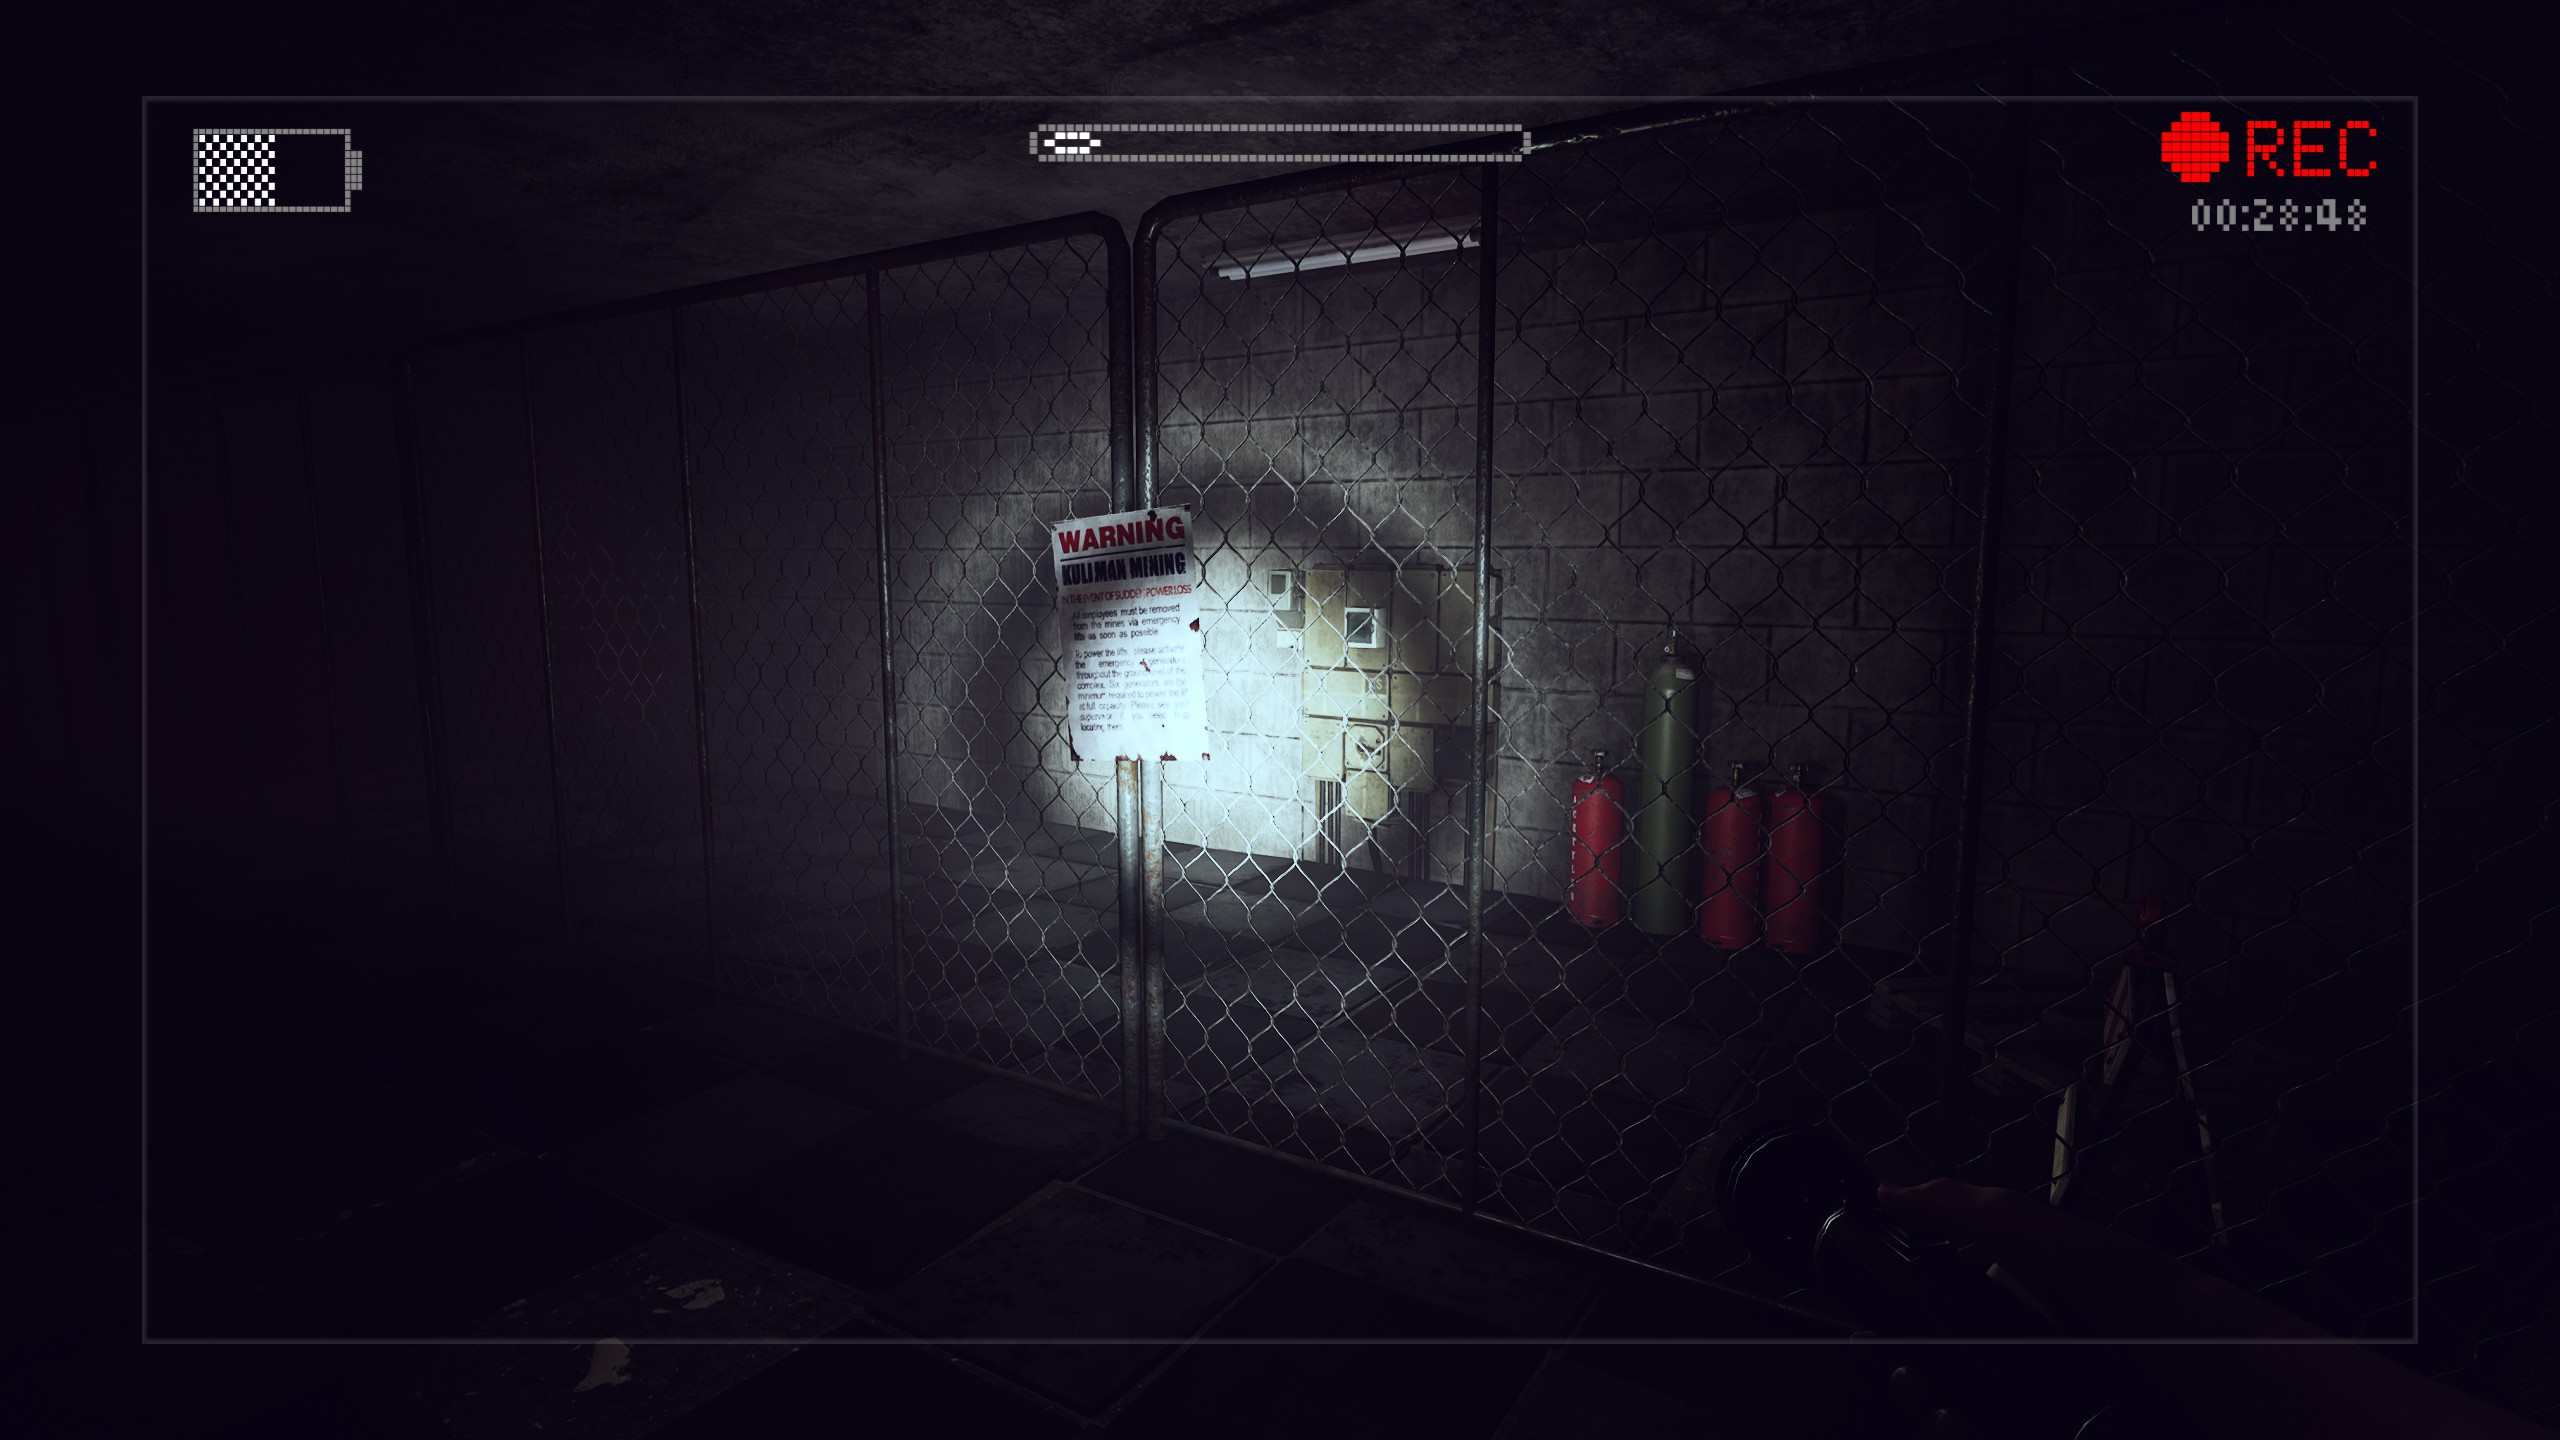
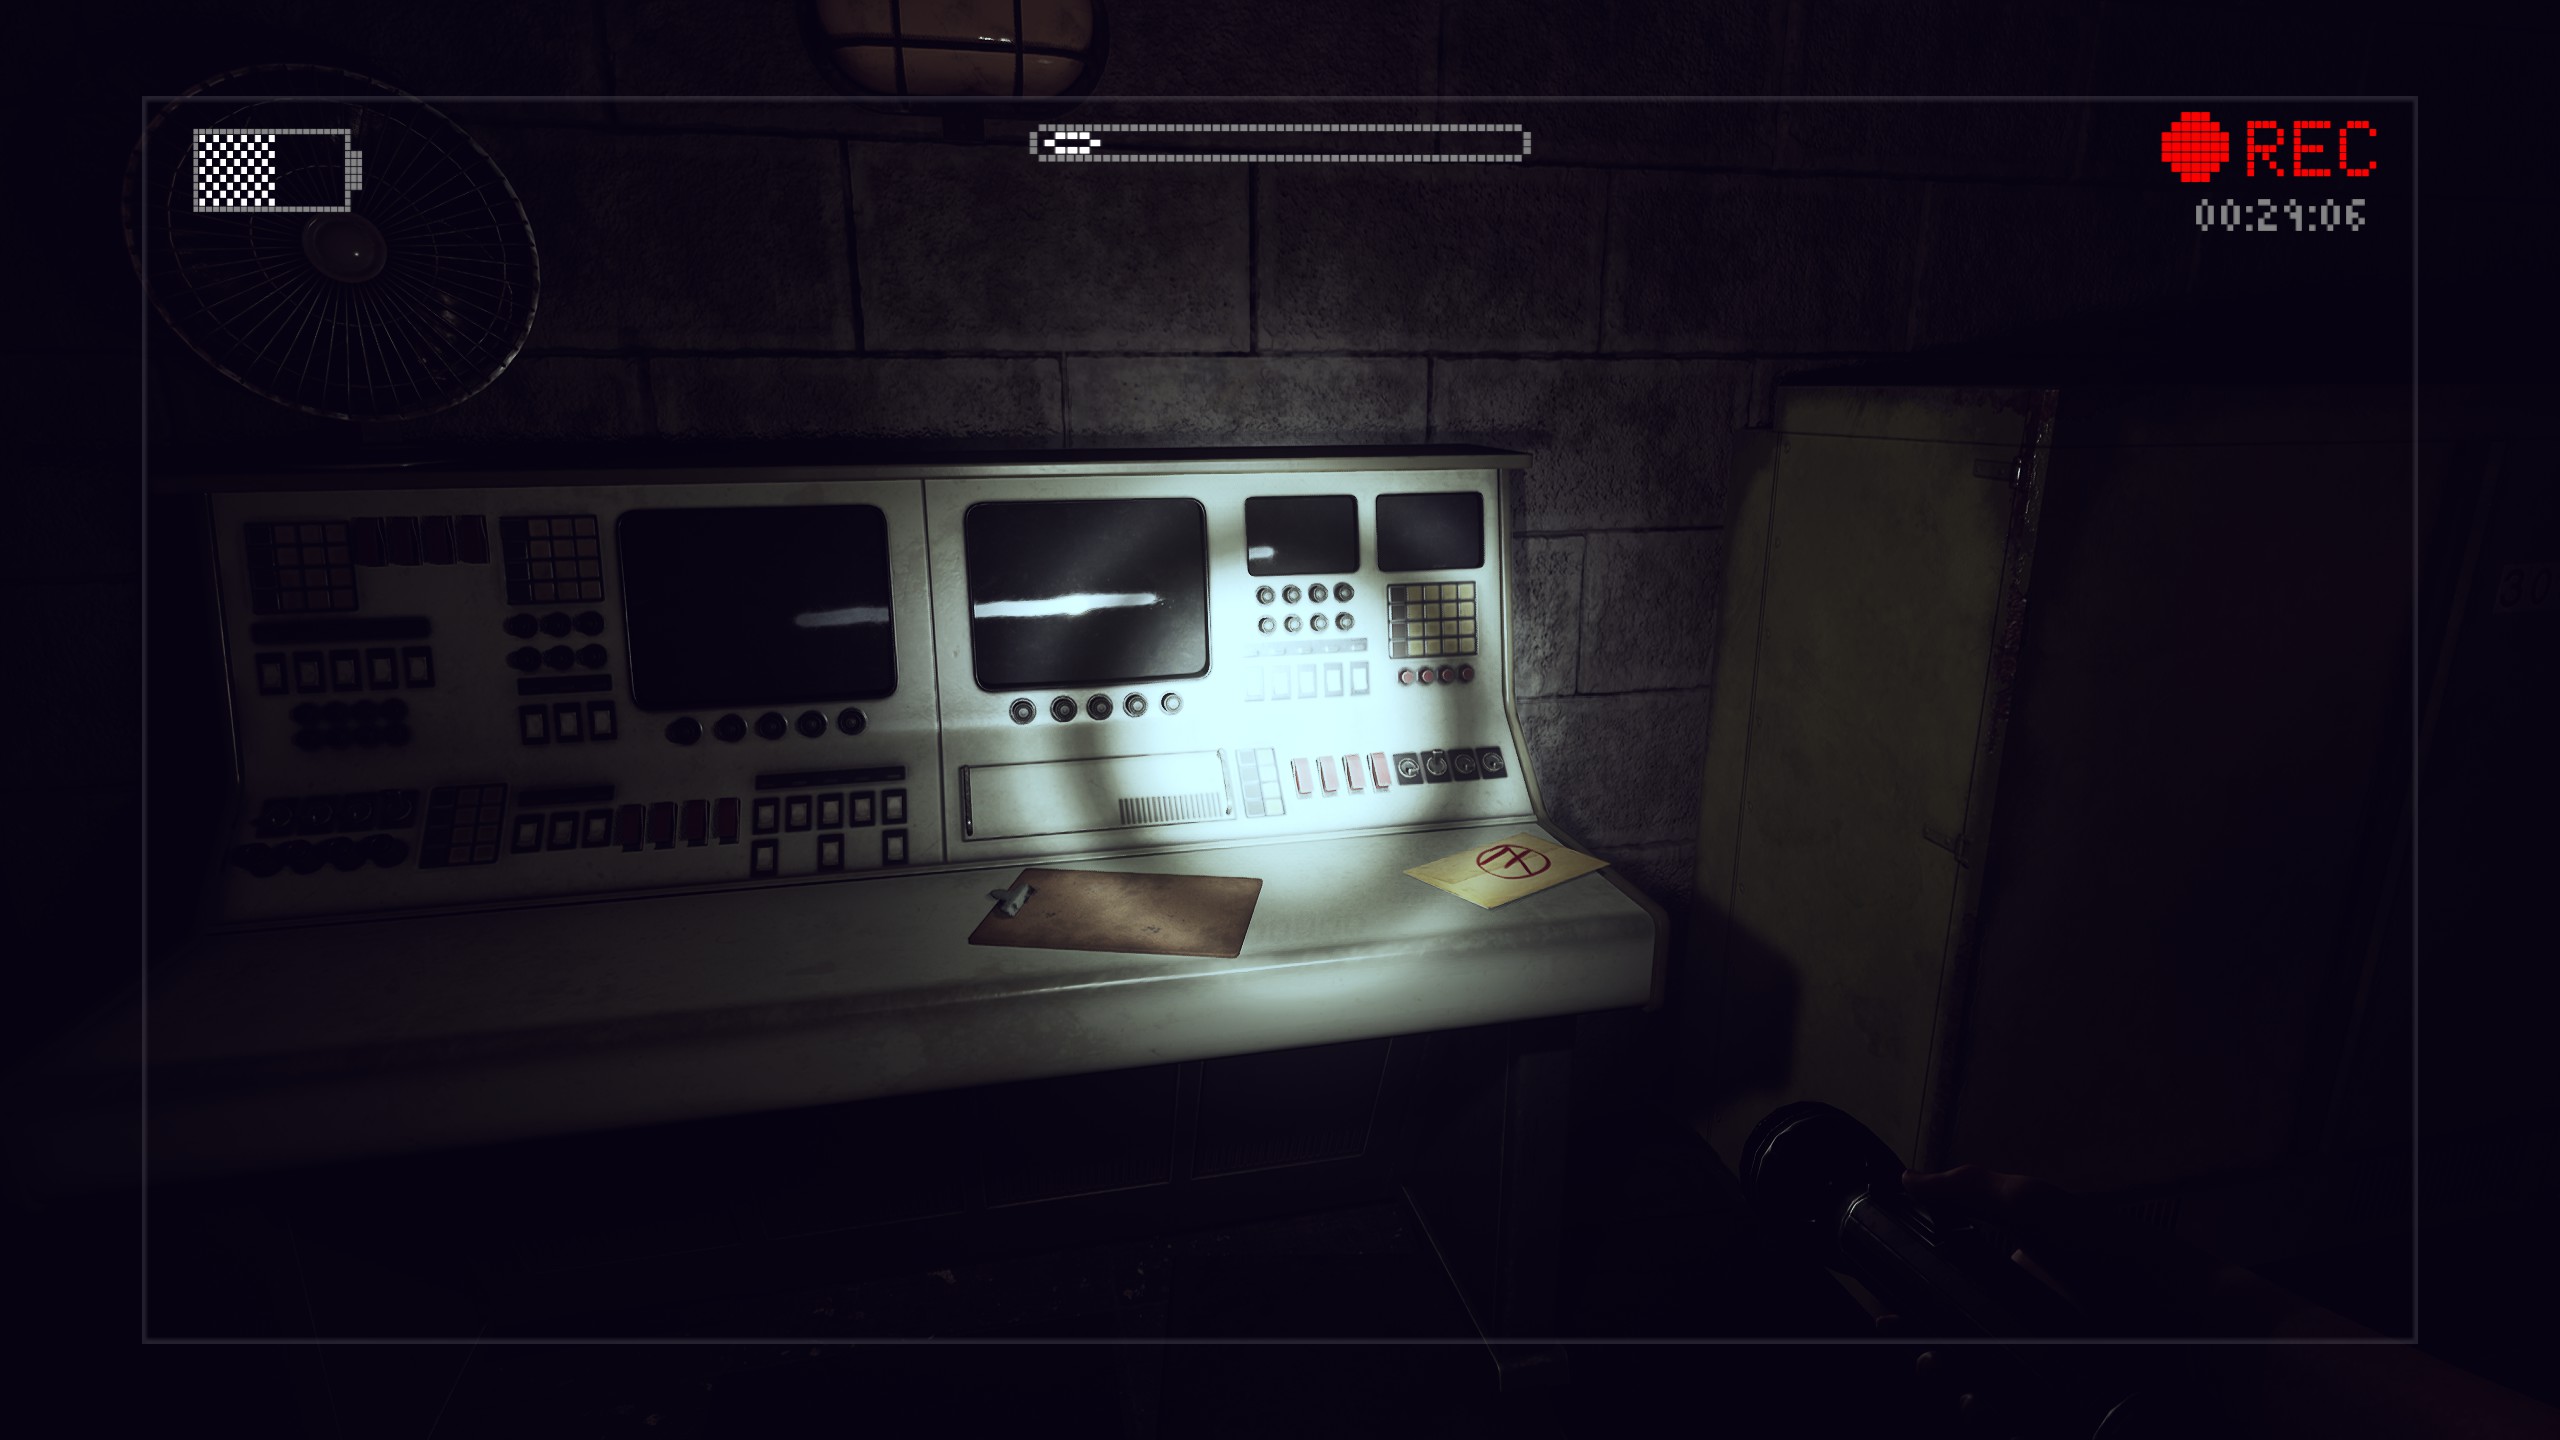
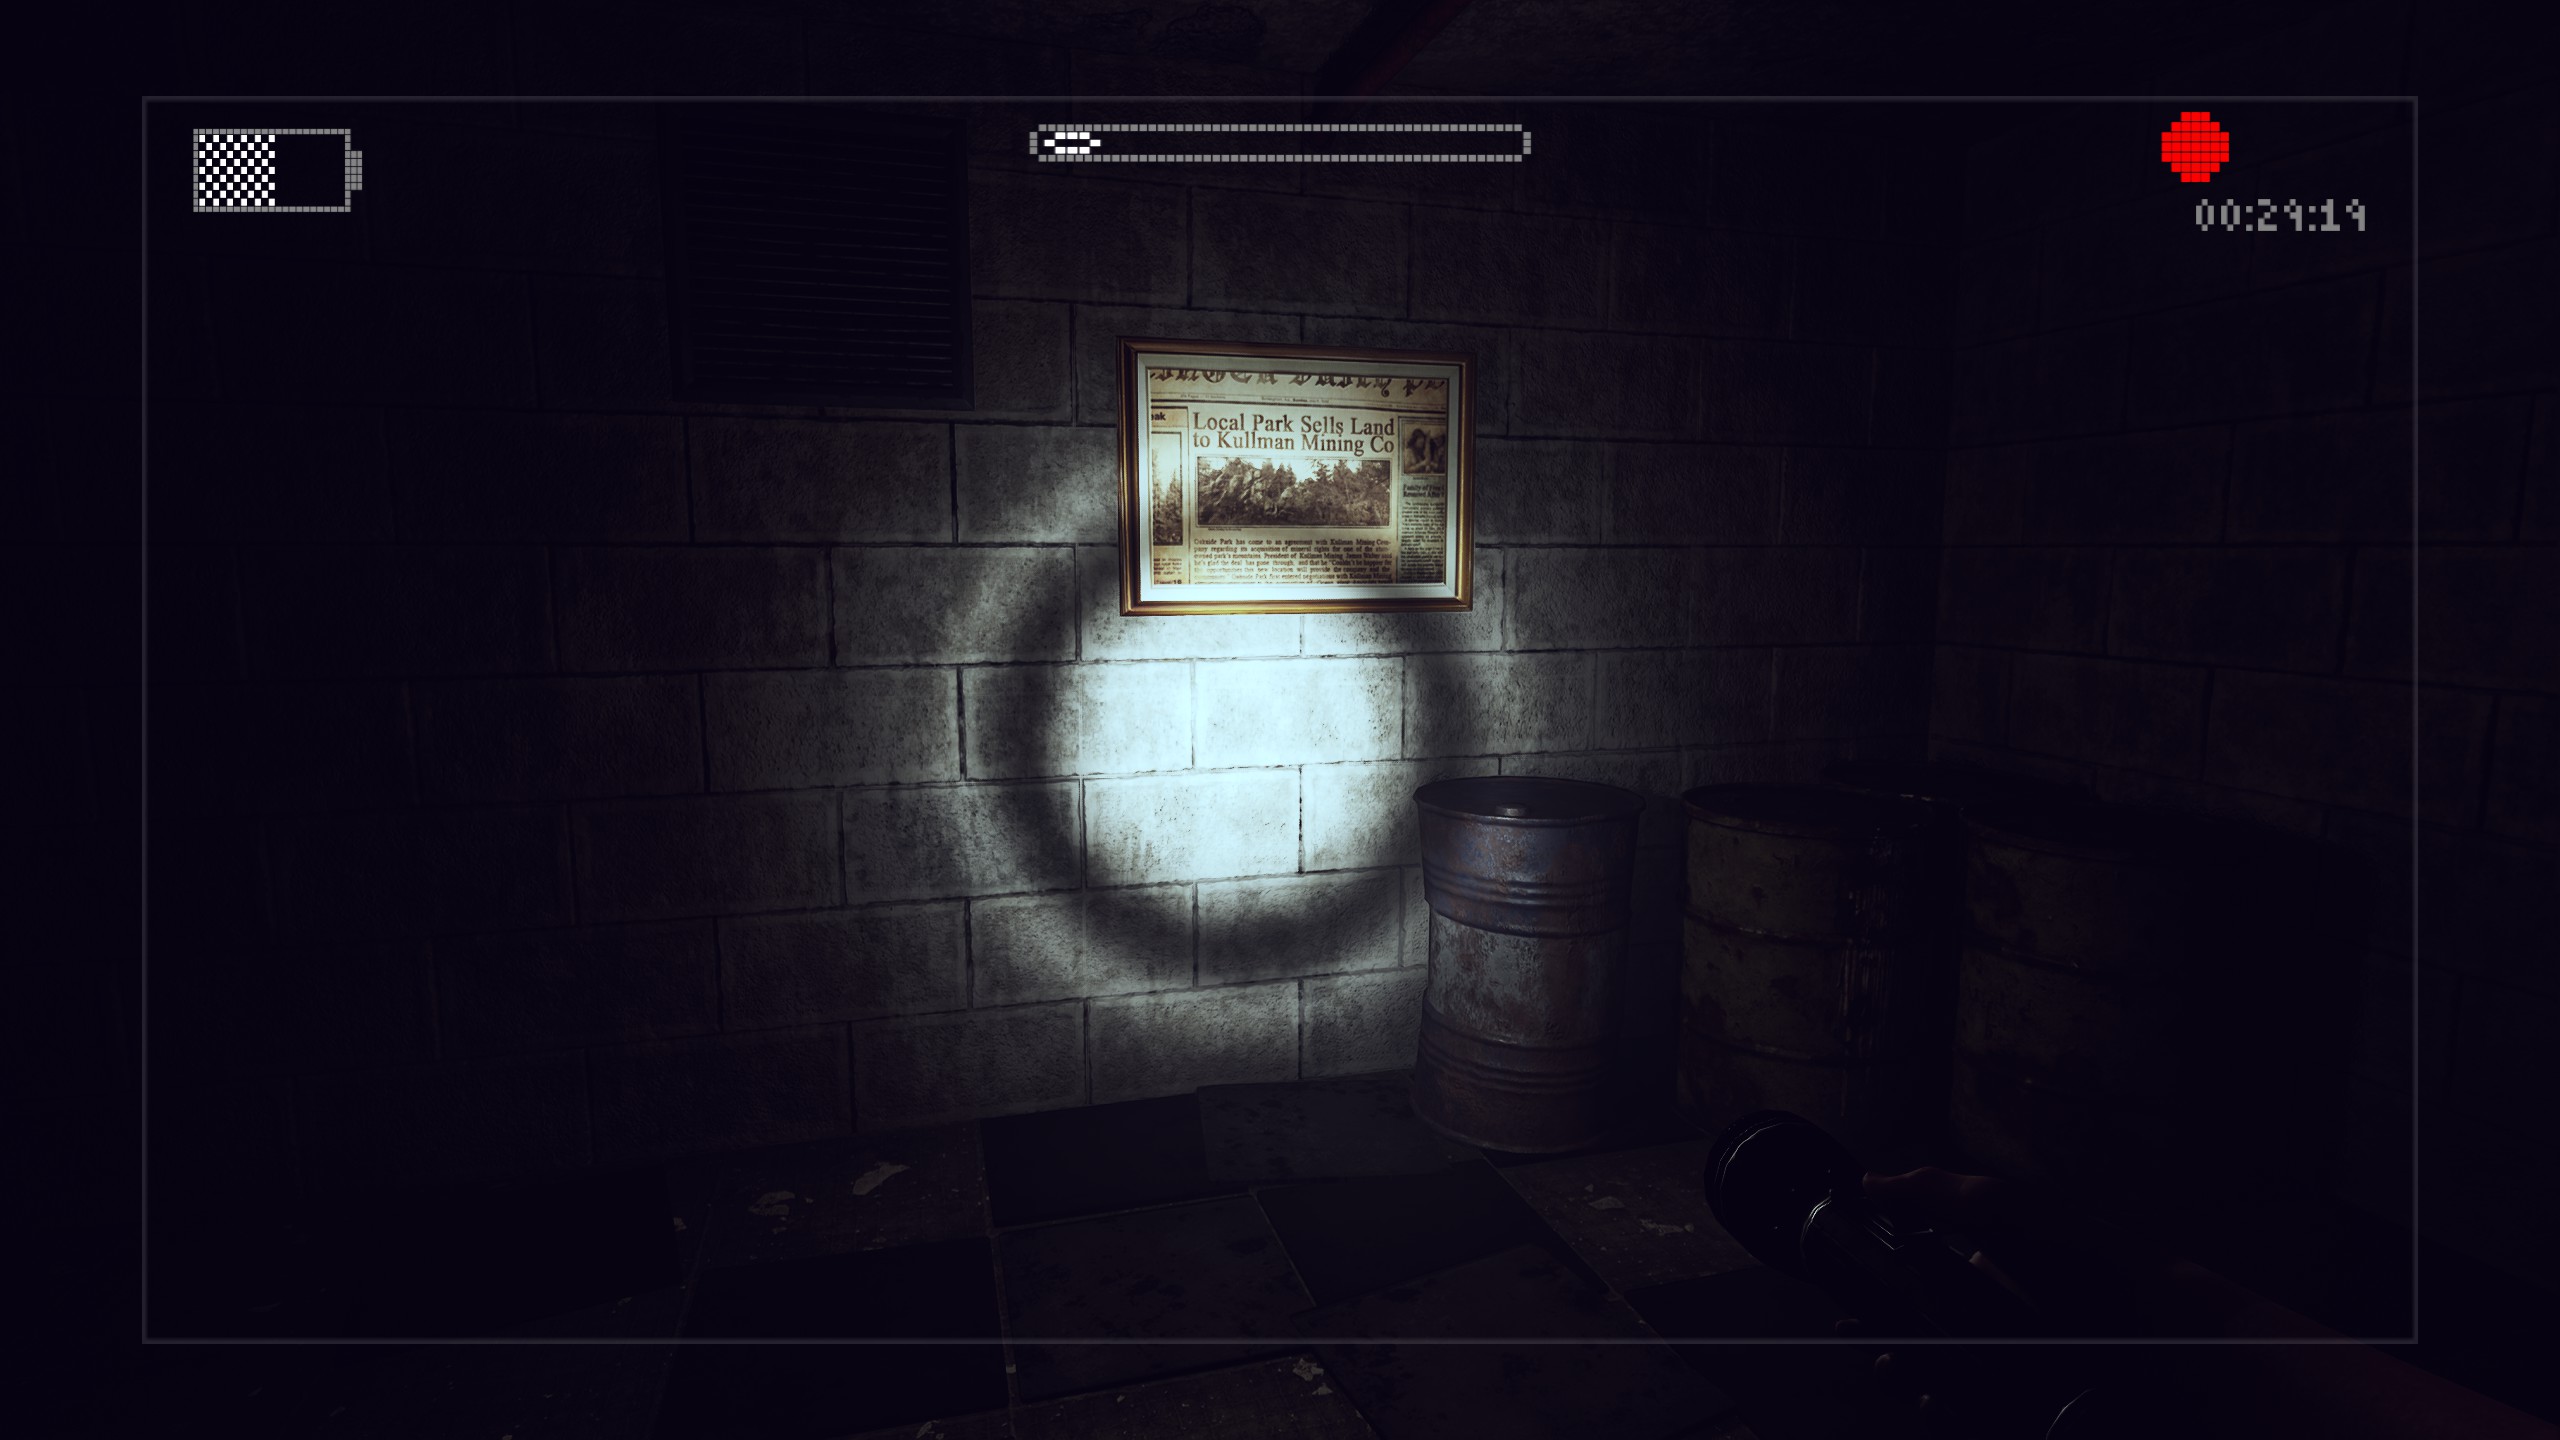
Items #23, #24, and
#25 are all located in the first new room you come across after entering the mine. The warning sign is attached to the chain-link fence right in front of you as you enter the room, the letter is sitting on the terminal to the left, and the framed newspaper clipping is hanging on the wall at the opposite end of the room.
Flashback – Part 1
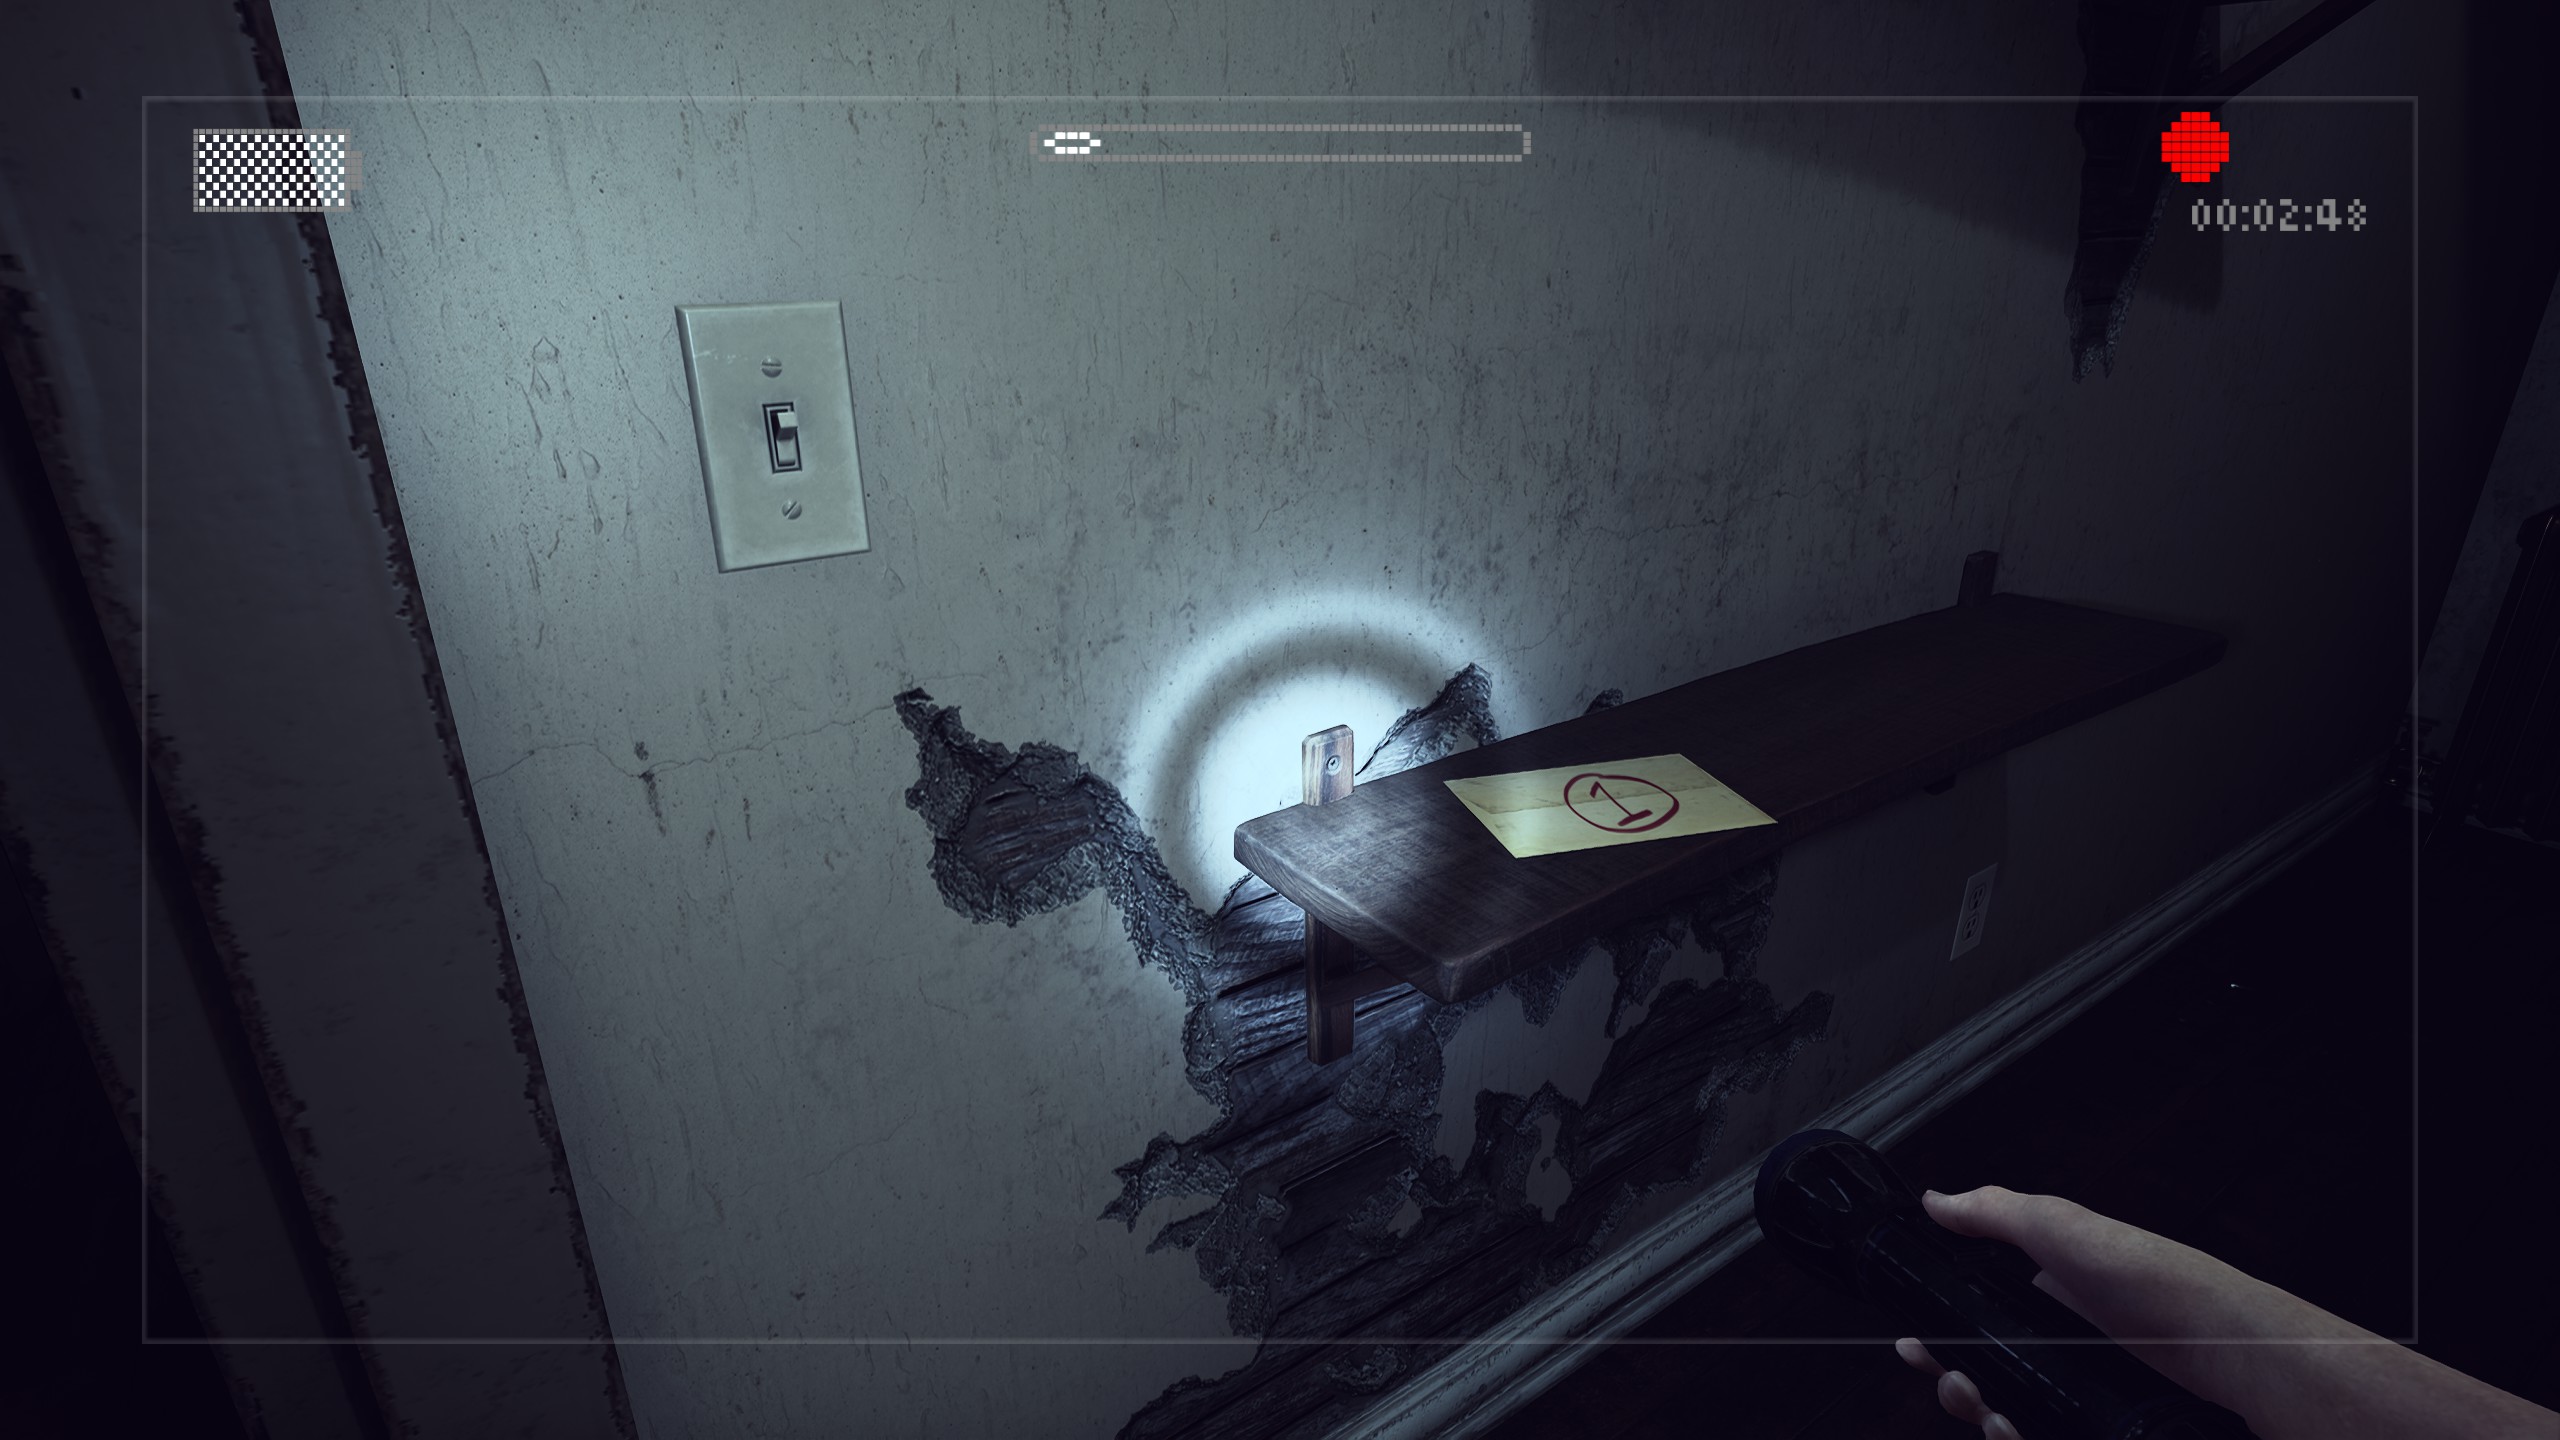
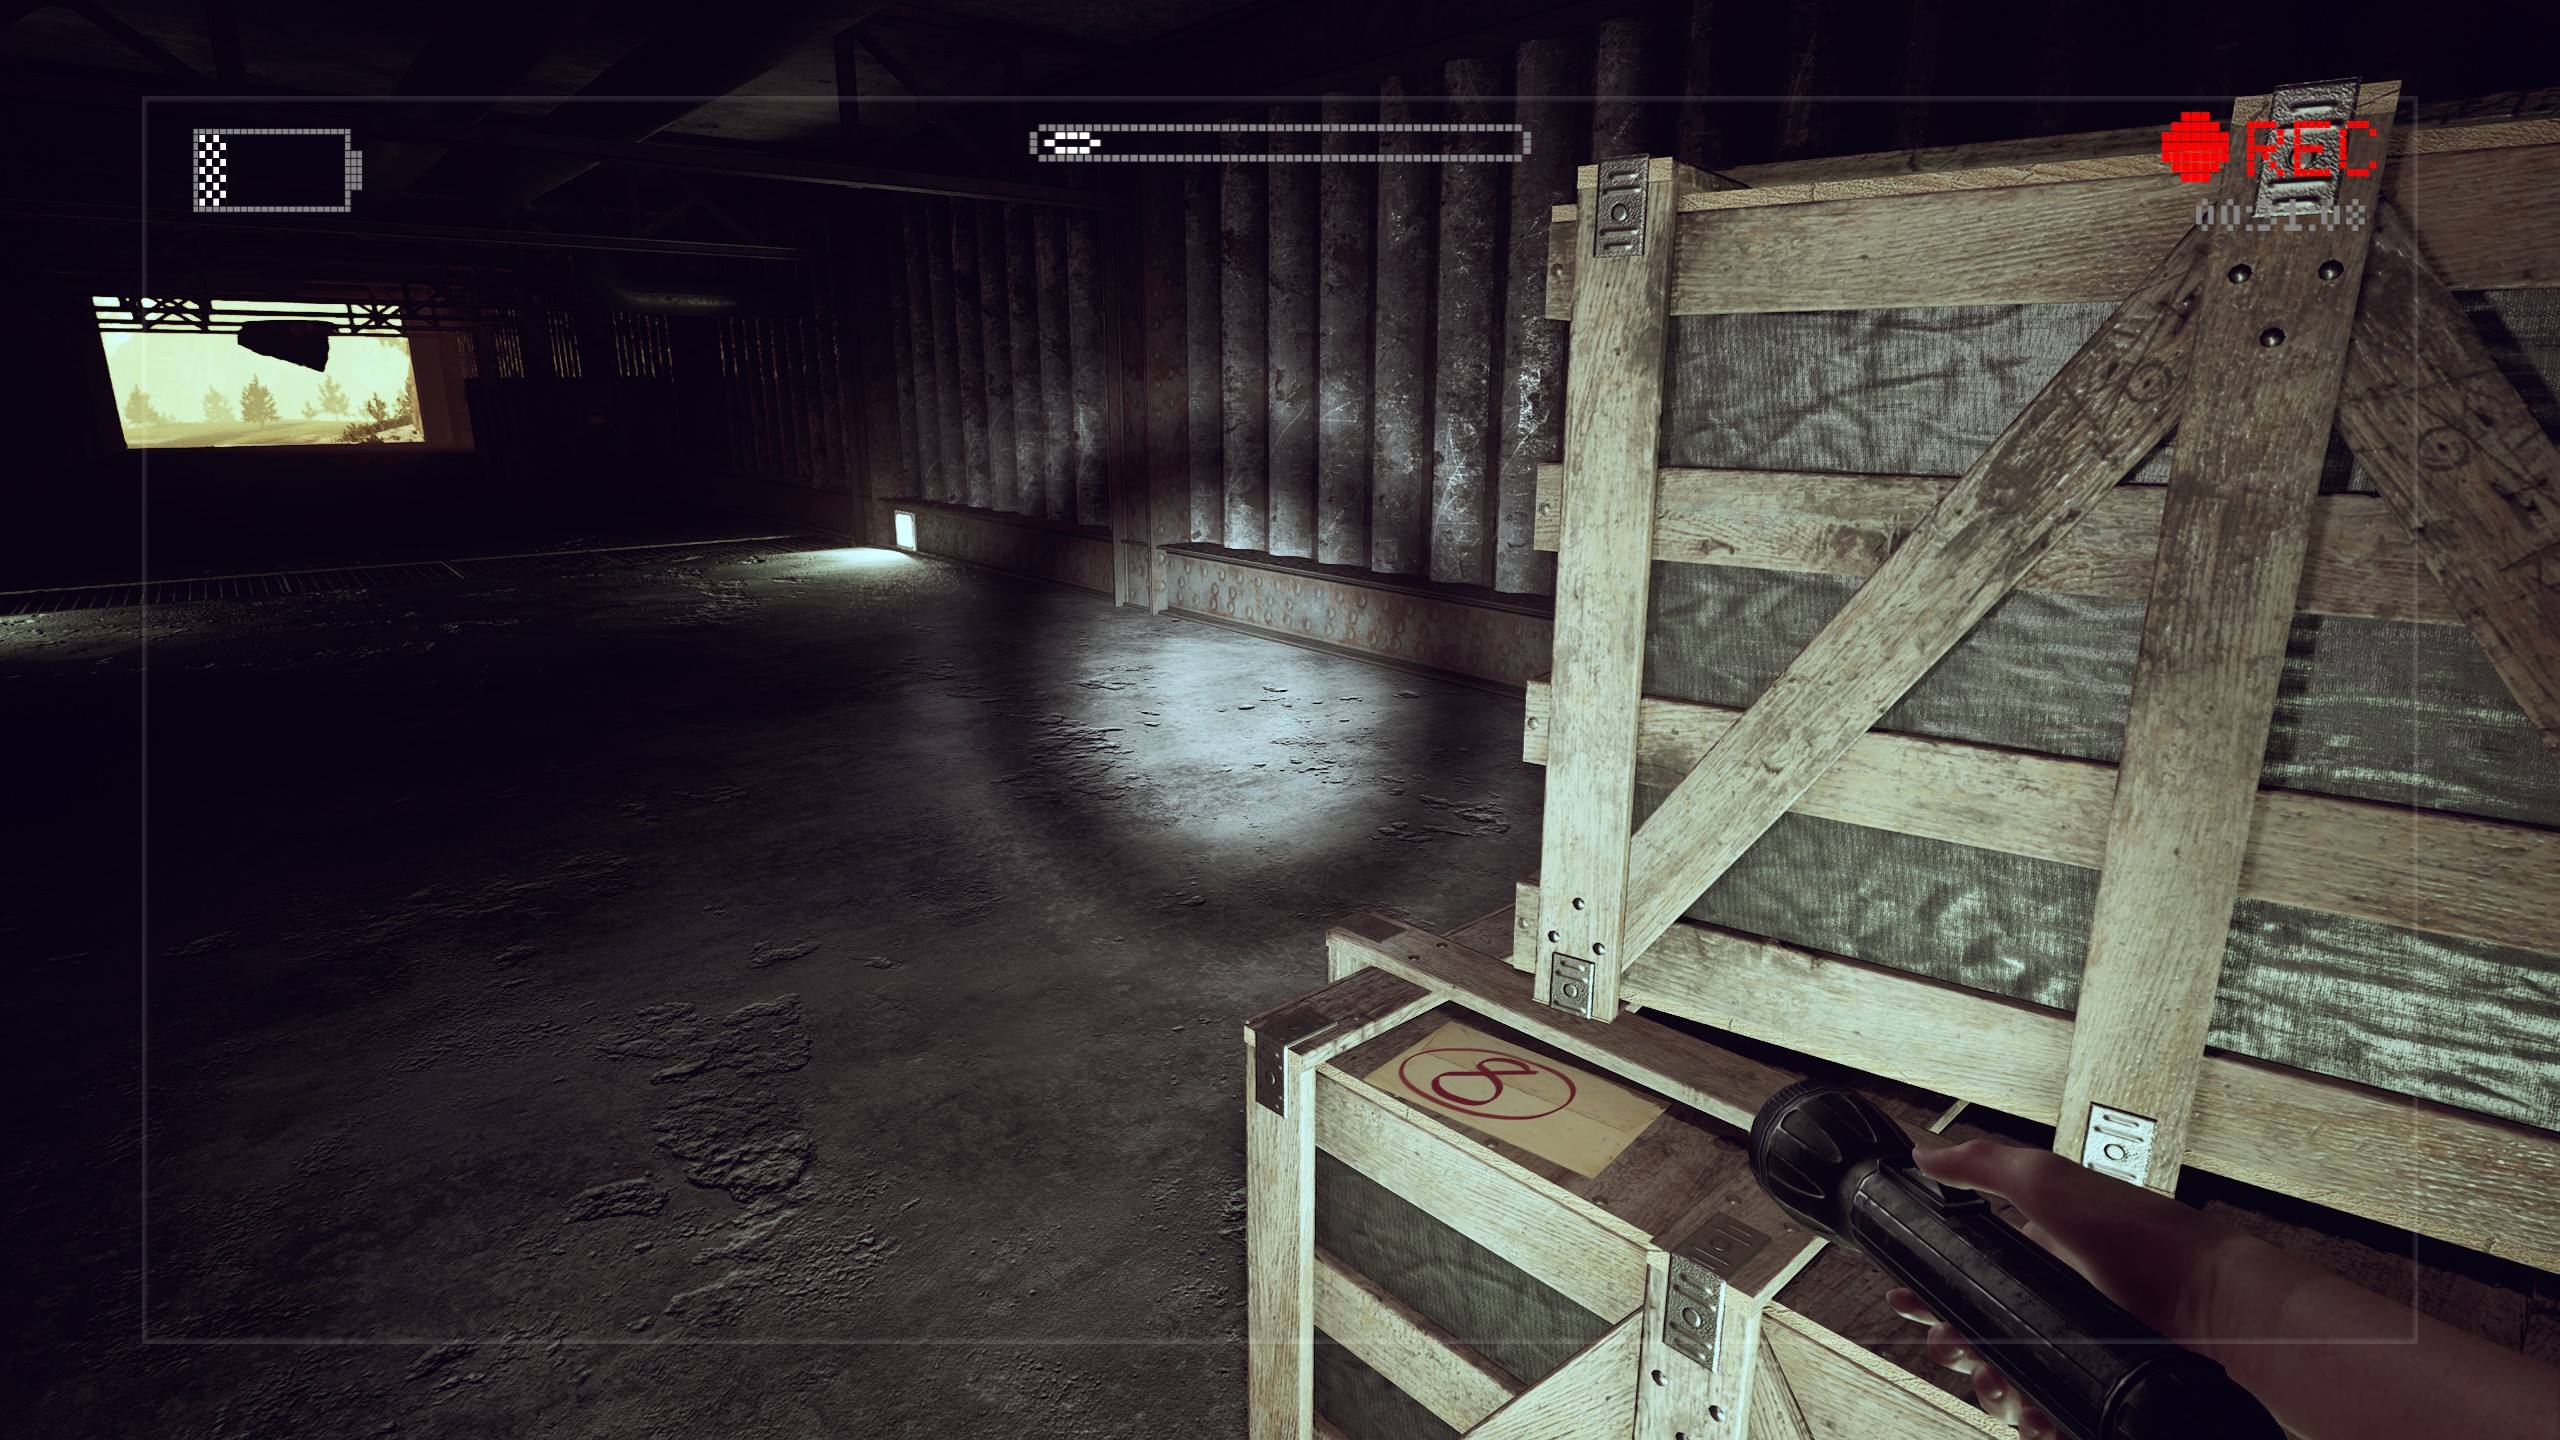
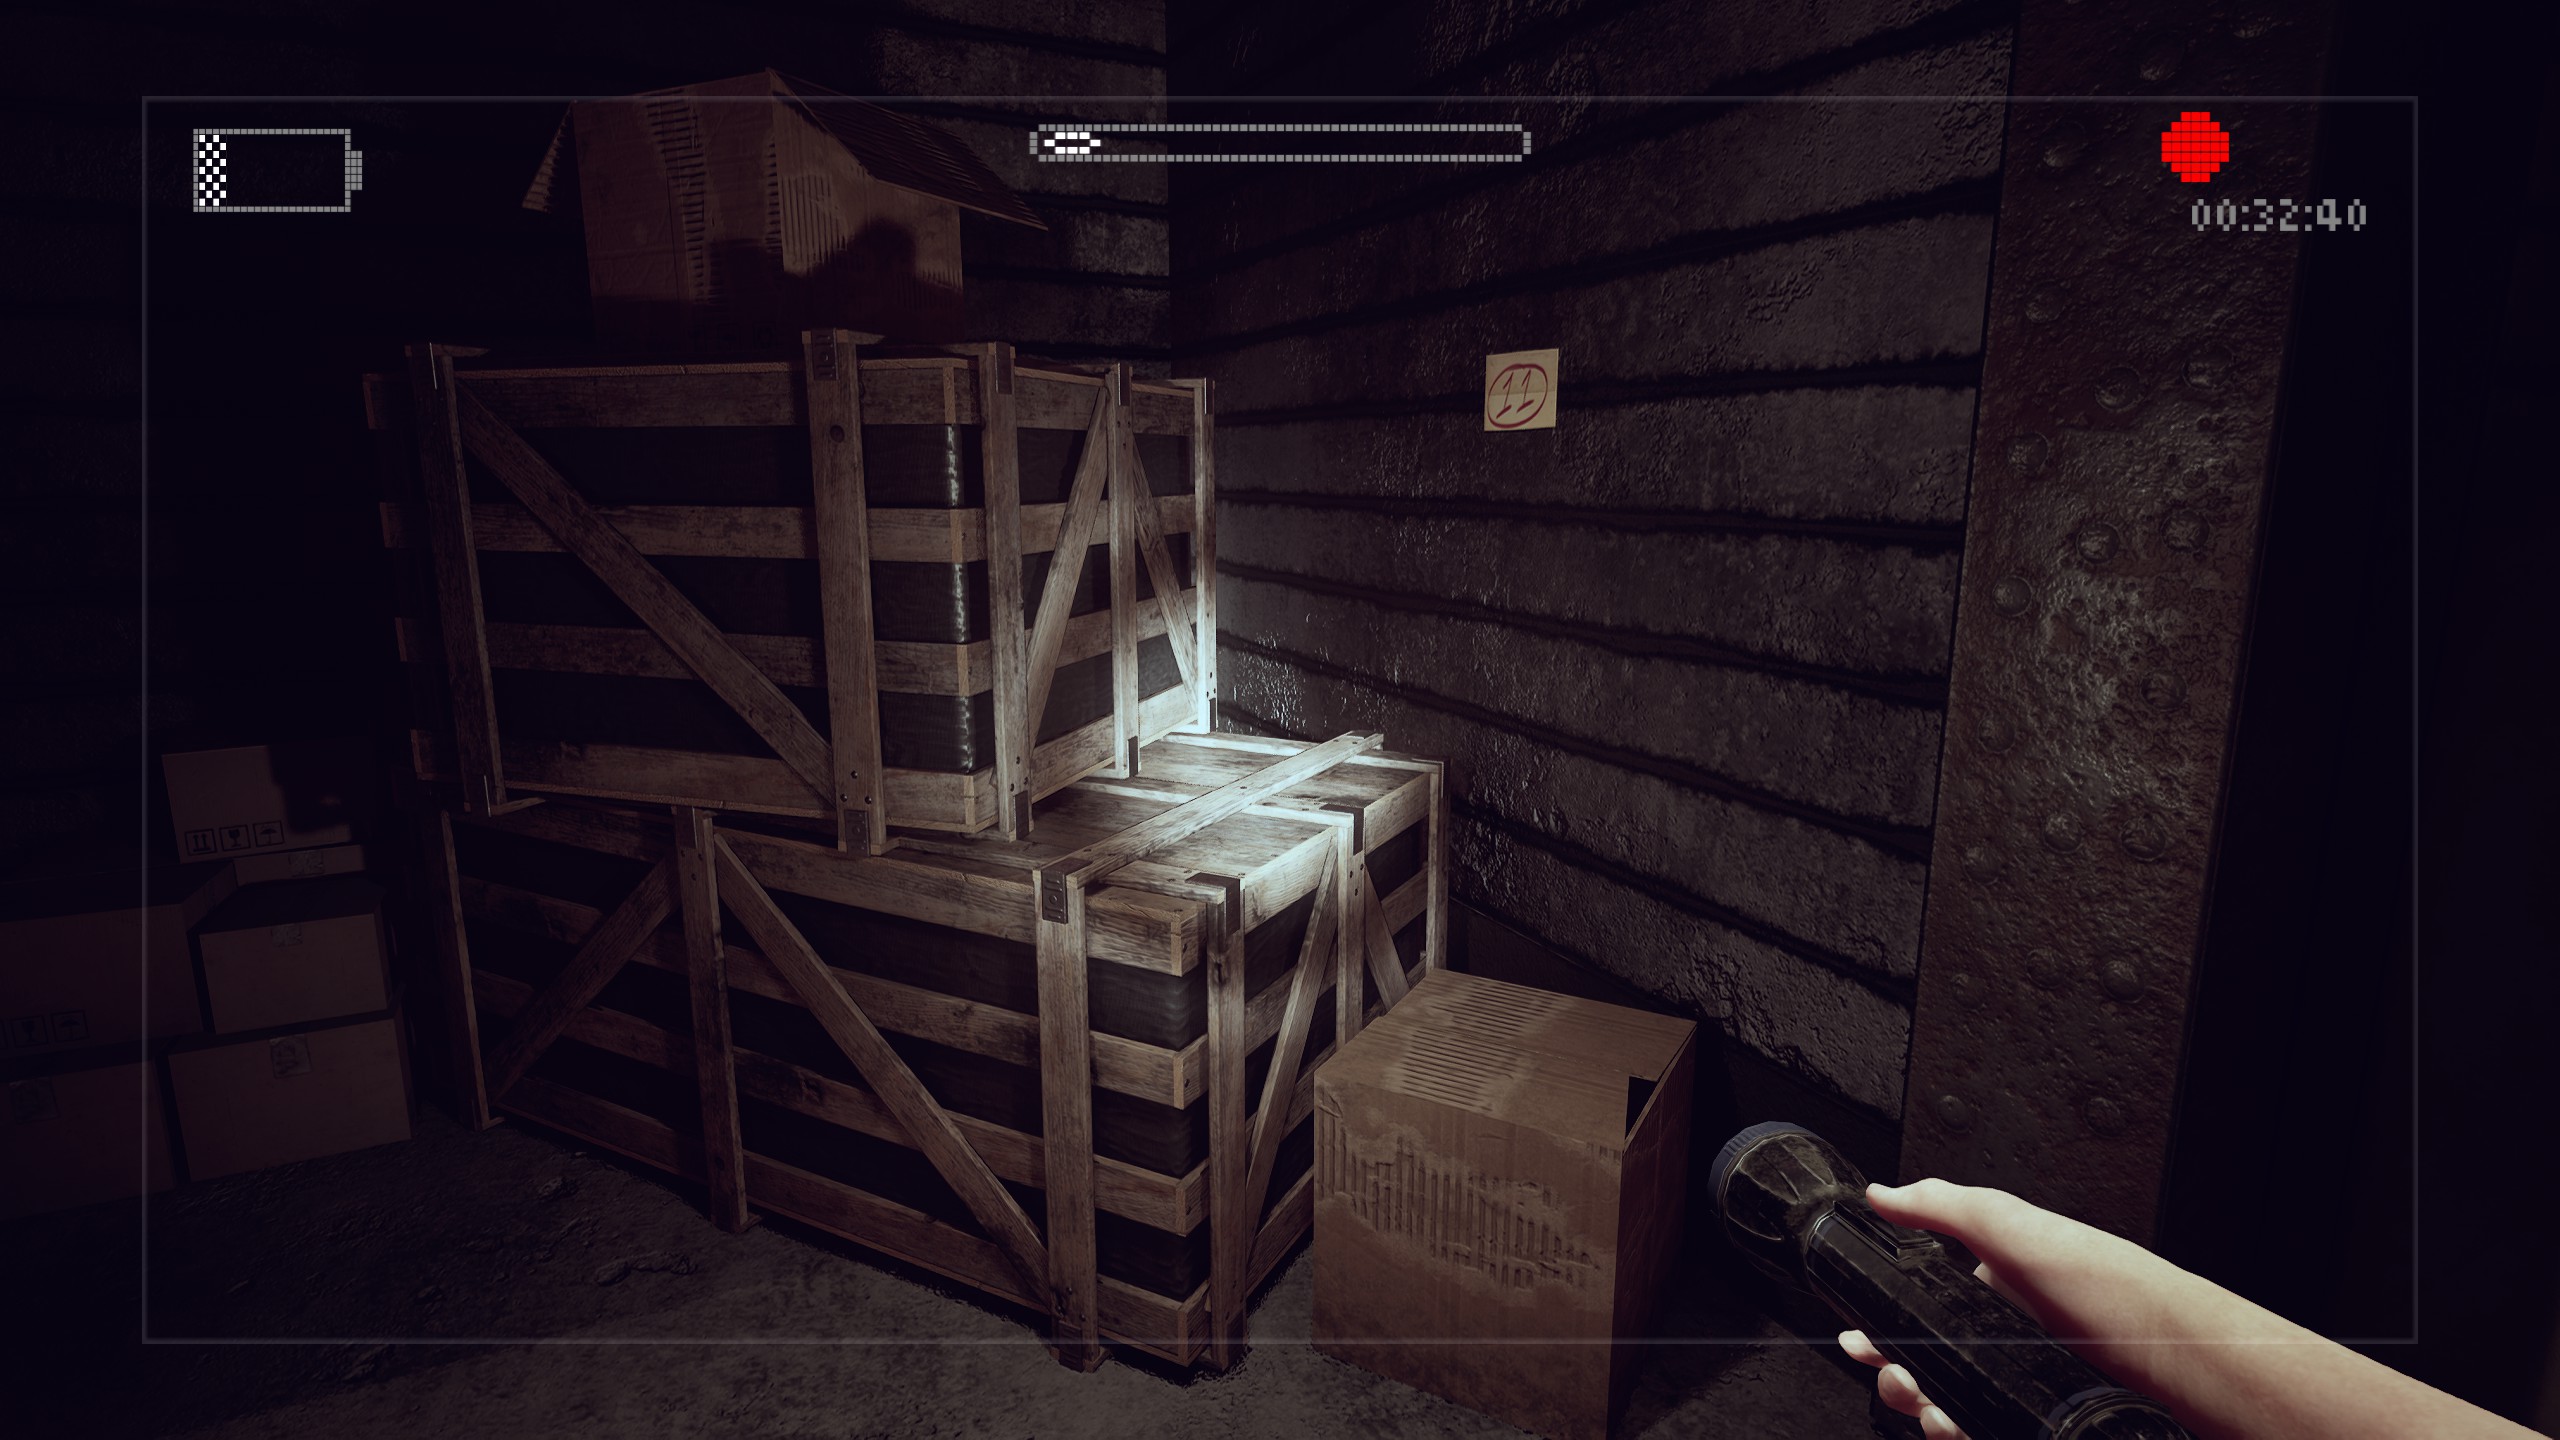
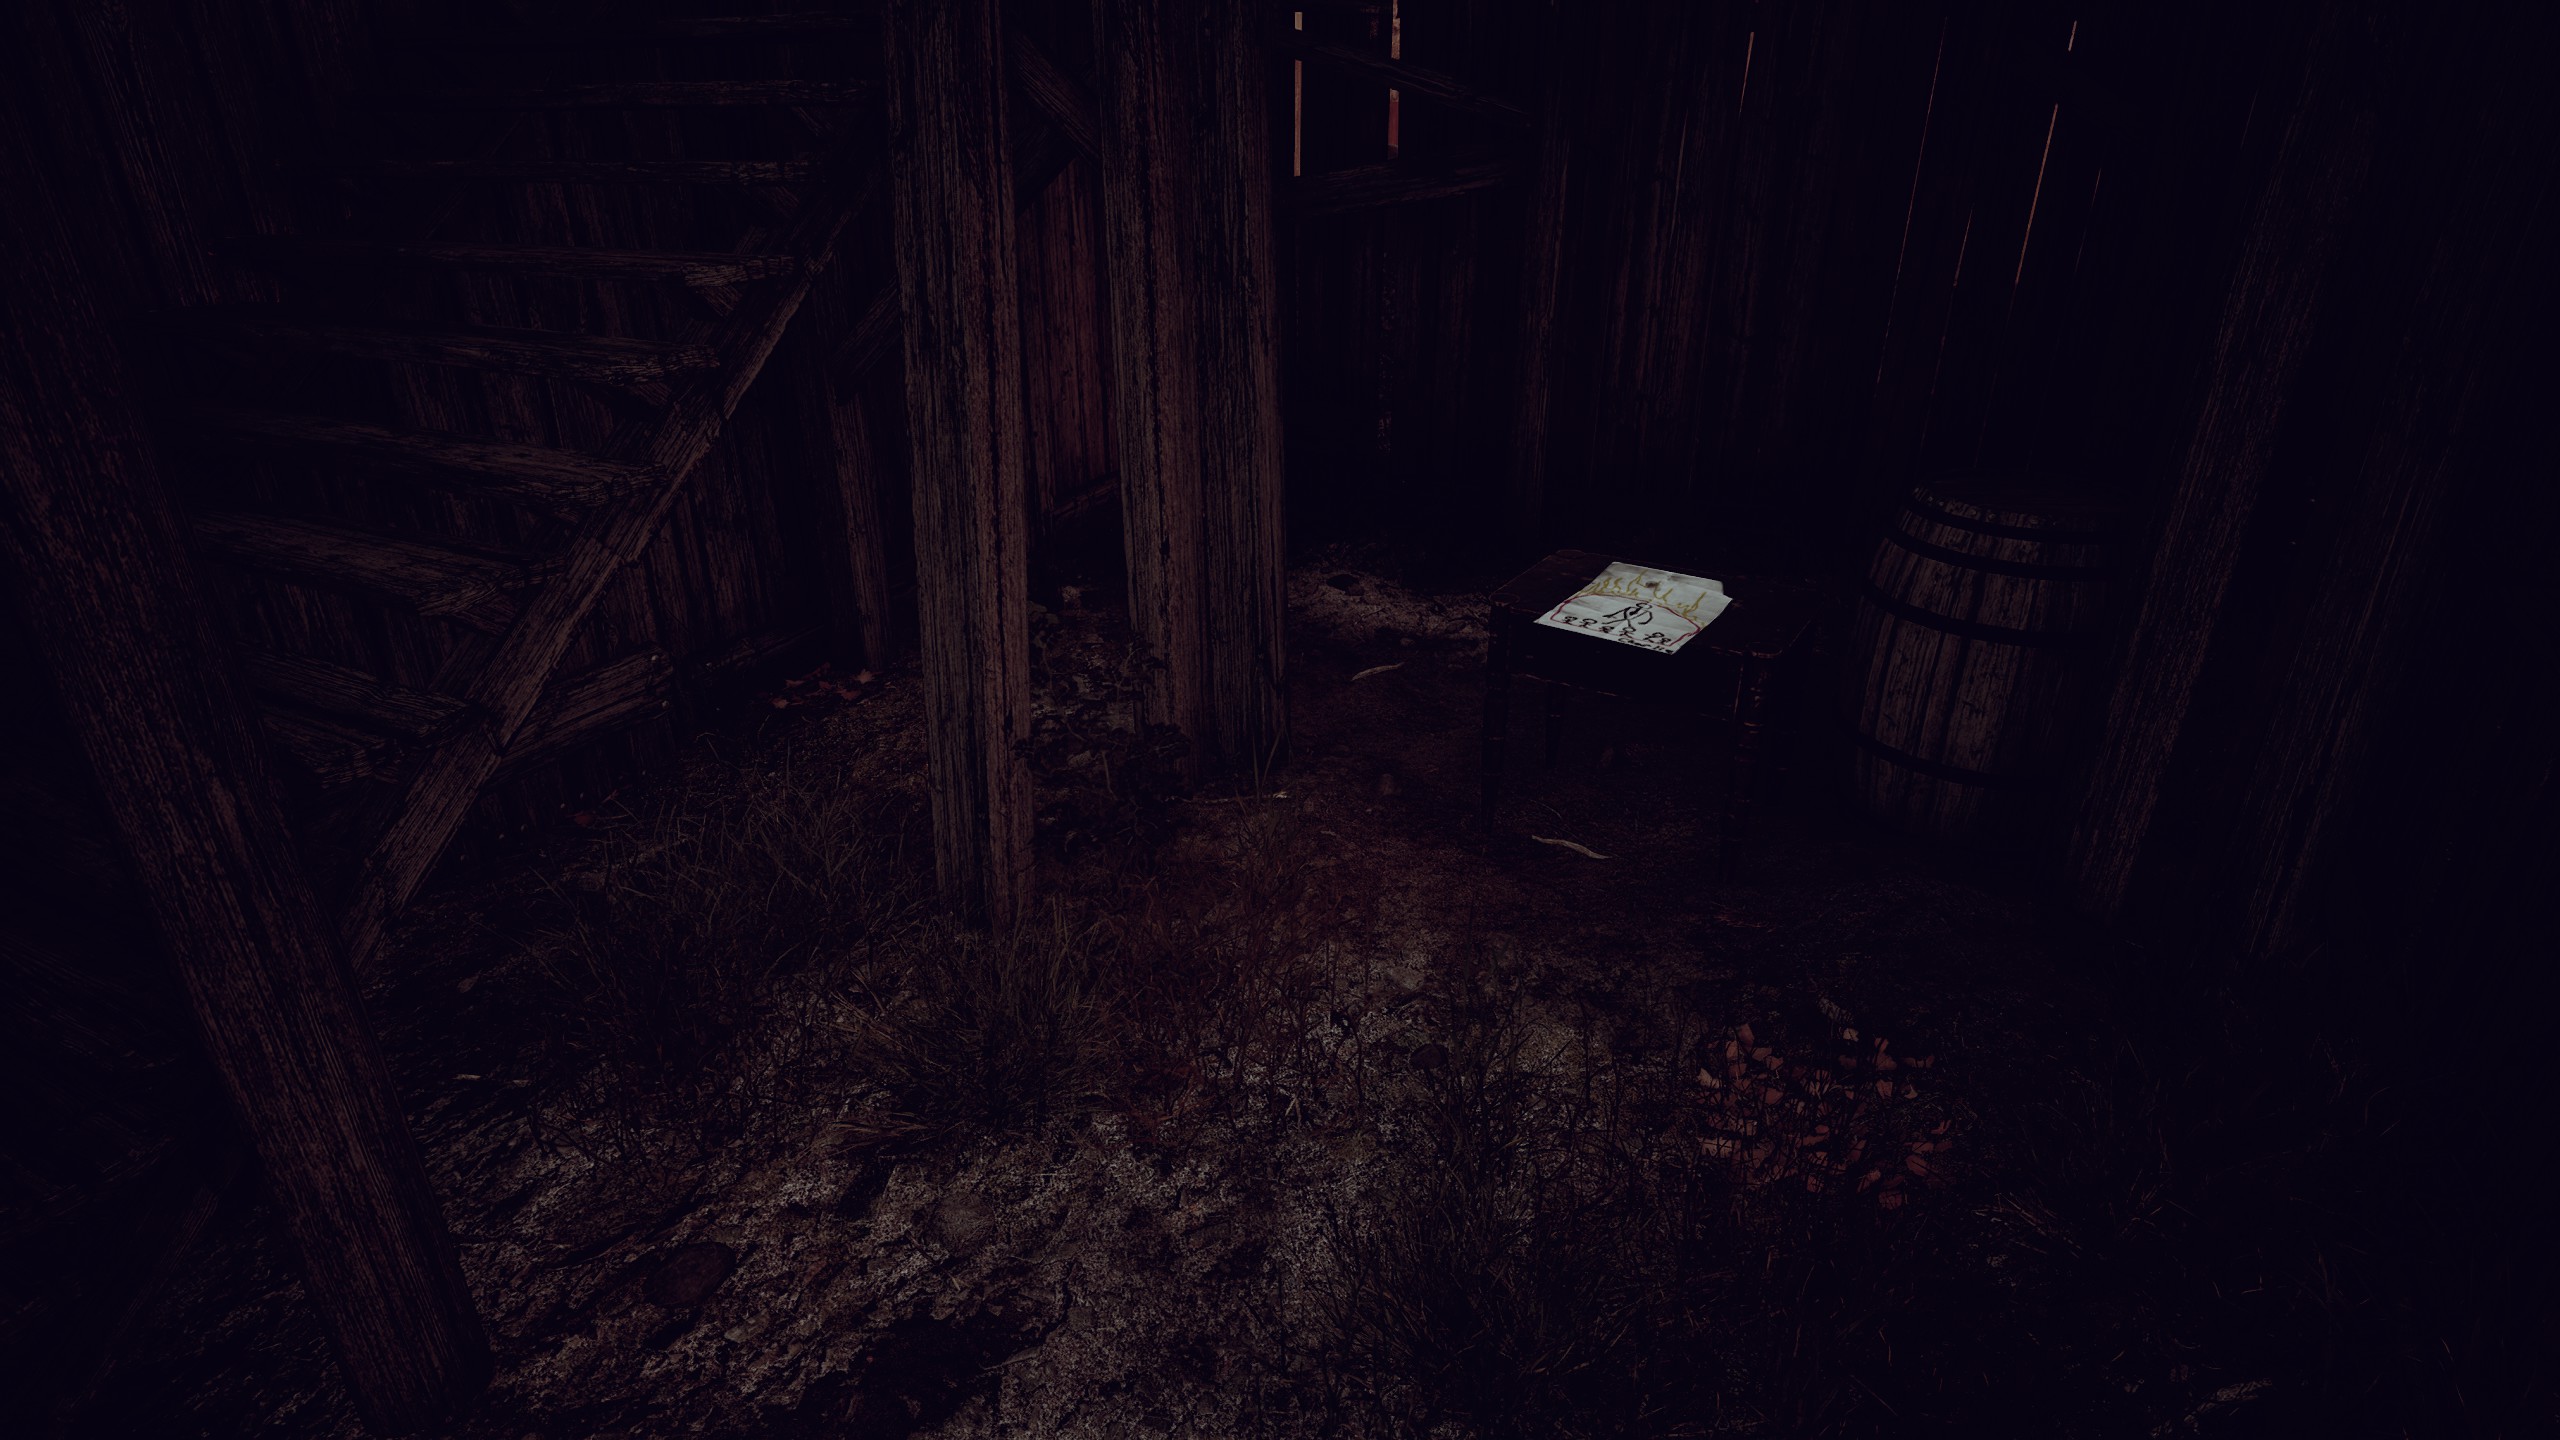
Item #26 can be found immediately after the level starts. Look for it on the pile of crates on the right side of the hall.
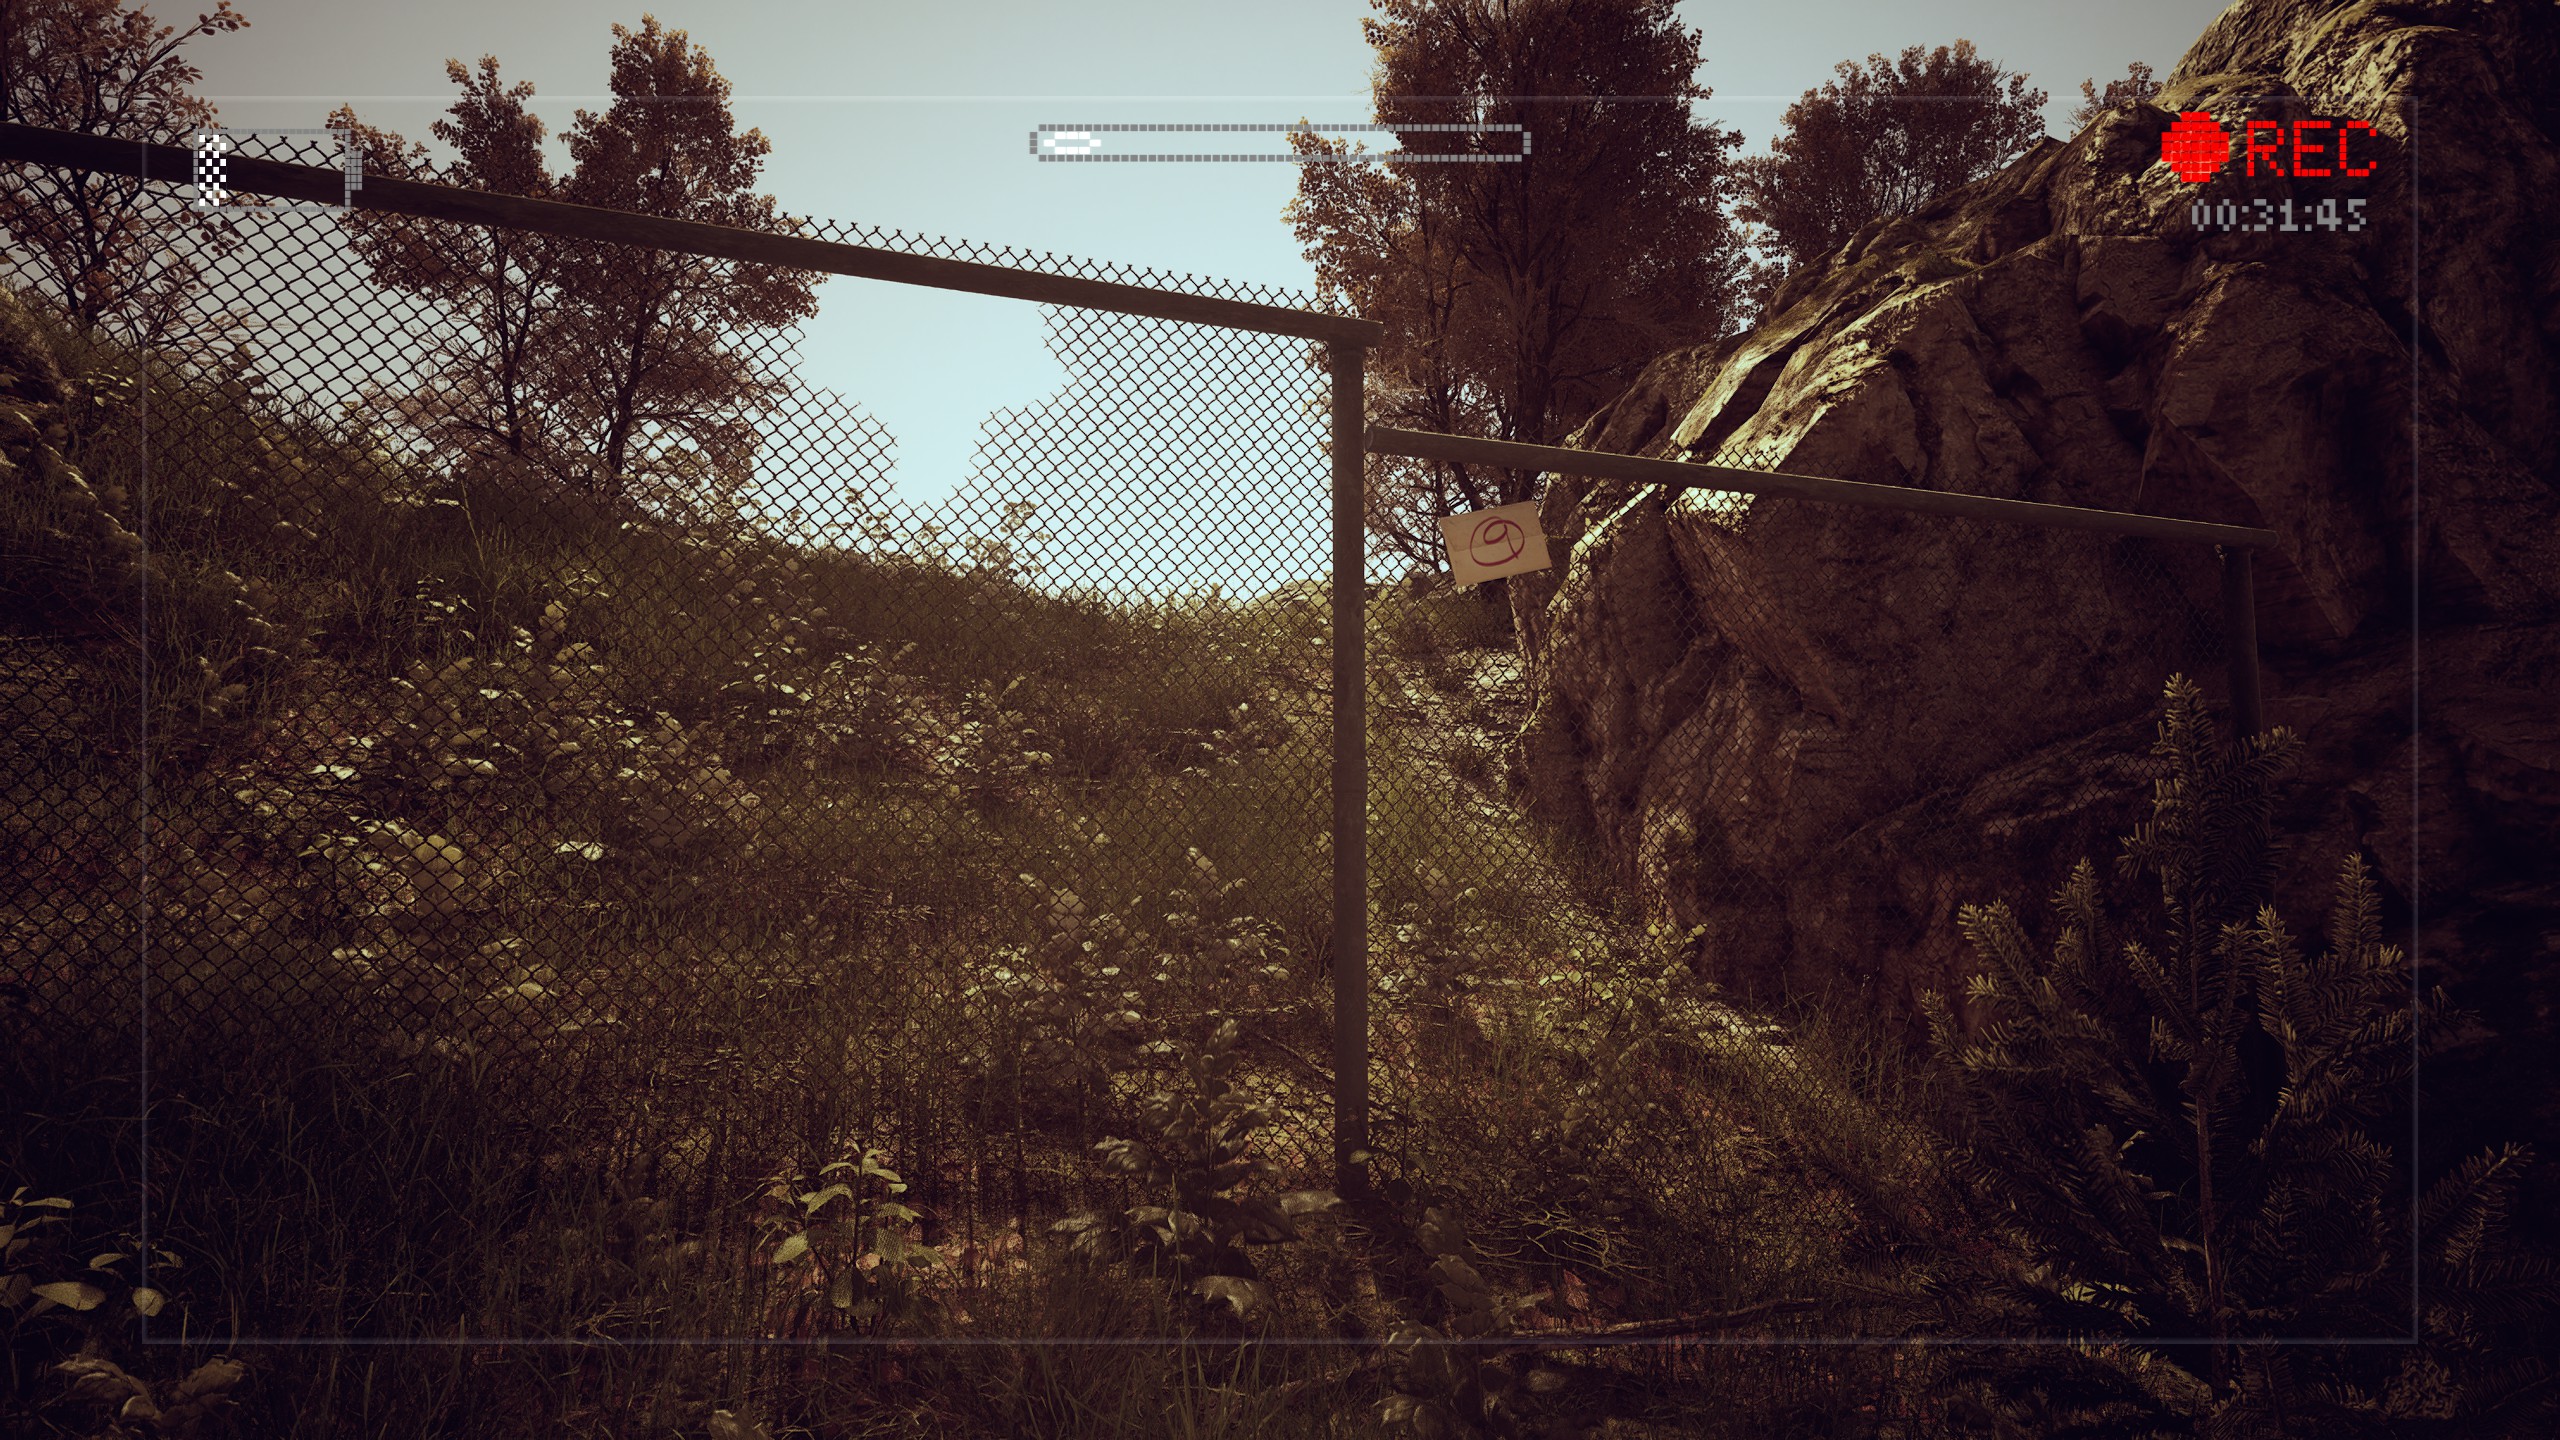
After exiting the Kullman Mine, look to the left and make your way up the hill to find
Item #27 attached to a chain-link fence.
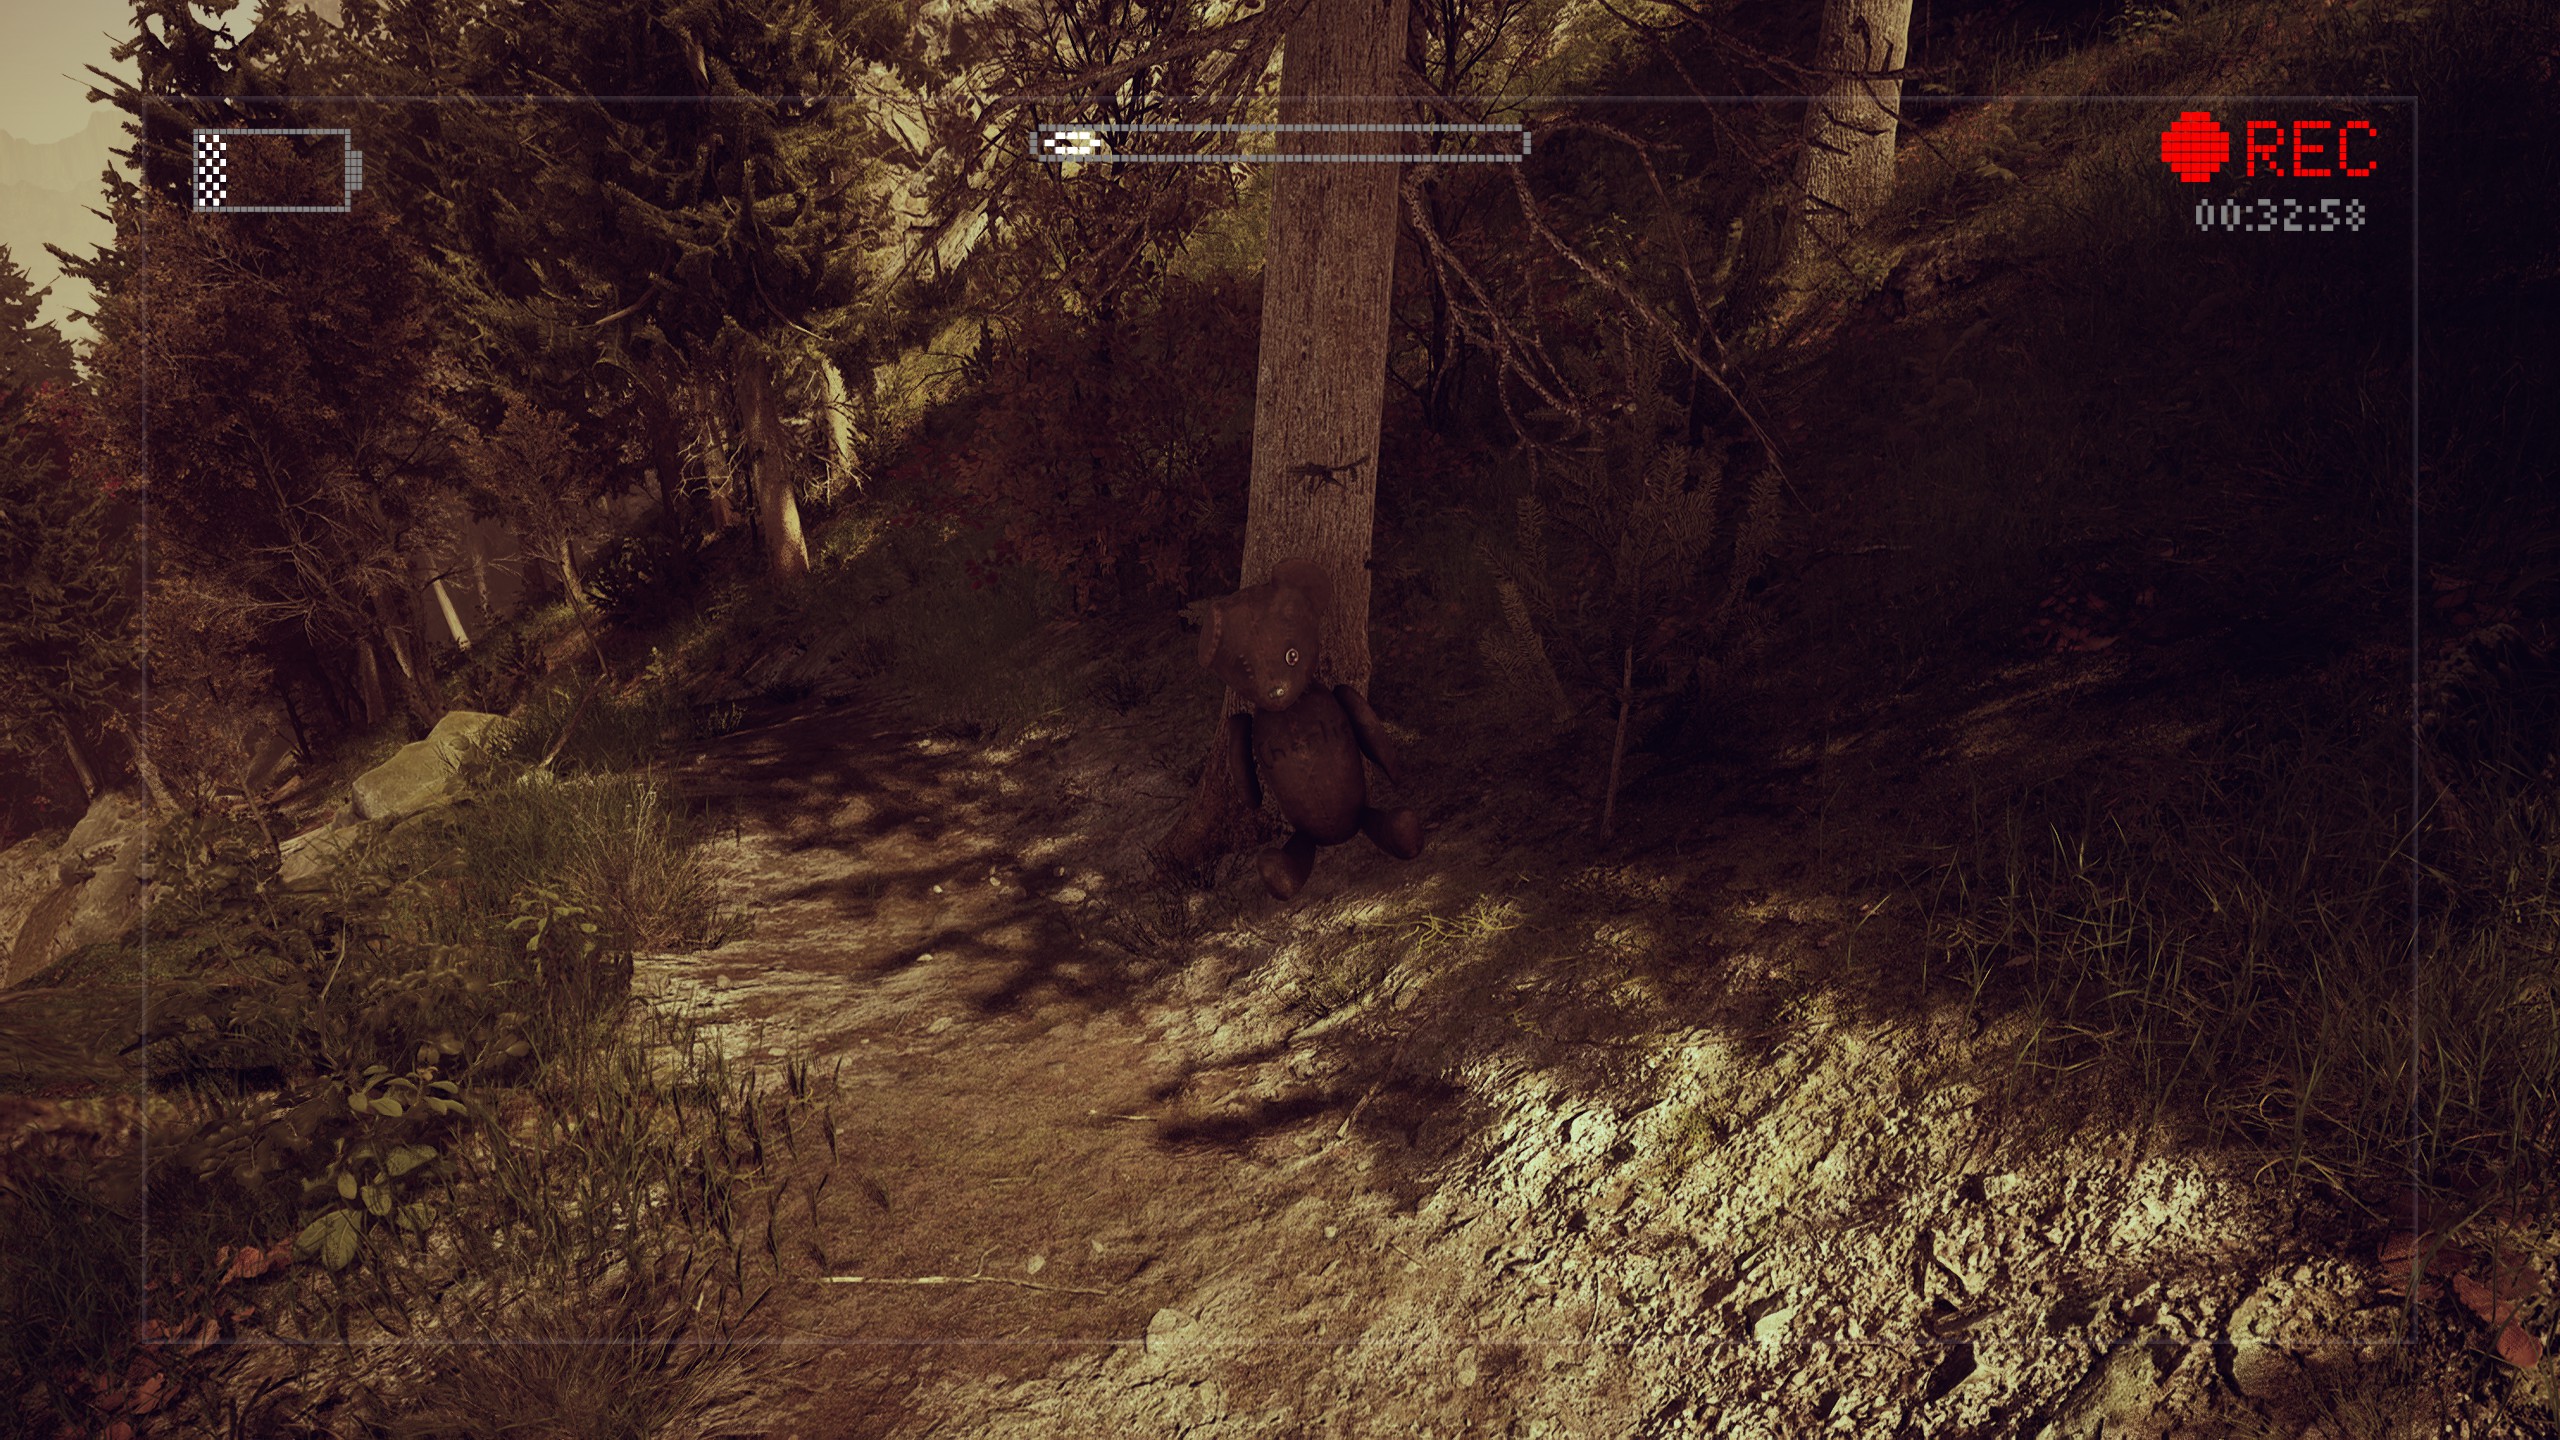
Travel along the mountain path until you come across Charlie’s teddy bear. Interact with it to enter the
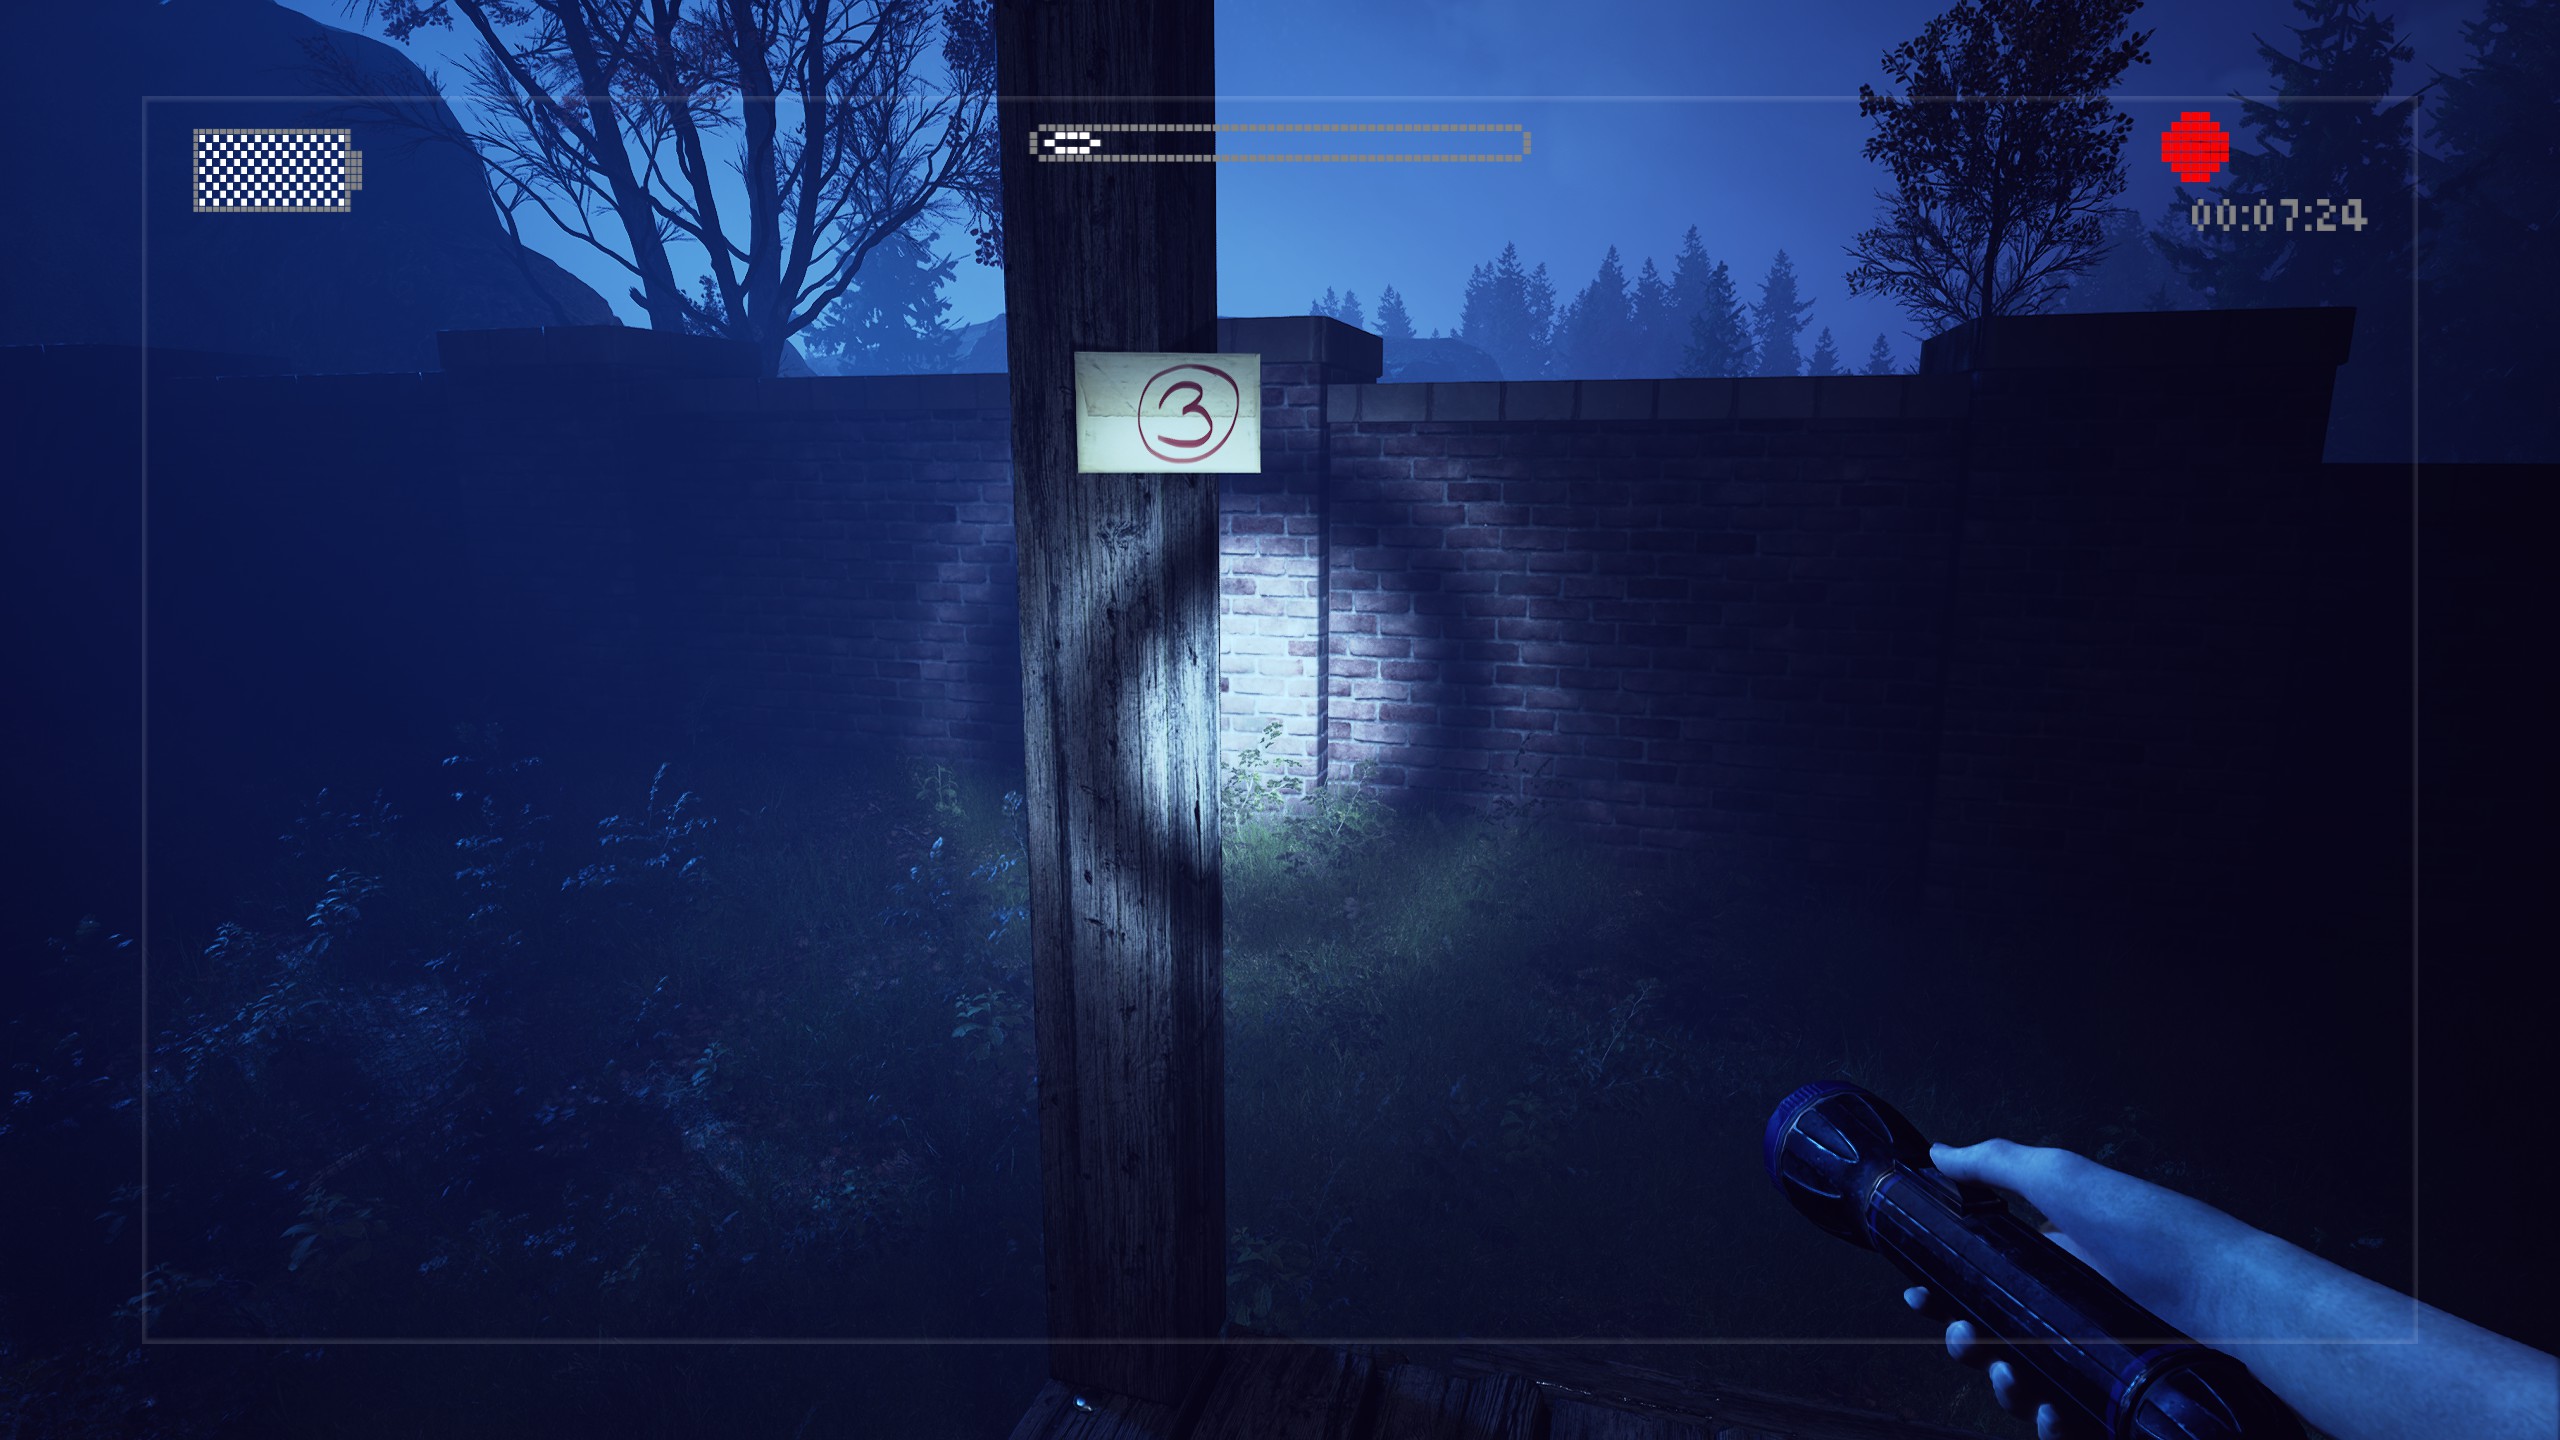
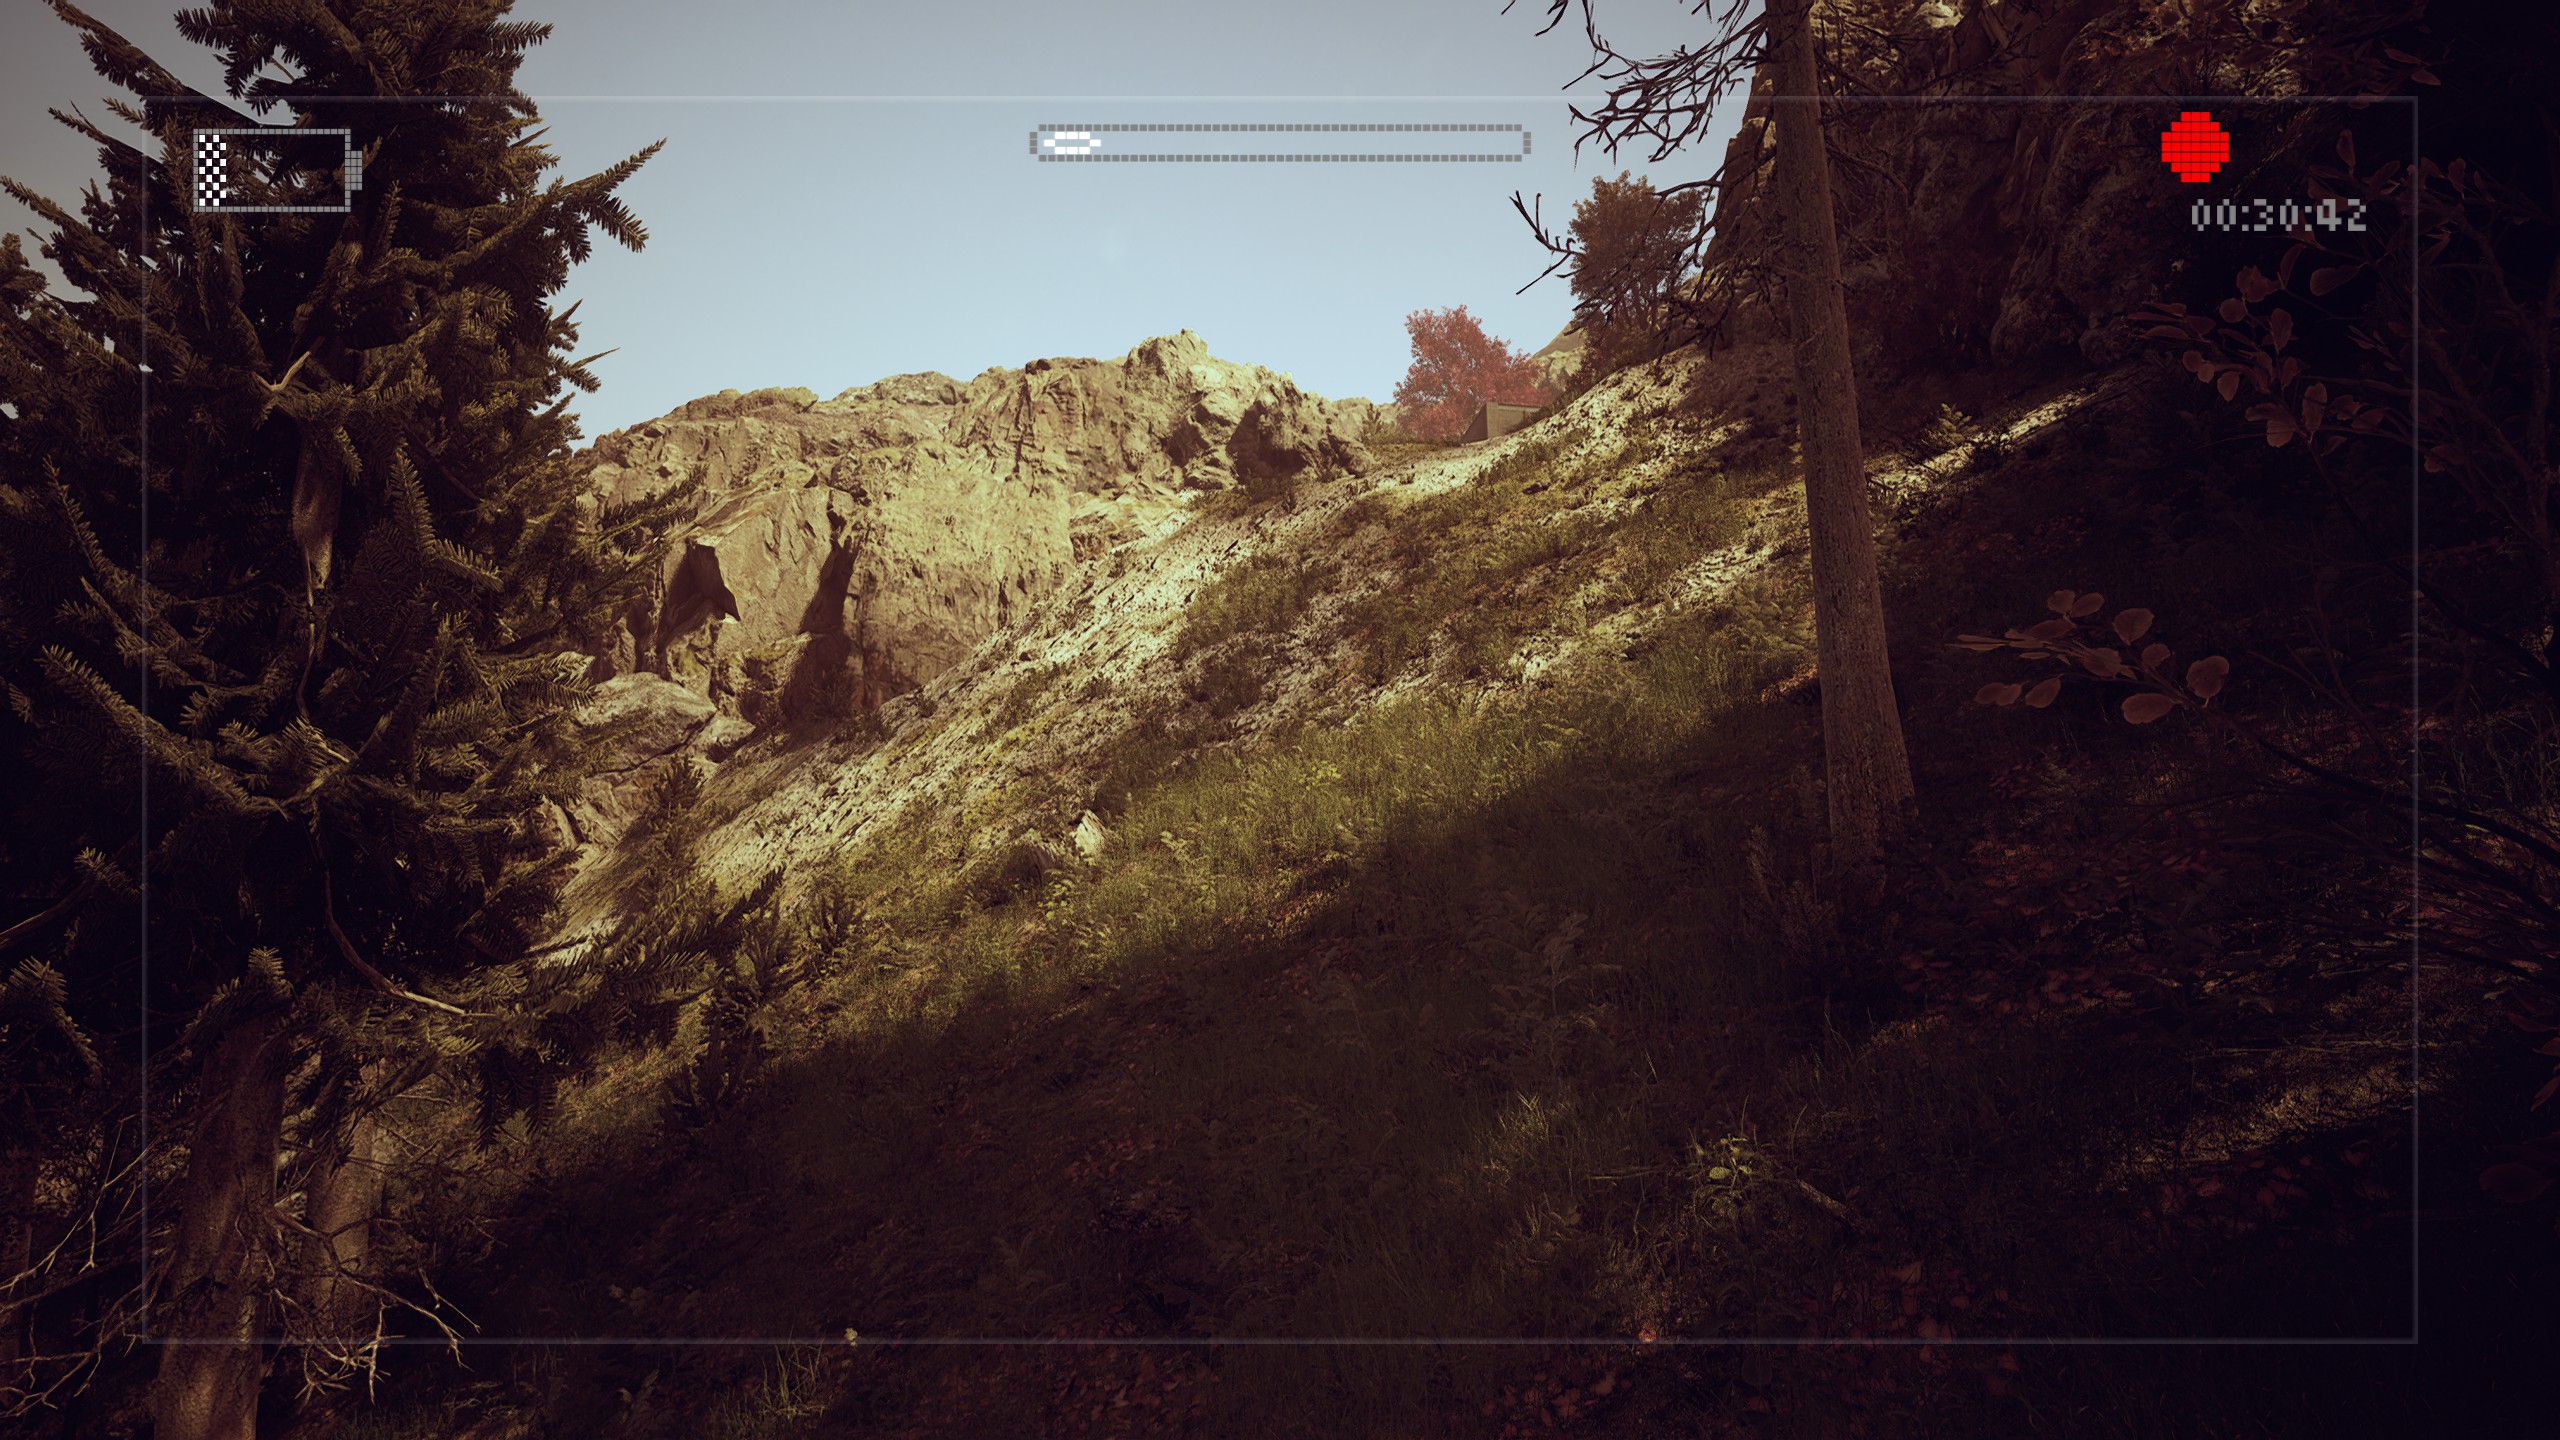
Memorieslevel if you so desire and then ascend the hill directly ahead and to the right to find
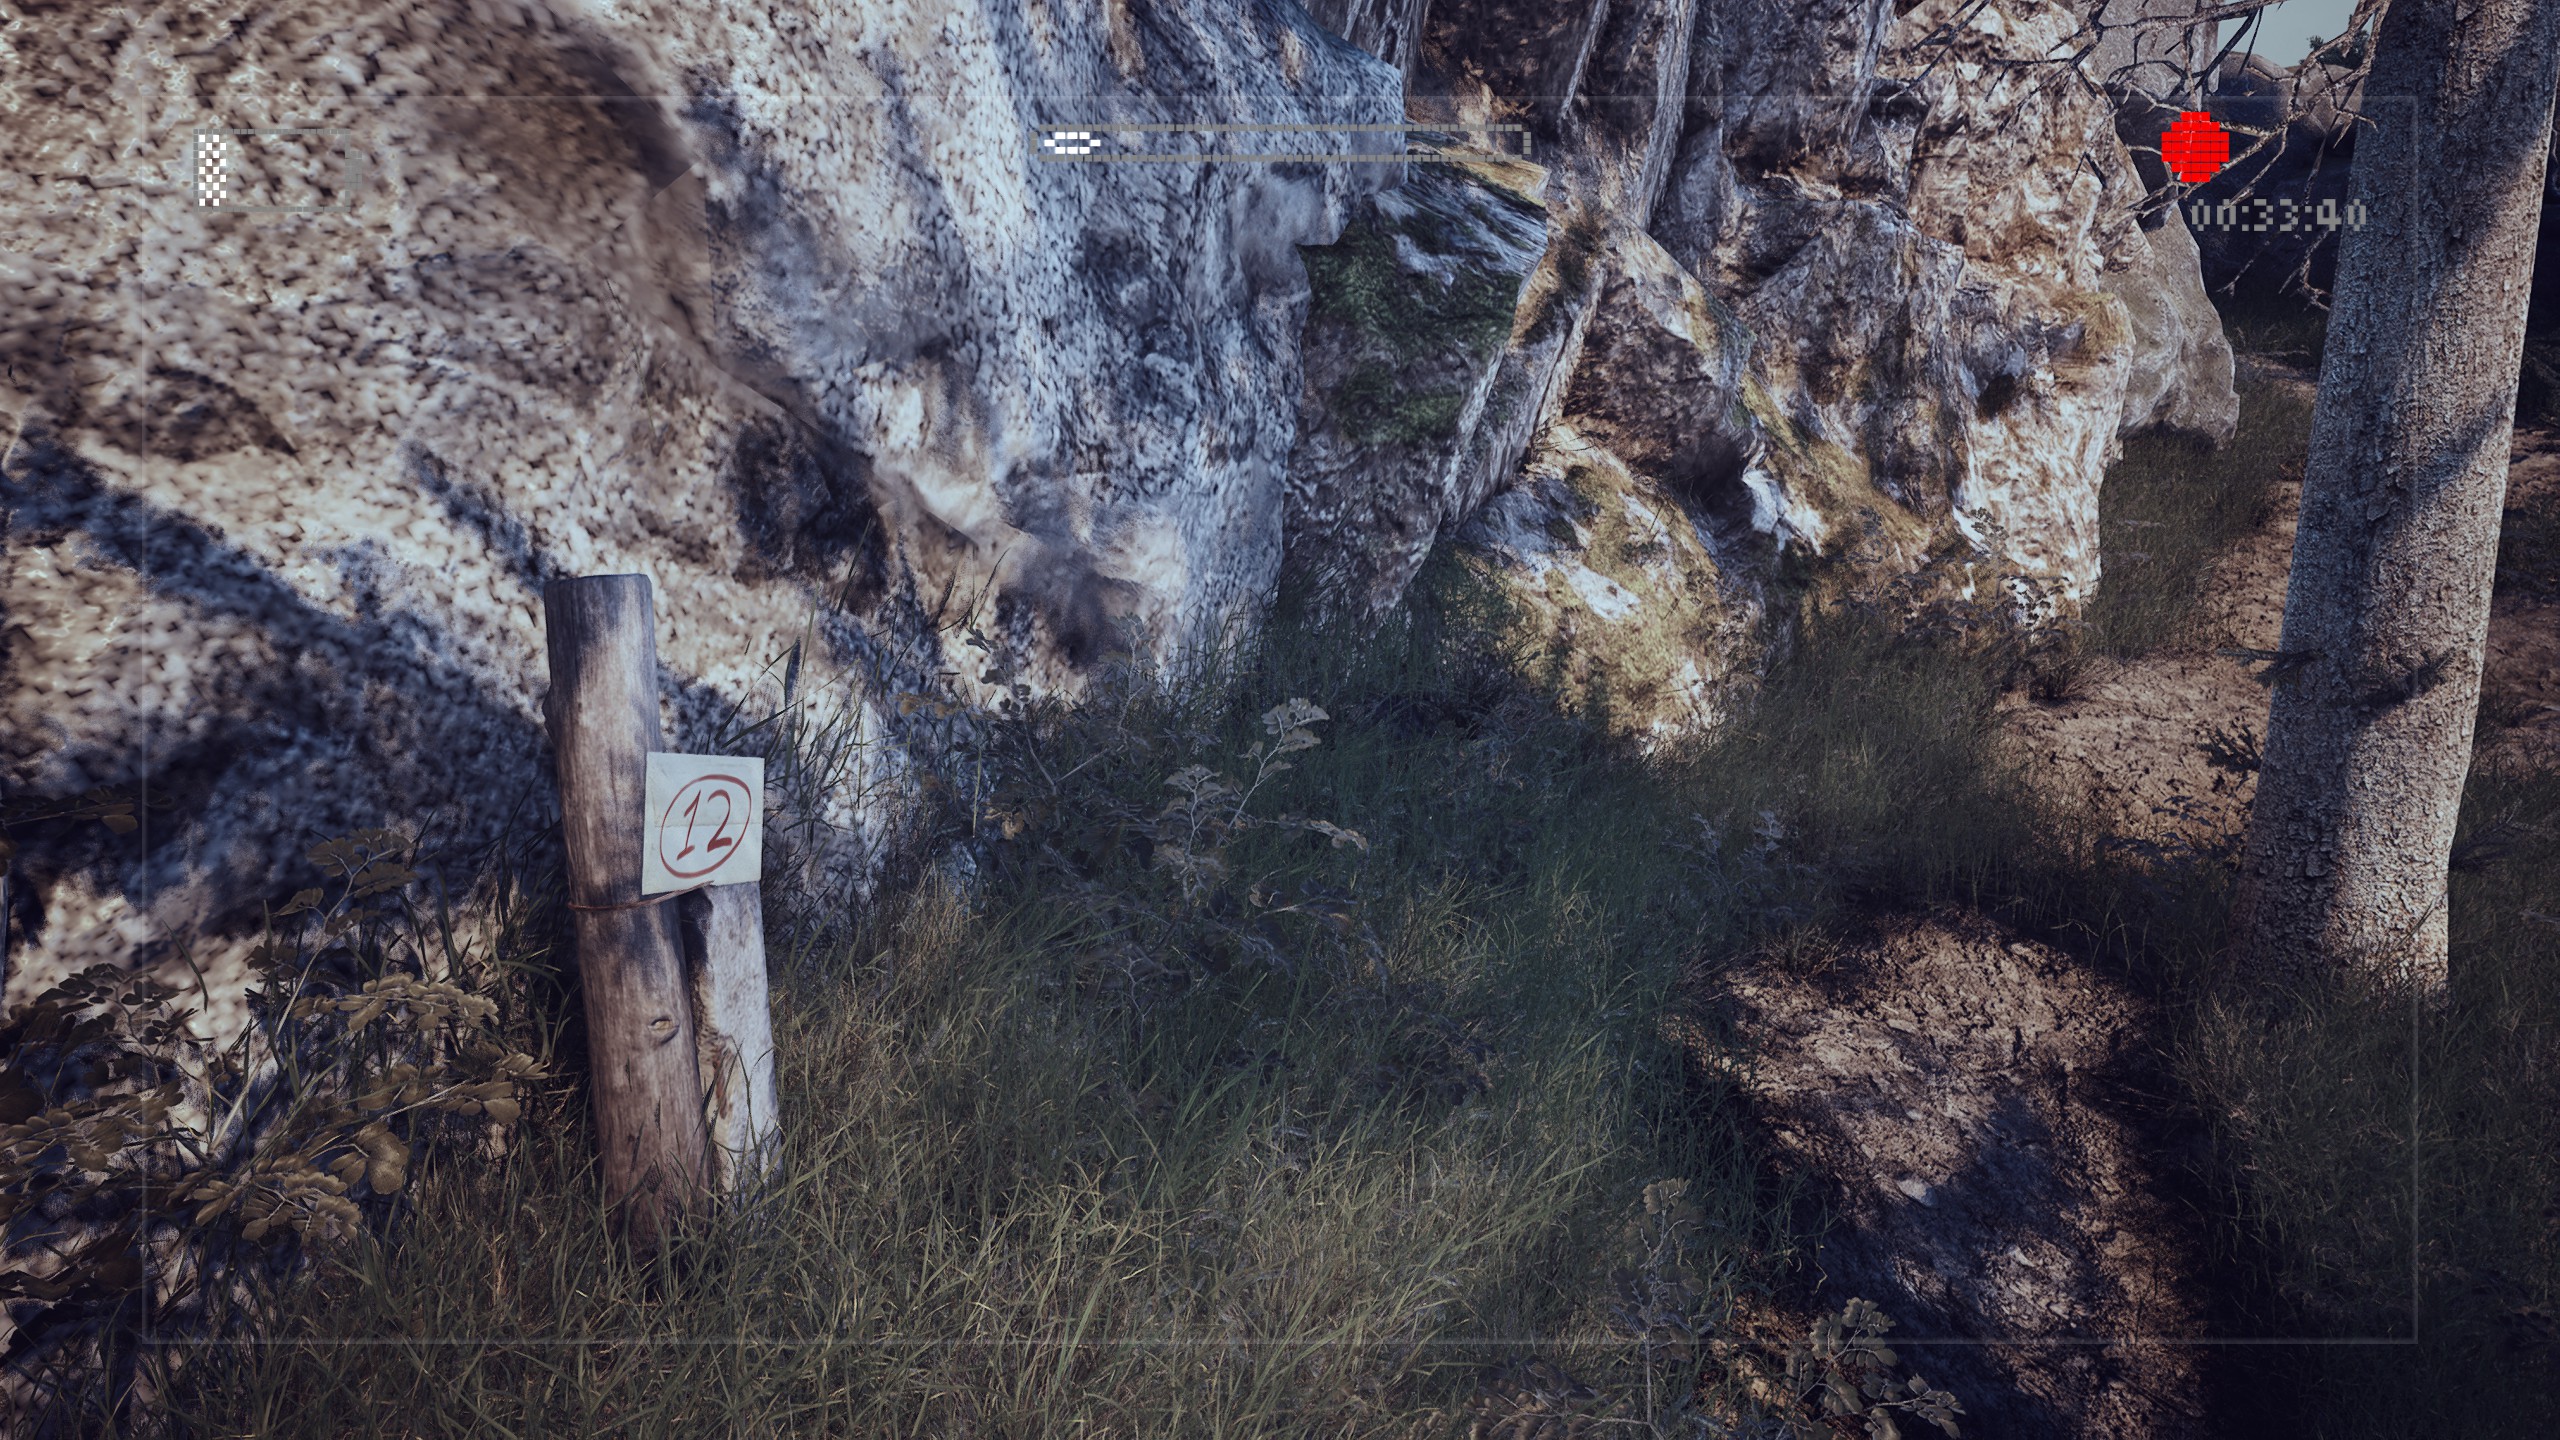
Item #28 stuck to a wooden post at the top.
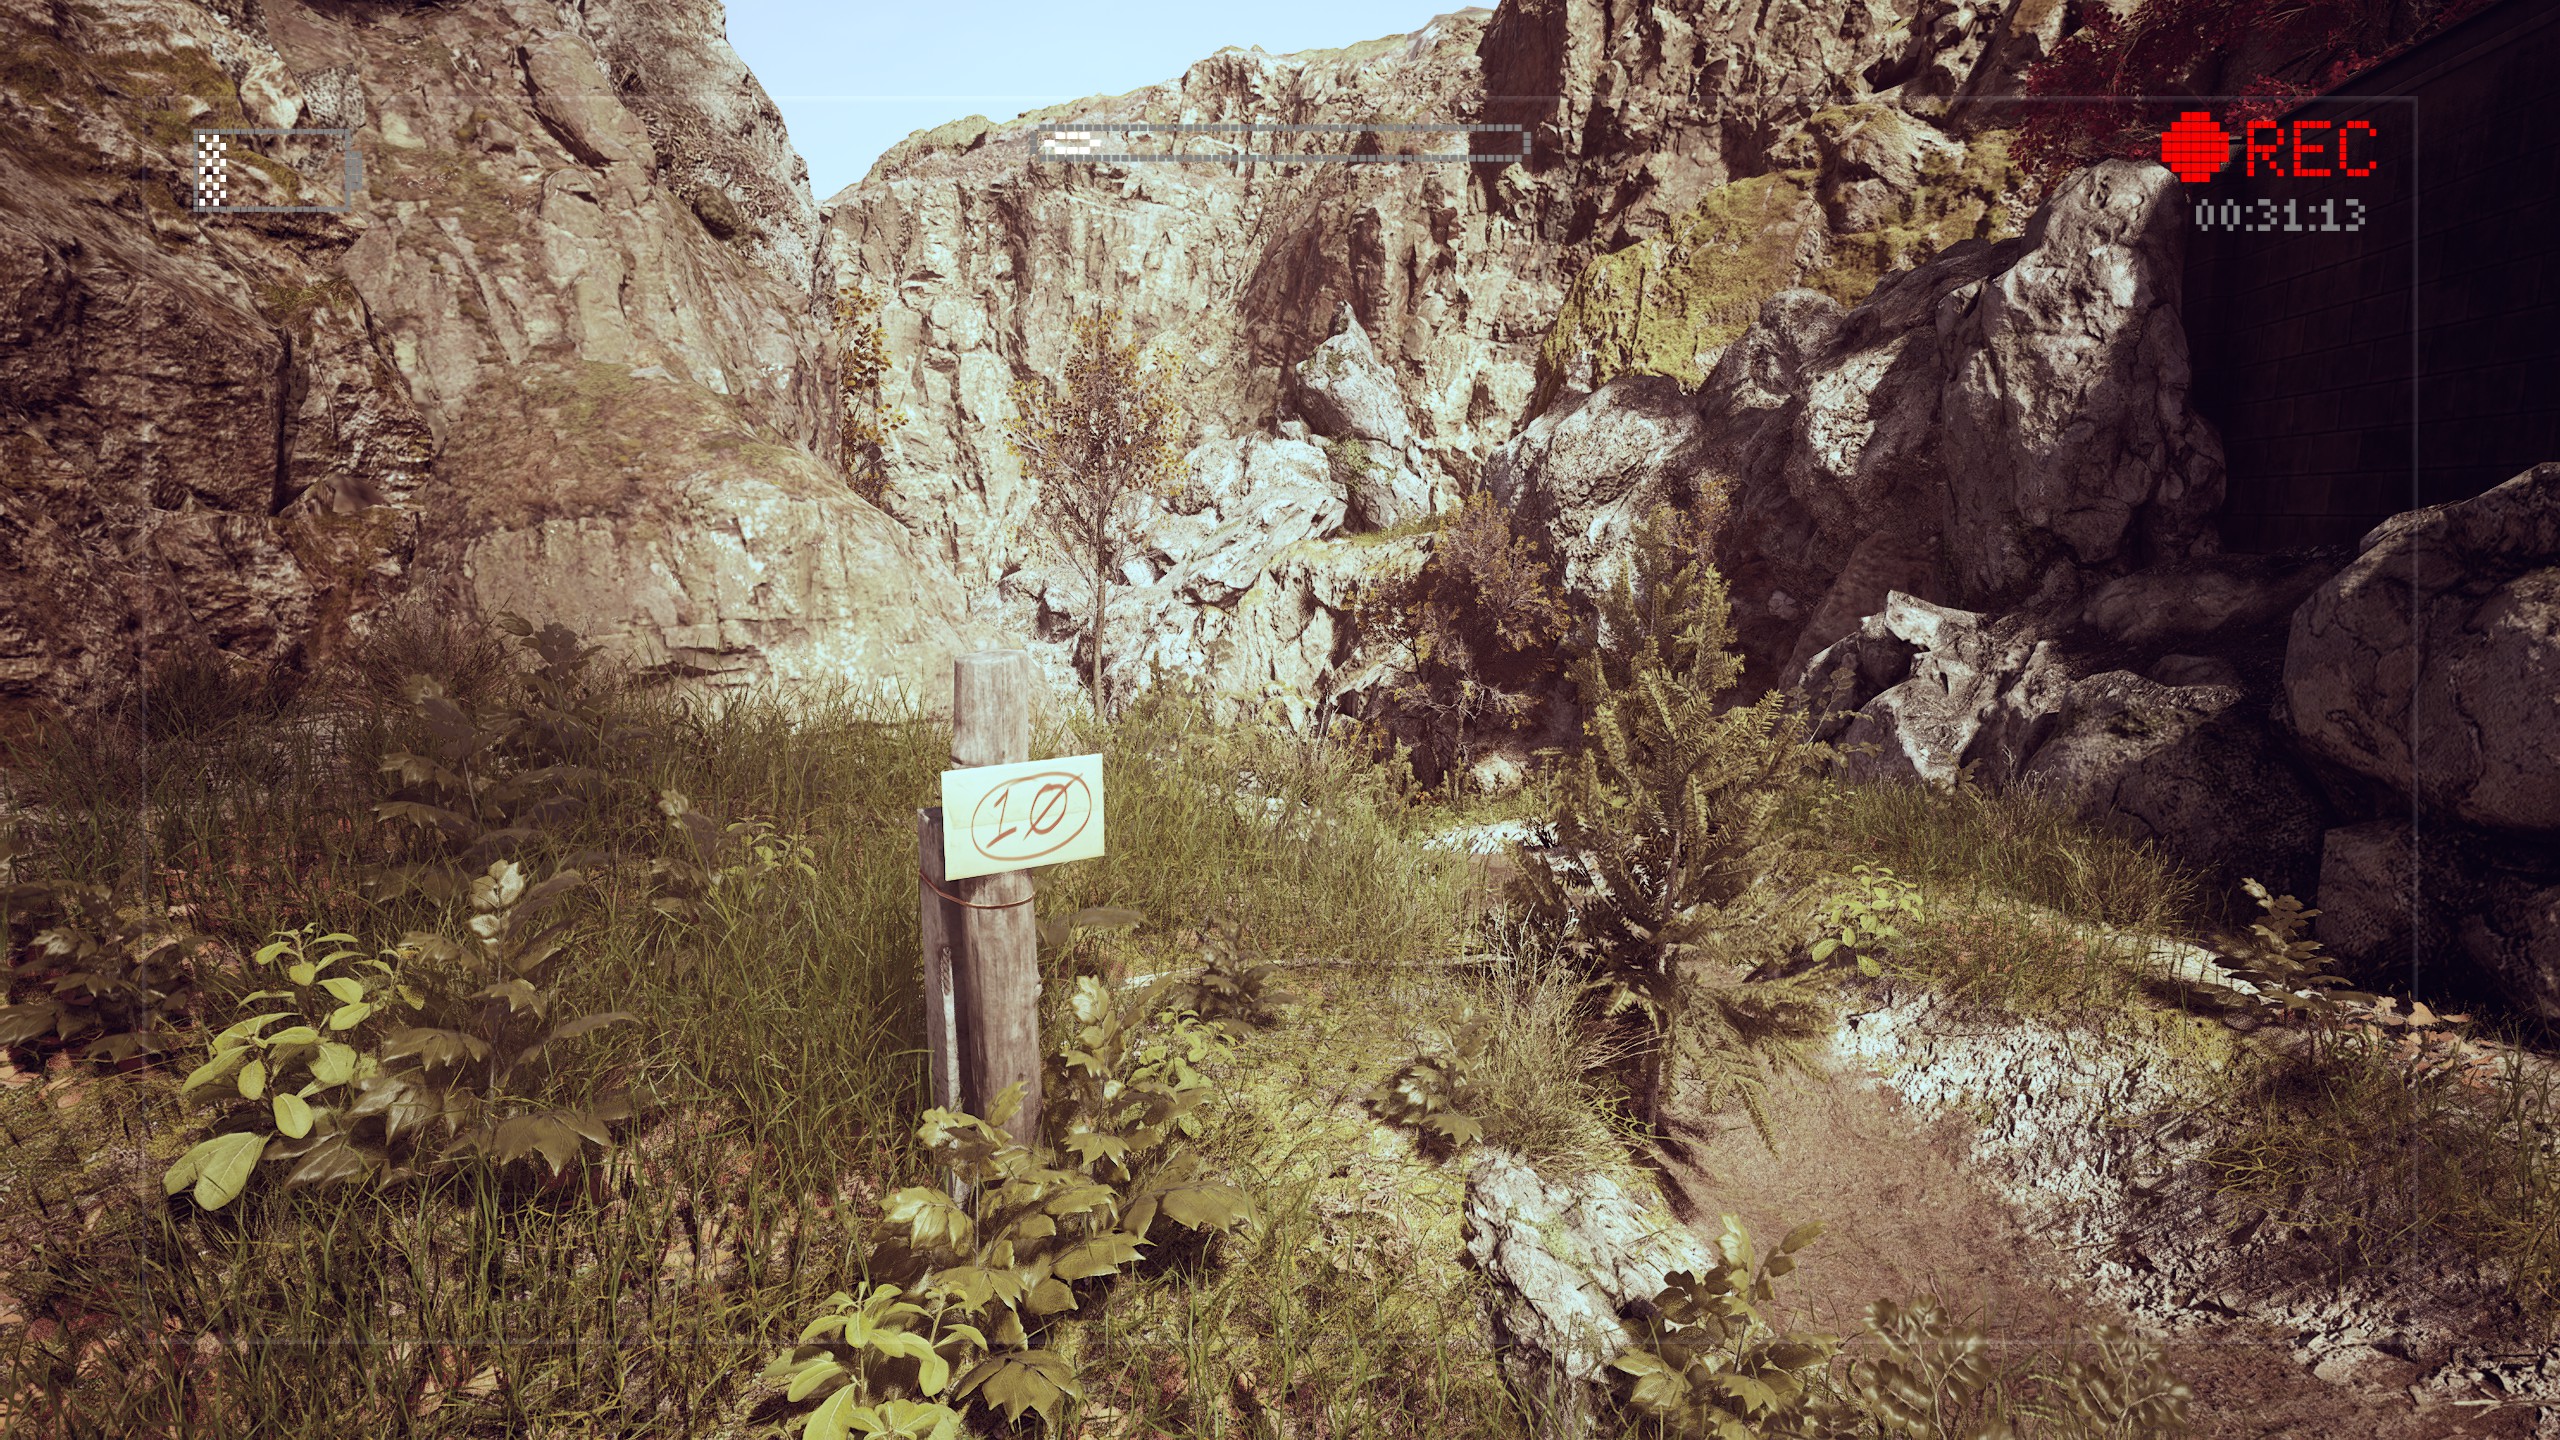
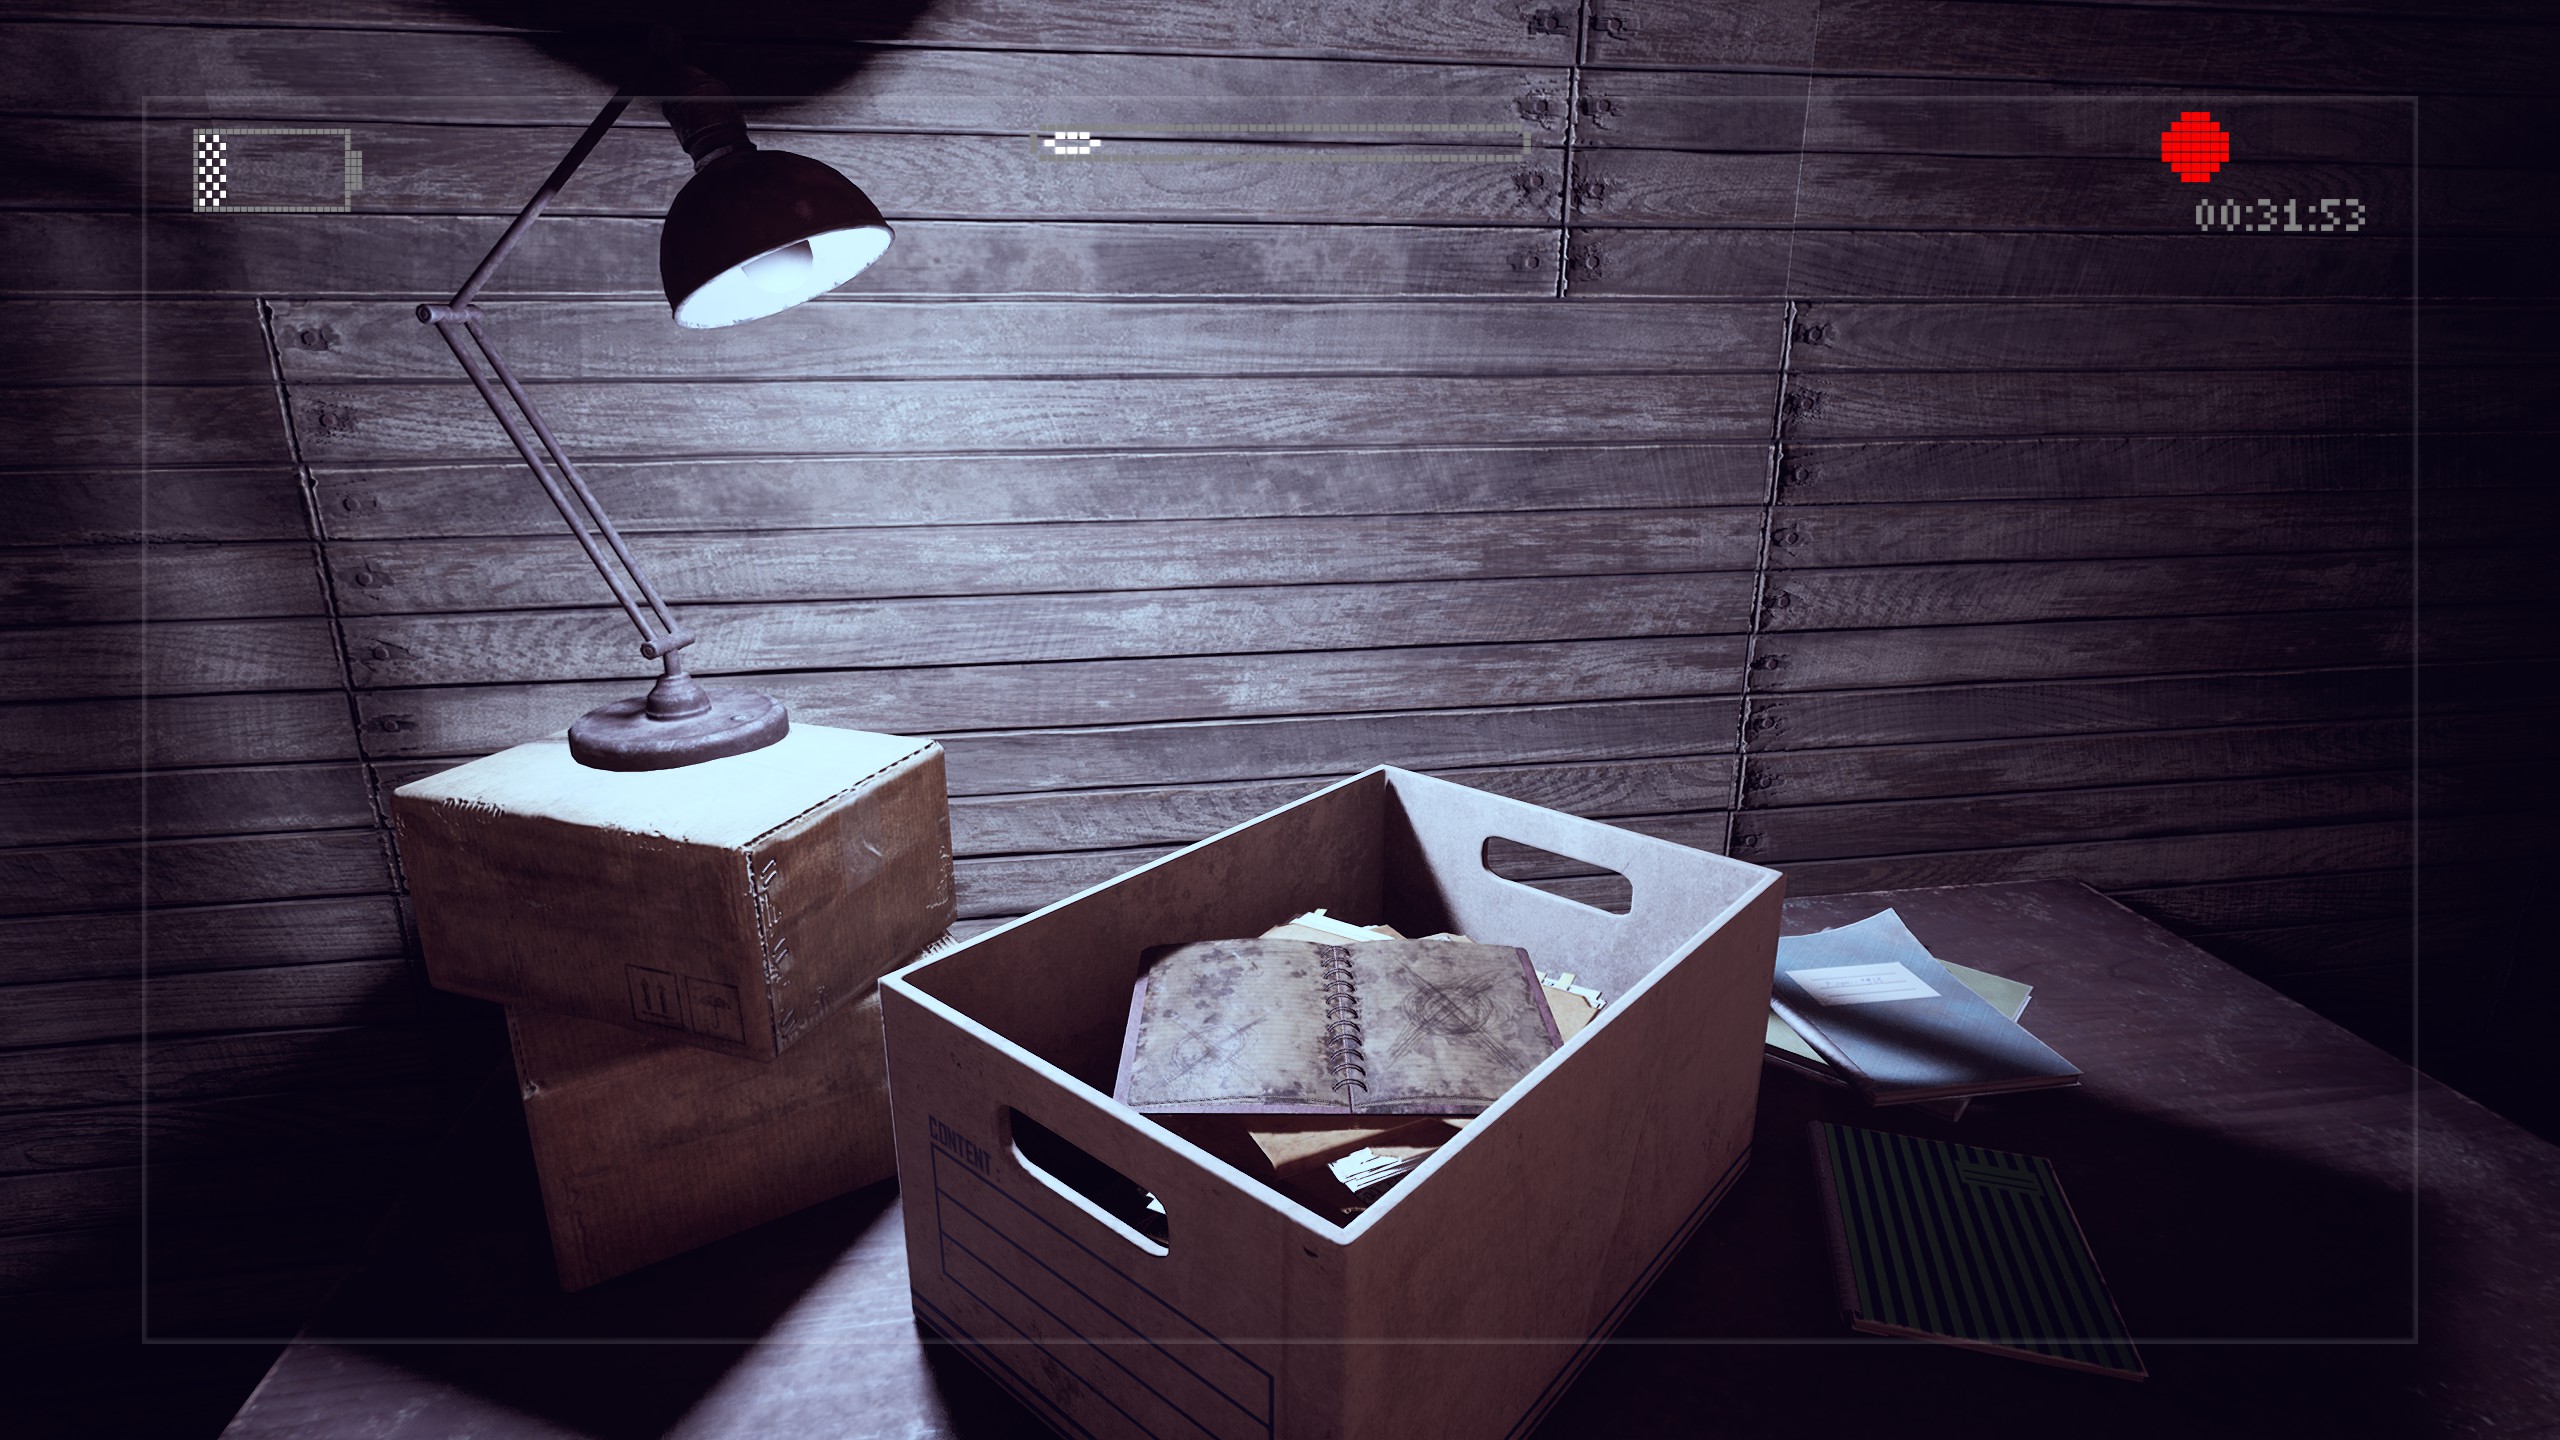
Note: A building will be present beside this item in the new version of the game. Head inside and interact with the box pictured below to enter the new
Nightmarelevel.
Nightmare
Alright, this next section is what everybody’s here for so let’s just jump right into it!
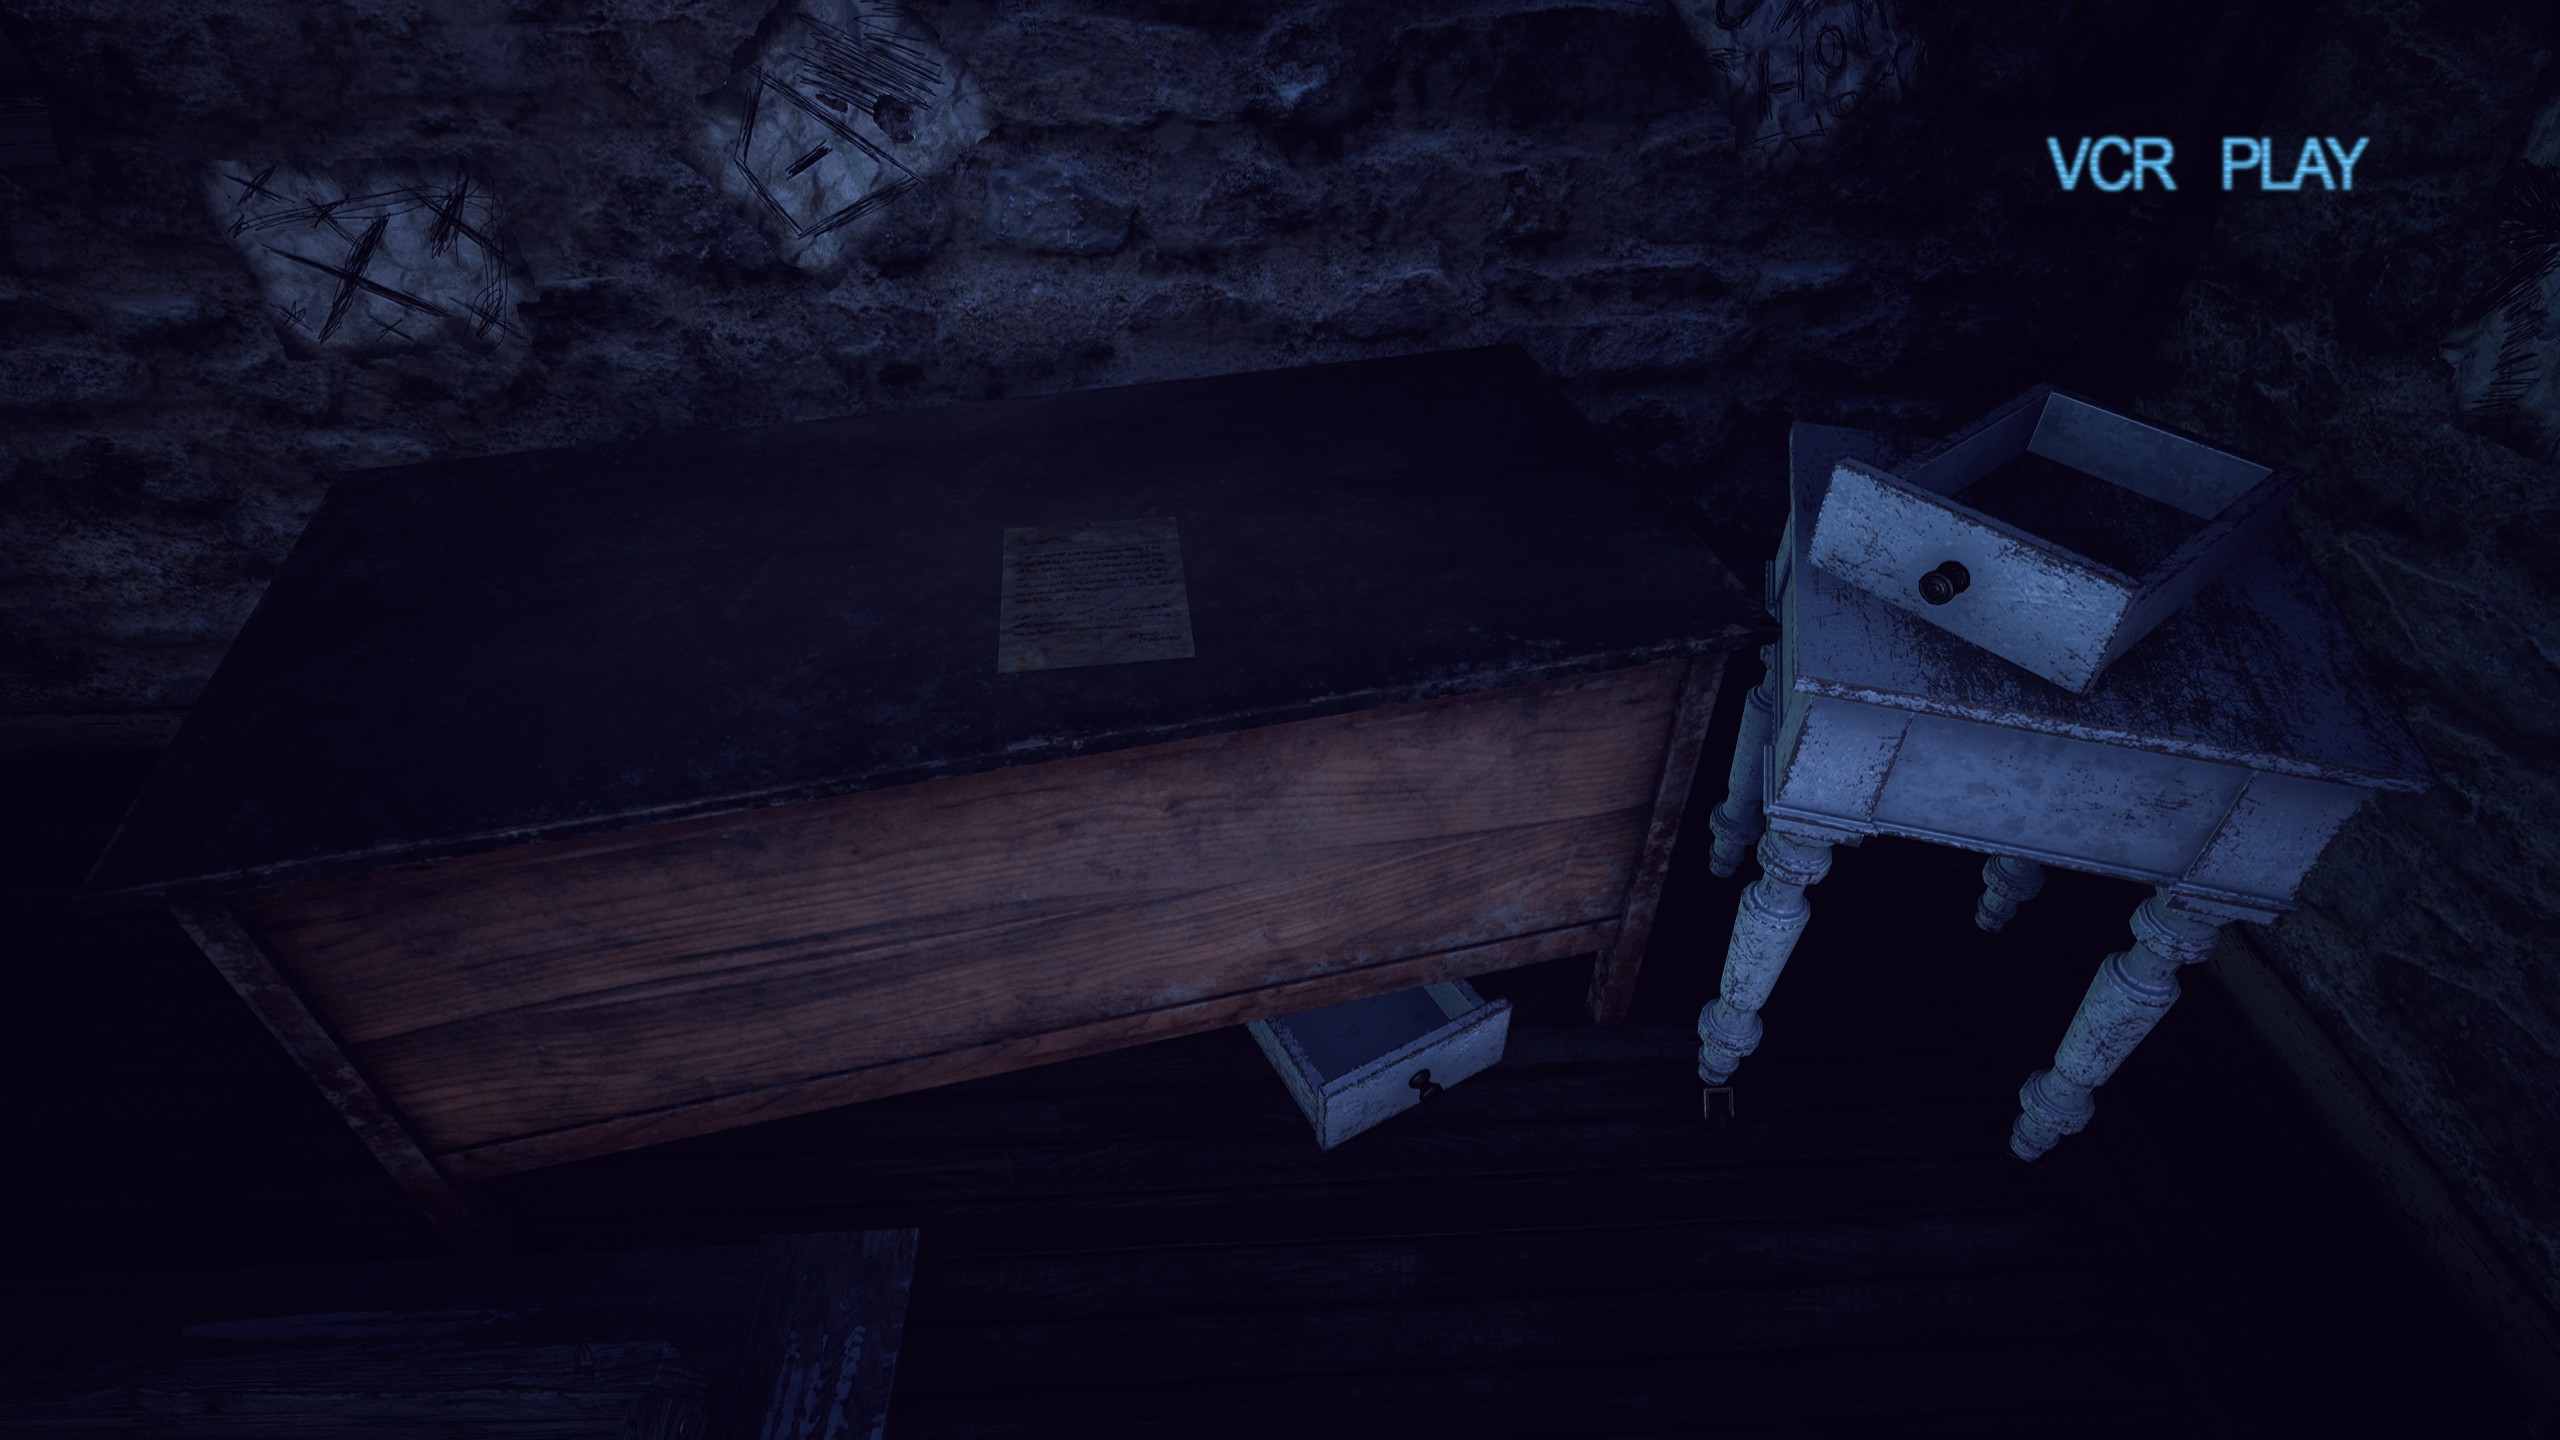
Immediately after waking up in the hospital, look at the dresser beside the bed to find
Item #29. 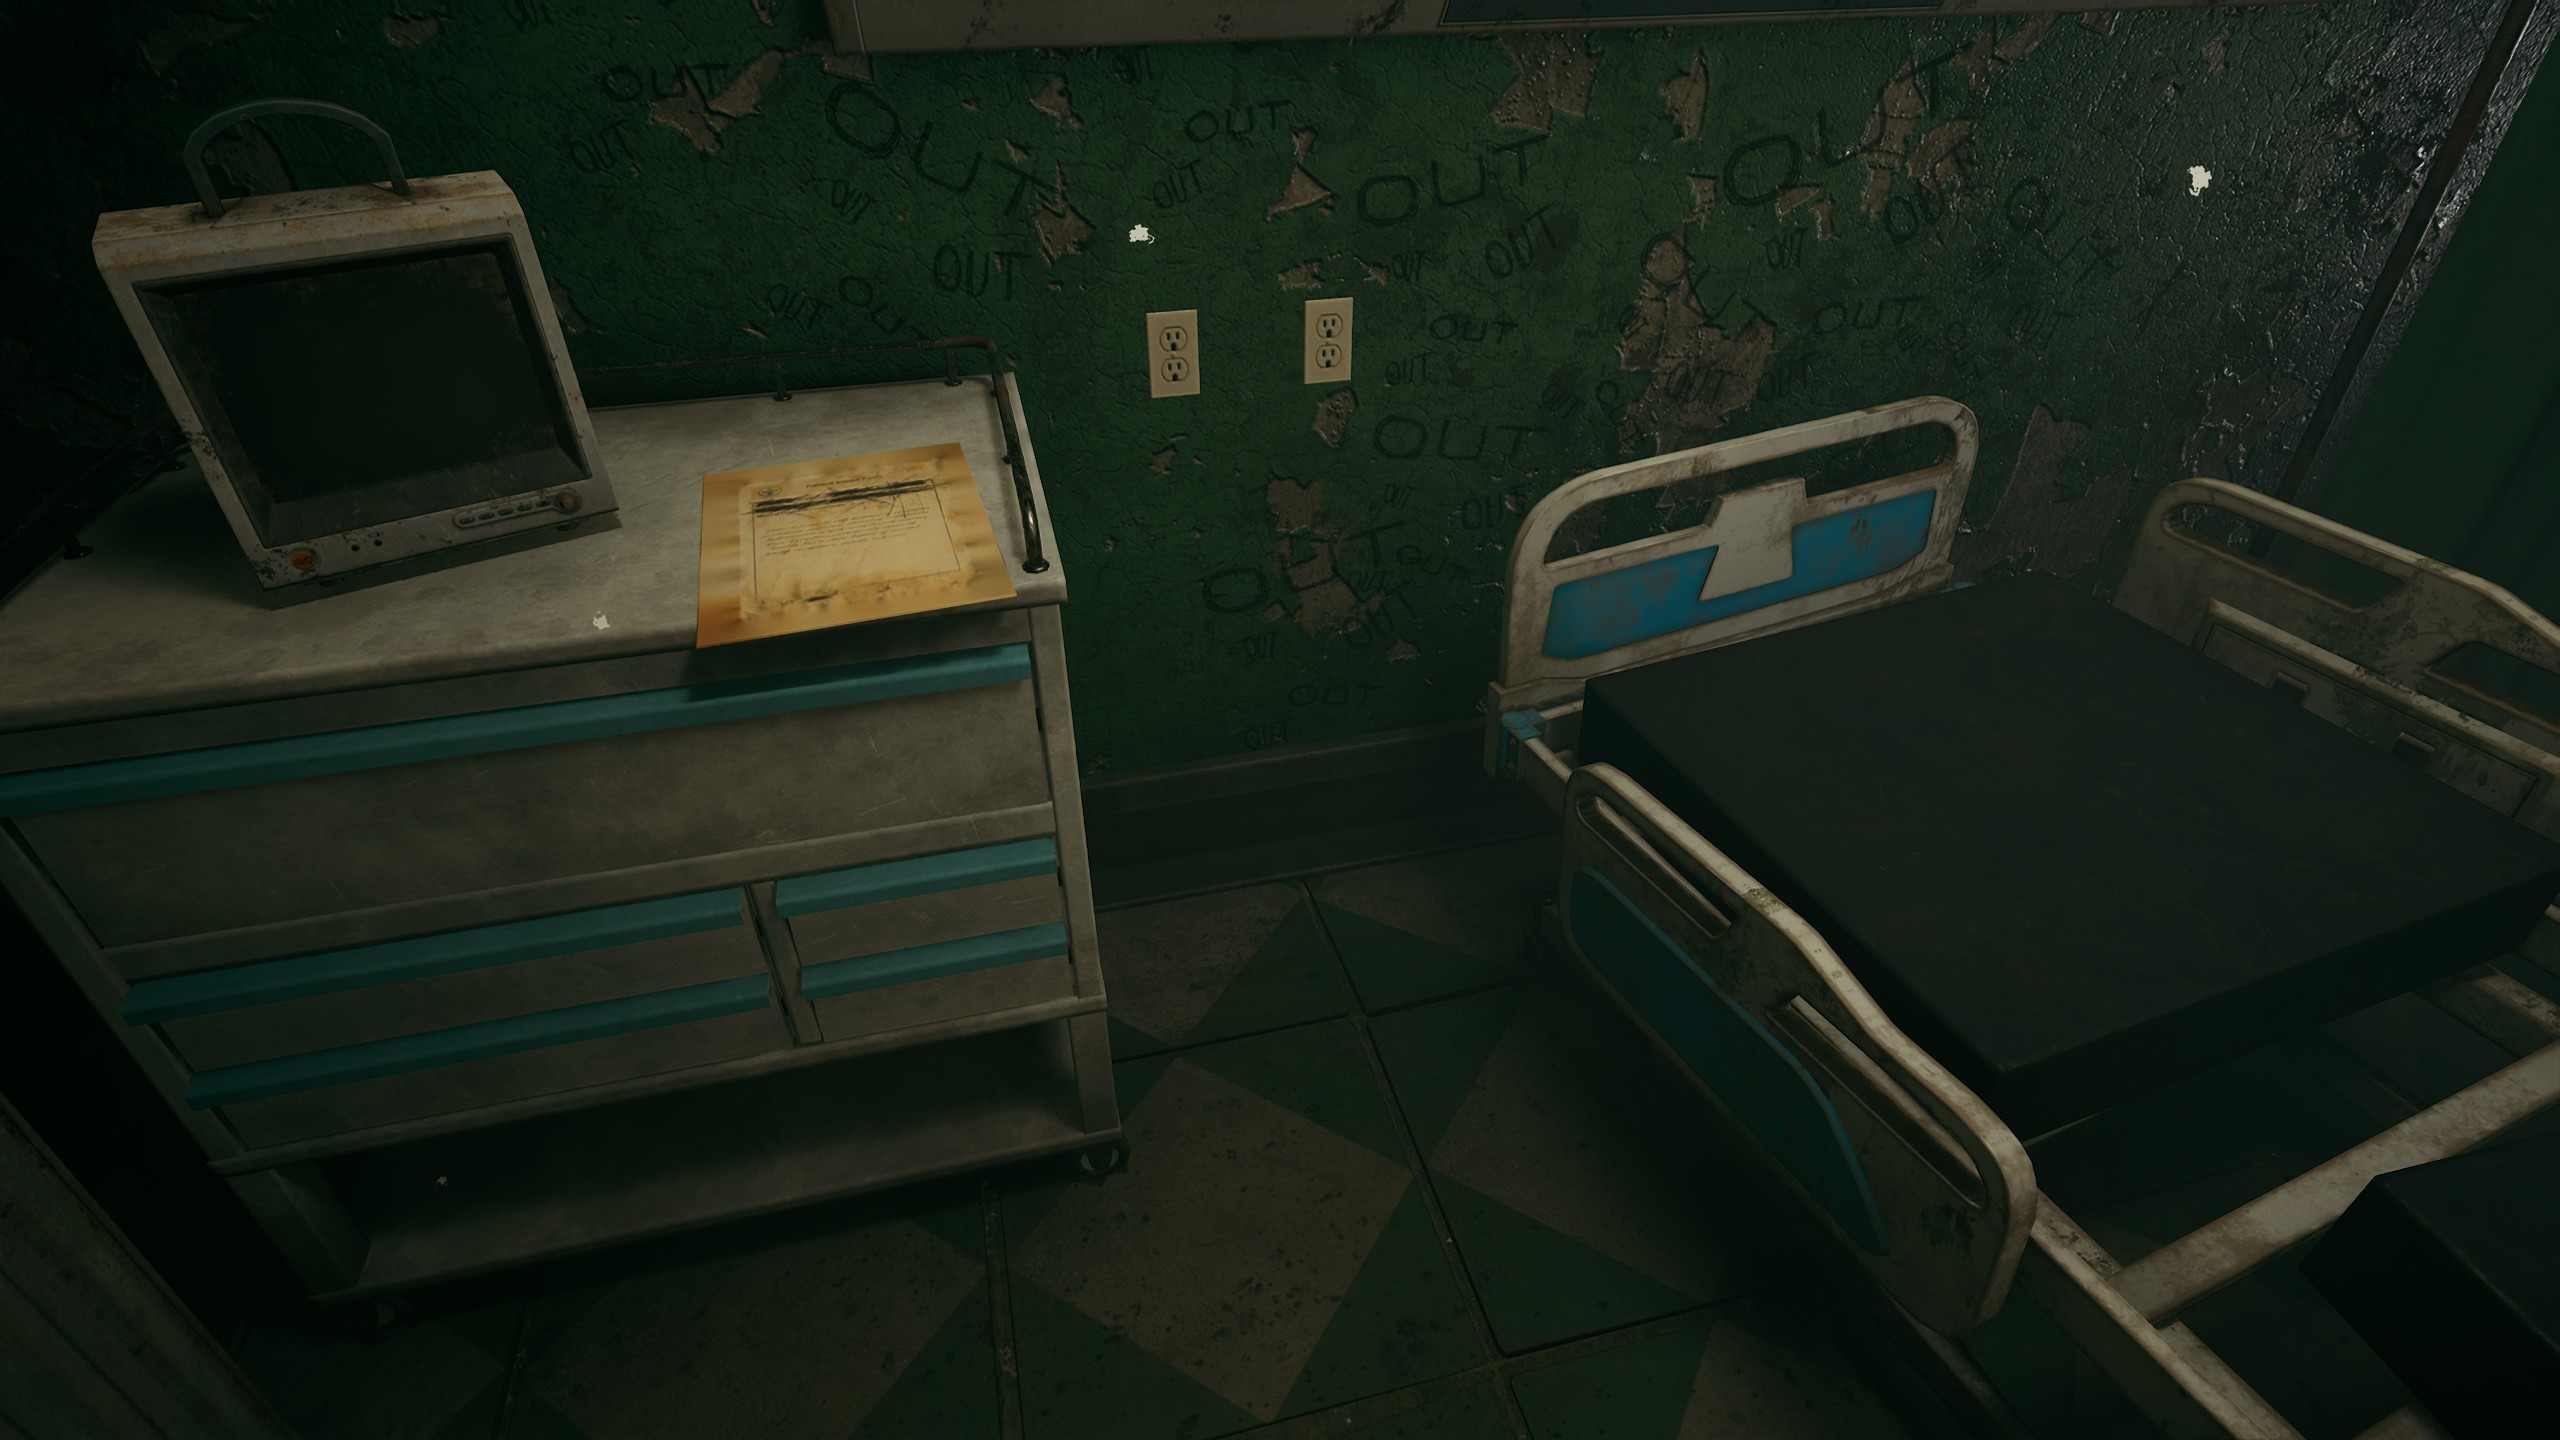
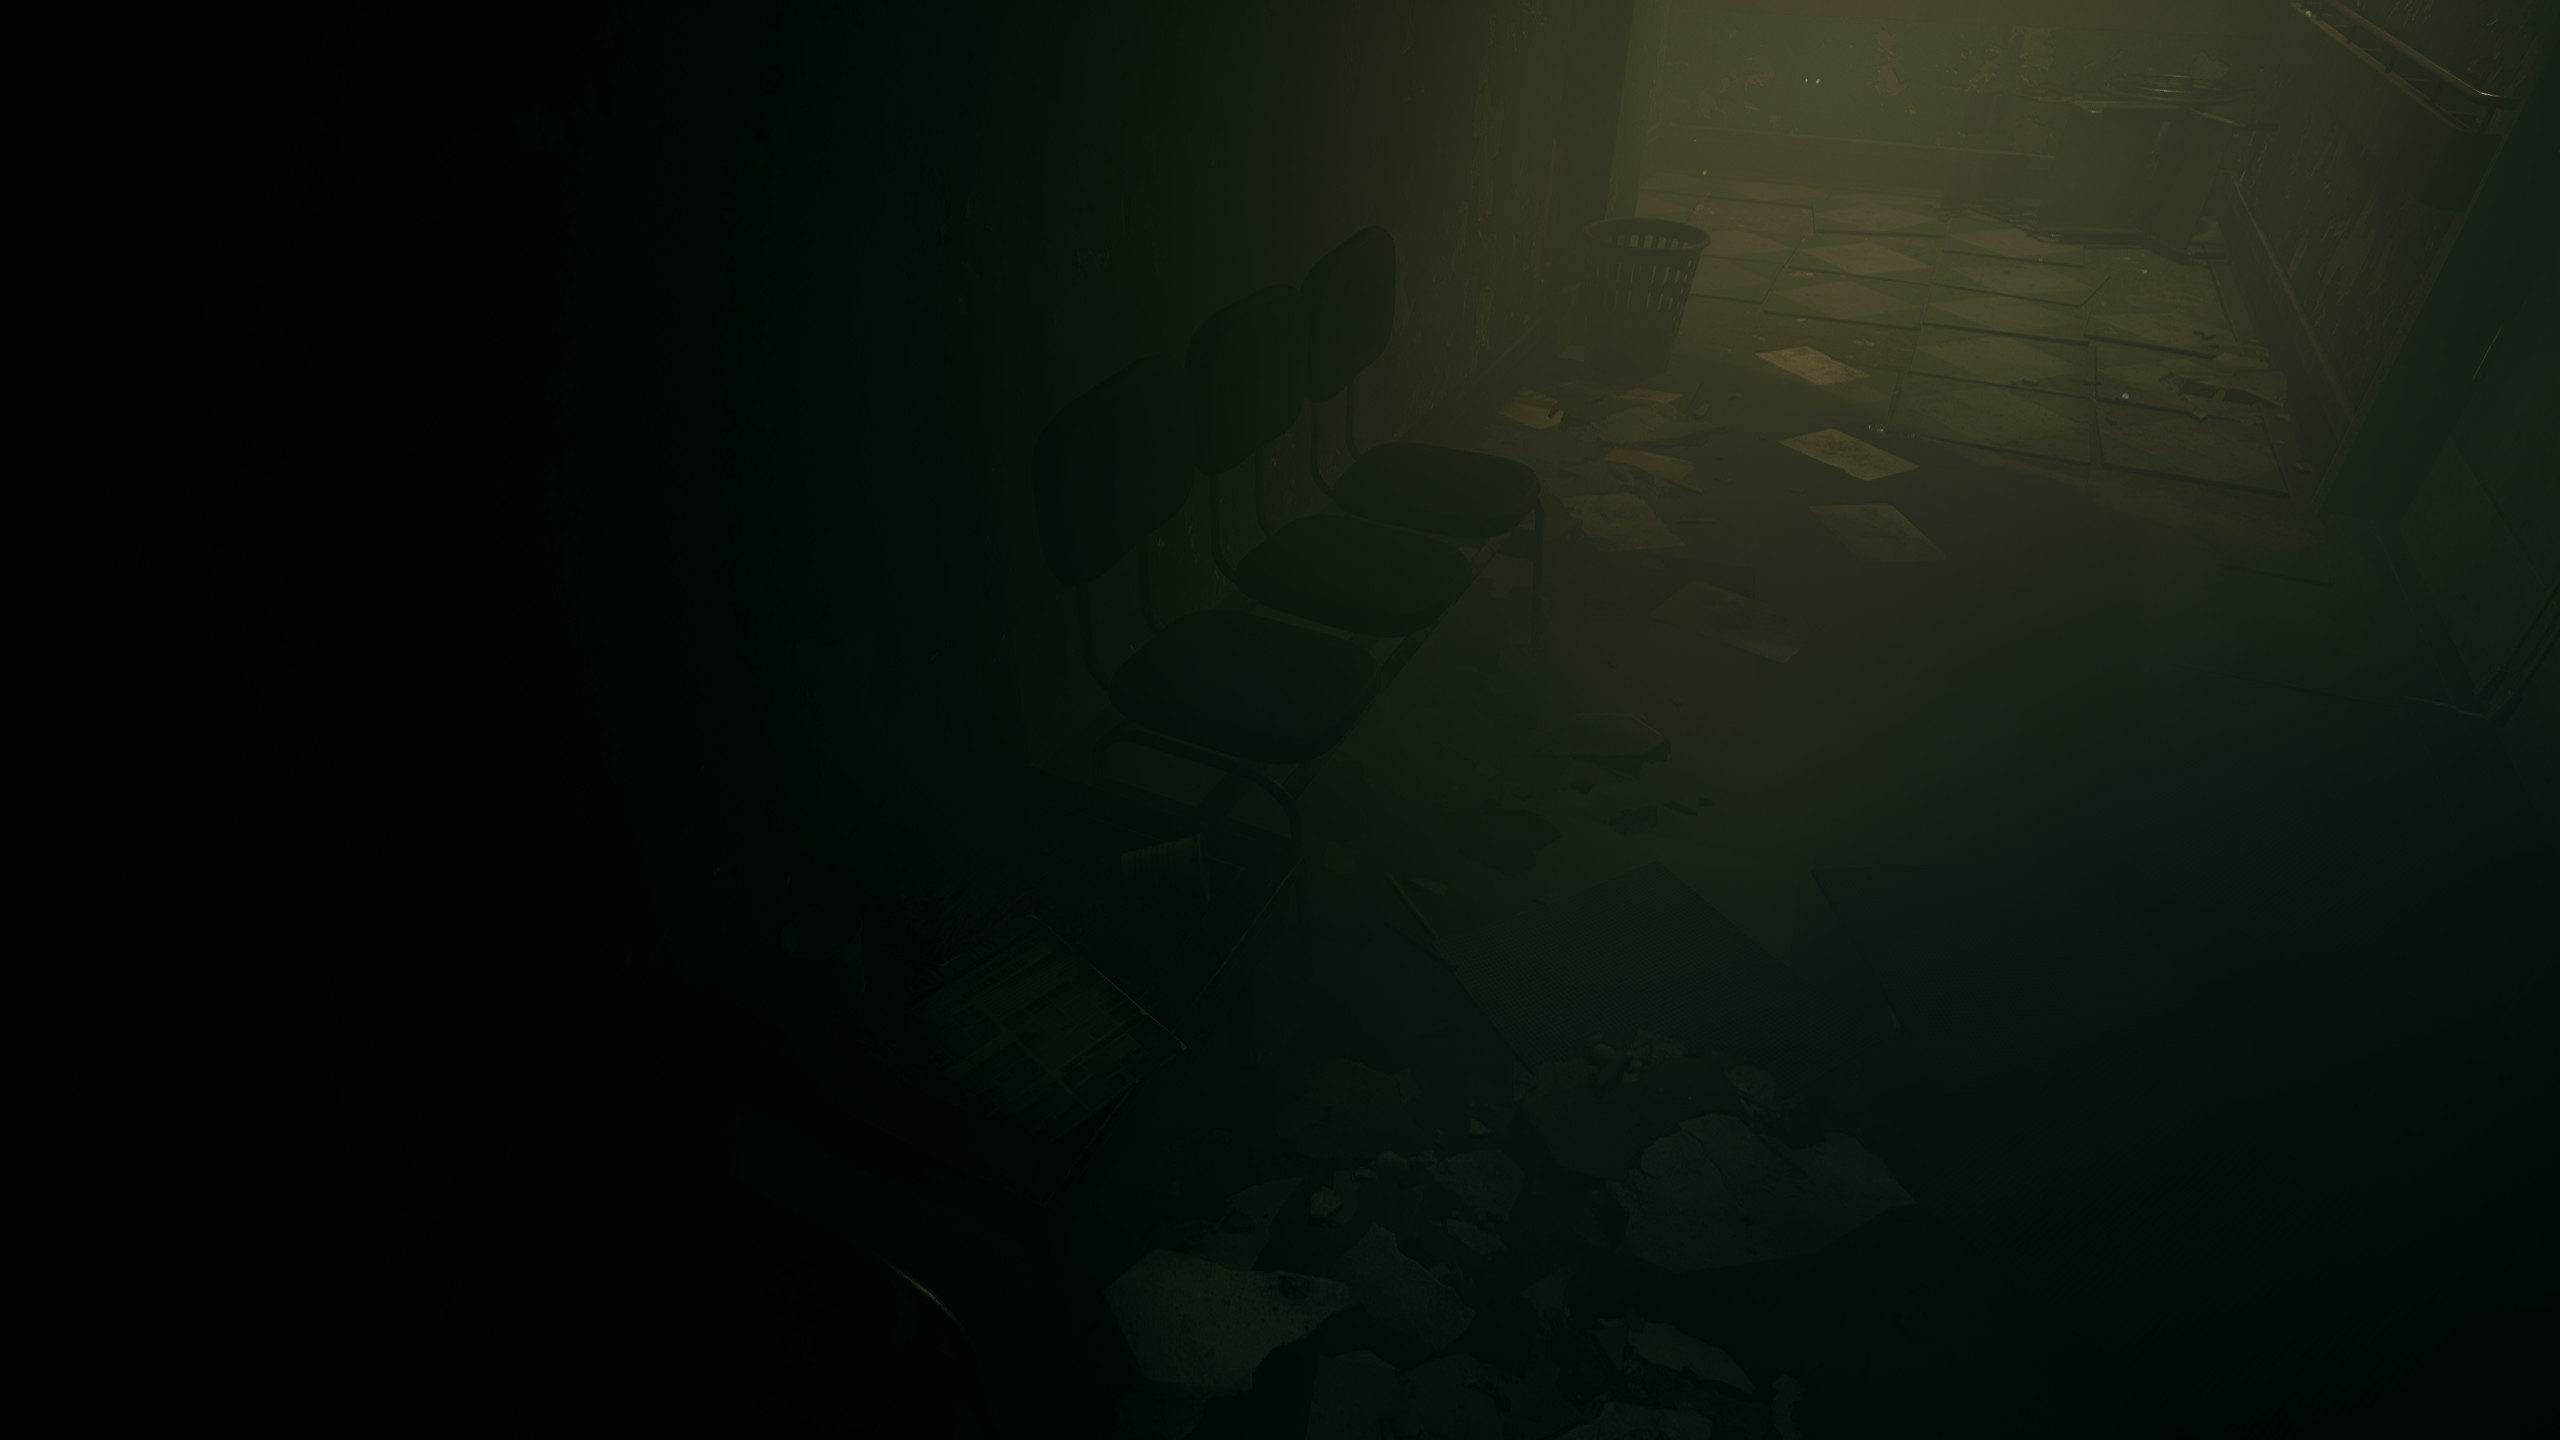
Right after leaving the room you started out in, look at the chairs on the left side of the hallway to see
Item #30 sitting on a small table between them. It’ll be hard to see the newspaper because of the lighting, so look closely.
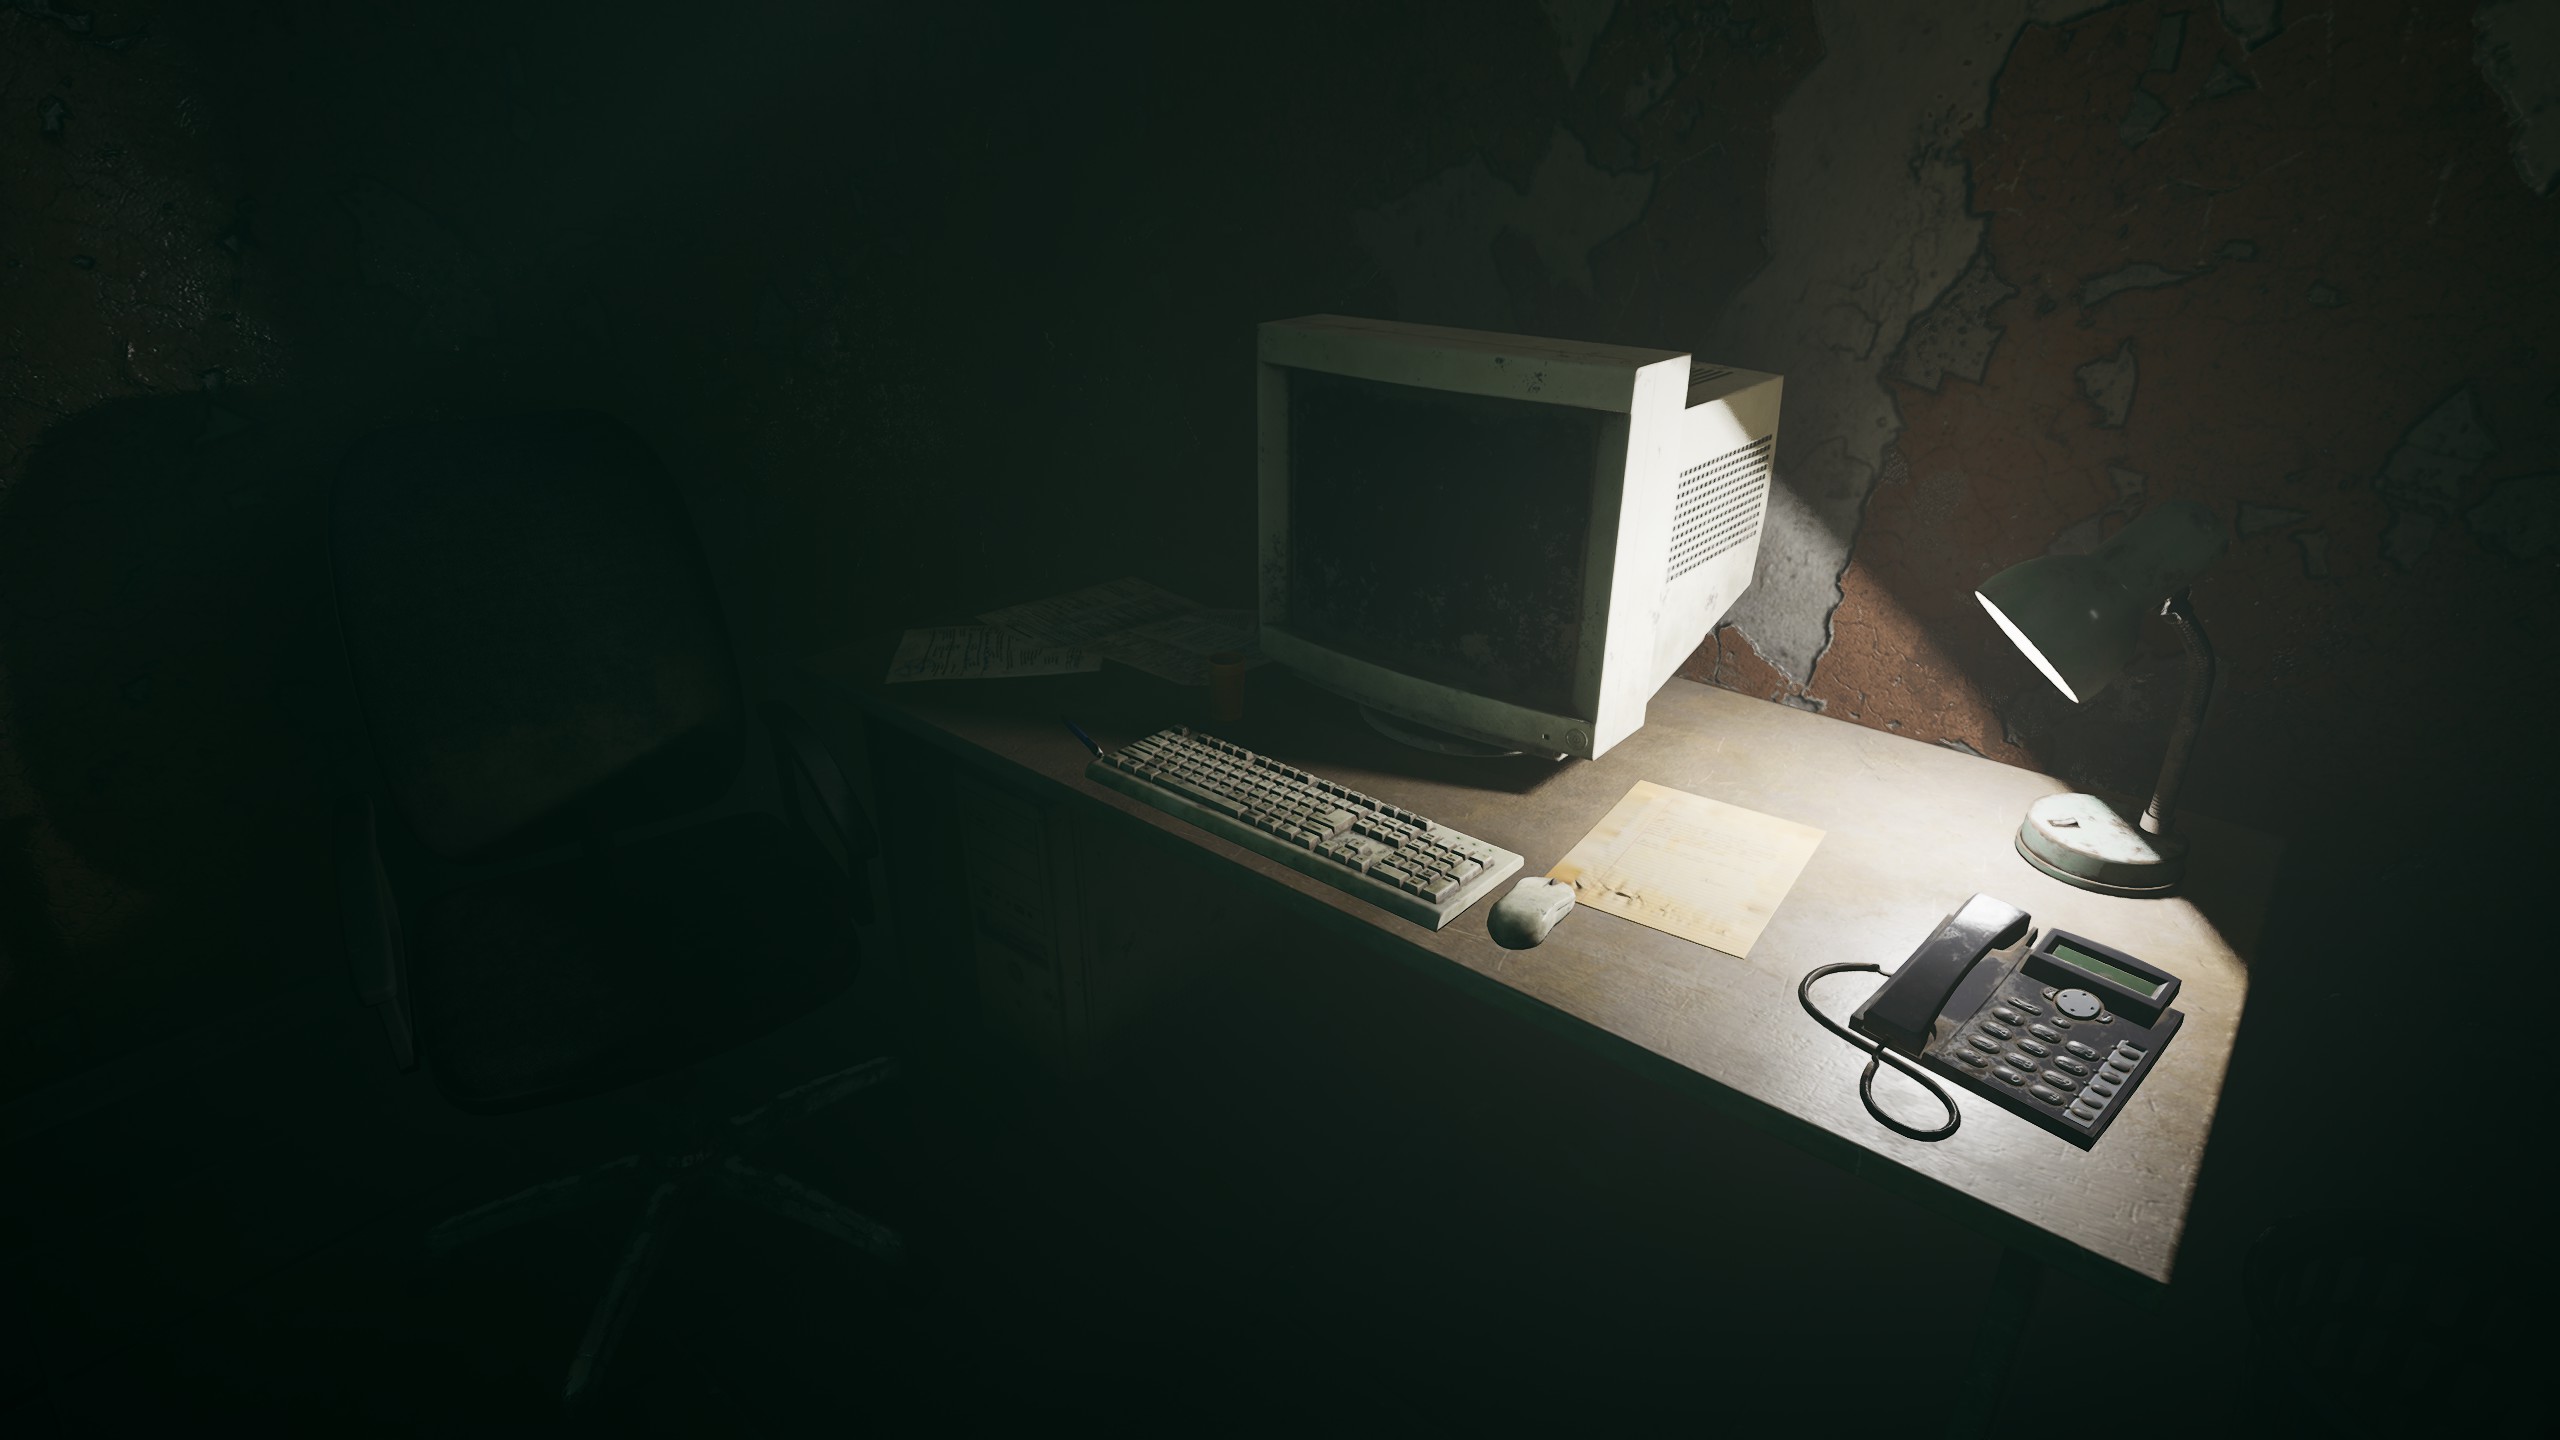
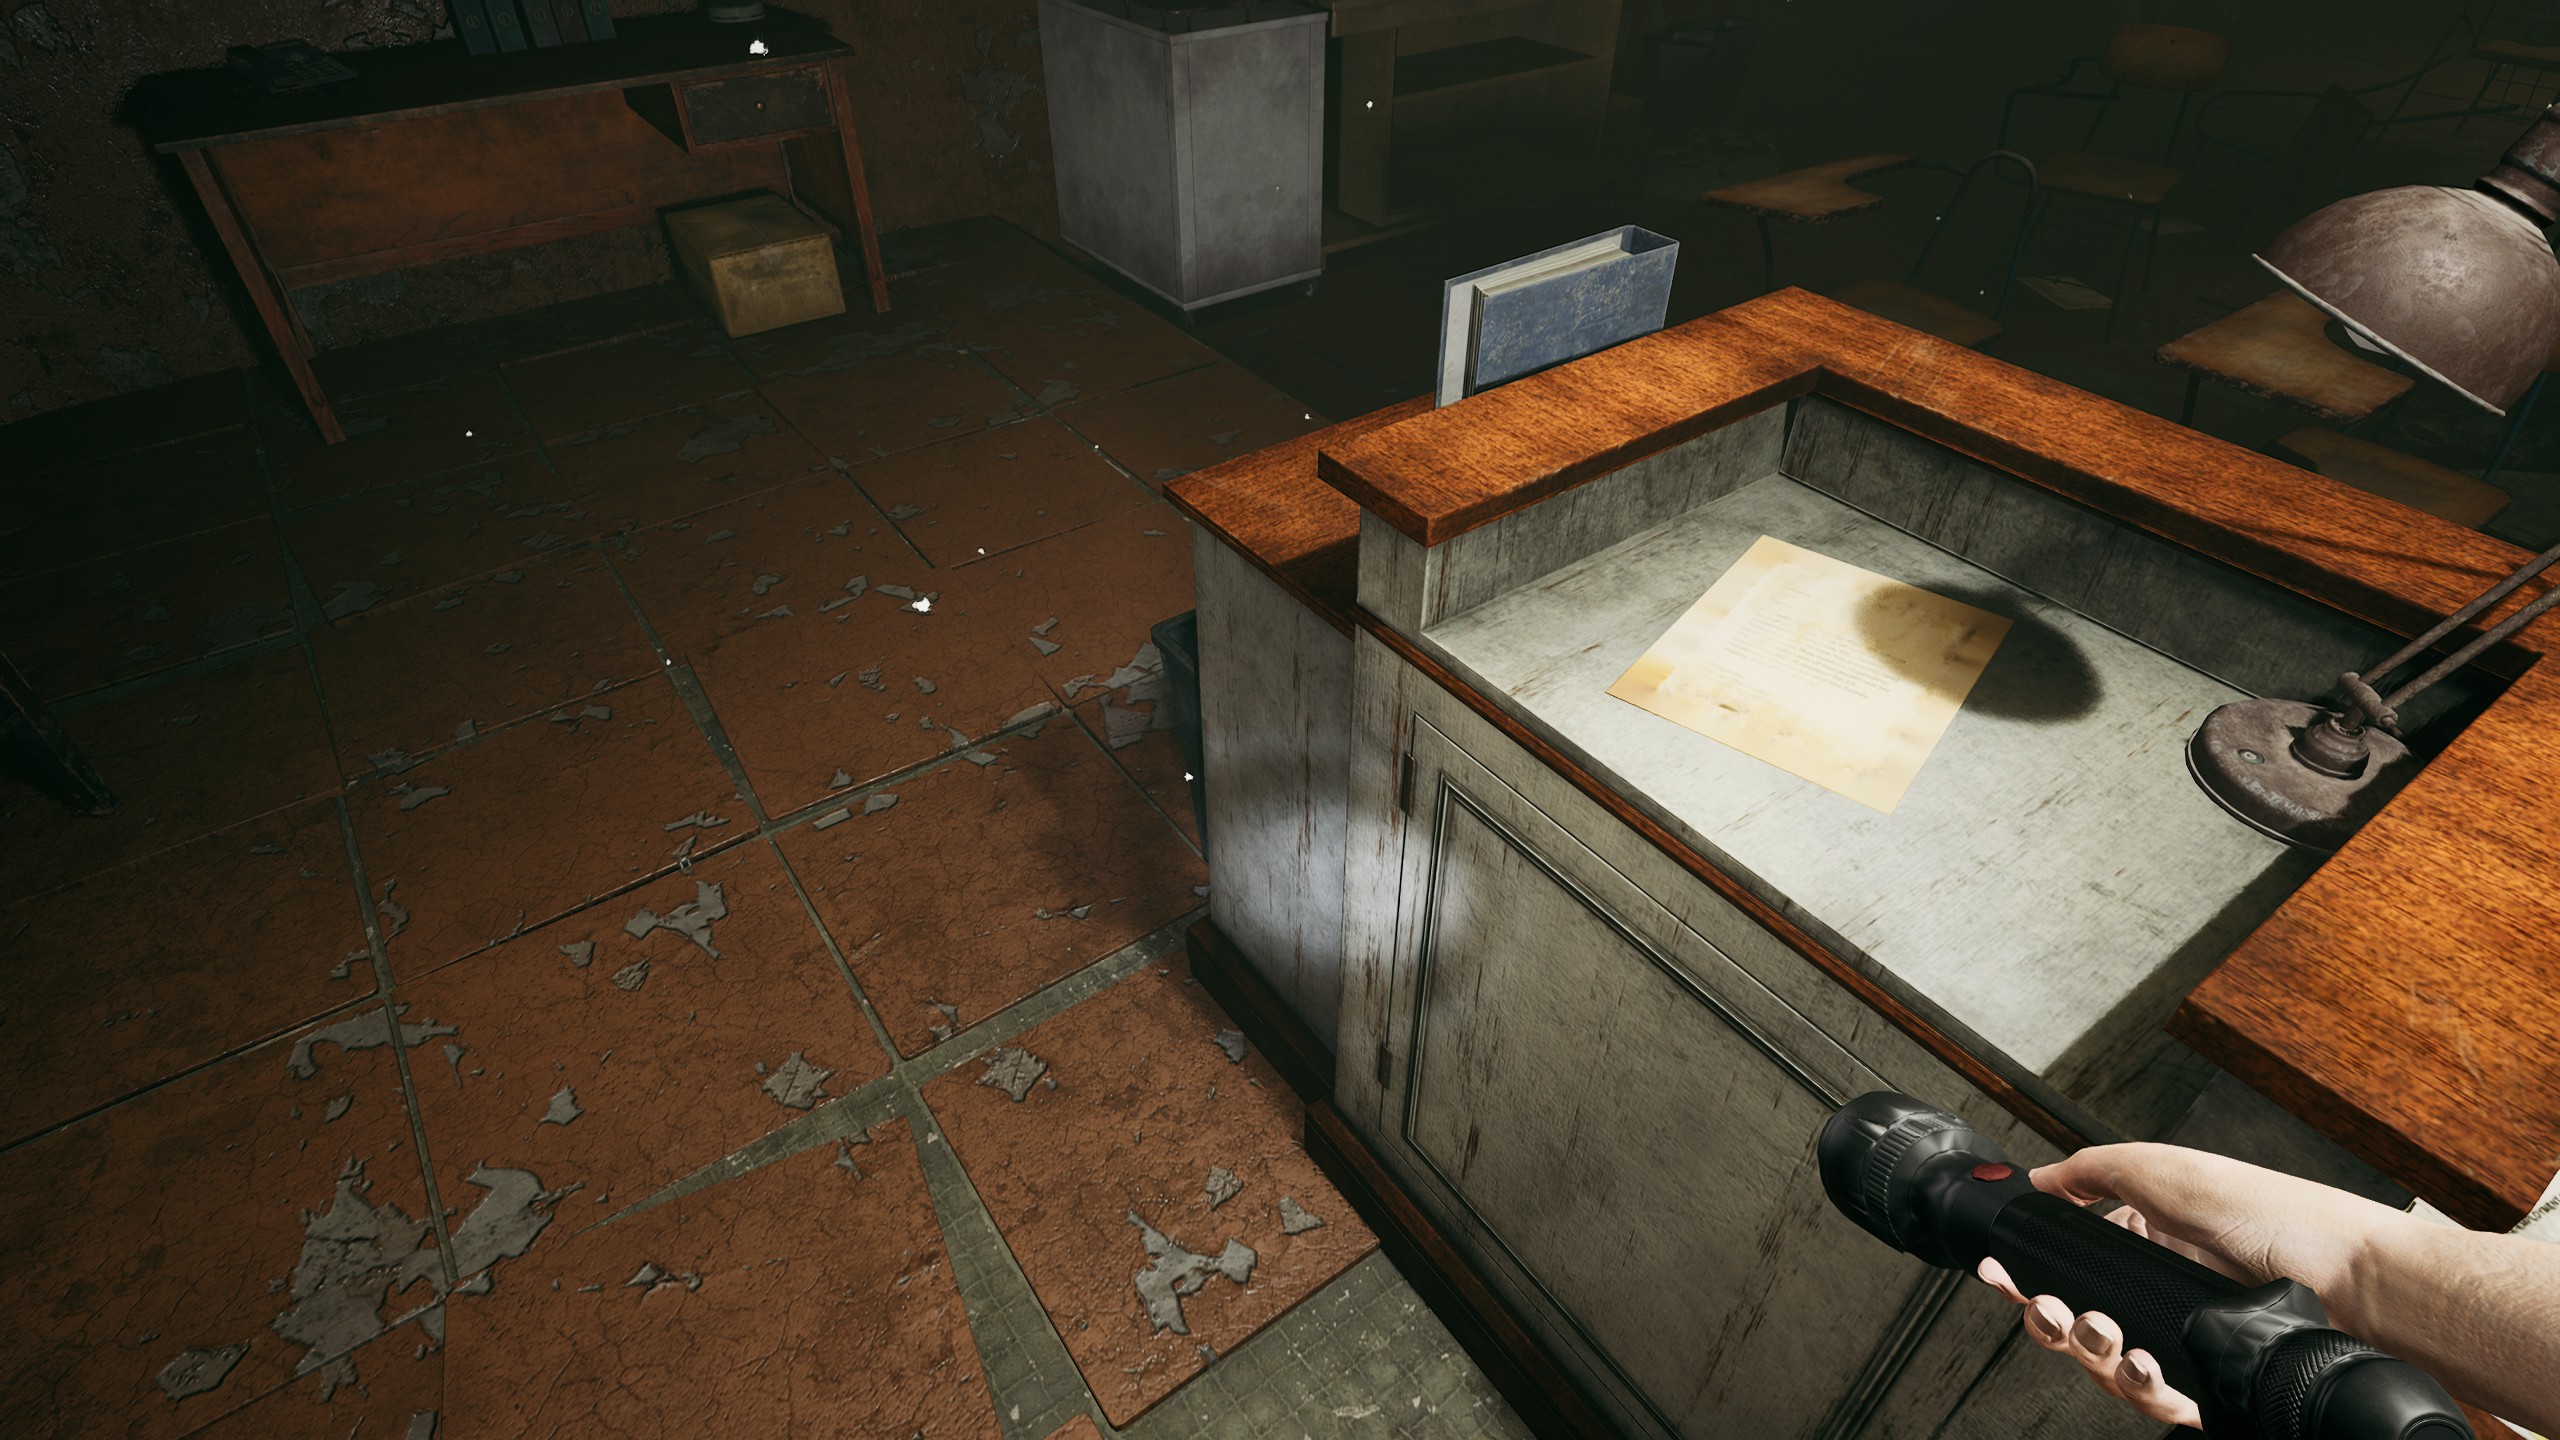
Before you pass Dr. James Anderson’s office, step inside and head over to his computer to find
Item #31 sitting on the desk.
While making your way through the abandoned hospital, you’ll eventually come across a hallway with one door on the left and another one on the right labeled “Operating Room C.” Enter the operating room before going through the other door and pick up
Item #32. It’ll be laying on the operating table.

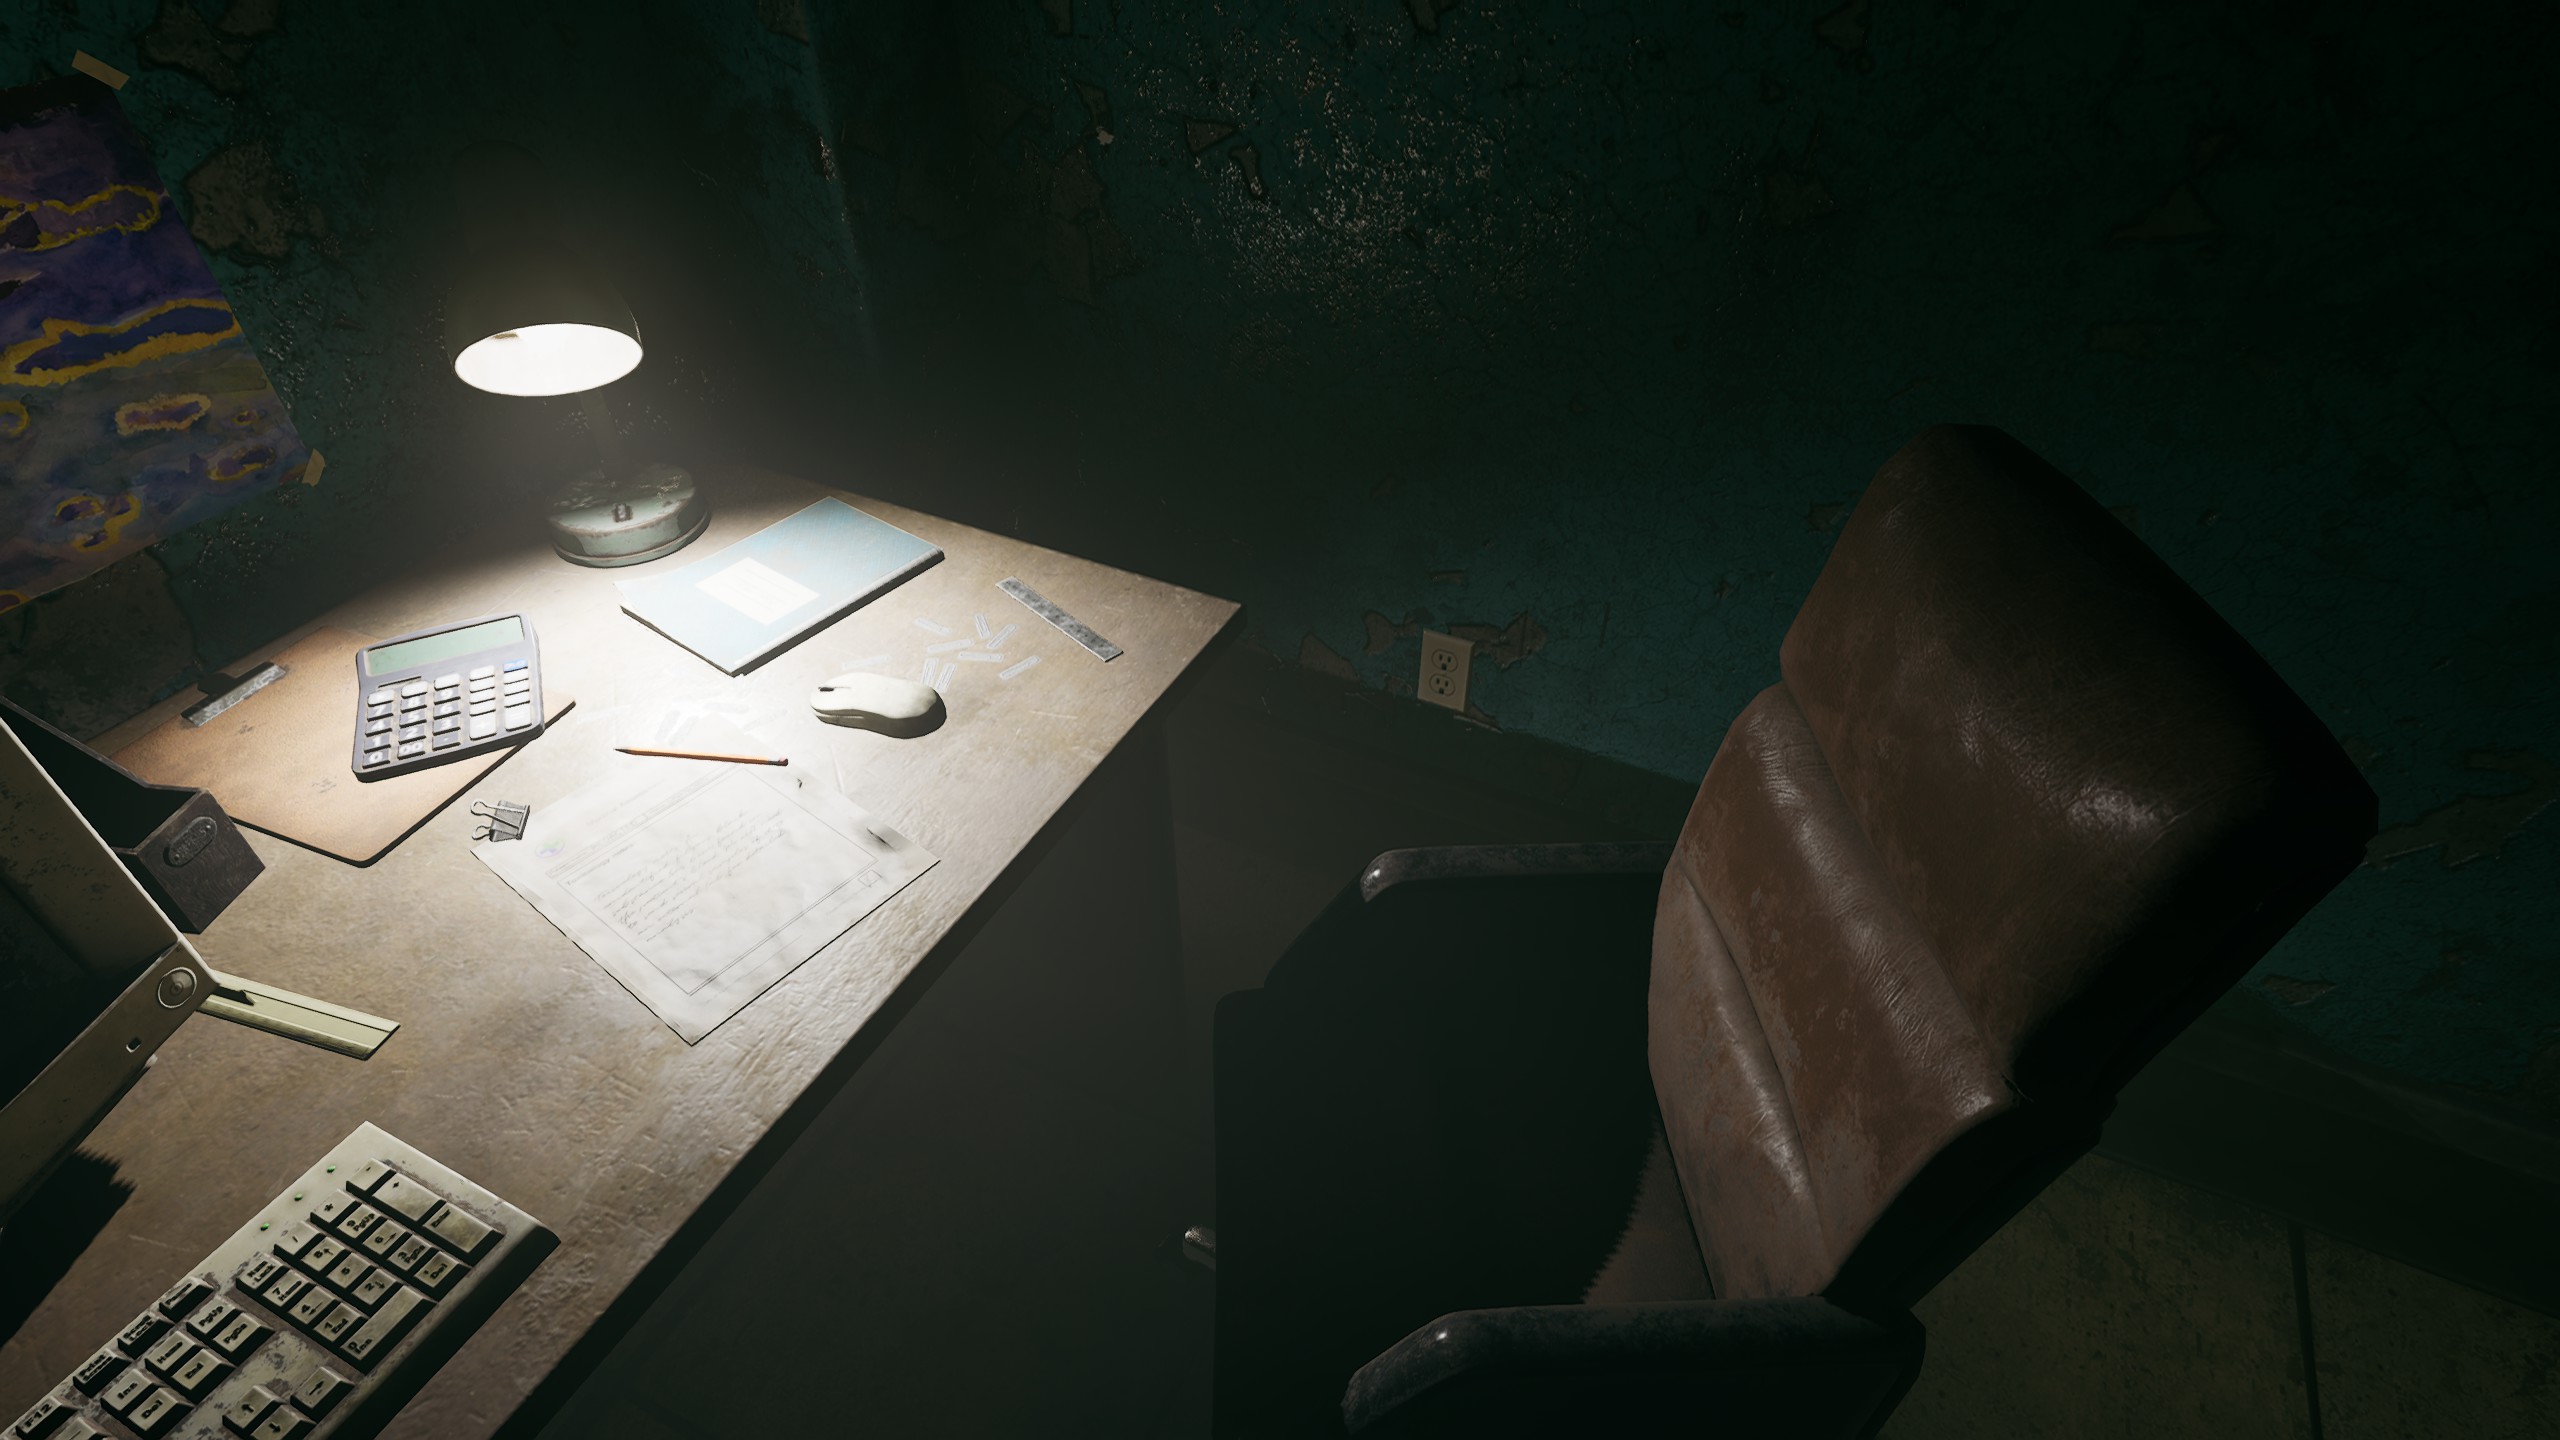
After your first encounter with the crying child, open the door and resume your journey, but stop to investigate the cubicles to the left. Stand at the entrance of the cubicle cluster, facing them, and head to the top right corner of the area to find
Item #33 sitting on a desk next to a computer.
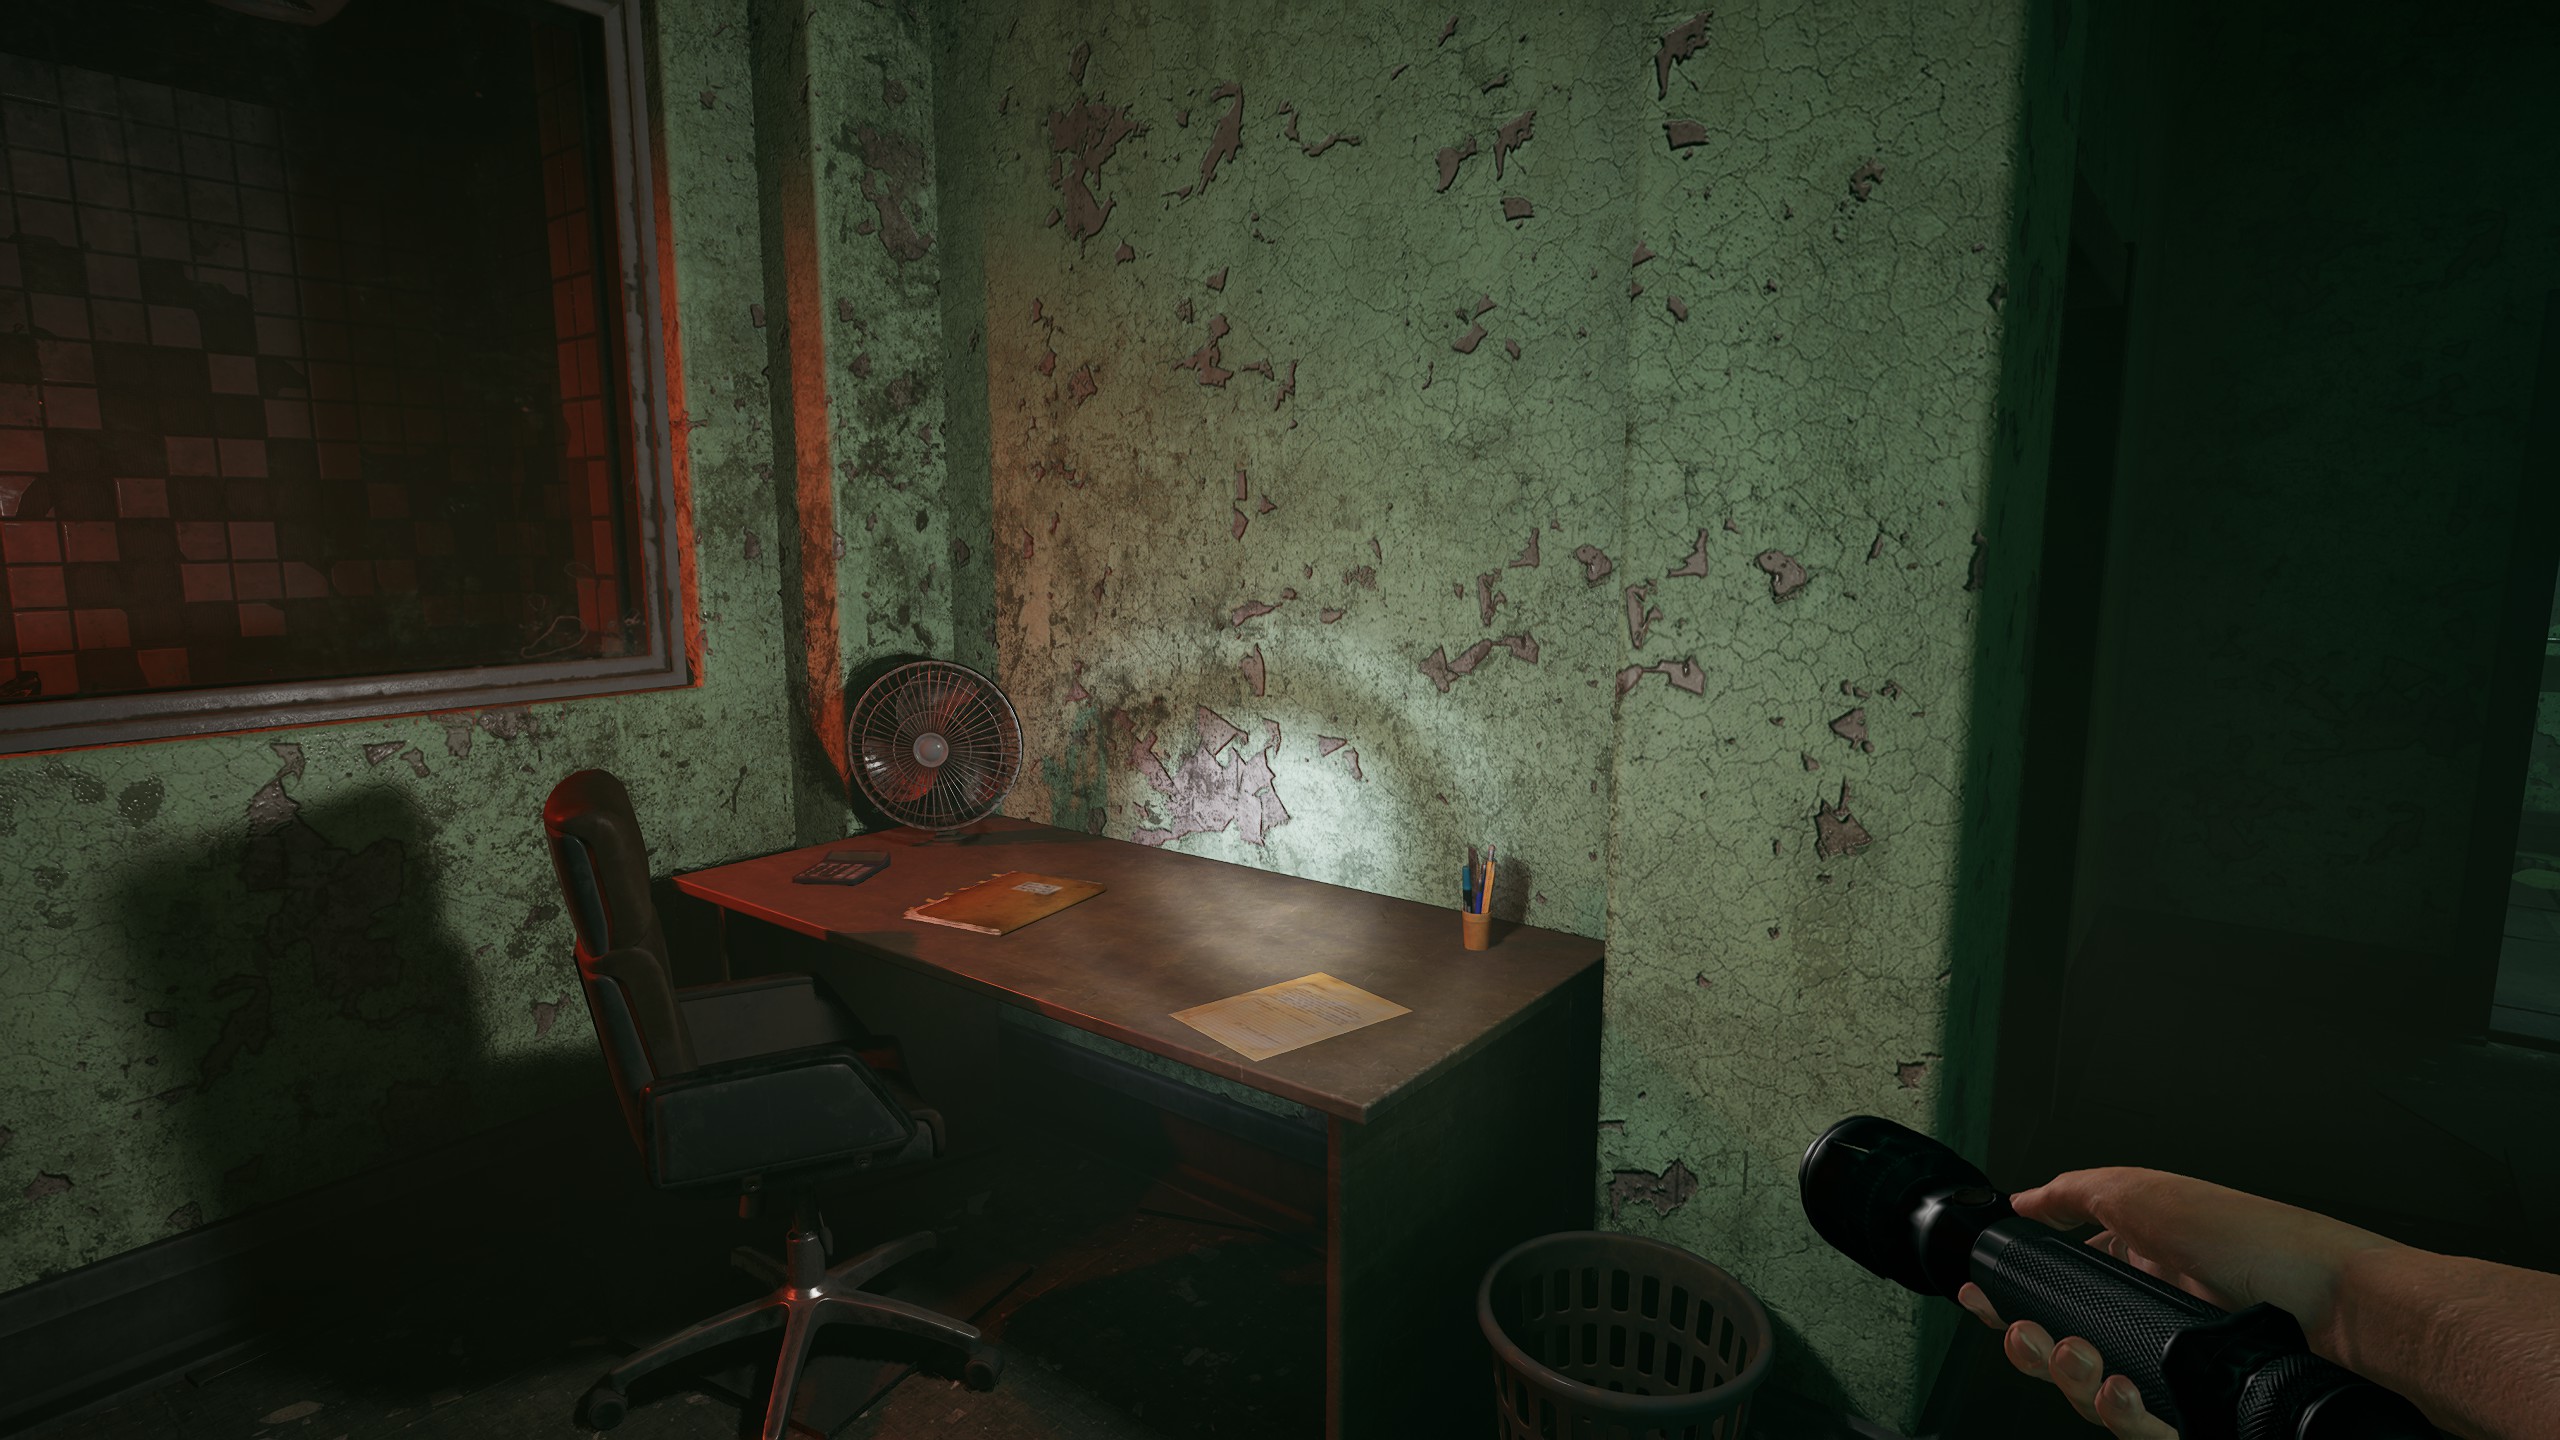
Pass through the room with red lighting where the classic Slender Man scare chord plays and look at the desk immediately to the left.
Item #34 will be laying on top of it.
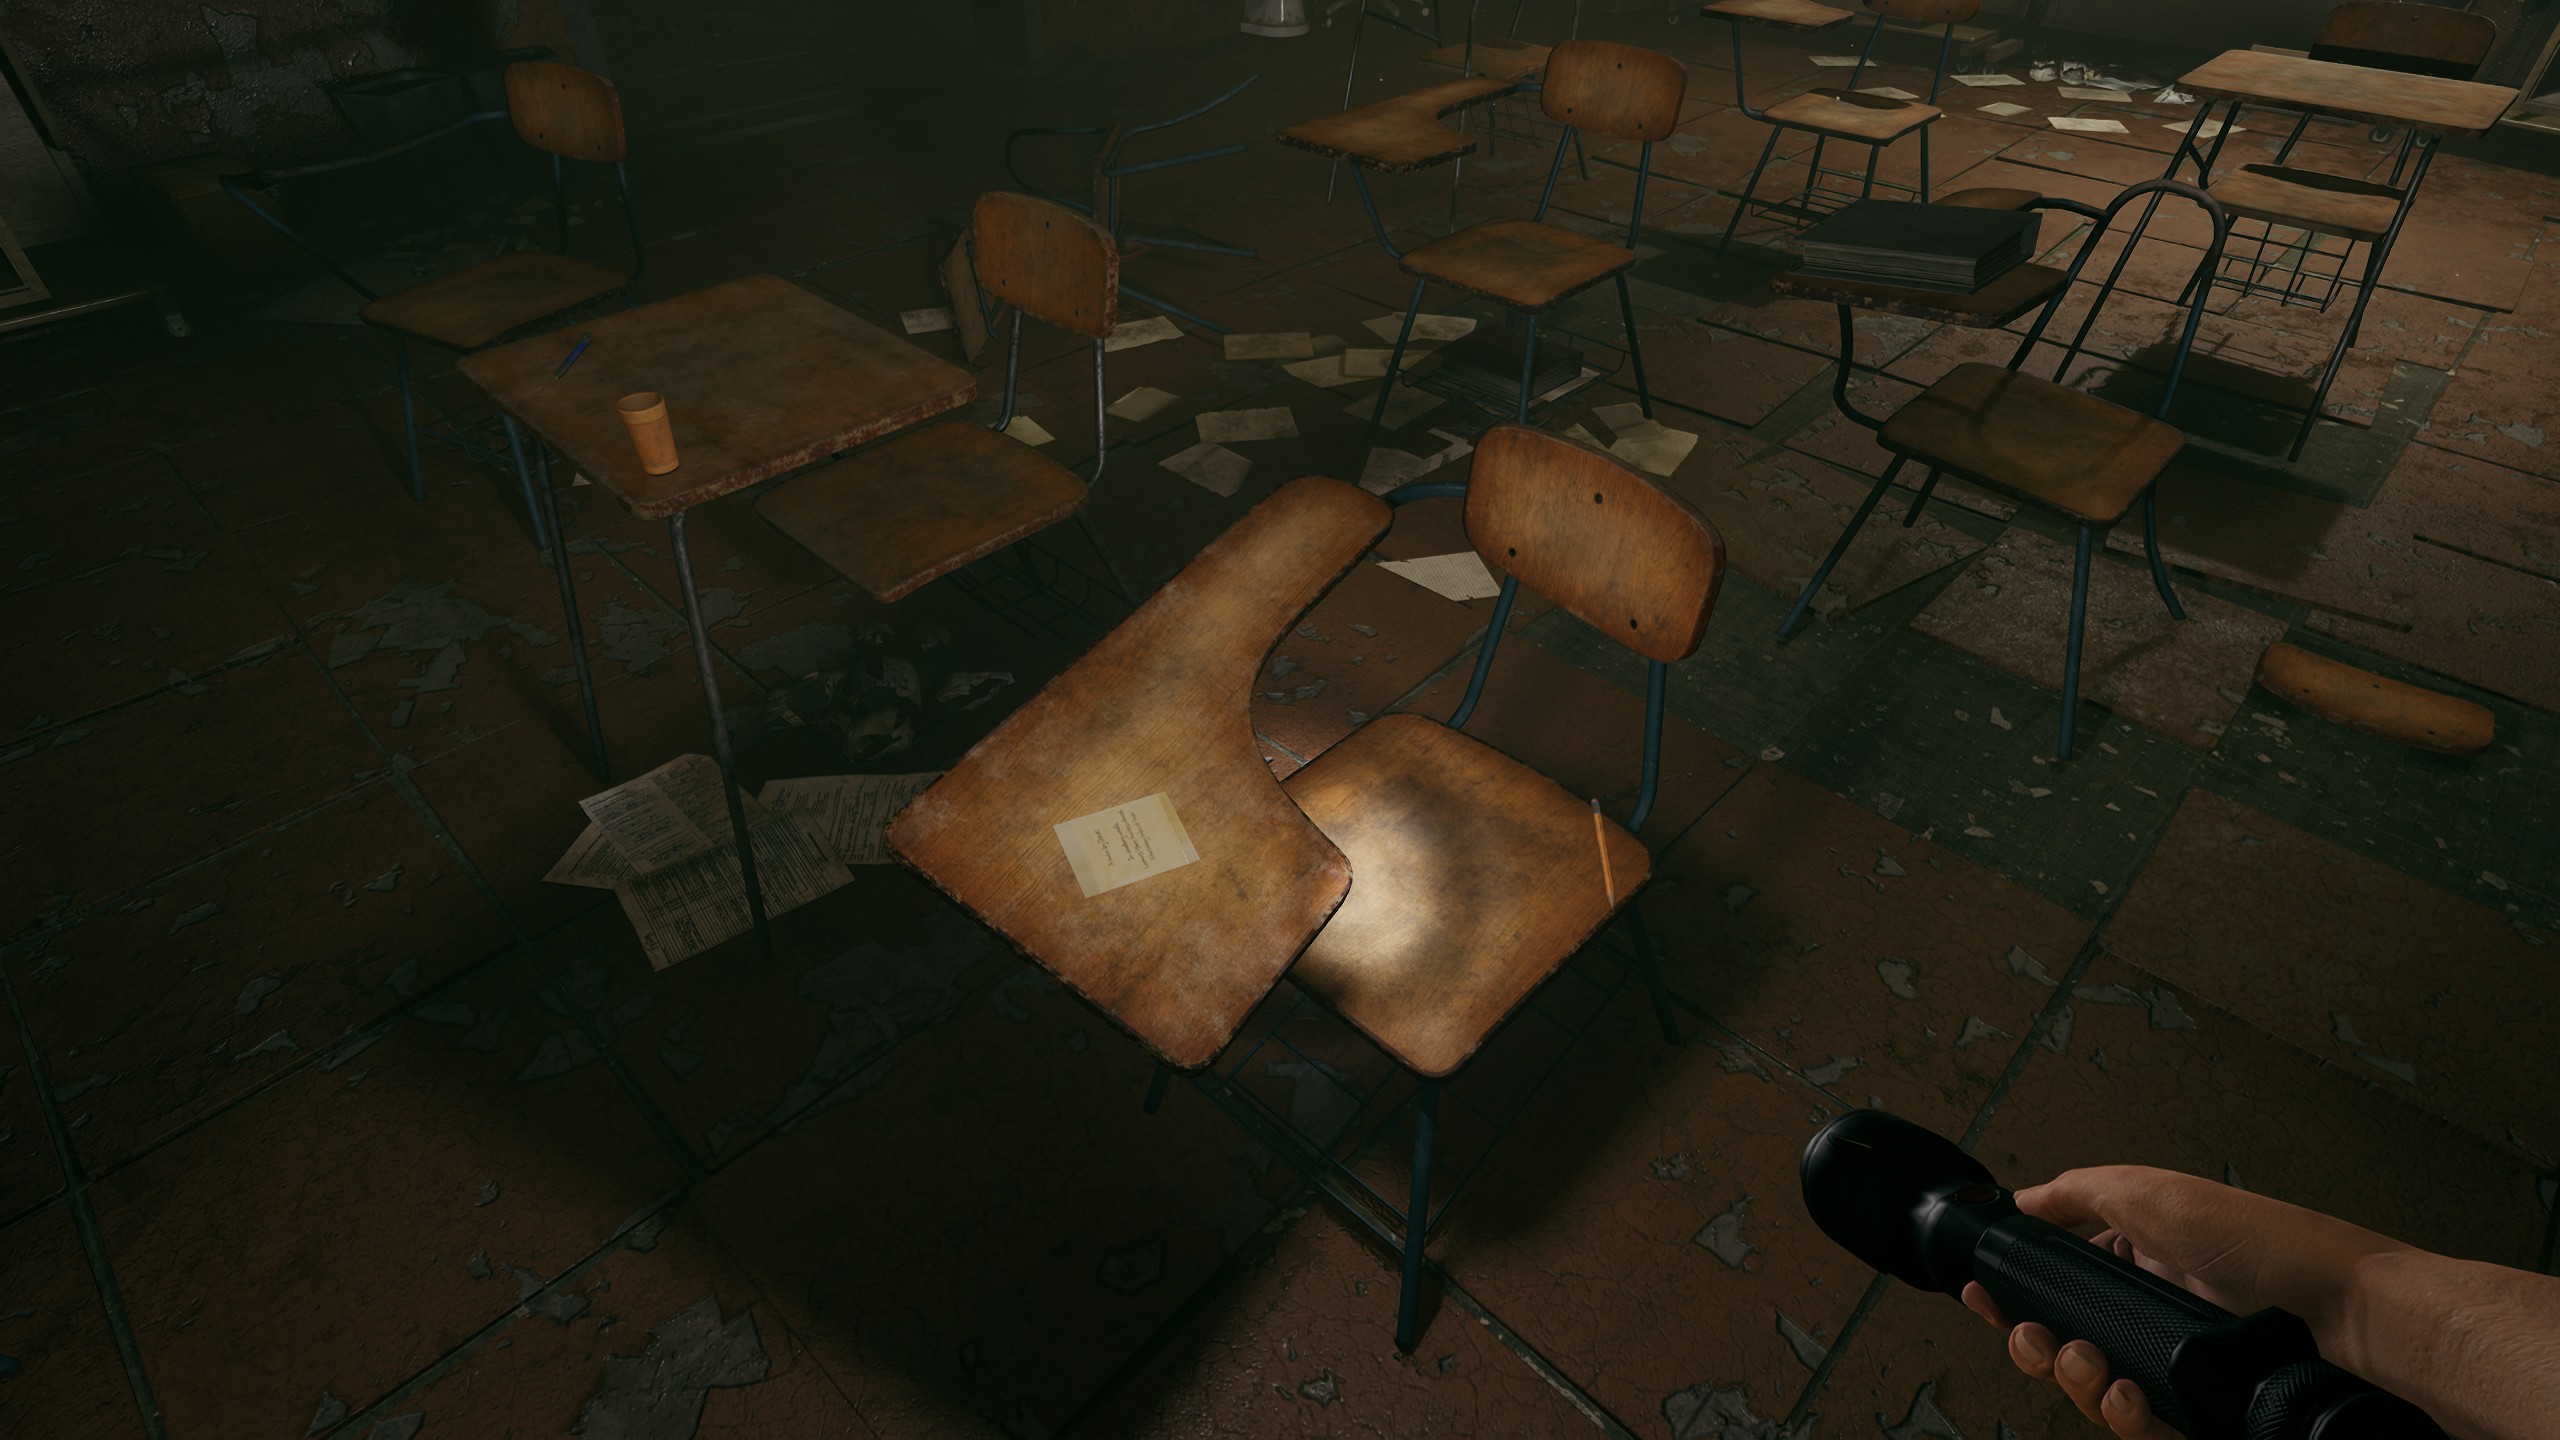
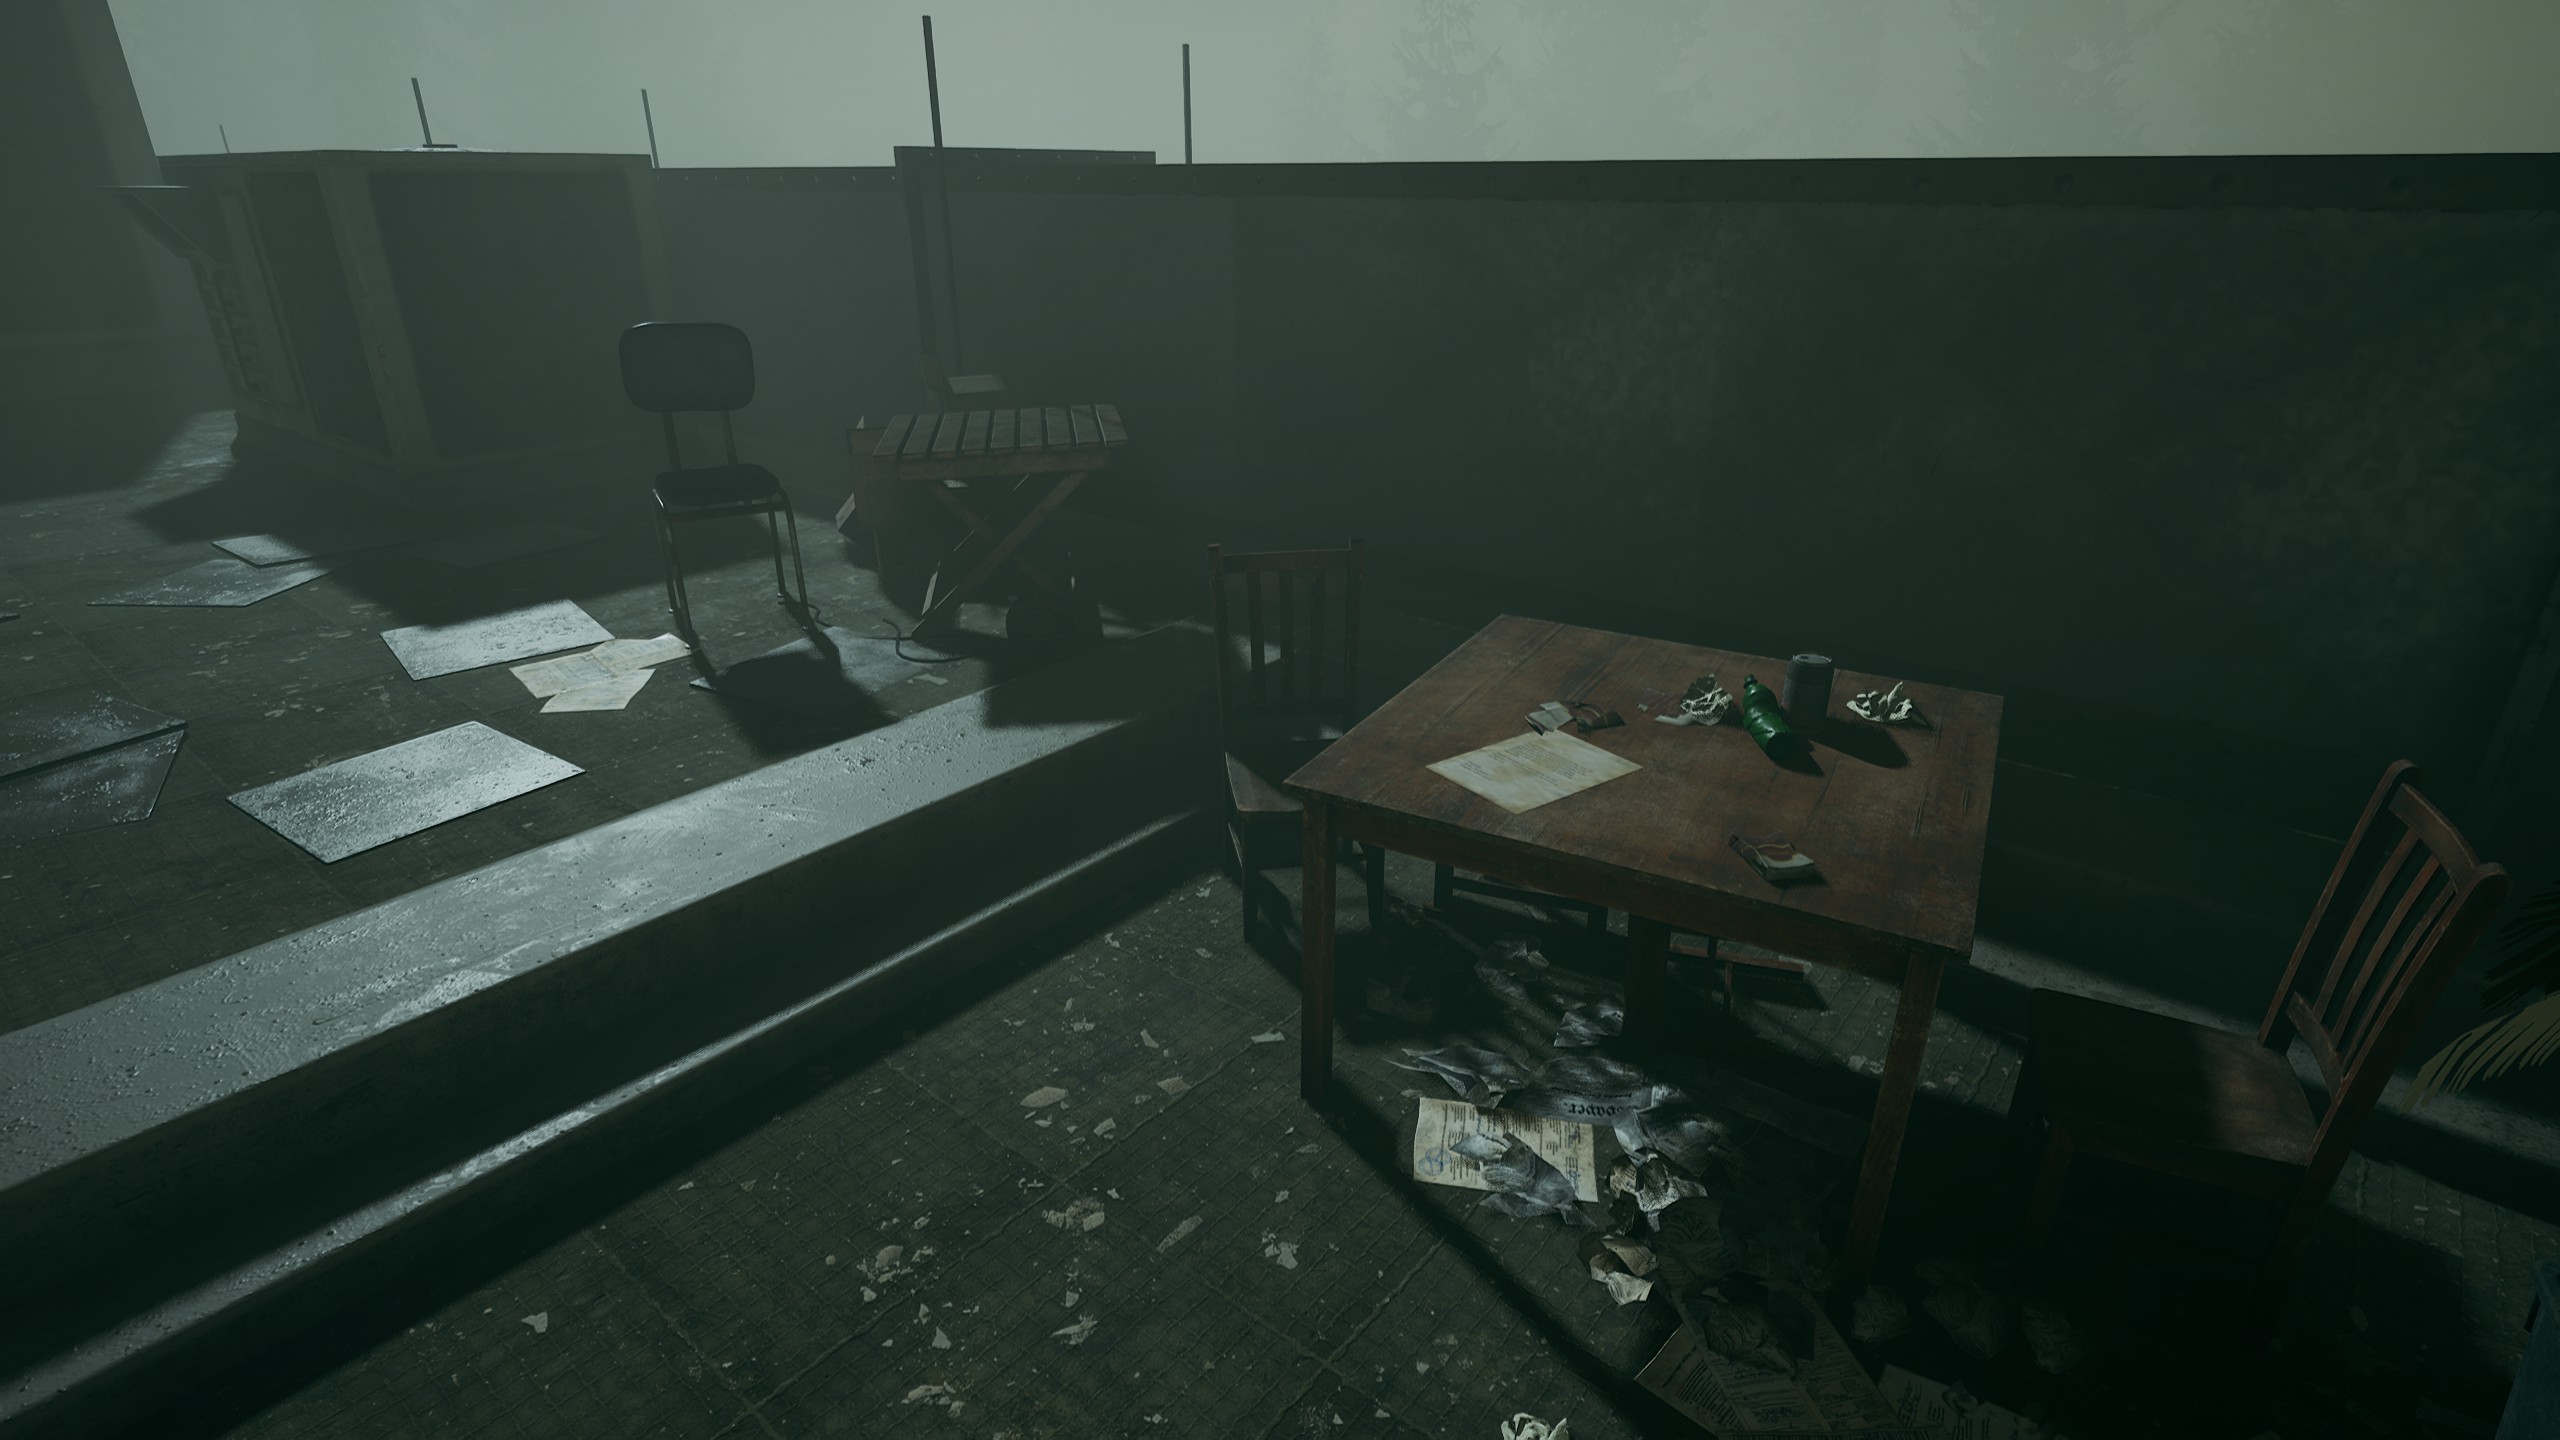
After the event with the floating body bag, continue through the hospital until you come across a room labeled “Seminar Room and Teaching Lab.” Go inside to find two new collectibles.
Item #35 will be sitting on the second desk from the front on the left side of the room, and
Item #36 will be on the podium at the front of the classroom.
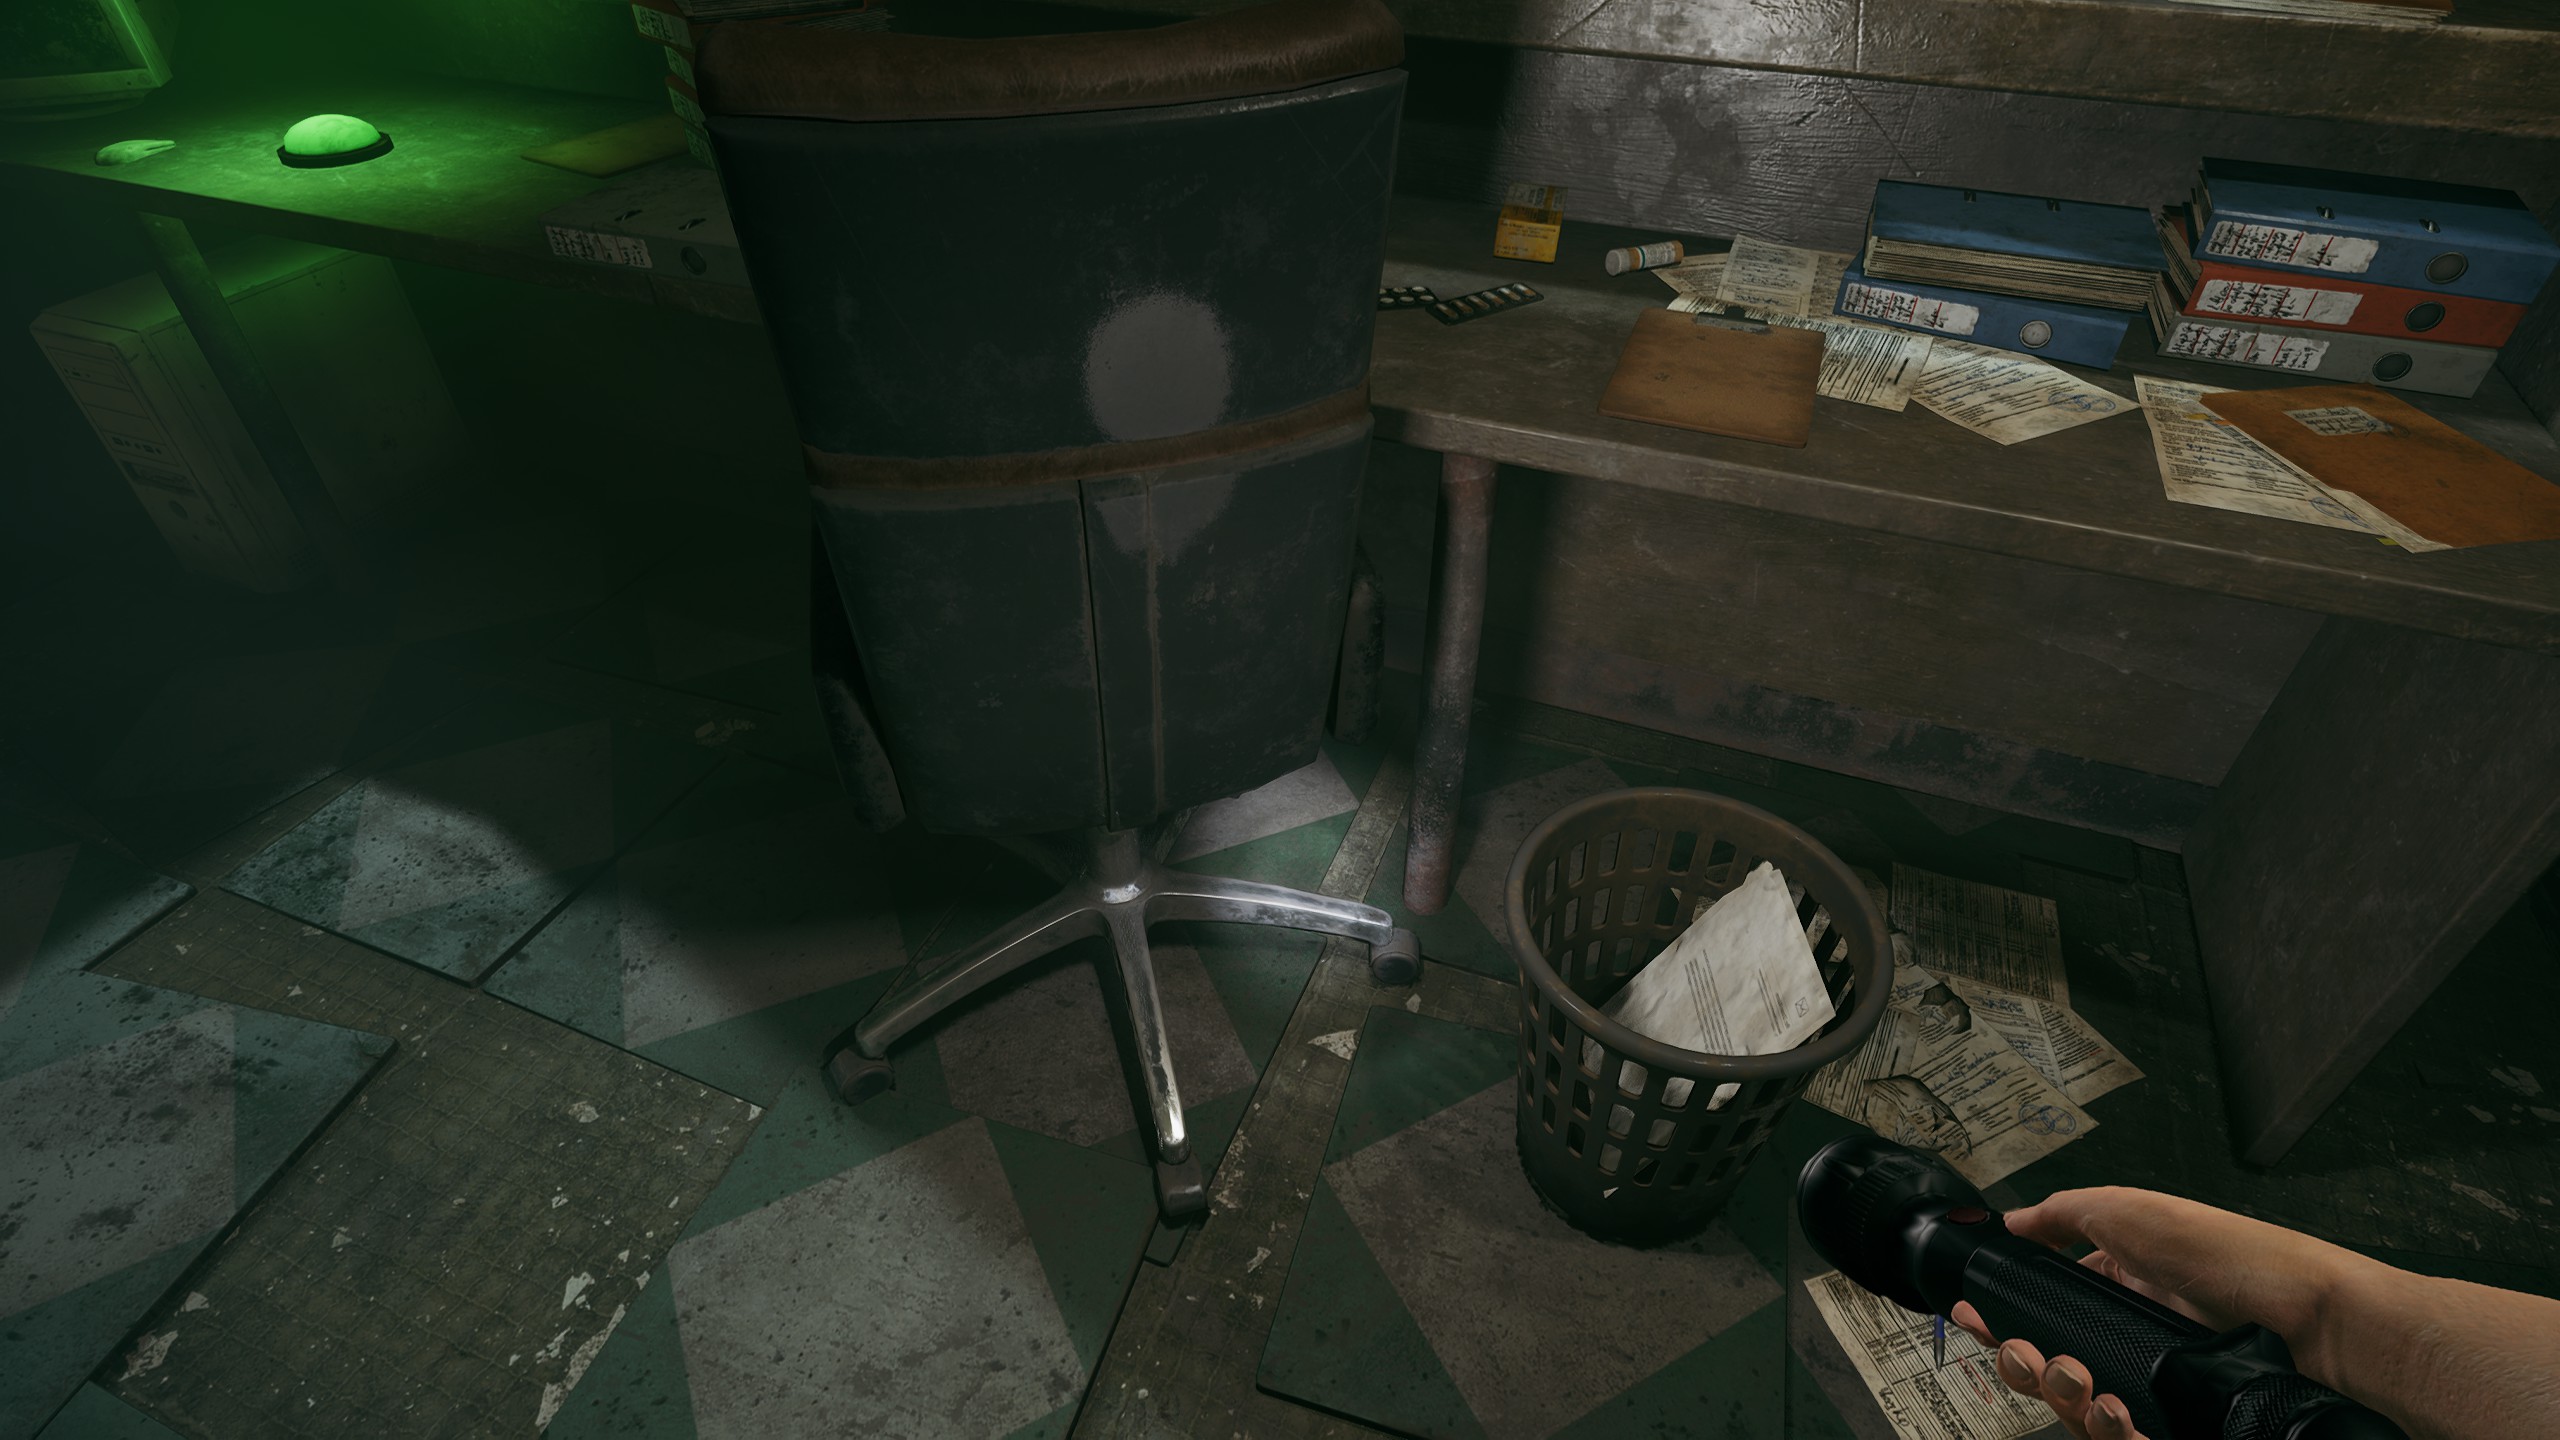
After disabling the alarm, investigate the trashcan sitting beside the desk.
Item #37 will be inside of it.
The final collectible of the new chapter can be found as soon as you make your way up to the roof. Look right as soon as you open the door and you’ll see
Item #38 sitting on top of a table.
Flashback – Part 2
Now that you’ve gathered all of the collectibles from
Nightmare,exit the building and continue along the mountain path. After making your way through the cave, you’ll be able to see
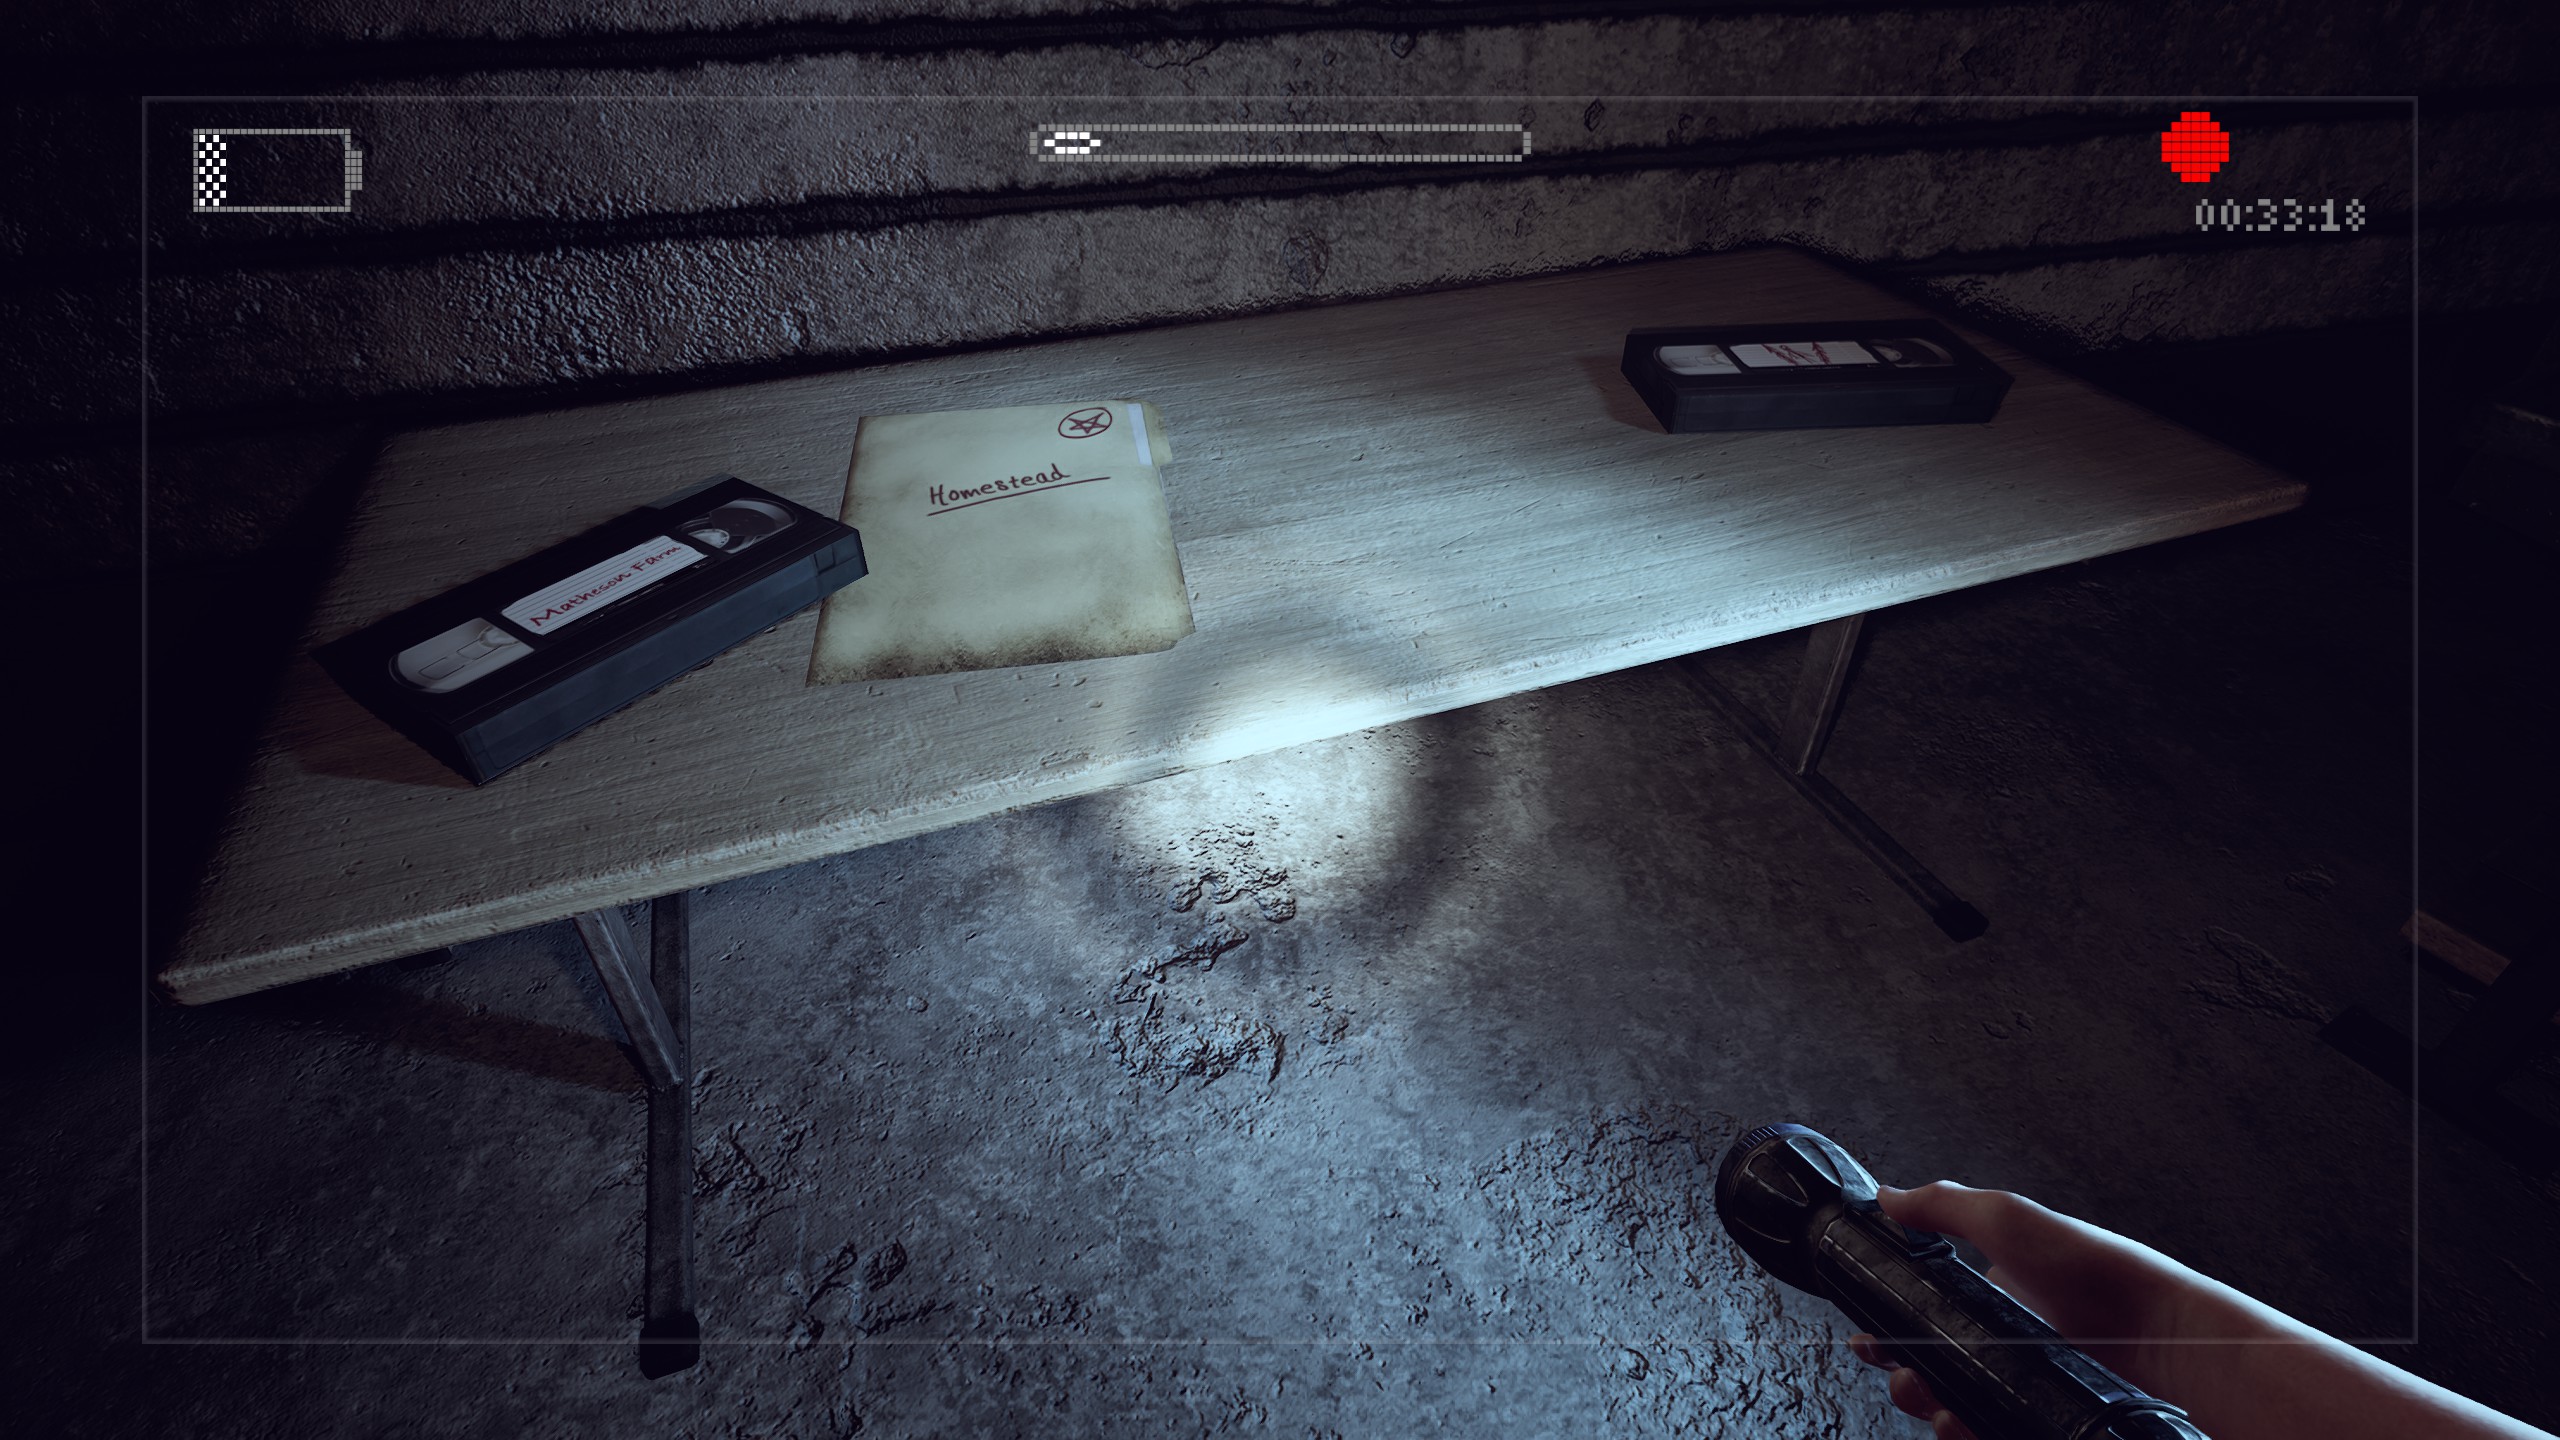
Item #39 hanging beside the abandoned building’s door.
After picking it up, head inside and look to the left to find
Item #40 stuck to a wall.
Item #41 is impossible to miss, as collecting it is the only way to progress to the
Homesteadlevel.
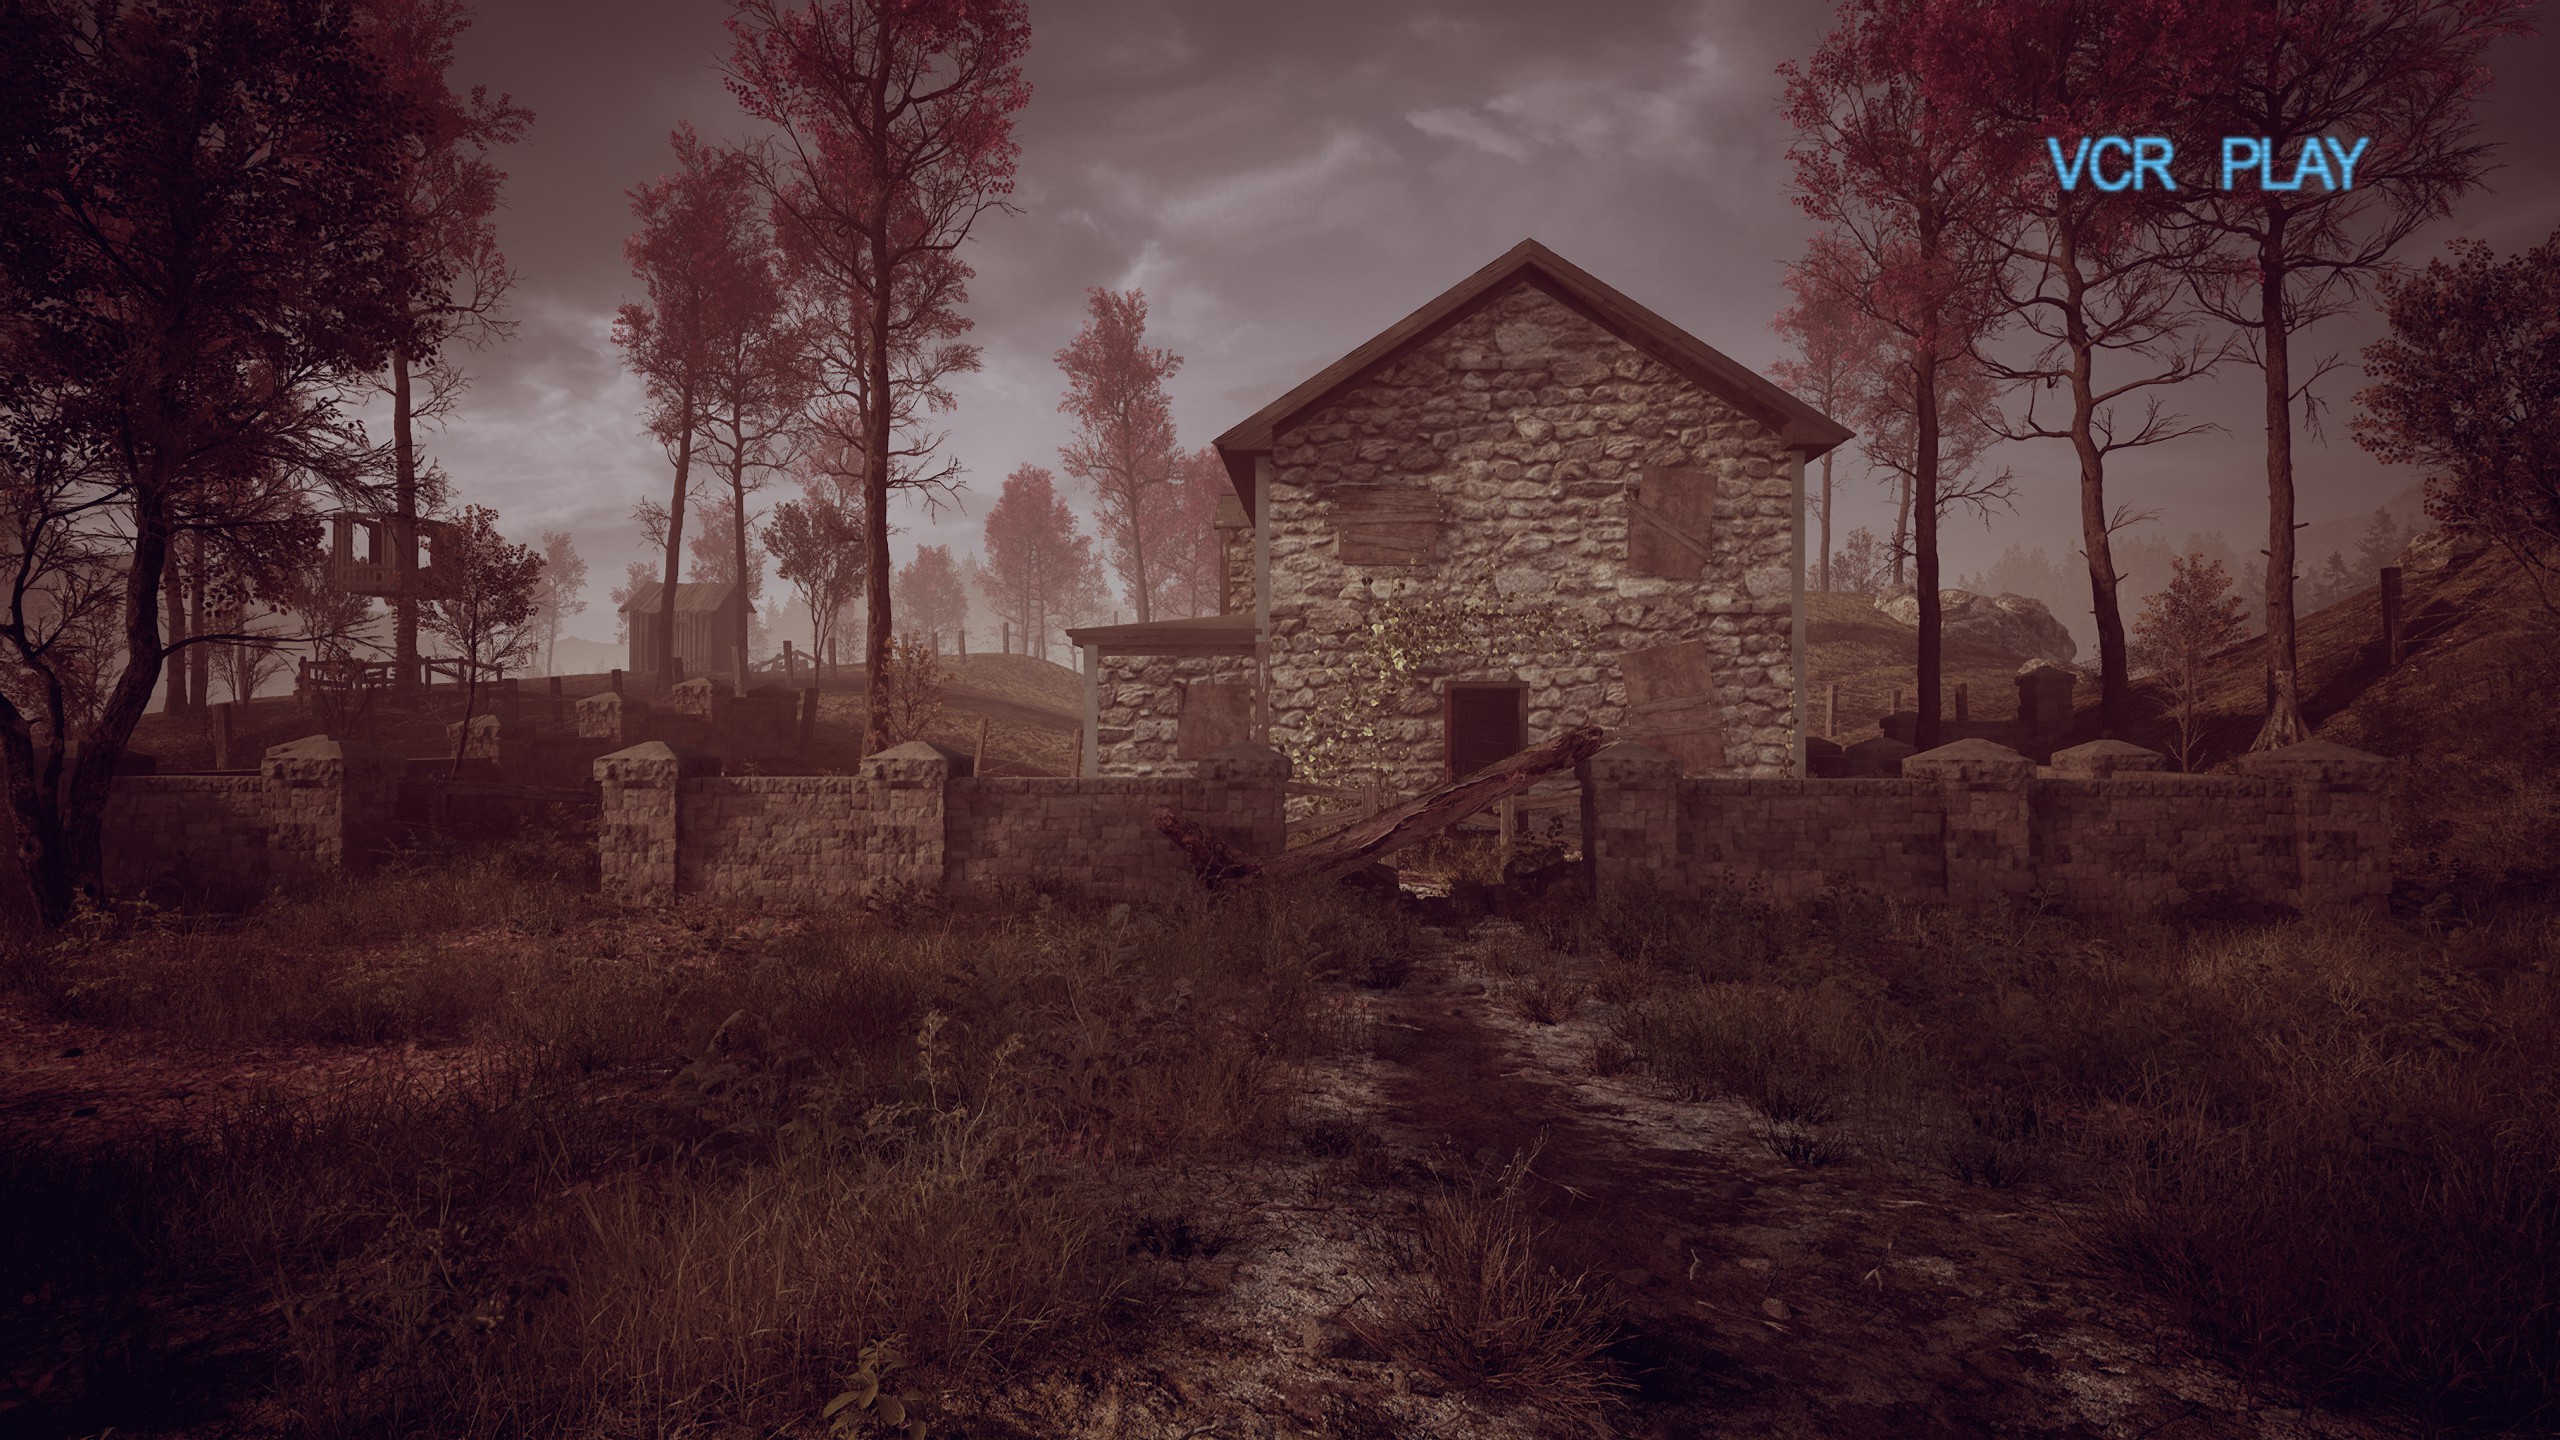
Homestead
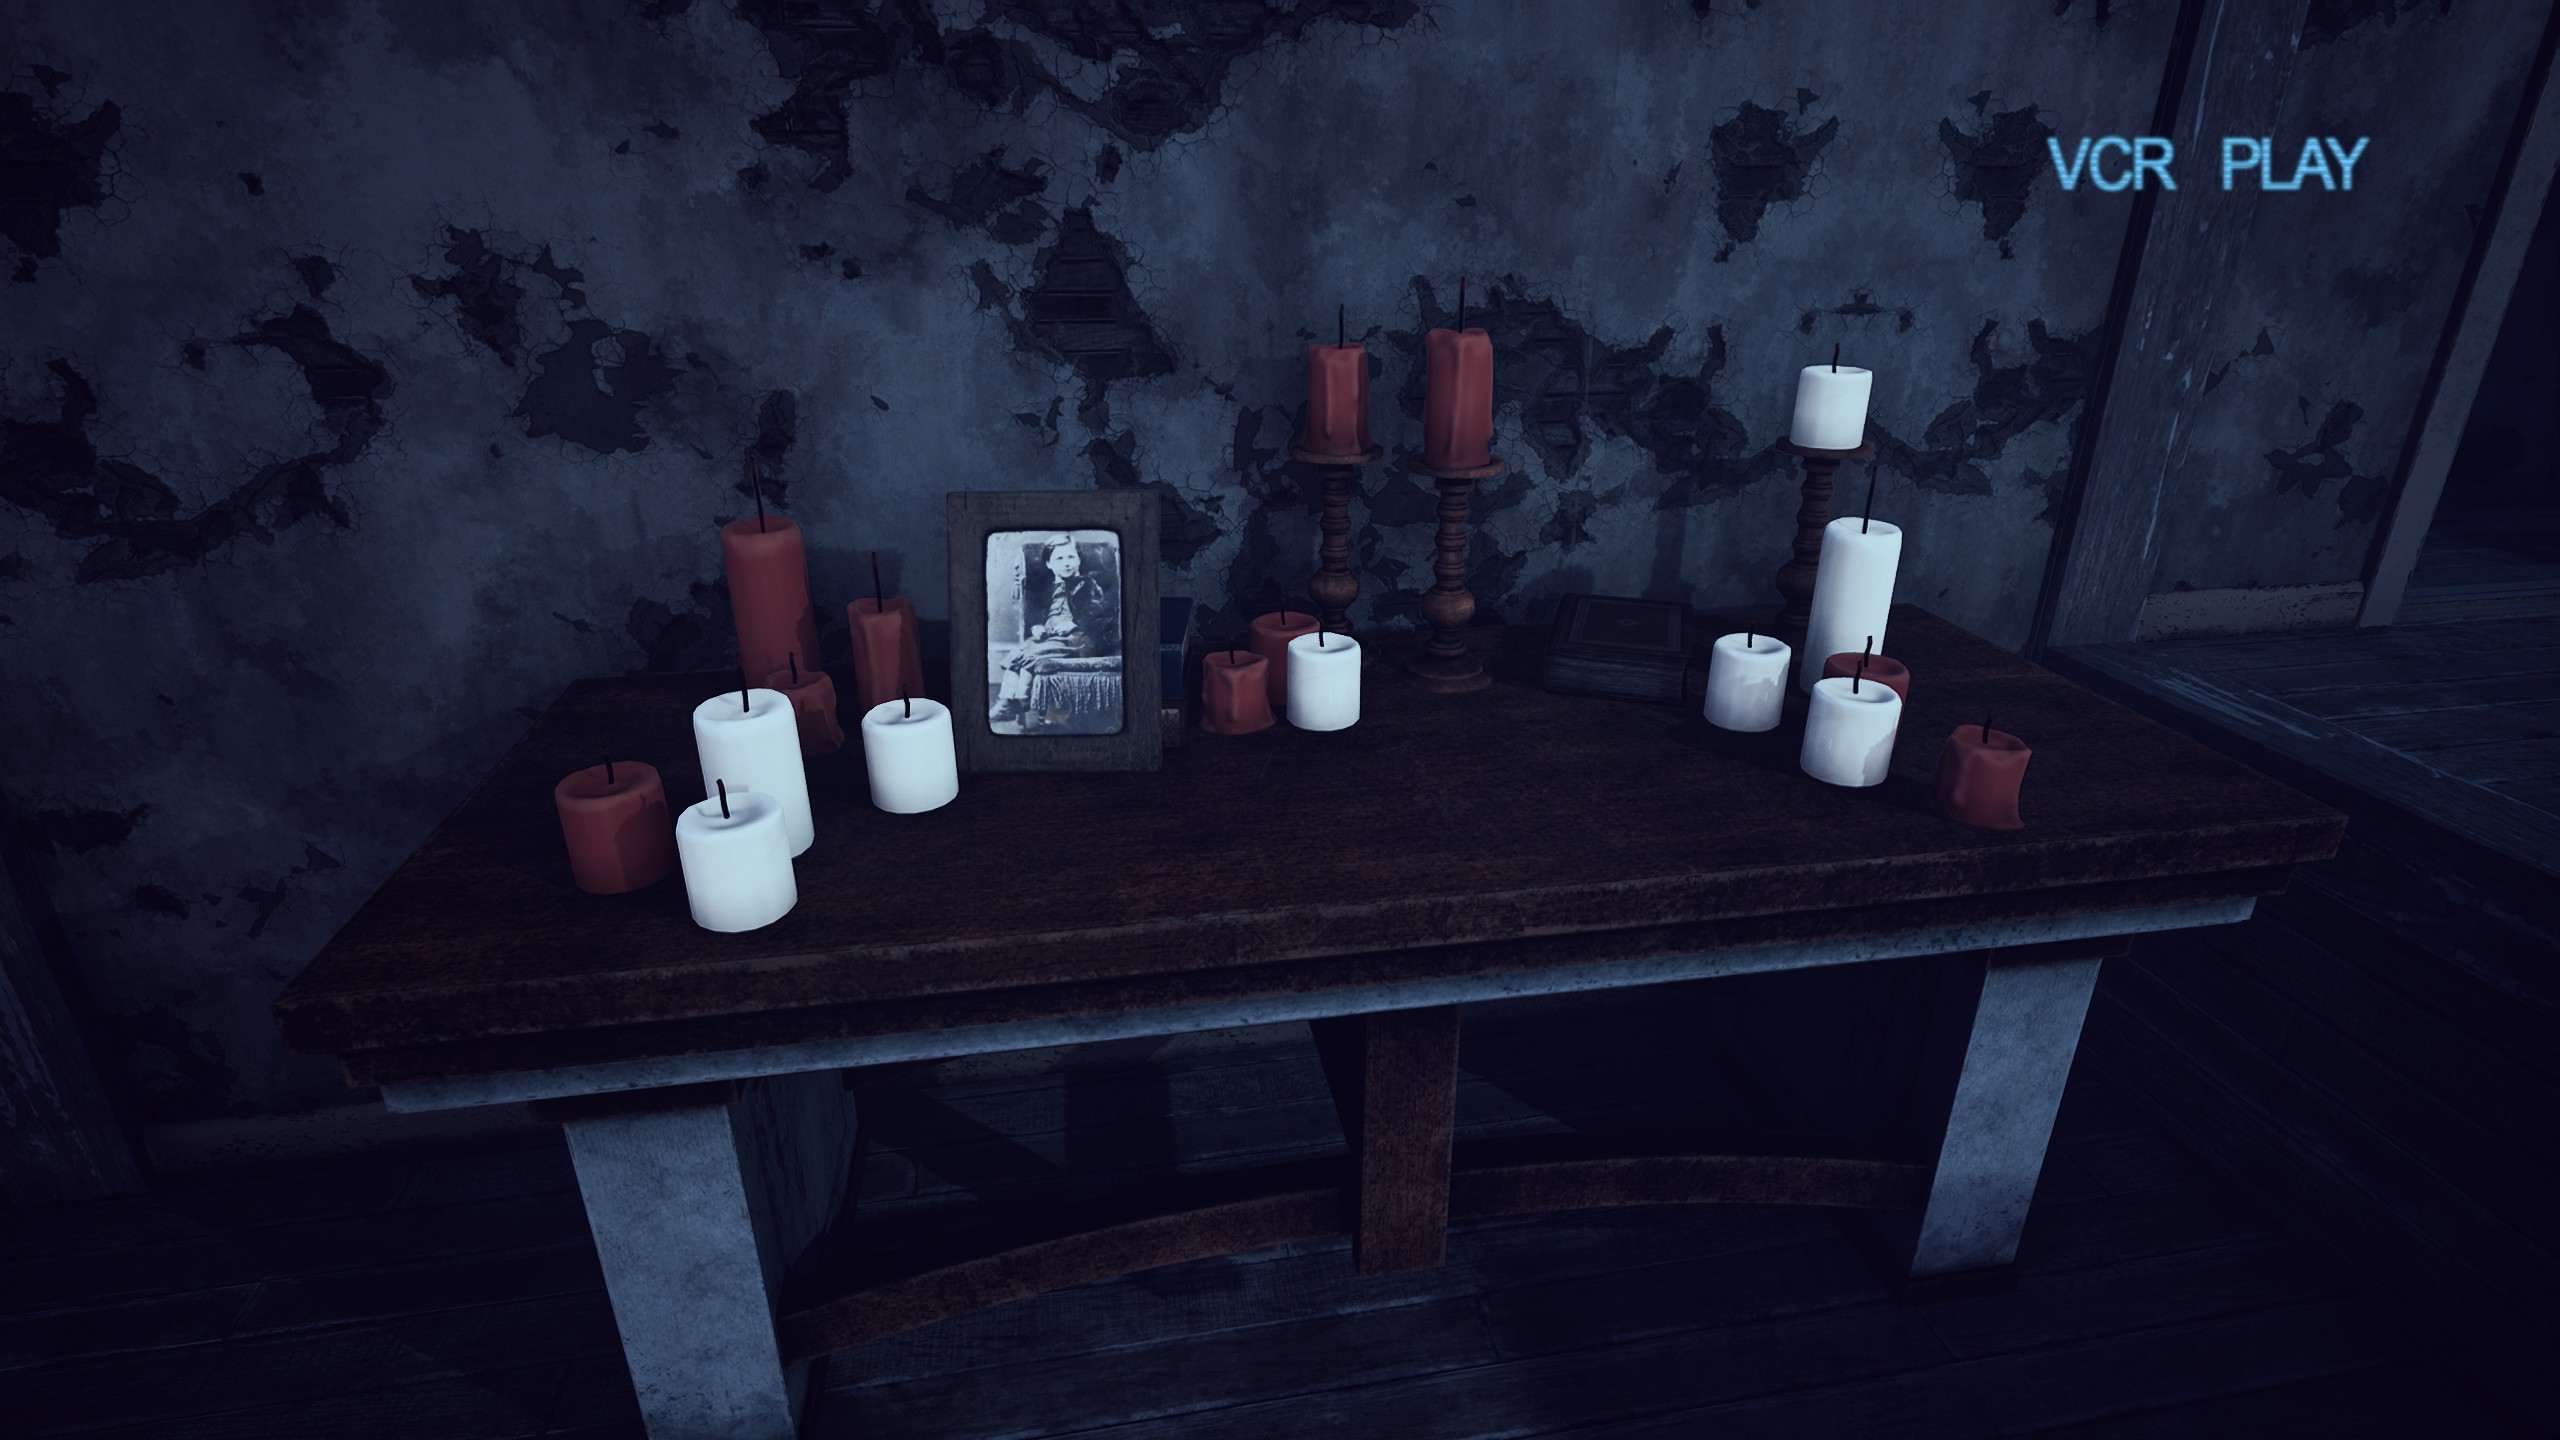
Head into the farmhouse at the beginning of the level to find
Item #42 sitting on a table in the first room.
Item #43 can be found beside the staircase in the decrepit barn.
Item #44 is located just inside the doorway of the granary. Walk inside and grab it, but don’t go any further into the building. You’ll have to get gas from the cellar to power the generator first.

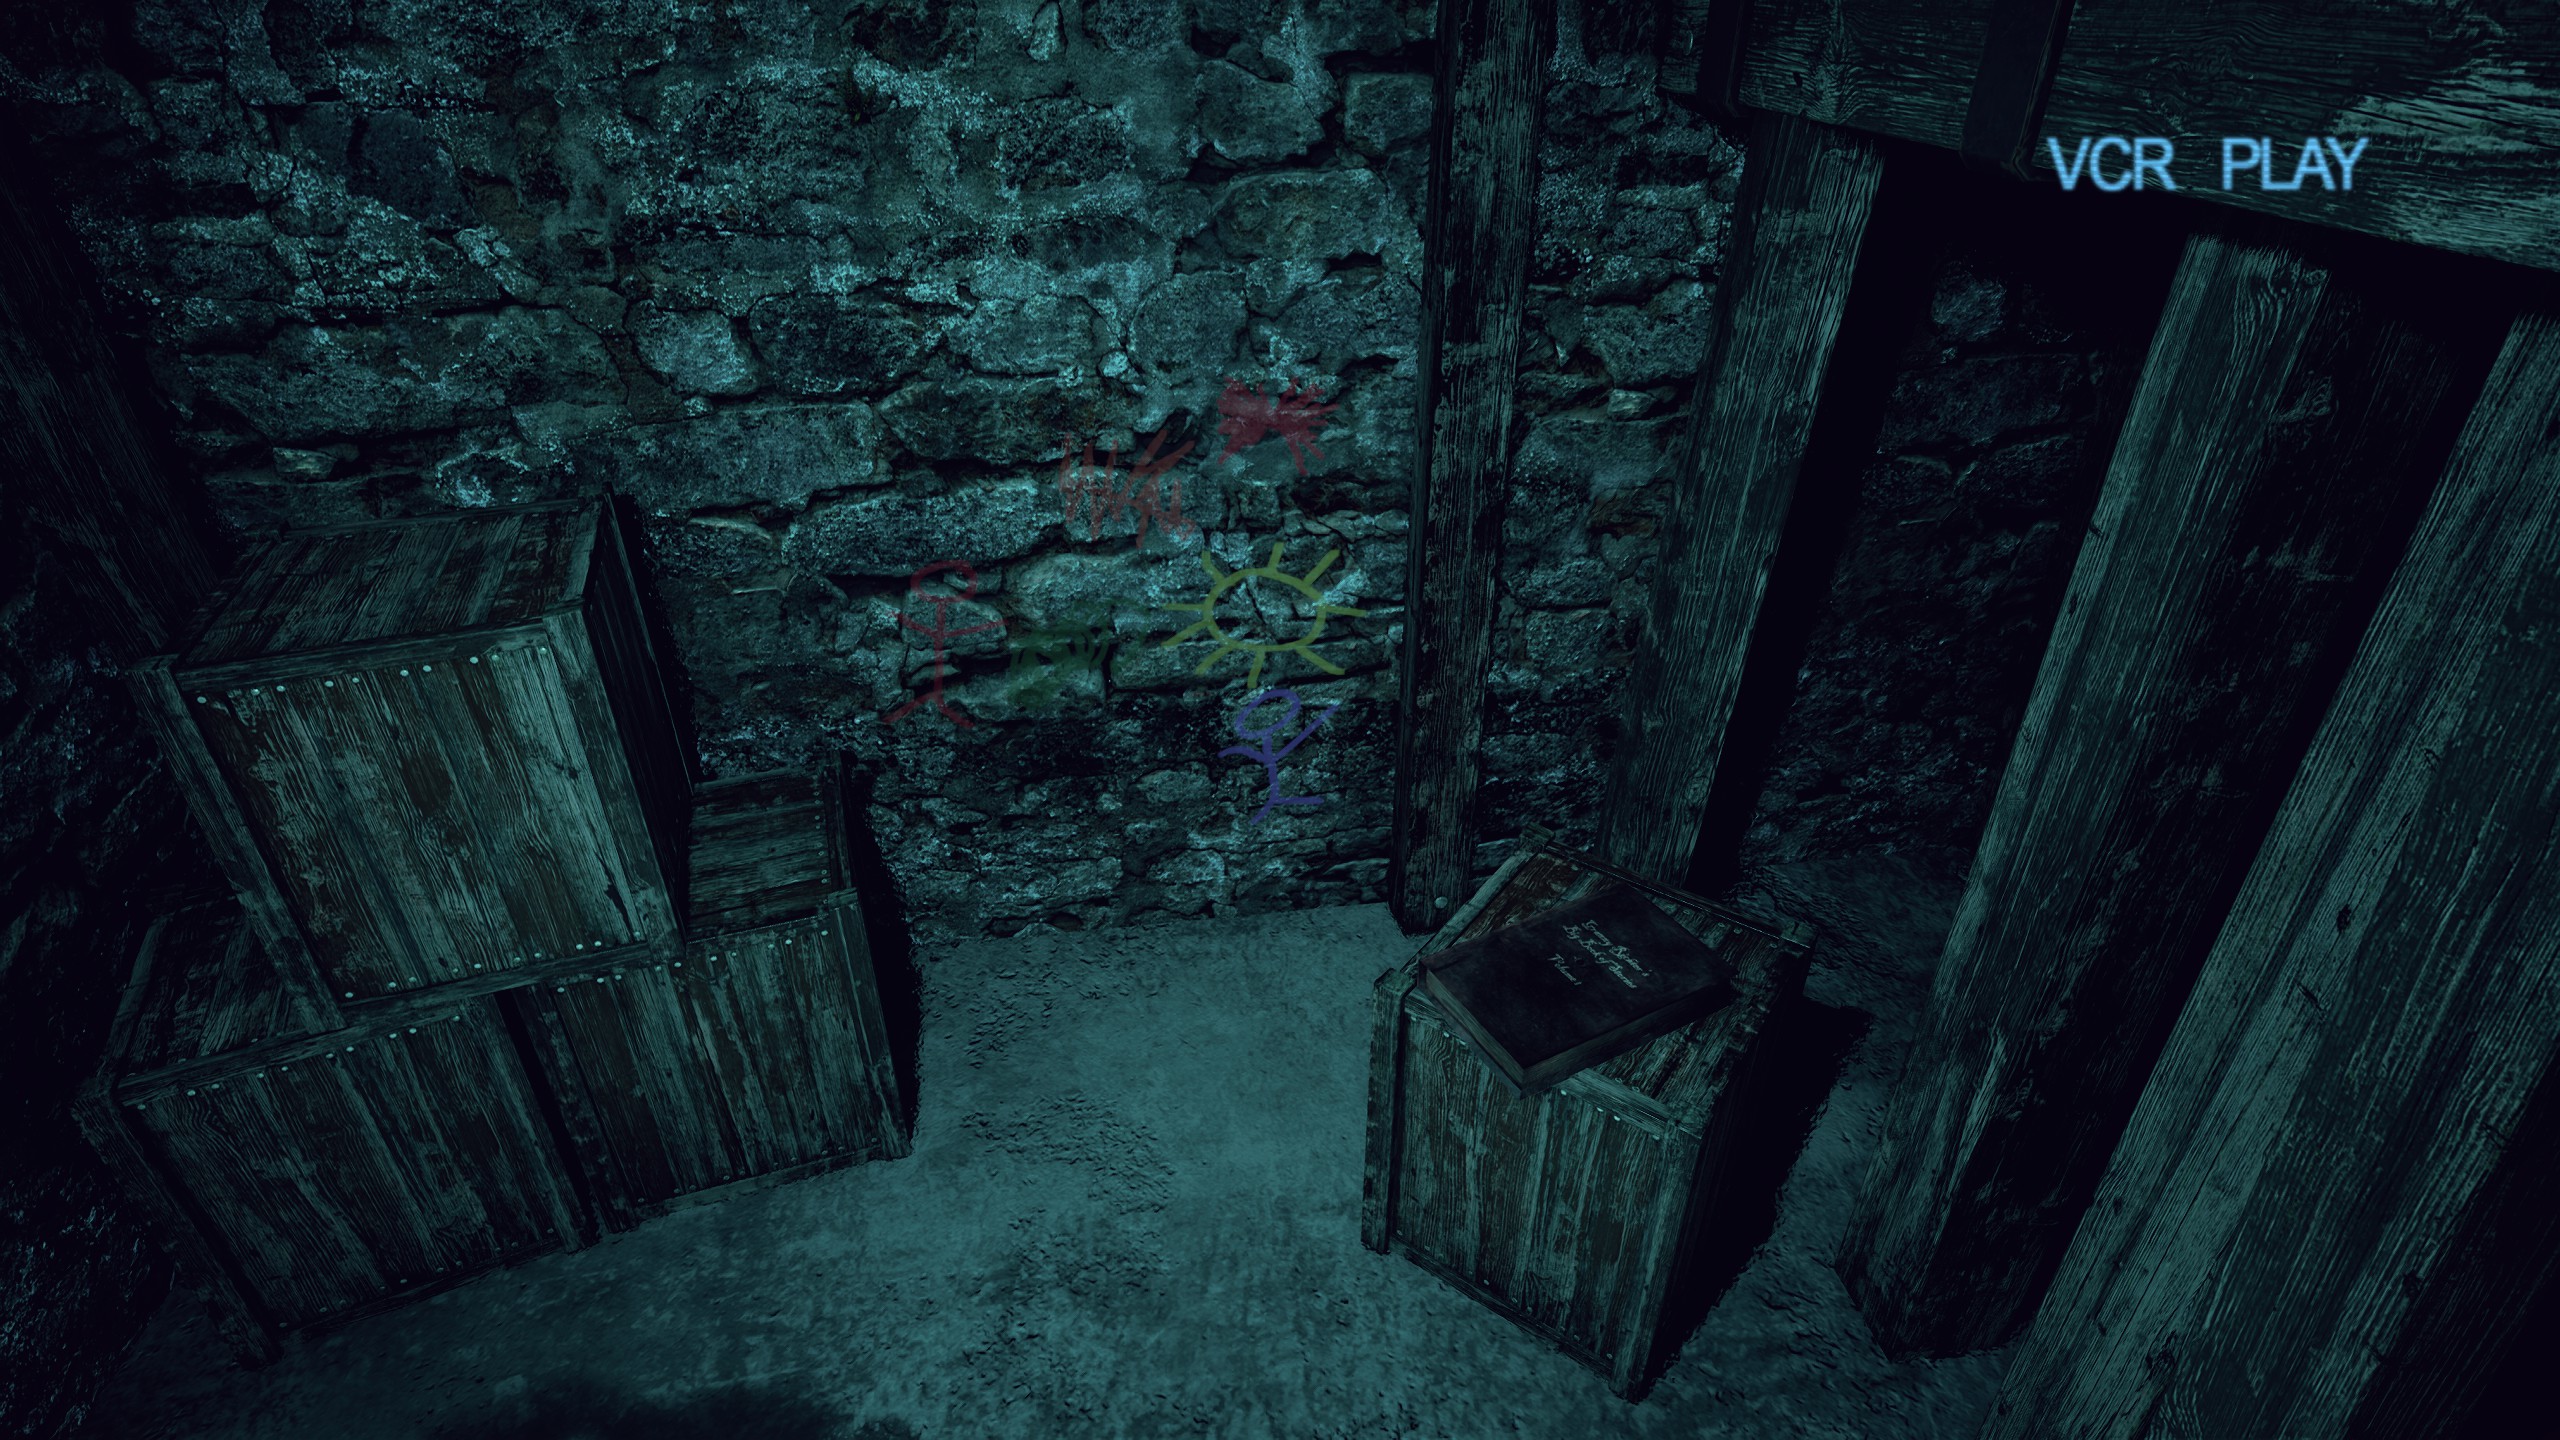
Item #45 is easy to miss thanks to the confusing layout of the cellar. When entering the cellar, go down the stairs closest to the crop field and keep to the right, exploring the small side rooms as you make your way through the underground labyrinth. The book will be sitting on a crate in the second side room you come across.
After activating the generator and making your way through the granary, look left before heading into the next area to find
Item #46 sitting on top of a barrel.

While looking for the gate key in the yard behind the granary, be sure to search the shed for
Item #47. 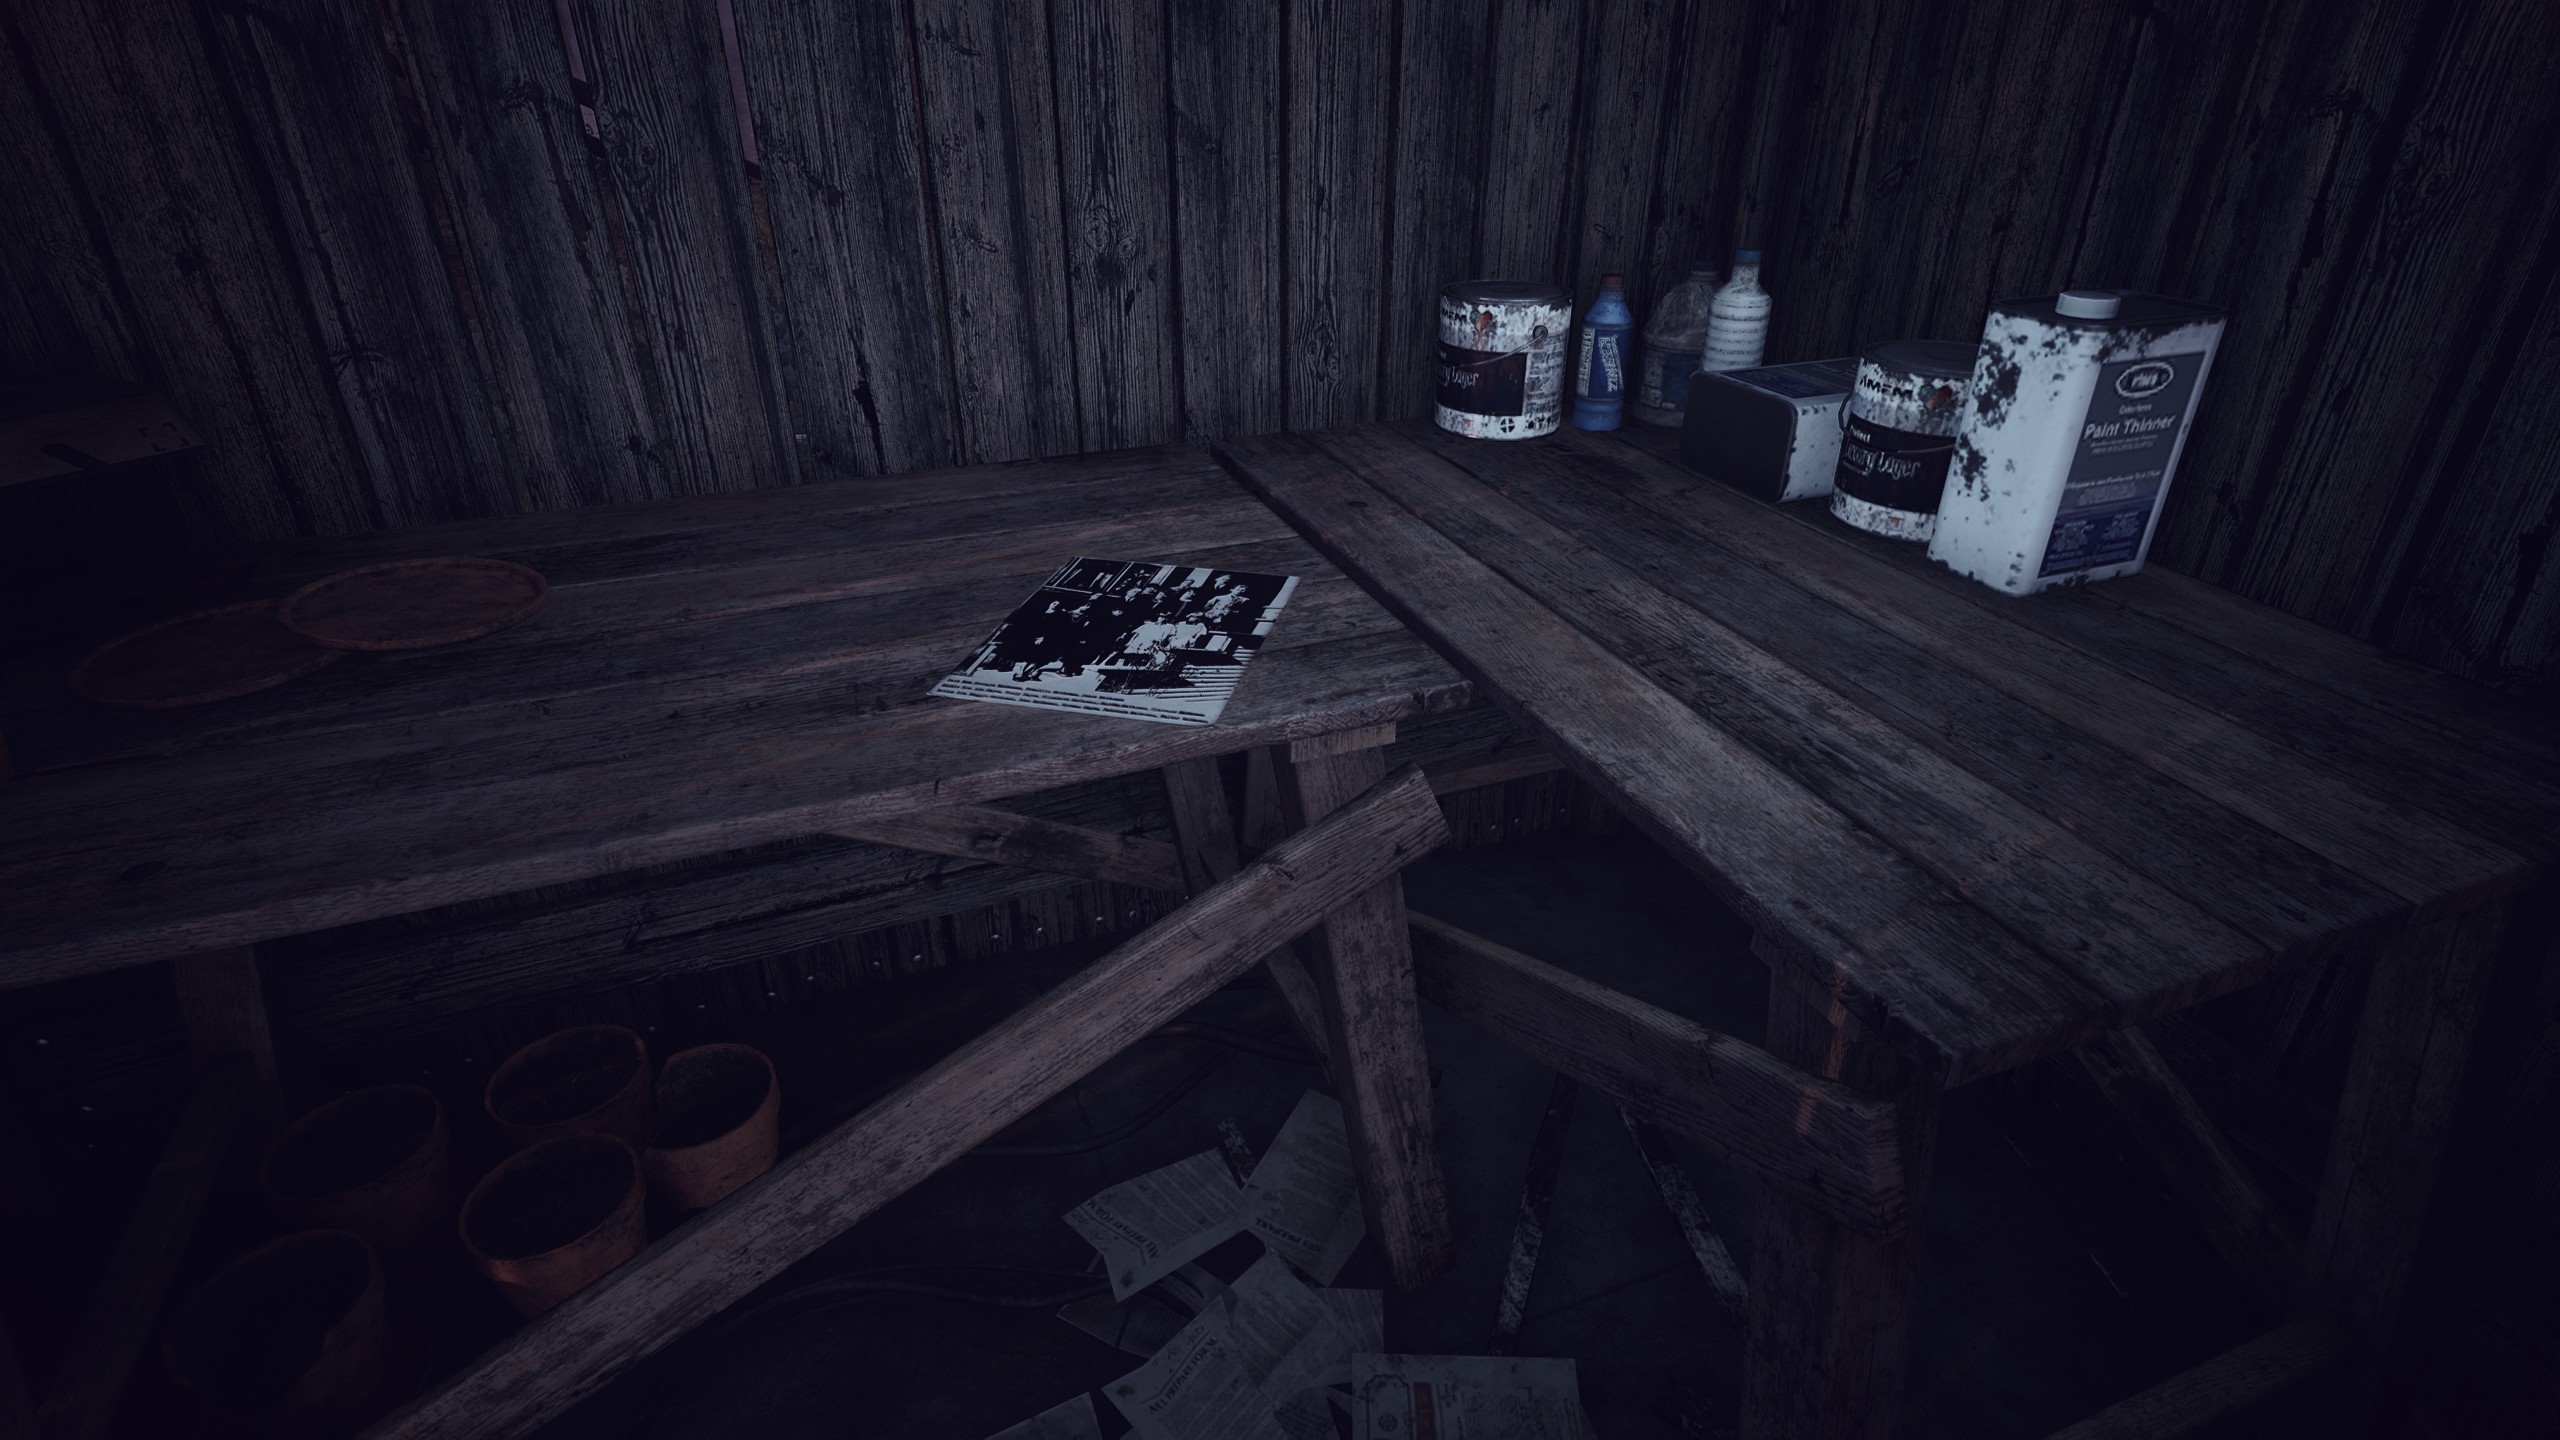
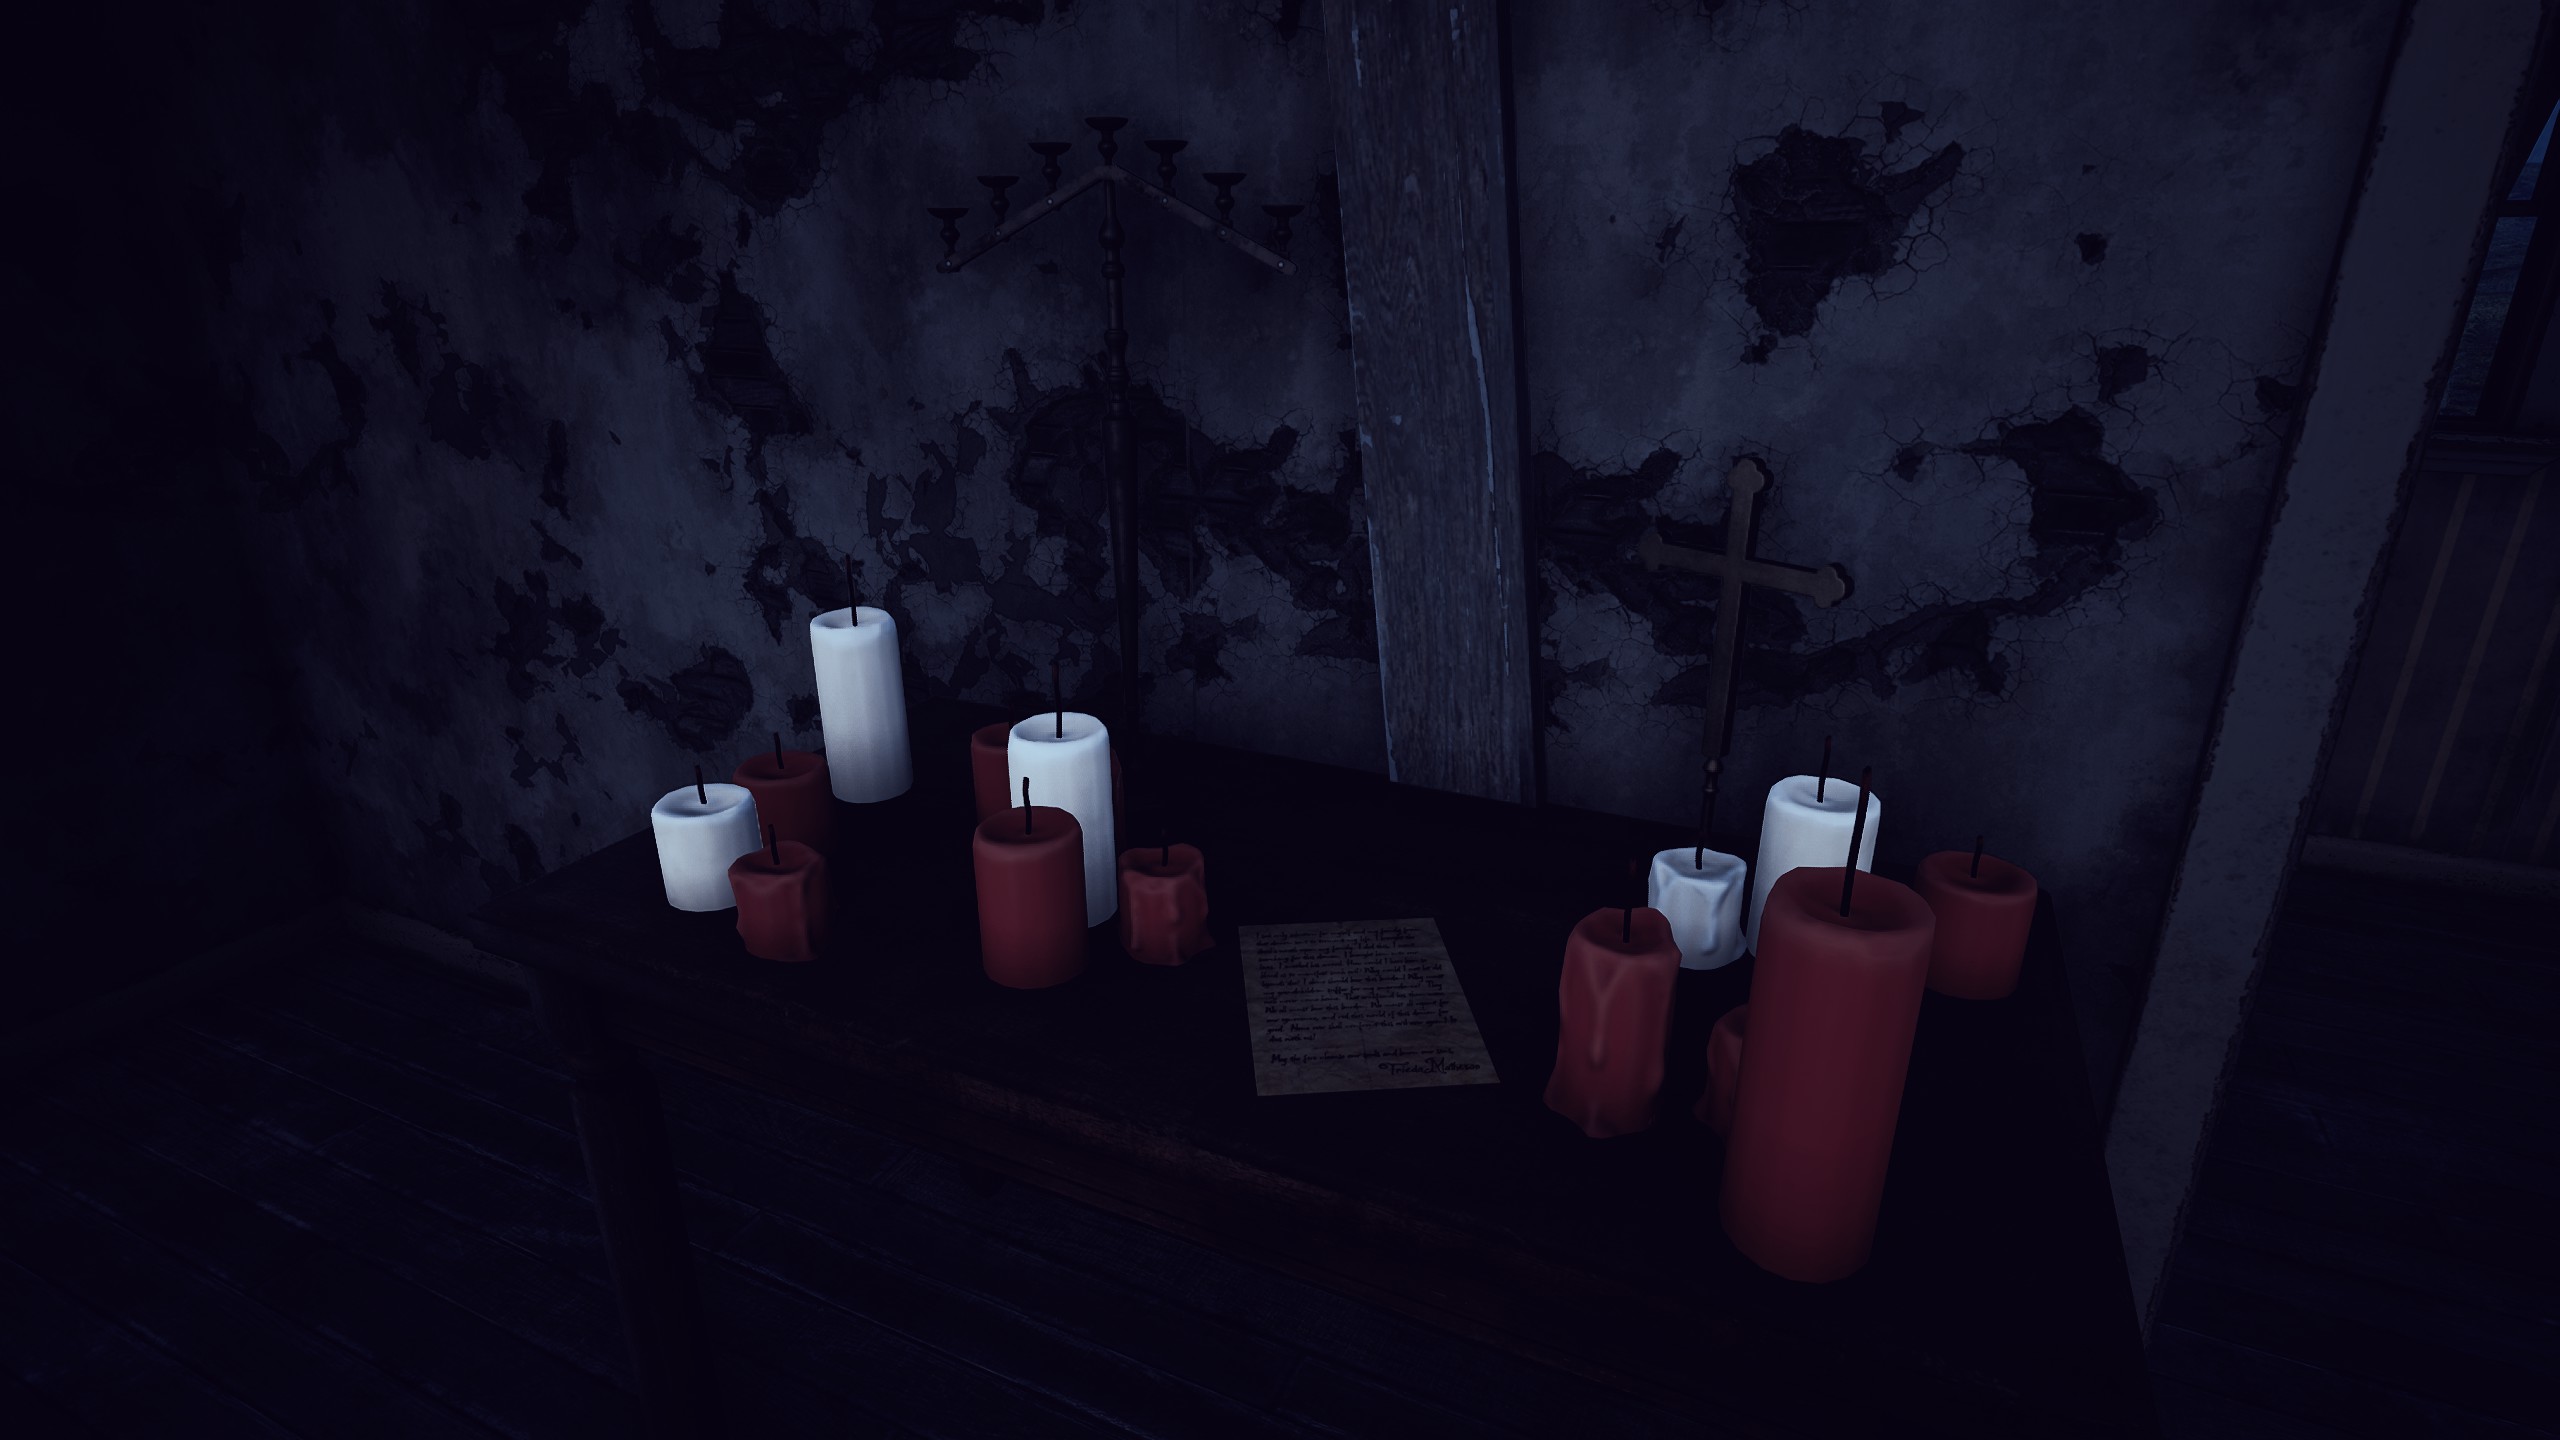
Item #48 and
Item #49 are laying on two different tables within the chapel. Collecting them before picking up the toys on the floor is highly recommended.
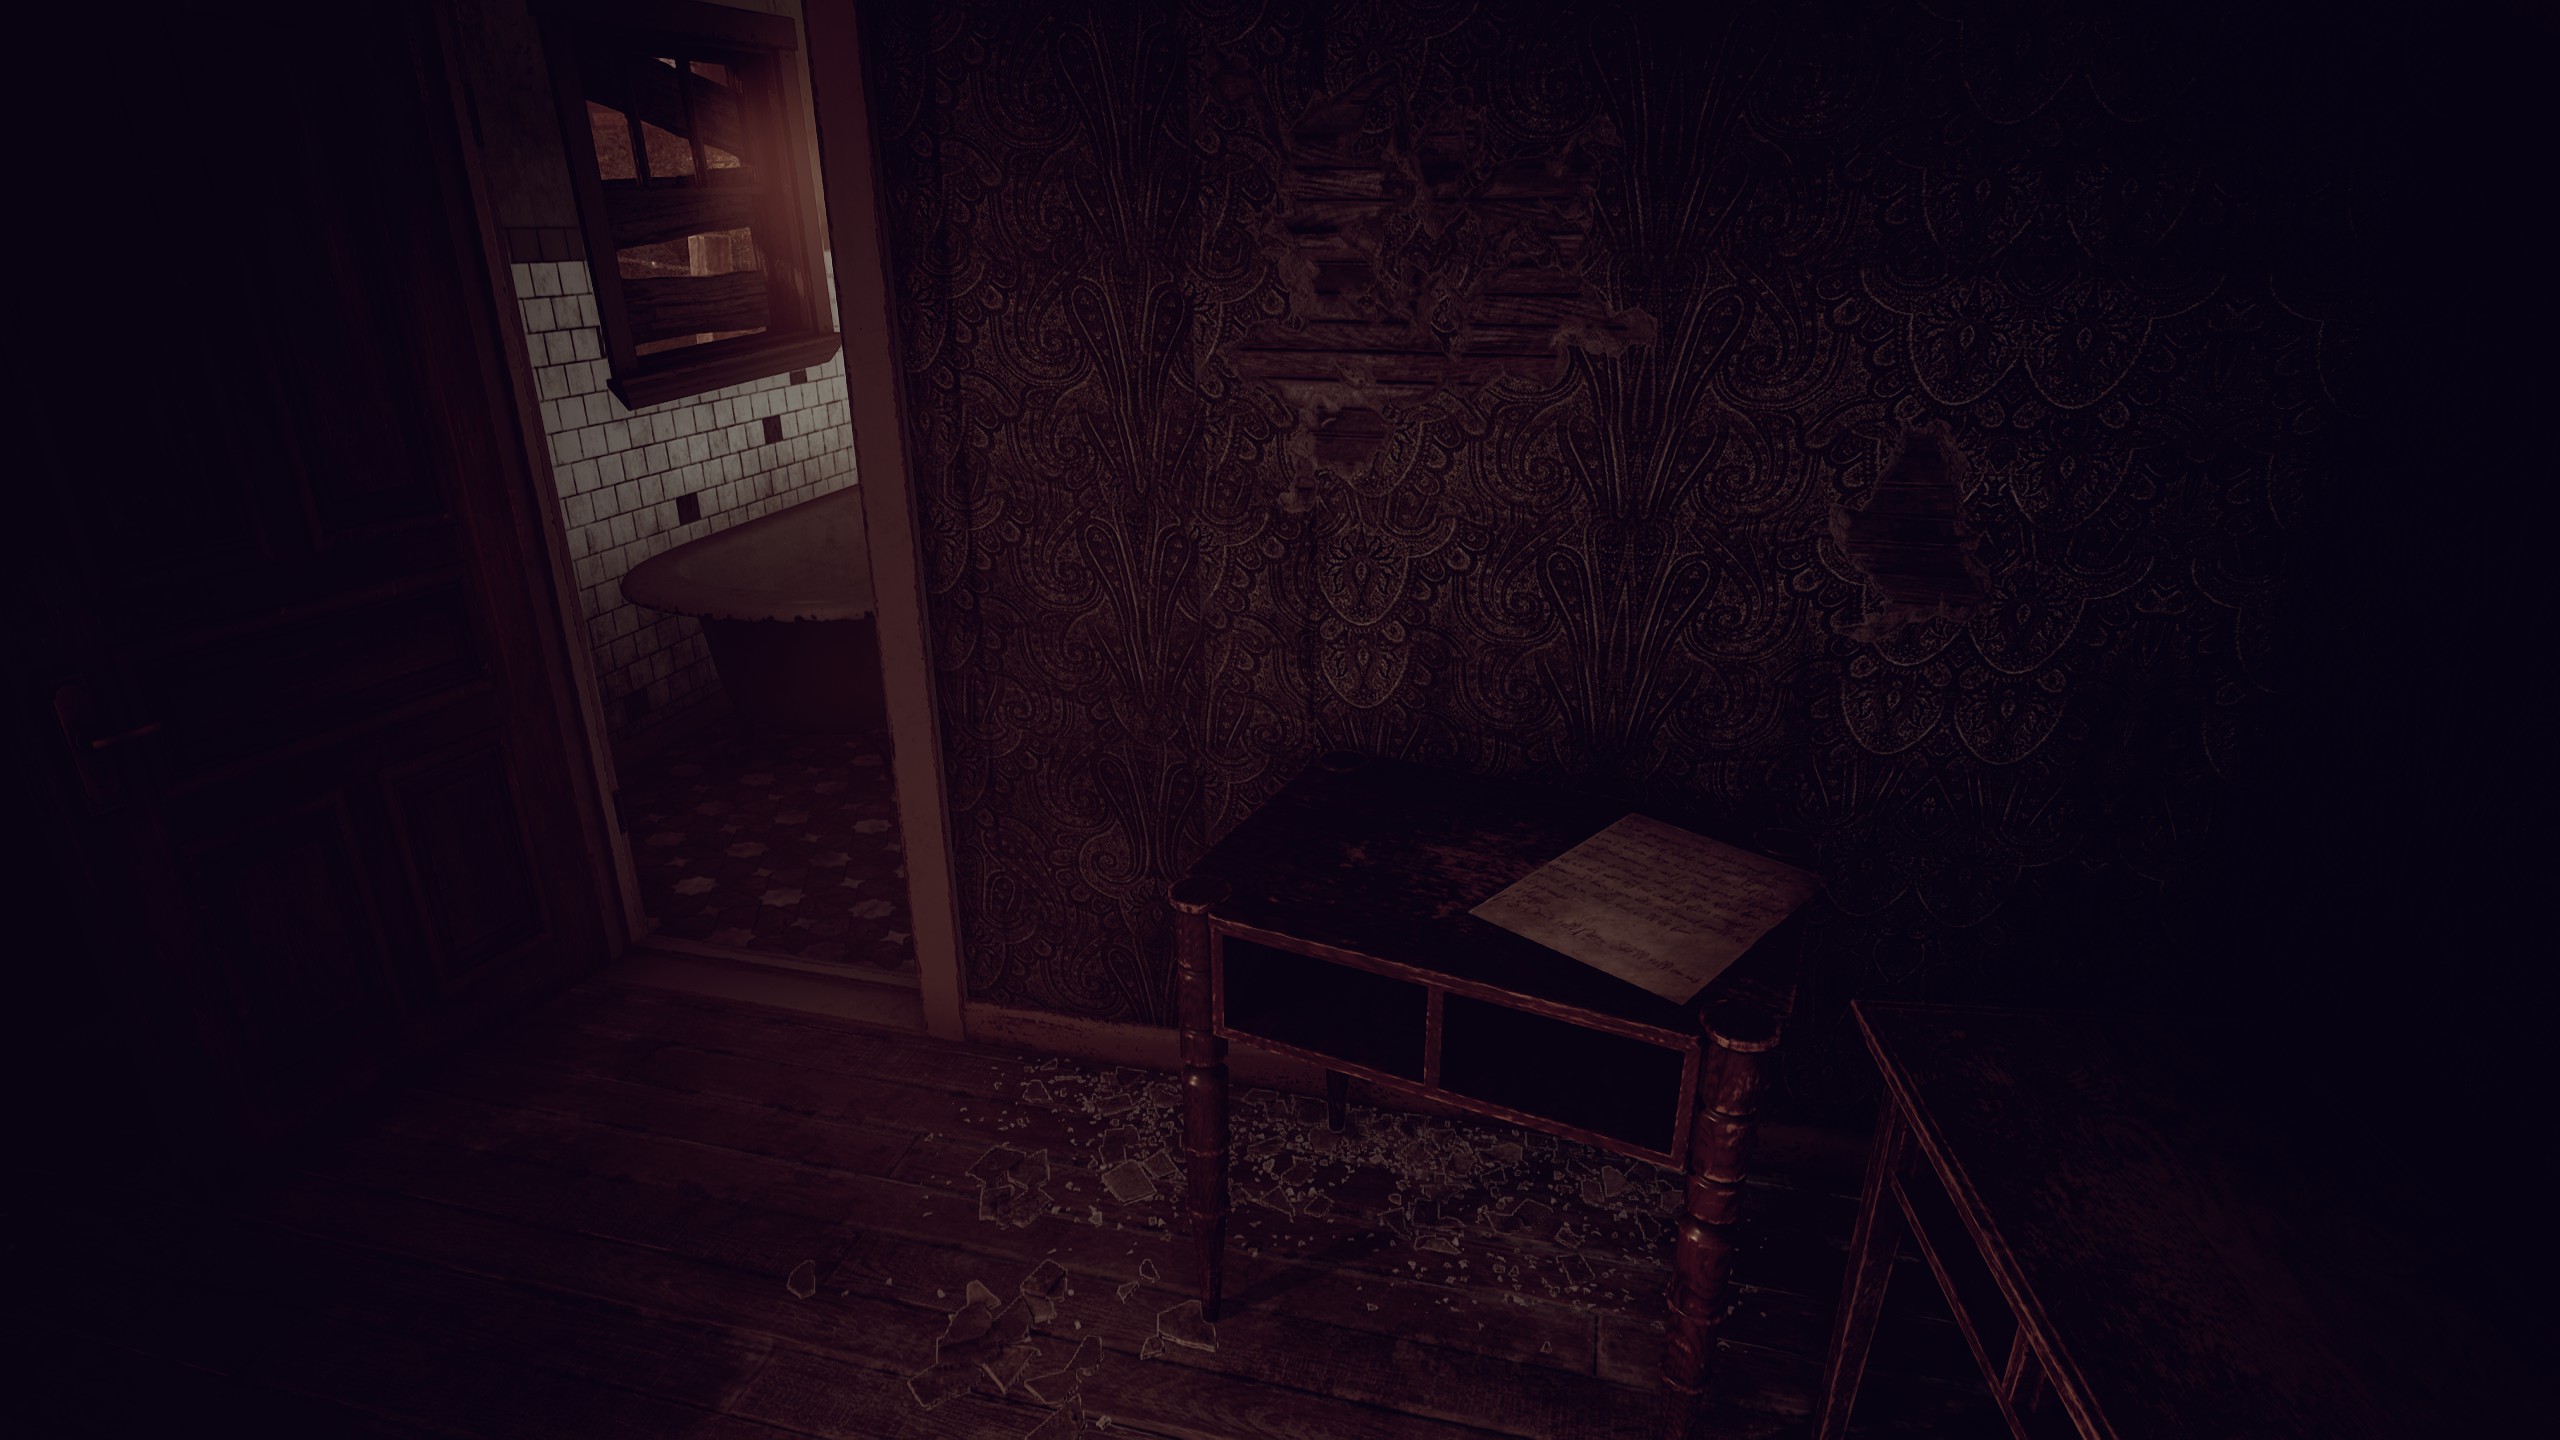
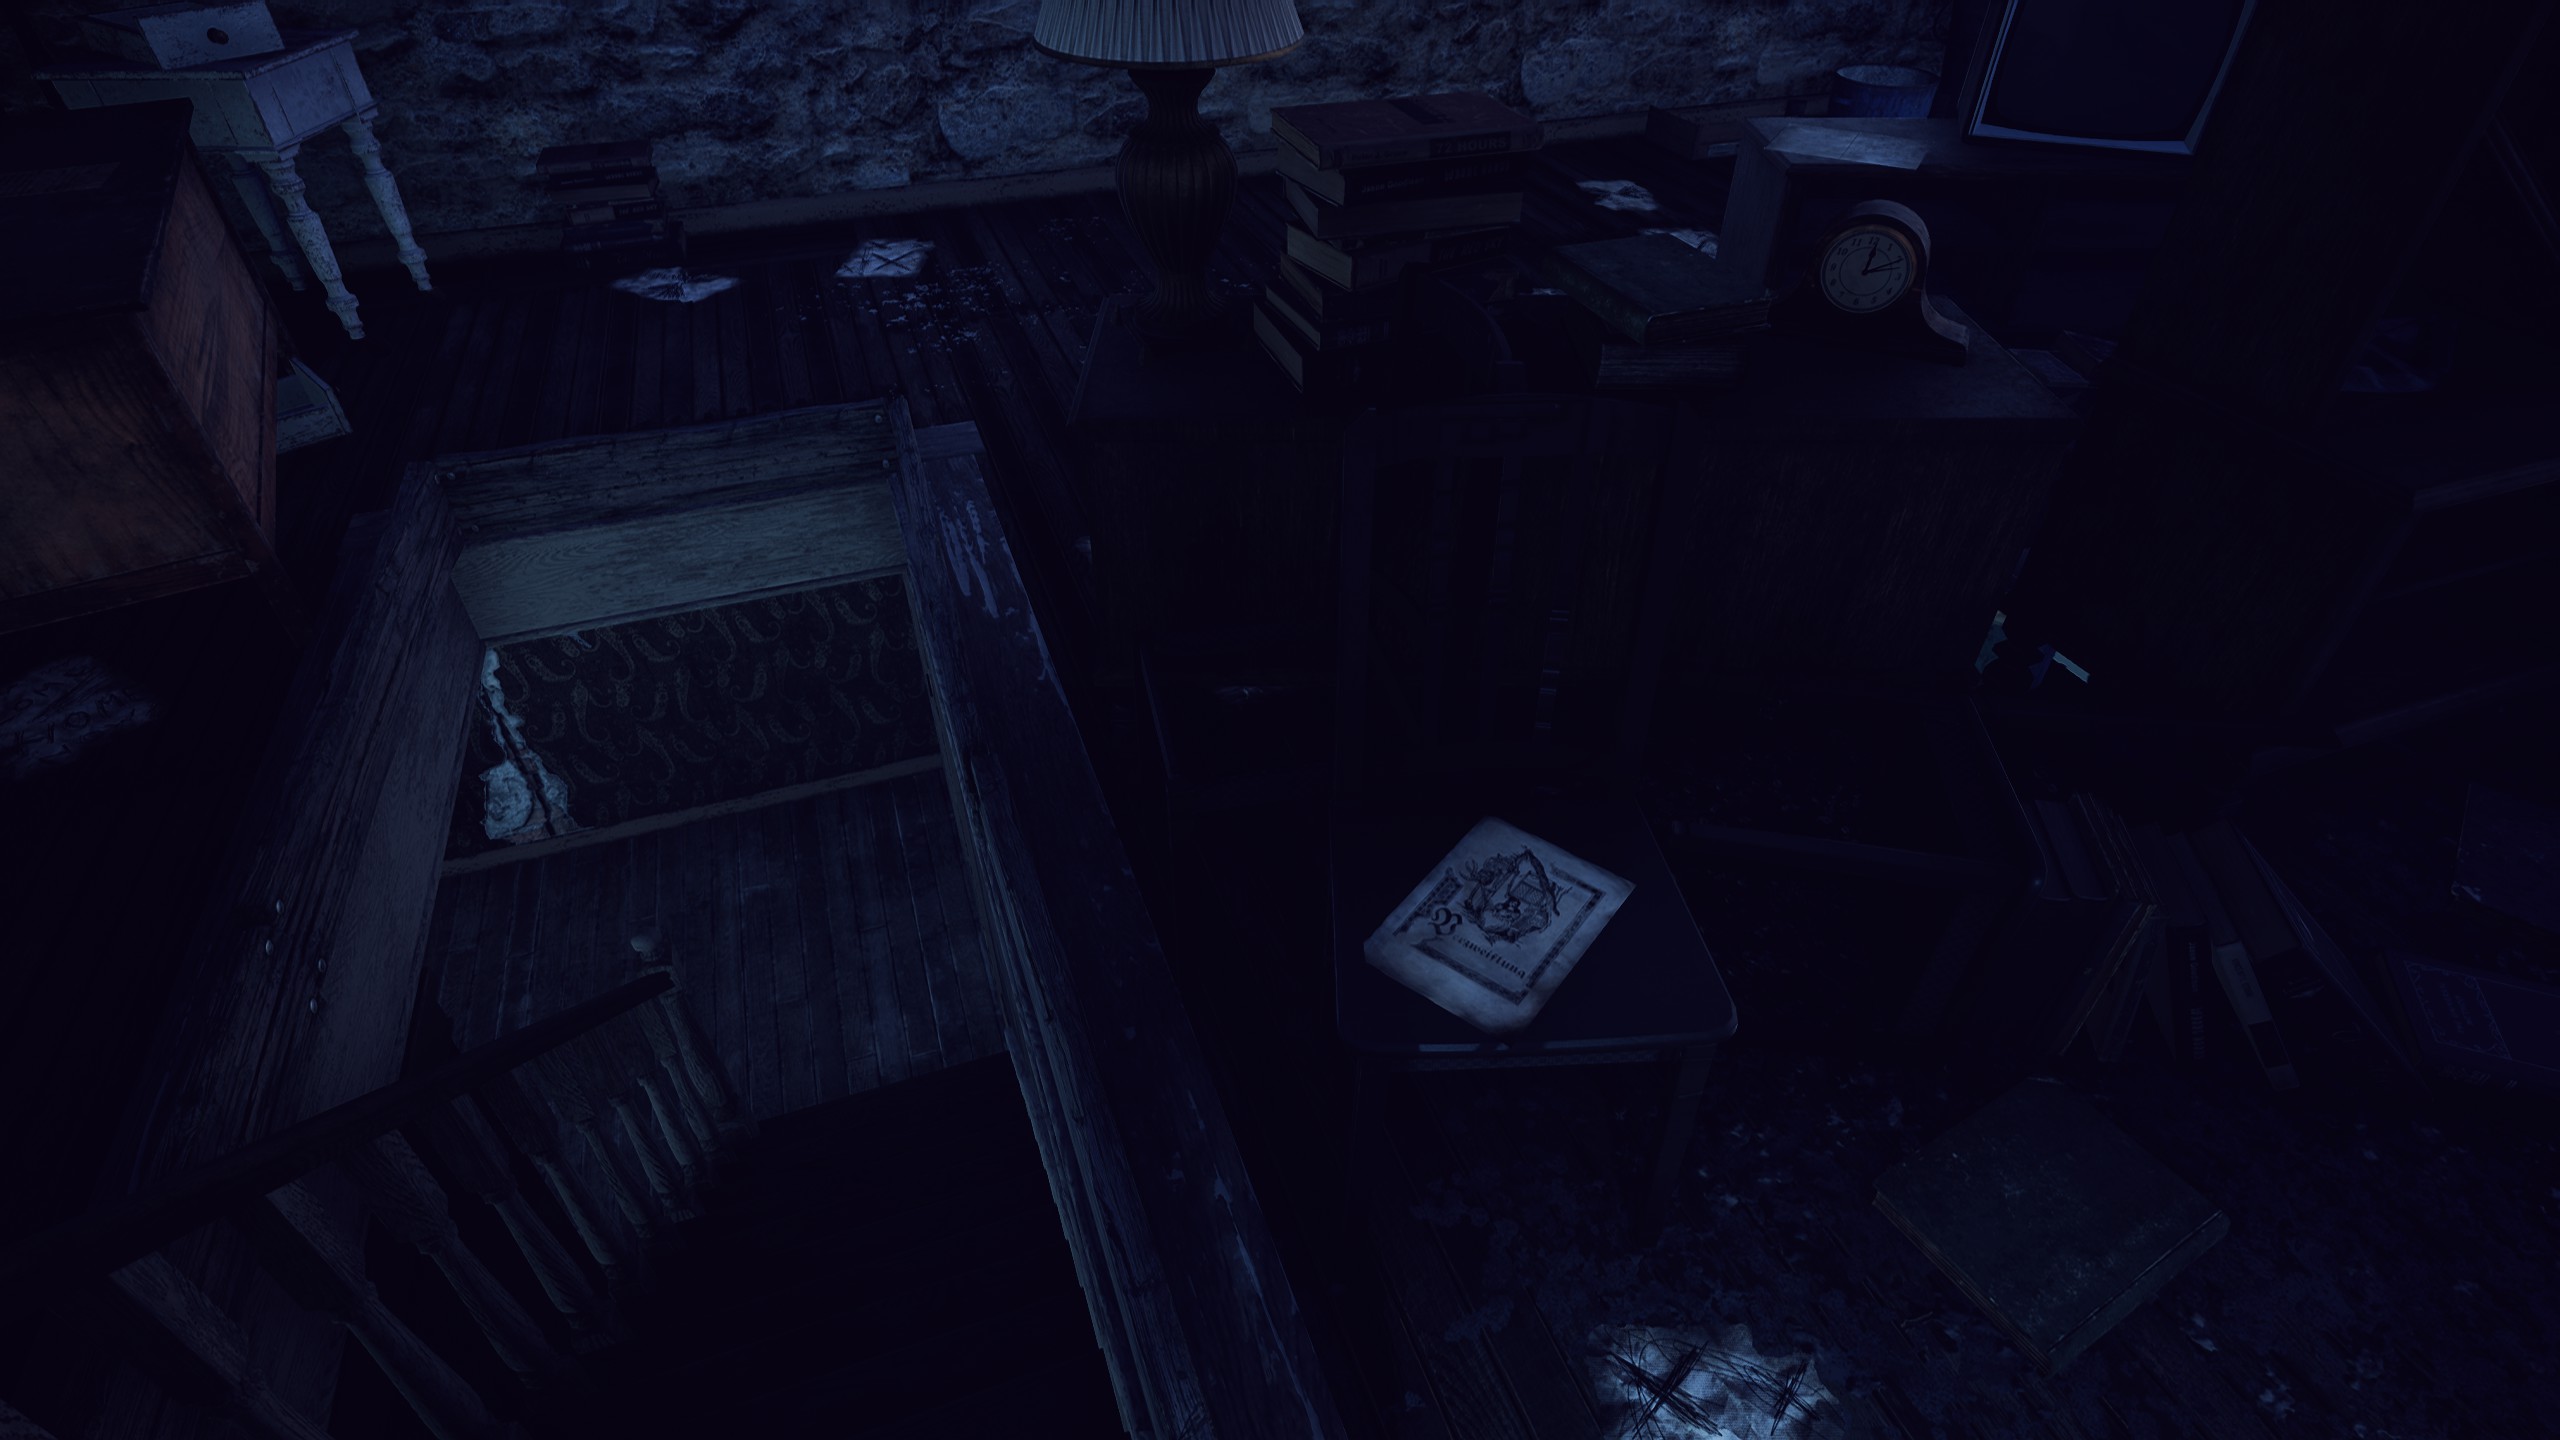
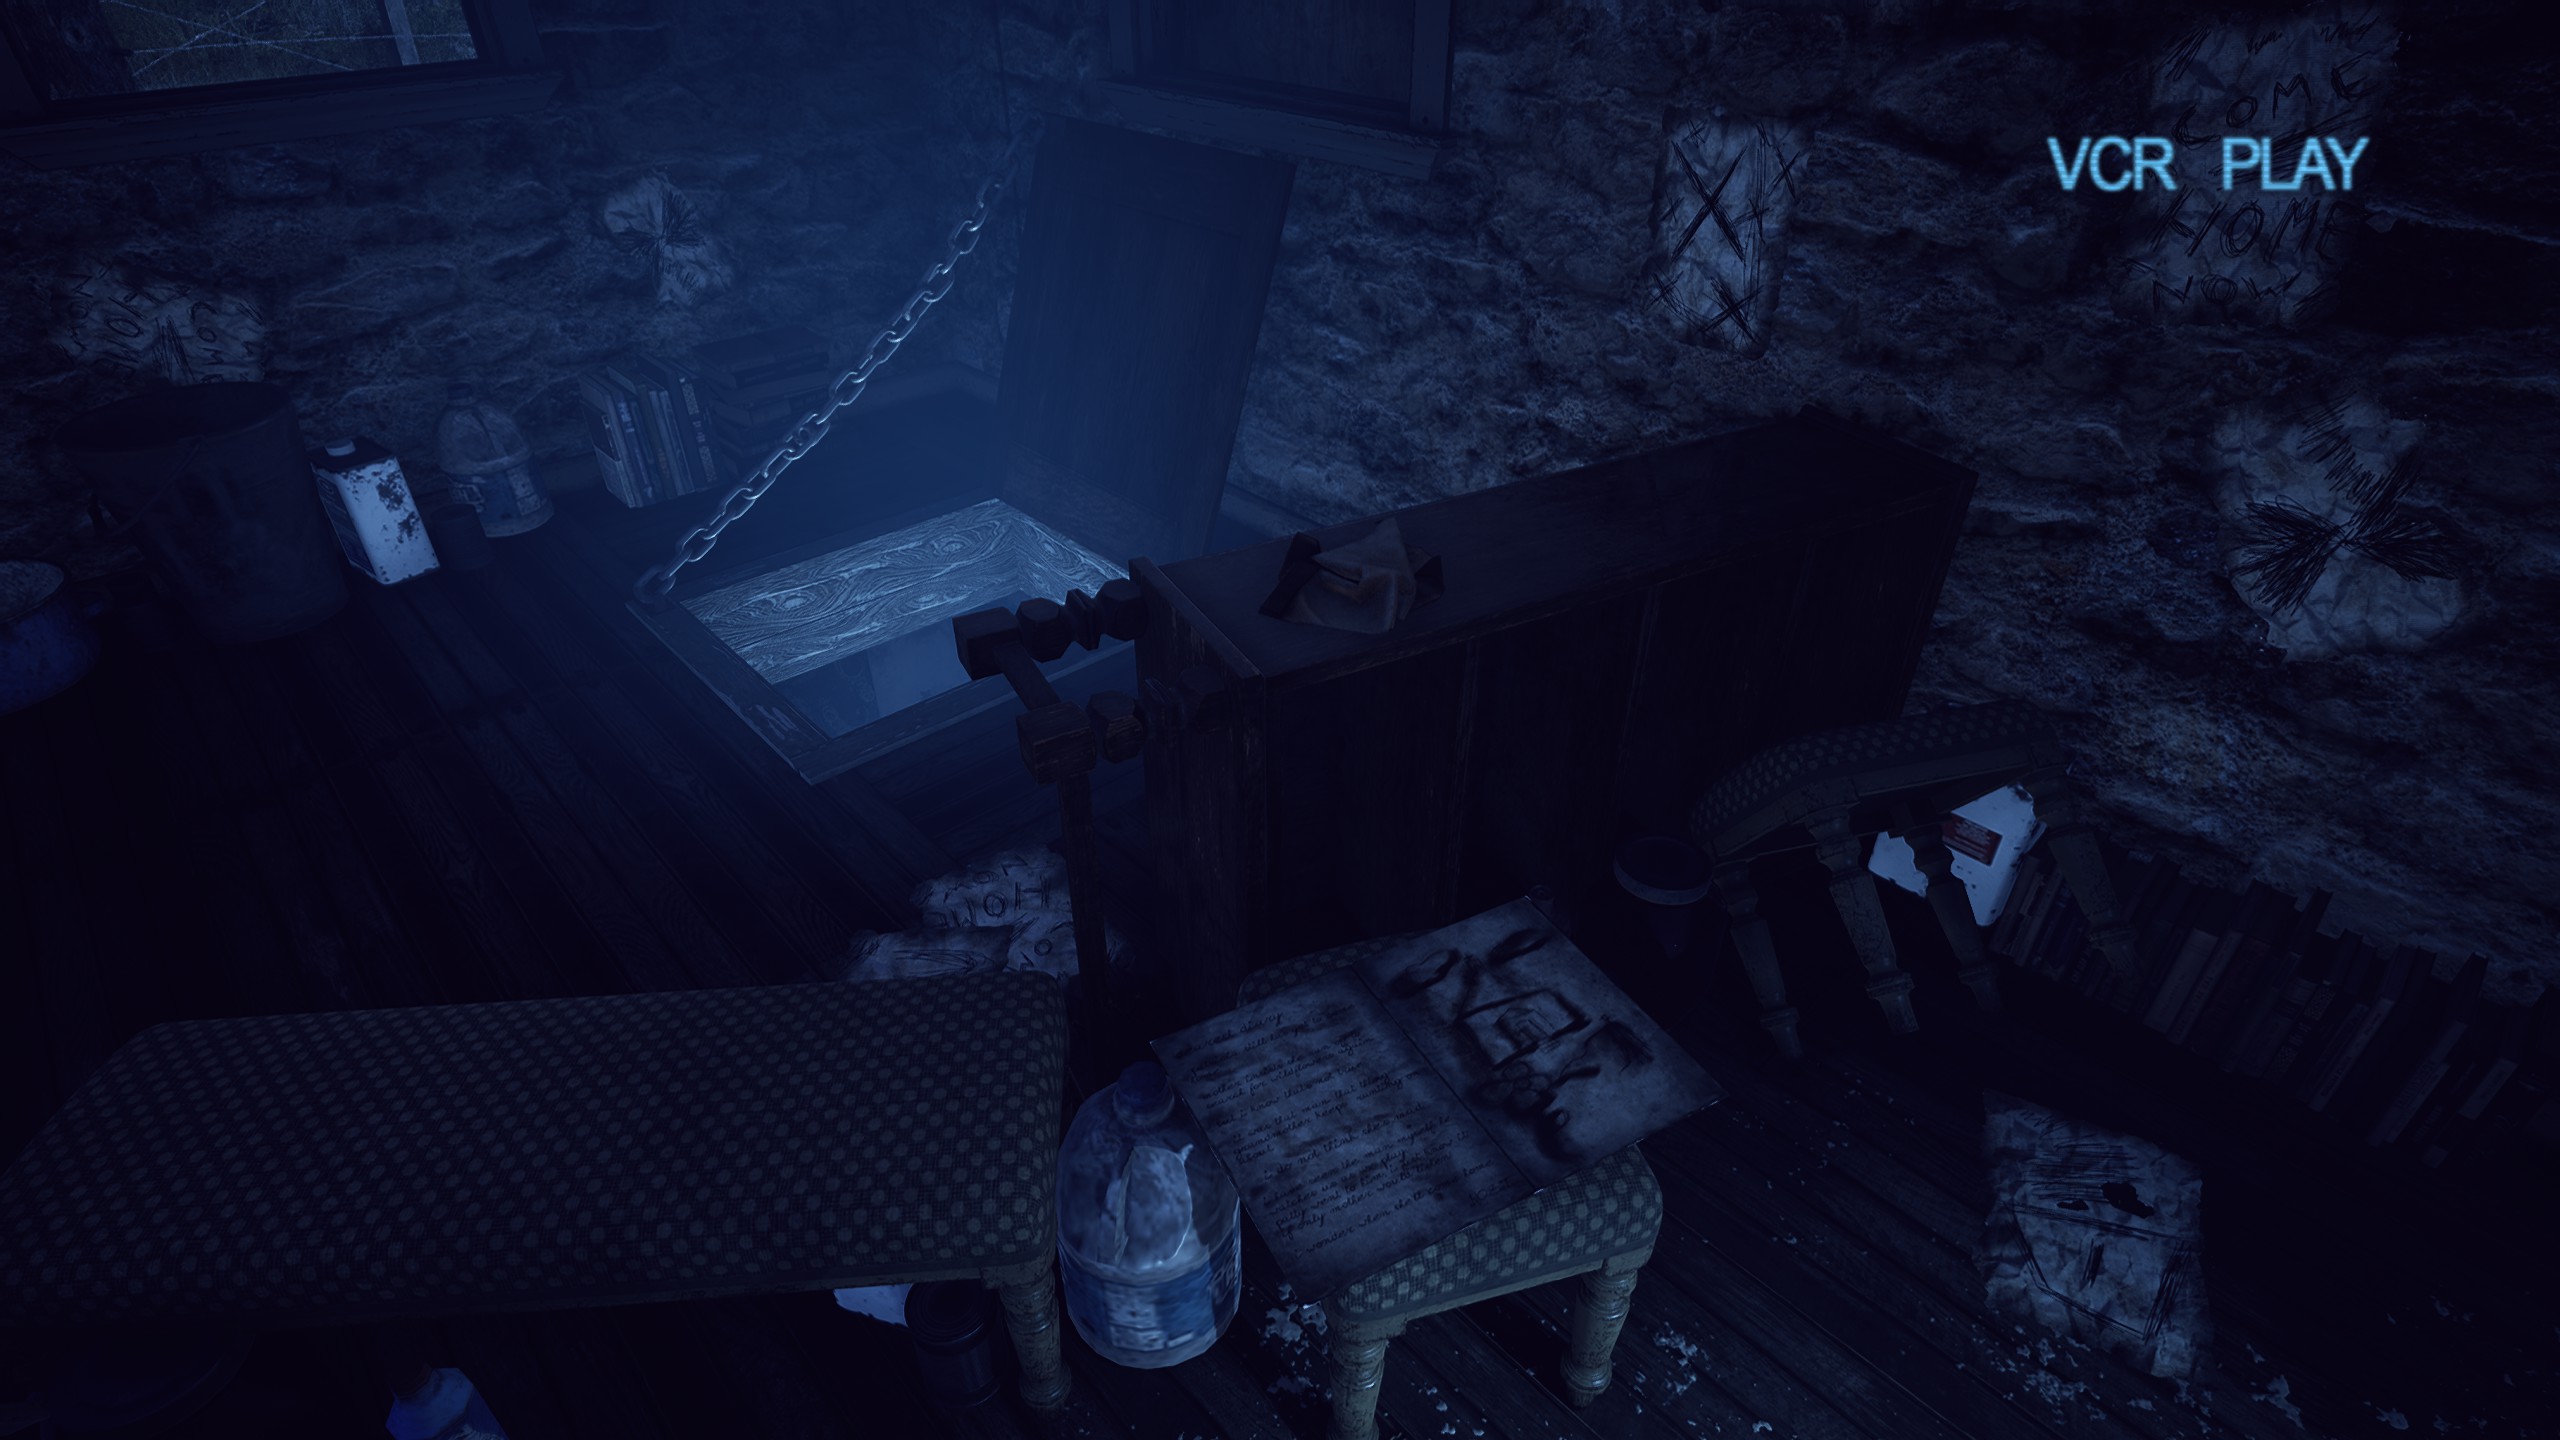
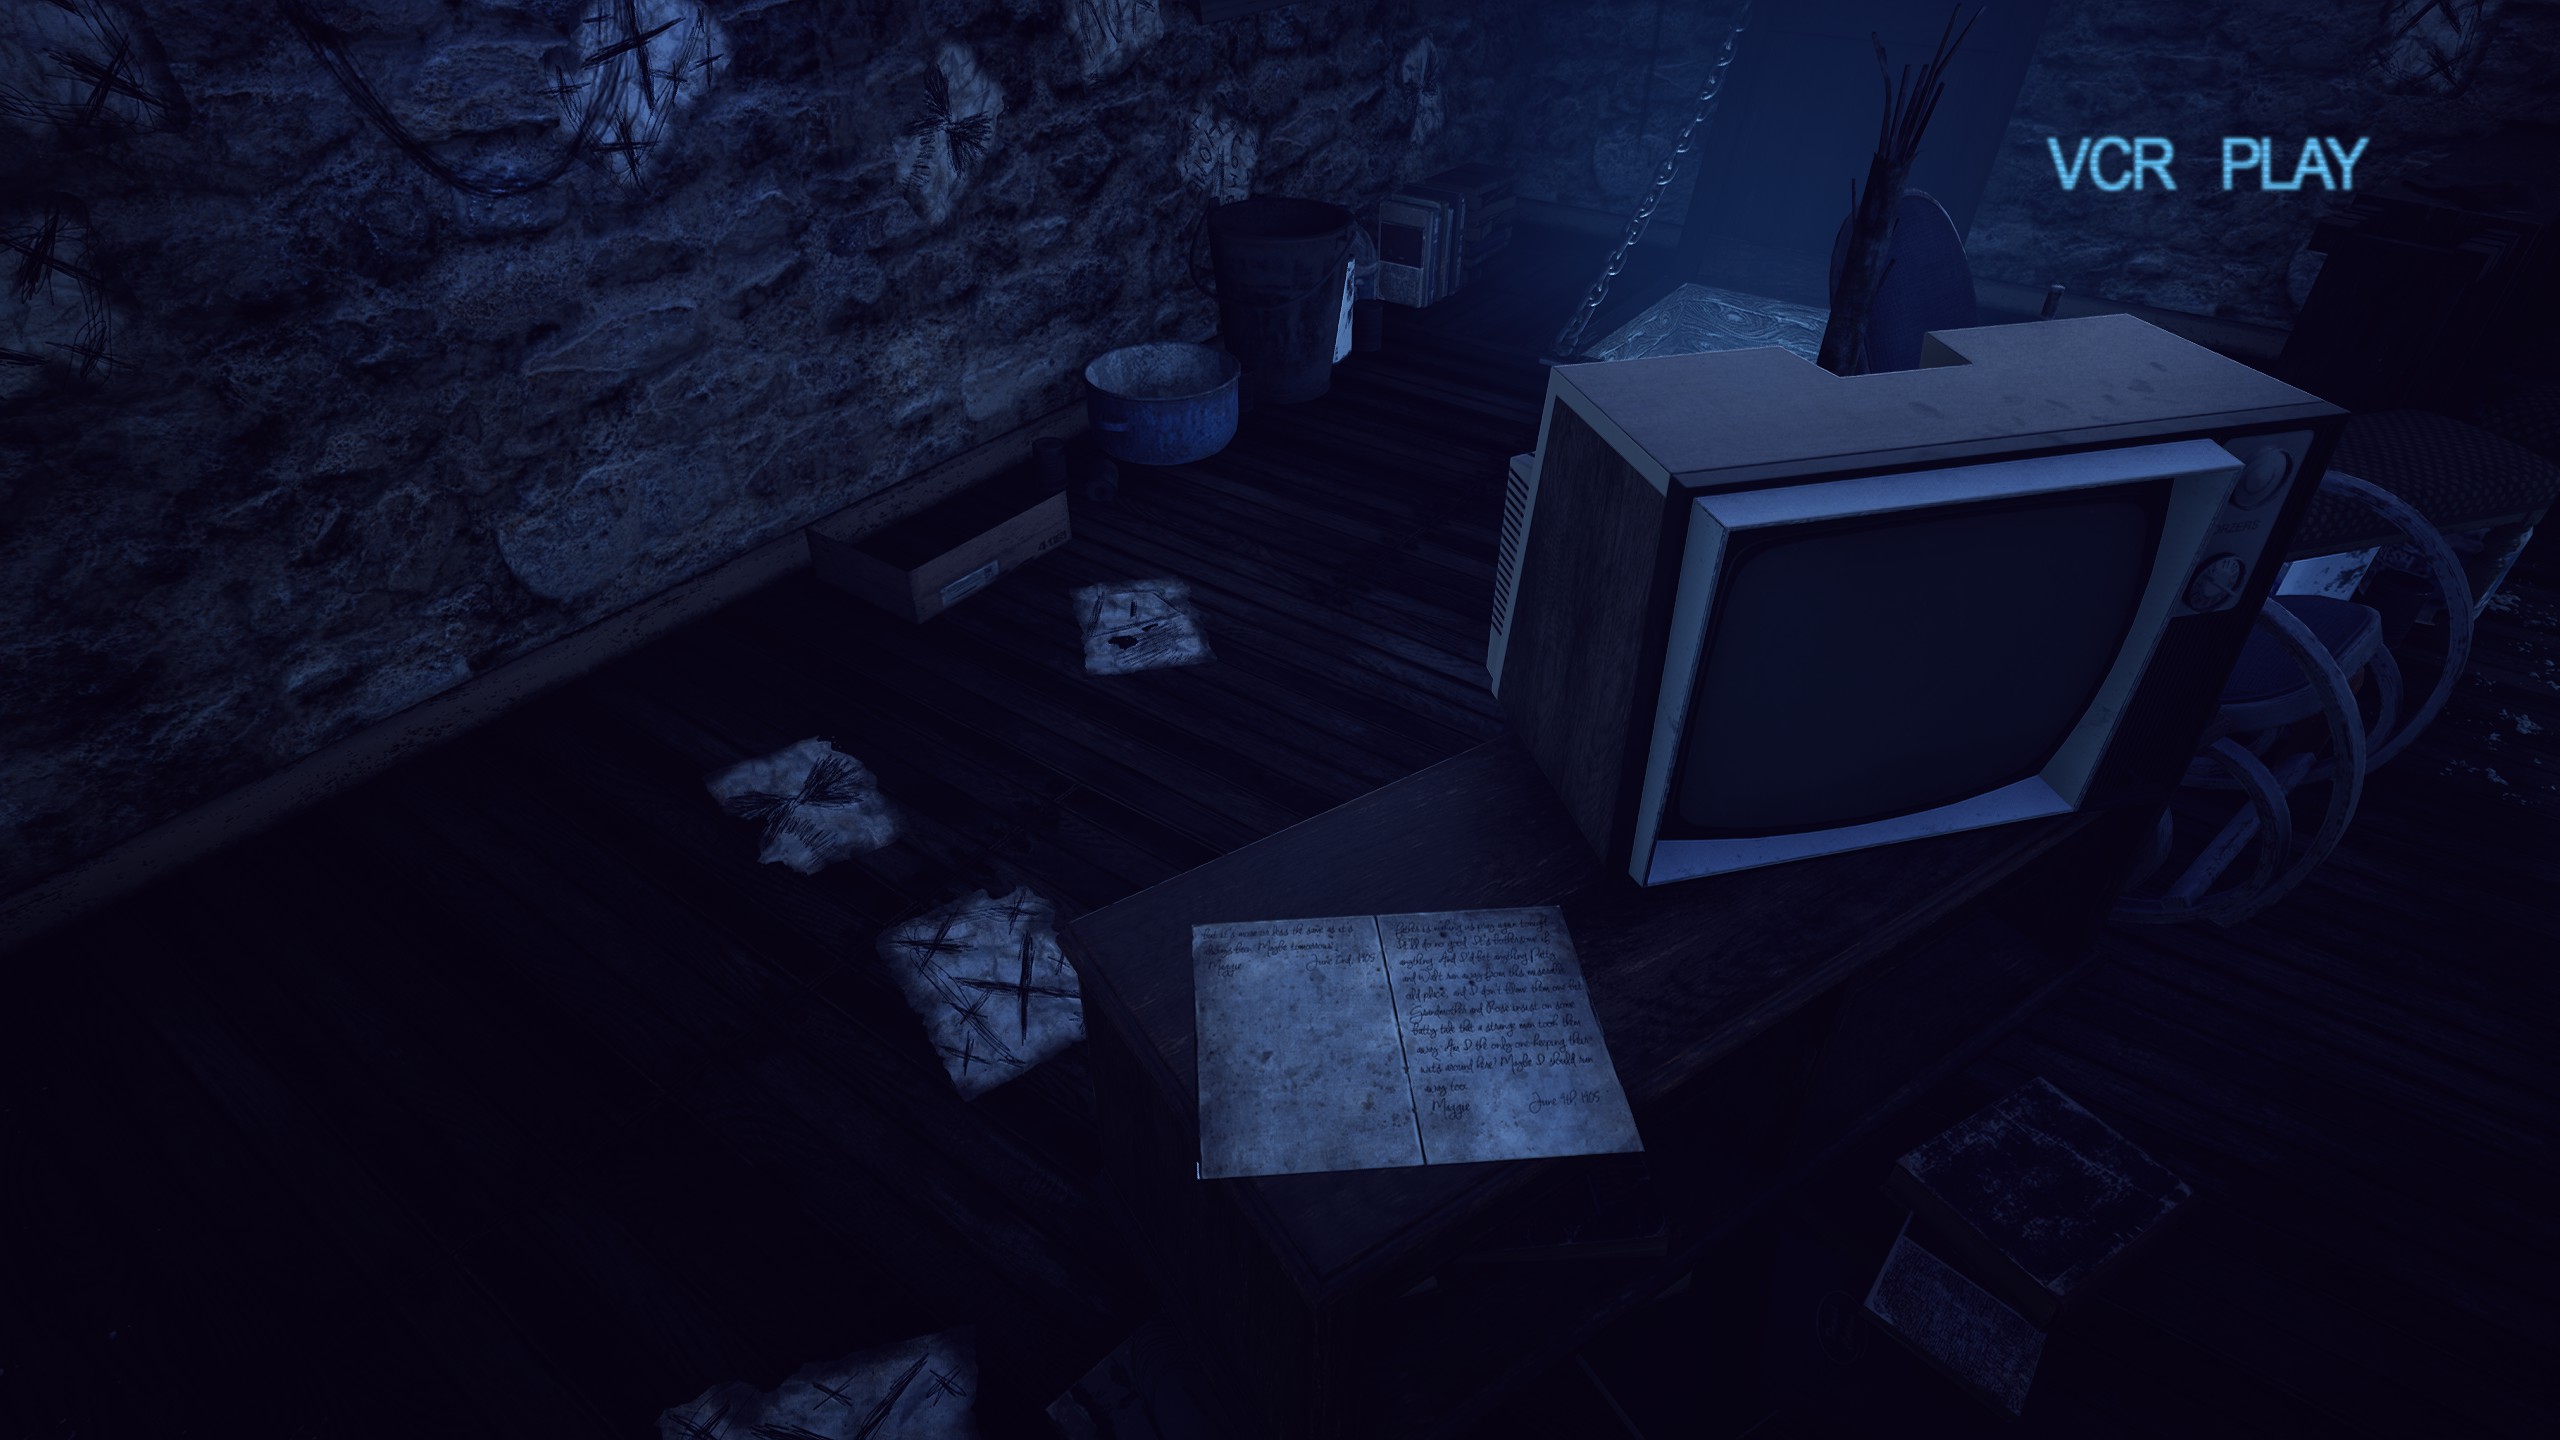
Items #50, #51, #52, and #53 can be found on the second floor of the farmhouse. Be sure to gather all of them before dropping down to the first floor.
The Arrival
We’ve nearly reached the game’s finale and only a handful of collectibles remain! Be sure to pick up
Item #54 as you ascend the mountain.
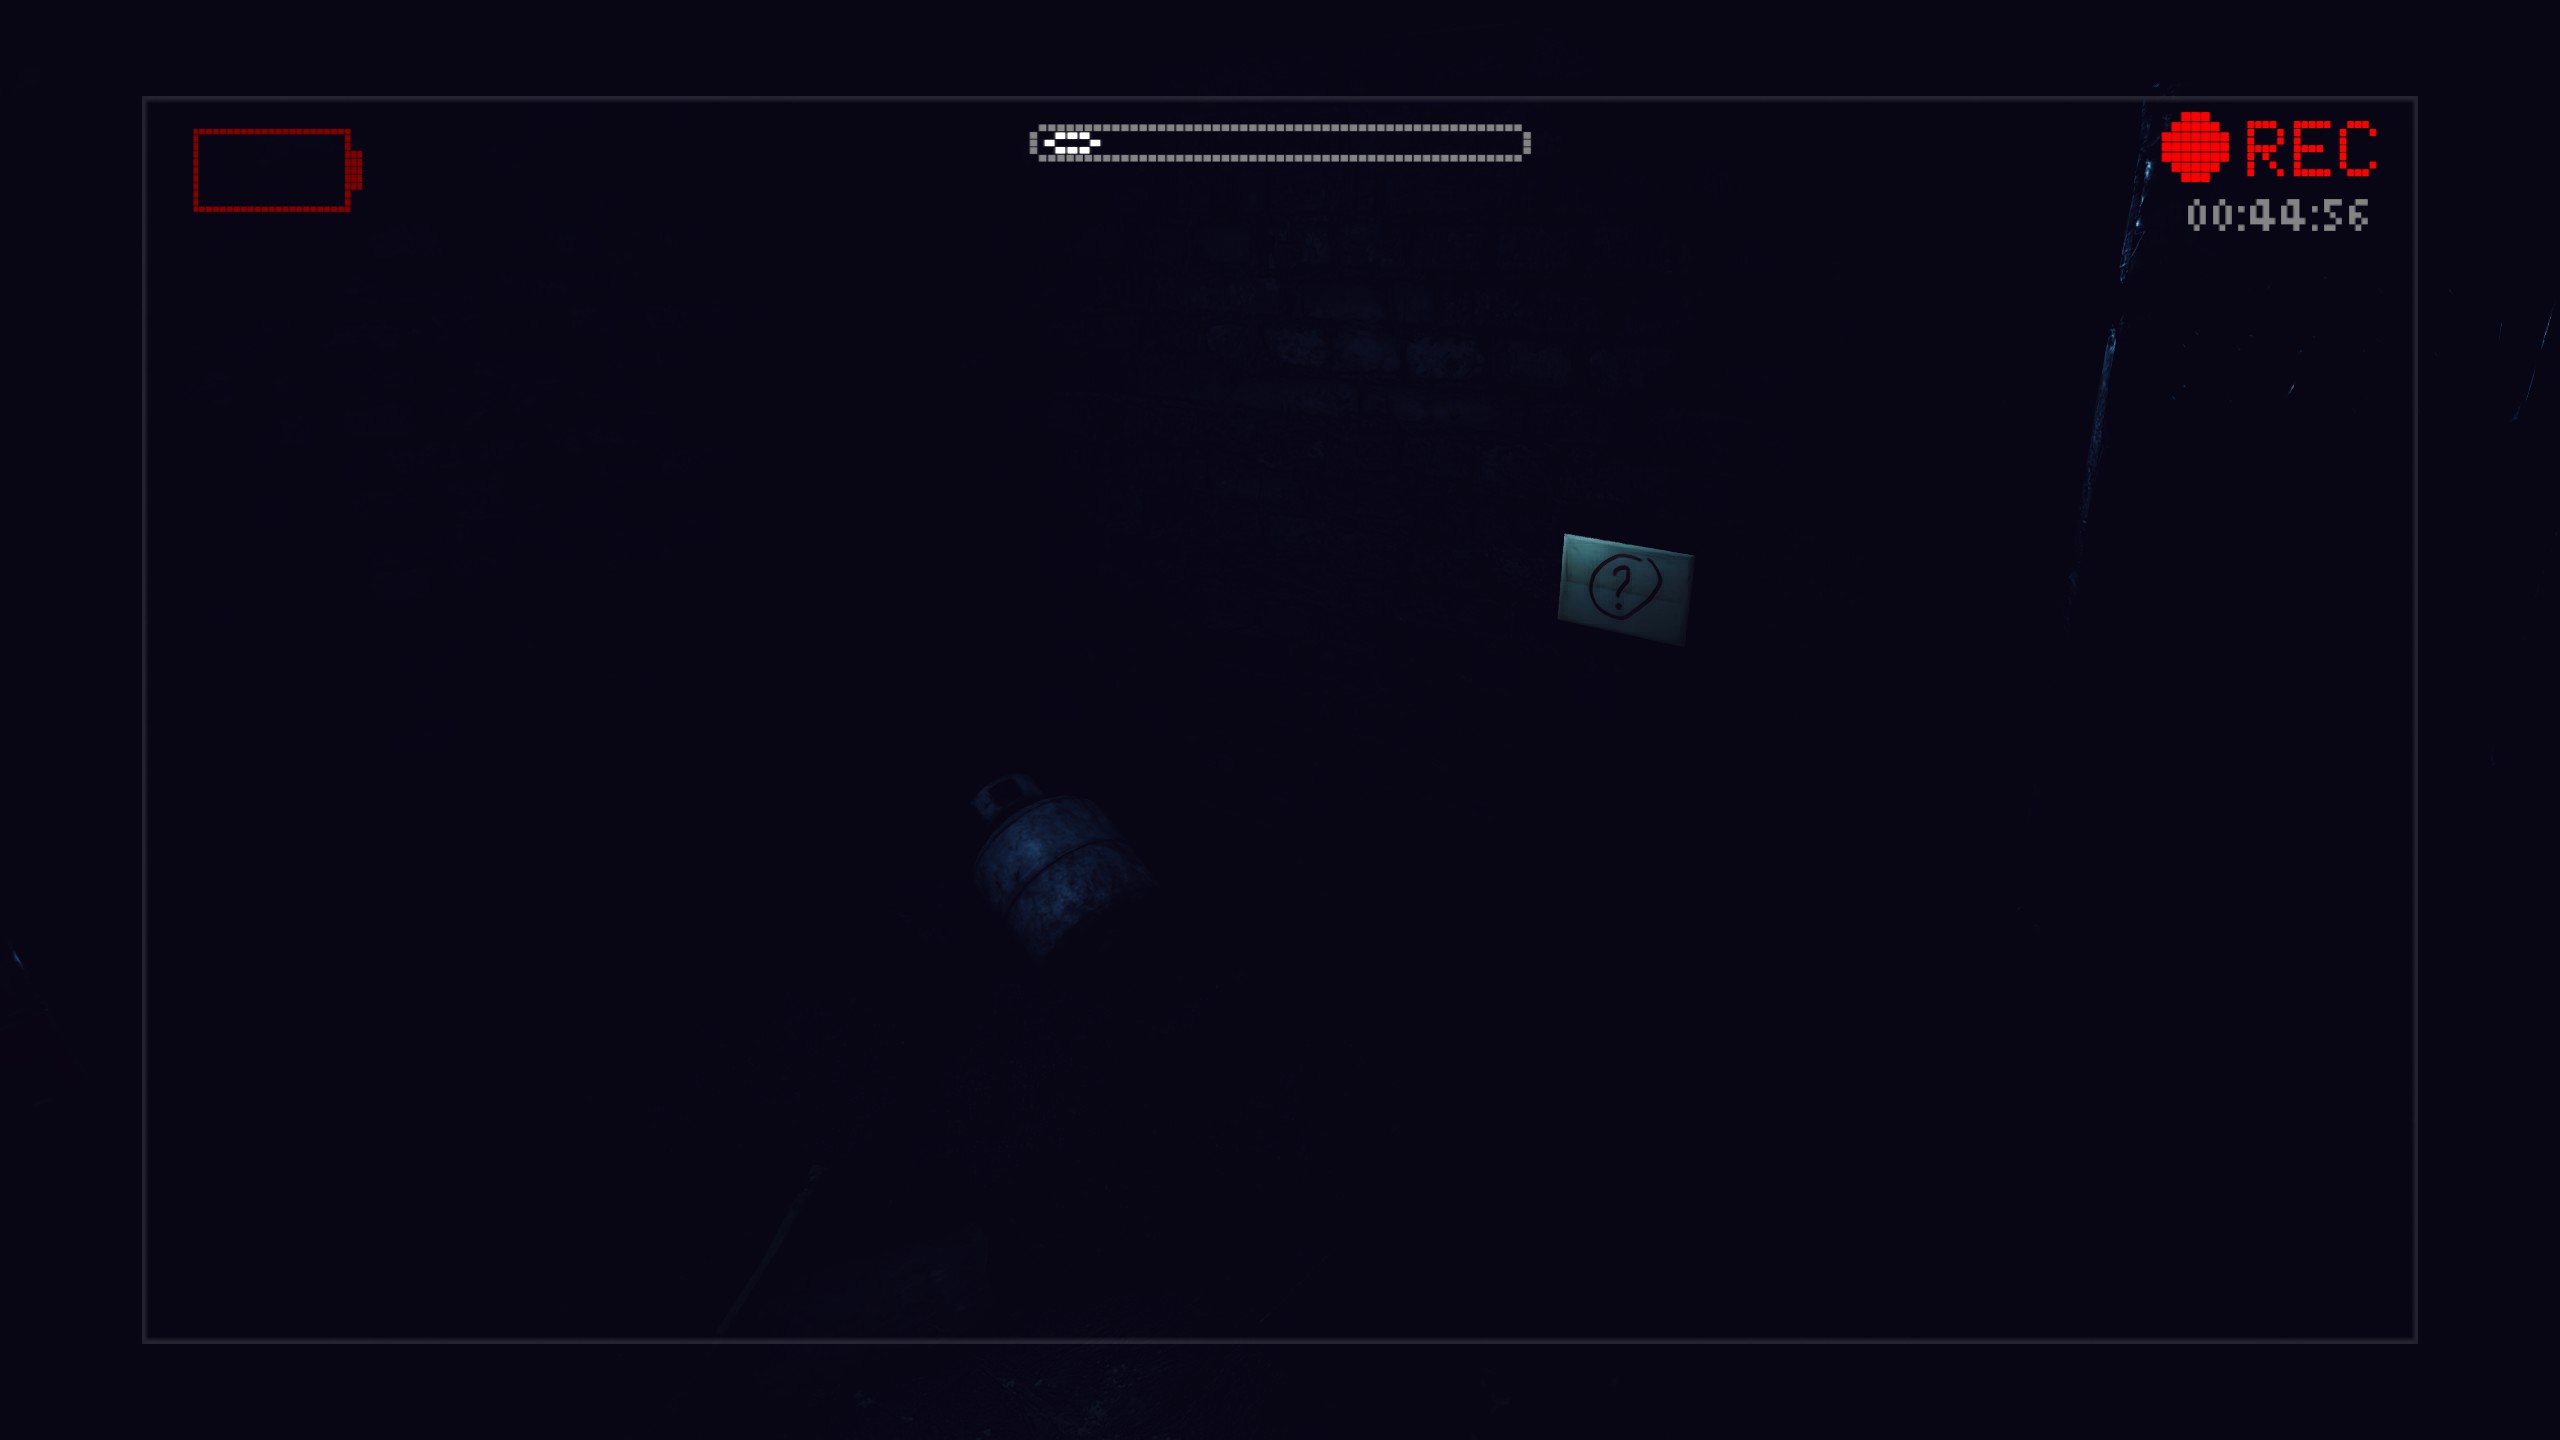
Item #55 is much easier to see now than it was in previous versions of the game. Make sure you grab it at the cave’s entrance.
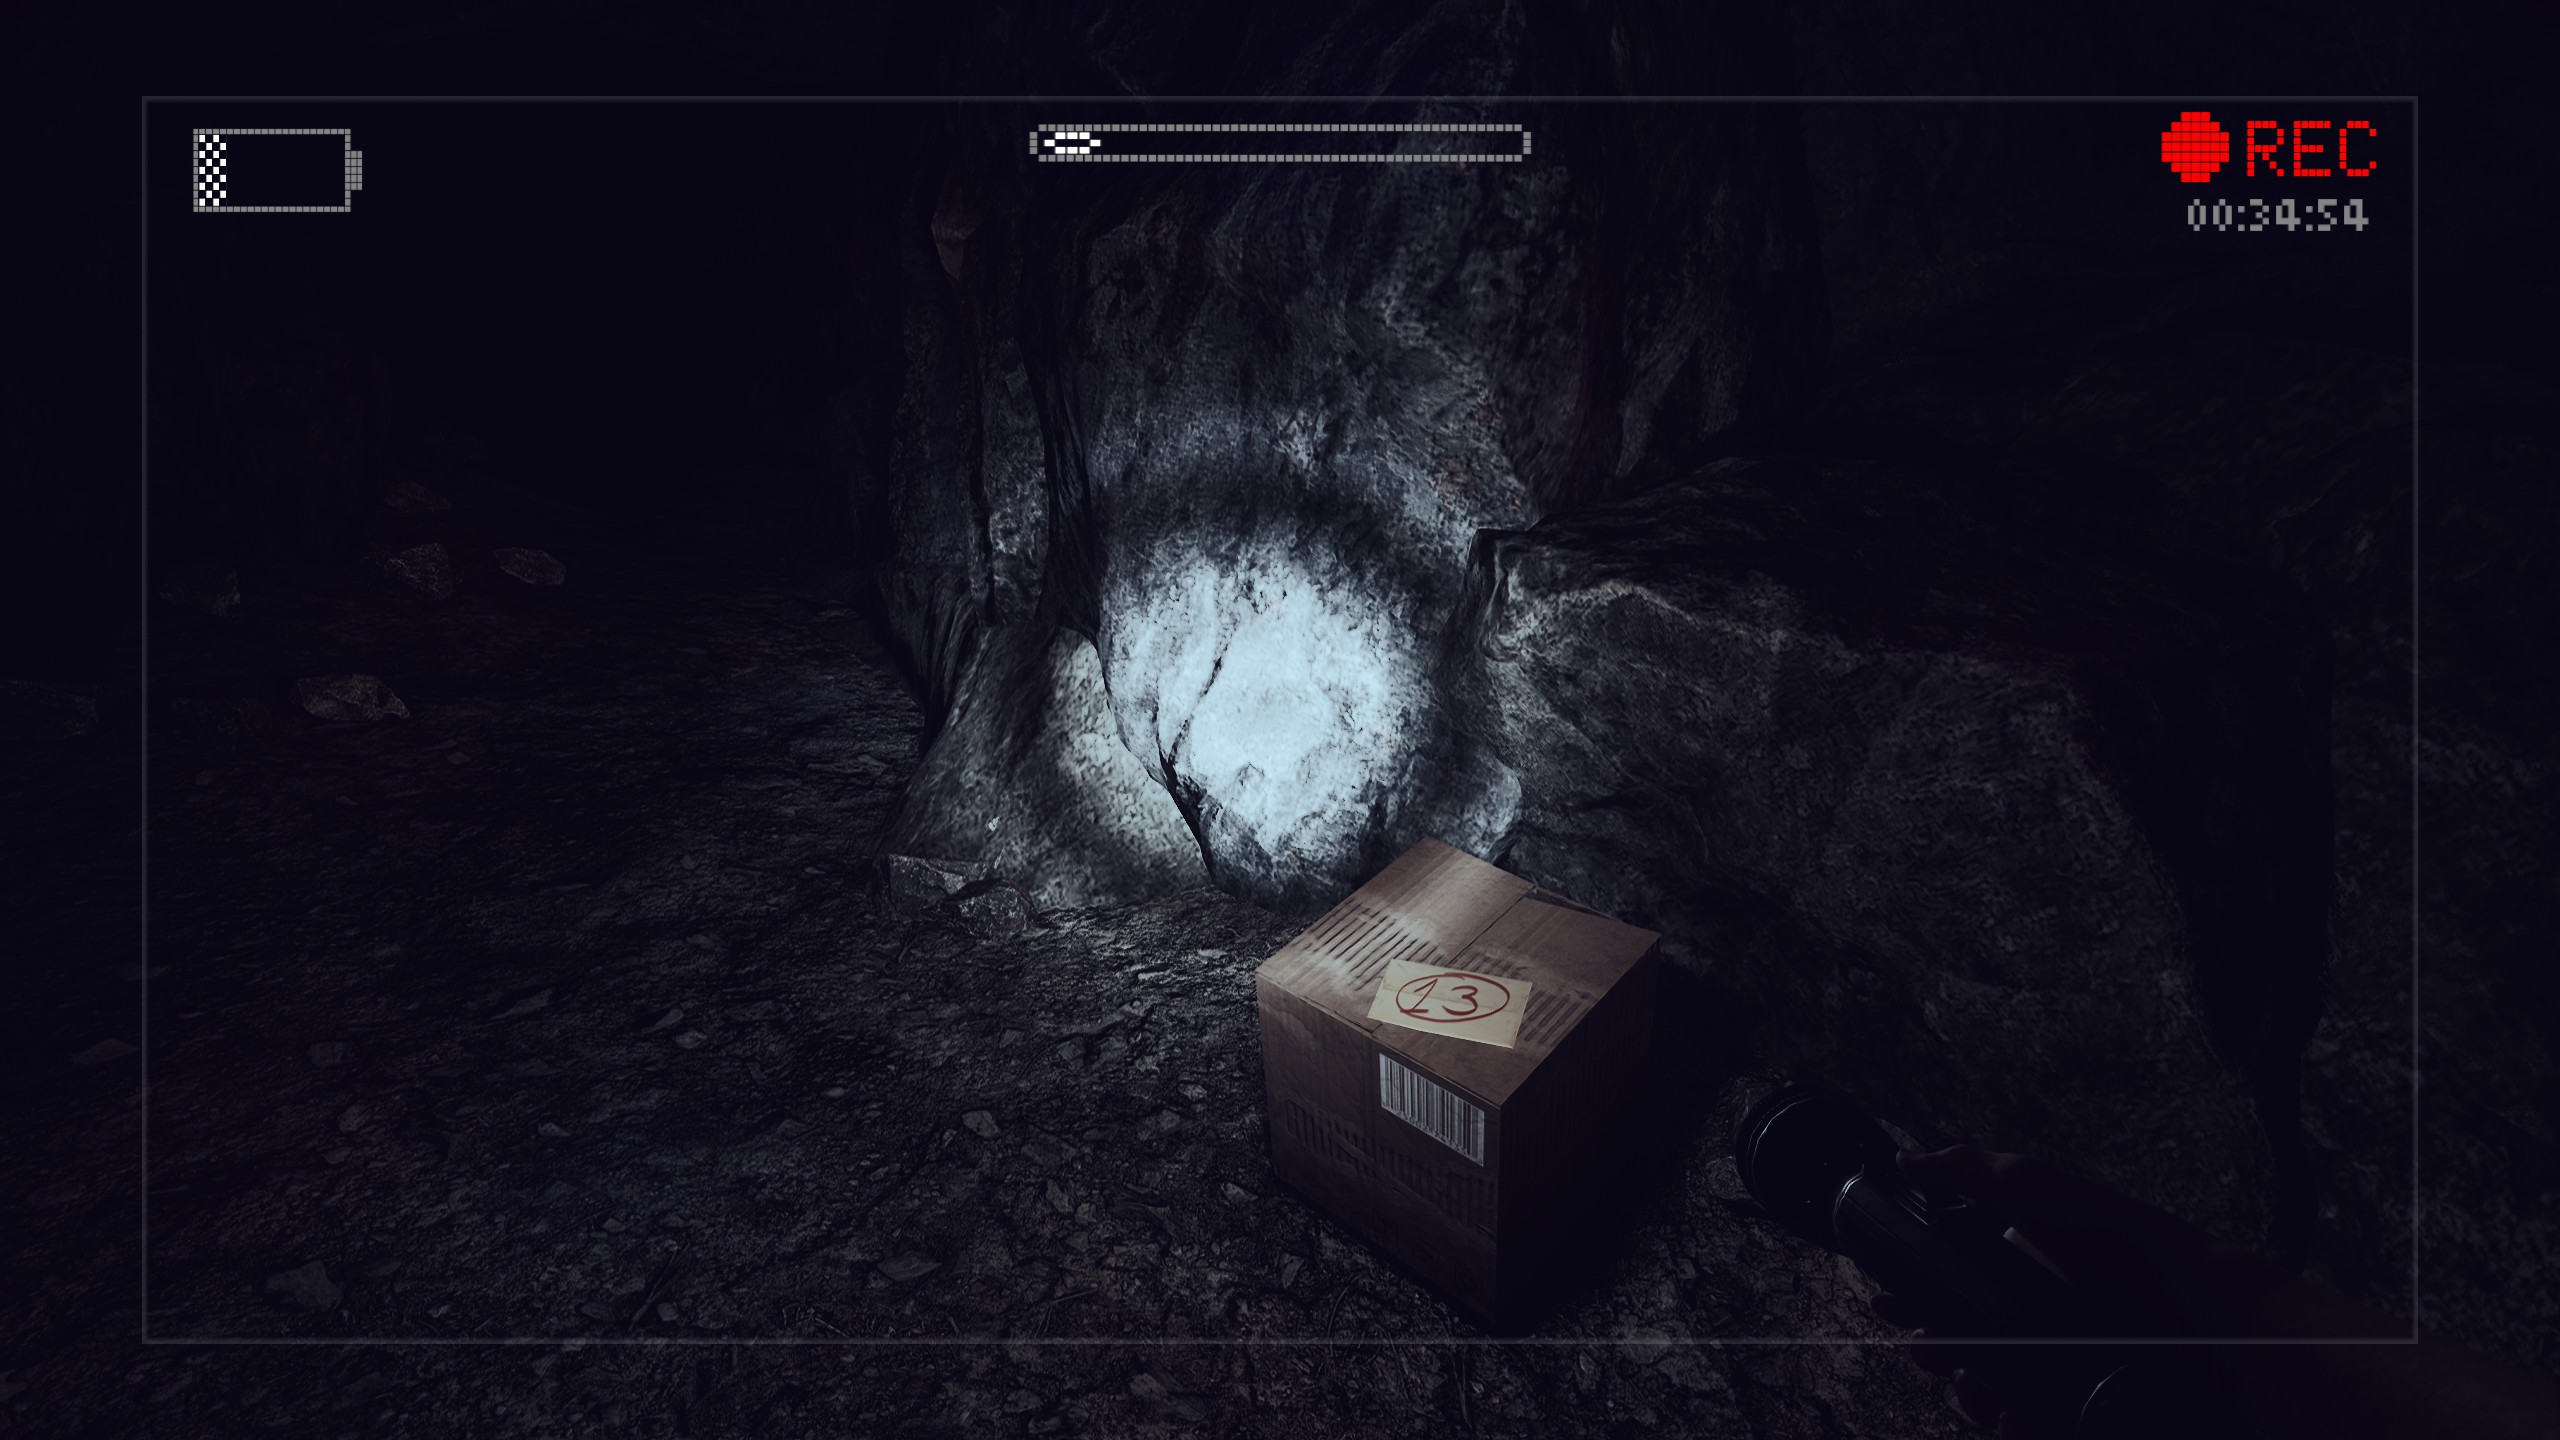
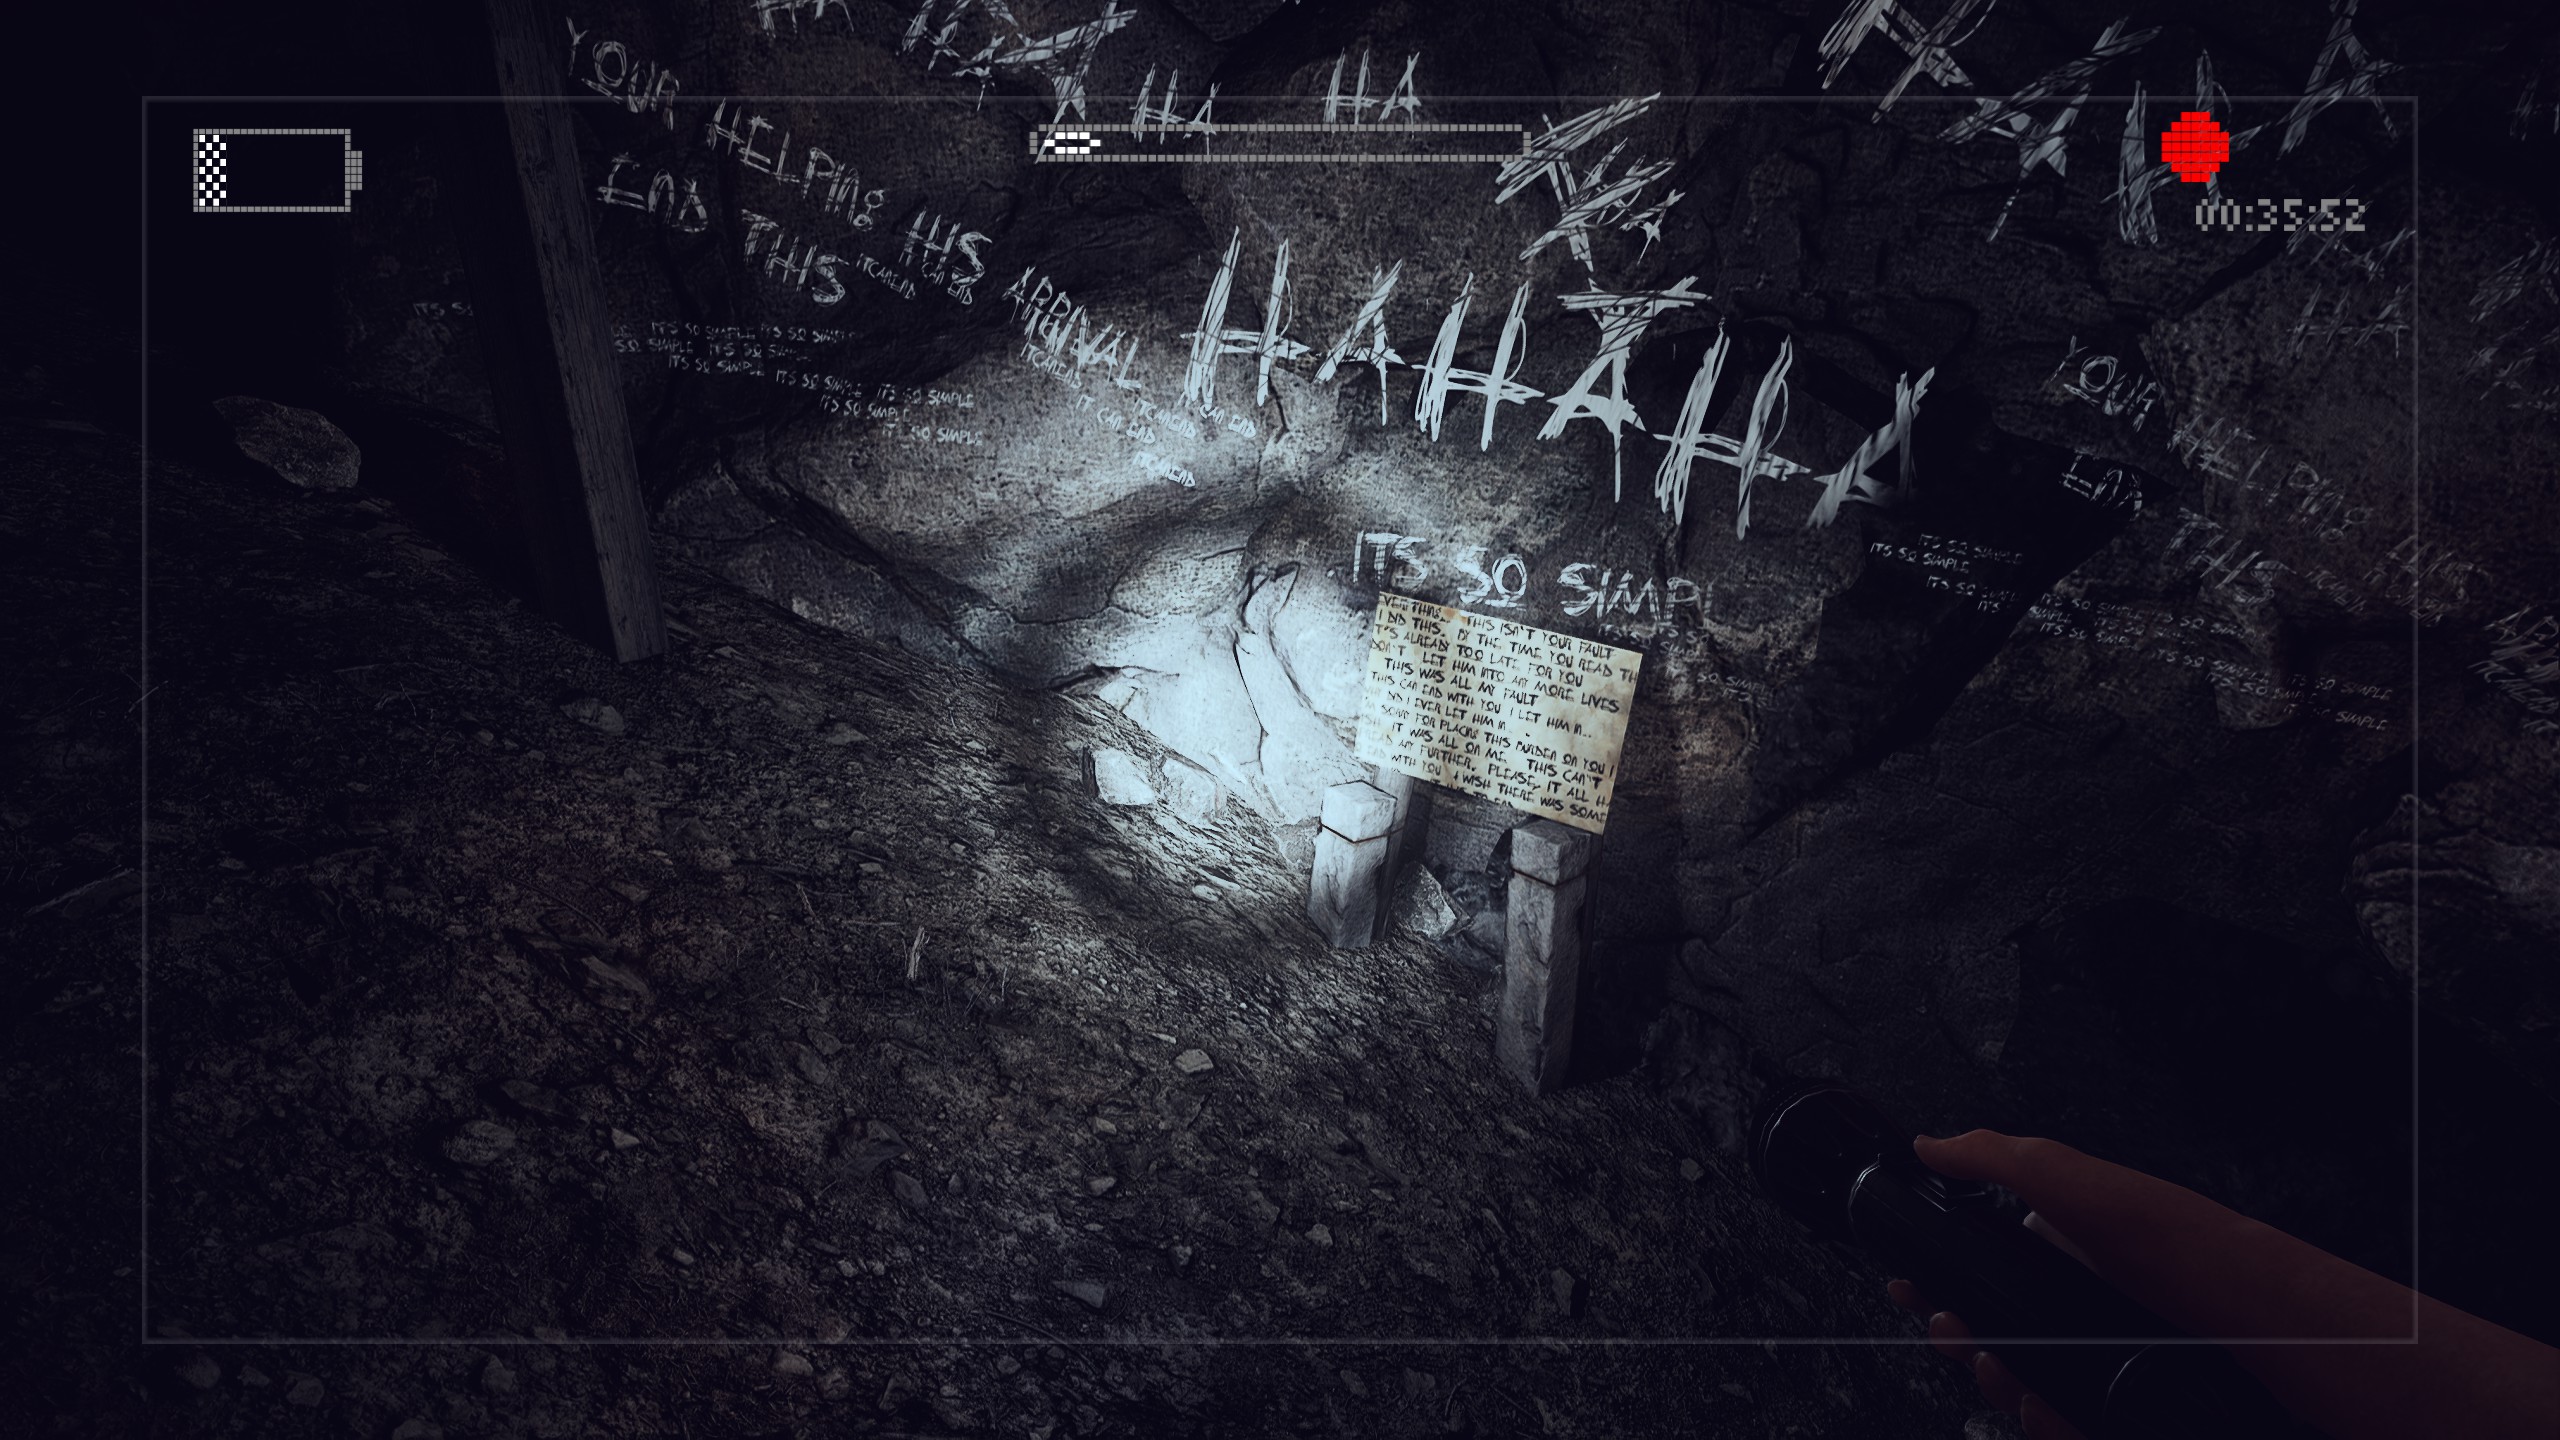
As you explore the depths of the cave, you’ll notice
Item #56 sitting on top of a cardboard box. Pick it up and keep moving ahead to find
Item #57 attached to some boards near the writing on the walls.
After fighting your way through the forest fire and entering the radio station, immediately look to the left to see
Item #58 attached to the wall.
The final two collectibles are impossible to miss. The decayed ghoul that used to be Charlie Matheson Jr. is guarding the stairs, and he won’t let you go anywhere until you find them.
Item #59 is located on the right side of the room, and
Item #60 is to the left. Pick them up to complete your scrapbook and trigger the final event of the game.
Conclusion
Congratulations! If you’ve followed this guide correctly, you should now have all 60 Scrapbook Items as well as both of The Collector achievements!