This guide will be covering the basic knowledge for Mech Engineer. If you’re one of the new players of Mech Engineer, then this is for you.
Mech Engineer Guide
Title Screen
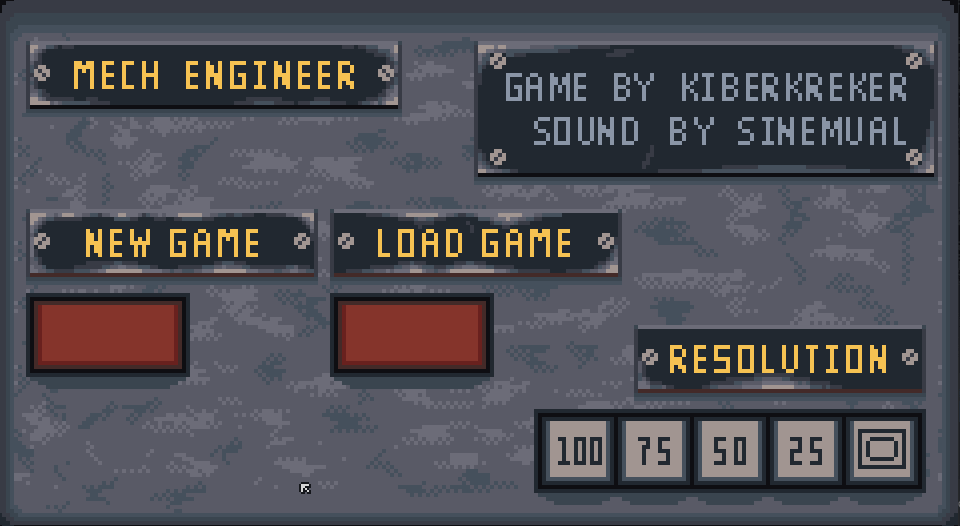
The menu here is pretty basic, but so is the game when you get down to it. You have a new game and load game. Note there are not multiple saves you can access from this location, so if you already have a game going, do not press new game as that will overwrite your old one. Afterwards, you have the resolution settings, this basically controls how big the window is, you can press the rightmost button to fullscreen it.
Designing a Mech
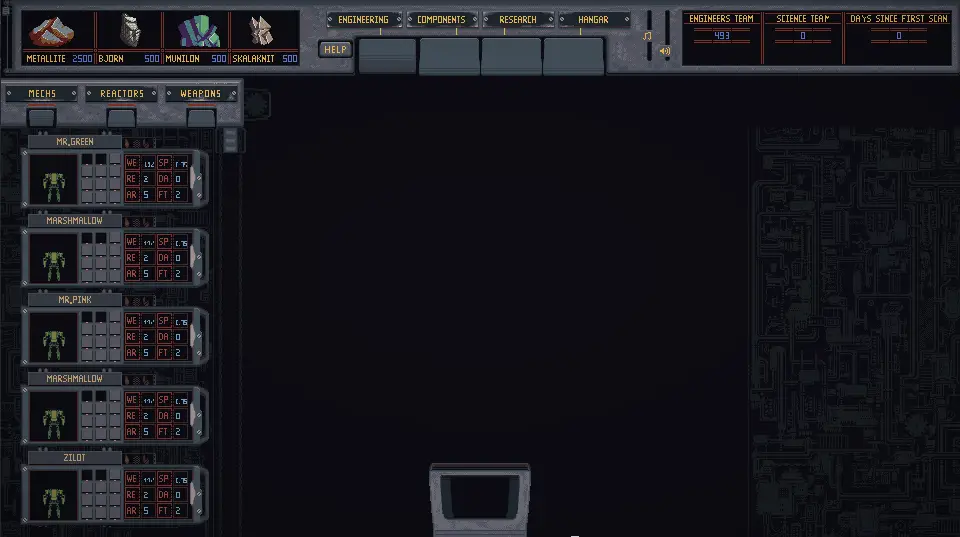
This here is the mech creation screen accessed by clicking the tab labelled engineering. The process is pretty standard. just grab one of the mech and drag it to the box in the bottom middle of the screen.
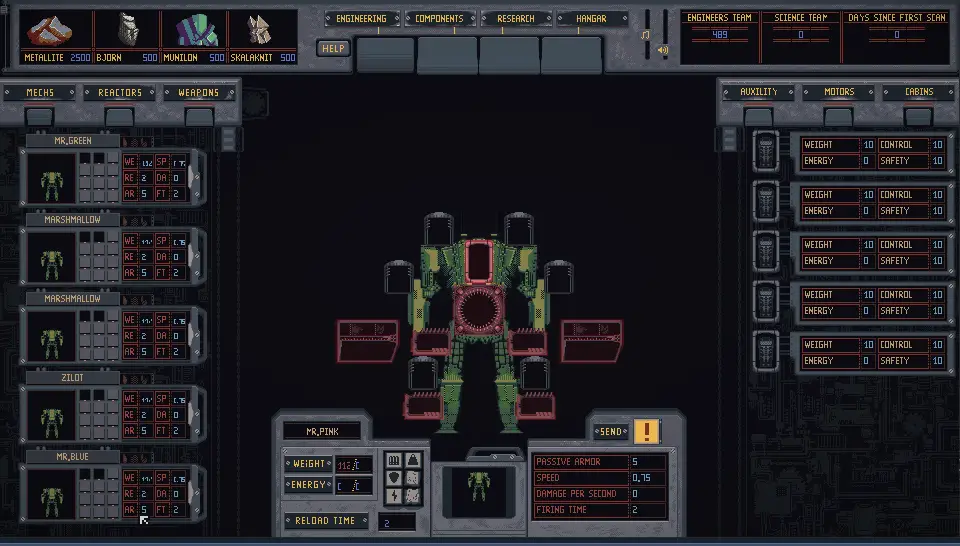
Here it brings up the mech and all its parts. Youll have to drag and slide different components that you can see on either side. clicking off from the mech listing won’t remove the mech from the slot and is in fact how you add reactors and weapons. Each part placement requires the expenditure of your engineer’s effort, which is indicated at the top right. going to the next day fixes this. Your mech has several factors.
Servos increase the weight the mech can carry, the cockpit is needed to obviously house the pilot, and the other tidbits either increase energy storage, the firing time (of which I can only assume is good), and repairs the mech on the field.
To add parts, you click and drag them, with some of the parts, it displaces your mouse, and the game mechanics need your mouse to be over the part location, not the part itself.
I don’t understand the weapons good enough currently to give an explanation on them, but suffice to say that since they’re up for an update, even if I knew I’d soon be wrong. Engines are perhaps the trickiest and the second most time-consuming part of this game. Off to them.
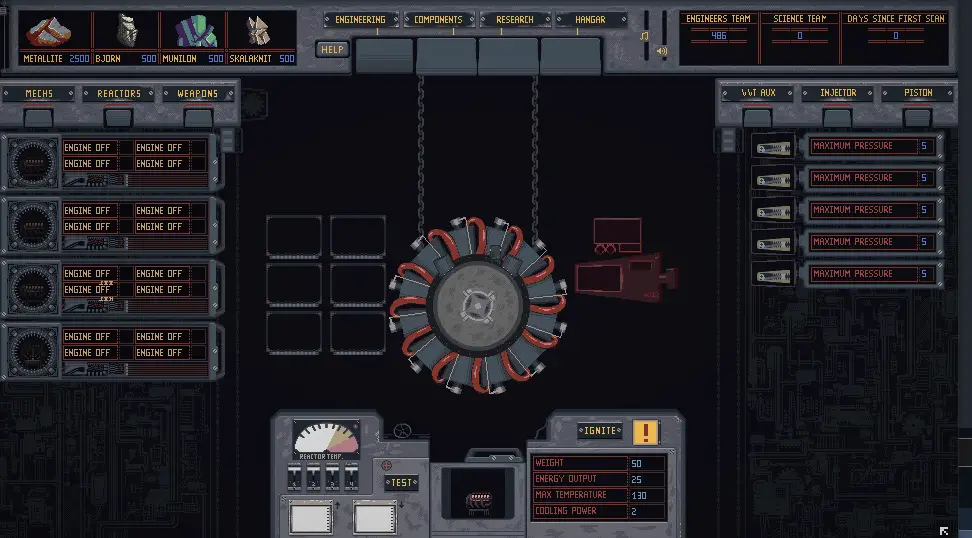
This is the engine interface. this is only the basic engine, and also your more reliable one. it works pretty much like the mech interface accept a few key differences. first, you need to put the injector and piston in. Pressure increases the energy output and max temp, and max pressure just indicates how high you can go.
The big bang is these aux components, as they’re what you’ll use to increase the engines power generation. Play around with the mix of them, as they are reusable and don’t cost anything except the engineer’s effort. After that’s done, click the ignite button and watch where the meter goes, if it’s in the red or green, while you technically have a working engine, it’ll stall in zones where heat is up. which means your mech will be helpless for a few seconds as it cools off. We apparently have amazing heatsinks. if the engine goes to the max, it’ll shut off to cool off and back to the drawing board you go. After your done, don’t turn off the engine, but drag it back to the engine parts on the left still running, otherwise, you can’t put it in a mech.
Building Components
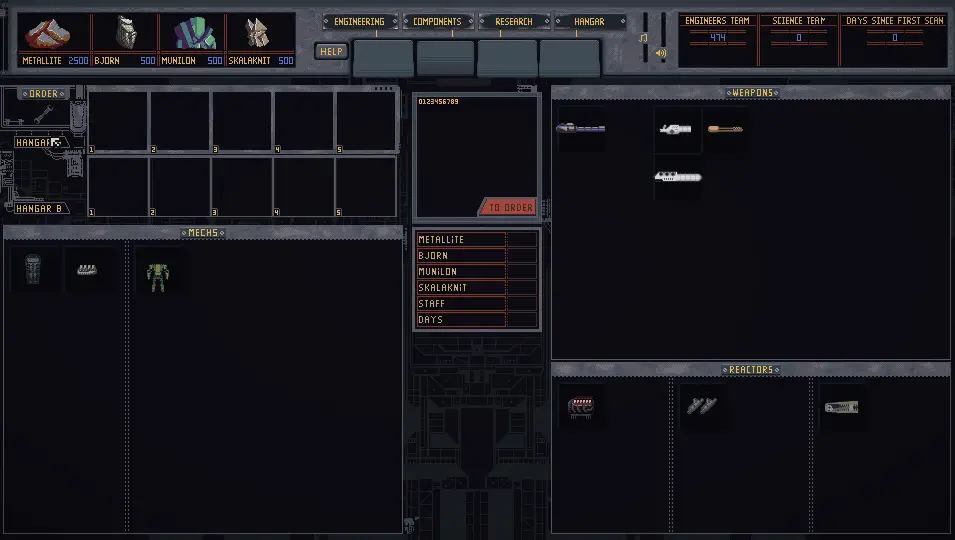
This is the components screen, I don’t suggest you build anything now until you research better parts, but this section works by dragging one of the parts you see listed about to the center slot. below it will tell you what that part costs, and what stats it has. you can click the red to order button to have your engineers create the part. you can make either ten parts, or two mechs at a time. You’ll need to advance the day for them to start being built, however.
Researching
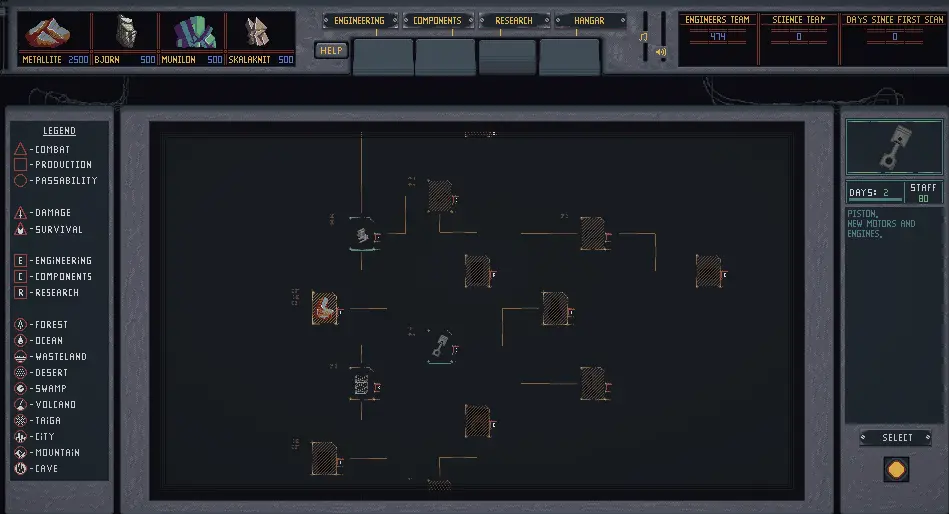
This is going to be your best friend. so far as I can tell. There’s no time limit on you going on missions, or any increased risk of failing the longer you delay going on missions. So you can take your time and research to the end of the tech trees to create the ultimate mechs before heading out.
The research basically works by clicking on one of the techs unlocked and clicking the yellow select button. These Take time and effort to research. the screen tells you how many days it takes to unlock the part for manufacturing, and the staff number indicates how much effort on the part of the science team it takes to research it. Just like engineering effort, the science team recharges daily.
The Rest
This is all the other stuff.
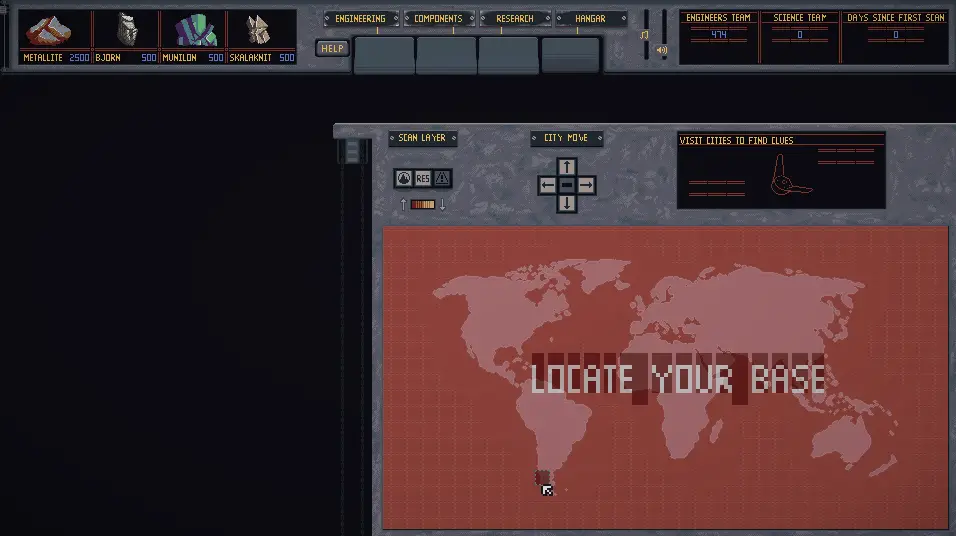
First, you need to locate your base of operations somewhere. afterwords, your screen will now look like this.
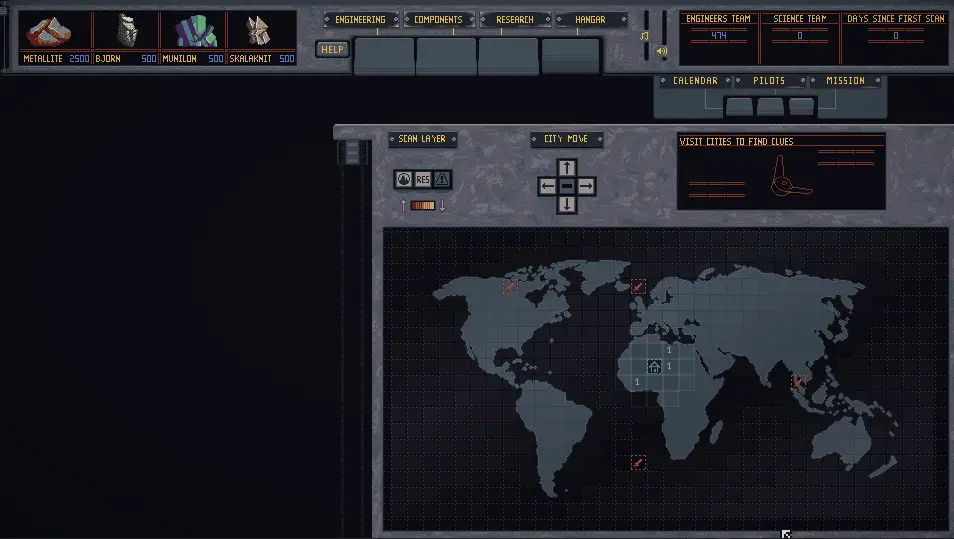
Each number indicates a hotter and more dangerous location. the higher the number, the more hostile the environment is. First of all, if you do the same thing I did, you probably have no mechs on your roster, so go and complete some using what you’ve learned earlier. when you research or run out of engineer effort, you can go to the calendar screen and advance the days.

After you launch your mechs, you now need to assign pilots to them. Off to the pilot screen we go!
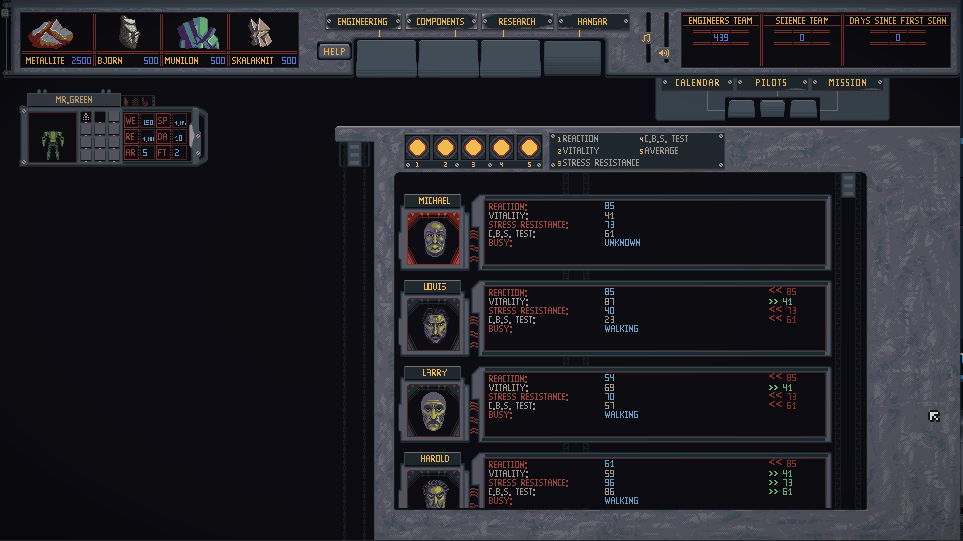
You have five tabs of different pilots, and you can grab any pilot from any of them. As I am still unsure what some of the stats might do, I’ll list the ones that seem self-explanatory.
The reaction is obviously how fast they react to a situation, as I always try to get at least a 40 in this on my team, it probably has to do with how quickly the AI the pilots run on can switch between tasks. Vitality most likely indicates how much of a beating they can take. and Stress resistance most likely indicated whether they’ll panic or not. I’m unsure what the CBS test is.
Each of these scores changes constantly as the actions the pilots do change their stats. When you have all your mechs equipped with a pilot, go back to the map screen and choose a location and click on the picture that appears, your screen should look like this.

Just put your mech squad inside the black boxes and click the big red button, and sit back and watch your pilots devastate hordes.
That’s pretty much it for the basics. Keep your mechs cool and carry on mech engineers, humanity is relying upon you!
