The manual provides instructions on how to arrange the alignment menu of a three-button projector using the EasyPlay script.
Introduction
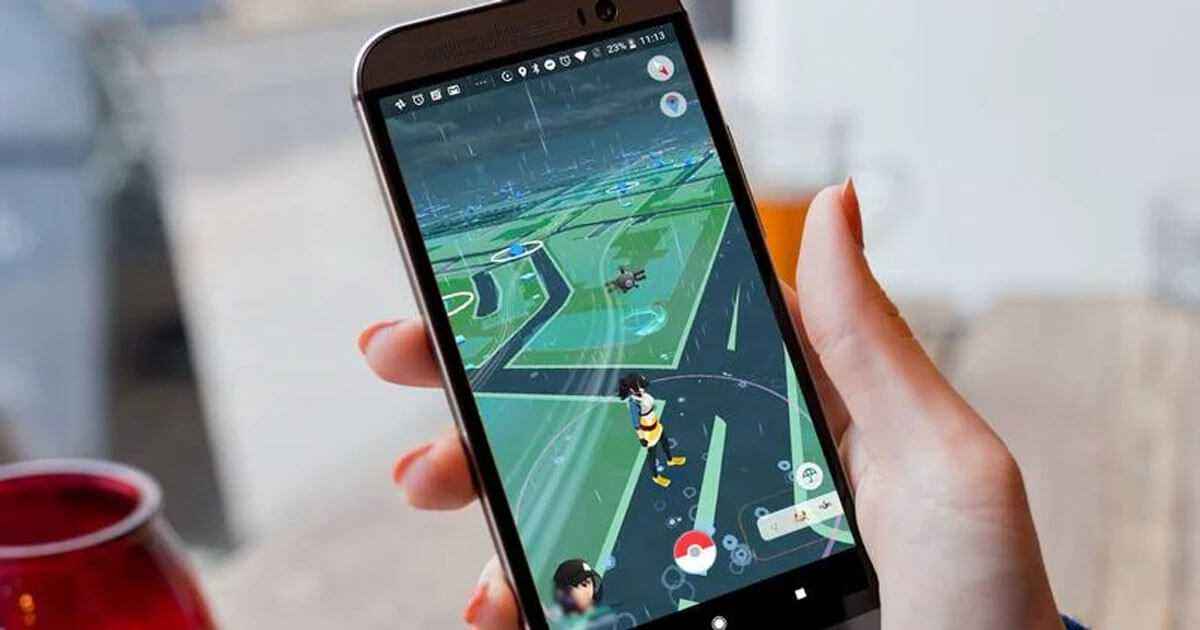
In the game, one of the regular tasks is to orient and align the projector blueprint with the desired boundaries. To accomplish this task, the tutorial demonstrates the use of the EasyPlay script, which offers a two-level context menu with three control buttons.
While the menu allows control over any number of projectors, the screen size limits the number that can be displayed. If the menu exceeds the screen size, some items may not be visible, and scrolling is not an option.
The buttons can be placed on the digital panel of a ship controller or separately. This feature allows the observer to monitor the orientation process as the coordinates change.

A demo craft is placed in the workshop and controls two projectors that allow you to print a Drone Raider and detach it from the printer for further play. You can use the script code located in the Custom Data of the EasyPlay block for your needs.
Installation and setup
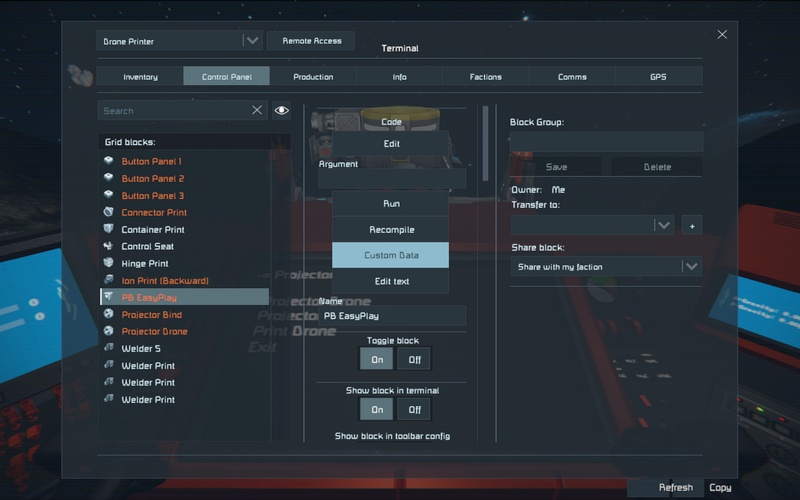
To use the EasyPlay script, you will require a controller such as a cockpit, control station, or pilot’s seat with a digital panel where you can place the control buttons. Alternatively, you can use a keypad with three buttons or three separate buttons for a small grid. You will also need a screen to display the menu and a program block to load the EasyPlay script.
Next, you can copy the script code from the demo craft and paste it into the Custom Data field of your EasyPlay software block.
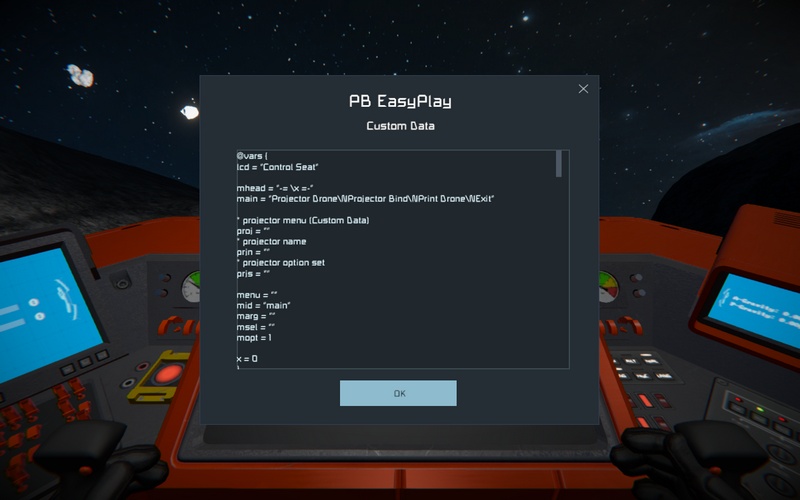
In the lcd variable, specify the name of the controller, LCD panel, or any other block that has a screen for output. For example:
* in square brackets you can specify the screen number to output
lcd = "Cockpit[2]"
Then, in the main variable, you need to specify the exact names of the blocks of your projectors using the \N separator instead of those specified there. For example:
* list the names of your projectors with a delimiter \N
main = "My Projector 1\NMy Projector 2\NMy Projector 3\NExit"
* or use multiline notation
main = "My Projector 1
My Projector 2
My Projector 3
Exit"
In @menu, remove the first line of code that is used for demo crafting. The print option to align the projector is also not needed.
@menu {
* delete this line
\lcd = cond(Oper of Control Seat = True : "Control Seat" : "PB EasyPlay")
...
Now all that’s left is to place the controls on the controller’s numeric pad, or in the button settings.
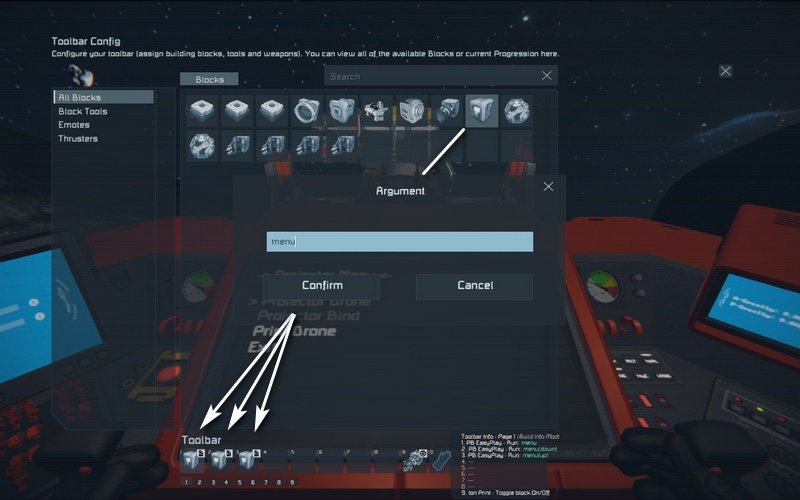
Specify the menu argument for the first button, menu(down) for the second button, and menu(up) for the third button. The first button brings up the menu on the screen, and the remaining ones move the pointer and change the values along the alignment axes.
Menu control
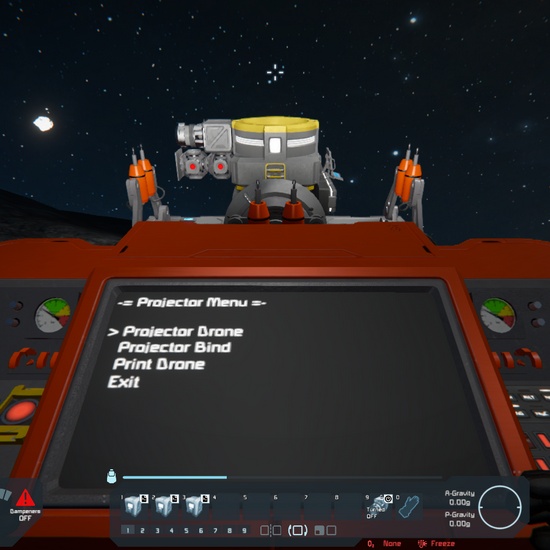
Press the 1st button to bring up the menu on the screen. Move the pointer to the desired projector name and press the 1st button again. The second level menu will appear on the screen — control of the projection coordinates along the axes, where the options Pos are the offset along the axis, and Rot is the rotation of the blueprint.
Now use the cursor buttons to select the desired option and press the 1st button again: the “:” sign (colon) will change to the “=” sign (equal)
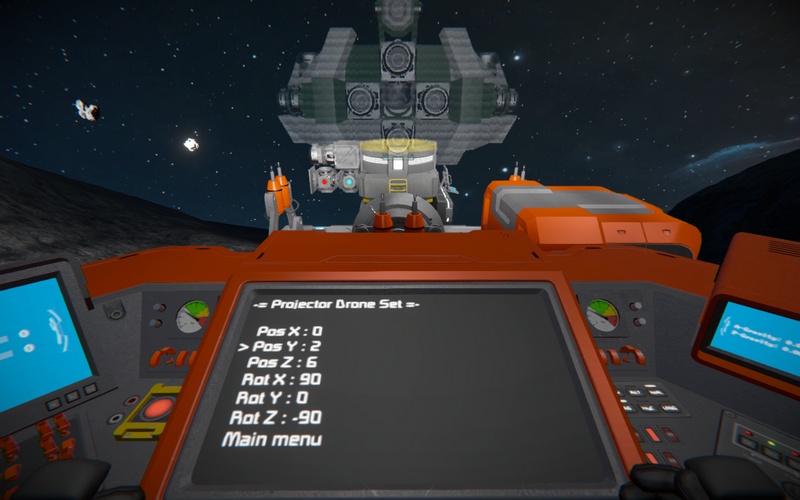

The pointer buttons will then increment or decrement the value, and the blueprint will move accordingly. Press the 1st button again to return to the menu pointer control. Actually, everything.
Note: the script uses the Custom Data field of the projectors, keep this in mind if other scripts also use this