Things that might help you when starting Return from Core
Tutorial
During the tutorial, you’ll start off with a Splitting Pickaxe with 450 durability, that you will lose once you complete the tutorial. This is enough durability to mine most of the blocks in the tutorial area, but not enough to mine every possible block. If you want to hoard starting materials, consider using all the durability on it before leaving the Tutorial, through the hole the Train makes, but don’t feel obligated to do so, as the only materials you can find are Limestone and Copper Ore, which you’ll find plentiful enough in the first Level. Limestone will drop from any non-ore block, and Copper from Copper Blocks or drilled from Copper Veins on the floor in Level One. If your Splitting Pickaxe breaks, you can craft a Stone Pickaxe to continue whacking away if needed.
Funny enough, even if you break the Splitting Pickaxe, you will still drop it during the cutscene when you leave the tutorial.
Note: You may notice skeleton corpses lying around, you can break these for small amounts of coin to help you jump start your character in Level One. They will also drop Bone Ashes, which I believe only serve a single purpose, to fulfill a Side Quest in Core Town.
Endurance
You might find yourself wondering what is Endurance. Endurance is the curved blue meter in between your Health and Stomach gauge, this is used for performing Dashes. You start off with 3, but you can upgrade your Movement Talent to gain more charges. These will slowly recharge over time, but you can speed this recharge time with Talent upgrades and/or Food/Potion buffs. Note that while you can use Dashes to evade enemy attacks, it seems on-hit effects will still apply, as dashing into a Slime’s spit will have you take 0 damage, but still get the Slowed debuff.
Old Joe
Upon entering Level One, you can be find the next tutorial NPC nearby, Old Joe. He will teach you how to progress through Main Story Quests, and even provide you with helpful items to help you survive. Note that you don’t actually have to wait for him to give you said items, you can actually craft them yourself from the nearby Crafting Table, but then you might run into a small problem- a few of the items he gives you are currently undroppable or unsellable, so you’ll be forced to store them away somewhere as there’s currently no way to destroy/trash said items outright. Once you find mini-dungeons, you can then drop a storage container and stuff the items there before leaving to indirectly dispose of these duplicate items. Or drop them and try to flee before your auto-loot kicks in, but that can be kind of difficult.
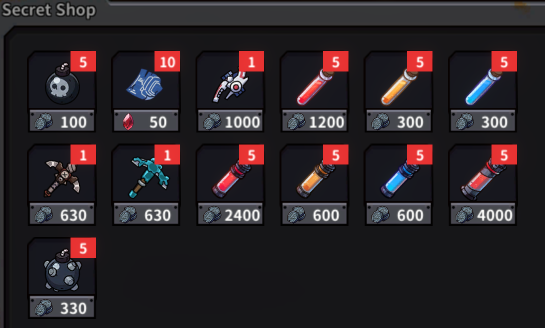
Note that Old Joe also serves as a merchant, you can sell junk items to him for coins, and then use these coins to purchase useful starting items.
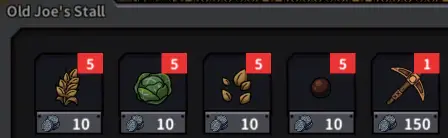
If you notice, the red box with numbers on each item will show the amount of stock the merchant is carrying. You can only purchase that amount from the merchant every day, resetting at 0:00, when the next day starts. With the starting coin you have, you can purchase a Copper Pickaxe to replace the Splitting Pickaxe you lost, as well as food or seed if needed. Even if you play with a world setting with the fastest hunger rate, you can subsist yourself quite decently by just buying Old Joe’s stock of Wheat and Cabbage and cooking them into food items, once he starts teaching you how to cook.
Shiny Blocks
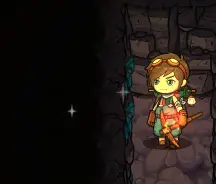
While exploring the Level, you may notice Shiny blocks. These blocks will drop a random item or monster when broken. These can drop unique schematics for furniture or gear, as well as Parts or junk items that can be sold for 2,000 coins. Be careful, as the monsters can range from the weakest mob on the floor, to the strongest, that can easily chow down on an unprepared adventurer.
Mini-Dungeons
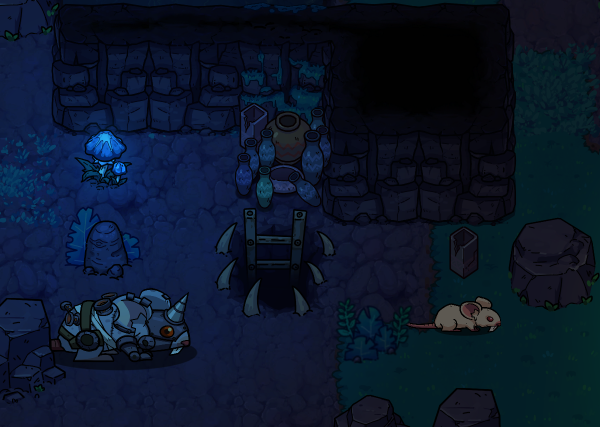
These intimidating-looking entrances are actually not that bad, and can be useful for completing kill [x] side quests given to you. They will drop you into small rooms filled with mobs that will aggro onto you, swarming you. Simply kill them all to proceed through them, they’re typically 2-3 floors before completion, rewarding you with a random rarity box filled with loot. These can only be cleared once per day for each mini-dungeon, resetting at 0:00, at the start of the new day. These can be useful for farming schematics for unique gear, such as the Rat series in Level One, an alternative gear set you can wear instead of the default Iron series.
Note that there may be a unique Mini-Dungeon on the Level that will have a different design, such as a Puzzle room with keys, or a room filled with nodes that will spawn an infinite amount of ants when you get near them.
I need Healing
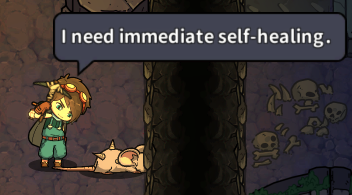
Early on, finding sources of healing can be very difficult, or outright infuriating. The main source of healing are the Healing Dose Type 1/2/3 Potions that can sometimes be looted from chests or other sources, but are primarily sourced from the Monster Girls themselves. Once you’ve befriended them by raising their affection to Level 2, they will start selling Type 1 doses to you, at a max limit of 5 daily, per Monster Girl. As their bond level with you rises, they might start selling the higher Type 2, or Type 3 as well.
Alternative sources of healing can be from certain food recipes, which confer a temporarily healing buff on you when consumed, such as Grilled Steak or Mushroom Hot Pot. For the truly desperate, you could consider standing around a Bonfire, which heals you for 0.25% per second, standing inside a Hot Spring, which heals you for 1% per second, or sleep in a bed, which also heals for 1% per second. One thing to consider is just respawning yourself, as the only penalty is dropping a corpse which will contain everything currently in your inventory, excluding anything in your hot-bar, unless you’ve unlocked the final Health talent, Penniless, which nullifies this penalty. If you do not have this talent though, you can simply run back to your corpse and break it to recover everything. Note that if you die in a dungeon, your corpse will spawn at the entrance.
Another thing to consider is there’s an achievement for respawning 100 times 😉

Don’t worry if you die again while running back to your original corpse, as it appears you’ll simply create another corpse to recover. I’ve confirmed 3 corpses, but there may be a limit before you start losing your inventory.