This guide is recommended if you’re new and want to know some of the basics towards handling combat. Learn about your character’s stats, how enemies work, combat controls, and so on to benefit your survival.
Character Statistics
Your Health and Lives
The first red meter to the left of your map is your health (with the additional meter next to it displaying what pieces of armor you currently have equipped). If unaware, this is how close you are to death and a potential game over. Its lowered by taking hits from enemies, being burnt, falling from too high, and so on. You won’t have to worry about starving or being dehydrated killing you, as its only enabled through a custom or on Hard Survival difficulties.
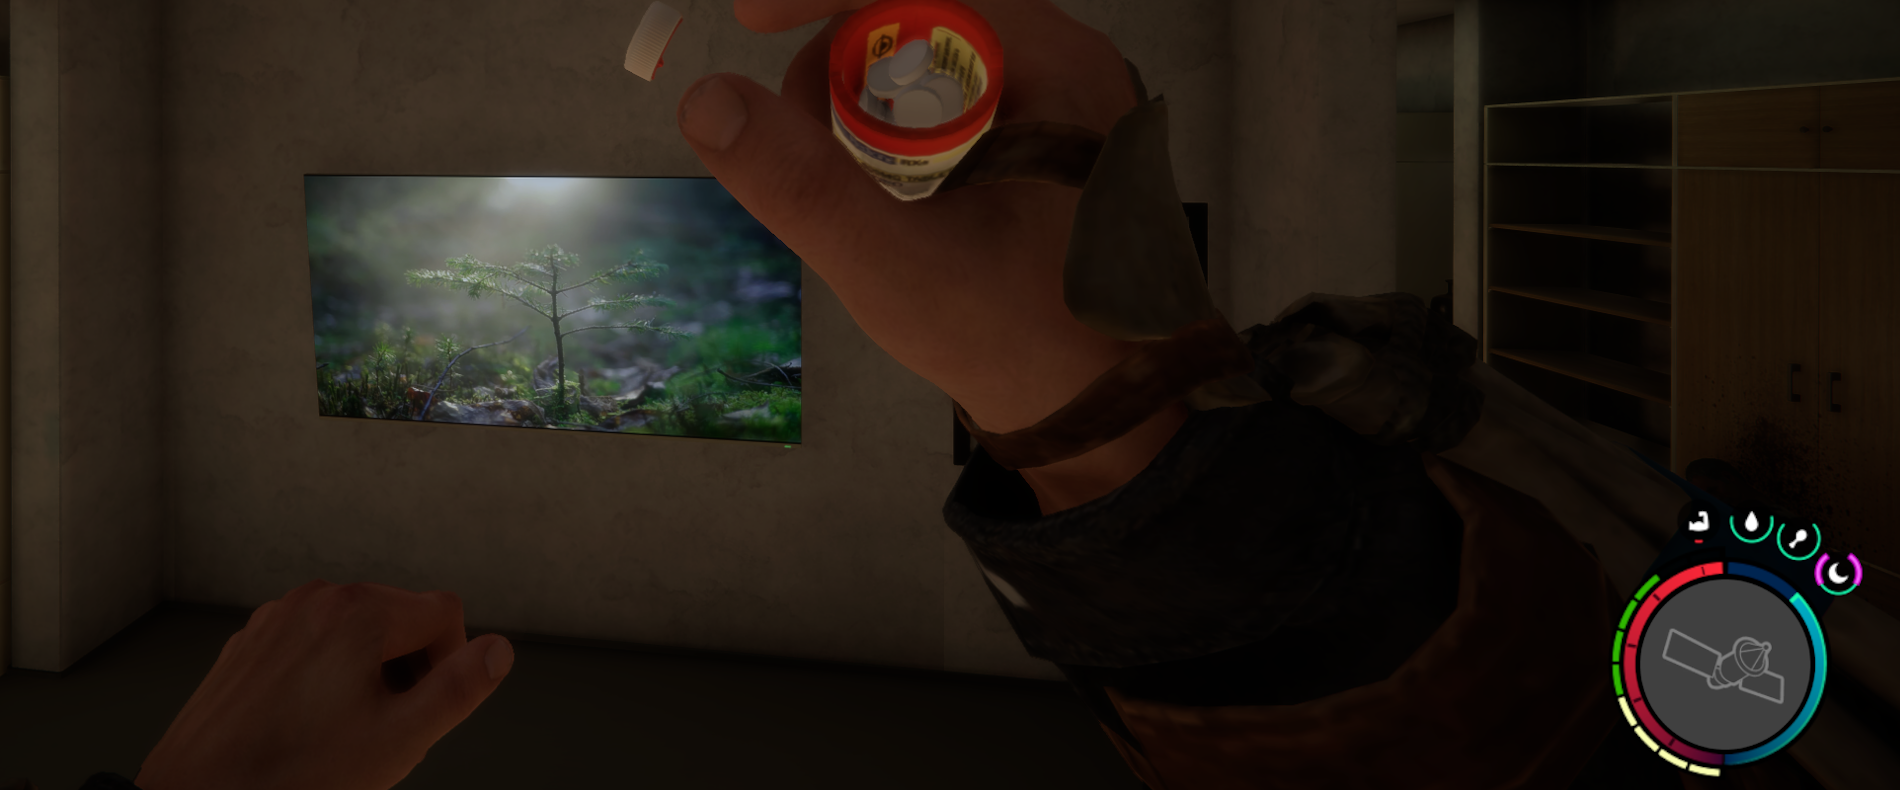
Health can’t be instantly recovered, only regenerated overtime when using healing items. Here are the kinds of items that can heal you:
- Medicine Pills/”Meds” (can be found within containers)
- Health Herbal Mixes (can be crafted with natural resources)
- Eating Food (some foods will heal more than others)
If low enough, you’ll automatically regain a small portion of your health on your own.
When your health reaches 0, there’ll be different outcomes depending on if you’re in singleplayer or multiplayer.
- In singleplayer, your character will fall unconscious. You’ll wake up tied down. You’ll have to cut yourself free and recover your items which will spawn near you. This is your second chance at survival. If you die again the same day however, you’ll die for good and have to restart from a save.
- In multiplayer, your character will become downed. If another player is nearby, they can revive you and bring you back right then and there. If you bleed out or give up, you’ll instead respawn just like in singleplayer, tied down without your items. However, you’ll have an infinite amount of lives, so you’ll never be faced with a game over.
To the right of the map is a blue meter, your stamina meter. Your stamina limits how many physical actions you’re capable of before tiring out, such as swinging your weapons or sprinting. When tired out, your character will be unable to run or swing their weapon at full force, making you weaker and vulnerable. It’s very important to watch your activity due to this.
Your vitality is your maximum stamina capacity, and is determined by how well fed, hydrated, and your energy (displayed by the blue dots above the stamina meter). Its essentially impossible and wasteful to constantly keep maxed out, but its best to keep it as high as you can, especially if you intend on going into combat so you’re more capable.
The red muscle dot above the health bar and map is your strength progress. You increase your strength by certain physical actions, such as swinging a weapon. As you do this, your strength meter increases. When it reaches the max, it’ll “level up”, increasing your maximum health, then reset. It’ll become harder to level up as time goes on, but a bigger health capacity can prove worthwhile.
Using the advanced cooking system, you can make various soups that provide nutrition, and in some recipes, special buffs. These include a buff that increases your strength faster, a multiplier to the damage you do with melee, and stealth bonuses. Some of the recipes give a stronger variant of the buff, but the effects will always only last a while. They’ll be displayed as yellow dots to the right of your map, along with their duration.
Weapons & Damage
While nothing too advanced, there are different attacks you can mix and match to out-do enemies.
You can perform light attacks by just pressing the attack button, and heavy attacks by holding the button down to wind it up. What a light or heavy attack will be may depend on the weapon.
You can also perform a downward strike by looking down and using a heavy attack, which is especially useful against downed enemies.
The speed that you’re approaching an enemy with an attack CAN boost the damage you deal greatly, so jump and run attacks may help a lot. (Tip: If you dish out enough damage, it may overwhelm an enemy, causing them to stagger or even be knocked over)
Some weapons can also be thrown, which may require holding the aim button before throwing. These weapons include spears, small rocks, and explosives. (Tip: When using a spear, you’re far better off throwing it in combat for damage rather than using it for melee.)
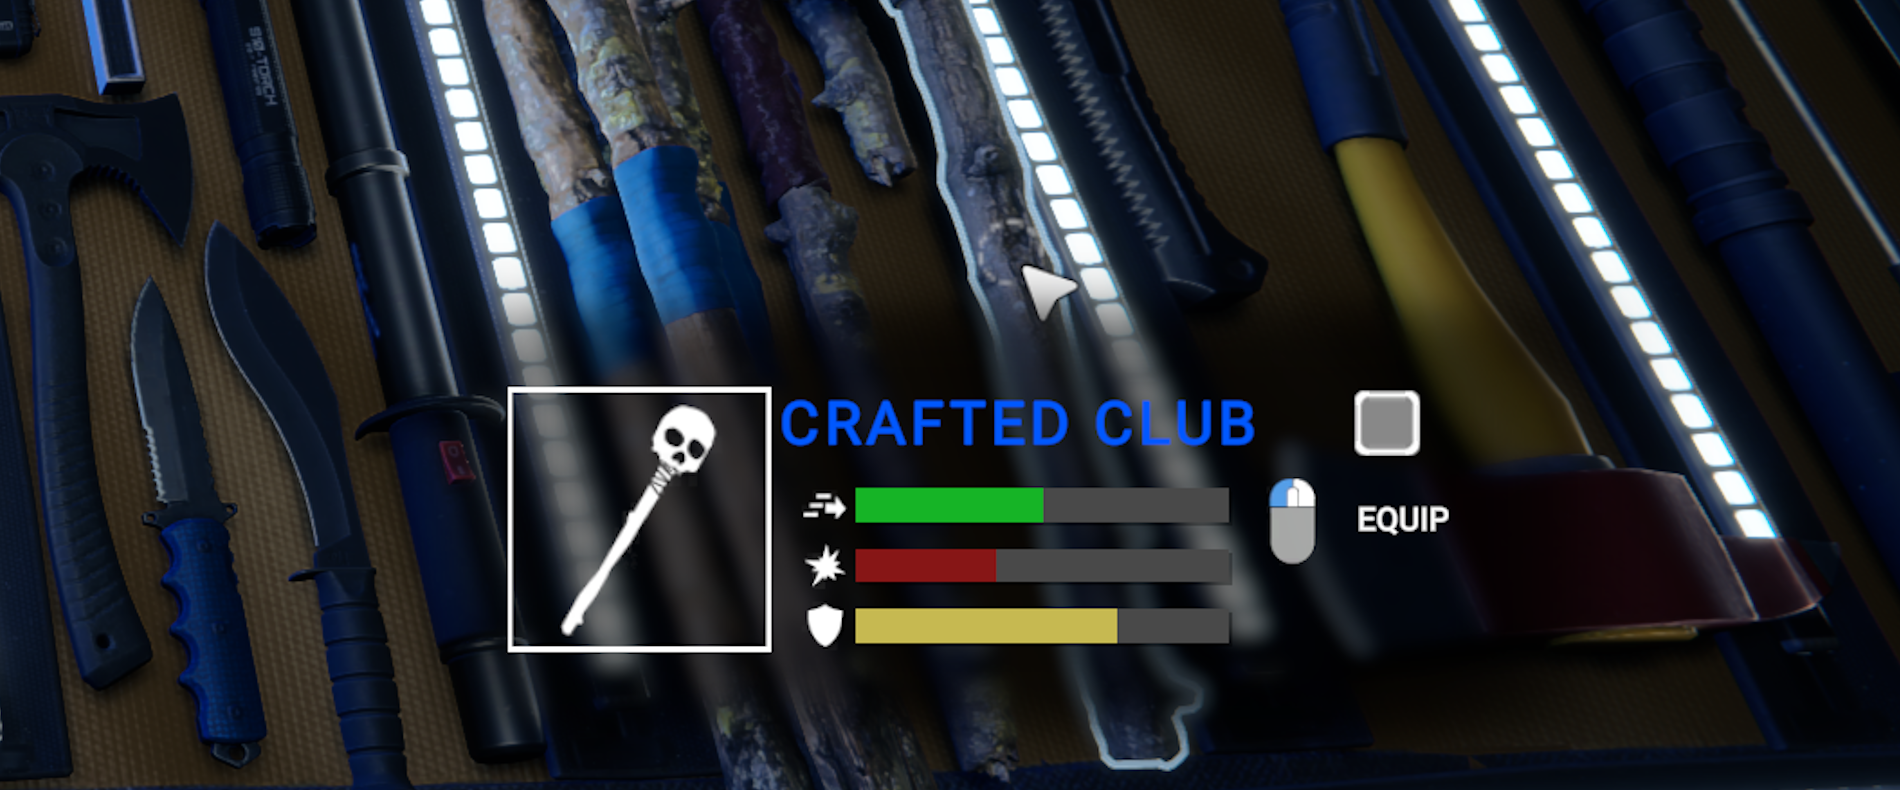
When you hover over melee weapons, you’ll see three meters depicting their stats. Here is what they mean in order from top to bottom:
- Speed: How fast you swing your weapon. (Note: You build more momentum with each swing)
- Damage: How much health or armor is damaged by each hit.
- Block: How much damage is reduced to your stamina or health while blocking.
It should also be known each weapon will cost a different amount of stamina to swing. The values are not displayed in-game, but do assume lighter weapons will cost less stamina and vice versa.
There are different effects with particular types of damage caused by different weapons as listed.
- Blunt: Blunt weapons, such as a club, don’t appear to have any special effect.
- Sharp: With bladed weapons, you have a chance to sever a human enemy’s arm, leg, or head.
- Stab: With guns, spears or bows, headshots may instantly kill unarmored or down heavy enemies.
- Explosive: Explosions can either reduce an enemy in range to actual shreds or really hurt.
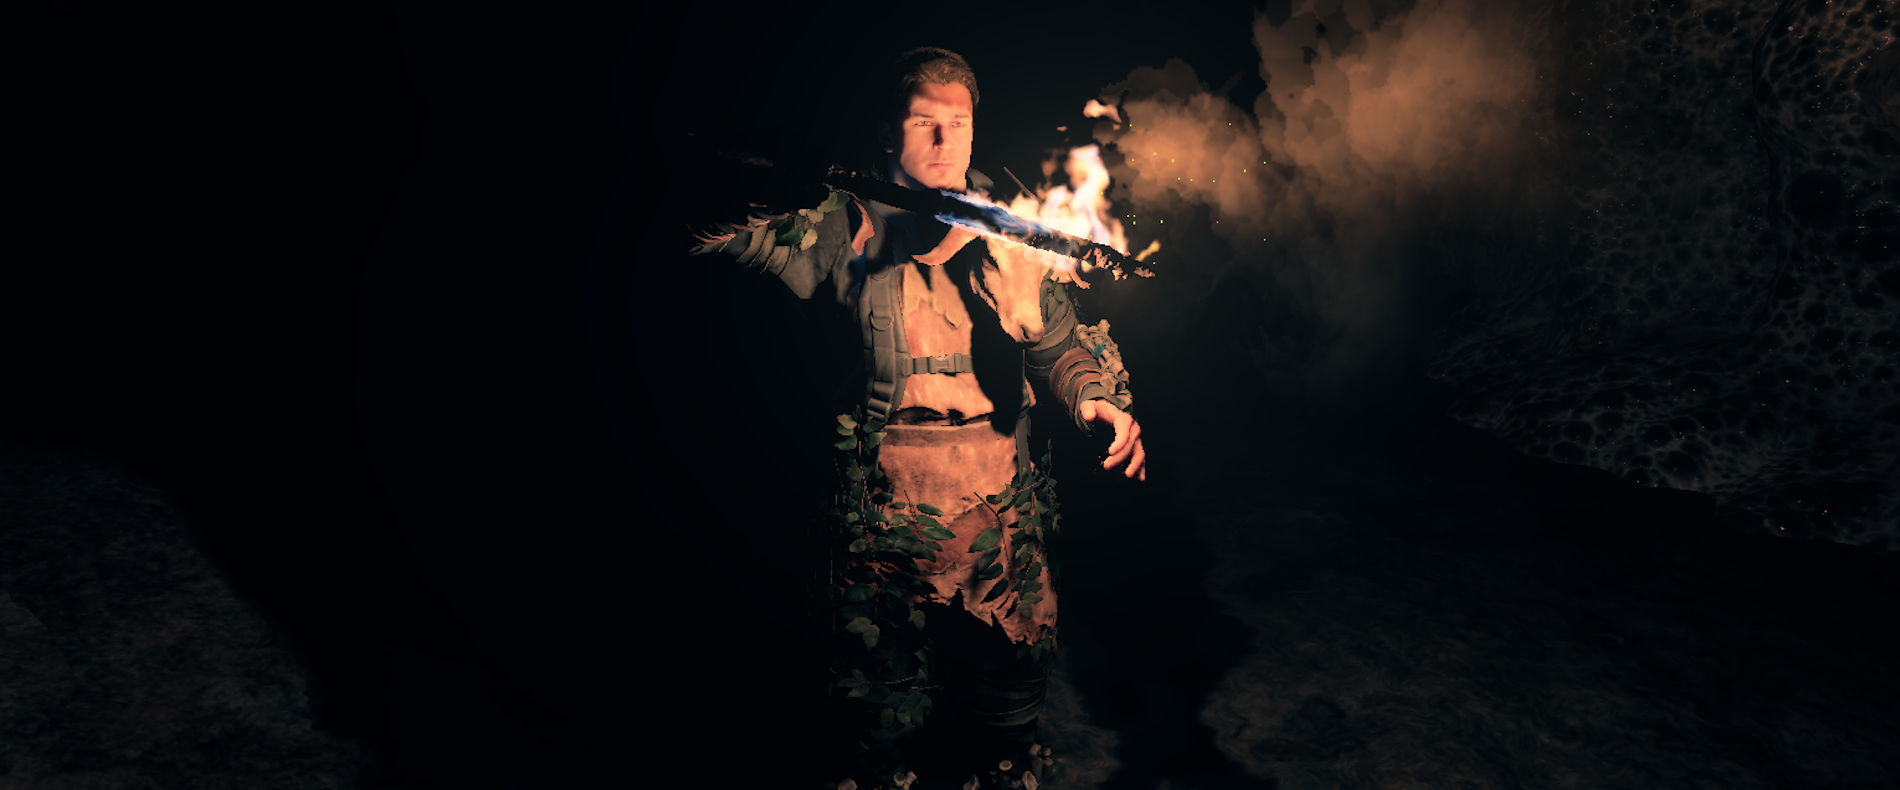
- Fire: If you set an enemy on fire, it’ll deal good damage overtime and even distract the target.
- Shock: With the right weapon, you can tase an enemy, downing or shortly stunning them.
Protecting Yourself
How Blocking Works
Blocking can be crucial, as it prevents the player from taking damage from most melee hits. Blocking on its own will not negate effects such as being set on fire or being knocked over, and it also must be timed before attacks begin landing when unarmored. Otherwise, you have to get away or take the hits.
While you are blocking and facing an attack, you’ll be able to negate the damage that would’ve gone to your armor or health. You will lose stamina for each hit you take, and some weapons block better than others, so make sure you’re blocking when its right.
You can’t cancel your attacks, so if your character is in the middle of swinging a weapon and is about to get hit, you’re not going to get to either block or parry the attack.
How To Parry
By just tapping the block button, your character will perform a parry. If perfectly timed right before being hit by a melee attack, regardless of what enemy or which move, you will be completely untouched by that attack. If mastered, this can be an EXTREMELY useful talent.
The downside of parrying is the timing itself. If you fail an attempted parry, you’ll be left completely vulnerable for a moment and will most likely have to take the hit in its entirety if unavoidable. It takes a moment for your character to wind up the parry, so try to pay attention to when an enemy’s attack is about to land to time the very brief parry window. (Tip: It’s typically best to parry a near second after an enemy winds up their attack.)
If you parry the attack of a regular human enemy, that enemy will get stunned by the parry, giving you an excellent window to beat them down or prioritize another enemy. However, while you’ll still receive no damage, other enemies will be unphased by parrying their attack. Especially during multi-hit attacks, it’s best to get some distance and only use a parry to save yourself from the first blow.
How Armor Works
Armor works in a simple way: each individual piece will act as bonus health. You can have up to 10 pieces equipped at a time, and your armor pieces will take the damage until its reduced to your character’s health. If all your remaining pieces of armor are broken by a hit, any remainder damage will hurt your character’s health. (Tip: Armor will prevent your character from staggering to attacks, but won’t protect you from fire, fall damage or being knocked down.)
Armor is crafted only through resources found throughout the world, with one type being collected from special types of enemies. Typically, the better armor is more costly to make or harder to find. Unlike armor, almost all clothing has no impact on the damage you take. (Tip: Leaf Armor is the weakest, but provides a stealth bonus per piece and is the easiest to make.)
Know Your Enemy
Not Your Average Enemy
Both this game and its predecessor are famously known for their complex programming of the cannibalistic inhabitants you’re faced with. To put things simply, every time you see one of them, you have no idea what’s going to happen. Their behavior is advanced, with each individual having their own needs, personalities, relationships with each other, and most importantly, feelings towards you, whether that be fear, hatred, curiosity, or so on.
Your actions may influence their behavior, but they’ll always act on their own accords. You might scare away one of the natives by showing them their dead friend’s head, or you might piss them off and start a full-on war with their tribe. Along with killing and attacking them, they also don’t like it when you mess with their land. Inevitably, you will build a negative reputation with them during your invasive presence, especially when they start getting hungry, but you CAN try to keep things from getting too heated too quickly. (Tip: If you’re just starting out, don’t just attack everyone that you see, and you might just get enough time to gear up, set up a base, and get to know what you’re working with in peace.)
The longer your stay on the island, the more they’ll know you and the more prepared they’ll be to face you. They’ll start wearing armor like yours, bring bigger groups to your own turf, and you may get to even meet their fiercest leaders and fighters more and more often. As you evolve, they will, and it’ll be hard staying a step ahead of them. So be careful with how you engage with them, know when to avoid them, and protect yourself and the territory you claim as you fight to survive.
Different Enemy Variants
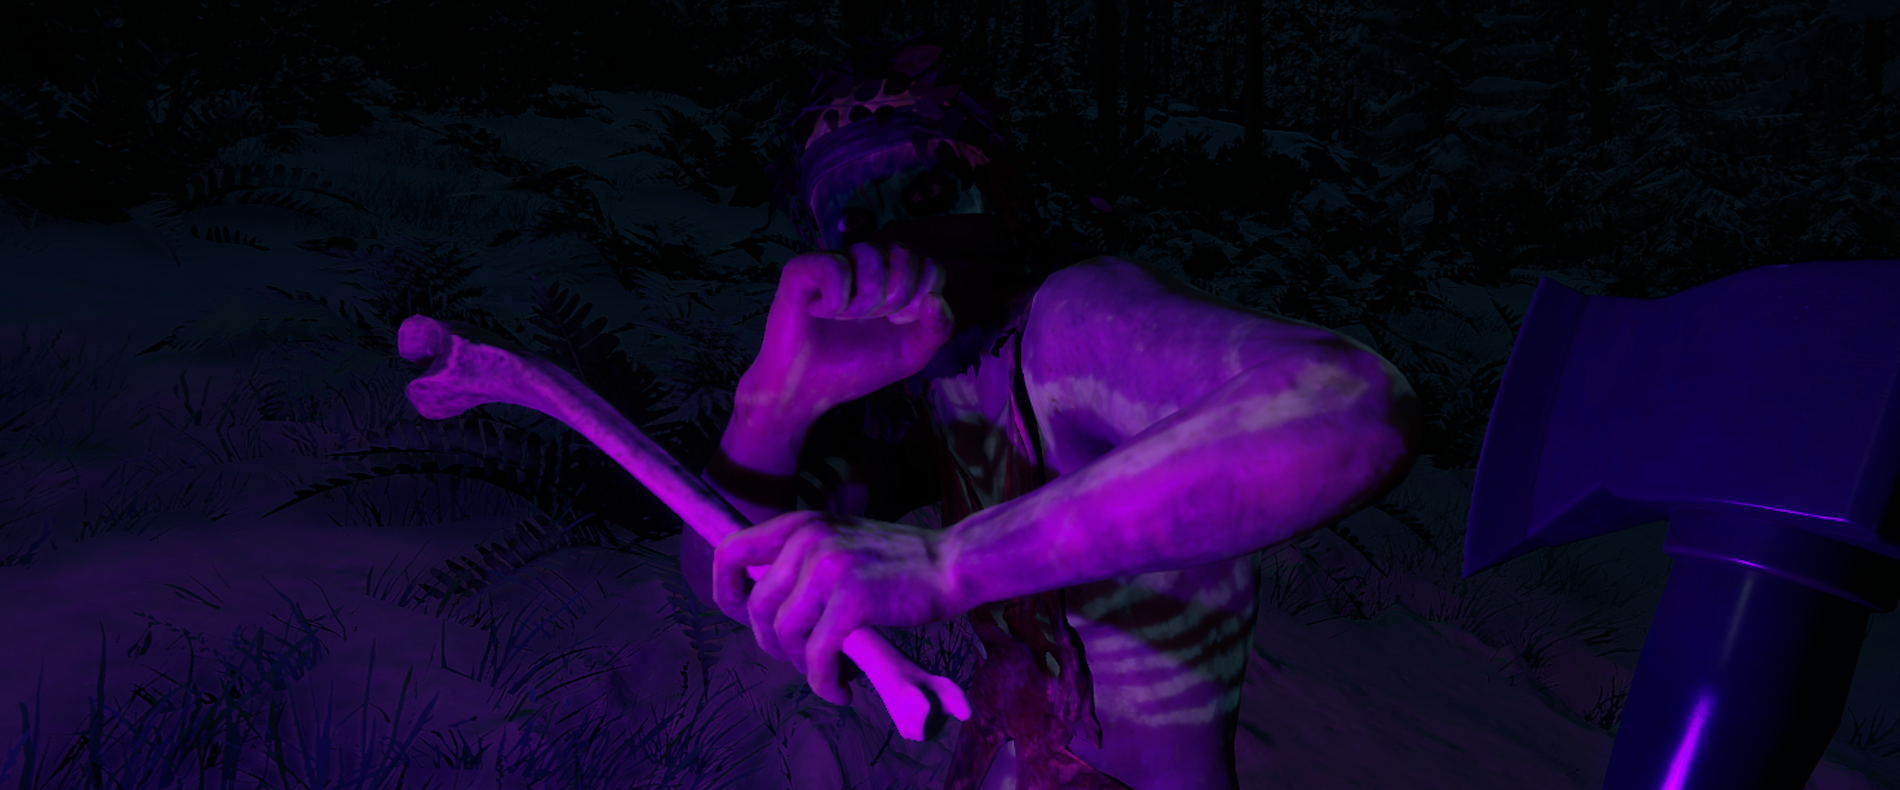
You’re going to be forced to share your time with them on their land, and the best way to be able to handle them is to learn who is who, what they look like, and most importantly, the best way to handle them. Not only are there different factions on the island, there’ll be a fairly diverse cast of enemies in each of them, with only a portion of them even resembling humans.
You will find that these different enemies will have different and also shared weaknesses. It may be something more objective, such as a weak spot like their head or knee. It may also be vulnerabilities in their personality, such as being cowardly or watching their loved one die in front of them. Be as cruel as you want, though the effects may vary both for and against you.
Some enemies are a lot larger, stronger, or/and less humanoid than others. You’ll have to be more careful and prepared against them, as they’ll be far more ruthless and less vulnerable. They will all have some kind of weakness, so always be on the lookout and don’t be afraid to get experimental to find what works best, just make sure to not let your guard down while you do.
Additional Tips & Info

As you explore, craft and survive, you’ll build up a considerable collection of both melee and ranged weaponry. You’ll have a variety of weapons to choose from, and it all comes down to preference to find which works best for you and your playthrough, so don’t be afraid to get experimental.
(Tip: Weapons will never break from usage, but some can run out of ammo or be lost when thrown.)
A small list comparing melee to ranged combat styles:
Melee Combat
- Doesn’t Need Ammo
- Can Block and Parry Hits
- Costs Considerable Stamina
- Requires Risk Taking
(Tip: If performing melee, always be cautious, and avoid or block every possible attack to survive.)
Ranged Combat
- Doesn’t Cost Stamina
- Safest Option
- Can’t Block or Parry
- May Run Out of Ammo
(Tip: Always keep good track and supply of your ammo for your favorite weapons.)
Outside of weapons, you’re provided alternative options to defend yourself. One of these include building traps, which if used and set-up properly, can help a lot. You can select from a variety of traps, however, they’re stationary and are best in base defense rather than actual combat.
You’re also armed with various gadgets in your backpack, such as bombs. Explosives can be hard to time and aim right, but are devastating to anyone and anything in its radius. You can also use items to lure enemies, or scare them off with the right messages. Don’t be afraid to get creative.
Undeniably, one of the most powerful thing in combat is an extra set of hands to help dispatch of a common enemy. These can be your own real life friends, strangers, your in-game companions, or even other enemies if you play your cards right.
If playing in multiplayer, your teammate can always back you up in a fight one way or another. Work together and thrive in any battle. This can also be achieved through in-game companions, with some being able to take a gun and help defend against any threat you face in both singleplayer and multiplayer. Lastly, some enemies you may fight may have a common enemy as you, so if you’re careful, smart and lucky enough, you might get some temporary help in fighting or escaping.