This guide is a 4 step method of ensuring you have a clear place for all of your loot going forward, as, if you’re like us, you hoard on resources and vanity items for future use, collect weapons, and are generally a loot goblin who has to commonly increase storage size as a result of underestimating exactly how much loot you’ll end up with.
This guide provides a clear way to keep your loot organized and easy to access, as well as exactly how much space you’ll need to satisfy the amount of loot you’ll have later in the game.
Should you follow it correctly, you’ll never have to craft another chest ever again, nor will you feel obliged to trash or sell extra items that may come in handy later.
Step 1: Preparation
The first thing you should do if you already have a few chests with items in them is move them into chests outside the building to stay there while you organize your chests inside.
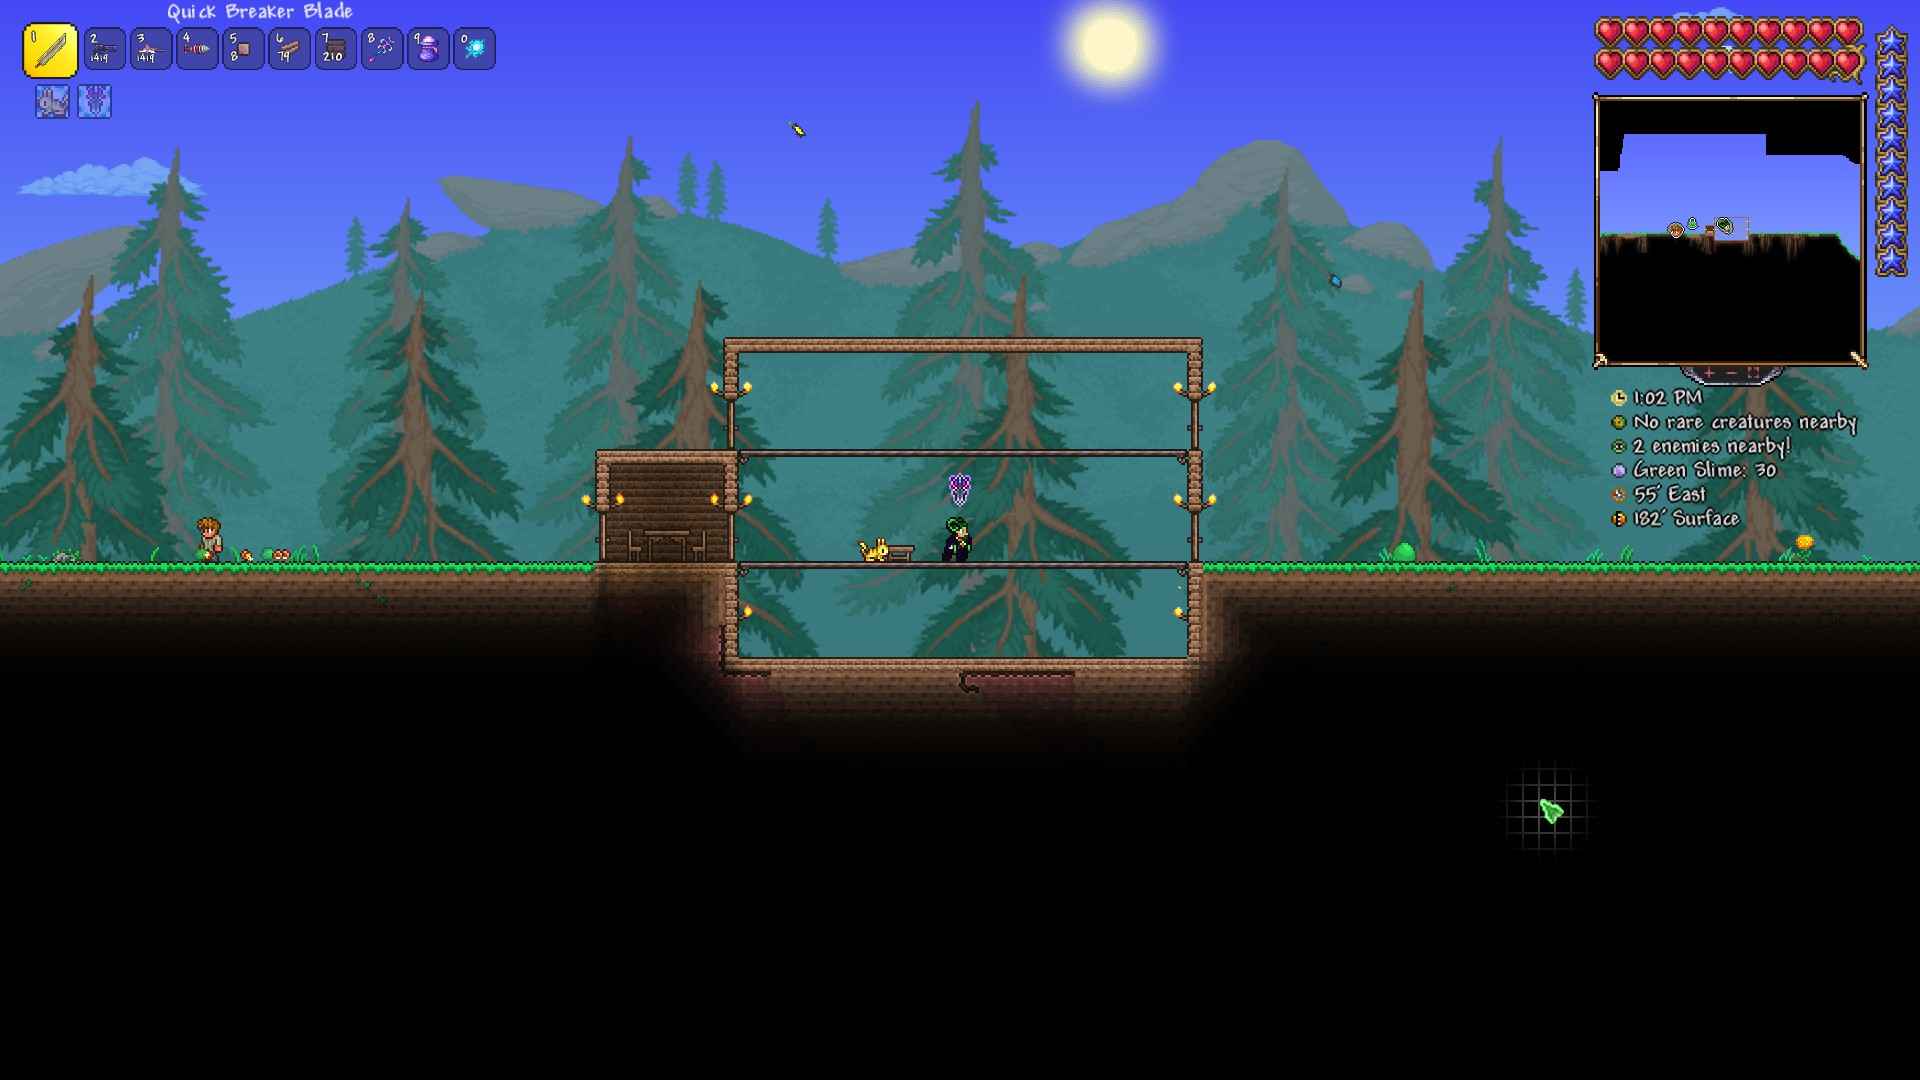
The house itself is also important, as a small shack won’t fit the number of chests we’ll be using, here’s an example of a good starter home.
Regardless, gathering ample Lead/Iron bars and wood of different types is needed to make chests, because understand, we’ll need a lot of chests, even if you aren’t a hoarder.
You can also just pick up every chest you find out in the wild instead, and use those to save on Iron/Lead and wood, which you’ll find plenty of while exploring.
At least 30 chests, preferably 6 of one type, 8 of one type, 4 of one type, 4 of another type, 2 of one type, and 2 of any type, or (if you didn’t just take naturally generated chests) 240 wood + 30 Iron/Lead bars, should cover the amount we’ll need.
In addition to chests, roughly 50 platforms will be needed, this is in order to save on space, as you can pack twice the chests into the same area by putting platforms above a chest and putting a chest on the platform.
Once you have all that you need, move on to the next step.
Step 2: Placement
Place 12 platforms 2 tiles above the floor, coming from one side of the building one block away from the entrance, and repeat this again one story below or above, only with 14 platforms, and place your chests based on their type accordingly.
On the other side of the building, place 4 platforms 3 tiles above the floor and 1 tile away from the entrance, and place 2 chests on those platforms.
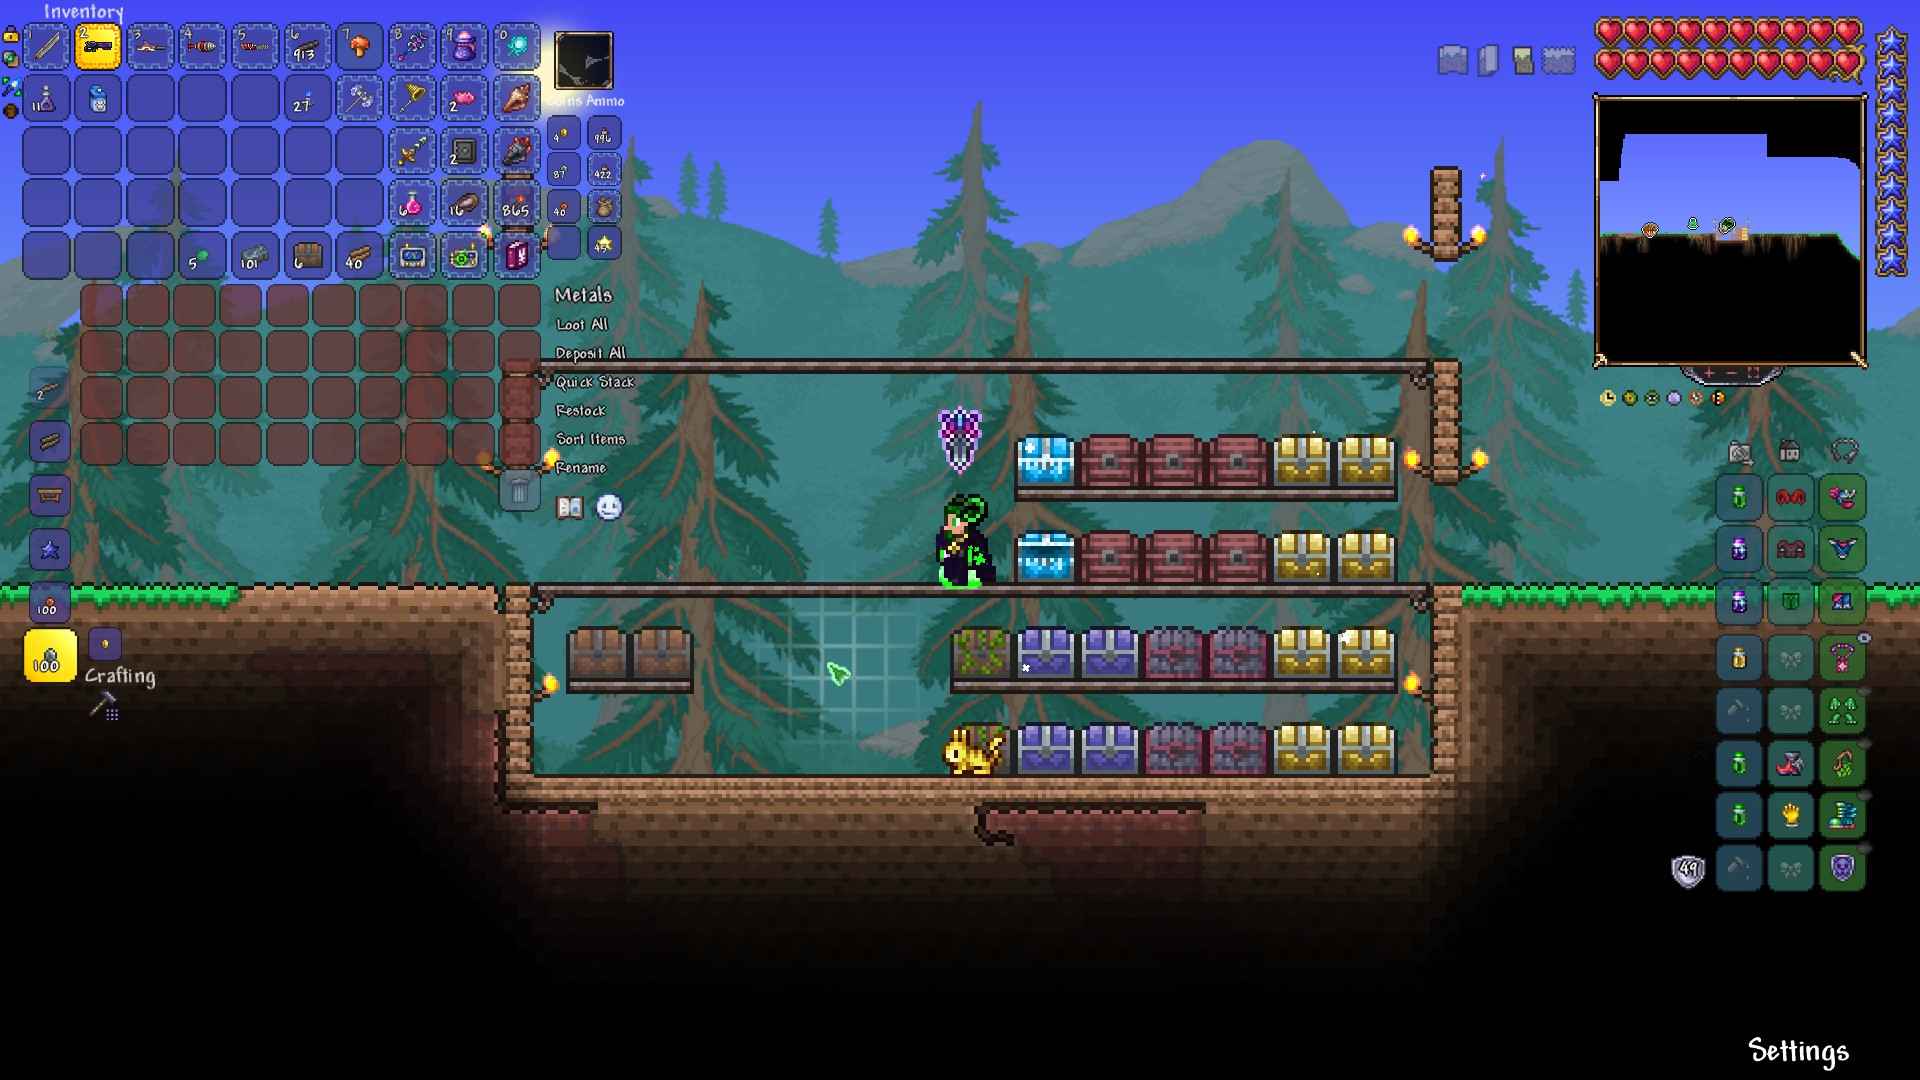
If you followed the instructions correctly, they should look something like this:

Remember that it doesn’t matter what type they are, just that they’re different types, as for example you could substitute the Shadow chests with Boreal chests, and the Golden chests with Cactus chests, and it would still have the same function of dividing the different kinds of items.
Step 3: Categories and Naming
Once you’ve prepared your chests, you now need to name them so that you know which items go where.
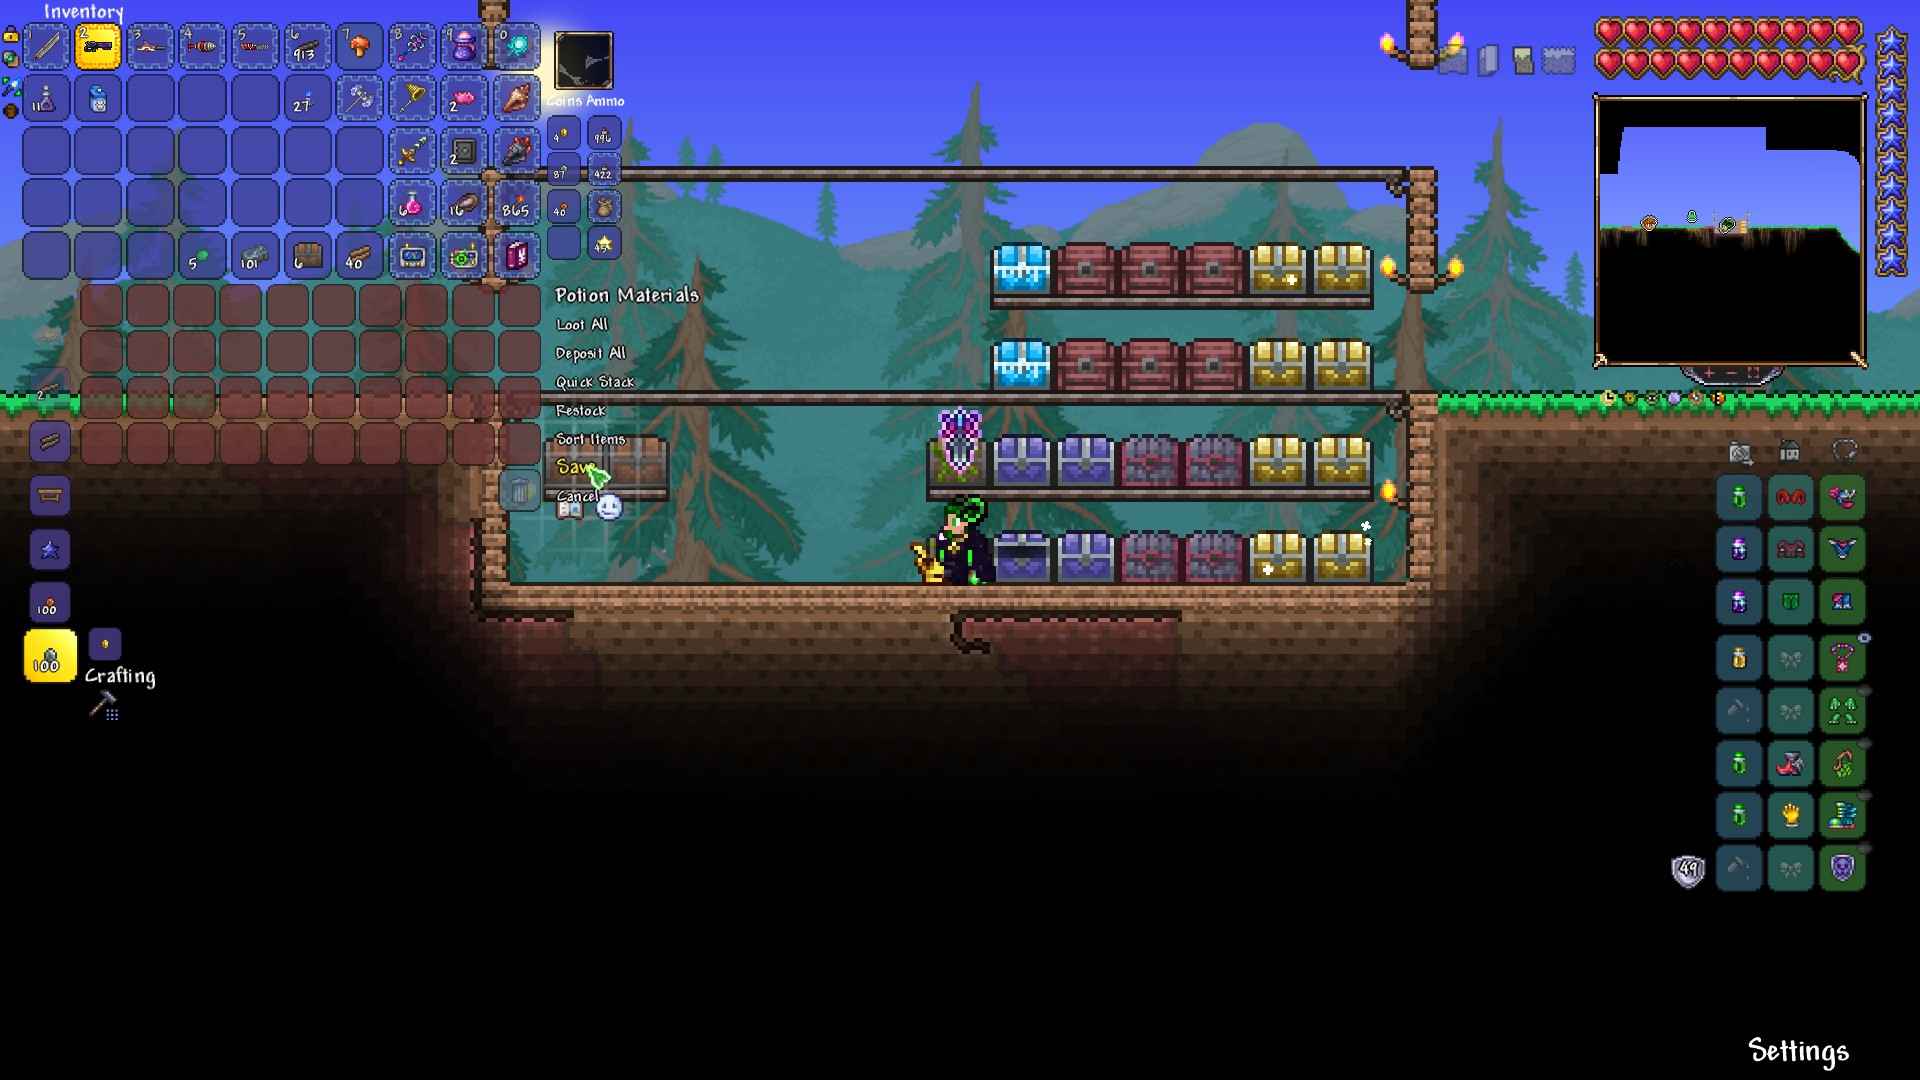
You can do this by opening a chest and clicking ‘Rename’ next to the items menu for the chest in question, at the bottom, and once you’ve deleted the previous name, i.e. Frozen Chest, you can then begin typing, and once you’re done or change your mind, click ‘Save’ or ‘Cancel’ respectively.
For example; as shown below, I’ve named this chest ‘Potion Materials’, it is specifically so that I can take the materials I need and craft potions with them, all in one place. This tends to be the most important ones, however, as some, like the iron skin potion, use atypical ingredients, i.e. iron ore.
These go to the ‘Metals’ chest, below the ‘Gems’ chest, which use chests of the same type. This makes it clearer where items are when you need to quickly craft something, or in multiplayer, when another player needs to borrow something, as shown here.
So, here’s how we organize it.
Group A (Four Shadow Chests)
- Organic Material (Jungle Spores, souls, teeth, Shark Fins)
- Inorganic Material (Chains, Illegal Gun Parts, Black Lenses)
- Food and Healing P. (Character limit)
- Buff Potions
Group B (Four Ebonwood Chests)
- Melee Weapons
- Ranged/Magic Weapons
- Misc. Tools (Breathing Reed, Bone Wand, etc.)
- Ammo & Throwables
Group C (Eight Gold Chests)
- Blocks
- Bulk Blocks
- Platforms
- Walls & Rope
- Decorative Furniture (Chairs, Tables, Jars, etc.)
- Functional Furniture (i.e. Chests, Workbenches, Clocks,)
- Paintings & Banners
- Statues
Group D (Six Mahogany Chests)
- Headgear
- Shirts
- Greaves (pants)
- Vanity Headgear (I’ve filled four entire chests with Vanity items, trust me you’ll need four whole chests with separate categories for them)
- Dyes
- Pets and Mounts
Group E (Two Frozen Chests)
- Metal
- Gems
Group F (Two Wooden Chests to the bottom left)
- Combat Accessories
- Other Accessories
Group G (Two Living Wood Chests)
- Fishing/Farming (seeds, Staff of Regrowth, planter boxes, etc.)
- Critters
If you have each of these chests, in tandem, you will almost never have to worry about space again, as through my own gameplay I’ve found this combination to be effective.
Should you end up needing more space, feel free to add more chests, and simply name them ‘Bulk [insert item name here]’, as I have with blocks.
Now, once you’ve named your chests, you should now move your items over if you already have a stash.
Step 4: Moving Resources
Once everything is ready, it should look like this, with each chest named:

At this point, any resources you have should be moved according to the chest they’re assigned to.
Simply right click the chests you moved outside, press ‘Loot all’, and manually move the items to their chests, in the future you won’t have to do this manually for any items you’ve already found, and can simply open your inventory and click ‘Quick Stack to nearby chests’, as indicated below.
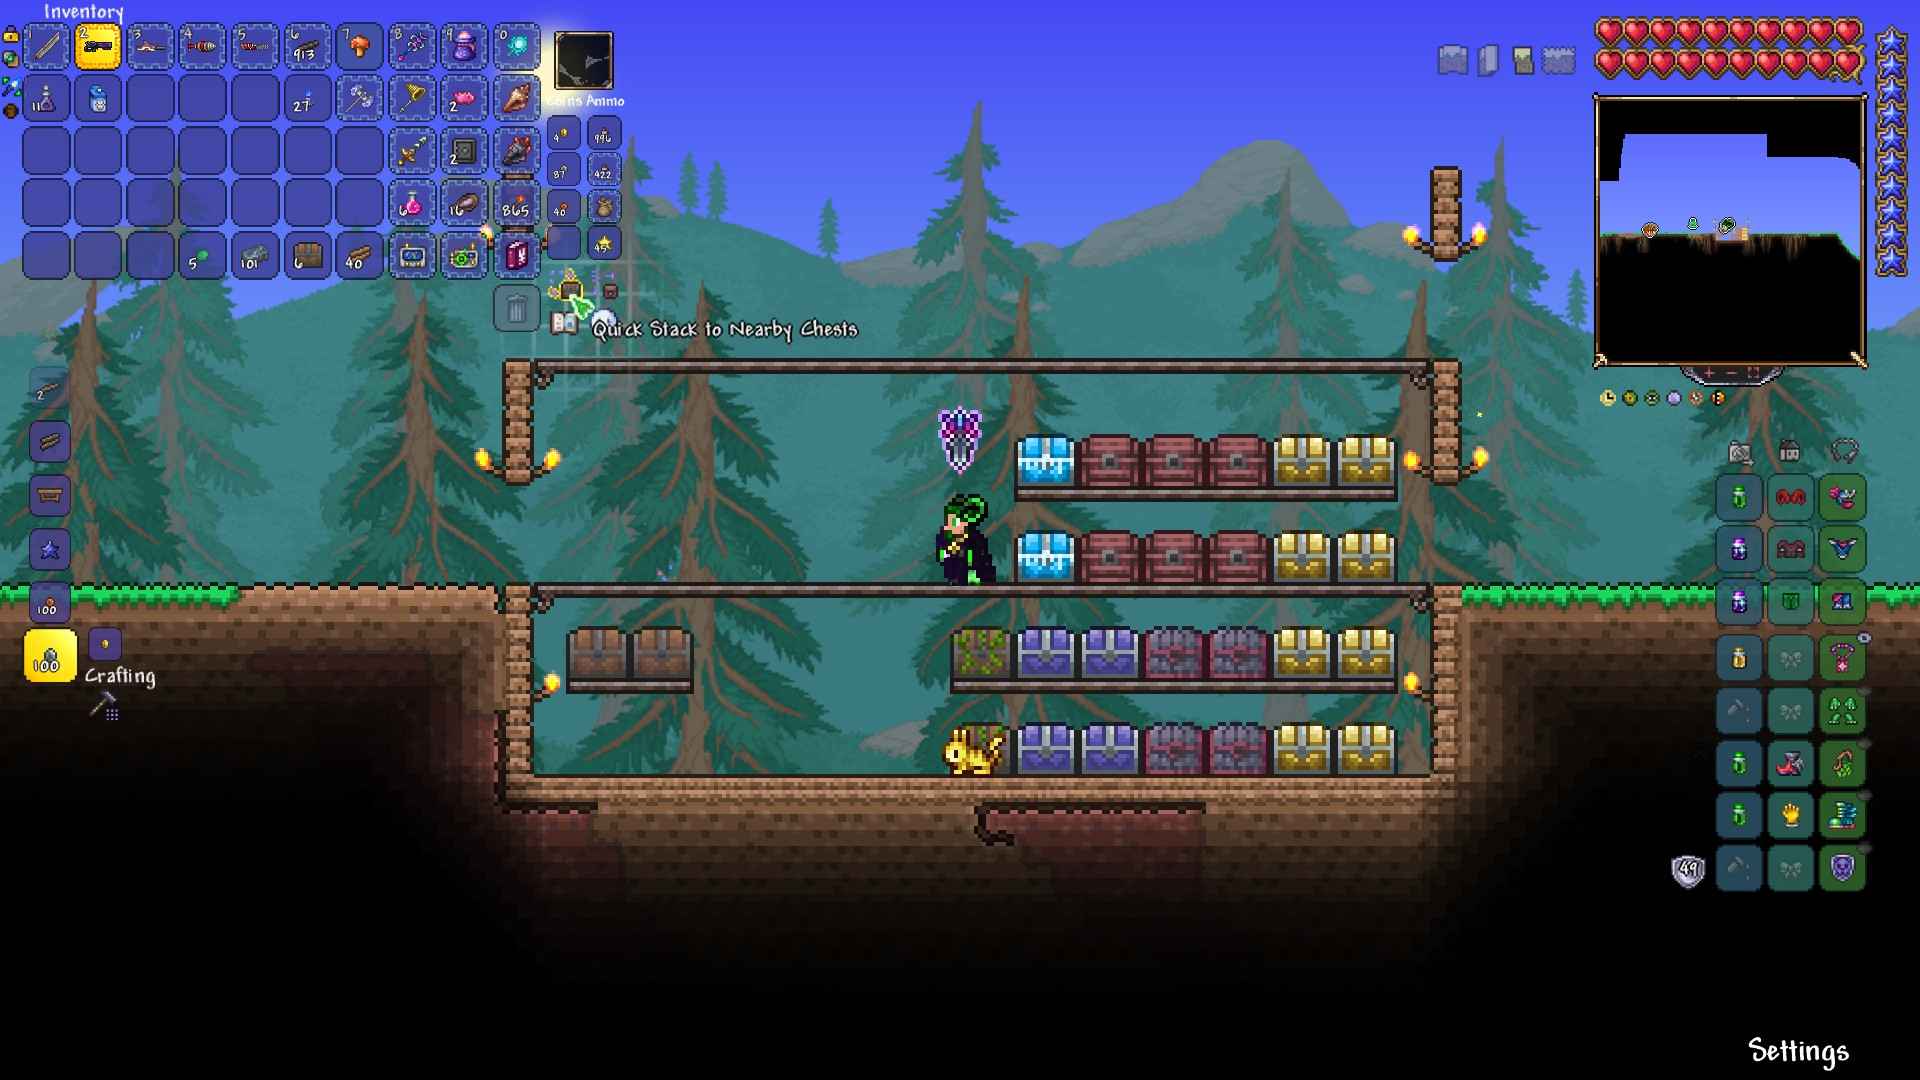
This way, the only reason you’ll actually have to manually put any items in your chests after this point is to put new items in, any items you’ve already found at some point will get automatically sorted into chests from your inventory, even non-stackable items like weapons.
Bonus Step: Personal Storage Items
You can’t name these items, but being 4 in total, there’s enough that it’s almost encouraged to provide each a use, these items being the Piggy Bank, Safe, Void Vault, and Defender’s Forge, each with varying size.
The piggy bank is the first you usually get, but you need to place on a platform, making it a bit more cumbersome than the safe while exploring, so you should put items you may immediately need but shouldn’t waste inventory space carrying around in the Safe, such as a work bench, potions, bombs, or rope , and extra supplies like dirt blocks, torches, gel,and wood in the piggy bank, as well as money.
The Void Vault should be reserved as a sort of second inventory space, as unlike the other 3, any items you pick up with a full inventory will be instead moved to the Void Vault, essentially doubling your inventory size.
Finally, the Defender’s Forge should be used like the Void Vault, but unlike the Void Vault, items aren’t automatically moved into it, meaning if you’re on an extended journey, moving items from the void vault into the defender’s forge will be important in order to essentially increase your inventory space by another 40 slots.
And that’s all for this Terraria guide. We would like to thank Engie Boy 6000 for this detailed game guide.